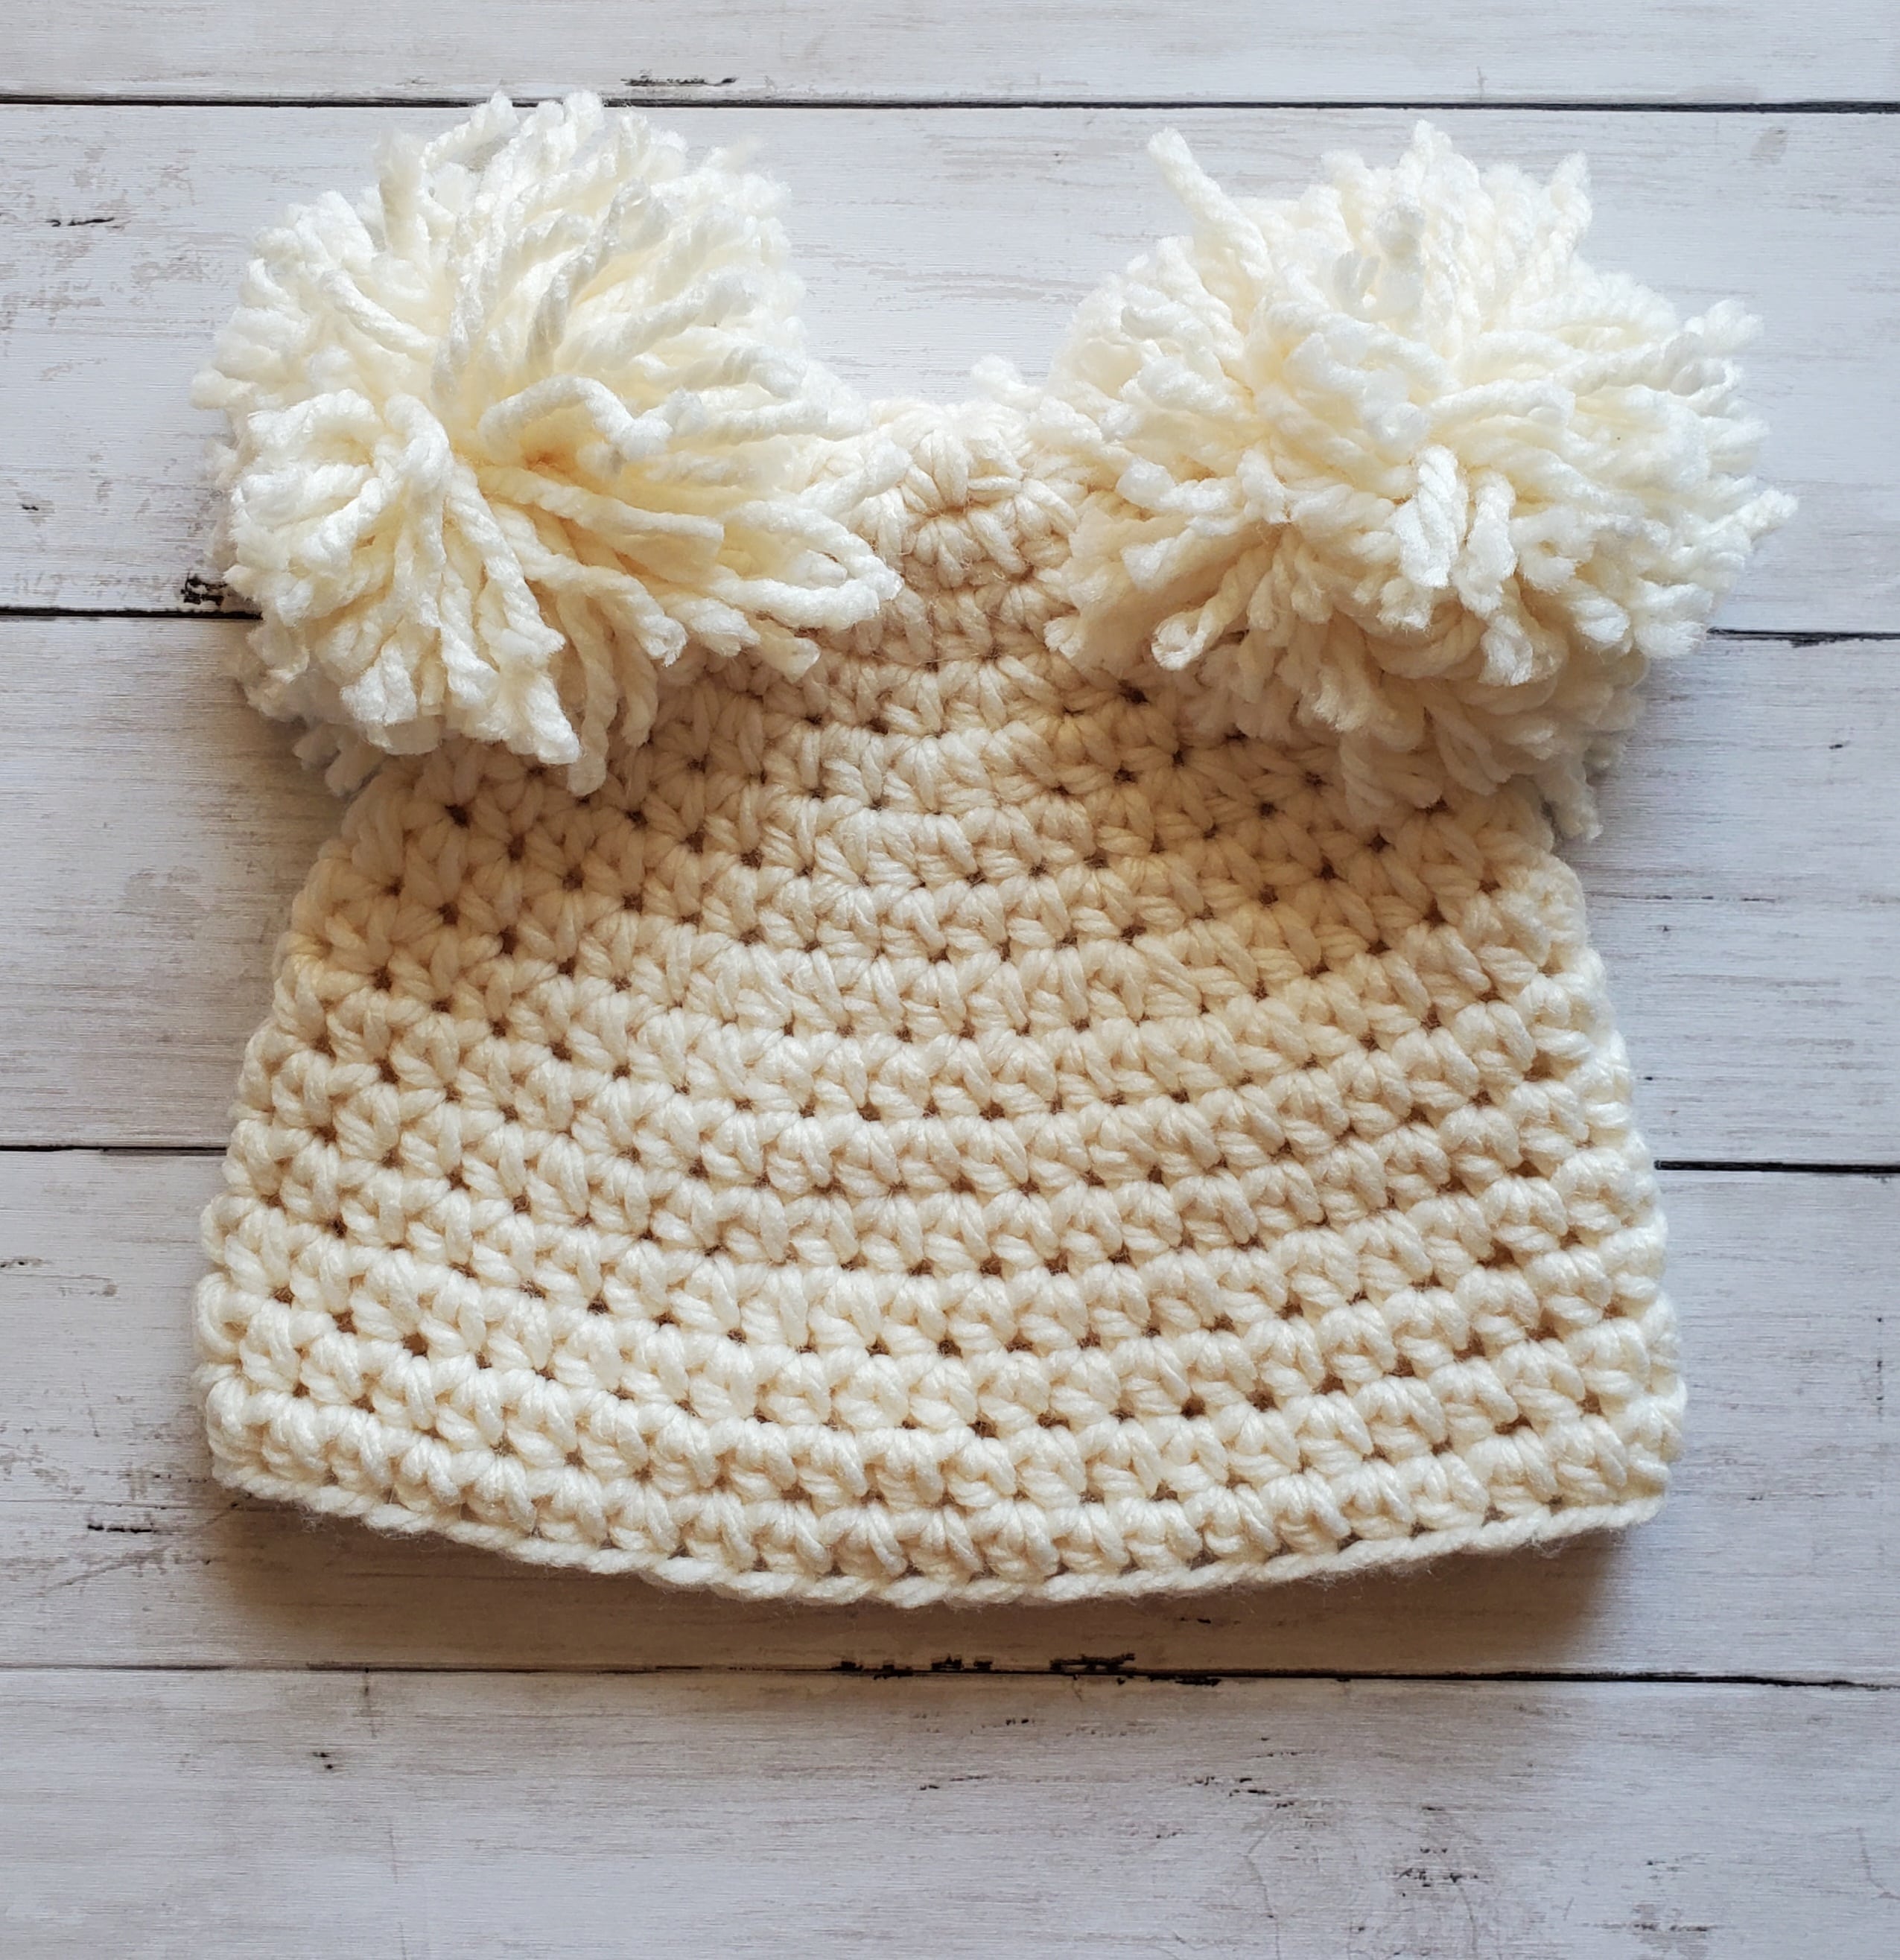
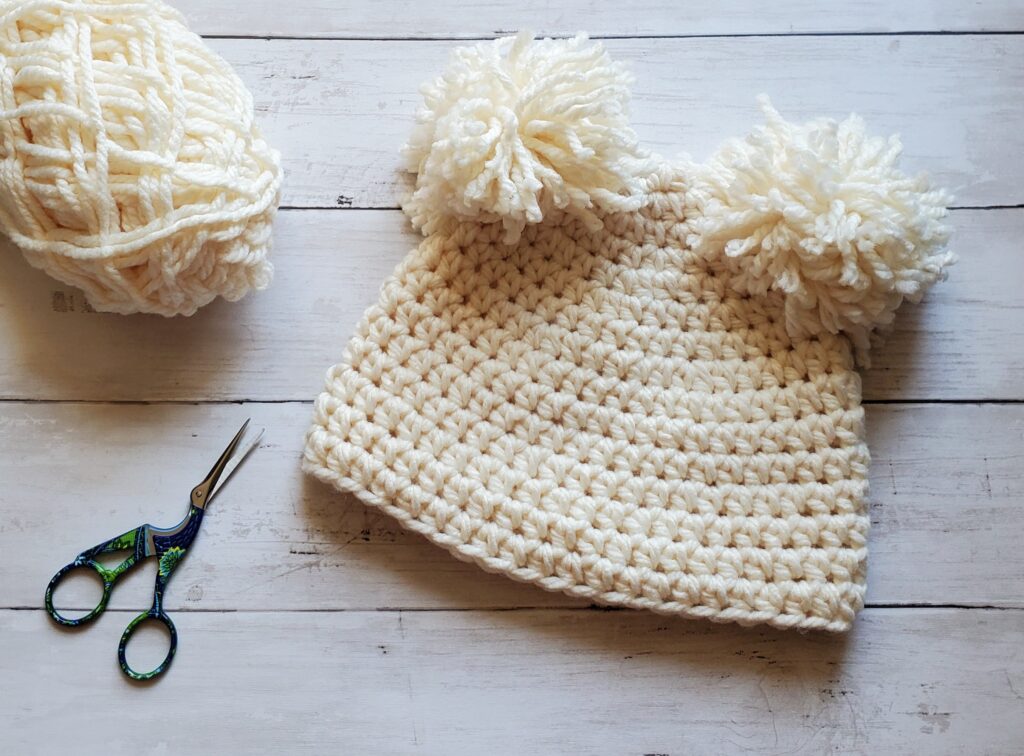
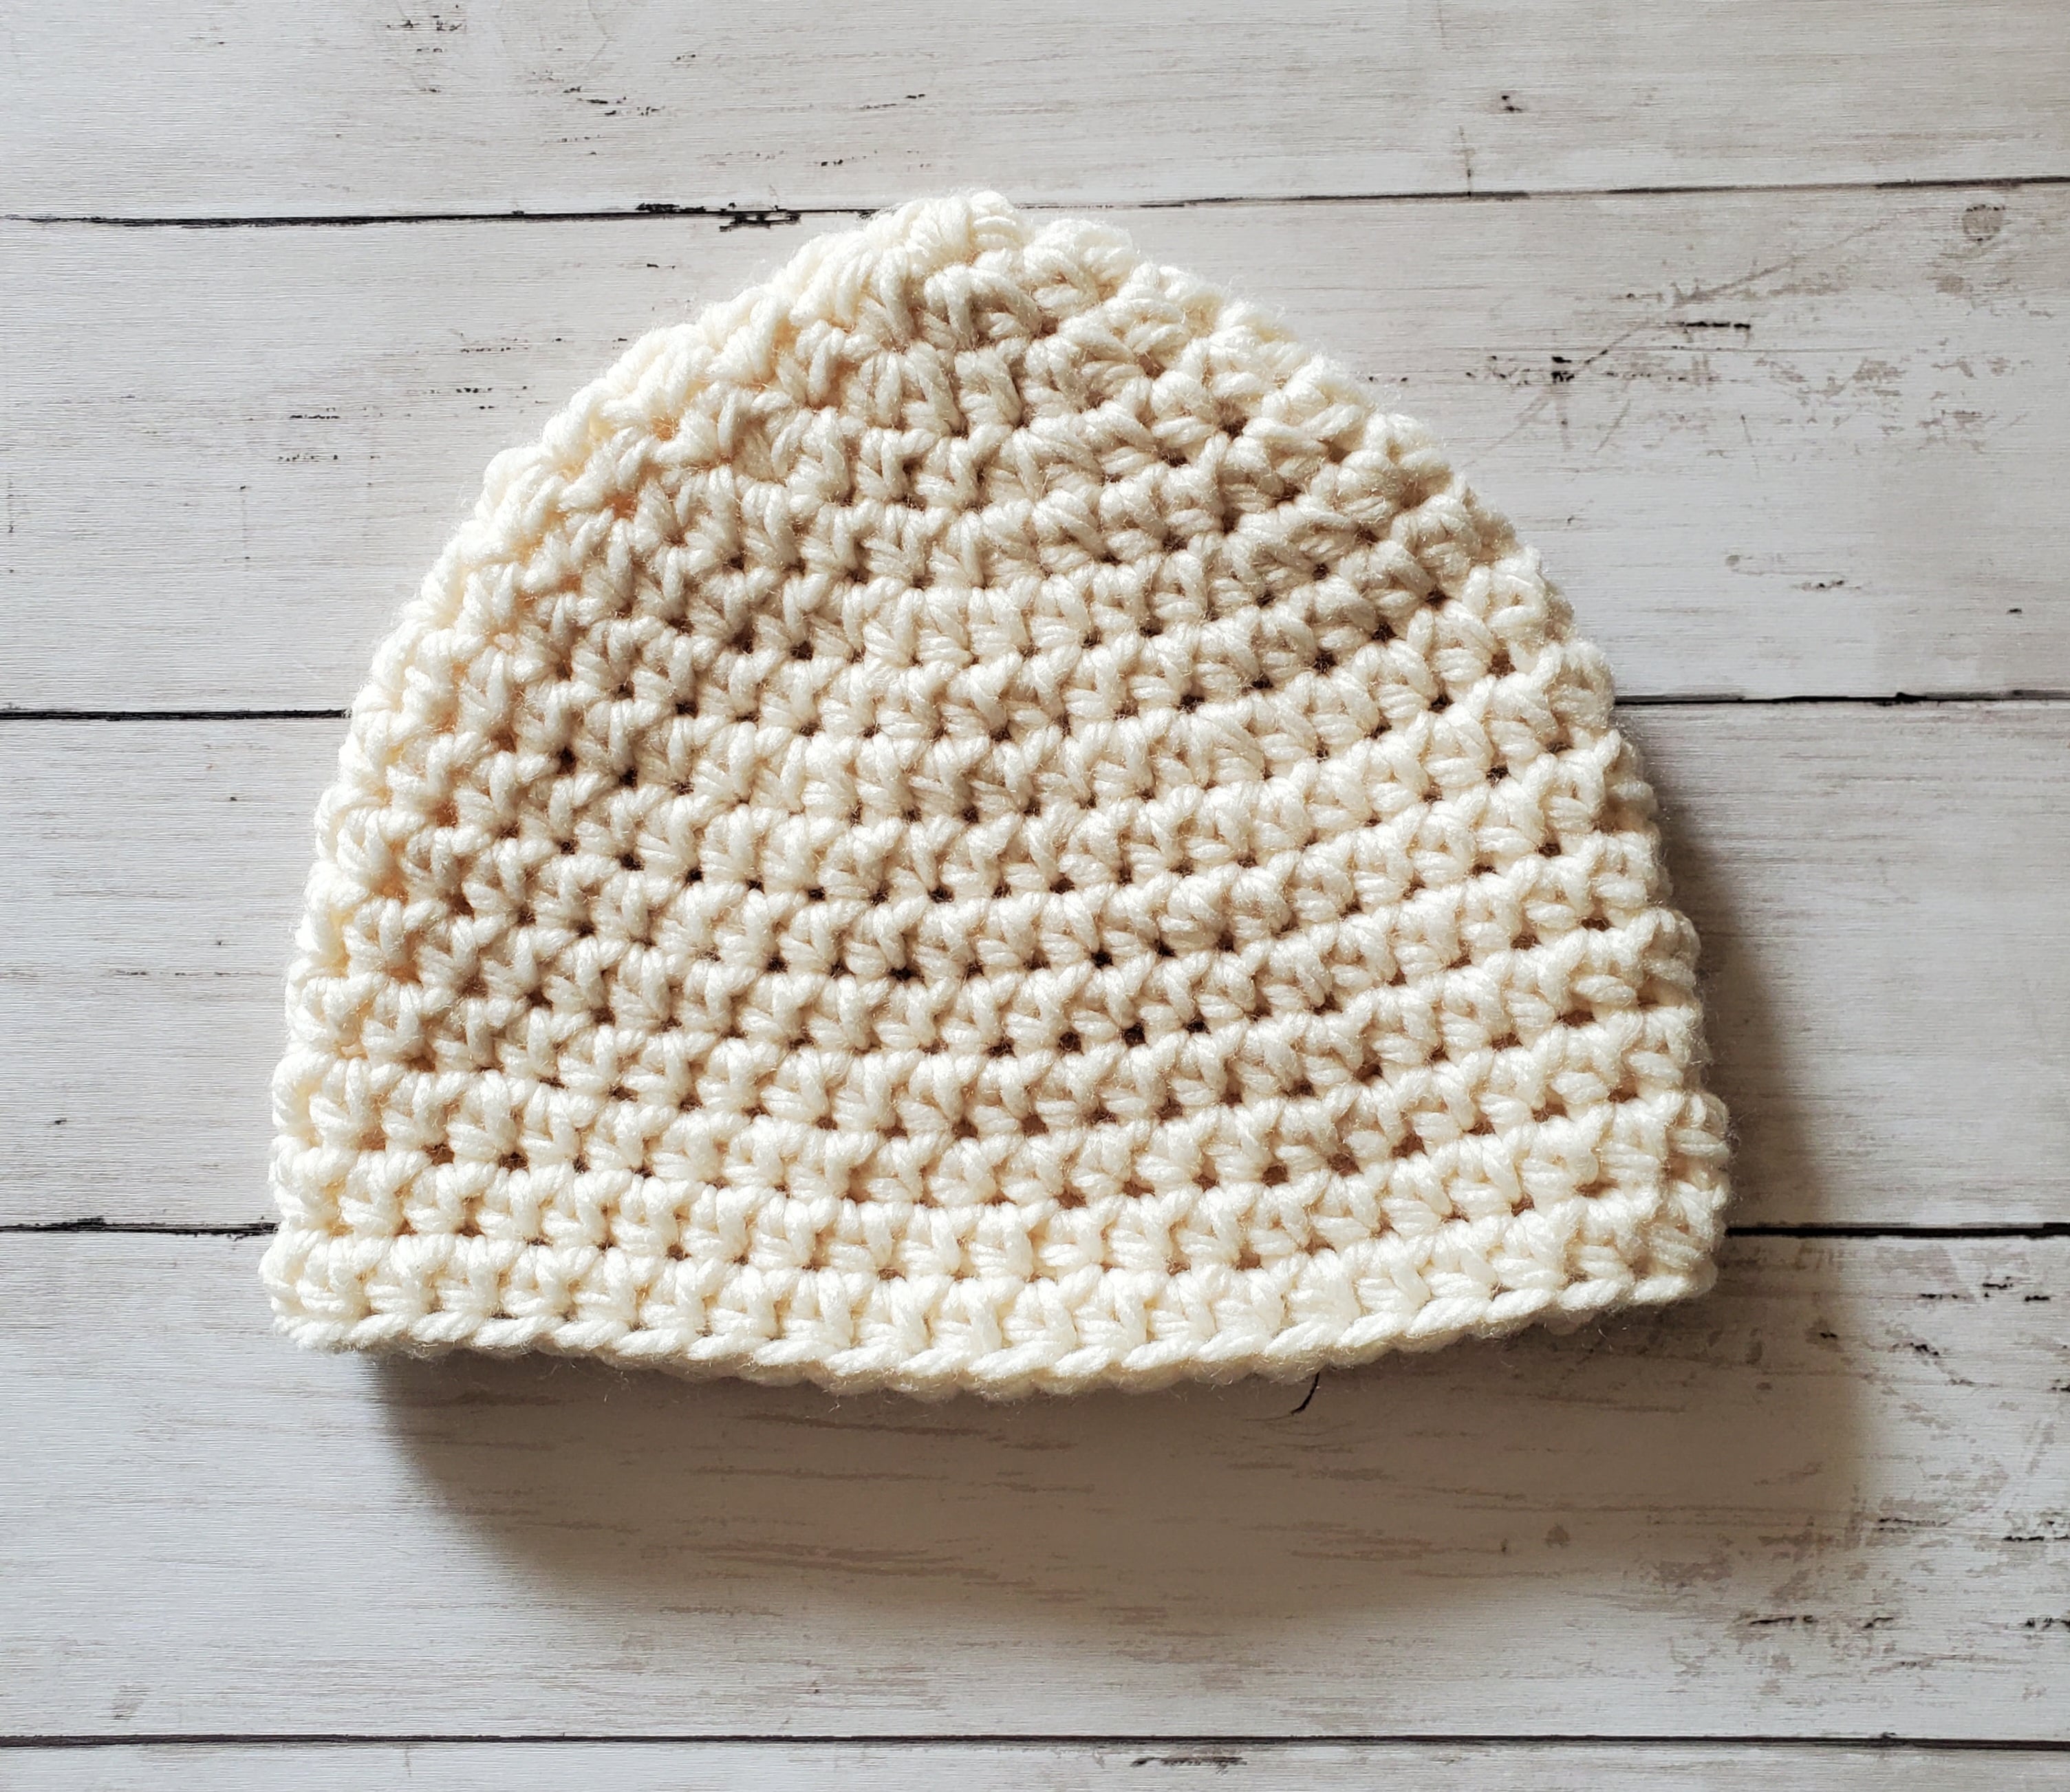
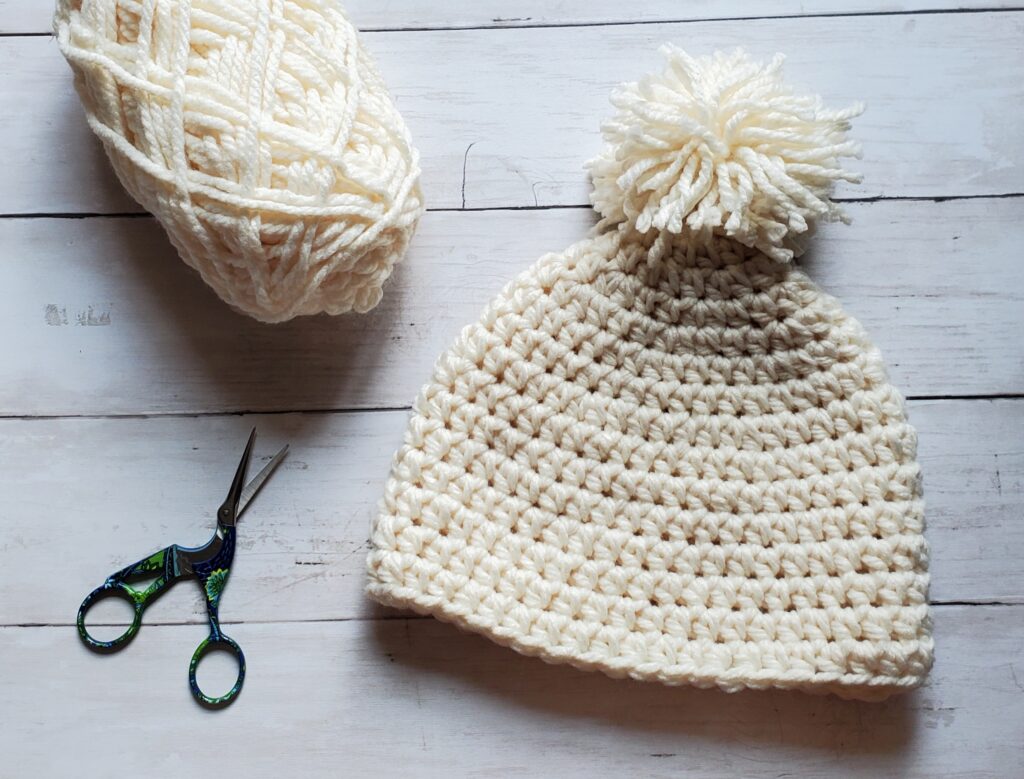
Crochet Chunky Hat Pattern
Newborn-3 Months
| Head Circumference: 13-14 inches | Hat Length: 4.5-6 inches | Crown Diameter: 3.75 inches
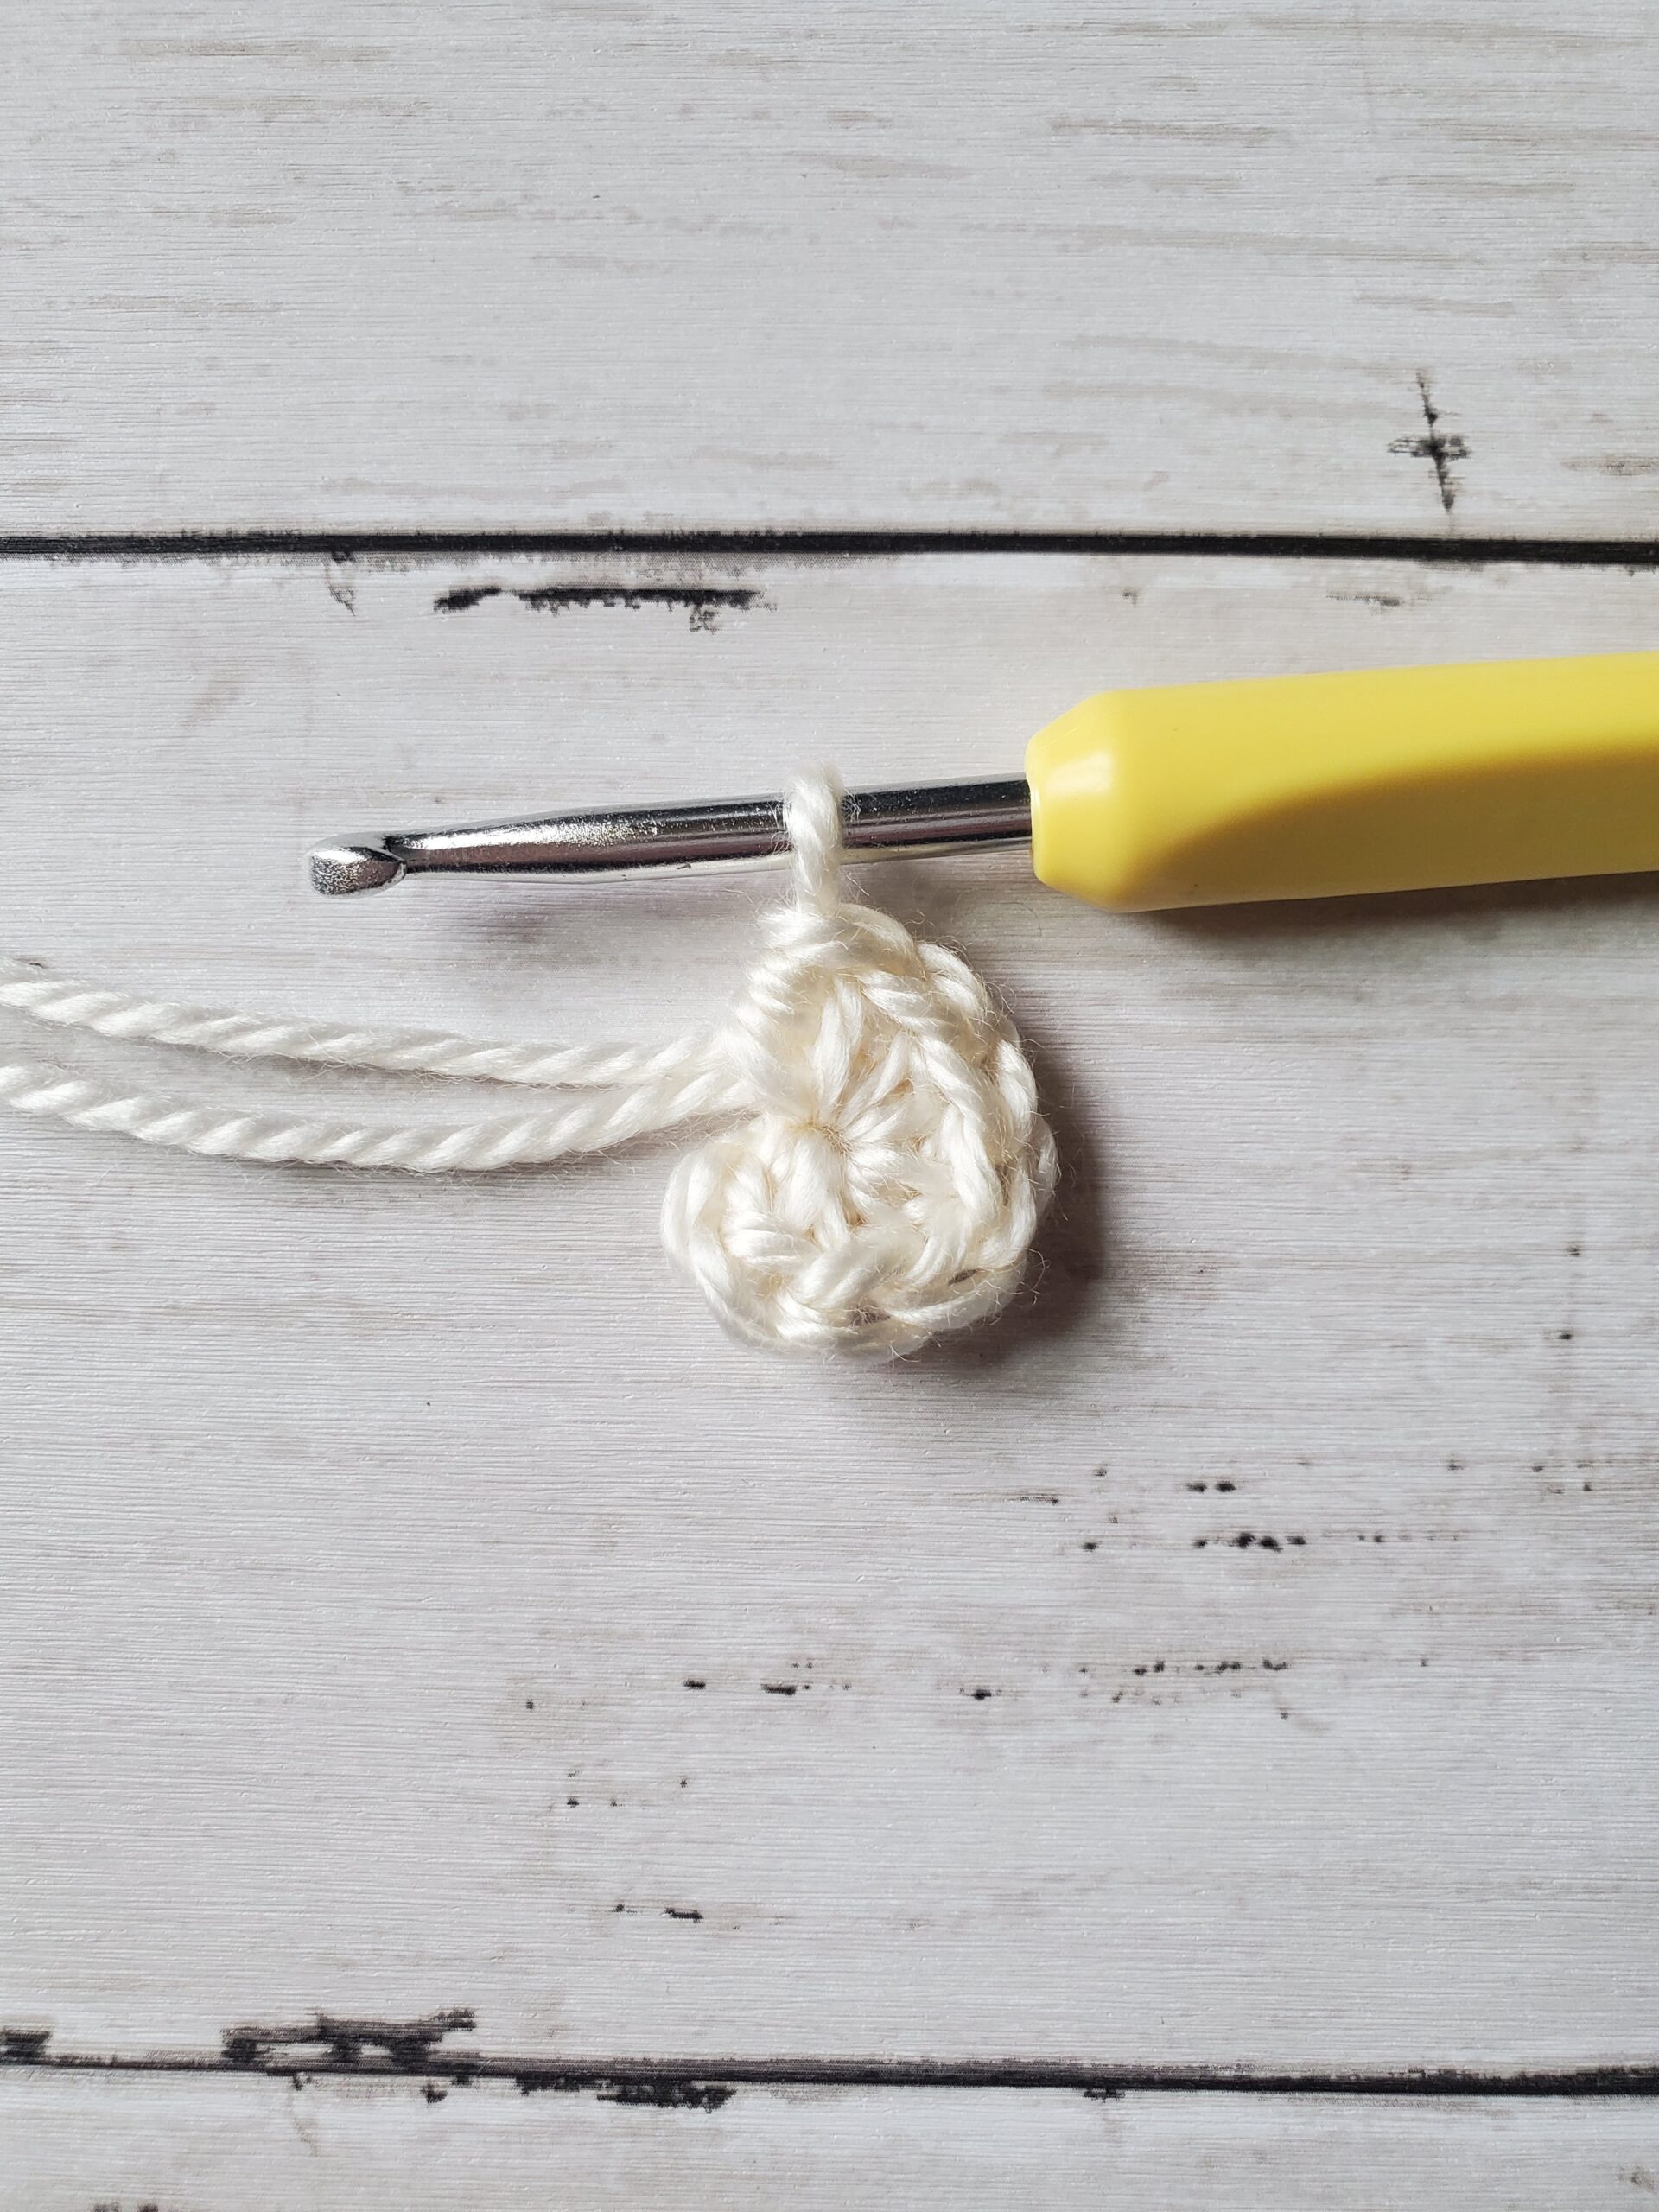
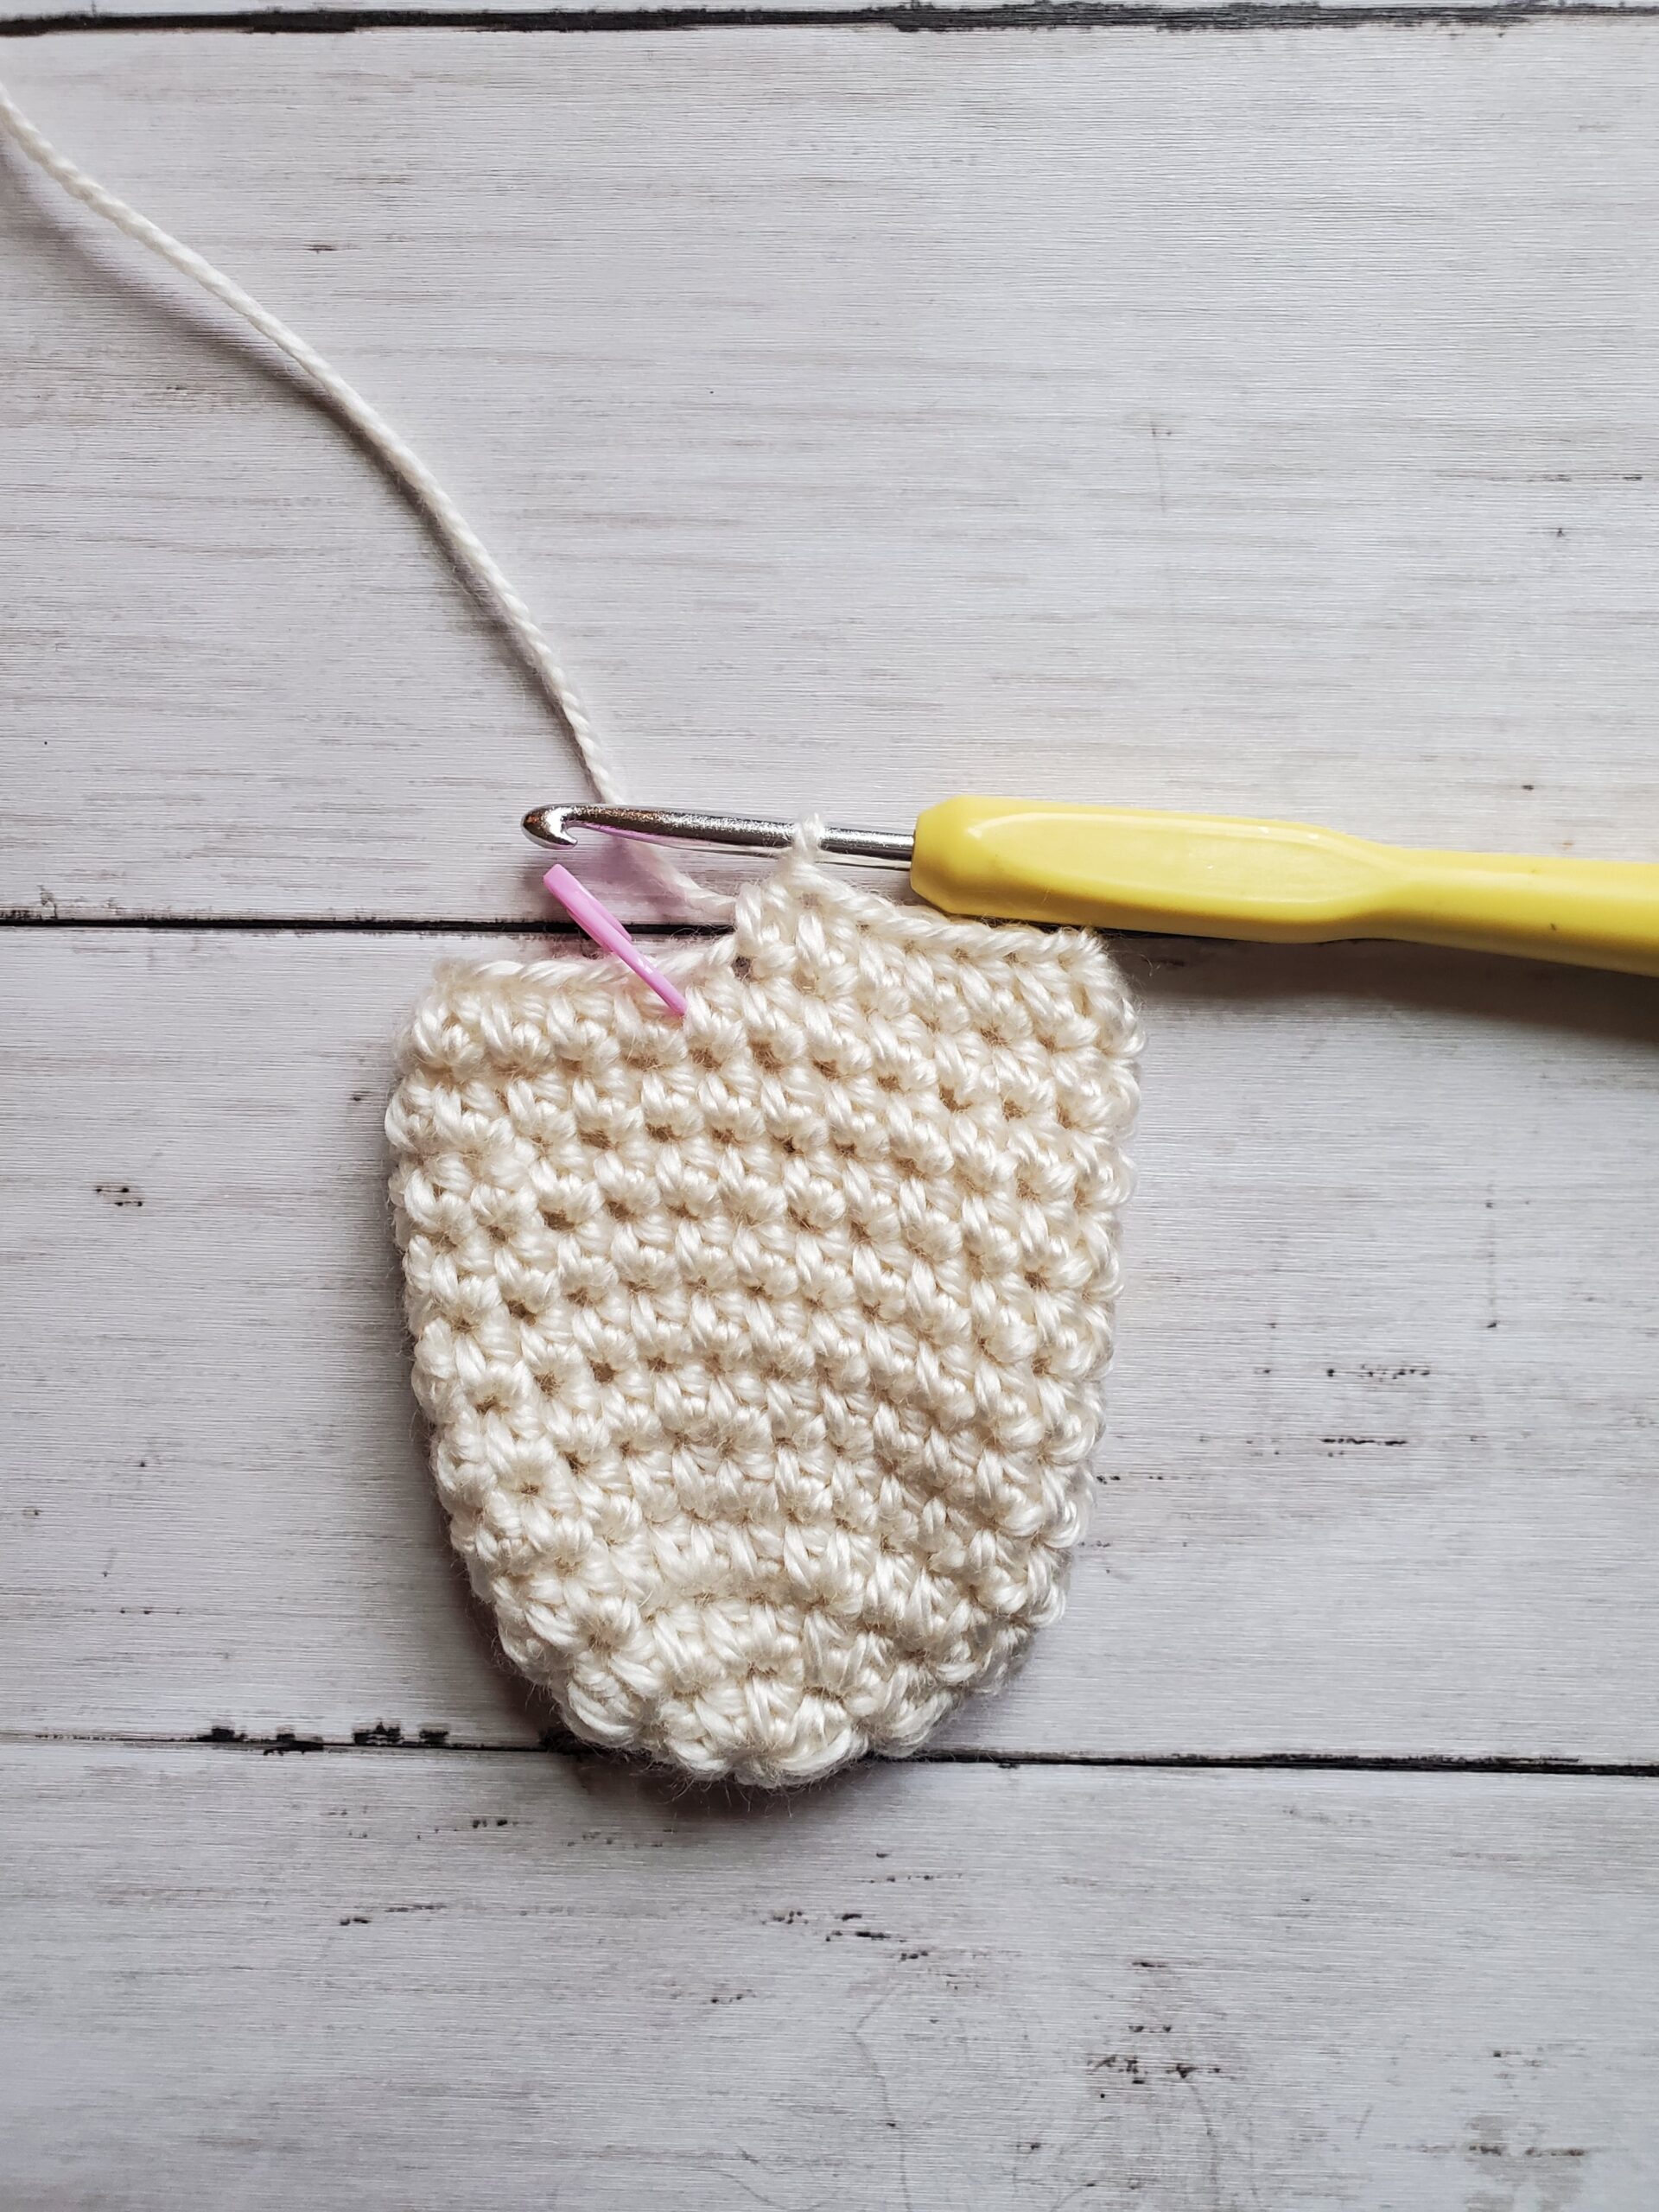
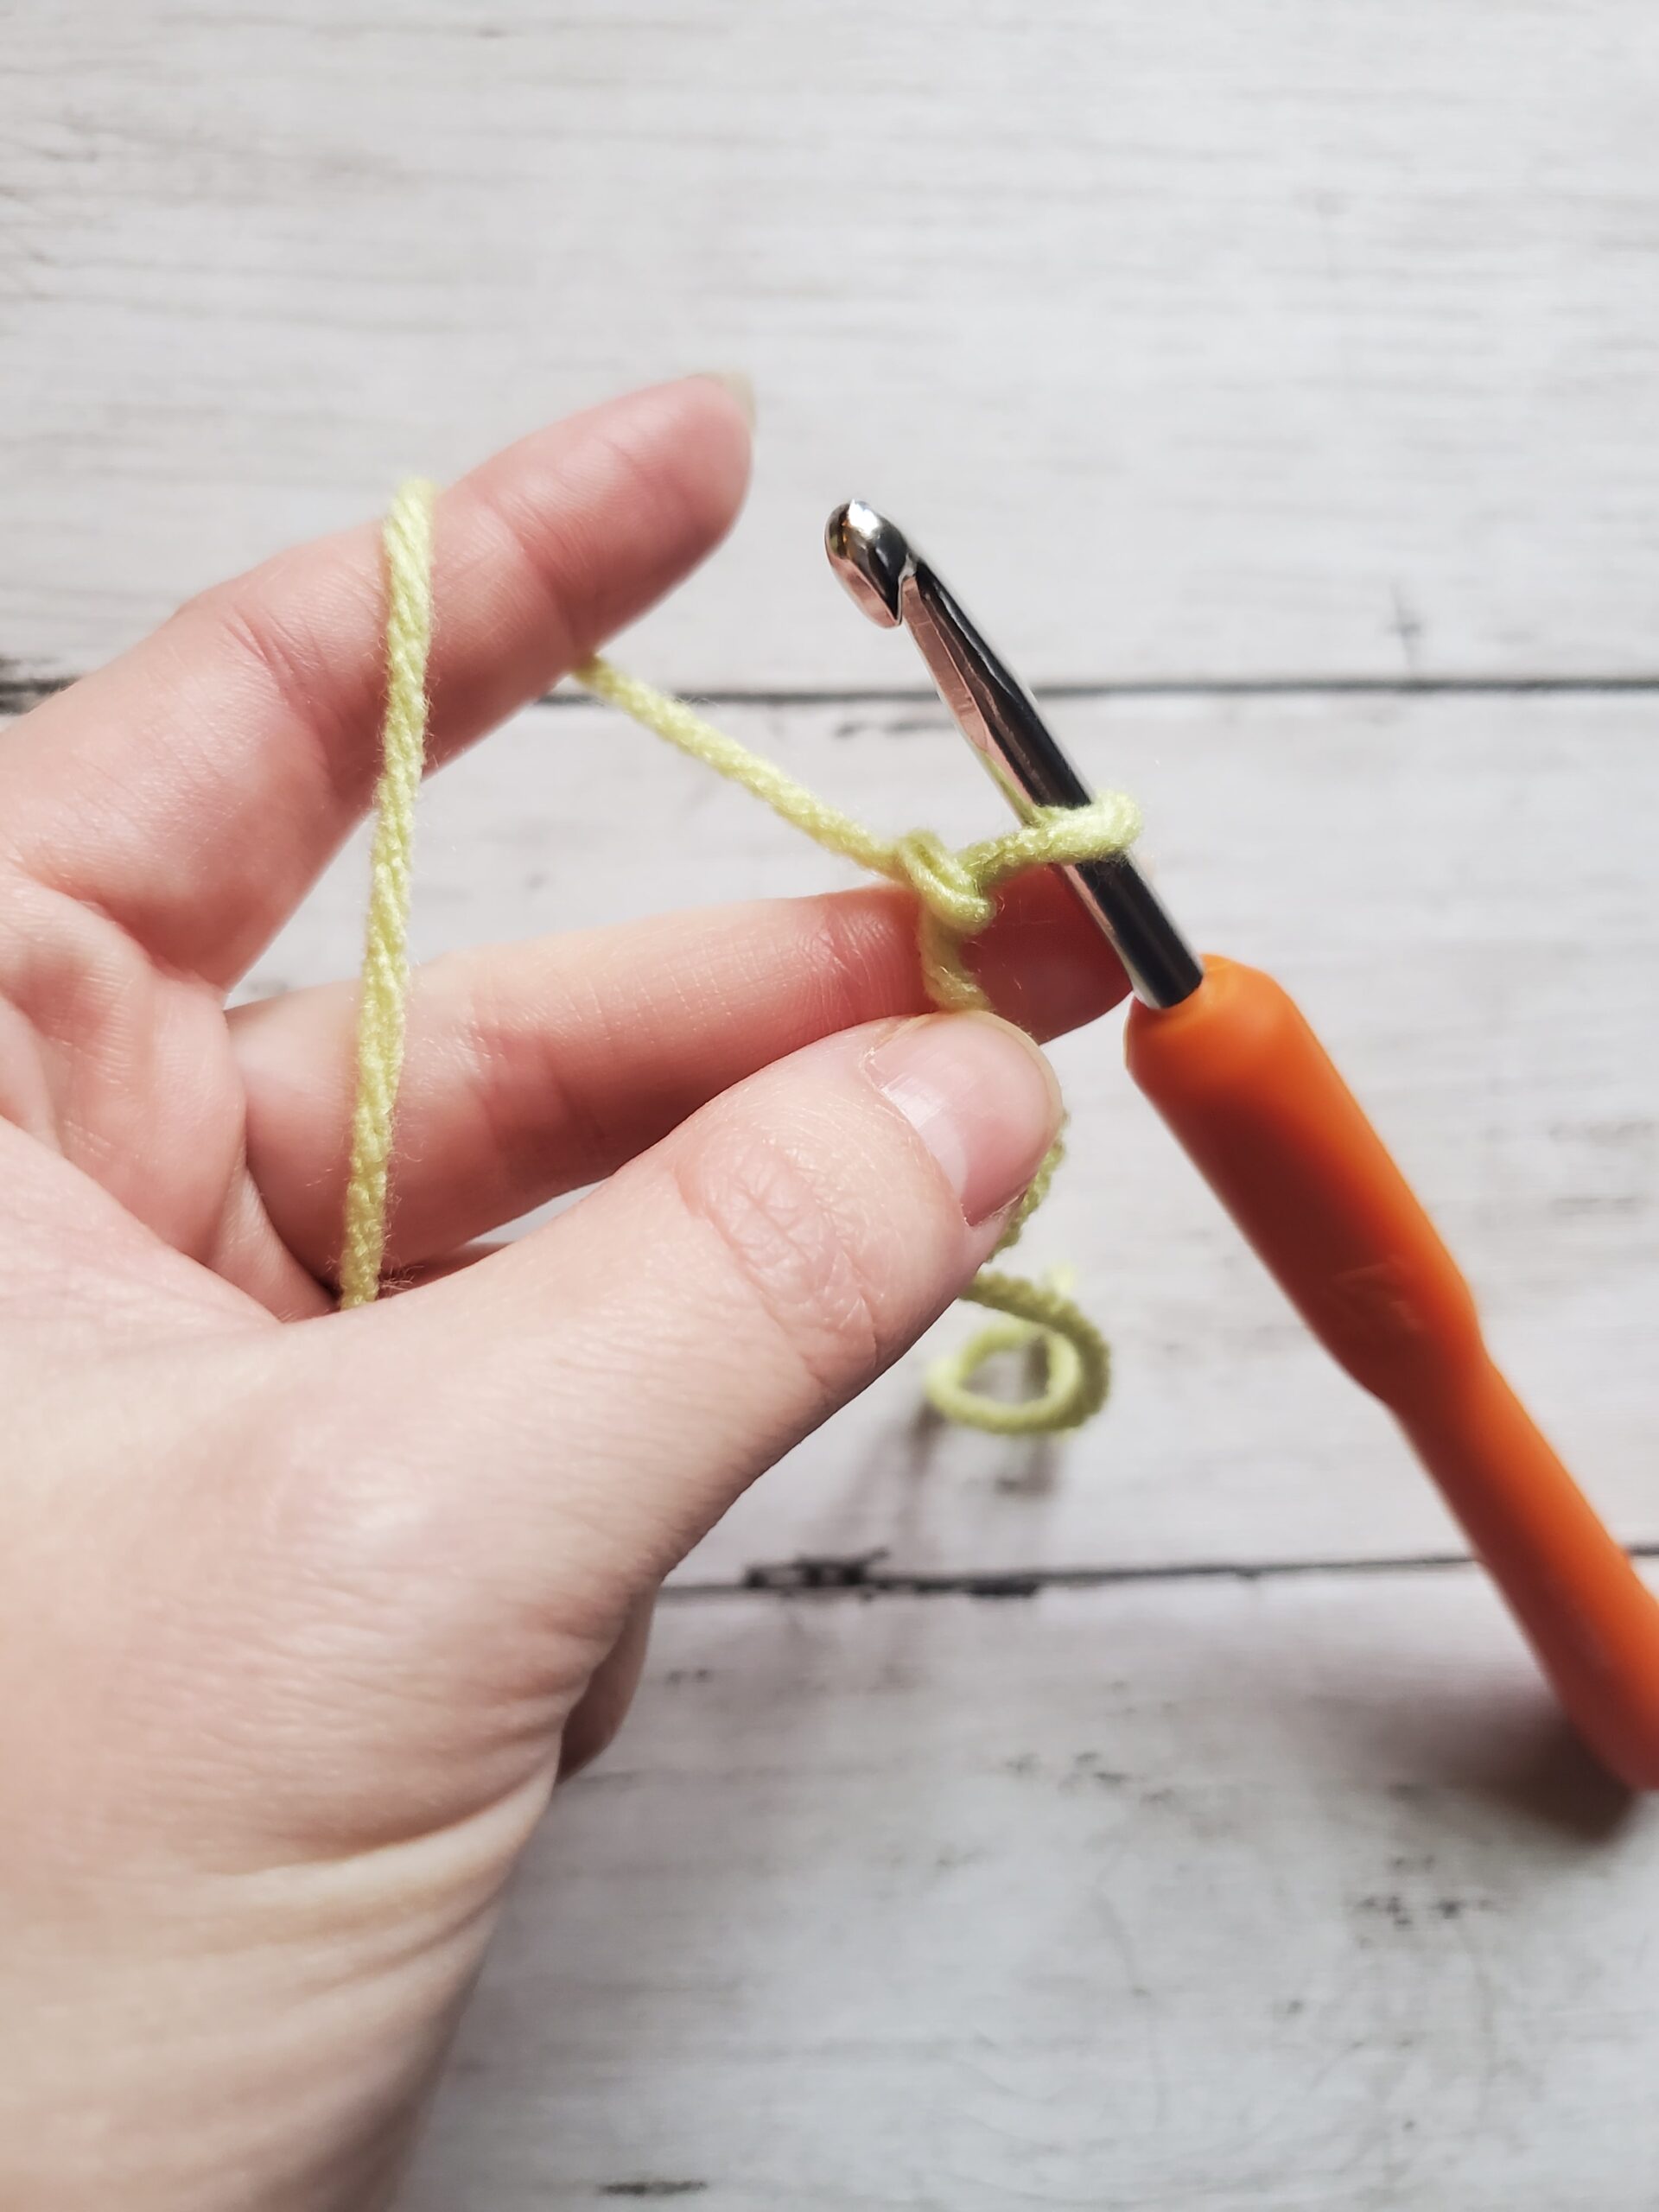
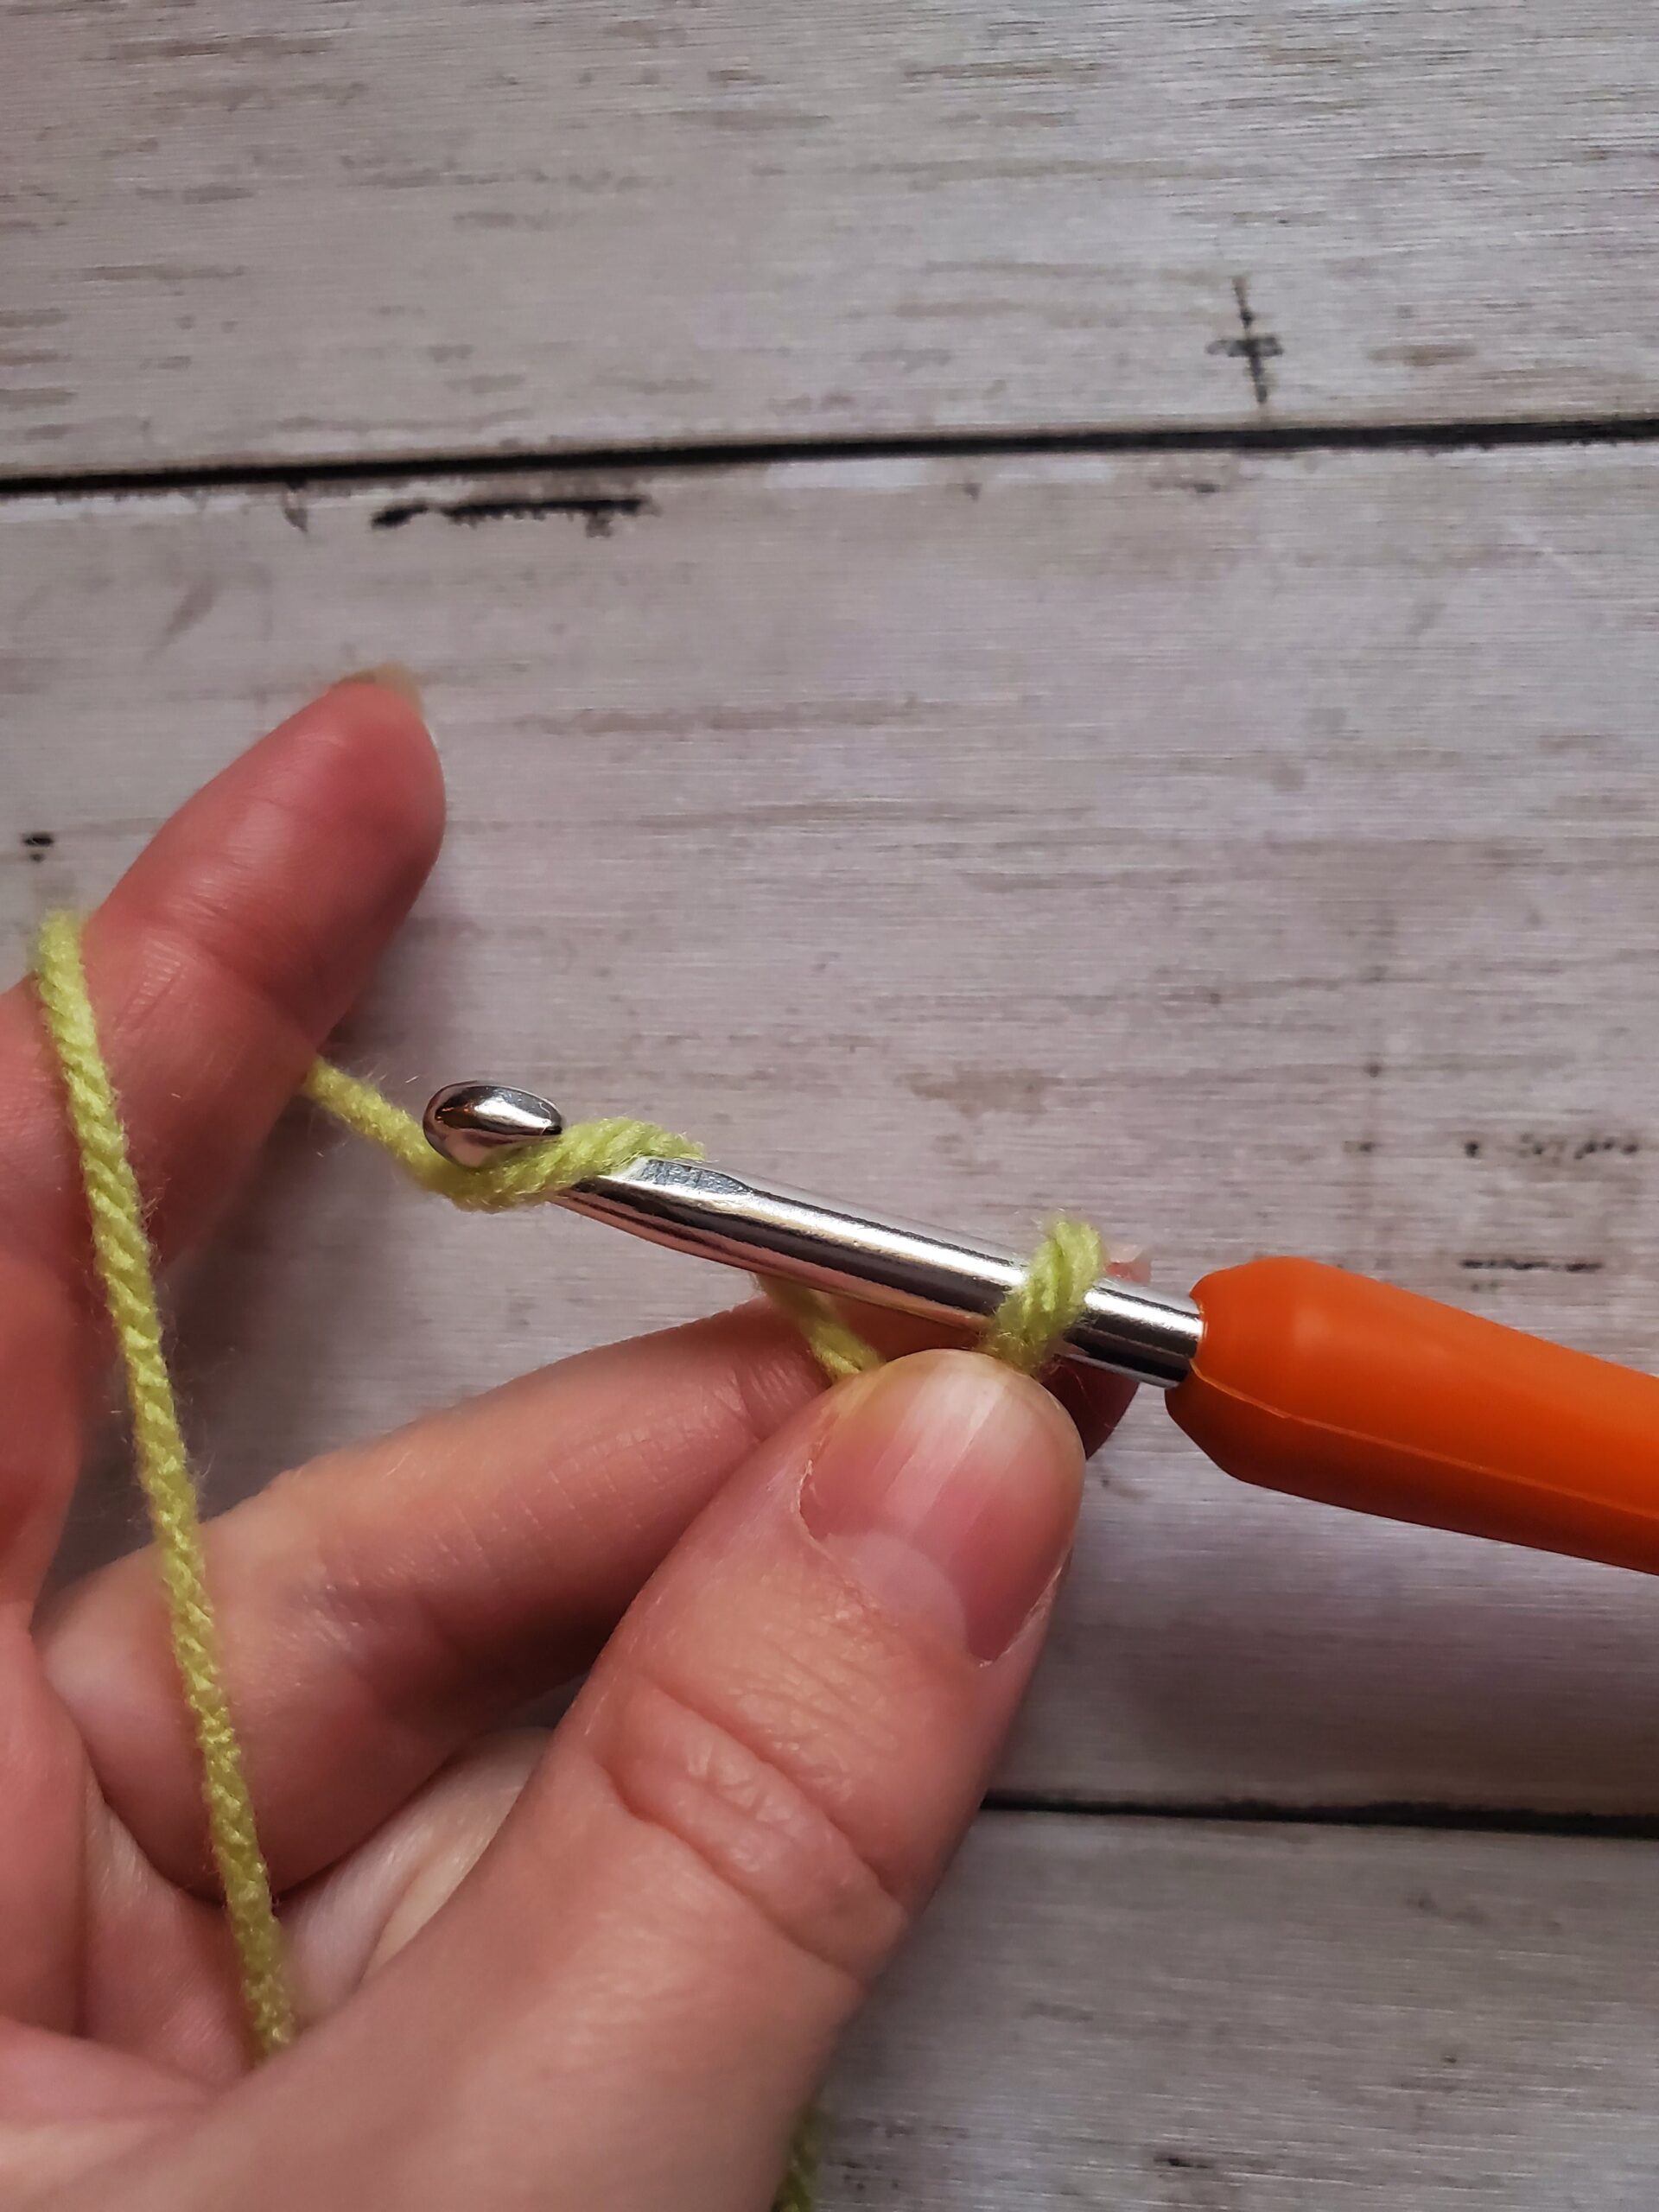
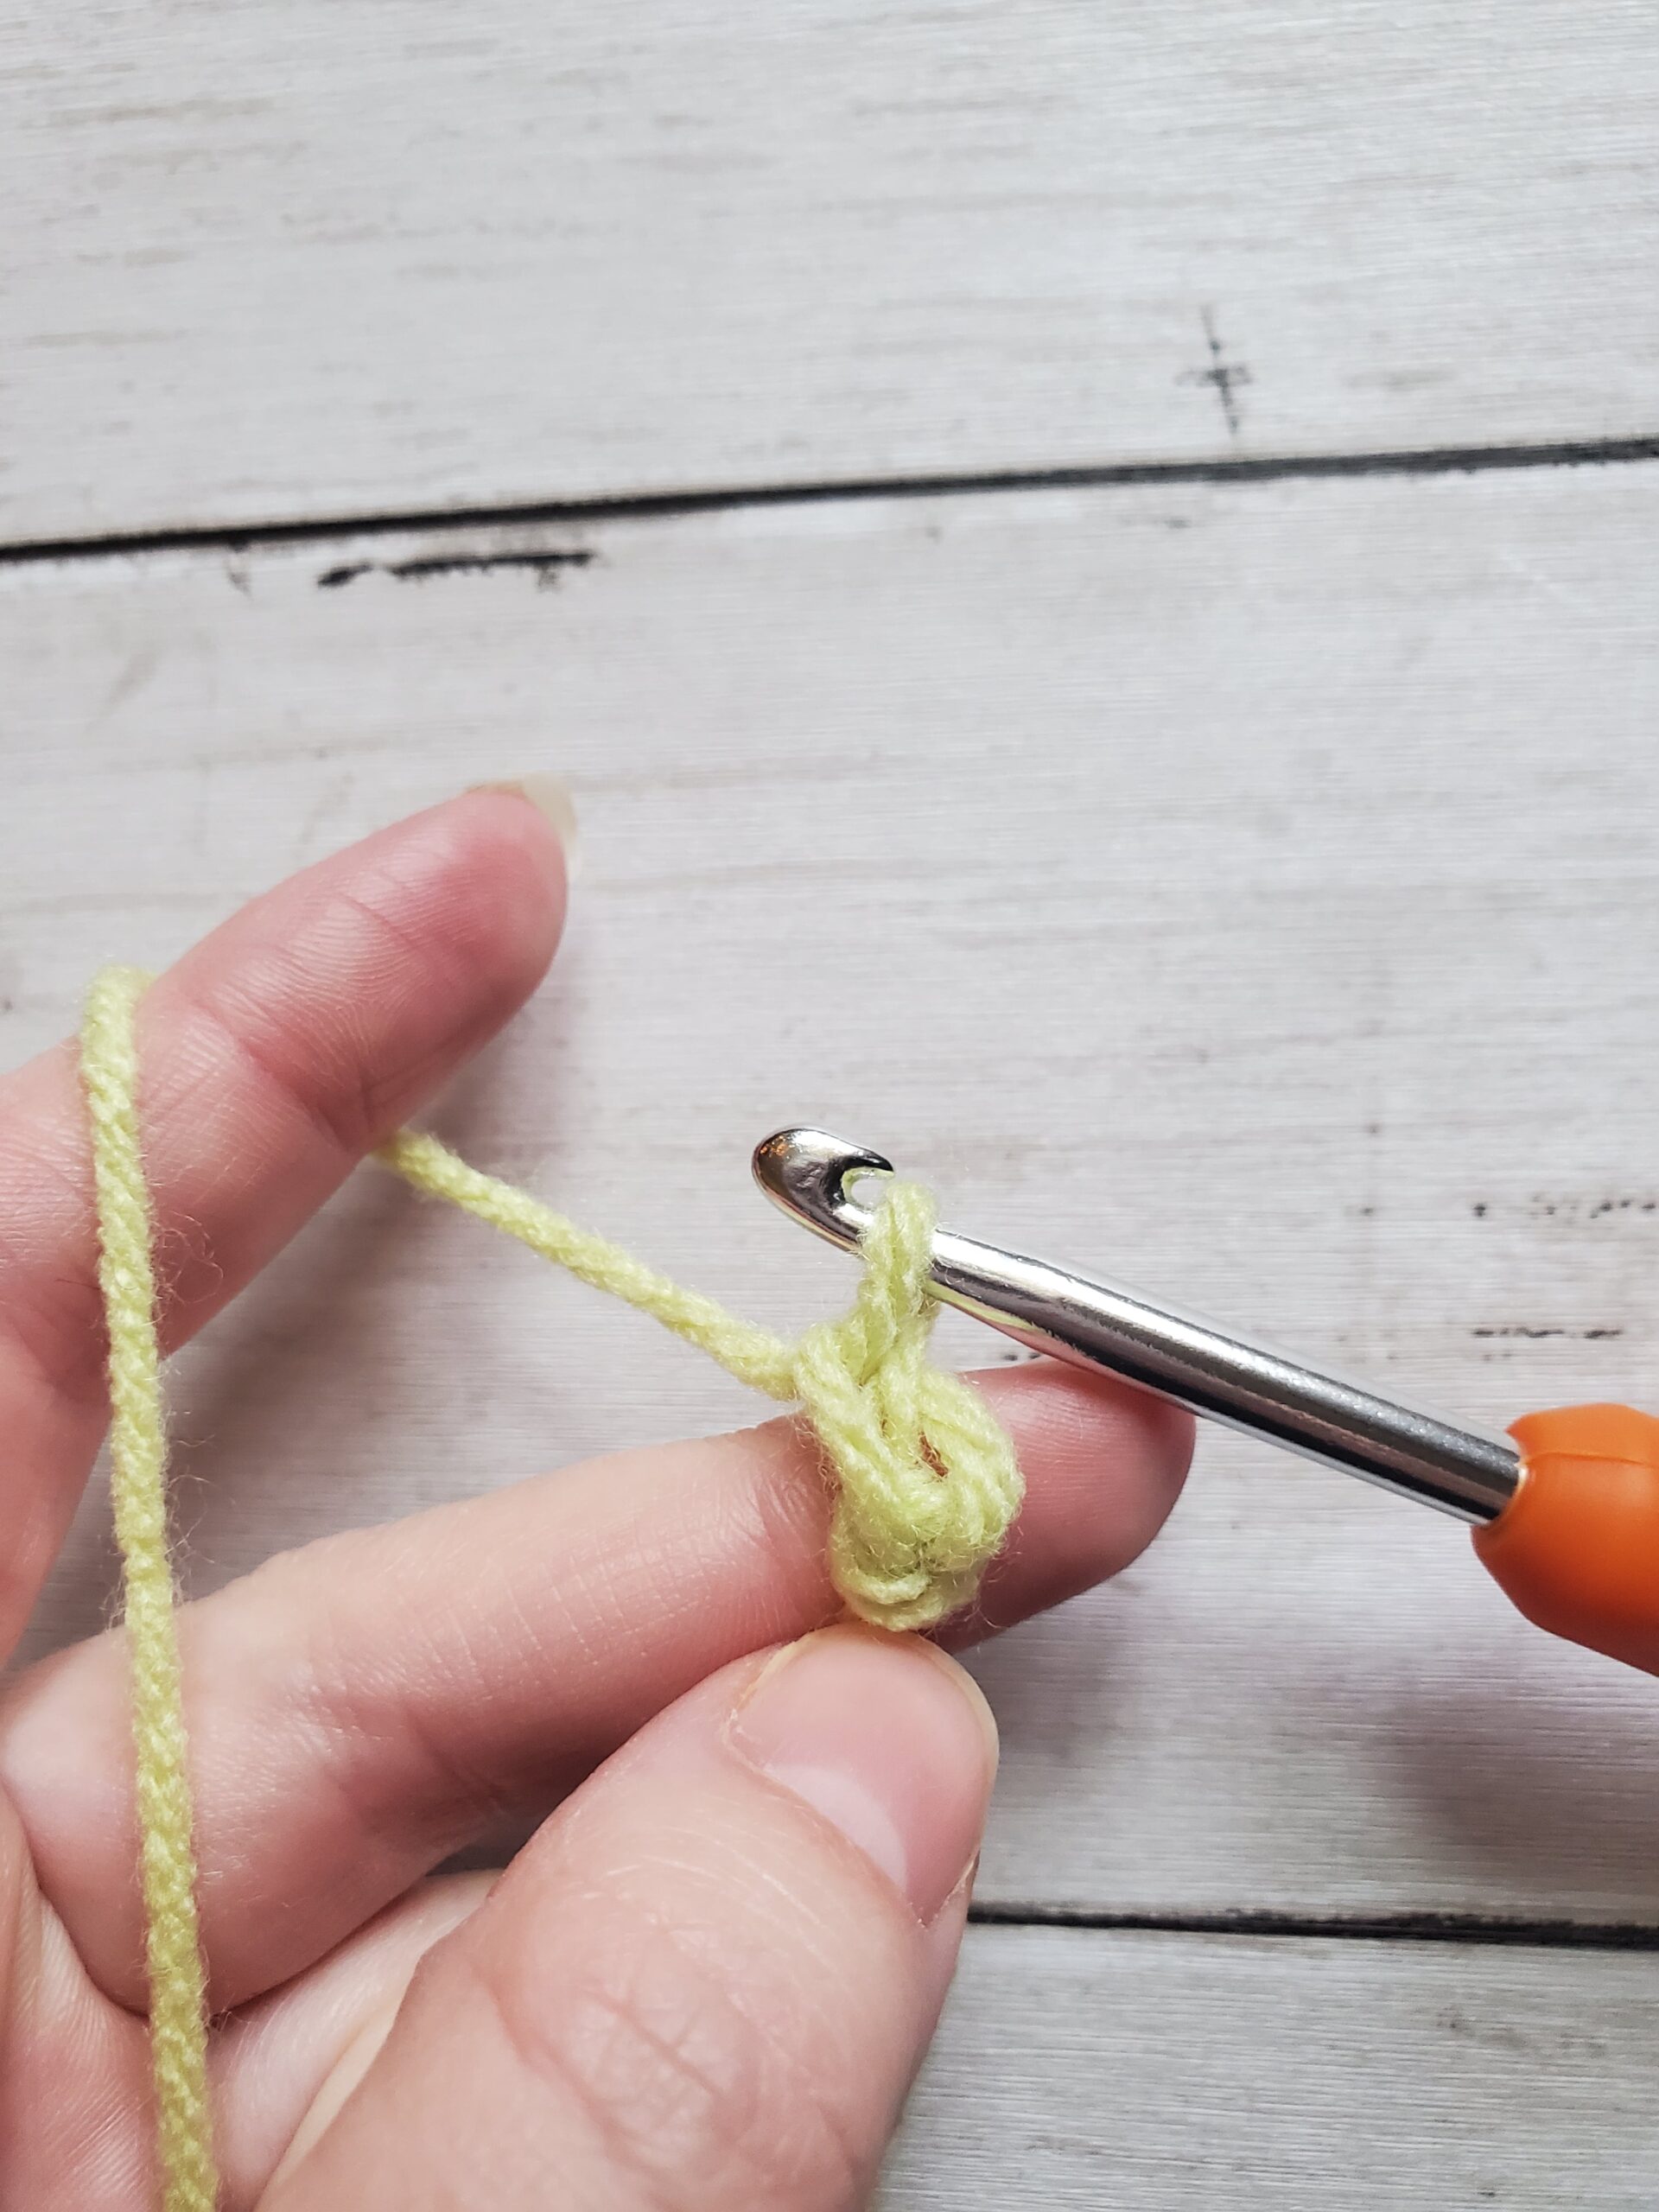
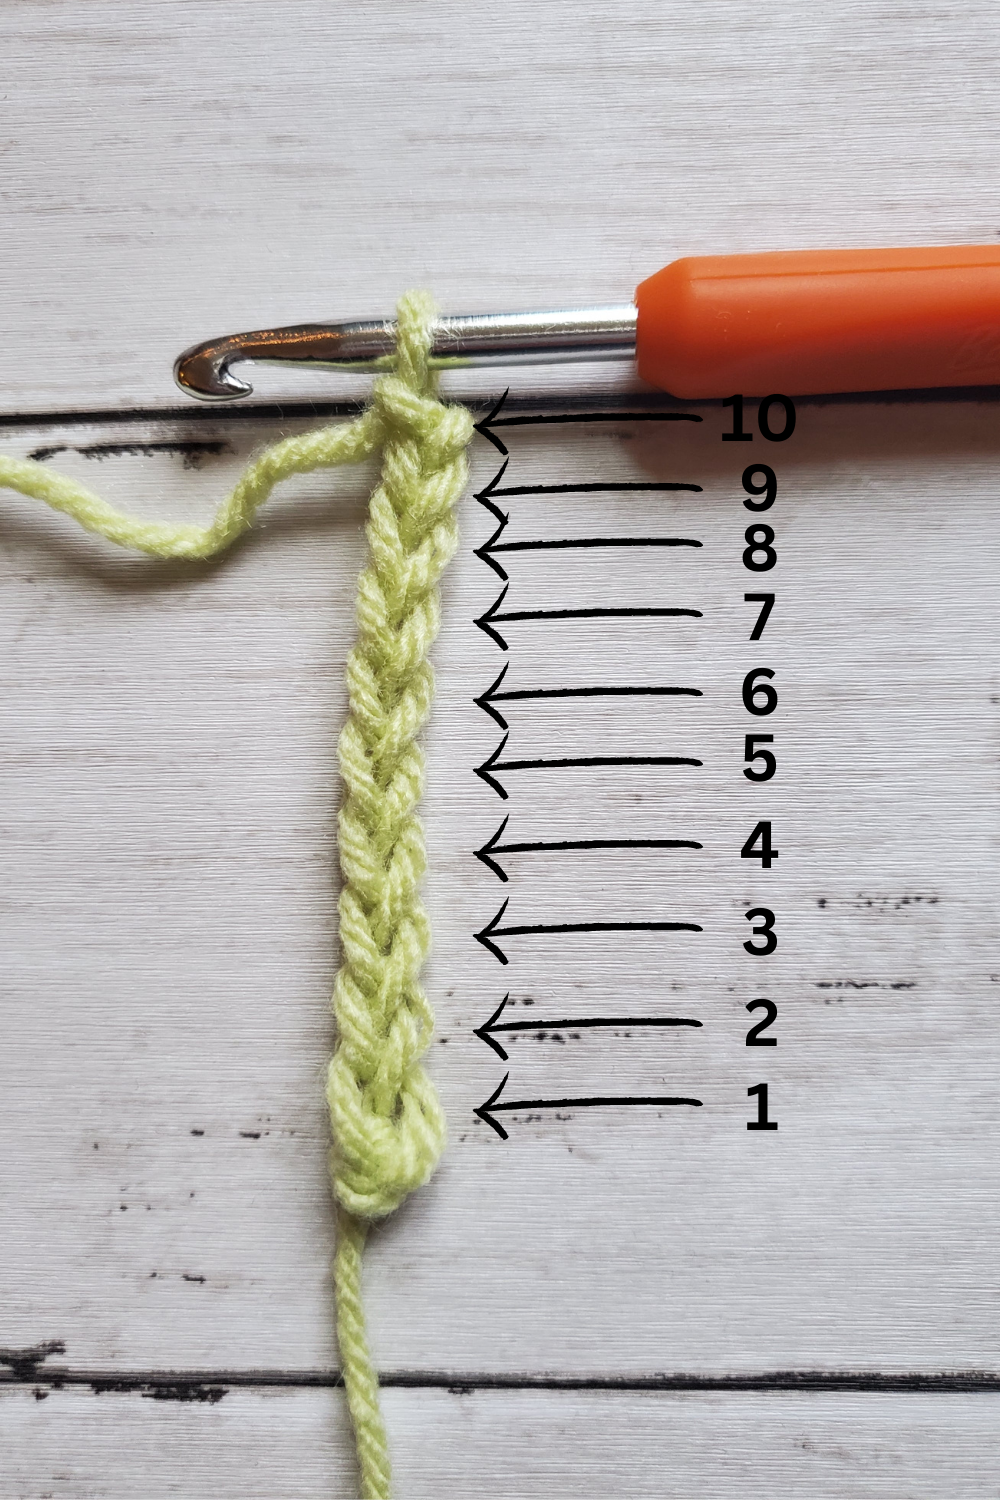
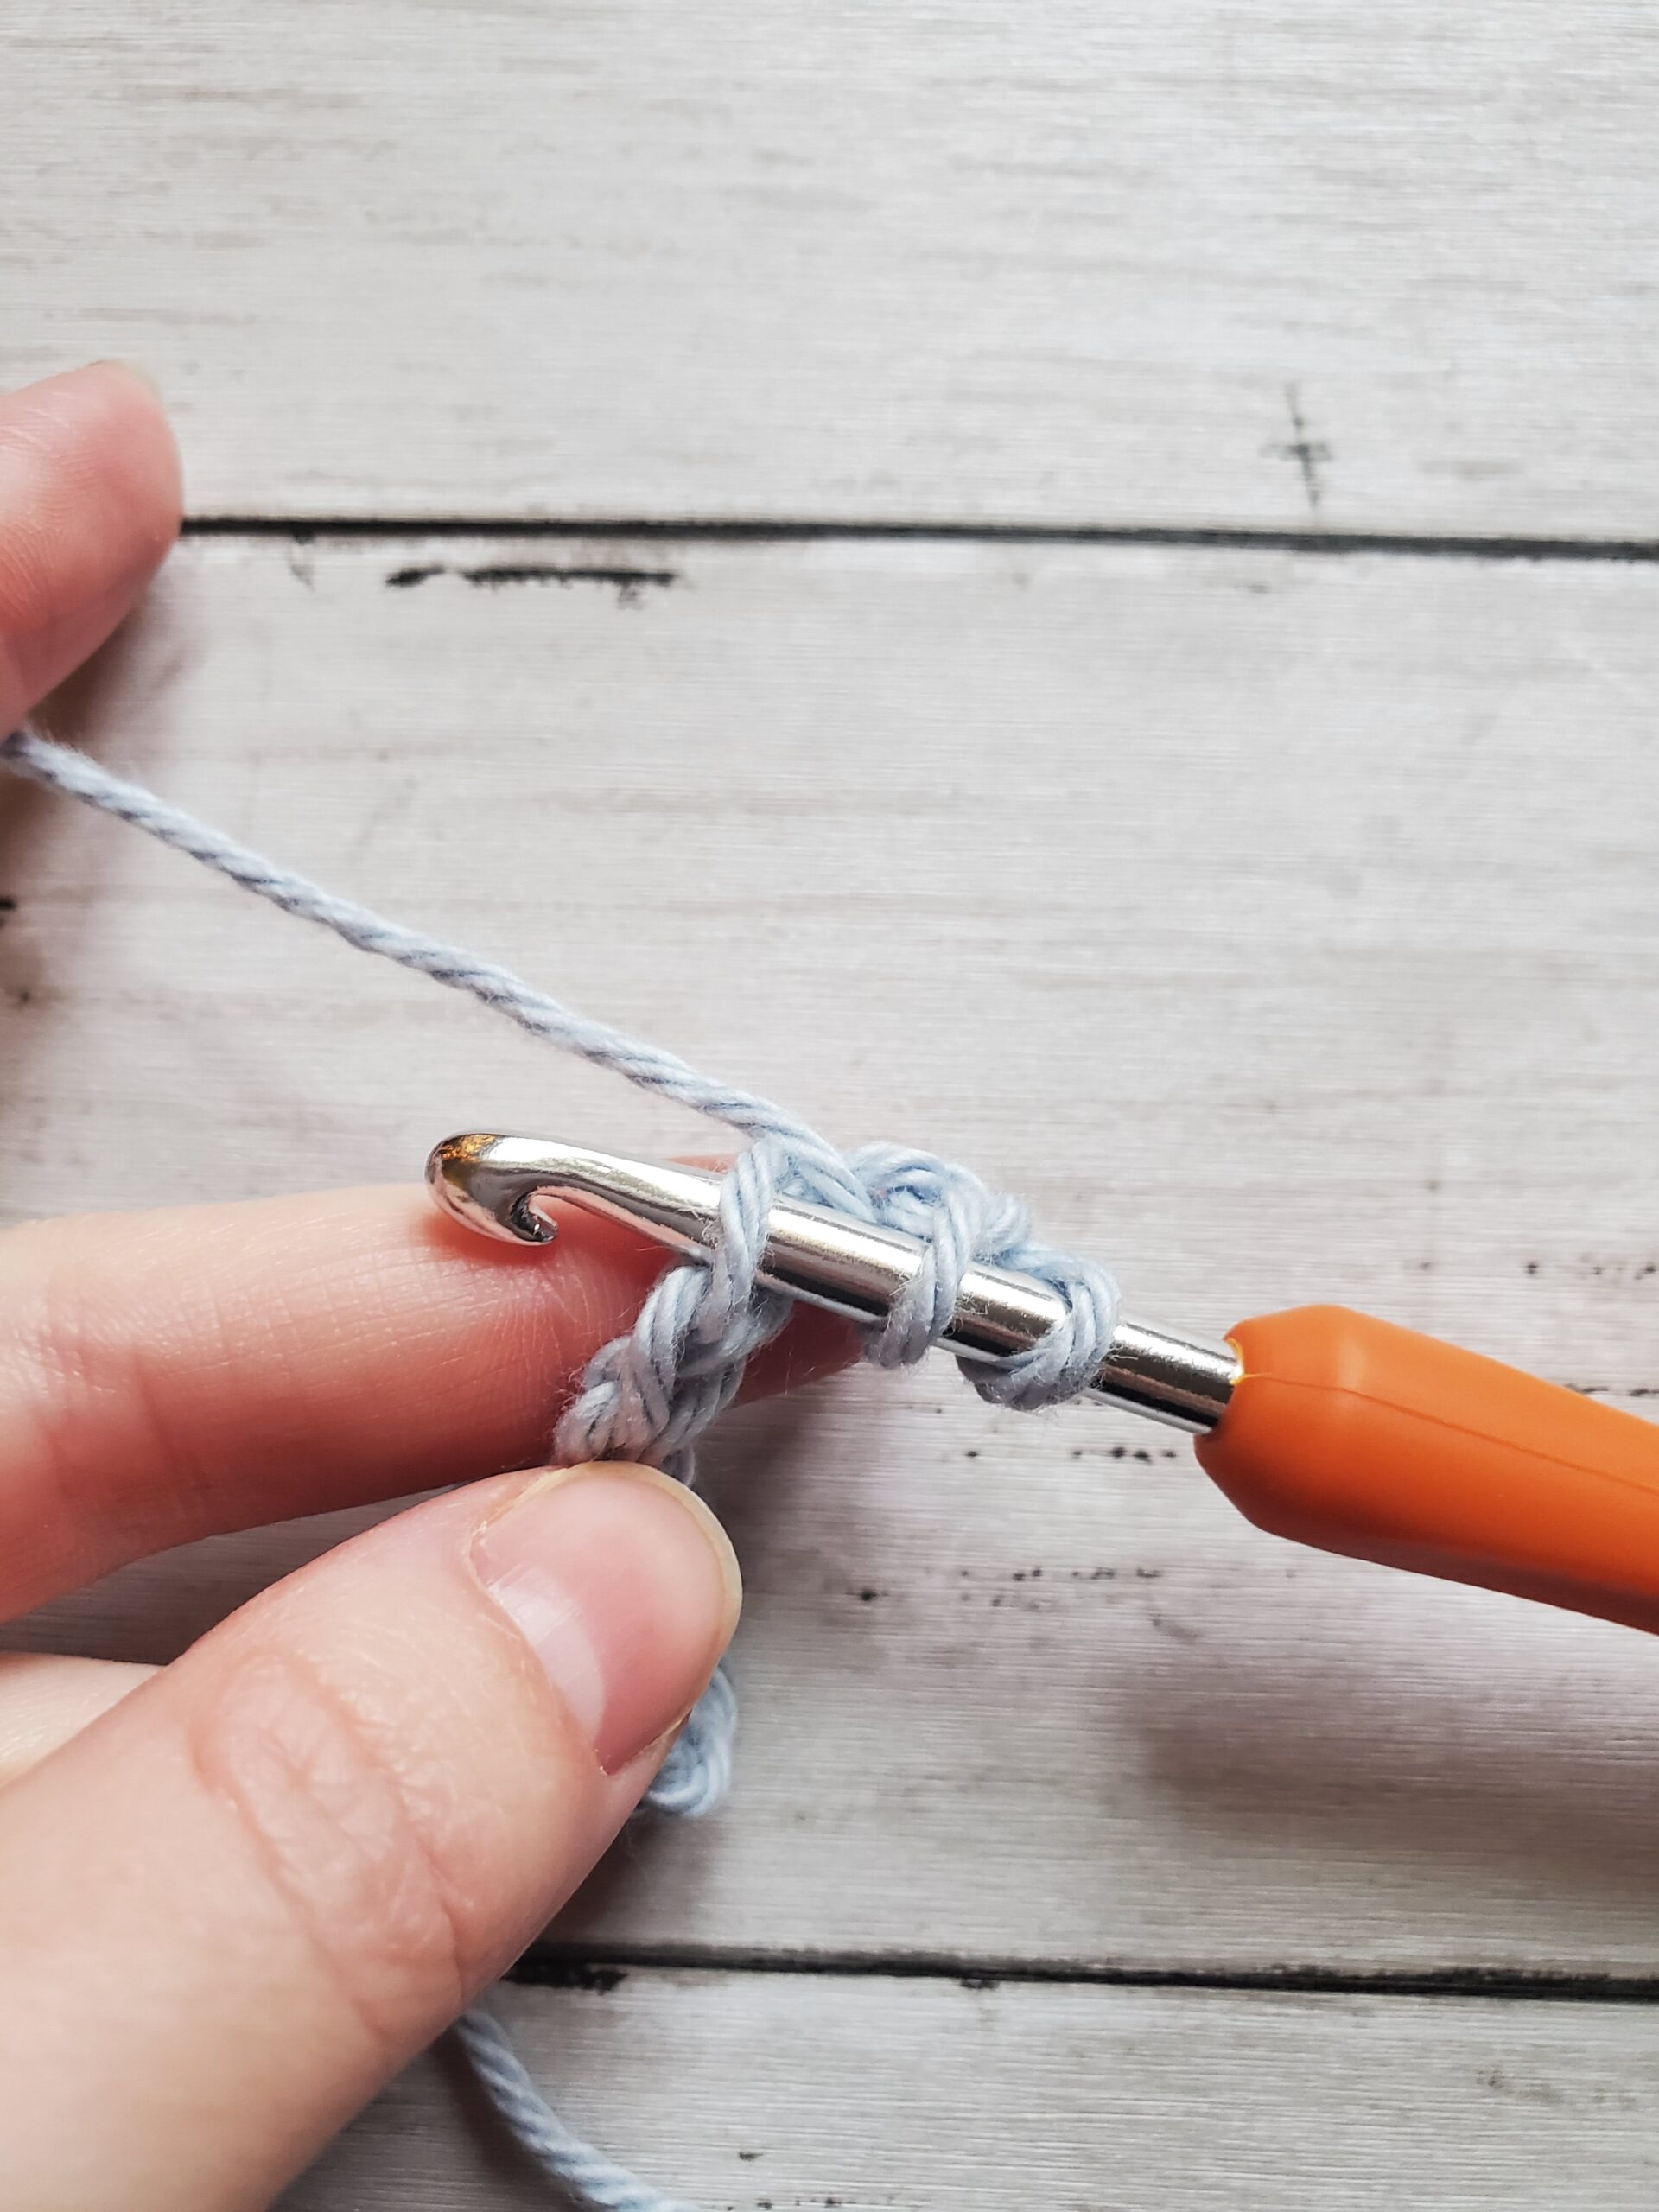
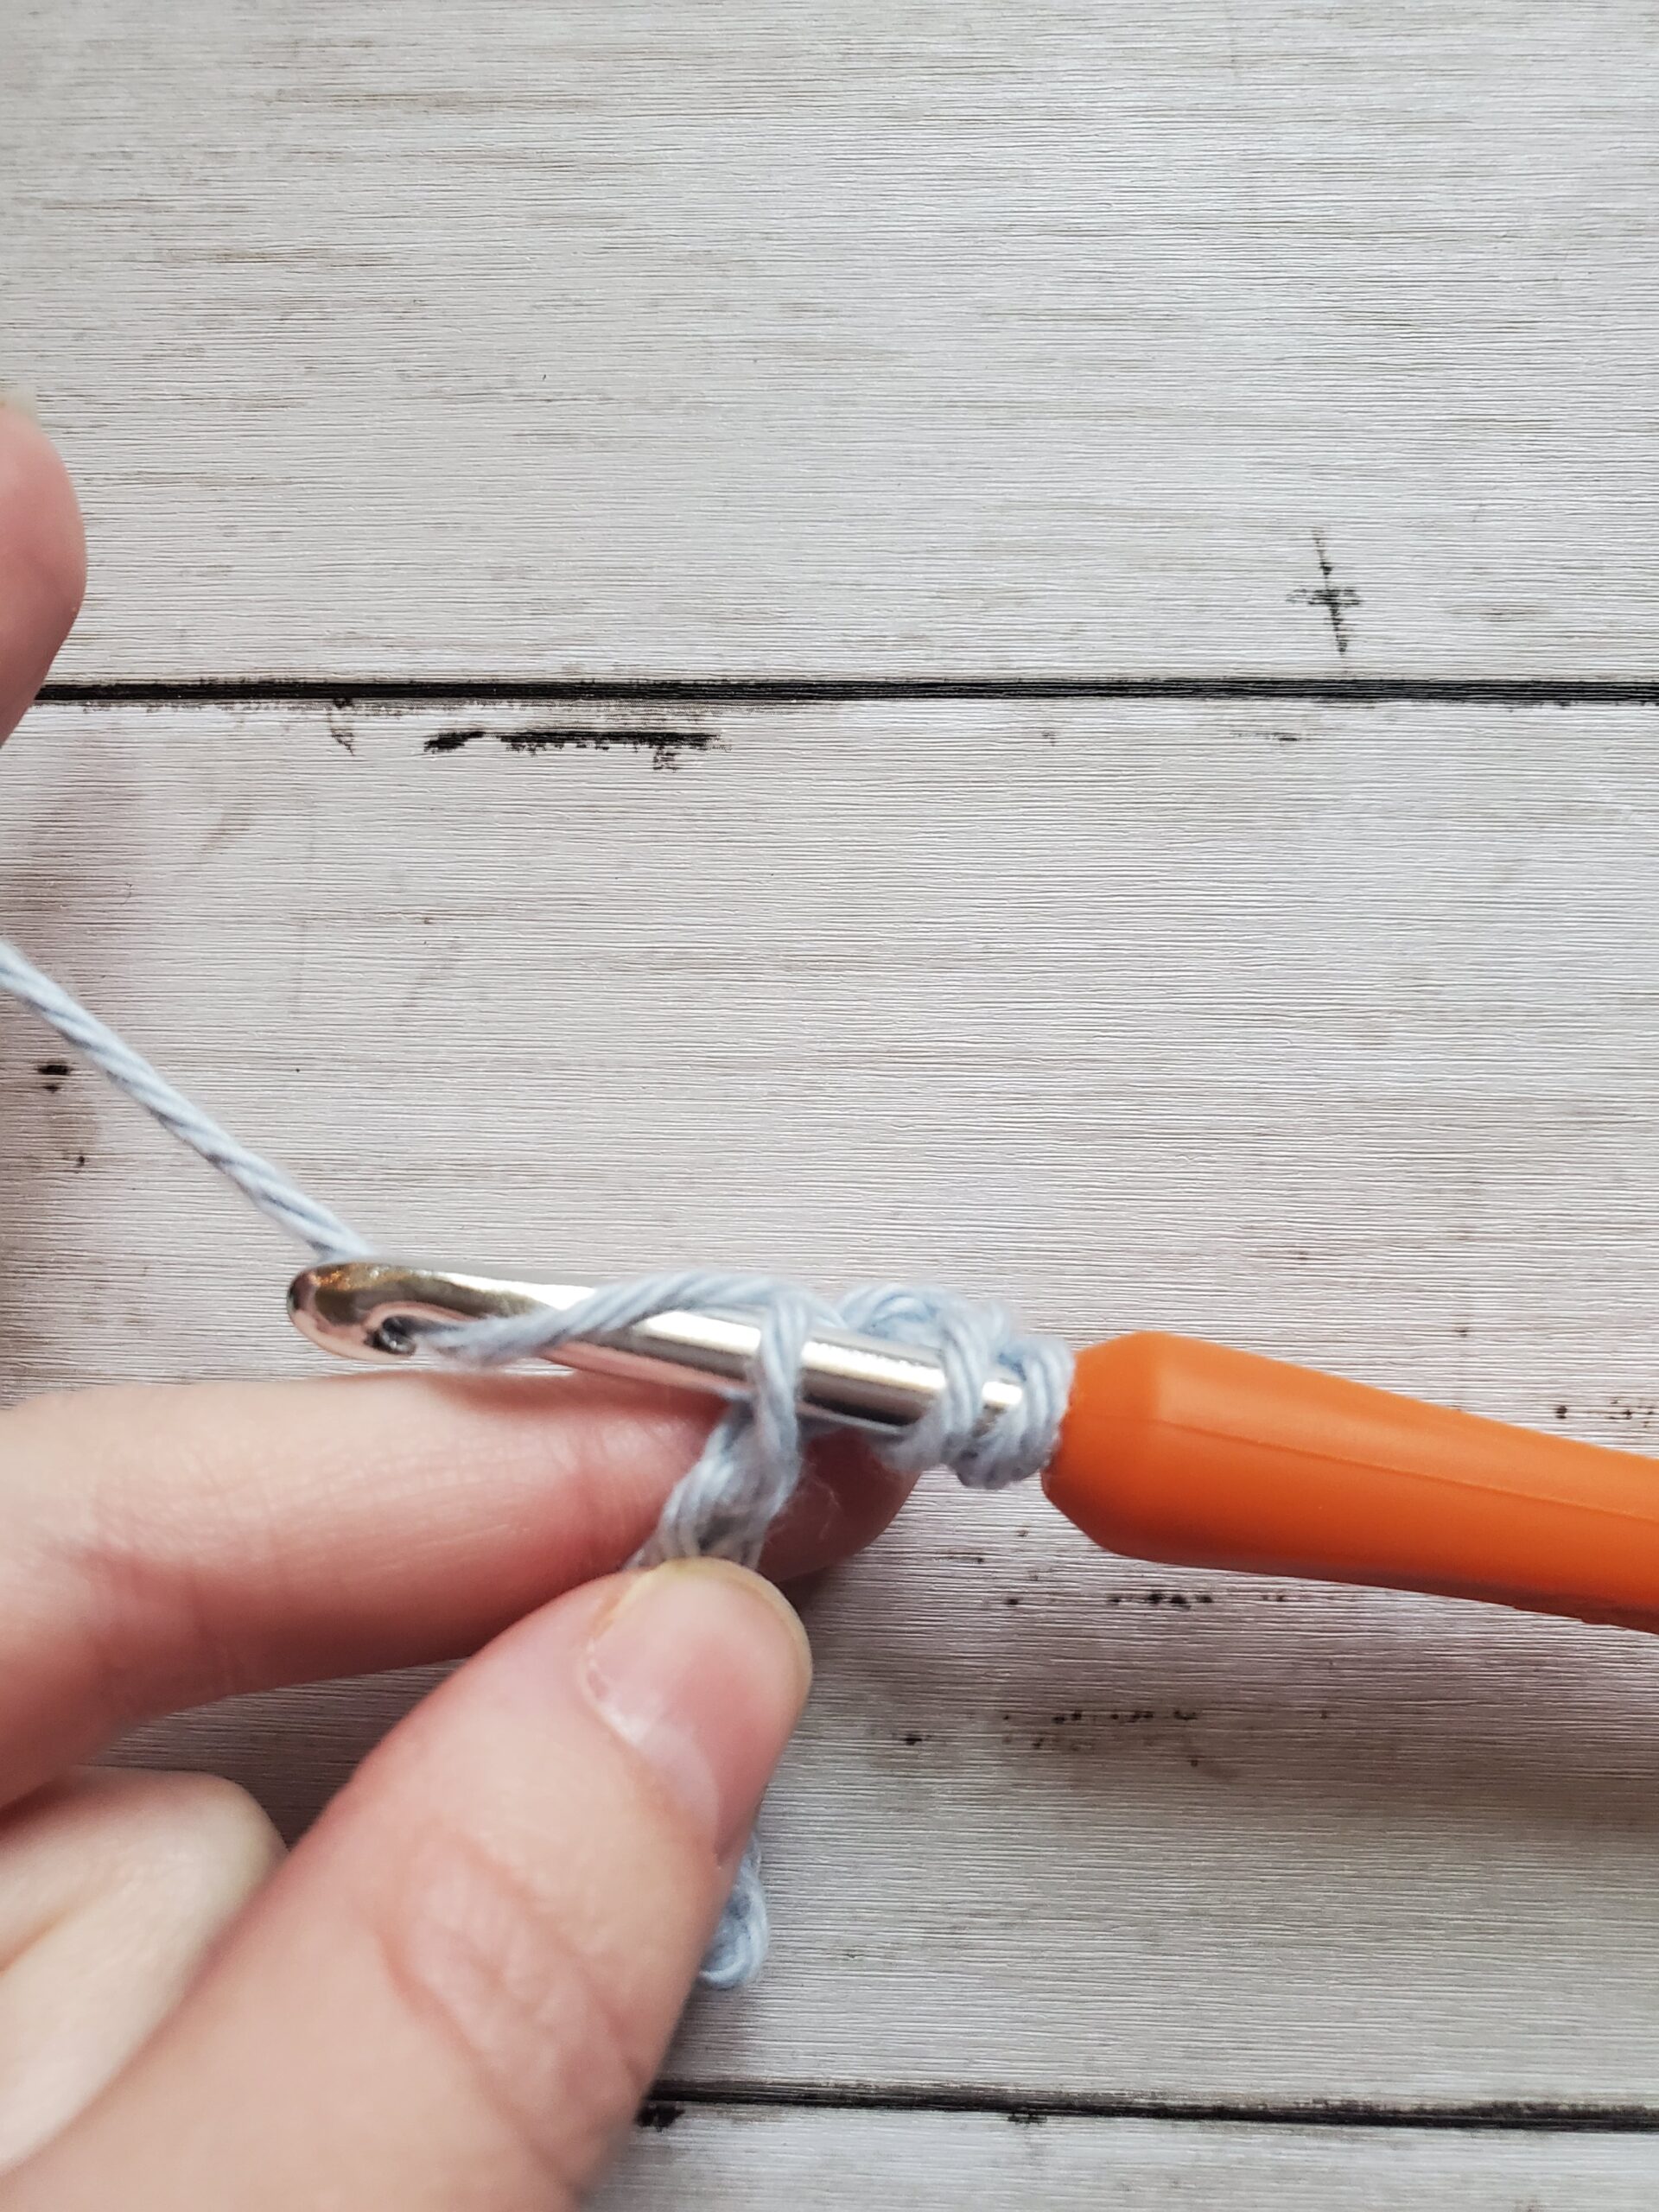
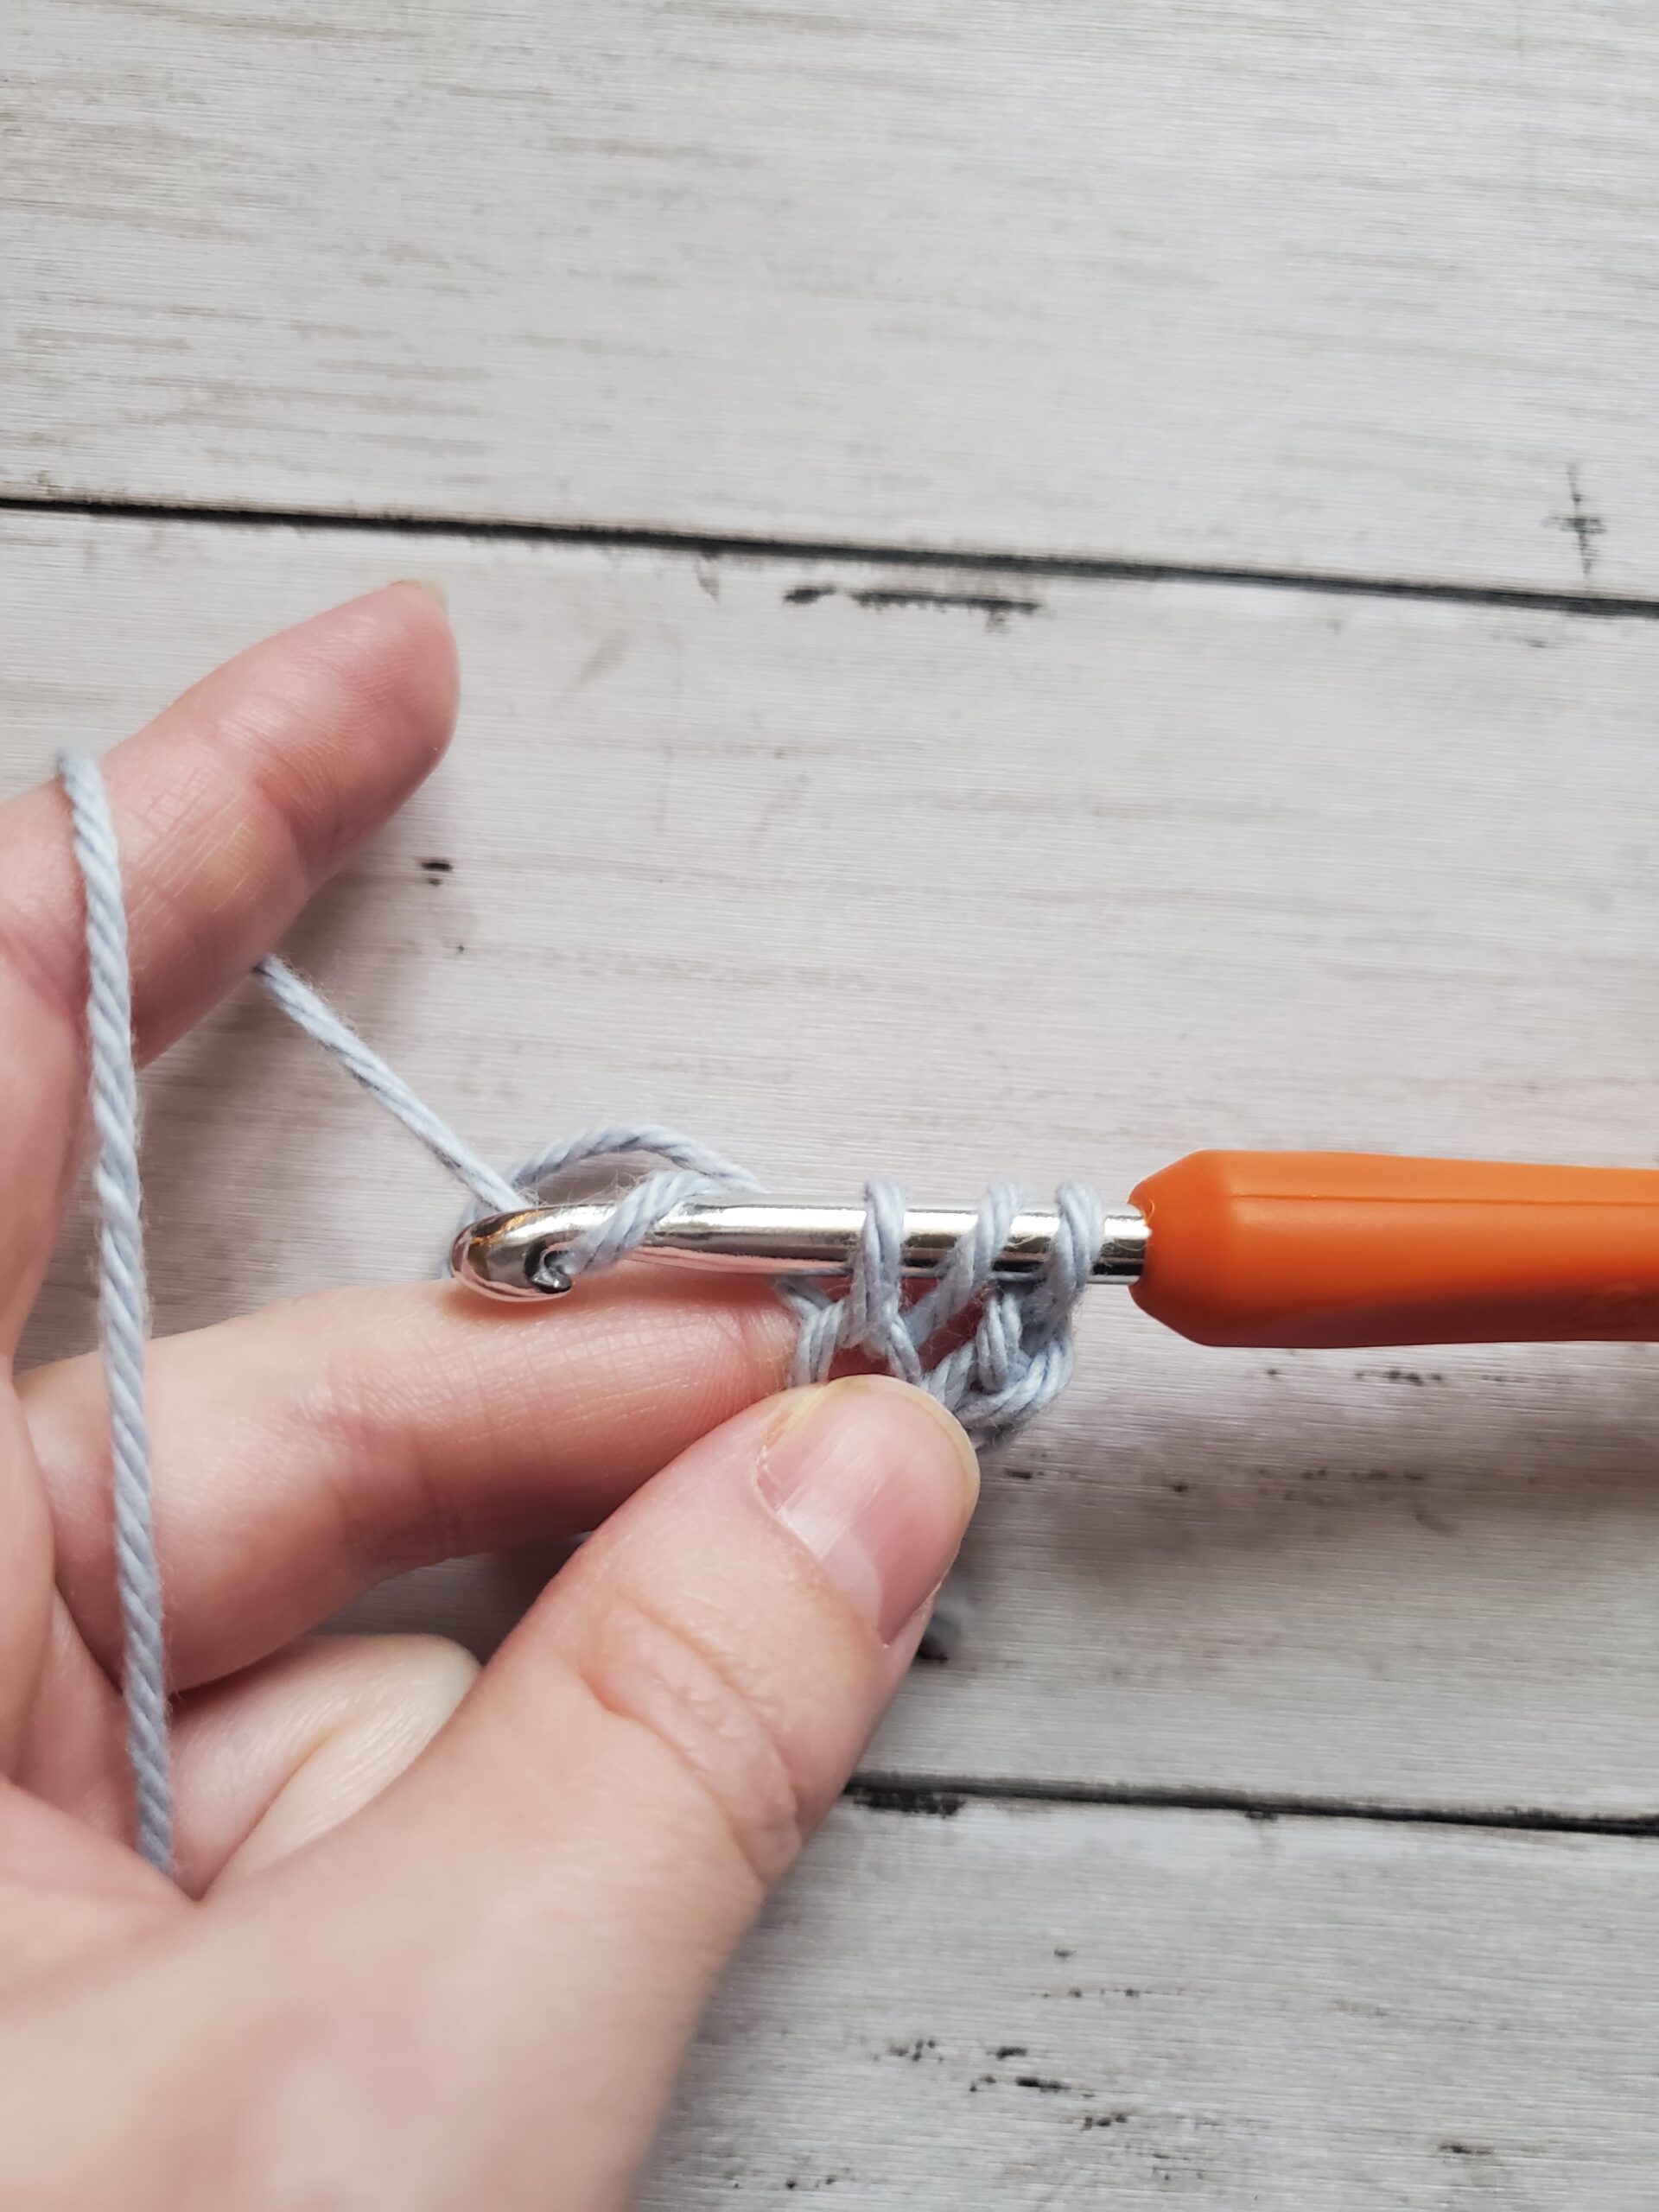
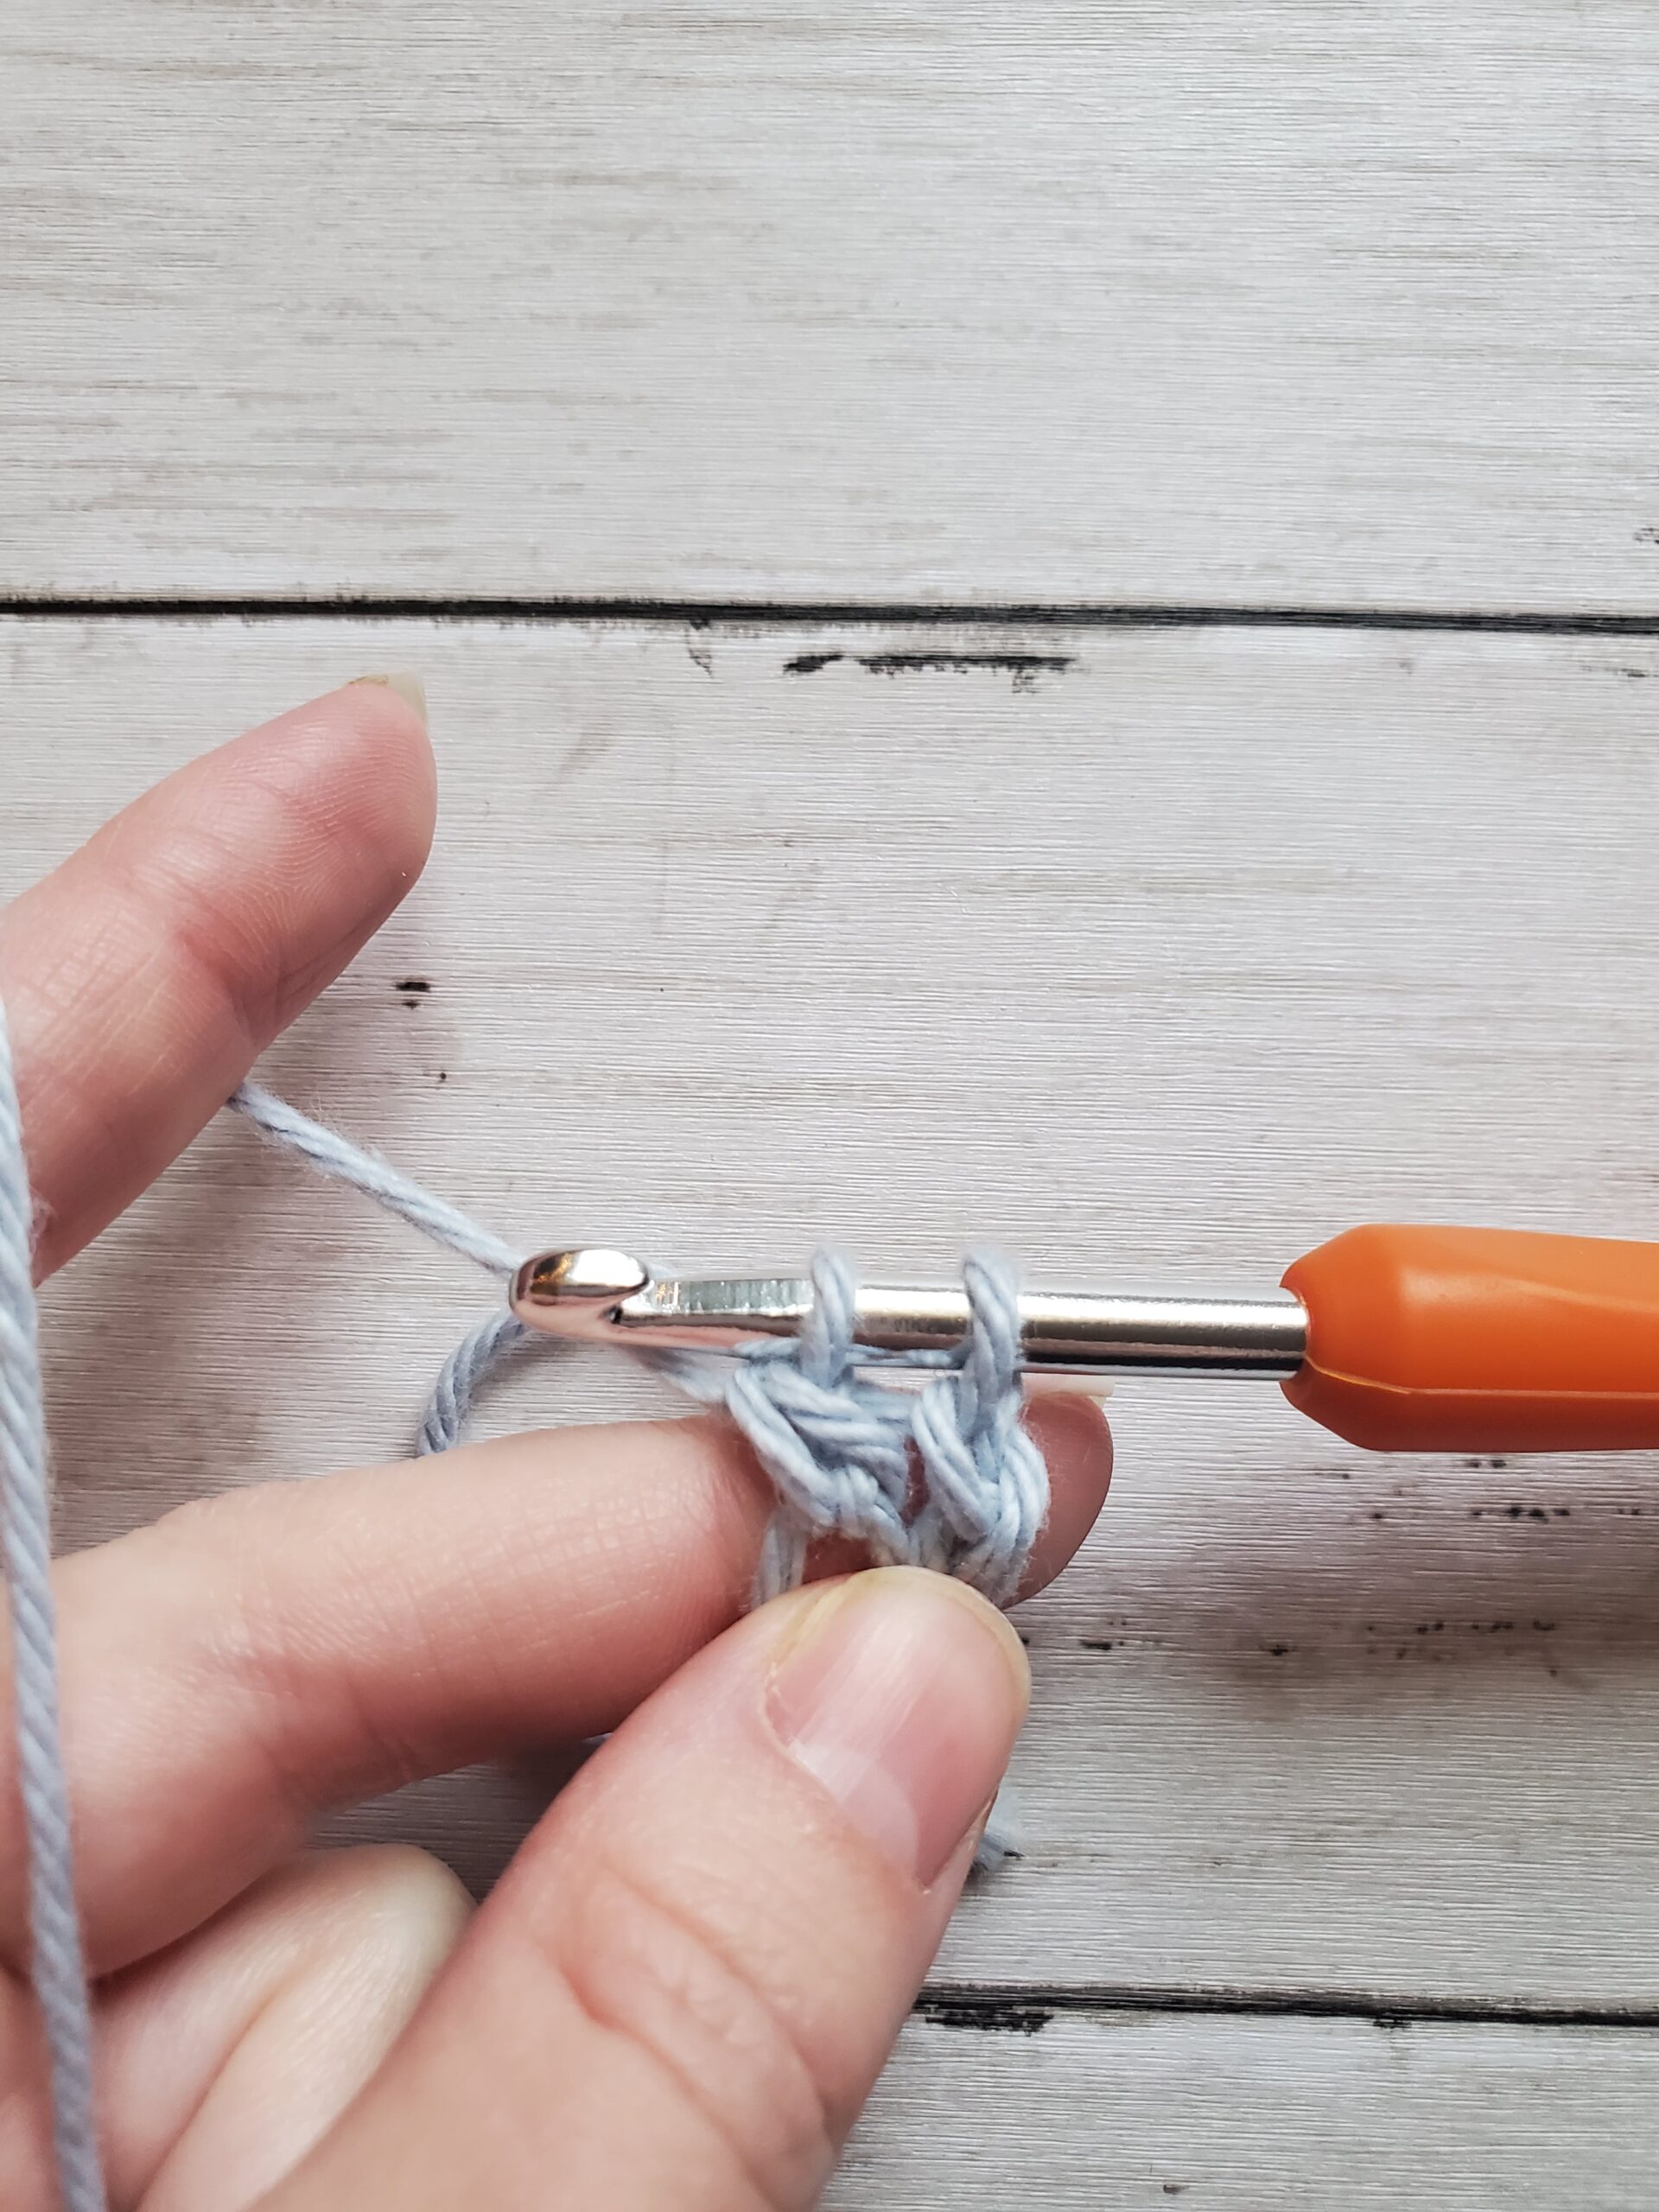
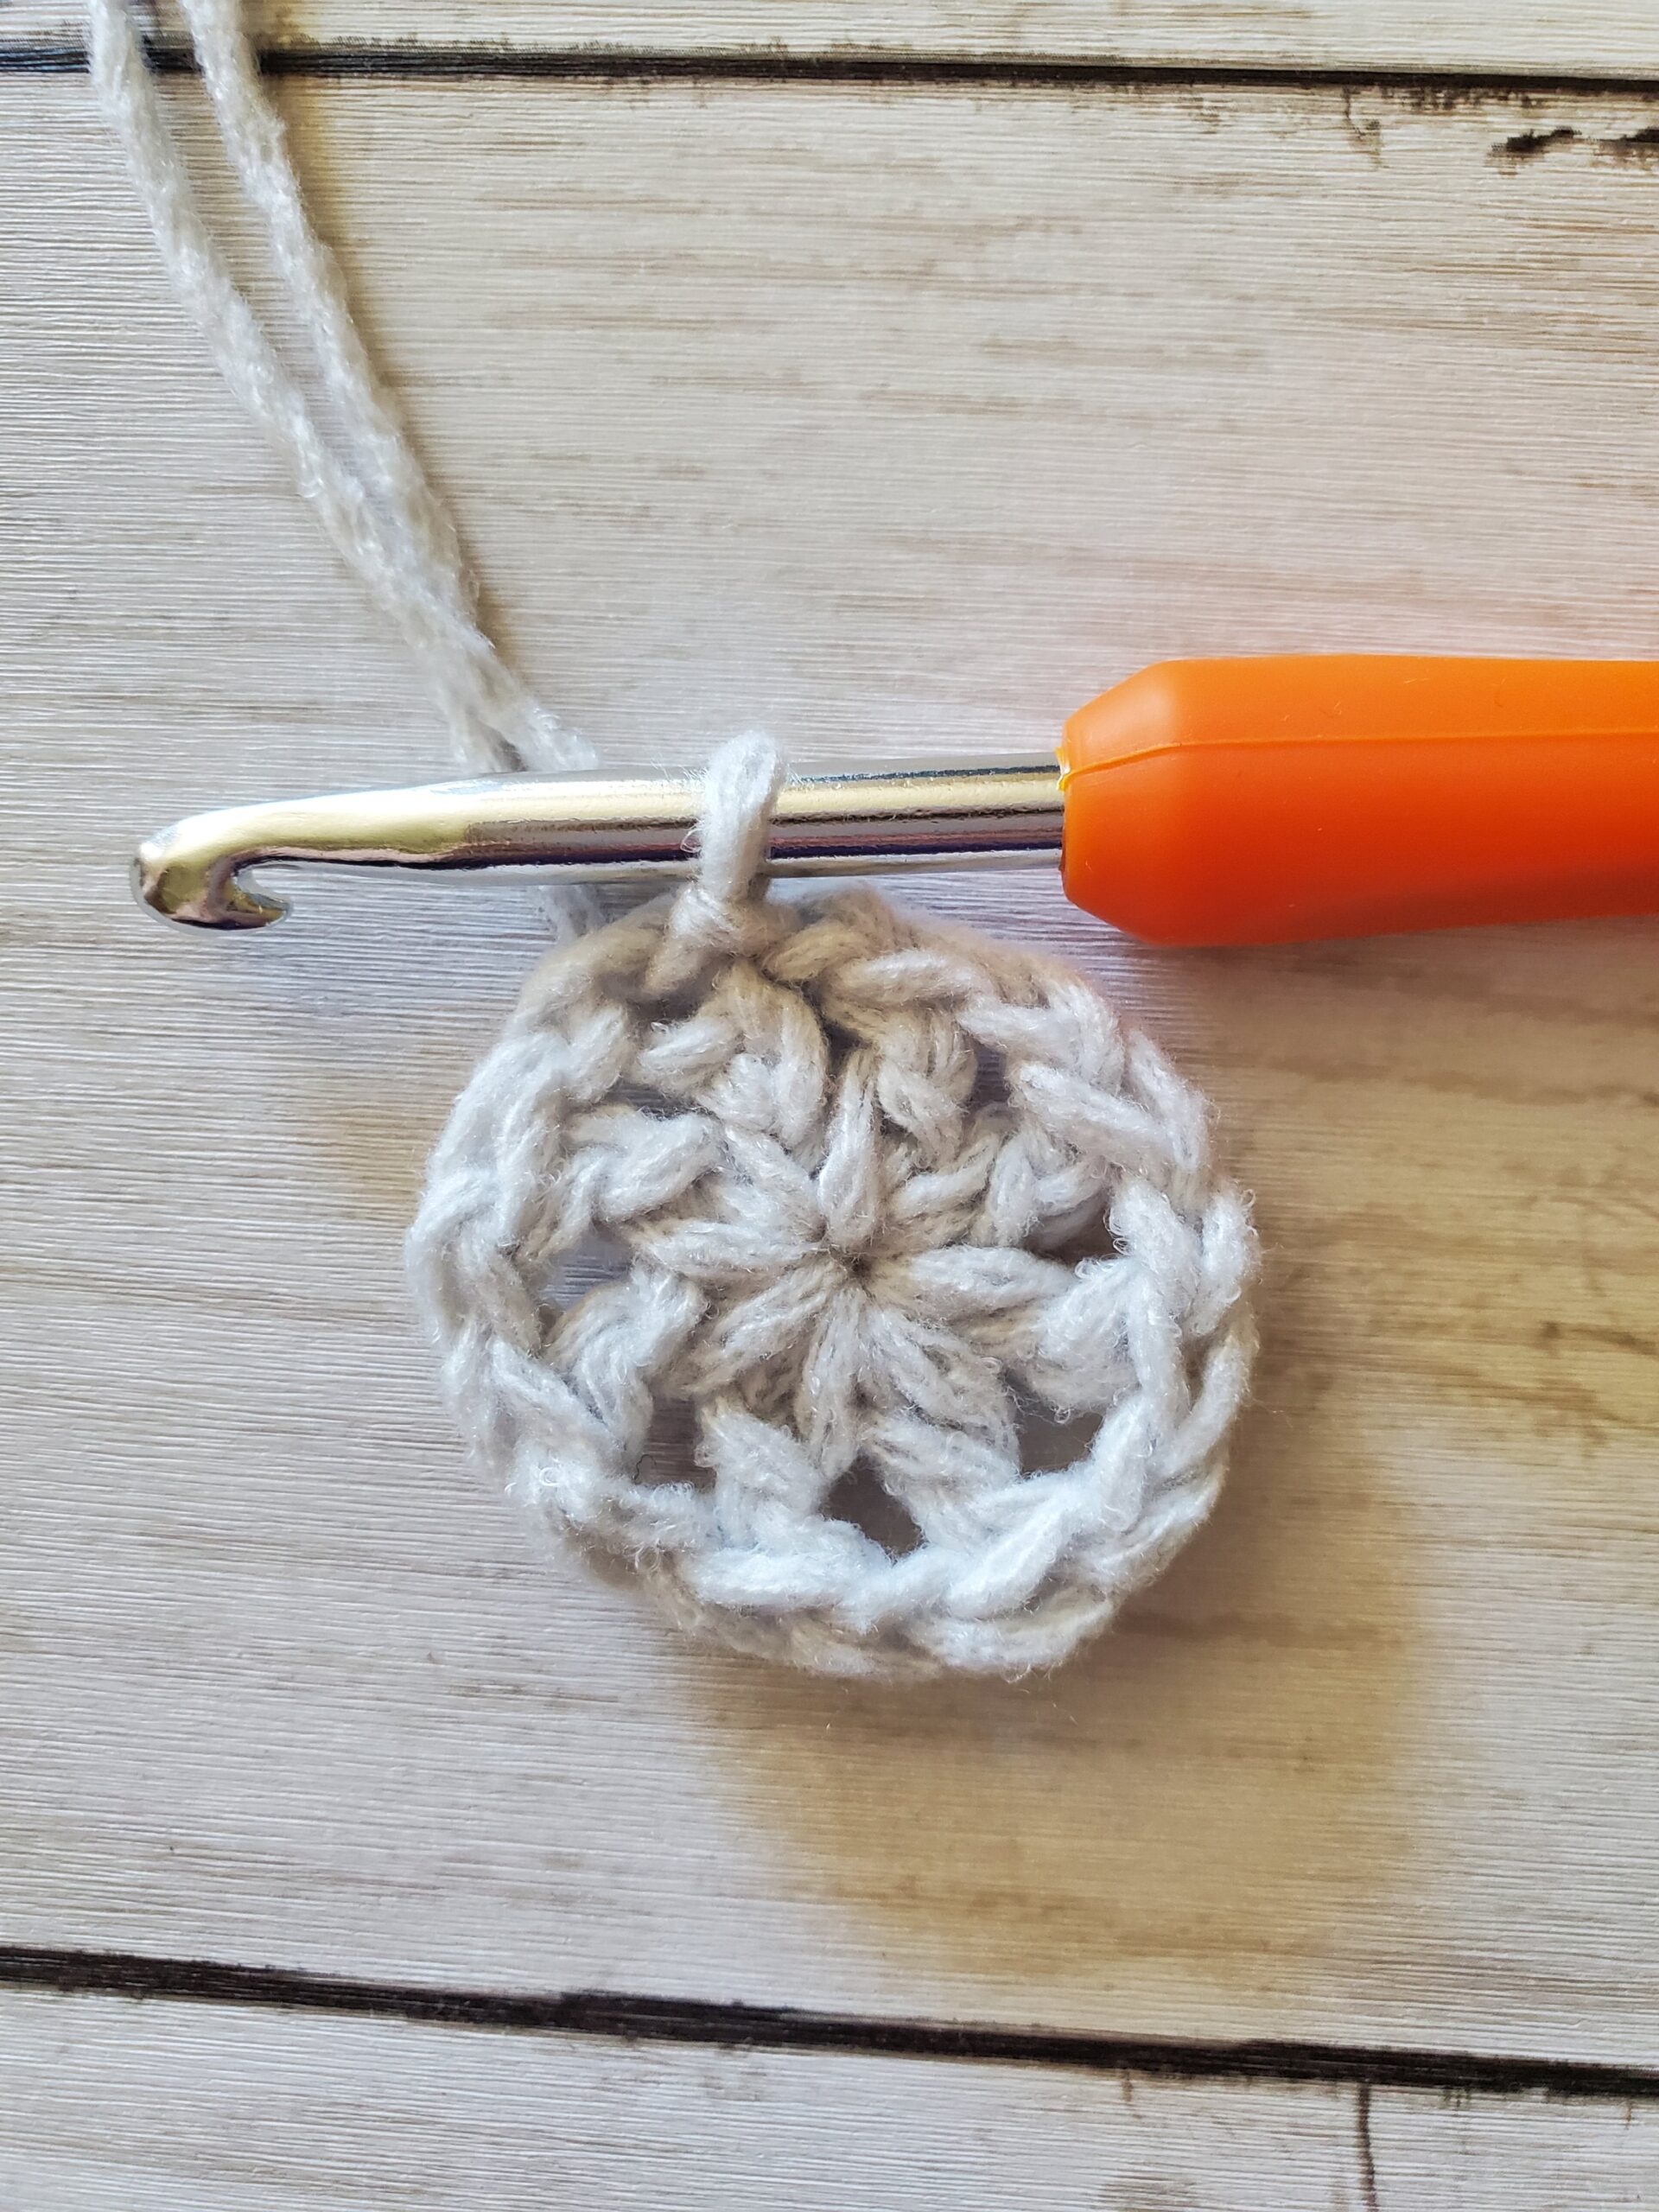
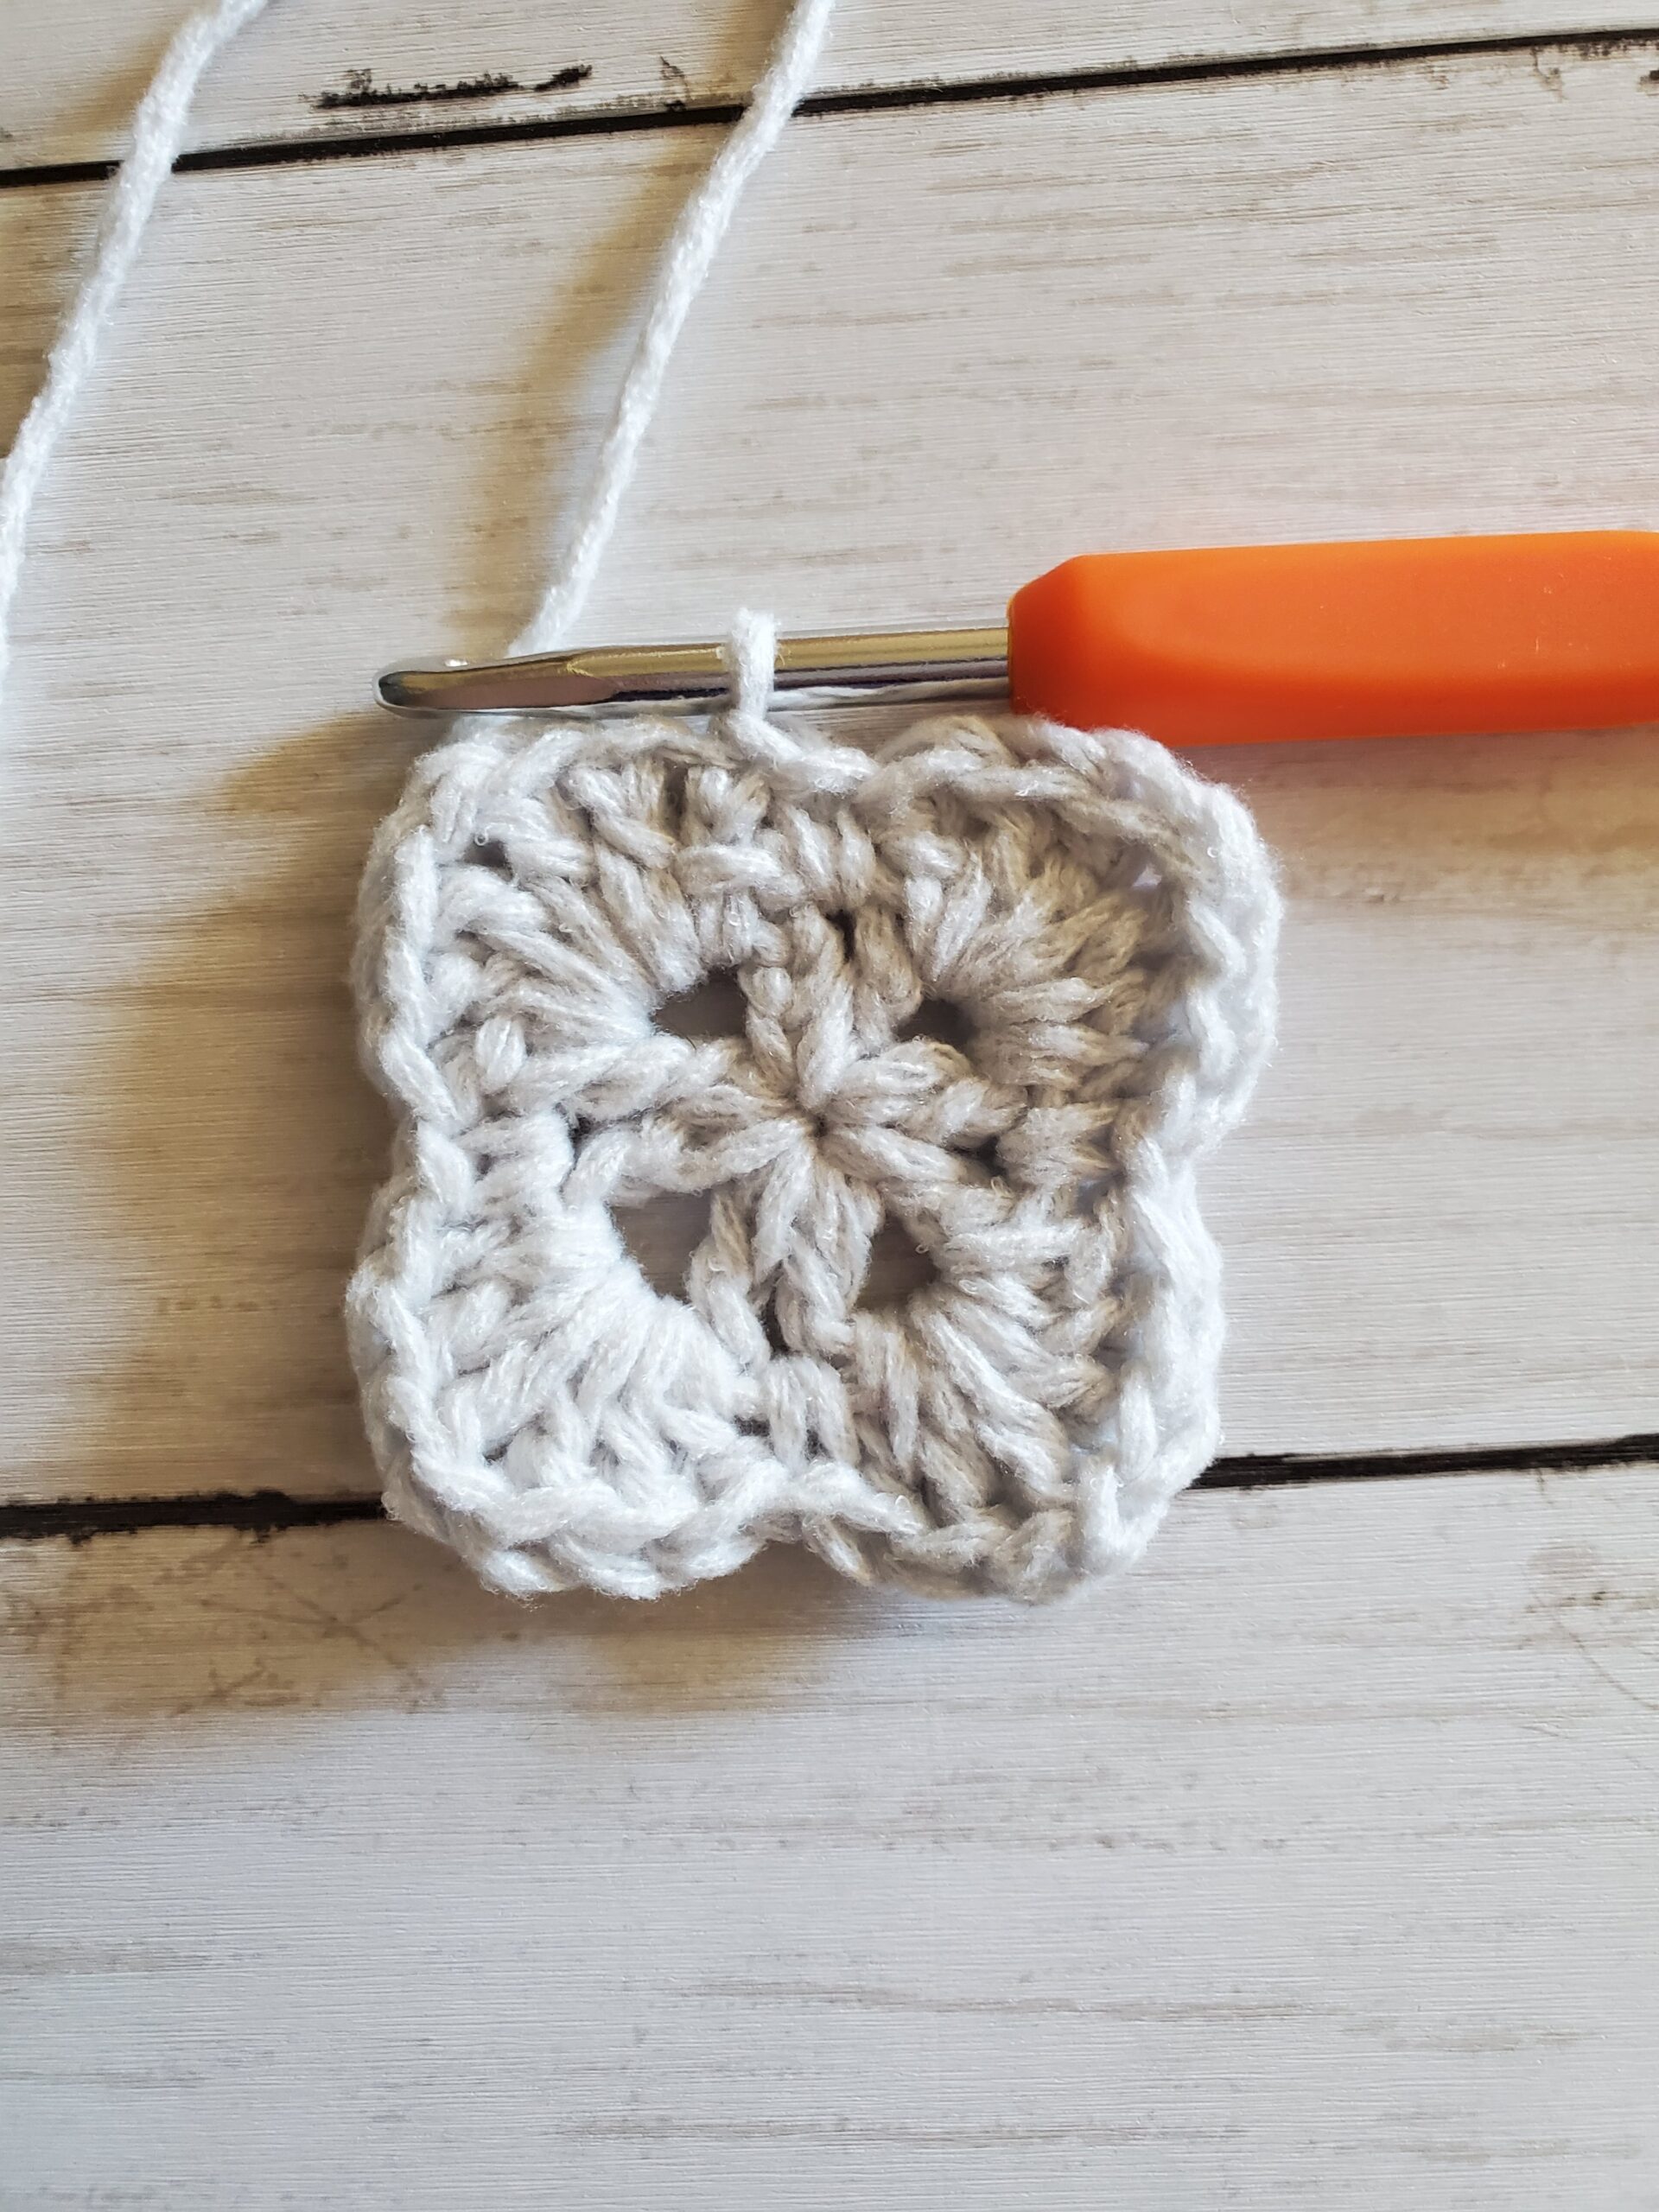
- Round 1: Make magic circle/ring (alternatively ch 2 and crochet in the first ch). Ch 2 (does not count as a stitch from here on out), 6 hdc in magic circle/ring, sl st to first st (6 sts)
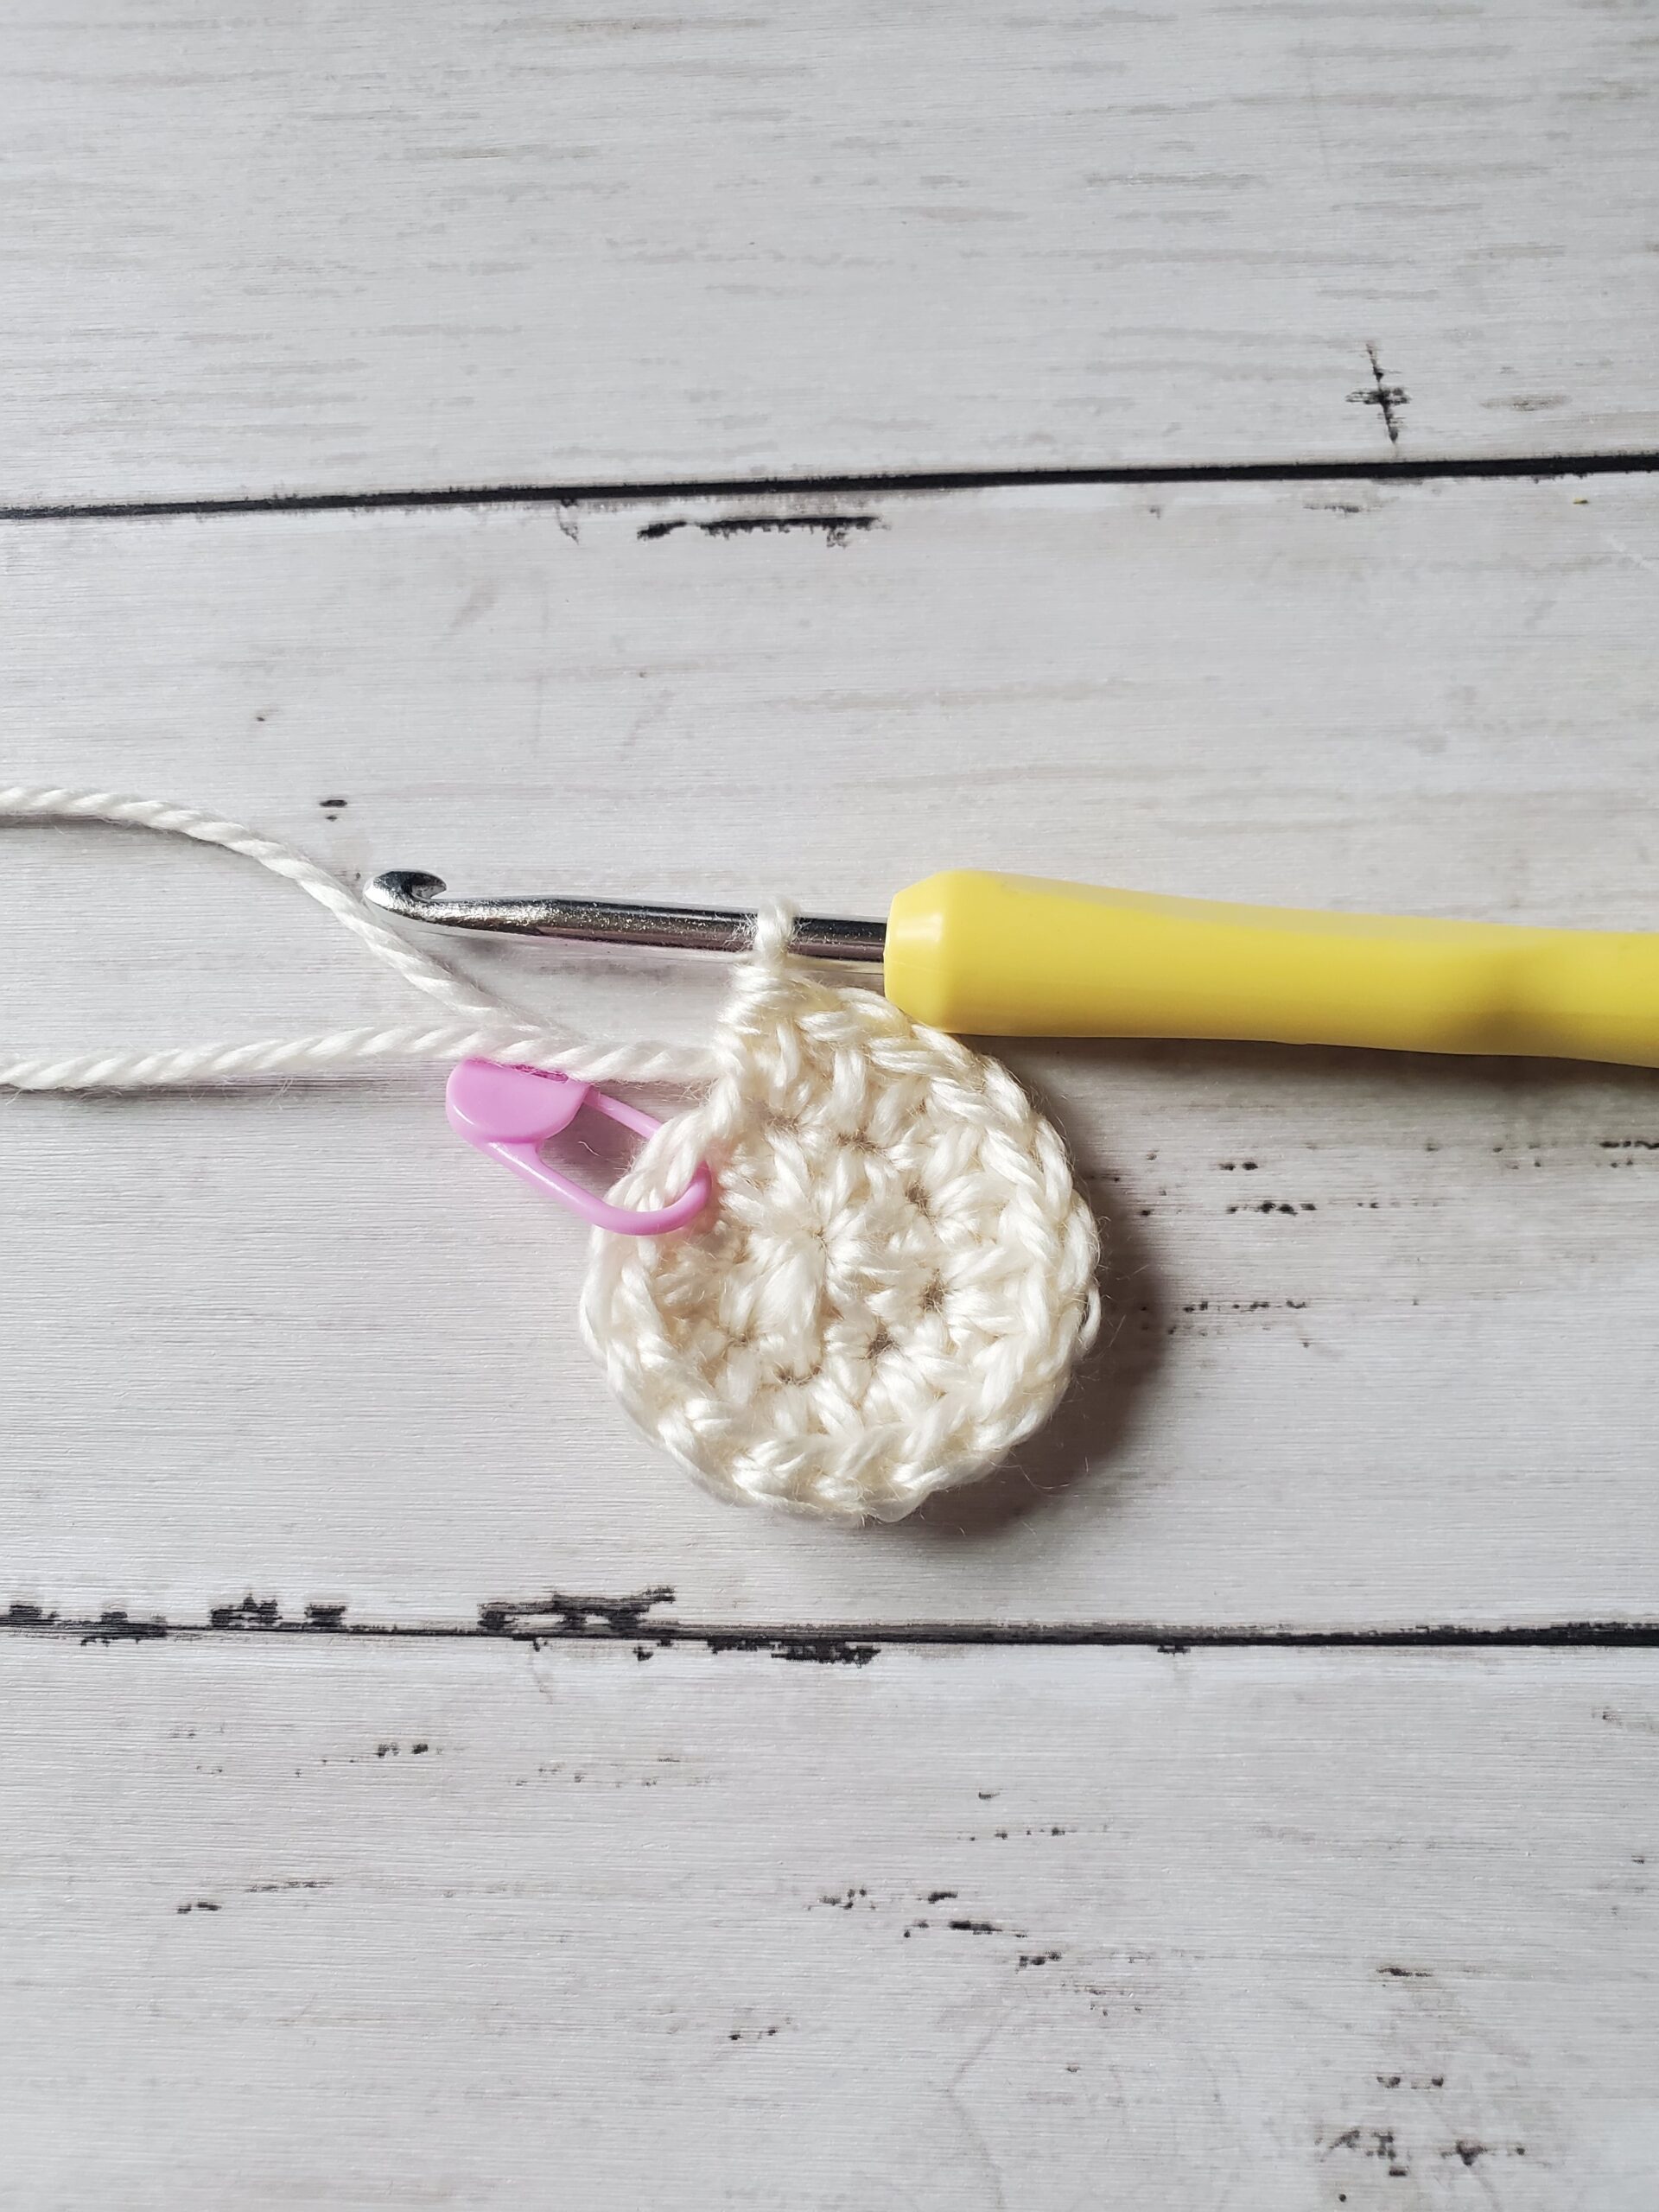
- Round 2: Ch 2, 2 hdc in each st around, sl st to first st (12 sts)
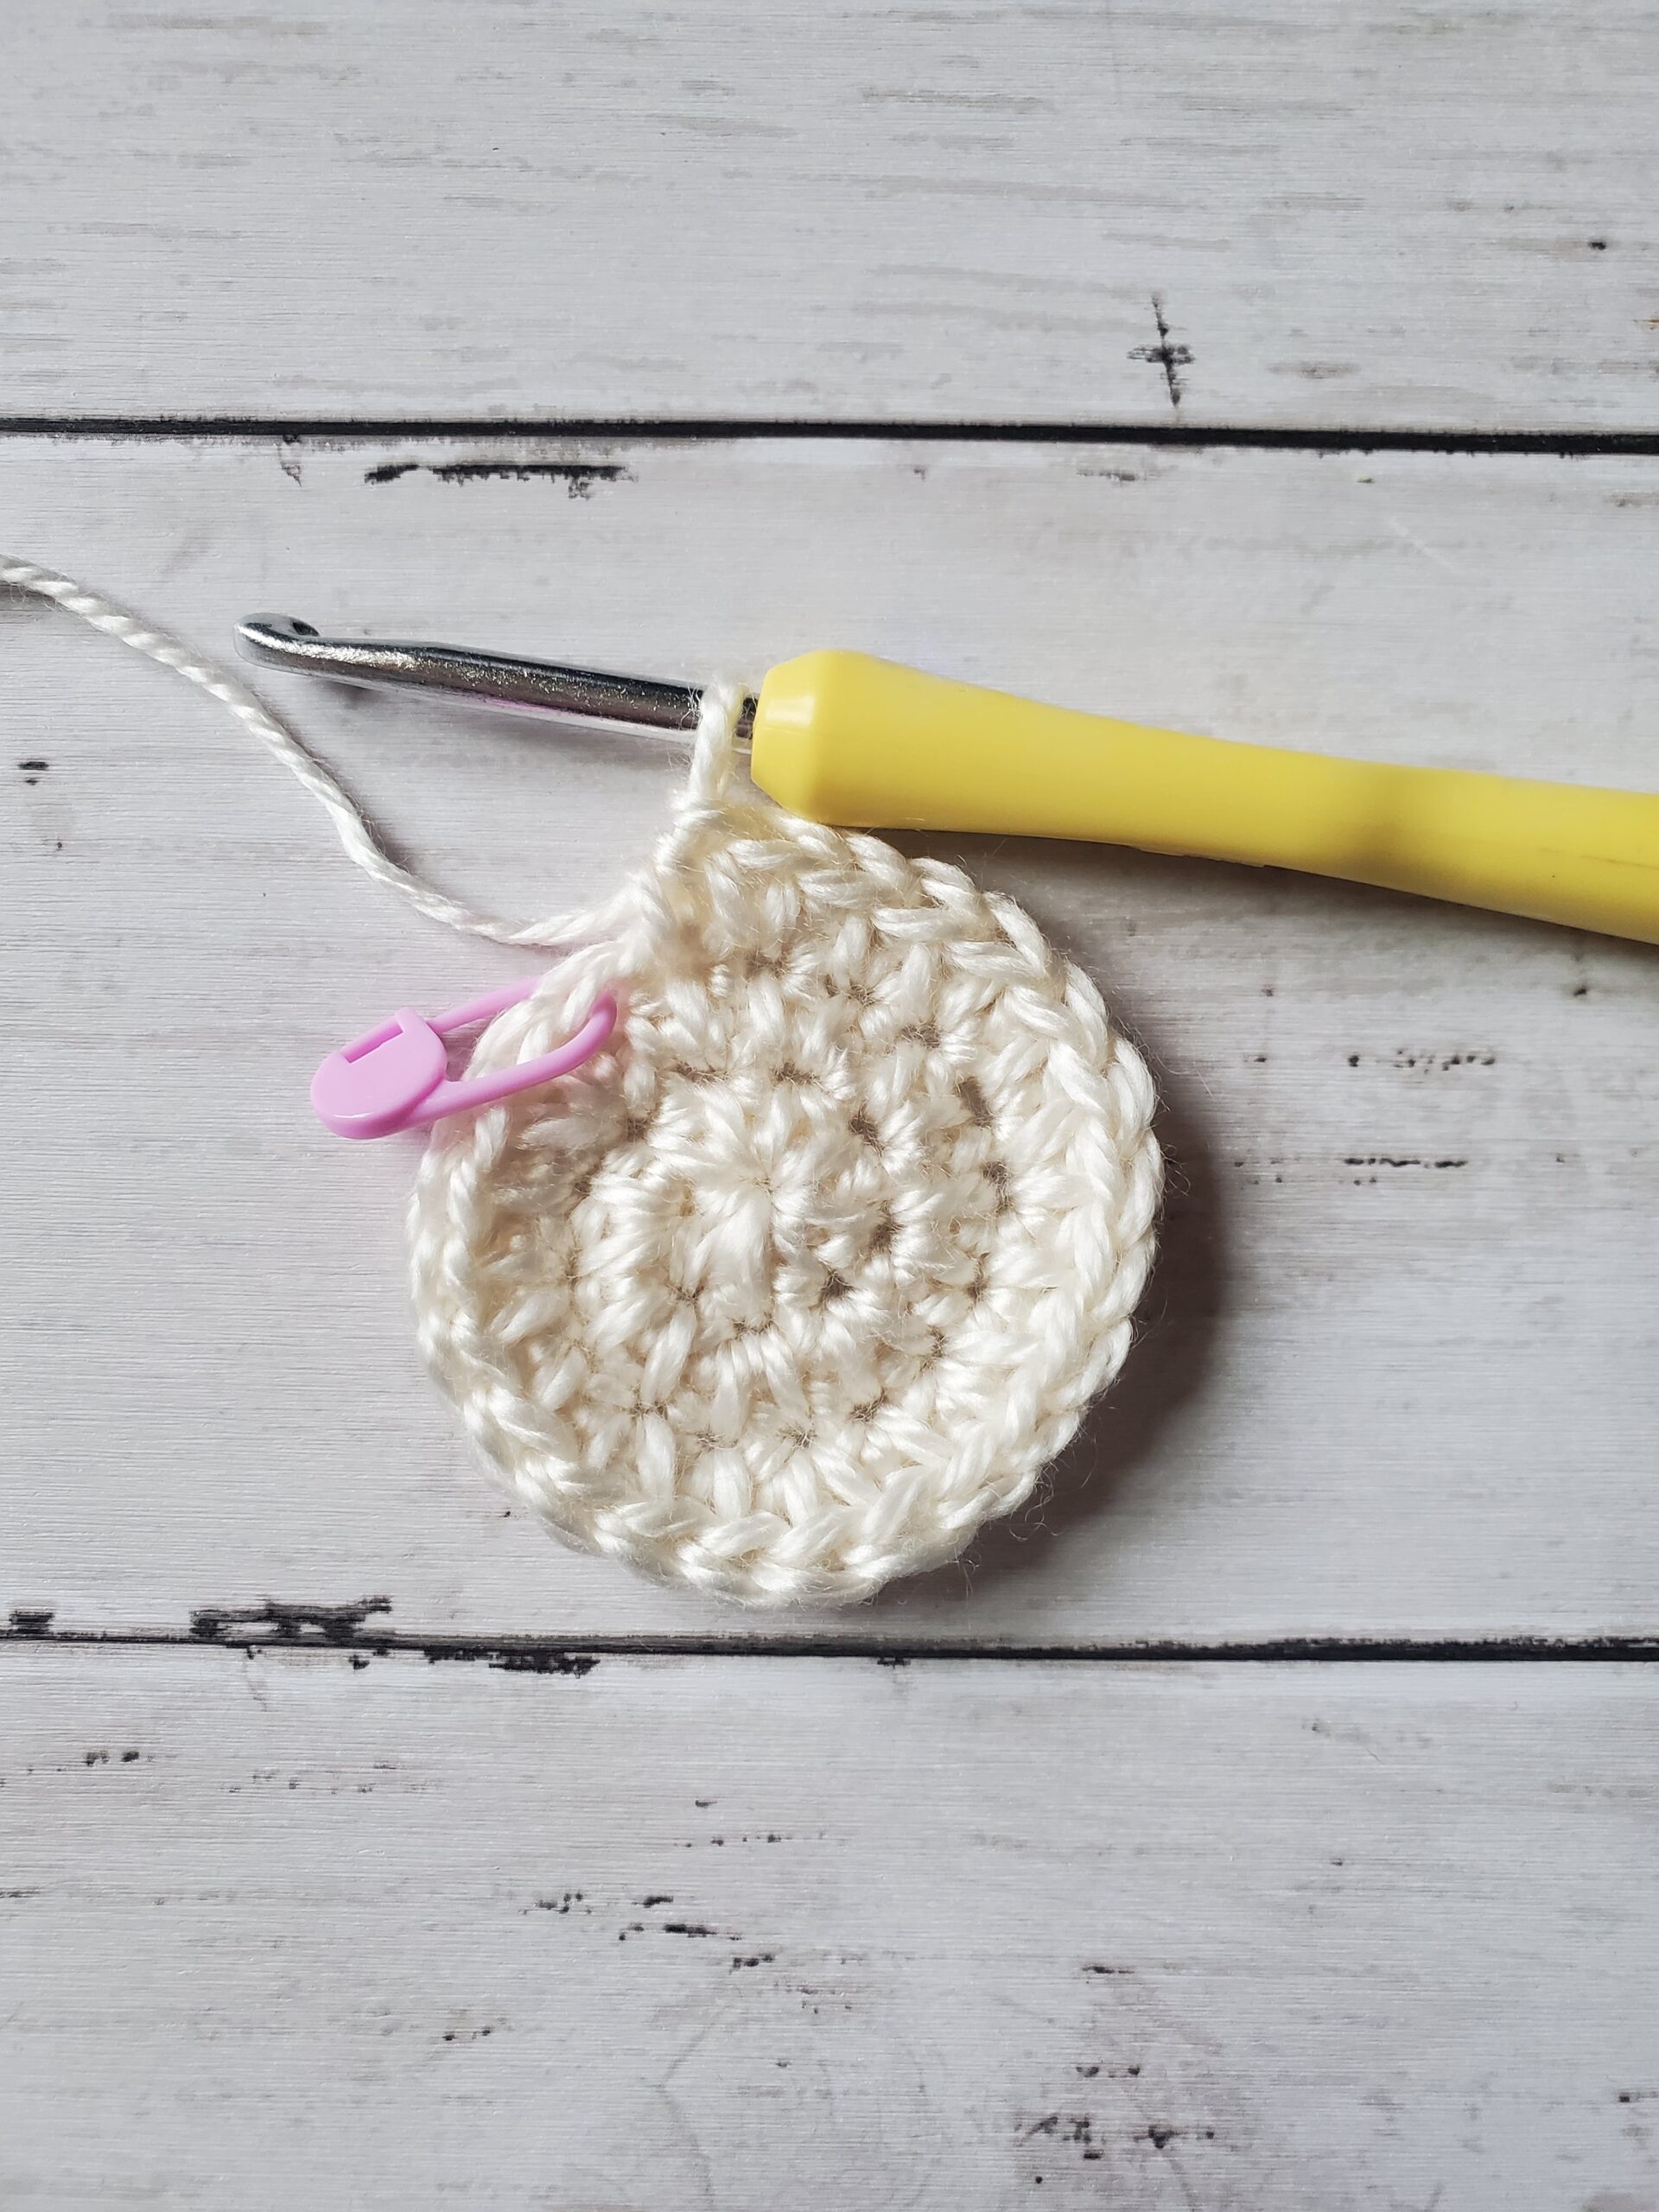
- Round 3: Ch 2, *2 hdc in next st, 1 hdc in next st,* repeat from *to,* sl st to first st (18 sts)
- Round 4: Ch 2, *2 hdc in next st, 1 hdc in next 2 sts,* repeat from *to,* sl st to first st (24 sts)
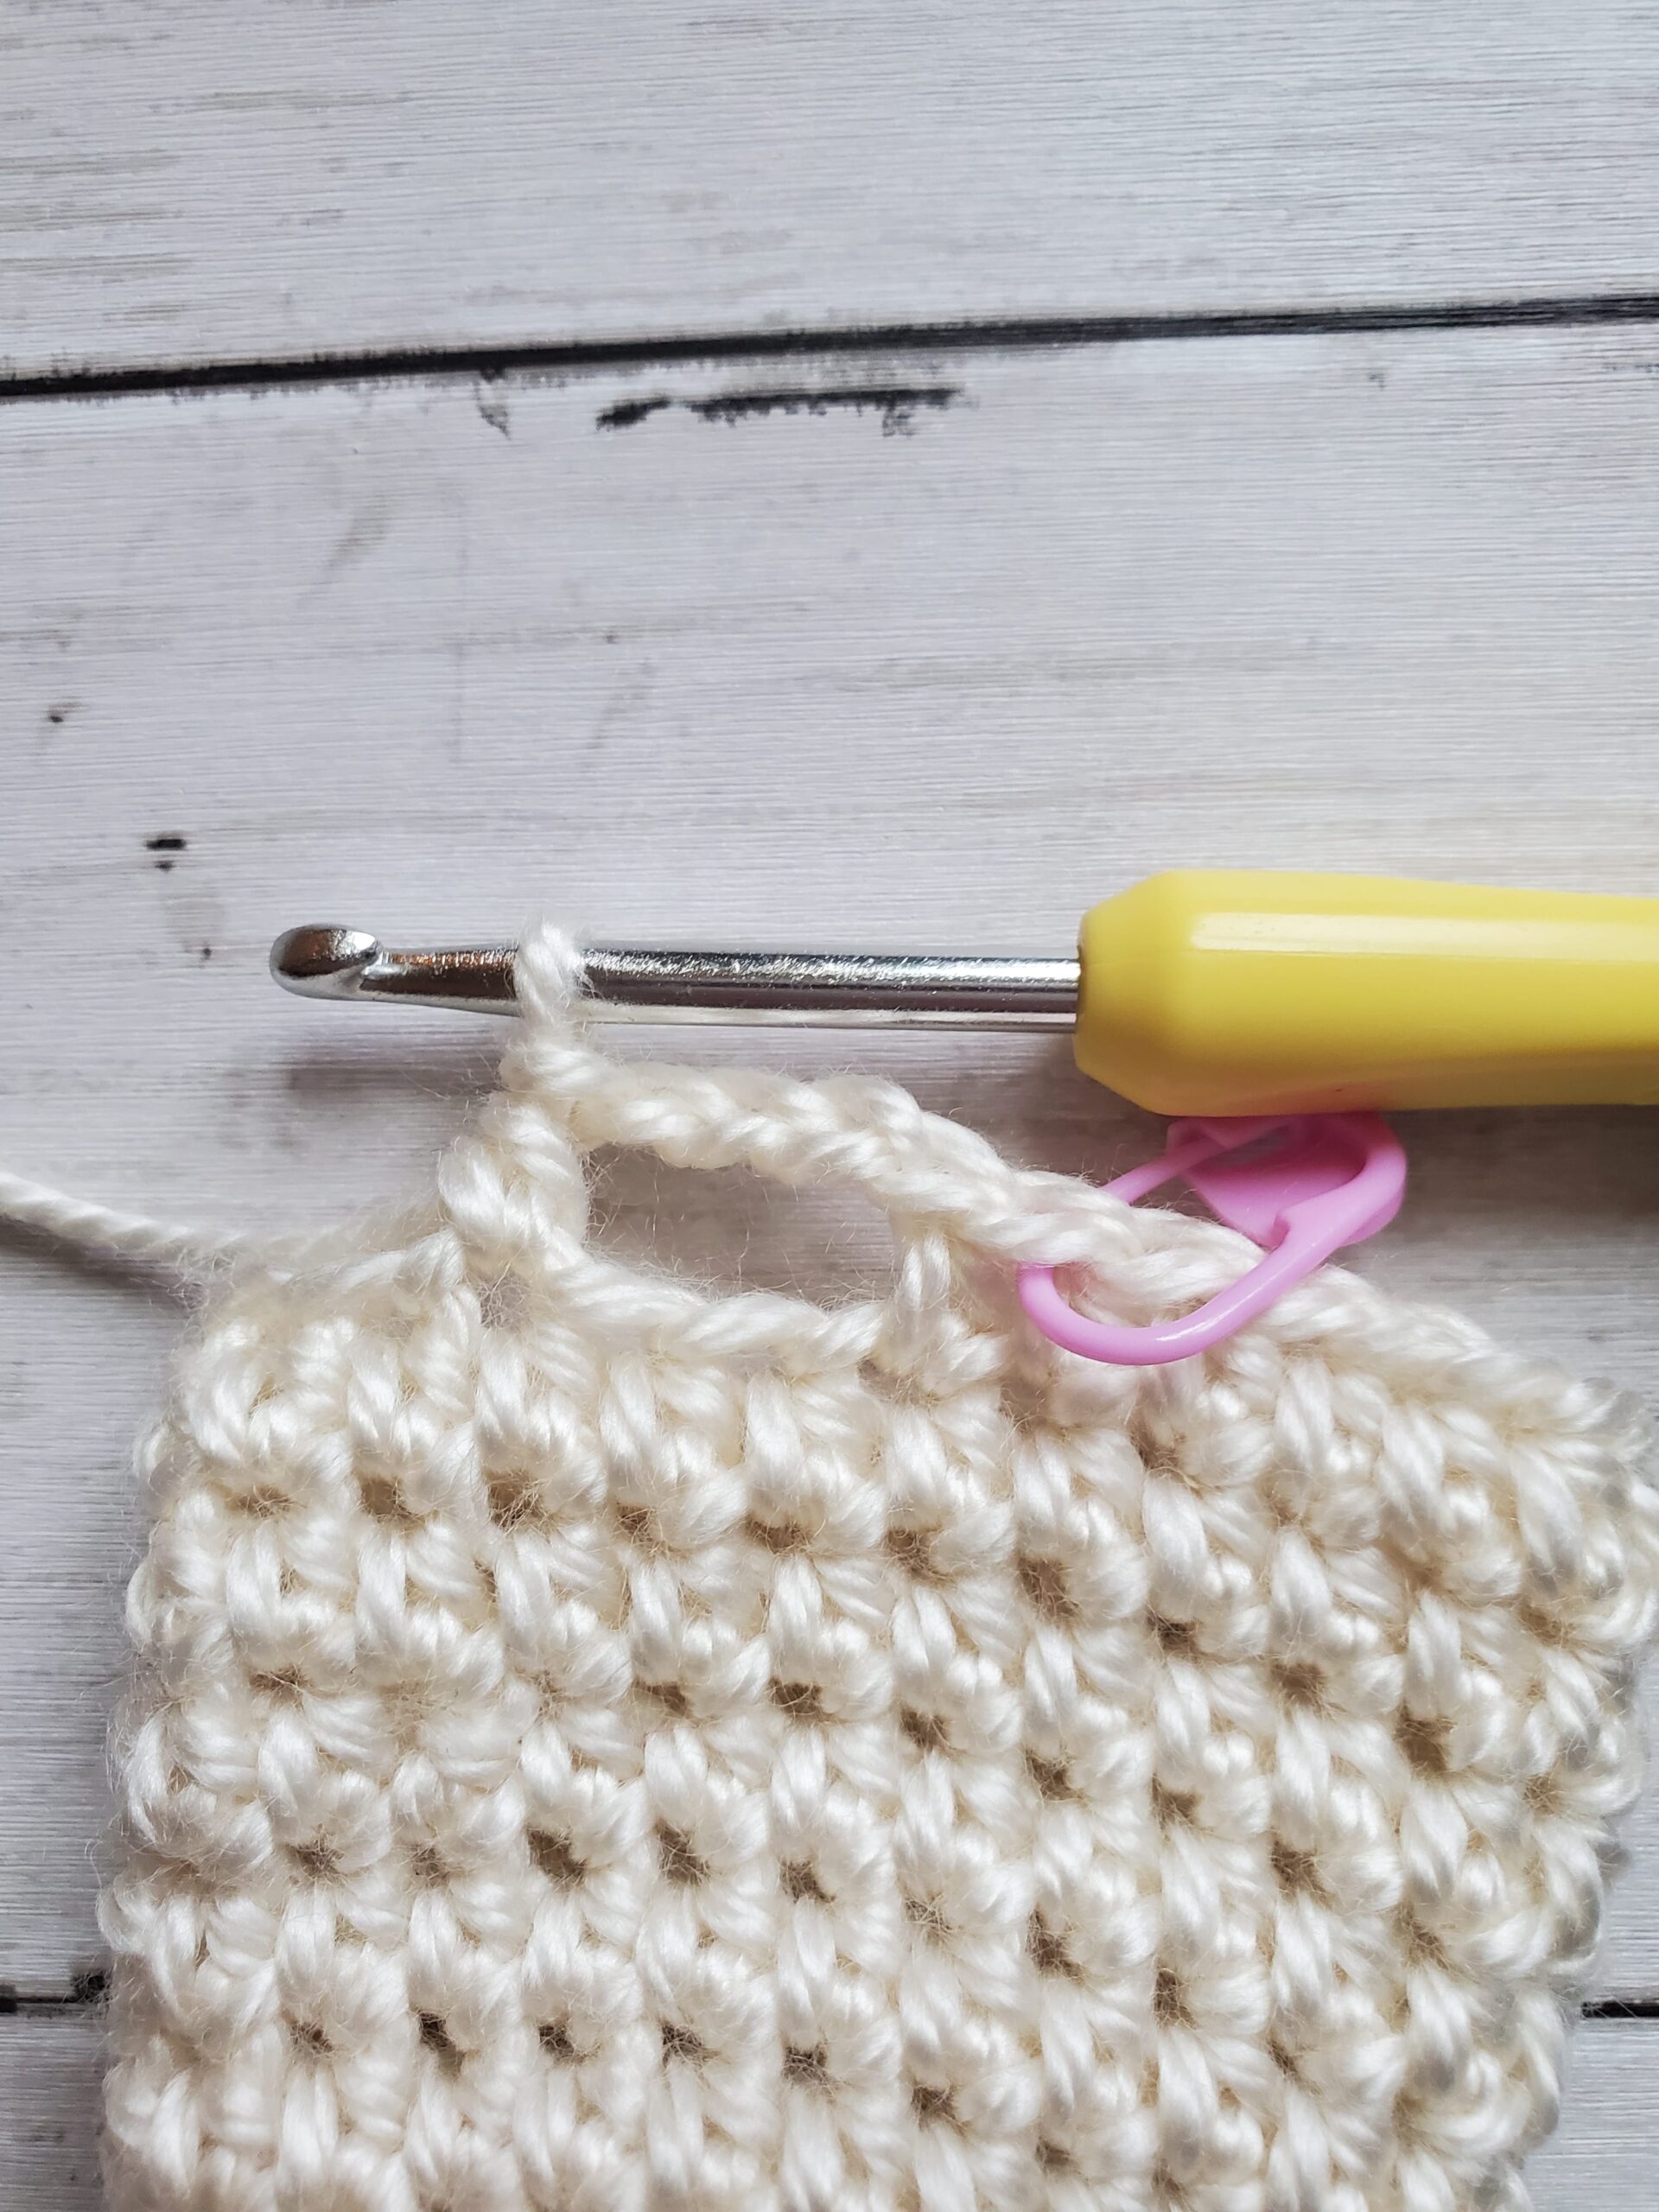
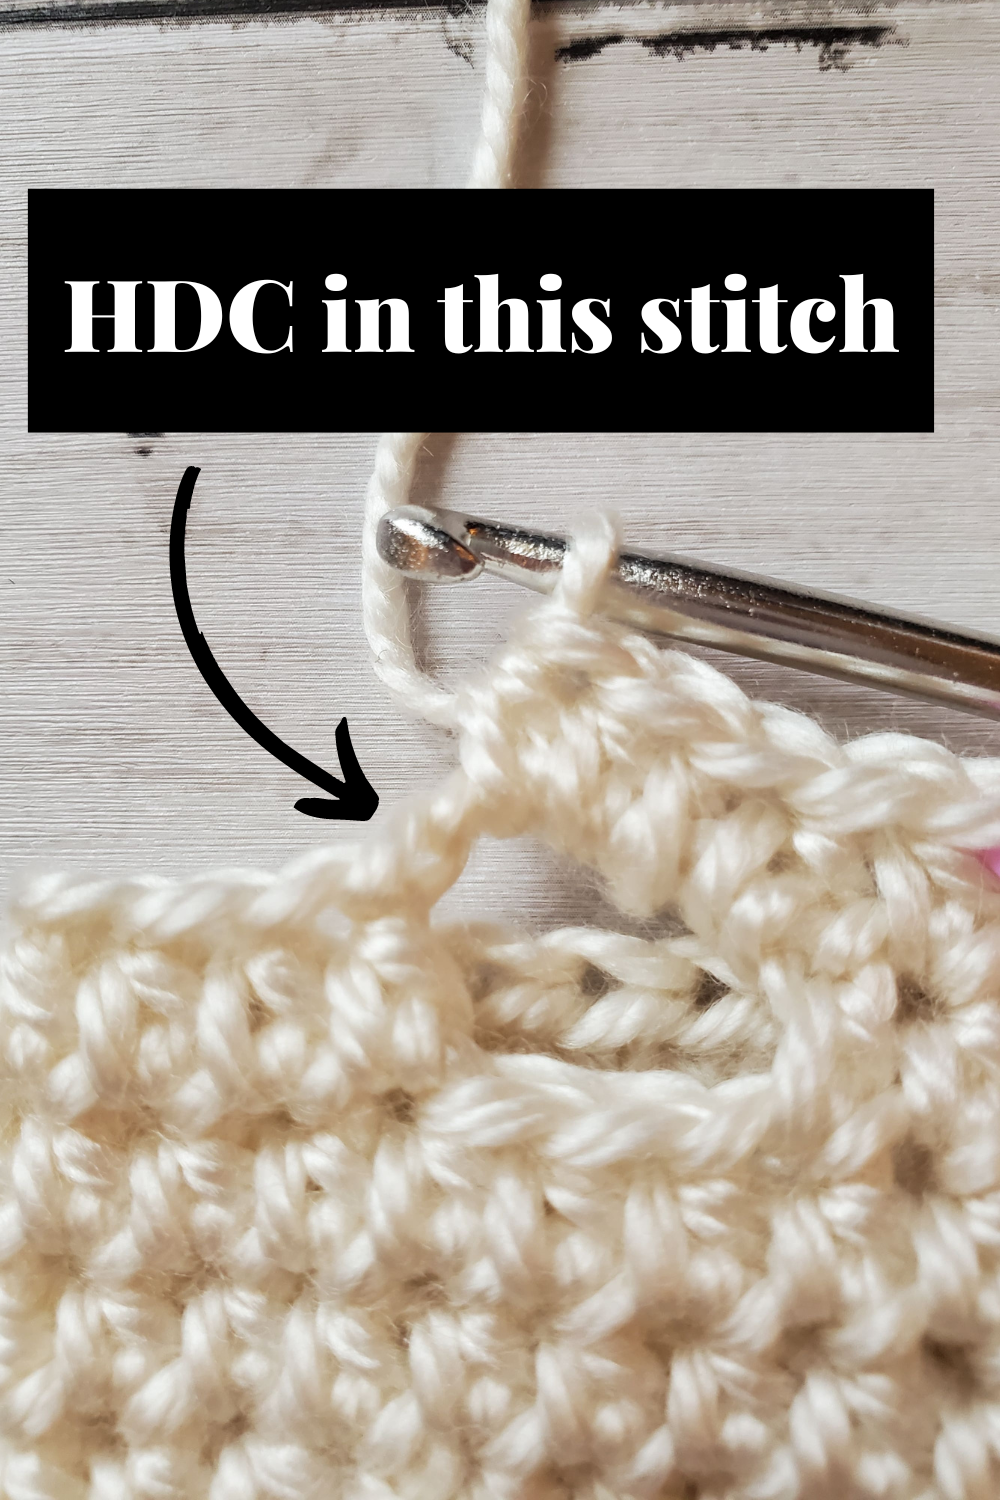
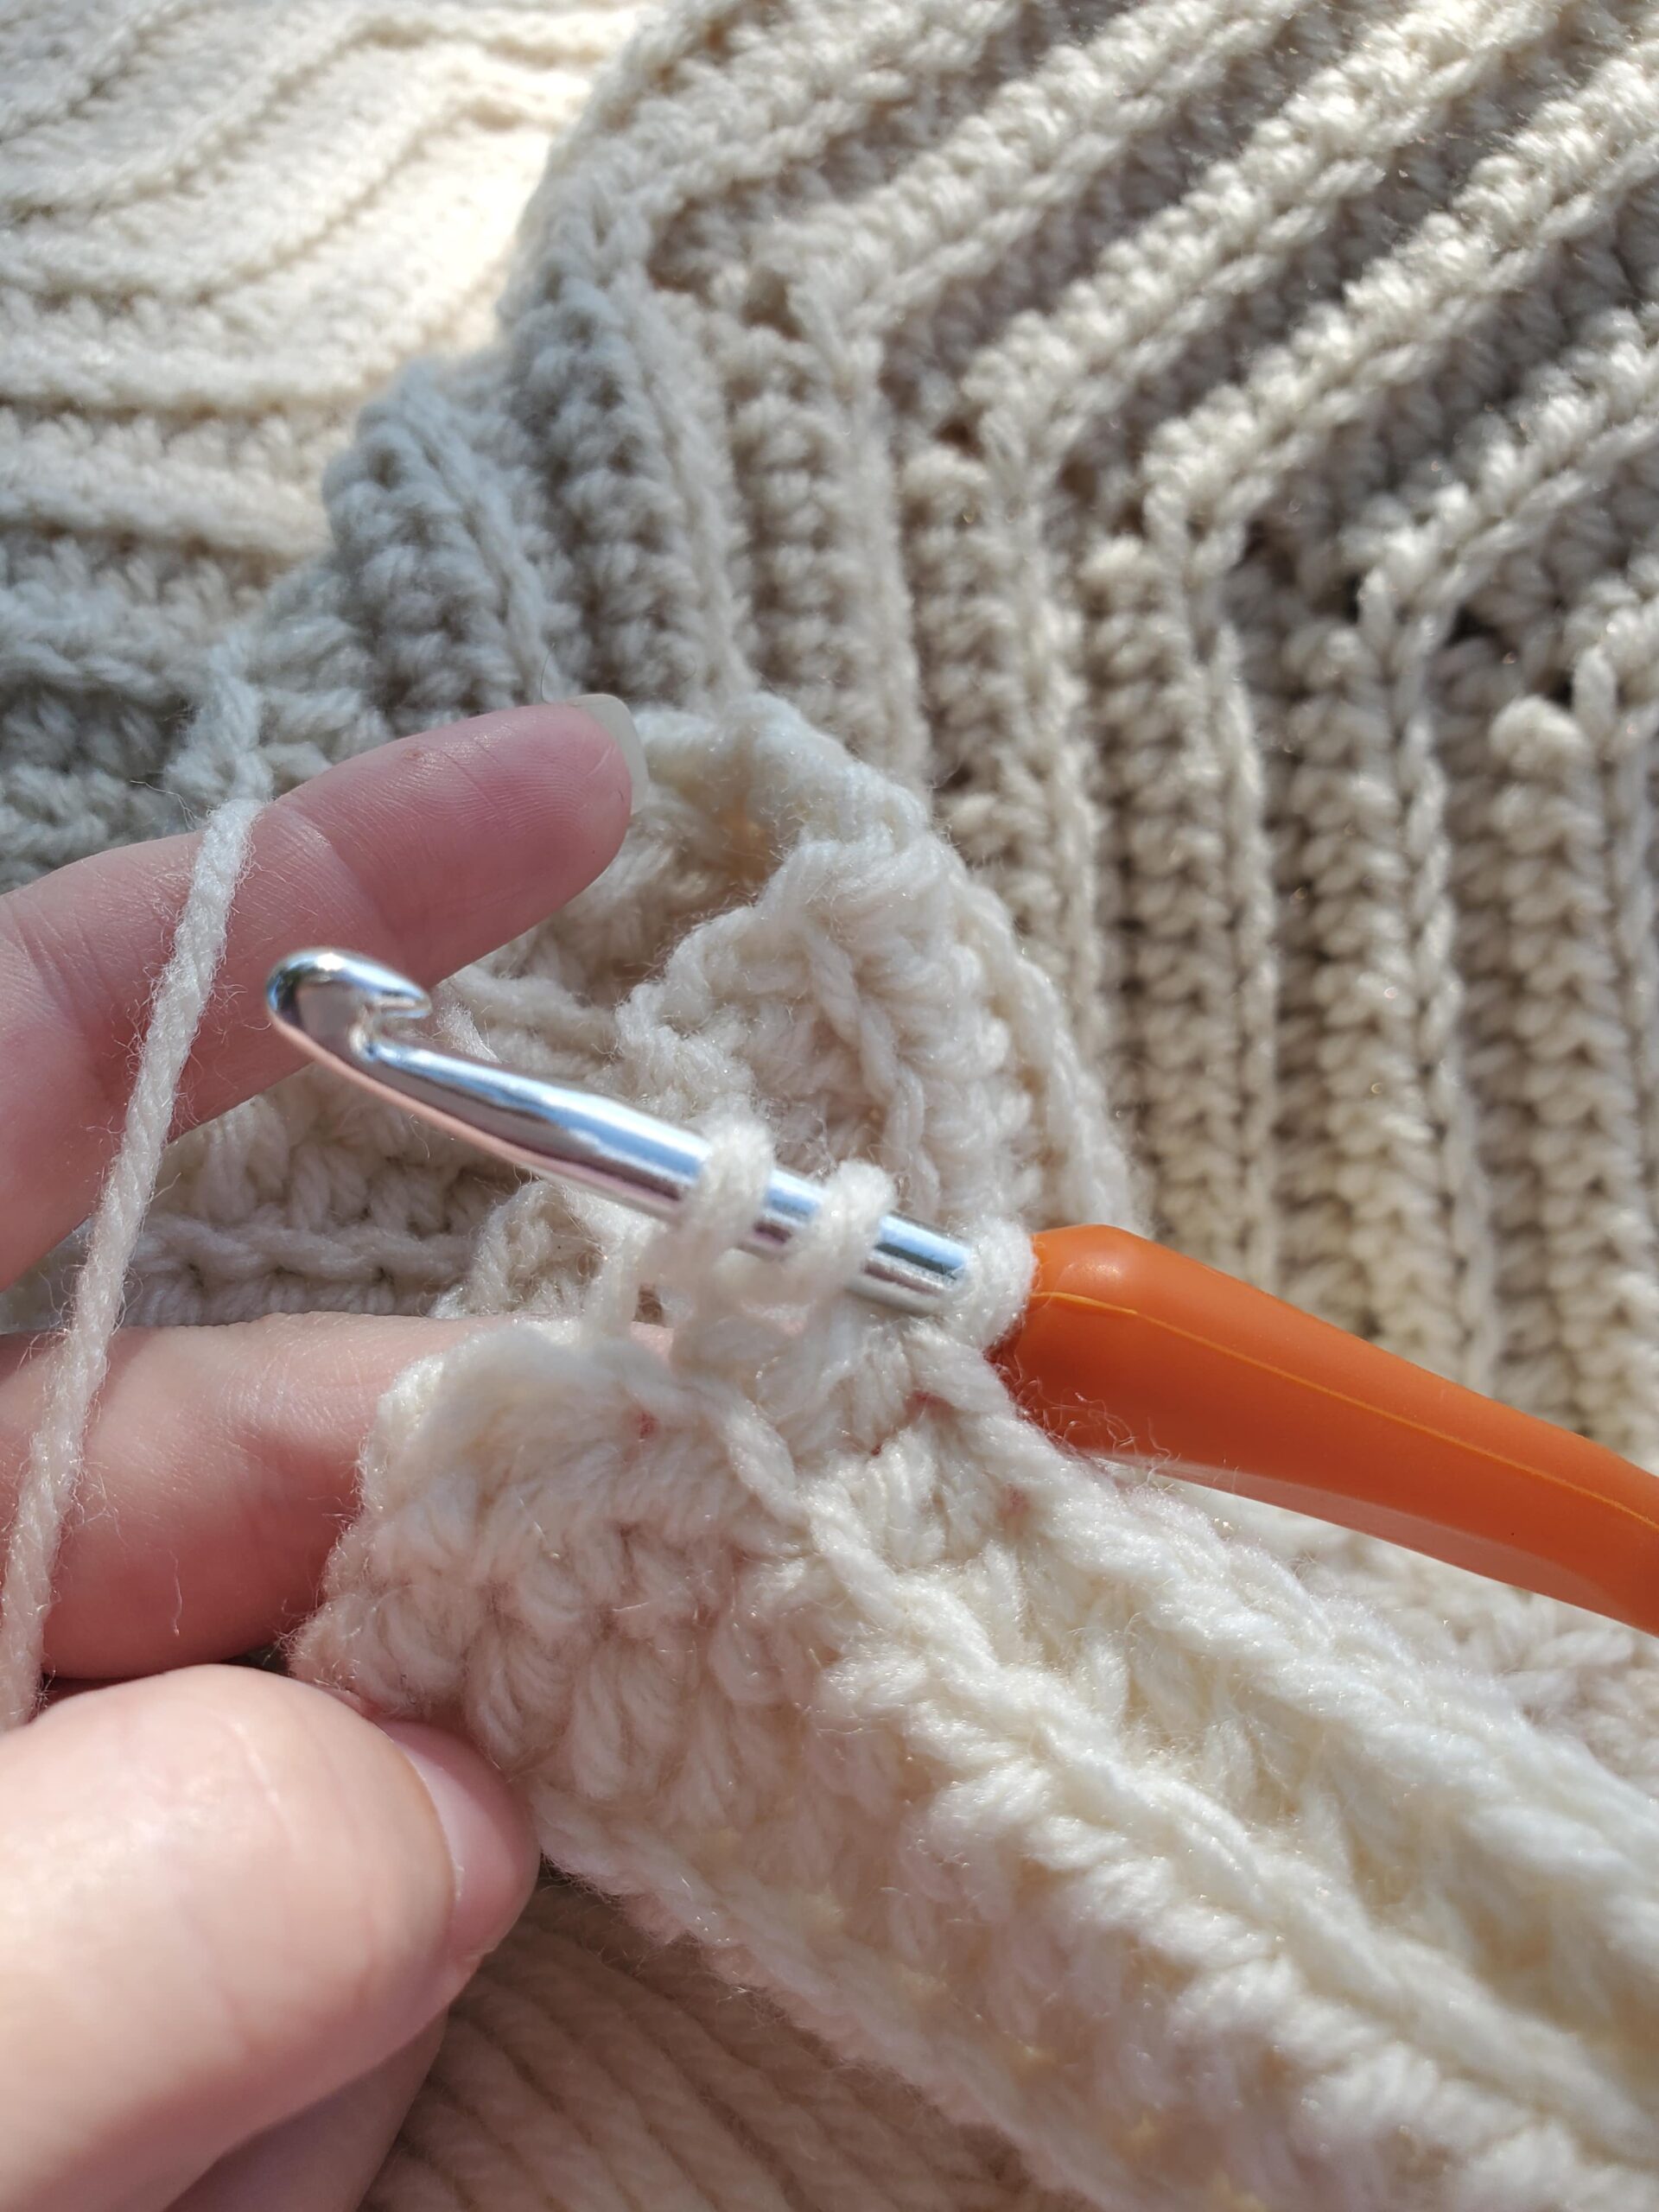
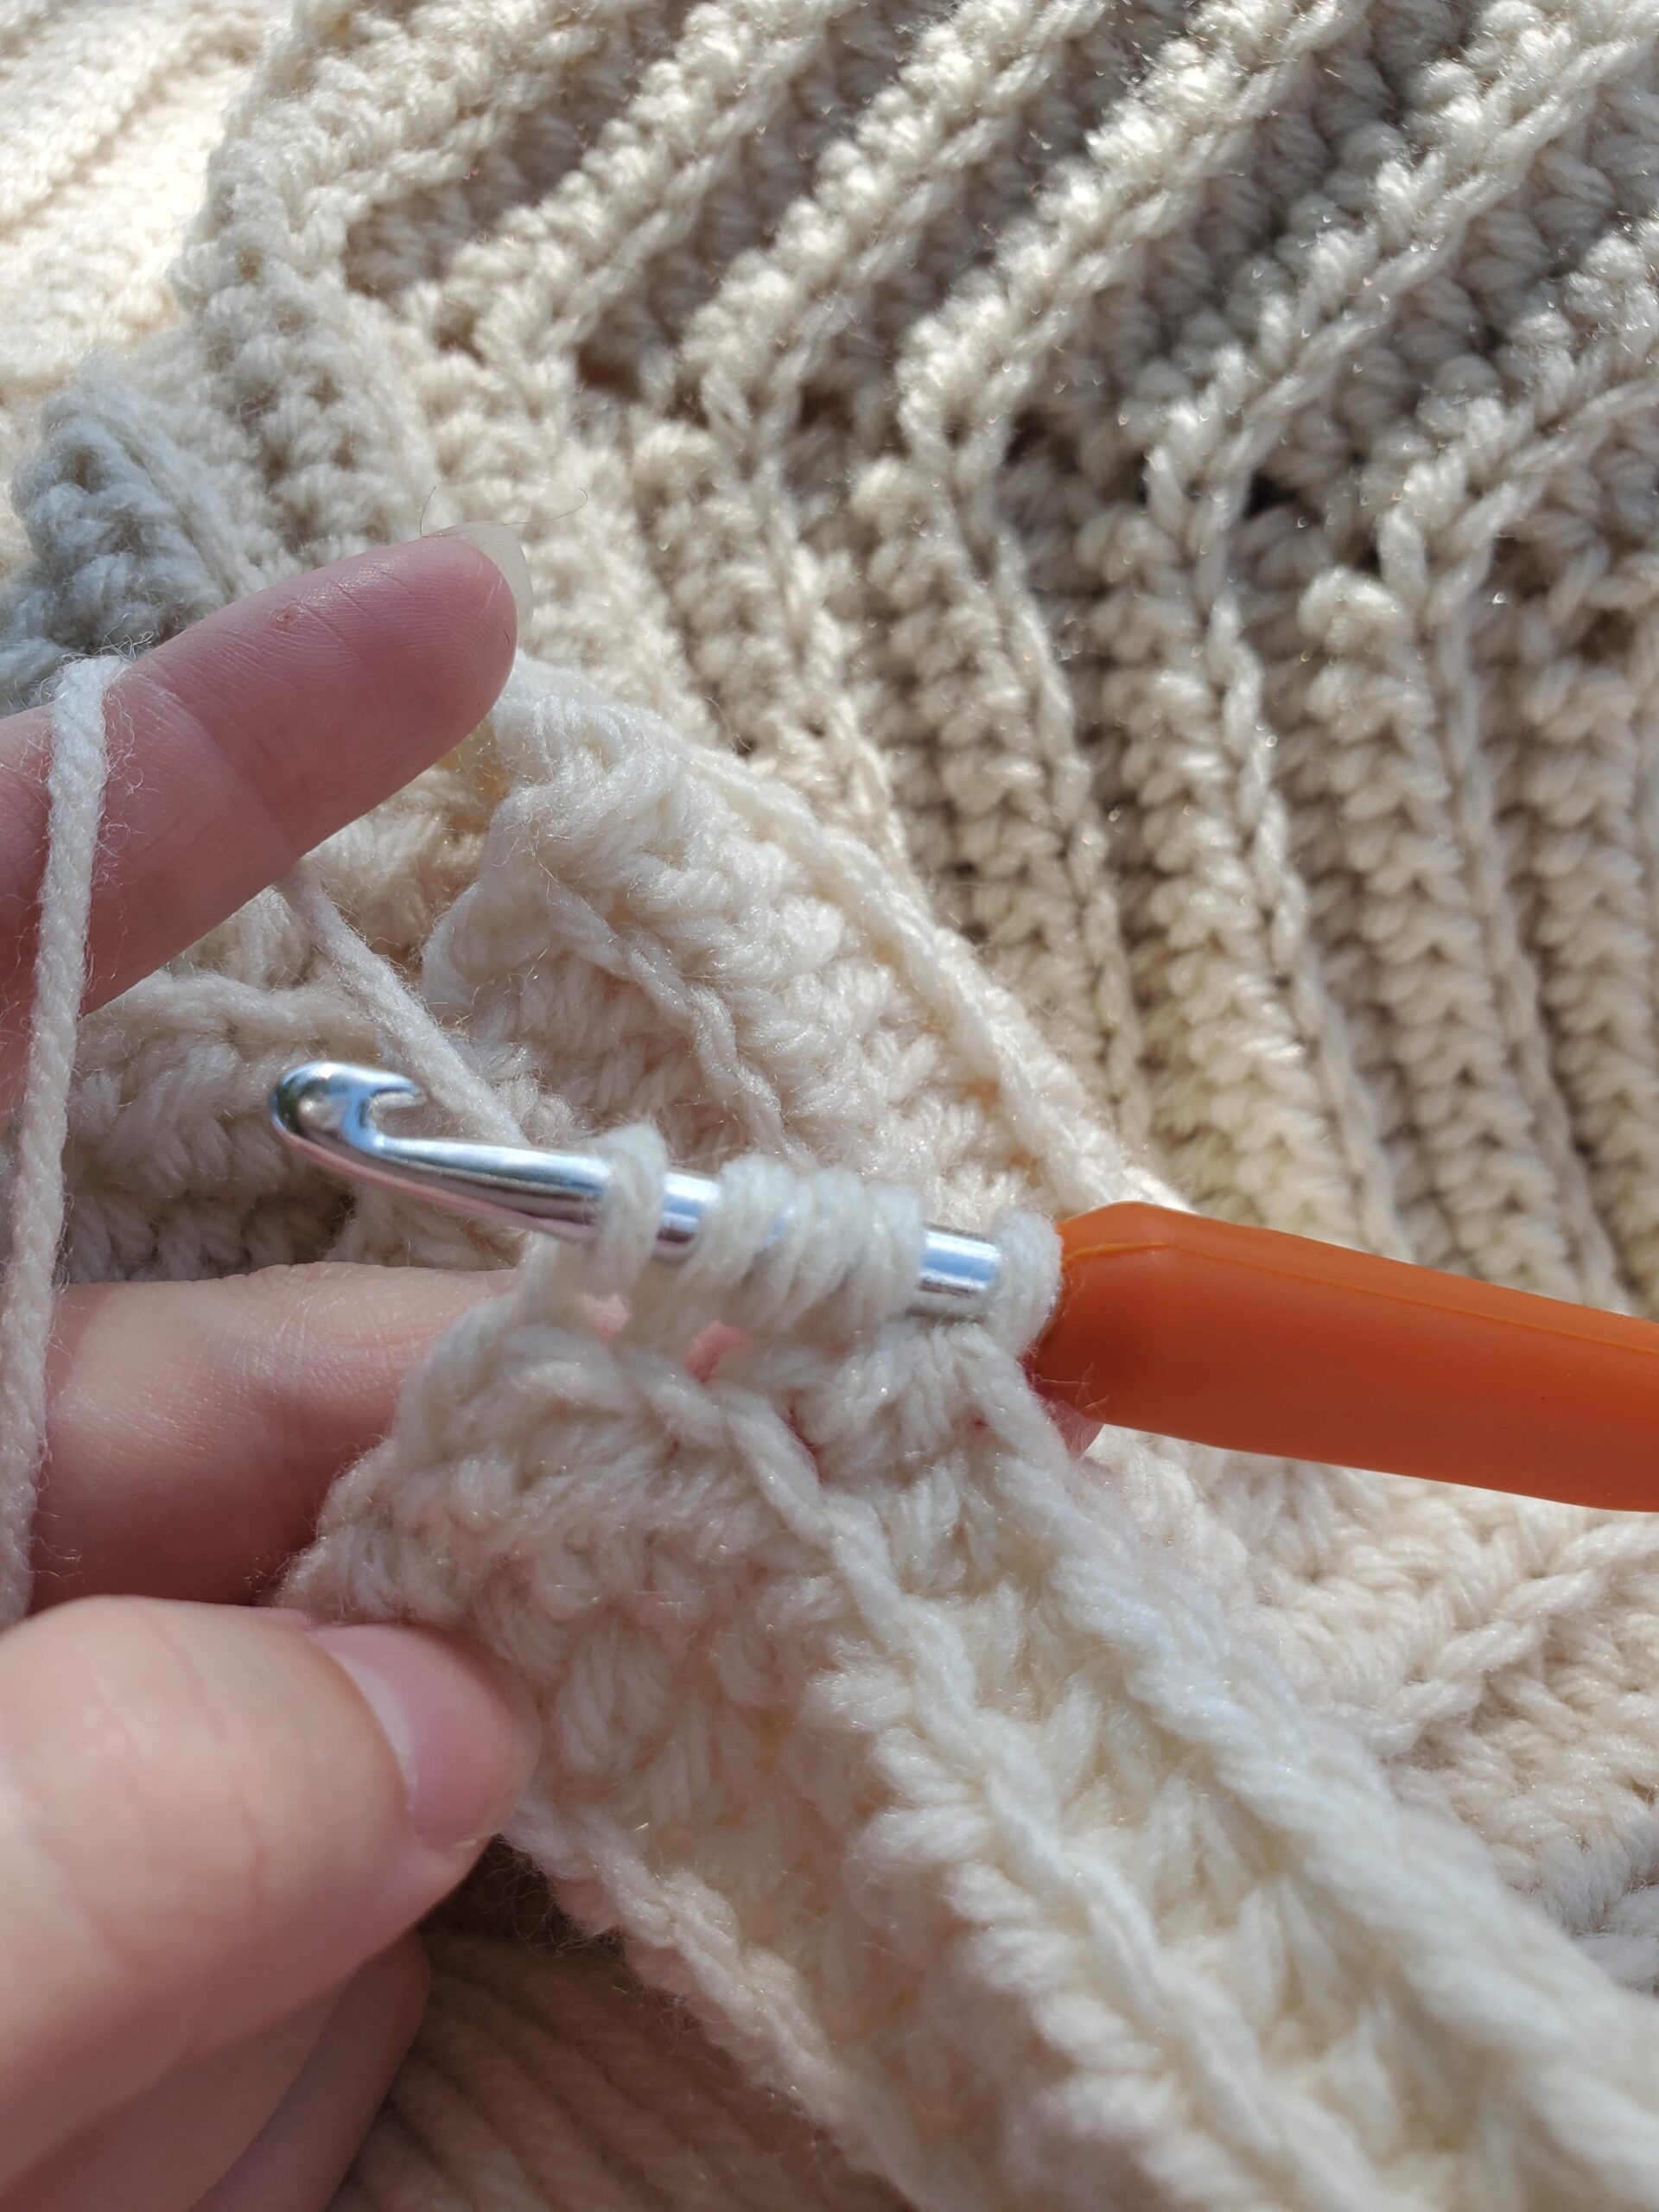
- Round 5-9 (or until desired length): Ch 2, 1 hdc in each st around (24 sts)
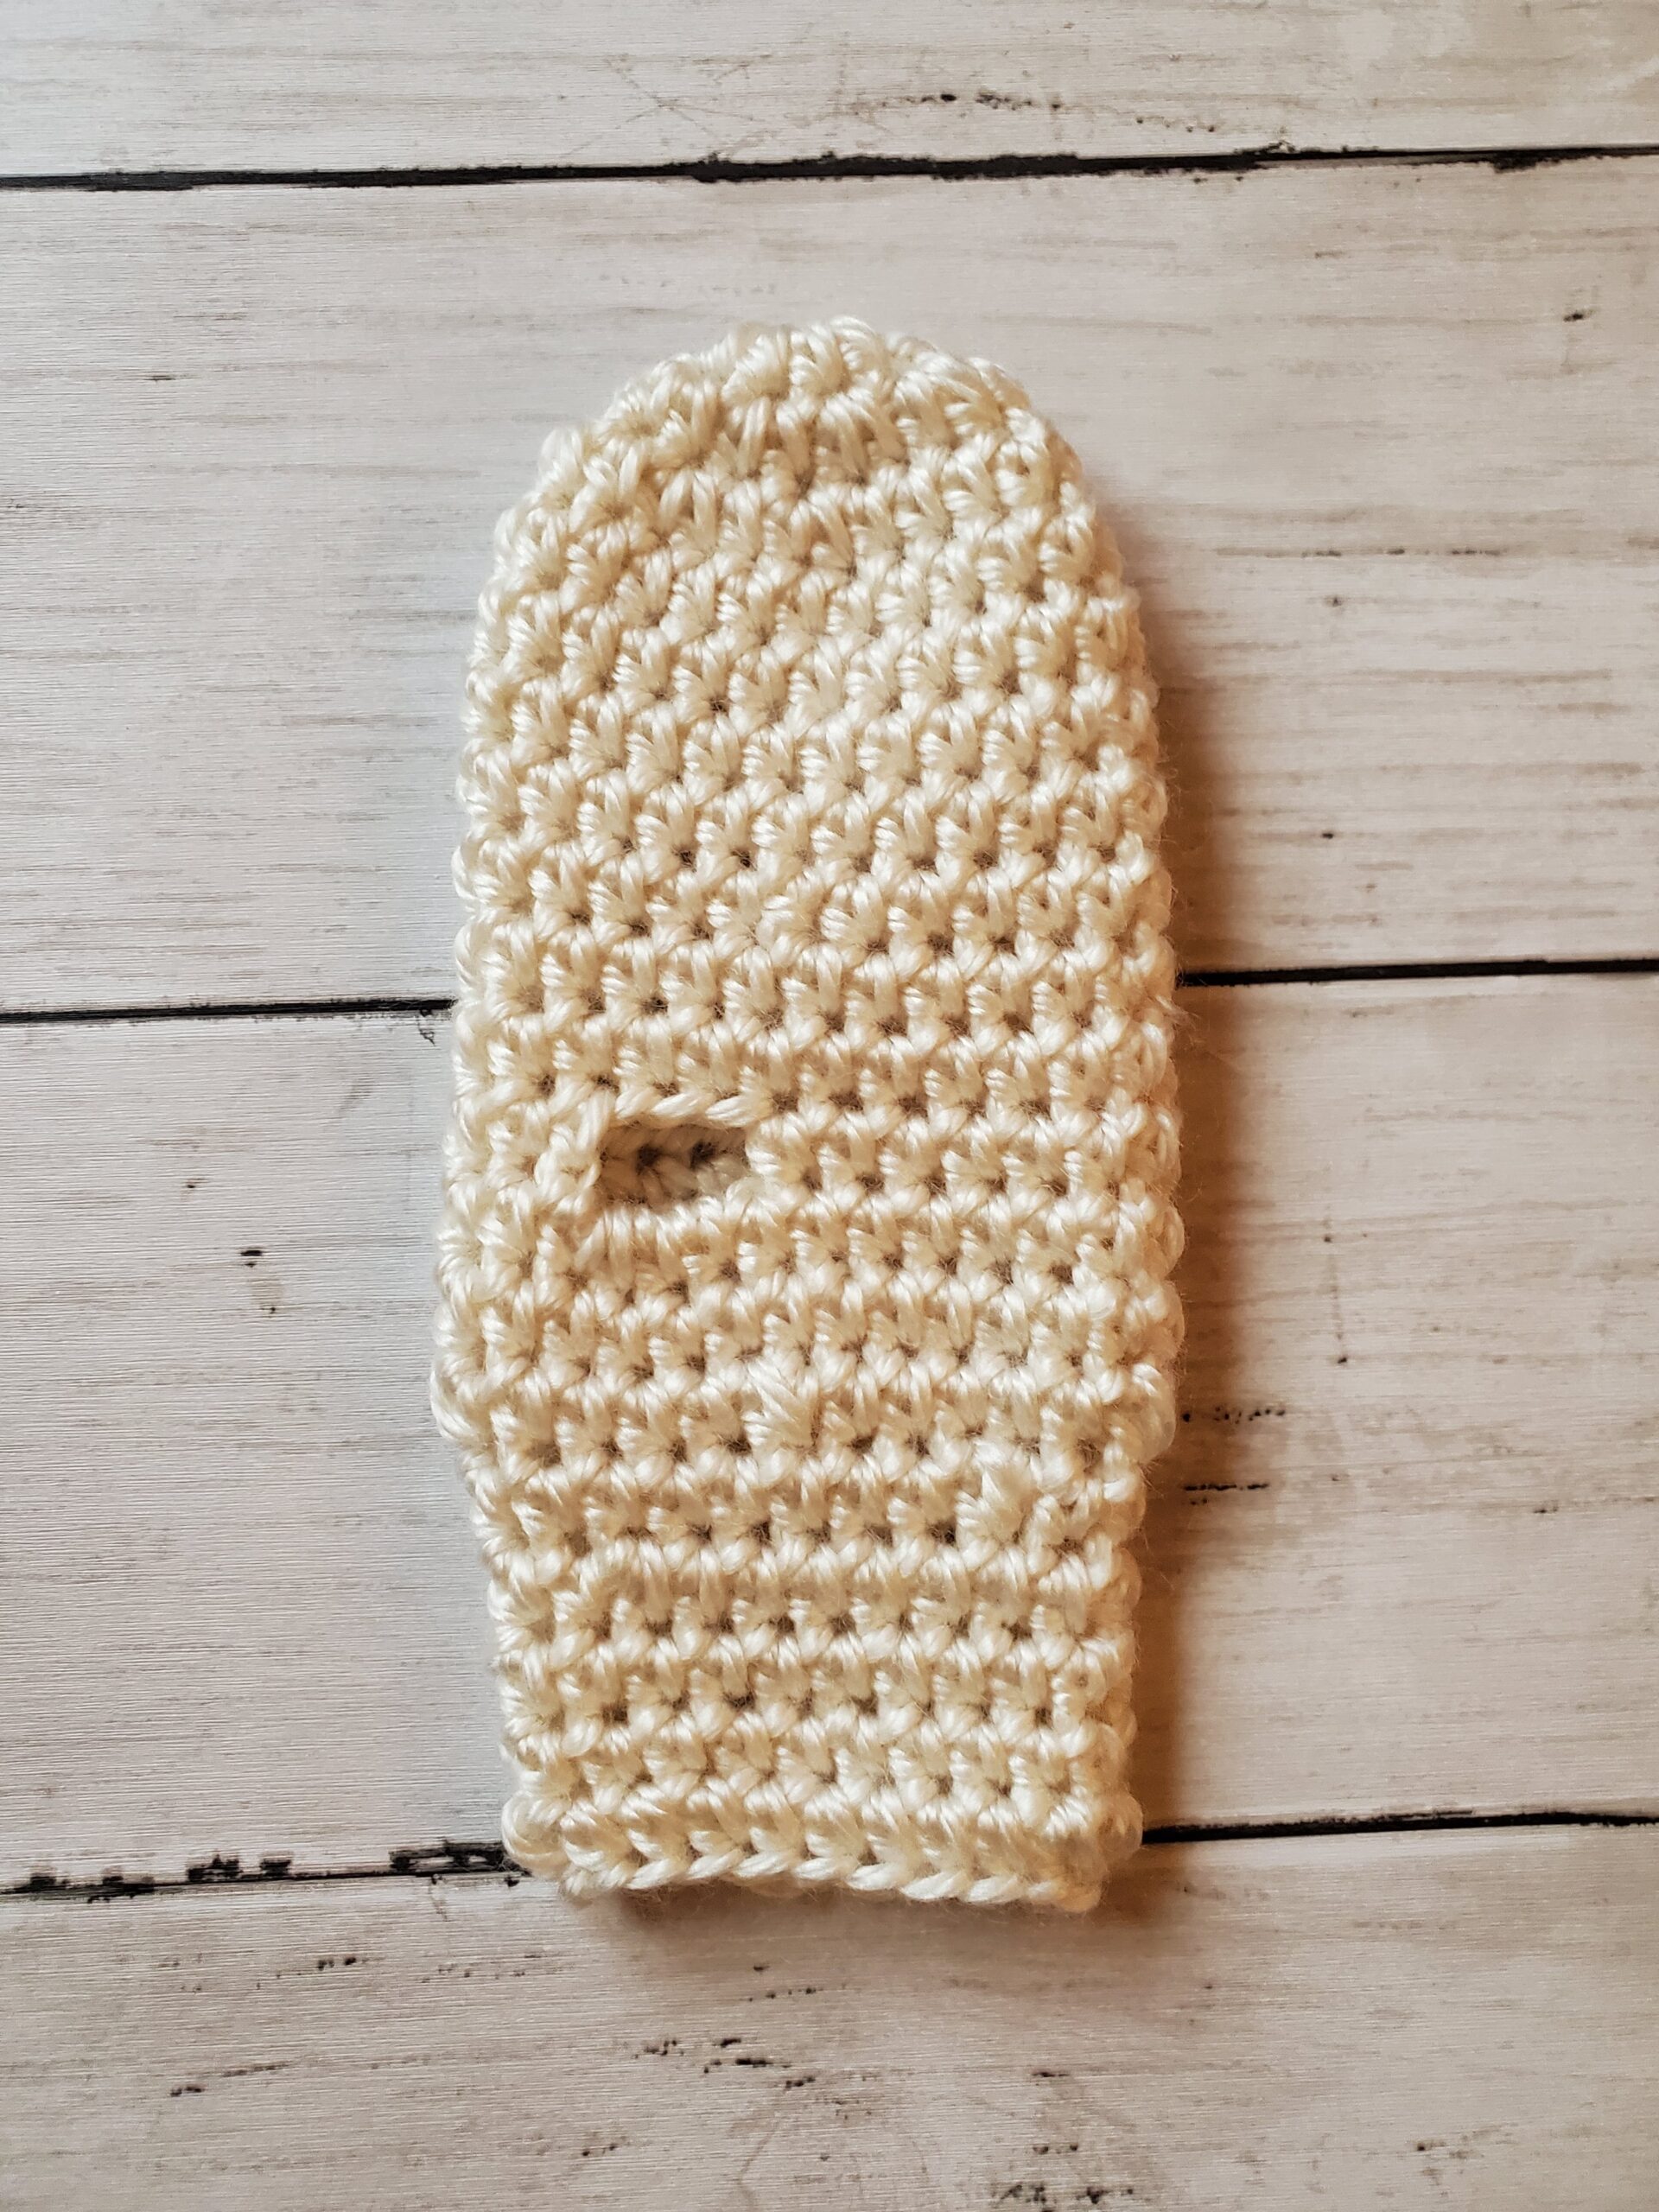
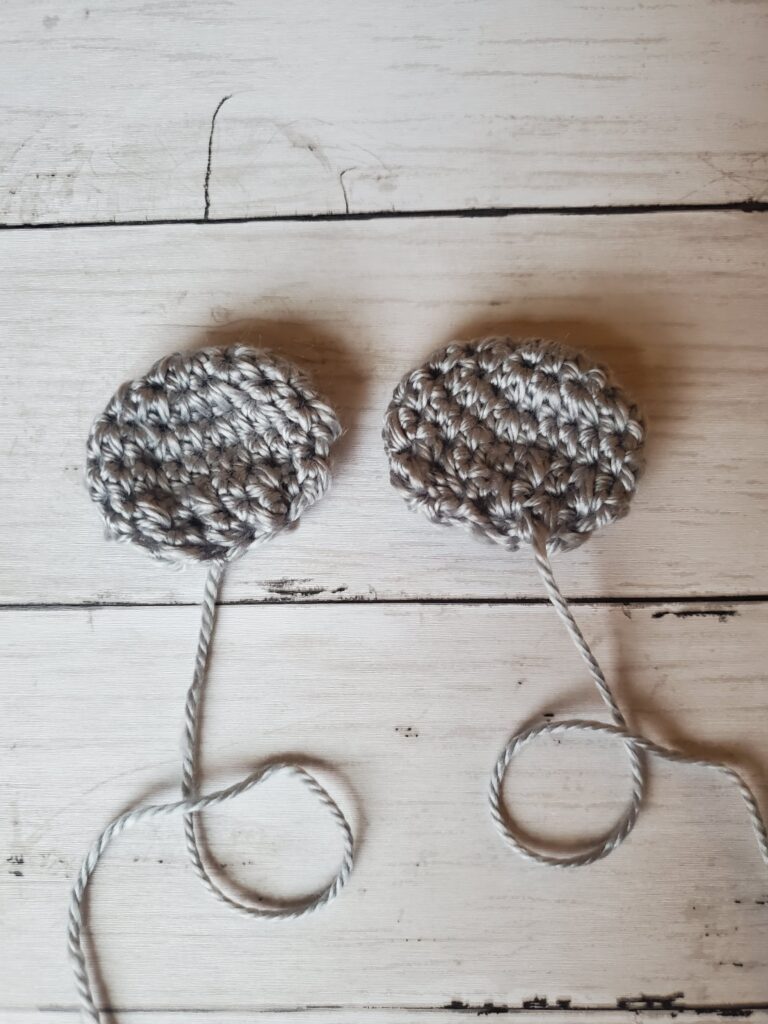
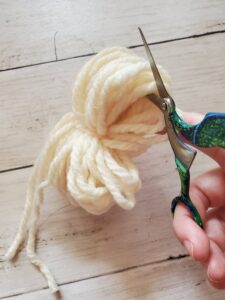
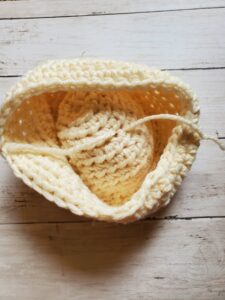
Cut yarn with scissors, pull through, weave in end with tapestry needle.
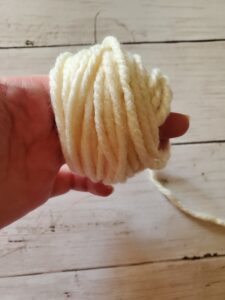
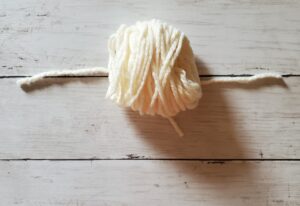
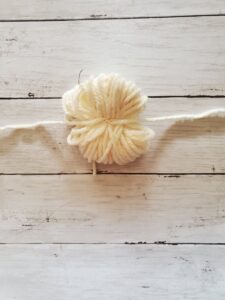
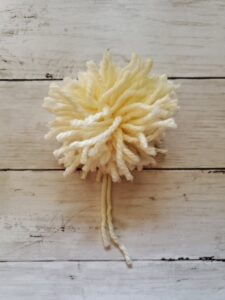
See below for Pom Pom instructions.
3-6 Months
| Head Circumference: 14-15 inches | Hat Length: 6-6.25 inches | Crown Size: 5-5.25 inches |
- Round 1: Make magic circle/ring (alternatively ch 2 and crochet in the first ch). Ch 2 (does not count as a stitch from here on out), 6 hdc in magic circle/ring, sl st to first st (6 sts)
- Round 2: Ch 2, 2 hdc in each st around, sl st to first st (12 sts)
- Round 3: Ch 2, *2 hdc in next st, 1 hdc in next st,* repeat from *to,* sl st to first st (18 sts)
- Round 4: Ch 2, *2 hdc in next st, 1 hdc in next 2 sts,* repeat from *to,* sl st to first st (24 sts)
- Round 5: Ch 2, *2 hdc in next st, 1 hdc in next 5 sts,* repeat from *to,* sl st to first st (28 sts)
- Round 6-11 (or until desired length): Ch 2, 1 hdc in each st around, sl st to first st (28 sts)
- Cut yarn with scissors, pull through, weave in end with tapestry needle.
See below for Pom Pom instructions.
6-12 Months
| Head Circumference: 16-17 inches | Hat Length: 6.25-6.5 inches | Crown Size: 5.25-5.5 inches |
- Round 1: Make magic circle/ring (alternatively ch 2 and crochet in the first ch). Ch 2 (does not count as a stitch from here on out), 6 hdc in magic circle/ring, sl st to first st (6 sts)
- Round 2: Ch 2, 2 hdc in each st around, sl st to first st (12 sts)
- Round 3: Ch 2, *2 hdc in next st, 1 hdc in next st,* repeat from *to,* sl st to first st (18 sts)
- Round 4: Ch 2, *2 hdc in next st, 1 hdc in next 2 sts,* repeat from *to,* sl st to first st (24 sts)
- Round 5: Ch 2, *2 hdc in next st, 1 hdc in next 3 sts,* repeat from *to,* sl st to first st (30 sts)
- Round 6-12 (or until desired length): Ch 2, 1 hdc in each st around, sl st to first st (30 sts)
Cut yarn with scissors, pull through, weave in end with tapestry needle.
See below for Pom Pom instructions.
Toddler 1-3 Years
| Head Circumference: 18-19 inches | Hat Length: 7.25-7.5 inches | Crown Size: 5.5-6 inches
- Round 1: Make magic circle/ring (alternatively ch 2 and crochet in the first ch). Ch 2 (does not count as a stitch from here on out), 6 hdc in magic circle/ring, sl st to first st (6 sts)
- Round 2: Ch 2, 2 hdc in each st around, sl st to first st (12 sts)
- Round 3: Ch 2, *2 hdc in next st, 1 hdc in next st,* repeat from *to,* sl st to first st (18 sts)
- Round 4: Ch 2, *2 hdc in next st, 1 hdc in next 2 sts,* repeat from *to,* sl st to first st (24 sts)
- Round 5: Ch 2, *2 hdc in next st, 1 hdc in next 3 sts,* repeat from *to,* sl st to first st (30 sts)
- Round 6: Ch 2, *2 hdc in next st, 1 hdc in next 14 sts,* repeat from *to,* sl st to first st (32 sts)
- Round 7-13 (or until desired length): Ch 2, 1 hdc in each st around, sl st to first st (32 sts)
Cut yarn with scissors, pull through, weave in end with tapestry needle.
See below for Pom Pom instructions.
Child 3-10 Years
| Head Circumference: 19-21 inches | Hat Length: 7.5 inches | Crown Size: 6-6.25 inches
- Round 1: Make magic circle/ring (alternatively ch 2 and crochet in the first ch). Ch 2 (does not count as a stitch from here on out), 6 hdc in magic circle/ring, sl st to first st (6 sts)
- Round 2: Ch 2, 2 hdc in each st around, sl st to first st (12 sts)
- Round 3: Ch 2, *2 hdc in next st, 1 hdc in next st,* repeat from *to,* sl st to first st (18 sts)
- Round 4: Ch 2, *2 hdc in next st, 1 hdc in next 2 sts,* repeat from *to,* sl st to first st (24 sts)
- Round 5: Ch 2, *2 hdc in next st, 1 hdc in next 3 sts,* repeat from *to,* sl st to first st (30 sts)
- Round 6: Ch 2, *2 hdc in next st, 1 hdc in next 4 sts,* repeat from *to,* sl st to first st (36 sts)
- Round 7: Ch 2, *2 hdc in next st, 1 hdc in next 5 sts,* repeat from *to,* sl st to first st (42 sts)
- Round 8-13: ch 2, 1 hdc in each st around, sl st to first st (42 sts)
Cut yarn with scissors, pull through, weave in end with tapestry needle.
See below for Pom Pom instructions.
Teen/Small Adult
| Head Circumference: 20-21 inches | Hat Length: 8-8.5 inches | Crown Size: 6.5-7 inches |
- Round 1: Make magic circle/ring (alternatively ch 2 and crochet in the first ch). Ch 2 (does not count as a stitch from here on out), 6 hdc in magic circle/ring, sl st to first st (6 sts)
- Round 2: Ch 2, 2 hdc in each st around, sl st to first st (12 sts)
- Round 3: Ch 2, *2 hdc in next st, 1 hdc in next st,* repeat from *to,* sl st to first st (18 sts)
- Round 4: Ch 2, *2 hdc in next st, 1 hdc in next 2 sts,* repeat from *to,* sl st to first st (24 sts)
- Round 5: Ch 2, *2 hdc in next st, 1 hdc in next 3 sts,* repeat from *to,* sl st to first st (30 sts)
- Round 6: Ch 2, *2 hdc in next st, 1 hdc in next 4 sts,* repeat from *to,* sl st to first st (36 sts)
- Round 7: Ch 2, *2 hdc in next st, 1 hdc in next 5 sts,* repeat from *to,* sl st to first st (42 sts)
- Round 8-14 (or until desired length): Ch 2, 1 hdc in each st around, sl st to first st (42 sts)
Cut yarn with scissors, pull through, weave in end with tapestry needle.
See below for Pom Pom instructions.
Adult Medium
| Head Circumference: 22 inches | Hat Length: 8.5-9 inches | Crown Size 7-7.5 inches |
- Round 1: Make magic circle/ring (alternatively ch 2 and crochet in the first ch). Ch 2 (does not count as a stitch from here on out), 6 hdc in magic circle/ring, sl st to first st (6 sts)
- Round 2: Ch 2, 2 hdc in each st around, sl st to first st (12 sts)
- Round 3: Ch 2, *2 hdc in next st, 1 hdc in next st,* repeat from *to,* sl st to first st (18 sts)
- Round 4: Ch 2, *2 hdc in next st, 1 hdc in next 2 sts,* repeat from *to,* sl st to first st (24 sts)
- Round 5: Ch 2, *2 hdc in next st, 1 hdc in next 3 sts,* repeat from *to,* sl st to first st (30 sts)
- Round 6: Ch 2, *2 hdc in next st, 1 hdc in next 4 sts,* repeat from *to,* sl st to first st (36 sts)
- Round 7: Ch 2, *2 hdc in next st, 1 hdc in next 8 sts,* repeat from *to,* sl st to first st (40 sts)
- Round 8: Ch 2, *2 hdc in next st, 1 hdc in next 9 sts,* repeat from *to,* sl st to first st (44 sts)
- Round 9-15 (or until desired length): Ch 2, 1 hdc in each st around, sl st to first st (44 sts)
- Cut yarn with scissors, pull through, weave in end with tapestry needle.
See below for Pom Pom instructions.
Adult Large
| Head Circumference: 23 inches | Hat Length: 9-9.5 inches | Crown Size: 7.5-8 inches
- Round 1: Make magic circle/ring (alternatively ch 2 and crochet in the first ch). Ch 2 (does not count as a stitch from here on out), 6 hdc in magic circle/ring, sl st to first st (6 sts)
- Round 2: Ch 2, 2 hdc in each st around, sl st to first st (12 sts)
- Round 3: Ch 2, *2 hdc in next st, 1 hdc in next st,* repeat from *to,* sl st to first st (18 sts)
- Round 4: Ch 2, *2 hdc in next st, 1 hdc in next 2 sts,* repeat from *to,* sl st to first st (24 sts)
- Round 5: Ch 2, *2 hdc in next st, 1 hdc in next 3 sts,* repeat from *to,* sl st to first st (30 sts)
- Round 6: Ch 2, *2 hdc in next st, 1 hdc in next 4 sts,* repeat from *to,* sl st to first st (36 sts)
- Round 7: Ch 2, *2 hdc in next st, 1 hdc in next 5 sts,* repeat from *to,* sl st to first st (42 sts)
- Round 8: Ch 2, *2 hdc in next st, 1 hdc in next 6 sts,* repeat from *to,* sl st to first st (48 sts)
- Round 9-17 (or until desired length): Ch 2, 1 hdc in each st around, sl st to first st (48 sts)
Cut yarn with scissors, pull through, weave in end with tapestry needle.
See below for Pom Pom instructions