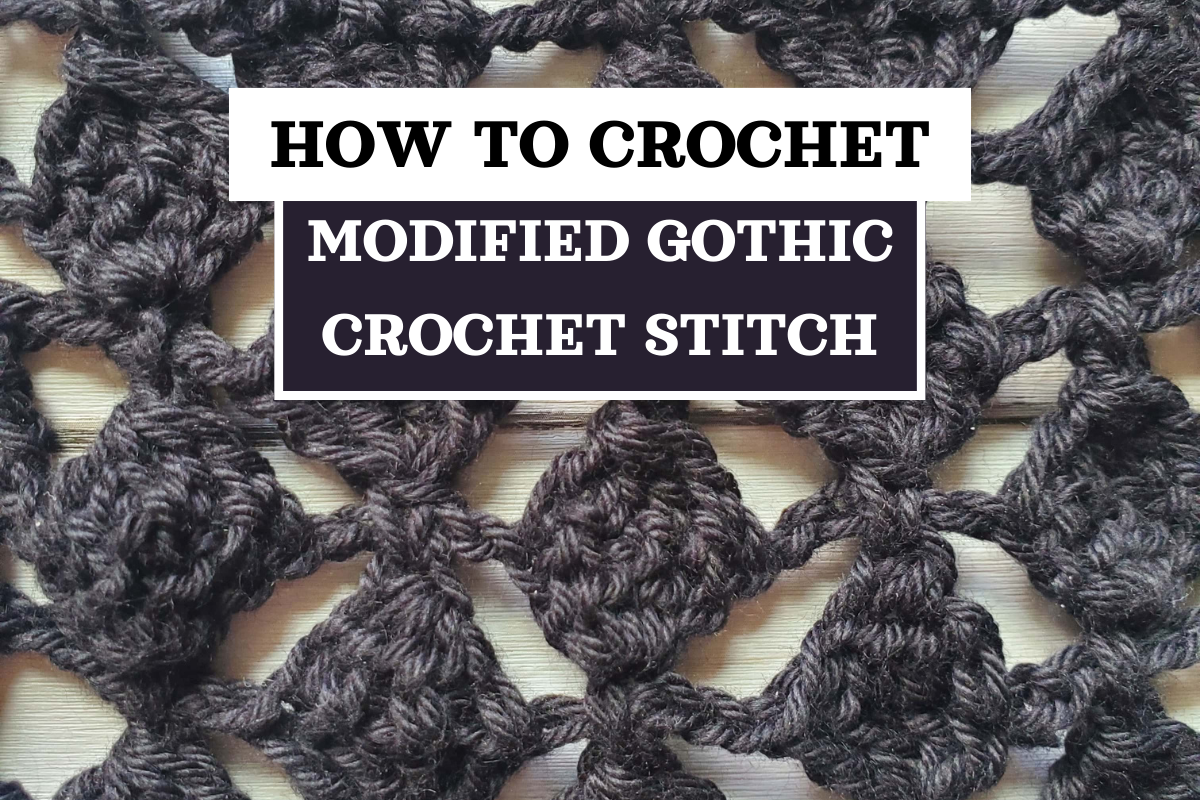
Hey everyone, today I’m sharing how to crochet the Modified Gothic Crochet Stitch and how you can tailor it to fit your own crochet pattern!
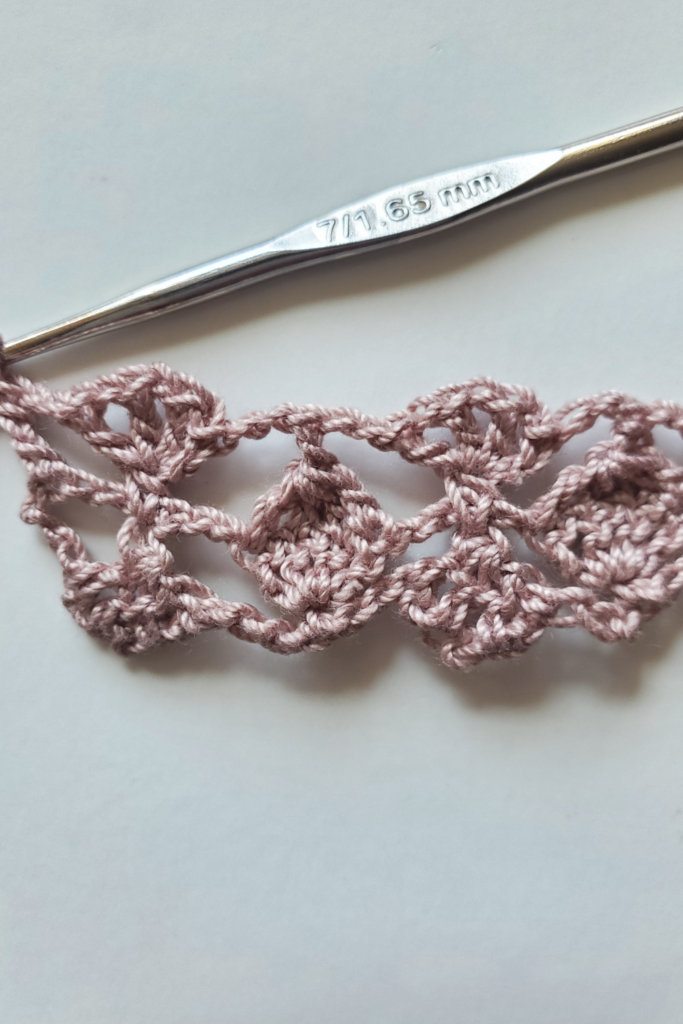
I absolutely love this crochet stitch, it gives your fabric the appearance of lacy diamonds, which is great for gothic crochet patterns.
The original Gothic Crochet Stitch was created by astra.lebedeva2019, who can be found on Instagram. I became very inspired to crochet some sort of lacy crochet pattern with this stitch. However, I discovered what I wanted to use it for…well it just didn’t quite work the way I wanted it to!
I needed the diamond stitches to be thicker and more chains in between the diamonds. This was to give a more lacy look to my particular project, hence the Modified Gothic Crochet Stitch was born.
Please note that some of these links may be affiliate links. That means that if you click on these links and make a purchase, I may receive a commission at no extra cost to you. You can find more information about our disclosure policy here. Thank you for your support.
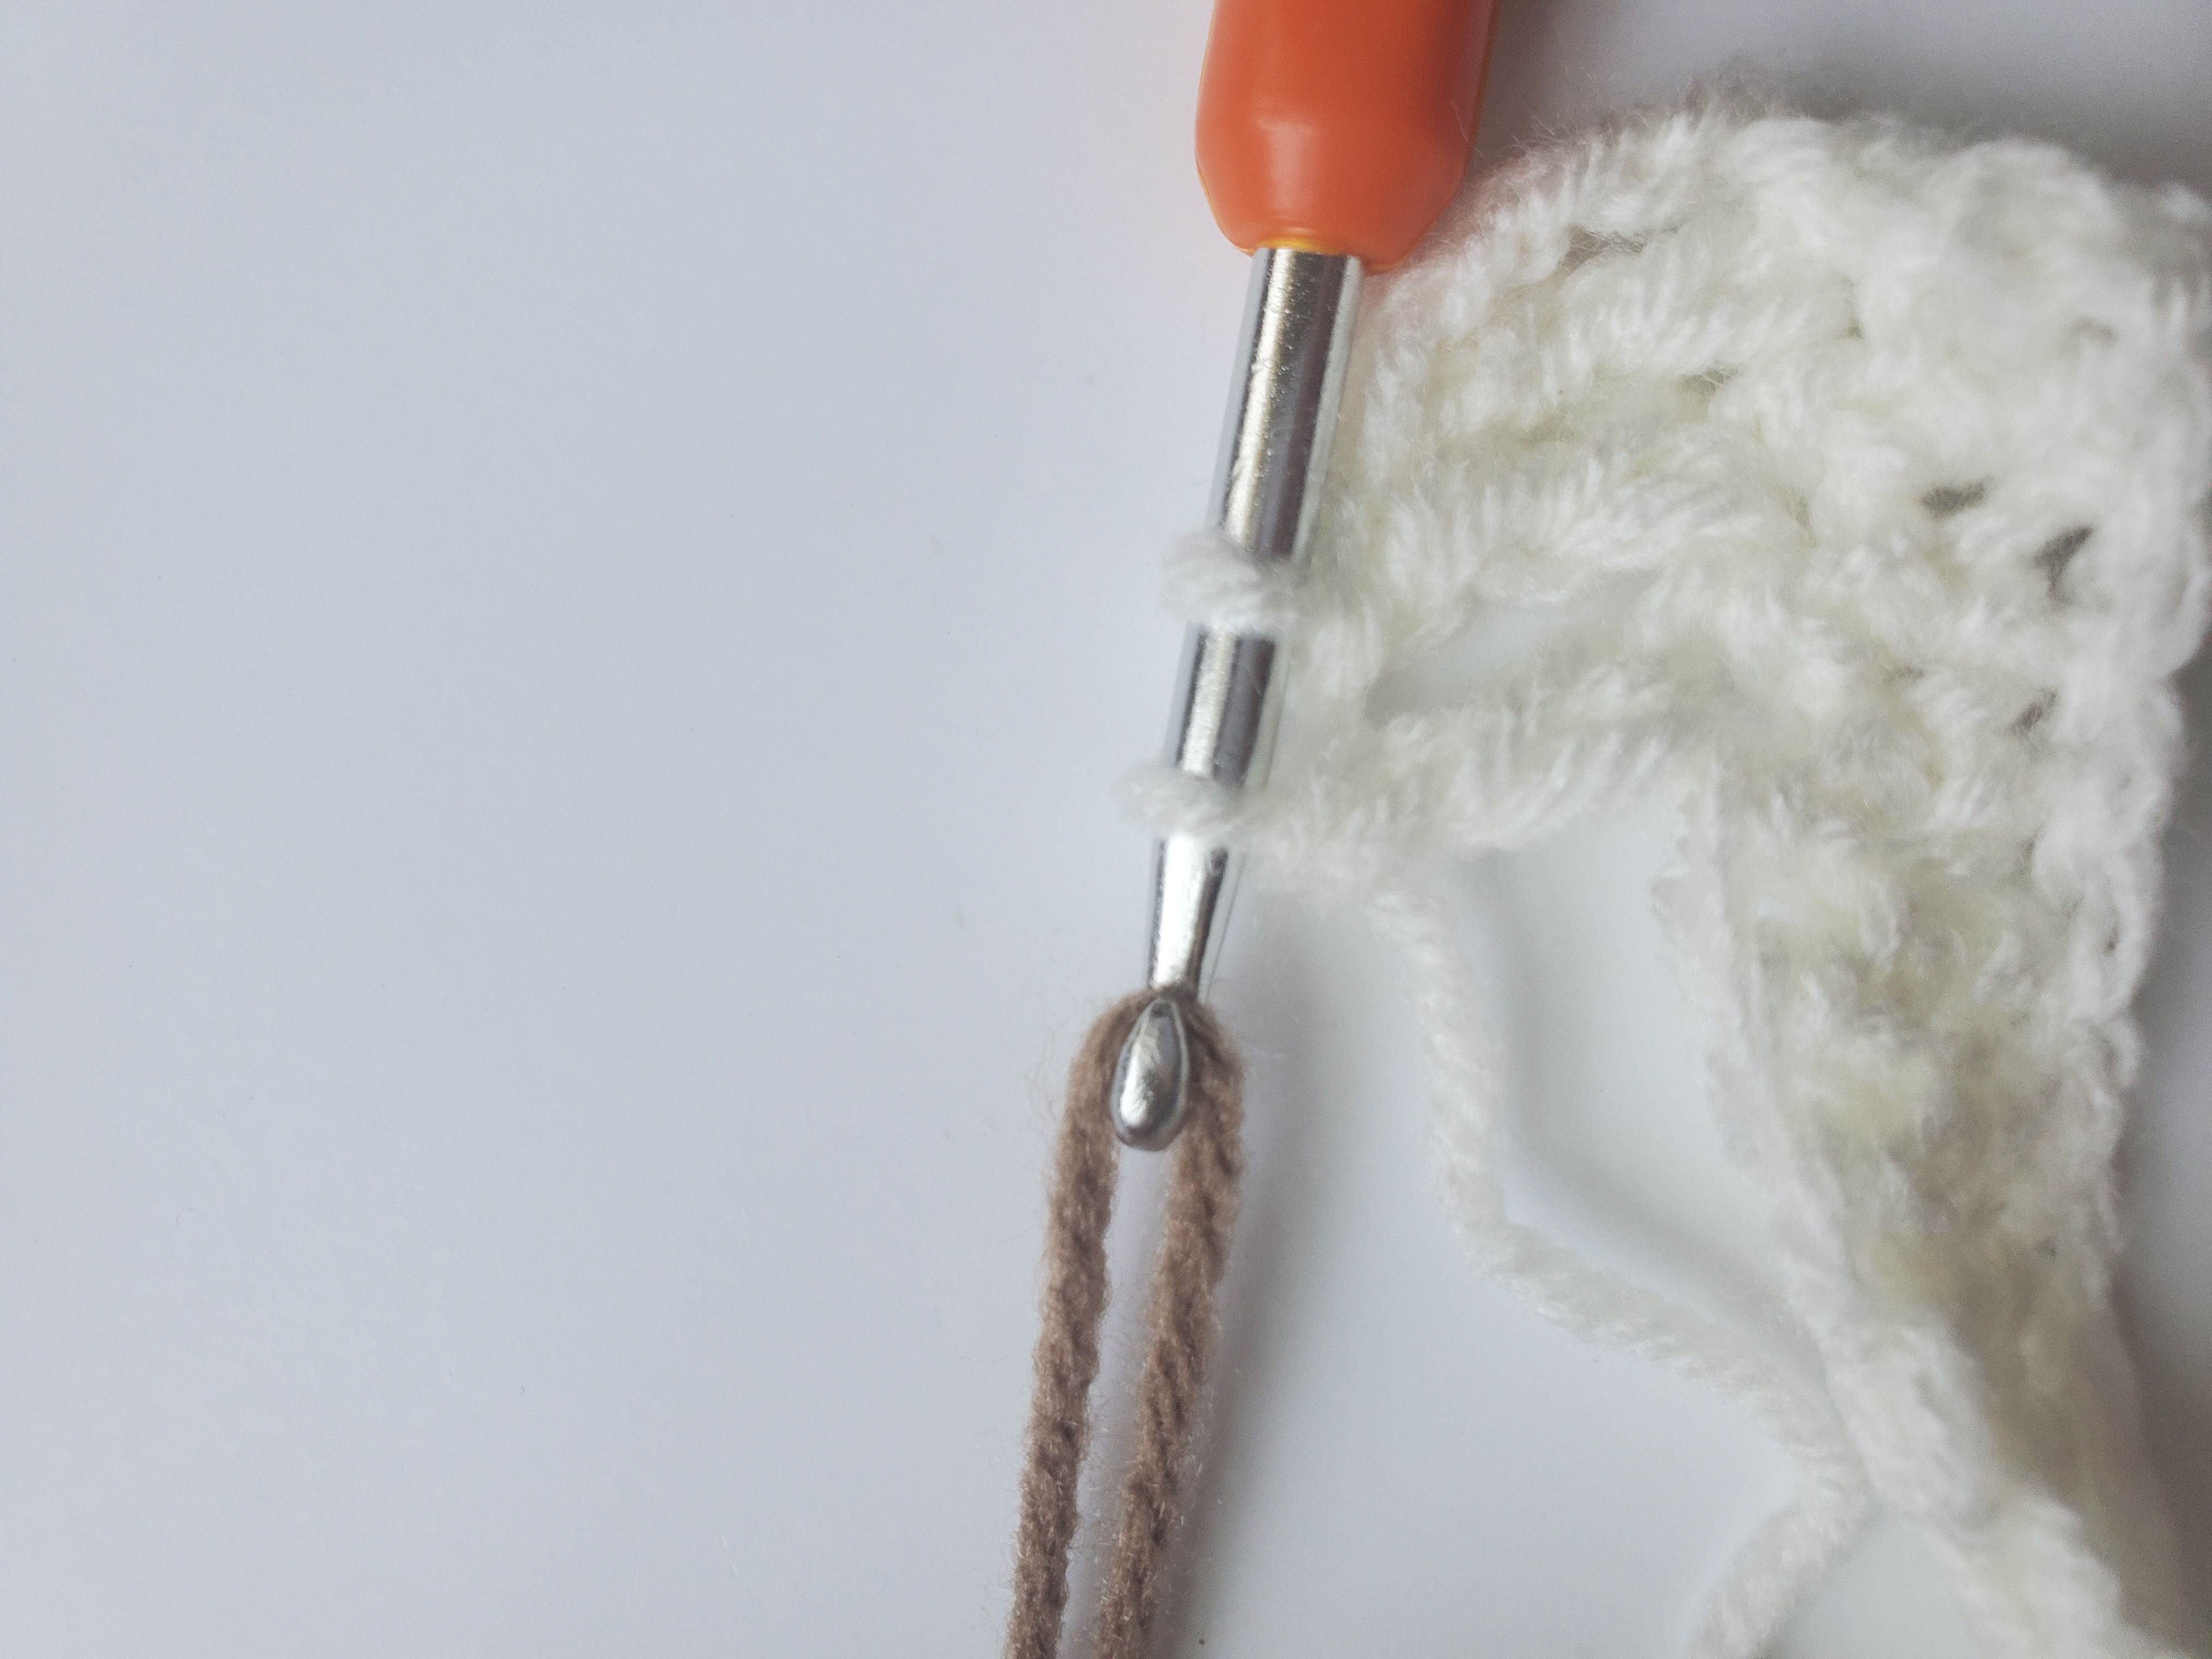
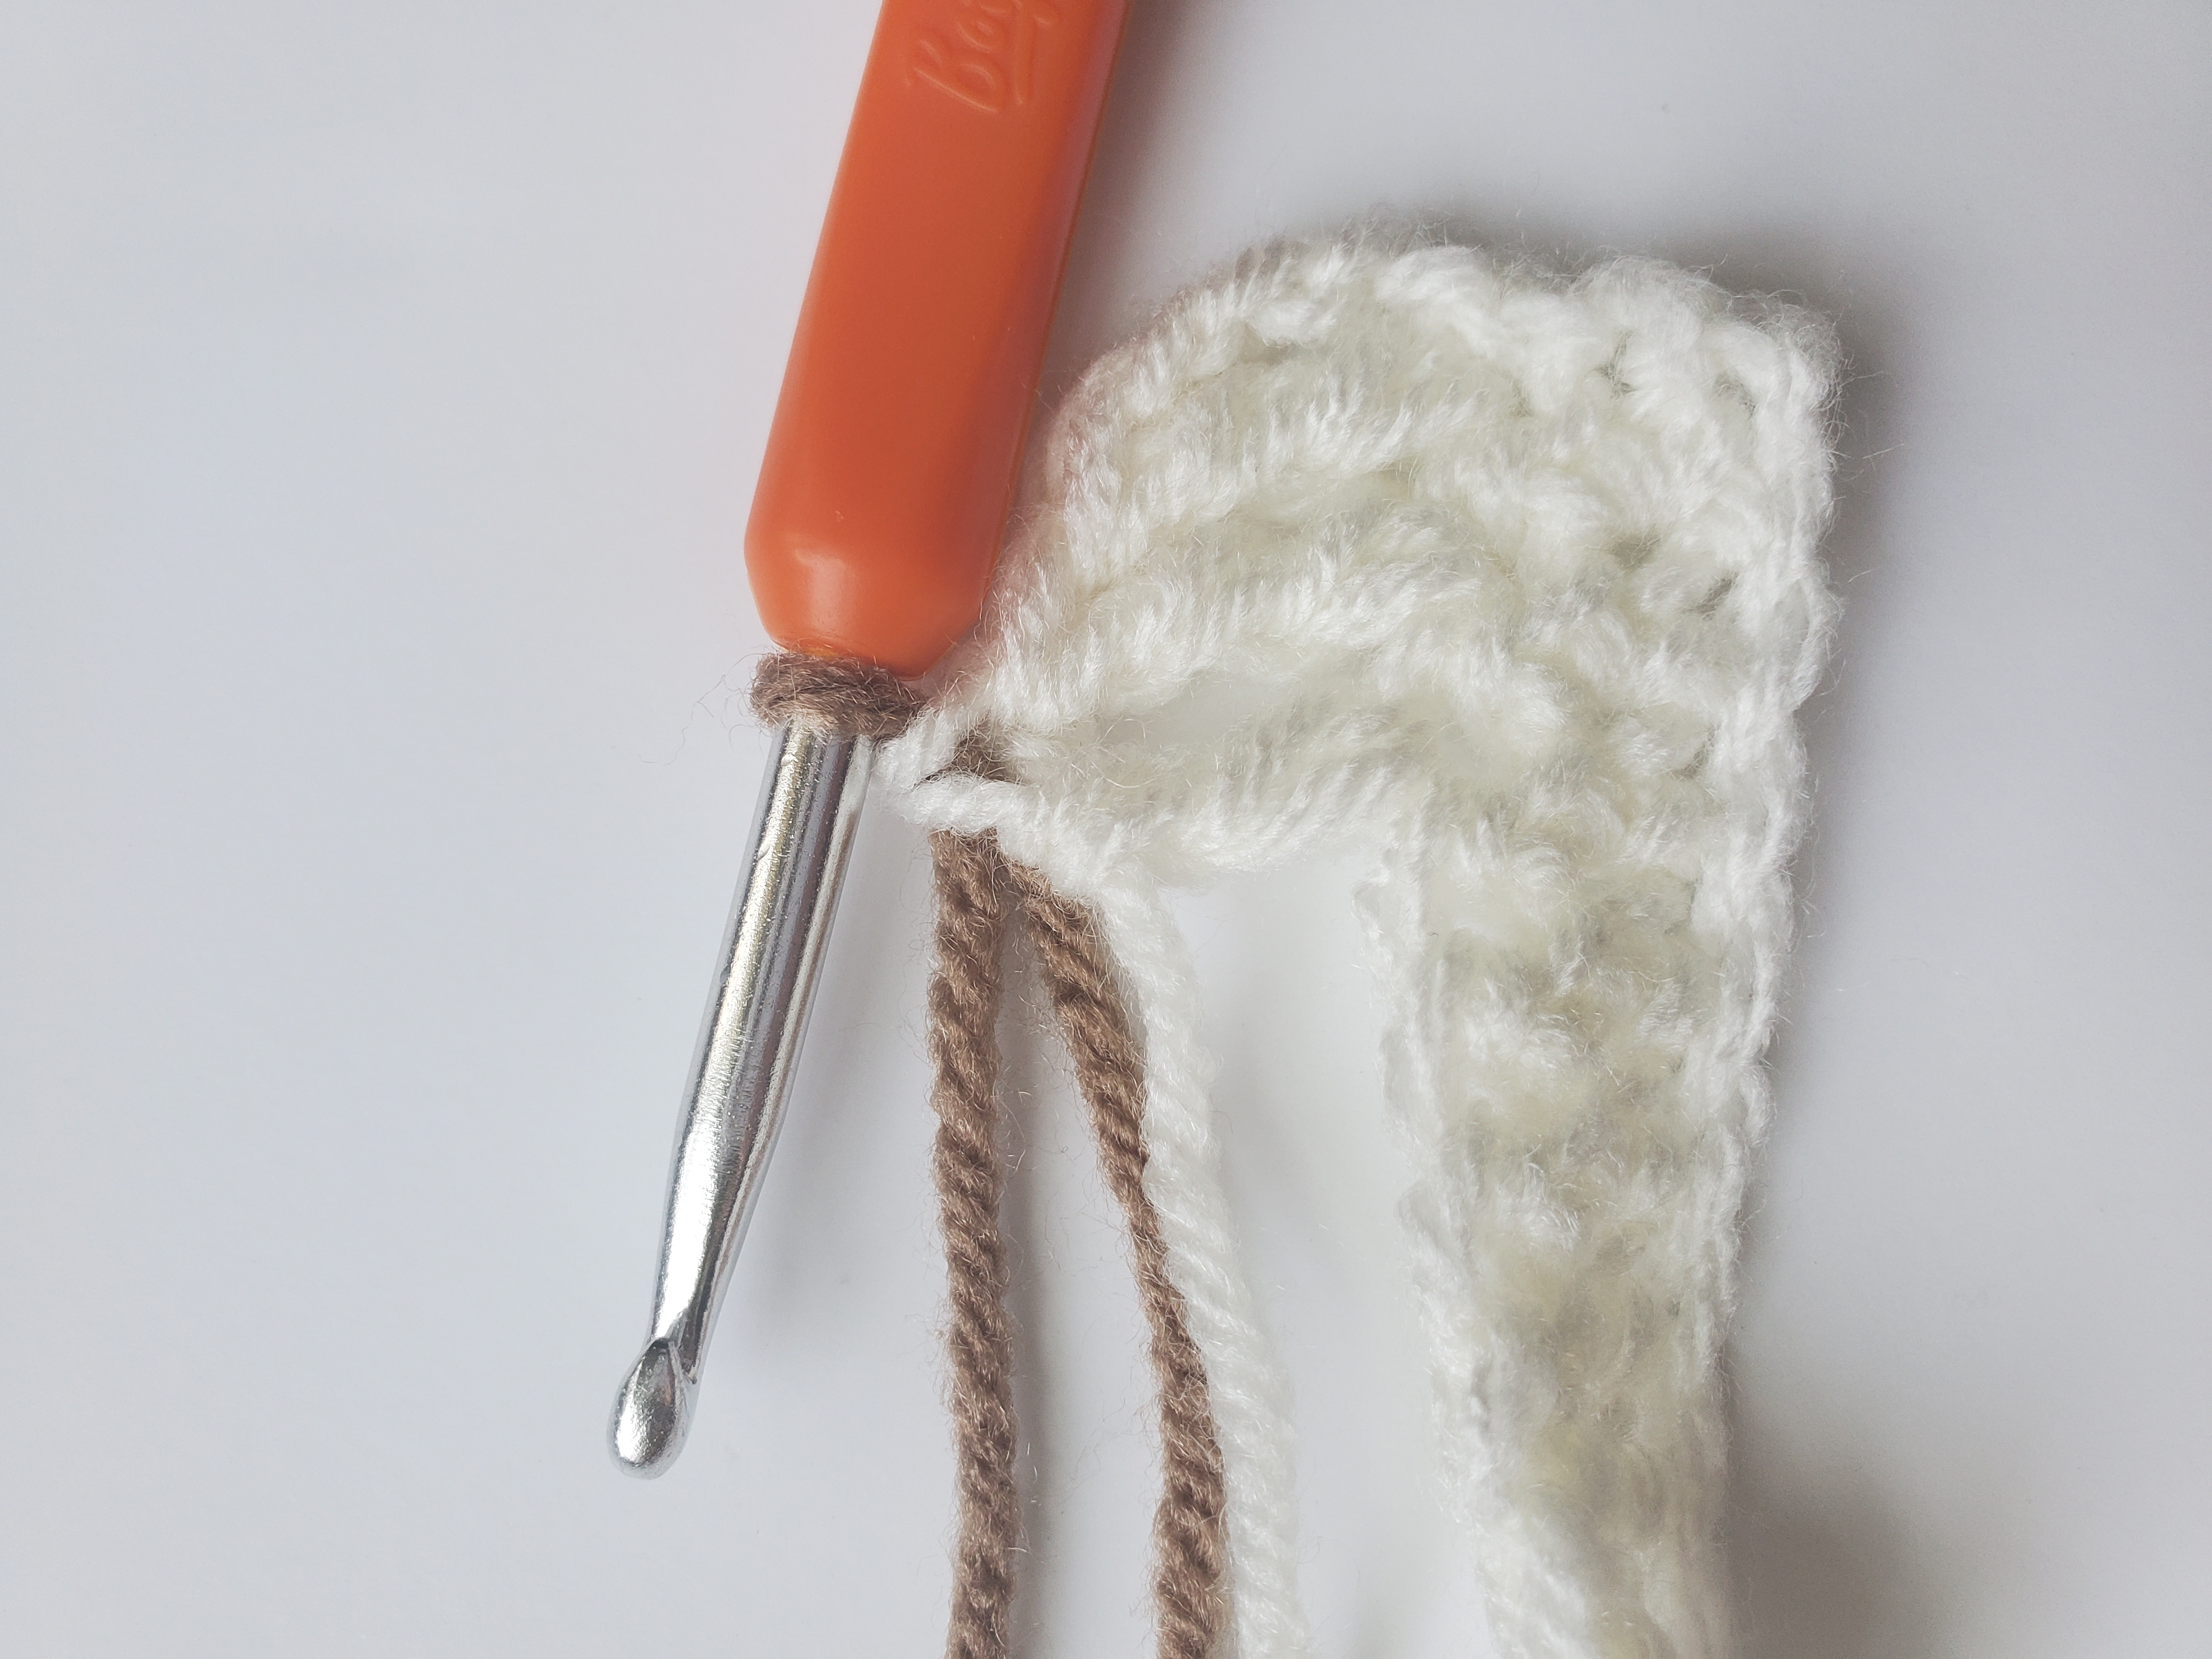
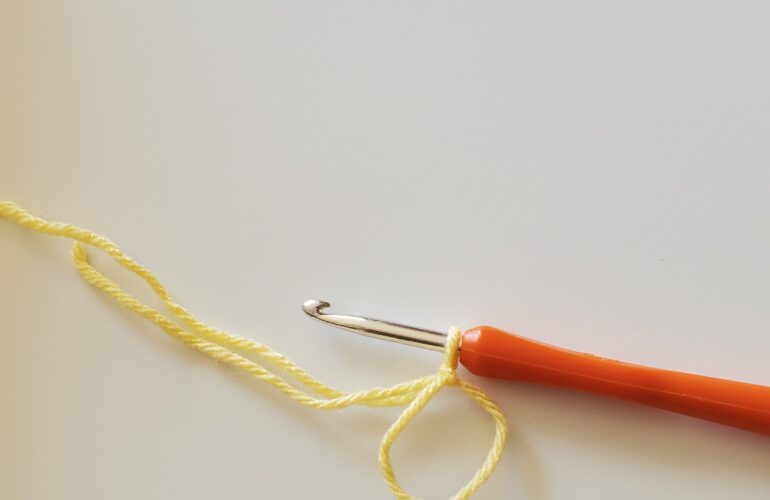
For this crochet stitch pattern, I’m using crochet thread from Hobby Lobby’s Artiste line, specifically in Orchid. The black yarn pictured is Rainbow Cotton from Hobbii.
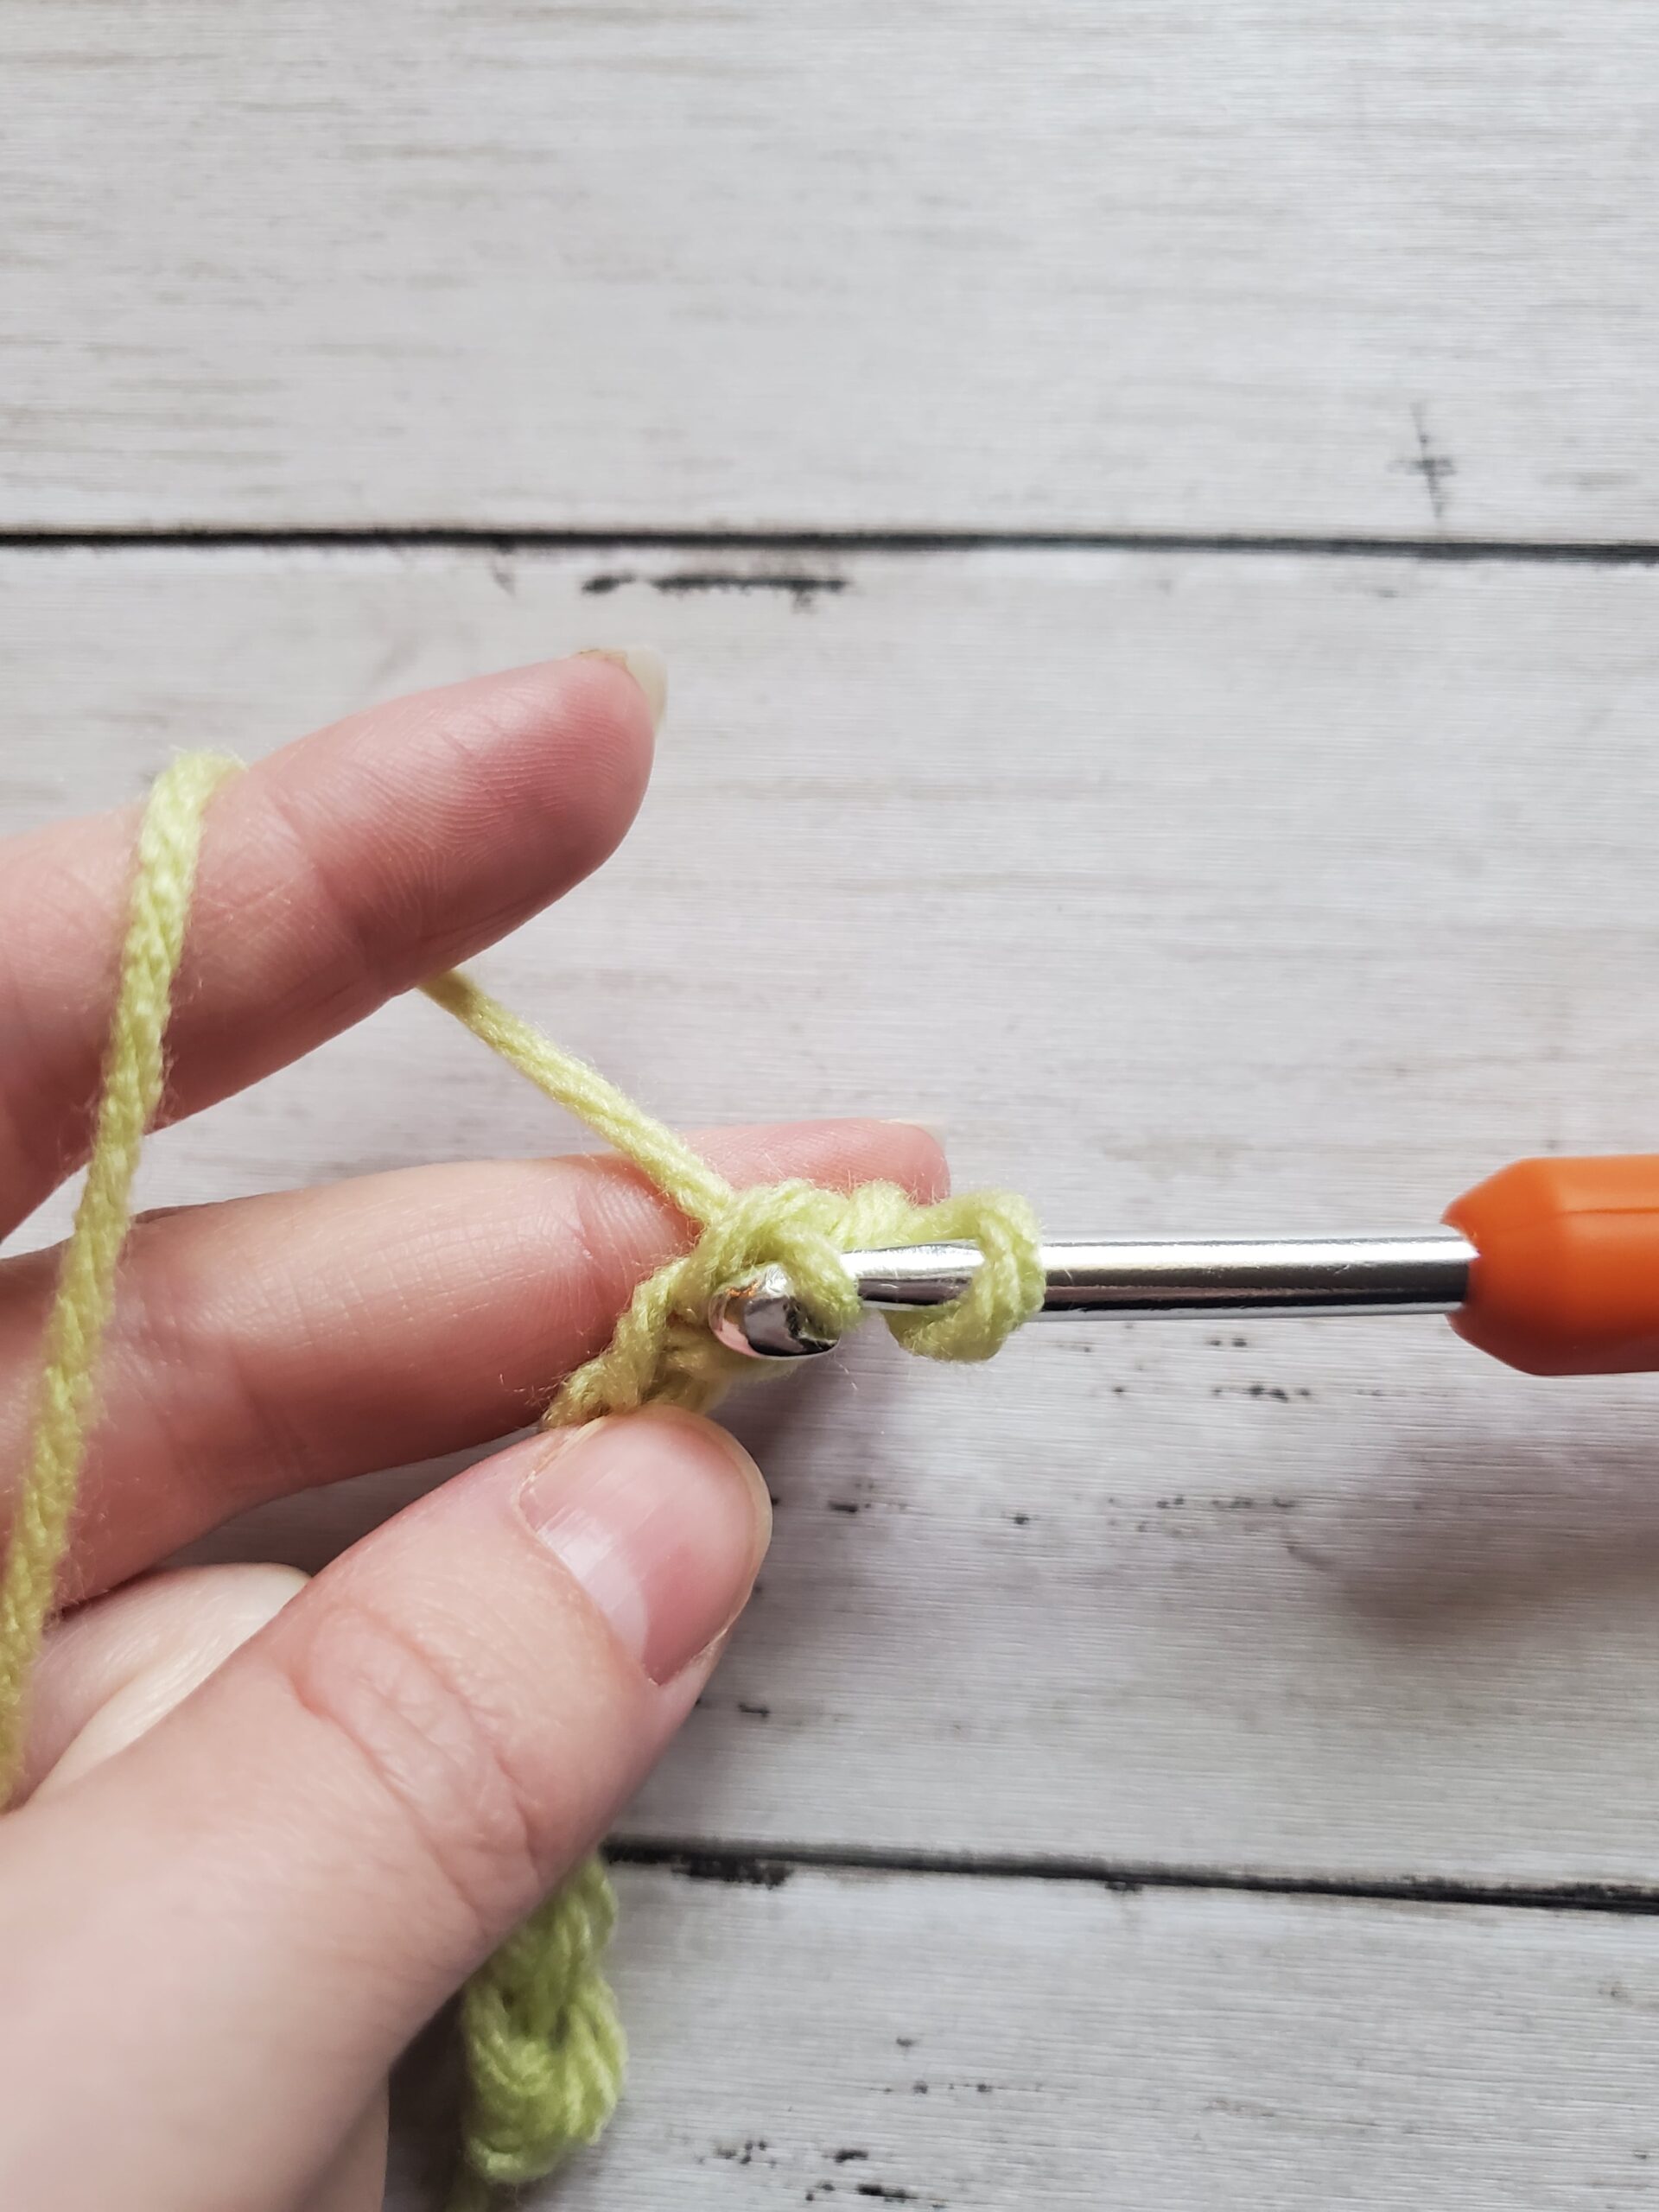
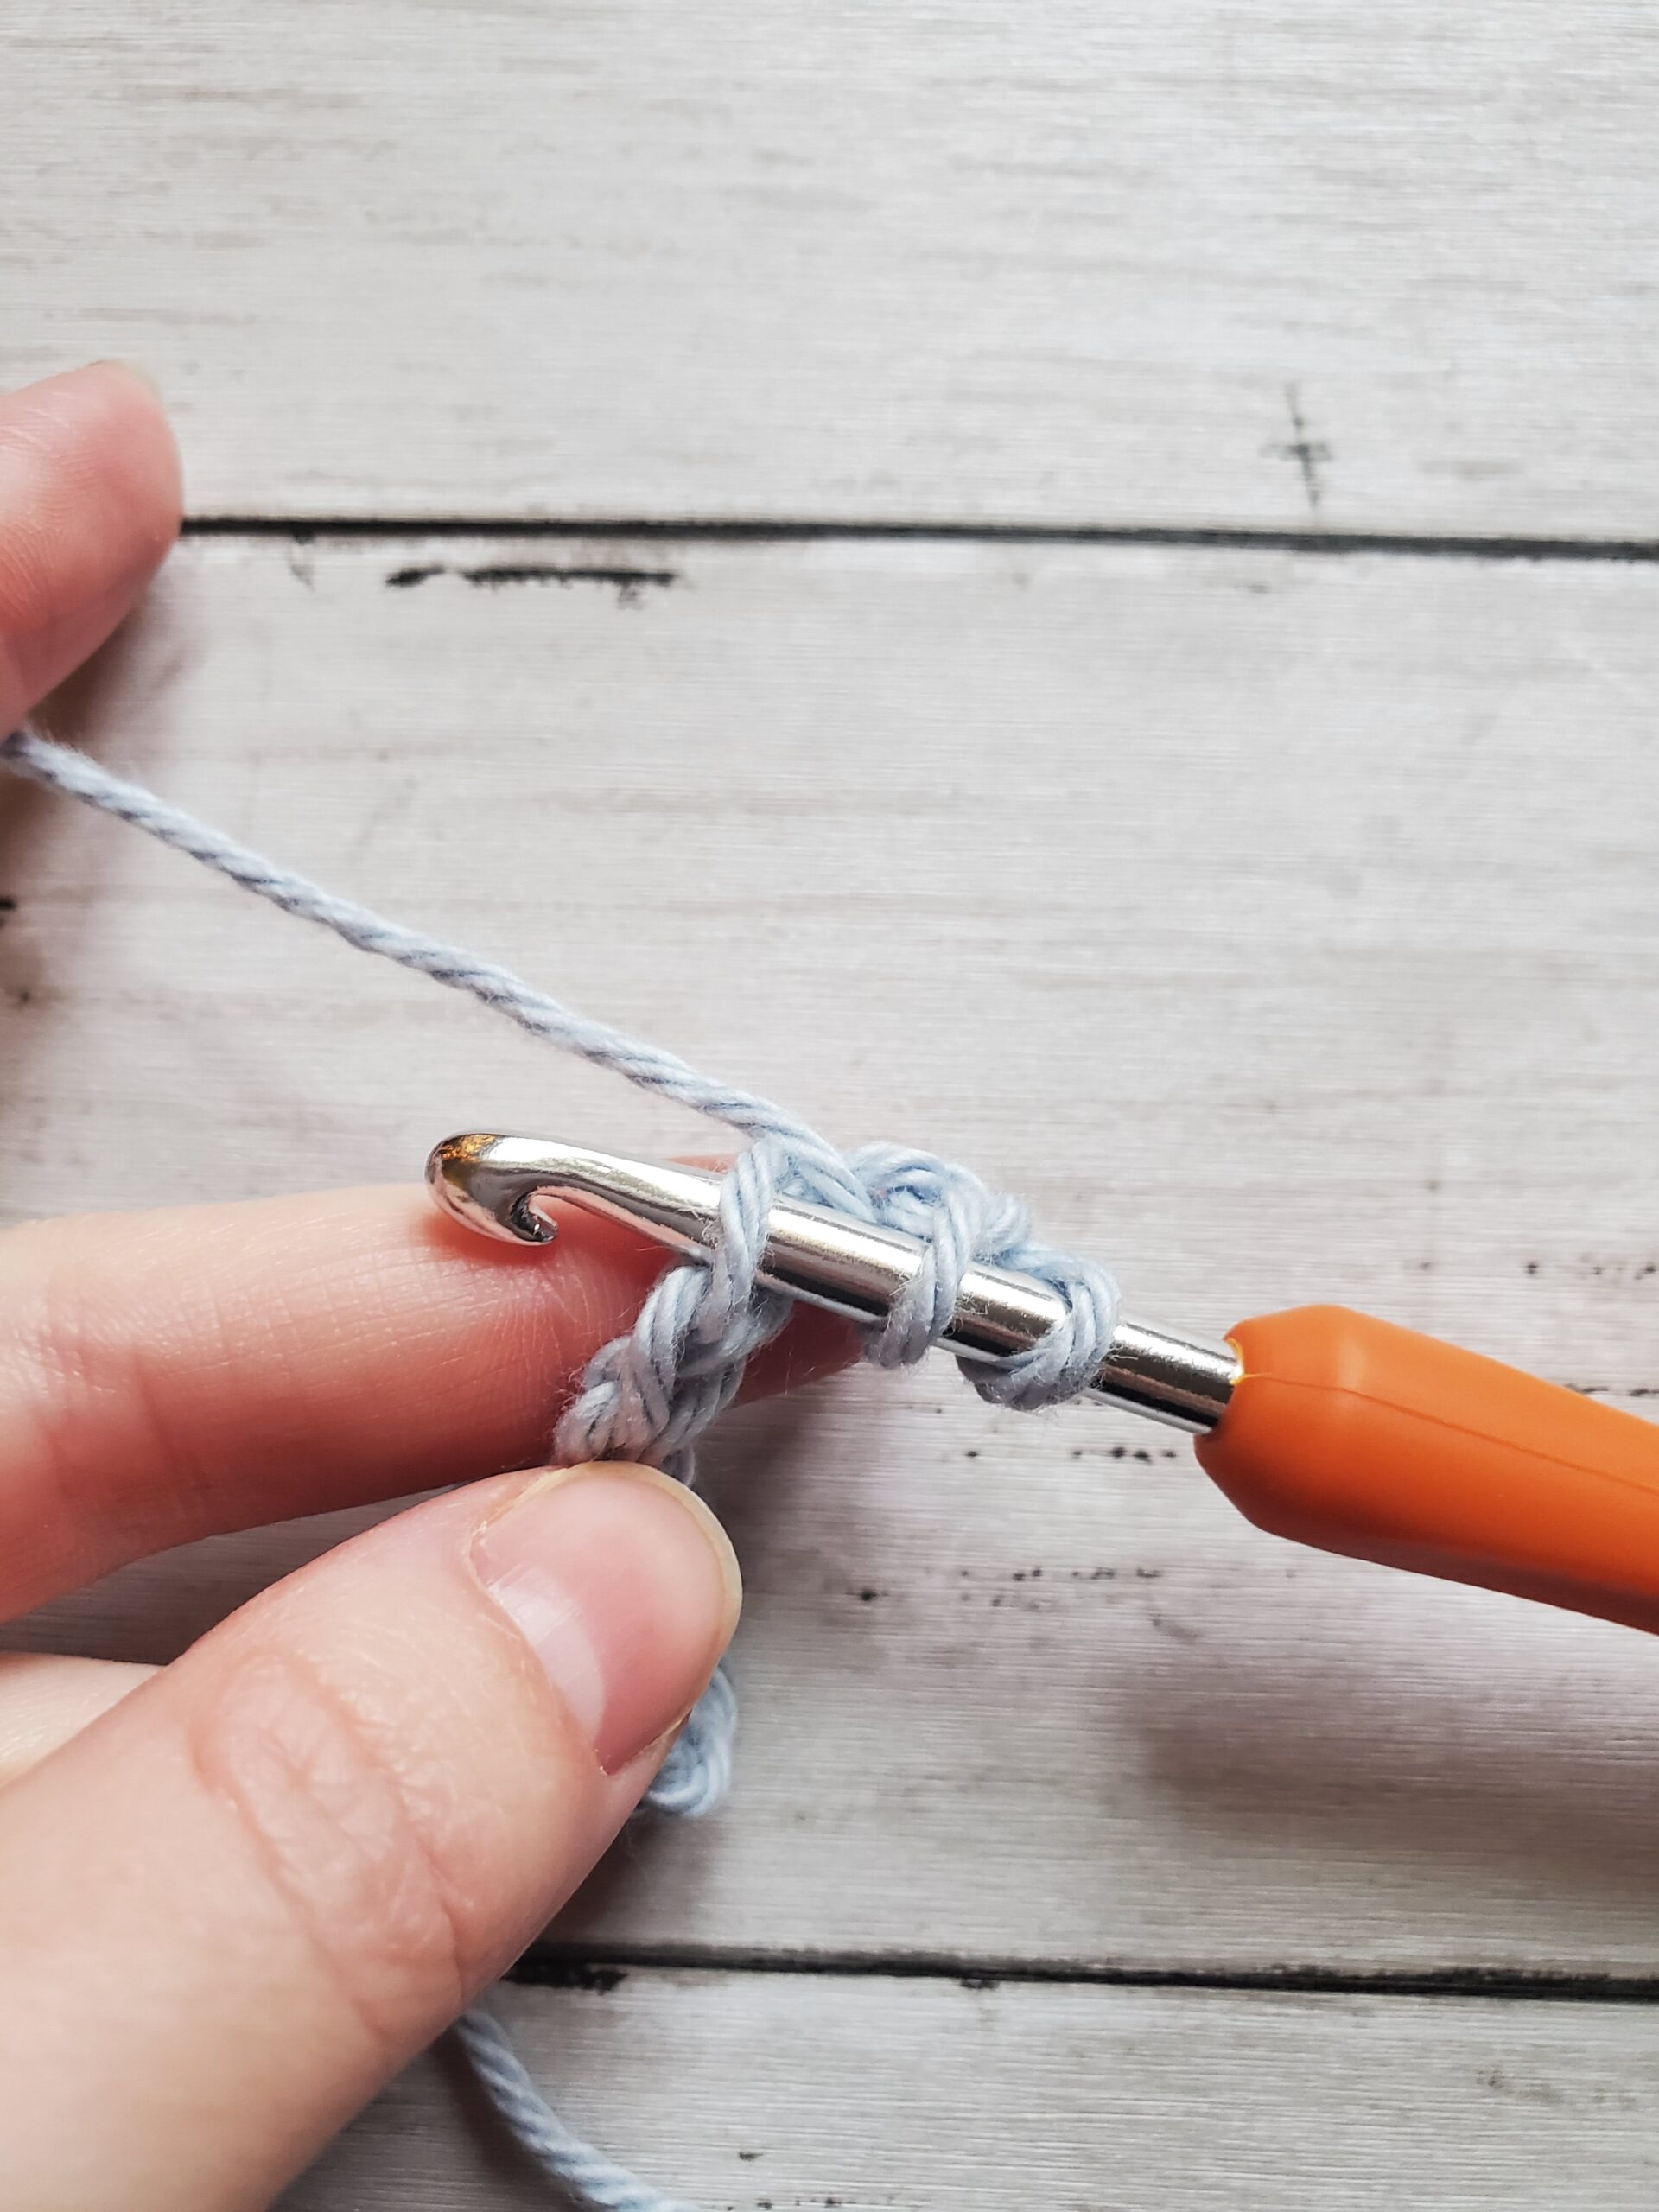
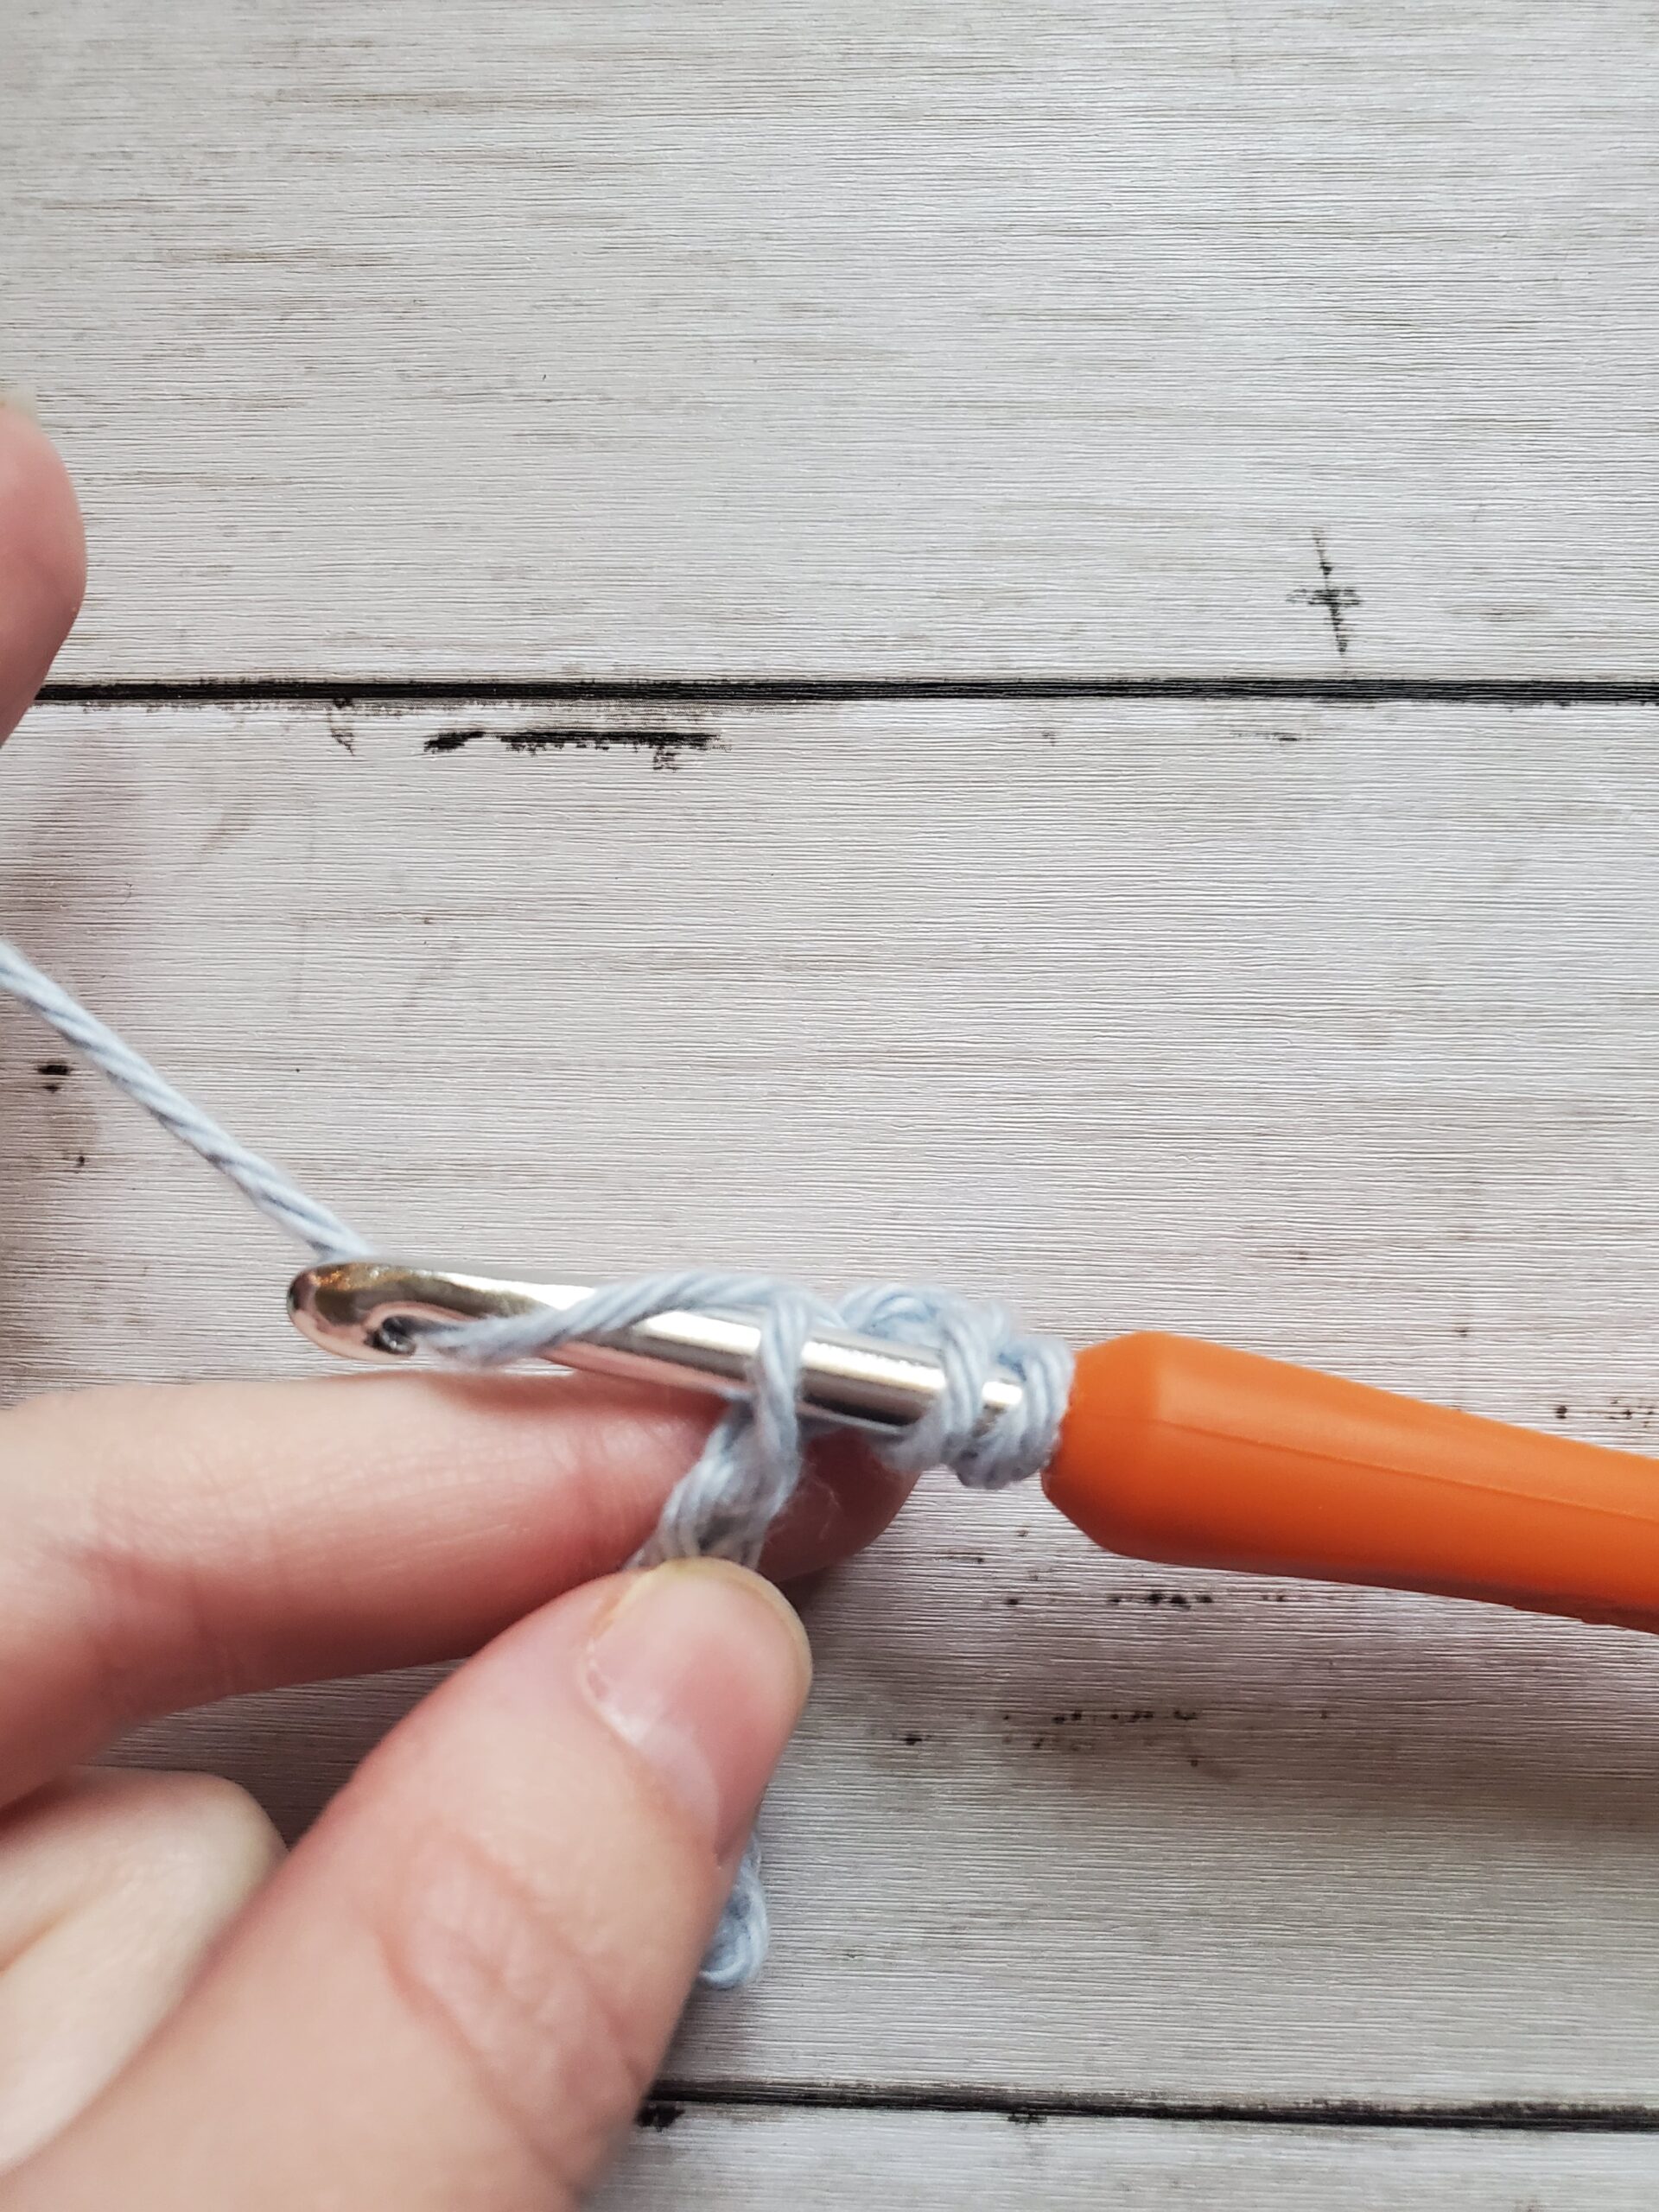
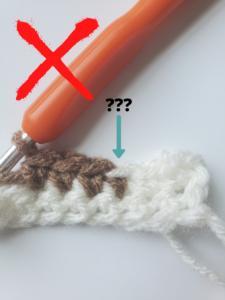
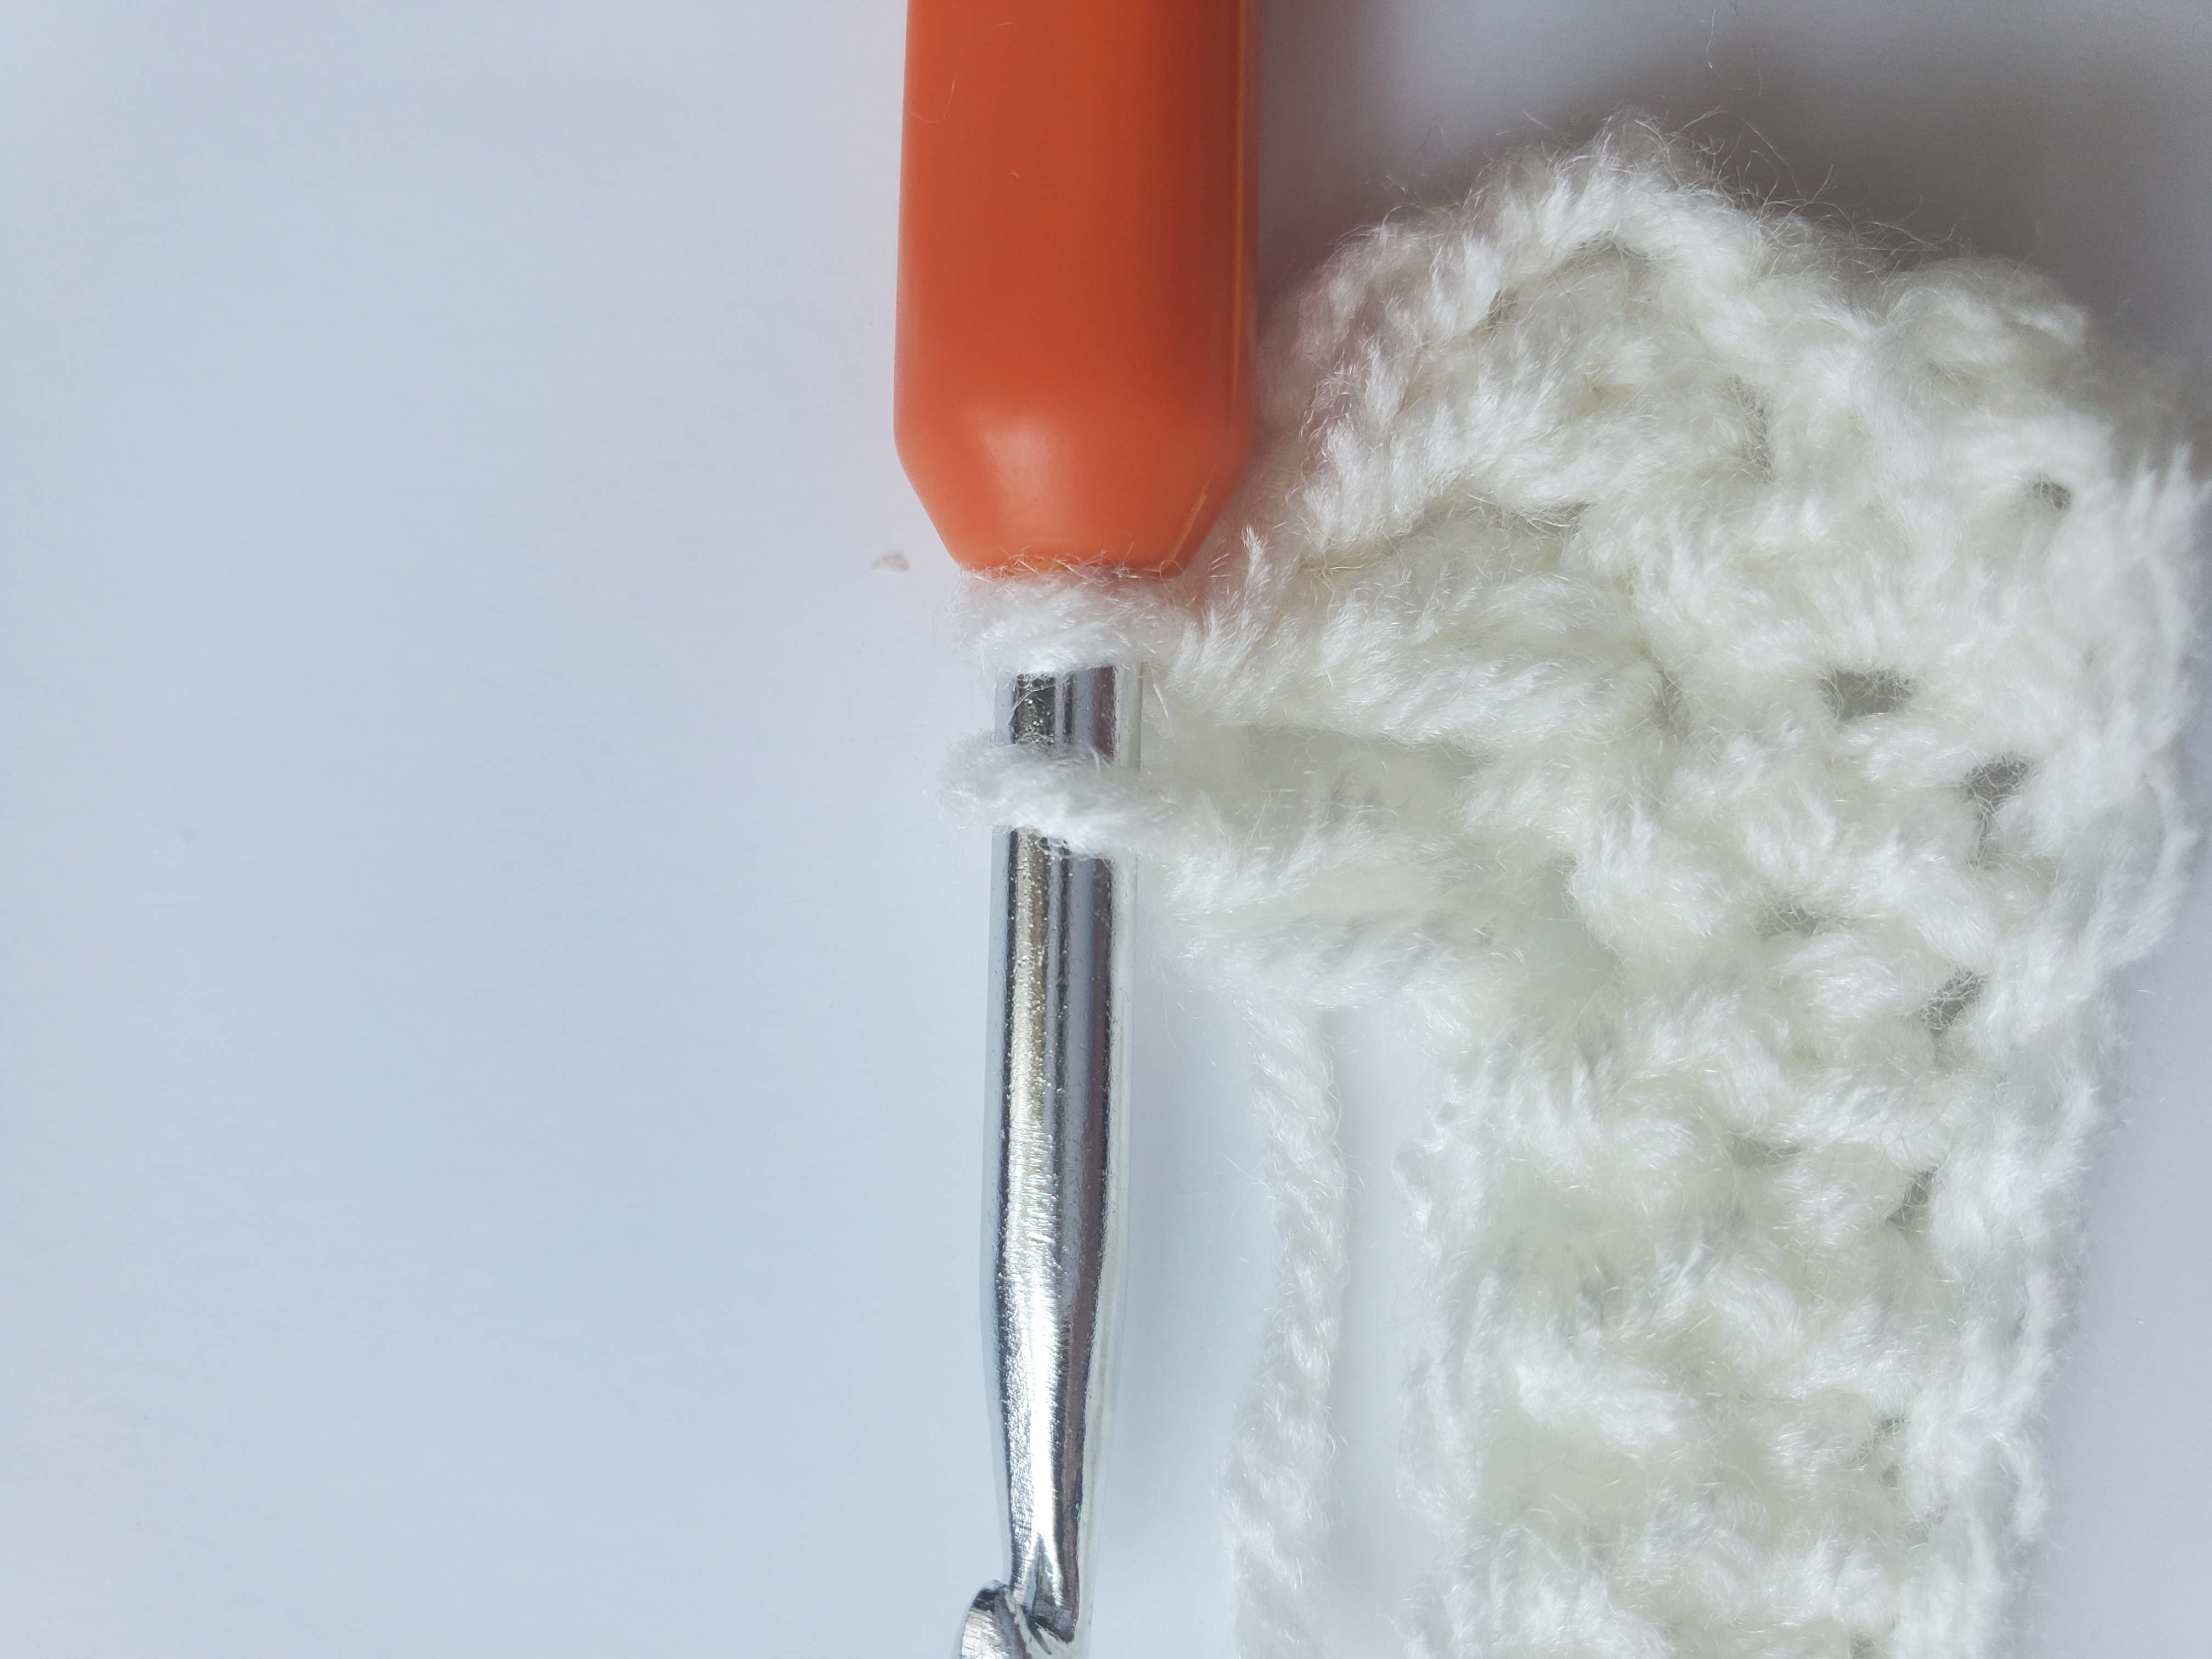
I think the black yarn works better for a gothic crochet pattern (for obvious reasons), but it can be pretty difficult to see the stitches in the following tutorial. So, I’ve opted for a lighter color (the Orchid) in order for you to be able to actually see.
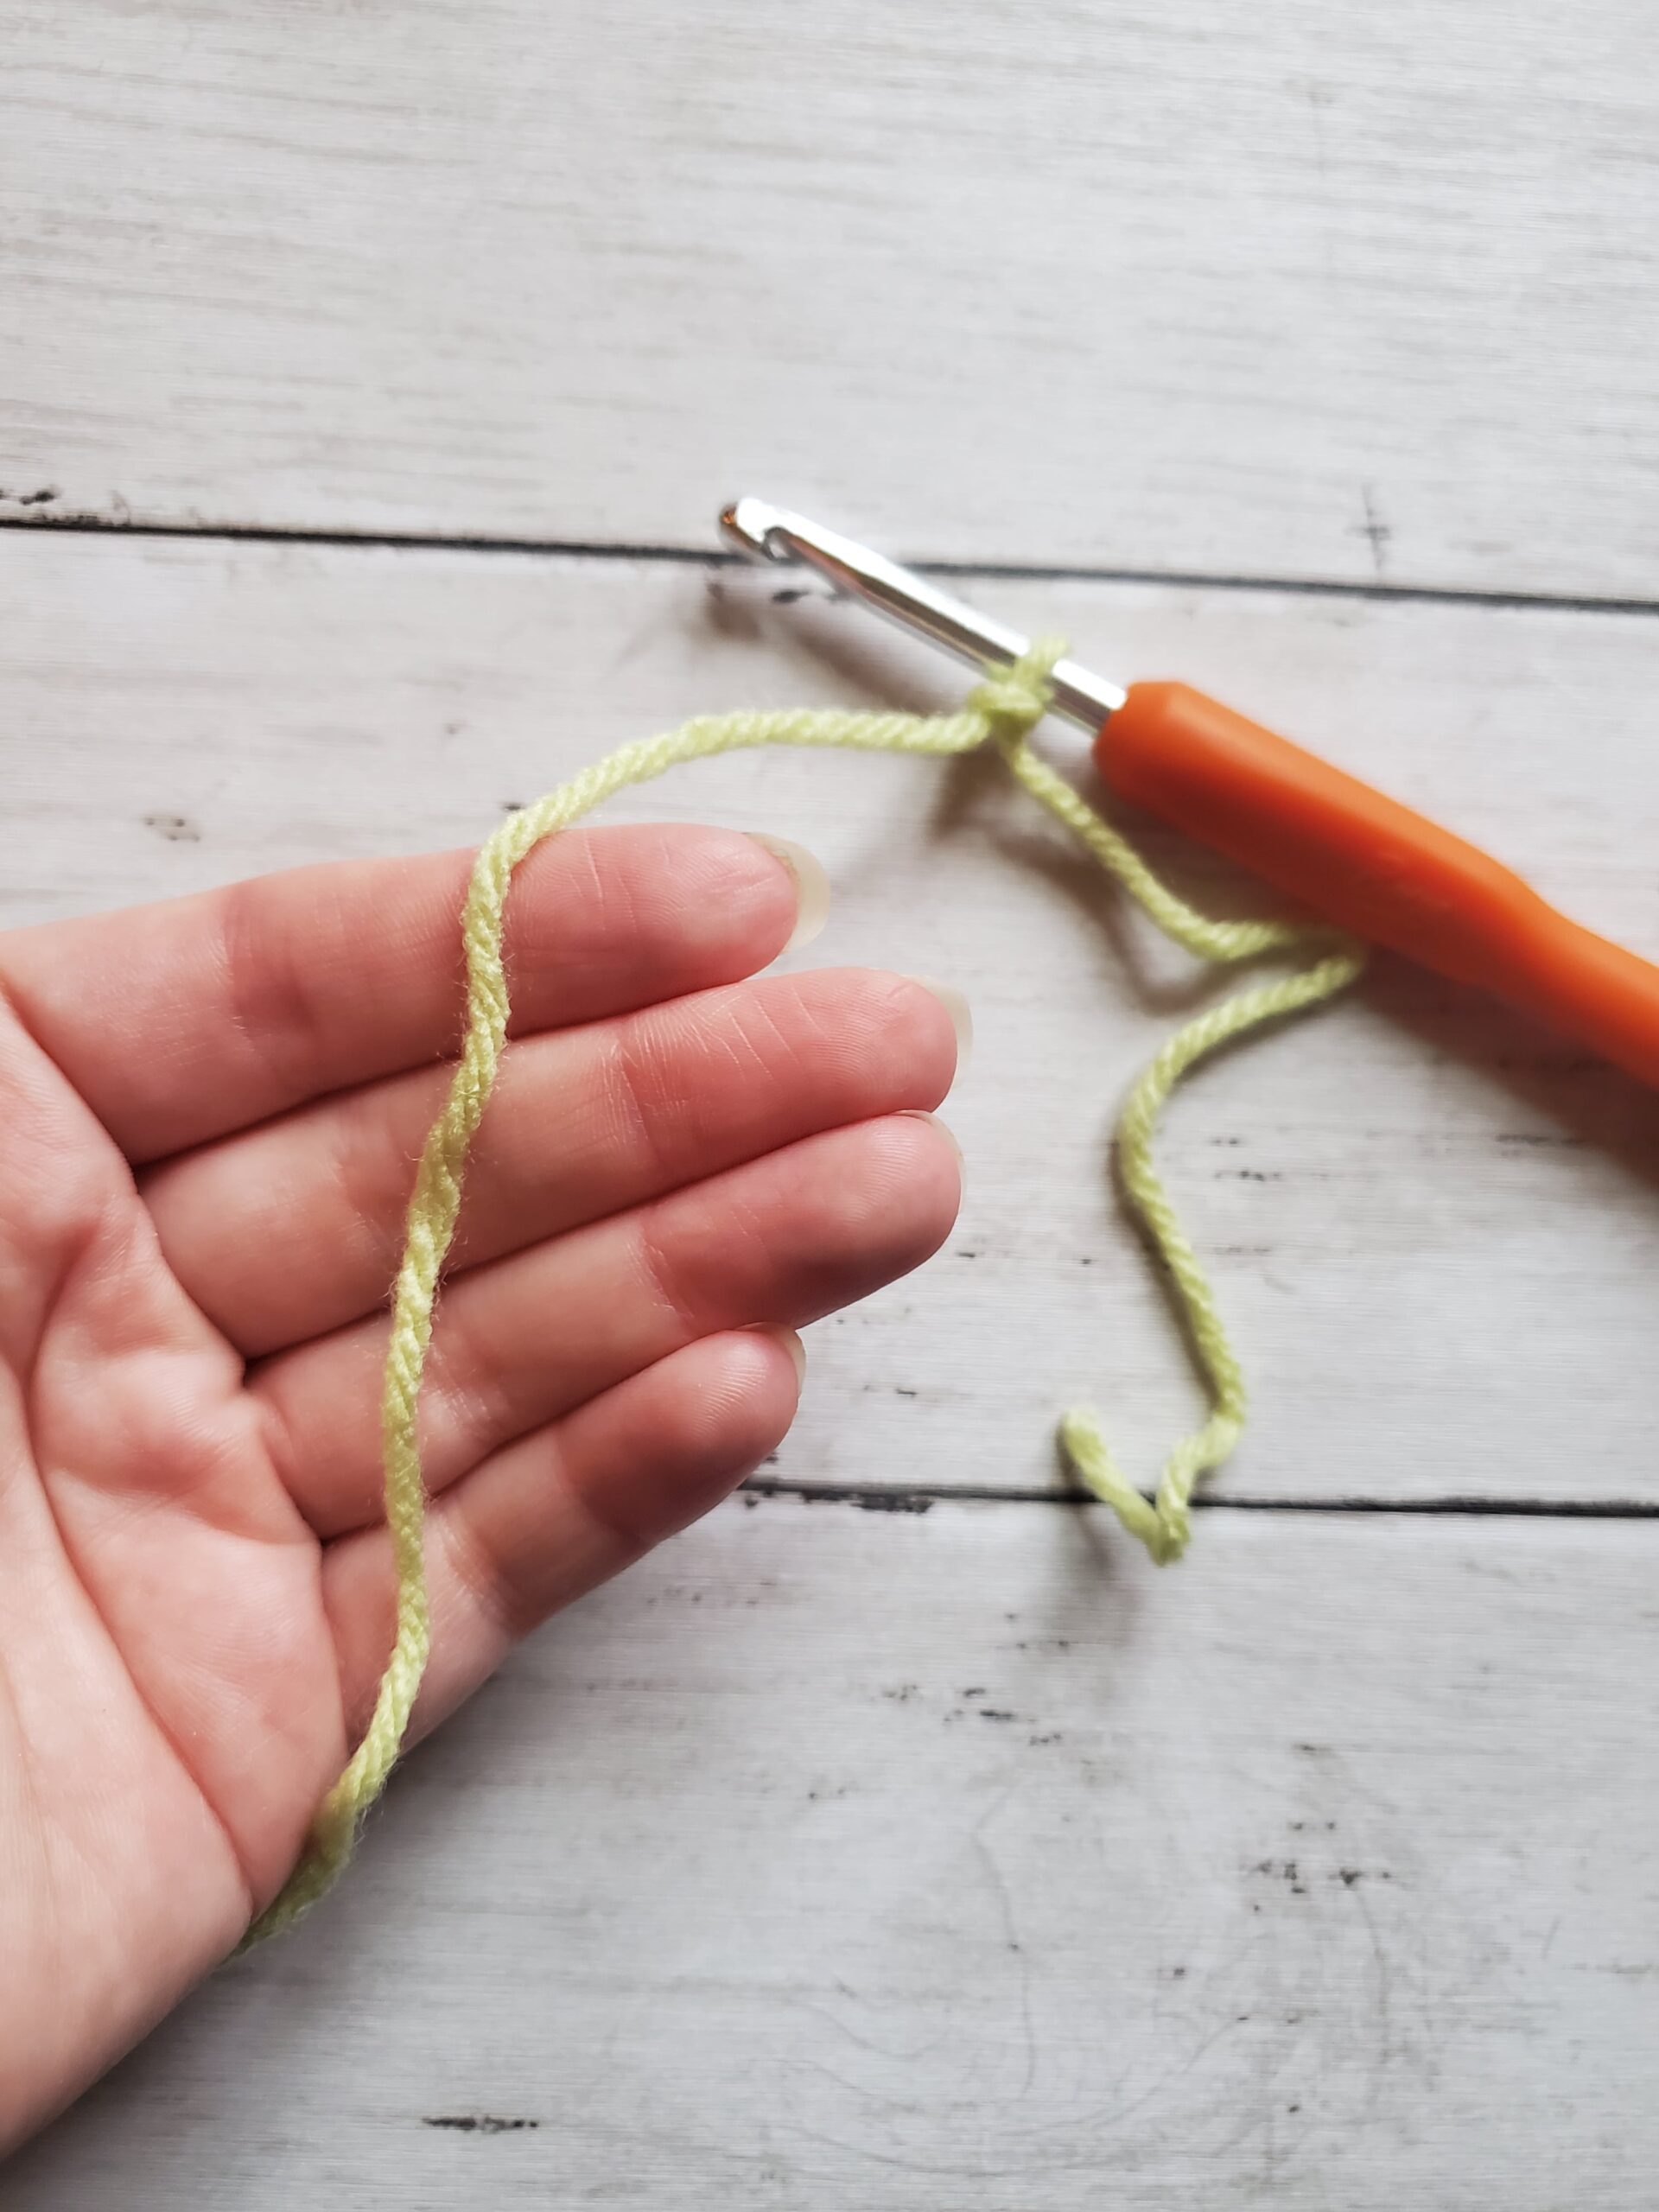
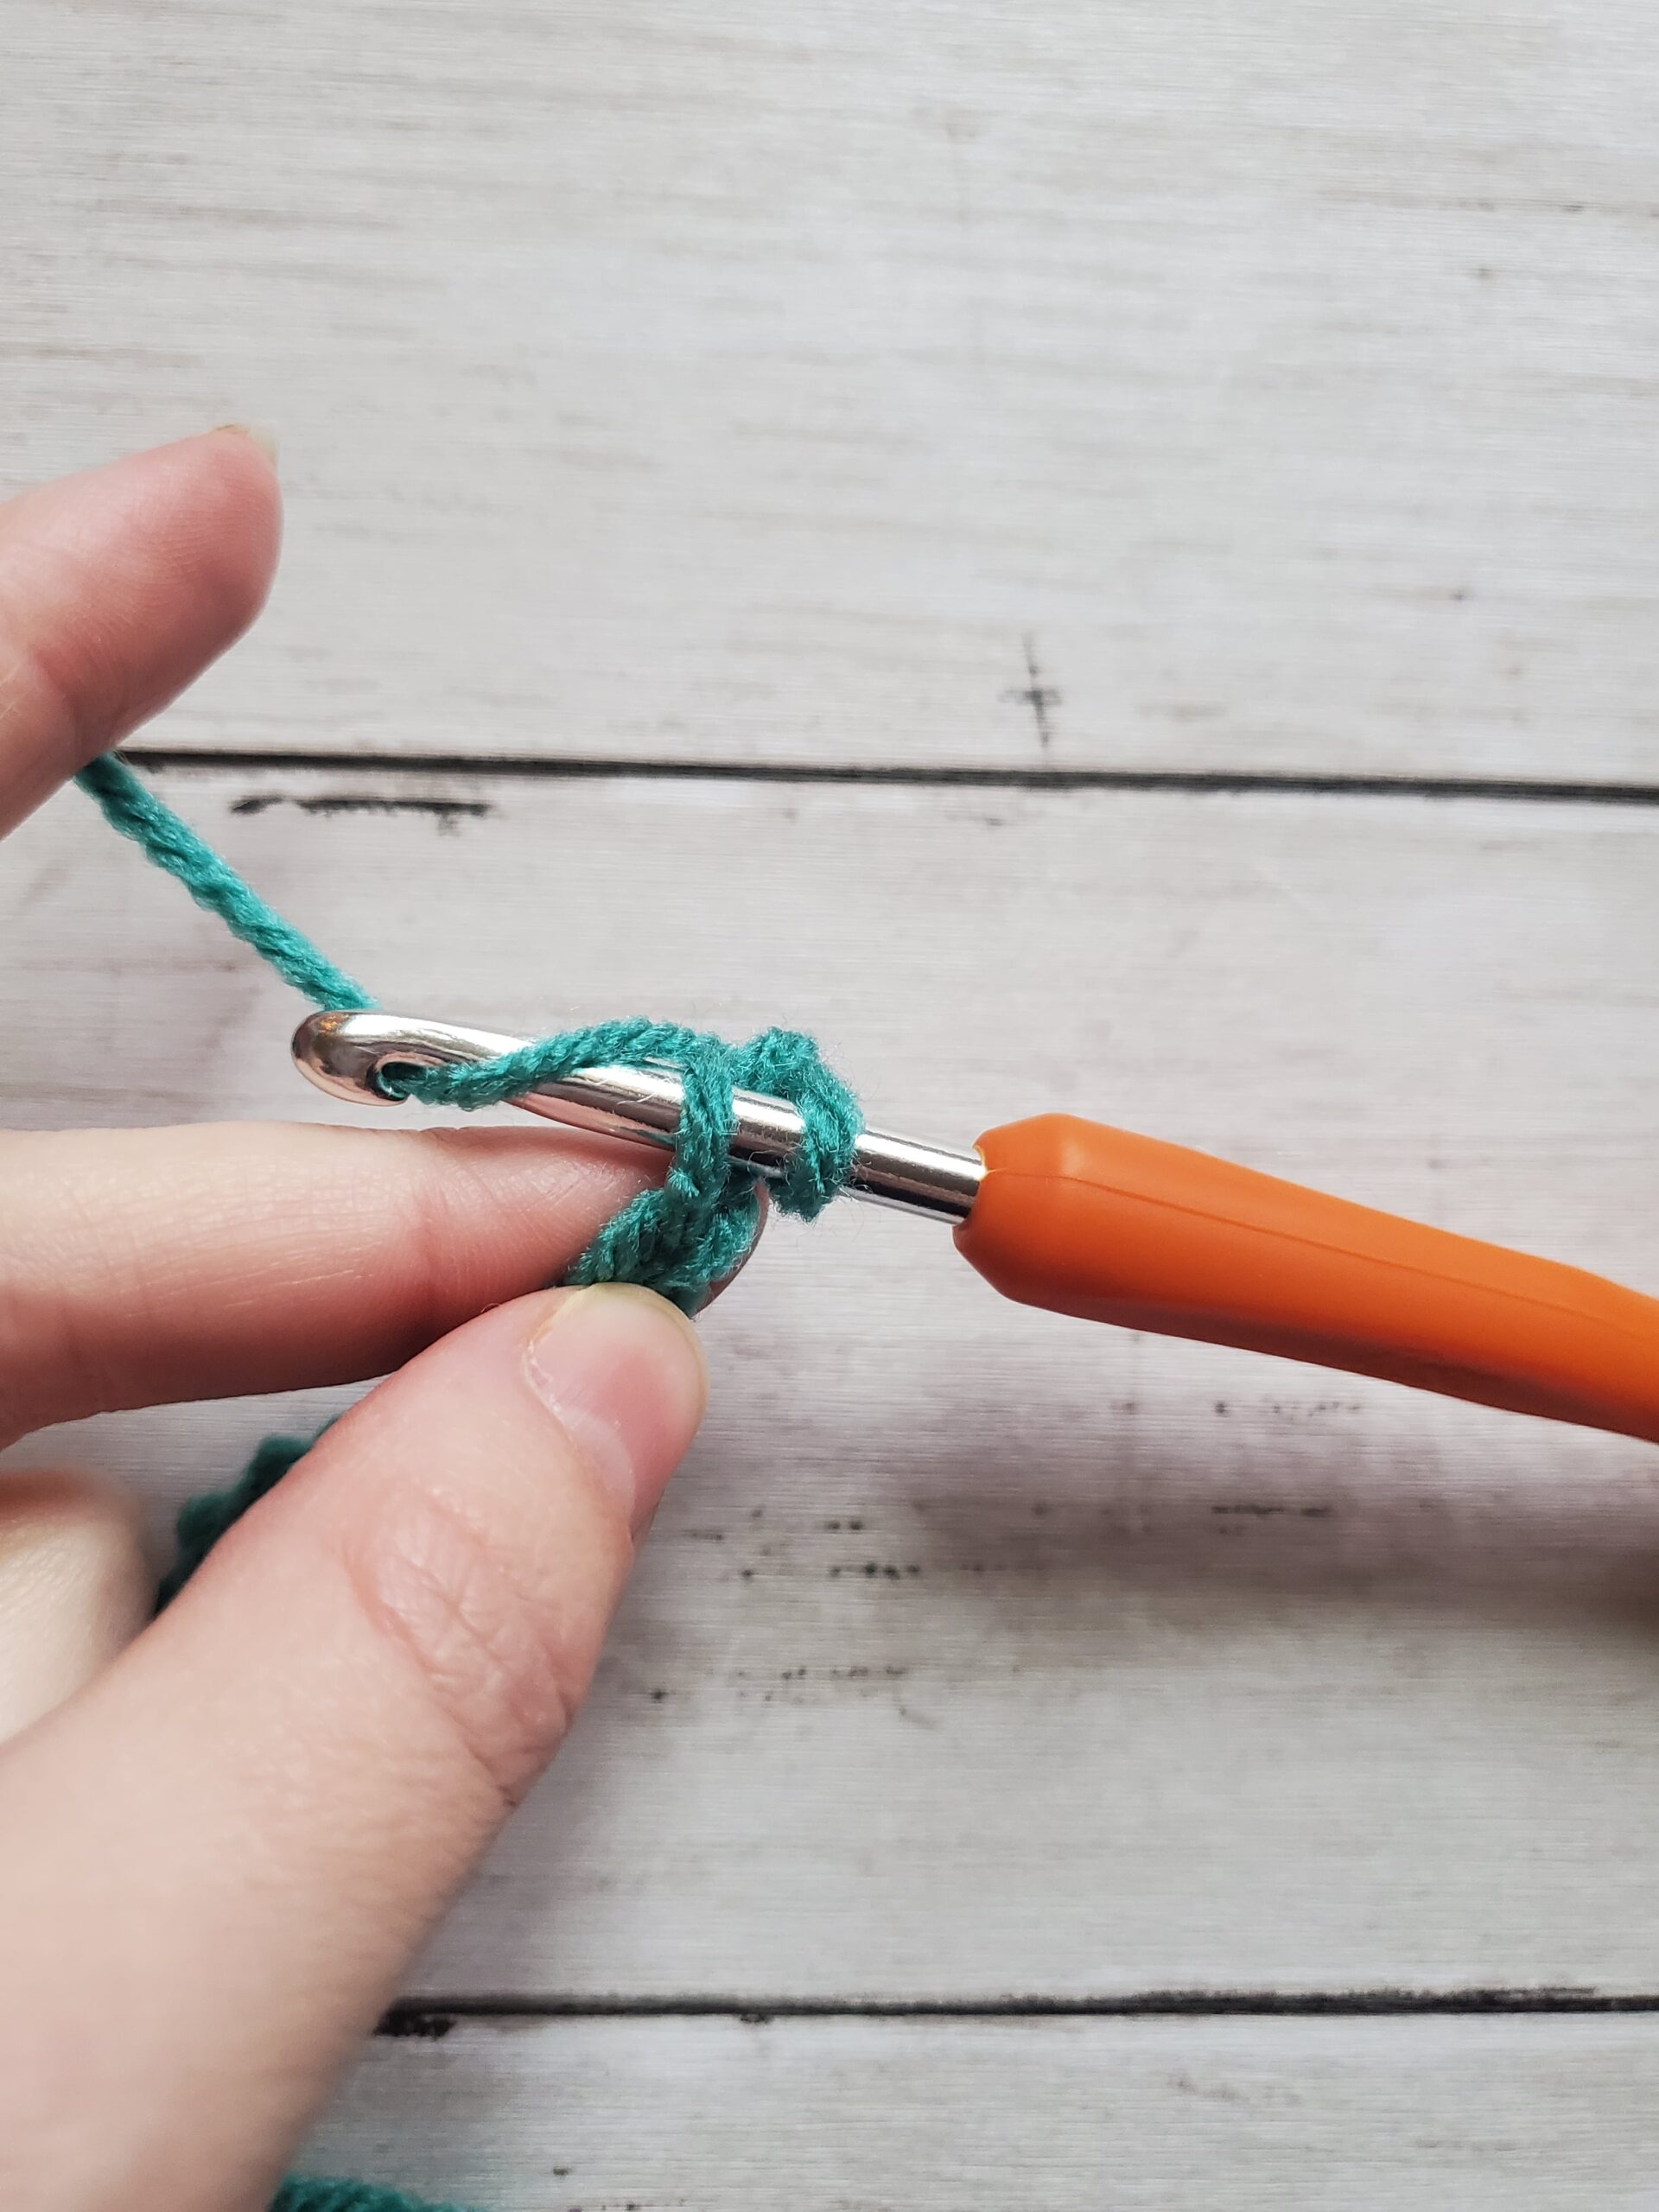
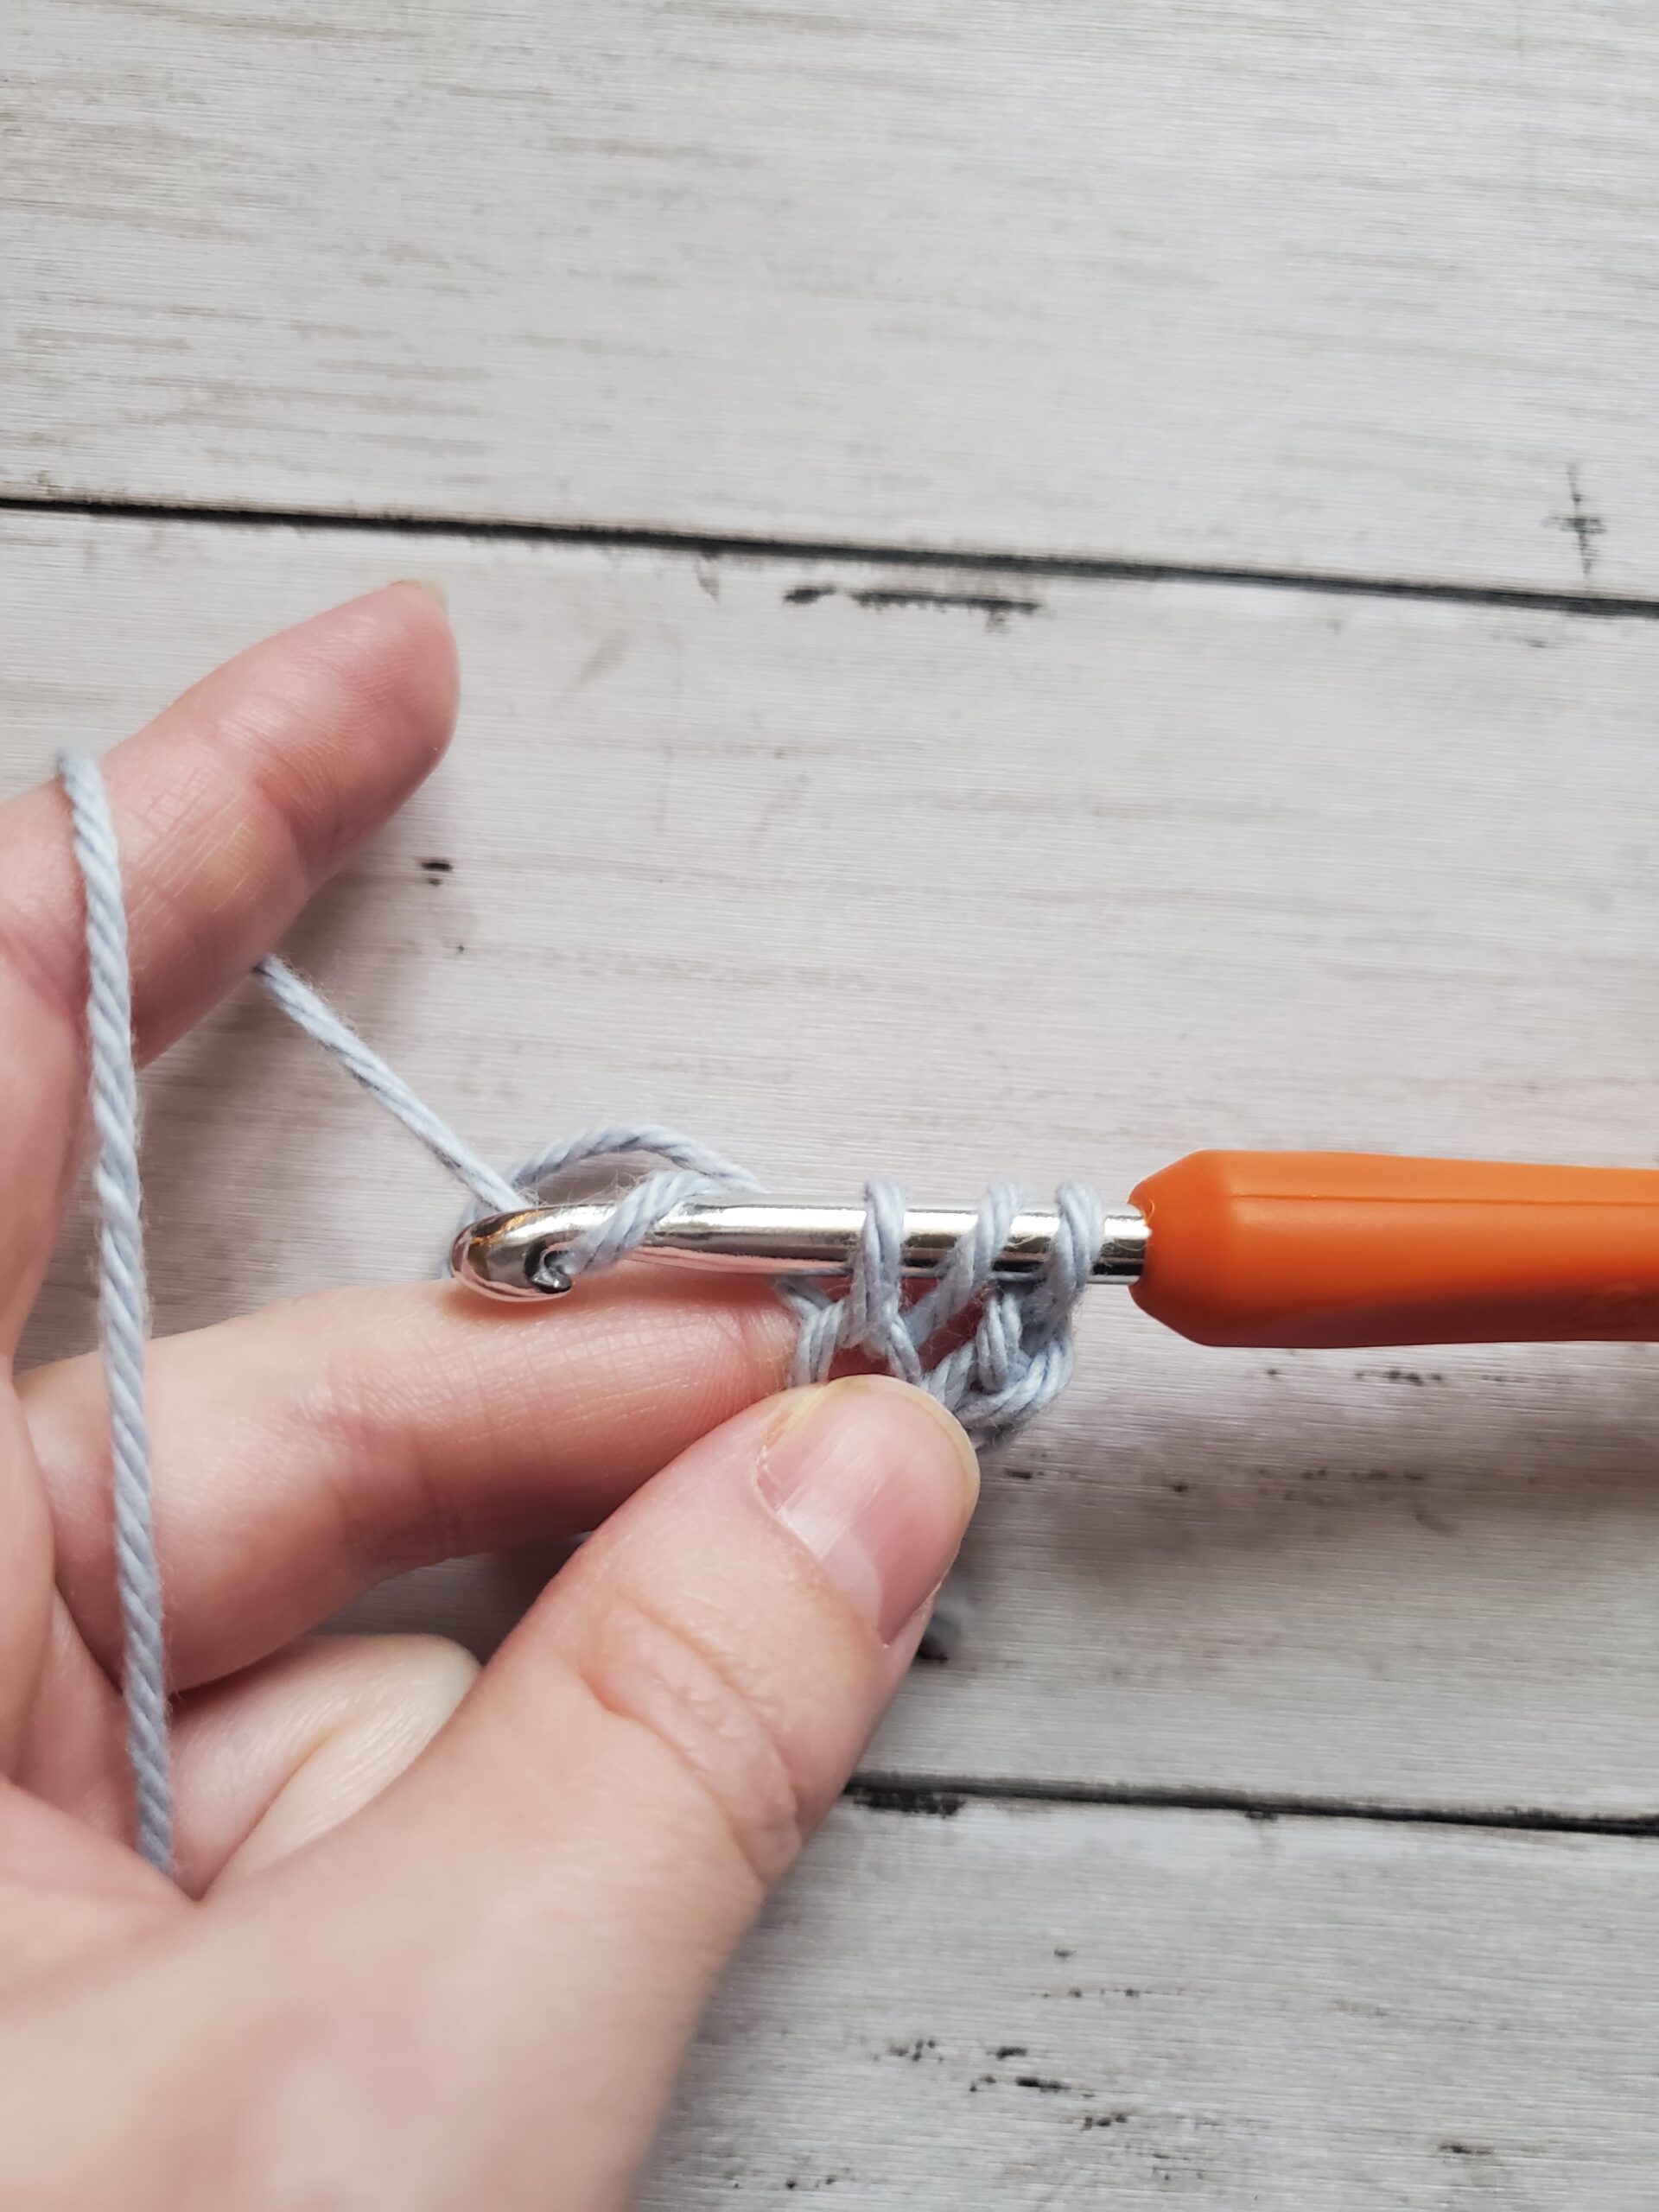
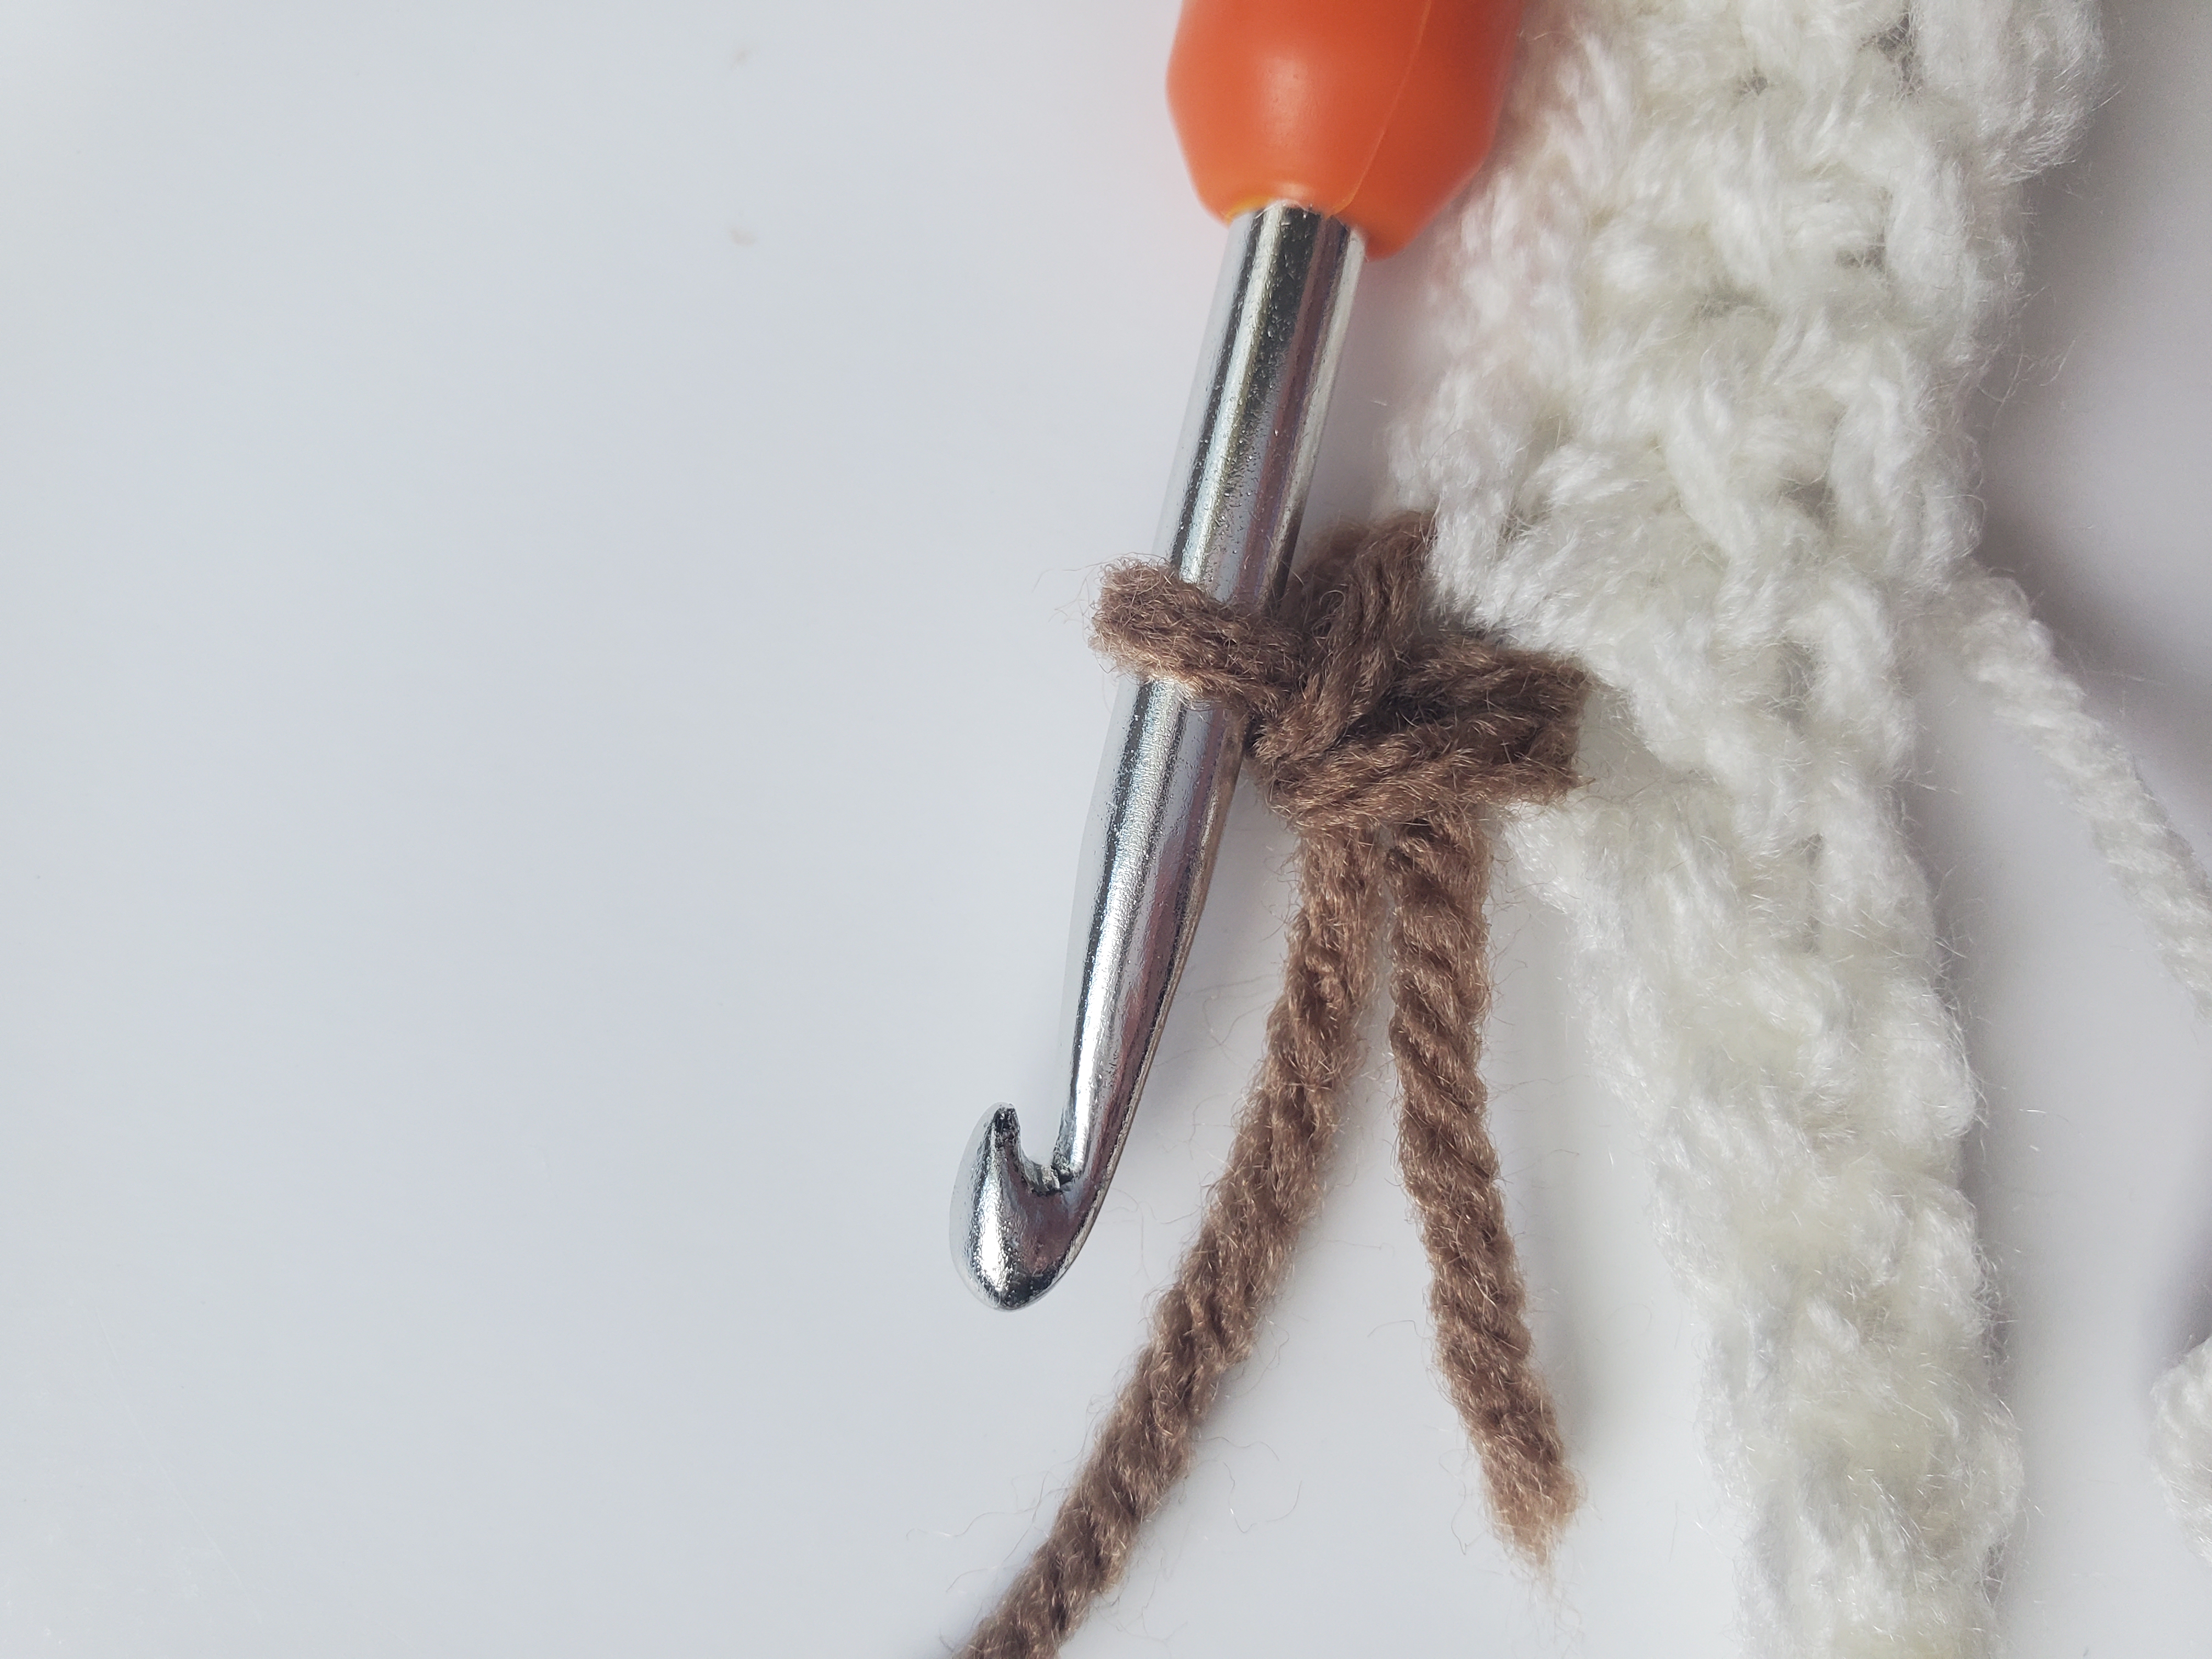
Of course, you can use any yarn or hook size that you like, I just really like to crochet lace, so I’m using crochet thread with a 1.65mm crochet hook.
What is the Modified Gothic Crochet Stitch best used for?
I personally crocheted a Gothic Crochet Table Runner with this stitch, which I think looks pretty great (although I’m obviously biased)!
This stitch would be a good choice to use on scarves, shawls, light weight blankets, veils, market bags…really anything that you can think of that would be great for lace crochet stitches!
What is the repeat formula for the Modified Gothic Crochet Stitch?
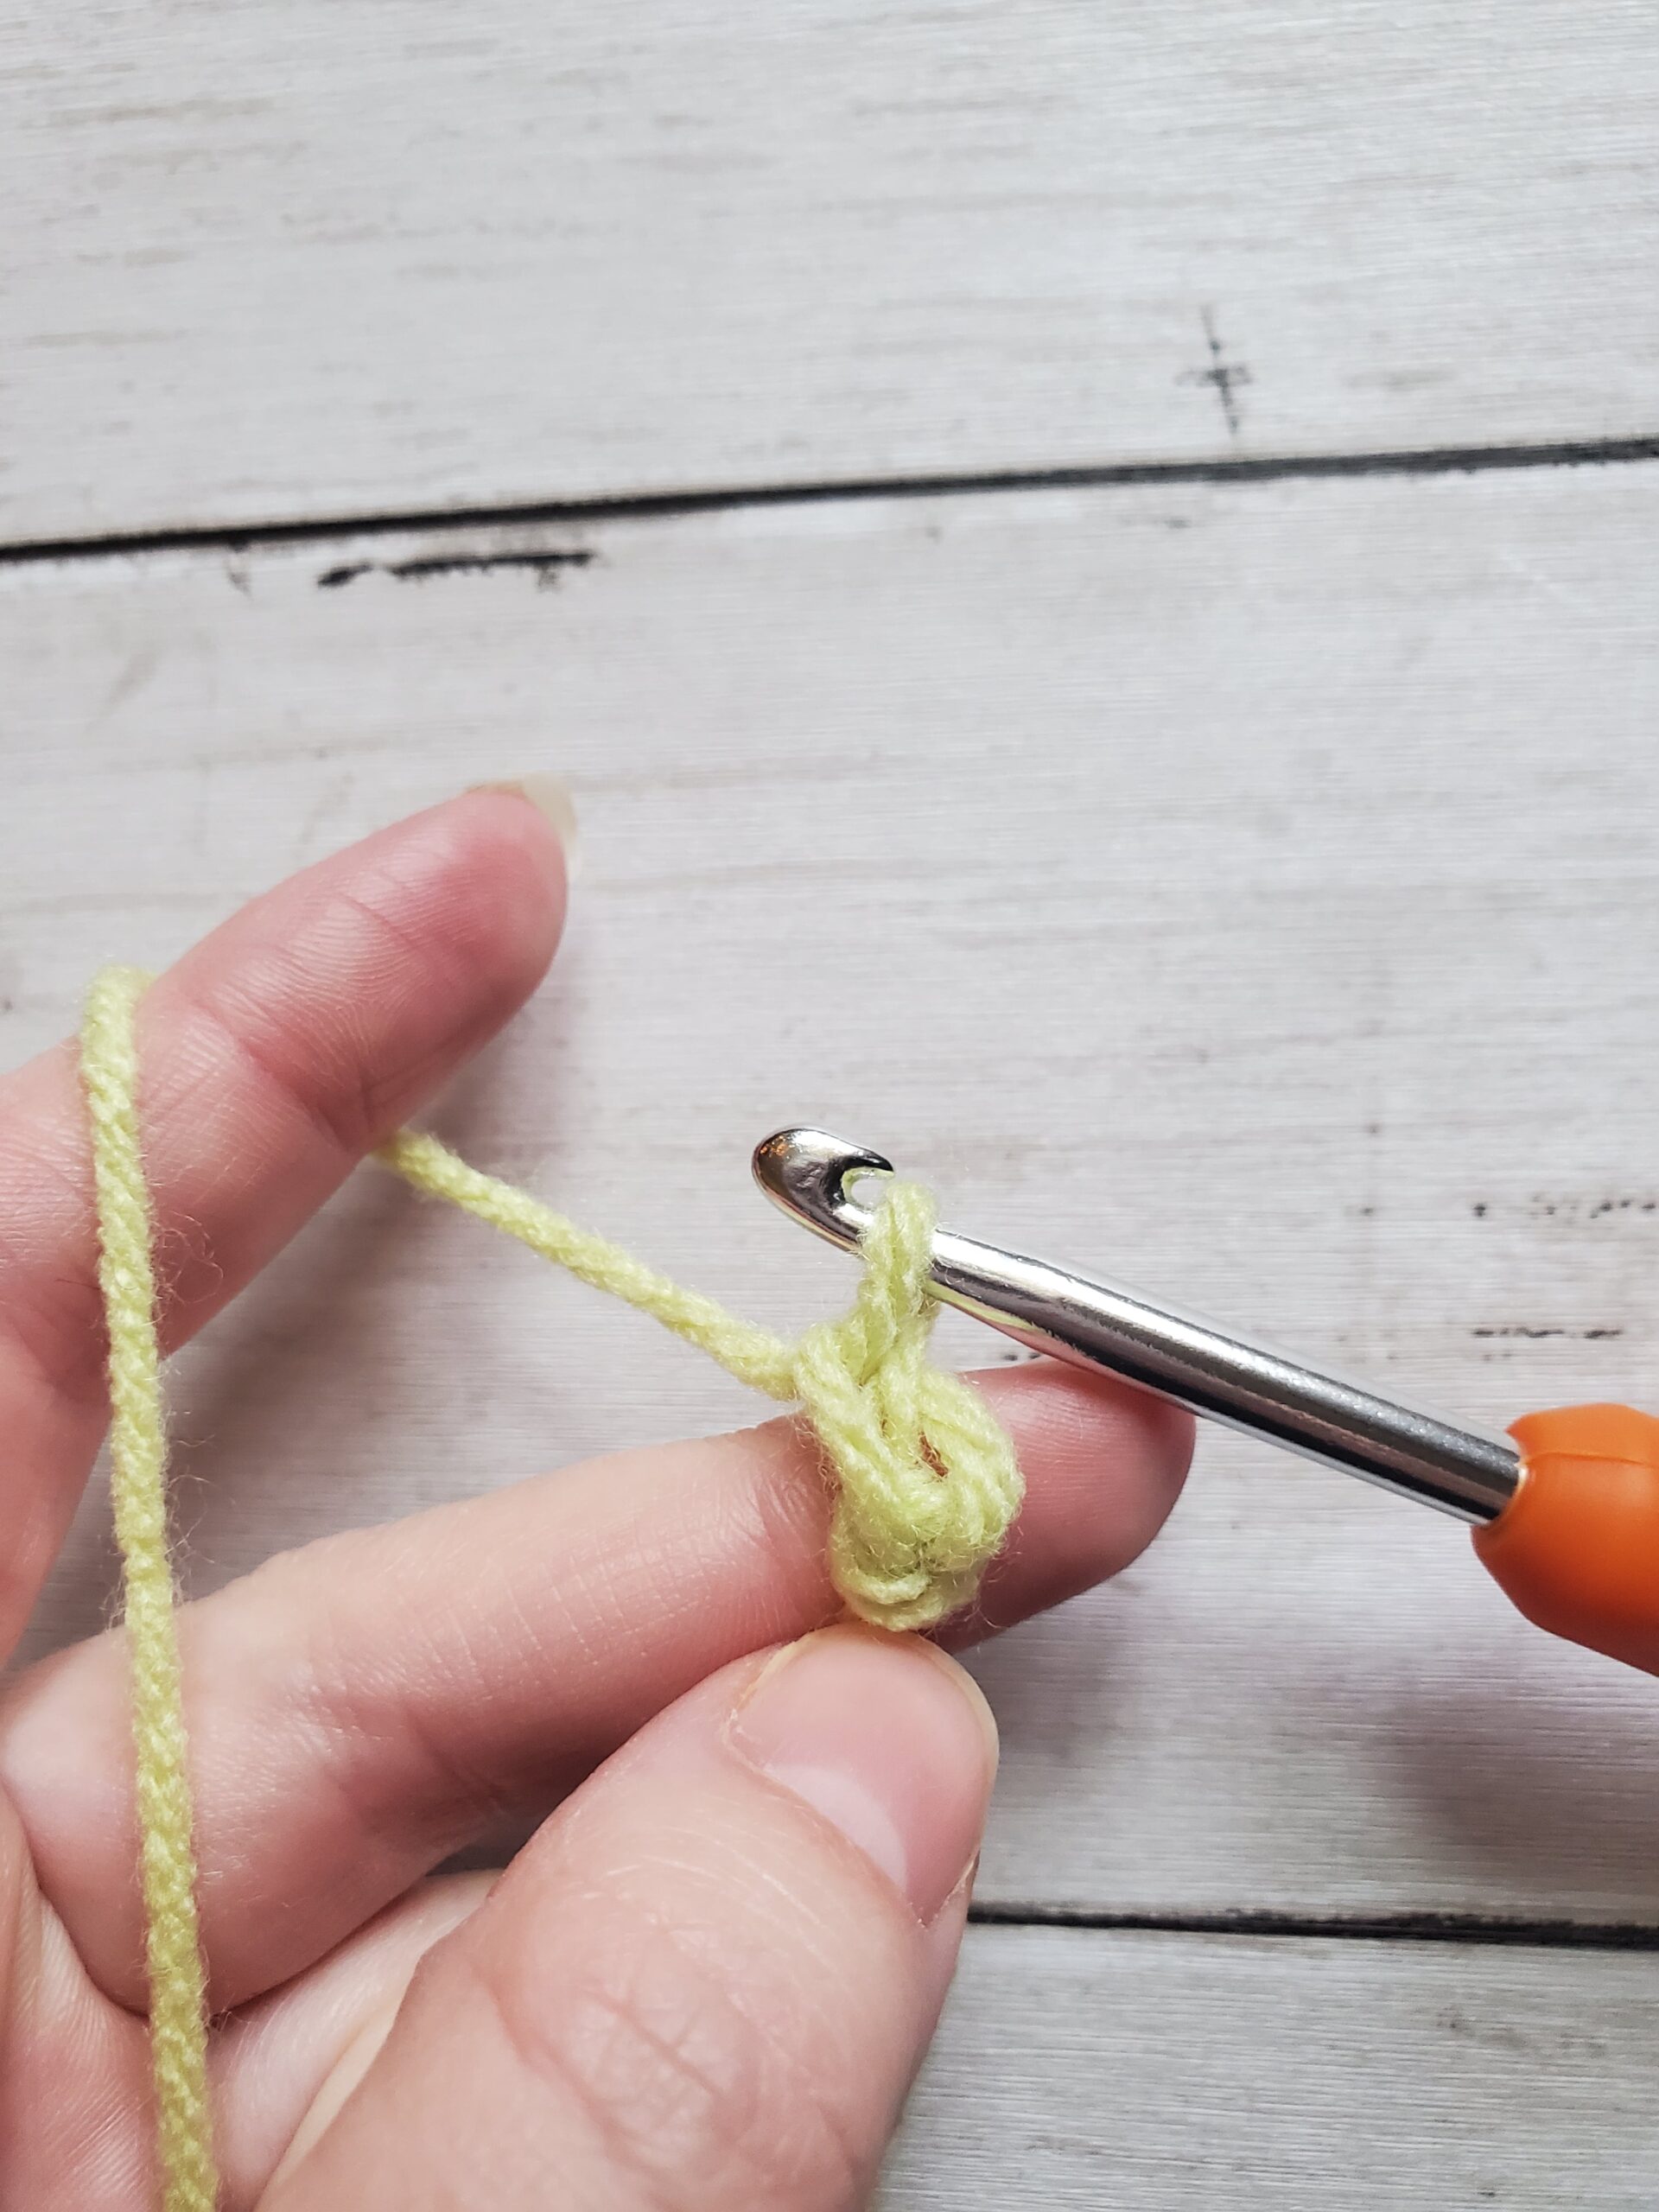
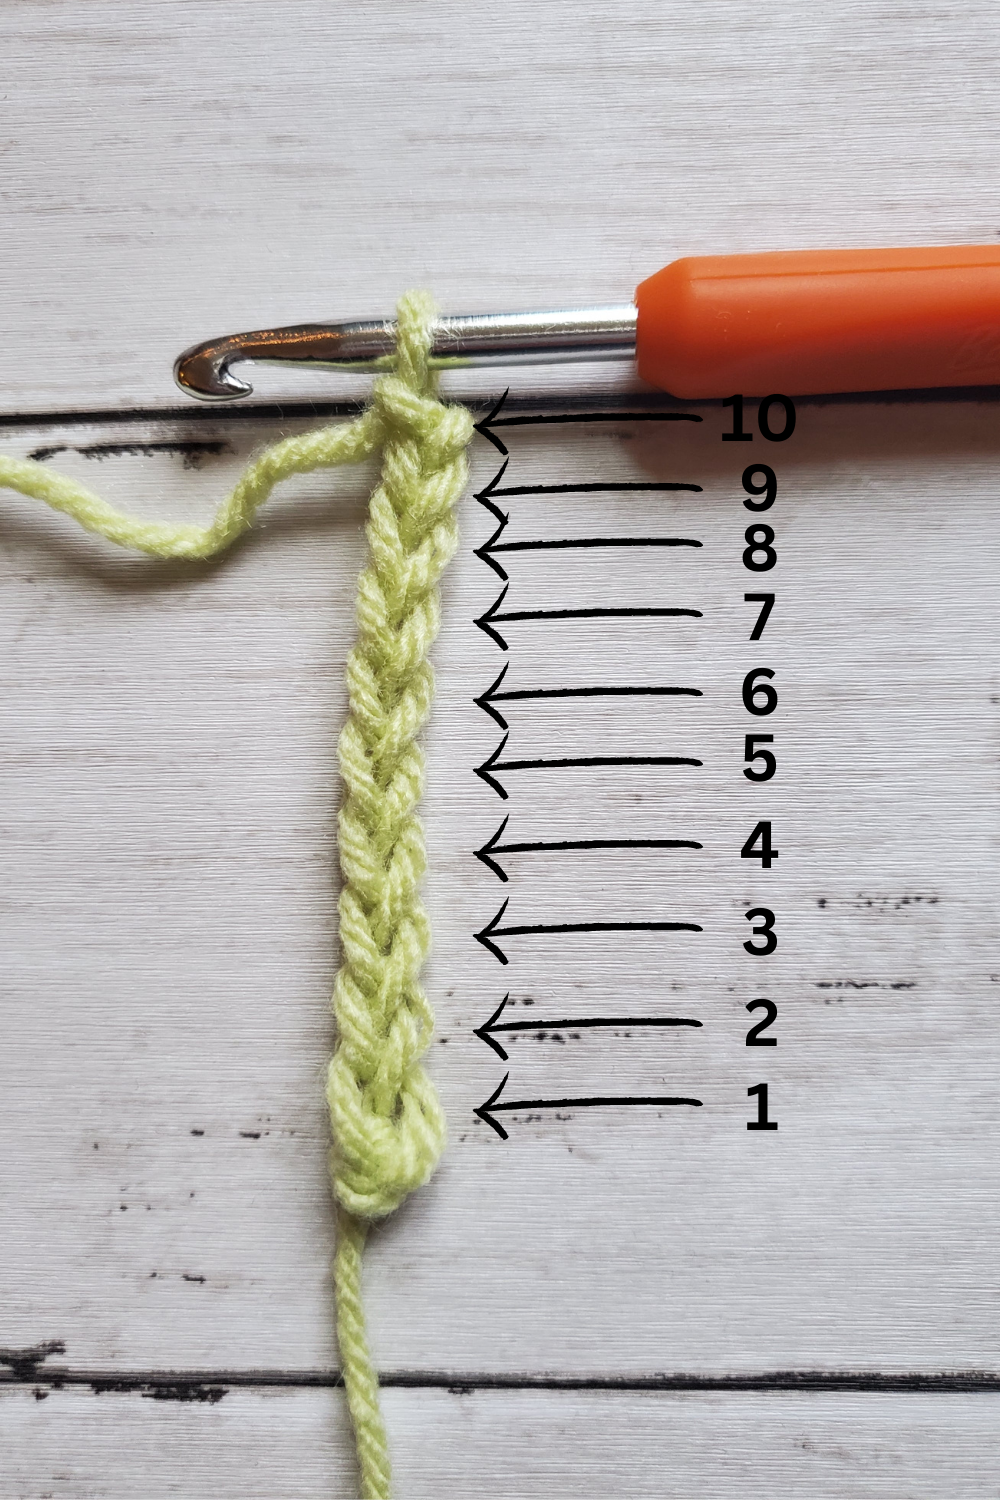
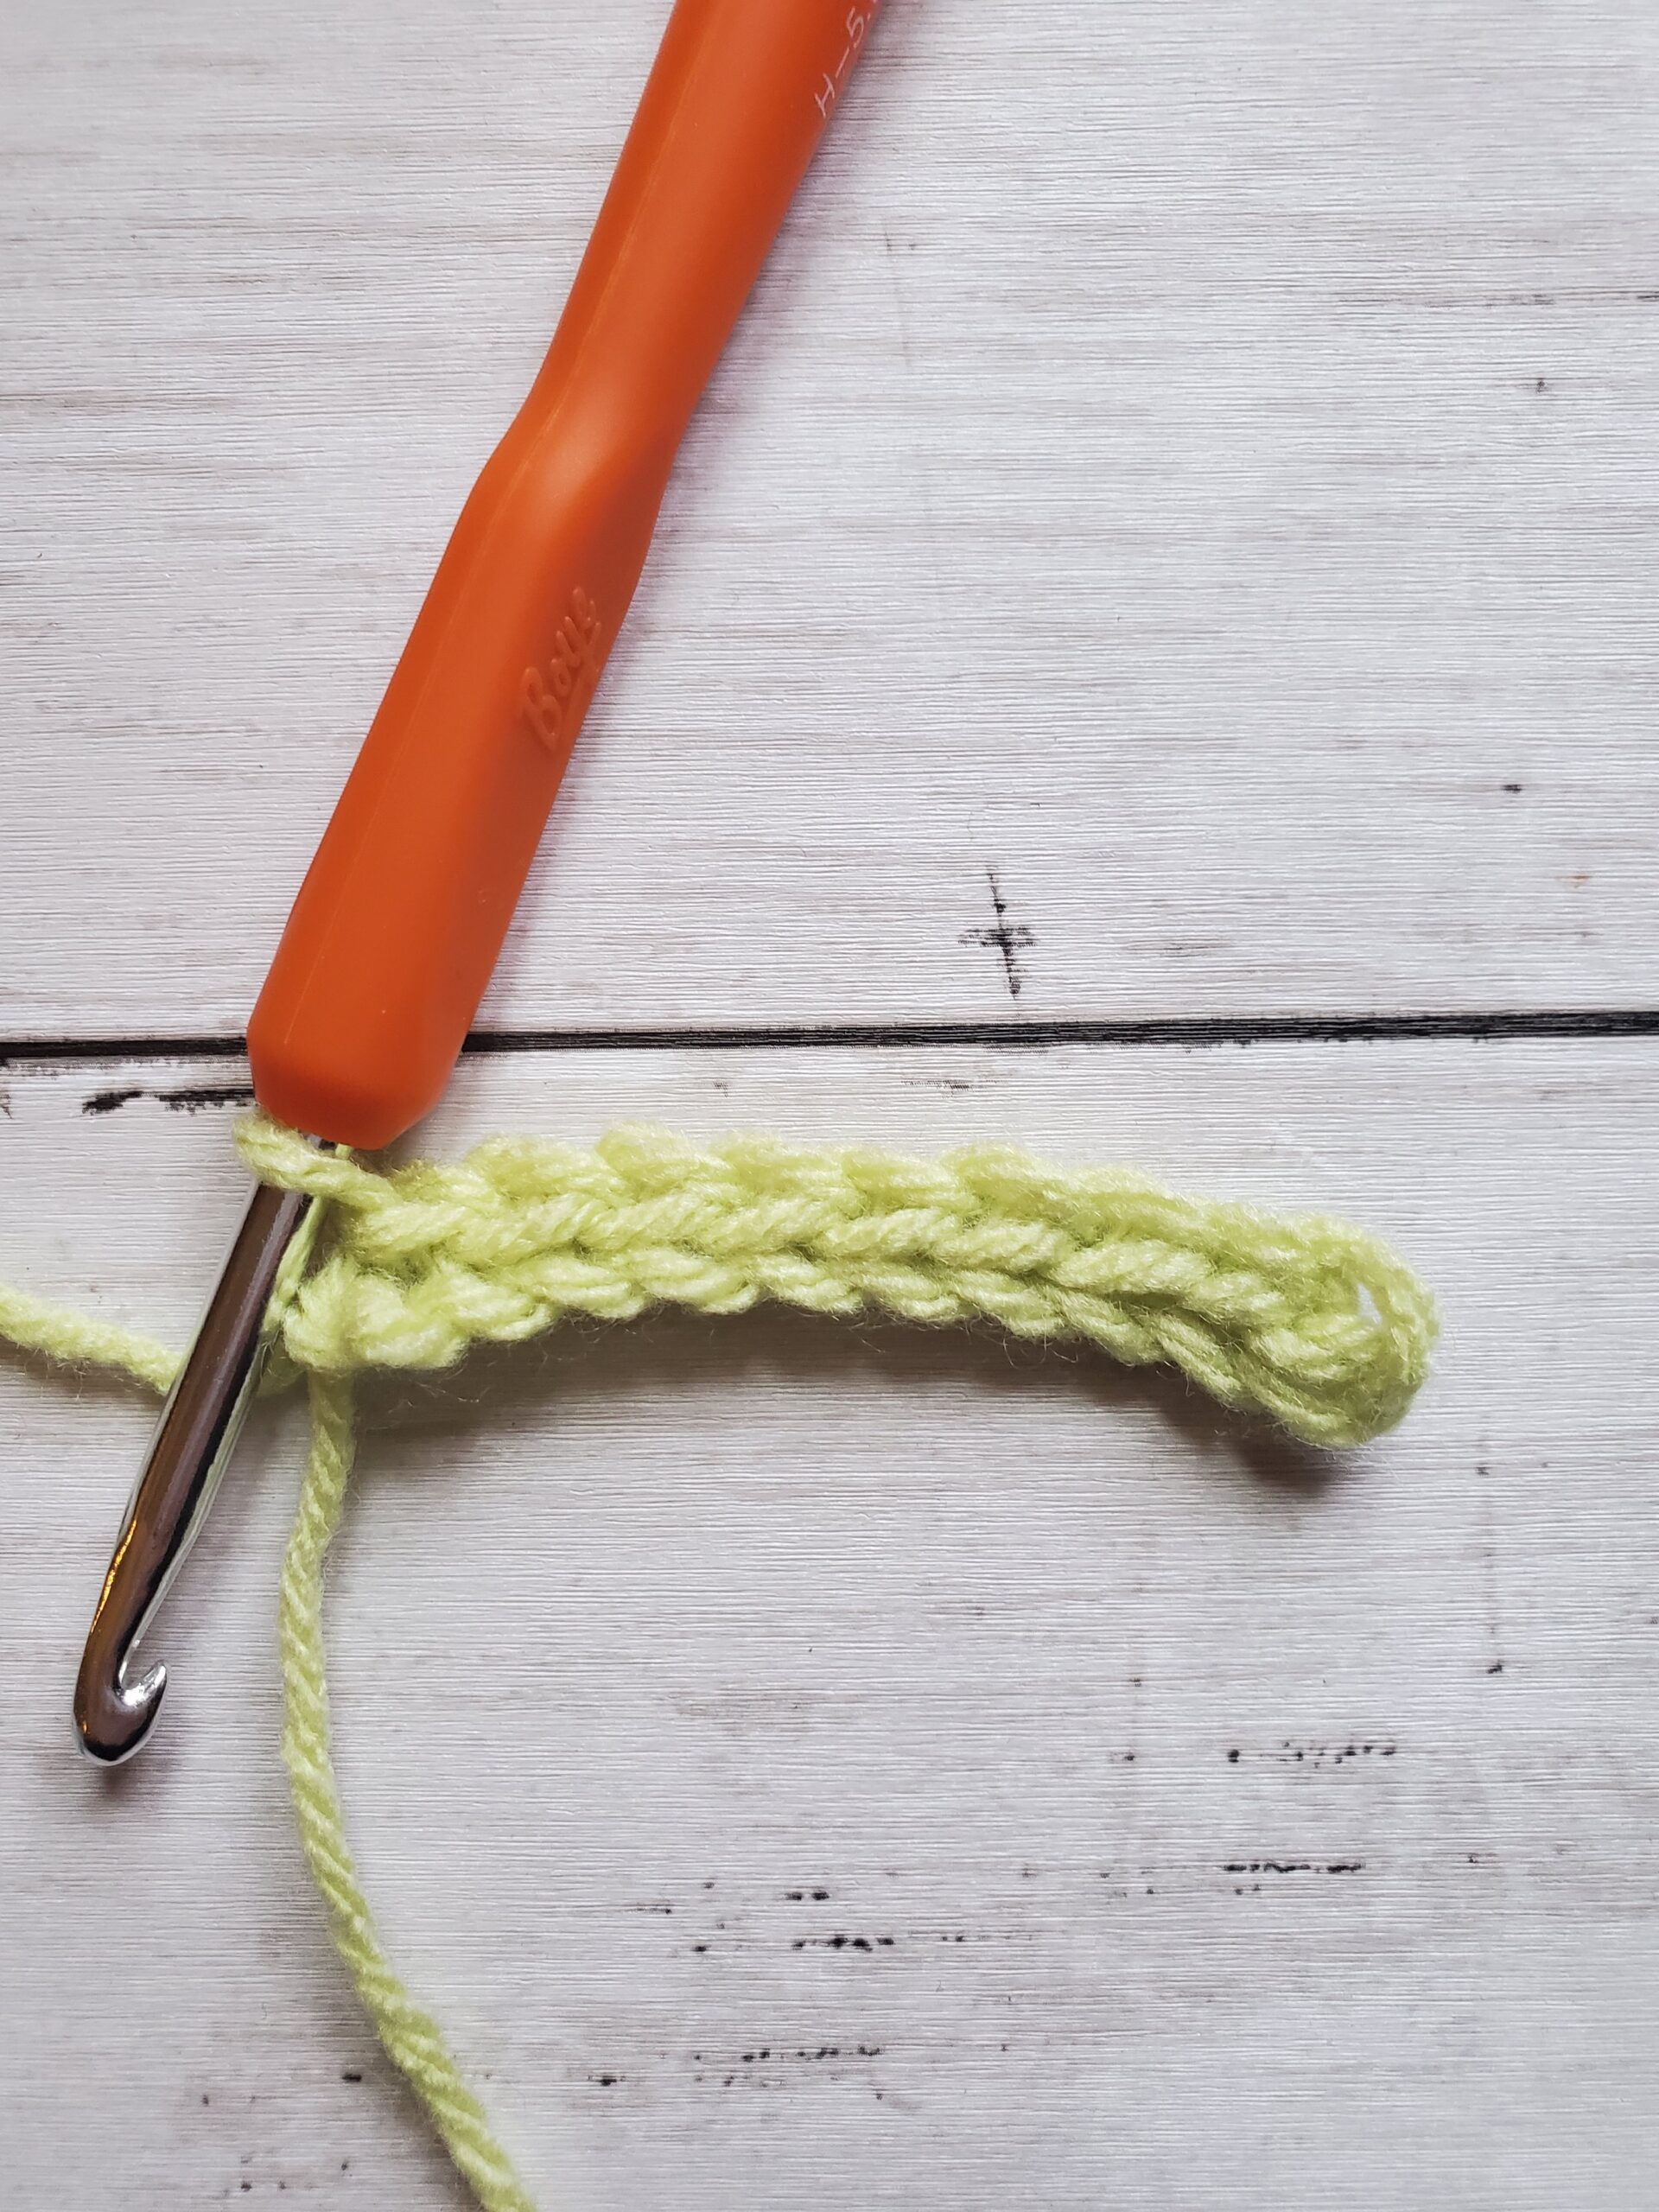
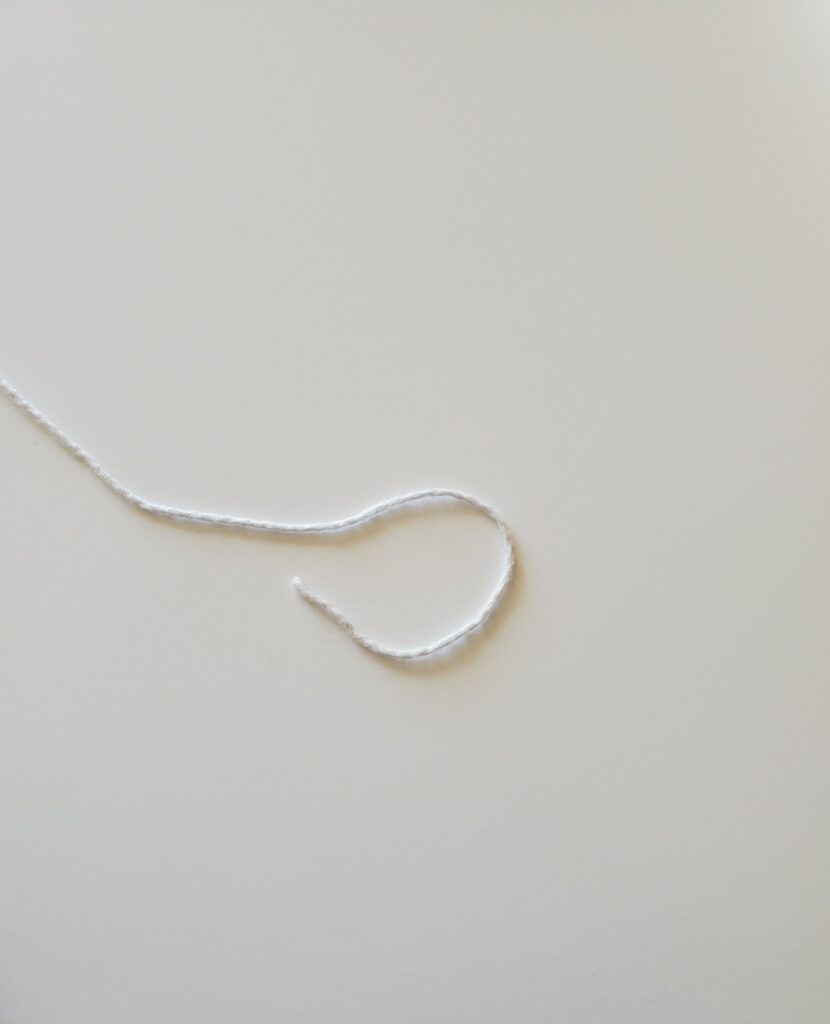
The repeat formula for this crochet stitch is 12+6. This means that you will chain a multiple of 12 chains and then add 6 more chains for the turning chain.
For example: 12 x 3 = 36 chains, then + 6 more chains for the turning chain to = 42 chains.
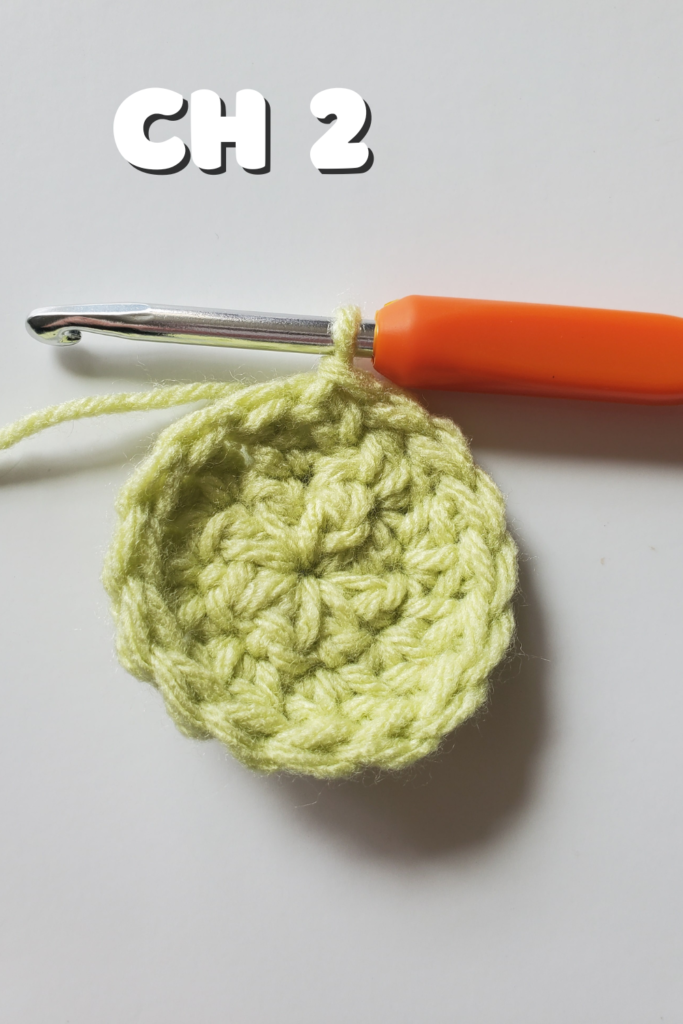
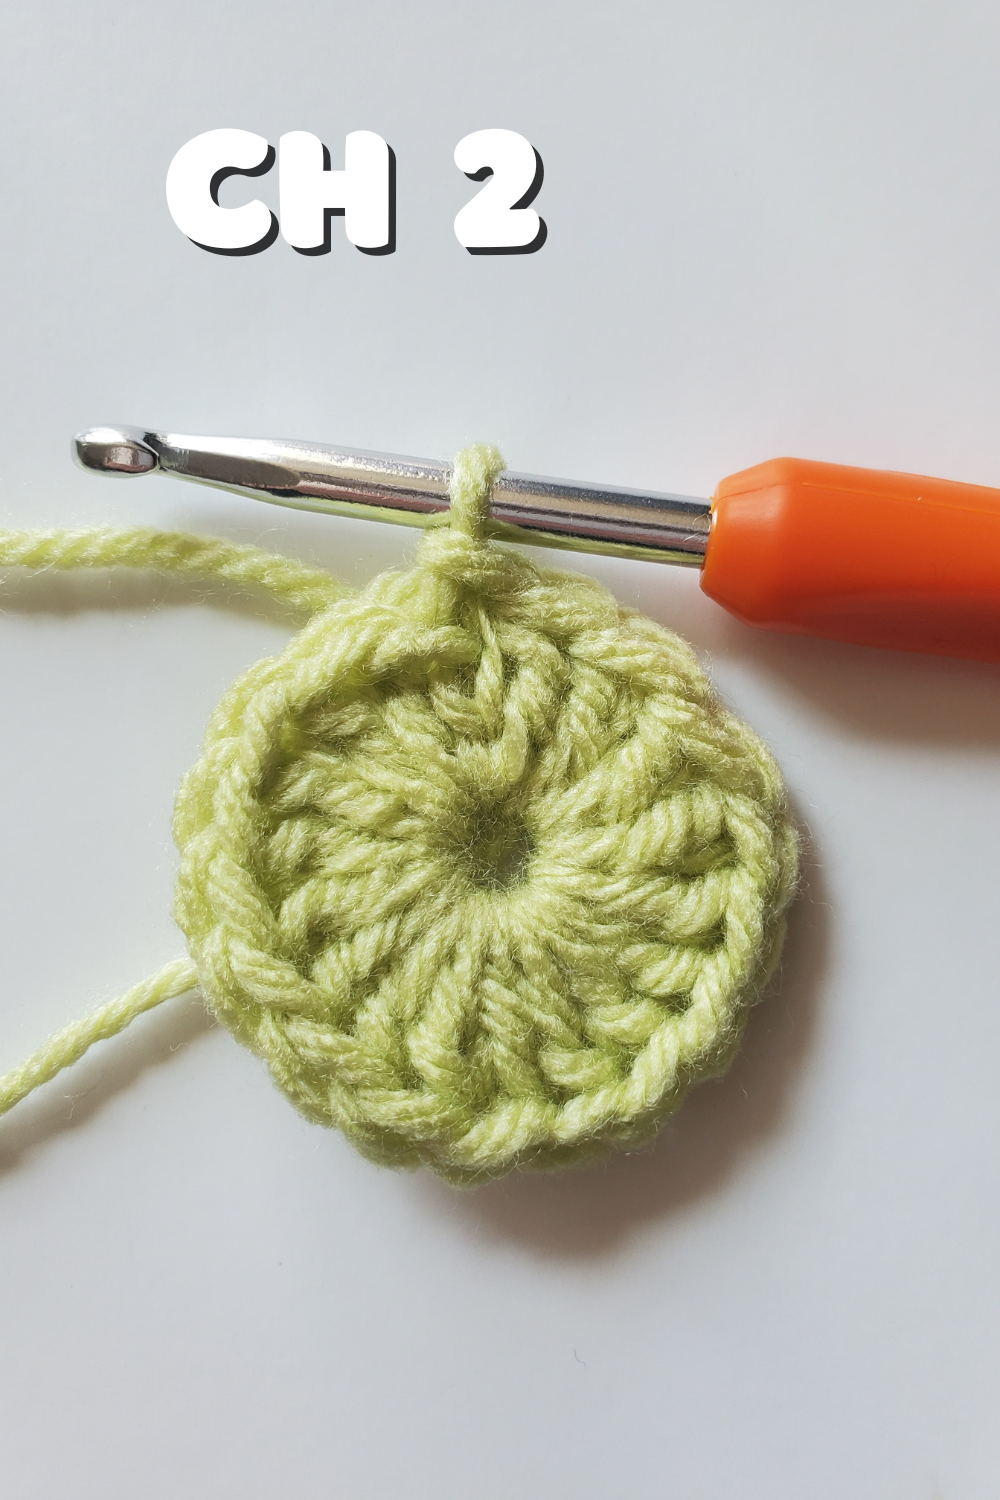
The turning chain in this pattern counts as a treble crochet and a chain 2.
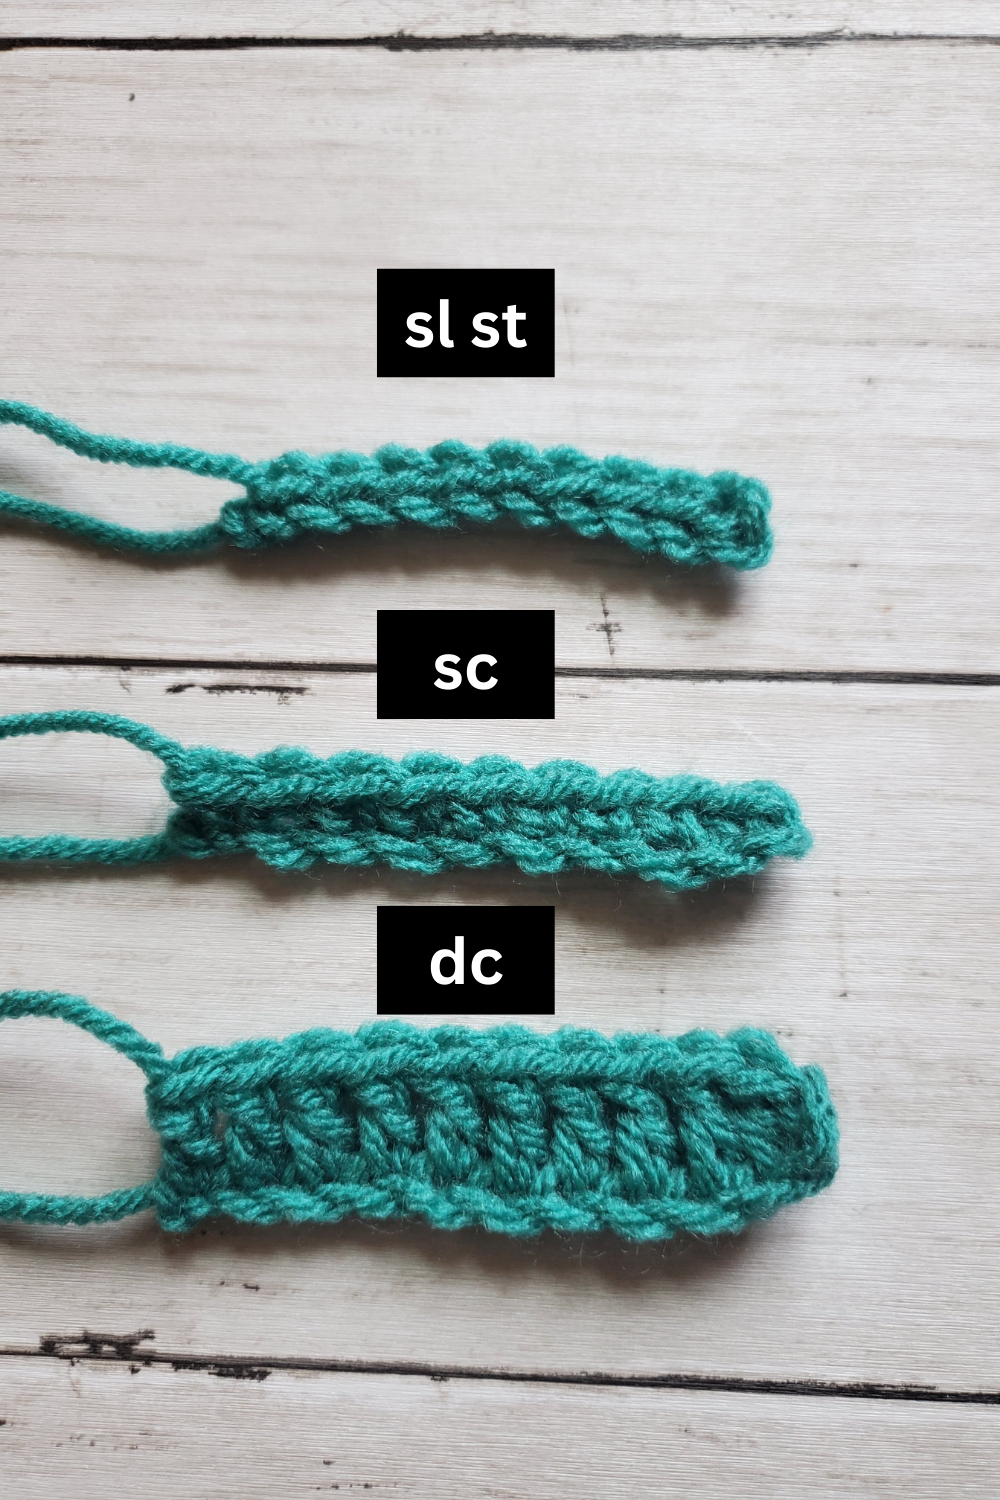
What if I want to make a foundation row of single crochets, half double crochets, double crochets, etc.?
Go for it! The following instructions for the Modified Gothic Crochet Stitch work into the chains of your foundation row, however some crocheters may want a foundation row with stitches in it already.
In order to make a foundation row of single crochets, half double crochets, double crochets, treble crochets or whatever tickles your fancy, you’ll need to make sure that the total amount of stitches in that foundation row is a multiple of 12.
It’s also up to you if you want to count your turning chain or not. If you want to count it…just remember to keep your total stitch count to a multiple of 12.
Related Posts:
Materials Used:
Abbreviations Used:
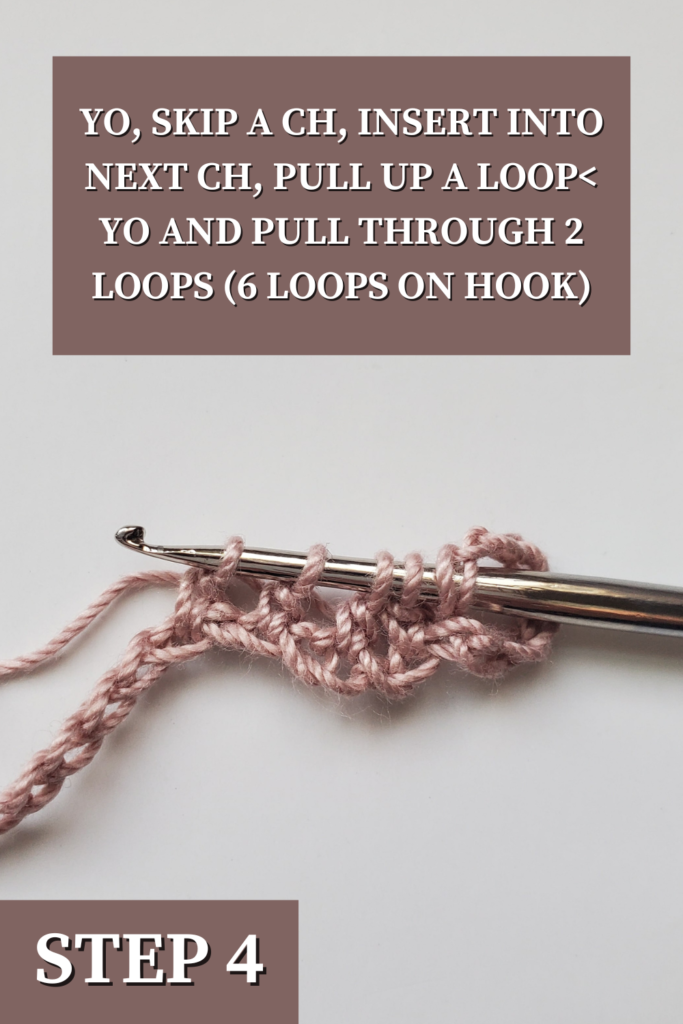
- YO – yarn over
- Ch(s) – chain(s)
- St(s) – stitch(es)
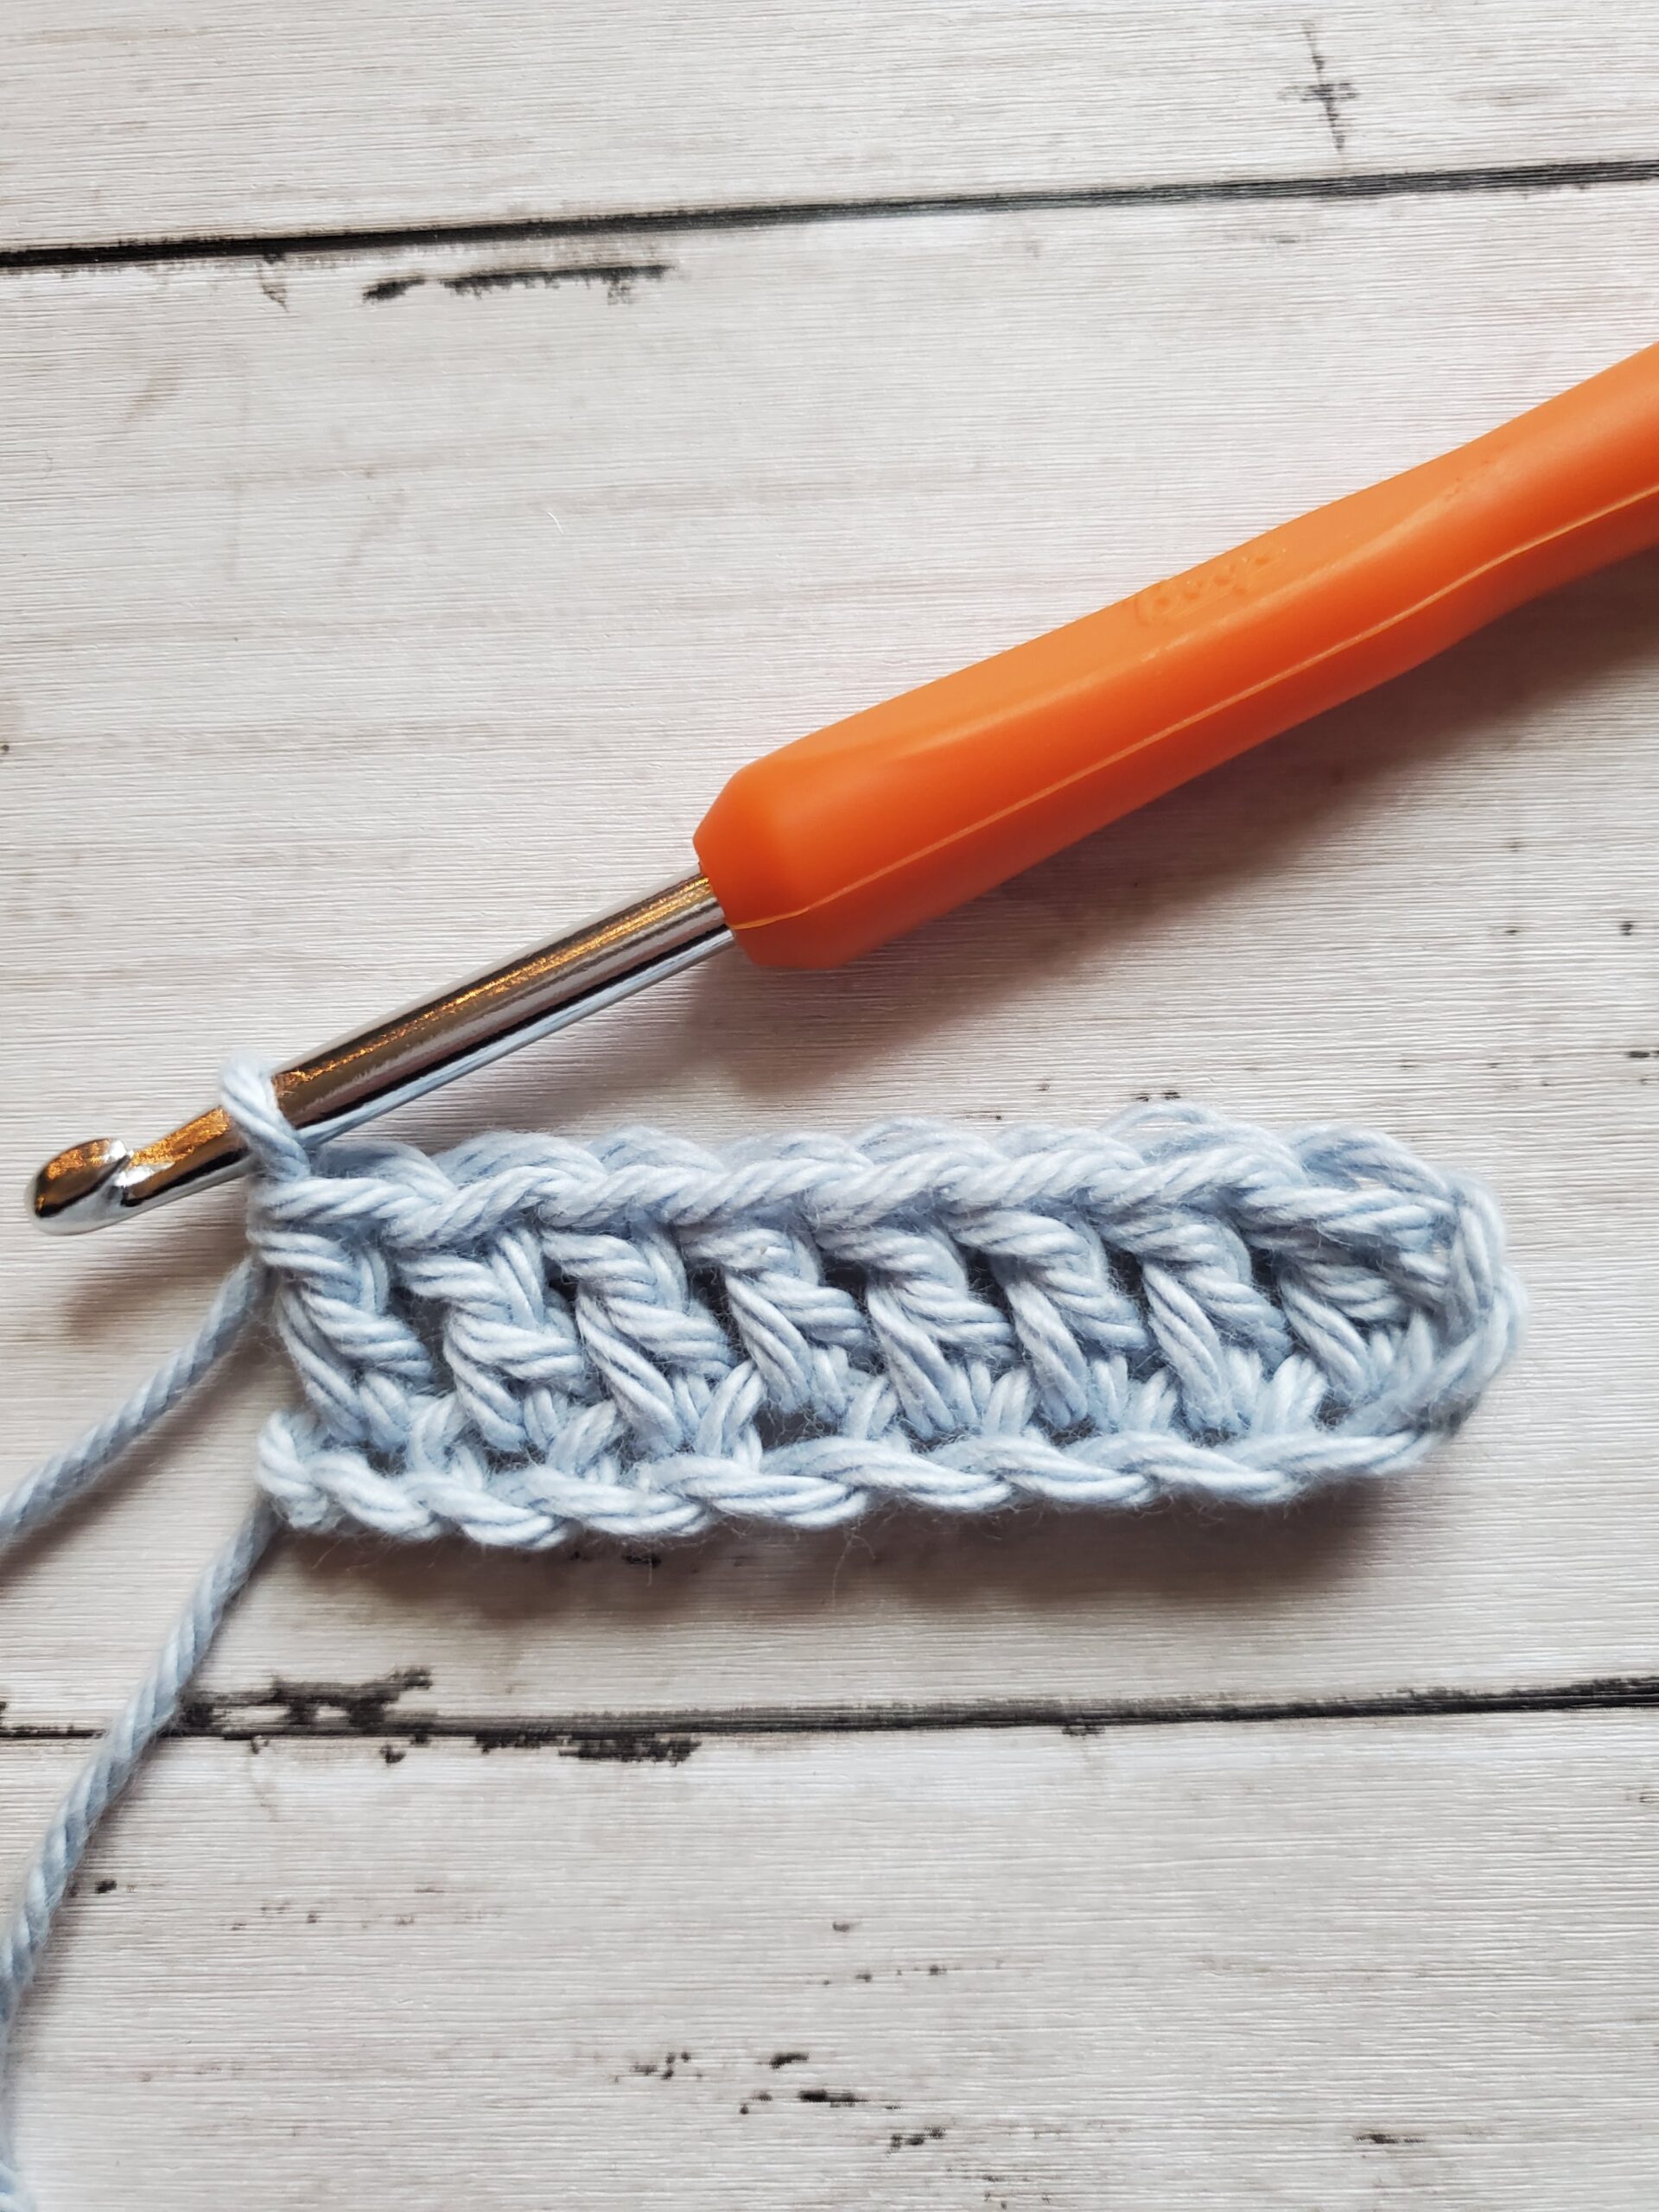
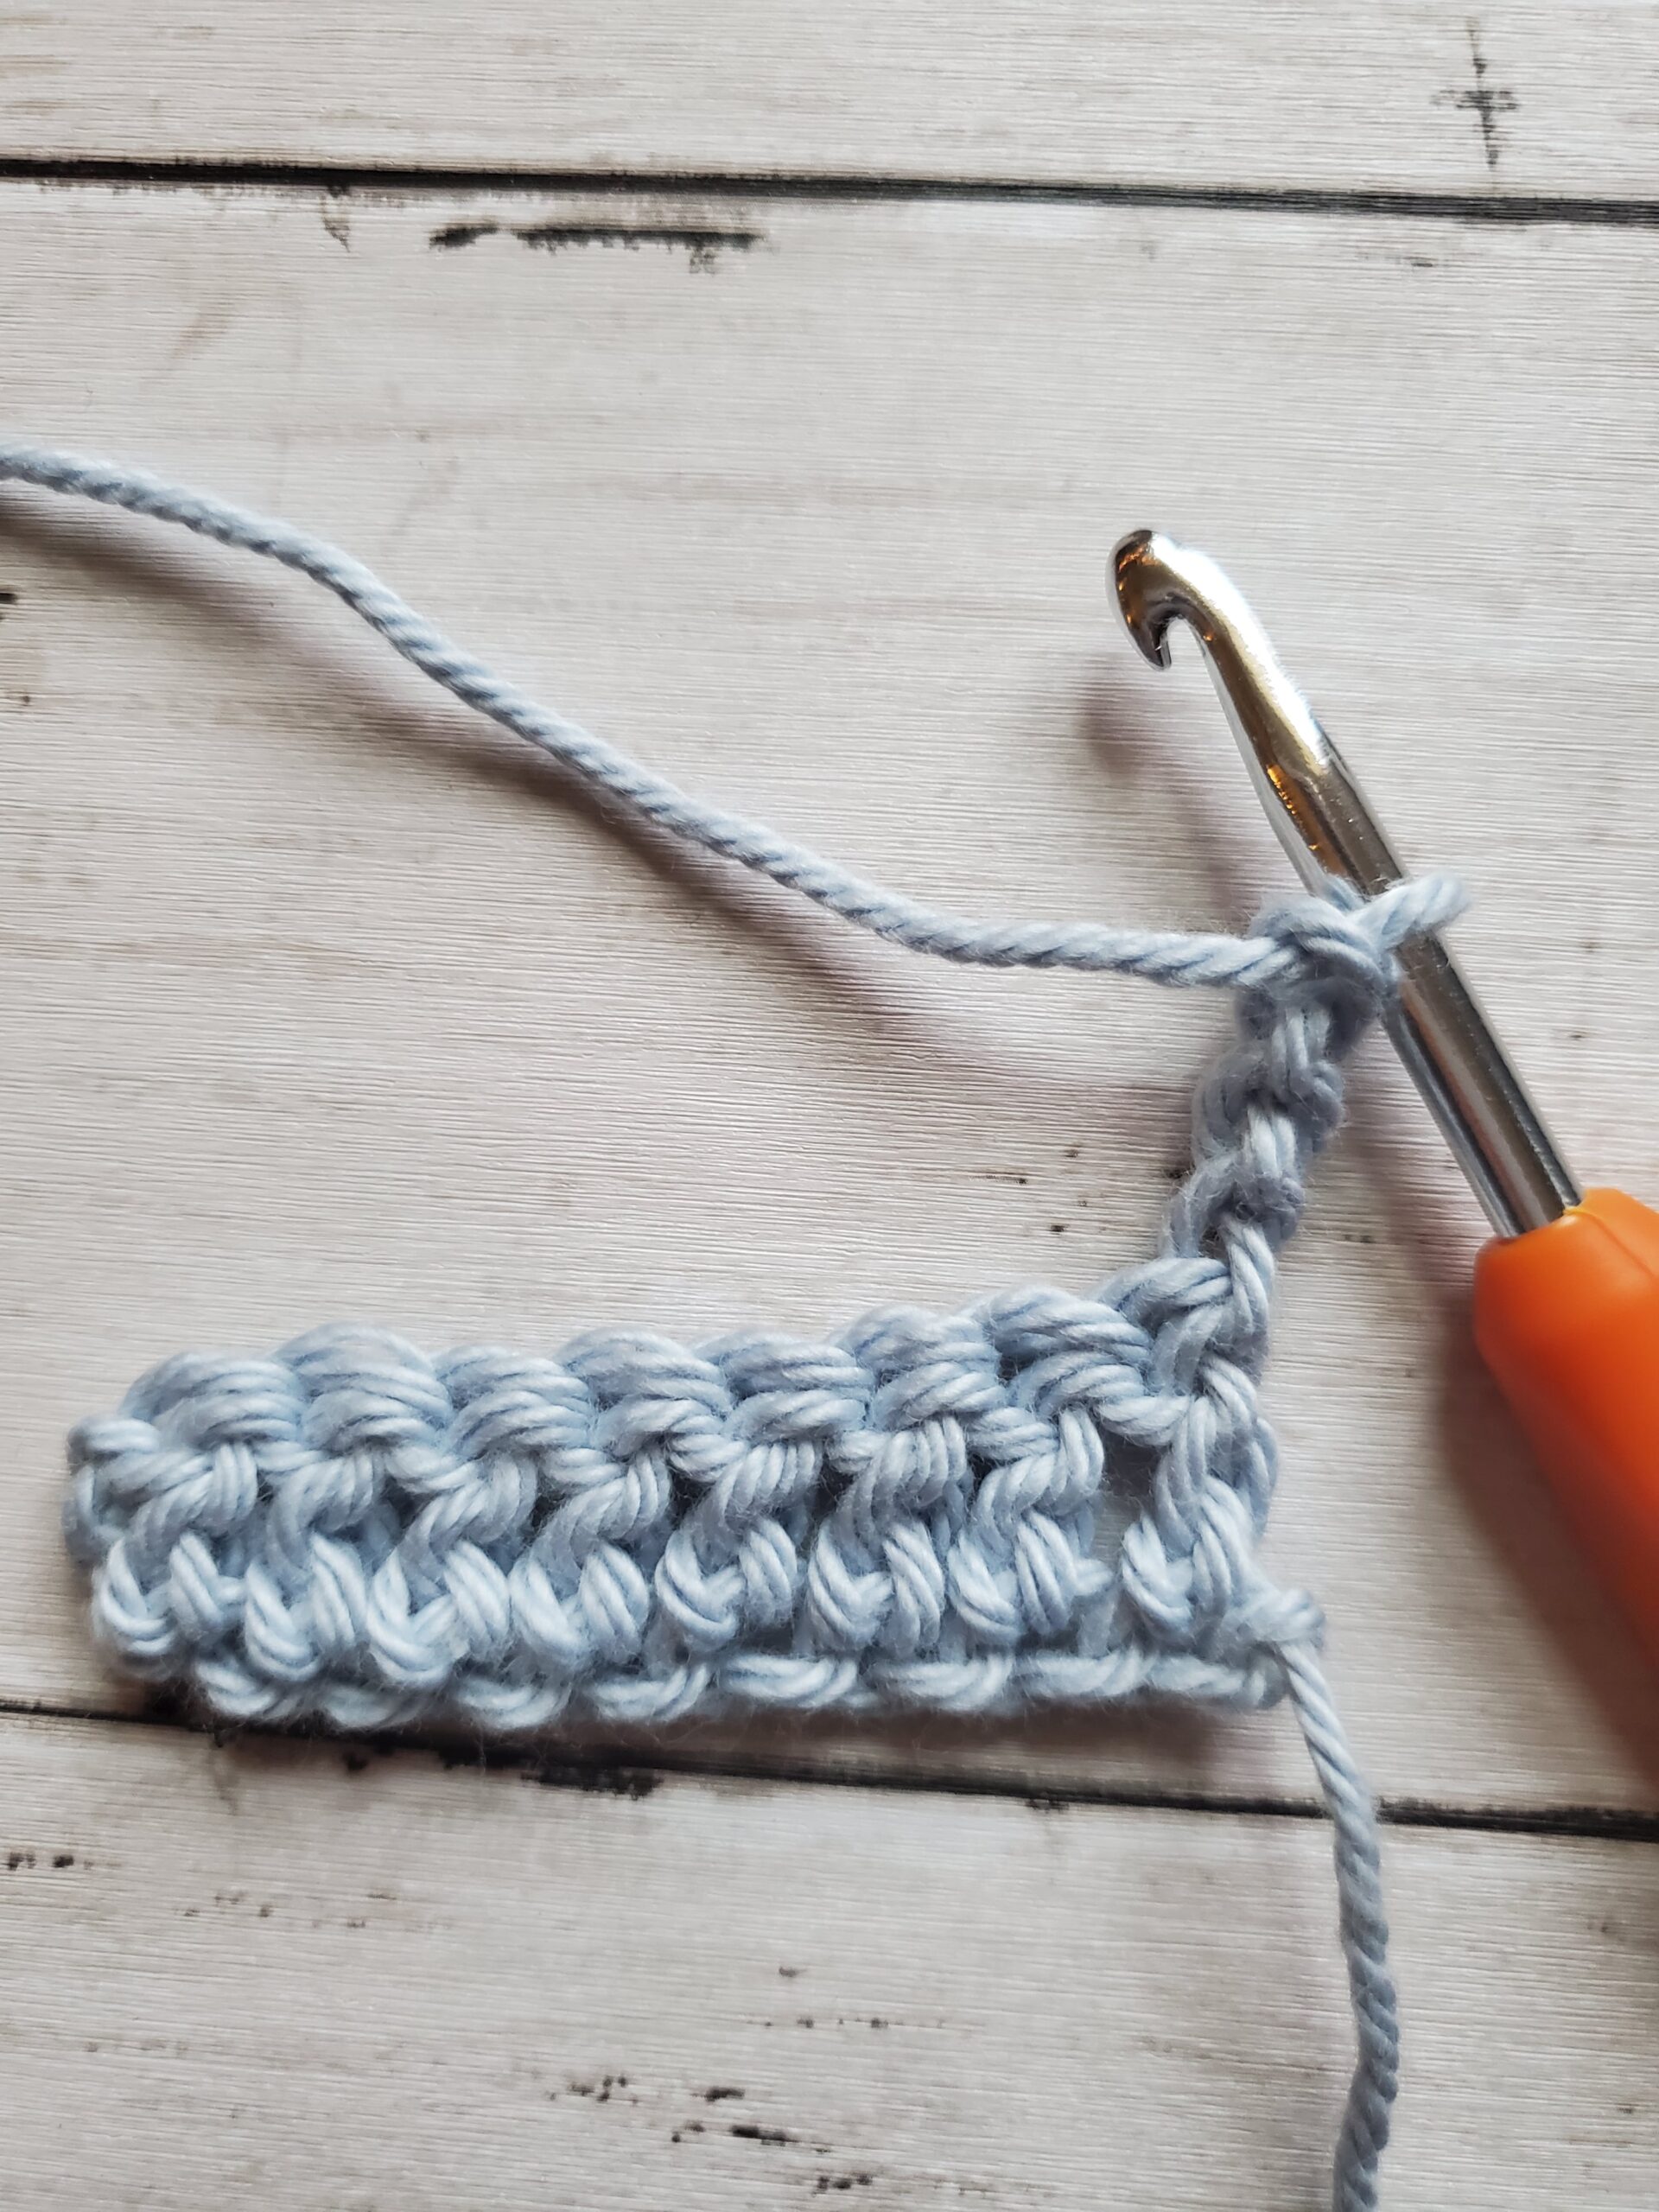
- Dc – double crochet
- Trc – treble crochet