Crochet Legend of Zelda Triforce Dishcloth Pattern

Hello everyone! Today I have a Crochet Legend of Zelda dishcloth pattern for you! These neutral colored dishcloths boast the iconic triforce symbol from the beloved video game.

If you’re like me and a fan of the Legend of Zelda series, you’ll love these crochet dishcloths. Not only will they show your love for the game, they’re a functional crochet item too. Talk about a win-win!

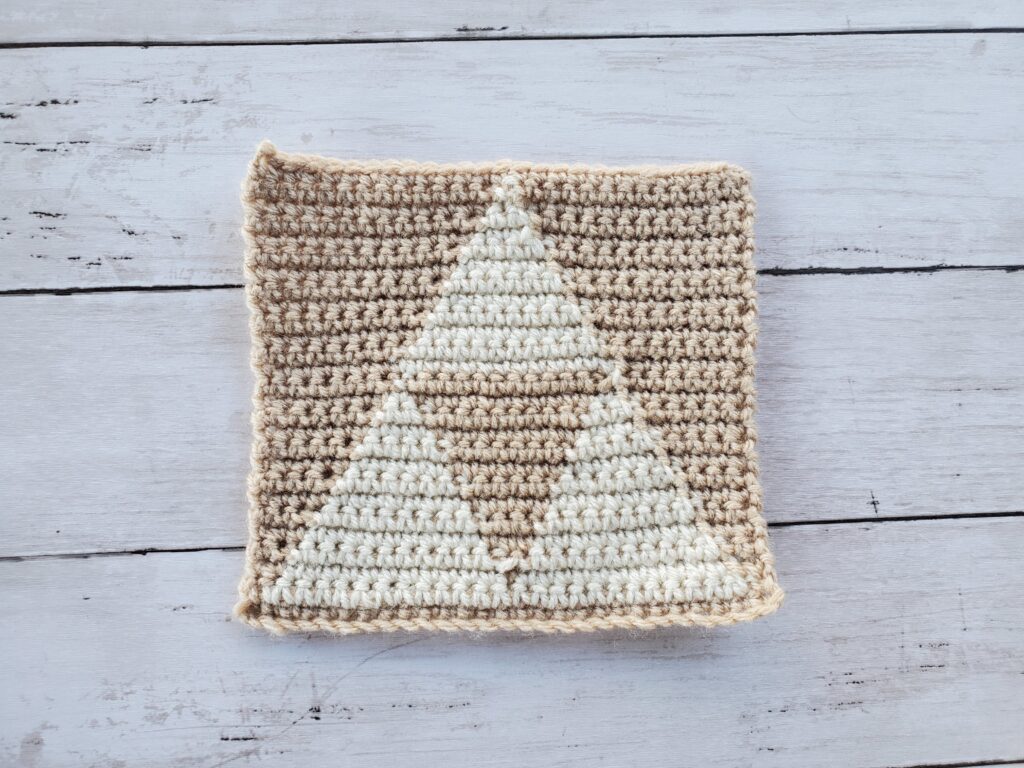
I attempted to crochet the triforce dishcloths with the classic green background and yellow triforce colors, however they seemed to bright and contrasting for this project. Instead I opted for neutral colors, and I love the way these turned out.

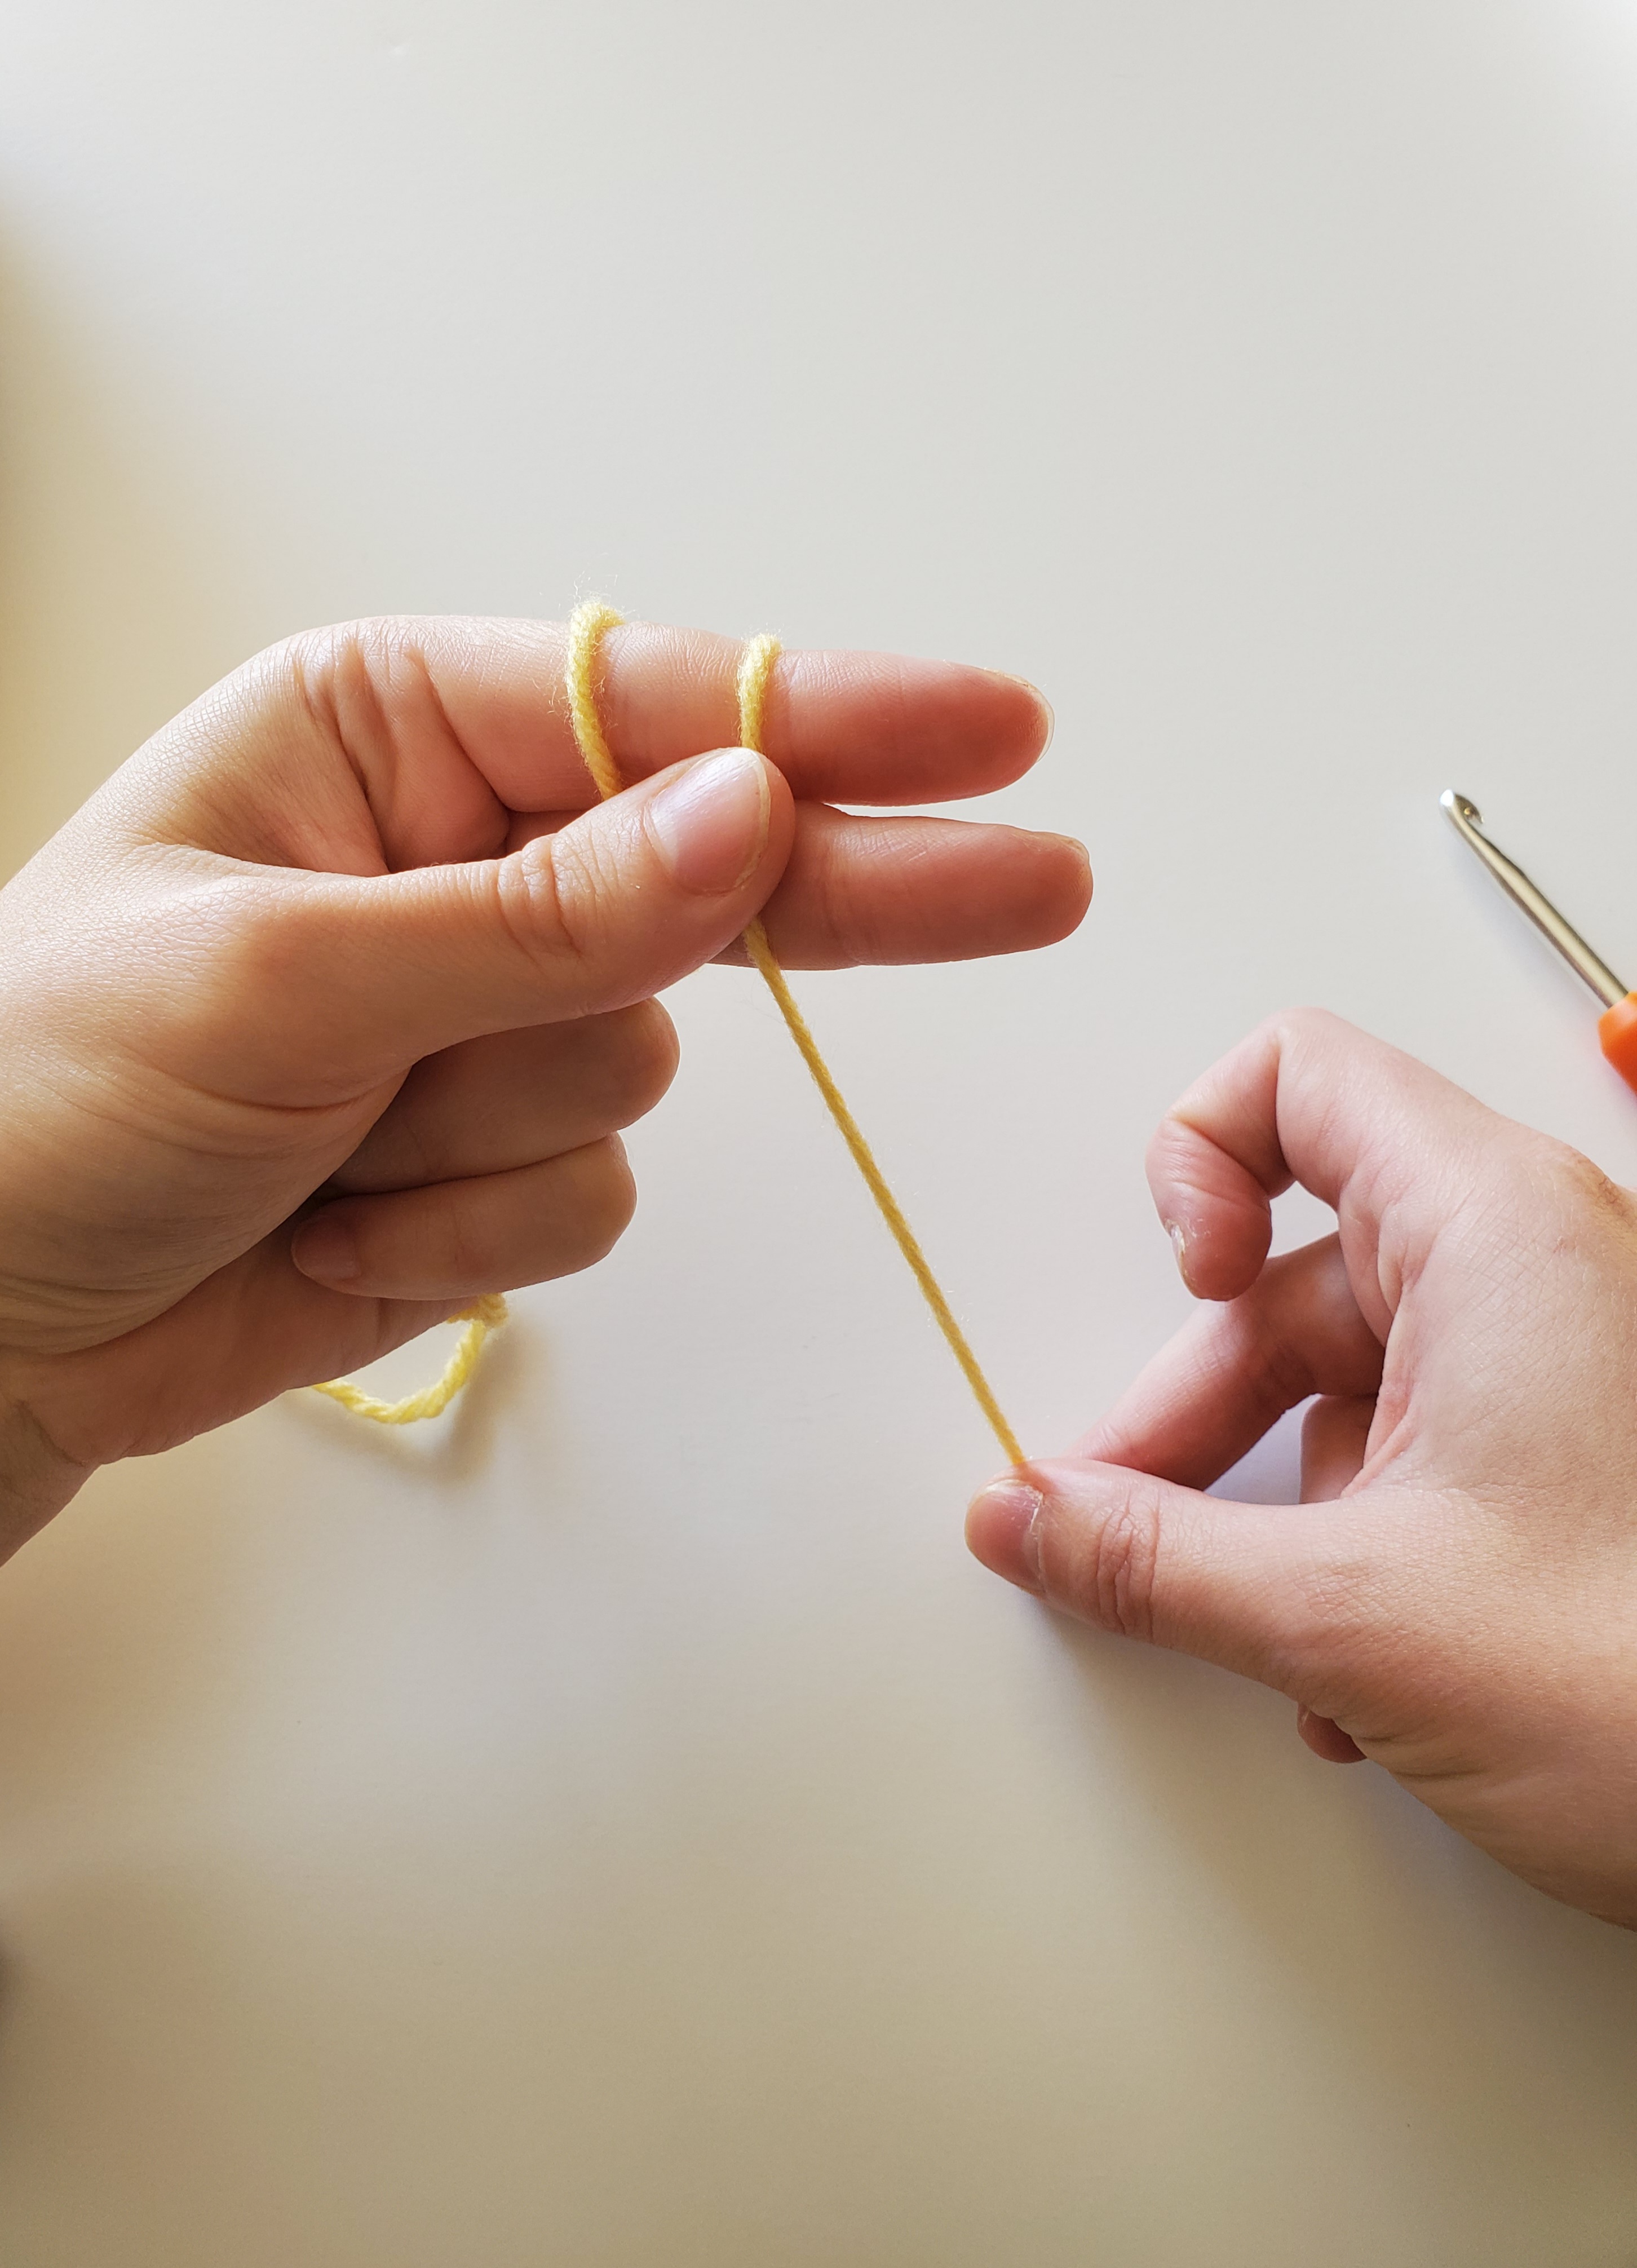
I am using a medium 4 worsted weight yarn for this pattern, but feel free to use any color or type of yarn as long as it’s the same weight.

These dishcloths measure about 7x7in when laid flat, which is a perfect size for crochet dishcloths.

Use this for yourself, or gift to a friend or family member who loves The Legend of Zelda Series too!

Related Posts:

Please note that some of these links are affiliate links. That means that if you click on these links and make a purchase, I may receive a commission at no extra cost to you. You can find more information about our disclosure policy here. Thank you for your support.
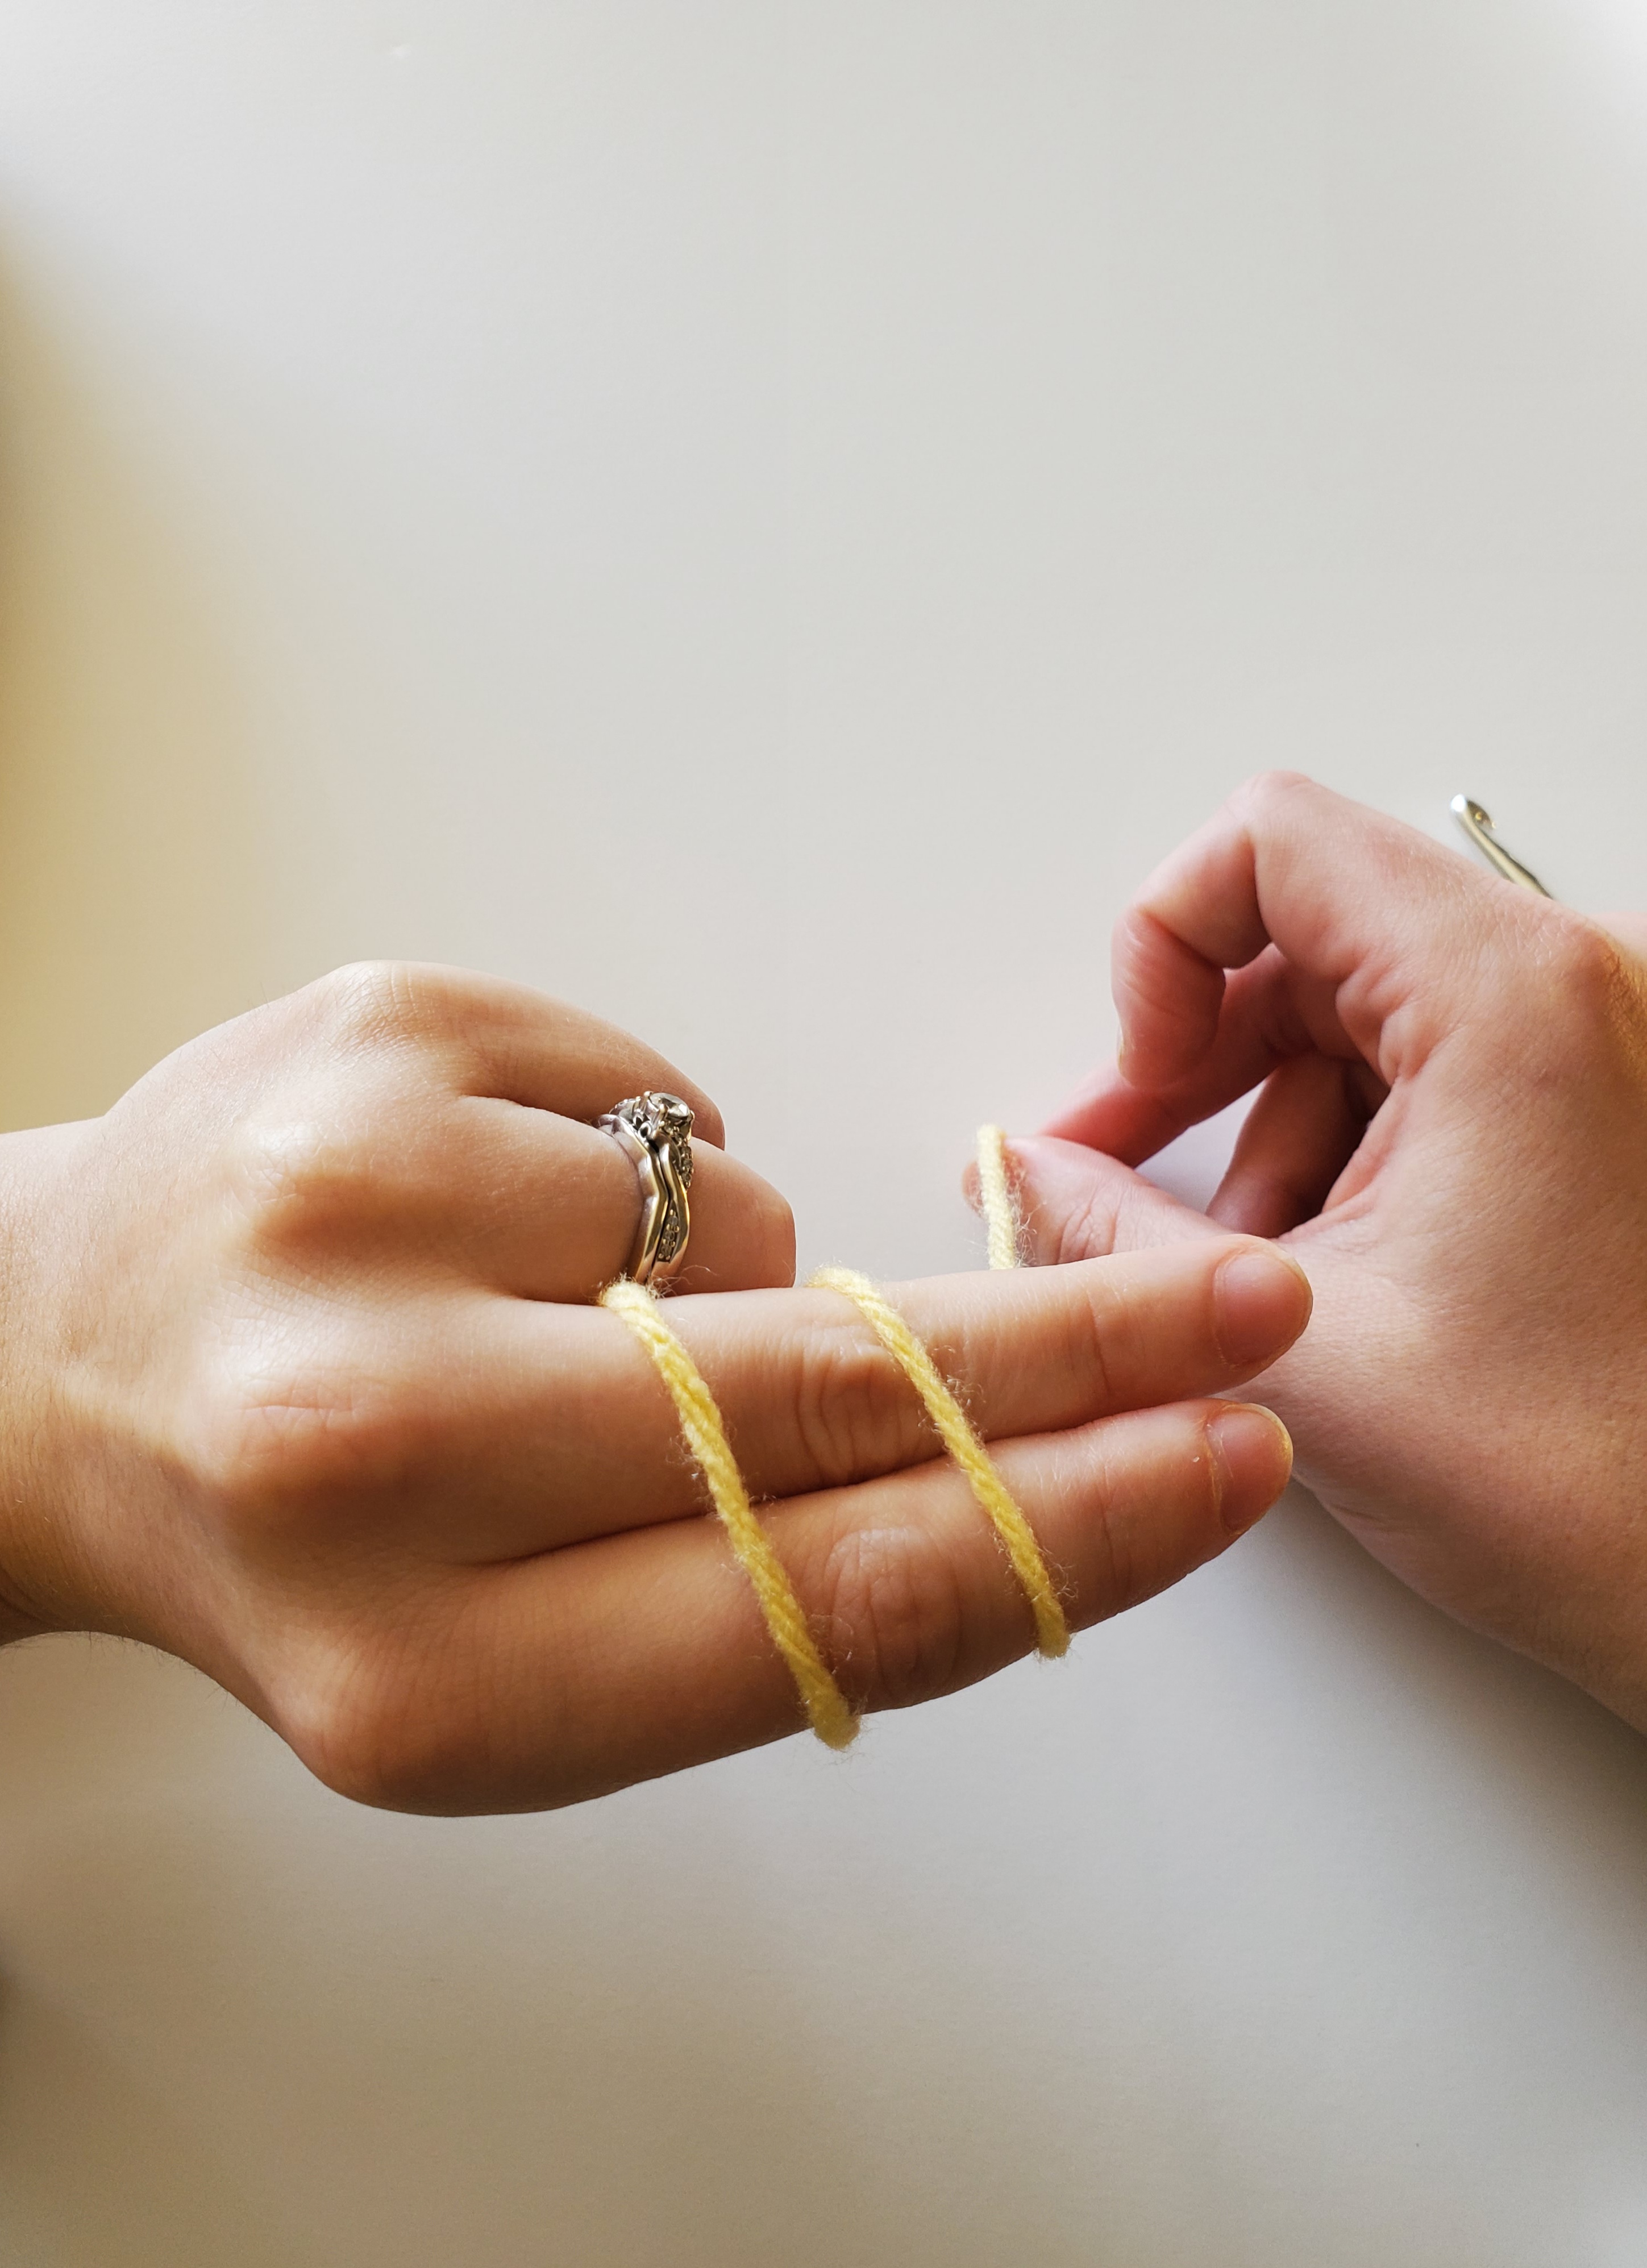
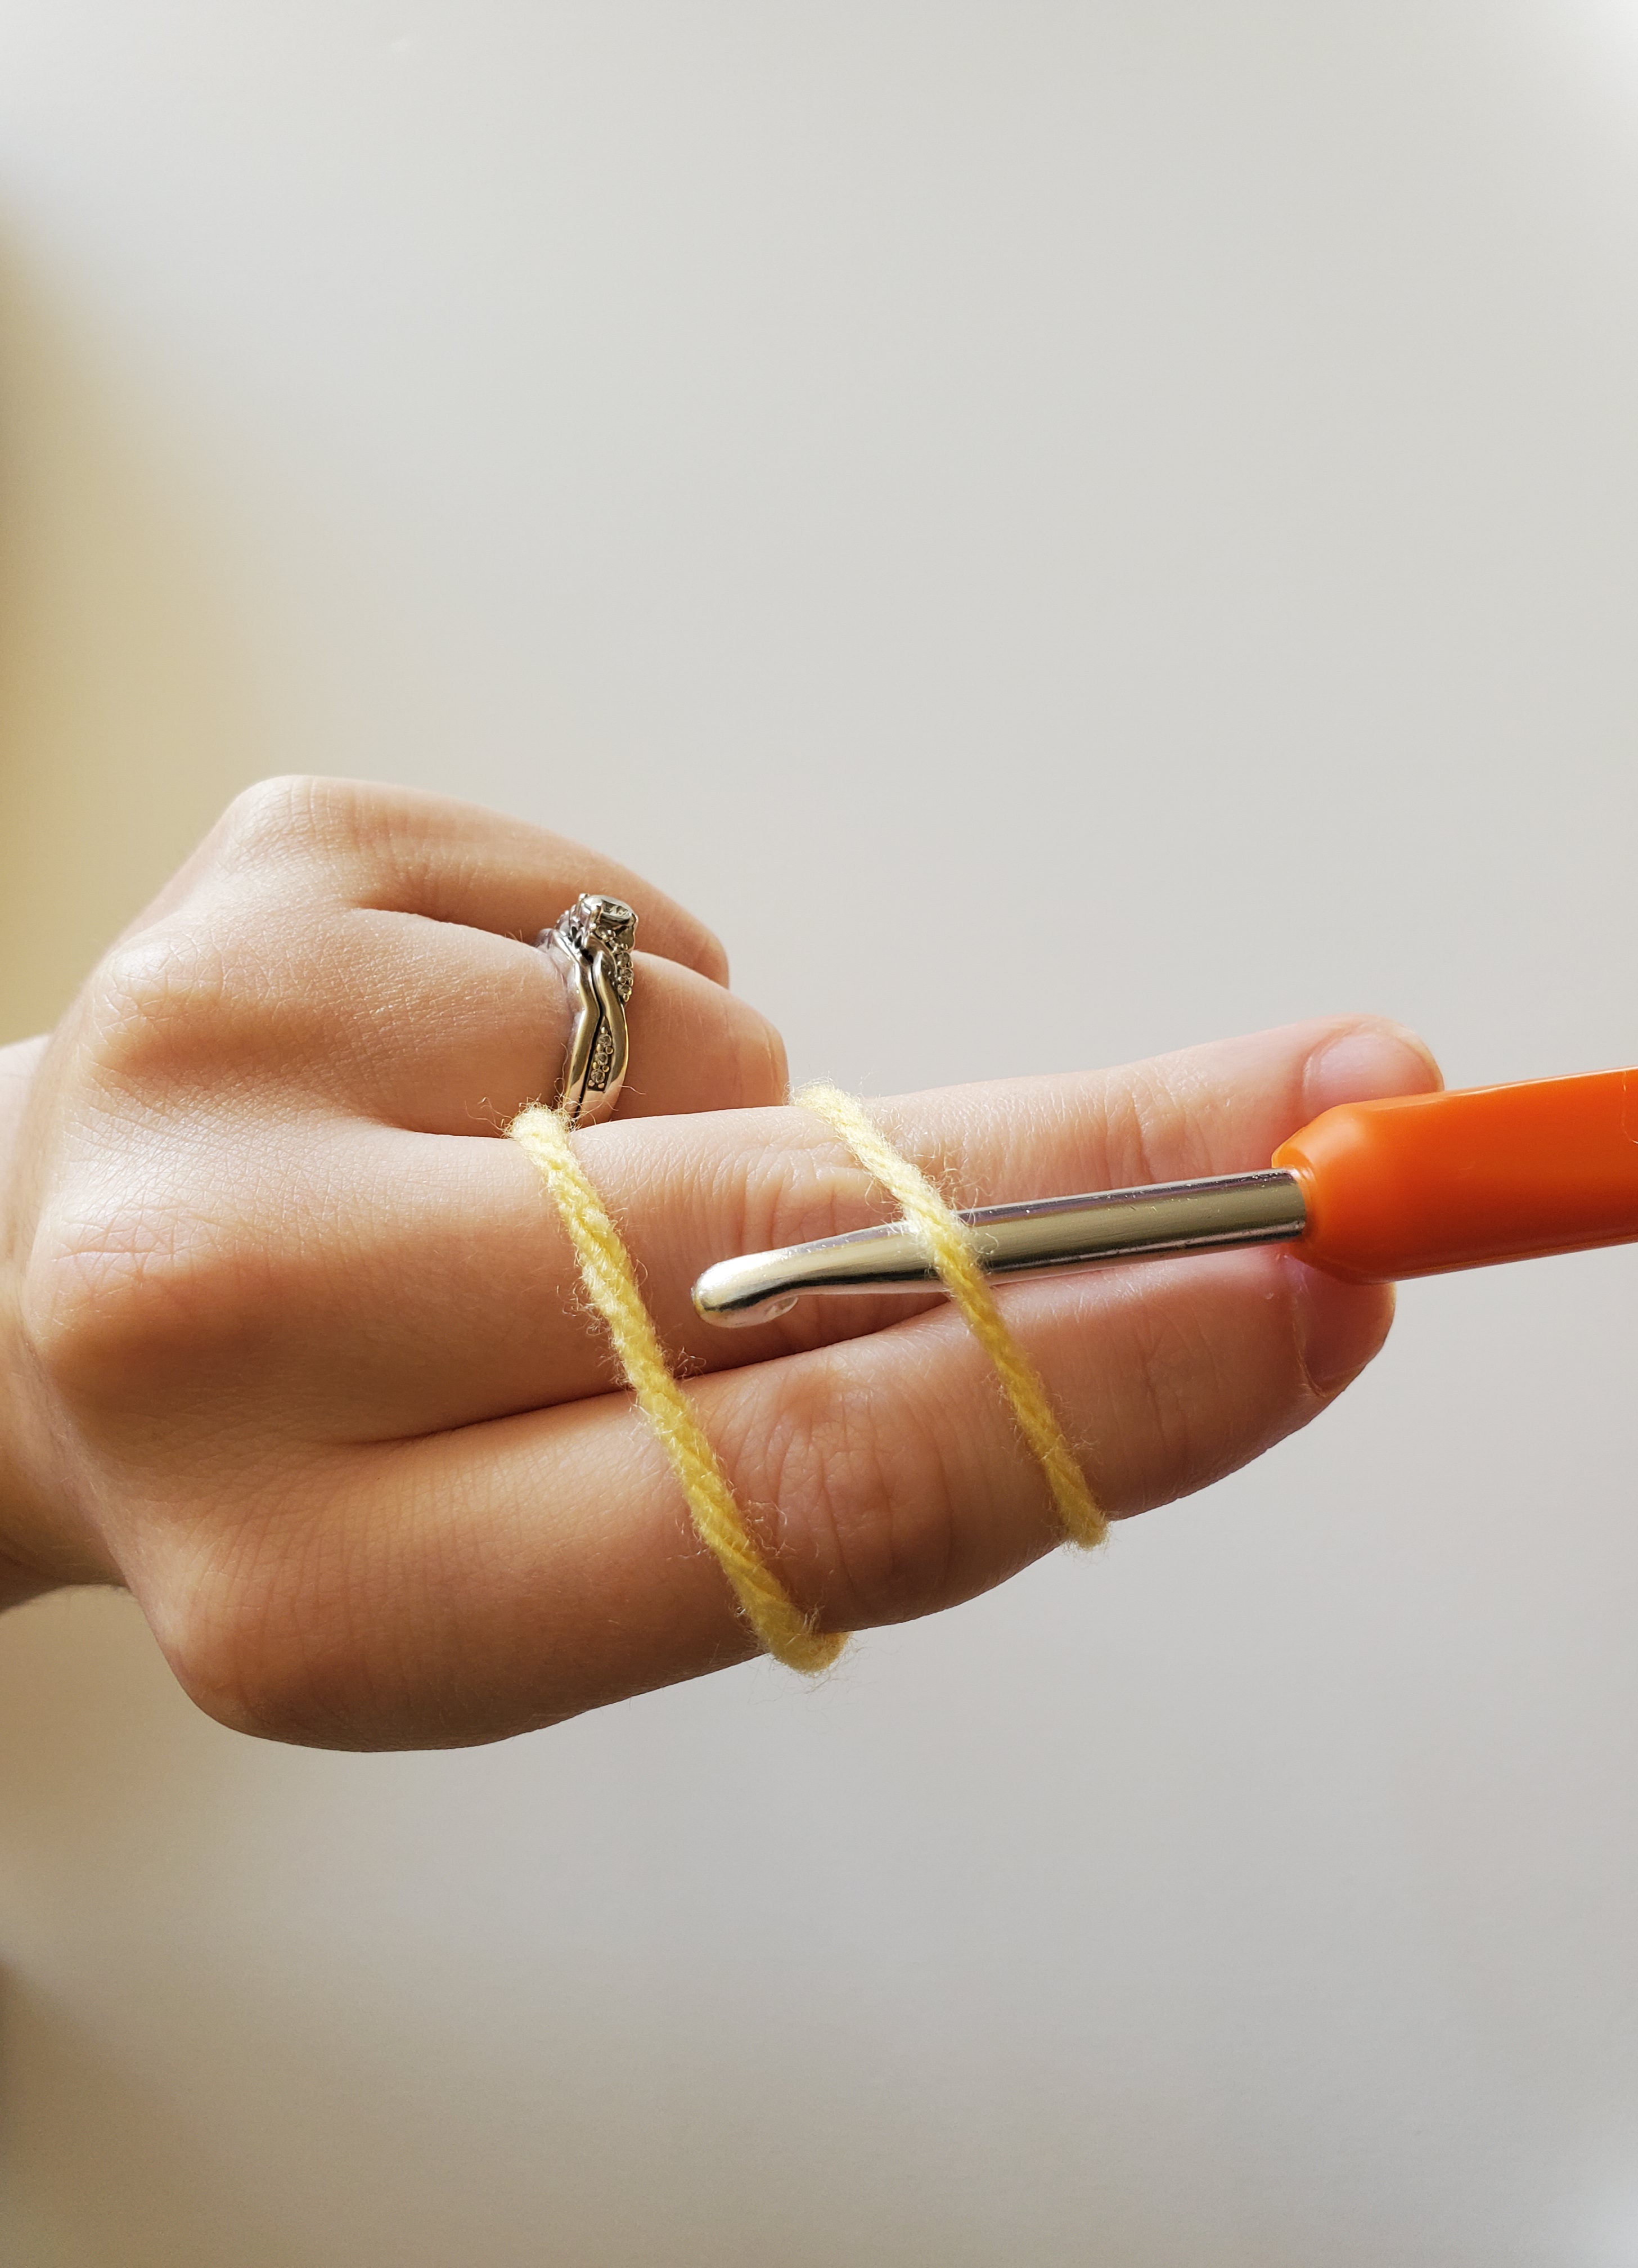
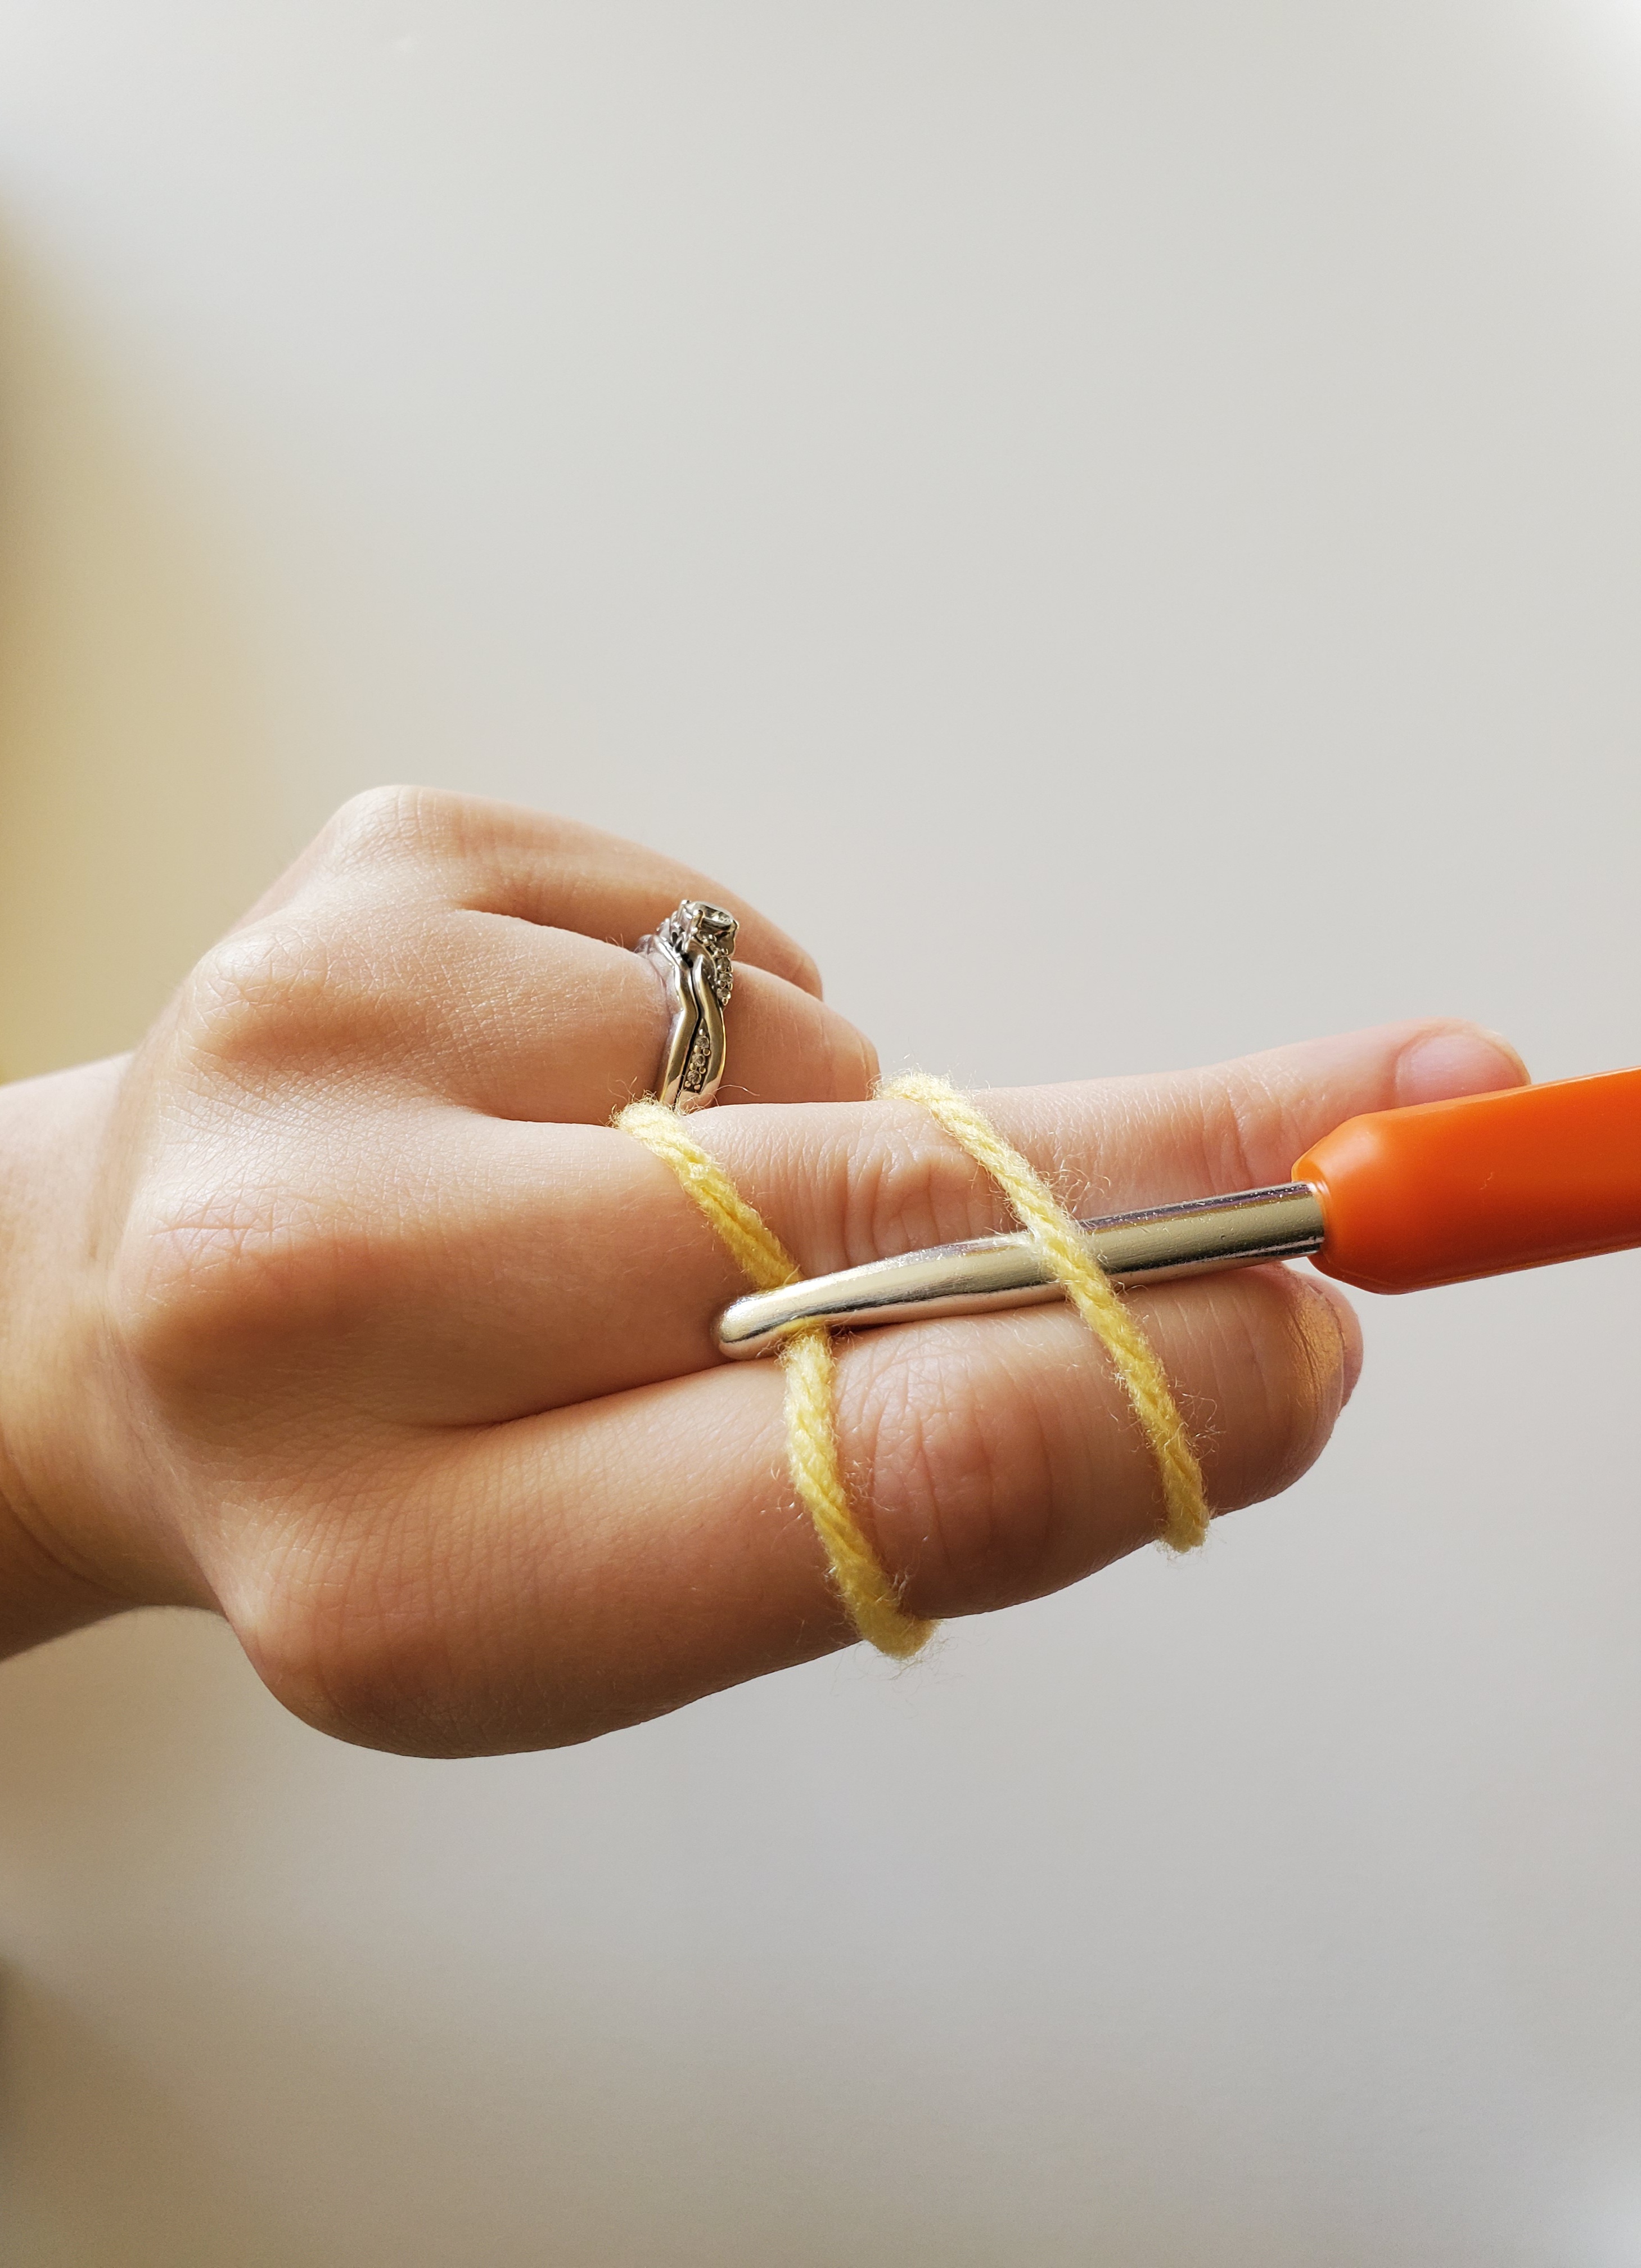
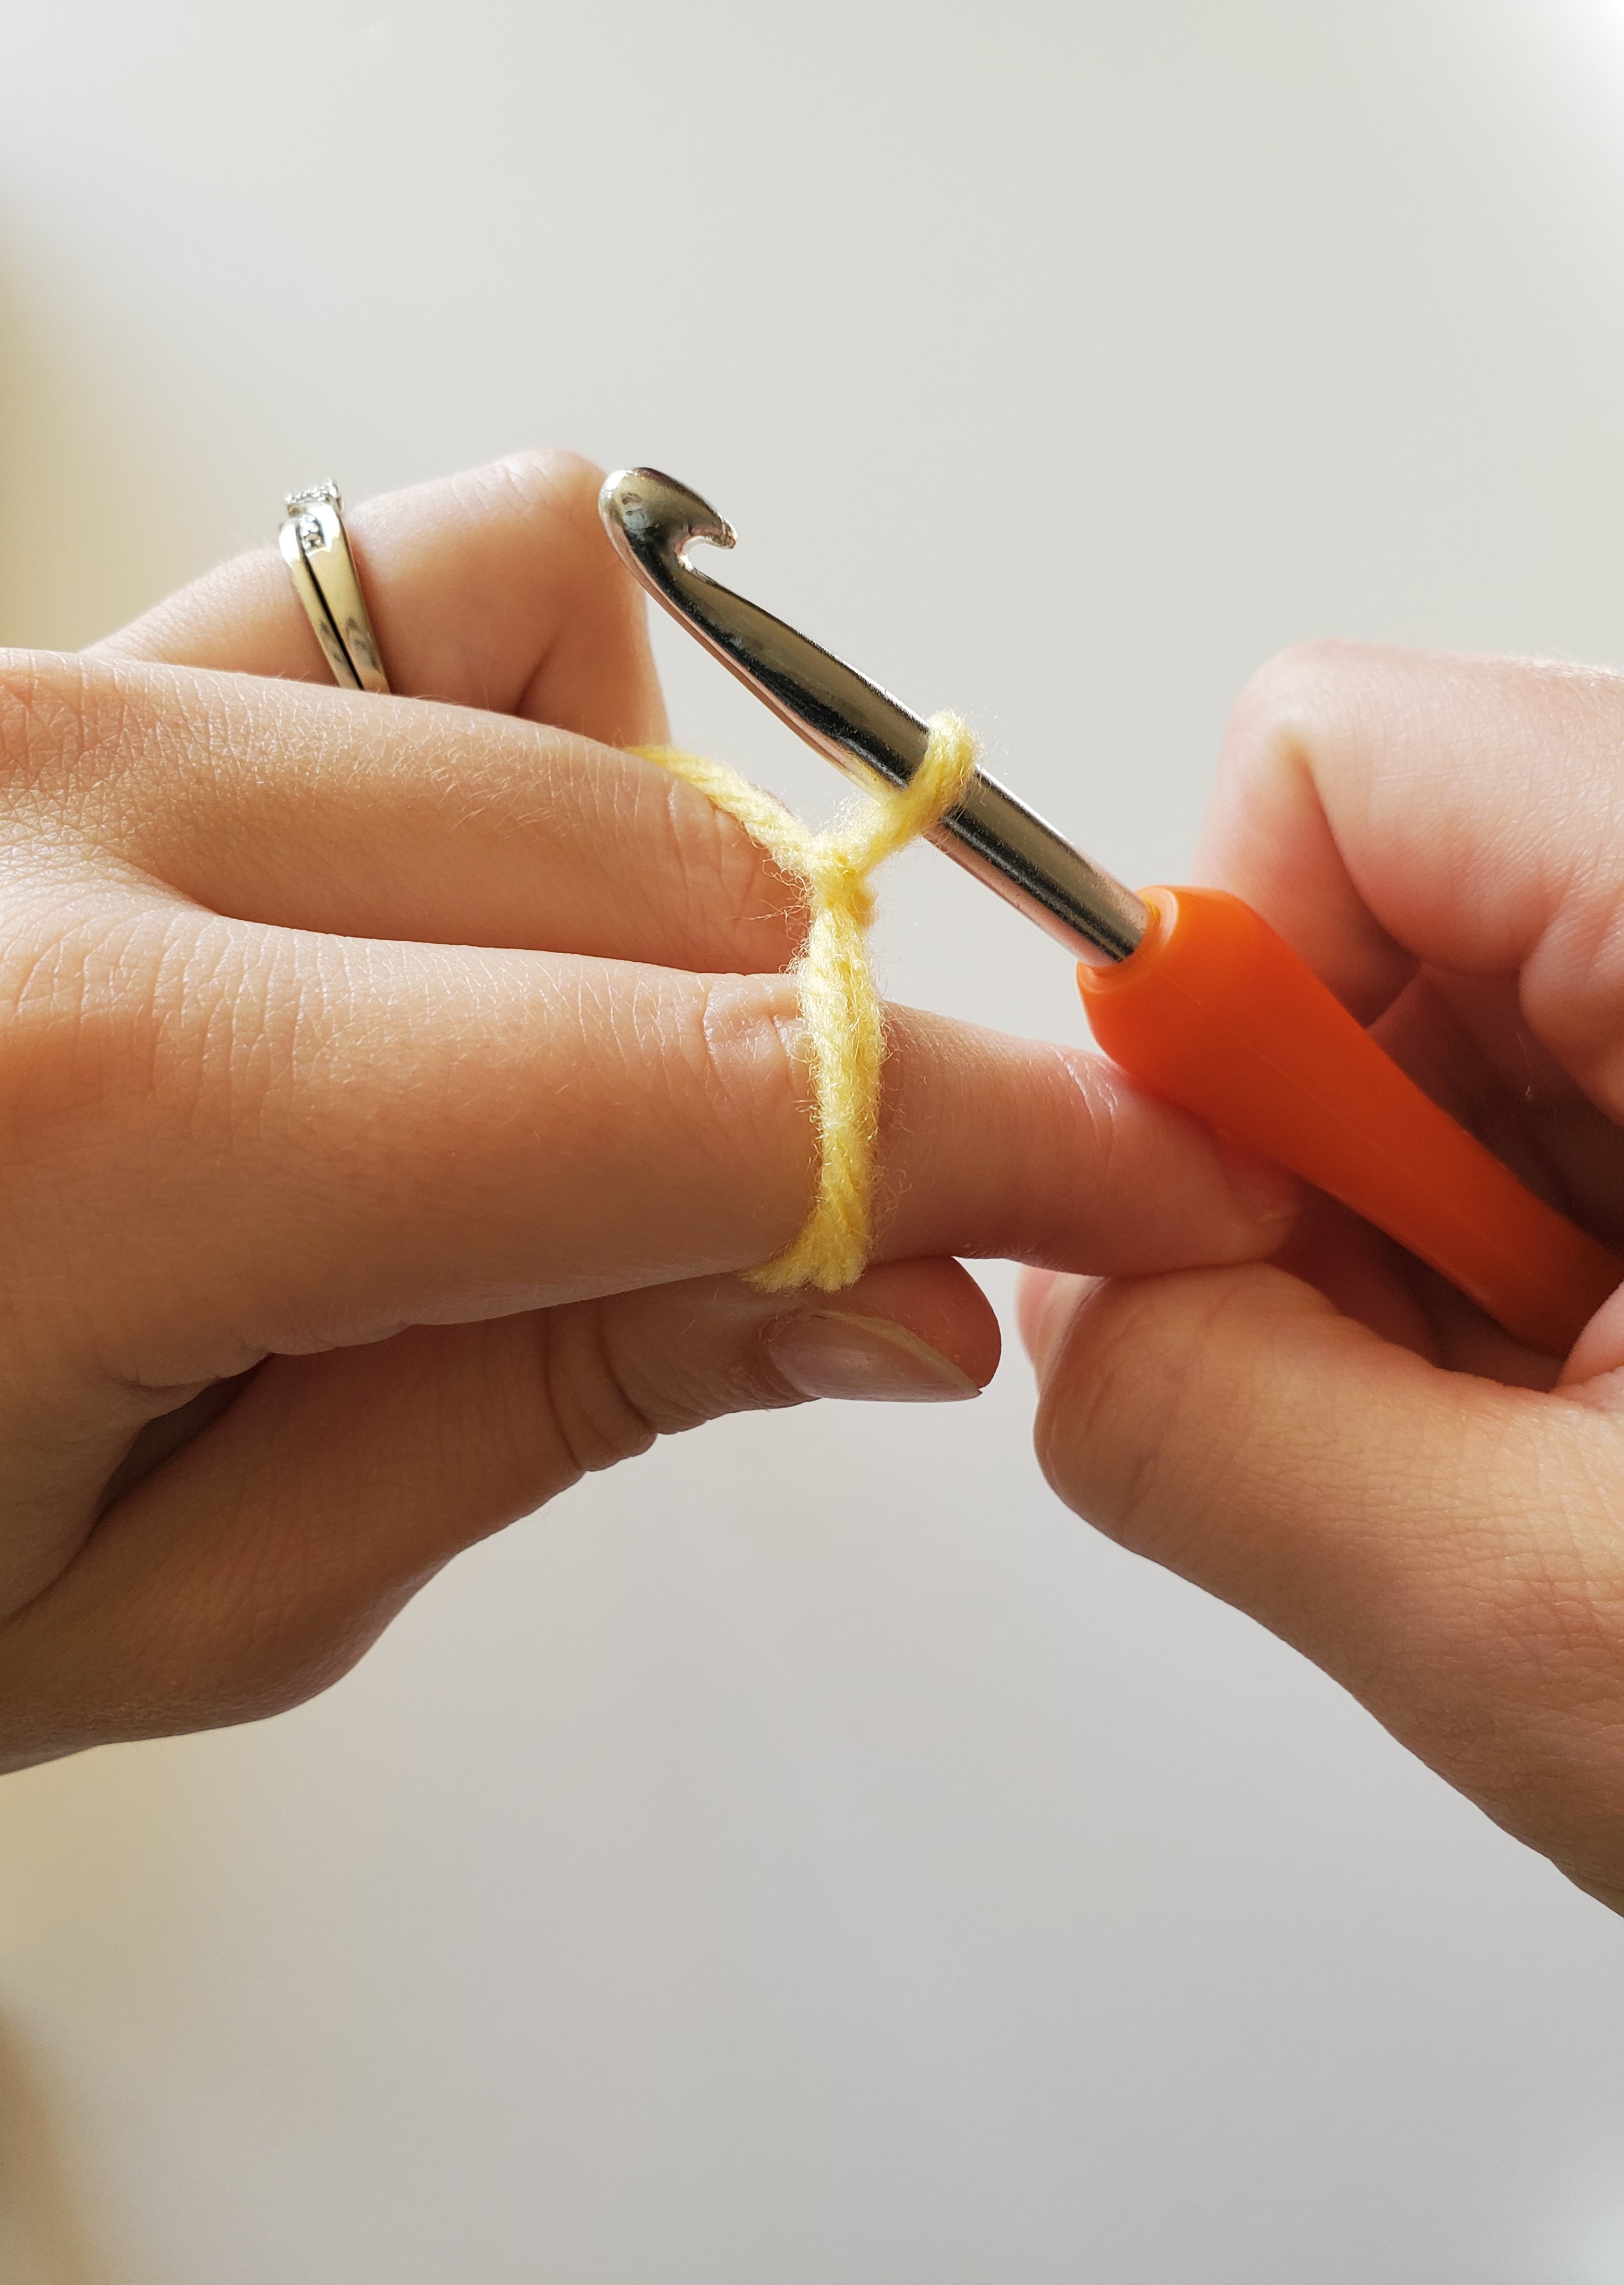
Materials Used:

Terms Used:

Please note these are in US terms, not UK

  • ch – chain
  • sc – single crochet
  • sl st – slip stitch
  • st(s) – stitch(es)

Special Considerations:

When you need to make a color change in this pattern, it’s best to do it in the stitch BEFORE the stitch that needs the color change.

If you need help with color changing, see my post on How to Color Change in Crochet the Right Way.

To perform the color change, insert your hook into the next stitch, yarn over and pull through the stitch (you now have two loops on your hook). Instead of finishing your single crochet stitch like normal, put your new yarn color on your hook. Pull that color through the two loops. Tighten your stitch by pulling on the yarn ends.  

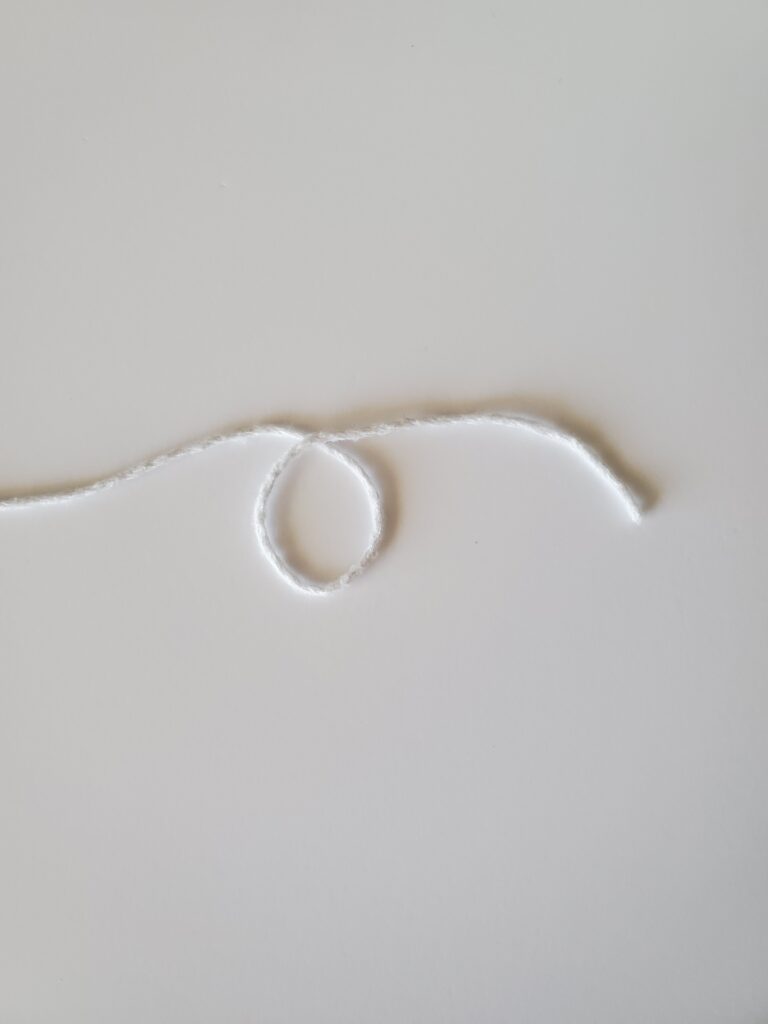
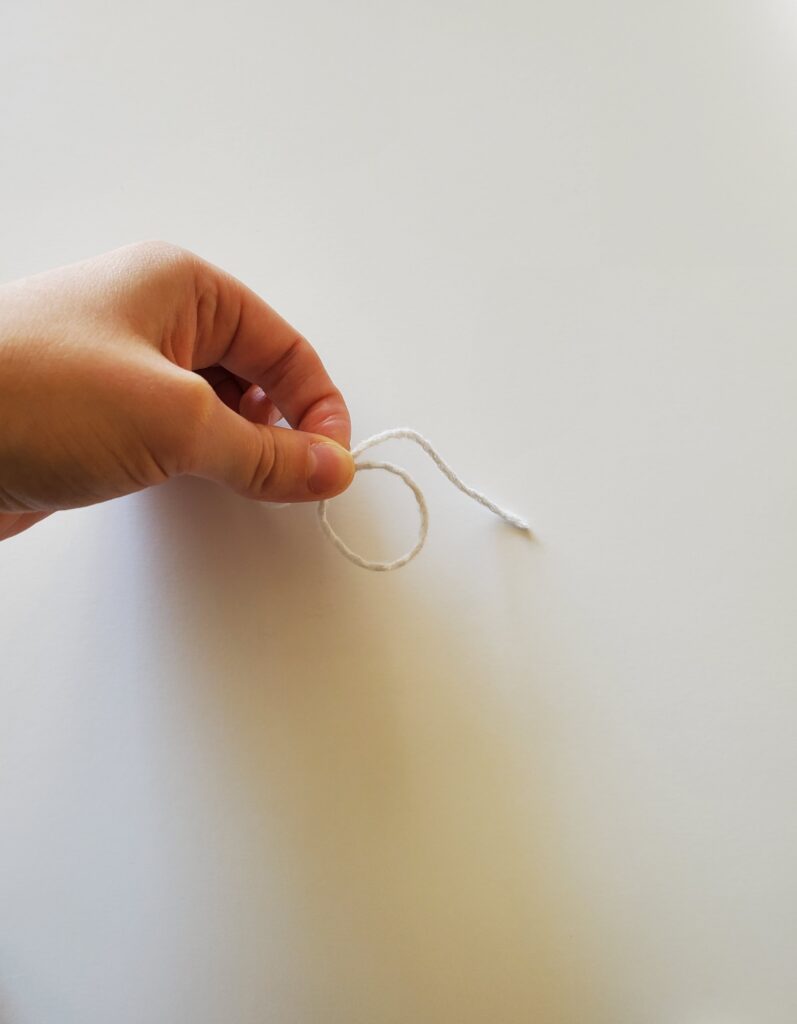
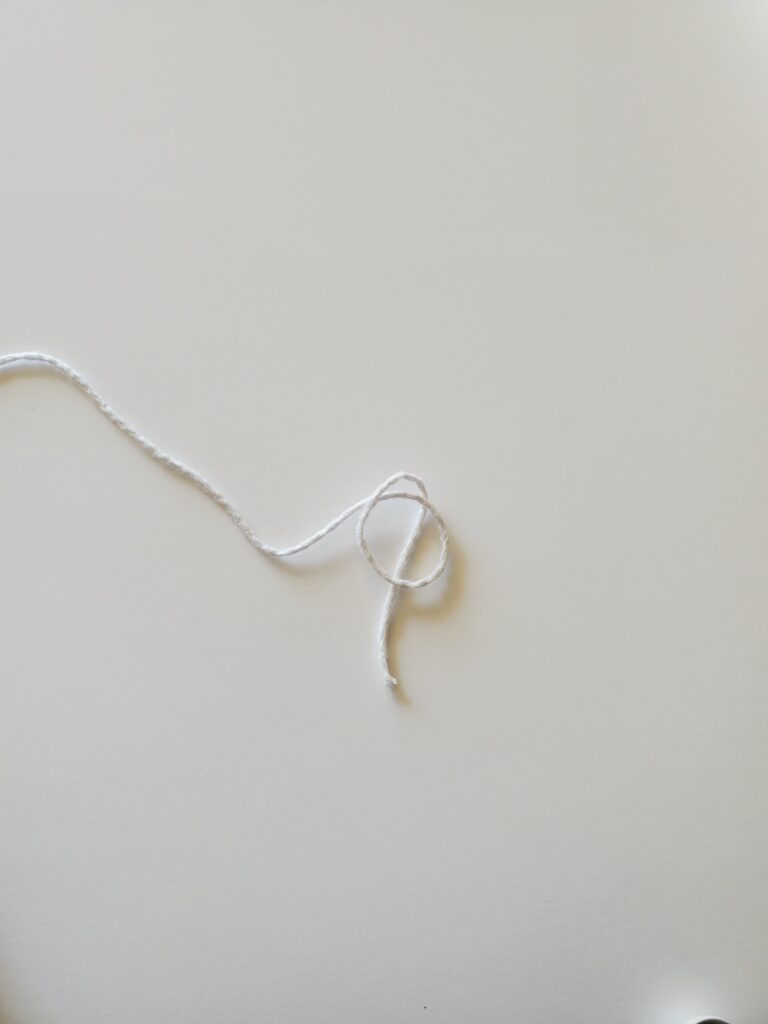
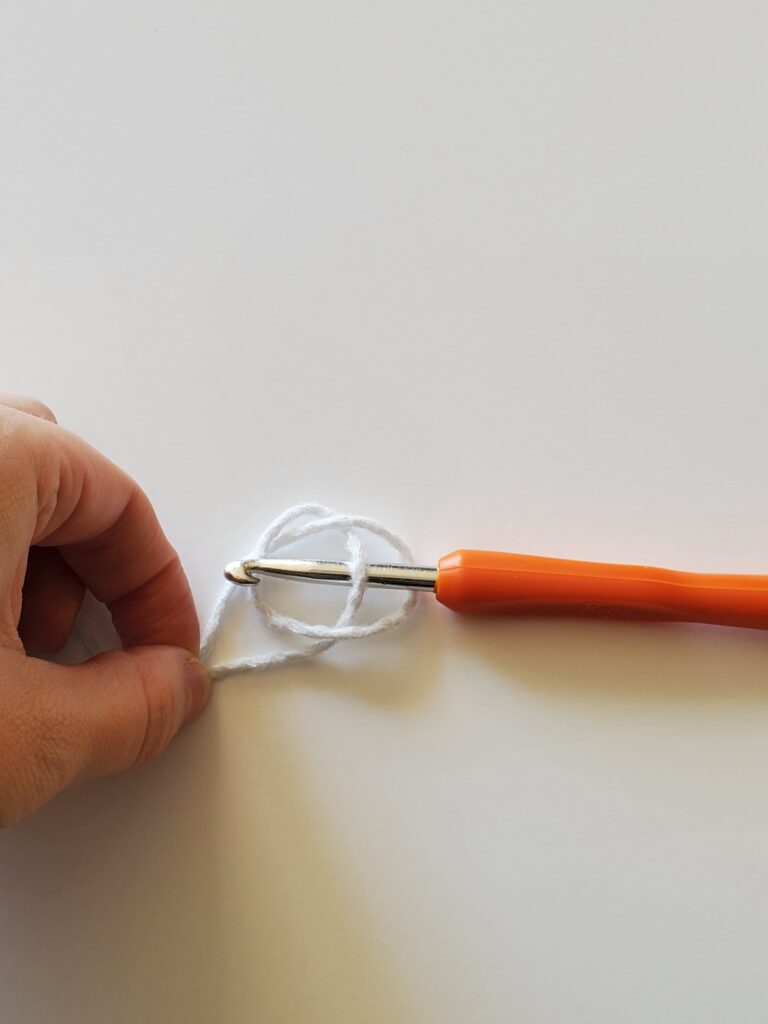
Alright let’s check out the pattern!

Crochet Legend of Zelda Triforce Dishcloth Pattern:

To get this dishcloth colorway, see directions below.
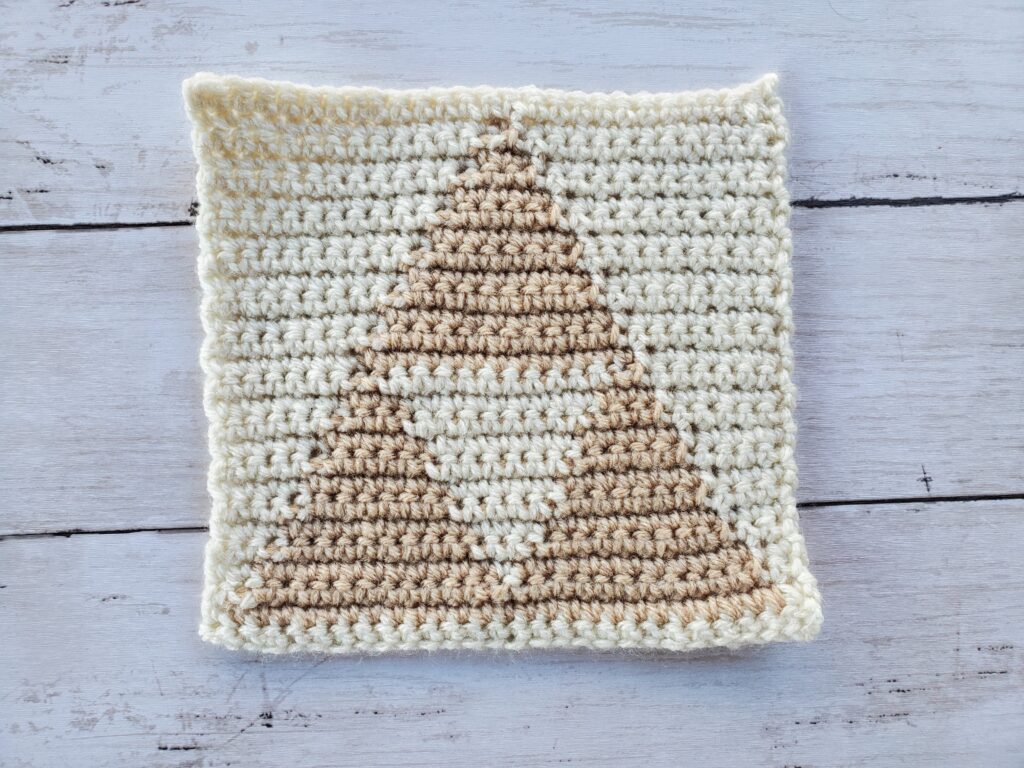
Triforce dishcloth with aran base color and buff triforce color

With Aran

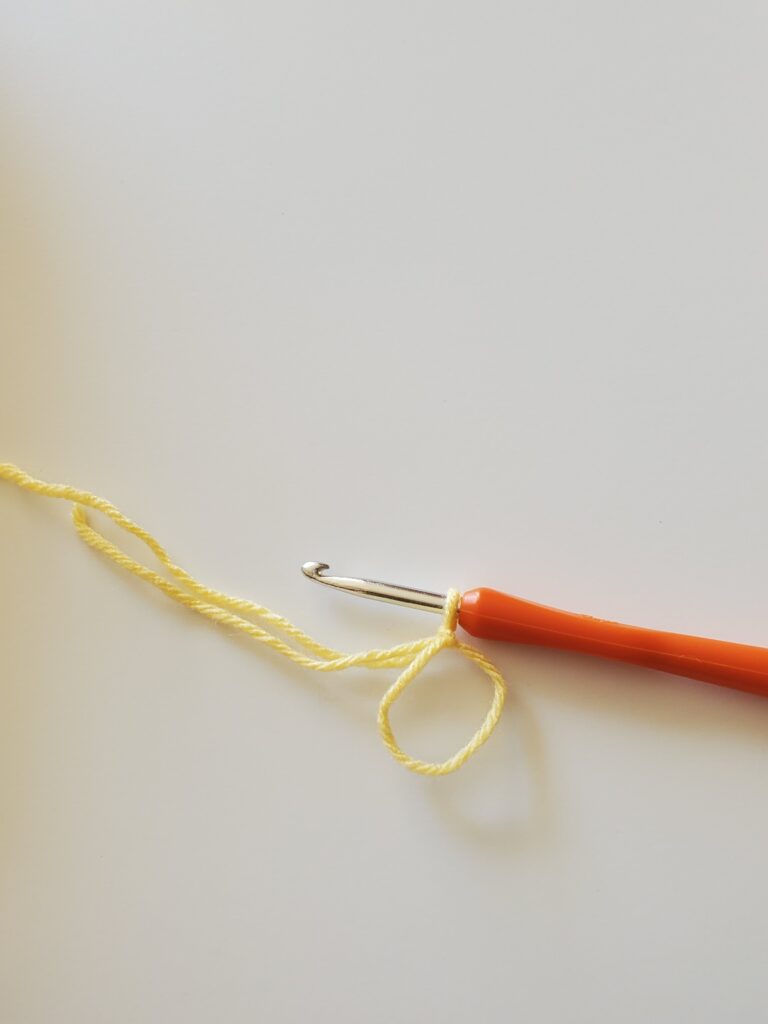
Row 1) Ch 28, sc in second ch from hook, sc in next 26 chs (27 sts)

Row 2) Turn, ch 1, sc in next st (but don’t finish all the way, with two loops on hook, switchto Buff, then finish), sc in next 25 sts, on the 25th st, switch to Aran, sc in last st

Row 3) Turn, ch 1, sc in next 2 sts, on second st switch to Buff, sc in next 12 sts, change to Aran, sc in next st, change back to Buff, sc in next 12 sts, change to Aran for next 2 sts

Row 4) Repeat row 3 

Row 5) Turn, ch 1, sc in next 3 sts, switch to Buff, sc in next 9 sts, switch to Aran, sc in next 3 sts, switch back to Buff, sc in next 9 sts, switch to Aran, sc in next 3 sts

Row 6) Repeat row 5

Row 7) Turn, ch 1, sc in next 4 sts, switch to Buff, sc in next 7 sts, switch to Aran, sc in next 5 sts, switch to Buff, sc in next 7 sts, switch to Aran, sc in next 4 sts

Row 8) Repeat row 7

Row 9) Turn, ch1, sc in next 5 sts, switch to Buff, sc in next 5 sts, switch to Aran, sc in next 7 sts, switch to Buff, sc in next 5 sts, switch to Aran, sc in next 5 sts

Row 10) Repeat row 9

Row 11) Turn, ch 1 sc in next 6 sts, switch to Buff, sc in next 3 sts, switch to Aran, sc in next 9 sts, switch to Buff, sc in next 3 sts, switch to Aran, sc in next 6 sts

Row 12) Repeat row 11

Row 13) Turn, ch 1, sc in next 7 sts, switch to Buff, sc in next st, switch to Aran, sc in next 11 sts, switch to Buff, sc in next st, switch to Aran, sc in next 7 sts

Row 14) Turn, ch 1, sc in next 7 sts, switch to Buff, sc in next 13 sts, switch to Aran, sc in next 7 sts

Row 15) Turn, ch 1, sc in next 8 sts, switch to Buff, sc in next 11 sts, switch to Aran, sc in next 8 sts

Row 16) Repeat row 15

Row 17) Turn, ch 1, sc in next 9 sts, switch to Buff, sc in next 9 sts, switch to Aran, sc in next 9 sts

Row 18) Repeat row 17

Row 19) Turn, ch1, sc in next 10 sts, switch to Buff, sc in next 7 sts, switch to Aran, sc in next 10sts

Row 20) Repeat row 19

Row 21) Turn, ch 1, sc in next 11 sts, switch to Buff, sc in next 5 sts, switch to Aran, sc in next 11 sts

Row 22) Repeat row 21

Row 23) Turn, ch 1, sc in next 12 sts, switch to Buff, sc in next 3 sts, switch to Aran, sc in next 12 sts

Row 24) Repeat row 23

Row 25) Turn, ch 1, sc in next 13 sts, switch to Buff, sc in next st, switch to aran, sc in next 13 sts

Row 26) Repeat row 25

Row 27) Sc in each st across with Aran

Cut yarn with scissors, weave in ends with tapestry needle.

To obtain the second dishcloth, simply switch the colors with the above directions.

Crochet triforce dishcloth with buff base color and aran for triforce

I hope you enjoyed this crochet Legend of Zelda Triforce Dishcloth Pattern!

Until next time!

Other Posts You May Like:

How to Crochet Star Ornaments for your Christmas Tree

Three crochet christmas tree star ornaments in red, green, and tan

This is a post on how to crochet a Christmas tree ornament in a star shape. Keep scrolling to see the pattern!

Are you looking for a quick and easy way to decorate your Christmas tree this year? Or maybe you’re looking for a gift or stocking stuffer idea for the holidays? How about impressing your family or friends with your crochet skills?

If so, then this crochet Christmas tree ornament could be JUST the pattern you’re looking for! These little stars are so cute, yet so simple. Plus, your kids can’t break them if they decide to pluck them off the tree. So definitely a bonus in my book!

These work up so quickly and you can customize it by using any color and yarn you like. Try green, red, and white for traditional holiday colors. Or use neutral colored yarn, like brown and grey, to give your tree a rustic or farmhouse vibe! 

I’m fairly certain that my two year old was more excited than I was, when I finished a few of these. She hung them on her fingers while she ran around the house, saying, “my twinkle stars! My twinkle stars!” It was too cute, and I’m glad she got a kick out of them. 

Here’s the supplies you’ll need with the pattern listed below:

Supplies needed:

  • Appropriately sized crochet hook for your yarn (I used a 5mm and 4mm for my stars)
  • Yarn (I used Mainstays Green and Red Heart Super Saver in Burgundy and Aran)
  • Tapestry needle
  • Scissors

Special Instructions:

You’ll need to know how to make a magic circle in order to start this pattern. If you’ve never made a magic circle, or need help, you can go to my step-by-step guide here

Terms Used:

  • mc – magic circle
  • ch – chain
  • sc – single crochet
  • dc – double crochet
  • sl st – slip stitch

Pattern: 

Round 1) Make a magic circle. Ch 3, make 19 dc, sl st to top of ch 3. (20sts)

Round 2) *Sc in next st, skip a st, 3 dc in next st, ch3, 3 dc in same st, skip a st* Repeat from *to* around. Sl st into beginning sc. 

If you want to make your star bigger:

Round 3) Sl st into next 2 sts, ch 3, dc into next st, 3 dc in ch space, ch3, 3 dc in same space, dc in next 2 sts, skip the next 3 sts (should be a dc, sc, and dc).

*dc in next 2 sts, 3 dc in ch space, ch3, 3 dc in same ch space, dc in next 2 sts, skip next 3 sts* Repeat *to* around. Sl st to top of starting ch 3

Round 4) Sl st into next st, ch 3, dc in next 3 sts, 3 dc in ch space, ch 3, 3 dc in same ch space, dc in next 4 sts, skip 2 sts.

*dc in next 4 sts, 3 dc in ch space, ch 3, 3 more dc in ch space, dc in next 4 sts, skip next 2 sts* Repeat *to* around. Sl st to top of starting ch 3.

By this point your star will be fairly large. However, if you wish to keep growing your star, you can repeat round 4 essentially, but the dcs will increase down the sides. 

Starting your next round you’ll: sl st into the next st, ch 3, dc until you get to the ch space, 3 dc in ch space, ch 3, and 3 more dc in ch space, dc down the side of the star and remember to skip 2 sts for the inside corner. 

Cut yarn and pull through. 

Repeat pattern so when you’re finished, you have two separate stars with the same amount of rounds. Do not cut your yarn when you finish the 2nd star.

Assembly

Line up both stars evenly (Make sure the correct sides are facing out). Insert your hook through the corresponding sts of each star, sl st into each and every st, even the ch 3 spaces. 

Make sure to continue slip stitching to “sew” the two stars together and end your slip stitches into one of the ch 3 spaces. Ch 6 and sl st into the same ch3 space to create a loop for hanging your ornament.

Cut yarn and pull through. Weave in yarn end.

Crochet star ornament in red
Crochet Christmas Tree star ornament in aran
Crochet Star Ornament in Green

And that’s all! You can make them as big or as small as you would like, and in any color or type of yarn. Try traditional Christmas colors like red, green, or white, or choose colors that fit your tree theme! 

Thanks for reading, happy crocheting and happy holidays!

How to Crochet a Beanie of Any Size

It’s super easy to crochet the perfectly sized beanie or hat! All you need is the measurement of the head circumference and you’re golden! 

Well, there’s a little more to it, but I promise, it’s not as bad as you might think. I’ll provide the formulas for you, so there’s little room for error.

If you’re not sure what the head circumference is of the person you’re crocheting your beanie for, I have an average of measurements listed below that you can use. 

Supplies you’ll need:

  • Your choice of yarn
  • Crochet hook 
  • Measuring tape
  • Tapestry needle to sew your ends
Crown
Height
Circumference

In order to get:

Crown width – Take your circumference and divide that number by pi (3.14).

Hat height – Take your circumference divided by 10 and multiply by 4.

Circumference -Take a measuring tape and measure around your head above the ears. I like to subtract an inch or so off of this measurement so the beanie sits snugly (especially if your are crocheting with stretchy/squishy yarn)

So in the picture above, the circumference for this hat is about 16 inches. In order for me to get the crown width, I took 16/3.14 which is right about 5. So 5 inches for the width. 

To know how long to crochet my hat (the hat height), I took 16/10 x 4. So 16 divided by 10 is 1.6. Take 1.6 times 4 and you get 6.4. 6.4 inches is how long I want my hat to be in order for the proportions to be correct.

You can use this chart below to see average measurements per age.

Happy crocheting! 

Make a Magic Circle for Crochet (Magic Ring)

Finished magic circle on crochet hook

In this post I will show you in 11 steps with pictures, how to make a magic circle for crochet.

Making a magic circle, or interchangeably, magic ring, is one of the best ways to set yourself up for success if you want to crochet amigurumi or any projects that require you to crochet in a round.

You may have seen some patterns say something along the lines of like x number of sc in a mc. The “mc” stands for magic circle. 

So what makes this magic circle so magical? The magic circle, when pulled tightly, makes a less noticeable hole than if you were to make a slip knot, chain 2 and crochet in the first stitch. Magic circles are also a lot less likely than the previous method, to unravel from the beginning.11

First step of magic circle
Picture 1
Pulling yarn behind two fingers
Picture 2
Pulling yarn up and over two fingers
Picture 3

Step 1)

With the tail end of your yarn, pull it through between your middle and ring finger (see picture 1).

Step 2)

Pretend to make “gun” fingers with your left hand. Grip your yarn with your ring and pinky finger (to keep tension), while you move the tail end behind your pointer and middle finger (see picture 2).

Step 3) 

Take the tail and and go up and over your pointer and middle finger (see picture 3).

Pulling yarn around two fingers again
Picture 4
Finished step of pulling yarn around two fingers twice
Picture 5
Showing where to grab yarn to hold in place for magic circle
Picture 6

Step 4)

Repeat step 3 by going behind your pointer/middle fingers with the tail end and go up and over (see pictures 4 and 5).

Step 5)

Pinch your yarn with your thumb to hold in place (picture 6) and turn your hand knuckle-side up (picture 7).

Top view of turned hand while holding yarn in place
Picture 7
Inserting crochet hook under and over strands of yarn
Picture 8
Grabbing the second yarn strand with crochet hook
Picture 9

Step 6)

Grab your crochet hook with your right hand. Go underneath the first yarn and grab the second yarn with your hook (see pictures 8 and 9).

Step 7)

With that yarn still hooked, pull your second yarn underneath the first yarn (picture 10).

Step 8)

Carefully turn your hook up, while continuing to keep that yarn in place (picture 11). 

Pulling the second strand of yarn underneath the first strand
Picture 10
Picture of crochet hook turned upwards while yarn is still hooked
Picture 11
Depiction of yarning over to complete magic circle
Picture 12

Step 9)

Now, this is where it can get tricky. Essentially, “yarn over” to grab the same, second strand of yarn you grabbed before. If that makes sense (see picture 12) and pull it through (see picture 13). 

*Protip! Try not to keep your yarn super tight during step 9. When you attempt to pull it through, it’ll be very, very difficult to do. So try to keep it a tad loose.

Step 10)

???

Step 11)

Profit (see pictures 14a. and 14b.).

Picture of pulling the yarned over strand through
Picture 13
Loose magic circle
Picture 14a.
Magic circle complete with crochet hook
Picture 14b.

Don’t worry too much if you mess up. I had a difficult time trying to keep my yarn and hands coordinated the first couple of tries when I first started. It just takes practice! 

Congratulations and happy crocheting! 

How to Make a Slip Knot for Crocheting

If you’re new to crochet, you’ll need to know how to make a slip knot. It’s literally the very first step to crochet. You need them so that your yarn doesn’t slip off the crochet hook. 

You might notice that many crochet patterns skip mentioning this step! This is because it’s assumed that you already know how to do it! What in the world, right!?

In this post, you will find a step by step guide on how to make a slip knot so you can start crocheting!

Step 1 of slip knot

Step 1) Lay your yarn in a straight line

Start making a loop

Step 2) Start making a loop

Finished loop

Step 3) Finish the loop

Step showing where to grab your yarn for step 4

Step 4) Pinch the very top of the loop with your thumb and index finger

Tucked yarn tail behind loop

Step 5) Tuck the tail end behind the loop and set back down flat

Crochet hook inserted under yarn tail

Step 6) Insert your hook underneath the tail (but over the loop)

Beginning process of where to grab yarn to finish slip knot

Step 7) Pinch the tail end and the top of your yarn

Pull yarn tight

Step 8) Pull your crochet hook up with your right hand while keeping your yarn anchored down with the left

Last step of slip knot

Step 9) Tighten your slip knot by pulling on both ends of your yarn

Slip knot for crocheting

Ta da! You made your slip knot.

The slip knot is a necessary first step in crochet (aside from getting a crochet hook and yarn of course!).

I hope that you found this guide helpful on how to make a slip knot on a crochet hook.

Don’t forget to follow me on Instagram for more crochet how to’s and free patterns! You can find me @strommercrafts.

Until next time!

Crochet Pikachu Hat for Newborn (Free Pattern)

If you like crochet and Pokemon, try making this cute crochet Pikachu hat! 

To be honest, I really like the Pokemon series. I always enjoyed playing the video games as a kid, and I still play some today, but now that I have my own kids, there’s not much time for gaming! 

HOWEVER! I can still enjoy one of my favorite video game genres with this Pikachu hat pattern.

You can complete this pattern in an afternoon if you’re an efficient crocheter. The hat itself works up fairly quickly since it’s all half double crochets.  

This Pikachu crochet hat fits an average newborn, so a head circumference of about 12.5″-13.”

You can make your hat bigger if you need to, but the ears may be a little small depending on the size. I have a tutorial and a chart here on how to crochet a beanie/hat in any size.  

Supplies needed:

  • Worsted weight 4 yarn in:
    • Yellow
    • Black
  • 5mm crochet hook
  • 4mm crochet hook
  • Stitch marker (optional)
  • Poly-fil for stuffing
  • Tapestry needle
  • Pins (optional)
  • Scissors

Terms used:

  • sl st – slip stitch
  • sc – single crochet
  • hdc – half double crochet
  • ch – chain
  • mc – magic circle
  • inc – crochet 2 stitches in the same stitch
  • dec – crochet 2 stitches together
  • (x) – x indicates the number of stitches you should have at the end of your round

Special Instructions:

For the hat, the beginning chain of each round does not count as a stitch. The first stitch of each round will be started in the same stitch as the beginning chain. Slip stitch to the first stitch (not the beginning chain) when you’re at the end of the round. This makes the “seam” when crocheting the hat appear less visible.

Use a stitch marker to mark the beginning of your stitches when crocheting the ears. When crocheting amigurumi, it’s better to crochet continuously in the round for a cleaner looking final product. Do not join with a sl st to the first stitch. You can technically do this, but you’ll be able to see a seam, which we don’t want.

Hat:

With yellow yarn and 5mm hook

Round 1) 8 hdc in mc, sl st to first stitch. (8)

Round 2) Ch 1, hdc inc in each stitch around, sl st to first stitch. (16)

Round 3) Ch1, 1 hdc, in next stitch hdc inc. Repeat around, sl st to first stitch. (24)

Round 4) Ch1, 2 hdc, then hdc inc. Repeat around, sl st to first stitch. (32)

Round 5) Ch 1, 3 hdc, then hdc inc. Repeat around, sl st to first stitch. (40)

Round 6) Ch1 9 hdc, then hdc inc. Repeat around, sl st to first stitch. (44)

Crown measurement of crochet pikachu hat

Round 7-13) Ch1, hdc in each stitch around. (44)

Pull your yarn through and weave the end in with your tapestry needle.

Crochet Pikachu Hat without Ears

Ears, make 2:

With 4mm hook

Start with black yarn.

Round 1) 3 sc in mc. (3)

Round 2) sc inc in each stitch around. (6)

Round 3) 1 sc, then sc inc in next stitch. Repeat around. (9)

Round 4) 2 sc, then sc inc. Repeat around (12)

Round 5-7) sc in each stitch around. (12)

Change to yellow.

Round 8) 3 sc, then inc. Repeat around. (16)

Round 9-14) sc in each stitch around (16)

Round 15) 3 sc, then dec. Repeat around (12)

At this point you should start stuffing the ear with poly-fil. Stuff lightly.

Round 16) 2 sc, then dec. Repeat around (9)

Finished Crochet pikachu ear

Assembly

Looking at the top of the hat, line the ears up evenly on each side from the center. You can use your pins to keep them in place. With your tapestry needle, sew the ears on, like in the in the picture below.

Crochet Pikachu Hat for Newborn

Make sure to weave the ends of your yarn tails into the hat to prevent it from unraveling.

Congratulations! You’ve made a super cute and awesome newborn crochet Pikachu hat!

How to Crochet a Snorlax Lovey (Free Pattern)

Snorlax used Rest!

And hopefully your kiddo will too! This crochet Snorlax lovey pattern was inspired by Courtney M. at Studio Crafti. She made an awesome (and free) Snorlax pattern that I tweaked and turn into a snugly lovey.

Her pattern for the Snorlax can be found here.

I used her pattern for Snorlax’s head and ears, so if you want to crochet this pattern, you’ll need to go to the link above to get started. 

I felt that for my lovey, the arms were just a little too short in Courtney’s pattern, so I created my own.

For the head and arms, I continued to crochet in the round. This means when I get to the end of my round, instead of slip stitching and chaining one, I continued the pattern into the beginning stitch of the previous round. You can still slip stitch and chain one if you want to, however with amigurumi-like projects, it looks a lot cleaner if you continue in the round.

You’ll also want something to mark the beginning of your rounds so you can count your stitches accurately. I use stitch markers, but you can use a scrap piece of yarn if you don’t have any.

Okay are we ready? Let’s get started!

You will need:

  • Medium worsted weight yarn 4 in these colors:
    • Navy blue
    • Cream 
    • Black
    • White
  • 3.5mm crochet hook (for Snorlax)
  • 6mm crochet hook (for blanket)
  • Tapestry needle
  • Poly-fil for stuffing
  • Stitch marker (optional)
  • Scissors

Terms used in this pattern:

  • mc – magic circle
  • sc – single crochet
  • dc – double crochet
  • st – stitch
  • ch -chain
  • sl st – slip stitch
  • inc – increase (this means to crochet two single crochets in one stitch)
  • dec – decrease (crochet two stitches together)
  • (x) – the number at the end of the row indicates how many stitches you should have

Follow Courtney’s steps for the head and ears using the 3.5mm crochet hook. Once you’re finished, pull your yarn through and leave a long tail so you have enough yarn to sew the head onto the blanket.

Eyes and mouth

Take your tapestry needle and sew with black yarn for the eyes and mouth (shown below). It’s best to tie both ends together from the inside of the head so that it doesn’t unravel.

Sew the teeth by making triangle shapes above the mouth (shown below).crc

Crochet Snorlax Lovey Head

Arms, make 2

Round 1) 6 sc in mc (6)

Round 2) inc in each st around (12)

Round 3) 1 sc, inc *repeat around (18)

Round 4-6) sc in each st around (18)

Round 7) sc 2, inc *repeat around (24)

Round 8-13) sc in each st around (24)

Round 14) dec, 1 sc *repeat around (16)

Start stuffing with poly-fil

Round 15) dec around (8)

Take your hook and pull your yarn through. Leave a long tail to sew later and cut with scissors.

Use your tapestry needle to sew the claws at the end of the arms with the white yarn. To hide your white yarn when finished, pull it through the poly-fil towards the top of the arm. I recommend tying both ends of the white yarn together, so the claws are secured and less likely to get pulled out.

Fold the opening of the arm in half so the stitches line up evenly. Take your tapestry needle and sew the opening together.

Blanket

It can be difficult to see stitches with dark colored yarn. The pictures presented below are crocheted with a lighter color yarn so you can see what’s happening in the pattern.

With Navy Blue Yarn

Round 1) mc

Round 2) ch 3, (this counts as a dc in this and the next rounds) 19 dc in mc (20)

Crochet star blanket round 1

Sl st into the top of ch 3

Round 3) ch 1, sc into same st, skip 1 st, 3 dc into next st, ch3, 3 dc into the same st (this is one point of the star shape)

*skip 1 st, sc into next st, 3 dc into next st, ch3, 3 dc into same st* repeat *to* until you reach beginning sc. Join with a sl st.

Crochet star blanket round 2

Round 4) sl st into the next 2 st, ch 3, dc into next st, 3 dc in chain space, ch 3, 3 dc into same space, dc into next 2 st, skip next 3 sts (dc, sc, dc).

*dc into next 2 sts, 3 dc in chain space, ch 3, 3 dc into same space, dc into next 2 sts, skip next 3 sts*. Repeat *to*, sl st into top of ch 3 from beginning

Crochet star blanket round 3

Round 5) Sl st into next st, ch 3, dc into next 3 sts, 3 dc in chain space, ch 3, 3 dc into same space, dc into next 4 sts, skip next 2 sts.

*dc into next 4 sts, 3 dc in chain space, ch 3, 3 dc into same space, skip next 2 sts*. Repeat *to*, sl st into top of ch 3 from beginning.

Crochet star blanket round 4

Continue in this fashion, essentially growing the star by increasing dcs up and down the sides, growing the corners by doing 3dc, ch 3, and 3 more dc in the same spot. Remember to sk 2 sts at the bottom of the corners.

Grow your star until you have completed a total of 12 rounds with the navy blue yarn, switch to cream yarn and complete 2 more rounds.

To complete, sew the head and arms of Snorlax into the middle of your star blanket with your tapestry needle. Thread your needle into each and every stitch of Snorlax’s head to make sure it stays secure. 

Congratulations! You have your very own crochet Snorlax lovey!