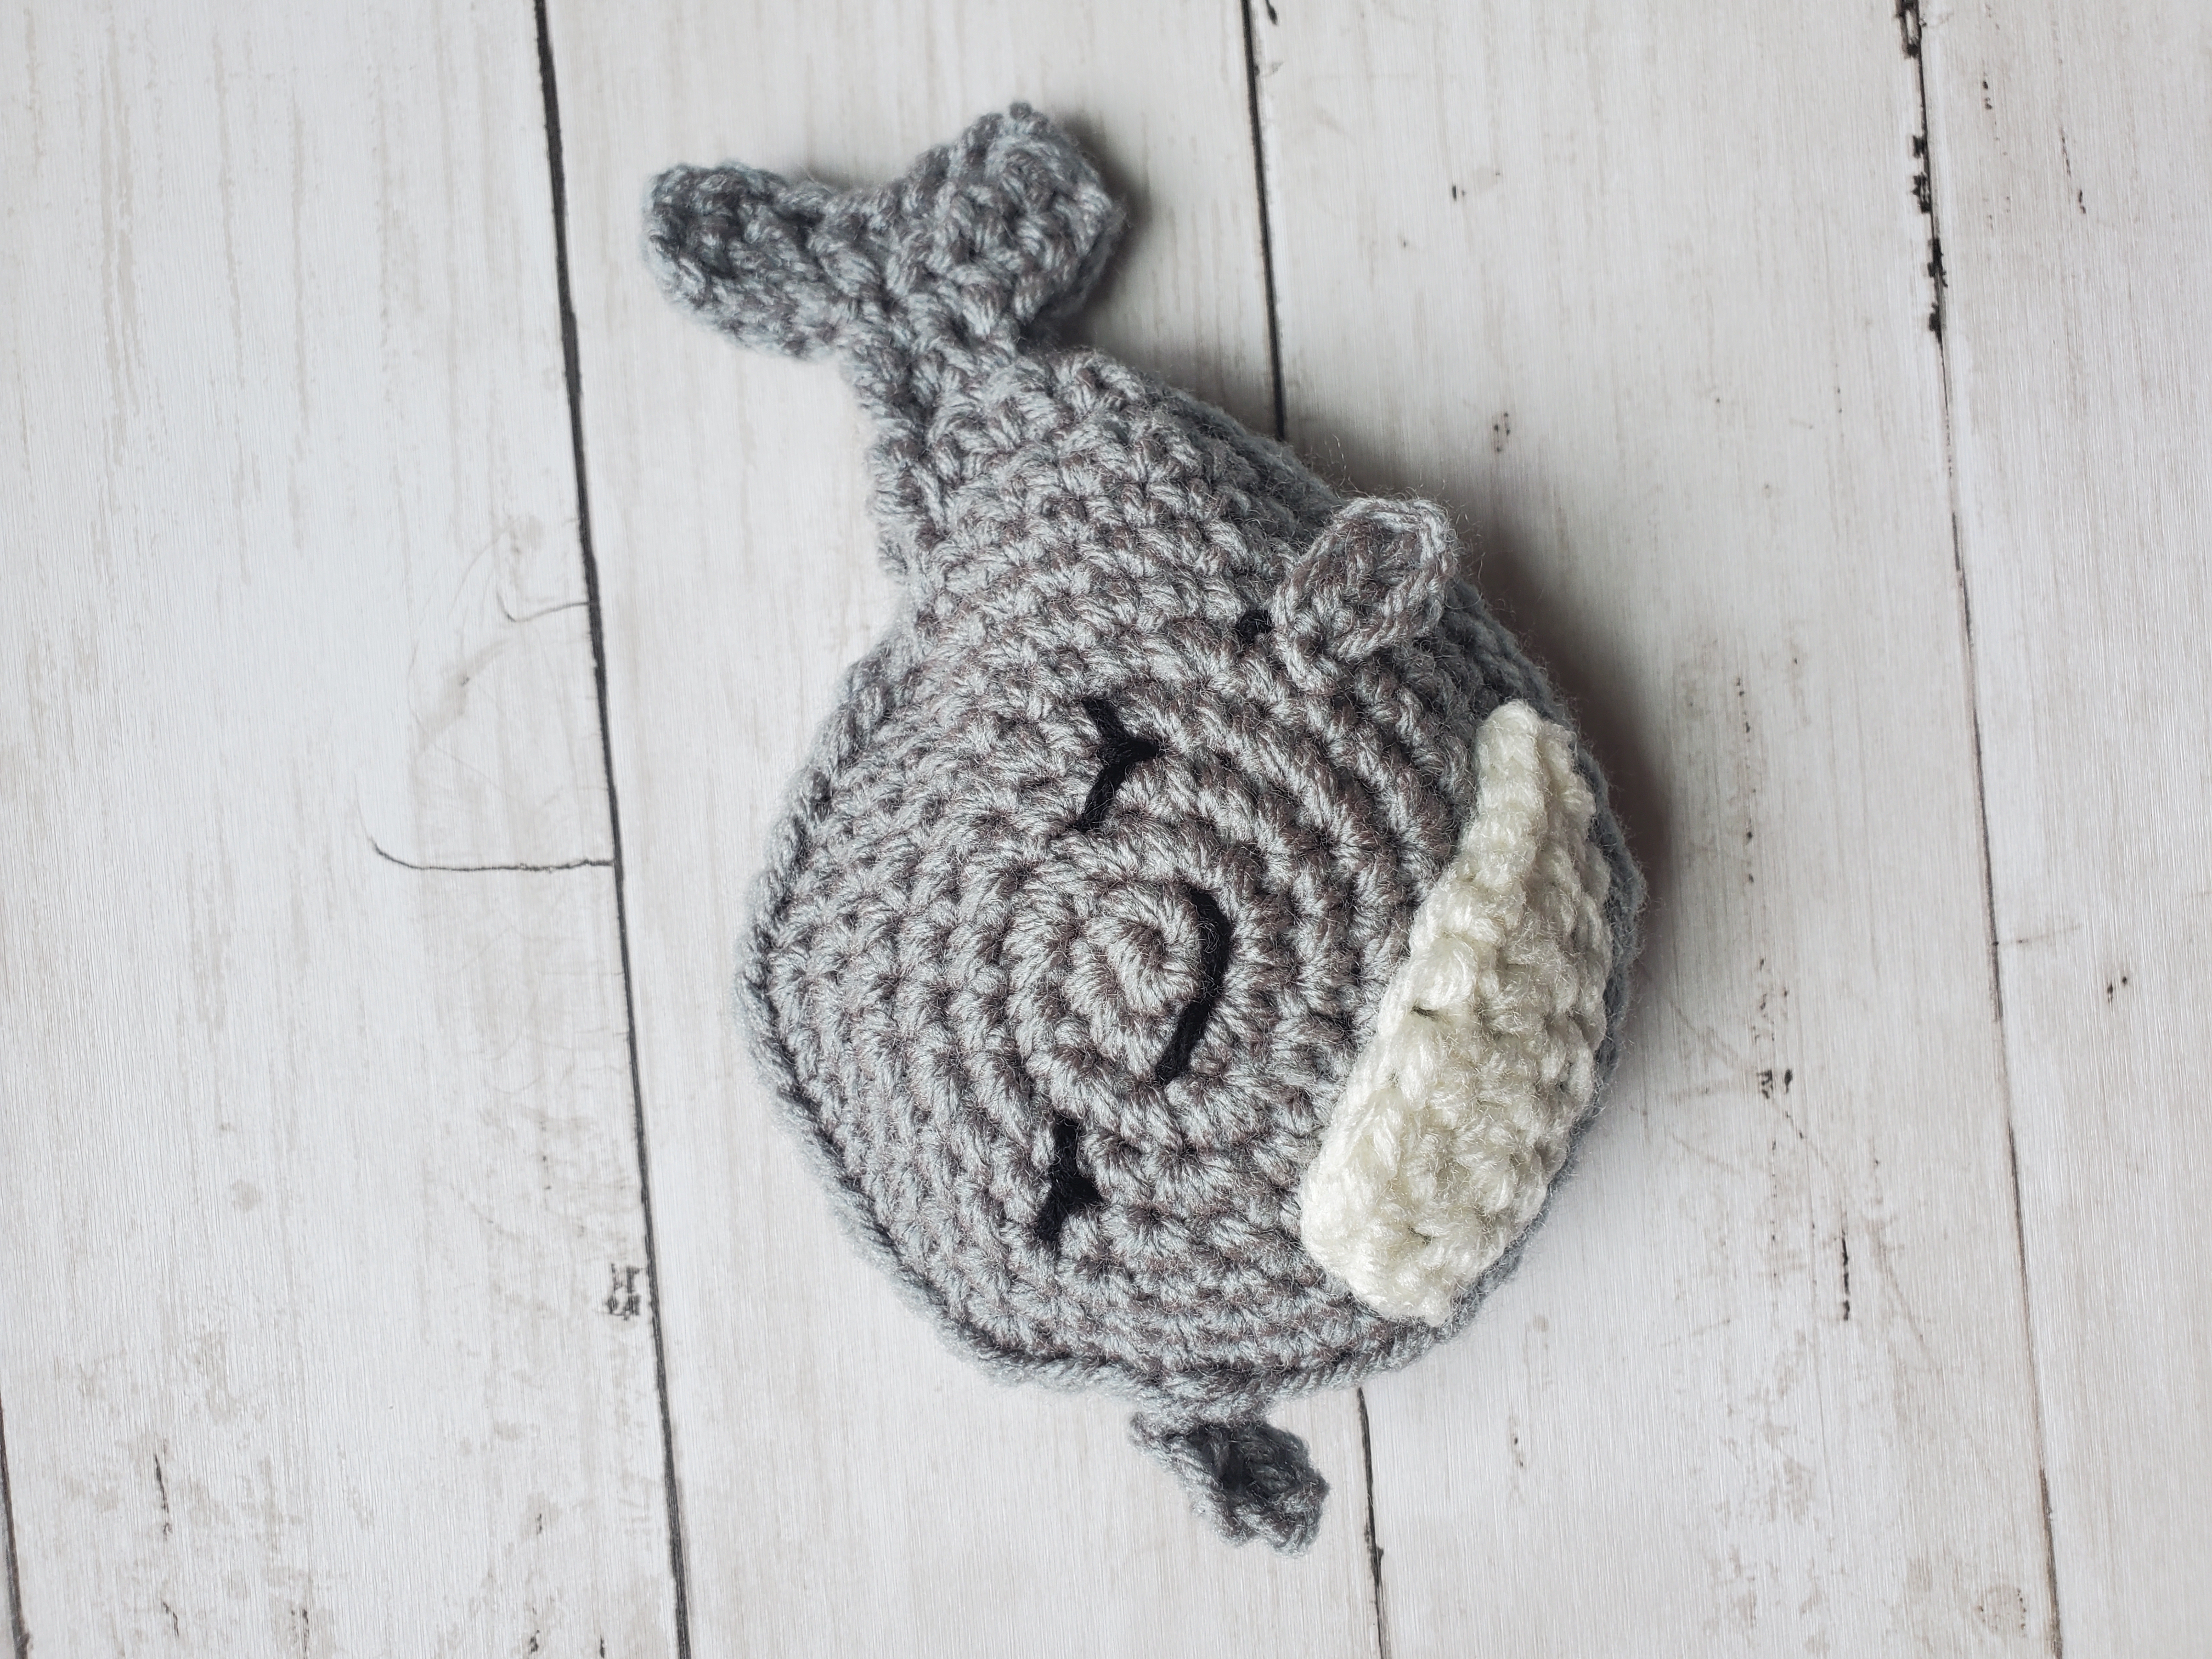
A Whale of a Pattern! Try this Free Crochet Pattern Today!

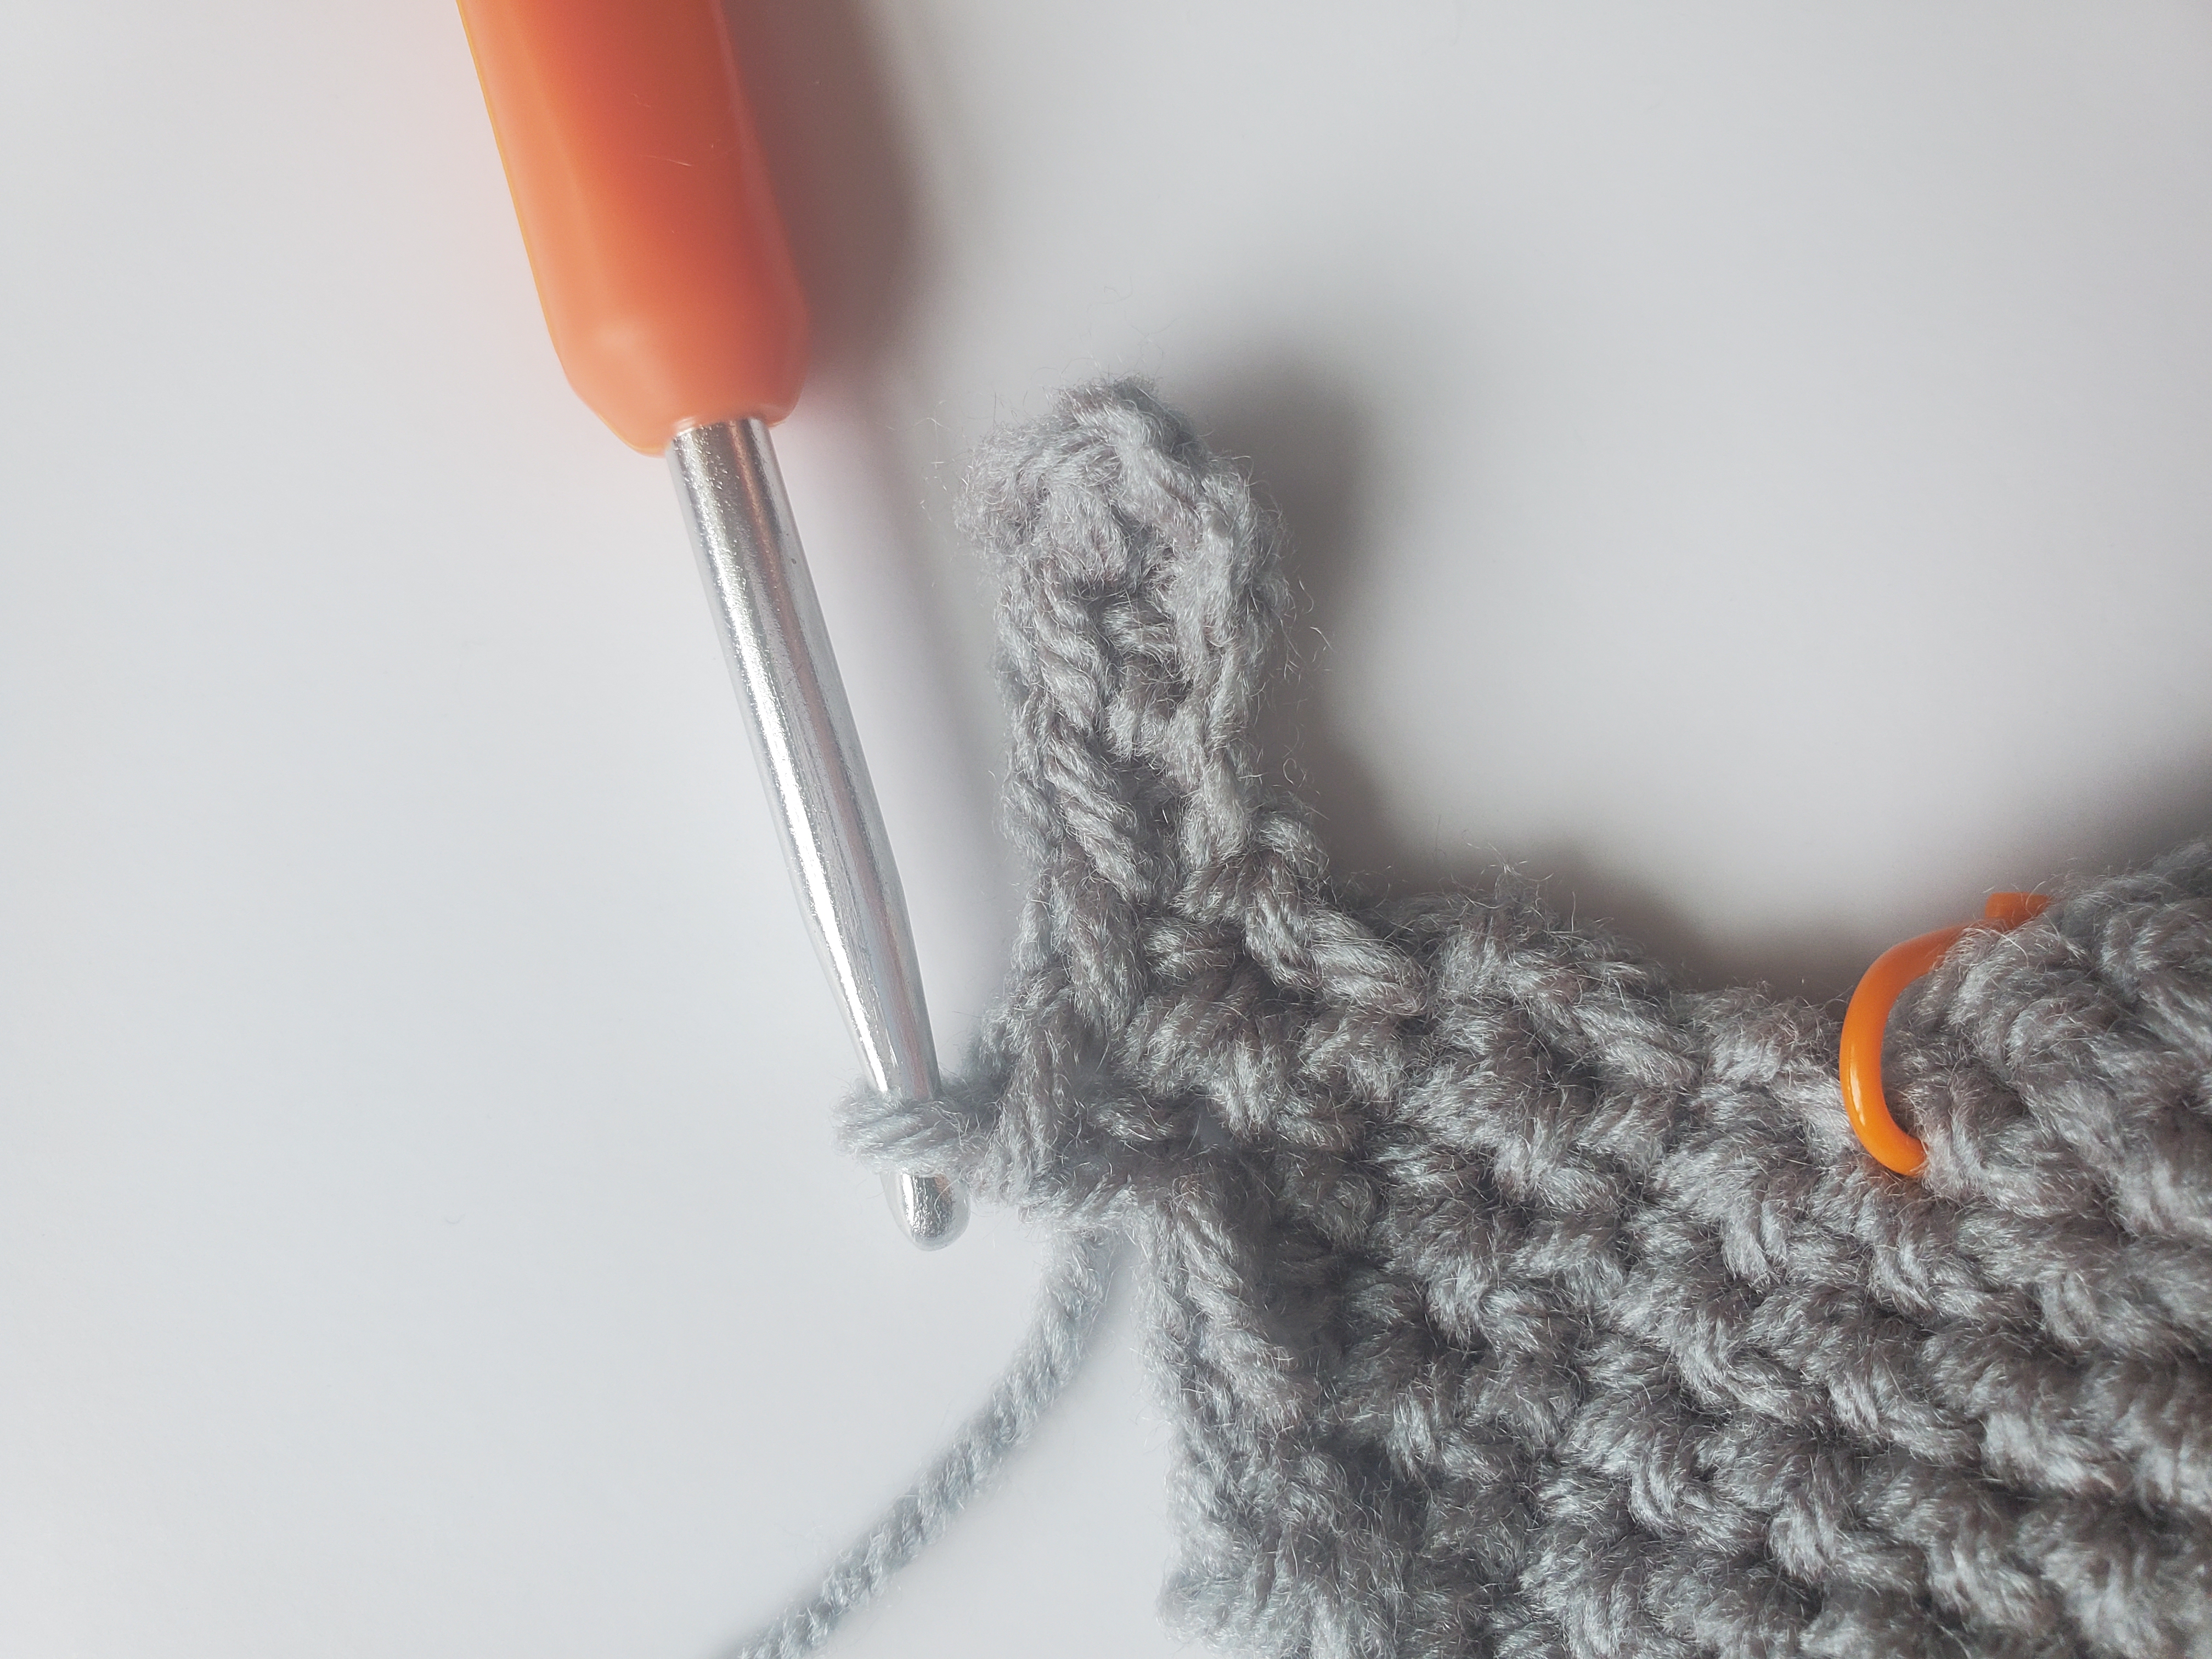
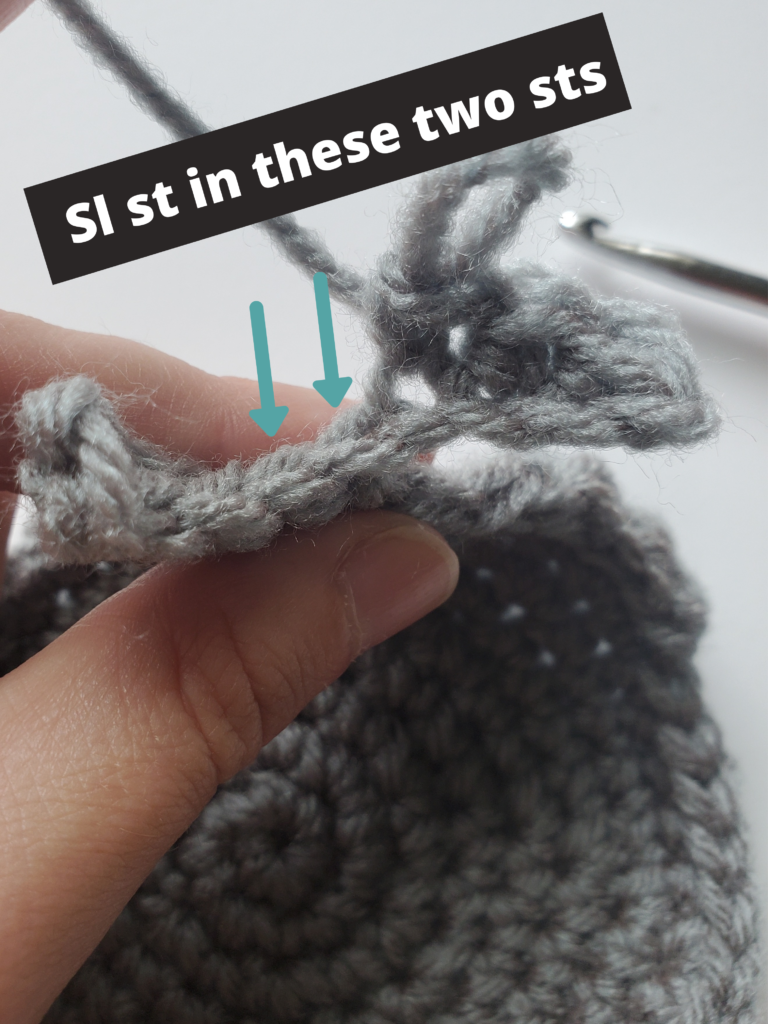
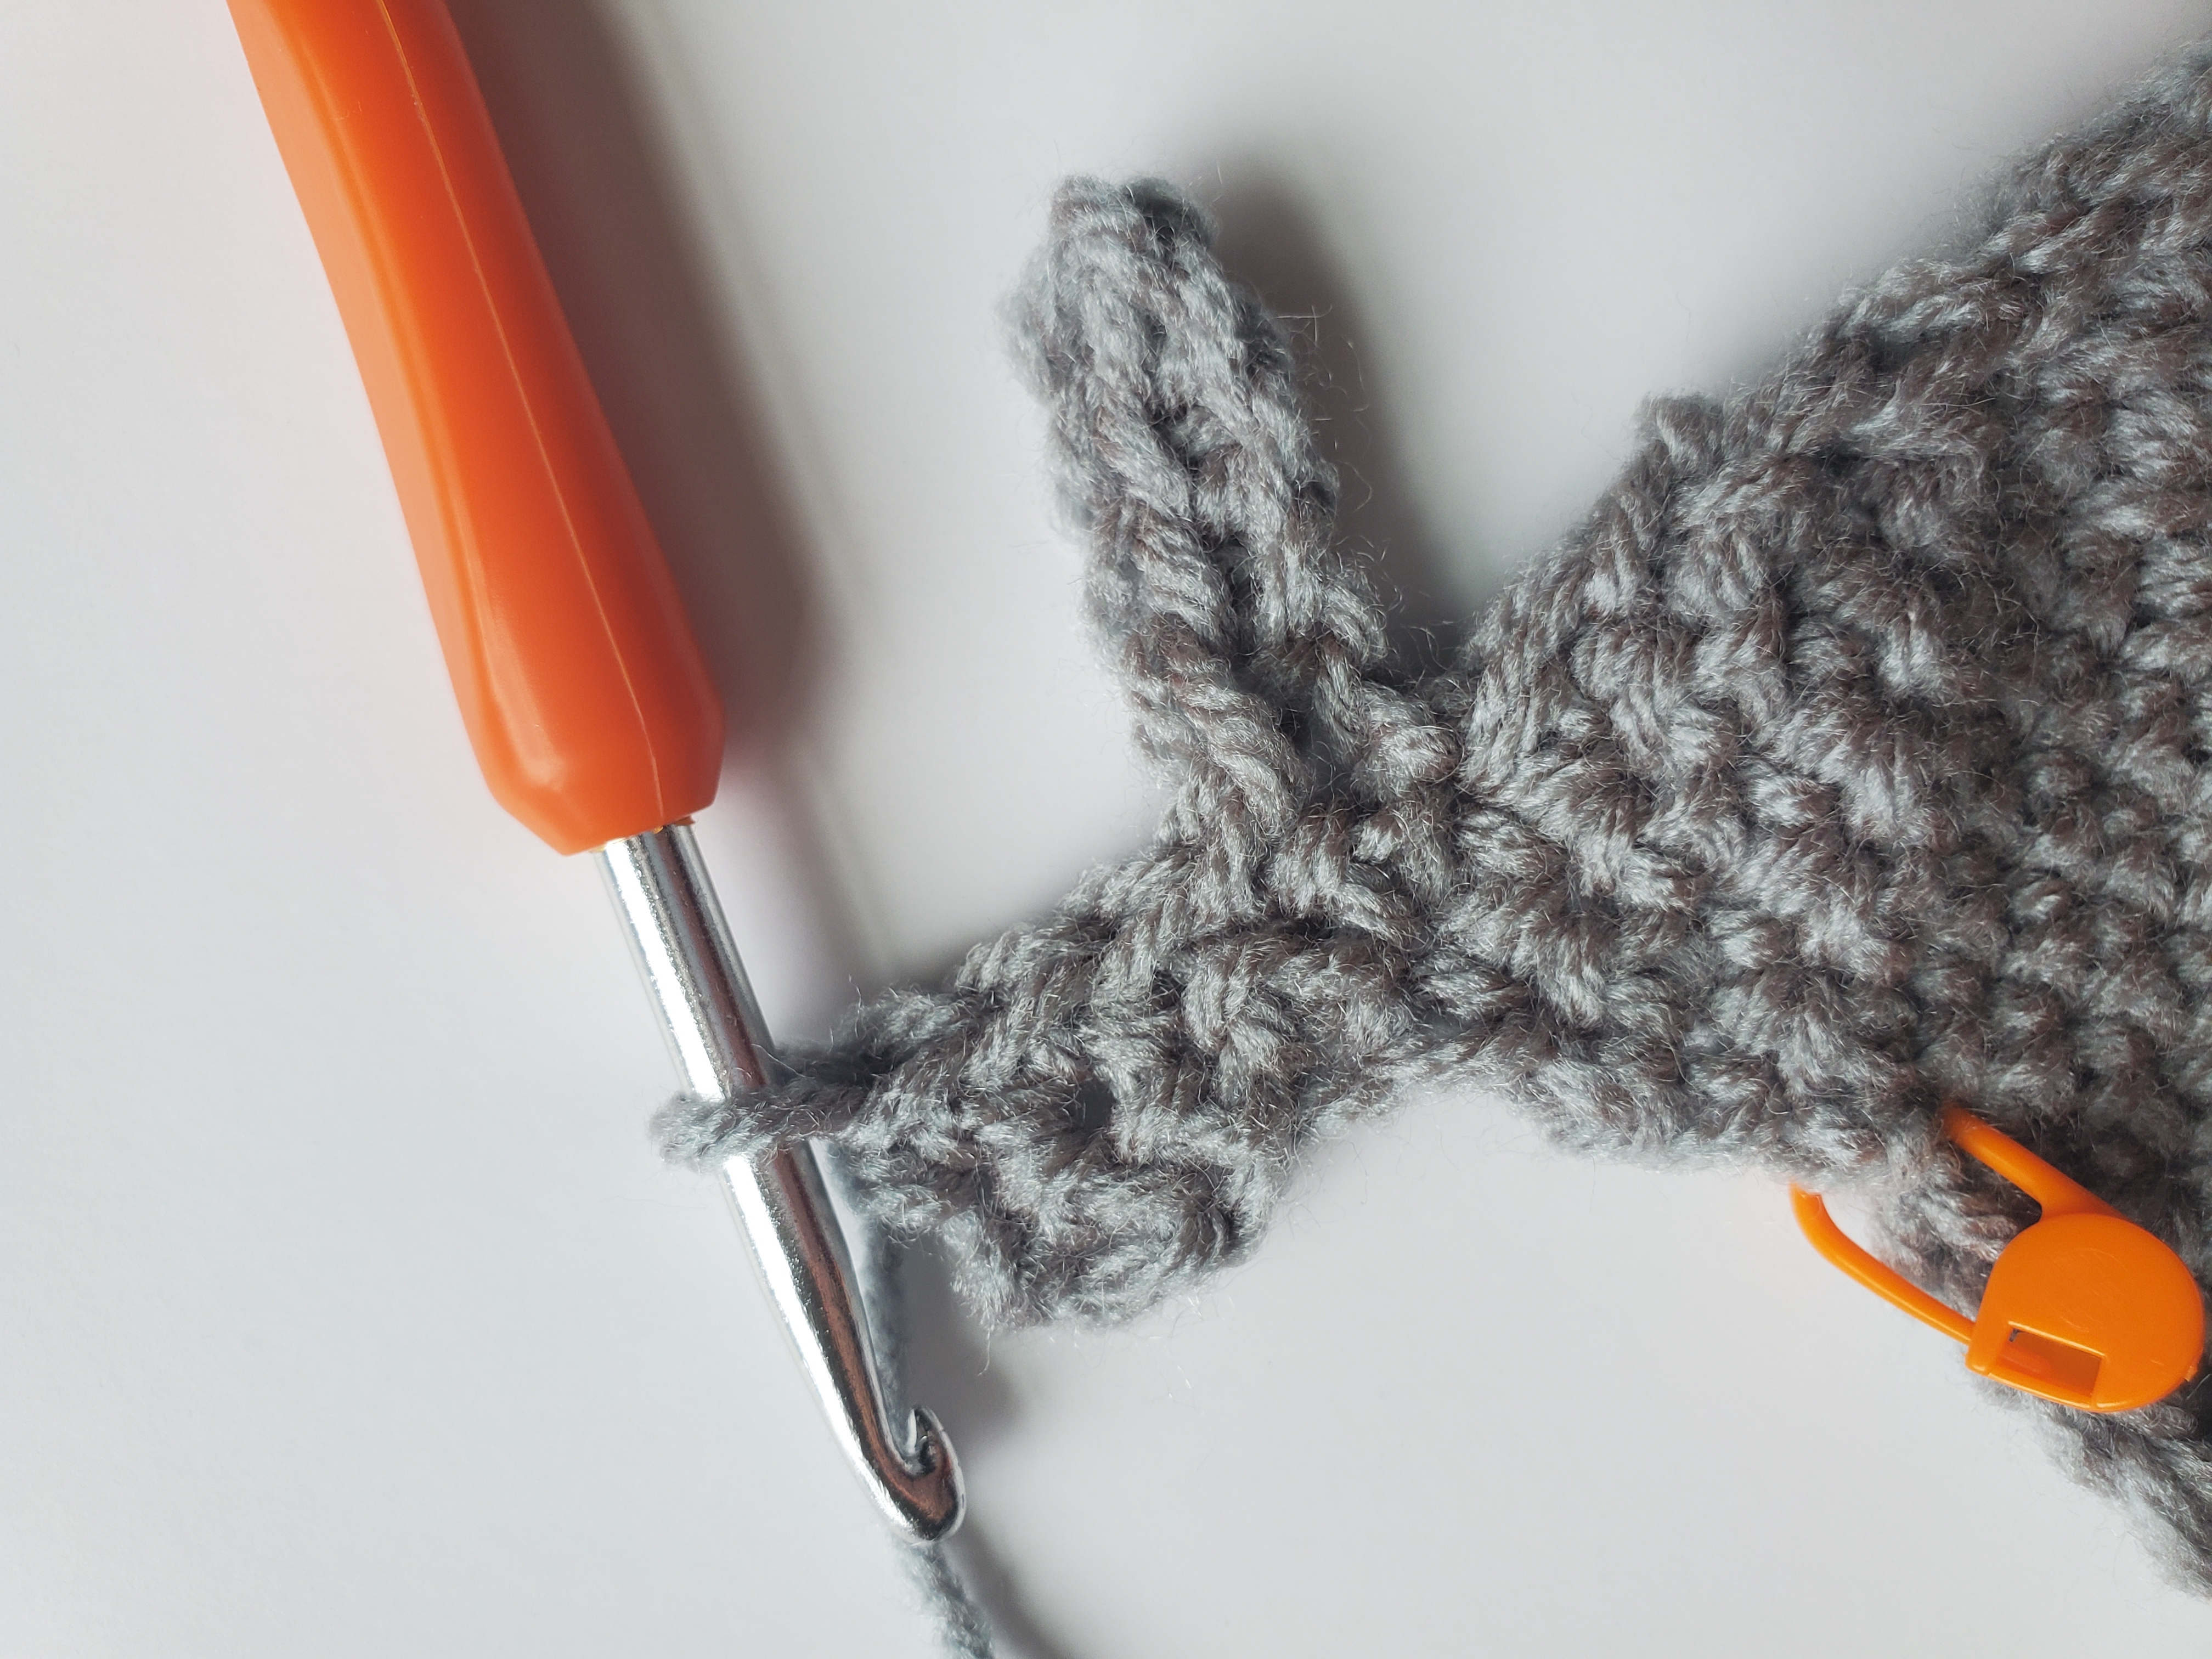
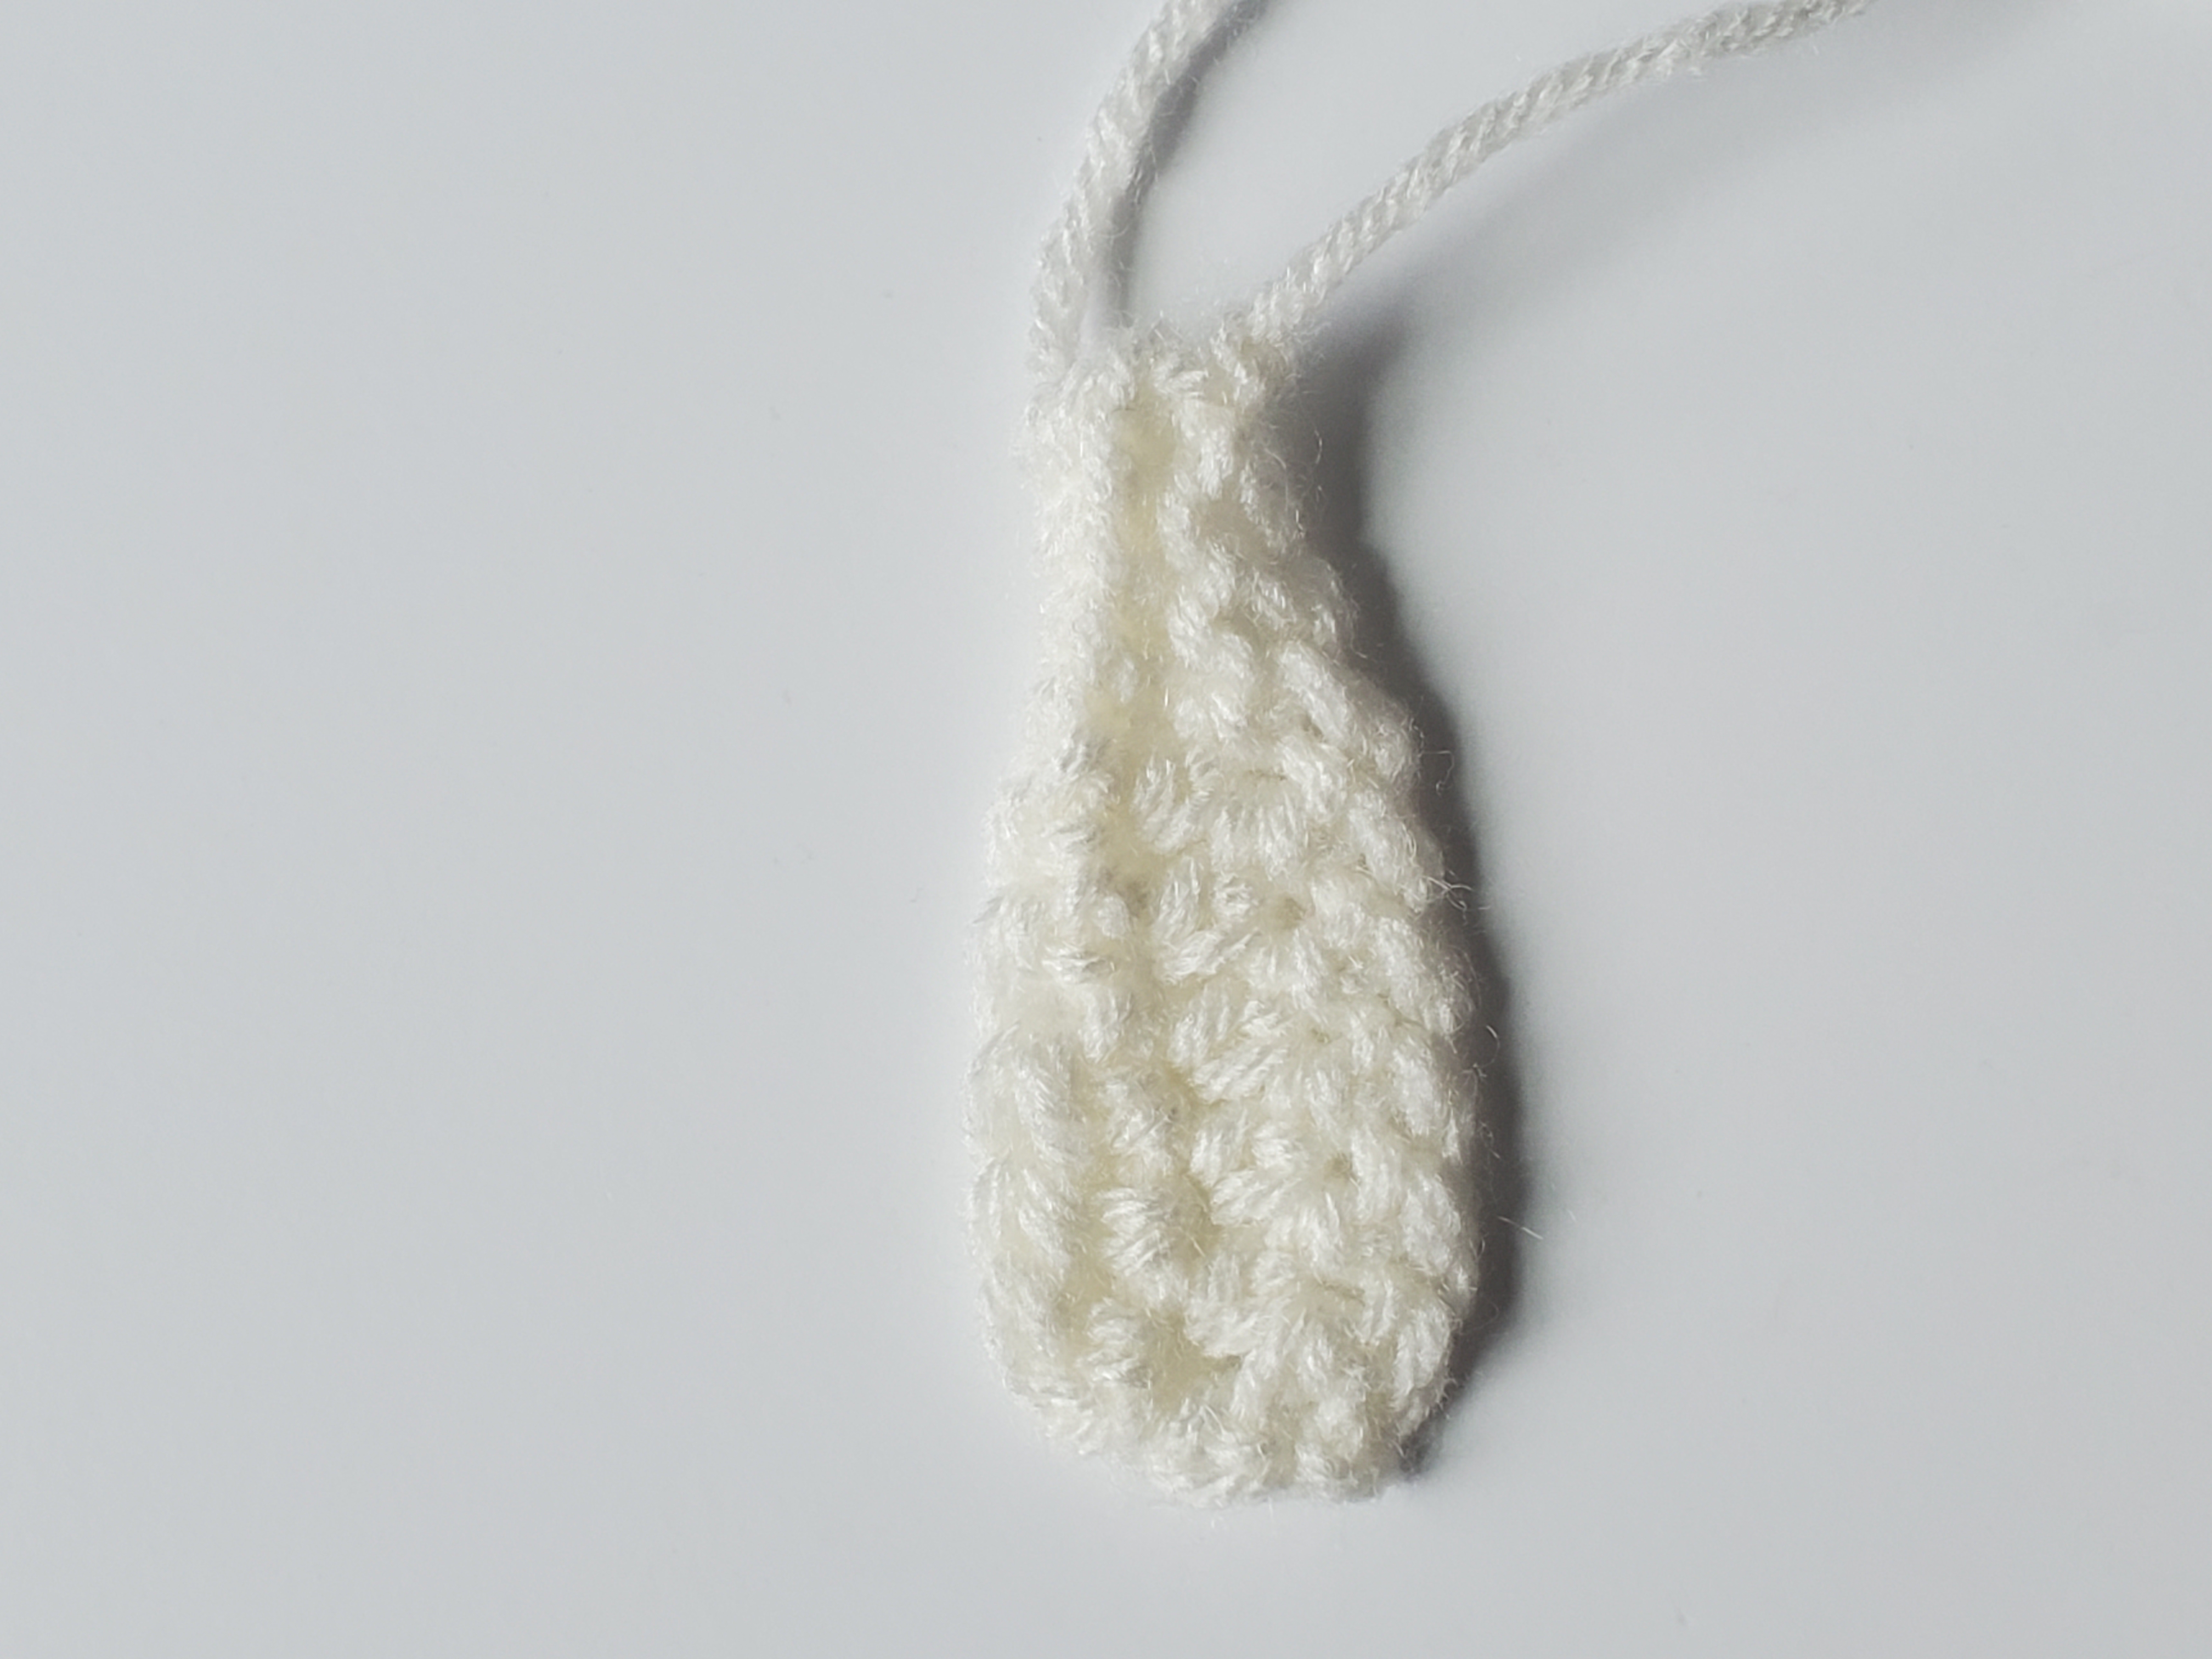
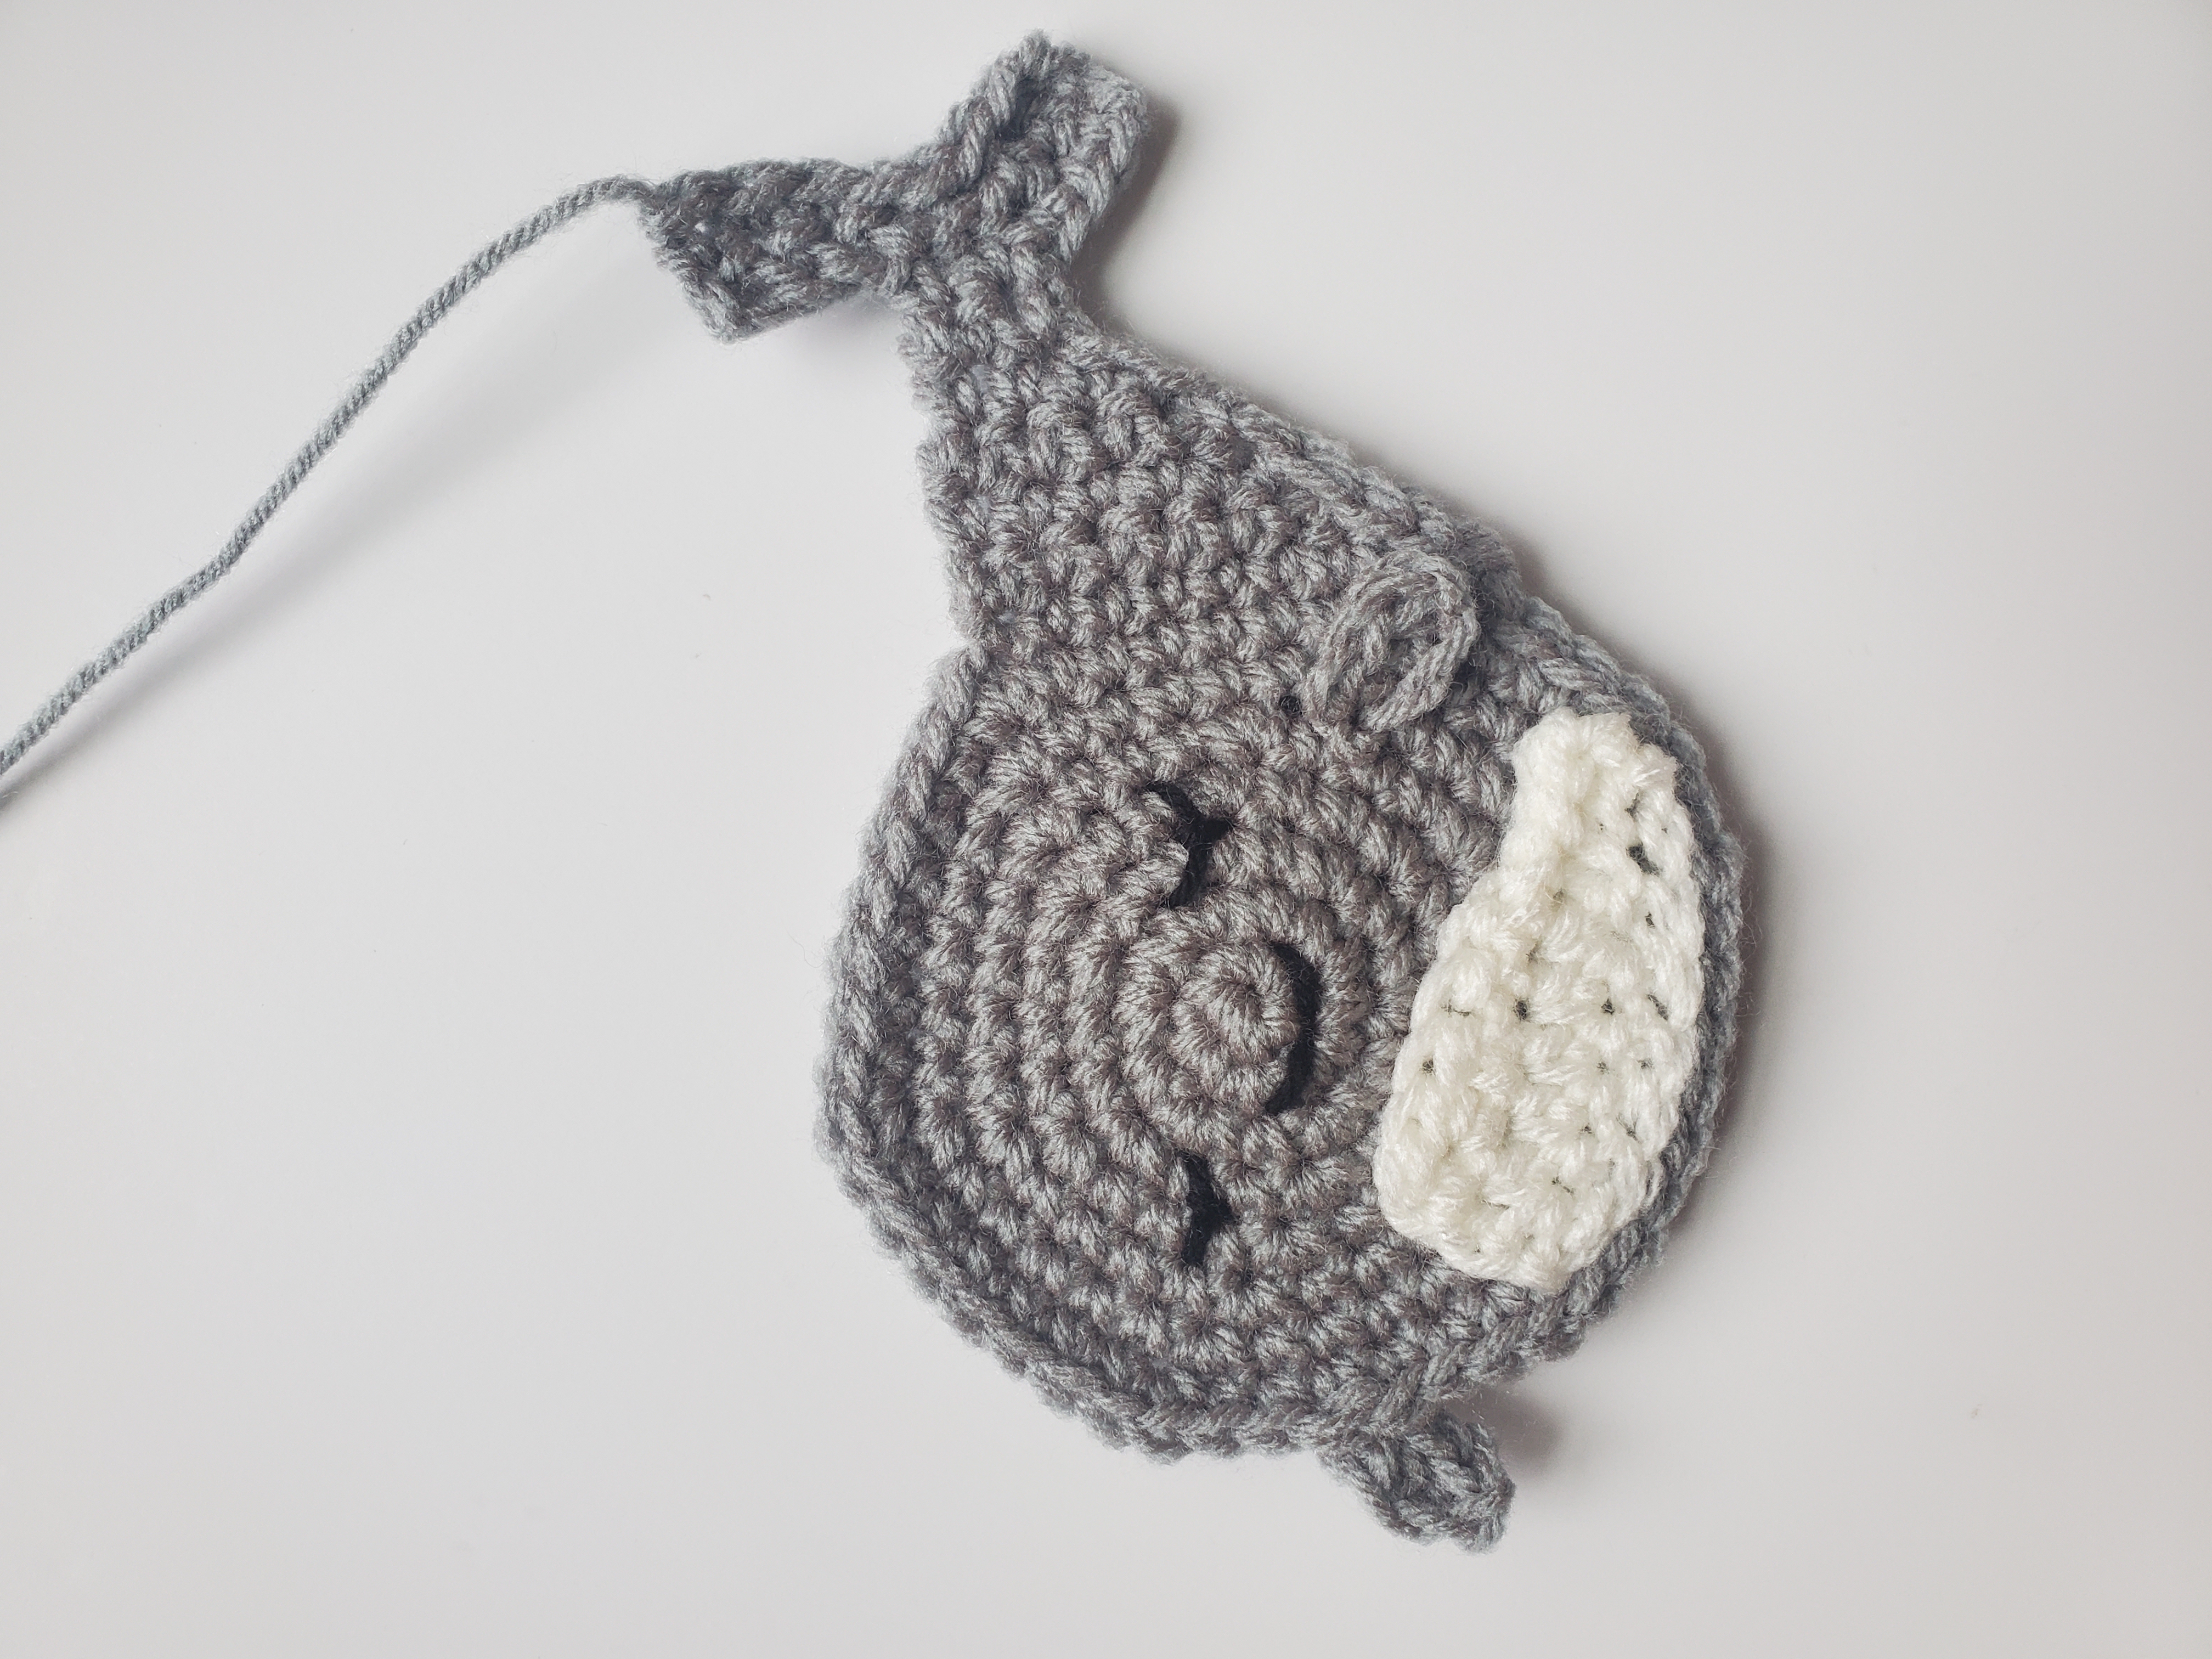
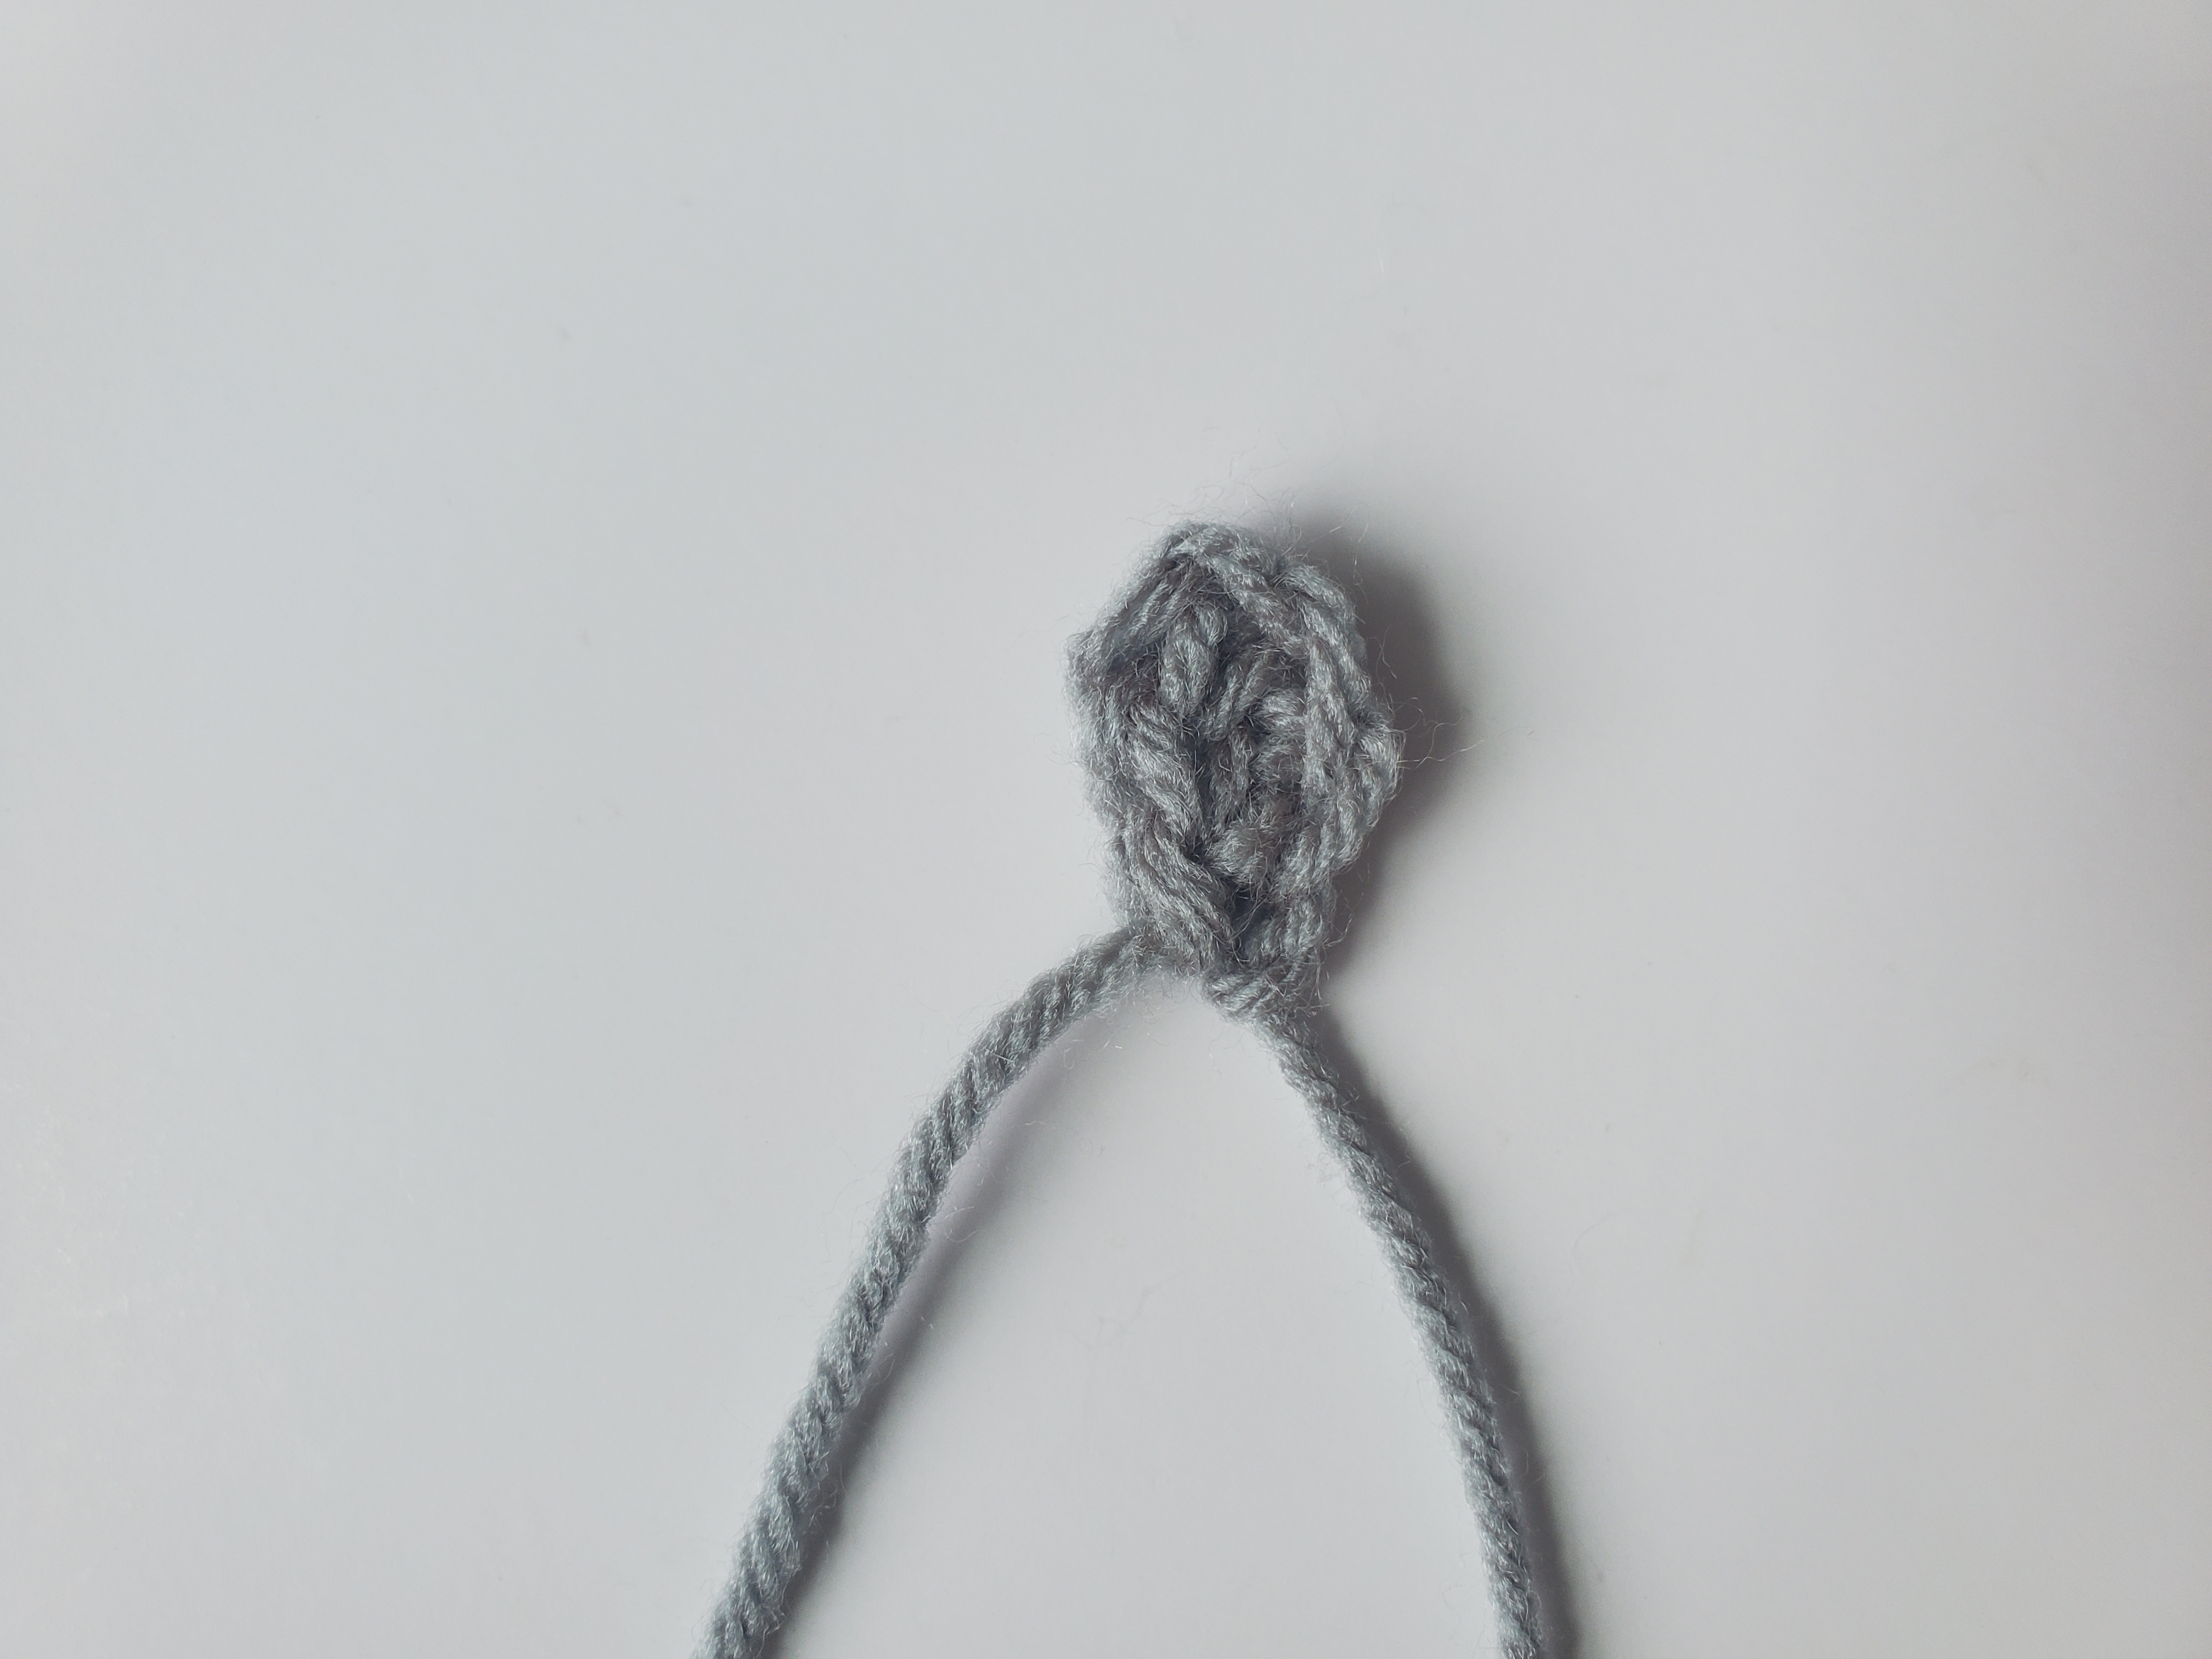
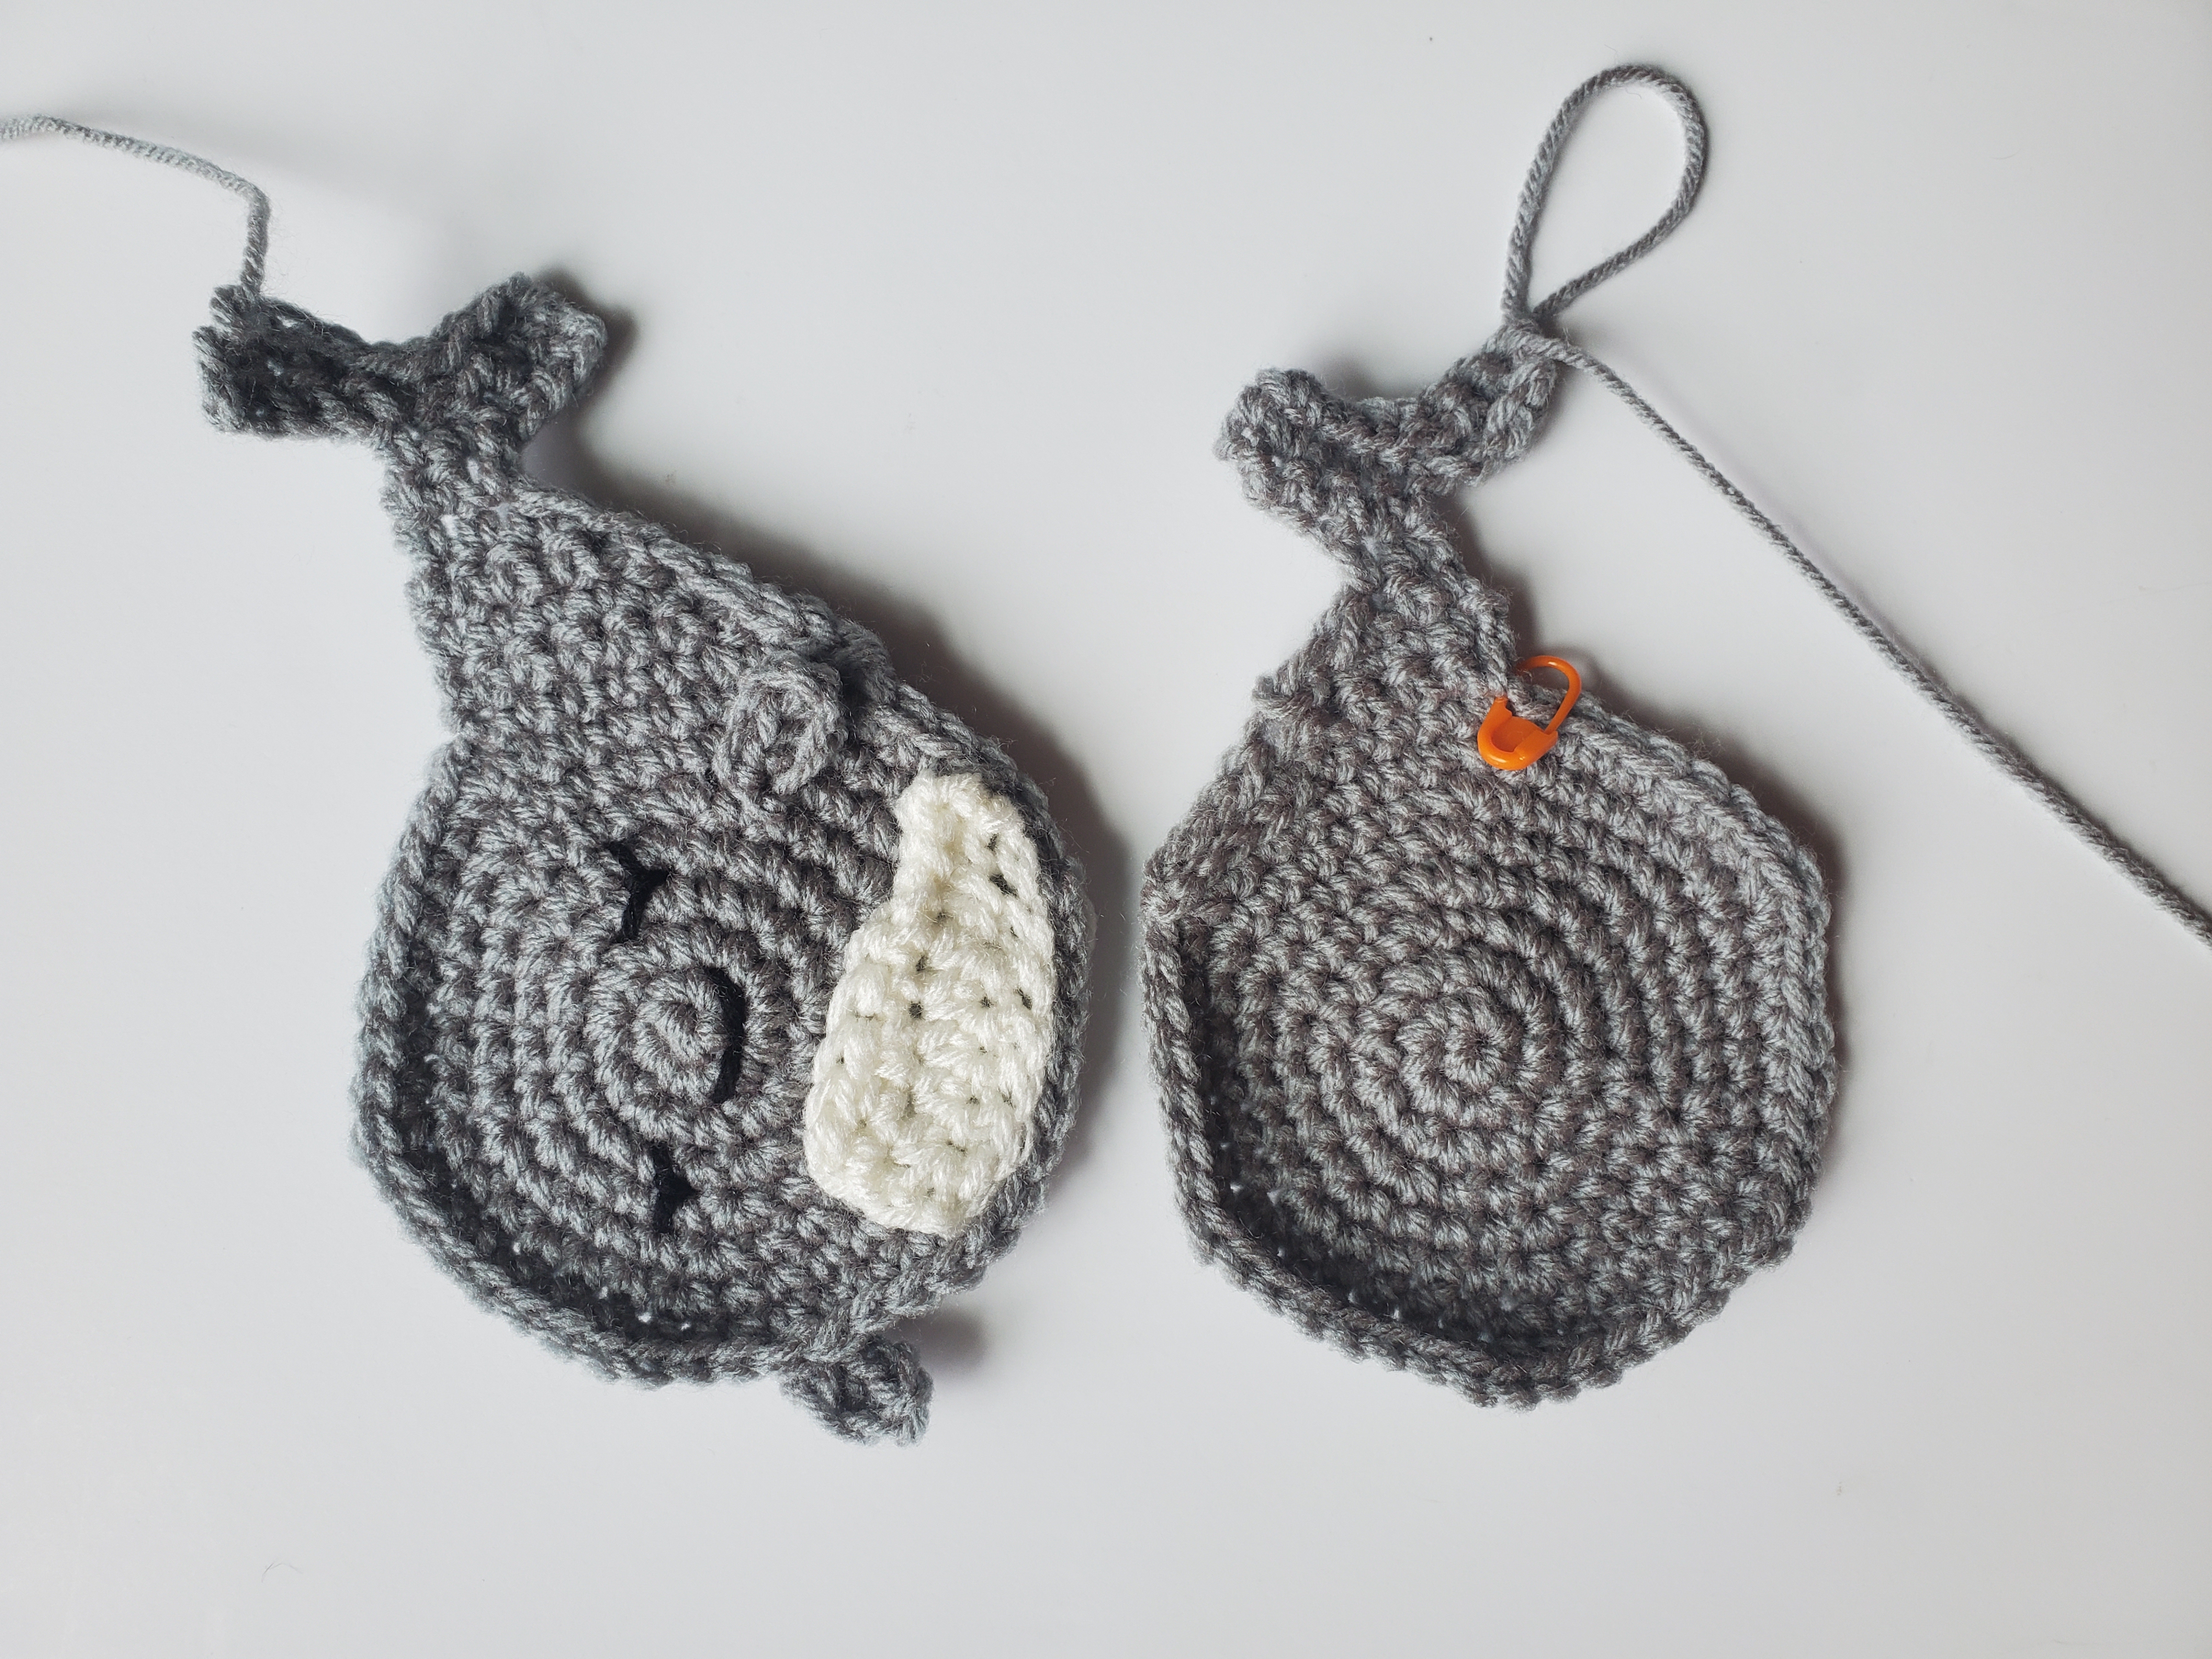
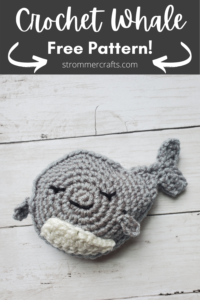
Learn to crochet this free whale pattern in a day! This post contains: materials needed, the free whale pattern, and pictures to help guide you.
***Please note that this post may contain affiliate links. This means that I may receive a commission if you purchase something through these links (at no cost to you!). Thank you for your support!***
Summer is finally here! Can you believe it? I feel like this year has flown by so quickly and it’s more than halfway over!
Why not celebrate by crocheting this cute little whale? I had a lot of fun coming up with another crochet stuffed animal, and having it be nautical themed just seemed appropriate for the season.
This crochet whale toy is made very similarly to my frog toy. I will admit, that I’ve been in the groove for making these flatter stuffed animals. They are kind of like amigurimi, but you have to sew two sides of the project together.
When completed, the whale is about 7″ x 5,” but depends on your tension.
I use Red Heart Super Saver, medium 4 worsted weight yarn for this project. You can use a different type of yarn if you prefer. If it’s not medium 4 worsted weight, then it might come out bigger or smaller than expected!
This project took me less than a day to complete, so it’s a super quick crochet pattern. Perfect for a last minute crochet gift!
Alright let’s dive in!
(Please note that these are in US terms, not UK)
With 5 mm crochet hook and Dusty Gray yarn:
With 5 mm crochet hook and Dusty Gray yarn:
With 5 mm crochet hook and Soft White Yarn:
With 5 mm crochet hook and Dusty Gray yarn:
And that’s it! I think this little crochet stuffed whale turned out pretty cute. What do you think?
As always, thank you for checking out my crochet patterns! Until next time!
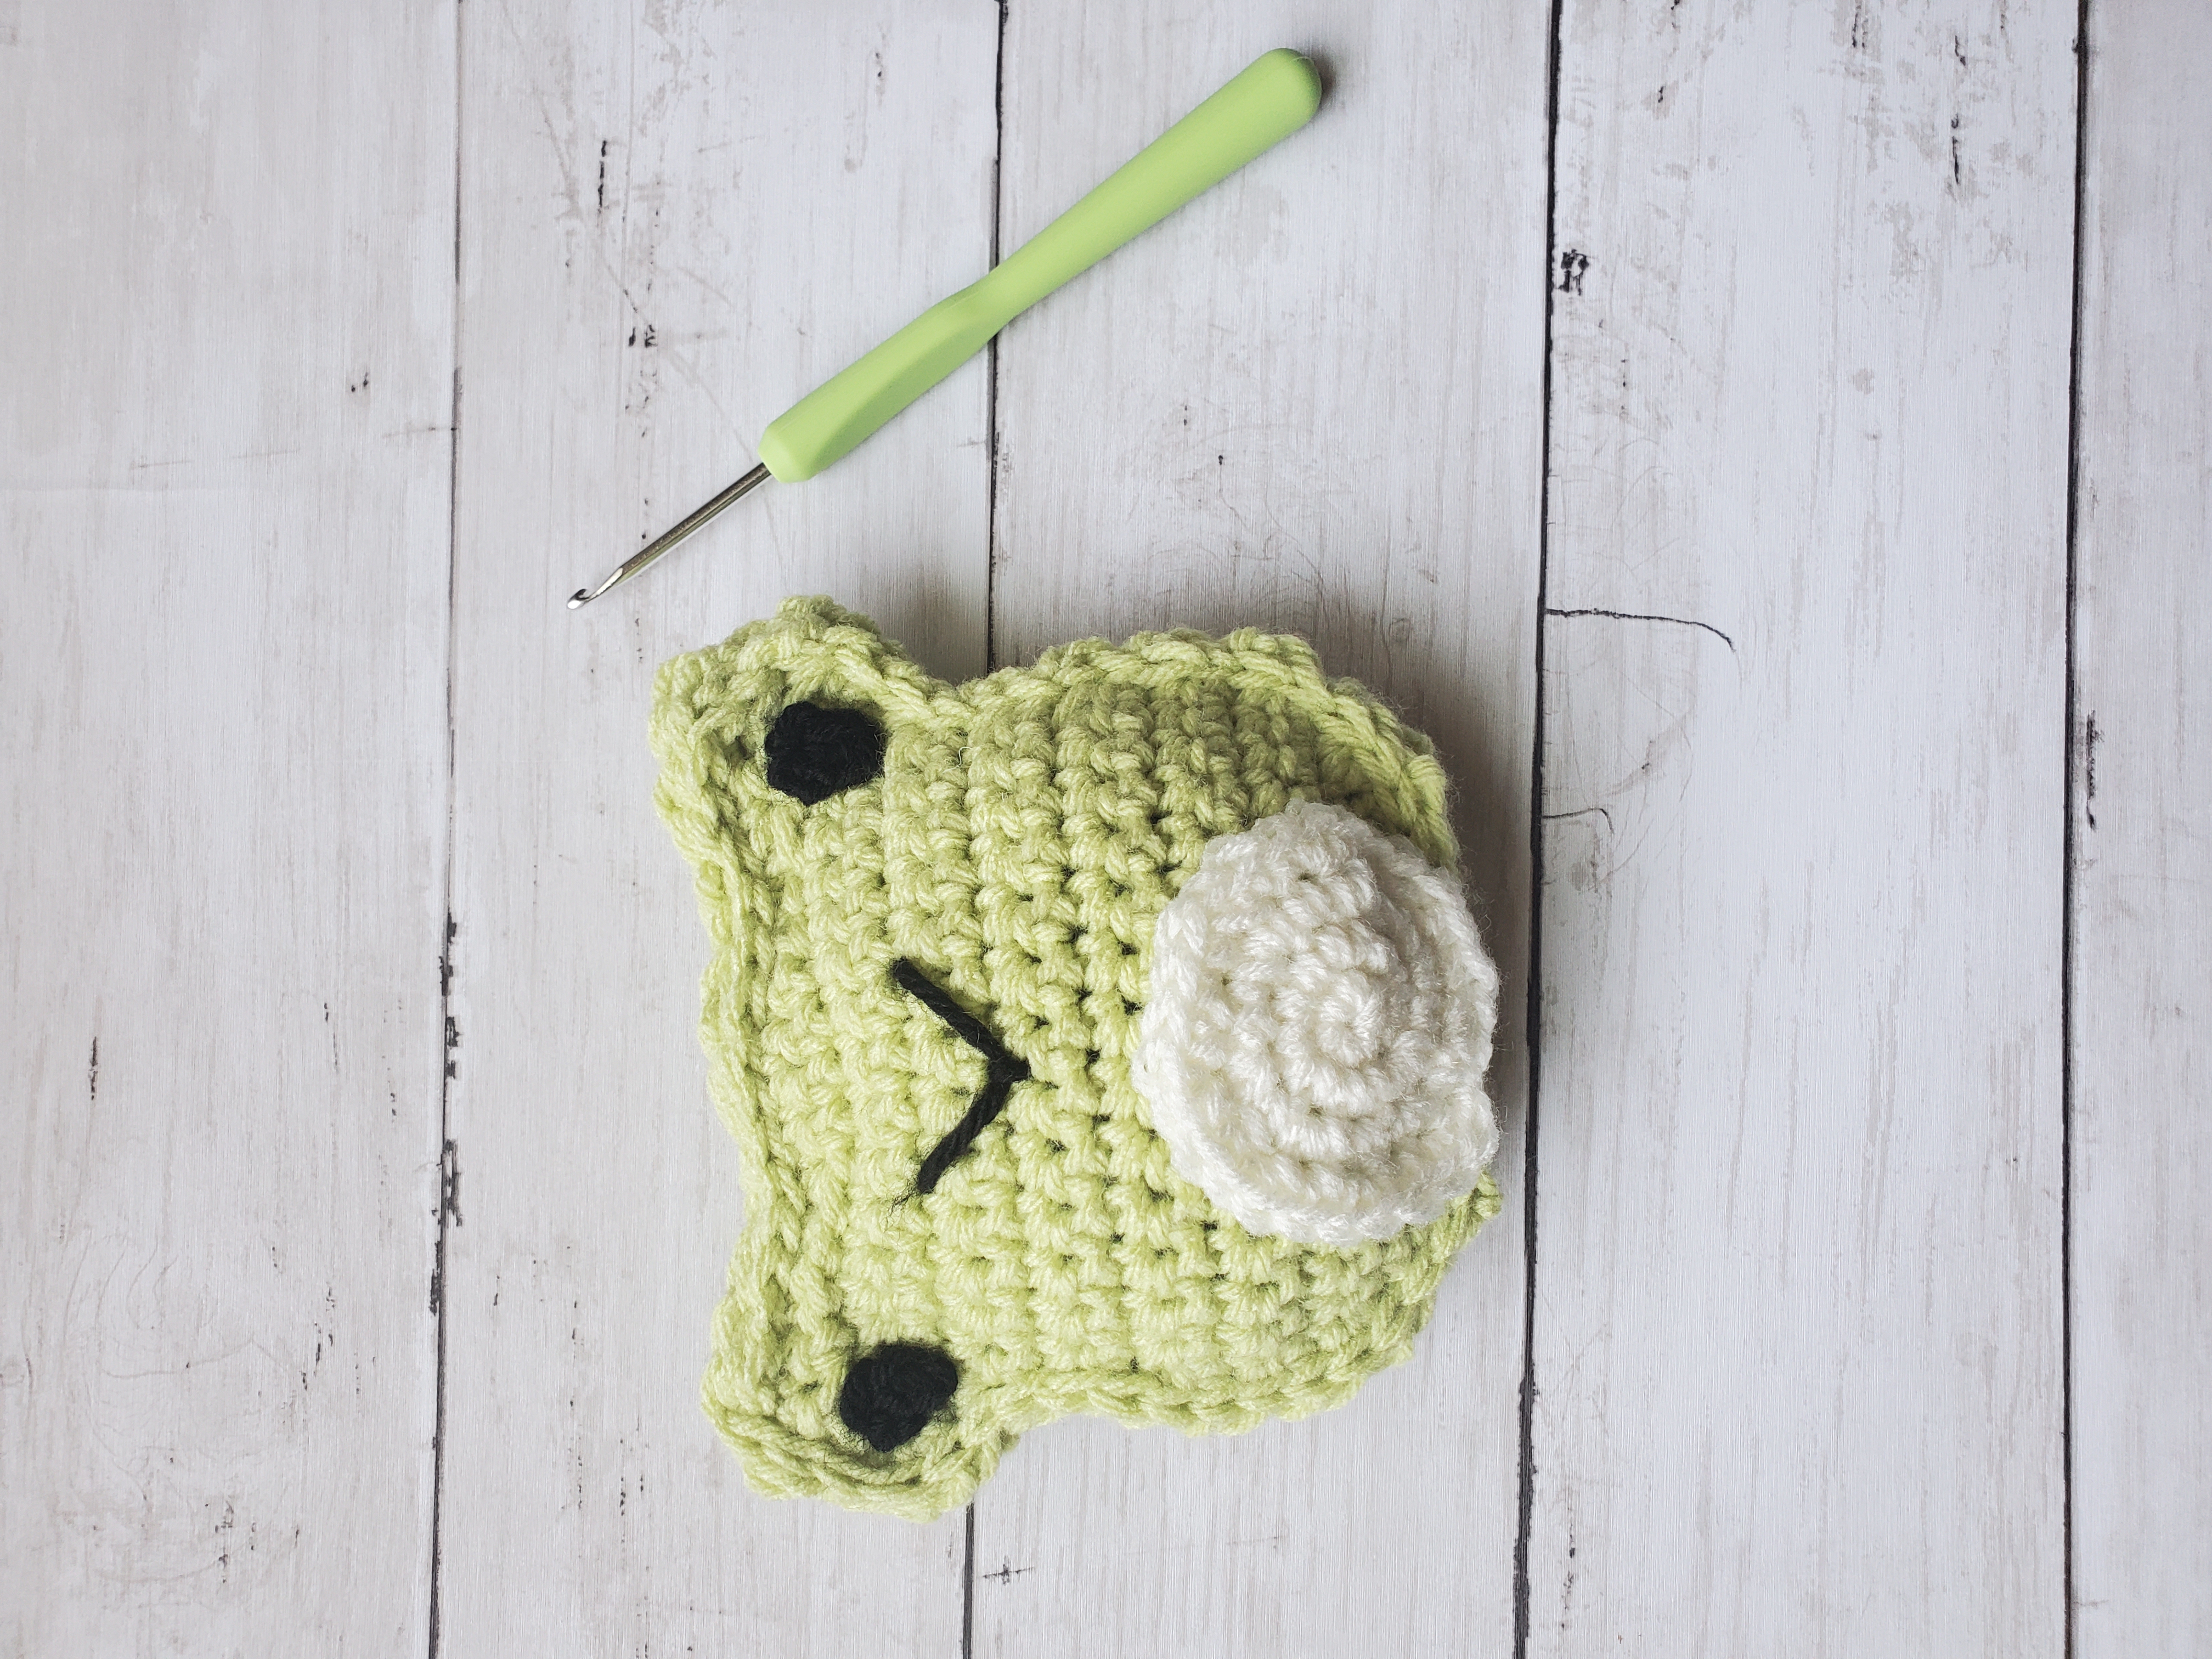
Hello everyone! Today we are going to learn how to make a stuffed crochet frog toy! This pattern is so easy and quick, you can crochet this little guy in an afternoon!
***Please note that this post may contain affiliate links. This means that I may receive a commission if you purchase something through these links (at no cost to you!). Thank you for your support!***
Okay, so I was inspired to make my little frog friend to go along with my Frog Bucket Hat I made a few months ago. I use the same green yarn for both patterns so they match! Here they are side by side:
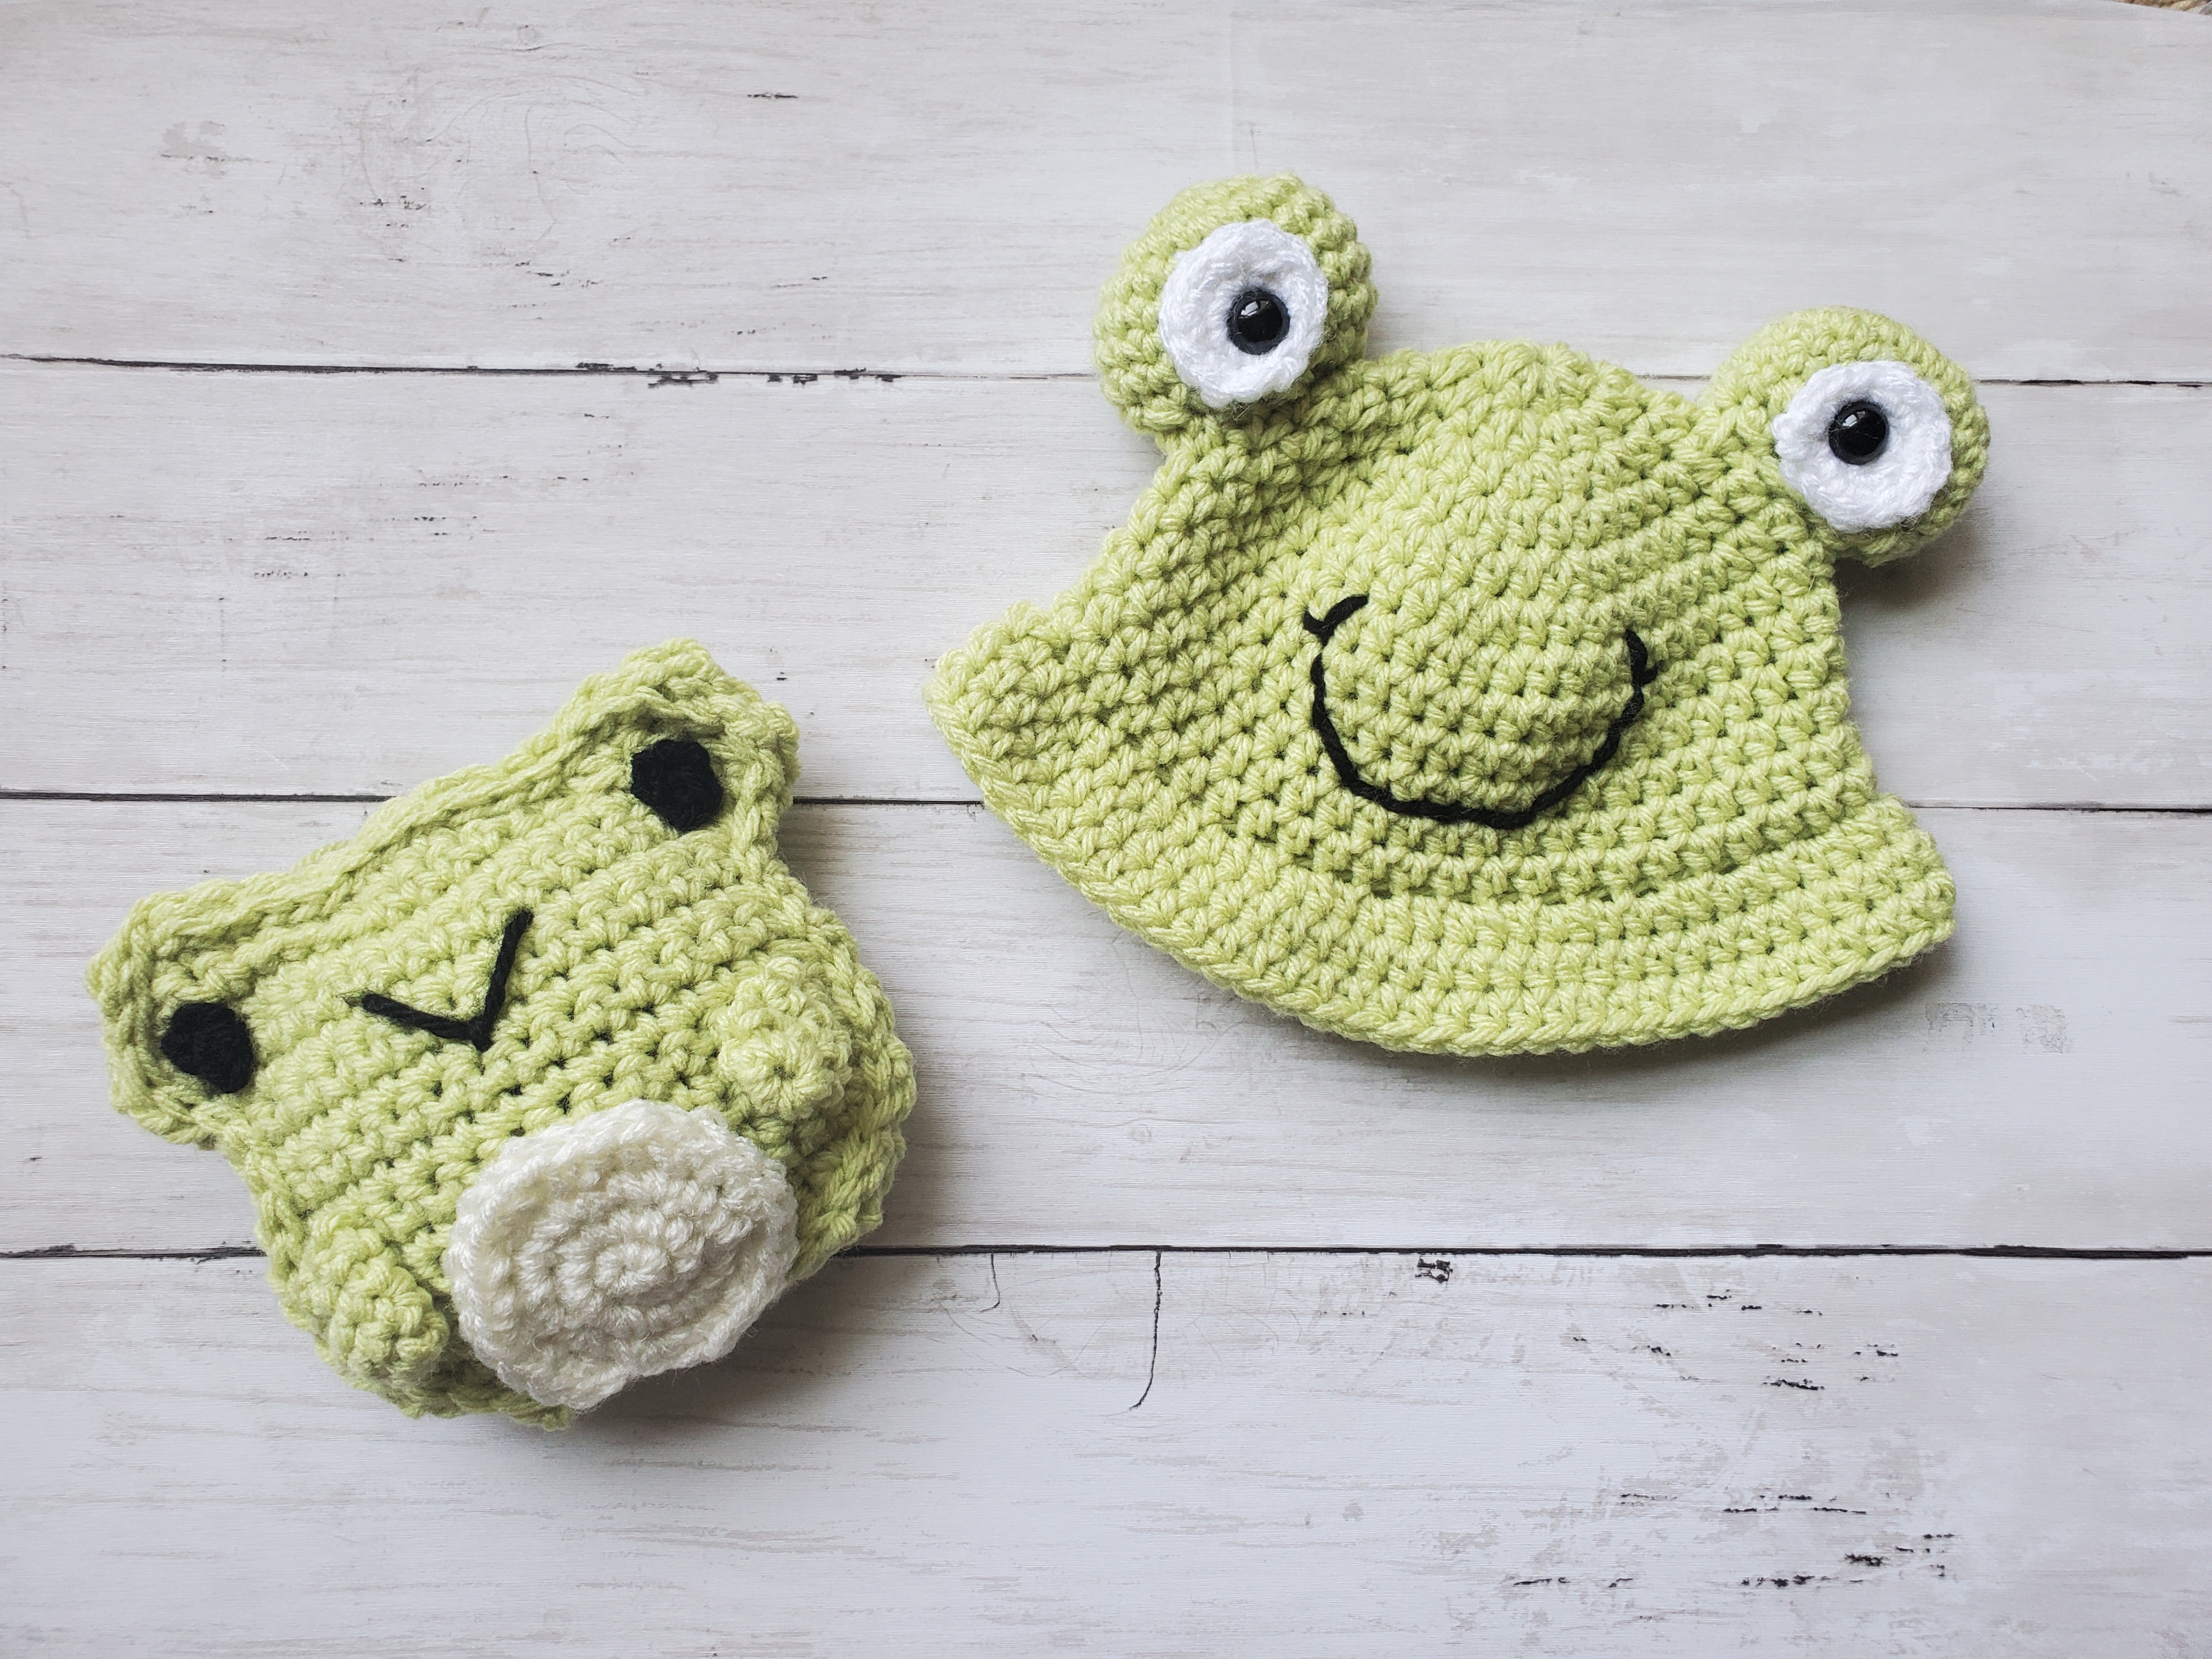
I think they’re so cute together!
When I was creating this little crochet frog friend, I couldn’t decide if I wanted to give him arms or not. I decided to add arms, but did this using an amigurumi technique by working in a magic circle. The belly is also made with this technique.
If you like how your frog looks without the arms, you can leave them off.
I used medium 4 worsted weight, acrylic yarn. You can use any kind of yarn you would like as long as it’s the correct weight. I just really like the yarn from Red Heart for fun projects like this. Especially since it’s reasonably priced and comes in so many colors.
When finished, he is about 5″ x 5.5″ (give or take, all depends on your tension!)
Ready to learn how to make your cute, little, crochet frog stuffy? Let’s get started!
With 5 mm crochet hook and lime green yarn:
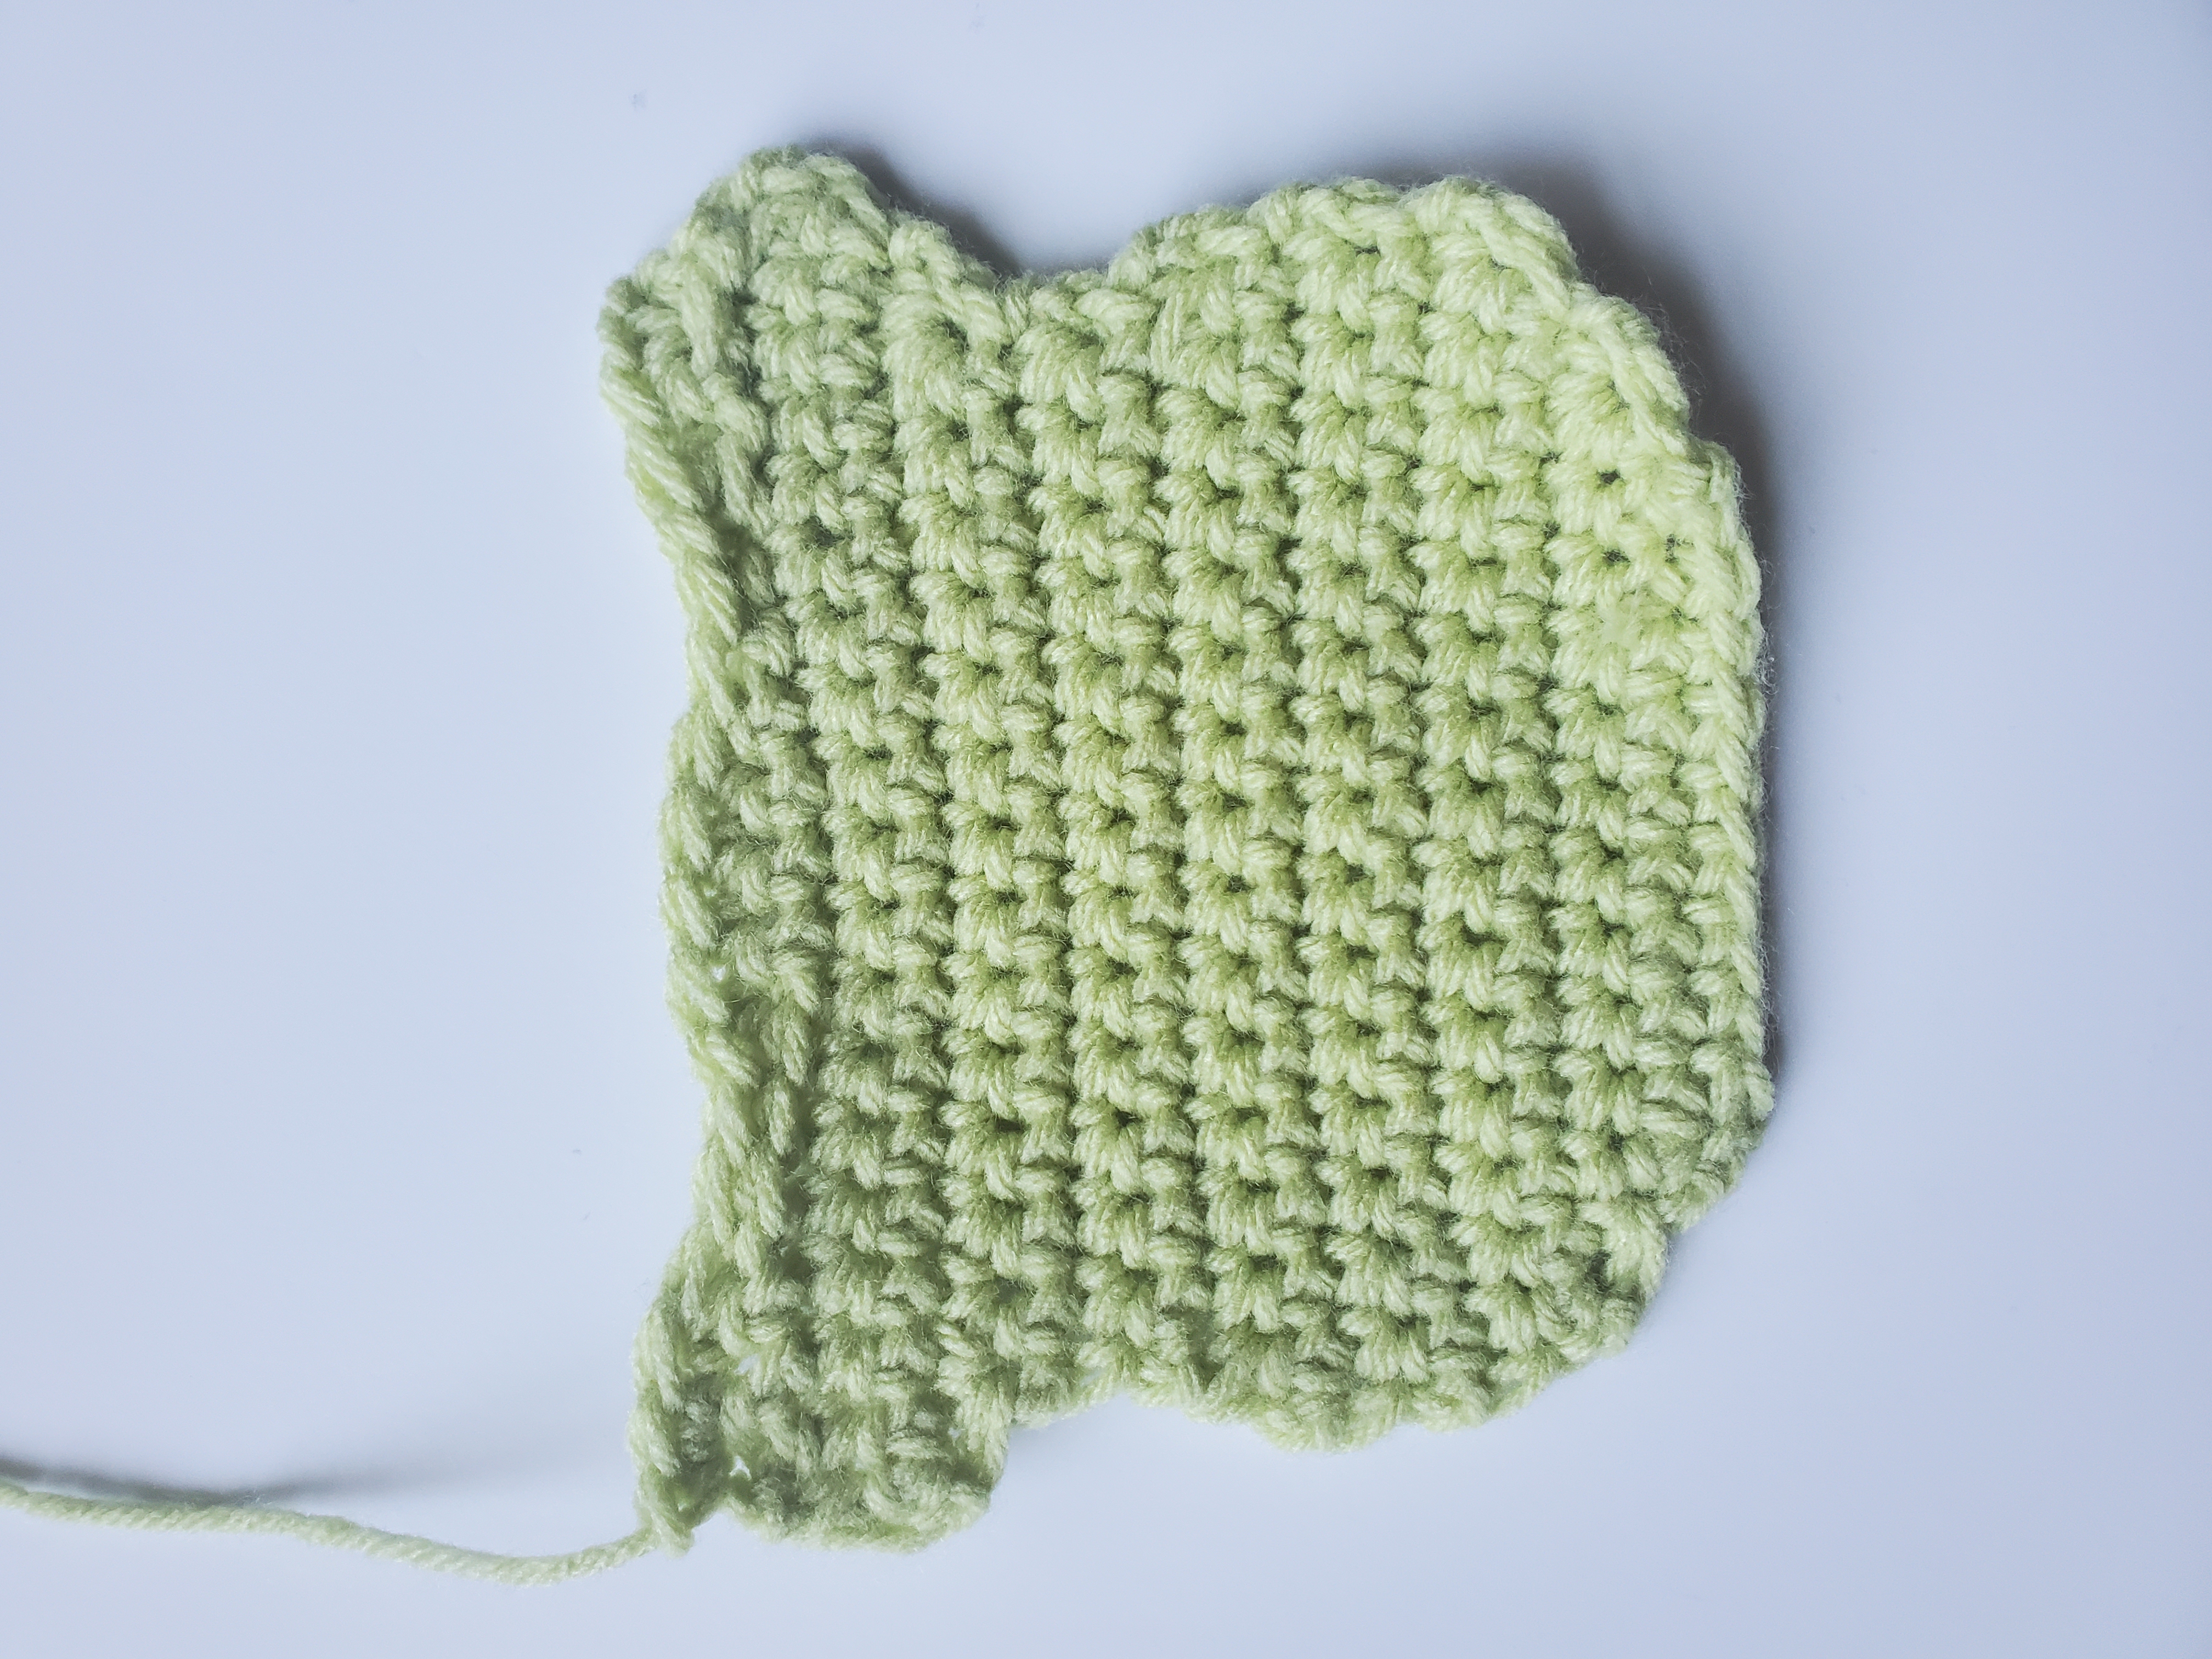
With 5 mm hook and black yarn:
With 5 mm hook and soft white yarn:
With 5 mm hook and lime green yarn:
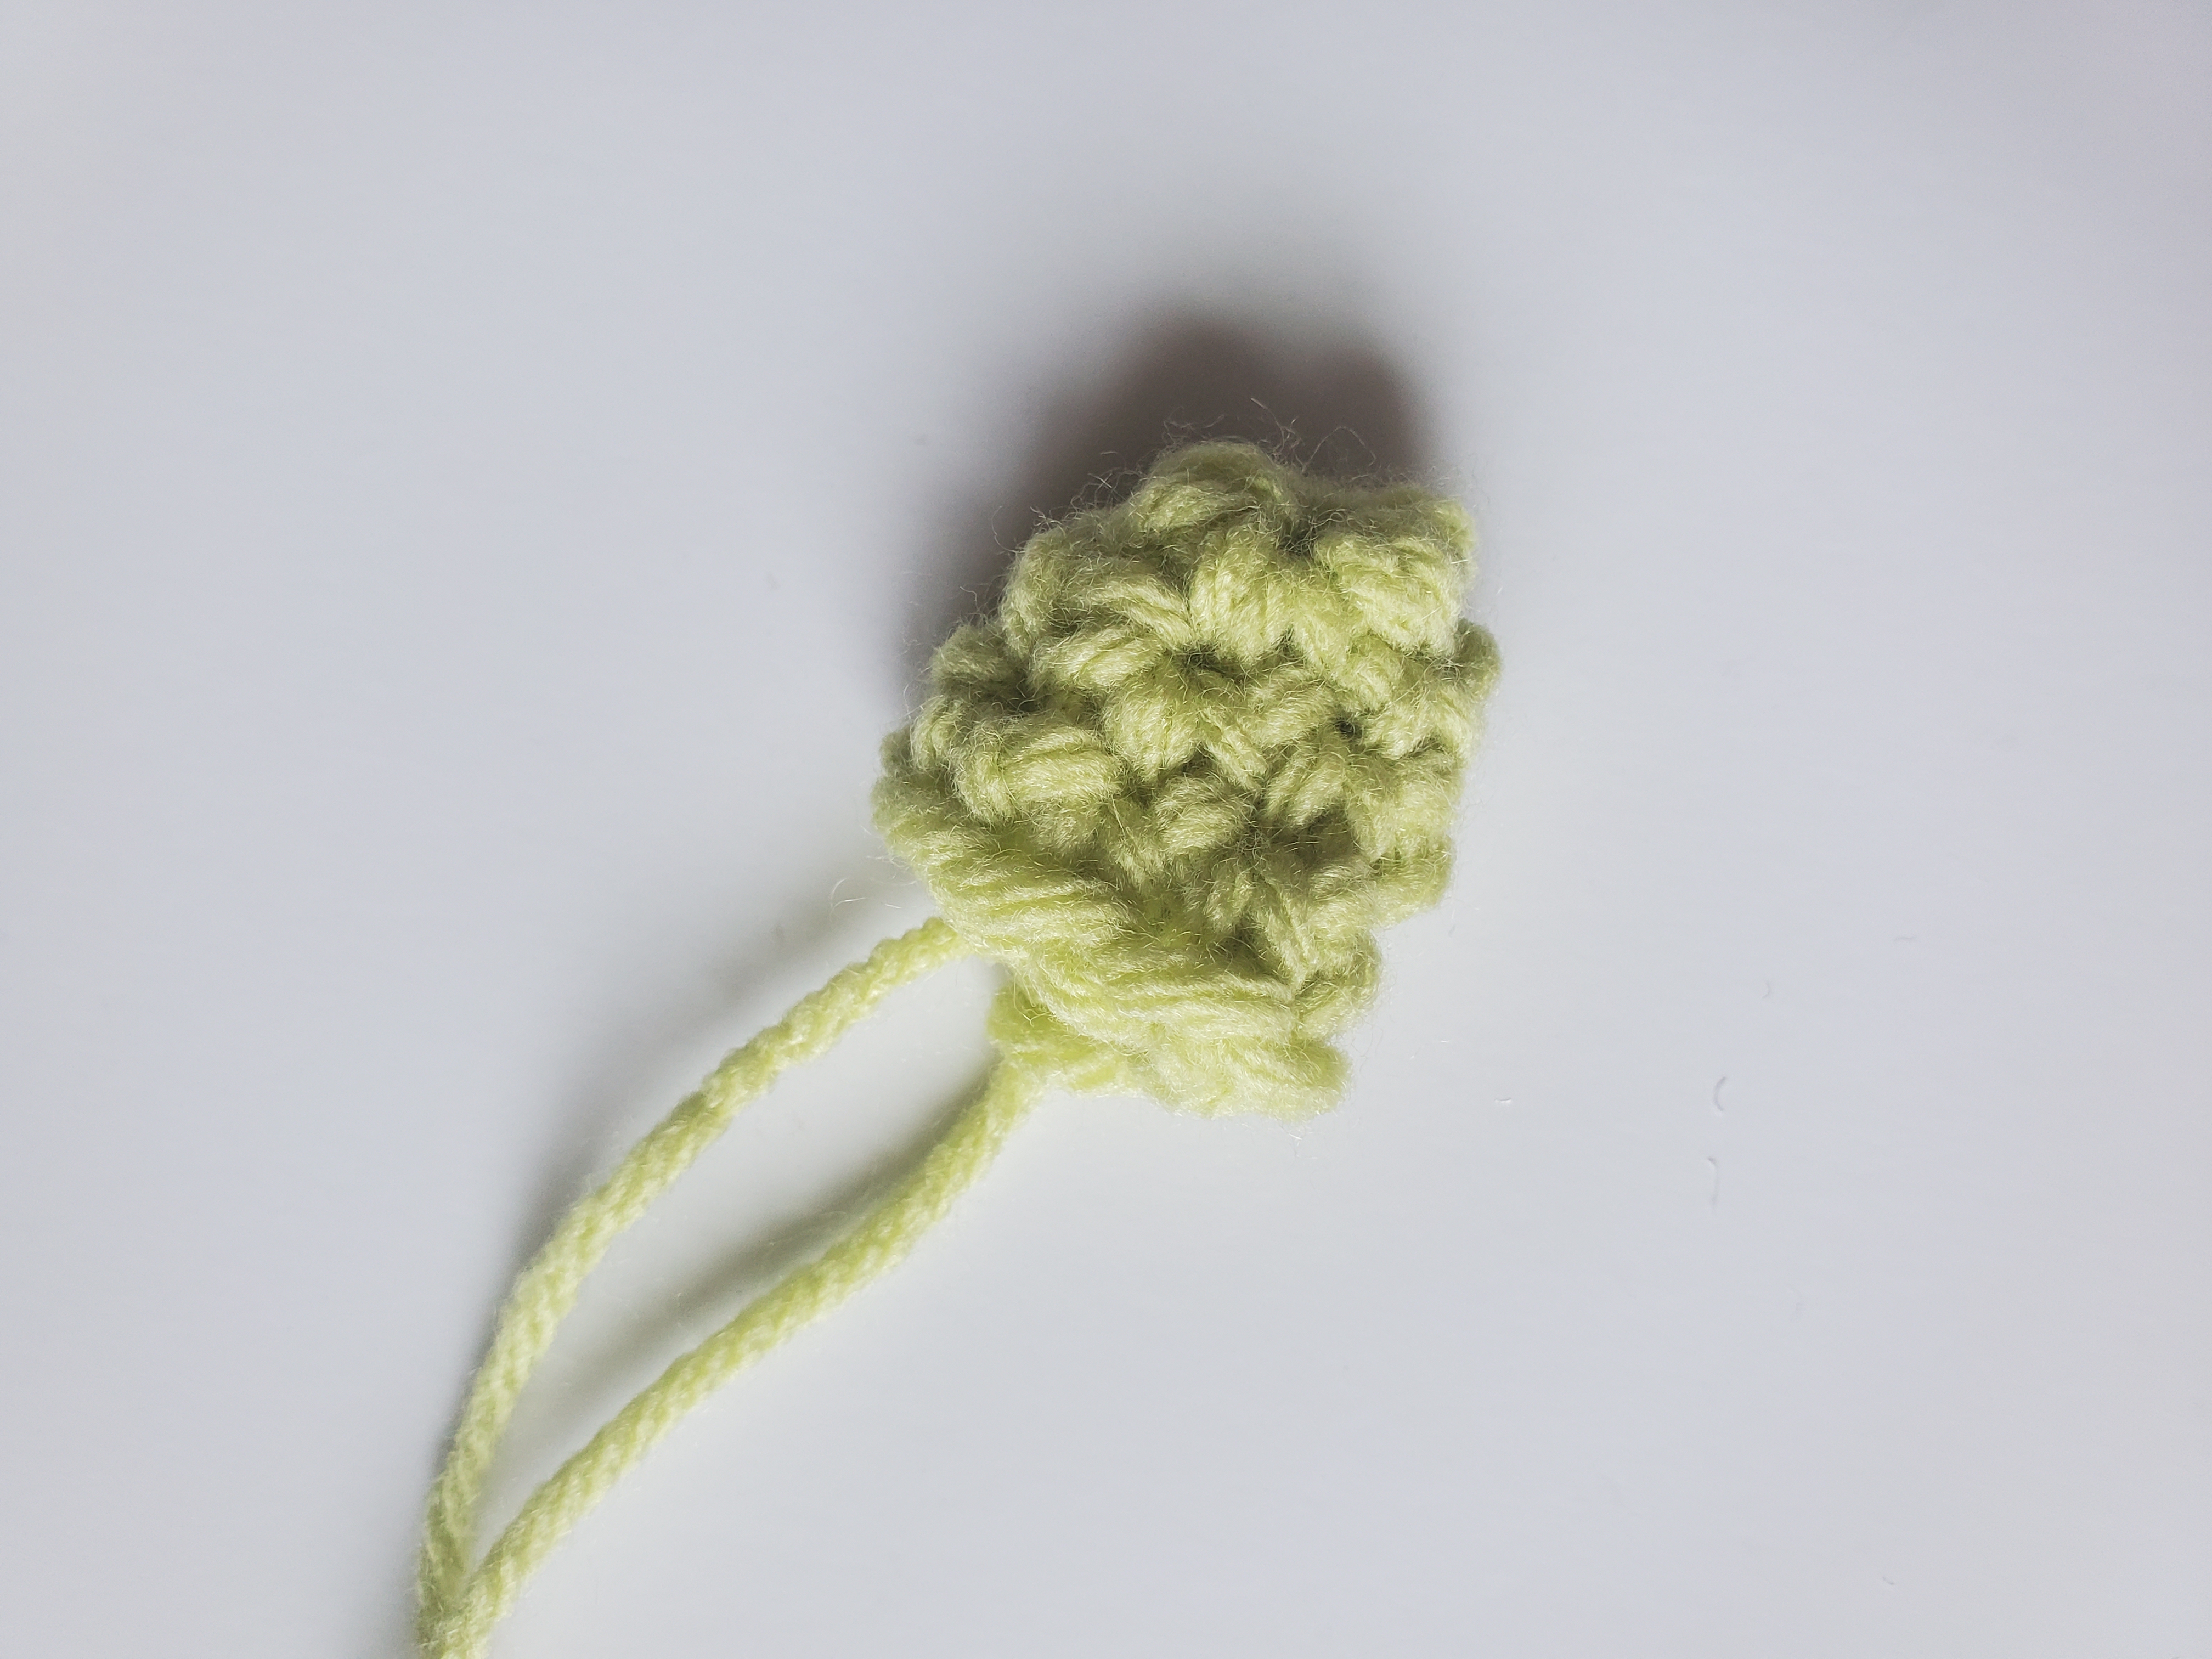
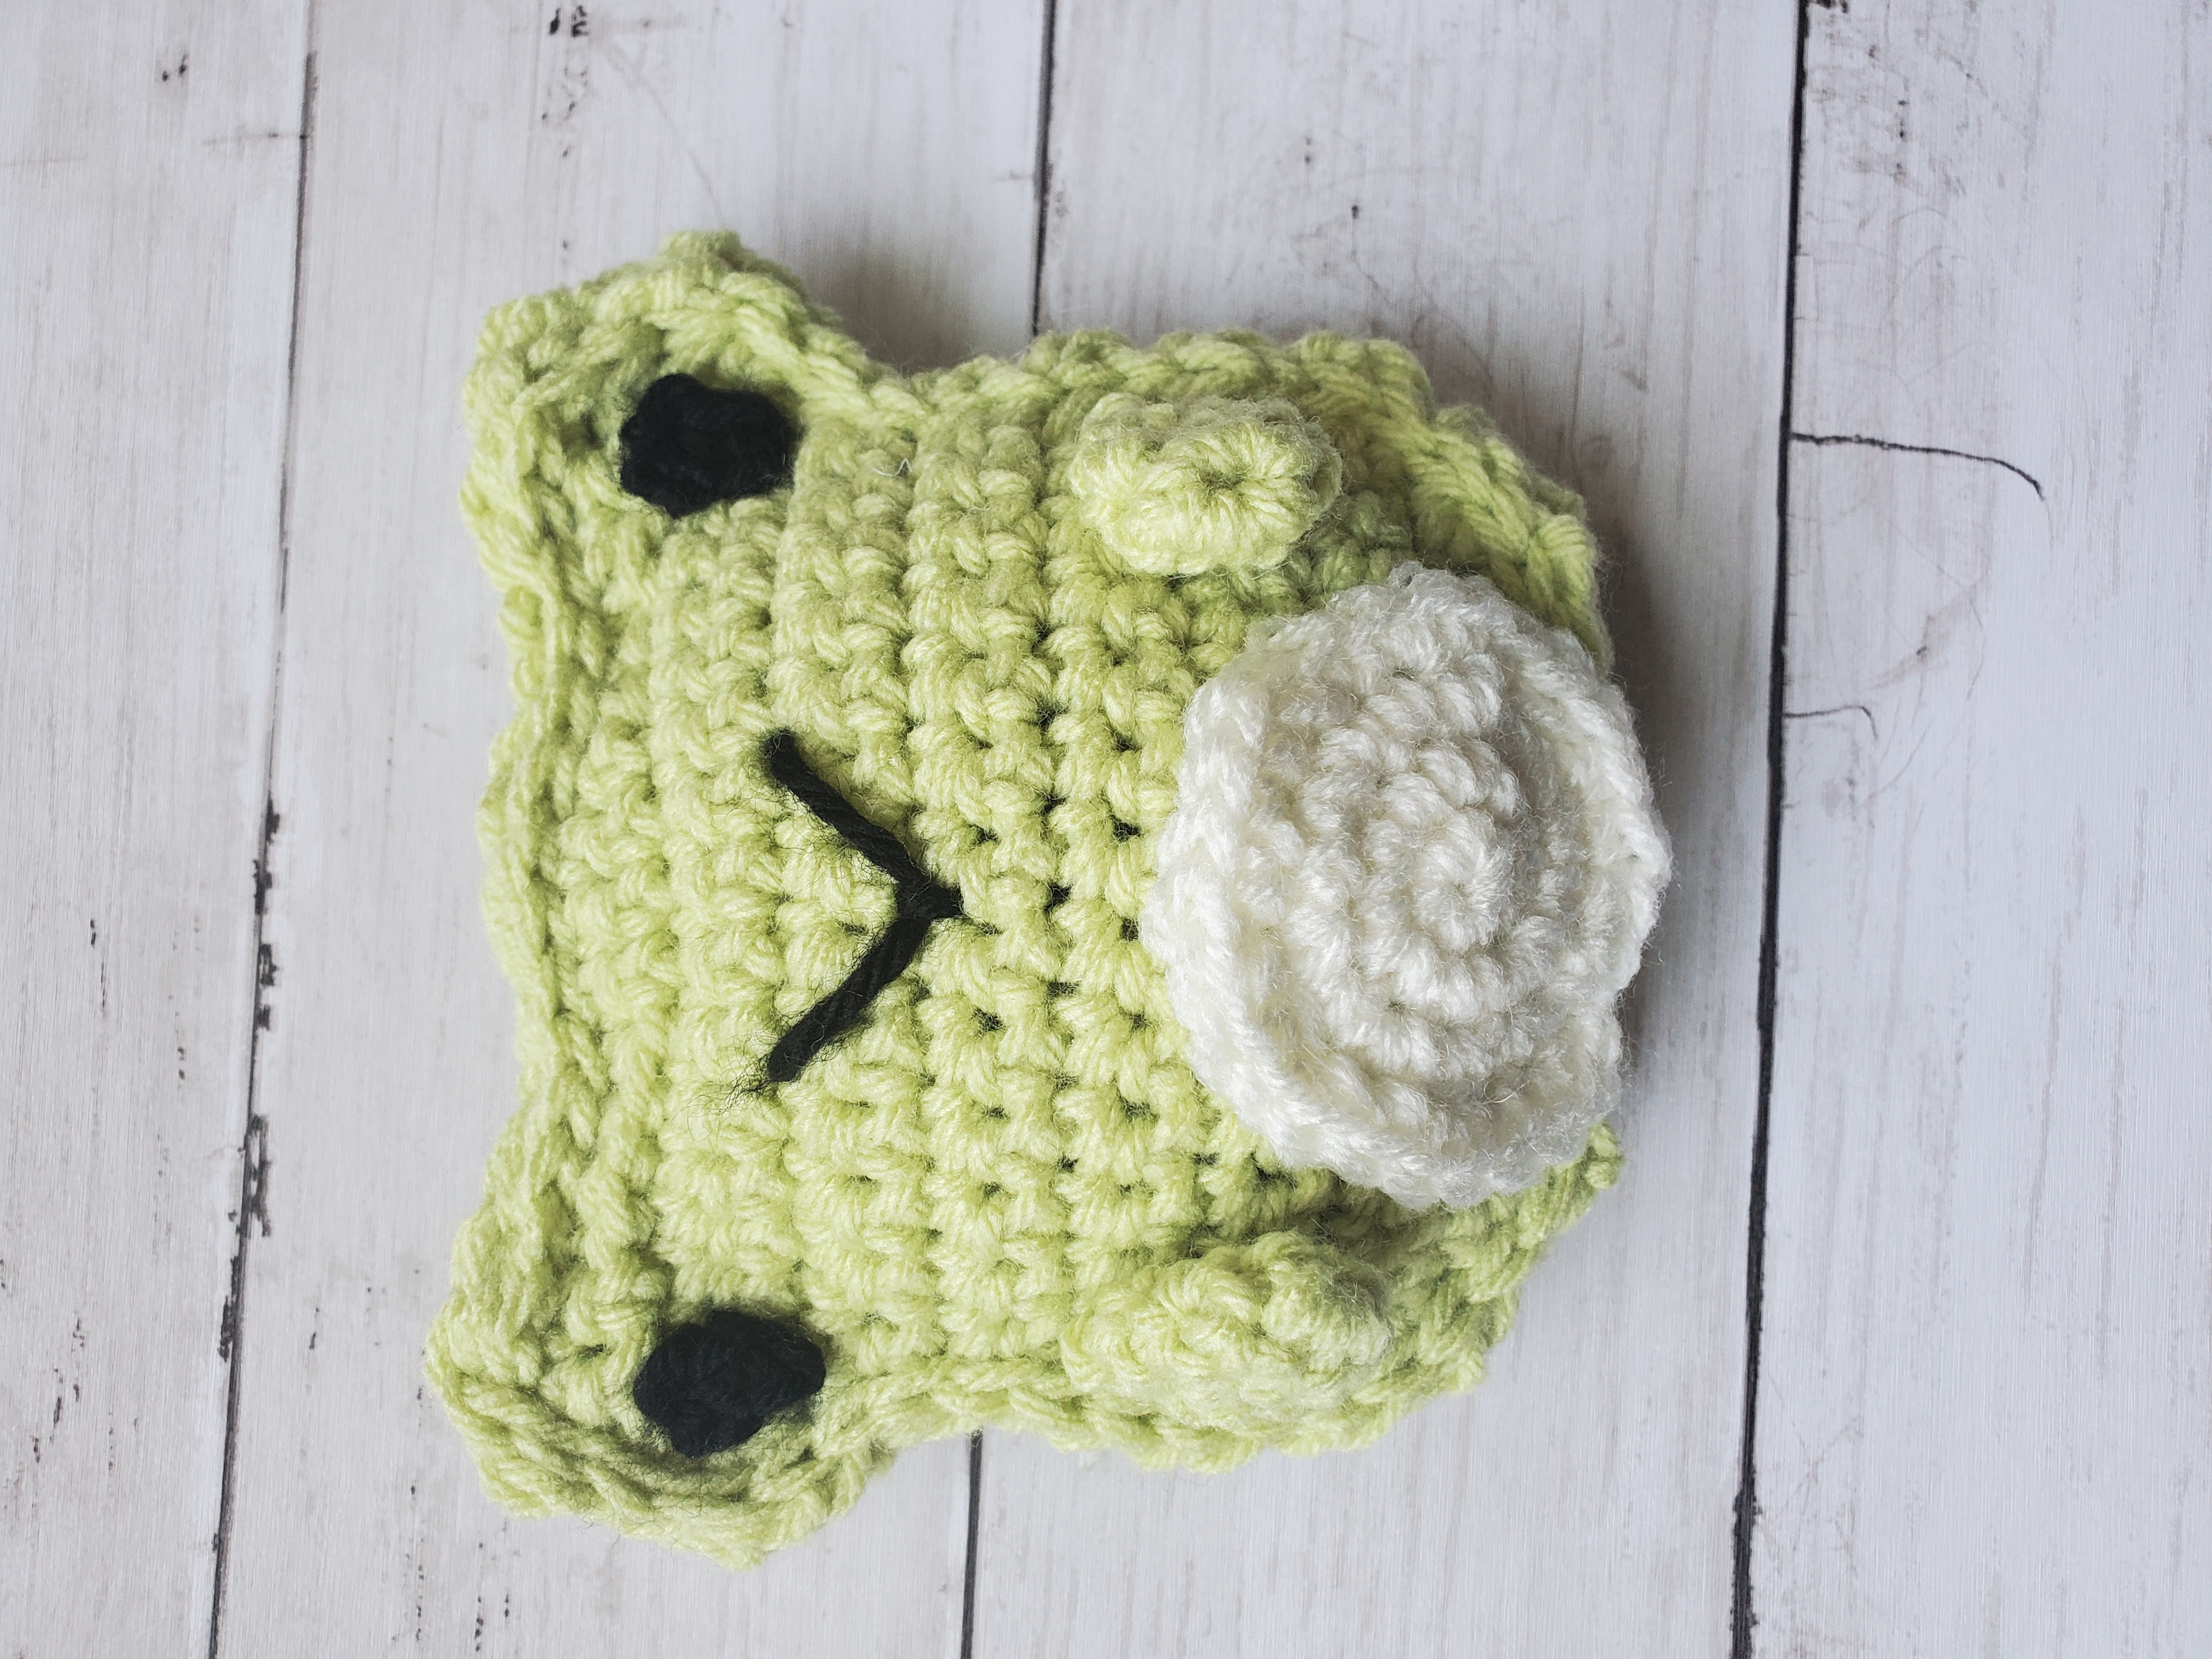
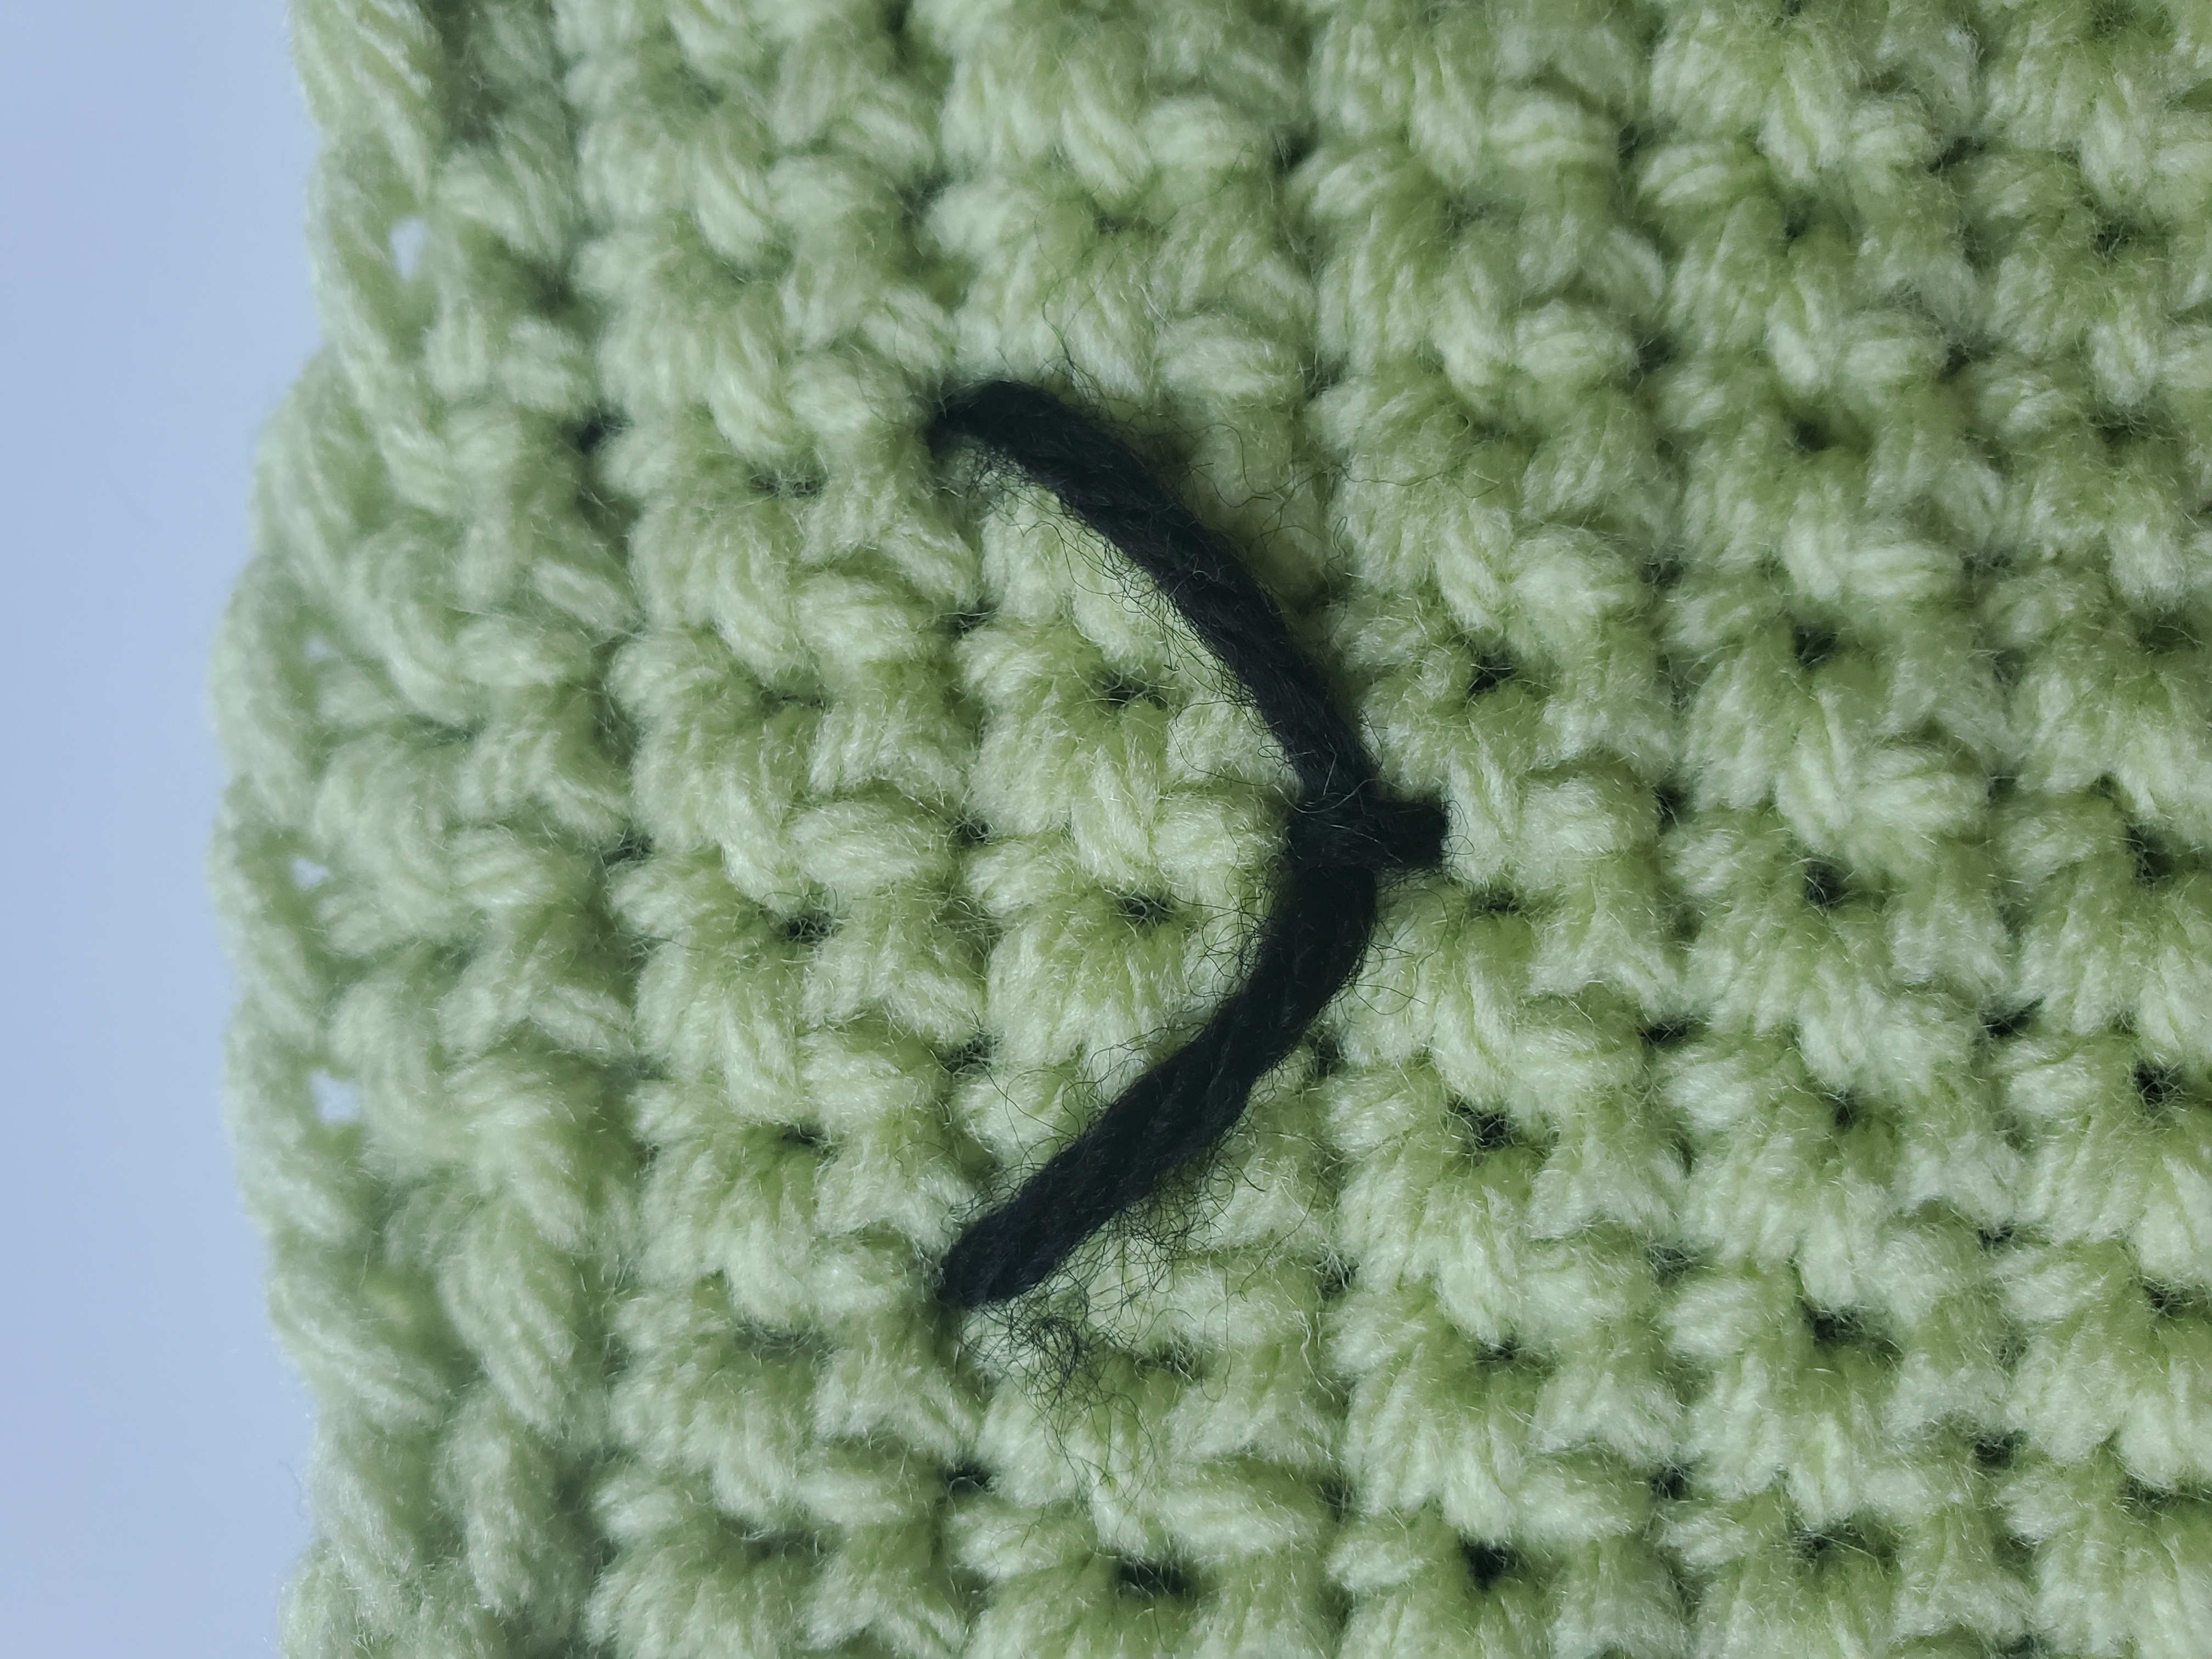
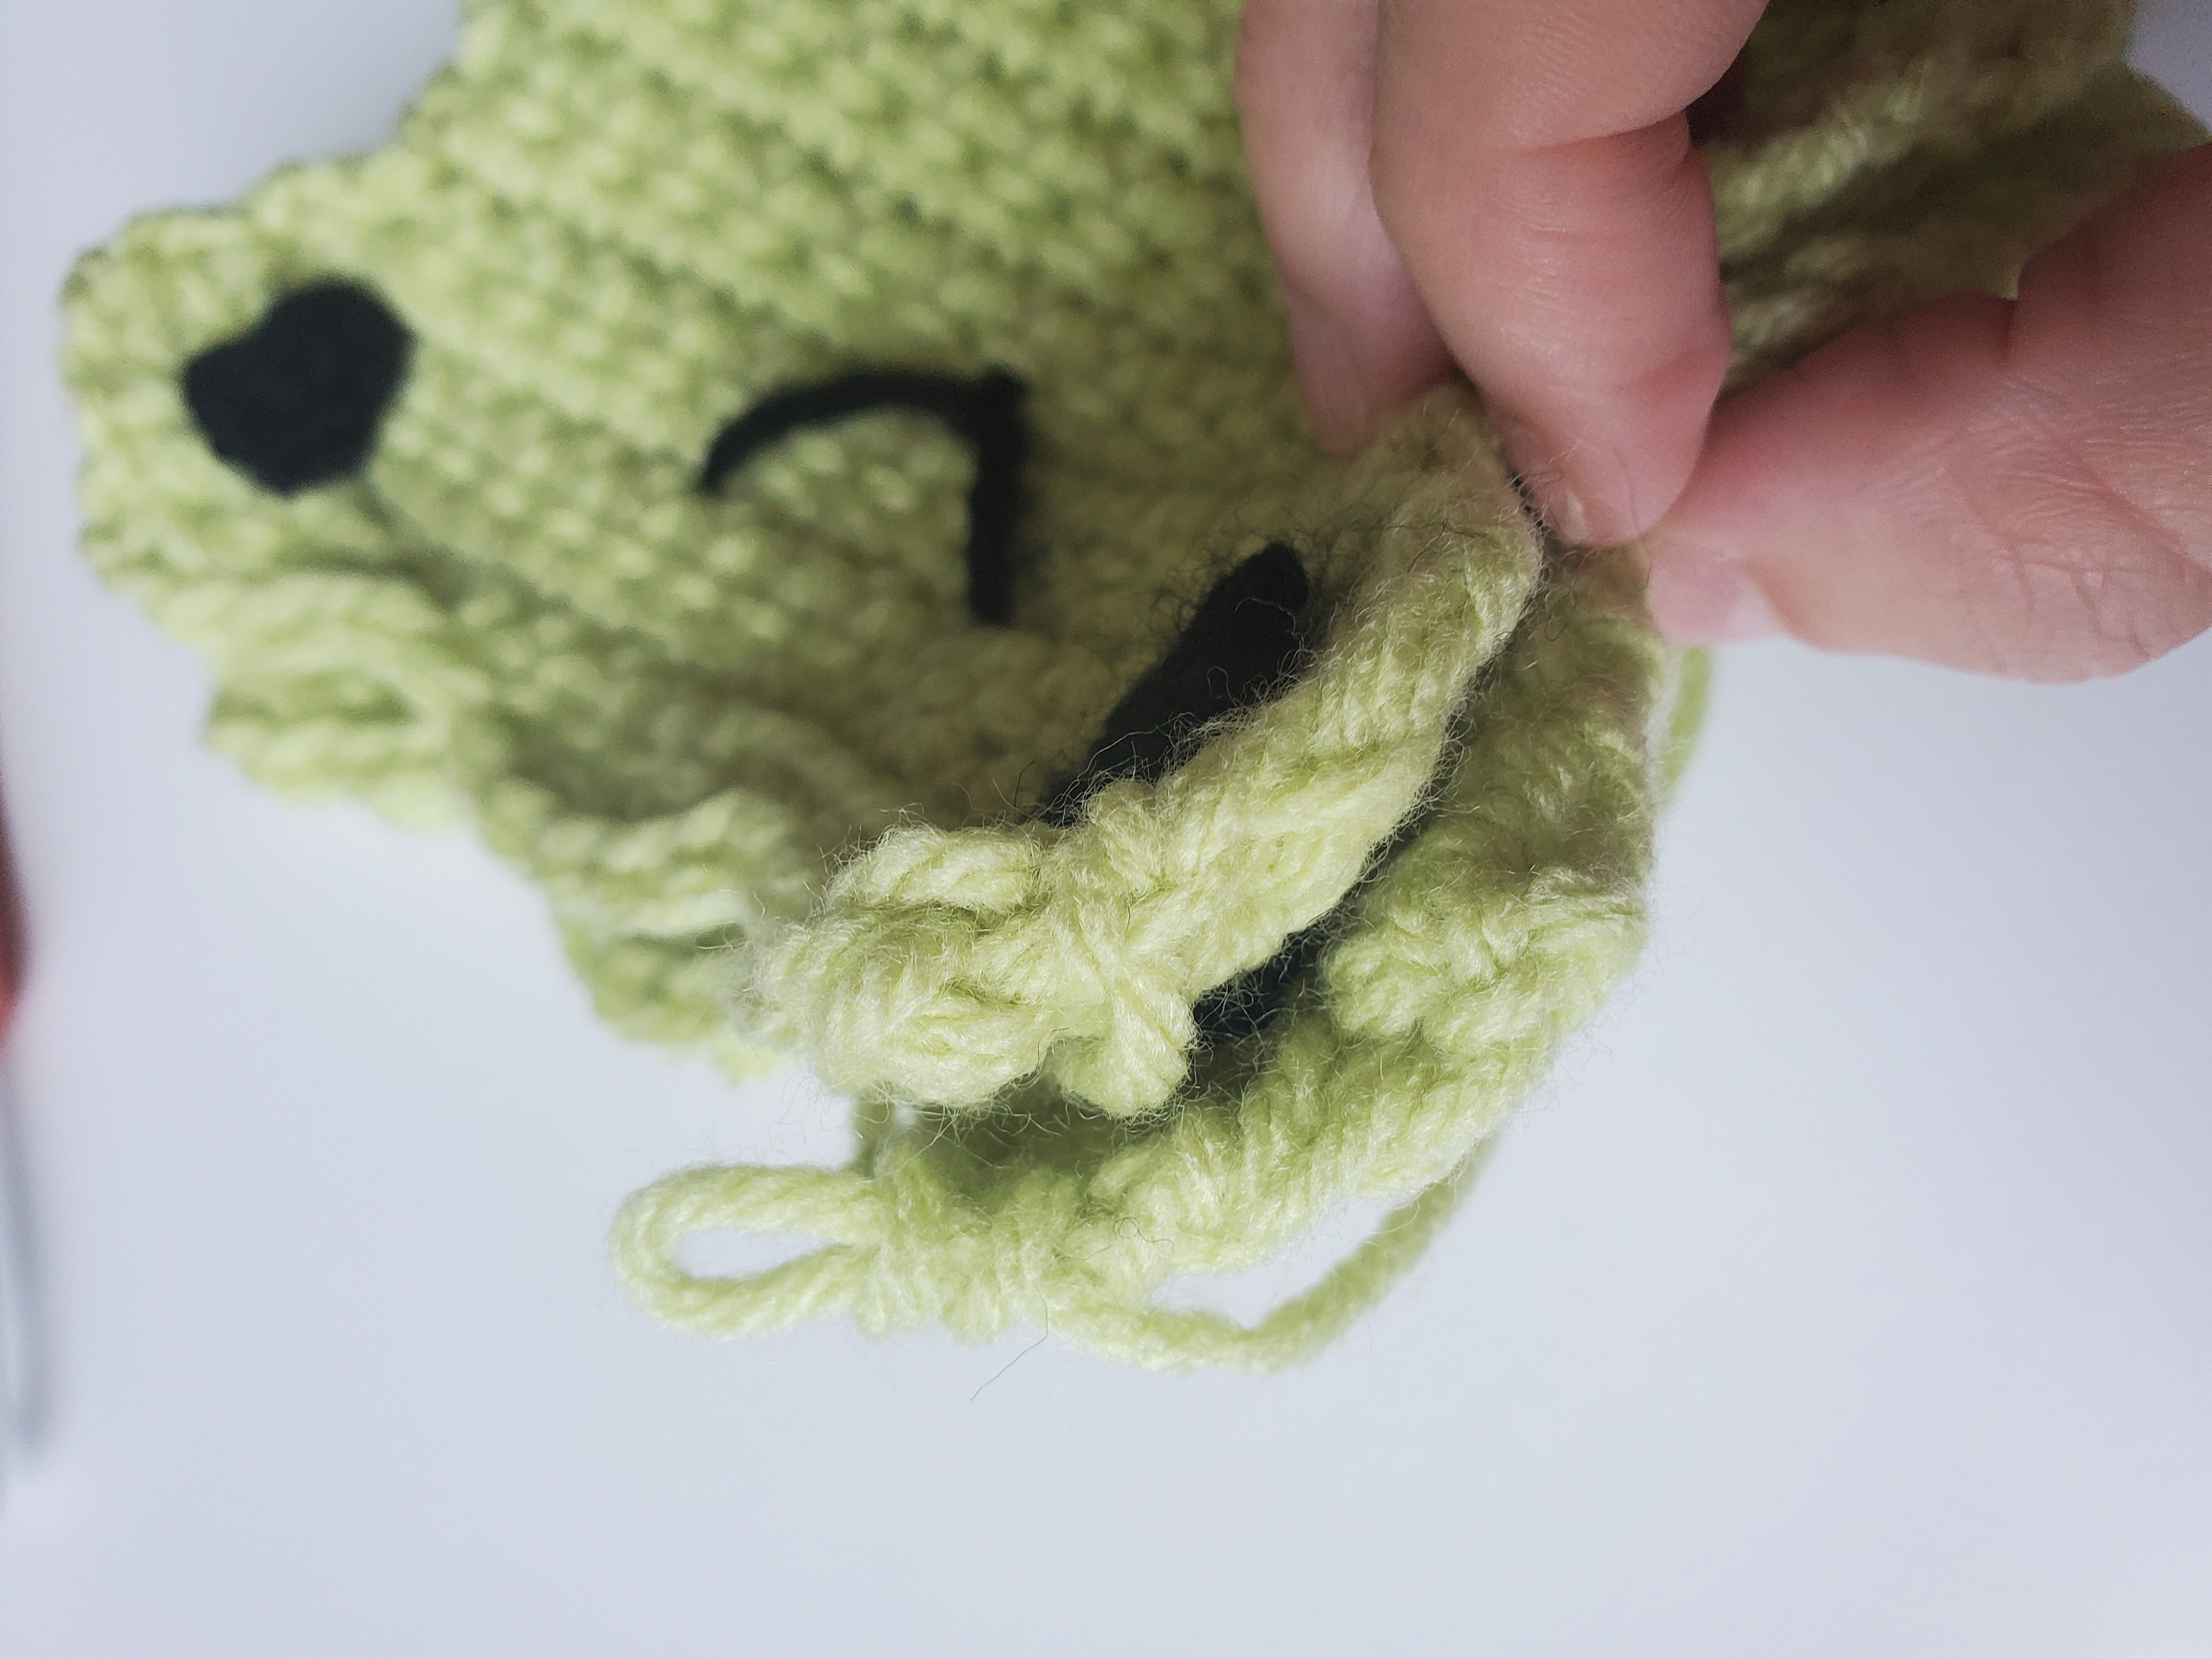
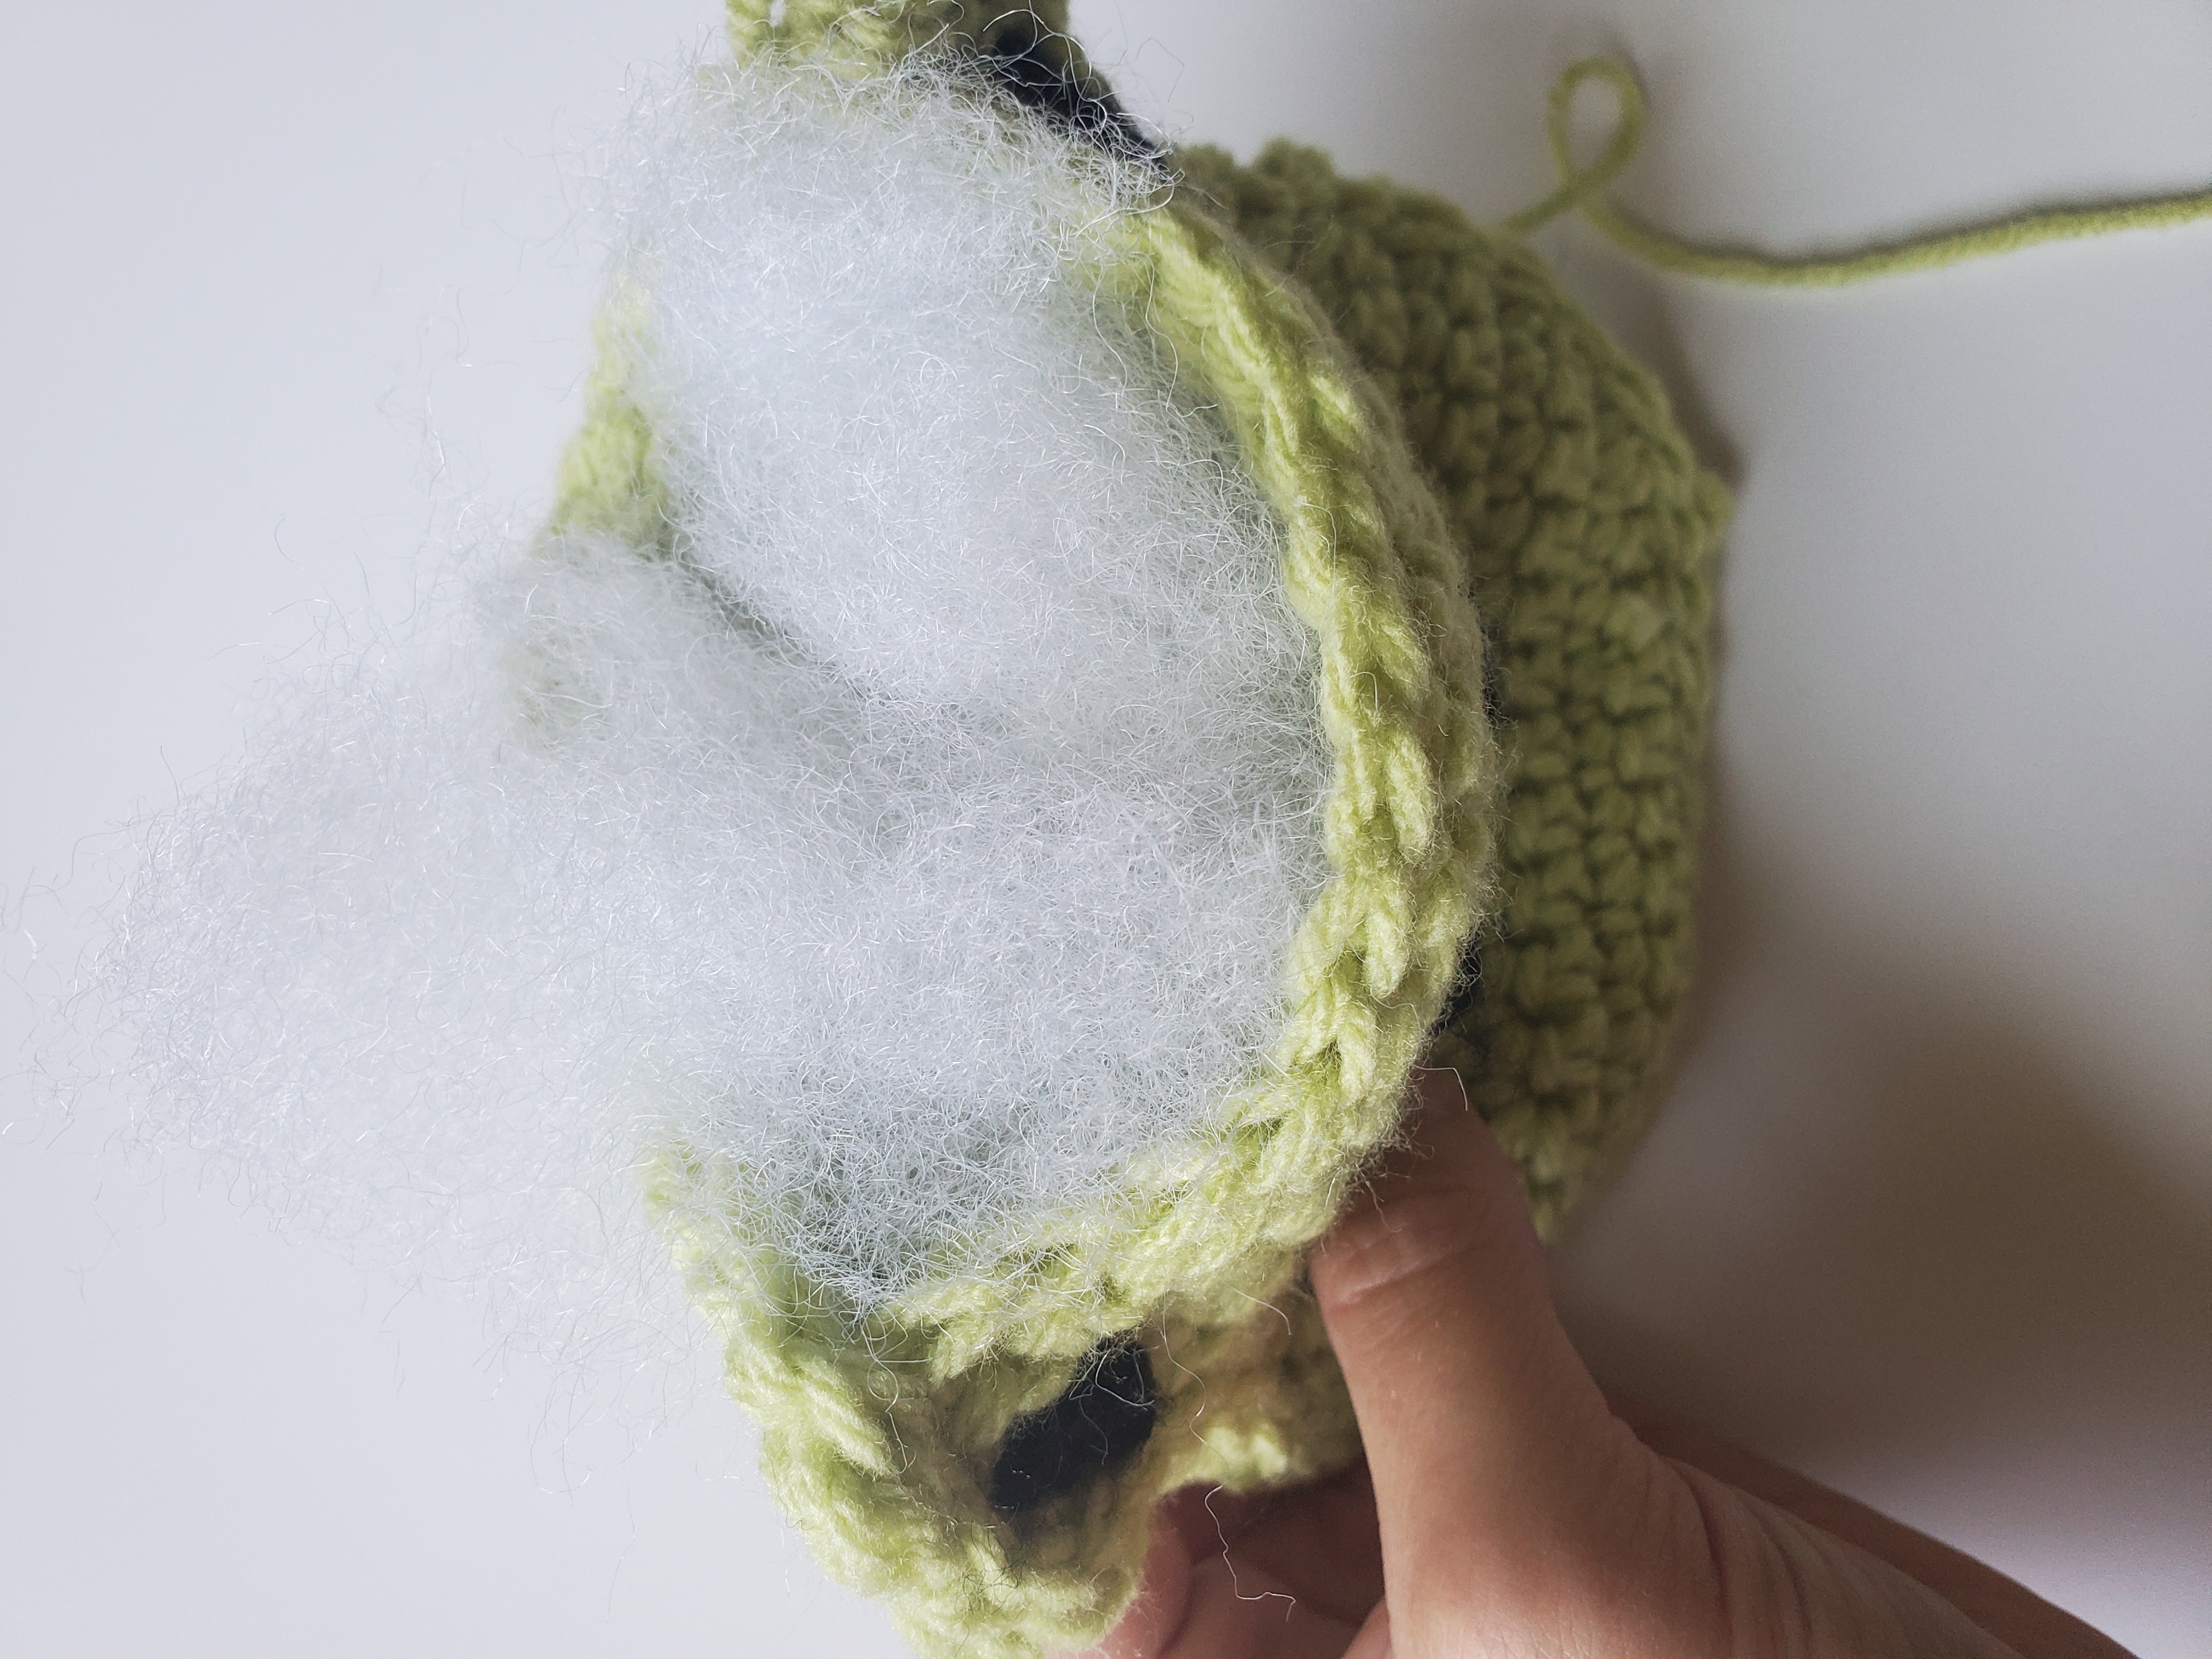
You’re all done! What a fun crochet project this was, and I really think it pairs well the Frog Bucket Hat. Make them both as a baby shower gift or just for fun for the kids!
Does the crochet frog stuffy look great with or without the arms? Which one do you think looks better? Let me know in the comments below!
***This post may contain affiliate links. This means if you click on a link and make a purchase, I may make a commission at no extra cost to you***
In this post you’ll find: the crochet pattern for both dishcloths and materials used.
Hello everyone! Today I bring you not just one, but TWO dishcloth patterns with gorgeous texture! I am using the Peaches and Creme yarn in Linen to make these.
I am so in love with the Peaches and Creme yarn line. The yarn literally looks like peaches and creme! Not only is it beautiful, but the cotton yarn feels so nice to touch. It’s soft, but durable!
If you enjoy these crochet textures and this yarn, check out my previous post on another Peaches and Creme dishcloth here!
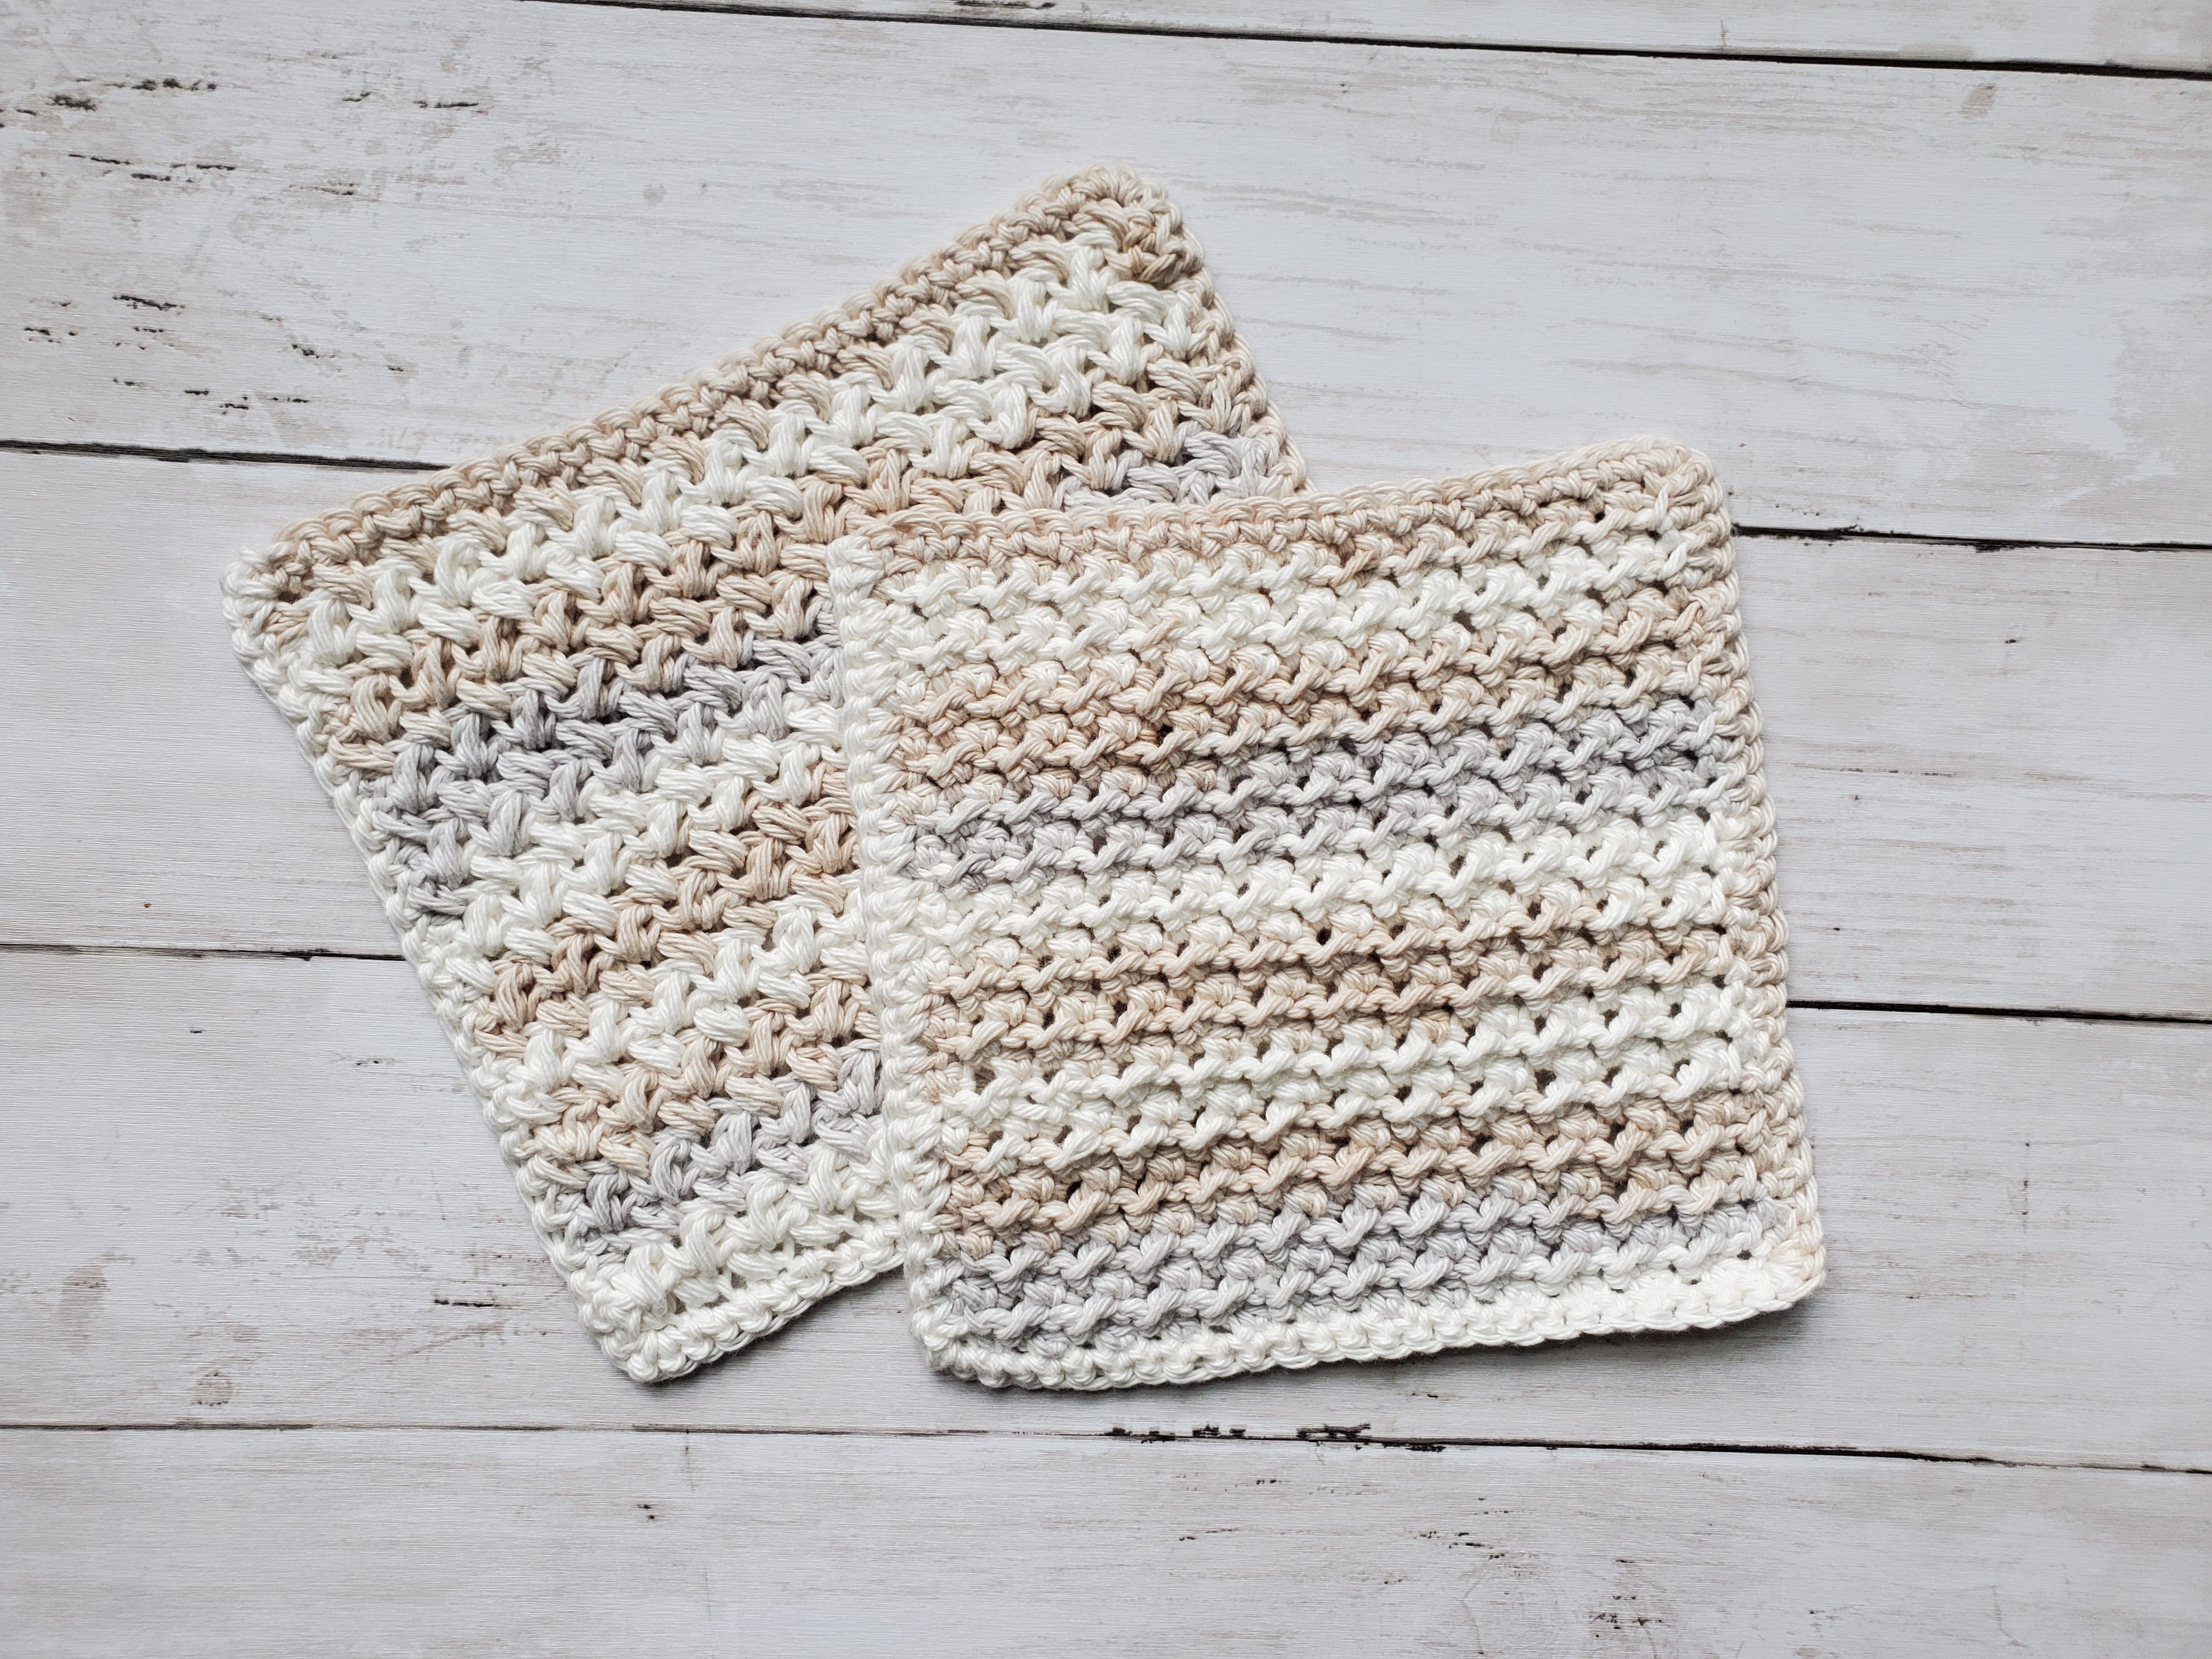
Starting left to right, the patterns are: the Bean Stitch Dishcloth and the Crunchy Stitch Dishcloth
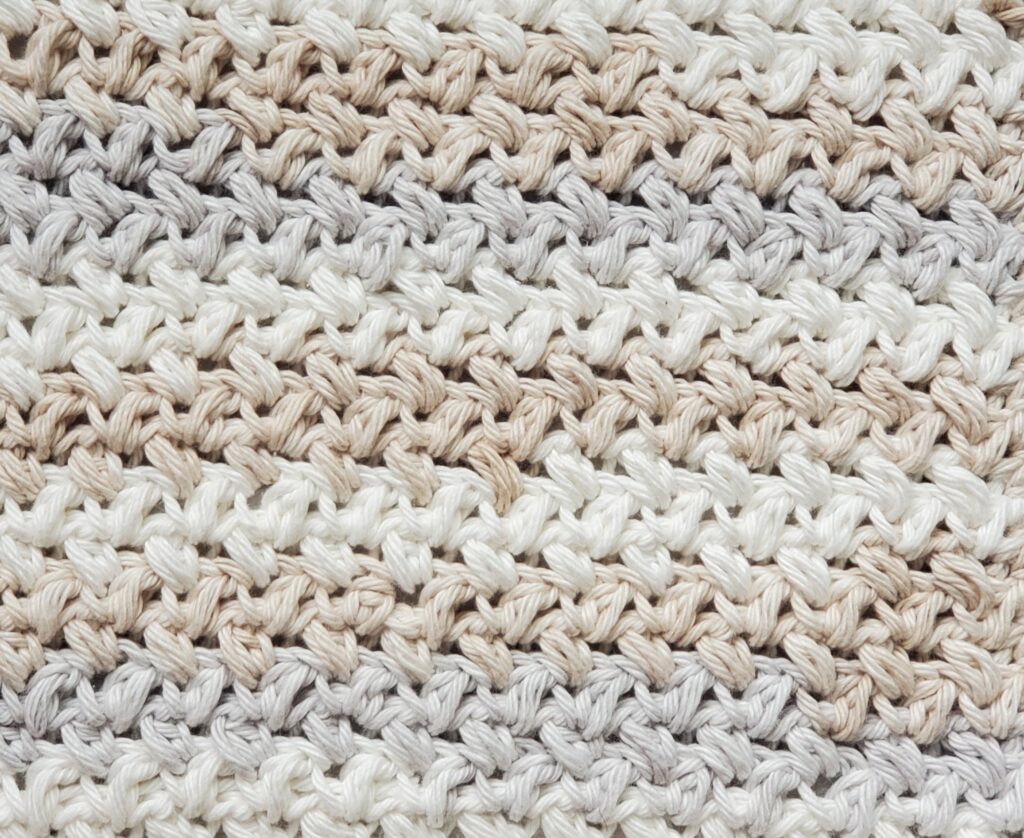
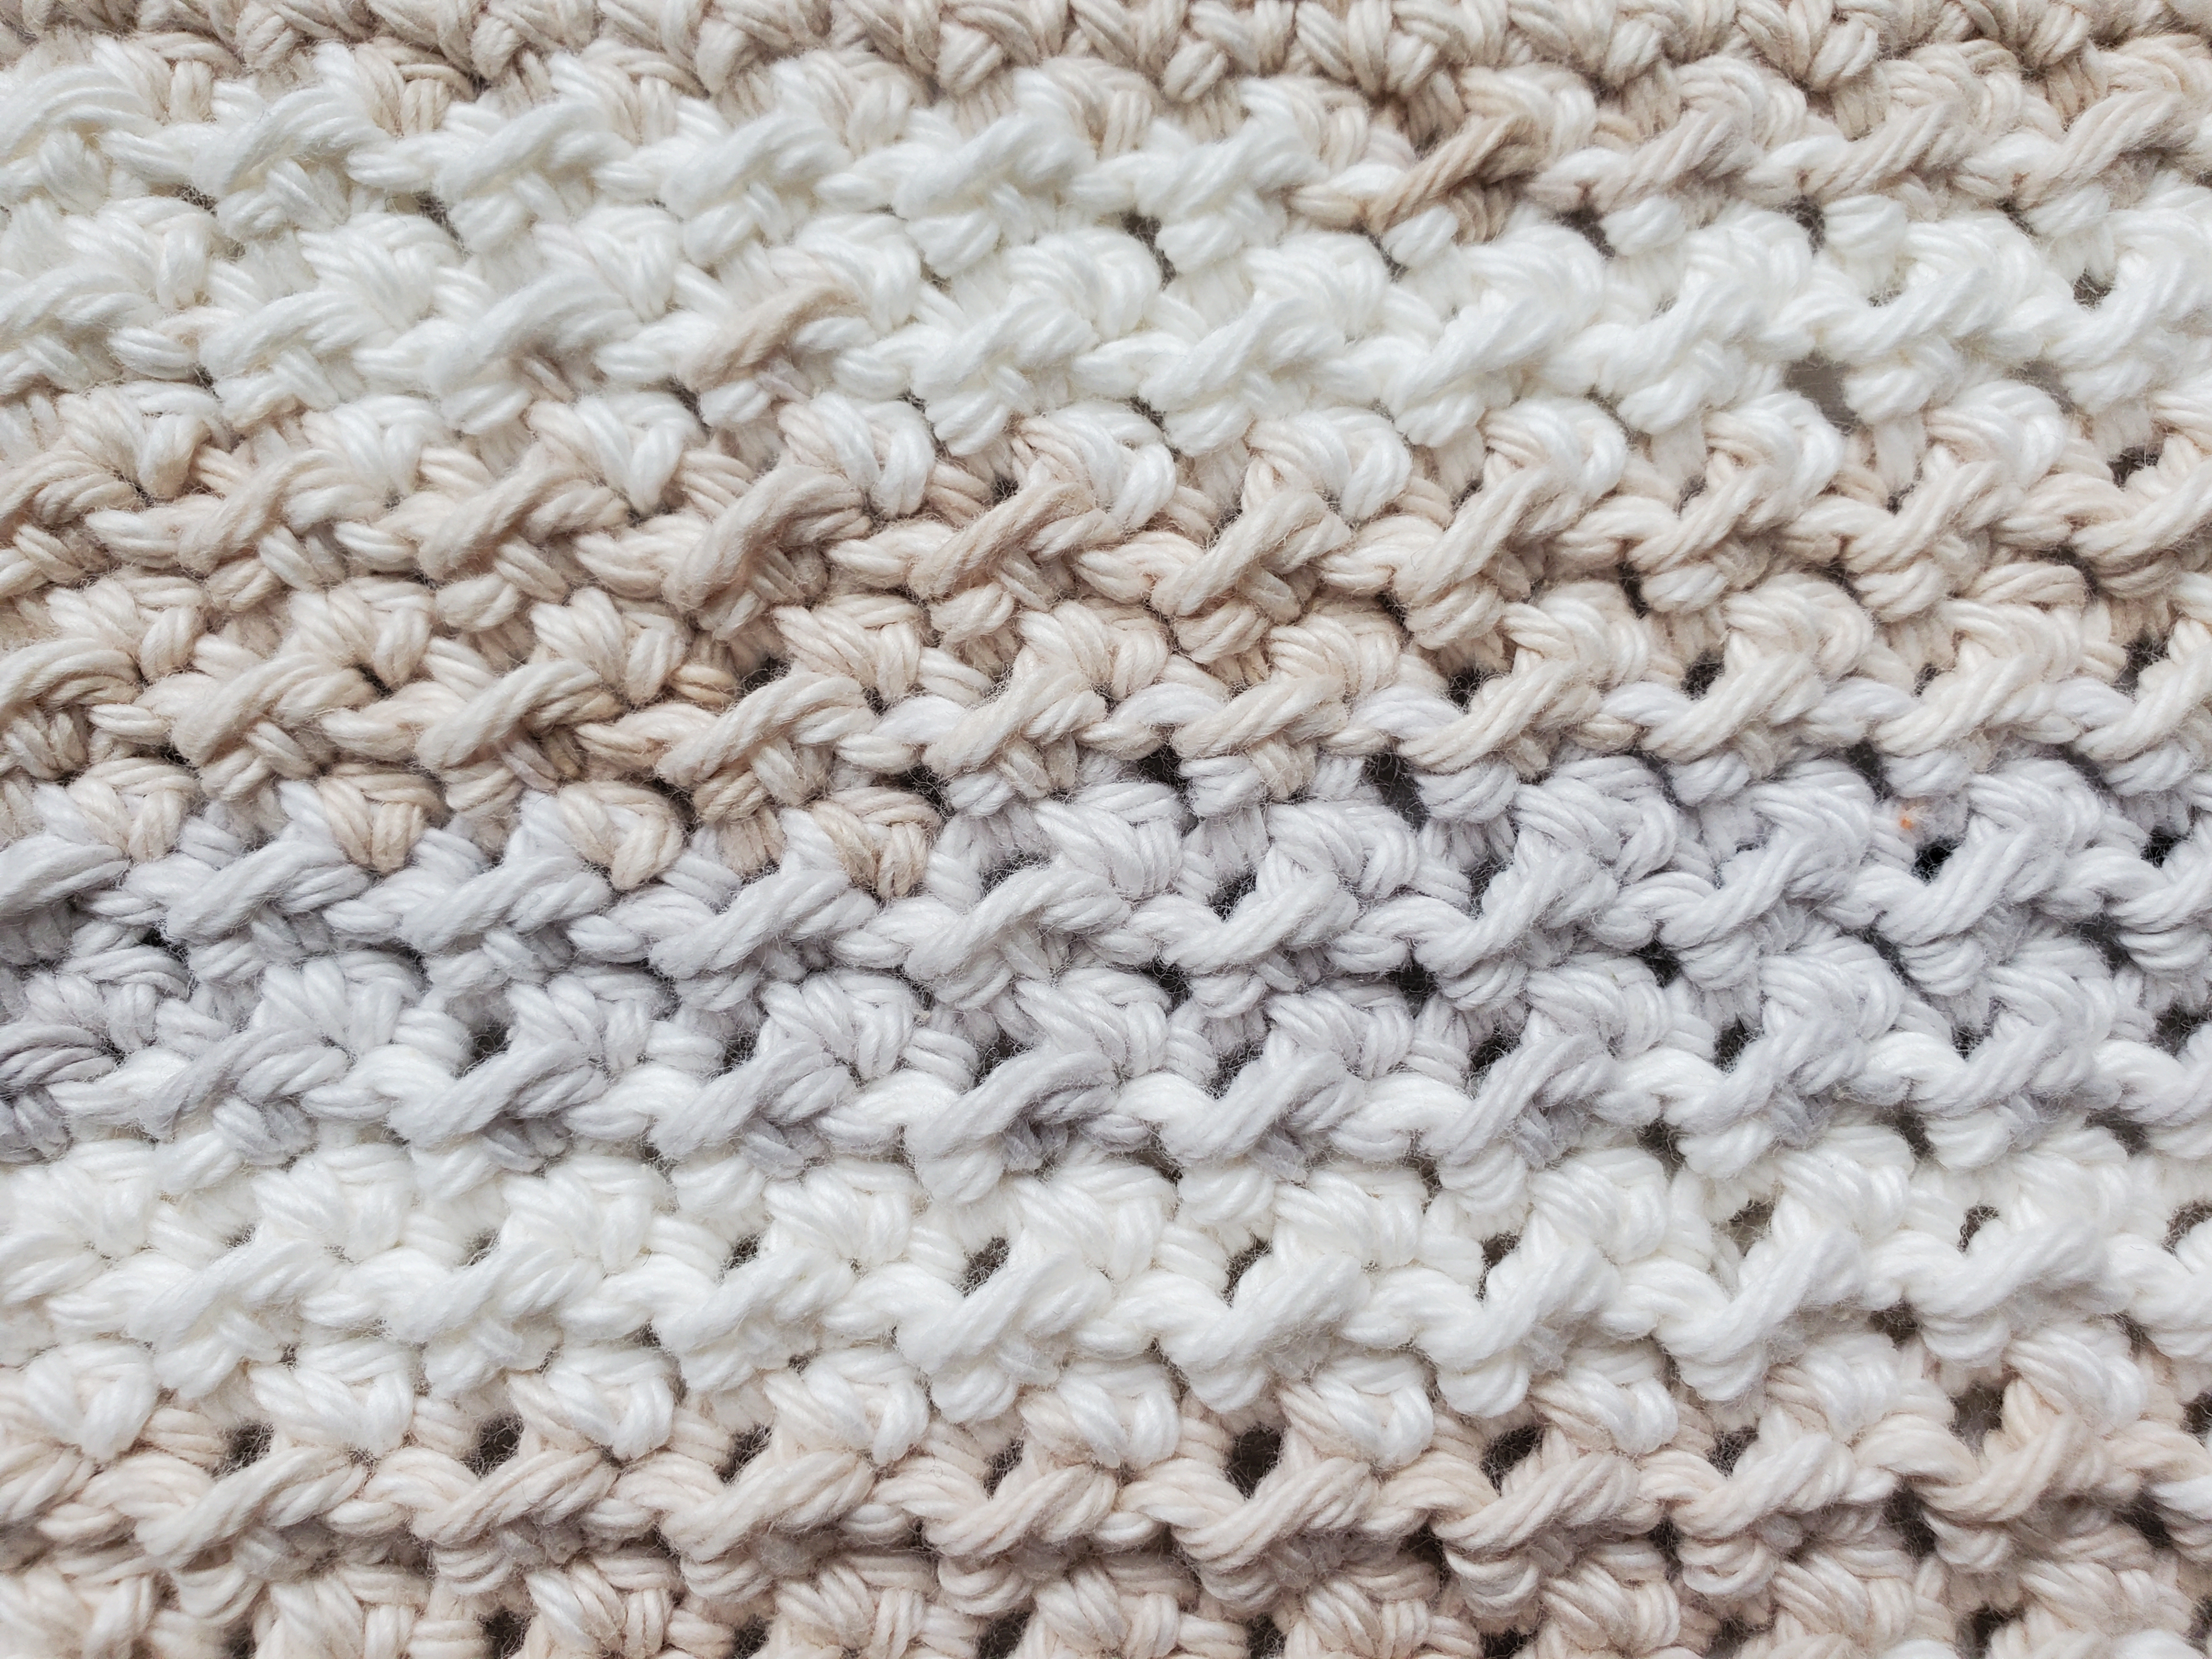
Both are very simple stitches that even a beginner crocheter can do. The bean stitch is a combination of single crochets, puffs, and chains. The crunchy stitch is a combination of slip stitches and half double crochets. They both give off a texture that looks somewhat complex, but they are SO easy.
Here’s a close up of that beautiful texture from the Bean Stitch Dishcloth:
And here’s a close up of the Crunchy Stitch Dishcloth:
Aren’t they just pretty?
These crochet dishcloths measure around 7″ x 7″ (depending on your tension) when completed.
The bean stitch and crunchy stitch patterns can be made not just for dishcloths, but blankets, hats, scarves, and others! The patterns provided have instructions on how to increase the size if needed.
As always, thank you for checking out these patterns and I hope you enjoy! I always love a good texture, and the Peaches and Creme yarn makes for wonderful dishcloths.
Happy crocheting!
***This post may contain affiliate links. This means if you click on a link and make a purchase, I may make a commission at no extra cost to you***
Hello everyone! Today I thought I would share my next crochet project with you; dishcloths! But it’s not just any dishcloth, it’s a dishcloth that has a beautiful texture with beautiful yarn! The yarn that I’ve used for this pattern is called Peaches and Creme Ombre – Oasis.
This is a cotton yarn which is great for practical crochet projects like dishcloths. It’s softer and much more durable than acrylic. Plus it just feels so much nicer to hold and feel.
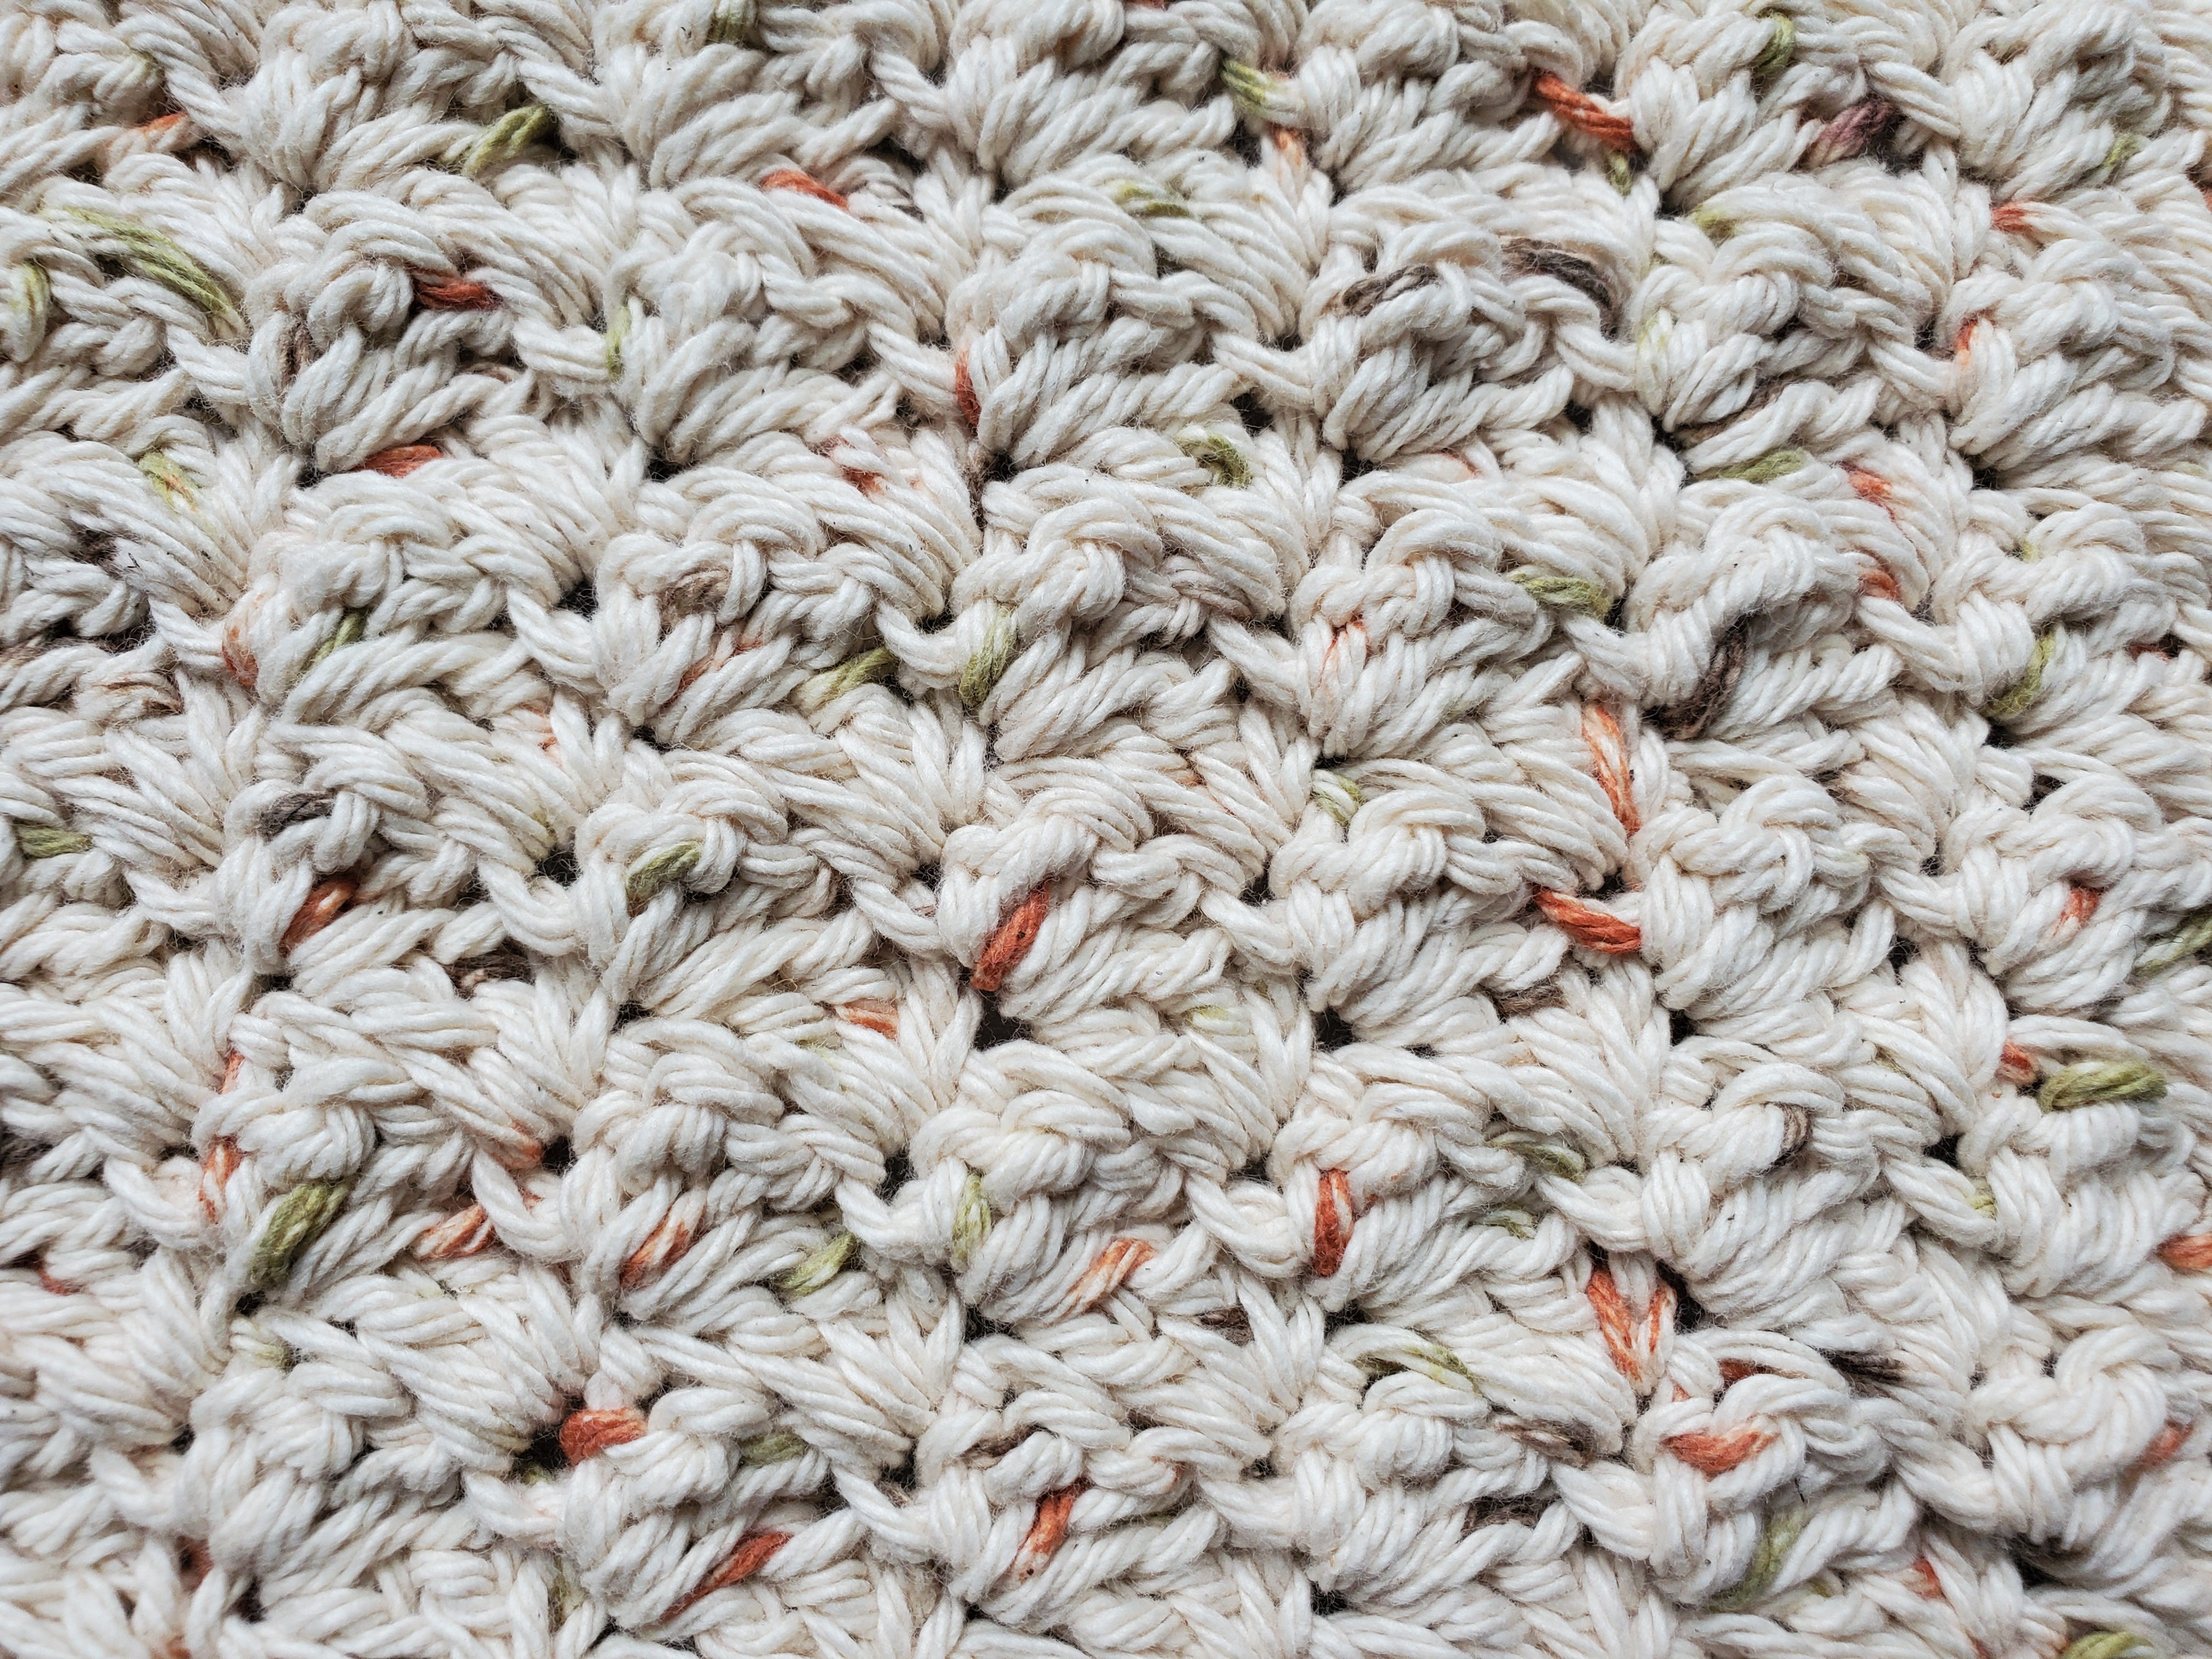
I really am quite happy with the way that the yarn looks in this pattern too. Sometimes with the speckled or striped yarns, it’s difficult to tell how it’ll look with your project. The little chocolate and brownish-red flecks break up that main beige color in such a way that’s pleasing to the eye.
The texture created is really simple too. It’s a combination of a single crochet and two double crochets in the same stitch, then skipping two stitches. The stitches lay in such a way that it makes a subtle “bulge” in the project, creating a beautiful, squishy texture.
When finished, the dishcloth measures about 7″ x 7″ (give or take depending on your gauge).
Here’s a close up of the texture with the Peaches and Creme Oasis yarn:
Pretty isn’t it?
As always, you can use any type of yarn you like for this project, and it doesn’t have to be a dishcloth. You can make a blanket or a scarf or a burp cloth for example. Just make sure your yarn is a medium 4 weight yarn or else it might come out too big or small!
If you like this pattern, you might also want to check out my Easy Textured Burp Cloth pattern (which has another beautiful, squishy texture to it).
Please note that I am using US crochet terms and not UK crochet terms for this pattern.
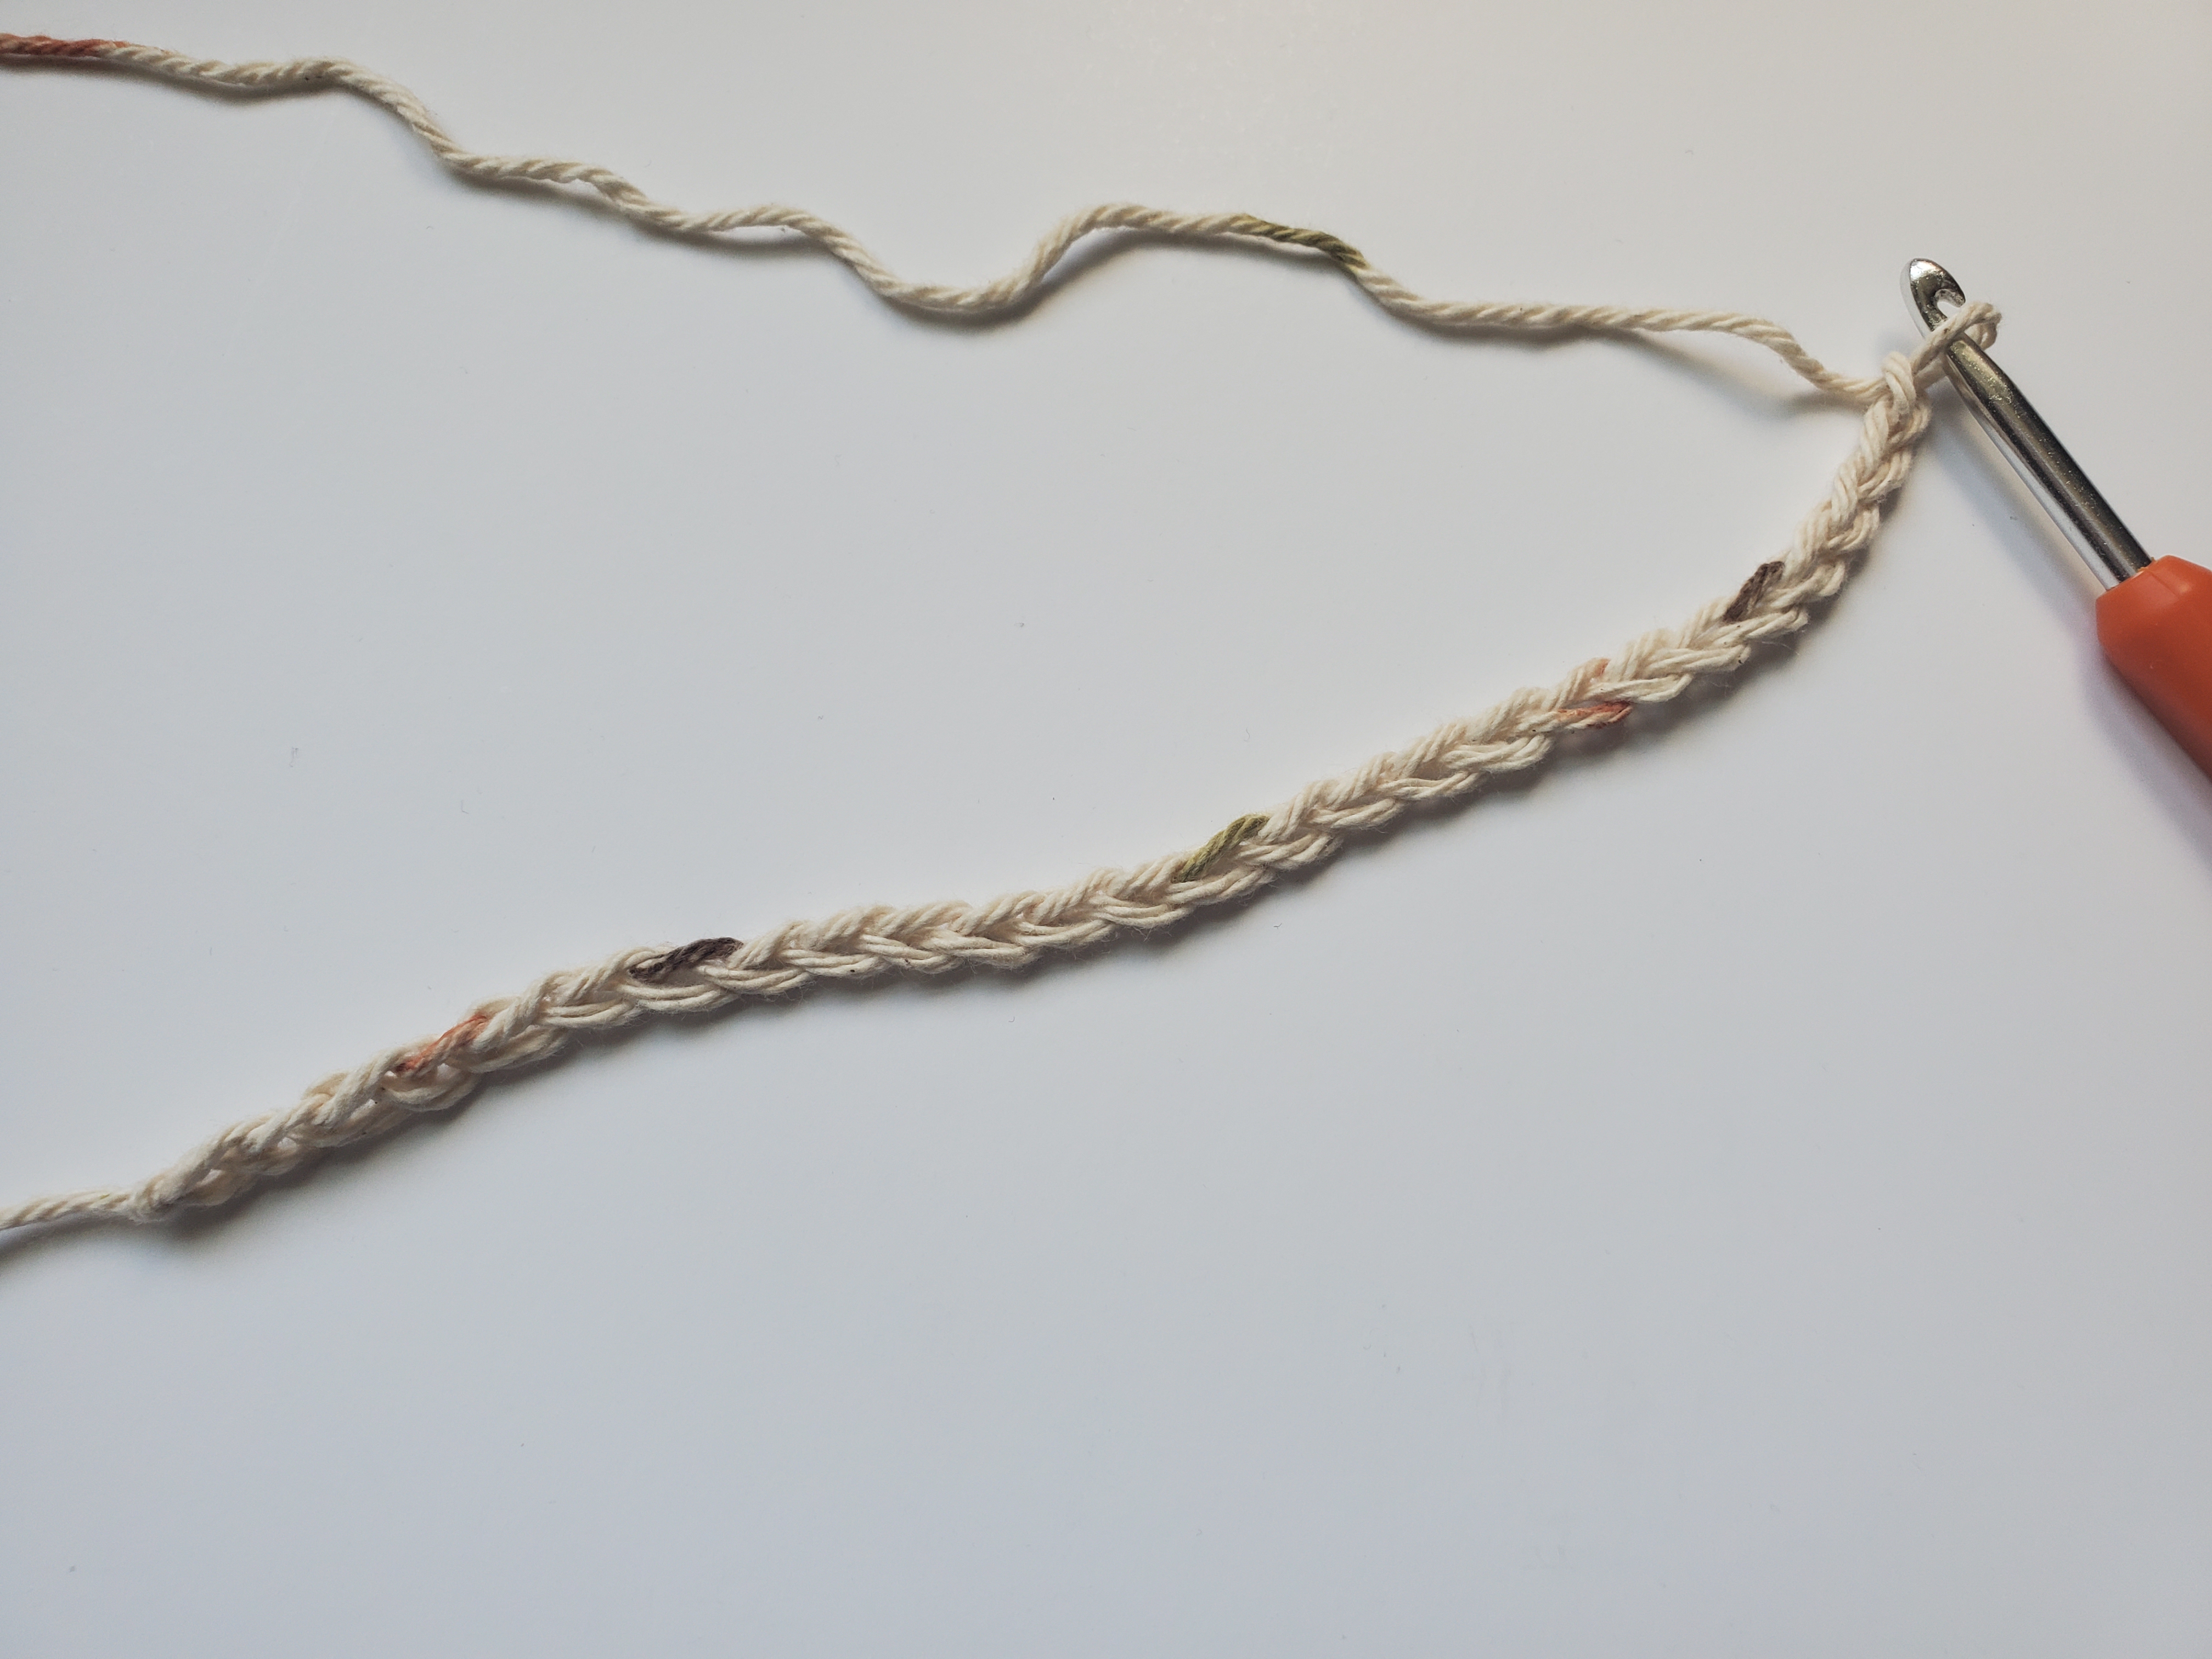
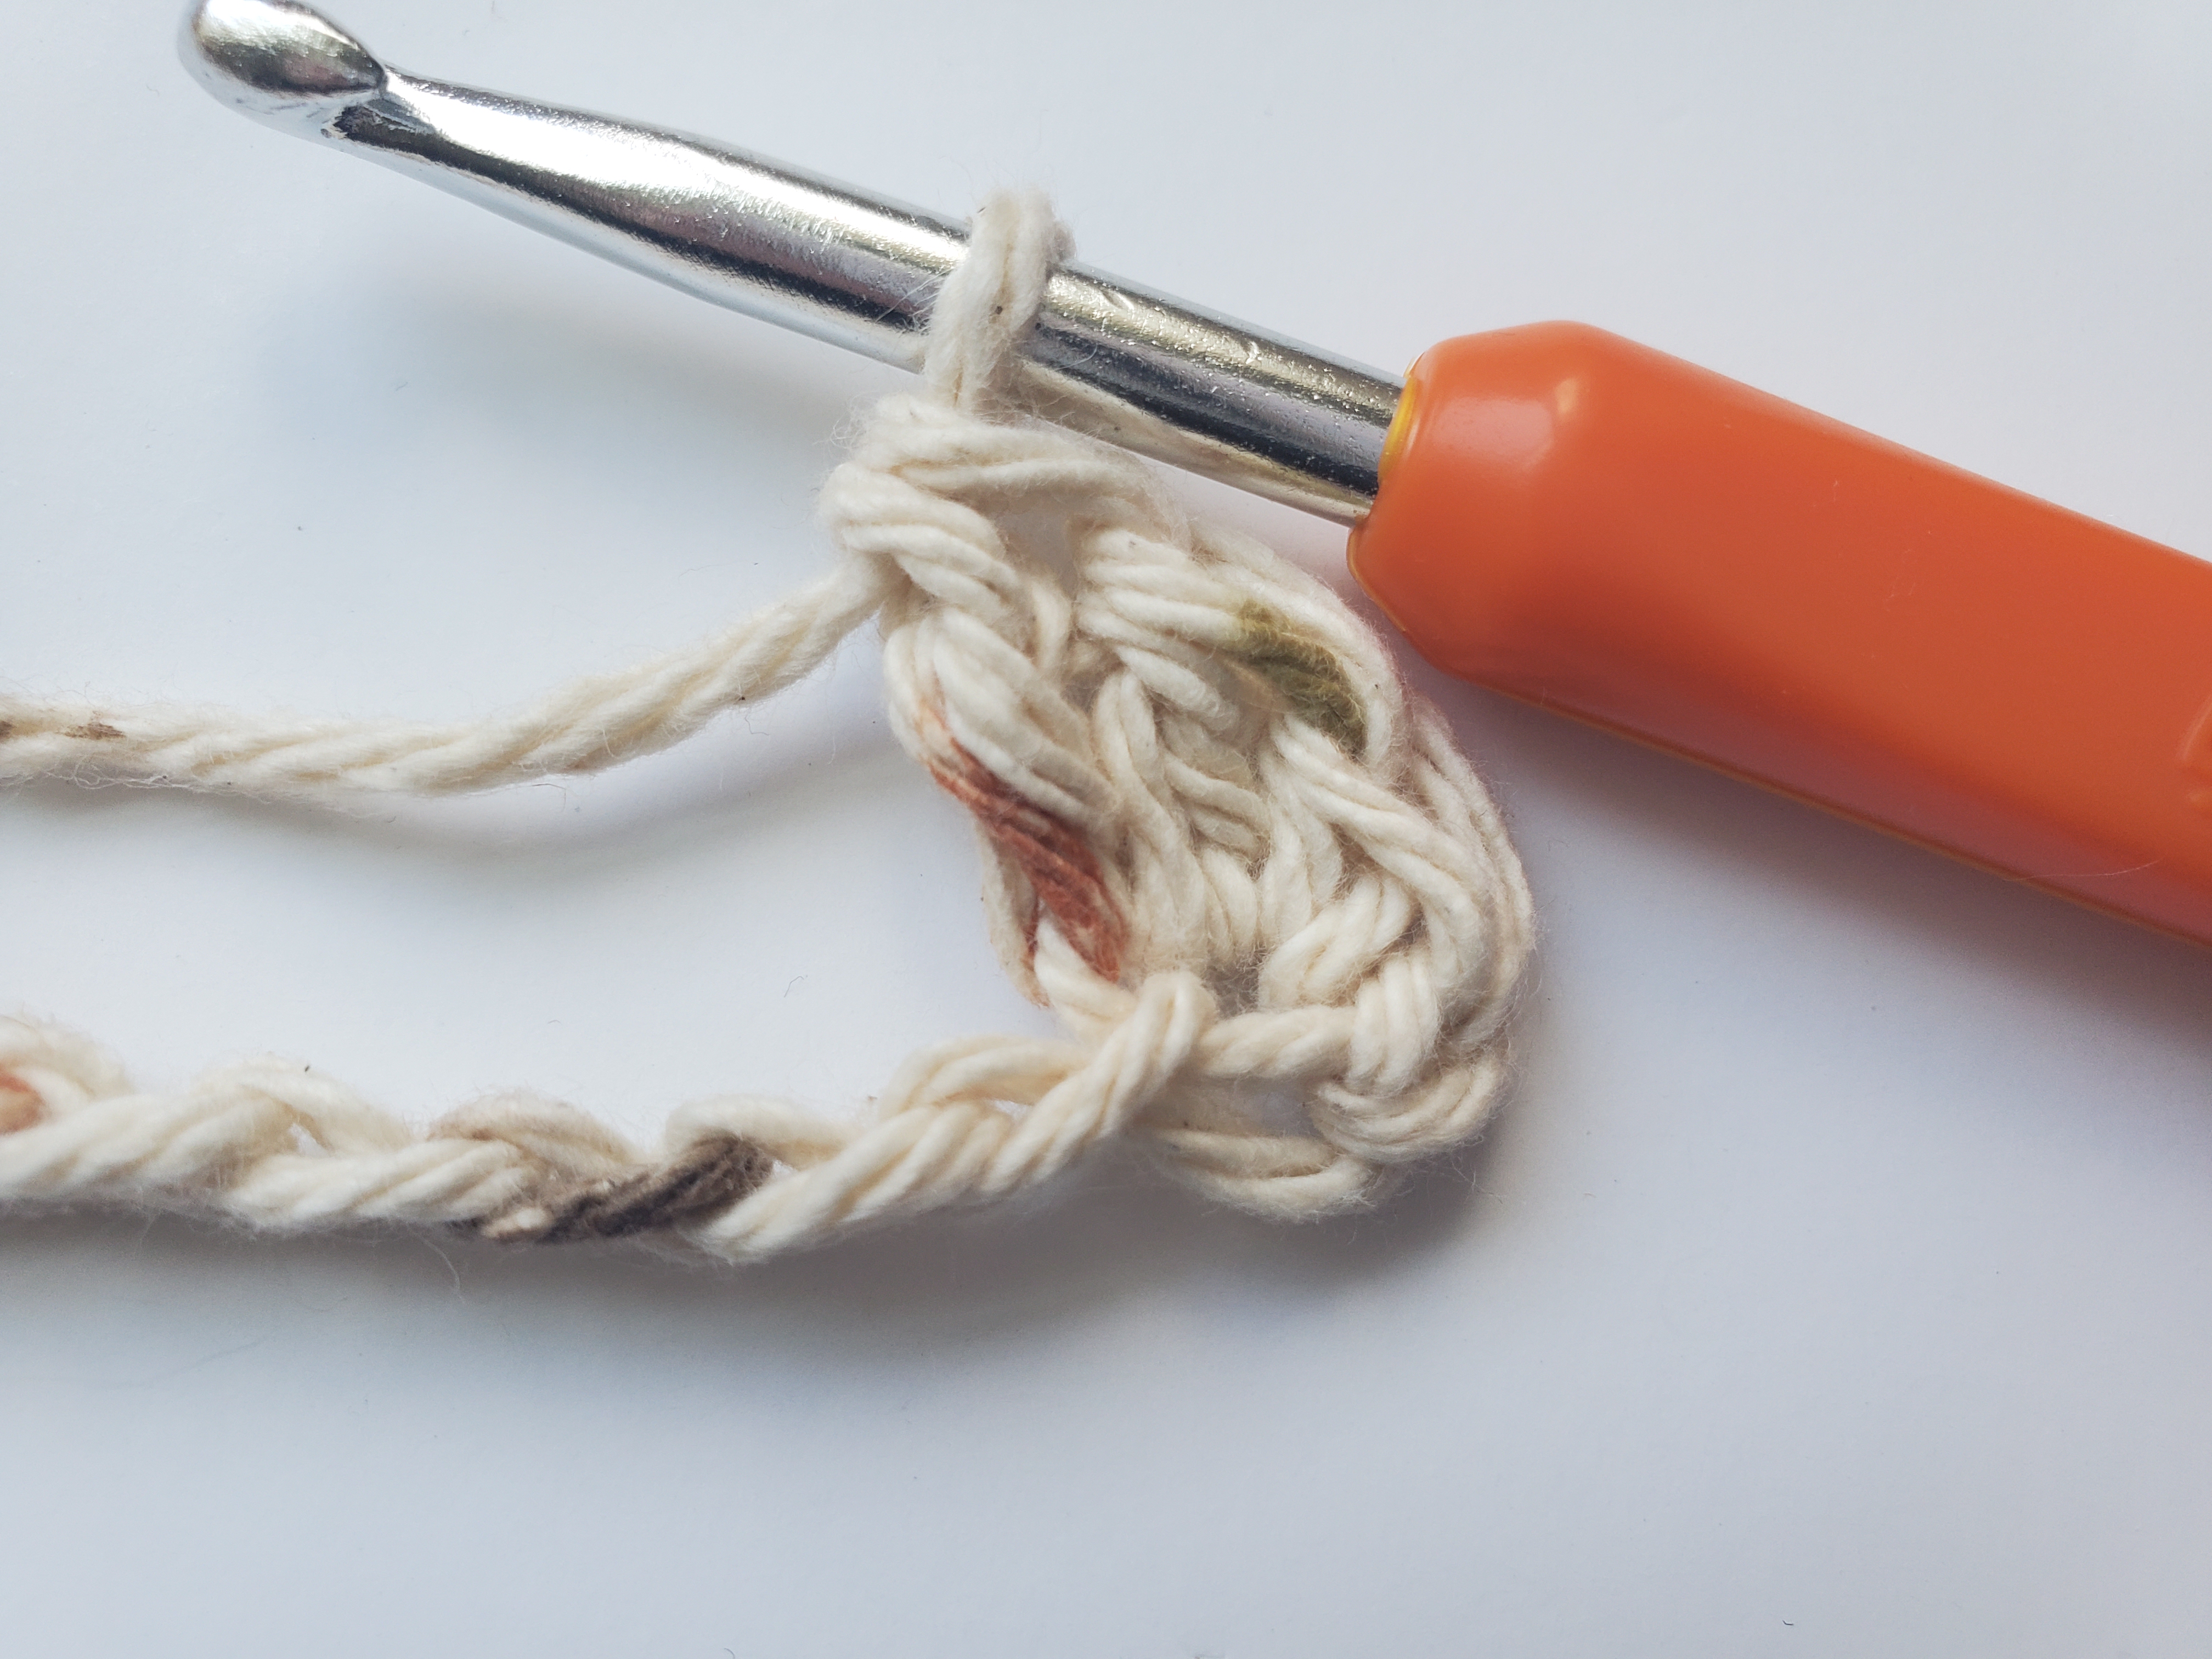
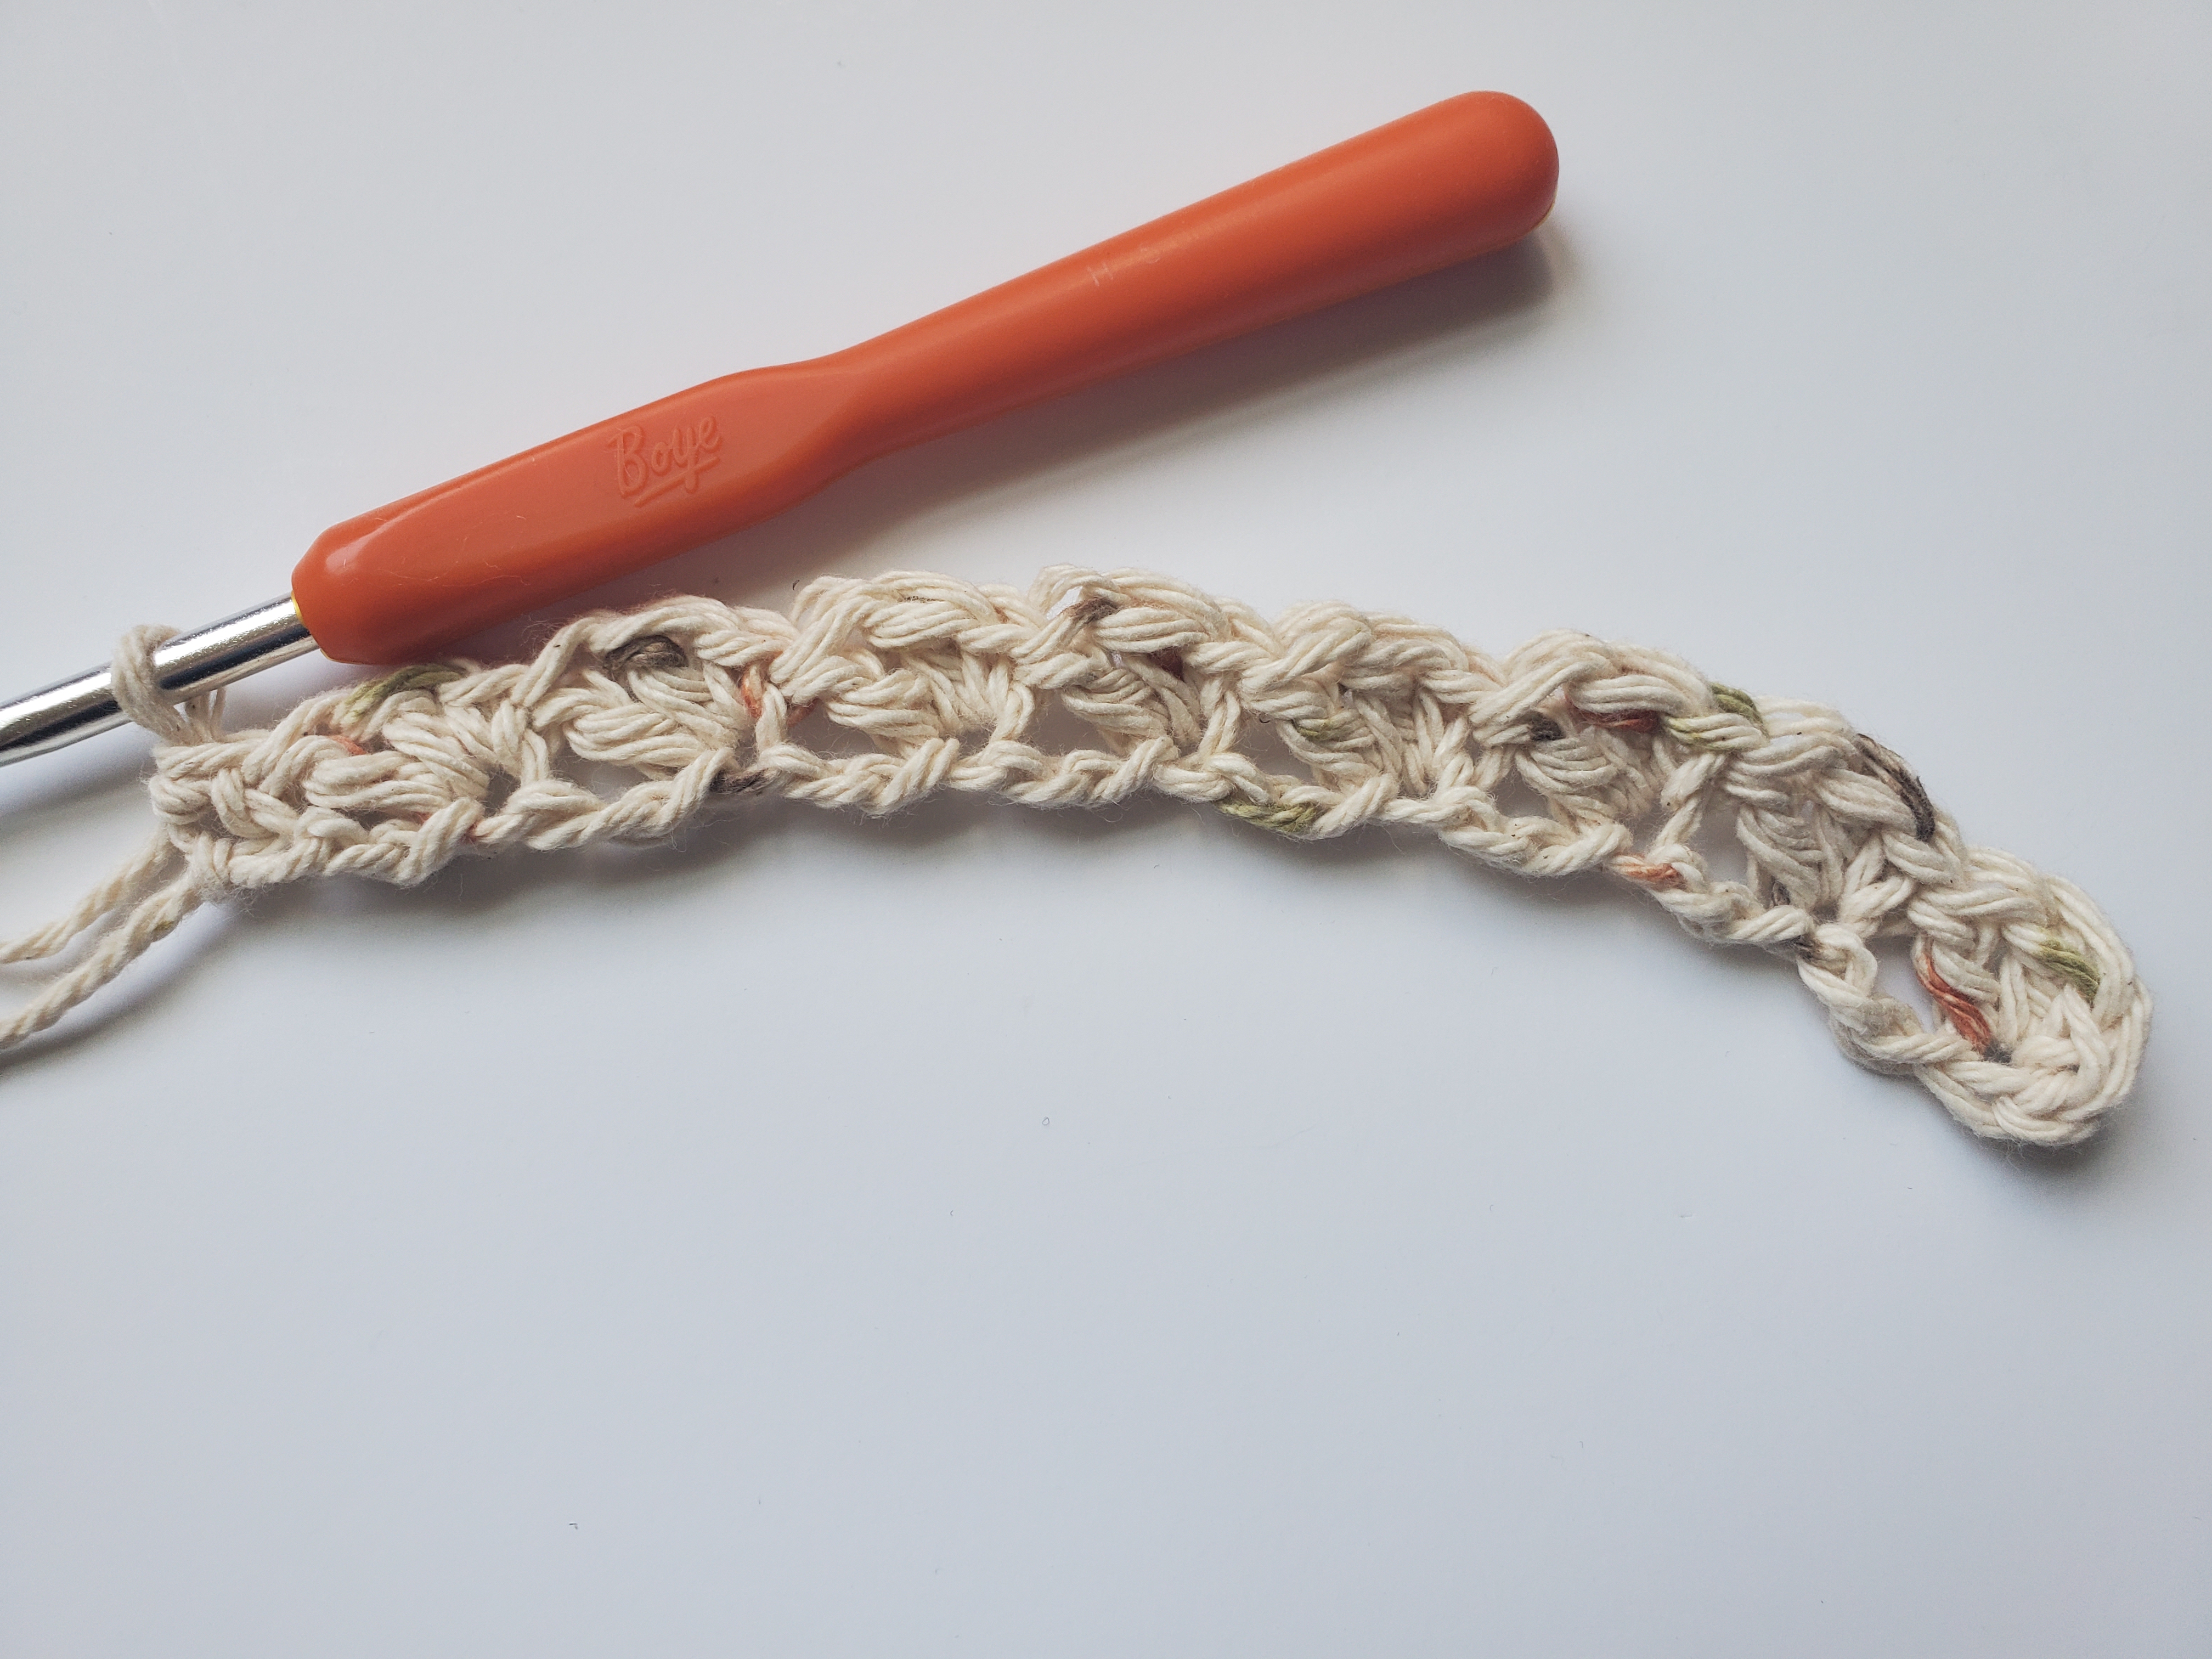
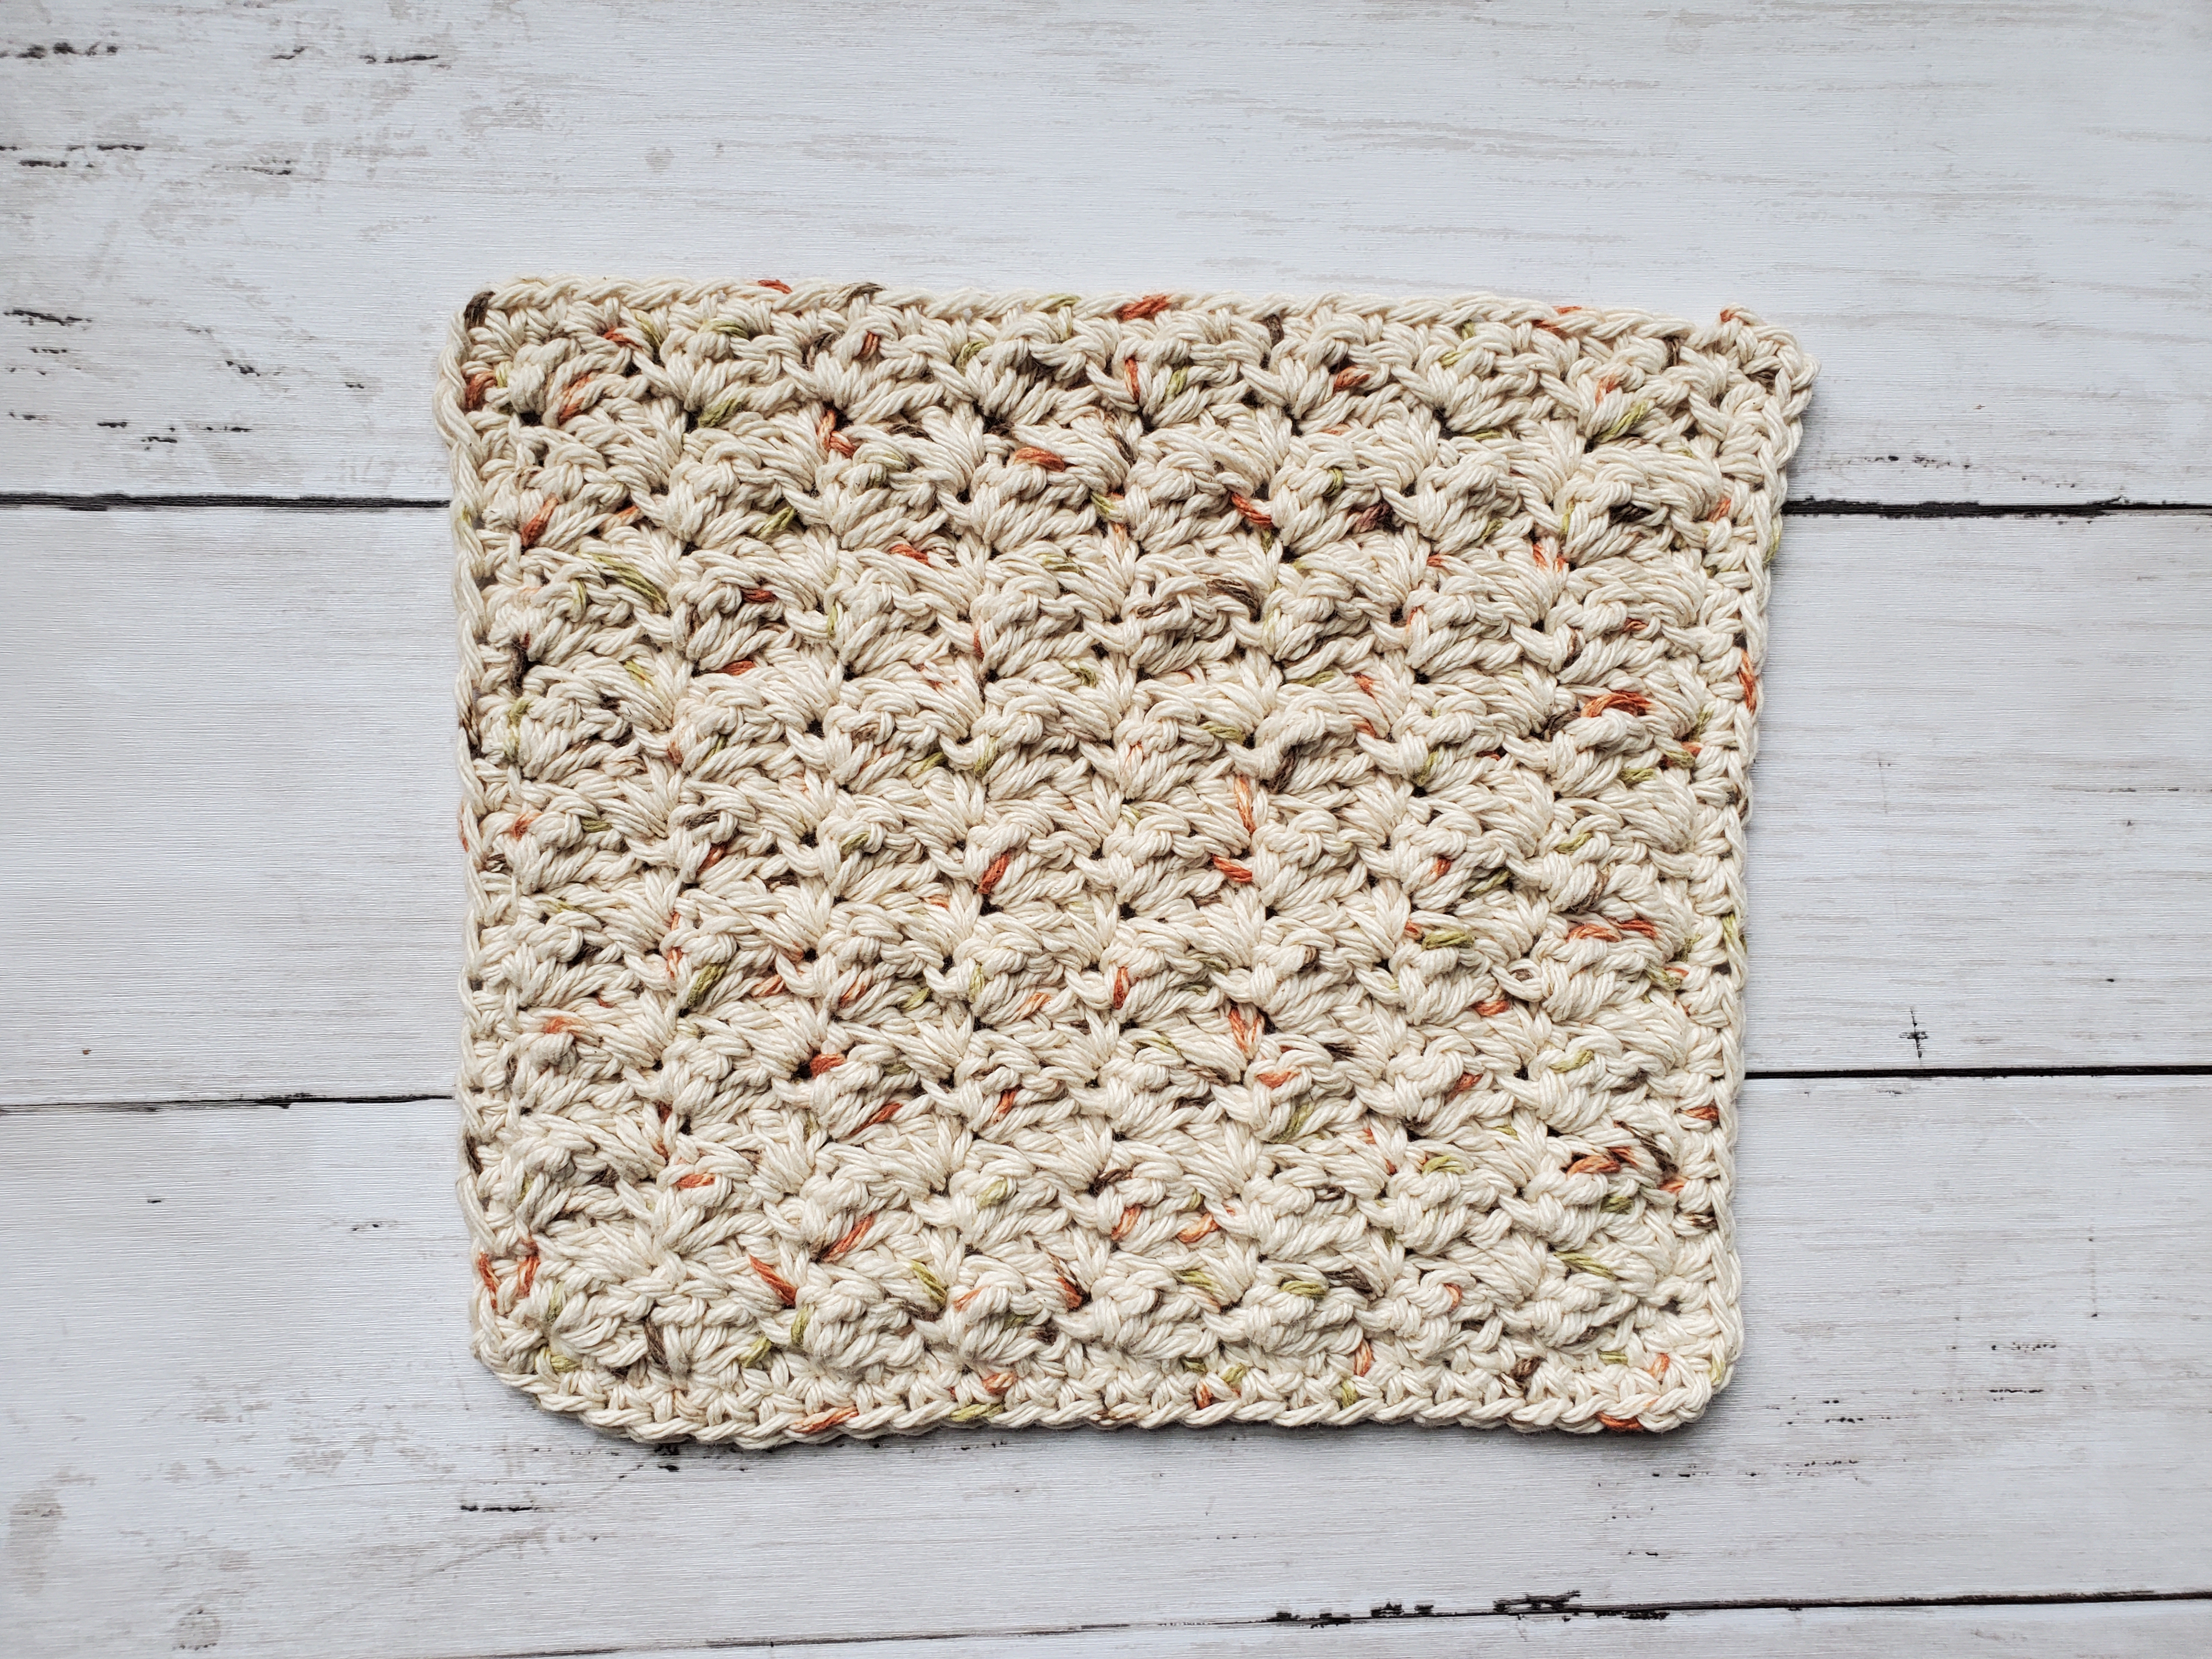
You can sc a border around the dishcloth if you’d like, but it is totally optional. Otherwise cut your yarn, pull through, and weave in end with tapestry needle.
Border: sc in each st across until the last st, (sc, ch 1, sc) in the corner st. Crocheting down the side of a project can be challenging, since we are making a square, try to make the side as even as the top/bottom (so 25 sts). Continue making (sc, ch 1, sc) in the corner sts and sc across until the last st. Sl st to last stitch, Cut yarn and pull through. Weave in end with tapestry needle.
As always, thank you for reading this post and happy crocheting! Until next time!
***This post may contain affiliate links, which means I may receive a commission if you make a purchase through these links. As a Yarnspirations affiliate, I earn through qualifying purchases.***
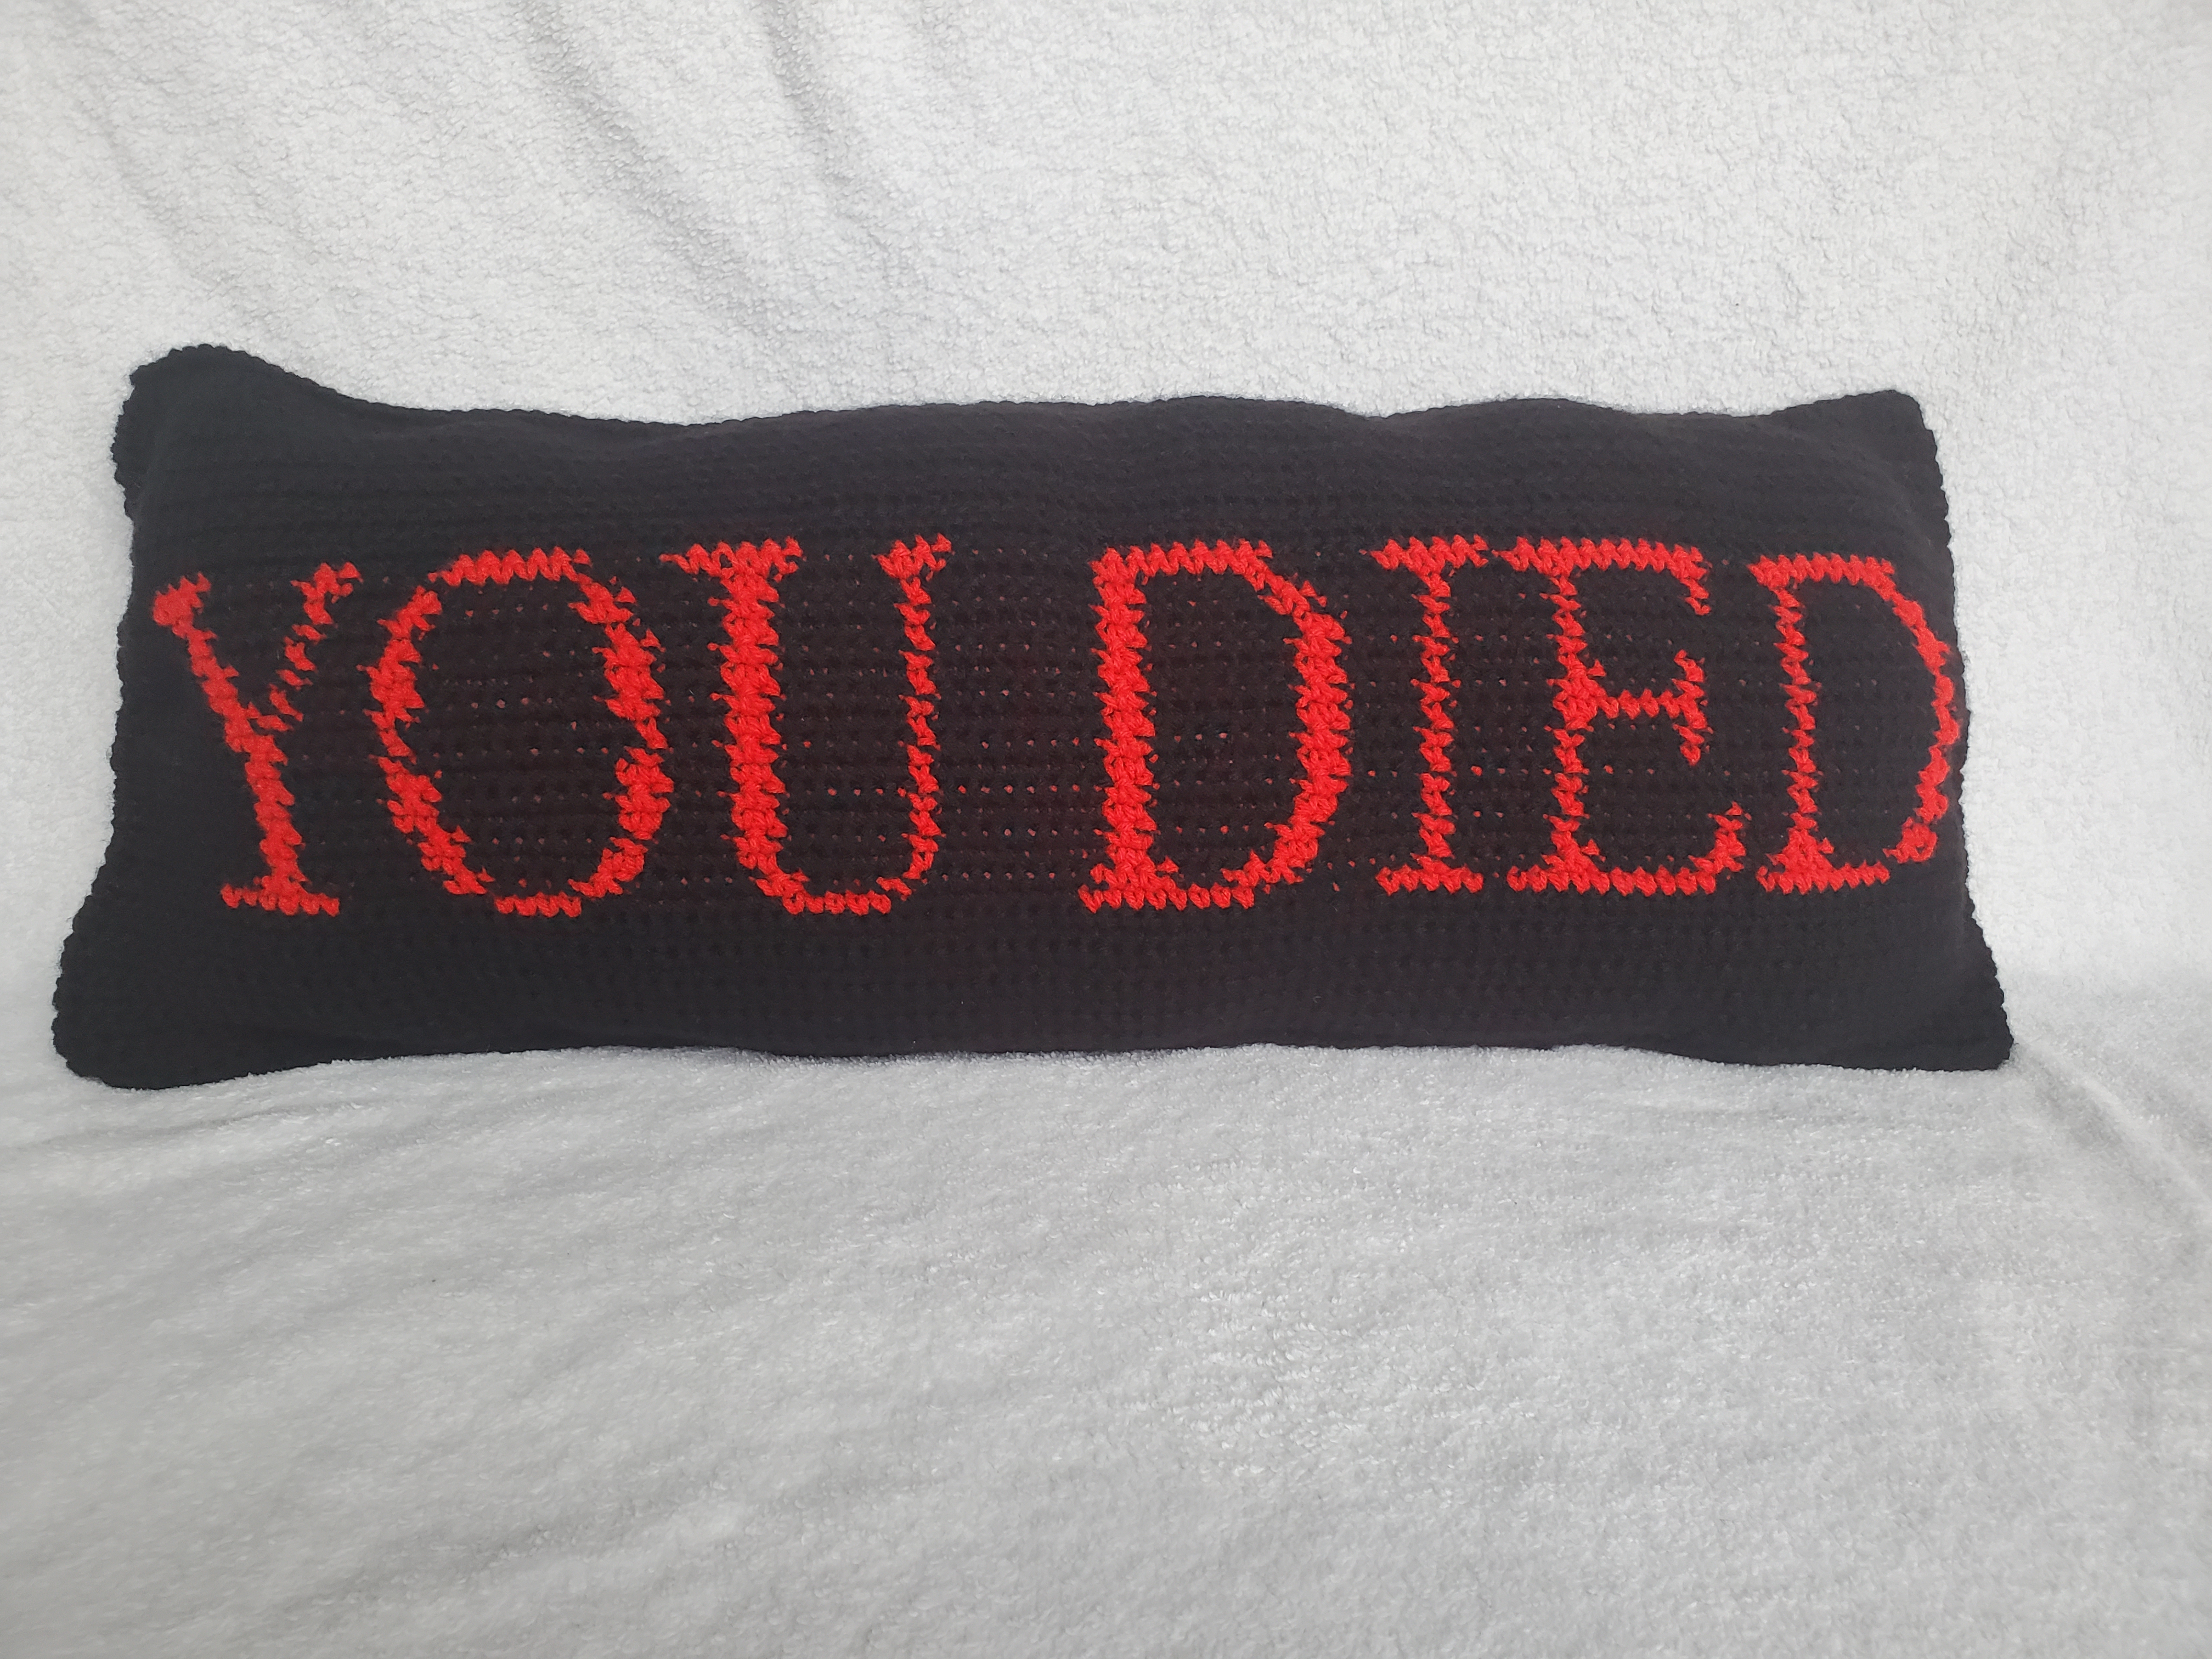
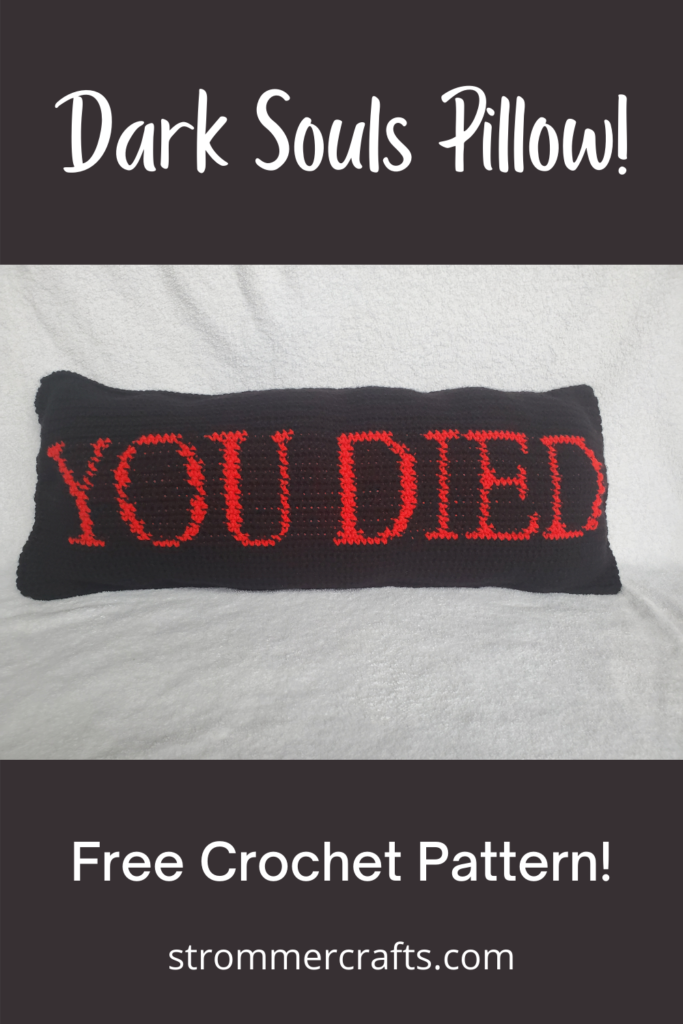
Hello everyone! Today I bring you a Dark Souls inspired crochet accent pillow! If you’ve ever played a game in the Dark Souls series…you’re probably familiar with this phrase; YOU DIED.
My husband enjoys playing this game in his spare time. I played Dark Souls 2 when it first came out, and I was horrible at it to say the least. I really didn’t know what I was getting myself into, and I though it was just like any other RPG at the time. Boy was I wrong!
Despite the difficulty of it, it’s a beautiful game. It’s been five years since the release of Dark Souls 3 and we both decided to revisit it in 2021.
It’s still amazing. The atmosphere. The music. The game play.
So I was inspired by the game to graph out the infamous in-game notification: You Died.
It was fairly easy, just a little time consuming. It took me about a week to totally finish this project, but that was between work and kids, so you’ll probably finish it quicker than I did!
I also have a chart that you can reference to if you’re more of a visual learner. I created this graph through Stitch Fiddle, which is absolutely amazing for making tapestries via crochet (plus it’s totally free!)
Each block represents 1 single crochet stitch. When crocheting off of a graph, start from the left or right (doesn’t matter) and then continue back when you reach the end of the row. That is, if you start from left to right on the graph, work right to left after you turn your work.
I would also recommend to print this post out and mark off the instructions as you go. This can help prevent you from losing your spot.
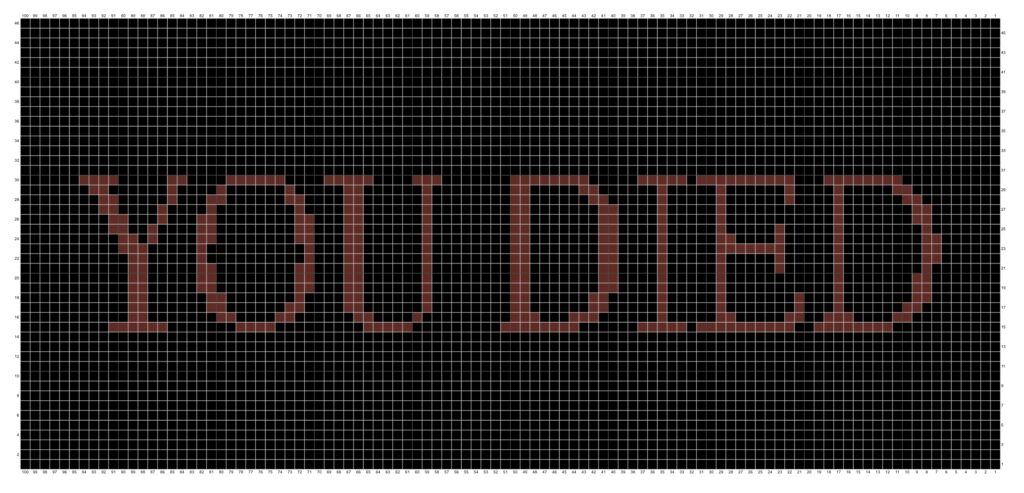
We’ll be making two sides and then sewing them together to make the accent pillow.
You’ll also need to be comfortable with changing colors on your hook. Do this by attaching the new color in the stitch BEFORE the needed color change.
So in the stitch BEFORE the color change, single crochet as normal, but do not complete it. Leave two loops on your hook, attach the new color and then finish the stitch.
This takes a bit of practice at first, but it really isn’t too bad once you get the swing of it.
You can also carry the other color yarn with you as you crochet. Or you can cut and tie it off.
I carried my yarn with me (you can tell by the red yarn somewhat poking through in the picture). If you don’t like how that looks, I would cut and tie it off. One thing I don’t like about that method, is that it takes a REALLY LONG time to do. However, since we’ll be making a front and a back side to the pillow, the tied off ends will be hidden inside. So that’s a bonus.
1 of 2 Sides:
With black yarn and 4 mm crochet hook
Cut yarn with scissors and pull through, weave in end with tapestry needle.
Now we will make the back side of the pillow. This part is much easier!
2 of 2 Sides:
With 4mm crochet hook and black yarn
Ch 101
Don’t cut your yarn yet.
We’ll be sewing both sides together using the crochet hook and attached yarn.
Line up both sides of the pillow together evenly. Insert your crochet hook through both sides of the pillow and slip stitch in both stitches across.
Before slip stitching the 3rd side of the pillow, start stuffing firmly with poly-fil and continue stuffing as you go.
Slip stitch in the last stitches, cut yarn with scissors and pull through. Weave in end with tapestry needle (or tie off). Cut off any excess yarn.
Thank you for trying out this pattern! I hope you like this Dark Souls accent pillow!
As always, happy crocheting!
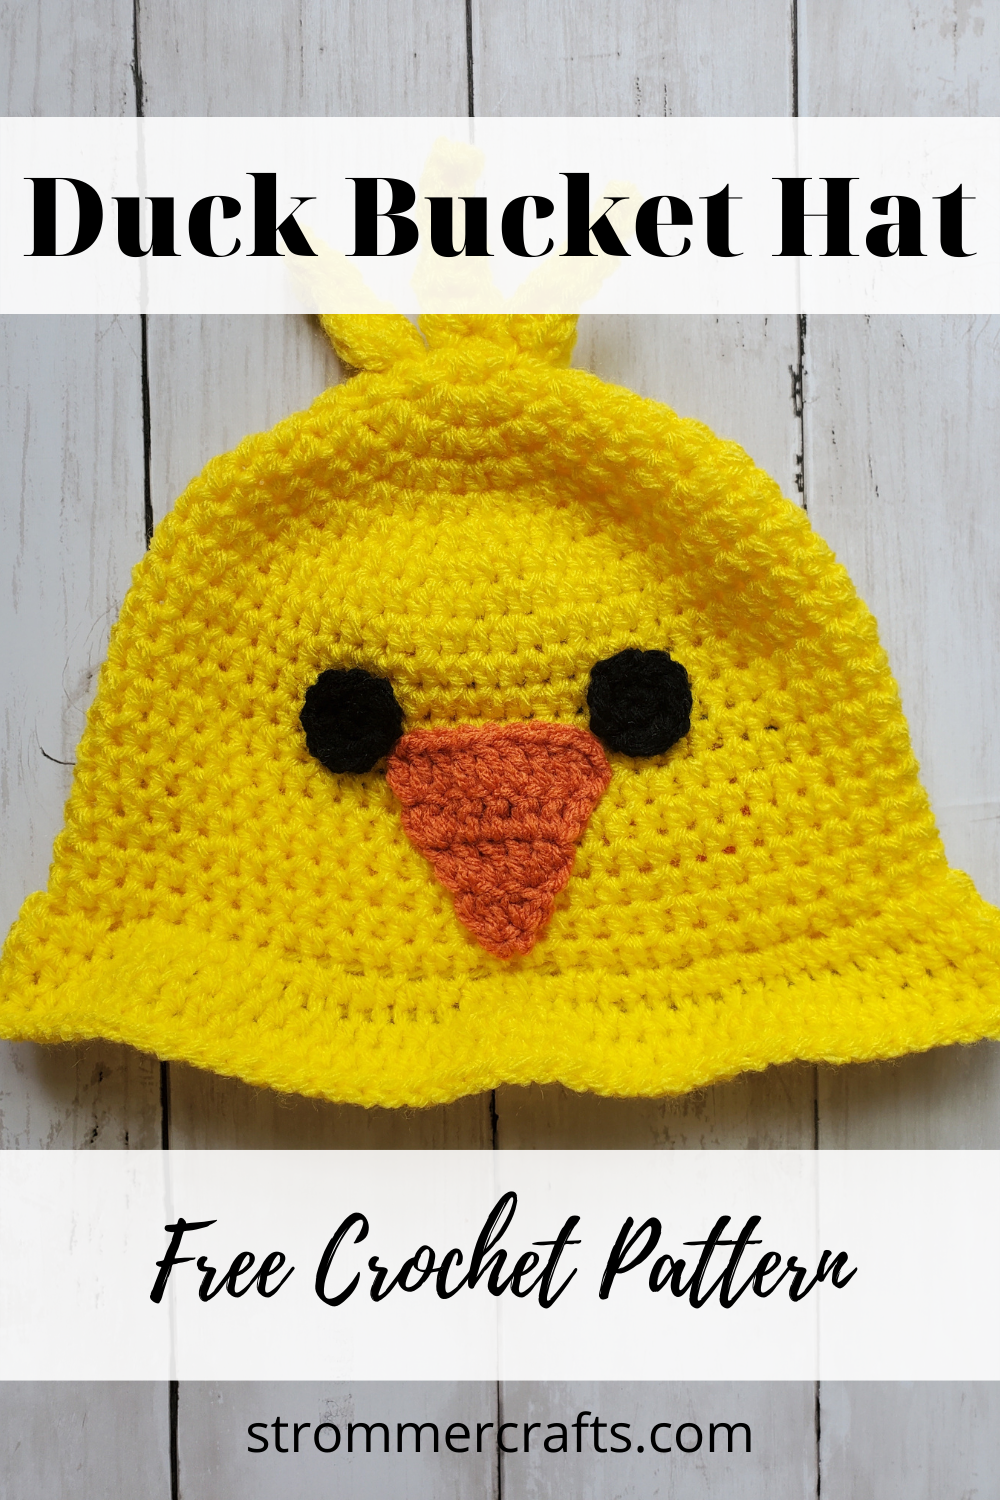
Hello everyone, I wanted to share with you my latest creation; a crochet duck bucket hat! Now that it’s getting warmer, I’ve been in the mood to make less wintery hats and focus more on summer time crochet patterns.
I was inspired to create this little guy after I finished my Frog Bucket Hat. I think both turned out super cute!
The Duck Bucket Hat (pictured above) is toddler size, however I do have different sizes included. If you need help determining your hat size, I have a size chart here.
I have estimated sizes underneath each hat size. Please note that these may be a little bigger or smaller depending on your tension.
As always, you can use any yarn type (this is acrylic), as long as it’s worsted medium weight #4. If you use different yarn weights and hook sizes, your hat might come out too big or small!
I use a magic circle to start the duck bucket hat, but you can use a chain 2 and start your hat in the second chain from your hook if you prefer. If you need help with starting a magic circle, see my previous post here.
The brim of a bucket hat is created by working in the front loop of the next stitch. If you look at the top of your stitch, you can see that there are two little “bars” next to each other. The “bar” that is closest to you is the front one.
Crocheting in the front loop makes your stitches go out instead of down! Very useful for making brims on hats.
Please also note that on this page, instructions for the different size hats is displayed first and the facial features are at the bottom of this page. I use the same size eyes, beak and hair tufts for all the sizes, however feel free to adjust and make bigger or small by taking away or adding stitches.
Alright, let’s get to the pattern!
Please note that some of these links are affiliate links. That means that if you click on these links and make a purchase, I may receive a commission at no extra cost to you. You can find more information about our disclosure policy here. Thank you for supporting Strommer Crafts!
Hat circumference: 13″ | Hat length: 5″
With Bright Yellow yarn and 5mm crochet hook:
Cut yarn and pull through. Weave in end using your tapestry needle.
***See at the end of page for eye, beak, and hair tuft instructions***
Hat circumference: 14″ | Hat length: 5.25″
With Bright Yellow yarn and 5 mm crochet hook:
Cut yarn and pull through. Weave in end using your tapestry needle.
***See at the end of page for eye, beak, and hair tuft instructions***
Hat circumference: 15″ | Hat length: 5.75″
With Bright Yellow yarn and 5 mm crochet hook:
Cut yarn and pull through. Weave in end using your tapestry needle.
***See at the end of page for eye, beak, and hair tuft instructions***
Hat circumference: 16″ | Hat length: 6.25″
With Bright Yellow yarn and 5 mm hook:
Cut yarn with scissors and pull through. Weave in end using your tapestry needle.
***See at the end of page for eye, beak, and hair tuft instructions***
Hat circumference: 17″ | Hat length: 7″
With Bright Yellow yarn and 5mm hook:
Cut yarn with scissors and pull through. Weave in end using your tapestry needle.
***See at the end of page for eye, beak, and hair tuft instructions***
Hat circumference: 18″ | Hat length: 7.5″
With Bright Yellow yarn and 5mm crochet hook:
Cut yarn with scissors and pull through. Weave in end using your tapestry needle.
***See at the end of page for eye, beak, and hair tuft instructions***
Hat circumference: 19.5″ | Hat length: 7.75″
With Bright Yellow yarn and 5mm crochet hook:
Cut yarn with scissors and pull through. Weave in end using your tapestry needle.
***See at the end of page for eye, beak, and hair tuft instructions***
Hat circumference: 20.5″ | Hat length: 8″
With Bright Yellow yarn and 5mm crochet hook:
Cut yarn with scissors and pull through. Weave in end using your tapestry needle.
***See at the end of page for eye, beak, and hair tuft instructions***
Hat circumference: 21.75″ | Hat length: 8.25″
With Bright Yellow yarn and 5mm crochet hook:
Cut yarn with scissors and pull through. Weave in end using your tapestry needle.
***See at the end of page for eye, beak, and hair tuft instructions***
Use a 4 mm crochet hook for eyes, beak, and tufts.
Again, these are for all hat sizes. Feel free to adjust size if desired by adding or subtracting stitches/rows or by sizing up/down a hook size.
With Black yarn and 4 mm crochet hook:
Cut a long length of yarn for sewing later with your scissors, and pull through.
Note that I am not counting the turning chain as a stitch.
With Pumpkin yarn and 4 mm crochet hook:
Cut a long length of yarn for sewing later with your scissors, and pull through.
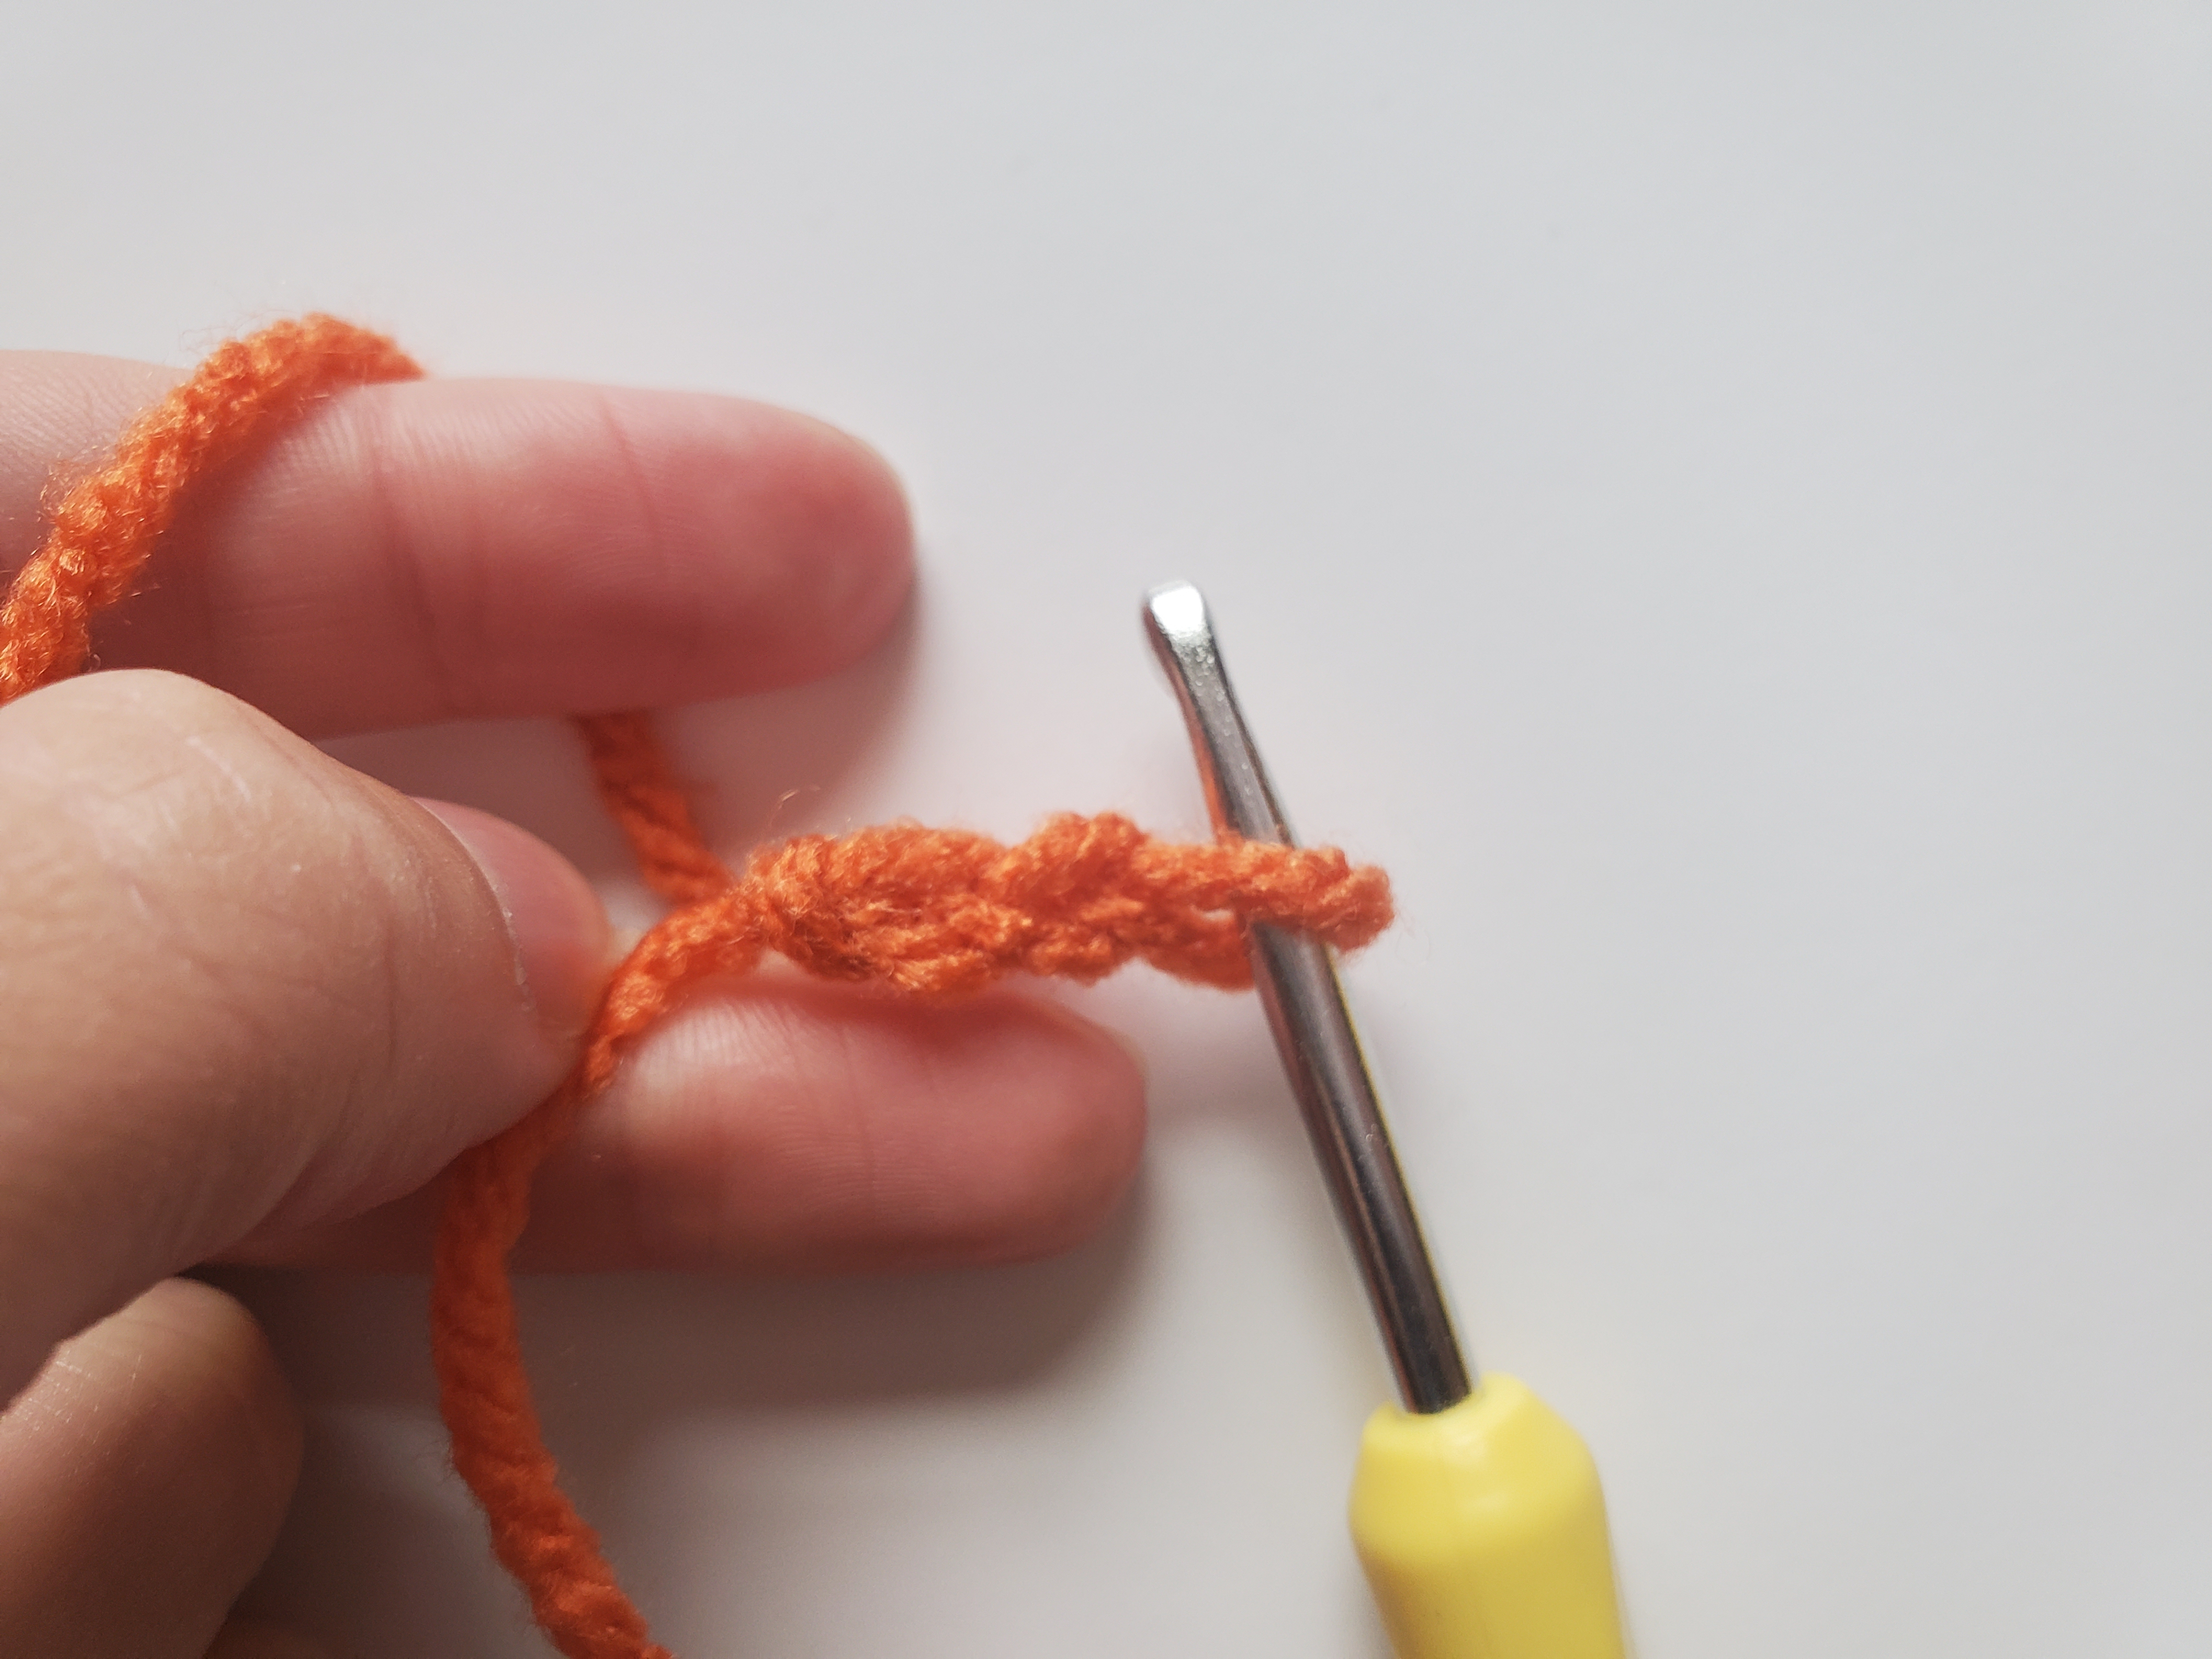
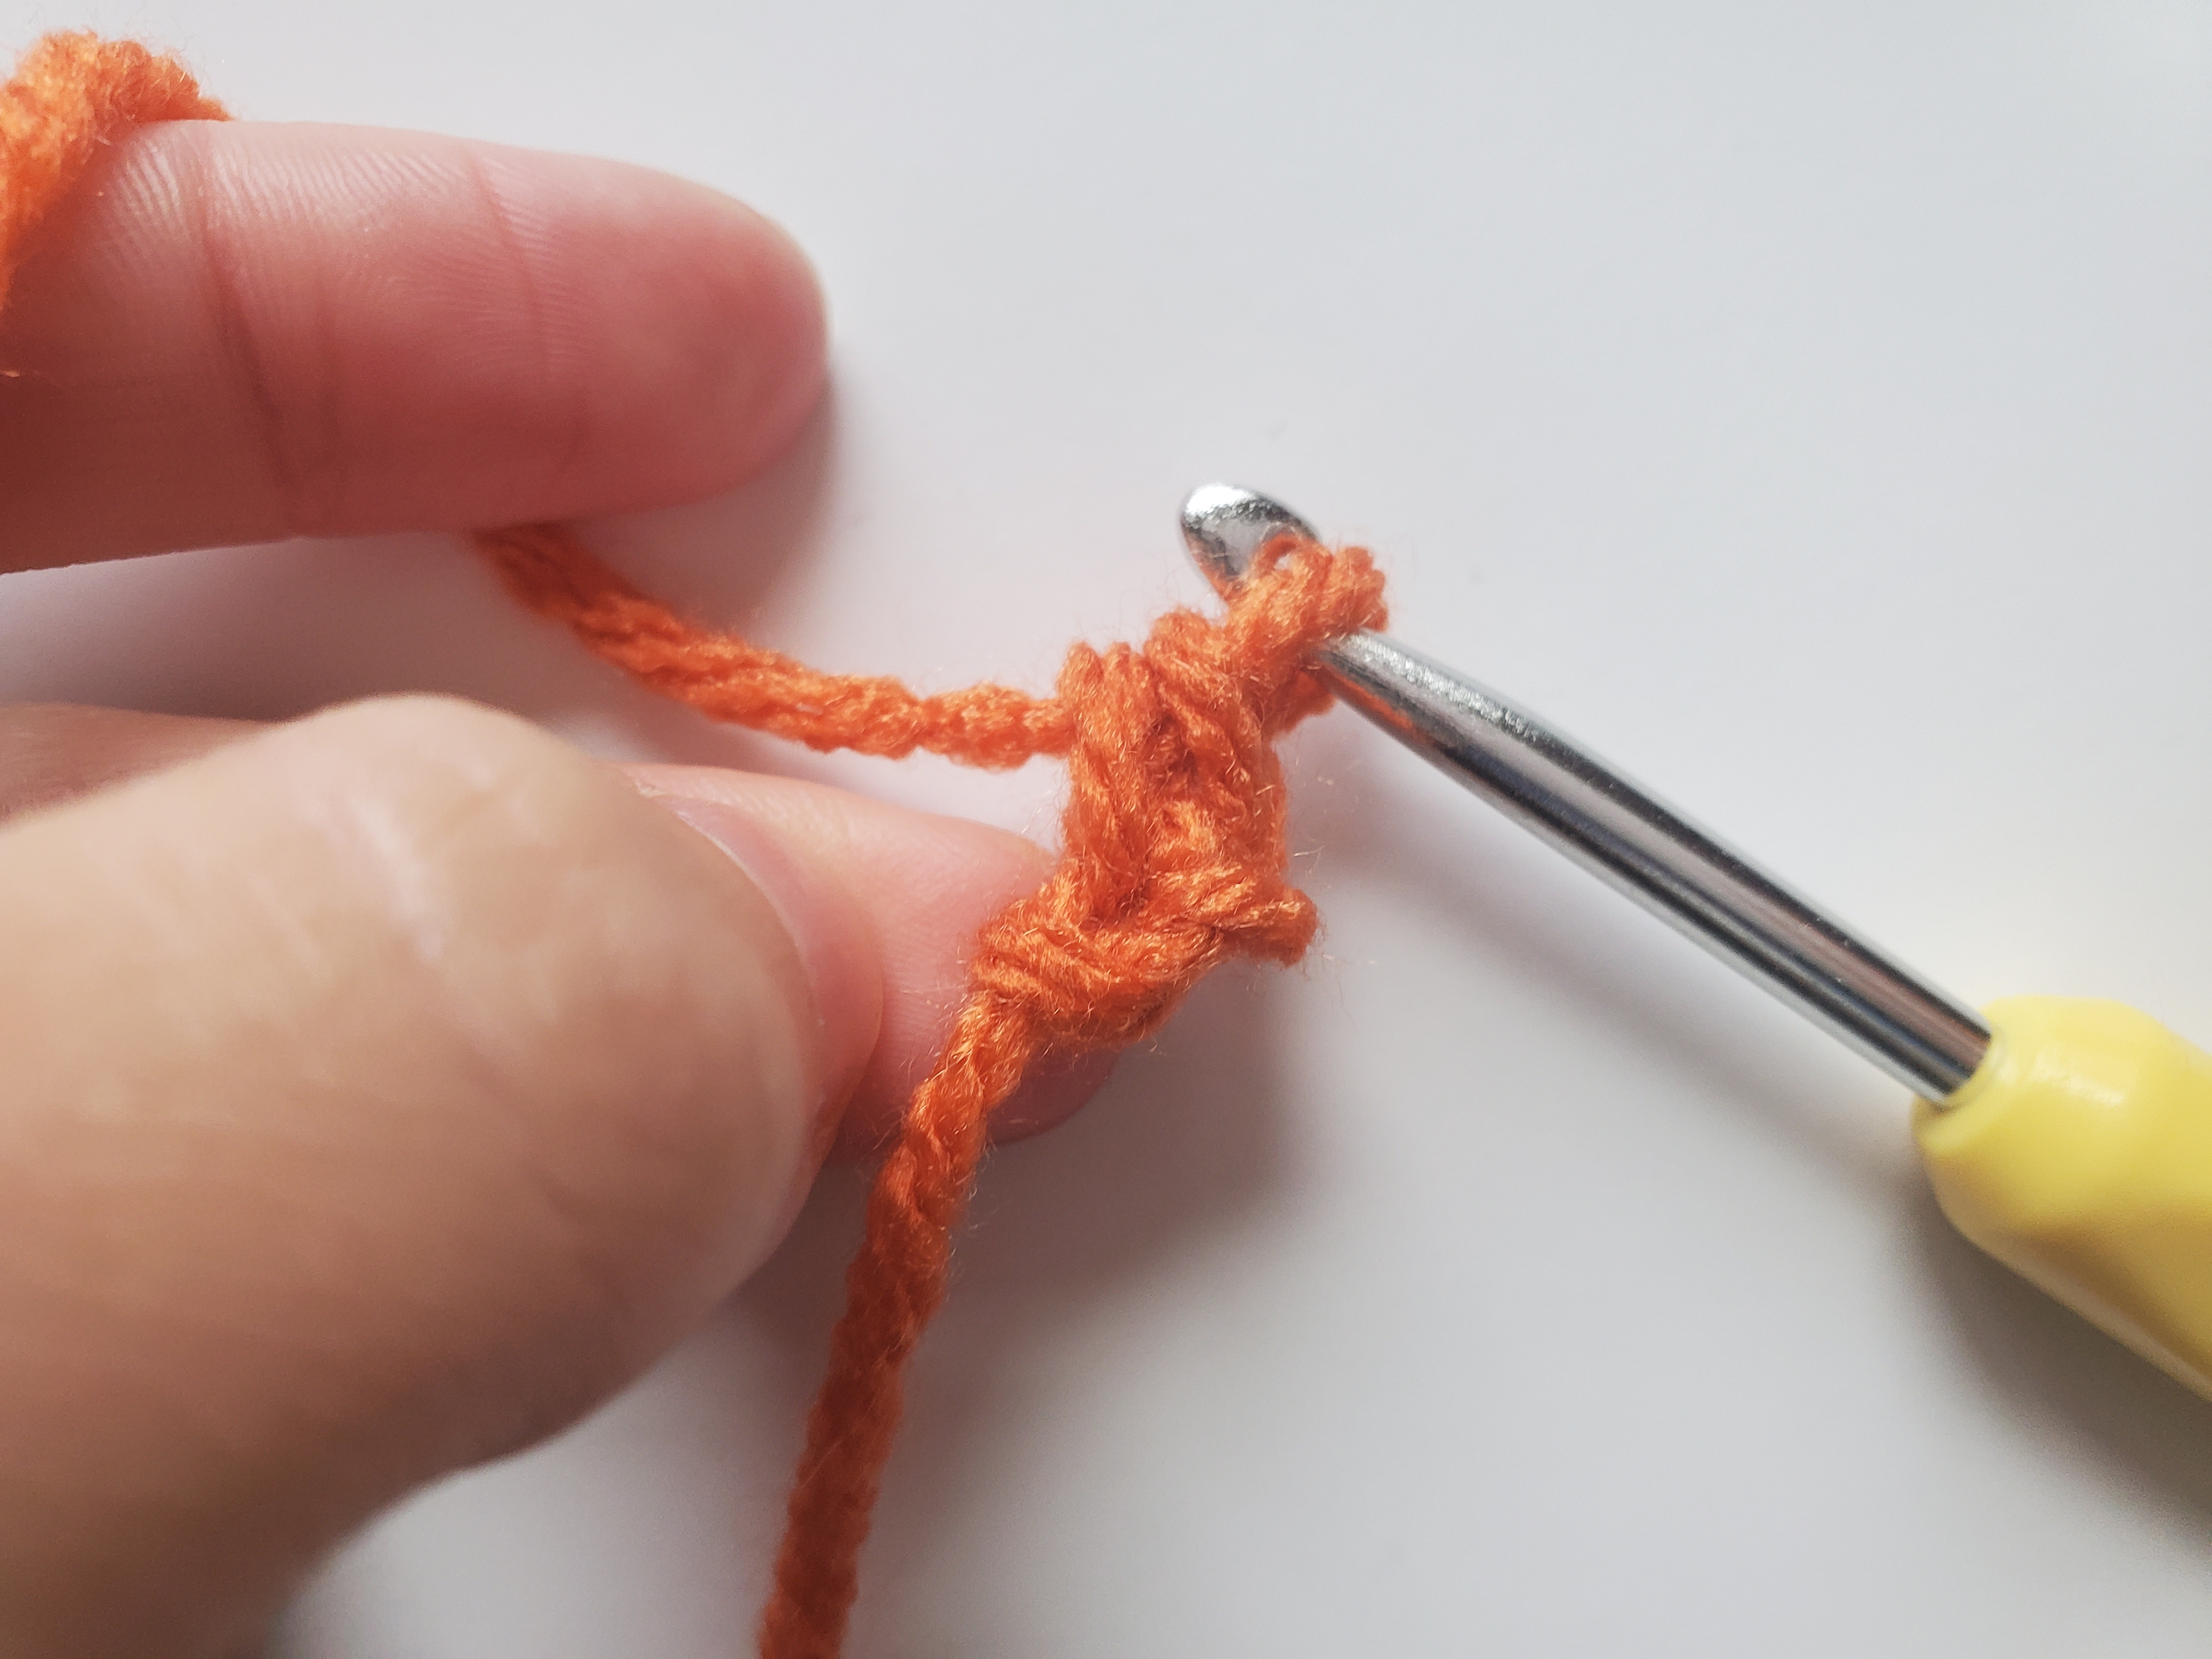
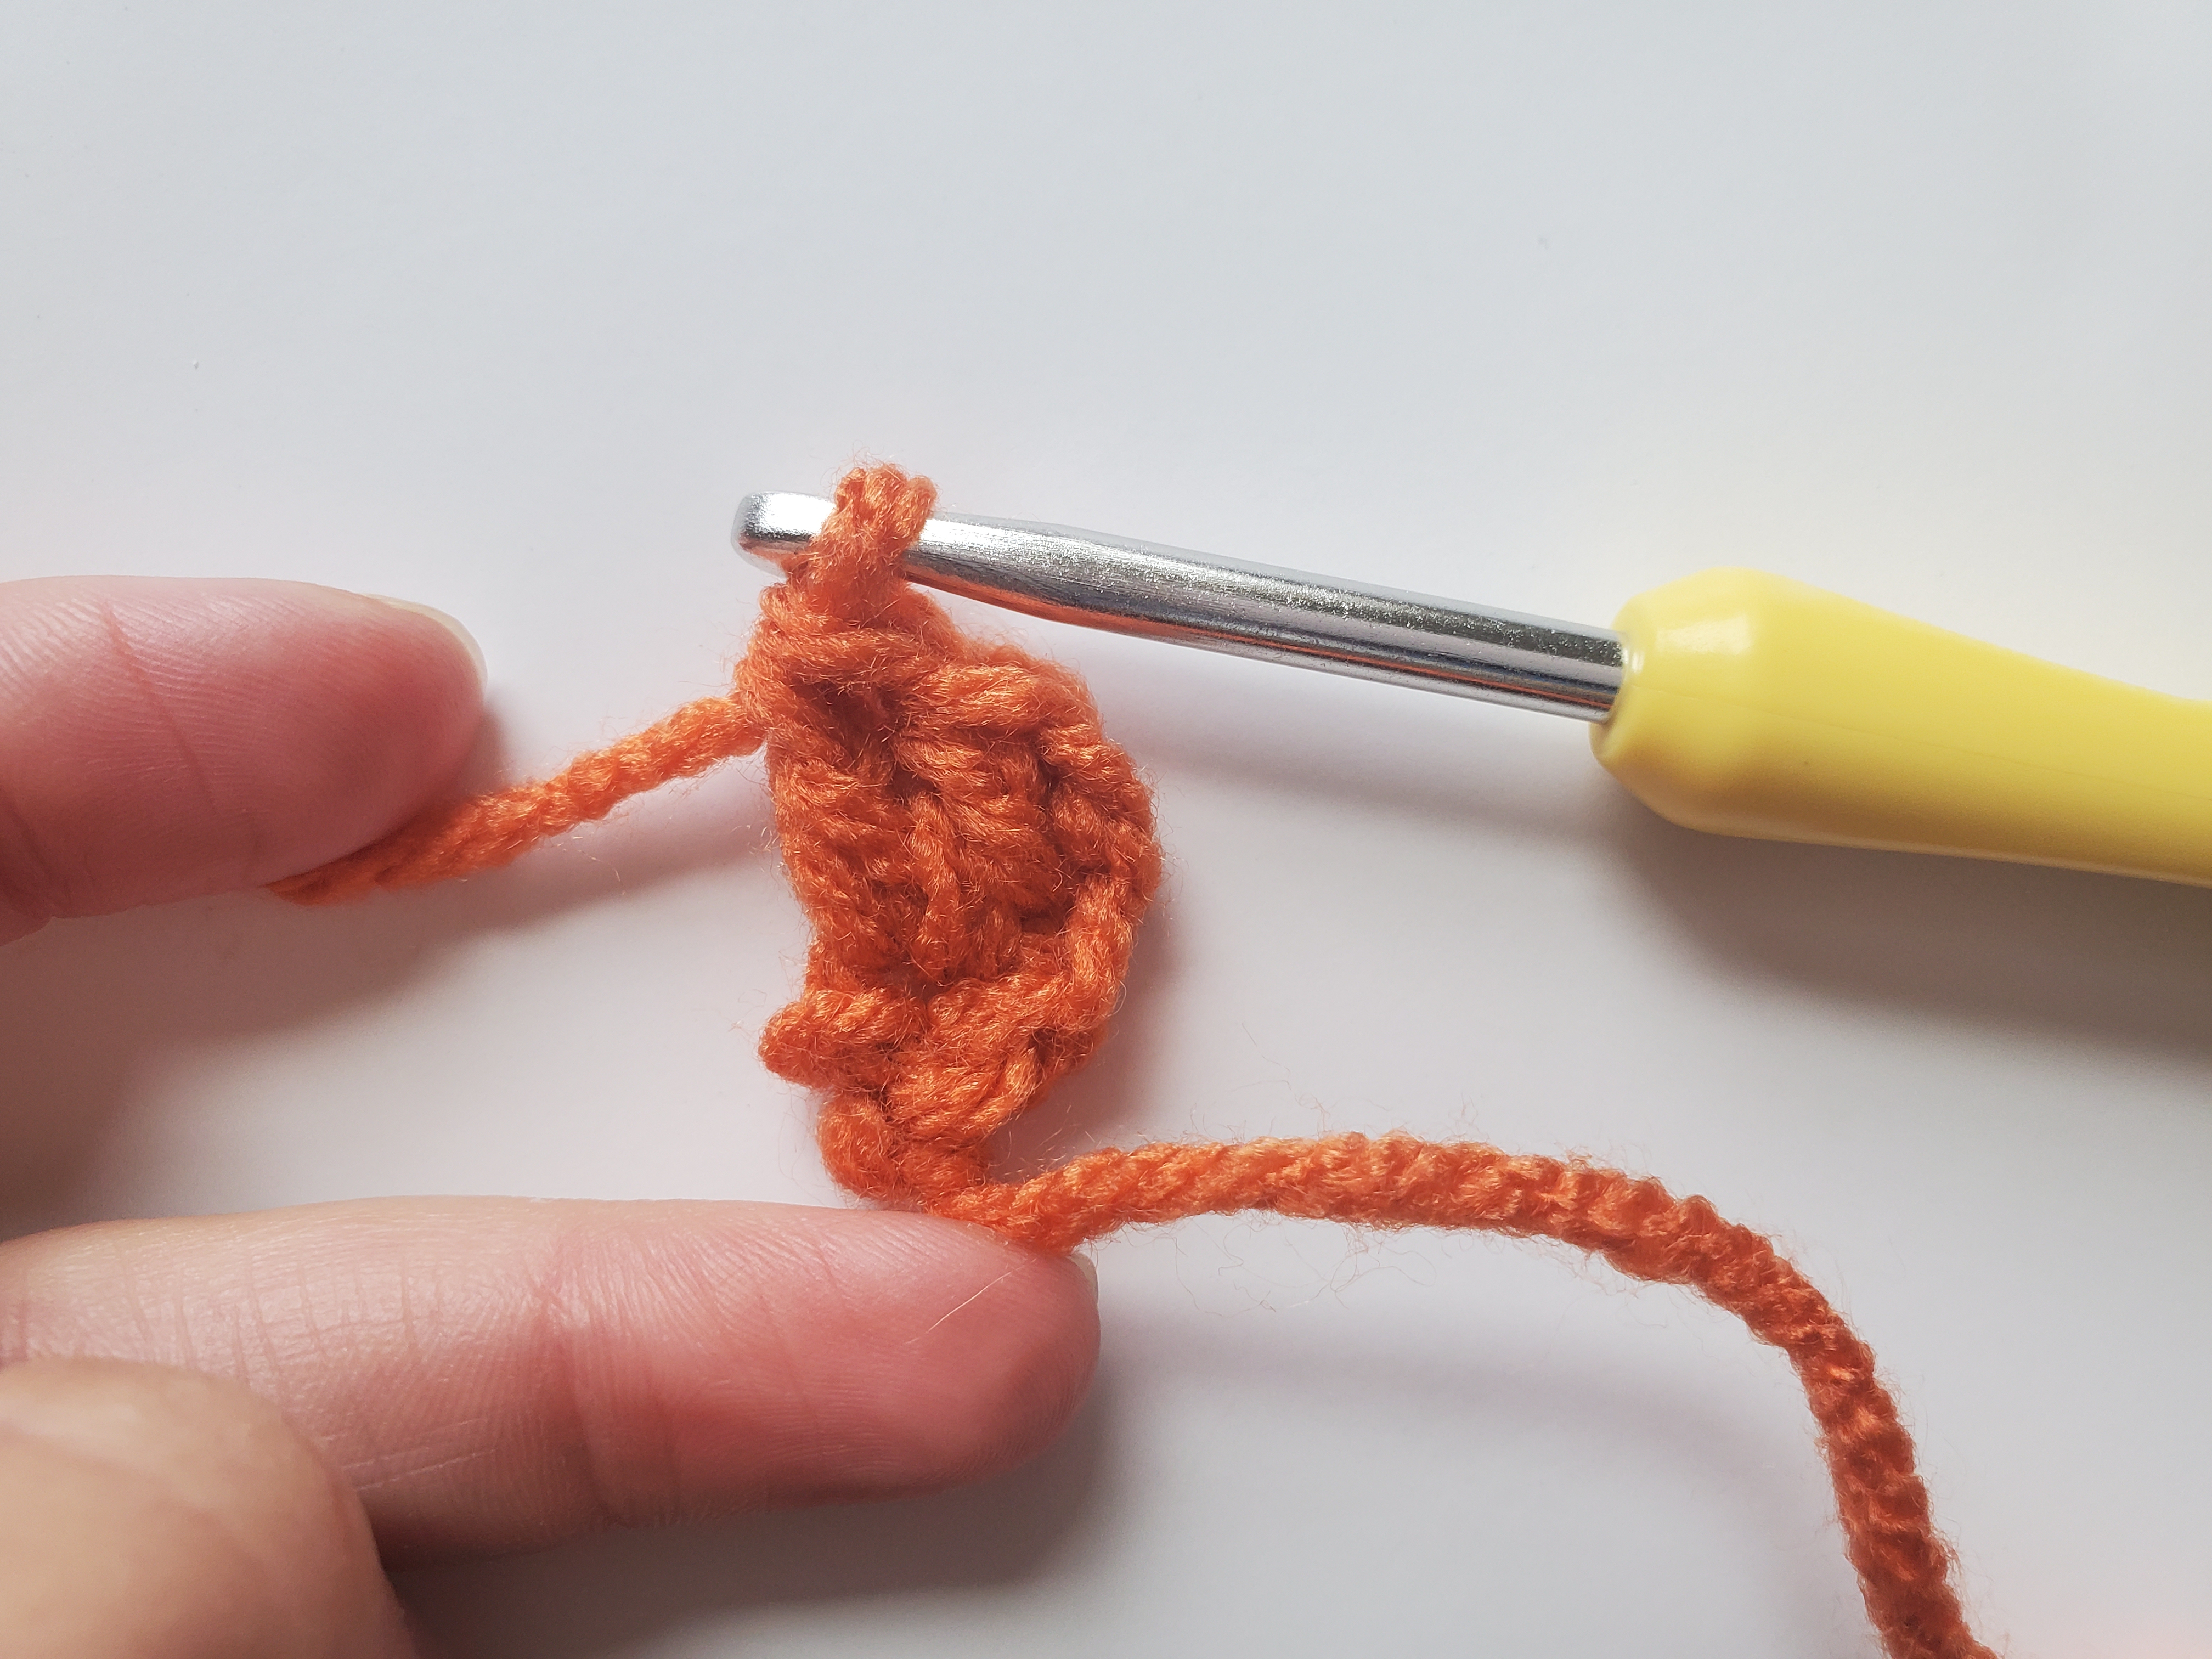
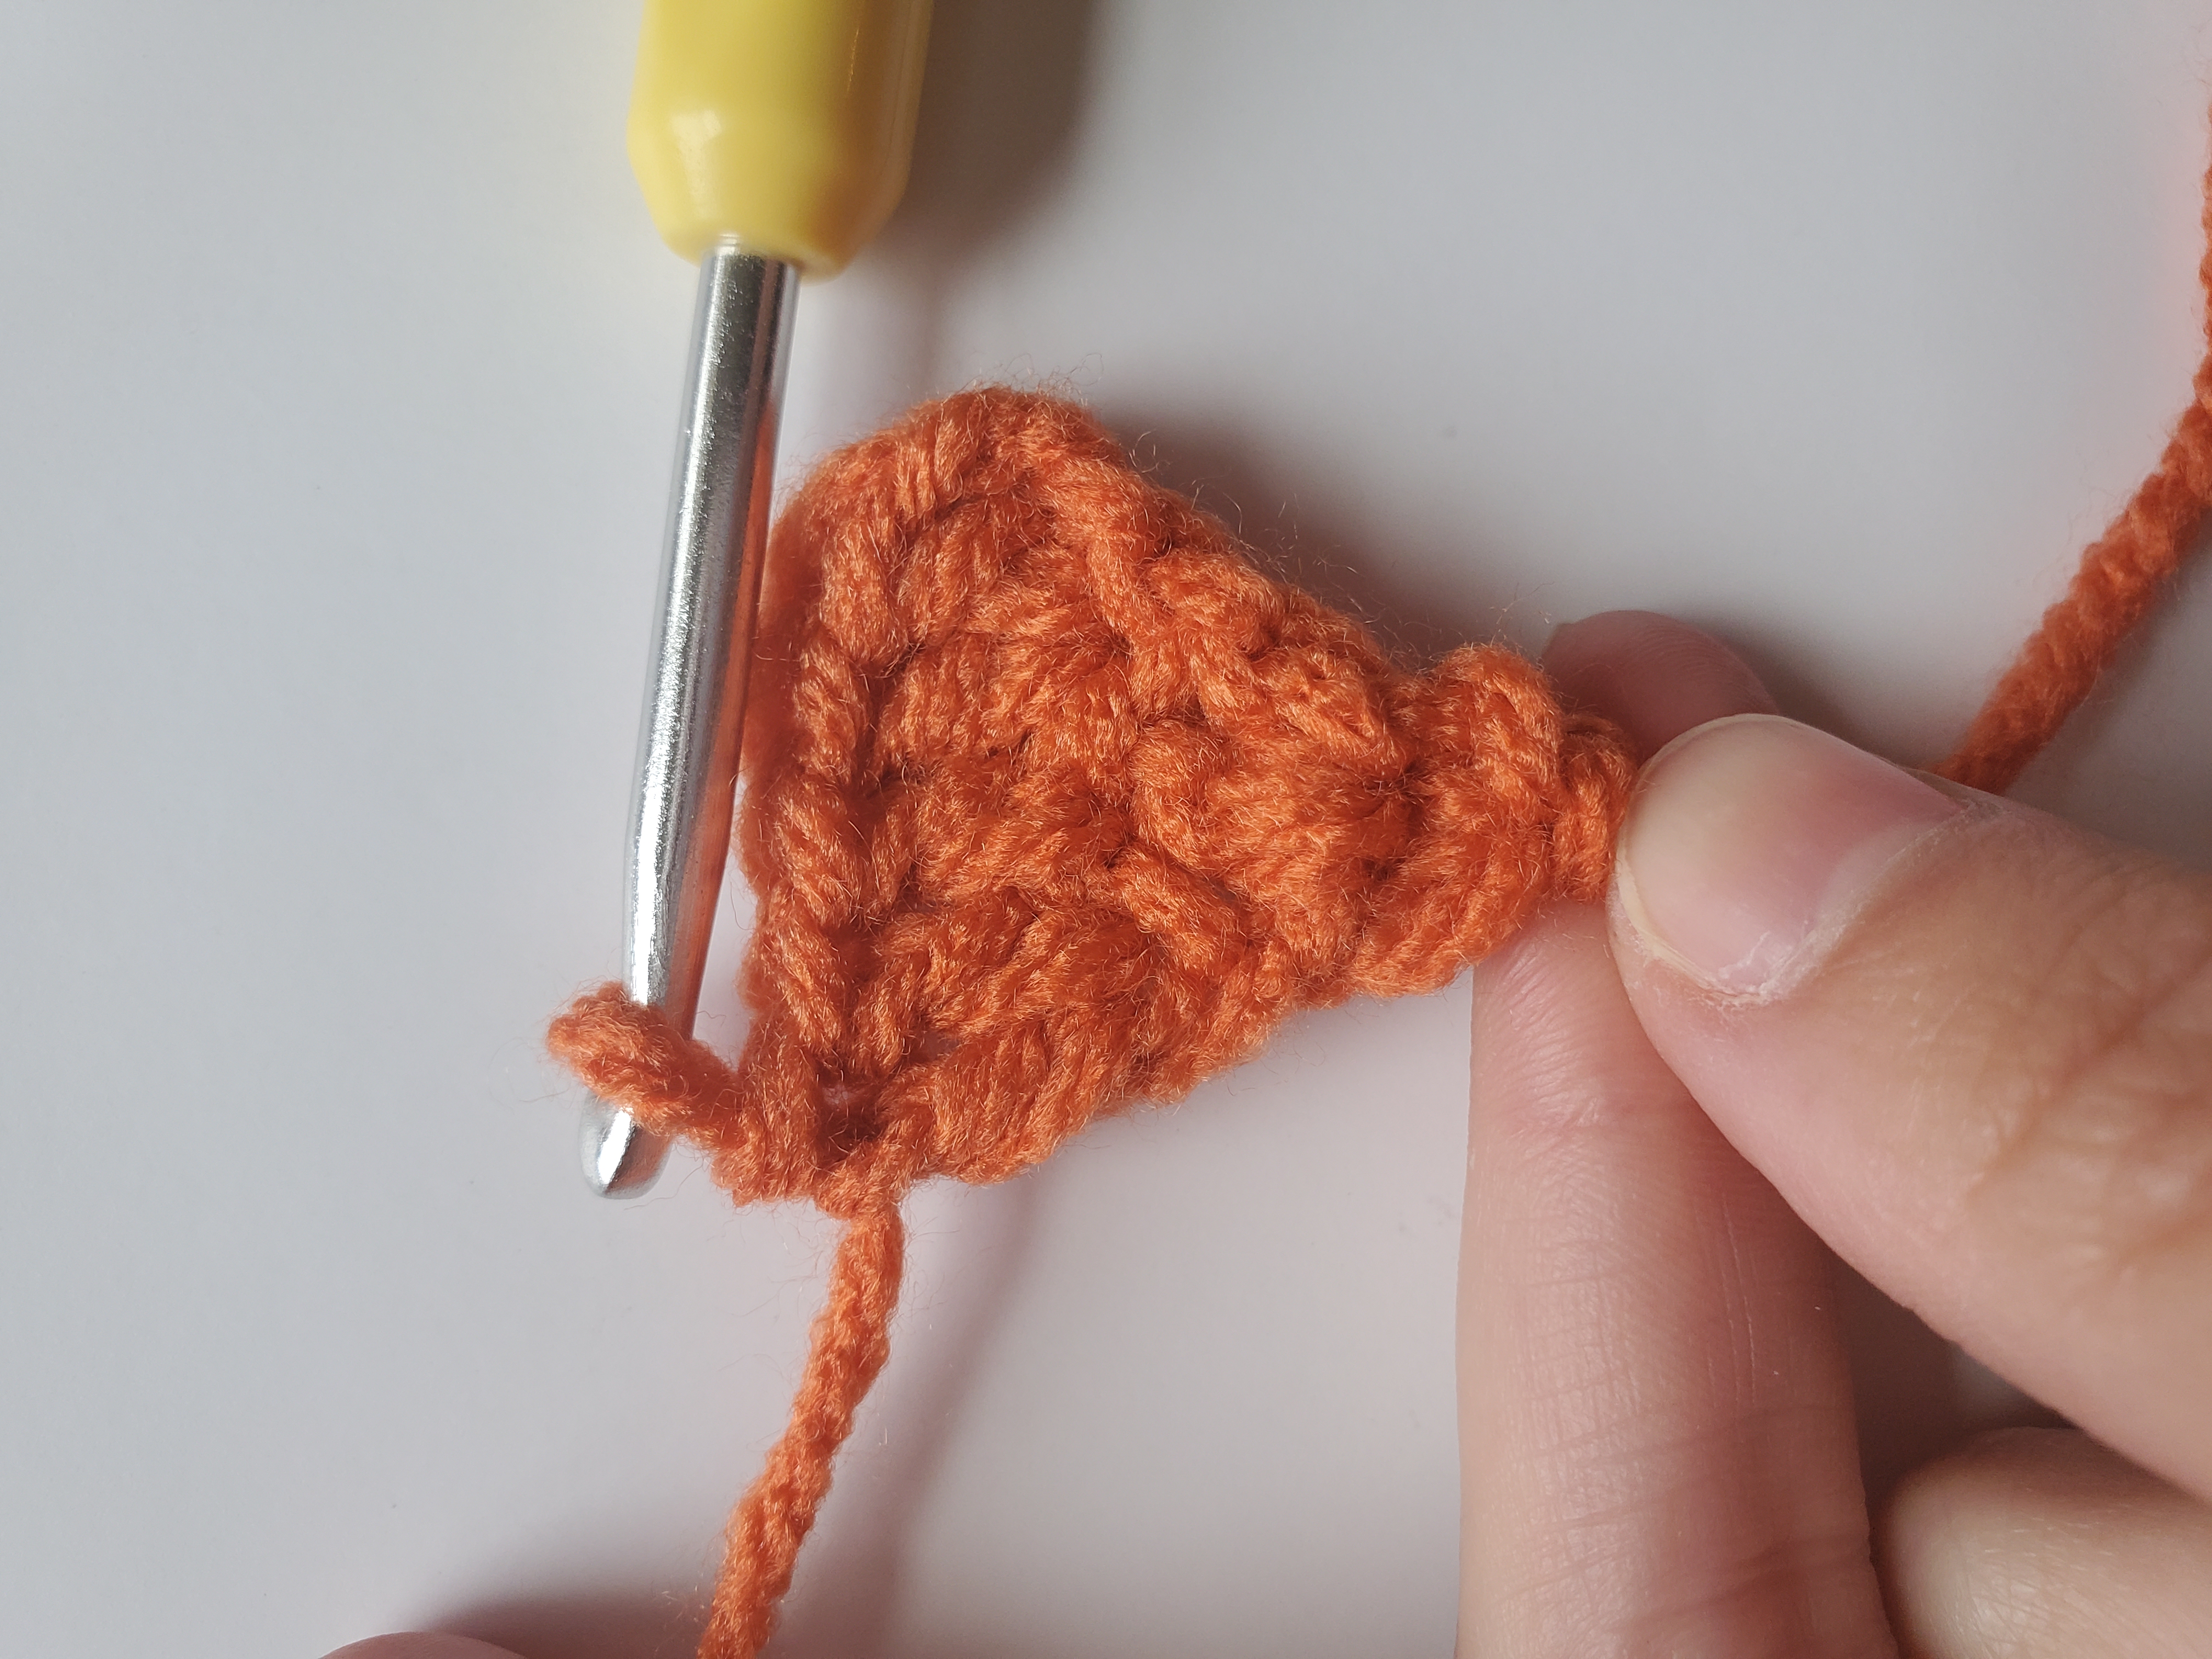
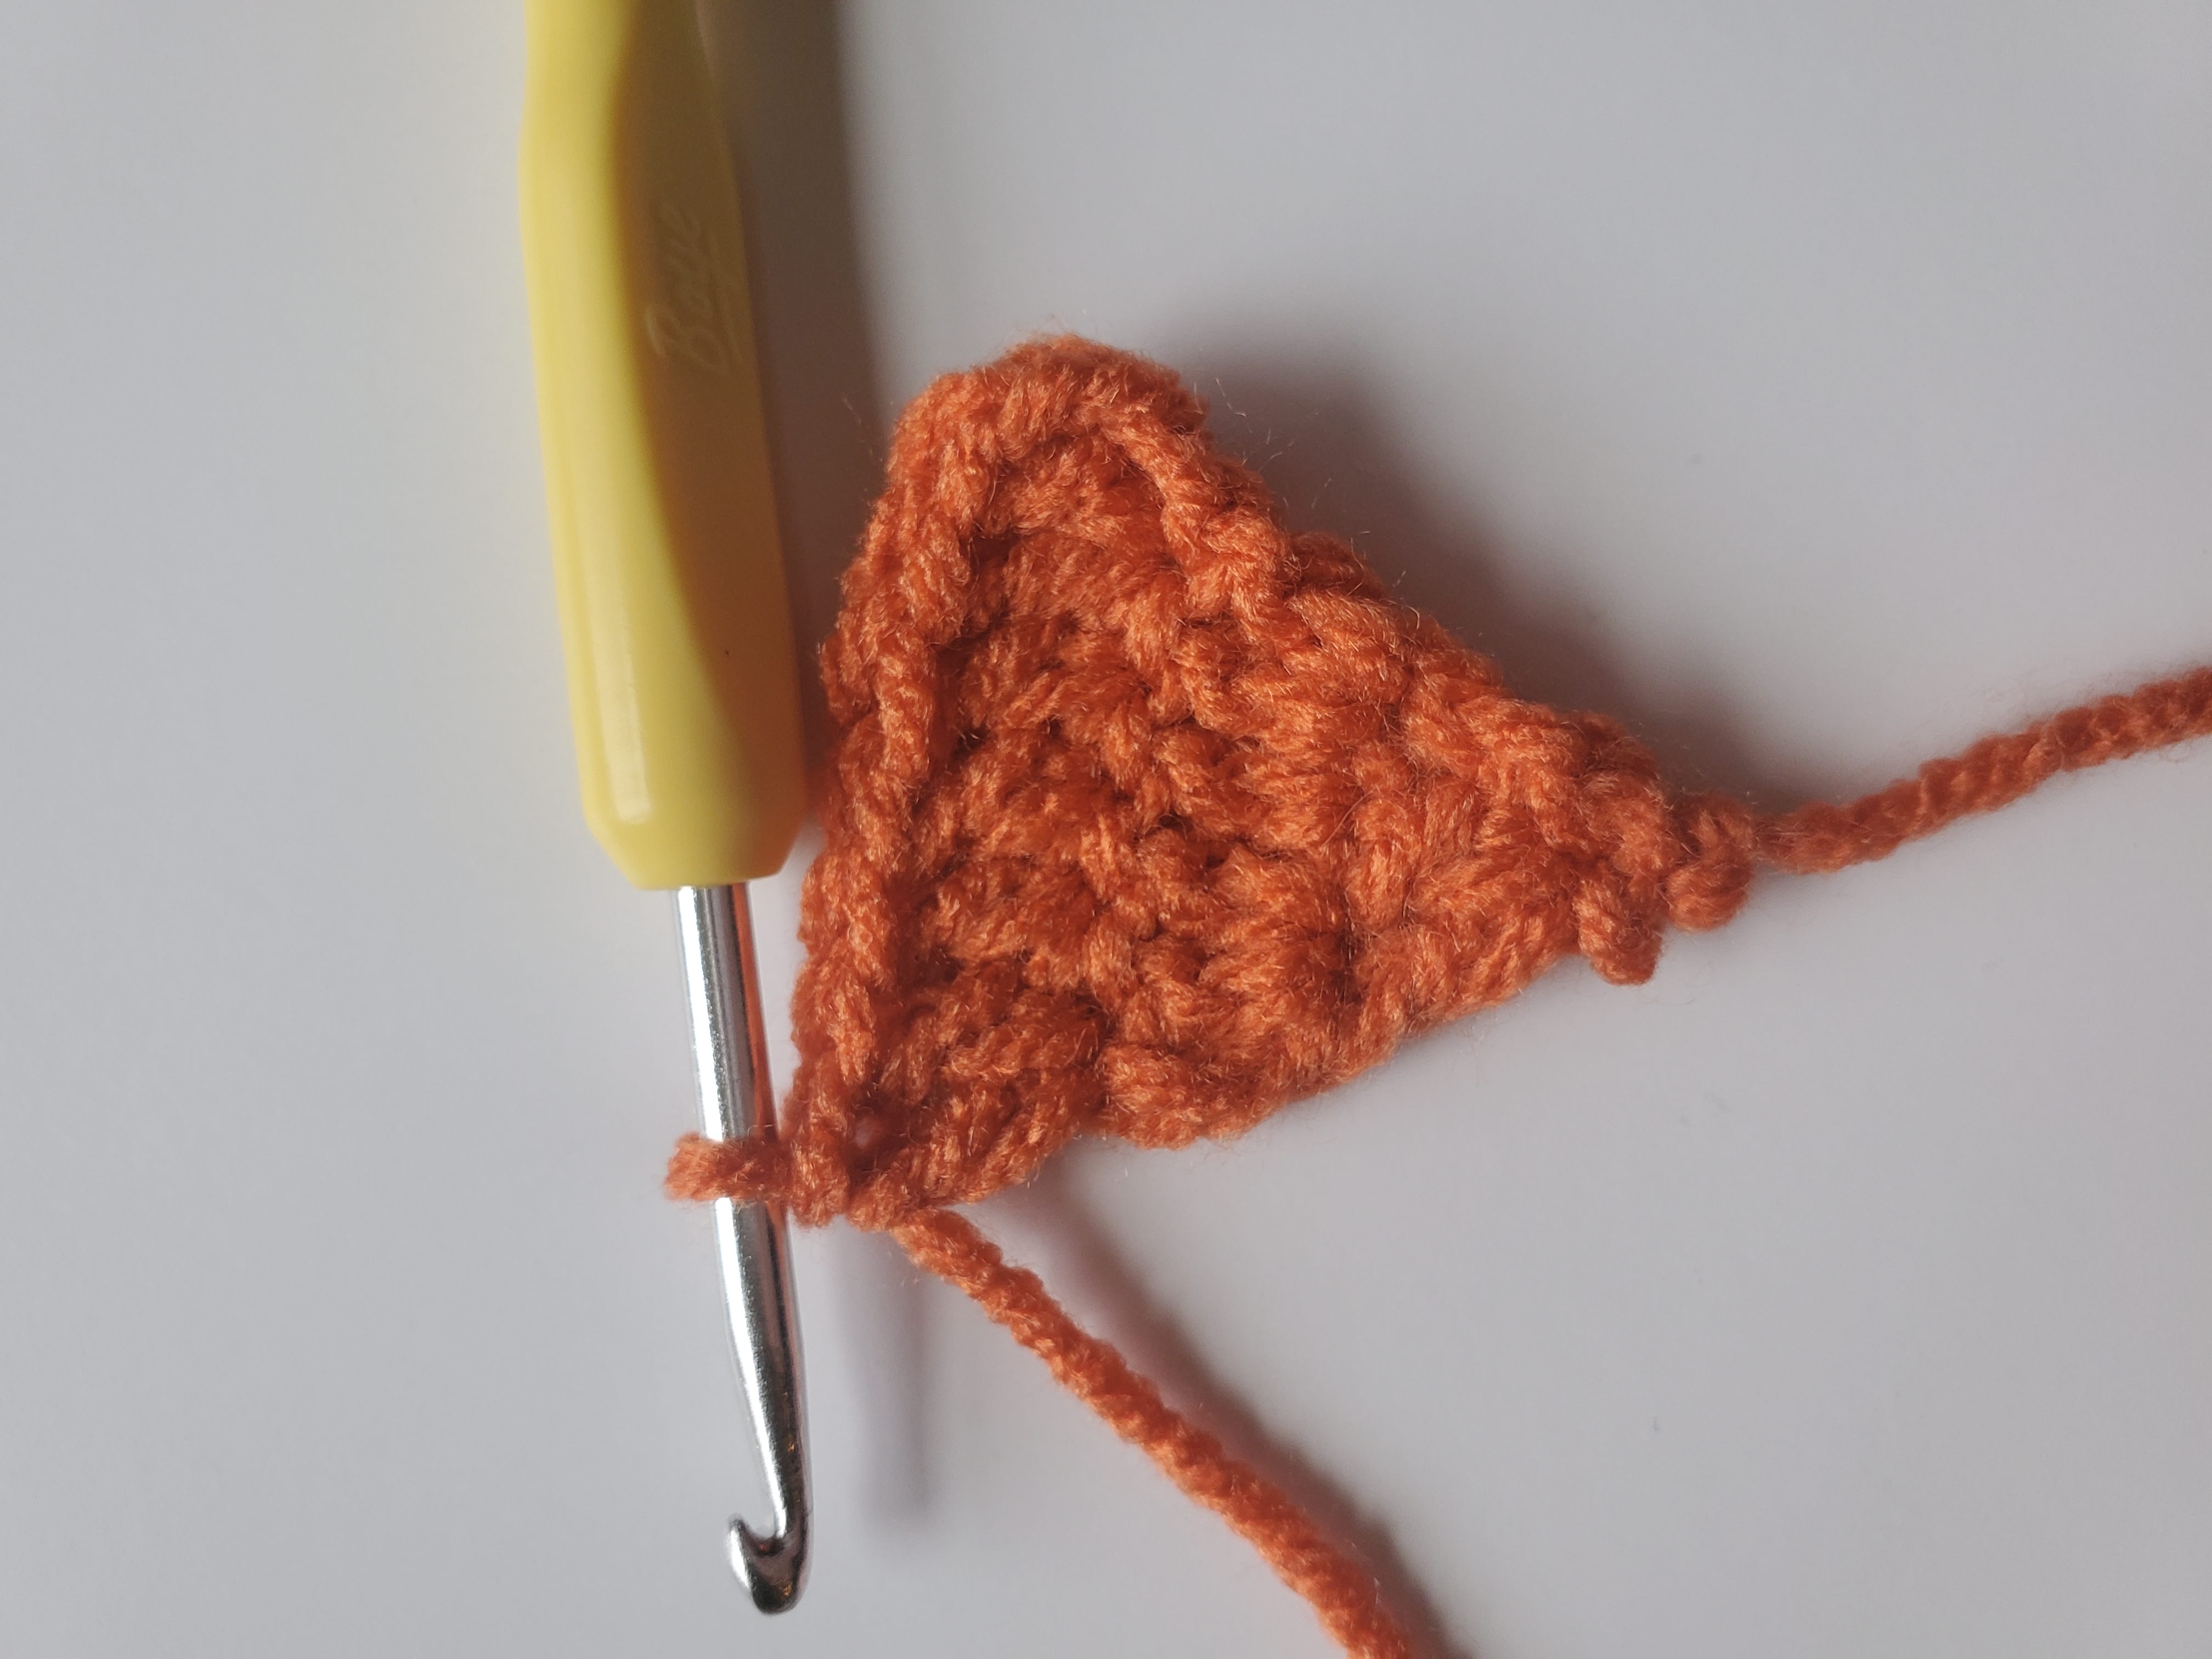
With Bright Yellow yarn and 4 mm crochet hook:
Row 1: Ch 10, from 3rd ch from hook, make 1 dc, make 1 hdc in next 2 chs, make 1 sc in next 2 chs, and make 1 sl st in next 3 chs (8 sts)
Cut a long length of yarn for sewing later with your scissors and pull through.
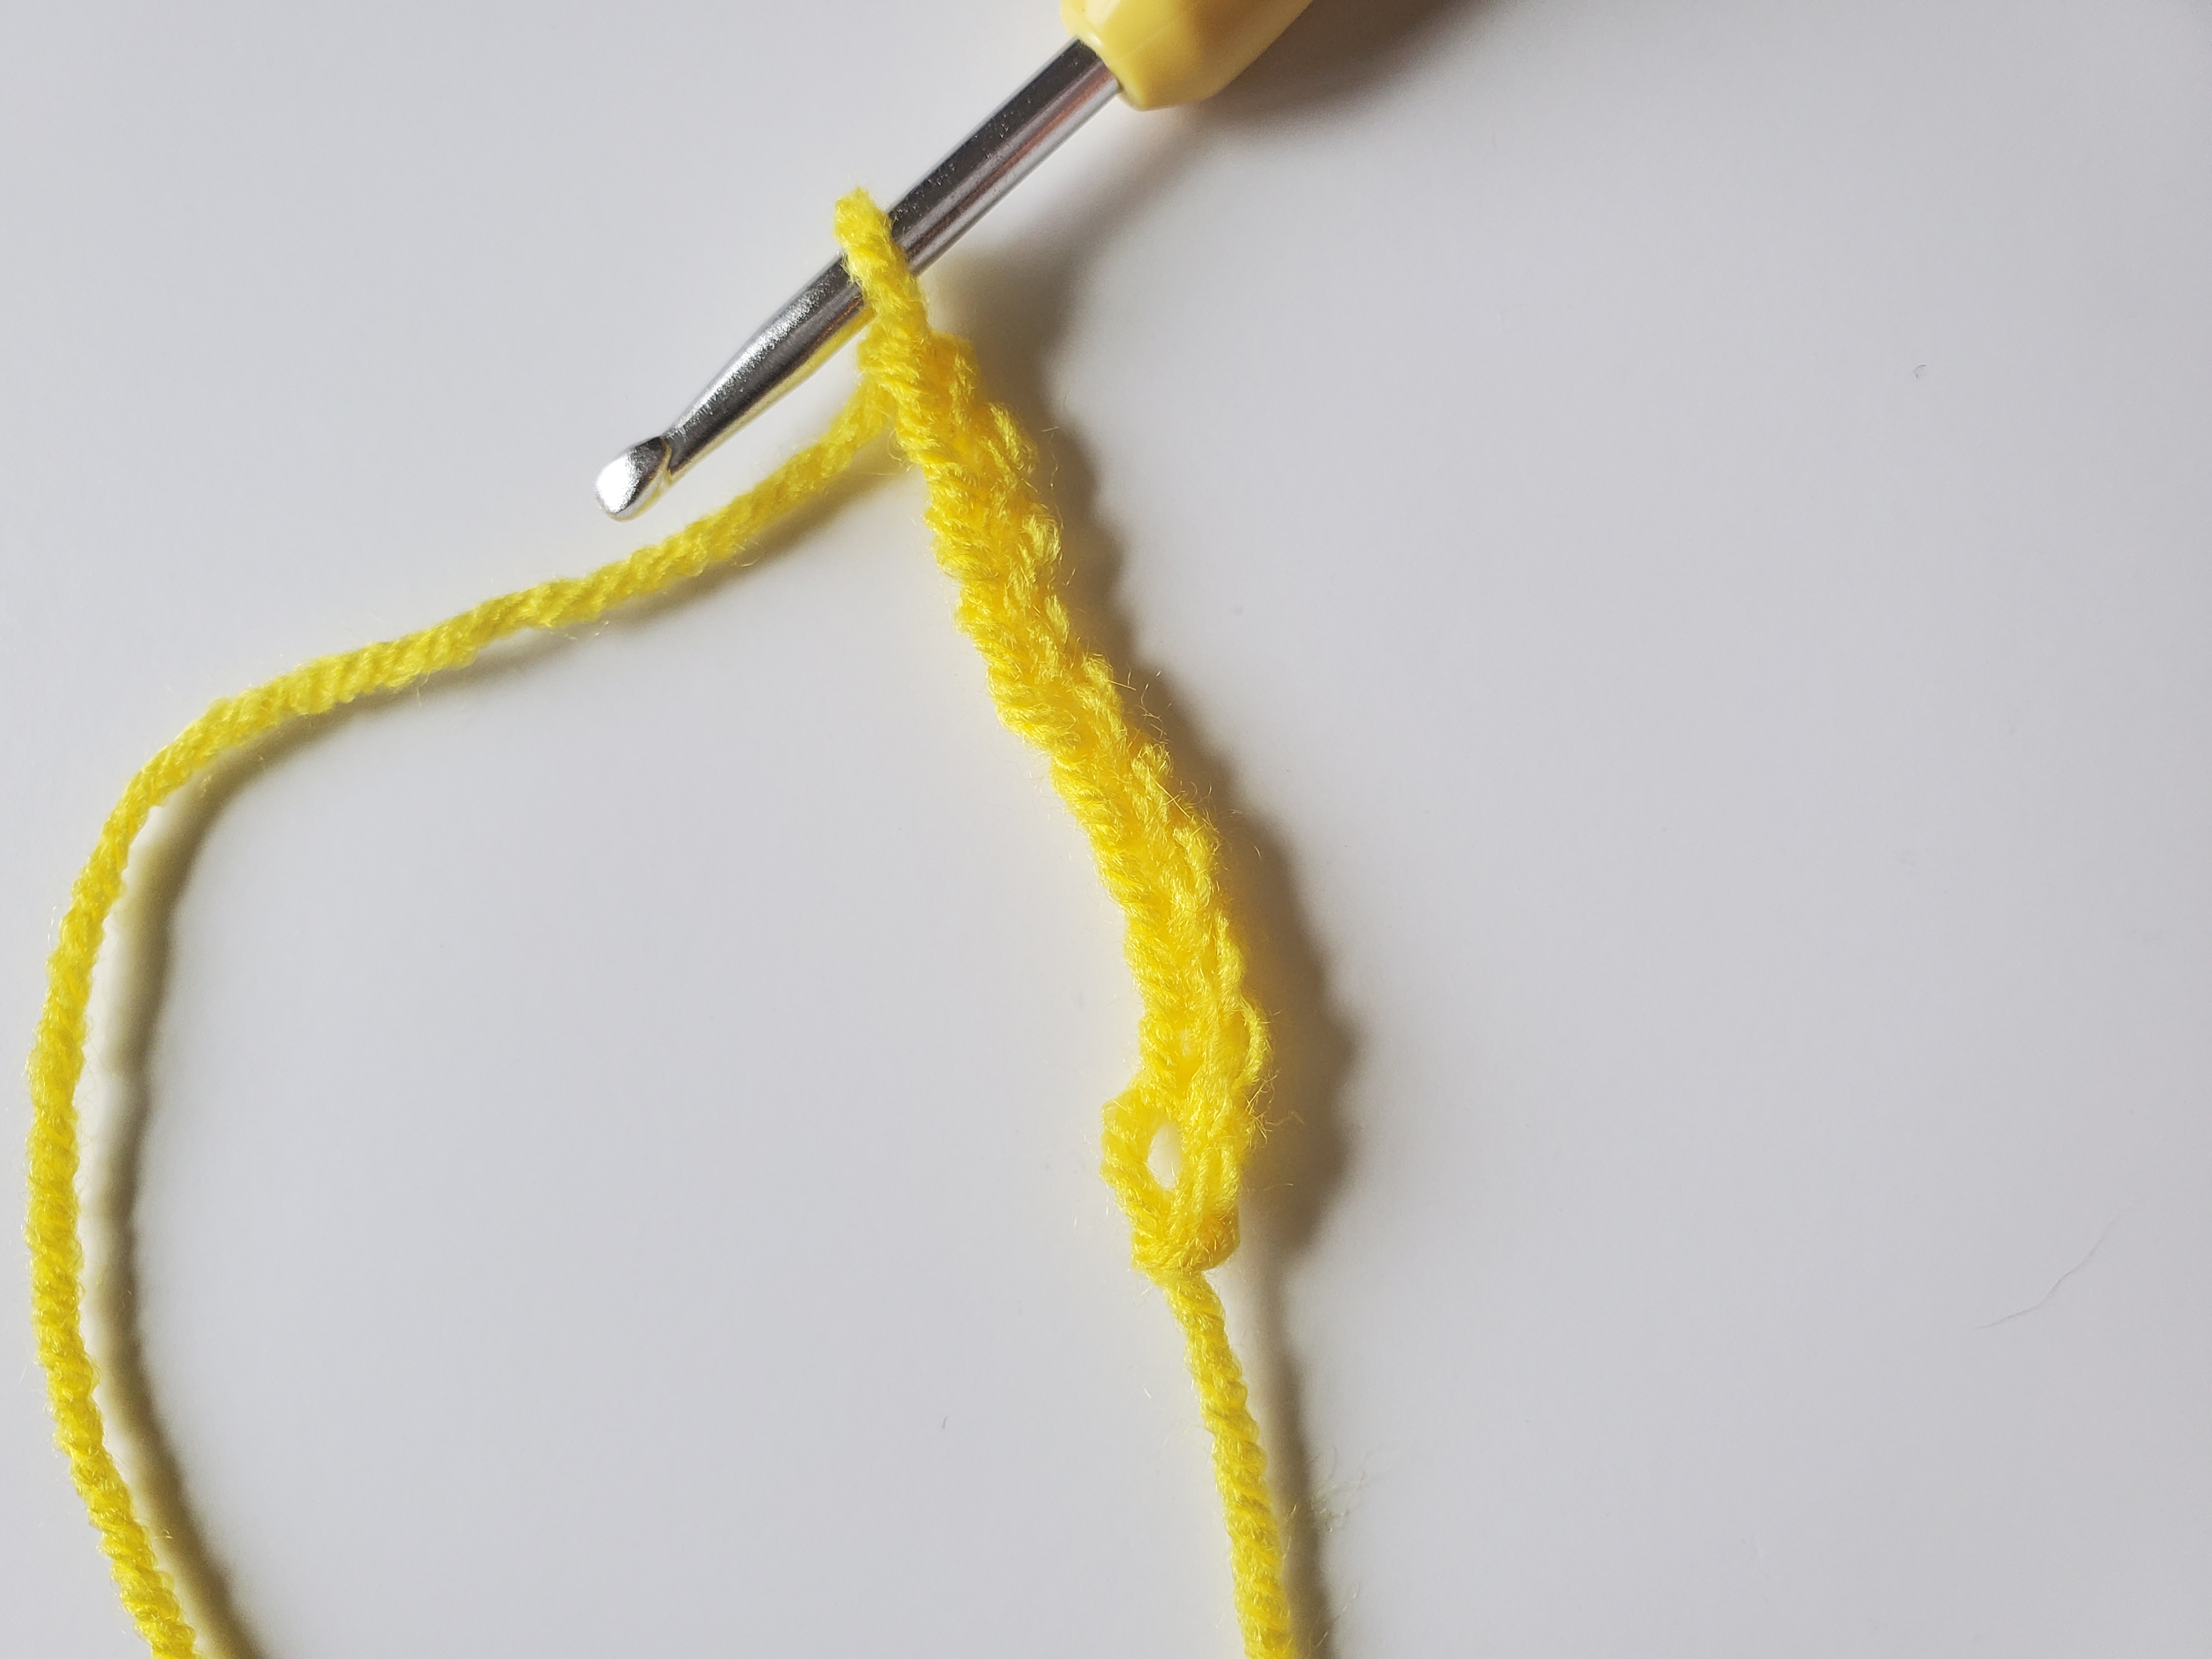
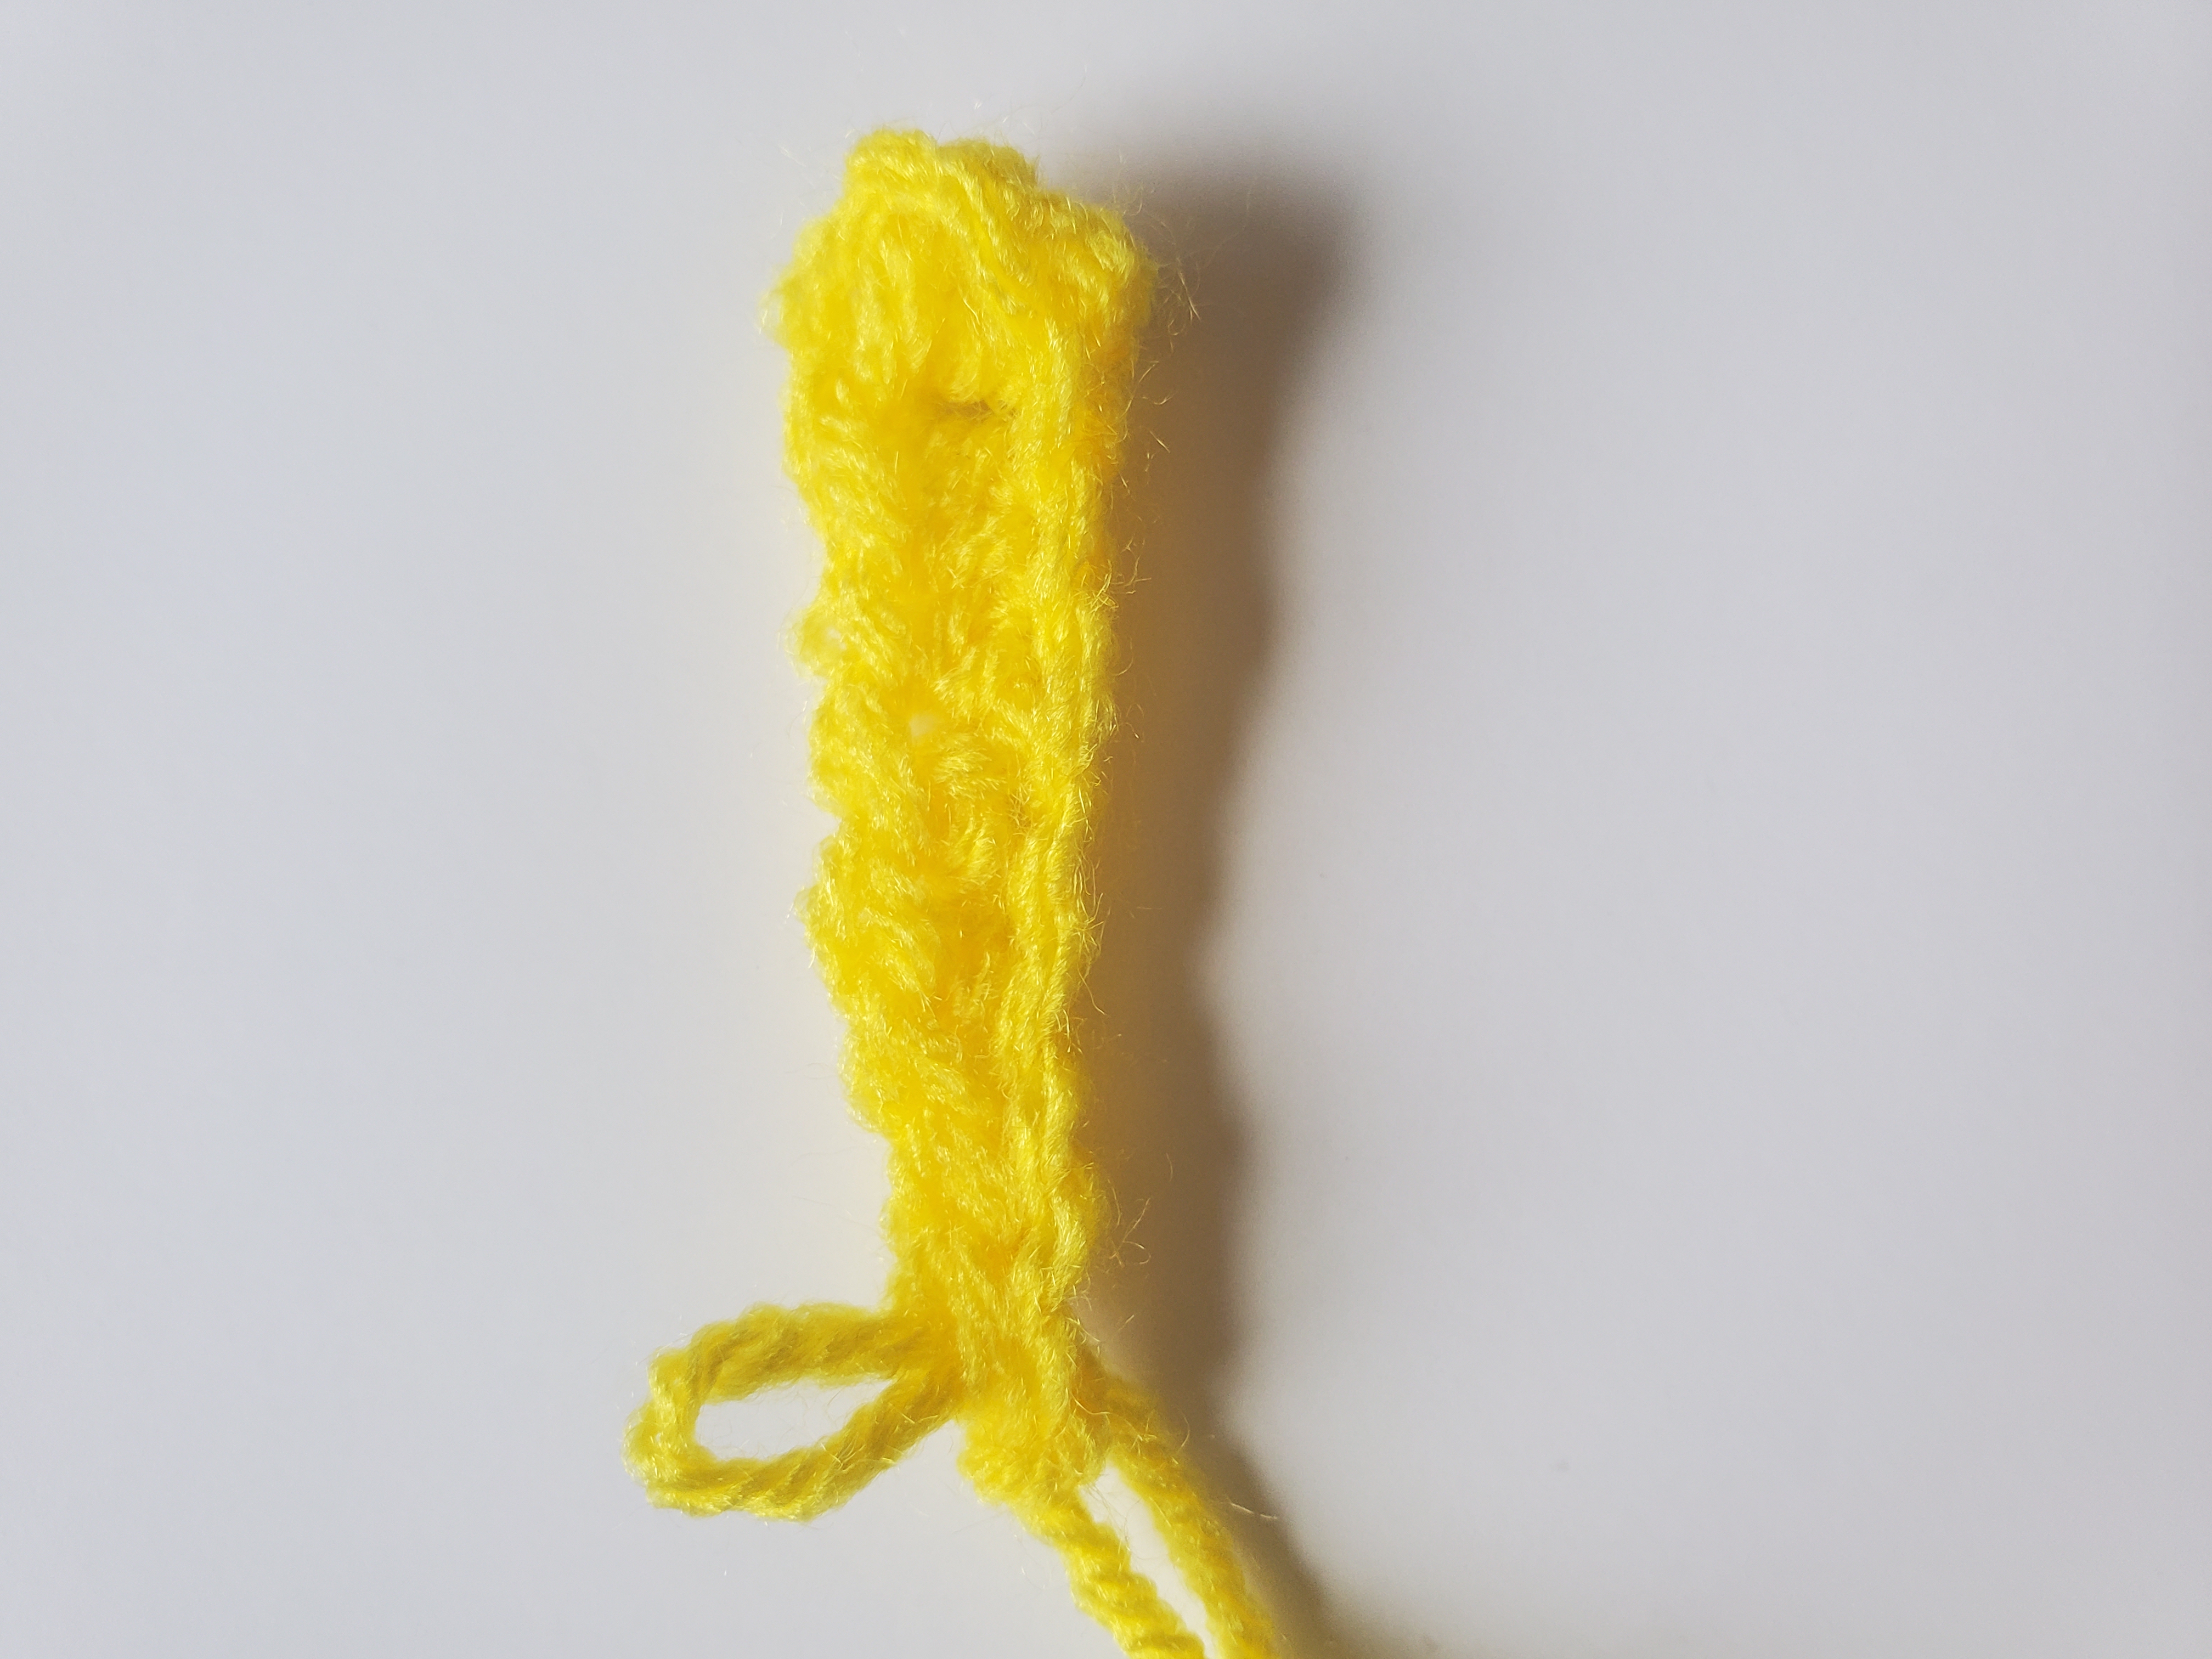
You will need to sew two pieces of the hair tufts together, that way you have a total of three “bulkier” pieces.
Line two tufts up and sew together with tapestry needle. Whip stitch, or use whichever sewing method you prefer. Do not cut off any excess yarn yet.
Line one tuft up on the top of the hat by placing one directly in the middle (there should be a larger hole there). Sew in place with tapestry needle. I like to tie the yarn ends together and cut of any excess, that way my assembled pieces are more secure.
Sew the next two tufts on each side of the middle tuft to create three cute little tufts coming from the top of the hat together. See pic below for reference.
Line the beak in the middle of the hat and sew in place. I think the beak looked better by lining the tip of the beak on the very last round prior to the brim. Feel free to use pins to keep the beak from moving around on you. Tie and cut off any excess.
Sew both eyes almost right on the two corners of the beak. Sew closer than you think you need to. If you sew them too far away from the beak, it tends to look a little wonky when the hat is worn. Wearing the hat will stretch the eyes away from each other a bit and the facial features might look a little silly.
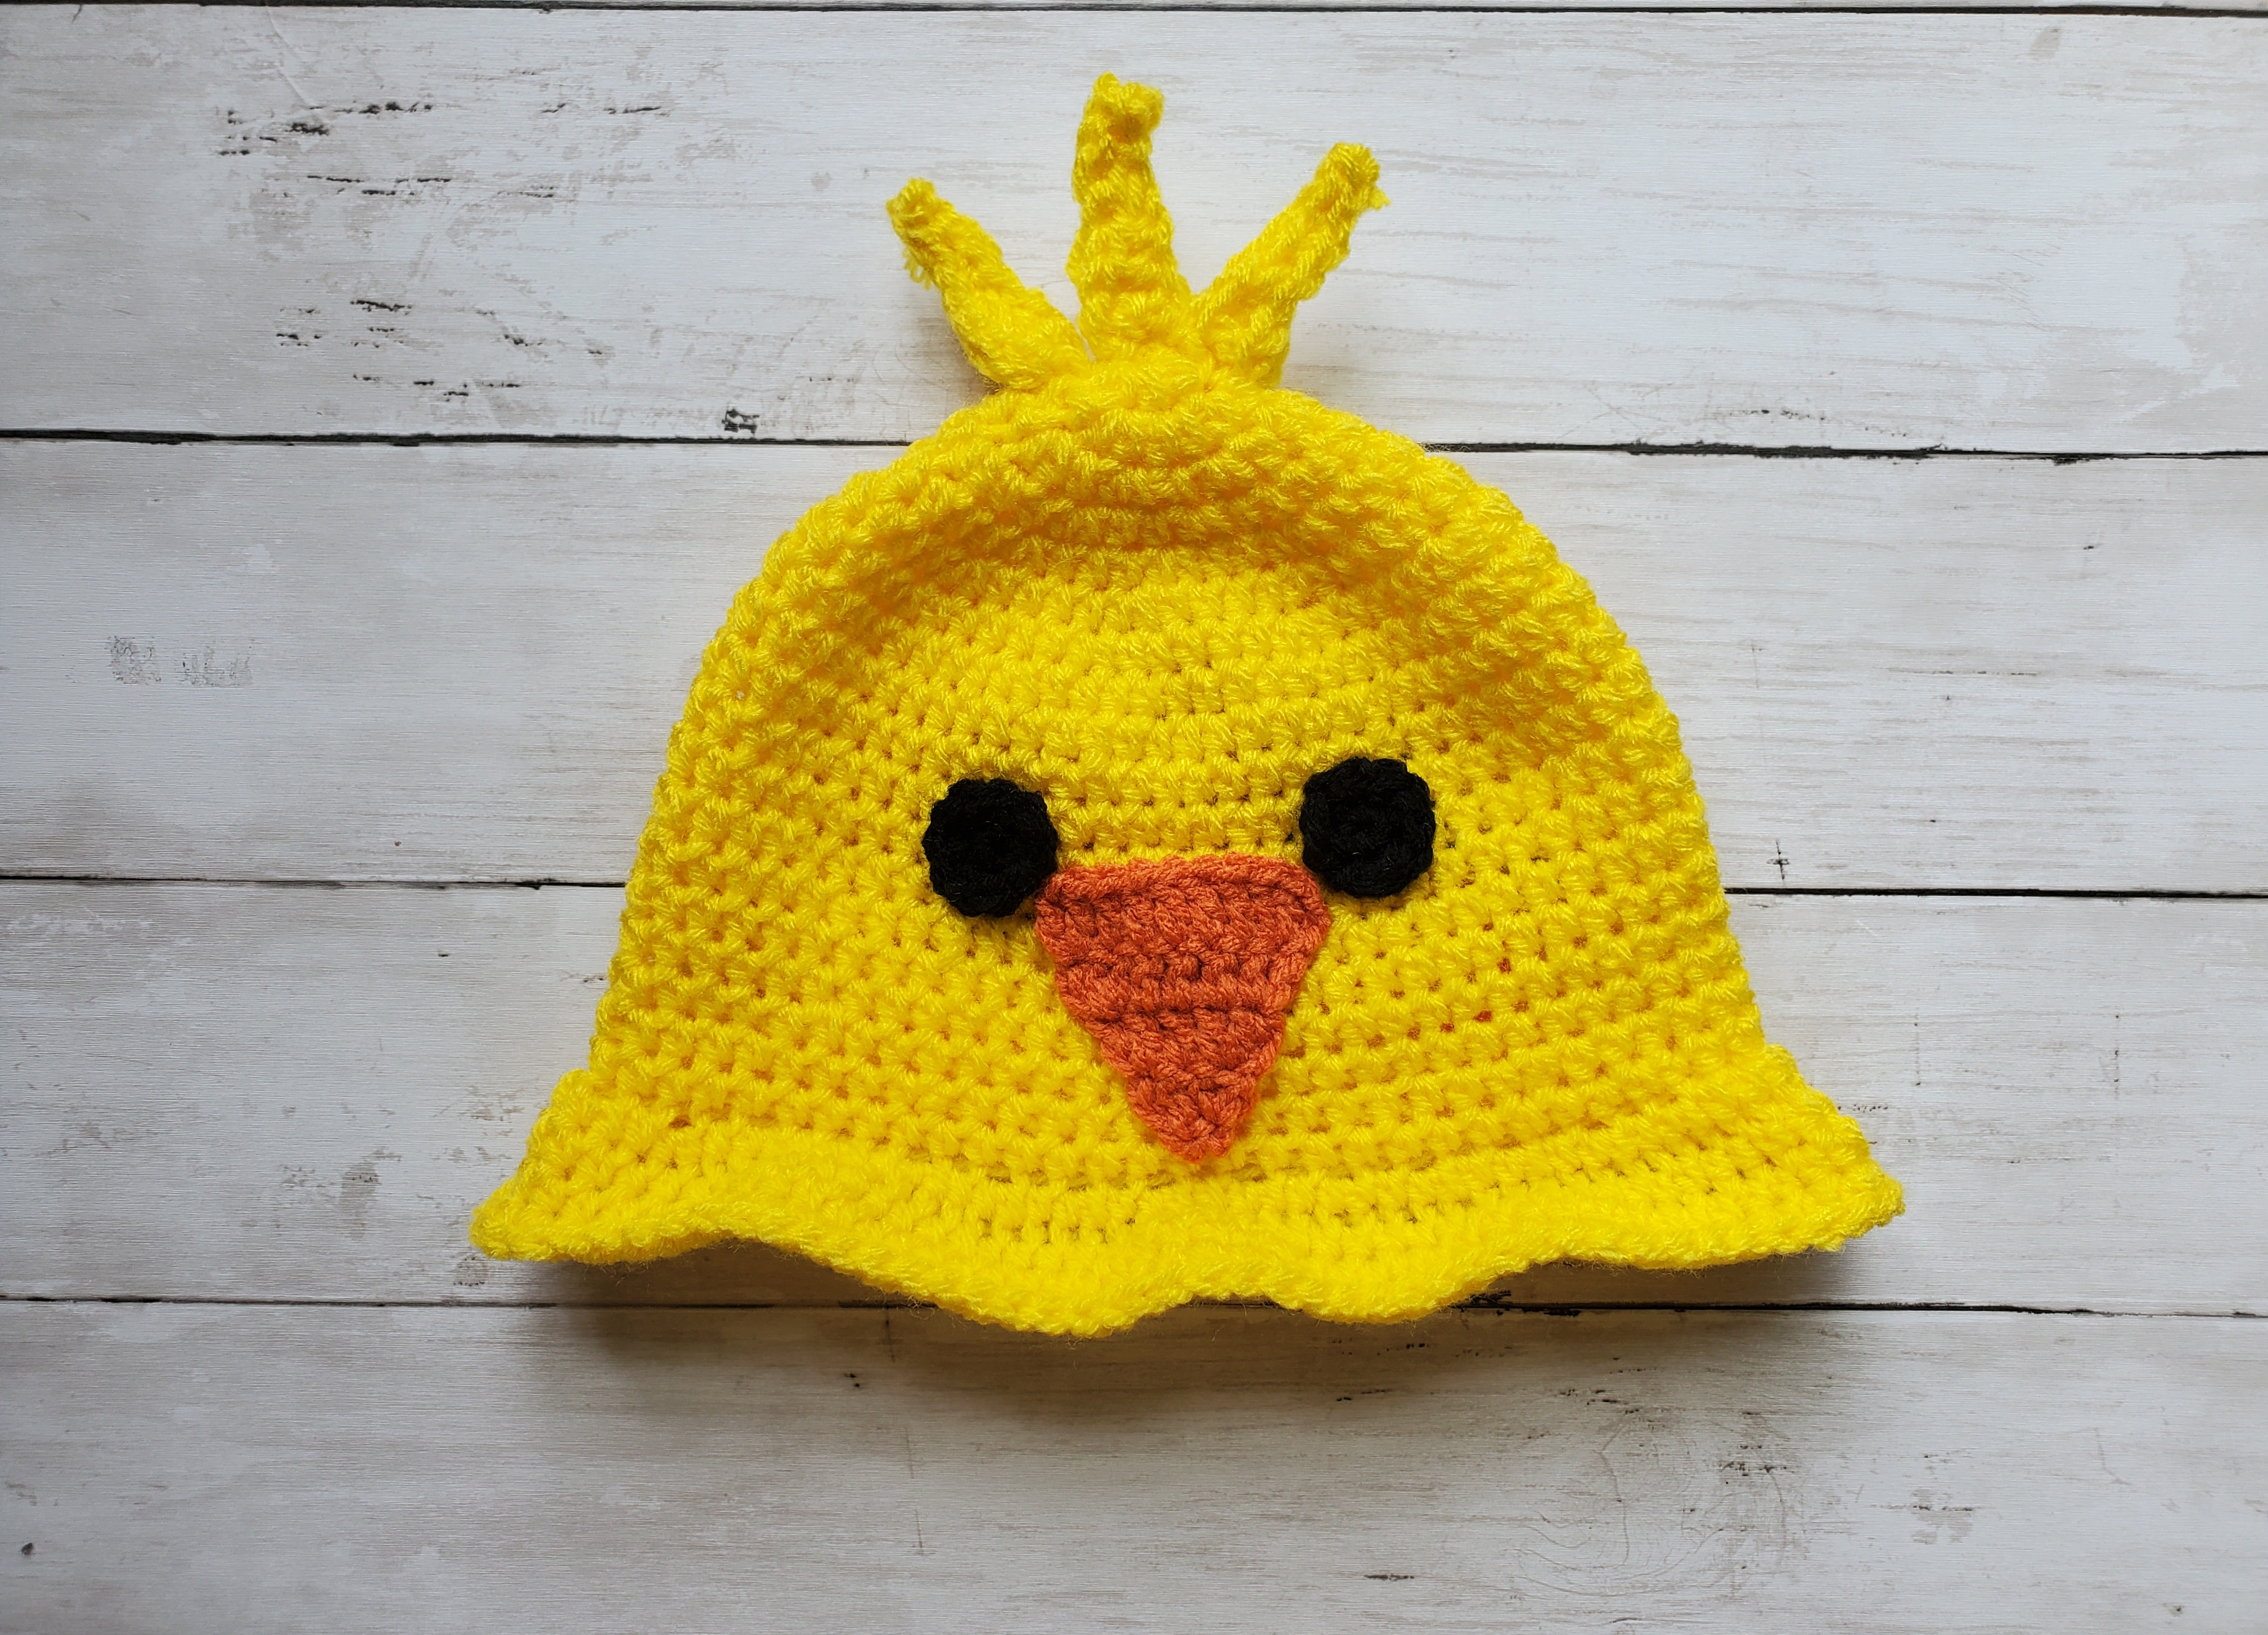
And there you have it! I hope you found this crochet duck bucket hat pattern fun and useful.
Thank you and happy crocheting!
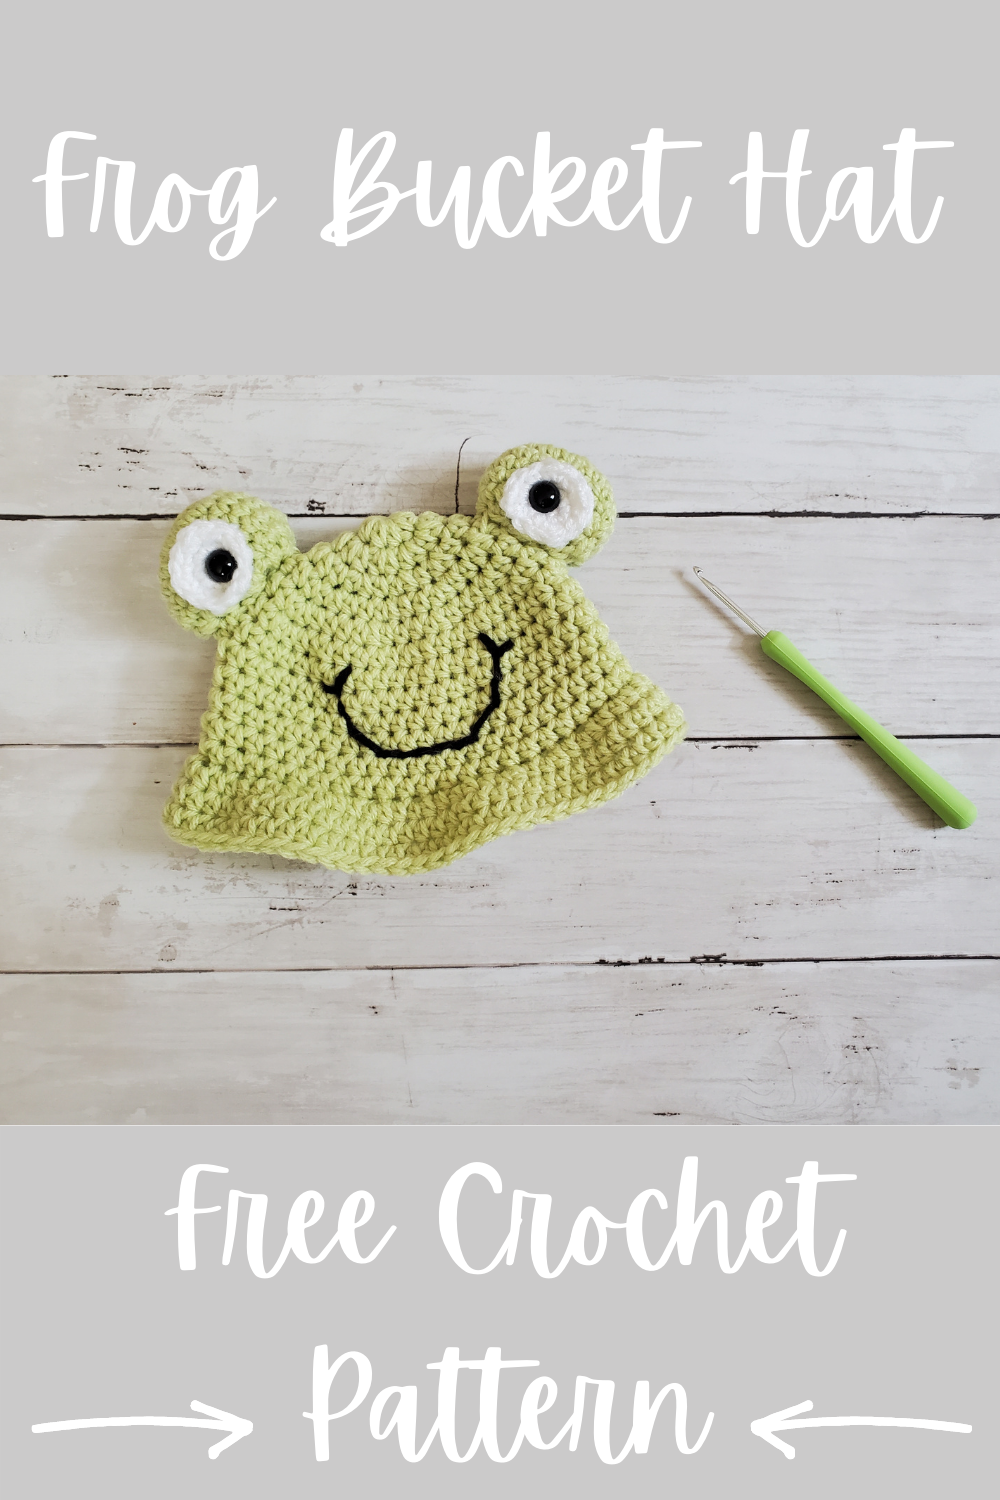
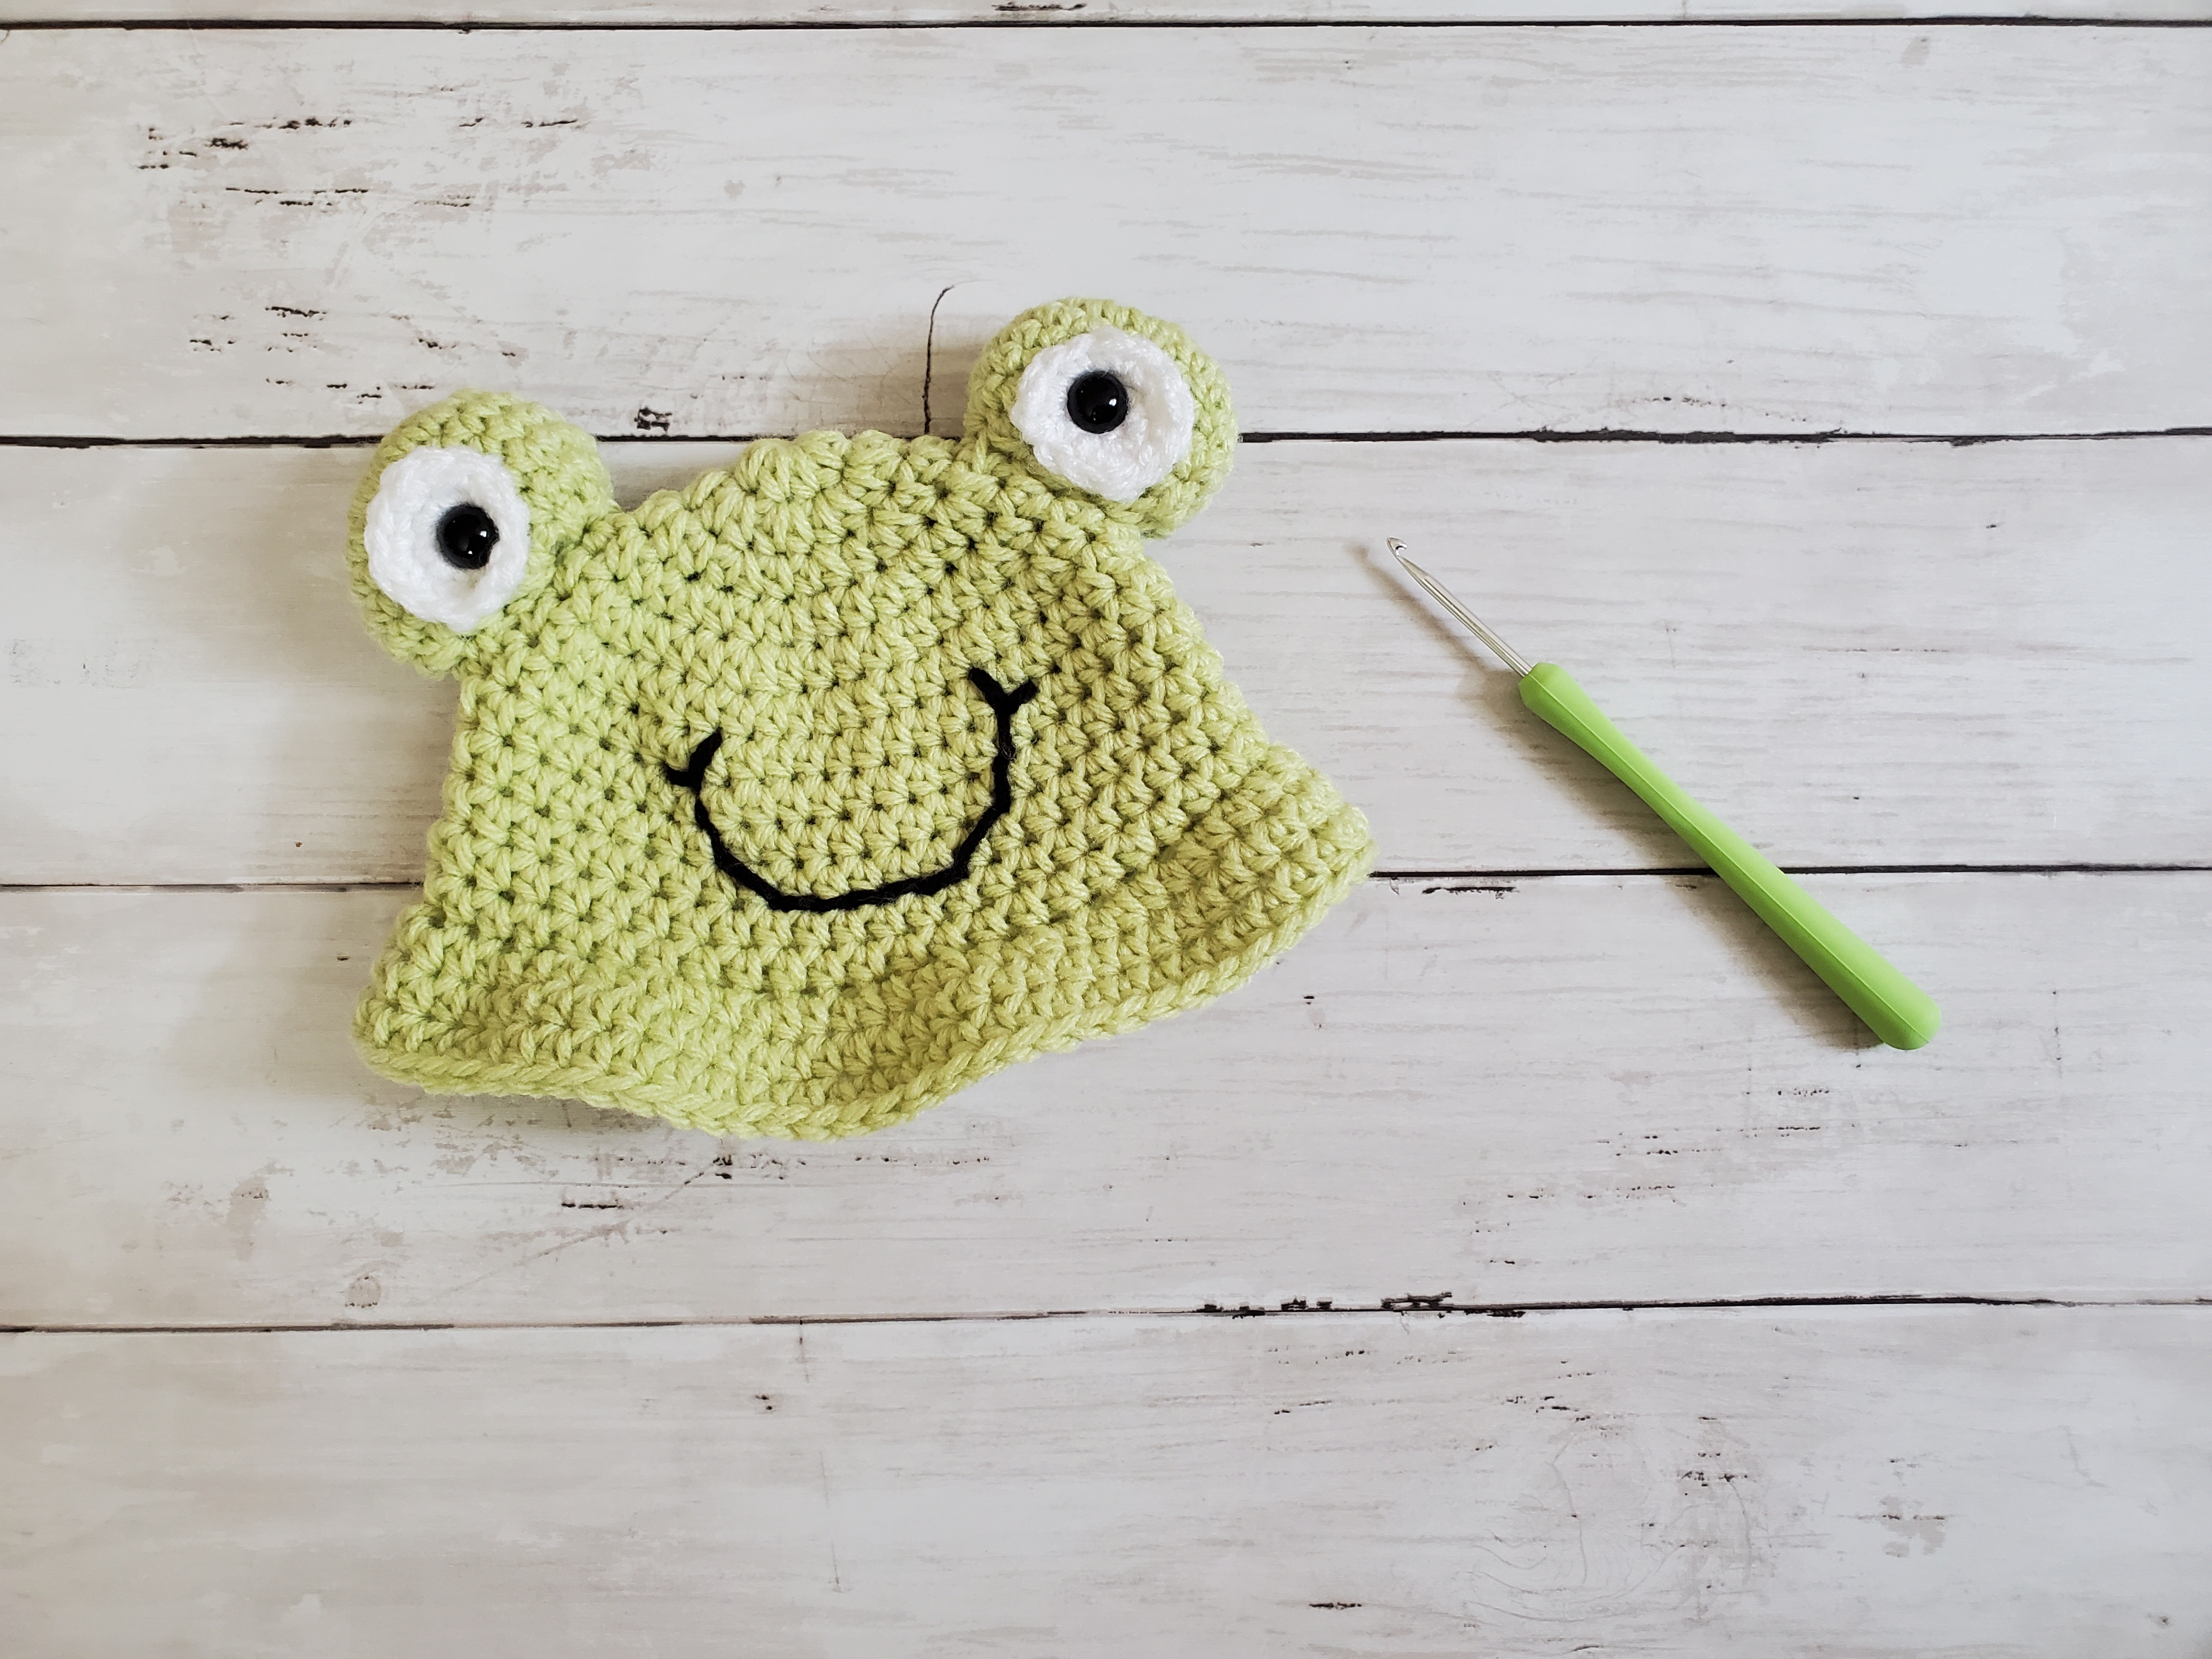
Celebrate spring time with this cute, frog bucket hat! This pattern is for a newborn size (13-14 inch circumference). I might go back and update this post for larger sizes, but I’ve been so busy lately with work and family! I’m sure everyone can relate lol!
Edit: I’ve updated this post to include more sizes! This includes Newborn to Adult Large sizes. Enjoy 🙂
The hat itself works up fairly quickly, however the eyes are created by using a magic circle (magic ring), which takes some practice to master. I would say because of the eyes, this would be an intermediate level crochet project.
This would also be a great gift idea for someone who is having a baby in the spring! I really like the pastel spring colors, so this green color was absolutely perfect.
I actually made the frog bucket hat from some mystery yarn I had in my stash. Unfortunately the label was missing, so I’m unsure exactly what brand and color. However, it looks like Red Heart has a yarn called Classic Lime that looks fairly close!
If you like this hat, check out the crochet frog stuffy I made to go along with it! It’s a super quick, frog toy that you can get done in less than an afternoon. Perfect to give to the grandkids!
***This post may contain affiliate links, which means I may receive a commission if you make a purchase through these links. As a Skimlinks affiliate, I earn through qualifying purchases.**
Hat circumference: 13″ | Hat length: 5″
With Spring Green yarn and 5mm crochet hook:
Hat Brim:
Cut yarn and pull through. Weave in end using your tapestry needle.
***See at the end of page for eye instructions***
Hat circumference: 14″ | Hat length: 5.25″
With Spring Green yarn and 5 mm crochet hook:
Hat Brim:
Cut yarn and pull through. Weave in end using your tapestry needle.
***See at the end of page for eye instructions***
Hat circumference: 15″ | Hat length: 5.75″
With Spring Green yarn and 5 mm crochet hook:
Hat Brim:
Cut yarn and pull through. Weave in end using your tapestry needle.
***See at the end of page for eye instructions***
Hat circumference: 16″ | Hat length: 6.25″
With Spring Green yarn and 5 mm hook:
Hat Brim:
Cut yarn with scissors and pull through. Weave in end using your tapestry needle.
***See at the end of page for eye instructions***
Hat circumference: 17″ | Hat length: 7″
With Spring Green yarn and 5mm hook:
Hat Brim:
Cut yarn with scissors and pull through. Weave in end using your tapestry needle.
***See at the end of page for eye instructions***
Hat circumference: 18″ | Hat length: 7.5″
With Spring Green yarn and 5mm crochet hook:
Hat Brim:
Cut yarn with scissors and pull through. Weave in end using your tapestry needle.
***See at the end of page for eye instructions***
Hat circumference: 19.5″ | Hat length: 7.75″
With Spring Green yarn and 5mm crochet hook:
Hat Brim:
Cut yarn with scissors and pull through. Weave in end using your tapestry needle.
***See at the end of page for eye instructions***
Hat circumference: 20.5″ | Hat length: 8″
With Spring Green yarn and 5mm crochet hook:
Hat Brim:
Cut yarn with scissors and pull through. Weave in end using your tapestry needle.
***See at the end of page for eye instructions***
Hat circumference: 21.75″ | Hat length: 8.25″
With Spring Green yarn and 5mm crochet hook:
Hat Brim:
Cut yarn with scissors and pull through. Weave in end using your tapestry needle.
***See at the end of page for eye instructions***
With Spring Green Yarn and 4mm crochet hook:
Pull yarn through and cut a length of yarn long enough for sewing. Do not sew the bottom of the eye totally shut.
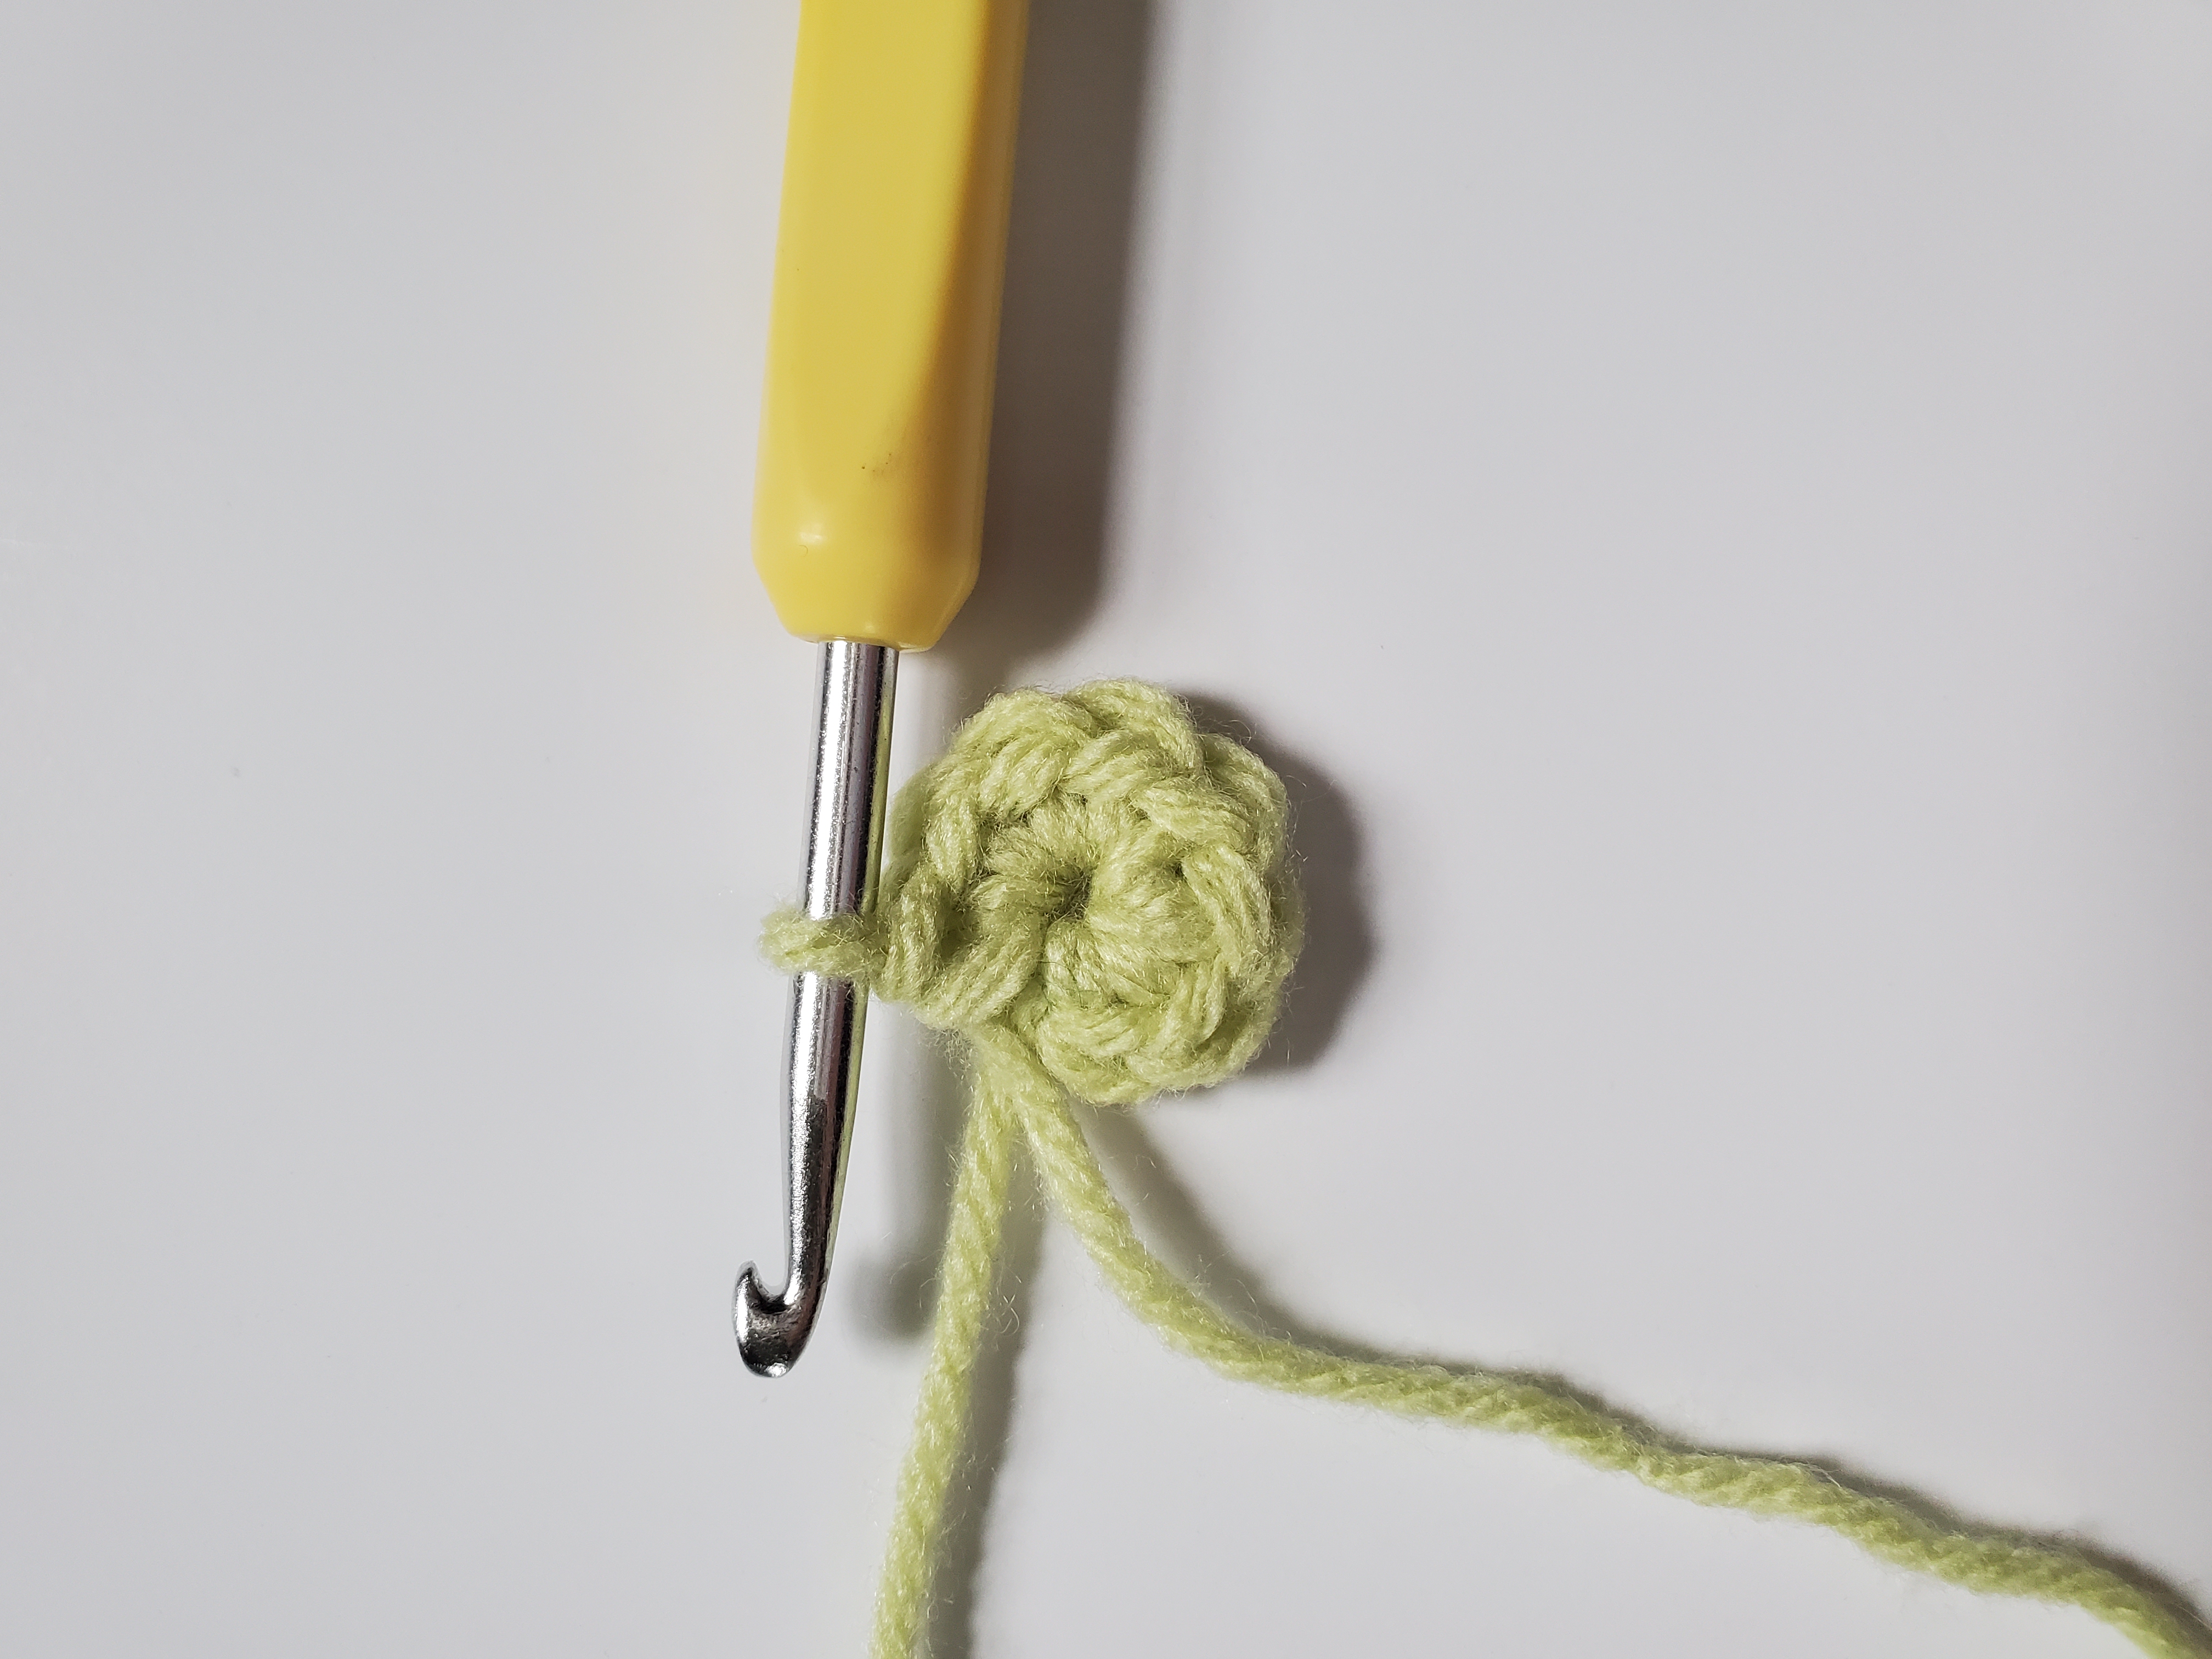
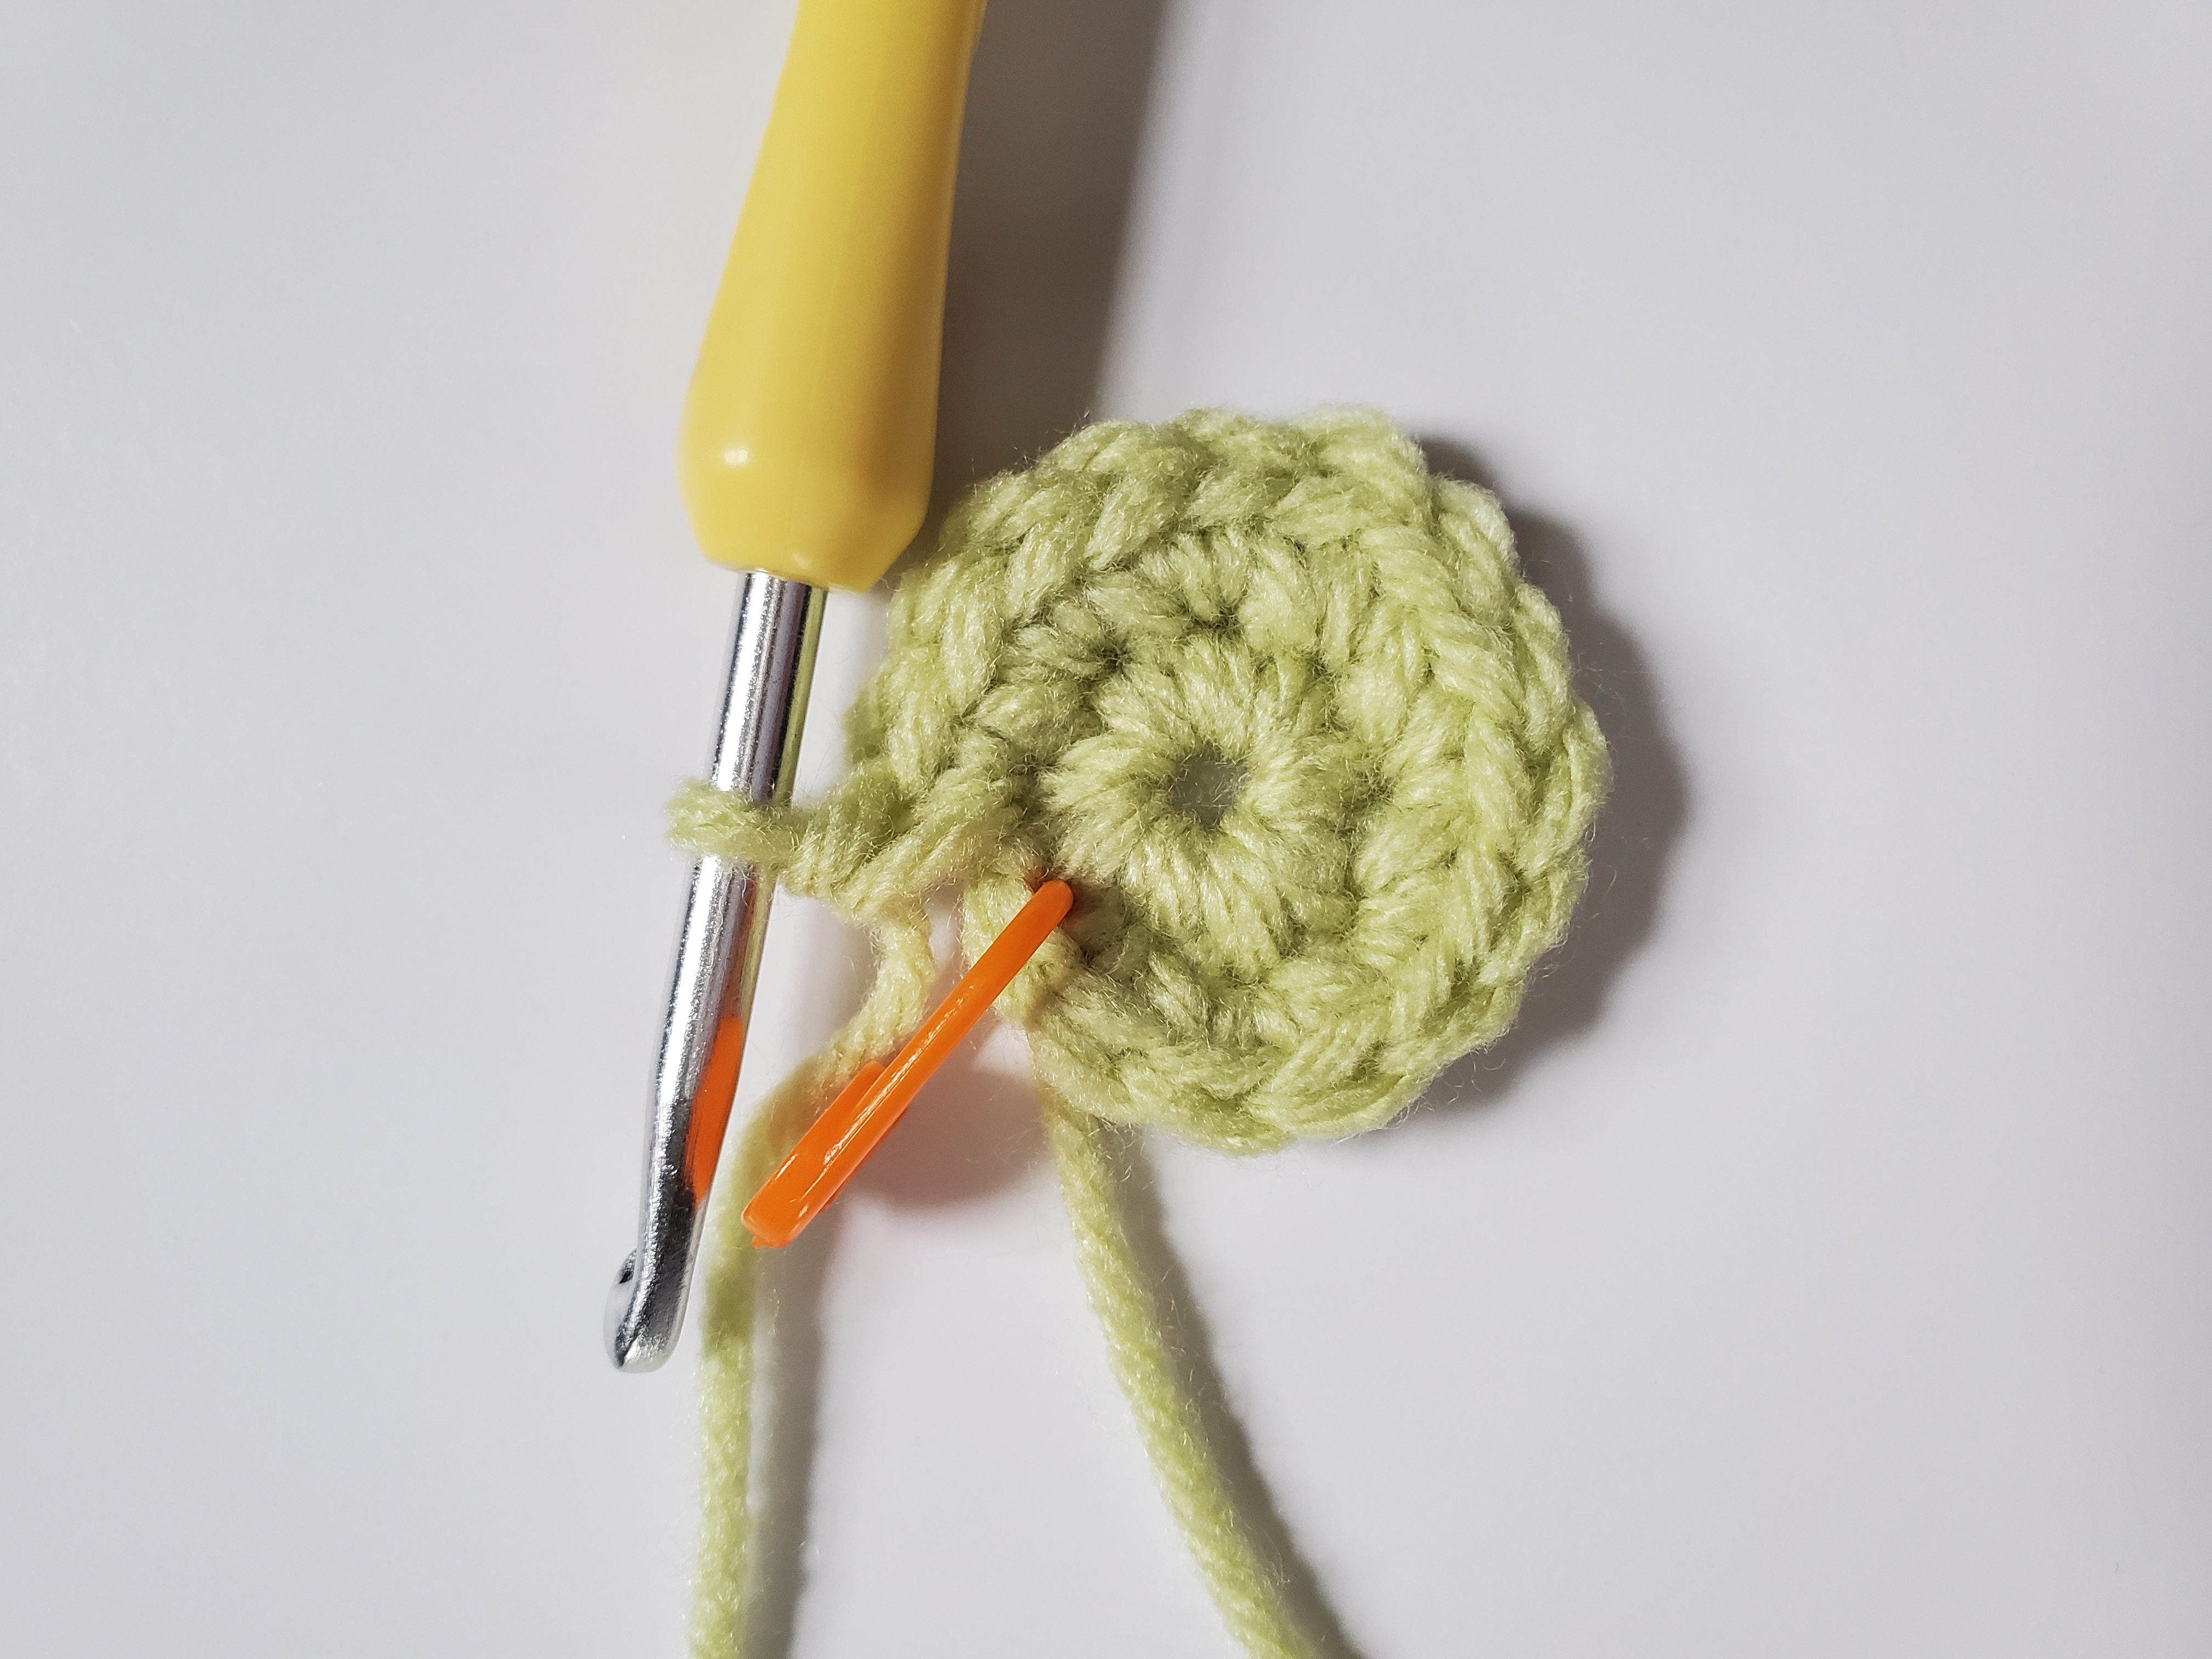
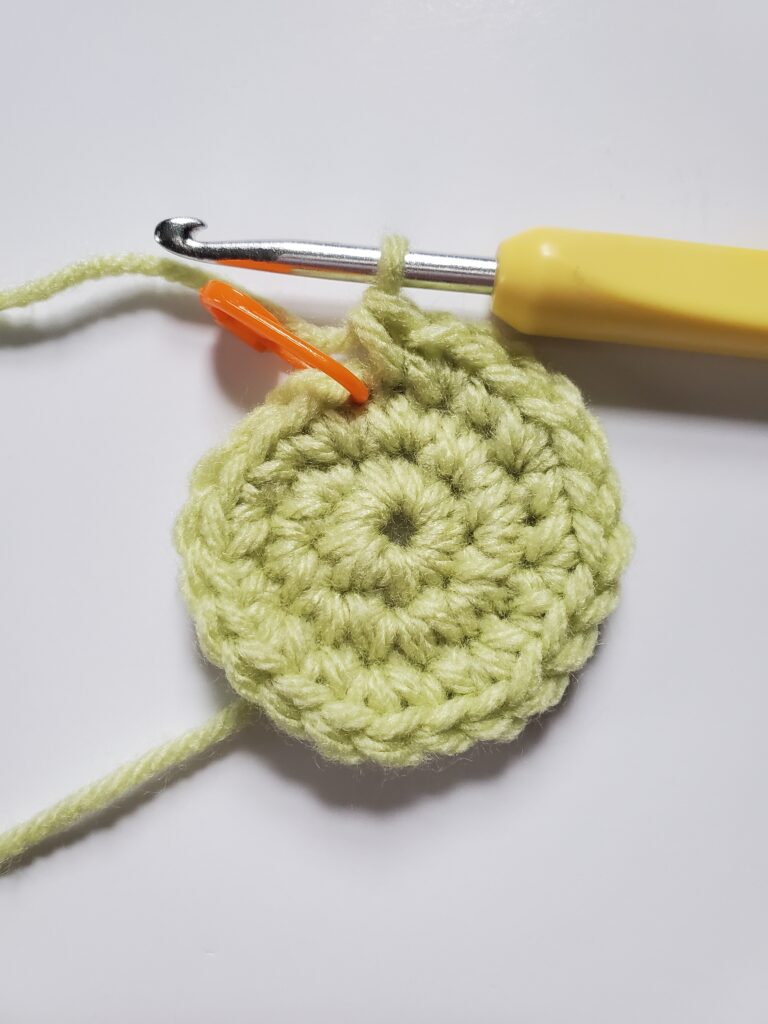
With white yarn and 4mm hook:
Pull yarn through, cut enough yarn for sewing onto the green part of the eyes.
With Spring Green yarn and 4mm hook:
Cut yarn and pull through. Leave a long tail for sewing. Do not sew the bottom of the eye totally shut.
With white yarn and 4mm hook:
Cut yarn and pull through. Leave a long enough tail for sewing.
Sew whites of the eyes onto the green part of the eyes. You can hide your yarn ends on the inside of the green part.
With your safety eyes, screw them into the middle of the white of the eye. This part may be a little tricky with how thick the yarn is after sewing.
With the frog eyes completed, we will sew them onto the bucket hat.
Looking at the hat from the top down, sew the eyes about 4 stitches away from the center of the top.
I didn’t use safety pins when sewing, but if you have difficulty keeping the eyes from moving around while sewing, they are super helpful!
And there it is! You’re all finished! Thank you for looking at my pattern for this frog bucket hat!
Happy spring and happy crocheting!
Snorlax used Rest!
And hopefully your kiddo will too! This crochet Snorlax lovey pattern was inspired by Courtney M. at Studio Crafti. She made an awesome (and free) Snorlax pattern that I tweaked and turn into a snugly lovey.
Her pattern for the Snorlax can be found here.
I used her pattern for Snorlax’s head and ears, so if you want to crochet this pattern, you’ll need to go to the link above to get started.
I felt that for my lovey, the arms were just a little too short in Courtney’s pattern, so I created my own.
For the head and arms, I continued to crochet in the round. This means when I get to the end of my round, instead of slip stitching and chaining one, I continued the pattern into the beginning stitch of the previous round. You can still slip stitch and chain one if you want to, however with amigurumi-like projects, it looks a lot cleaner if you continue in the round.
You’ll also want something to mark the beginning of your rounds so you can count your stitches accurately. I use stitch markers, but you can use a scrap piece of yarn if you don’t have any.
Okay are we ready? Let’s get started!
You will need:
Terms used in this pattern:
Follow Courtney’s steps for the head and ears using the 3.5mm crochet hook. Once you’re finished, pull your yarn through and leave a long tail so you have enough yarn to sew the head onto the blanket.
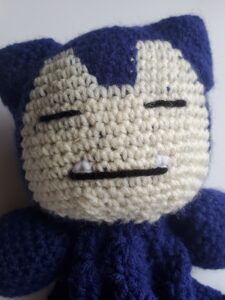
Take your tapestry needle and sew with black yarn for the eyes and mouth (shown below). It’s best to tie both ends together from the inside of the head so that it doesn’t unravel.
Sew the teeth by making triangle shapes above the mouth (shown below).crc
Round 1) 6 sc in mc (6)
Round 2) inc in each st around (12)
Round 3) 1 sc, inc *repeat around (18)
Round 4-6) sc in each st around (18)
Round 7) sc 2, inc *repeat around (24)
Round 8-13) sc in each st around (24)
Round 14) dec, 1 sc *repeat around (16)
Start stuffing with poly-fil
Round 15) dec around (8)
Take your hook and pull your yarn through. Leave a long tail to sew later and cut with scissors.
Use your tapestry needle to sew the claws at the end of the arms with the white yarn. To hide your white yarn when finished, pull it through the poly-fil towards the top of the arm. I recommend tying both ends of the white yarn together, so the claws are secured and less likely to get pulled out.

Fold the opening of the arm in half so the stitches line up evenly. Take your tapestry needle and sew the opening together.
It can be difficult to see stitches with dark colored yarn. The pictures presented below are crocheted with a lighter color yarn so you can see what’s happening in the pattern.
With Navy Blue Yarn
Round 1) mc
Round 2) ch 3, (this counts as a dc in this and the next rounds) 19 dc in mc (20)
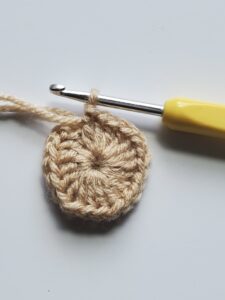
Sl st into the top of ch 3
Round 3) ch 1, sc into same st, skip 1 st, 3 dc into next st, ch3, 3 dc into the same st (this is one point of the star shape)
*skip 1 st, sc into next st, 3 dc into next st, ch3, 3 dc into same st* repeat *to* until you reach beginning sc. Join with a sl st.
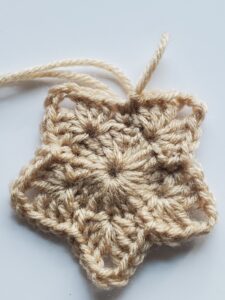
Round 4) sl st into the next 2 st, ch 3, dc into next st, 3 dc in chain space, ch 3, 3 dc into same space, dc into next 2 st, skip next 3 sts (dc, sc, dc).
*dc into next 2 sts, 3 dc in chain space, ch 3, 3 dc into same space, dc into next 2 sts, skip next 3 sts*. Repeat *to*, sl st into top of ch 3 from beginning
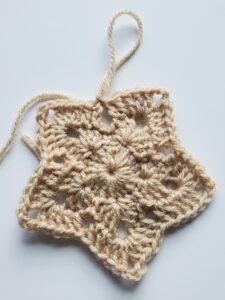
Round 5) Sl st into next st, ch 3, dc into next 3 sts, 3 dc in chain space, ch 3, 3 dc into same space, dc into next 4 sts, skip next 2 sts.
*dc into next 4 sts, 3 dc in chain space, ch 3, 3 dc into same space, skip next 2 sts*. Repeat *to*, sl st into top of ch 3 from beginning.
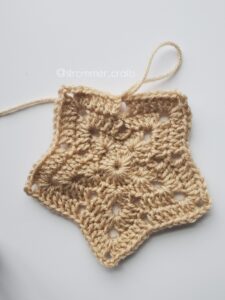
Continue in this fashion, essentially growing the star by increasing dcs up and down the sides, growing the corners by doing 3dc, ch 3, and 3 more dc in the same spot. Remember to sk 2 sts at the bottom of the corners.
Grow your star until you have completed a total of 12 rounds with the navy blue yarn, switch to cream yarn and complete 2 more rounds.
To complete, sew the head and arms of Snorlax into the middle of your star blanket with your tapestry needle. Thread your needle into each and every stitch of Snorlax’s head to make sure it stays secure.
Congratulations! You have your very own crochet Snorlax lovey!