Make a Stuffed Crochet Frog in an Afternoon!


Hello everyone! Today we are going to learn how to make a stuffed crochet frog toy! This pattern is so easy and quick, you can crochet this little guy in an afternoon!
***Please note that this post may contain affiliate links. This means that I may receive a commission if you purchase something through these links (at no cost to you!). Thank you for your support!***
Okay, so I was inspired to make my little frog friend to go along with my Frog Bucket Hat I made a few months ago. I use the same green yarn for both patterns so they match! Here they are side by side:
I think they’re so cute together!
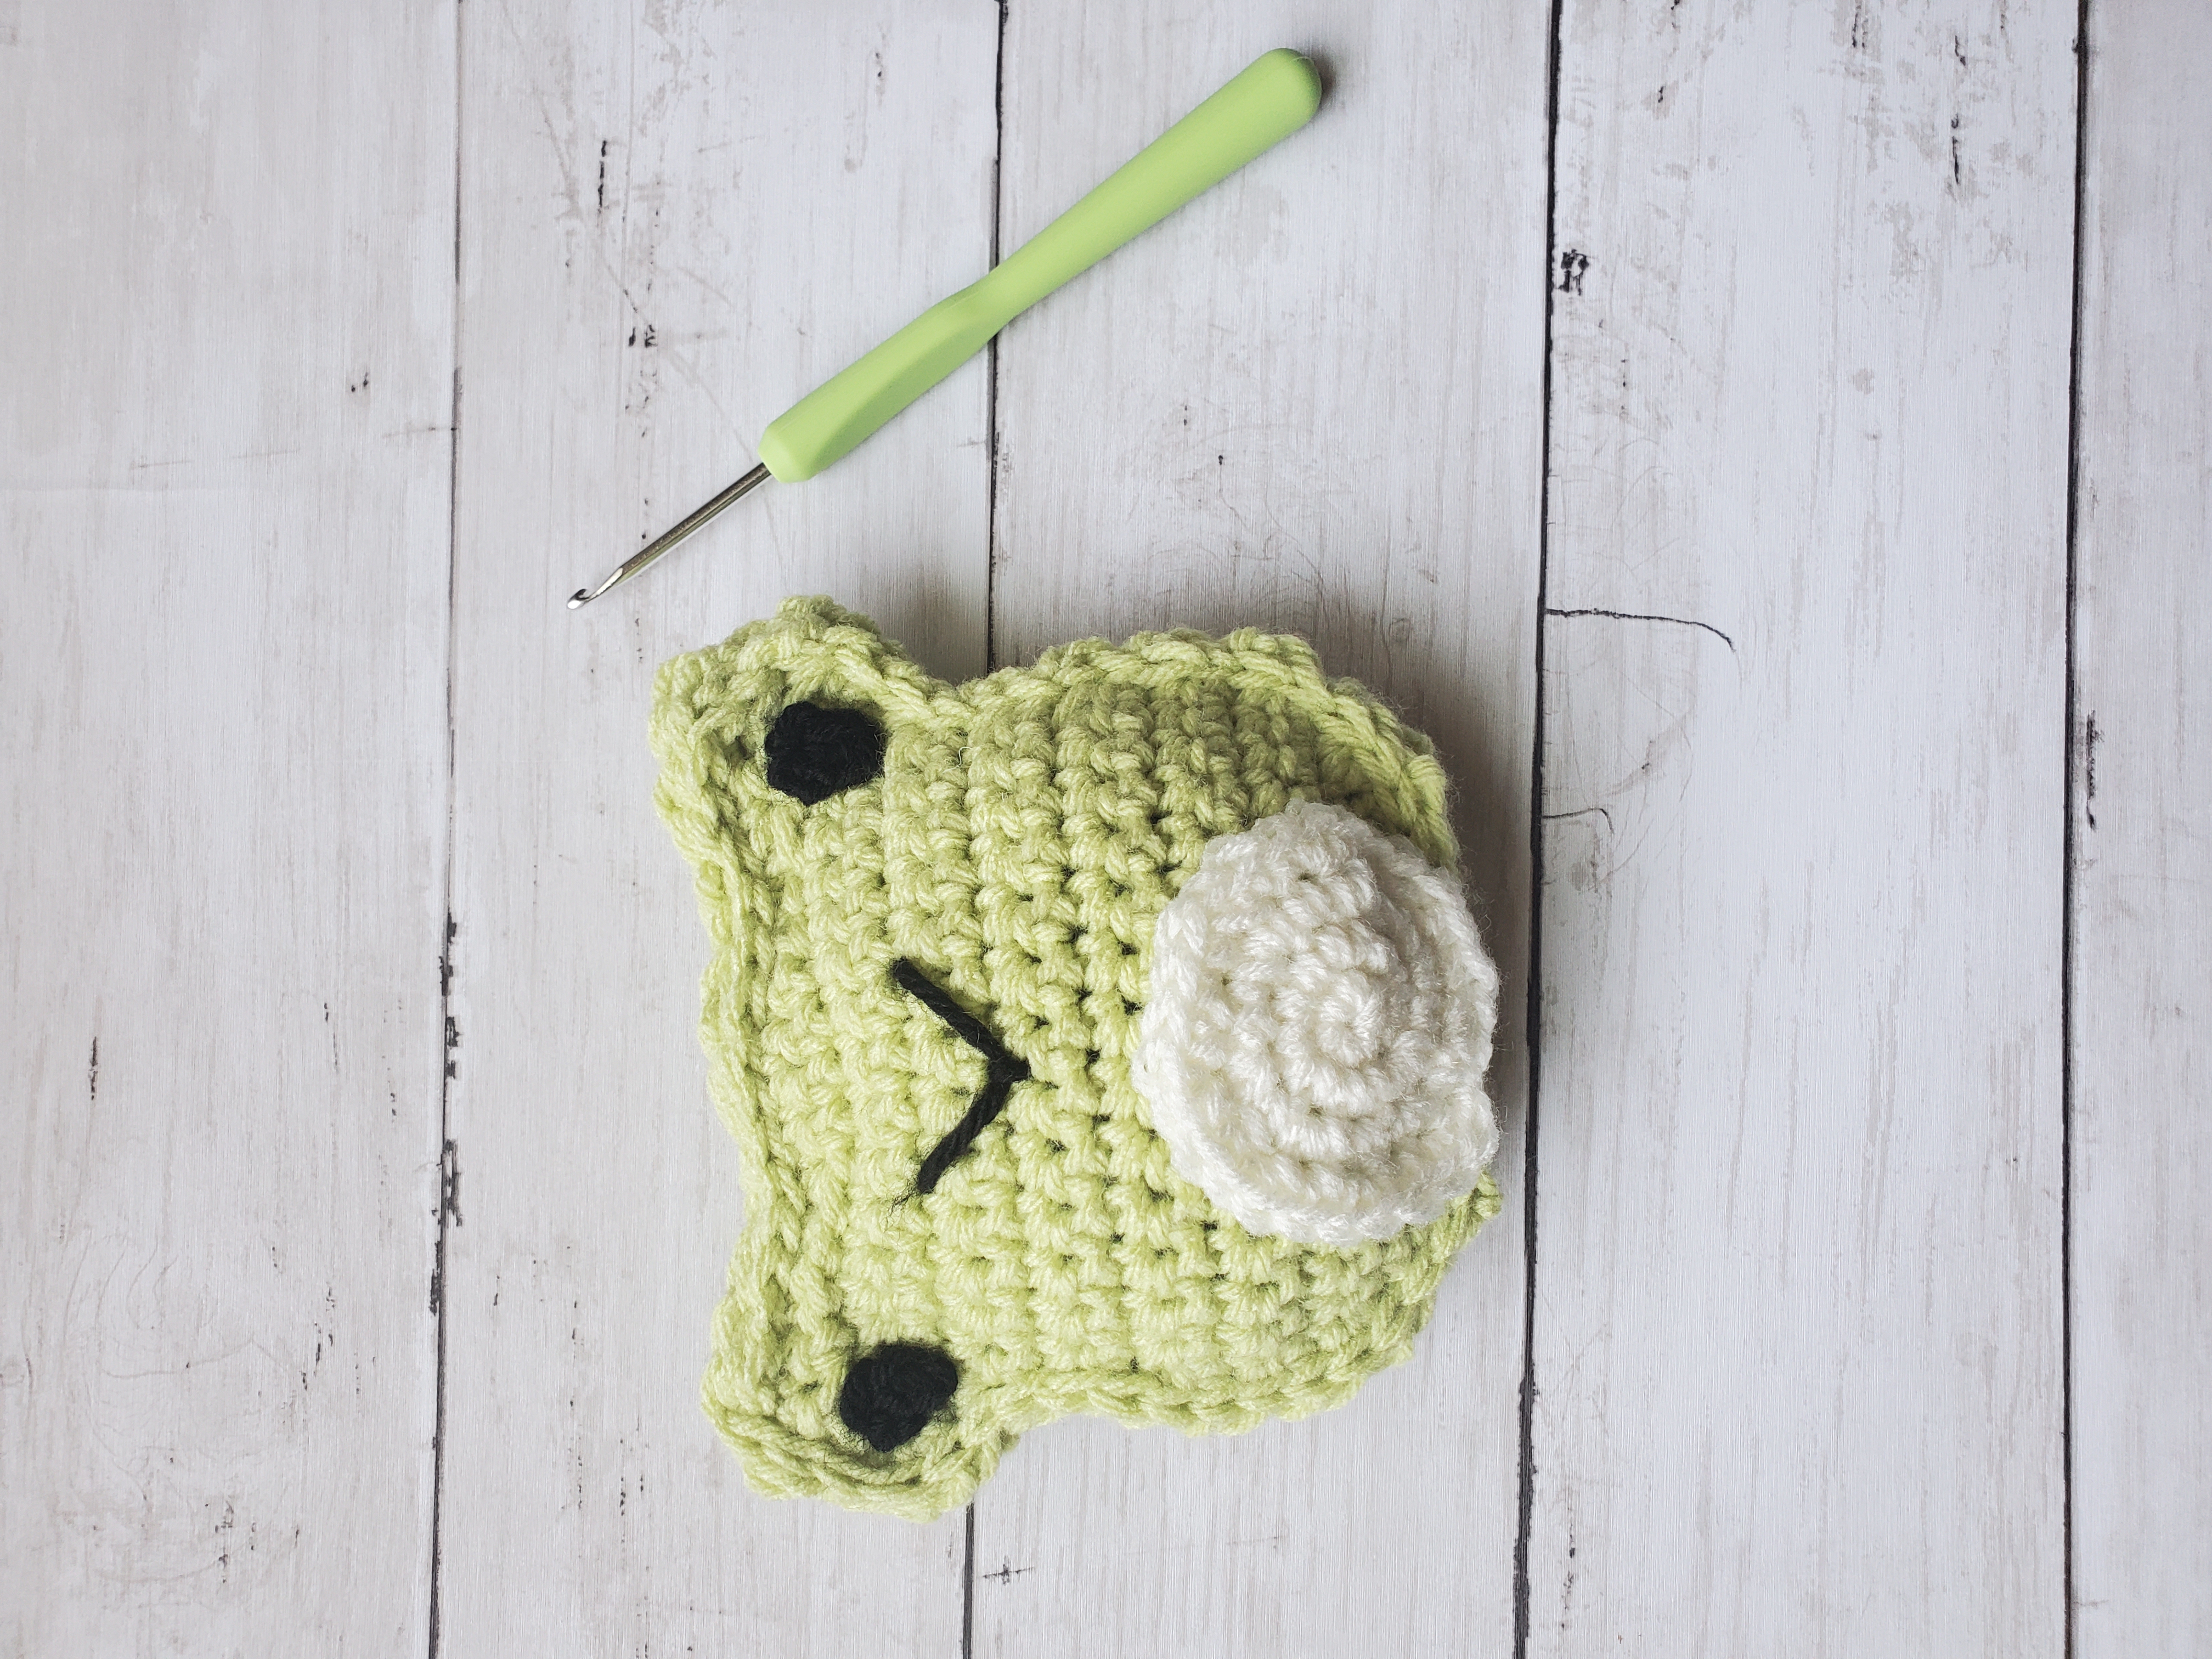
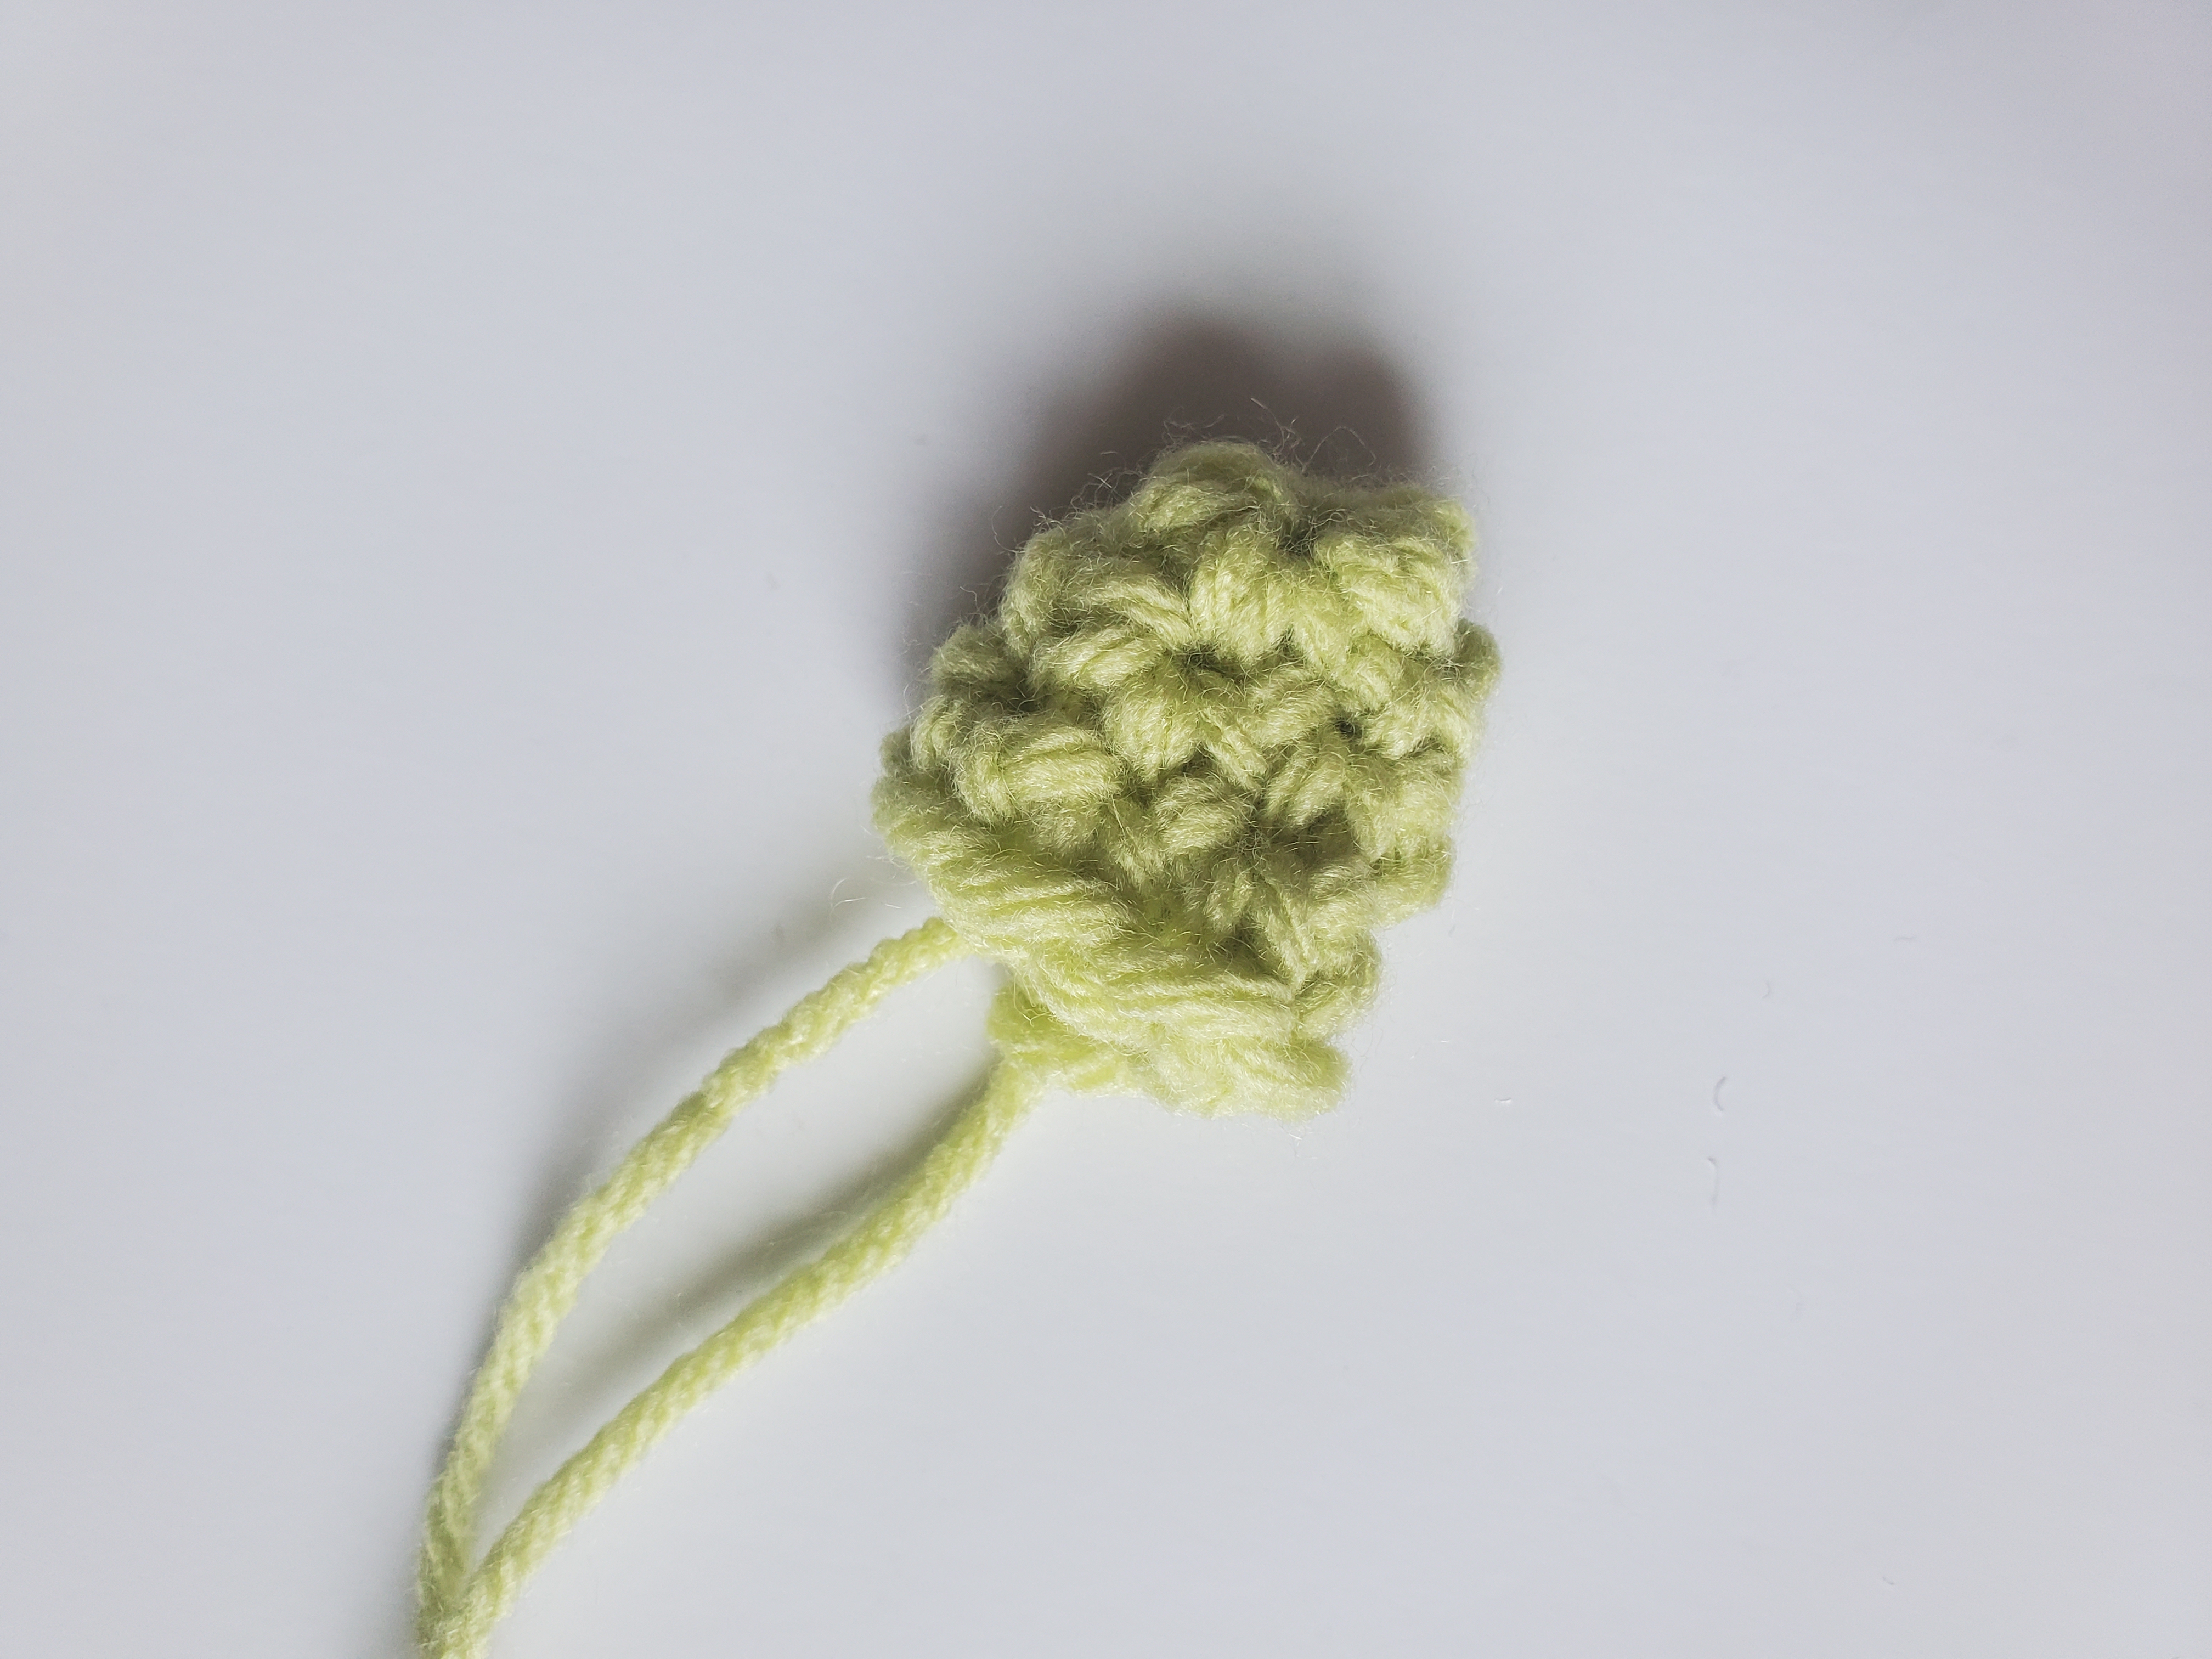
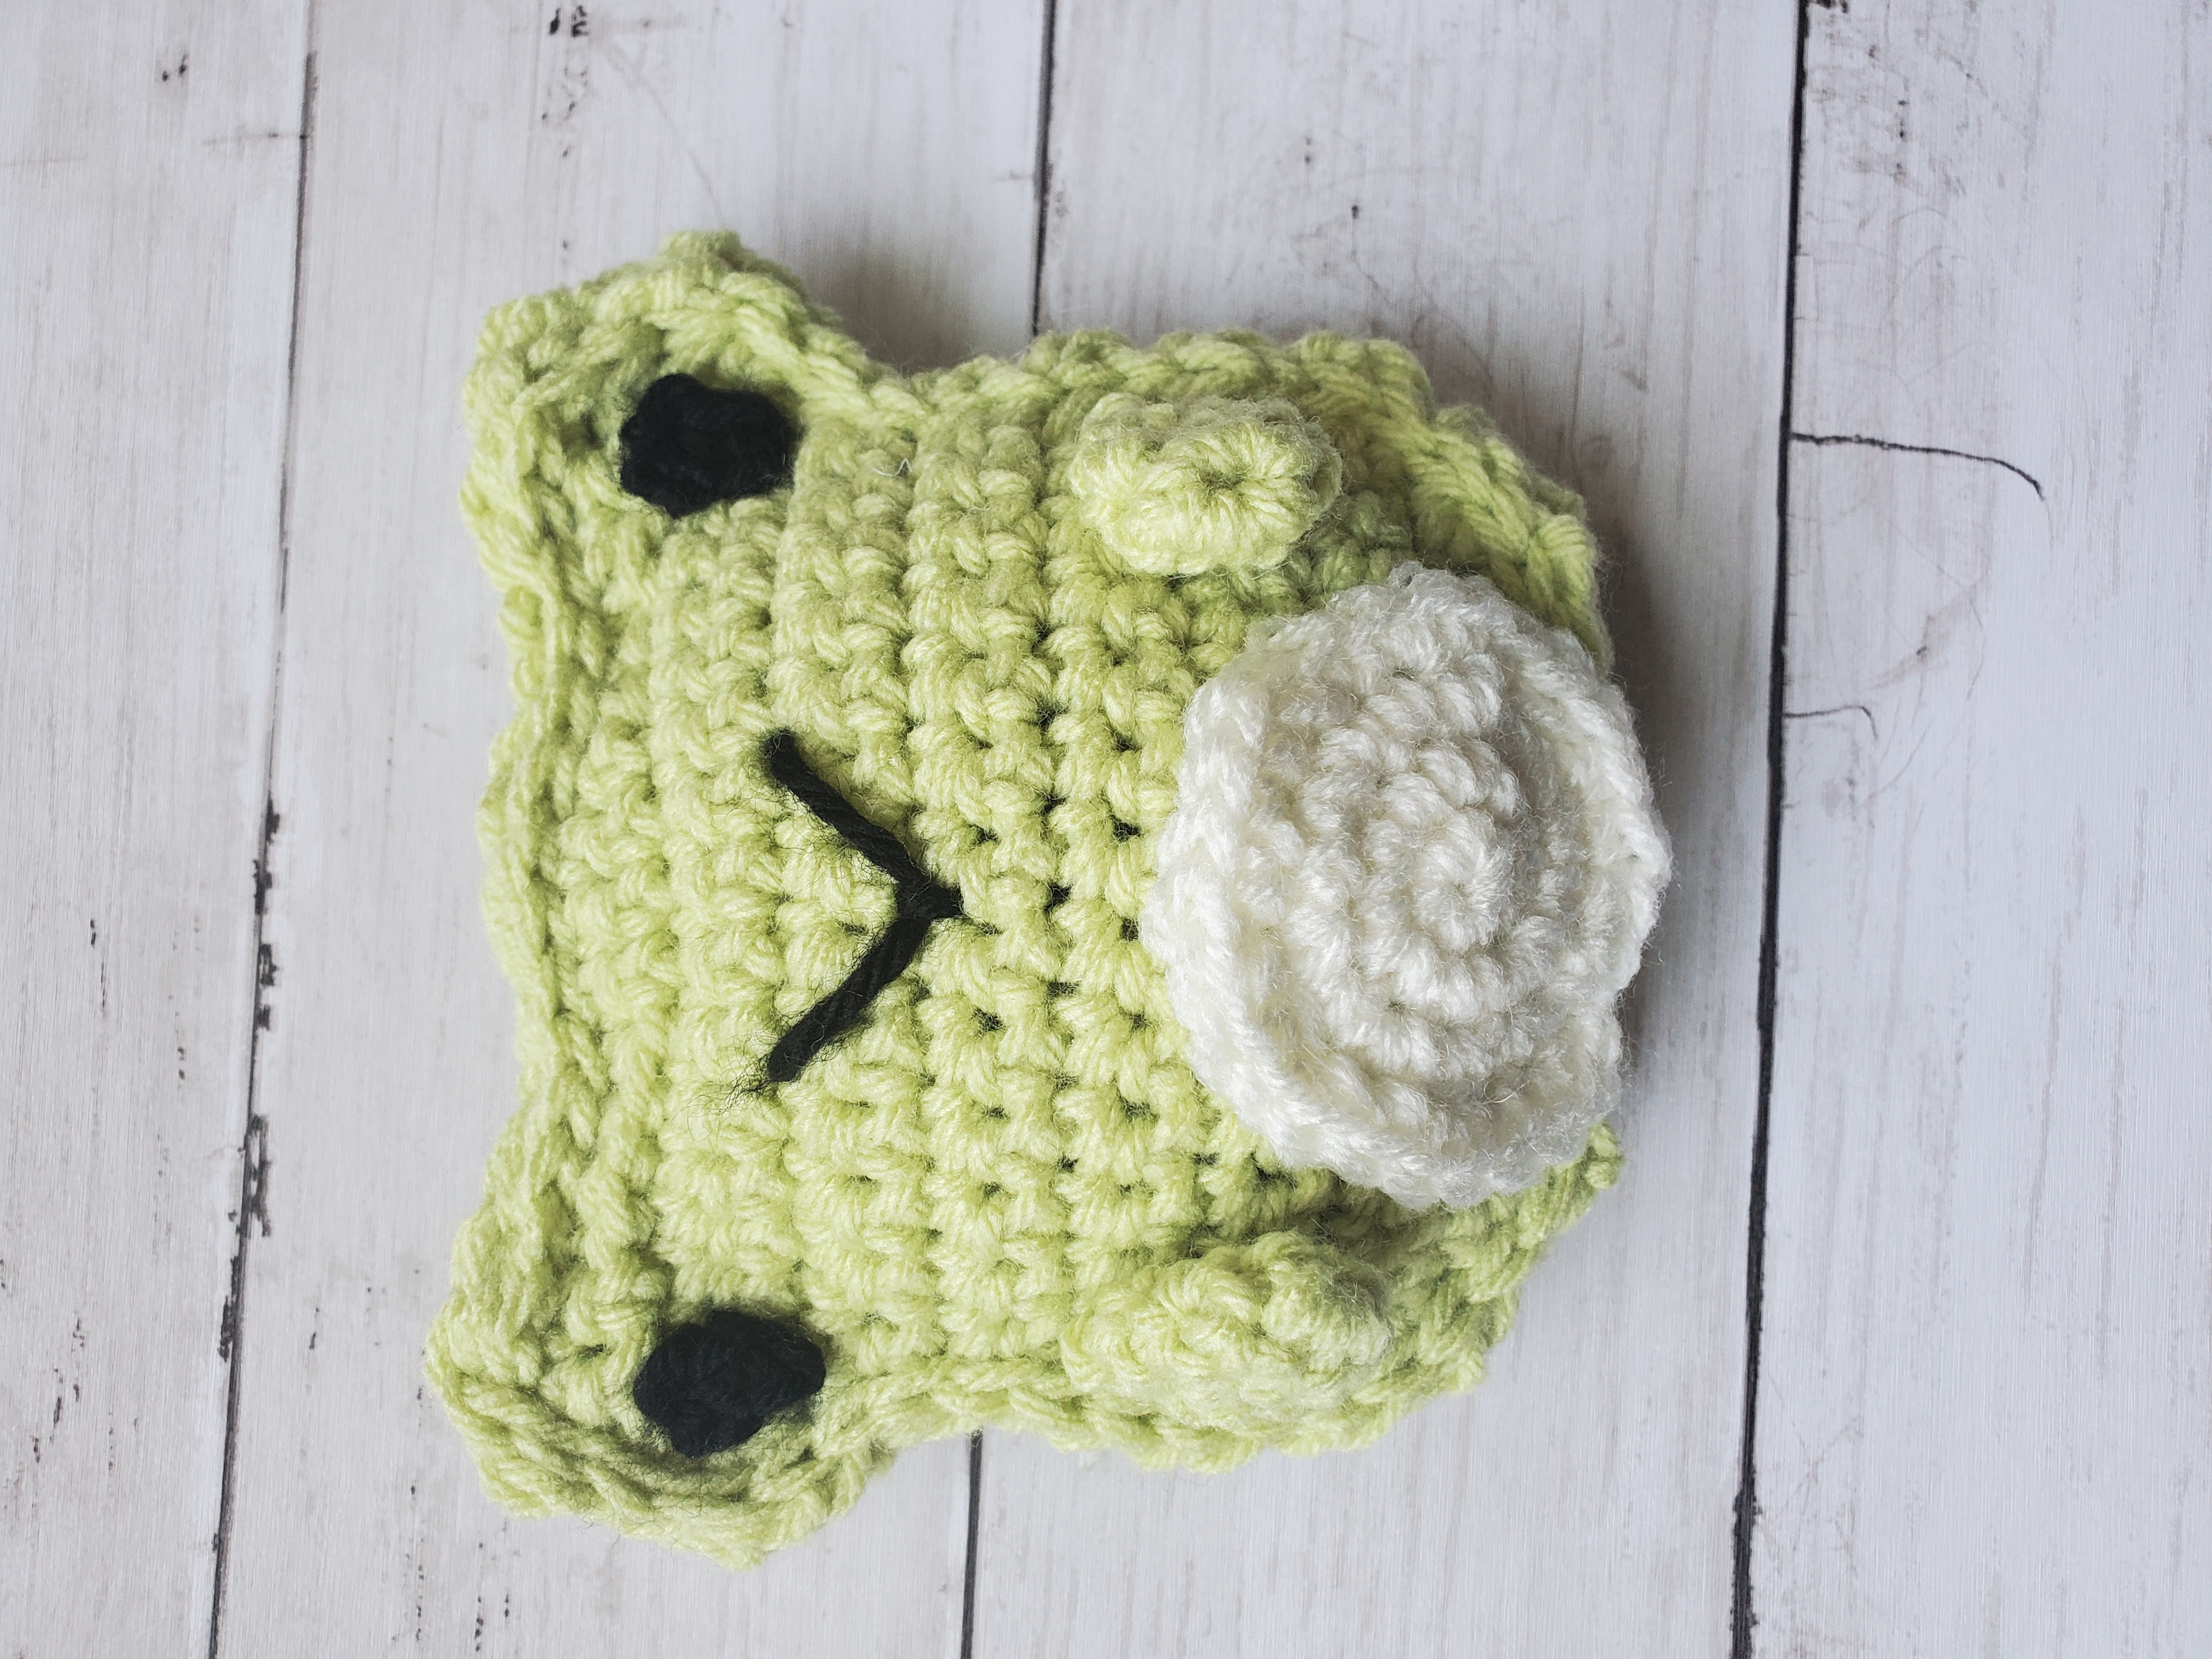
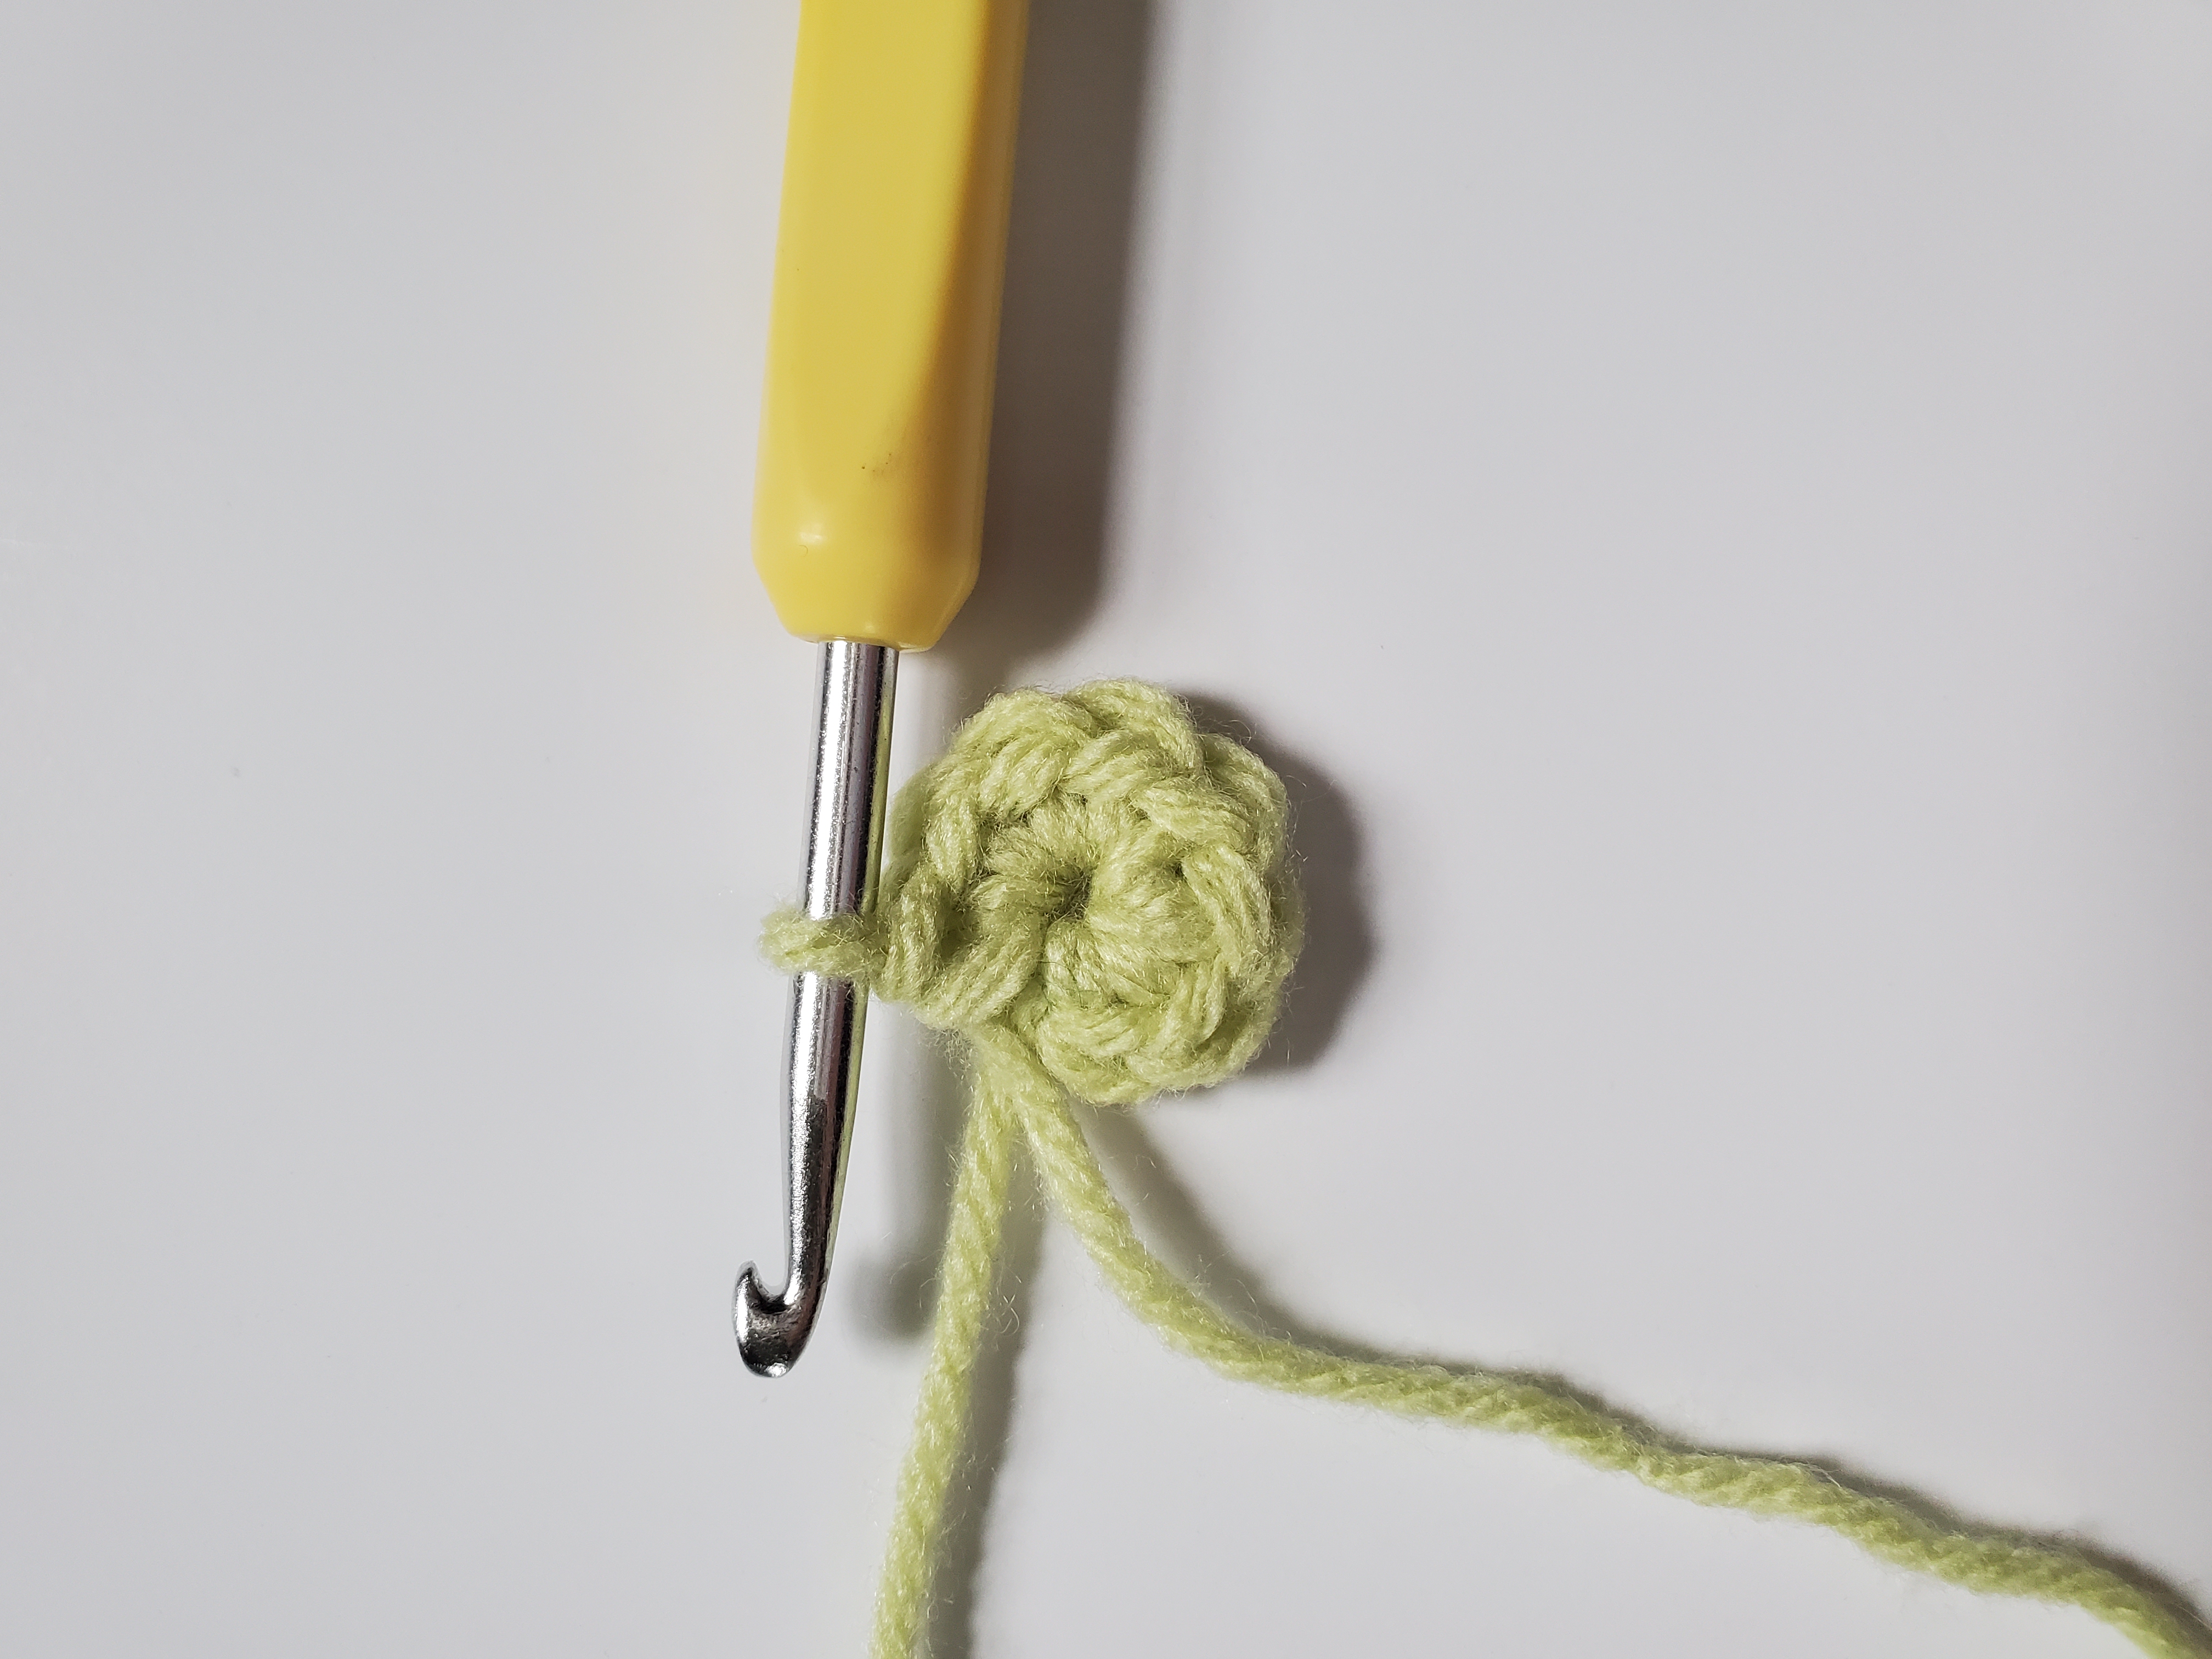
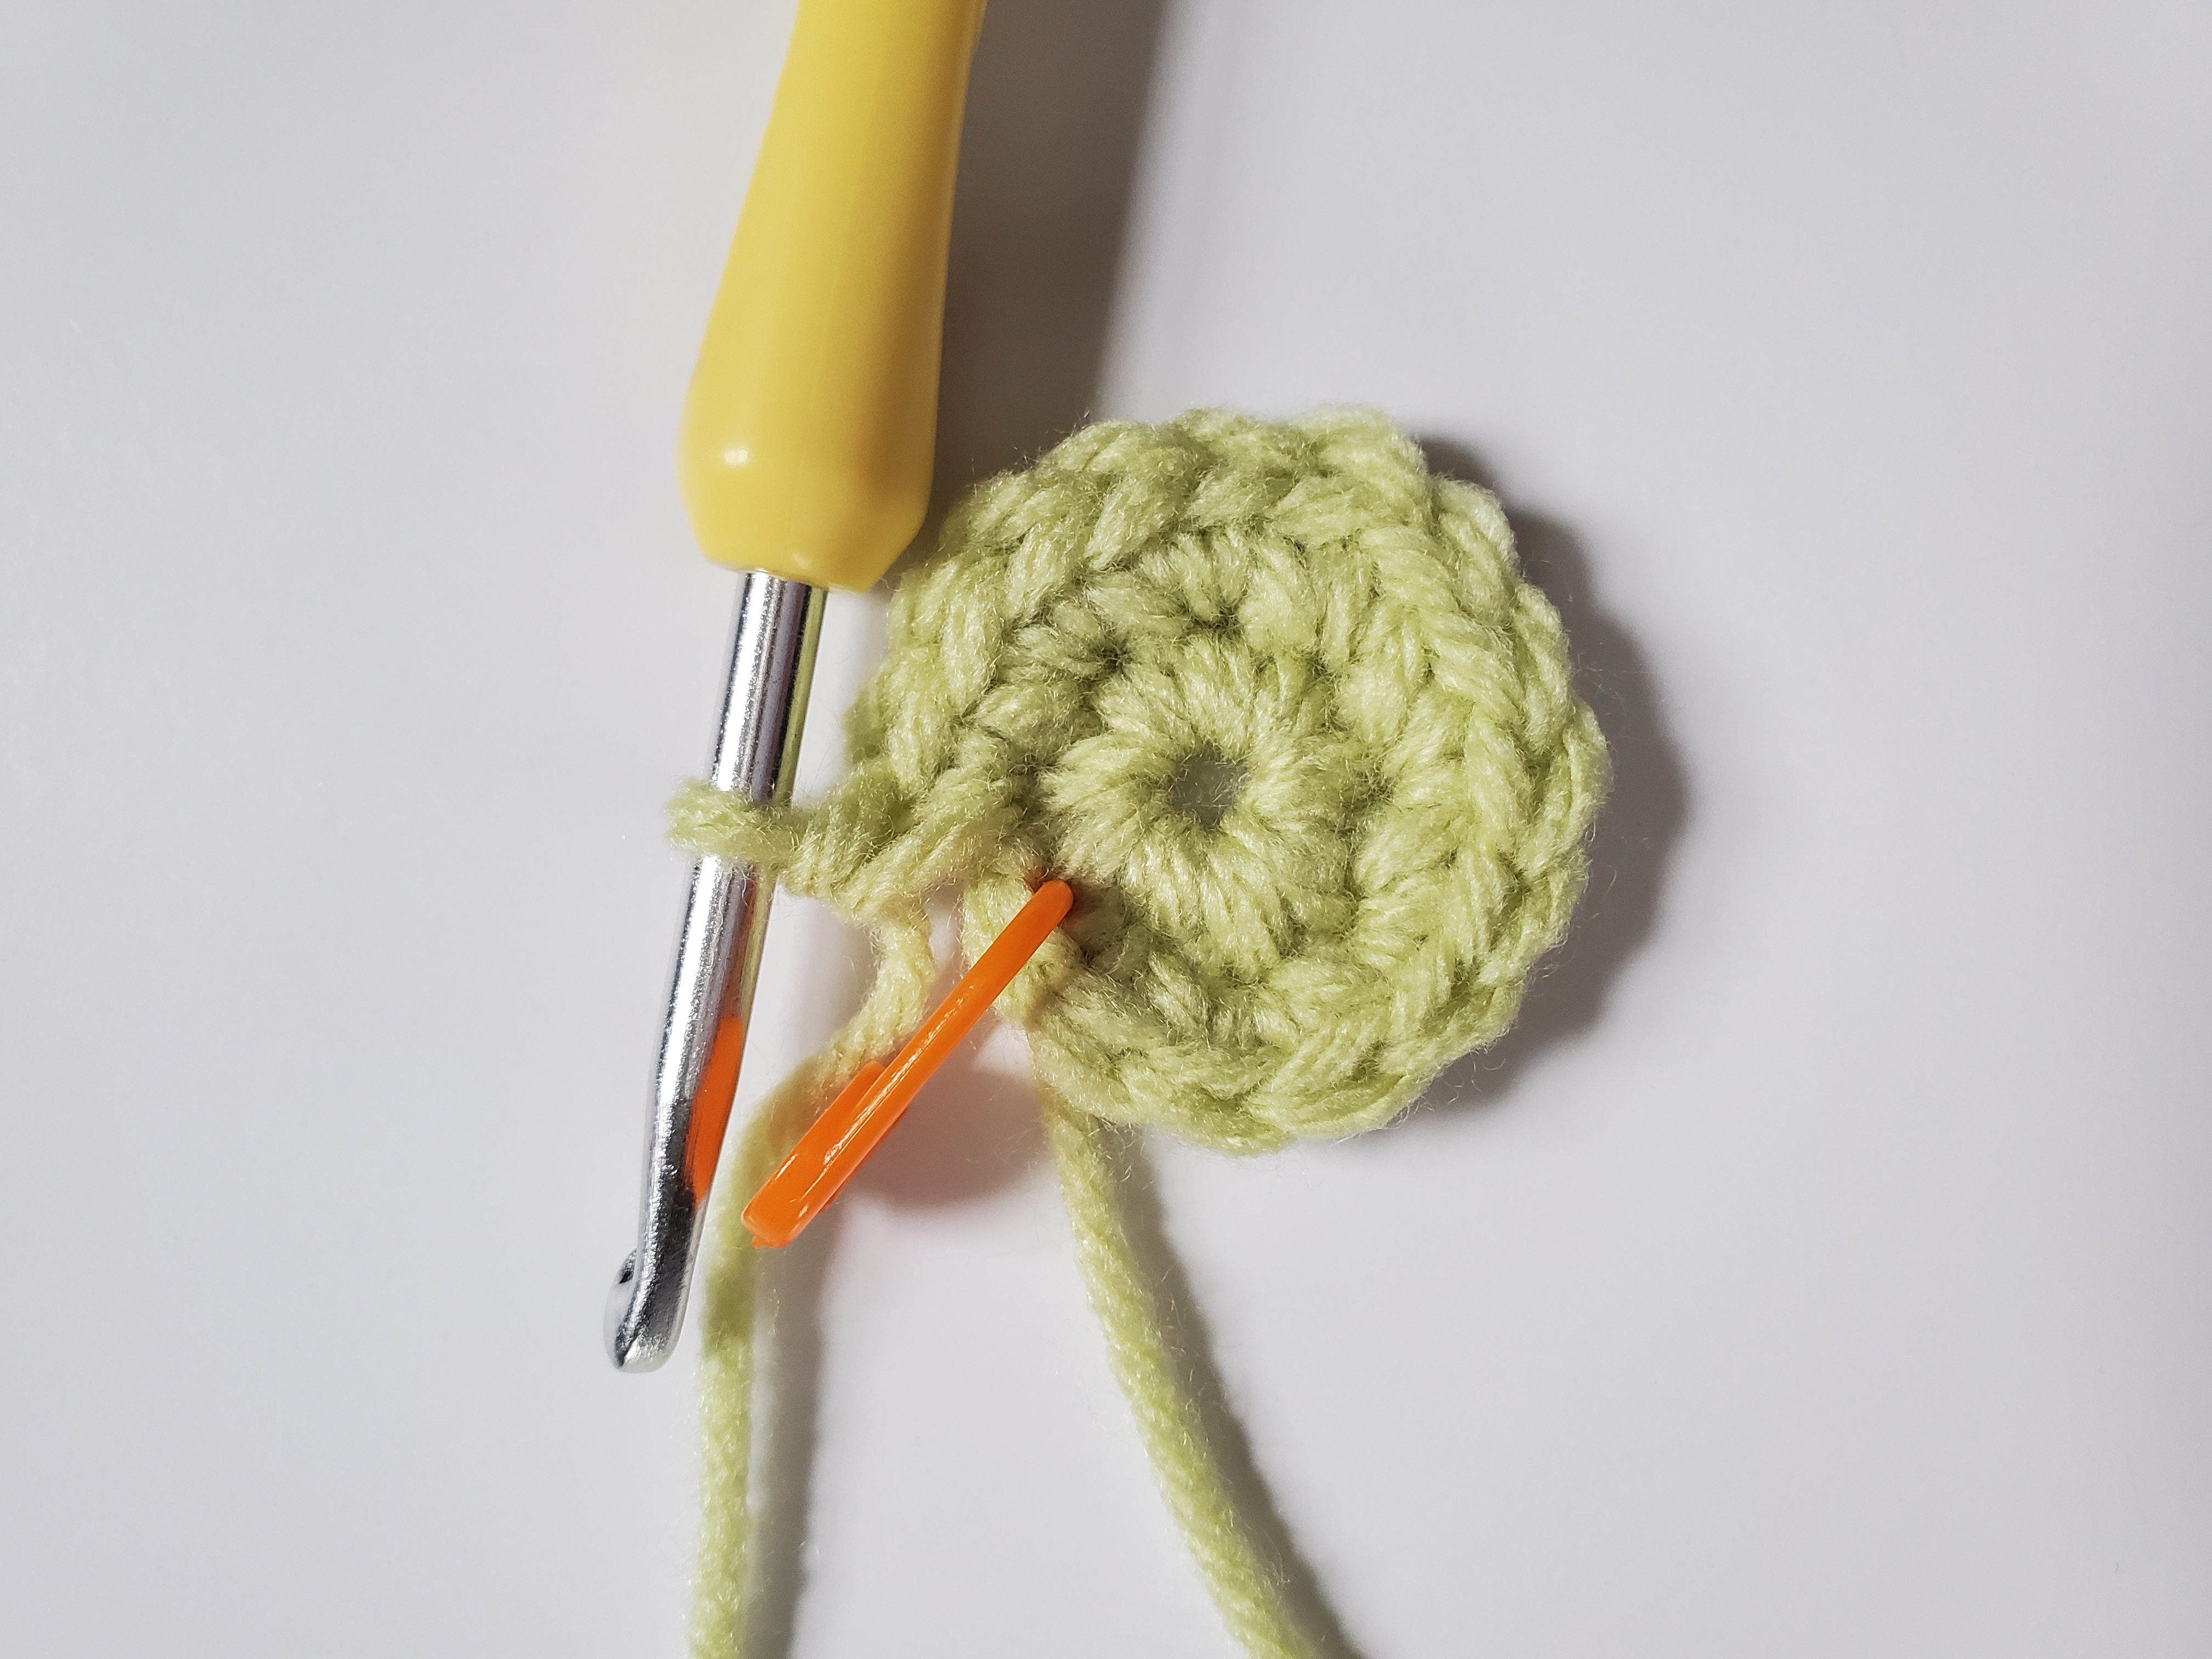
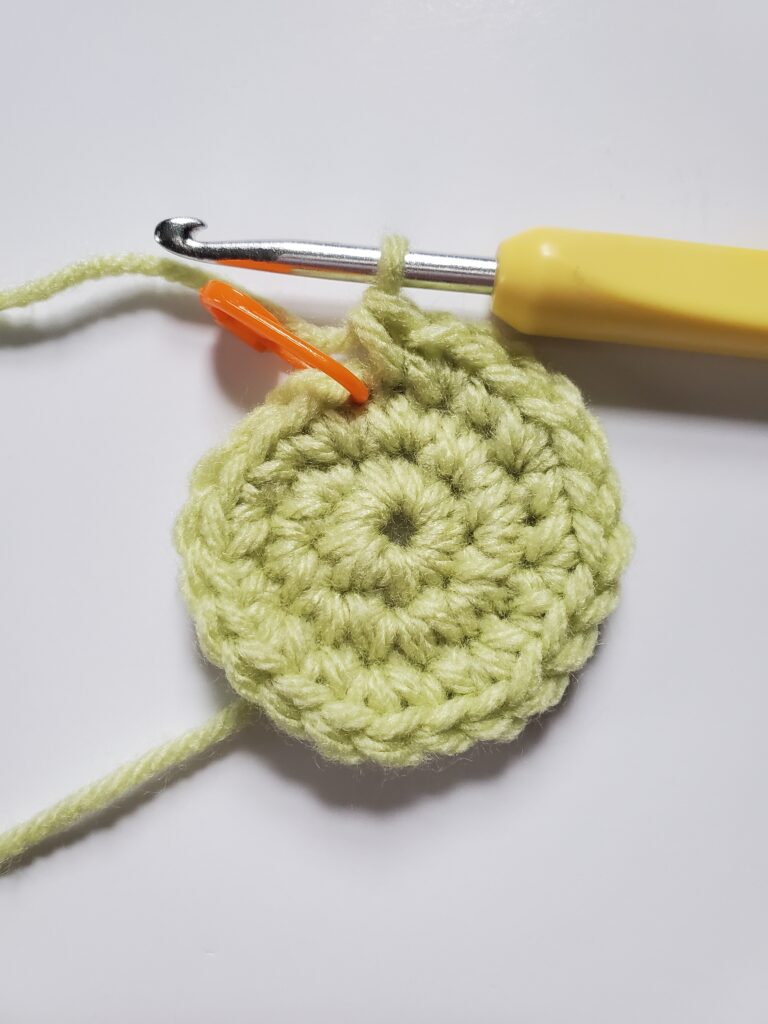
When I was creating this little crochet frog friend, I couldn’t decide if I wanted to give him arms or not. I decided to add arms, but did this using an amigurumi technique by working in a magic circle. The belly is also made with this technique.
If you like how your frog looks without the arms, you can leave them off.
I used medium 4 worsted weight, acrylic yarn. You can use any kind of yarn you would like as long as it’s the correct weight. I just really like the yarn from Red Heart for fun projects like this. Especially since it’s reasonably priced and comes in so many colors.
When finished, he is about 5″ x 5.5″ (give or take, all depends on your tension!)
Ready to learn how to make your cute, little, crochet frog stuffy? Let’s get started!
With 5 mm crochet hook and lime green yarn:
With 5 mm hook and black yarn:
With 5 mm hook and soft white yarn:
With 5 mm hook and lime green yarn:
You’re all done! What a fun crochet project this was, and I really think it pairs well the Frog Bucket Hat. Make them both as a baby shower gift or just for fun for the kids!
Does the crochet frog stuffy look great with or without the arms? Which one do you think looks better? Let me know in the comments below!
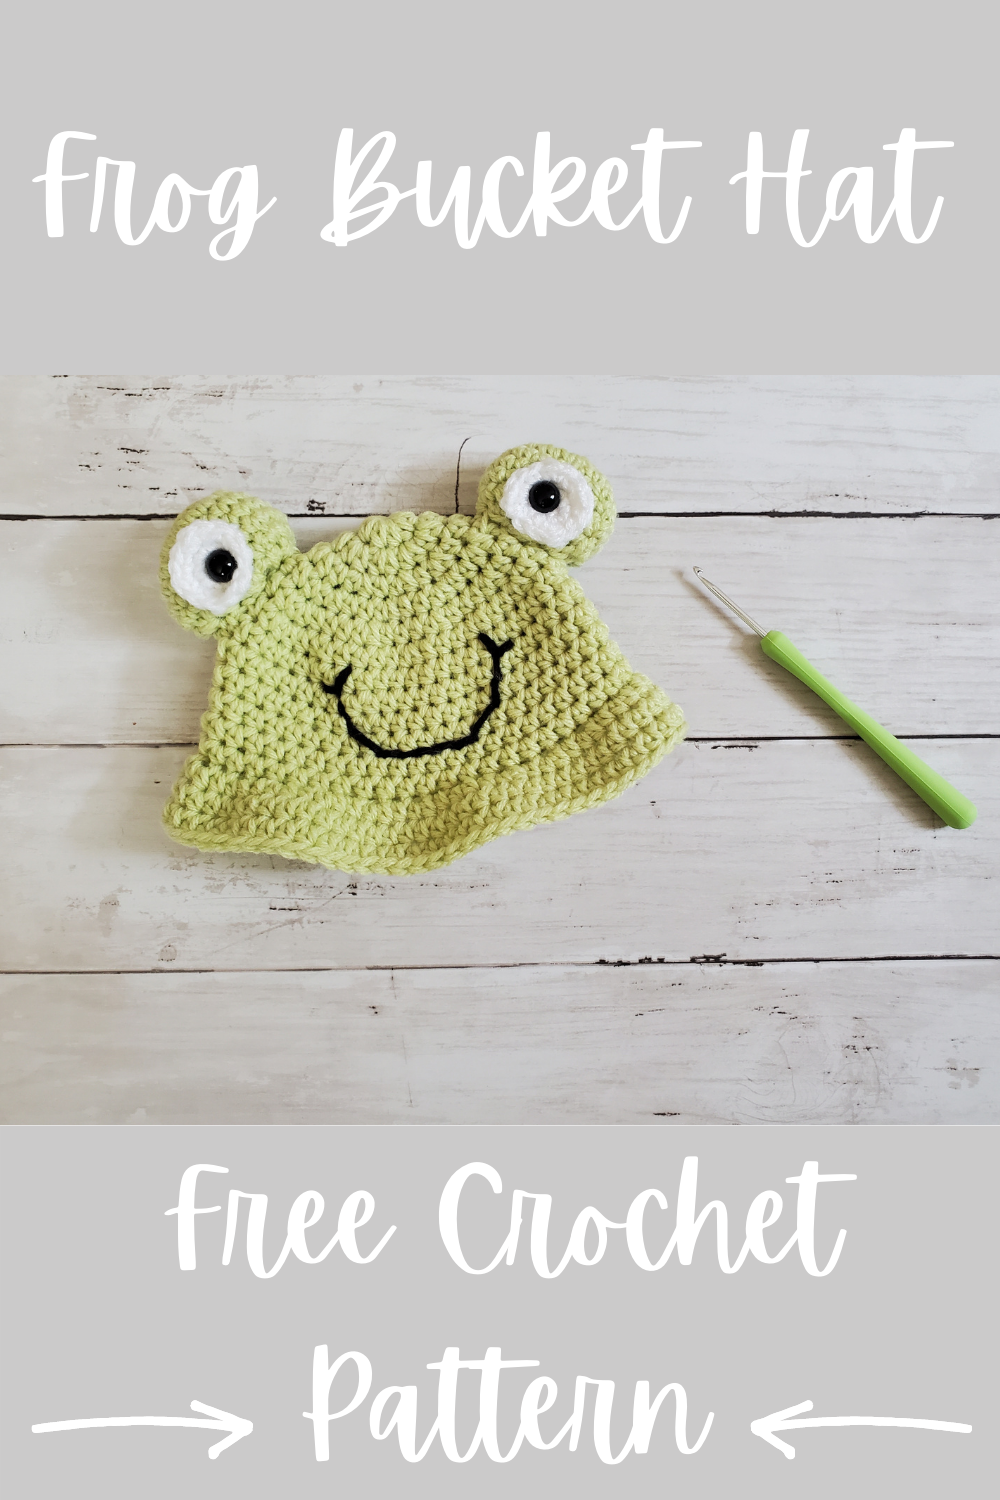
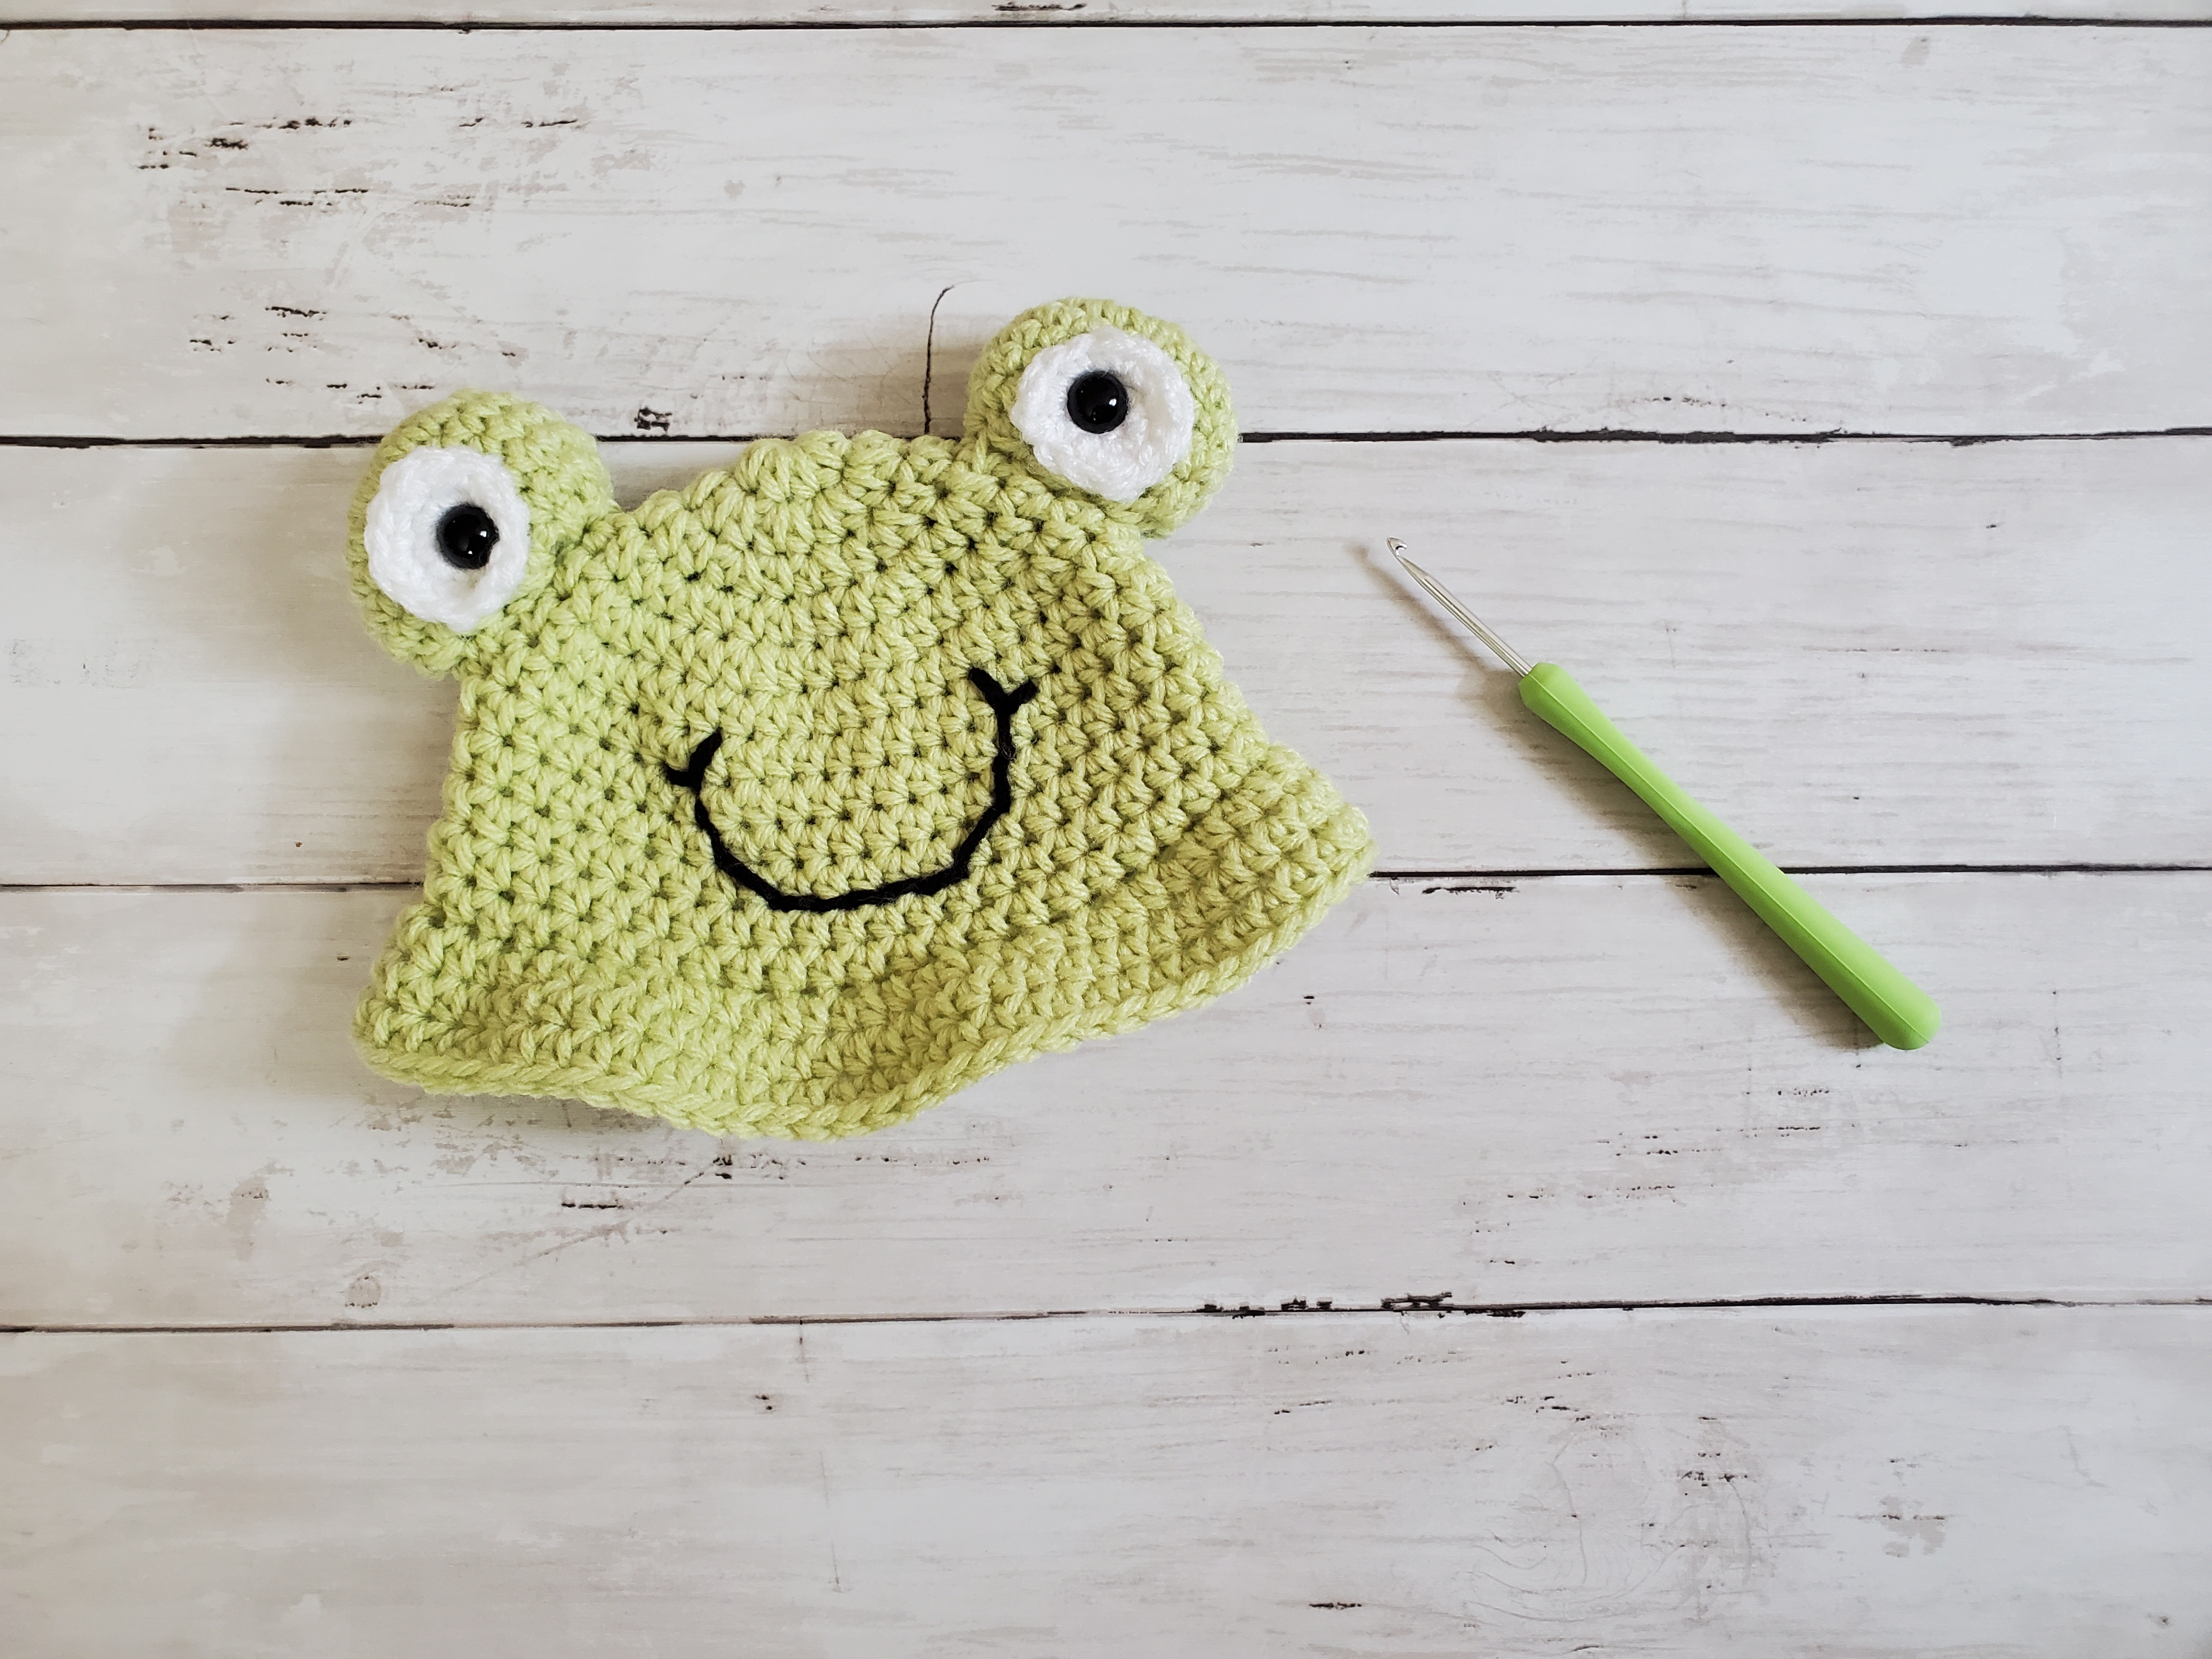
Celebrate spring time with this cute, frog bucket hat! This pattern is for a newborn size (13-14 inch circumference). I might go back and update this post for larger sizes, but I’ve been so busy lately with work and family! I’m sure everyone can relate lol!
Edit: I’ve updated this post to include more sizes! This includes Newborn to Adult Large sizes. Enjoy 🙂
The hat itself works up fairly quickly, however the eyes are created by using a magic circle (magic ring), which takes some practice to master. I would say because of the eyes, this would be an intermediate level crochet project.
This would also be a great gift idea for someone who is having a baby in the spring! I really like the pastel spring colors, so this green color was absolutely perfect.
I actually made the frog bucket hat from some mystery yarn I had in my stash. Unfortunately the label was missing, so I’m unsure exactly what brand and color. However, it looks like Red Heart has a yarn called Classic Lime that looks fairly close!
If you like this hat, check out the crochet frog stuffy I made to go along with it! It’s a super quick, frog toy that you can get done in less than an afternoon. Perfect to give to the grandkids!
***This post may contain affiliate links, which means I may receive a commission if you make a purchase through these links. As a Skimlinks affiliate, I earn through qualifying purchases.**
Hat circumference: 13″ | Hat length: 5″
With Spring Green yarn and 5mm crochet hook:
Hat Brim:
Cut yarn and pull through. Weave in end using your tapestry needle.
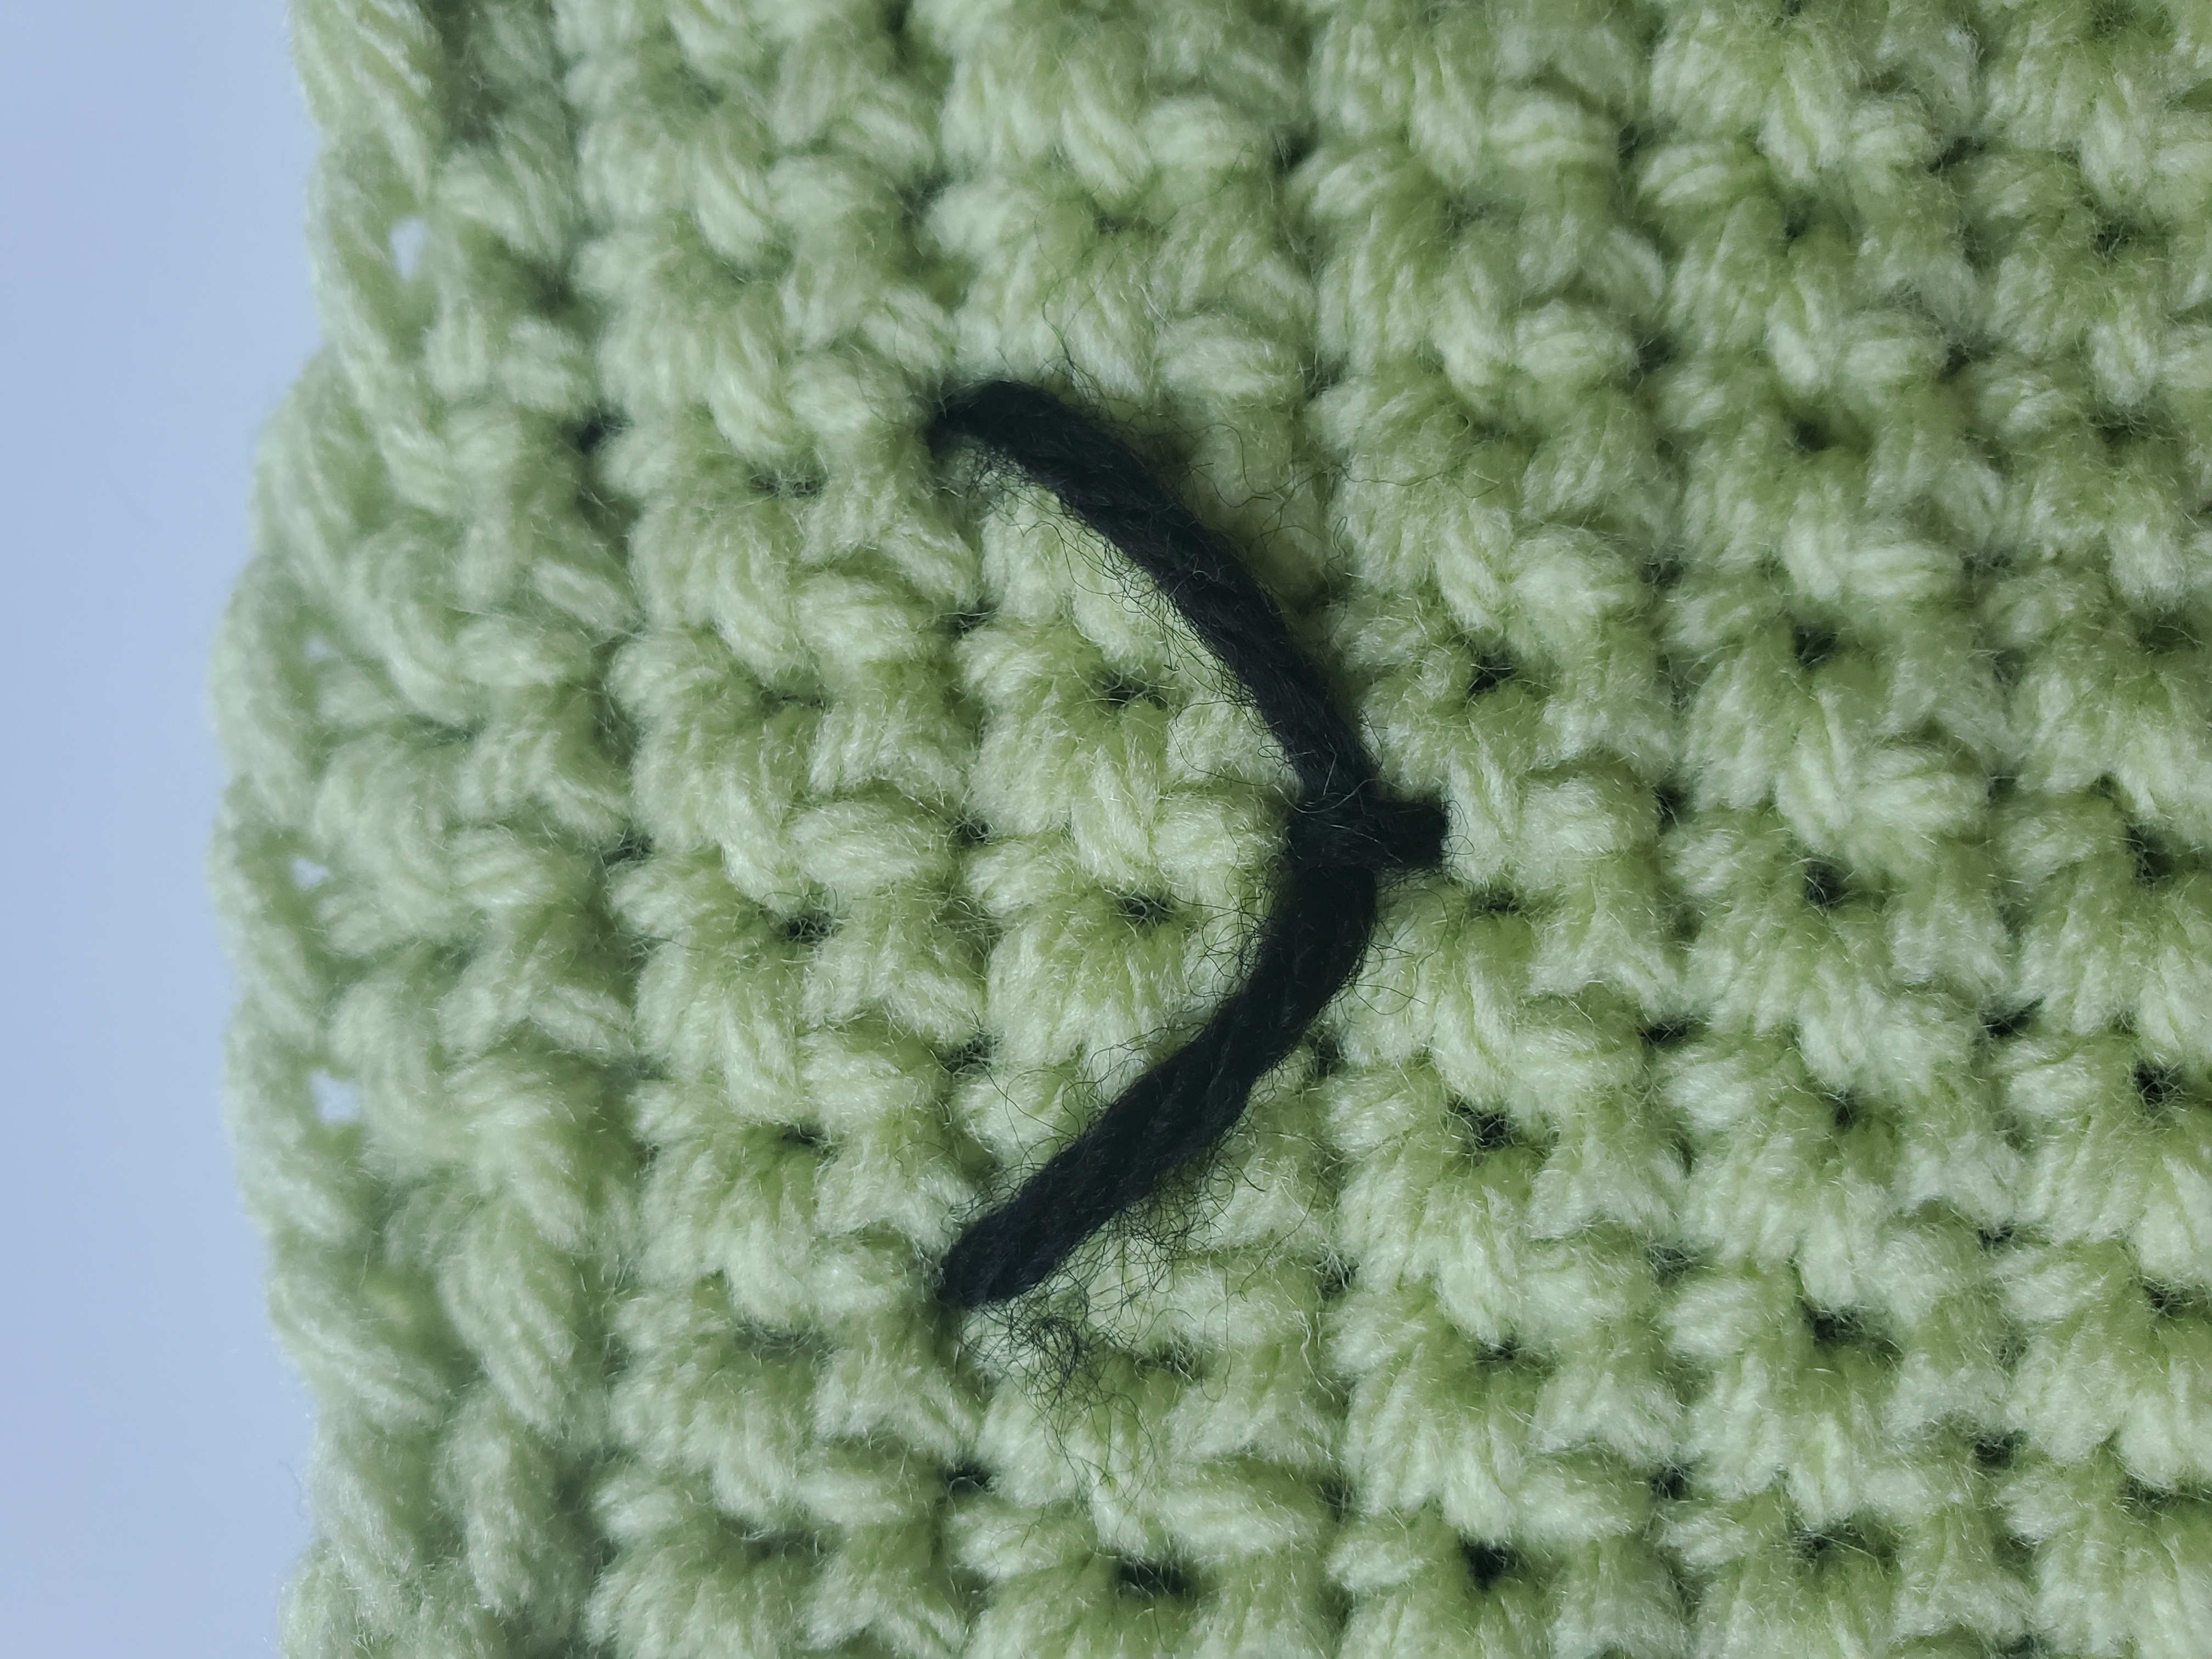
***See at the end of page for eye instructions***
Hat circumference: 14″ | Hat length: 5.25″
With Spring Green yarn and 5 mm crochet hook:
Hat Brim:
Cut yarn and pull through. Weave in end using your tapestry needle.
***See at the end of page for eye instructions***
Hat circumference: 15″ | Hat length: 5.75″
With Spring Green yarn and 5 mm crochet hook:
Hat Brim:
Cut yarn and pull through. Weave in end using your tapestry needle.
***See at the end of page for eye instructions***
Hat circumference: 16″ | Hat length: 6.25″
With Spring Green yarn and 5 mm hook:
Hat Brim:
Cut yarn with scissors and pull through. Weave in end using your tapestry needle.
***See at the end of page for eye instructions***
Hat circumference: 17″ | Hat length: 7″
With Spring Green yarn and 5mm hook:
Hat Brim:
Cut yarn with scissors and pull through. Weave in end using your tapestry needle.
***See at the end of page for eye instructions***
Hat circumference: 18″ | Hat length: 7.5″
With Spring Green yarn and 5mm crochet hook:
Hat Brim:
Cut yarn with scissors and pull through. Weave in end using your tapestry needle.
***See at the end of page for eye instructions***
Hat circumference: 19.5″ | Hat length: 7.75″
With Spring Green yarn and 5mm crochet hook:
Hat Brim:
Cut yarn with scissors and pull through. Weave in end using your tapestry needle.
***See at the end of page for eye instructions***
Hat circumference: 20.5″ | Hat length: 8″
With Spring Green yarn and 5mm crochet hook:
Hat Brim:
Cut yarn with scissors and pull through. Weave in end using your tapestry needle.
***See at the end of page for eye instructions***
Hat circumference: 21.75″ | Hat length: 8.25″
With Spring Green yarn and 5mm crochet hook:
Hat Brim:
Cut yarn with scissors and pull through. Weave in end using your tapestry needle.
***See at the end of page for eye instructions***
With Spring Green Yarn and 4mm crochet hook:
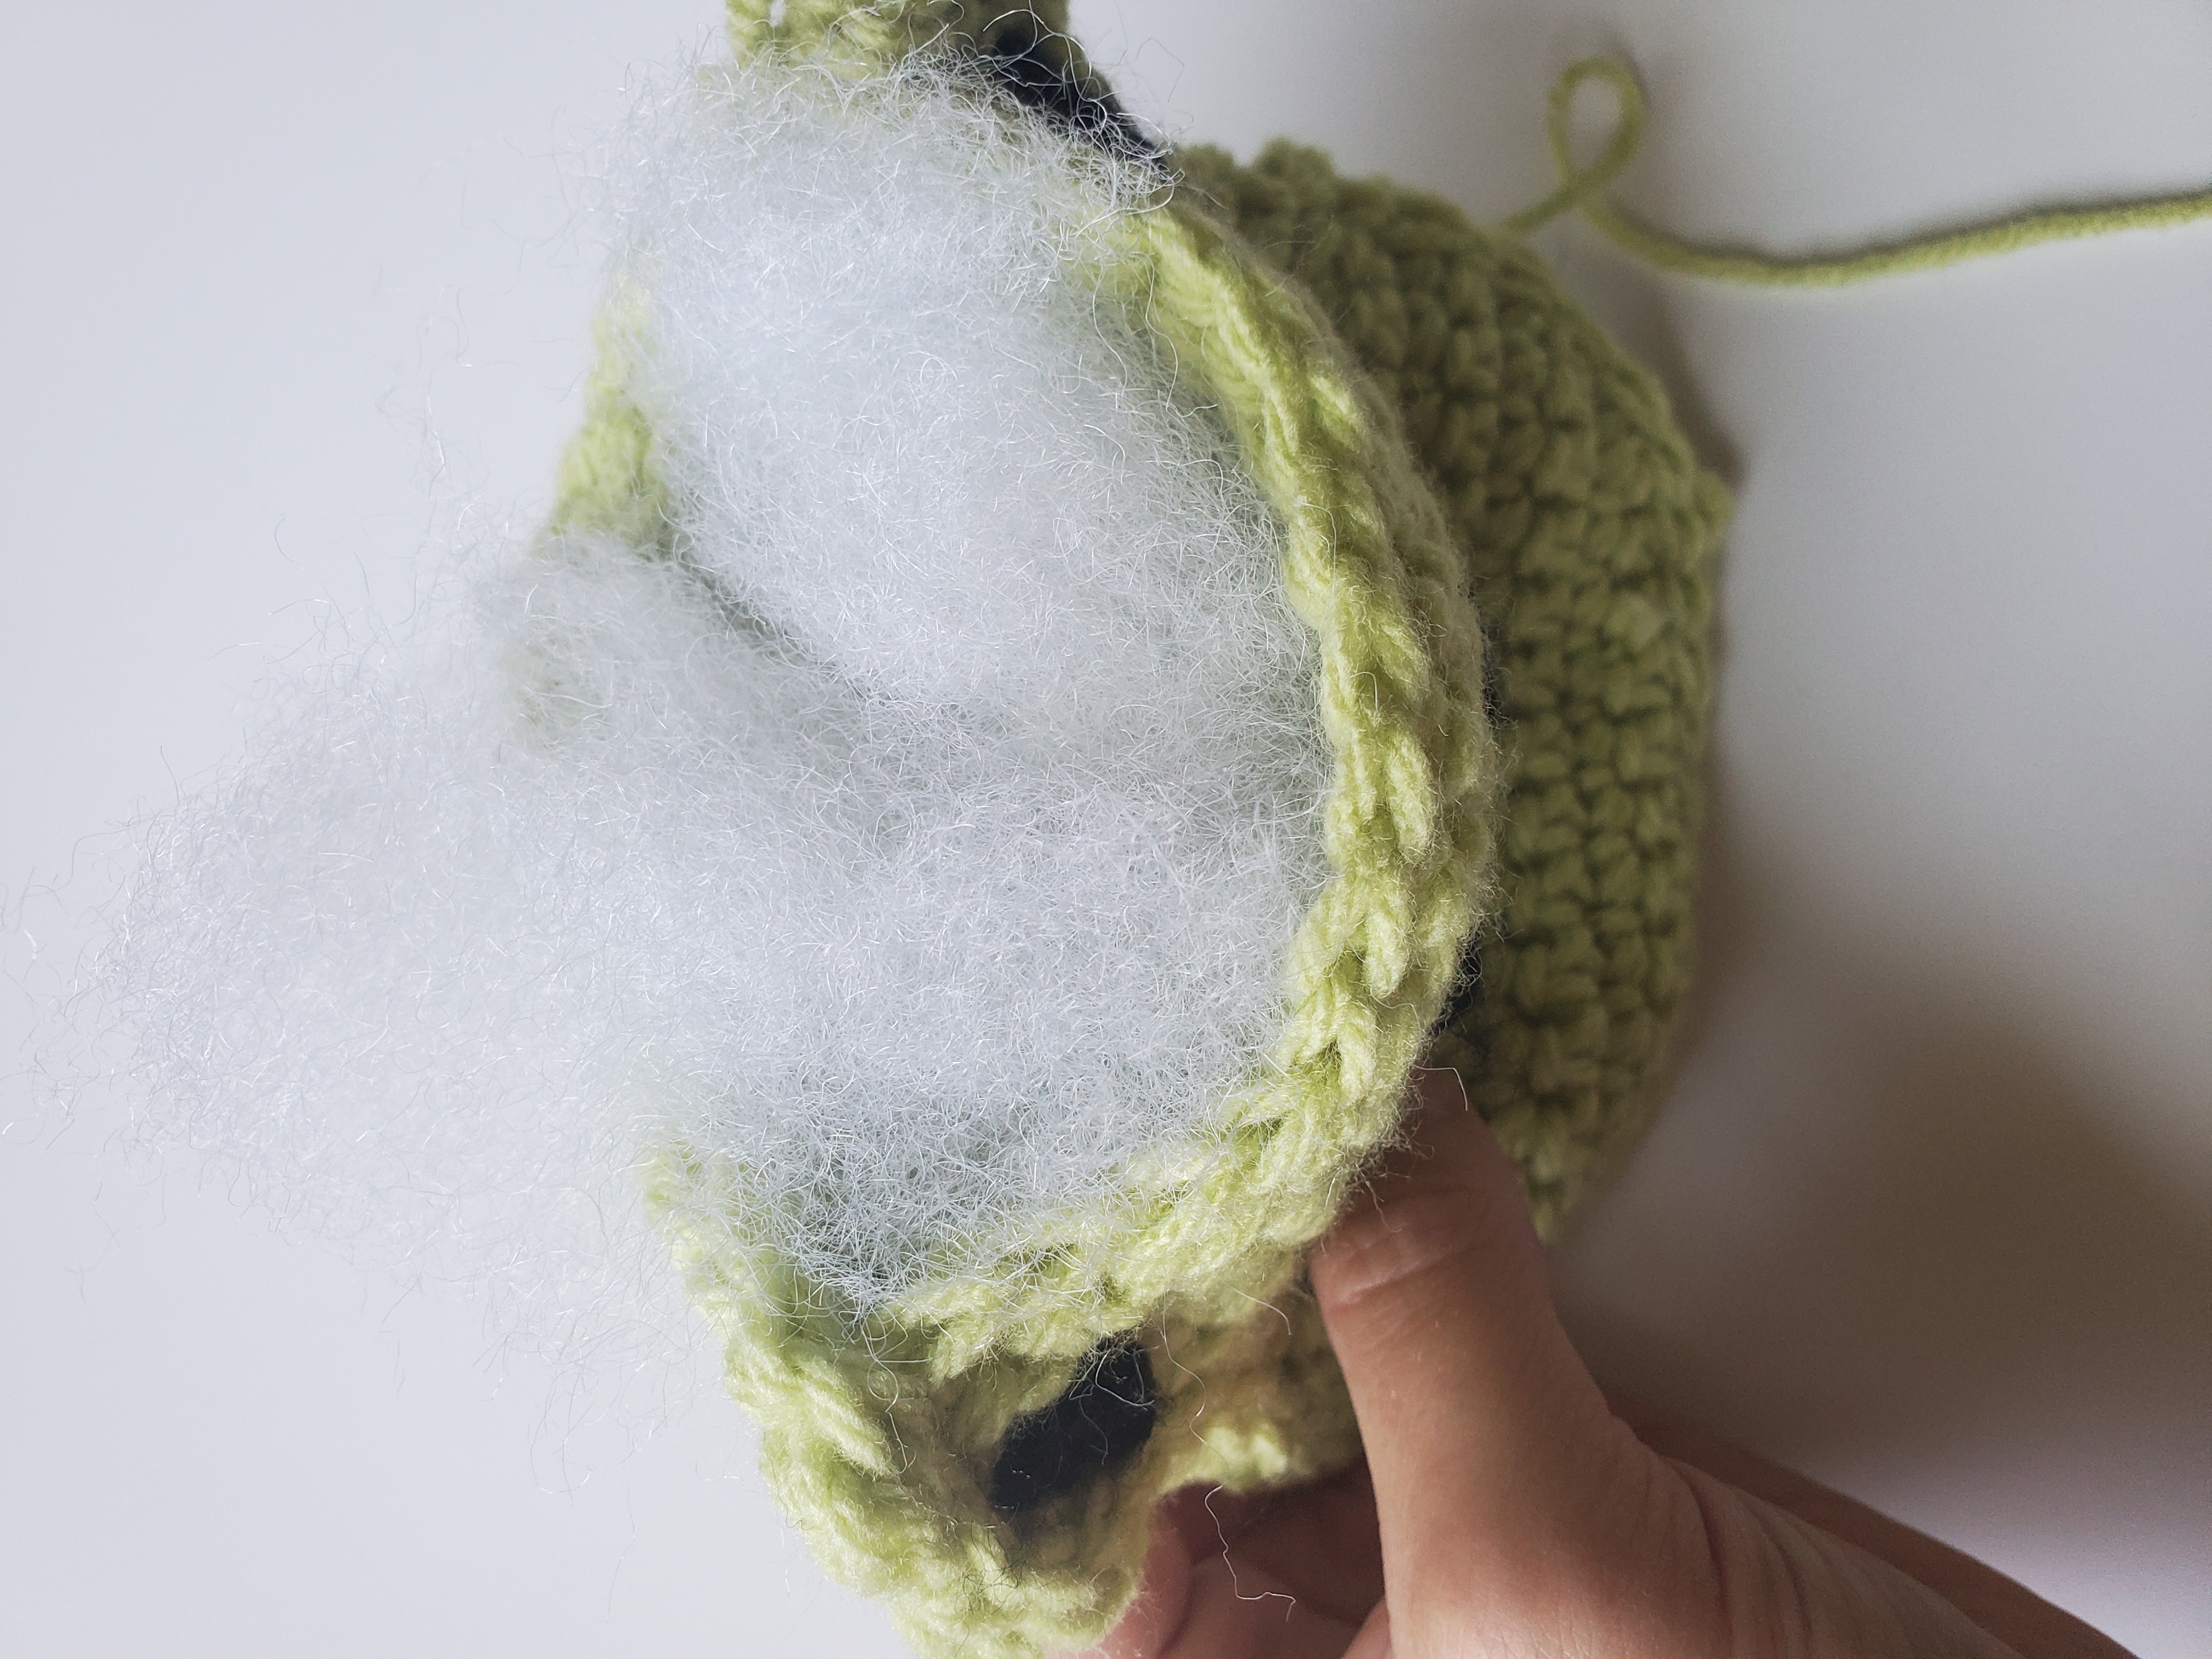
Pull yarn through and cut a length of yarn long enough for sewing. Do not sew the bottom of the eye totally shut.
With white yarn and 4mm hook:
Pull yarn through, cut enough yarn for sewing onto the green part of the eyes.
With Spring Green yarn and 4mm hook:
Cut yarn and pull through. Leave a long tail for sewing. Do not sew the bottom of the eye totally shut.
With white yarn and 4mm hook:
Cut yarn and pull through. Leave a long enough tail for sewing.
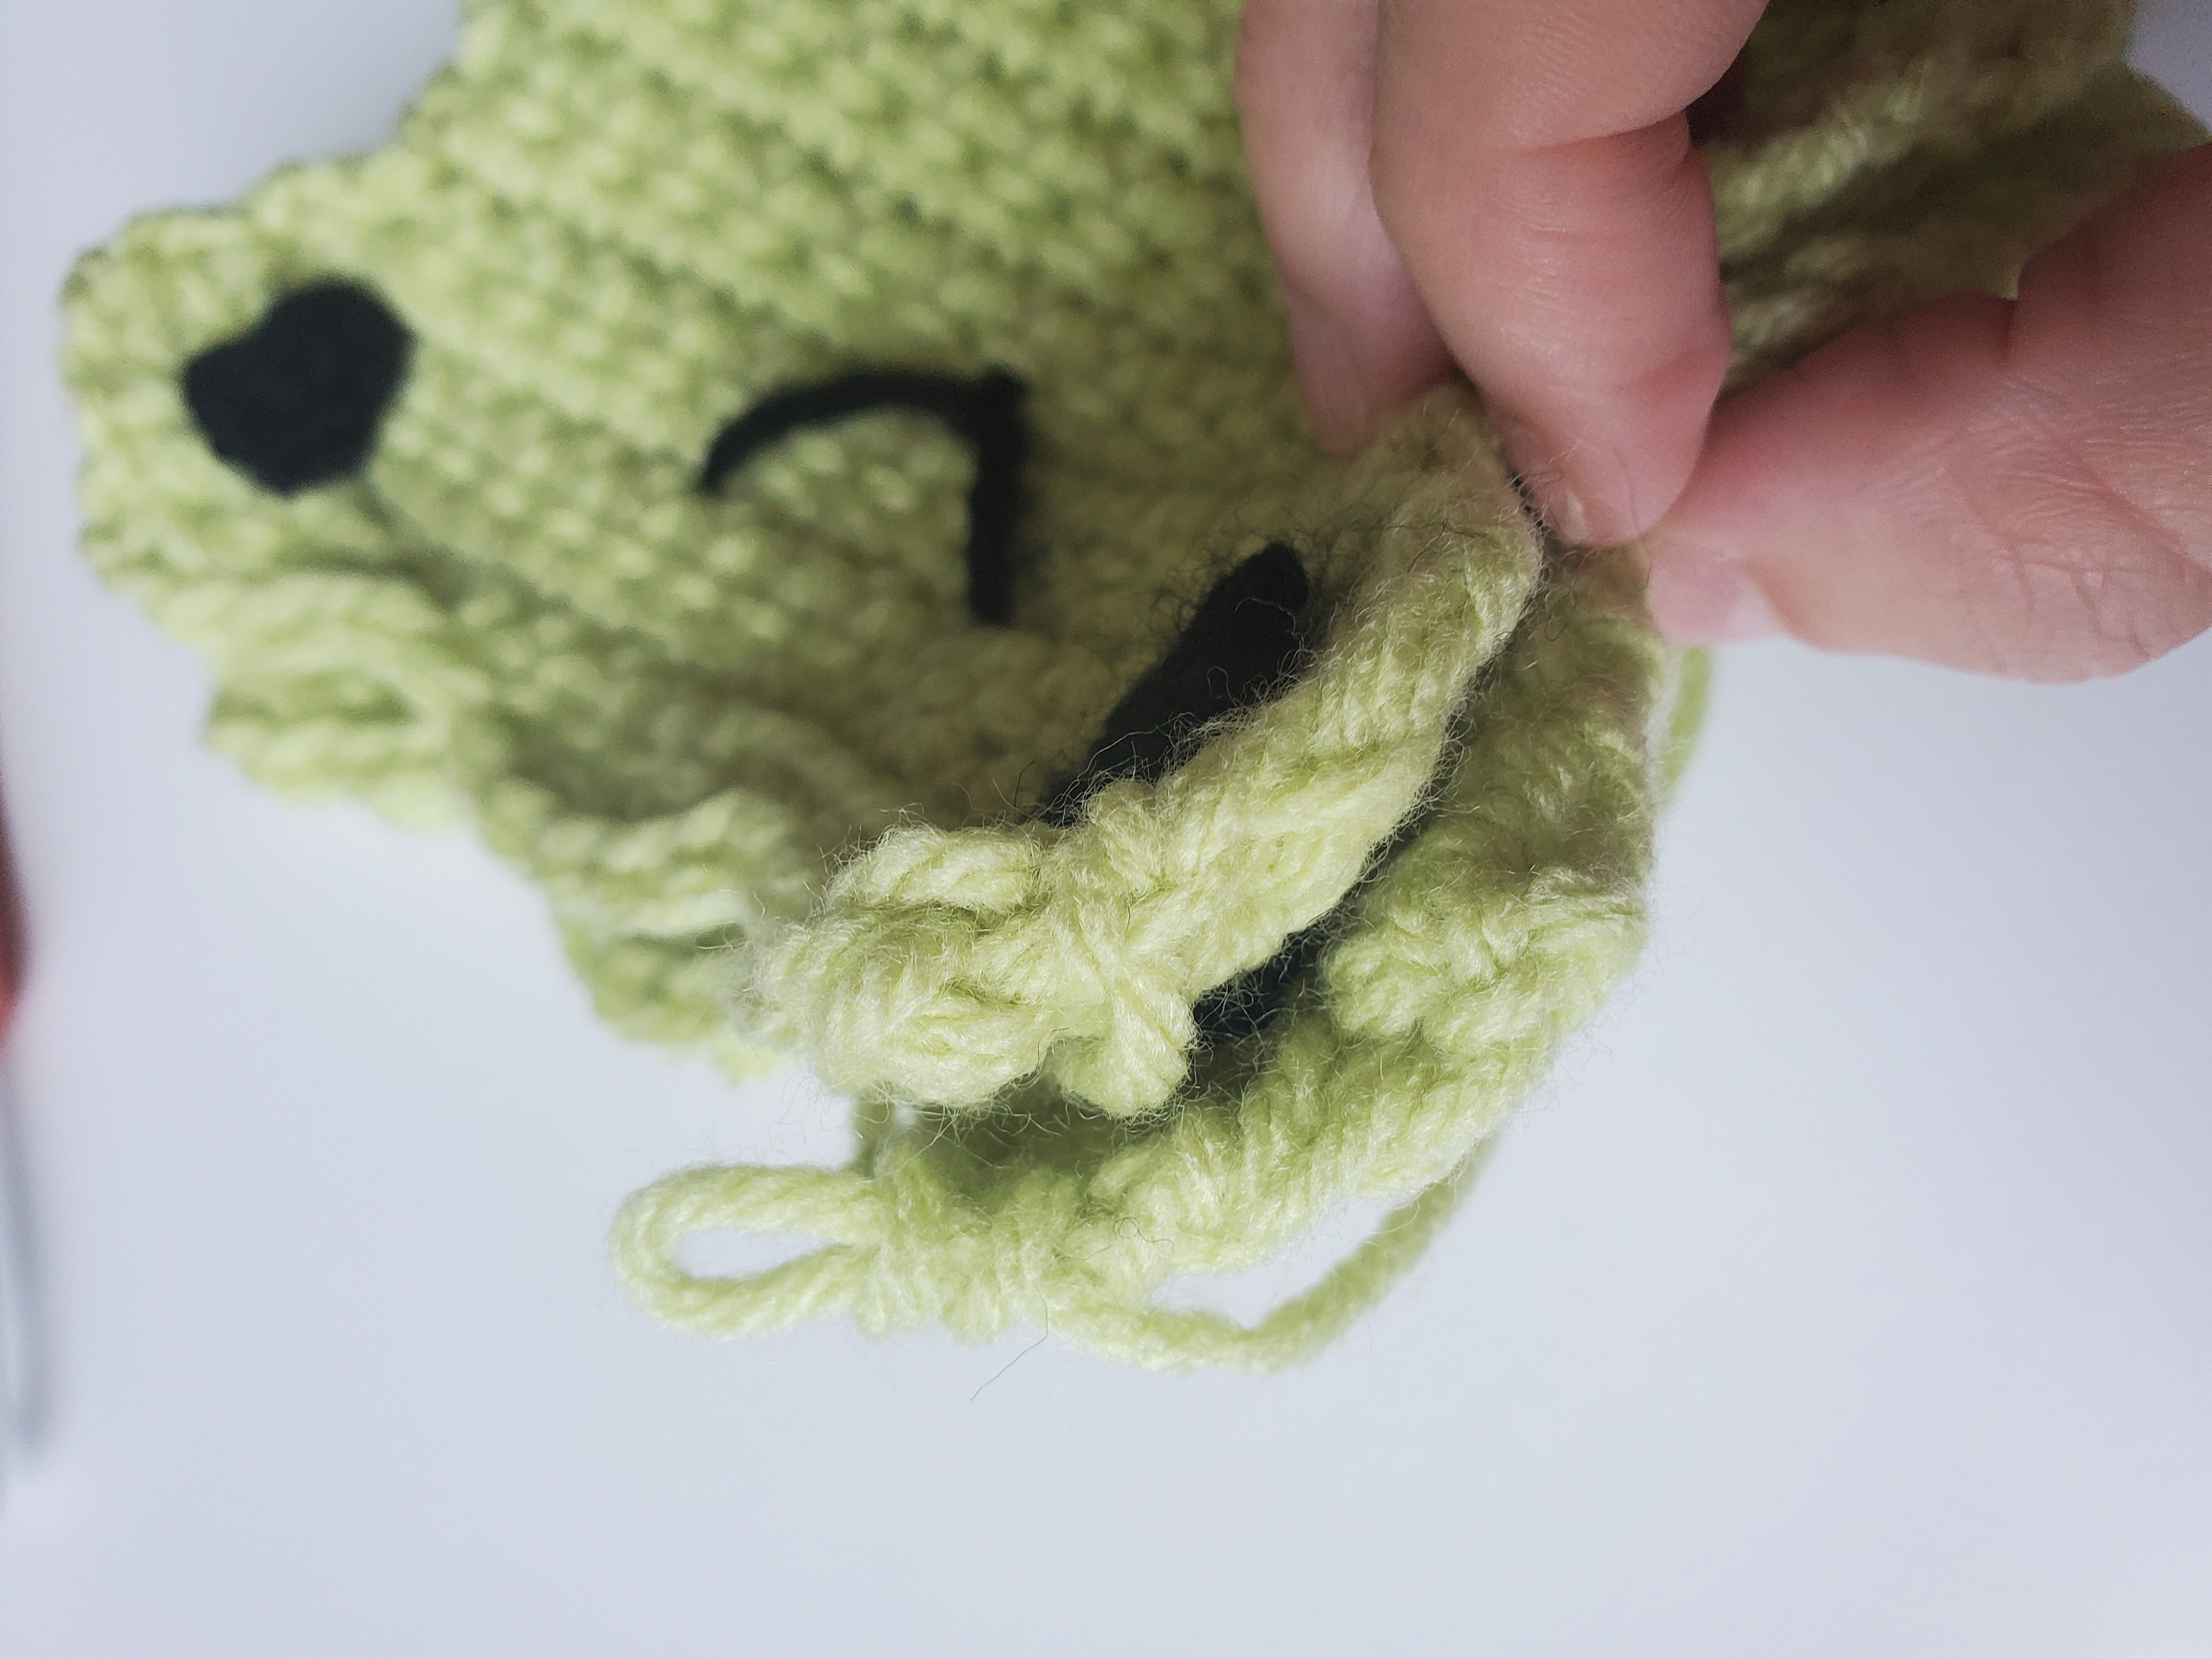
Sew whites of the eyes onto the green part of the eyes. You can hide your yarn ends on the inside of the green part.
With your safety eyes, screw them into the middle of the white of the eye. This part may be a little tricky with how thick the yarn is after sewing.
With the frog eyes completed, we will sew them onto the bucket hat.
Looking at the hat from the top down, sew the eyes about 4 stitches away from the center of the top.
I didn’t use safety pins when sewing, but if you have difficulty keeping the eyes from moving around while sewing, they are super helpful!
And there it is! You’re all finished! Thank you for looking at my pattern for this frog bucket hat!
Happy spring and happy crocheting!