Crochet Witch Hat Pattern

Hello everyone, today I have a crochet witch hat pattern for you! A few years ago I had my oldest daughter dress as a cute little witch for Halloween, but the one essential piece I needed was a witch hat. 

I thought, heck, I could make one of those, BUT I could not find a pattern for a toddler that I really liked. So I made my own instead!

This post is all about how to crochet a witch hat with step by step instructions and pictures.

Can you make this hat different sizes?

Yes! The witch hat pattern I have written below fits my 4 year old perfectly and my 2.5 year old (a little big). If you’re needing a smaller or bigger size, you can stop early or add more rows. The formula for making the cone shape is increasing, doing a row of single crochets, doing another row of increases, then another row of single crochets and so on until you reach the desired size.

If you alter the size, keep in mind that you’ll have to adjust the crochet band and possibly the bow. You may need to decrease or add the amount of brim too. 

I suggest using a measuring tape to obtain accurate head measurements and then crocheting until you meet those measurements. Here is a head measurement guide that has average head circumferences by age if you need help.

What is the best yarn to use for this pattern?

I use acrylic yarn from Red Heart Super Saver. Acrylic yarn is perfect for keeping the witch hat and brim stiff. I think that if you use a softer yarn, your hat would most likely slouch and be floppier.

Do I have to crochet the band and bow?

Nope! Honestly, it would be easier to buy a ribbon and tie a pretty bow around the hat. If you’re like me, I didn’t have any ribbon, nor did I feel like buying any…so I used orange yarn from my stash instead. 

Traditional Crochet Witch Hat
Here's my 2.5 year old wearing the hat! Isn't she cute?
Crochet Witch Hat Free Pattern
And this is how it fits on my 4 year old! She was being such a goober in this pic.

Please note that some of these links are affiliate links. That means that if you click on these links and make a purchase, I may receive a commission at no extra cost to you. You can find more information about our disclosure policy here. Thank you for your support.

Materials Needed:

Abbreviations Used:

Please note that these are in US terms, not UK.

Helpful Tips:

  • The number in parenthesis at the end of the rows indicates the number of stitches you should have.
  • The hat is made in a continuous row, meaning that we will not be slip stitching and chaining to get to the next row height. This is where you will need a stitch marker to help you determine the beginning and end of your rounds. You can use a scrap piece of yarn or a paperclip if you don’t have stitch markers on hand.
  • The first round of the brim is made by crocheting in the front loops. If you look at the top your stitches, you’ll notice it looks like a little V, insert your hook into the part of the V that is closest to you. That is the front loop.
  • Sew the bow directly onto the band (not into the hat), this helps prevent a bunch of uncomfortable yarn pushing against your head.

Crochet Witch Hat Pattern

  • Row 1: make a mc, ch 1 (does not count as st), 5 hdc in mc (5 sts)
  • Row 2: 1 hdc in each st around (5 sts)
  • Row 3: 2 hdc in each st around (10 sts)
  • Row 4: 1 hdc in each st around (10 sts)
  • Row 5: 2 hdc in 1st st, 1 hdc in next st (15 sts)
  • Row 6: 1 hdc in each st around (15 sts)
  • Row 7: 2 hdc in 1st st, 1 hdc in next 2 sts (20 sts)
  • Row 8: 1 hdc in each around (20 sts)
  • Row 9: 2 hdc in 1st st, 1 hdc in next 3 sts (25 sts)
  • Row 10: 1 hdc in each st around (25 sts)
  • Row 11: 2 hdc in 1st st, 1 hdc in next 4 sts (30 sts)
  • Row 12: 1 hdc in each st around (30 sts)
  • Row 13: 2 hdc in 1st st, 1 hdc in next 5 sts (35 sts)
  • Row 14: 1 hdc in each st around (35 sts)
  • Row 15: 2 hdc in 1st st, 1 hdc in next 6 sts (40 sts)
  • Row 16: 1 hdc in each st around (40 sts)
  • Row 17: 2 hdc in 1st st, 1 hdc in next 7 sts (45 sts)
  • Row 18: 1 hdc in each st around (45 sts)
  • Row 19: 2 hdc in 1st st, 1 hdc in next 8 sts (50 sts)
  • Row 20: 1 hdc in each st around (50 sts)
  • Row 21: 2 hdc in 1st st, 1 hdc in next 9 sts (55 sts)
  • Row 22: 1 hdc in each st around (55 sts)
  • Row 23: 2 hdc in 1st st, 1 hdc in next 10 sts (60 sts)
  • Row 24: 1 hdc in each st around (60 sts)
  • Row 25: 2 hdc in 1st st, 1 hdc in next 11 sts (65 sts)
  • Row 26: 1 hdc in each st around (65 sts)
  • Row 27: 2 hdc in 1st st, 1 hdc in next 12 sts (70 sts)
  • Row 28: 1 hdc in each st around (70 sts)
  • Row 29: 2 hdc in 1st st, 1 hdc in next 13 sts (75 sts)
  • Row 30: 1 hdc in each st around (75 sts)
  • Row 31: 2 hdc in 1st st, 1 hdc in next 14 sts (80 sts)
  • Row 32: 1 hdc in each st around, sl st to first st (80 sts)

If you need to make your size larger, continue in this fashion until you reach your desired size For smaller sizes, stop at whatever row you feel is appropriate. 

crochet witch hat base
You should now have something that looks like a large cone shape.

Crochet Witch Hat Brim

  • Row 33: ch 1, (in front loop) 2 hdc in same st, hdc in next 7 sts, 2 hdc in next st around, sl st to first st (90 sts)
  • Row 34: ch 1, 2 hdc in same st, hdc in next 8 sts, 2 hdc in next st around, sl st to first st (100 sts) 
  • Row 35: ch 1, 2 hdc in same st, hdc in next 9 sts, 2 hdc in next st around, sl st to first st (110 sts)
  • Row 36: ch 1, 2 hdc in same st, hdc in next 10 sts, 2 hdc in next st around, sl st to first st (120 sts) 
  • Row 37: ch 1, 2 hdc in same st, hdc in next 11 sts, 2 hdc in next st around, sl st to first st (130 sts)
  • Row 38: ch 1, 2 hdc in same st, hdc in next 12 sts, 2 hdc in next st around, sl st to first st (140 sts)
  • Row 39: ch 1, 2 hdc in same st, hdc in next 13 sts, 2 hdc in next st around, sl st to first st (150 sts)

Keep increasing in this fashion if you need a longer brim or stop earlier for a shorter brim.

Cut yarn with scissors. Weave in end with tapestry needle.

Orange Bow (optional)

We will be making the bow in three different parts and sewing them together later. 

You don’t have to make the bow or the band, but I think they give the witch hat a nice finishing touch, especially if you’re making this for a little girl.

Center Part:

This is easily adjustable by reducing or increasing the amount of starting chains.

  • Row 1: ch 31, without twisting, sl st to first st to create a loop (30 sts)
  • Row 2-7: turn, ch 1, sc in each ch around, sl st to first st (30 sts)

Leave a long tail, cut yarn with scissors and pull through. Take the tail and wrap it around the middle of the bow. Weave in the end back into the middle part to secure it.

Bow round 1
Bow Center Part Row 1
Row 2
Bow Center Part Row 2
Sew like this
Wrap tail around and sew into the middle part

Bow “Tails”:

This is adjustable by chaining less or more, and then placing increases in the beginning and end stitches of each row.

  • Row 1: ch 12, sc in second ch from hook, sc in each ch across (11 sts)
  • Row 2: turn, ch 1 (does not count as a st this row and following rows), 2 sc in first st, sc in next 9 sts, 2 sc in last st (13 sts)
  • Row 3: turn, ch 1, 2 sc in first st, sc in next 11 sts, 2 sc in last st (15 sts)
  • Row 4: turn, ch 1, 2 sc in first st, sc in next 13 sts, 2 sc in last st (17 sts)
  • Row 5: turn, ch 1, 2 sc in first st, sc in next 15 sts, 2 sc in last st (19 sts)
  • Row 6: turn, ch 1, 2 sc in first st, sc in next 17 sts, 2 sc in last st (21 sts)

Leave a long tail, cut yarn with scissors and pull through. 

Weave in the tail back through the last row’s stitches until the 10th stitch. Wrap your tail around the middle of the “tails.” Hold the tails open firmly with one hand so the side that we weaved the tail in doesn’t curl on you

Weave in the end back into the middle part to secure it.

Row 1-6
Bow Tails Row 1-6

Bow Middle Section:

This part is made to hide the yarn that we wrapped around the center and tails. 

Adjust length by chaining more chains in the beginning.

  • Row 1:  ch 14, turn, sc in second ch from hook and each ch across (13 sts)

Leave a long tail, cut yarn with scissors and pull through.

Crochet Bow Center Part
Bow Middle Section Row 1

Bow Assembly:

Sew together all three parts by placing the middle section over the center and tail pieces. Make sure the tail piece is sew with the shorter side on top. 

This part can be a little difficult as you are trying to keep all the pieces together, but don’t sweat it! I ended up having to overlap the middle section to get the tightness I wanted.

witch hat pattern bow

Orange Band around Witch Hat:

Adjust size by decreasing or increasing the amount of rows. You want to make sure the band will fit around the hat nicely without it being too short or too long.

  • Row 1: ch 5, insert hook into second ch from hook, sc in each st across (4 sts)
  • Row 2: turn, ch 1, (does not count as a stitch), sc in each st across (4 sts)
  • Row 3-84: Repeat row 2

My band length is approximately 23.5 inches.

Fold the band together without twisting. Insert hook into both sts and sl st across to sew together.

Hat Band Sewn Together
Fold together and sl st

Bow and Band Assembly

After you’ve sewed the bow pieces together, sew the bow directly onto where you joined the band together. 

Now place the band with the bow onto the hat. Cut a very long piece of orange yarn, attach to the back side of the band and sew the band across the hat. Try to sew in the same row of stitches on the hat to give the band a nice, even look. 

Sew yarn securely. Cut any excess yarn off with scissors.

crochet witch hat free pattern

Your crochet witch hat is complete! I hope you found this pattern helpful, if you have any questions feel free to leave a comment below. Thank you and have a Happy Halloween!

Did you make this pattern? Tag me on instagram @strommercrafts.

This post was all about how to crochet a witch hat!

Crochet Halloween Pattern – Beginner Washcloth

If you’re looking for an easy crochet Halloween pattern, then look no further! Today I have a beginner friendly, Halloween washcloth pattern for you. When I was new to crocheting, I wanted more simple patterns, especially for Halloween (it’s my FAVORITE holiday). There’s a lot of awesome patterns out there, but I needed something that would have simple stitches, and test my ability to crochet a bit (color changes). 

In this post, you’ll learn how to crochet a Halloween beginner washcloth.

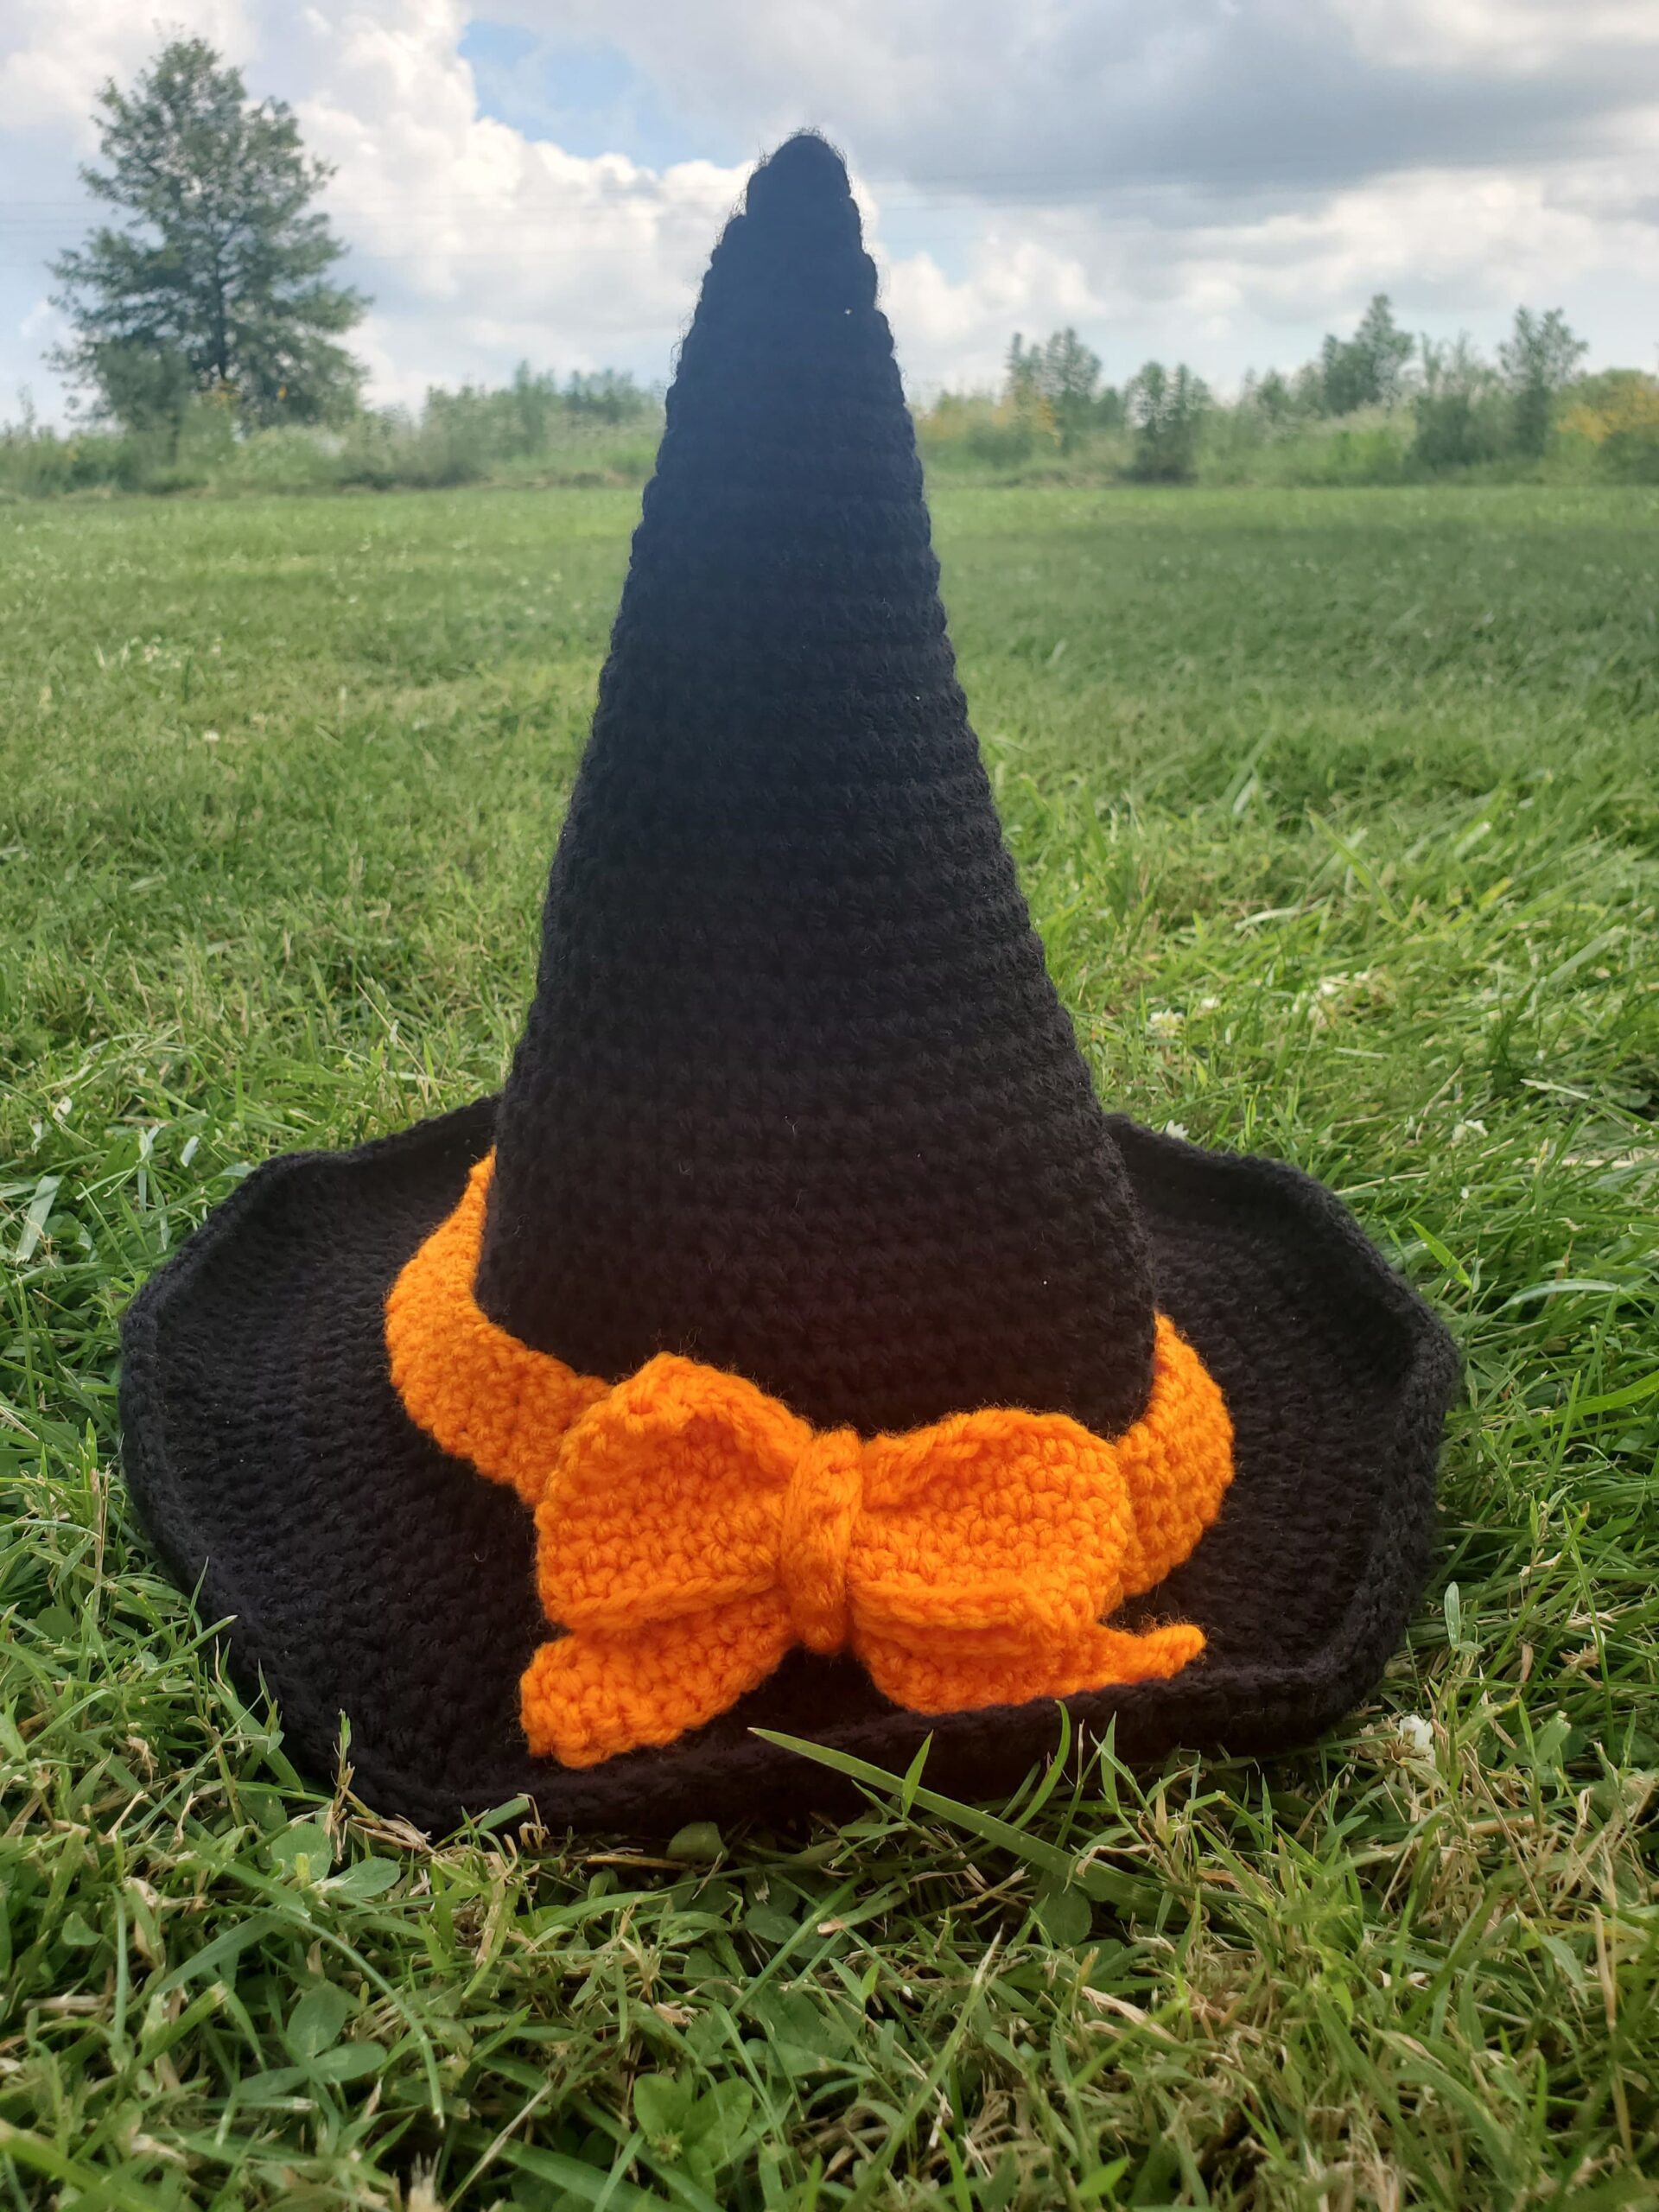
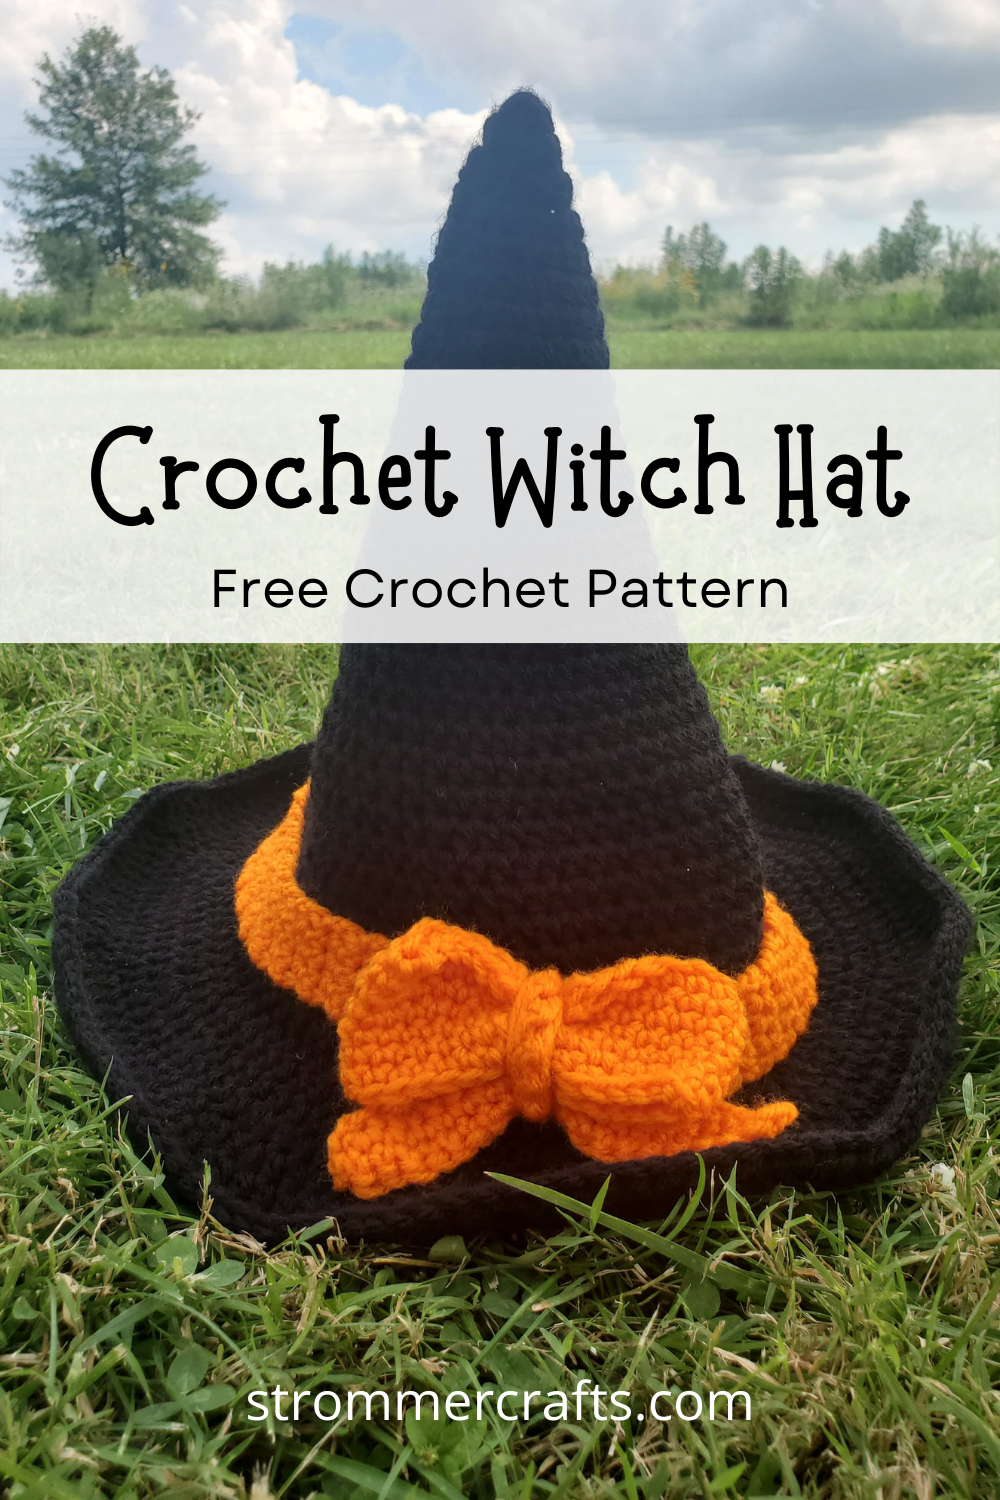
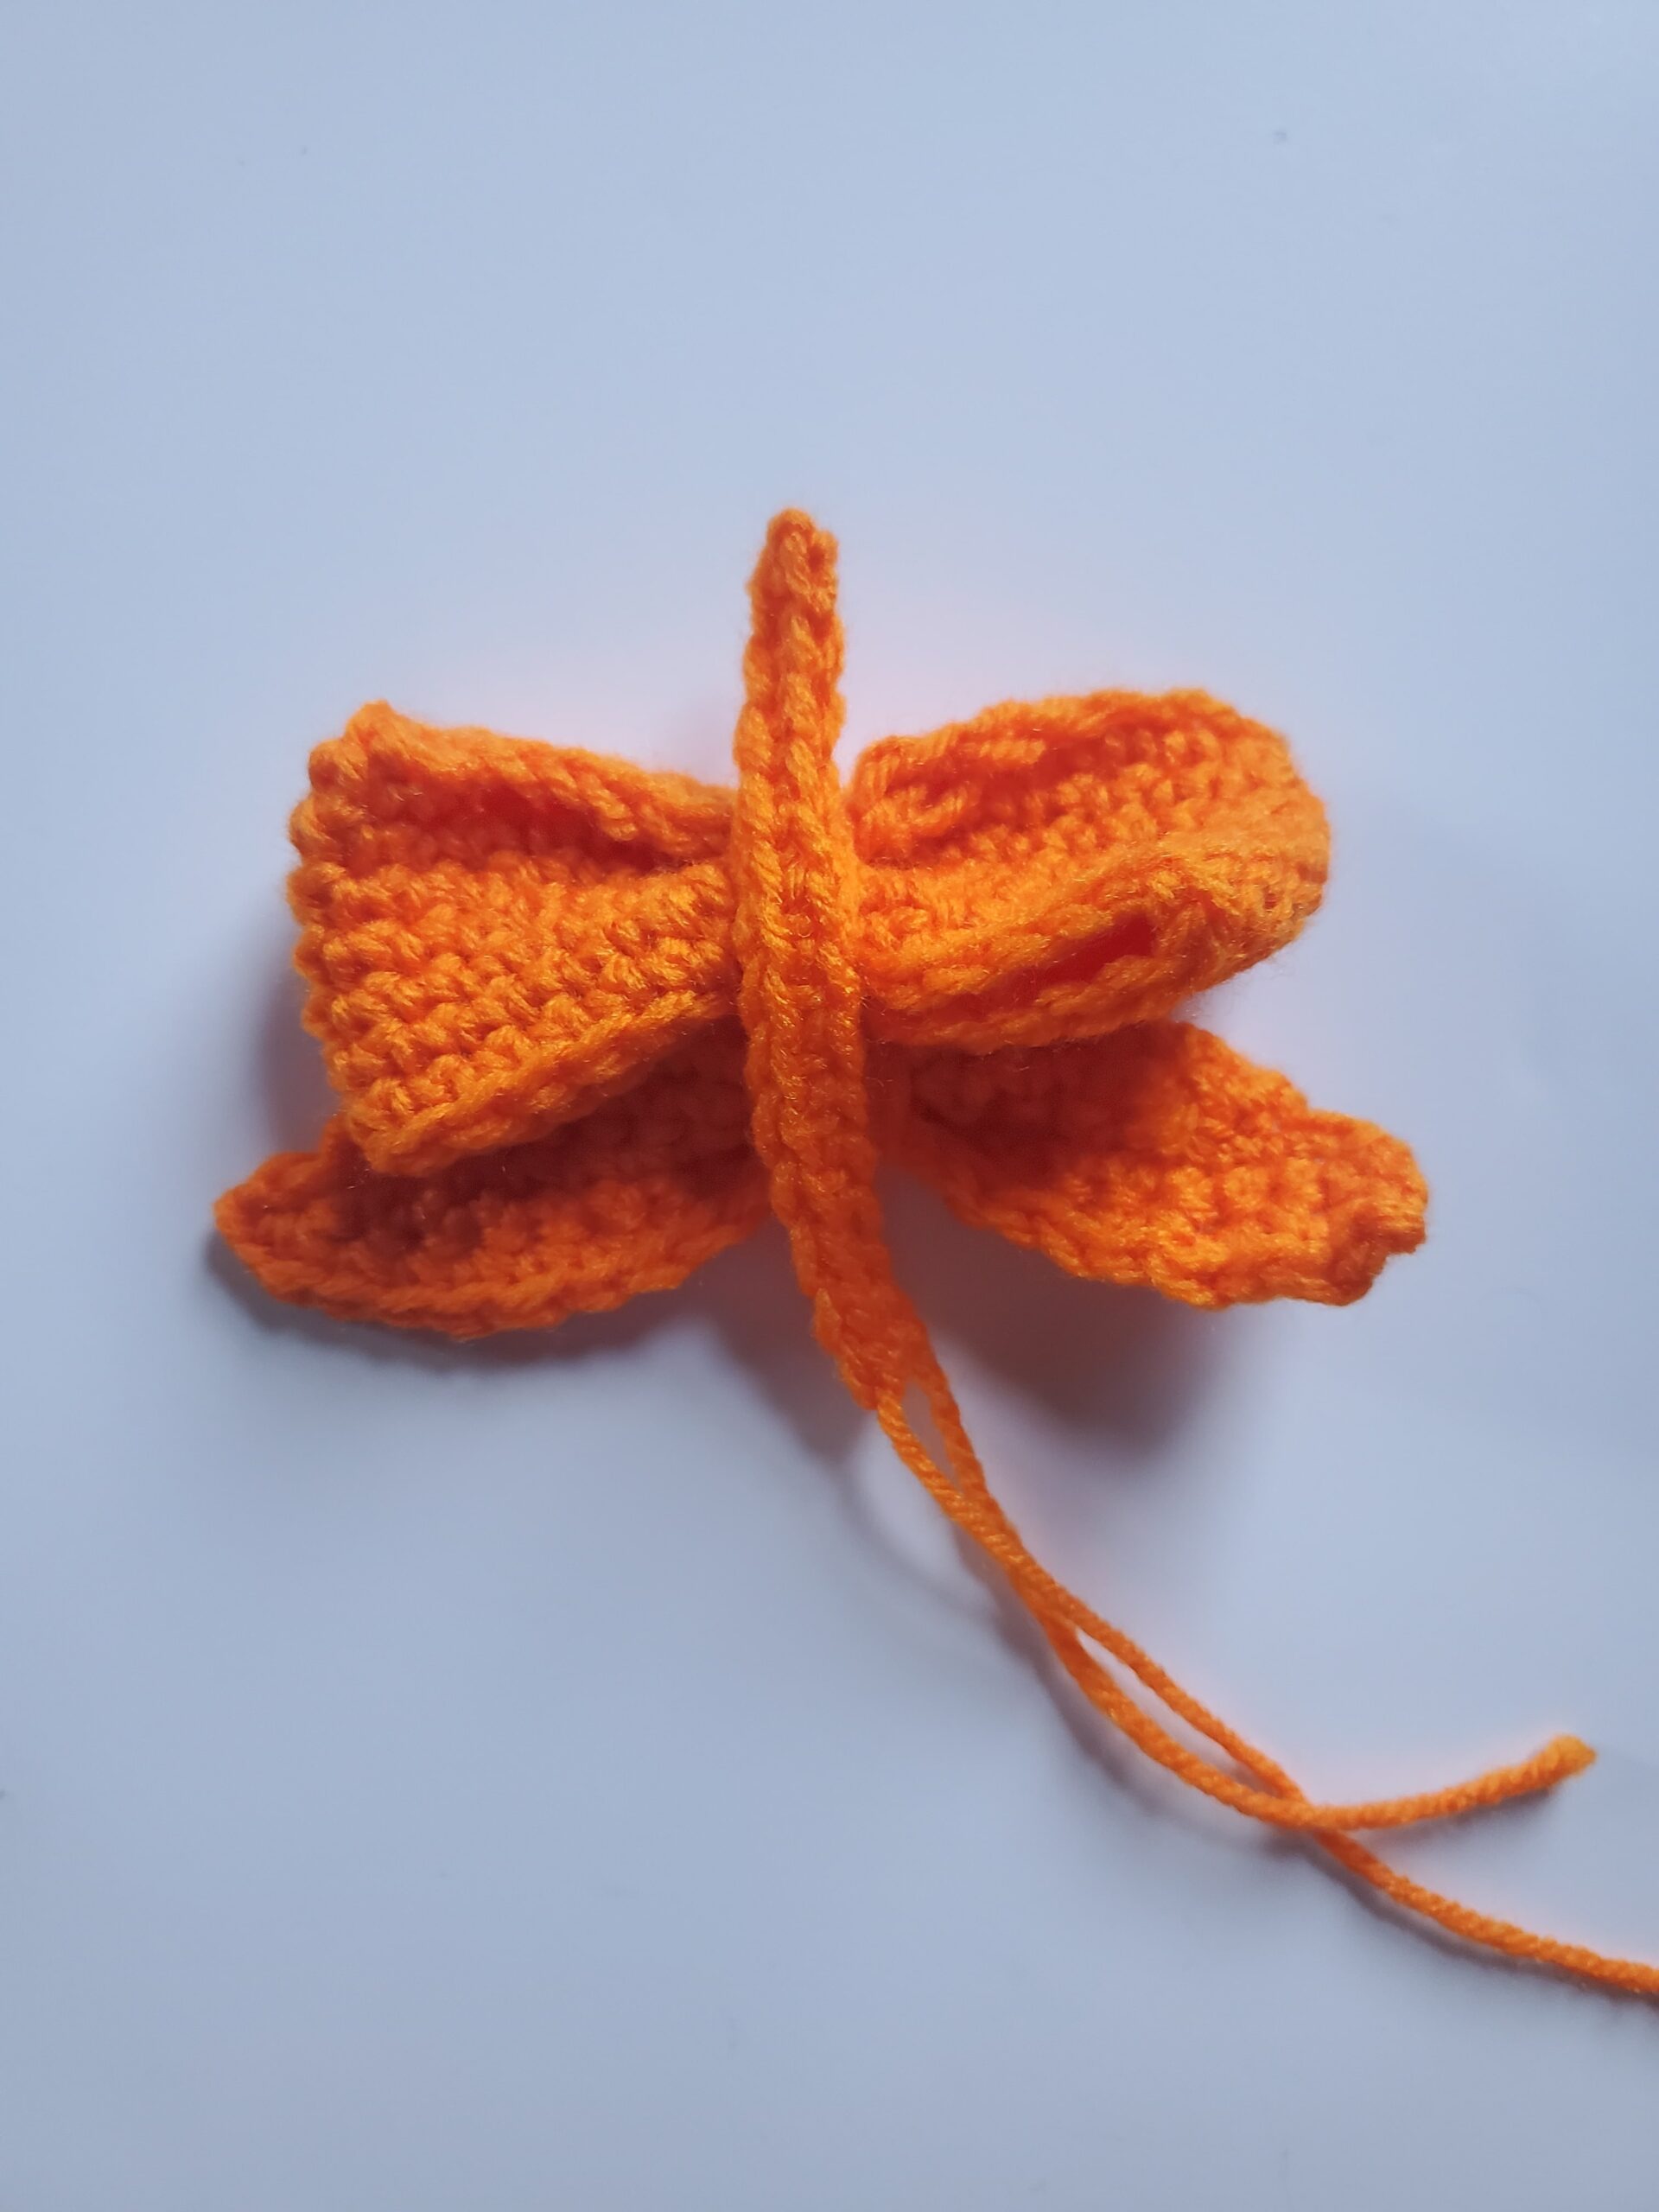
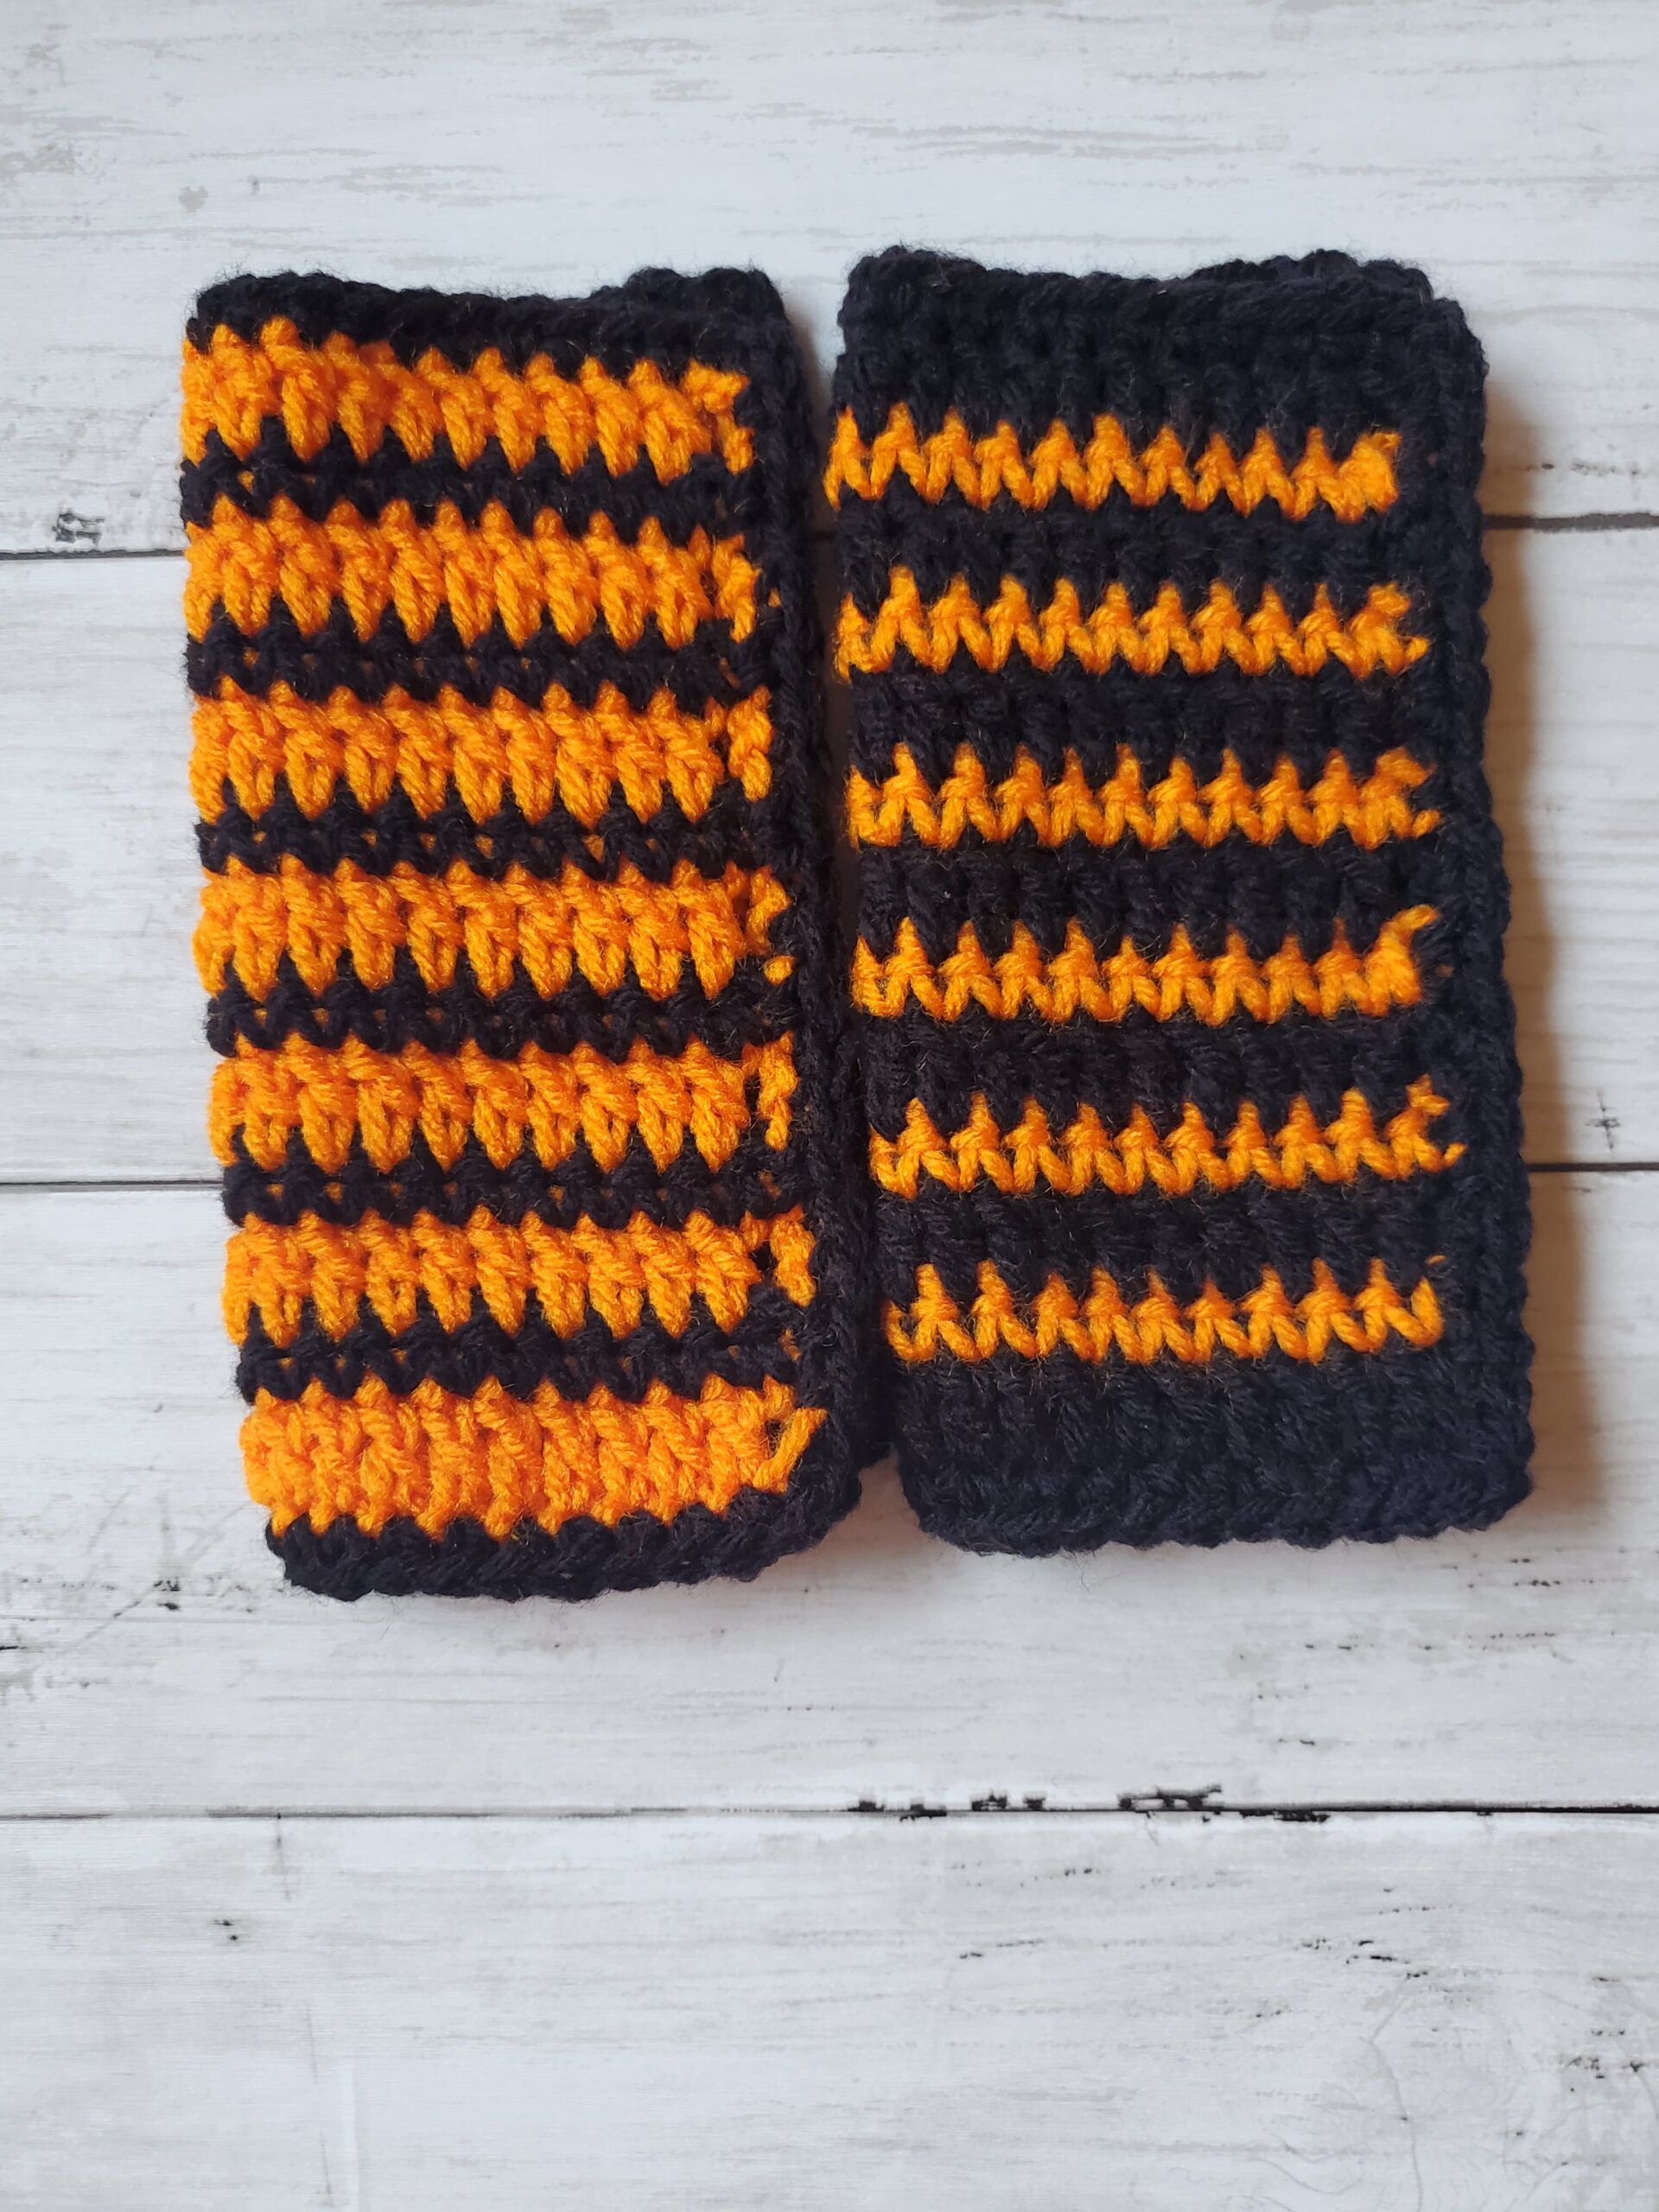
This crochet Halloween pattern has two types of stitches, single crochet and double crochet. Each row alternates between two colors (orange and black) and single/double crochets.

I used yarn from Red Heart Super Saver for these crochet washcloths. I would say that their line of acrylic yarn is SUPER affordable and comes in so many different colors. This is great if you’re trying to learn your new hobby while saving some cash.

This Yarn Feels Too Scratchy! What Can I Do?

Even although acrylic yarn is cheap and comes in an array of colors, it does feel a little scratchy (at least in my opinion). That being said, don’t turn away from acrylic yarn just yet. There is a way to make it softer!

My number one favorite way to soften acrylic yarn is to WASH it.

Yep, it’s that easy. I wash my projects with cold water, laundry detergent and fabric softener along with my normal load. Once washed, place it in the dryer with a dryer sheet.

It usually comes out MUCH softer after this step. Now, the problem with washing is that you need to make sure your project will survive the wash. This is why it’s also important to weave in your ends really well.

Now, it might take another washing or two to get it to be super soft, but I find this to be the easiest way to make that cheap Red Heart Super Saver yarn less scratchy.

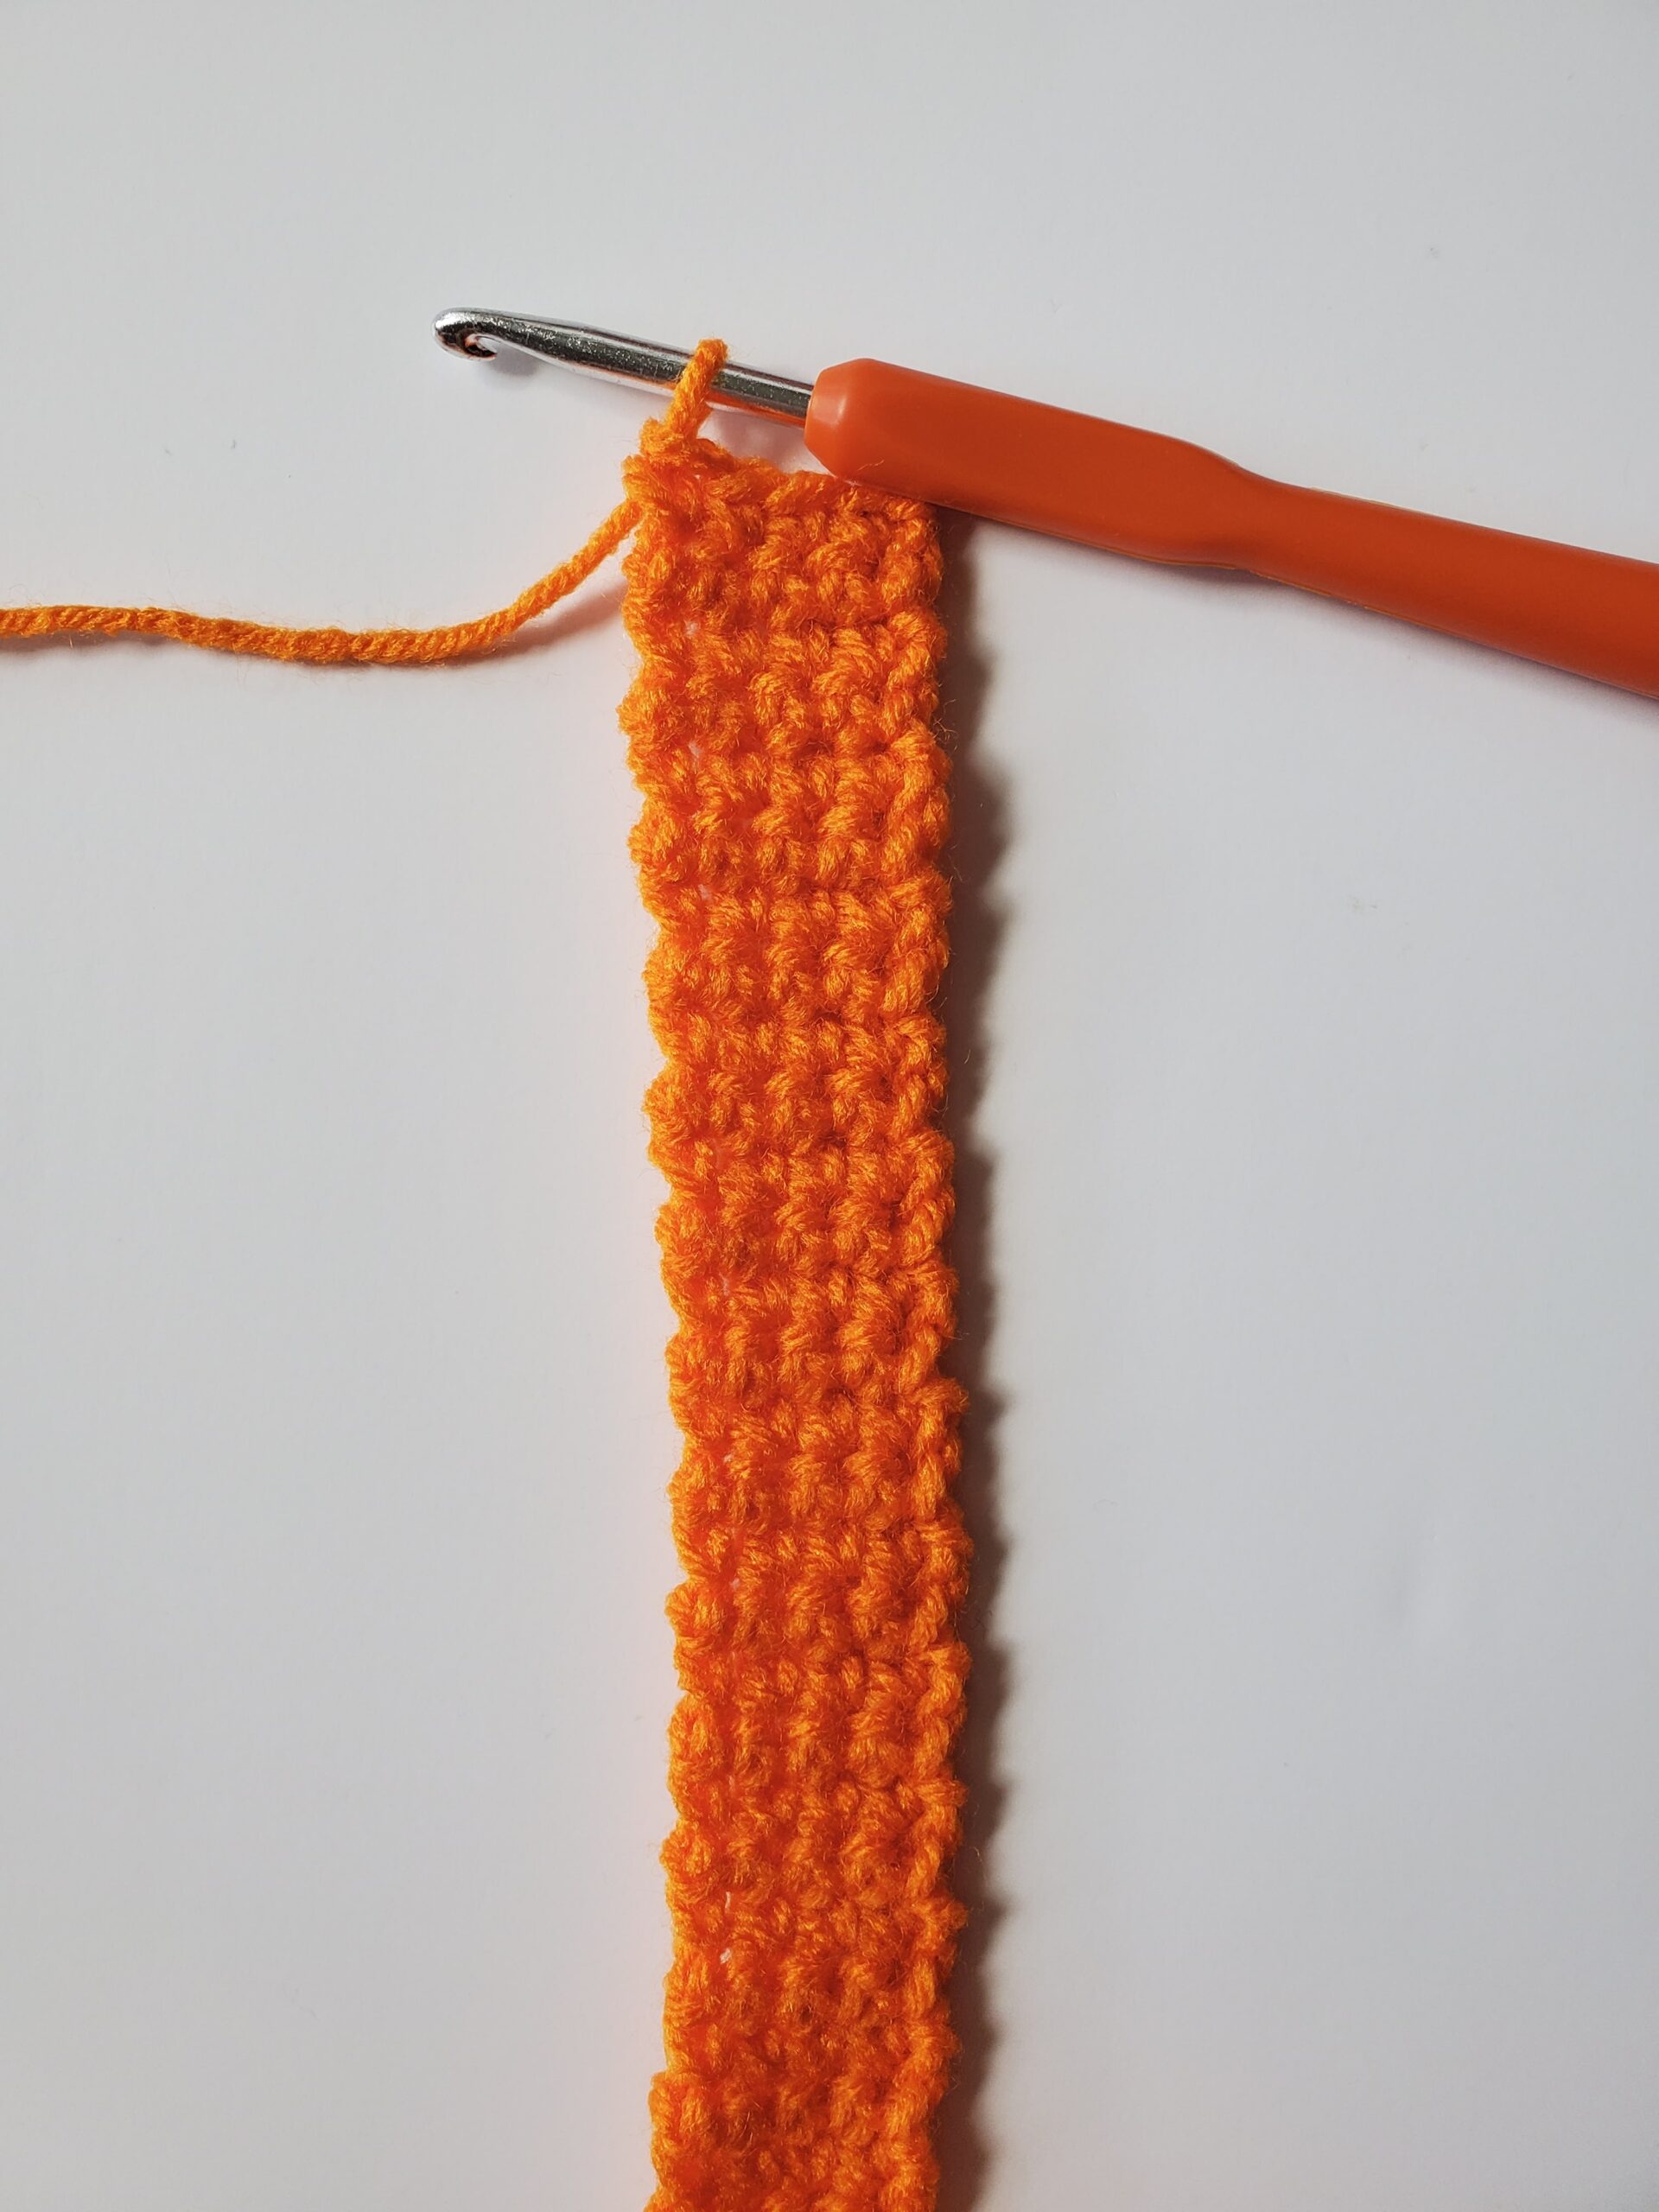
Feel free to use any type of yarn, it really doesn’t have to be acrylic,  just make sure it’s a 4 medium weight, otherwise your finished size will be a little different.

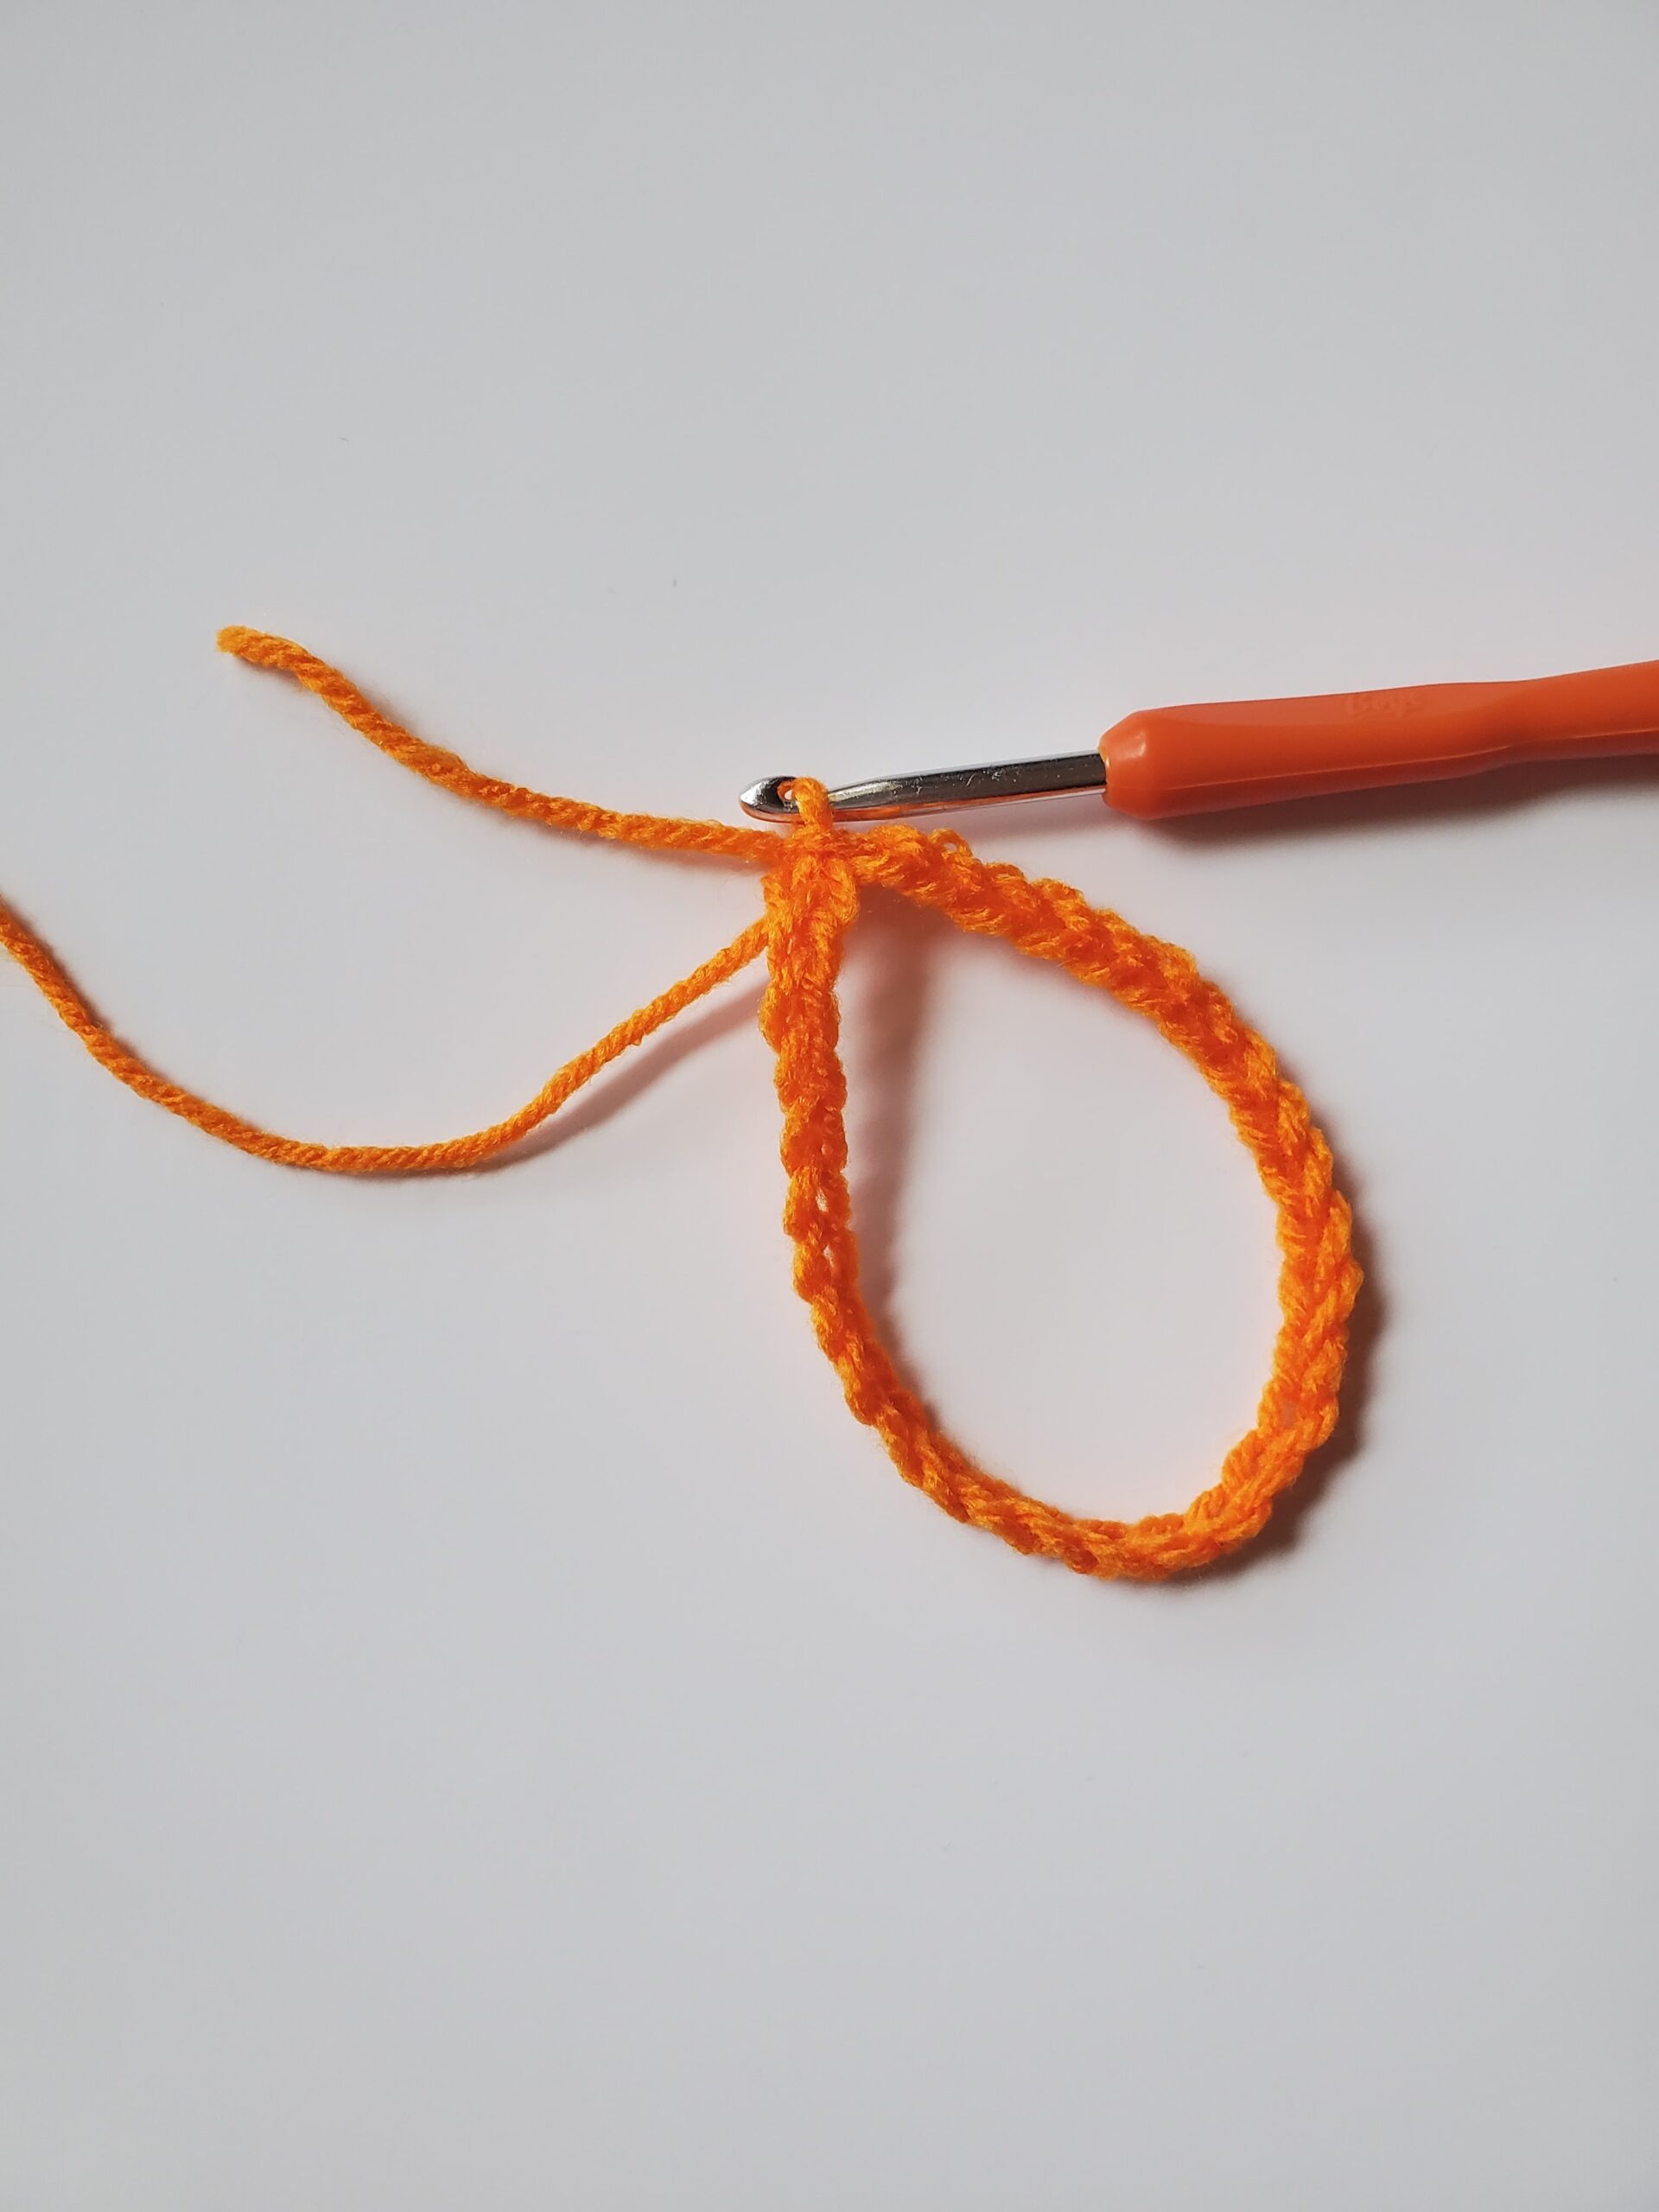
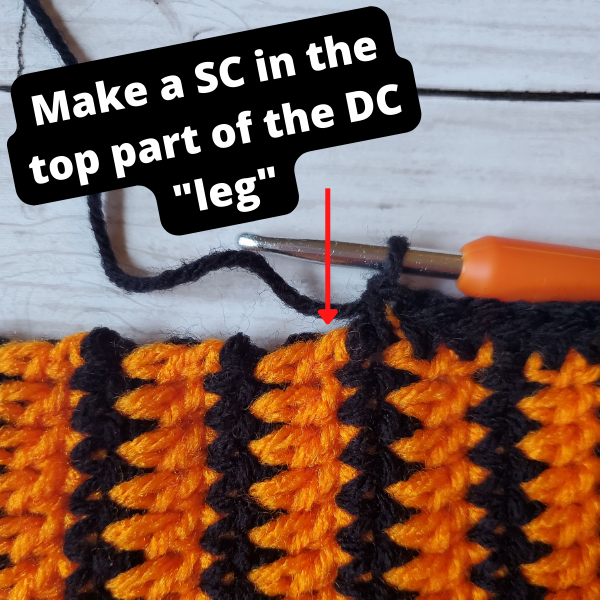
How to Color Change in this Pattern

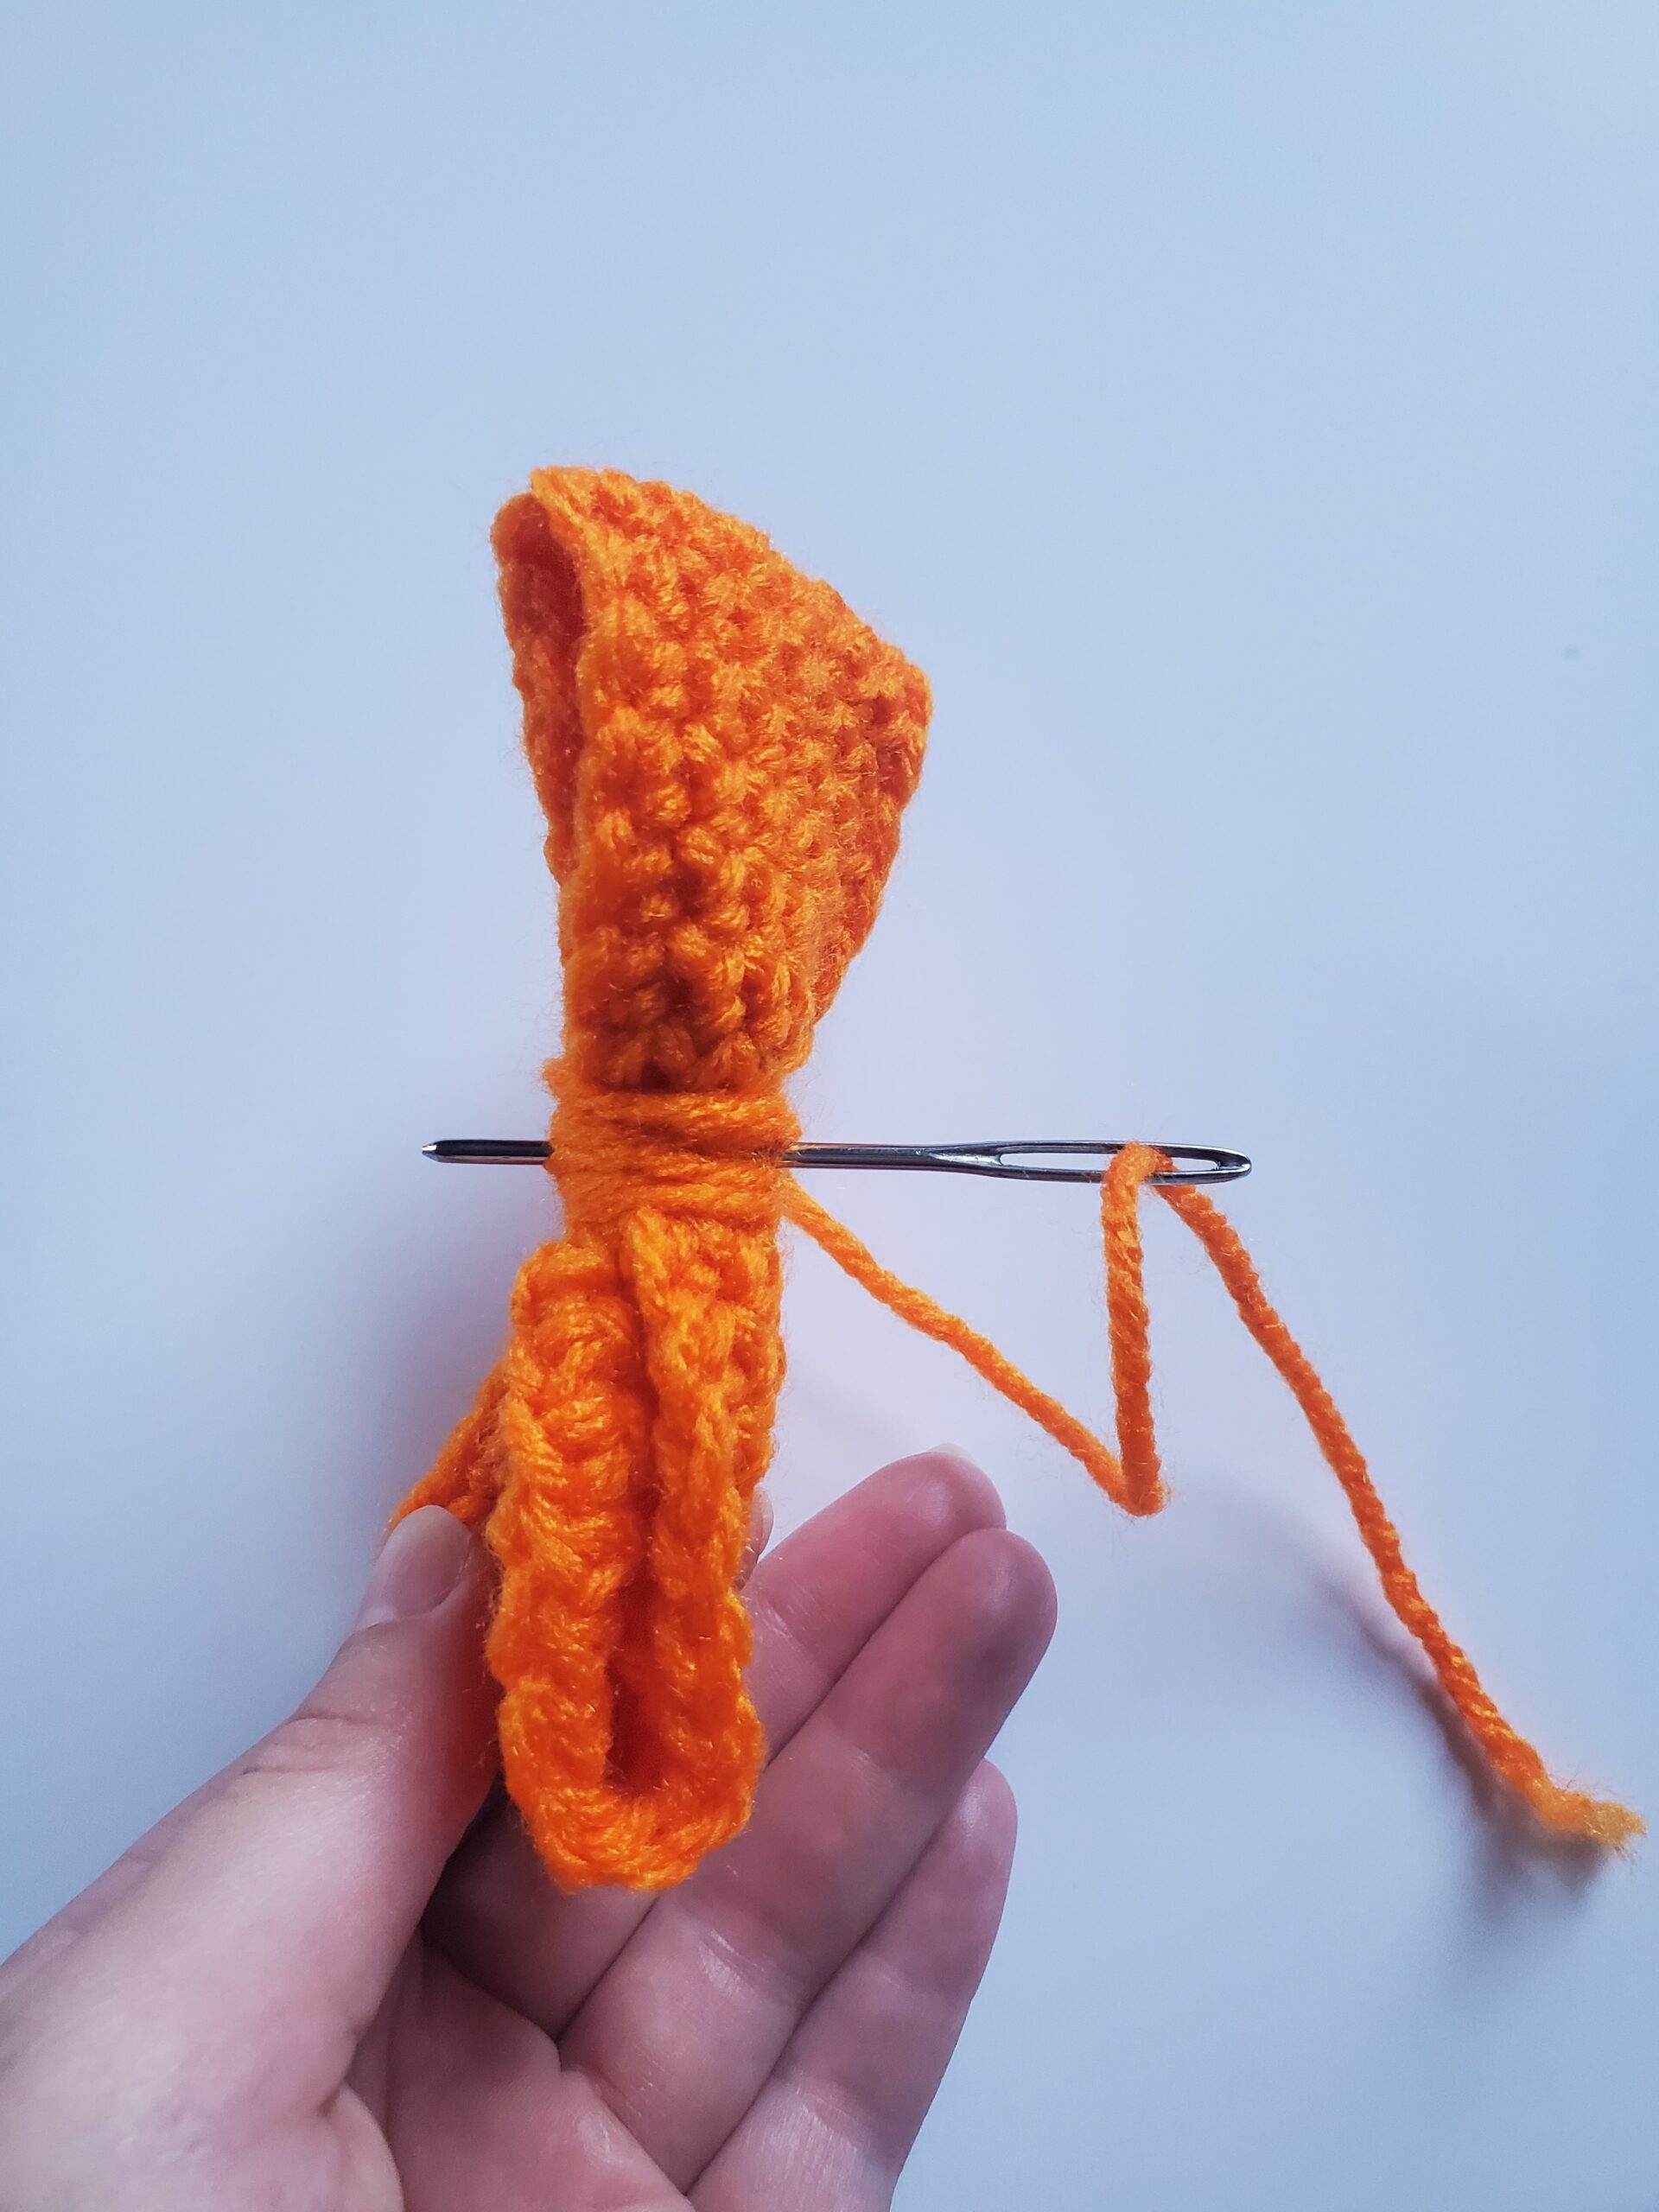
There will be color changes throughout this pattern, but they are at the end of the rows. If you’re not sure how to color change, there’s a lot of different ways to go about it. I personally like to color change this way:

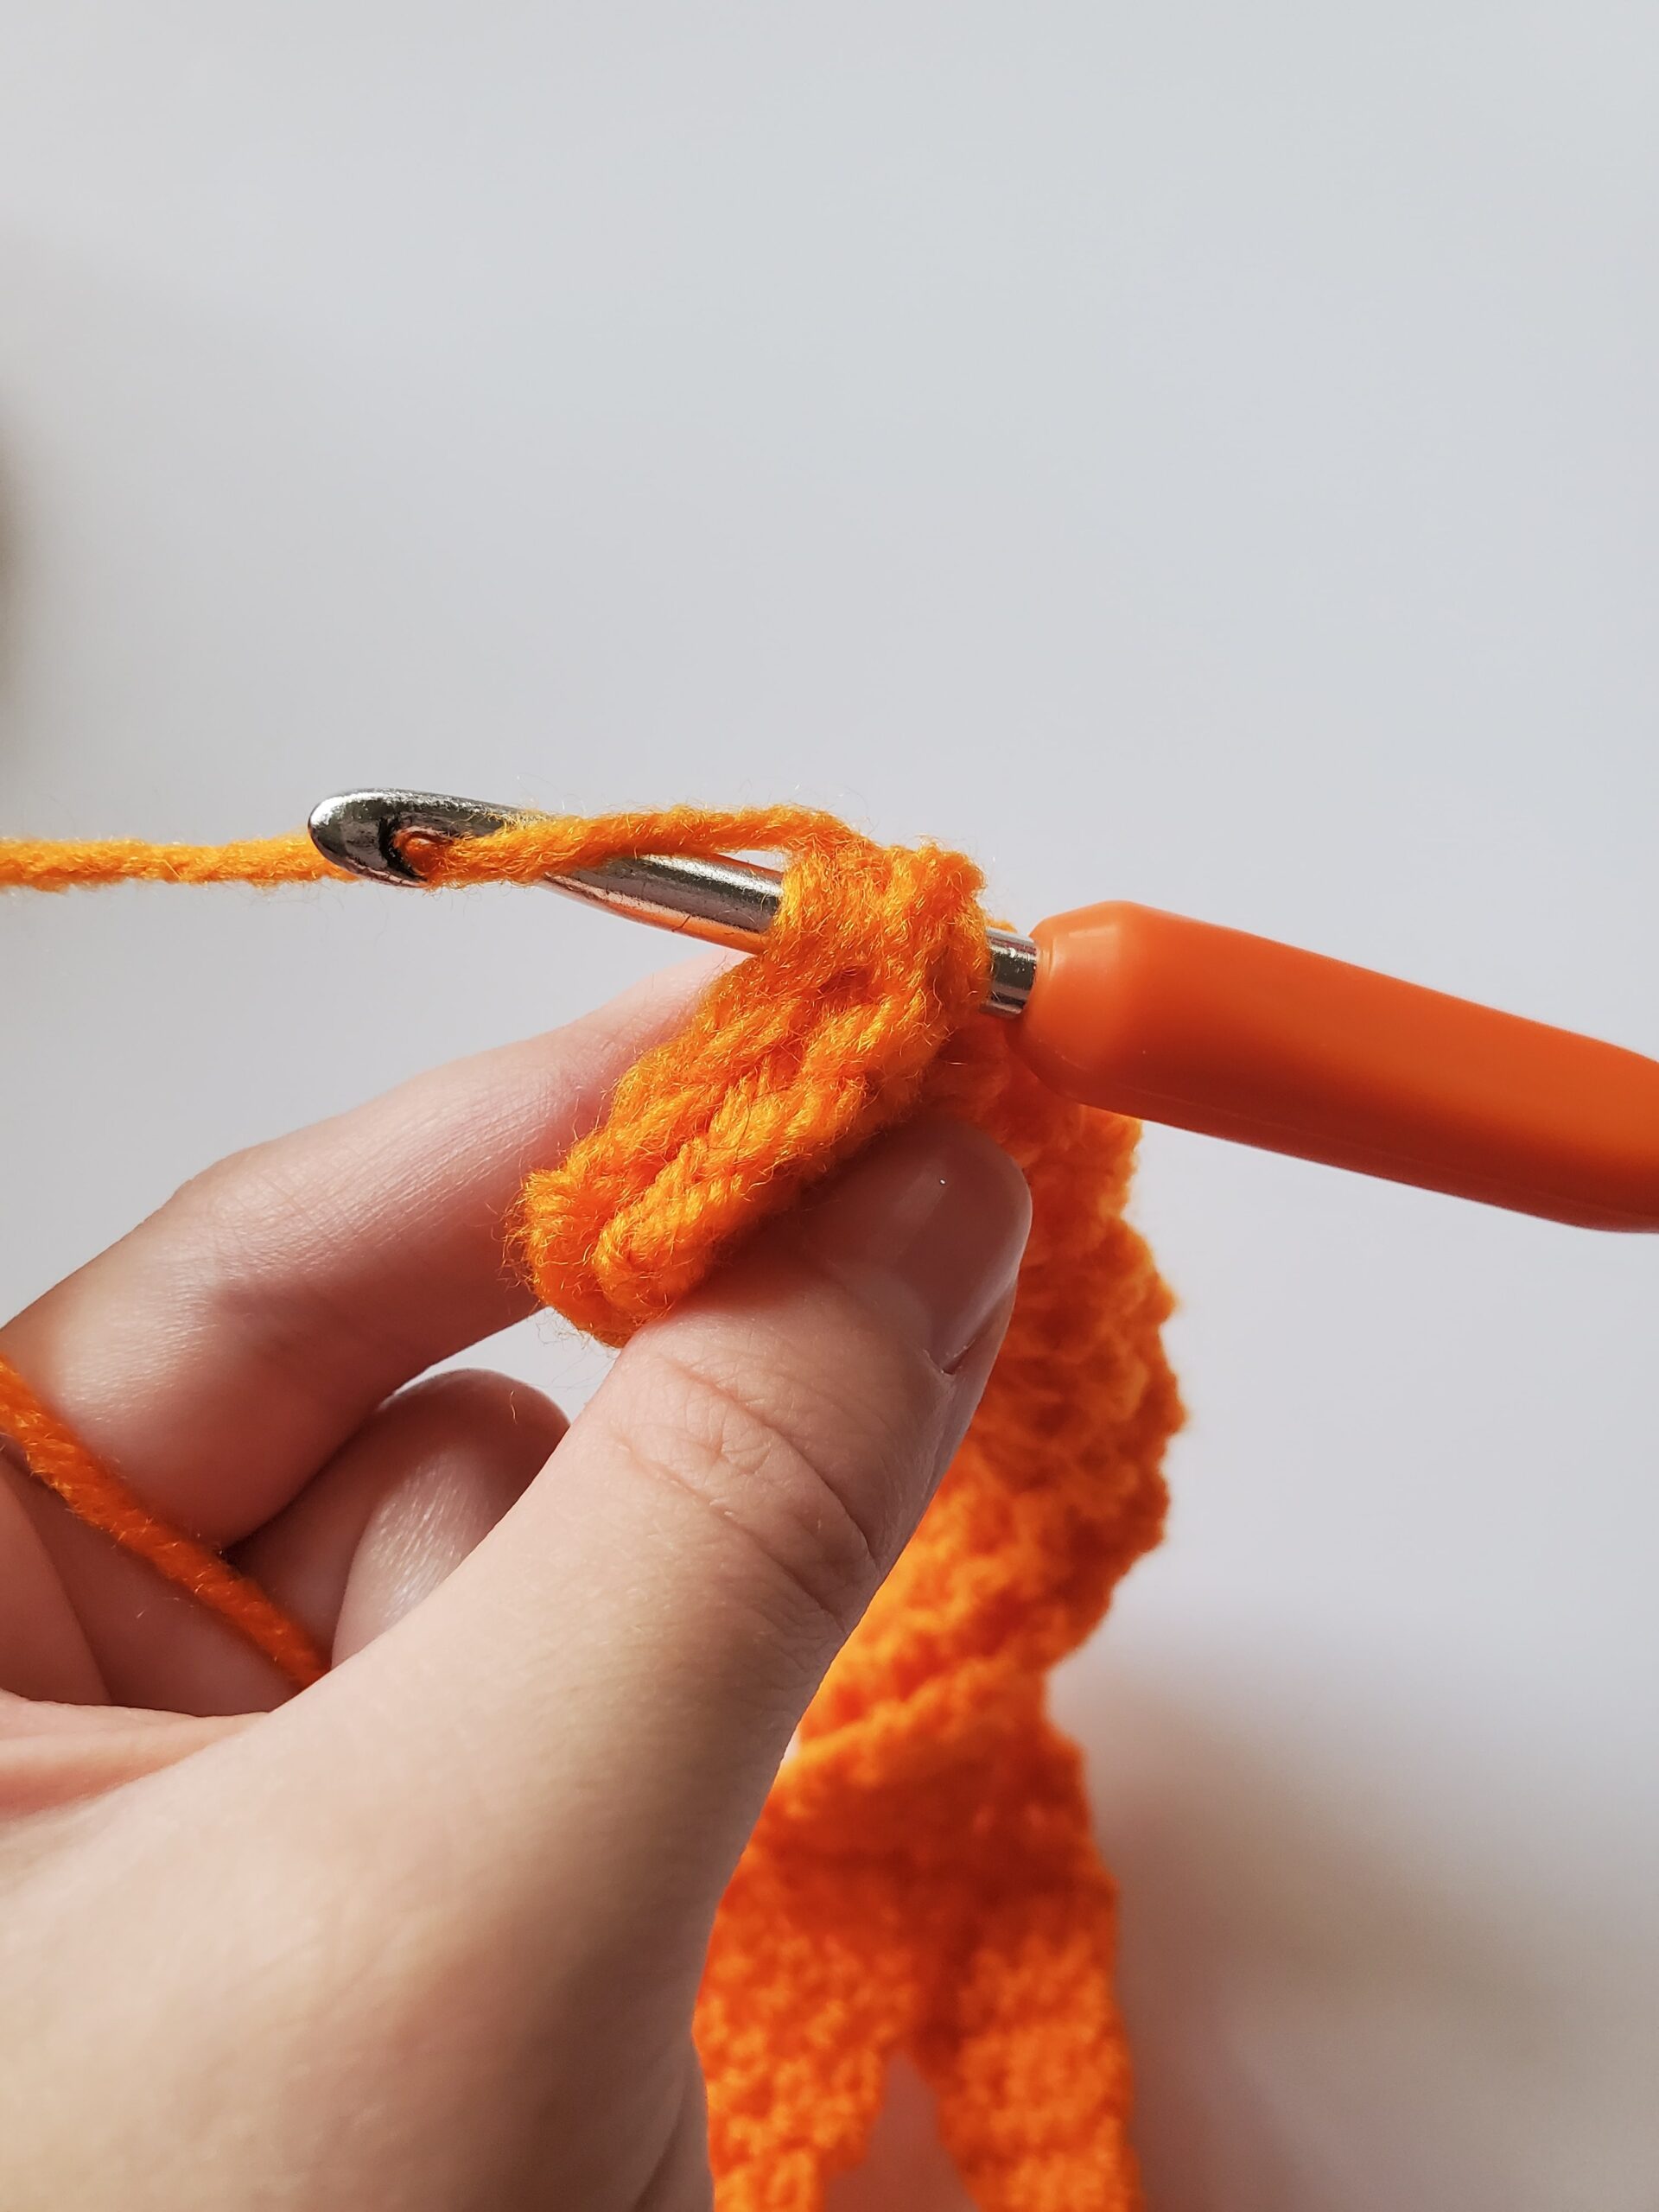
  • Start making my last stitch, whether it be a single or double crochet, but don’t finish it all the way! Leave 2 loops on your hook, attach your new color by making a loop and placing it on your crochet hook. Pull the new color through the 2 loops.

If you need help color changing, I’ve made a post about How to Color Change in Crochet the Right Way that discusses my method.

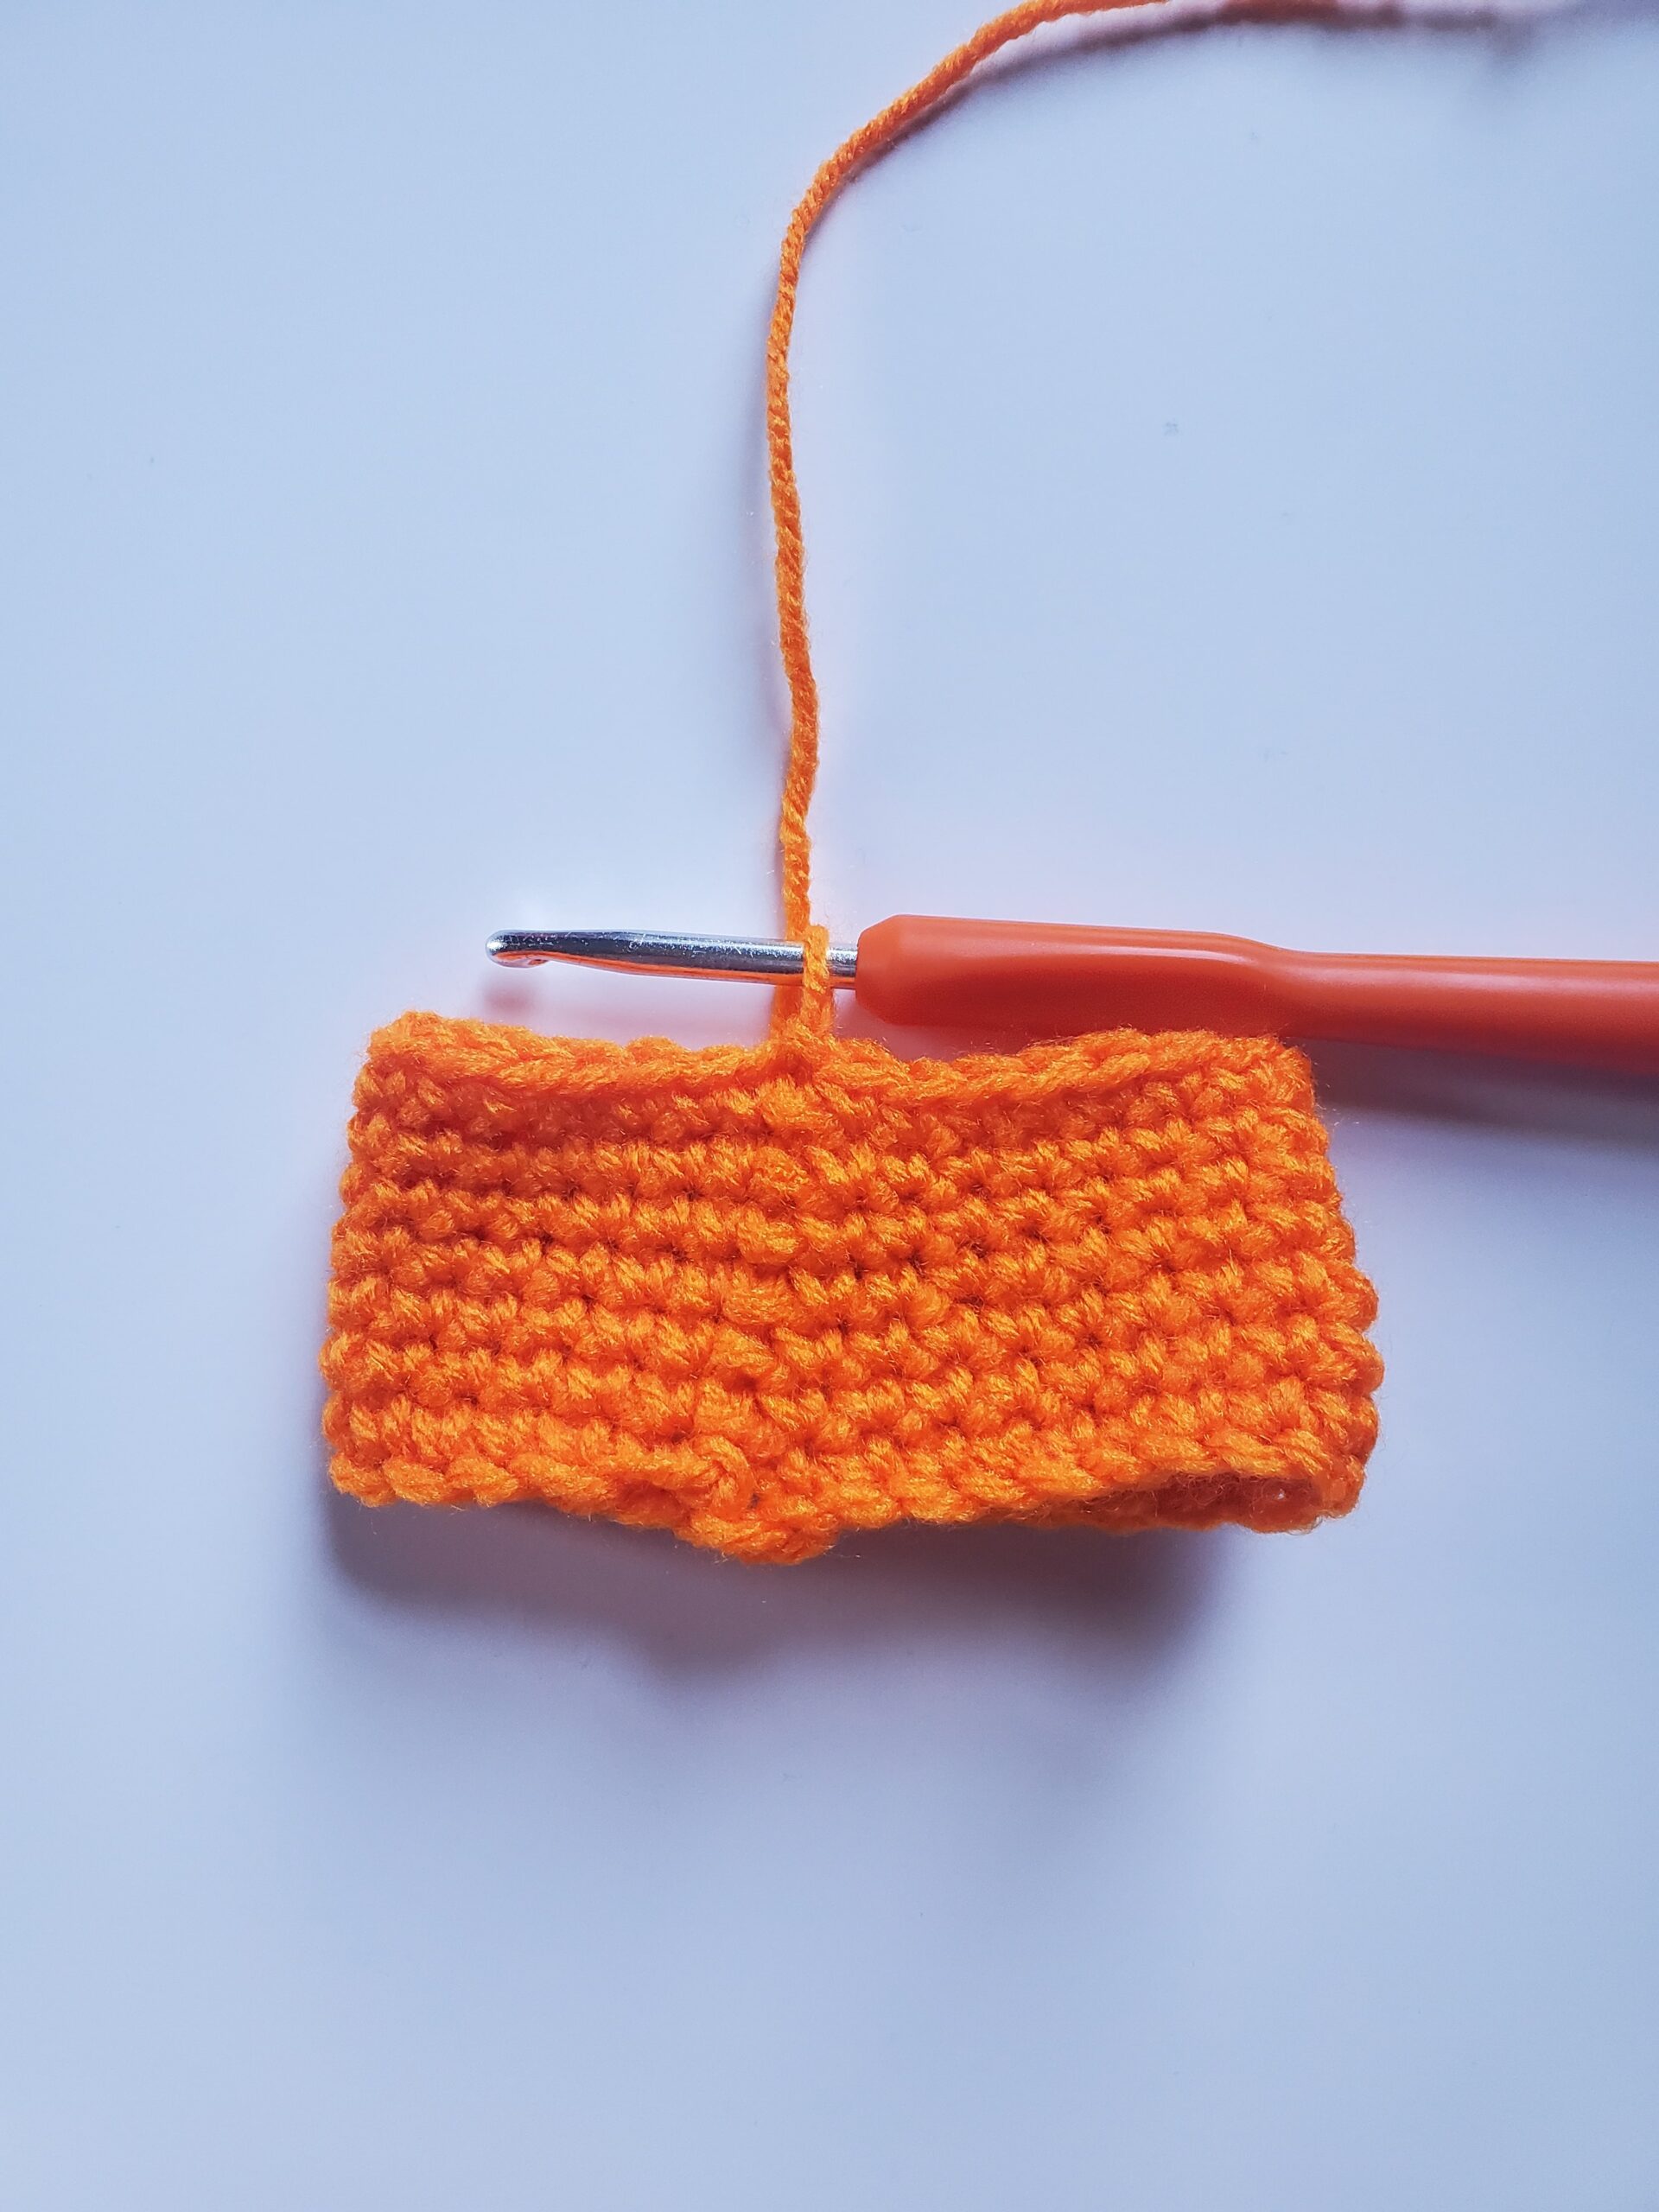
Why you Should Carry Your Yarn

You can carry your yarn with you as you crochet if you hate weaving in ends (like I do). Carrying your yarn as you crochet will help when you need to switch colors, as you don’t need to cut with scissors every time.

In this crochet pattern, you won’t even see the yarn that you’re carrying between the stitches, even when you swap the colors. Some people don’t care that much, but for me, some projects, I REALLY don’t like seeing the carried yarn through the stitches.

To carry your yarn with you: 

  • Take the previous yarn color and place it in front or behind the next stitch.
  • Crochet as normal, but make sure that the previous yarn color is also being worked over (instead of being left behind).
  • At the end of the row, when a color change is needed, don’t finish your stitch, drop the yarn color you were using and pick up the yarn you’ve been carrying with you. Pull the new color yarn through your unfinished stitch.

You don’t have to do it this way, if you’re more comfortable cutting your yarn and attaching your new color, that’s fine too! 
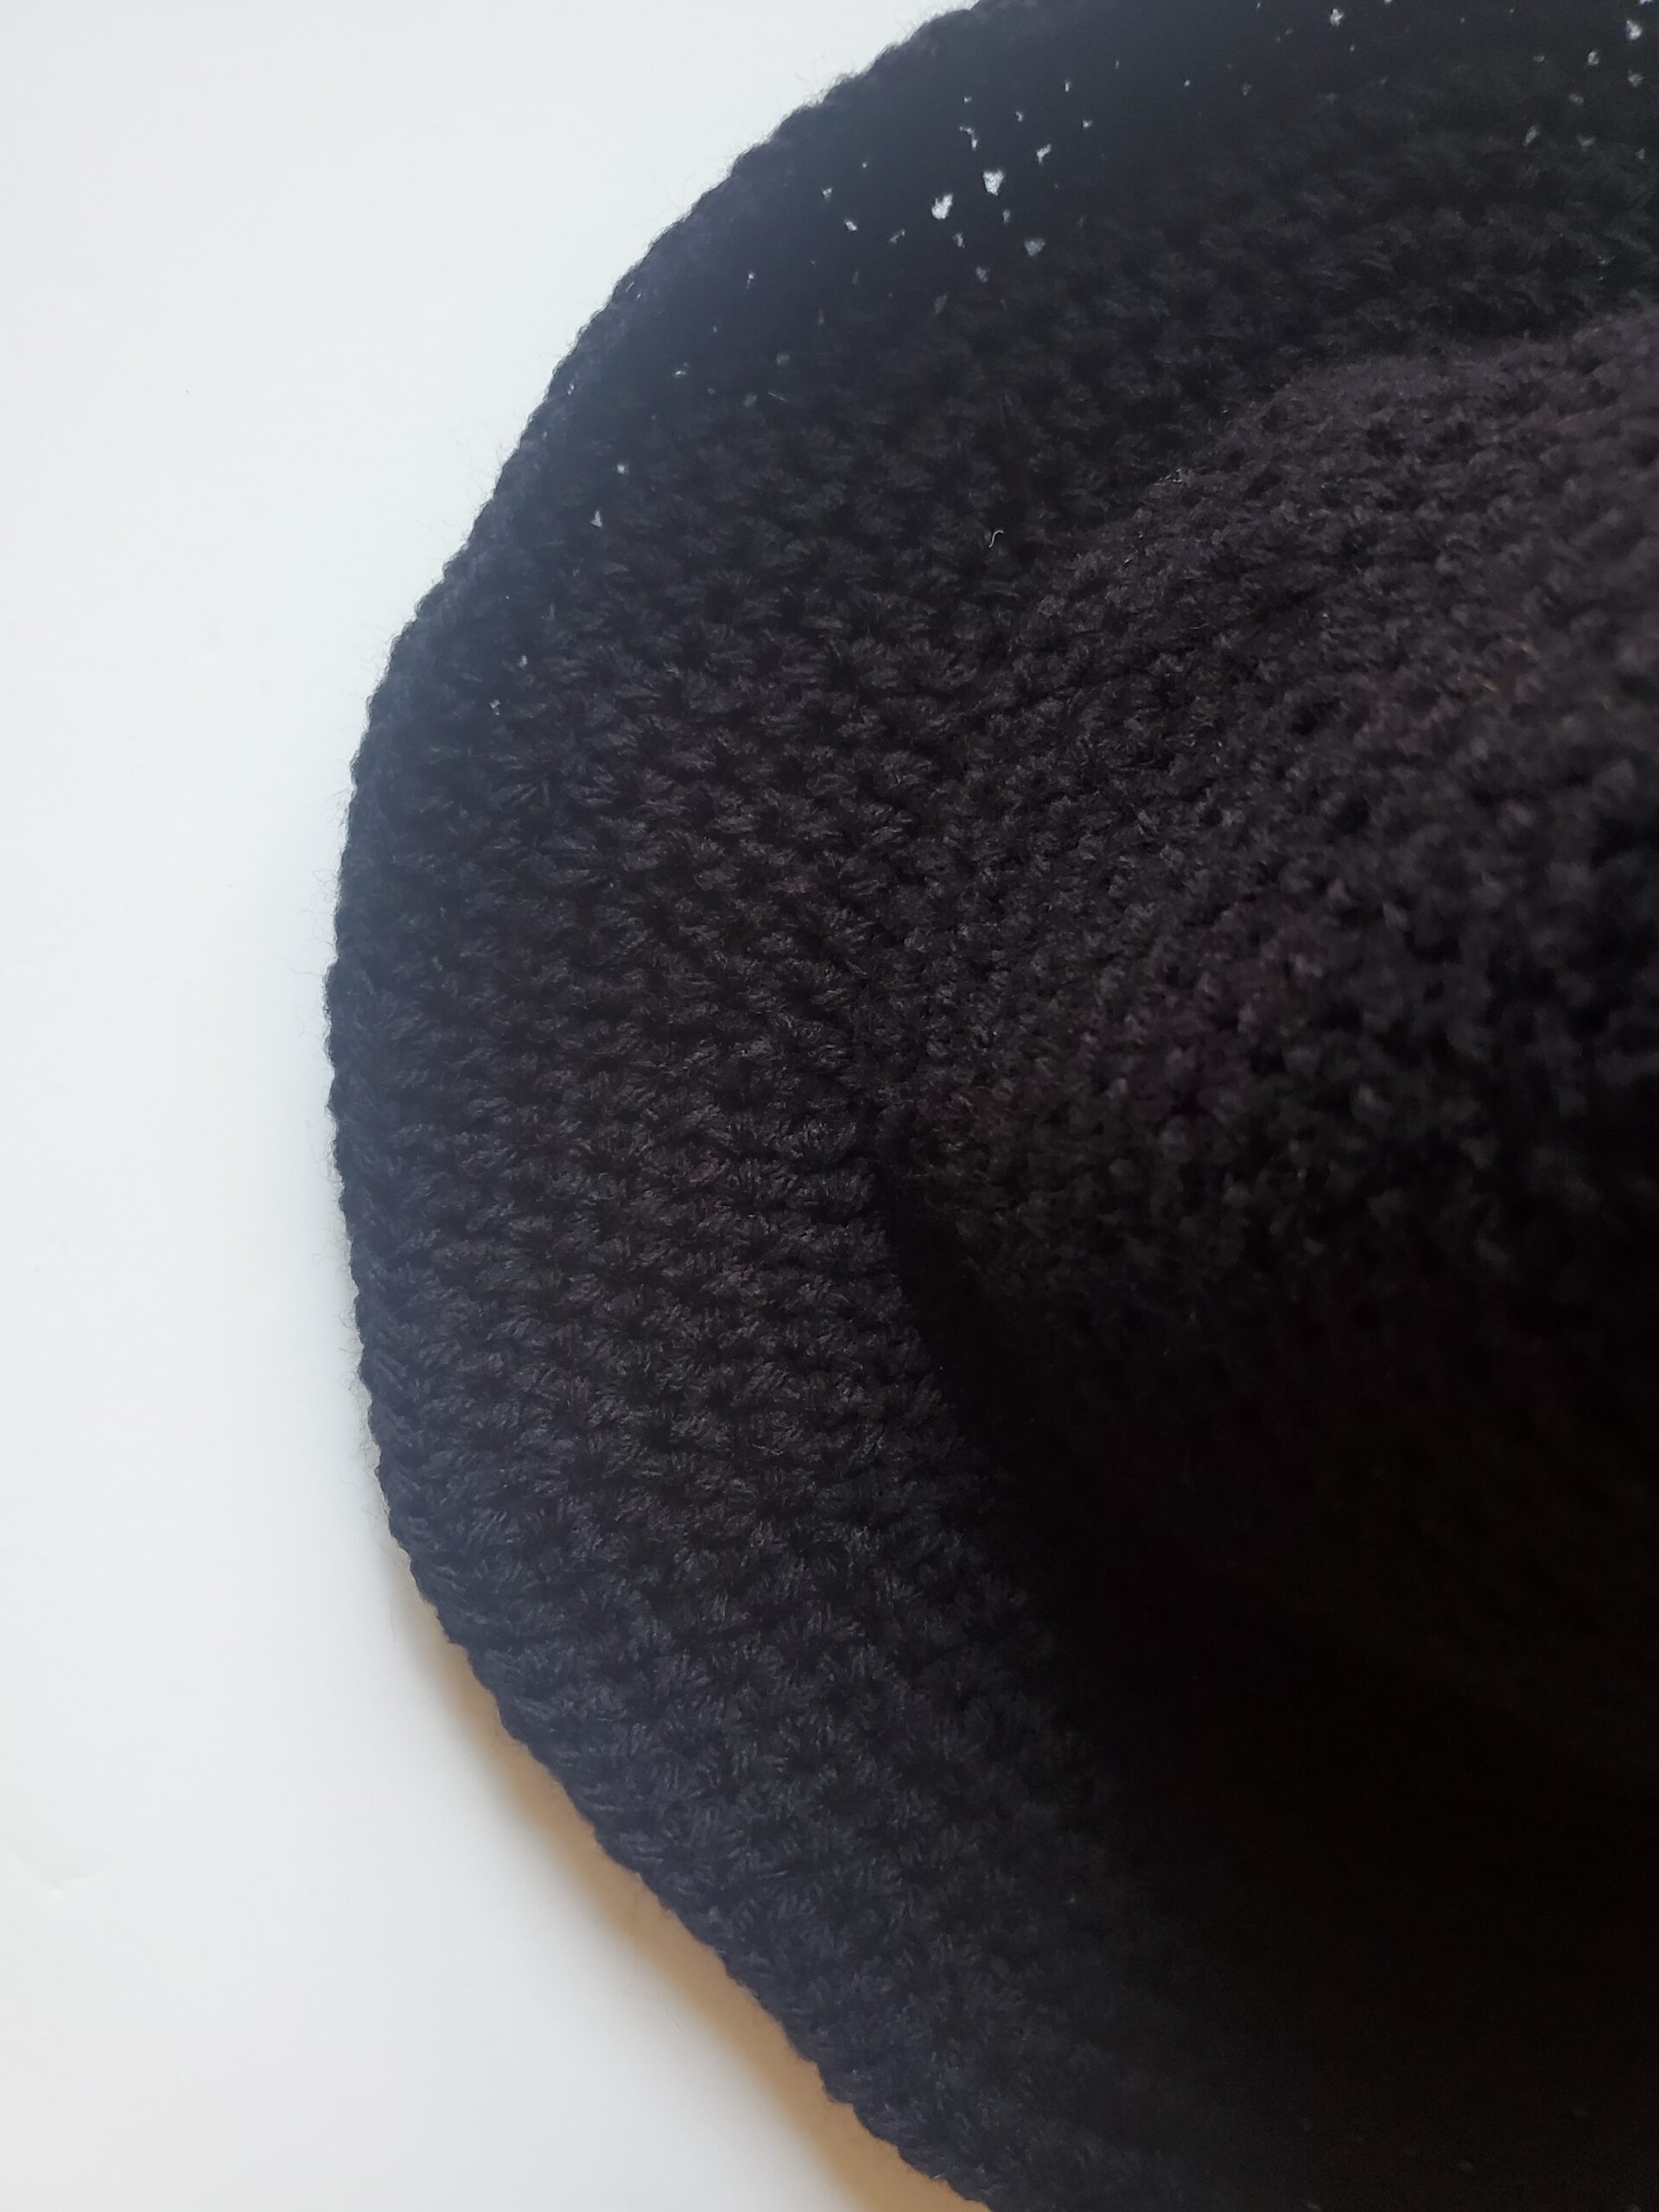
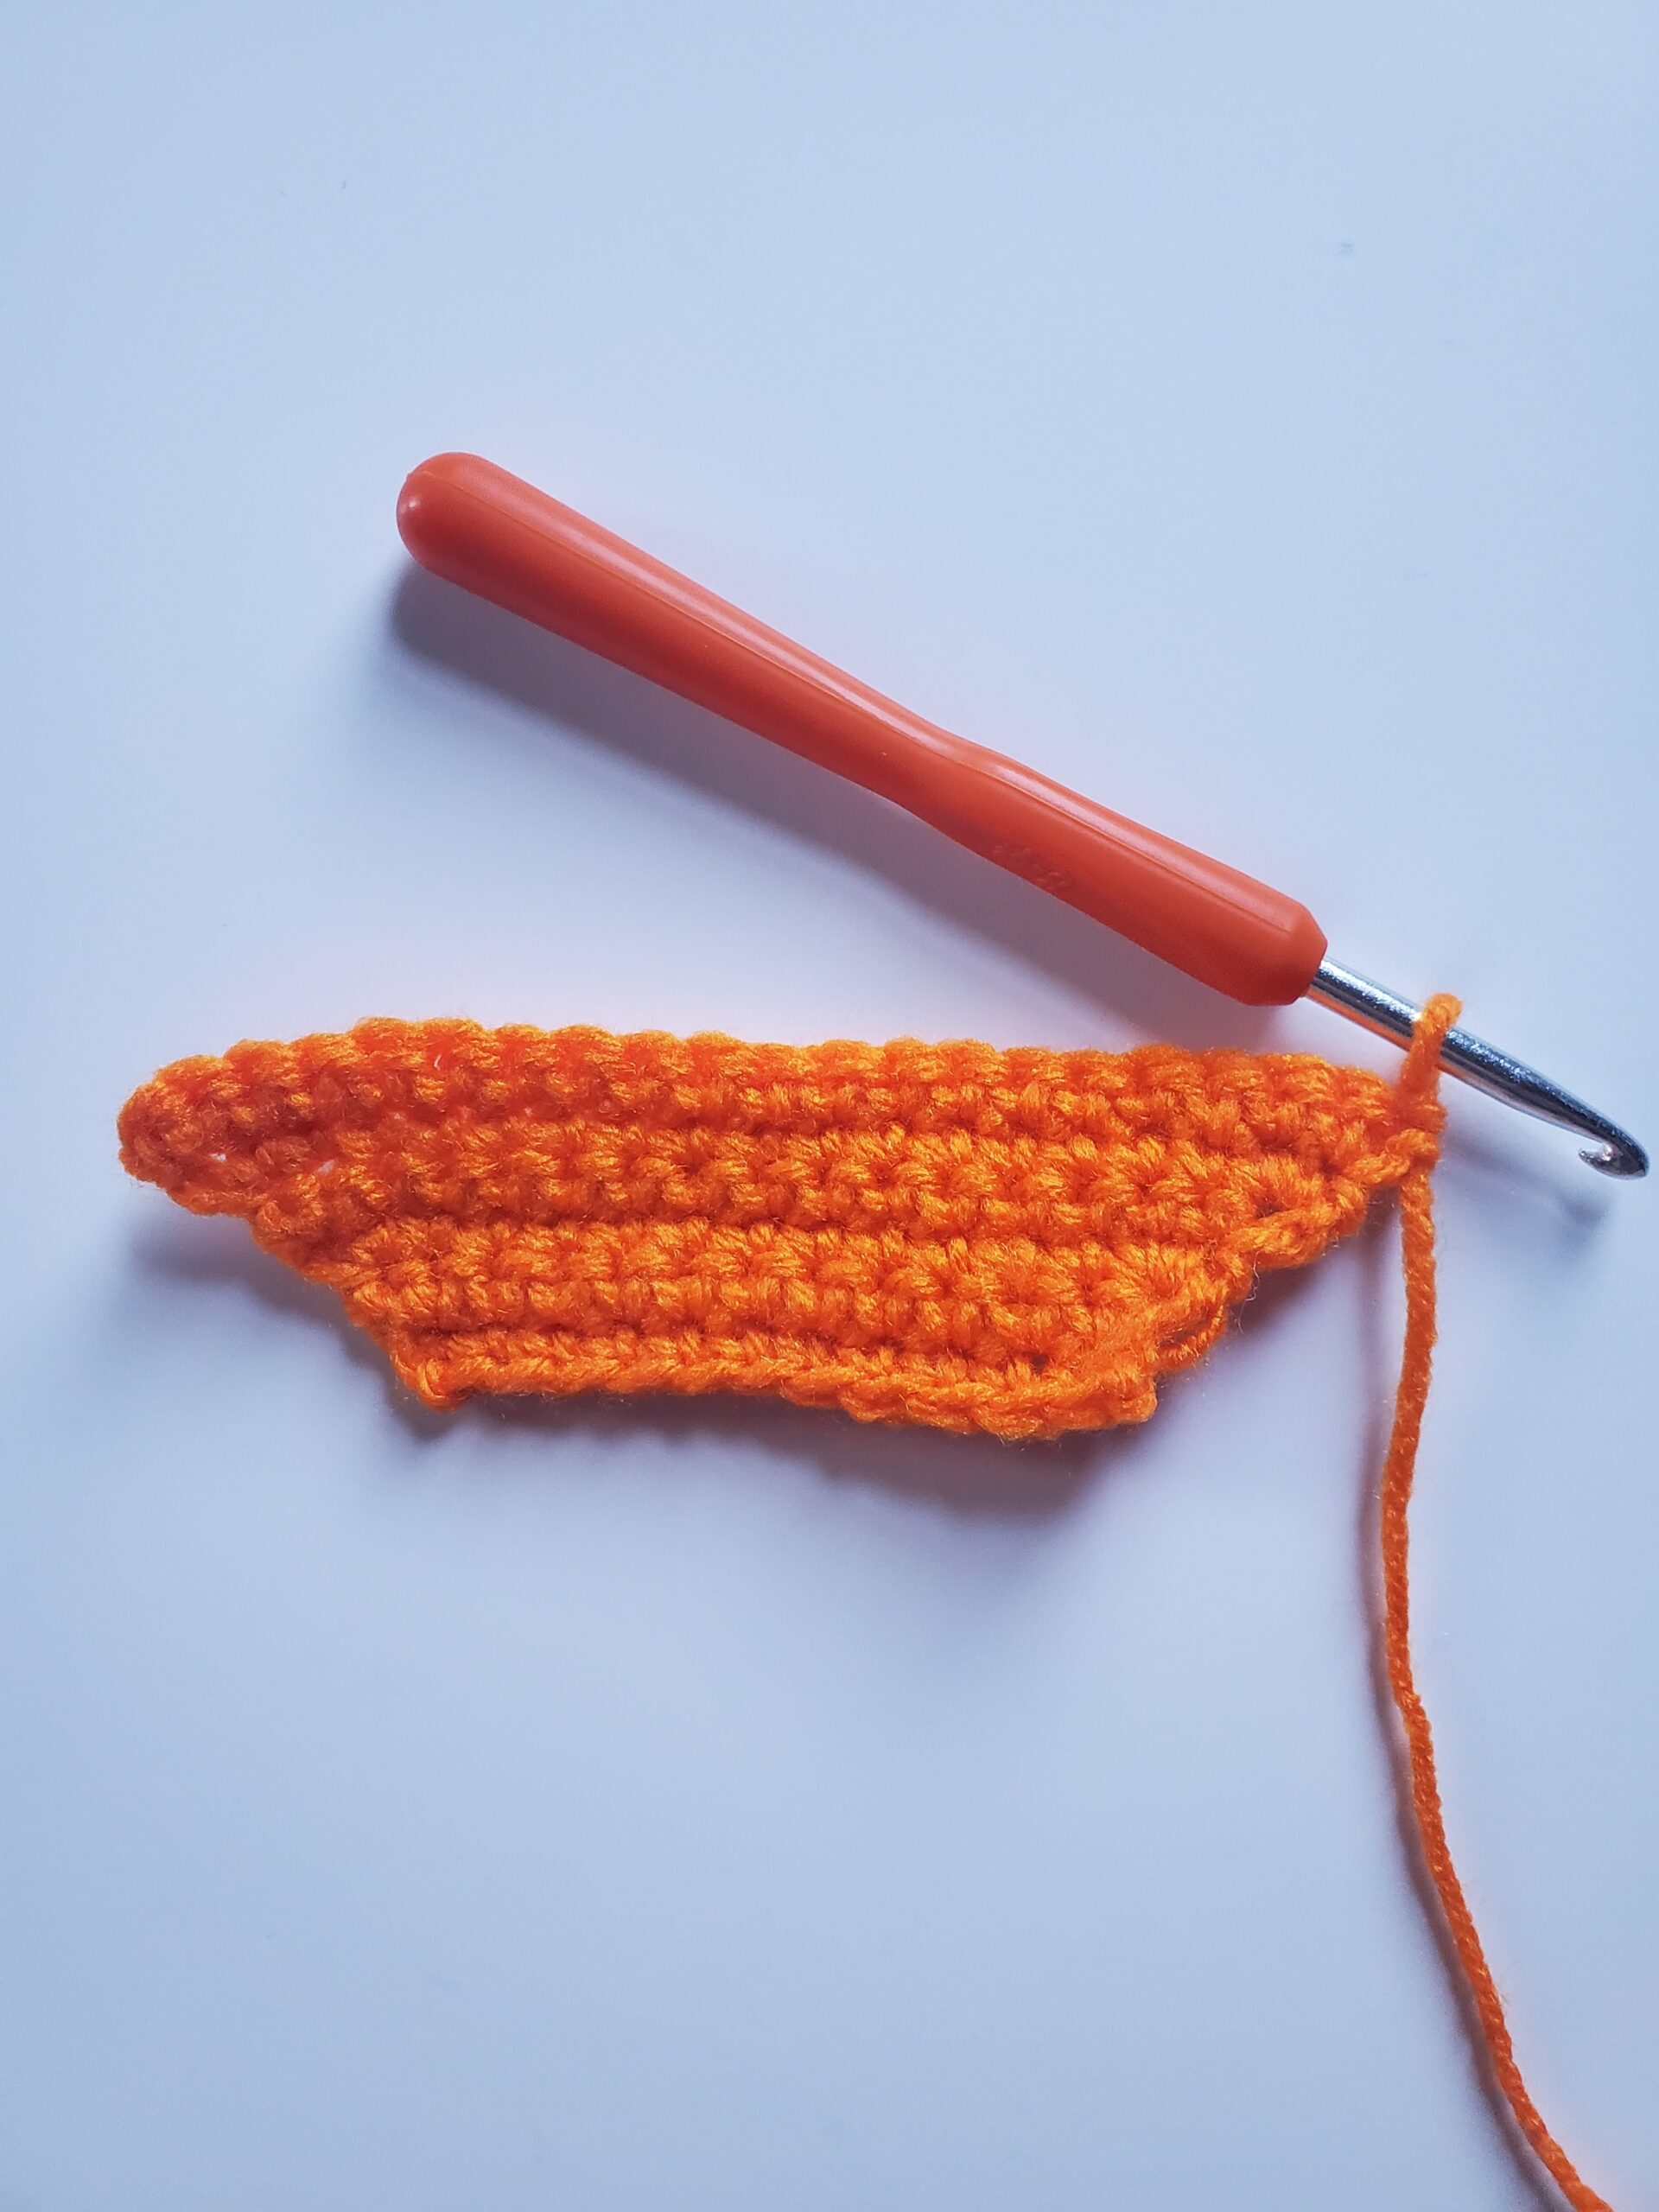
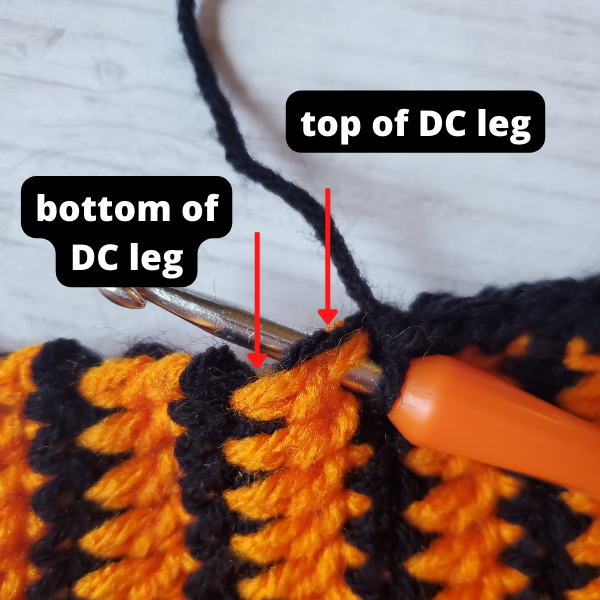
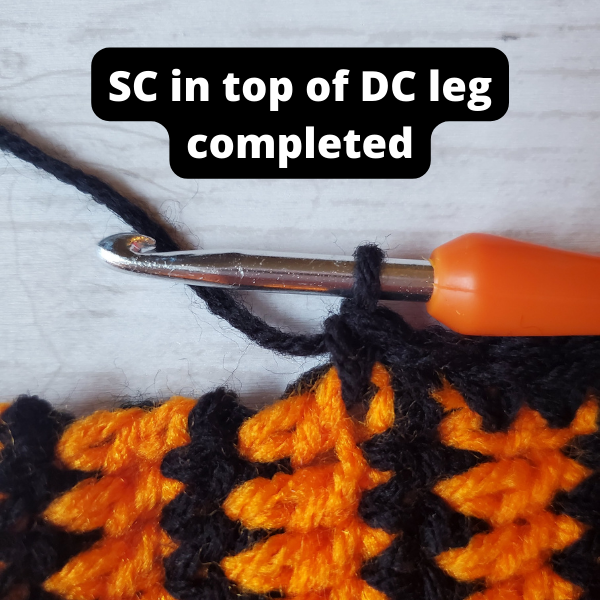
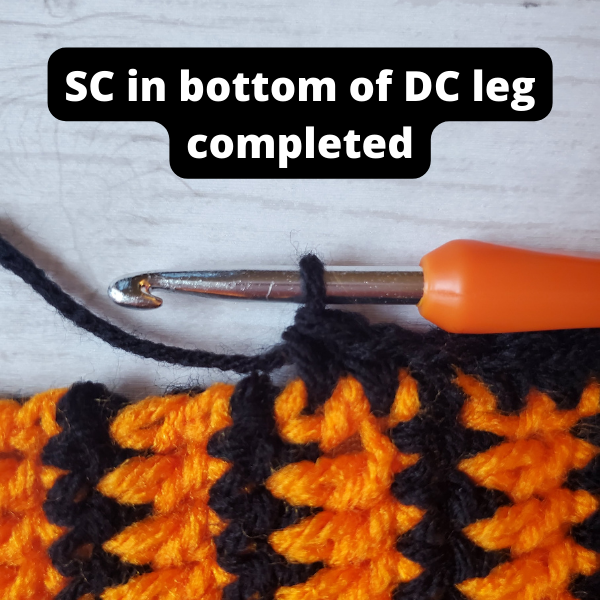
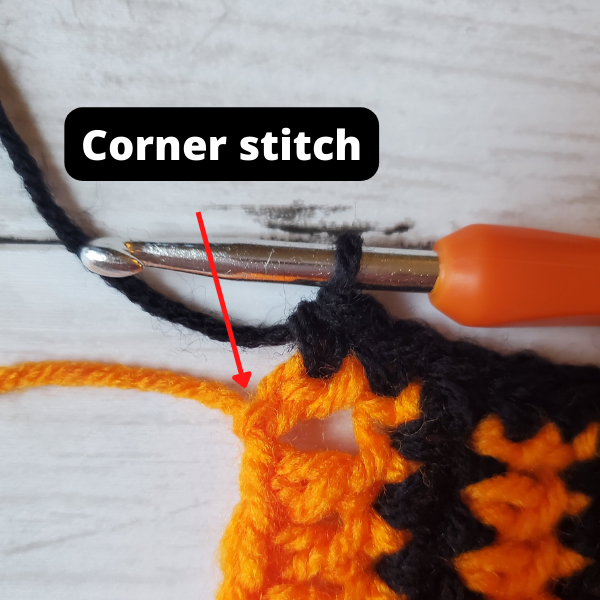
Border Info

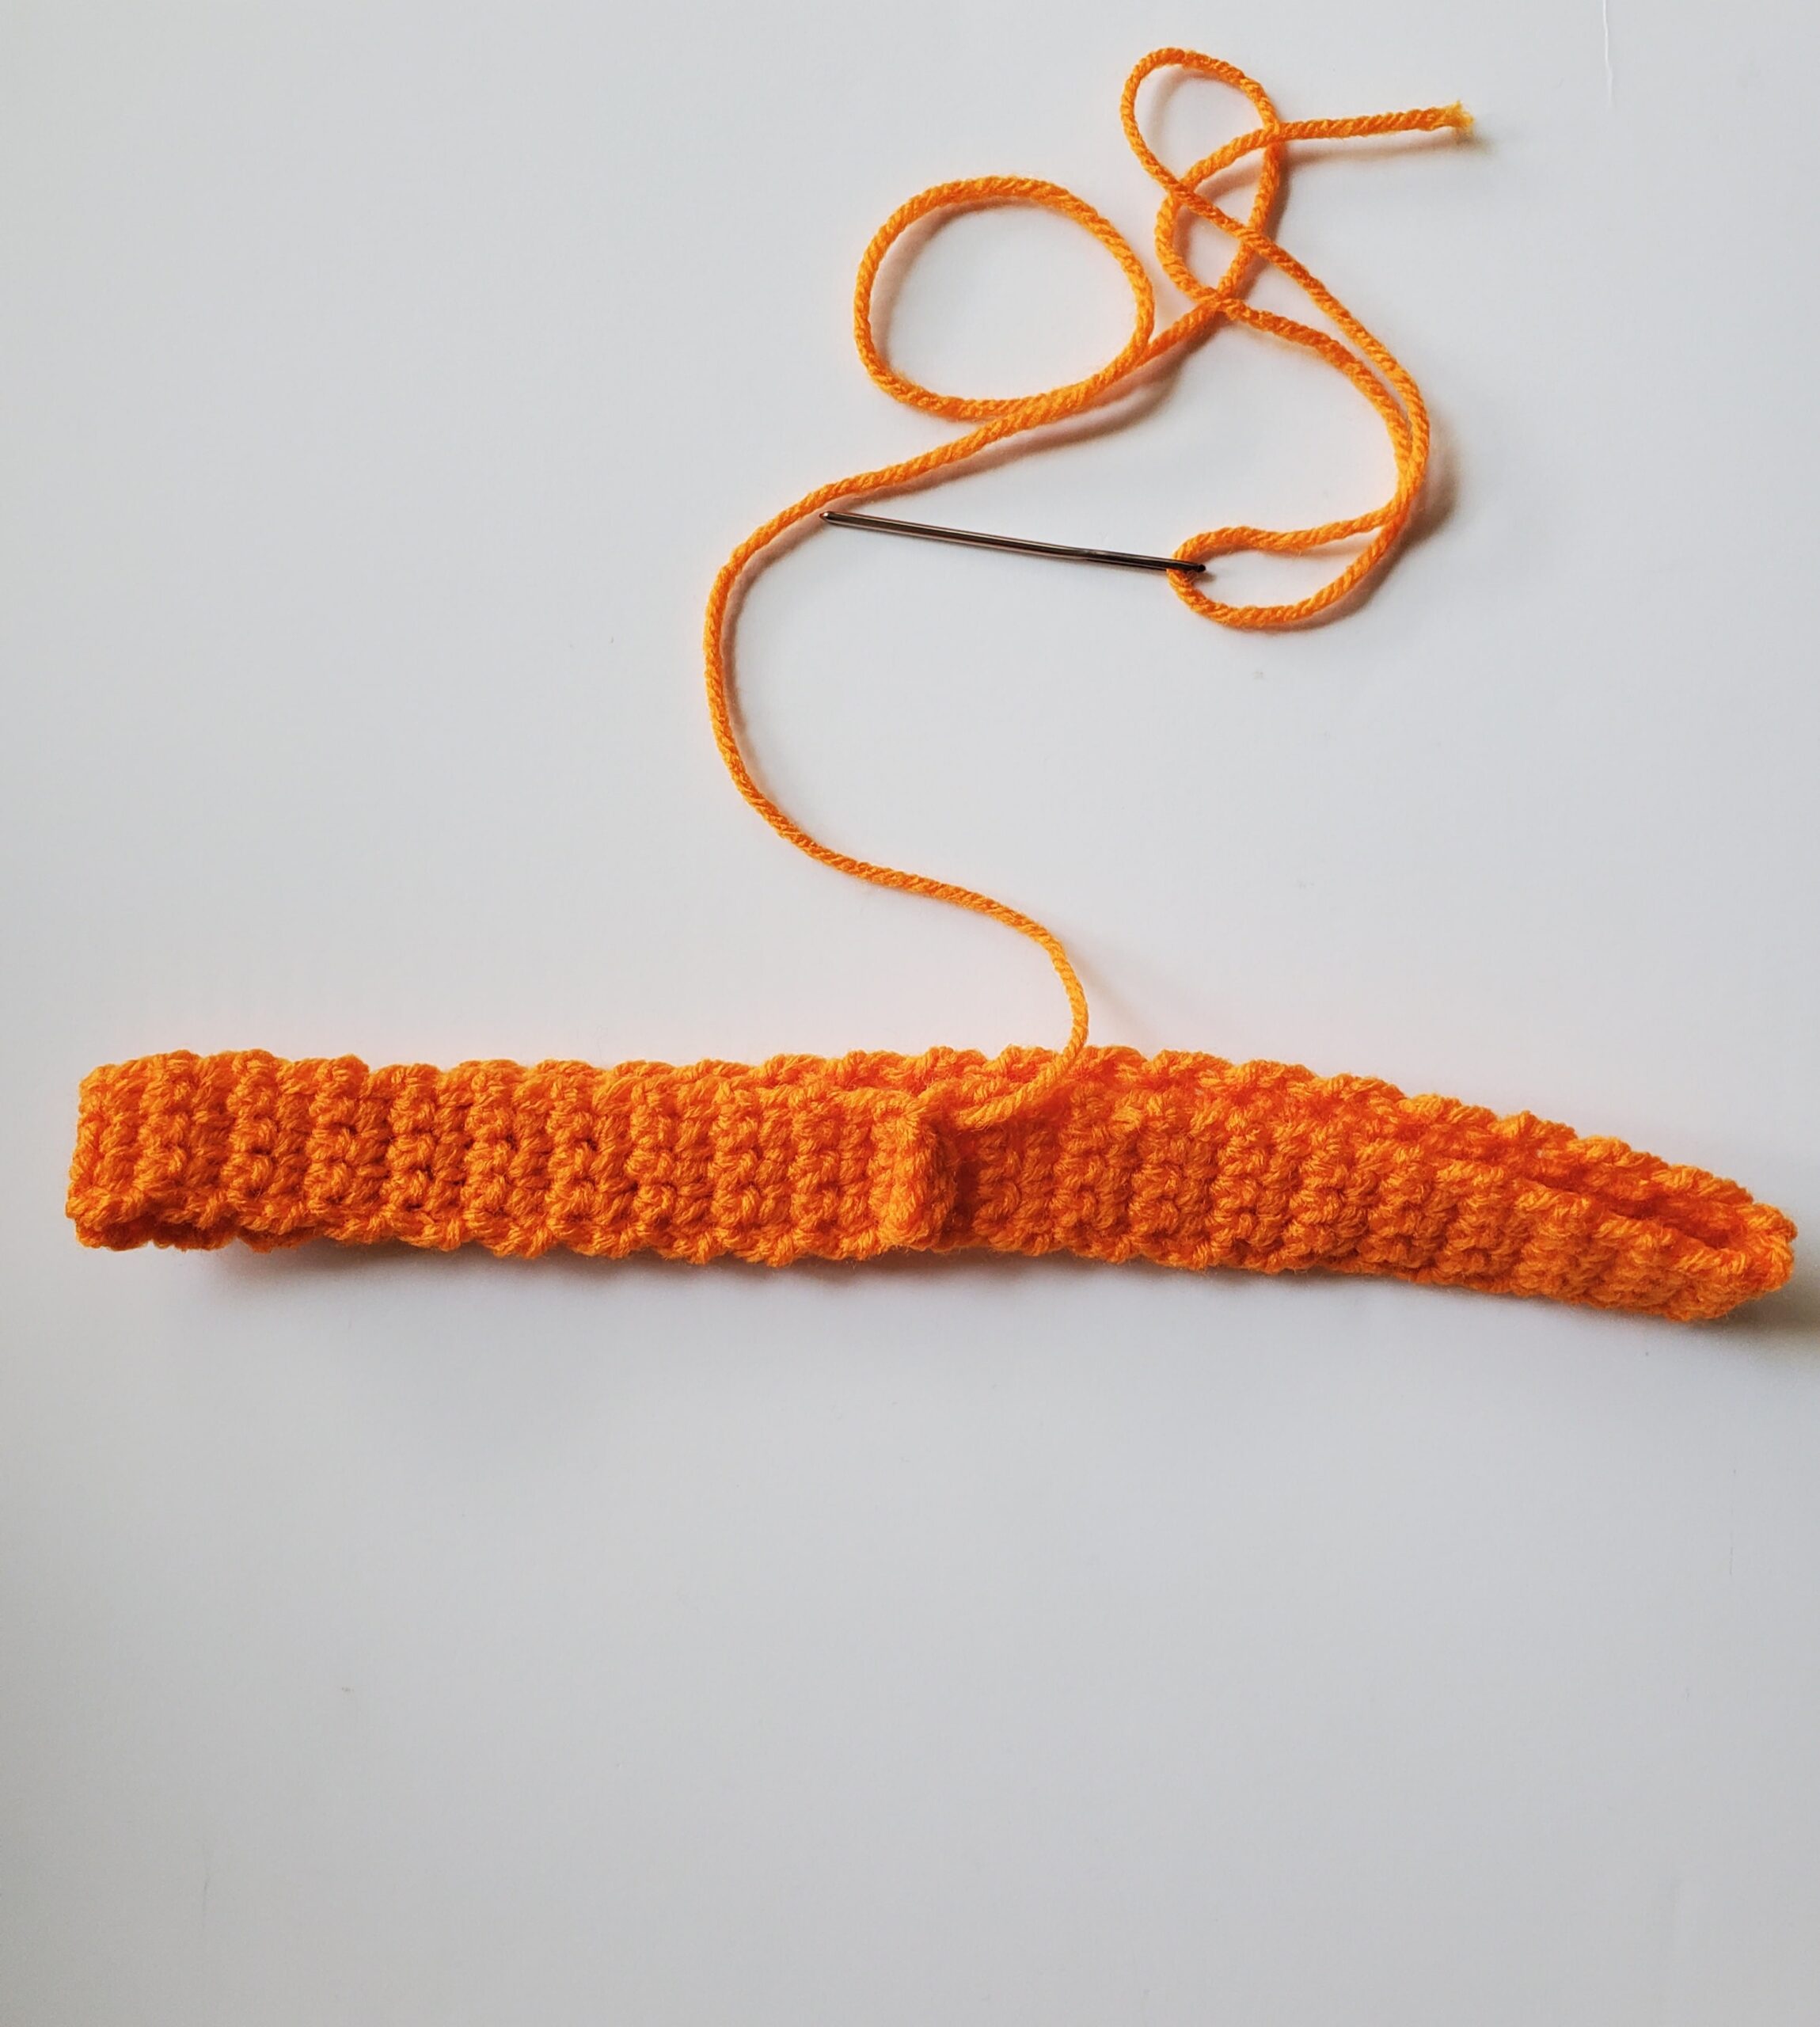
I’ve also placed a border on these washcloths, which consists of one simple row of single crochets. Borders aren’t absolutely necessary, but they make the final product look SO much cleaner. 

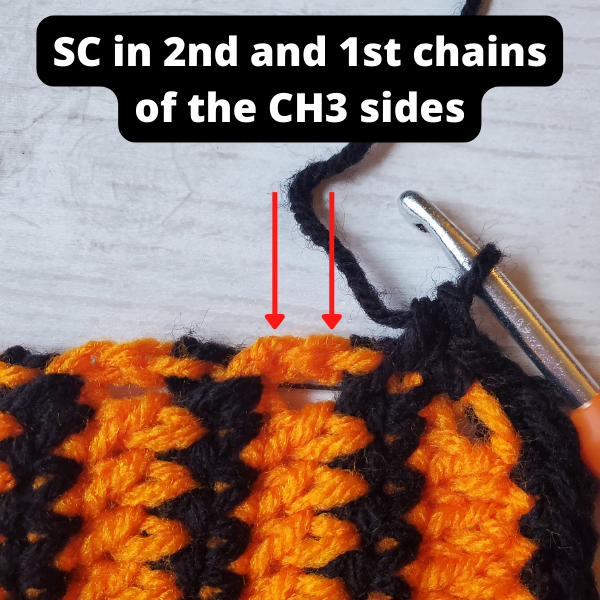
When you reach your corner stitch, you’ll single crochet, chain 3, and single crochet all in the same stitch

Alright, I think that’s enough talk, let’s jump into the pattern!

You Might Also Like:
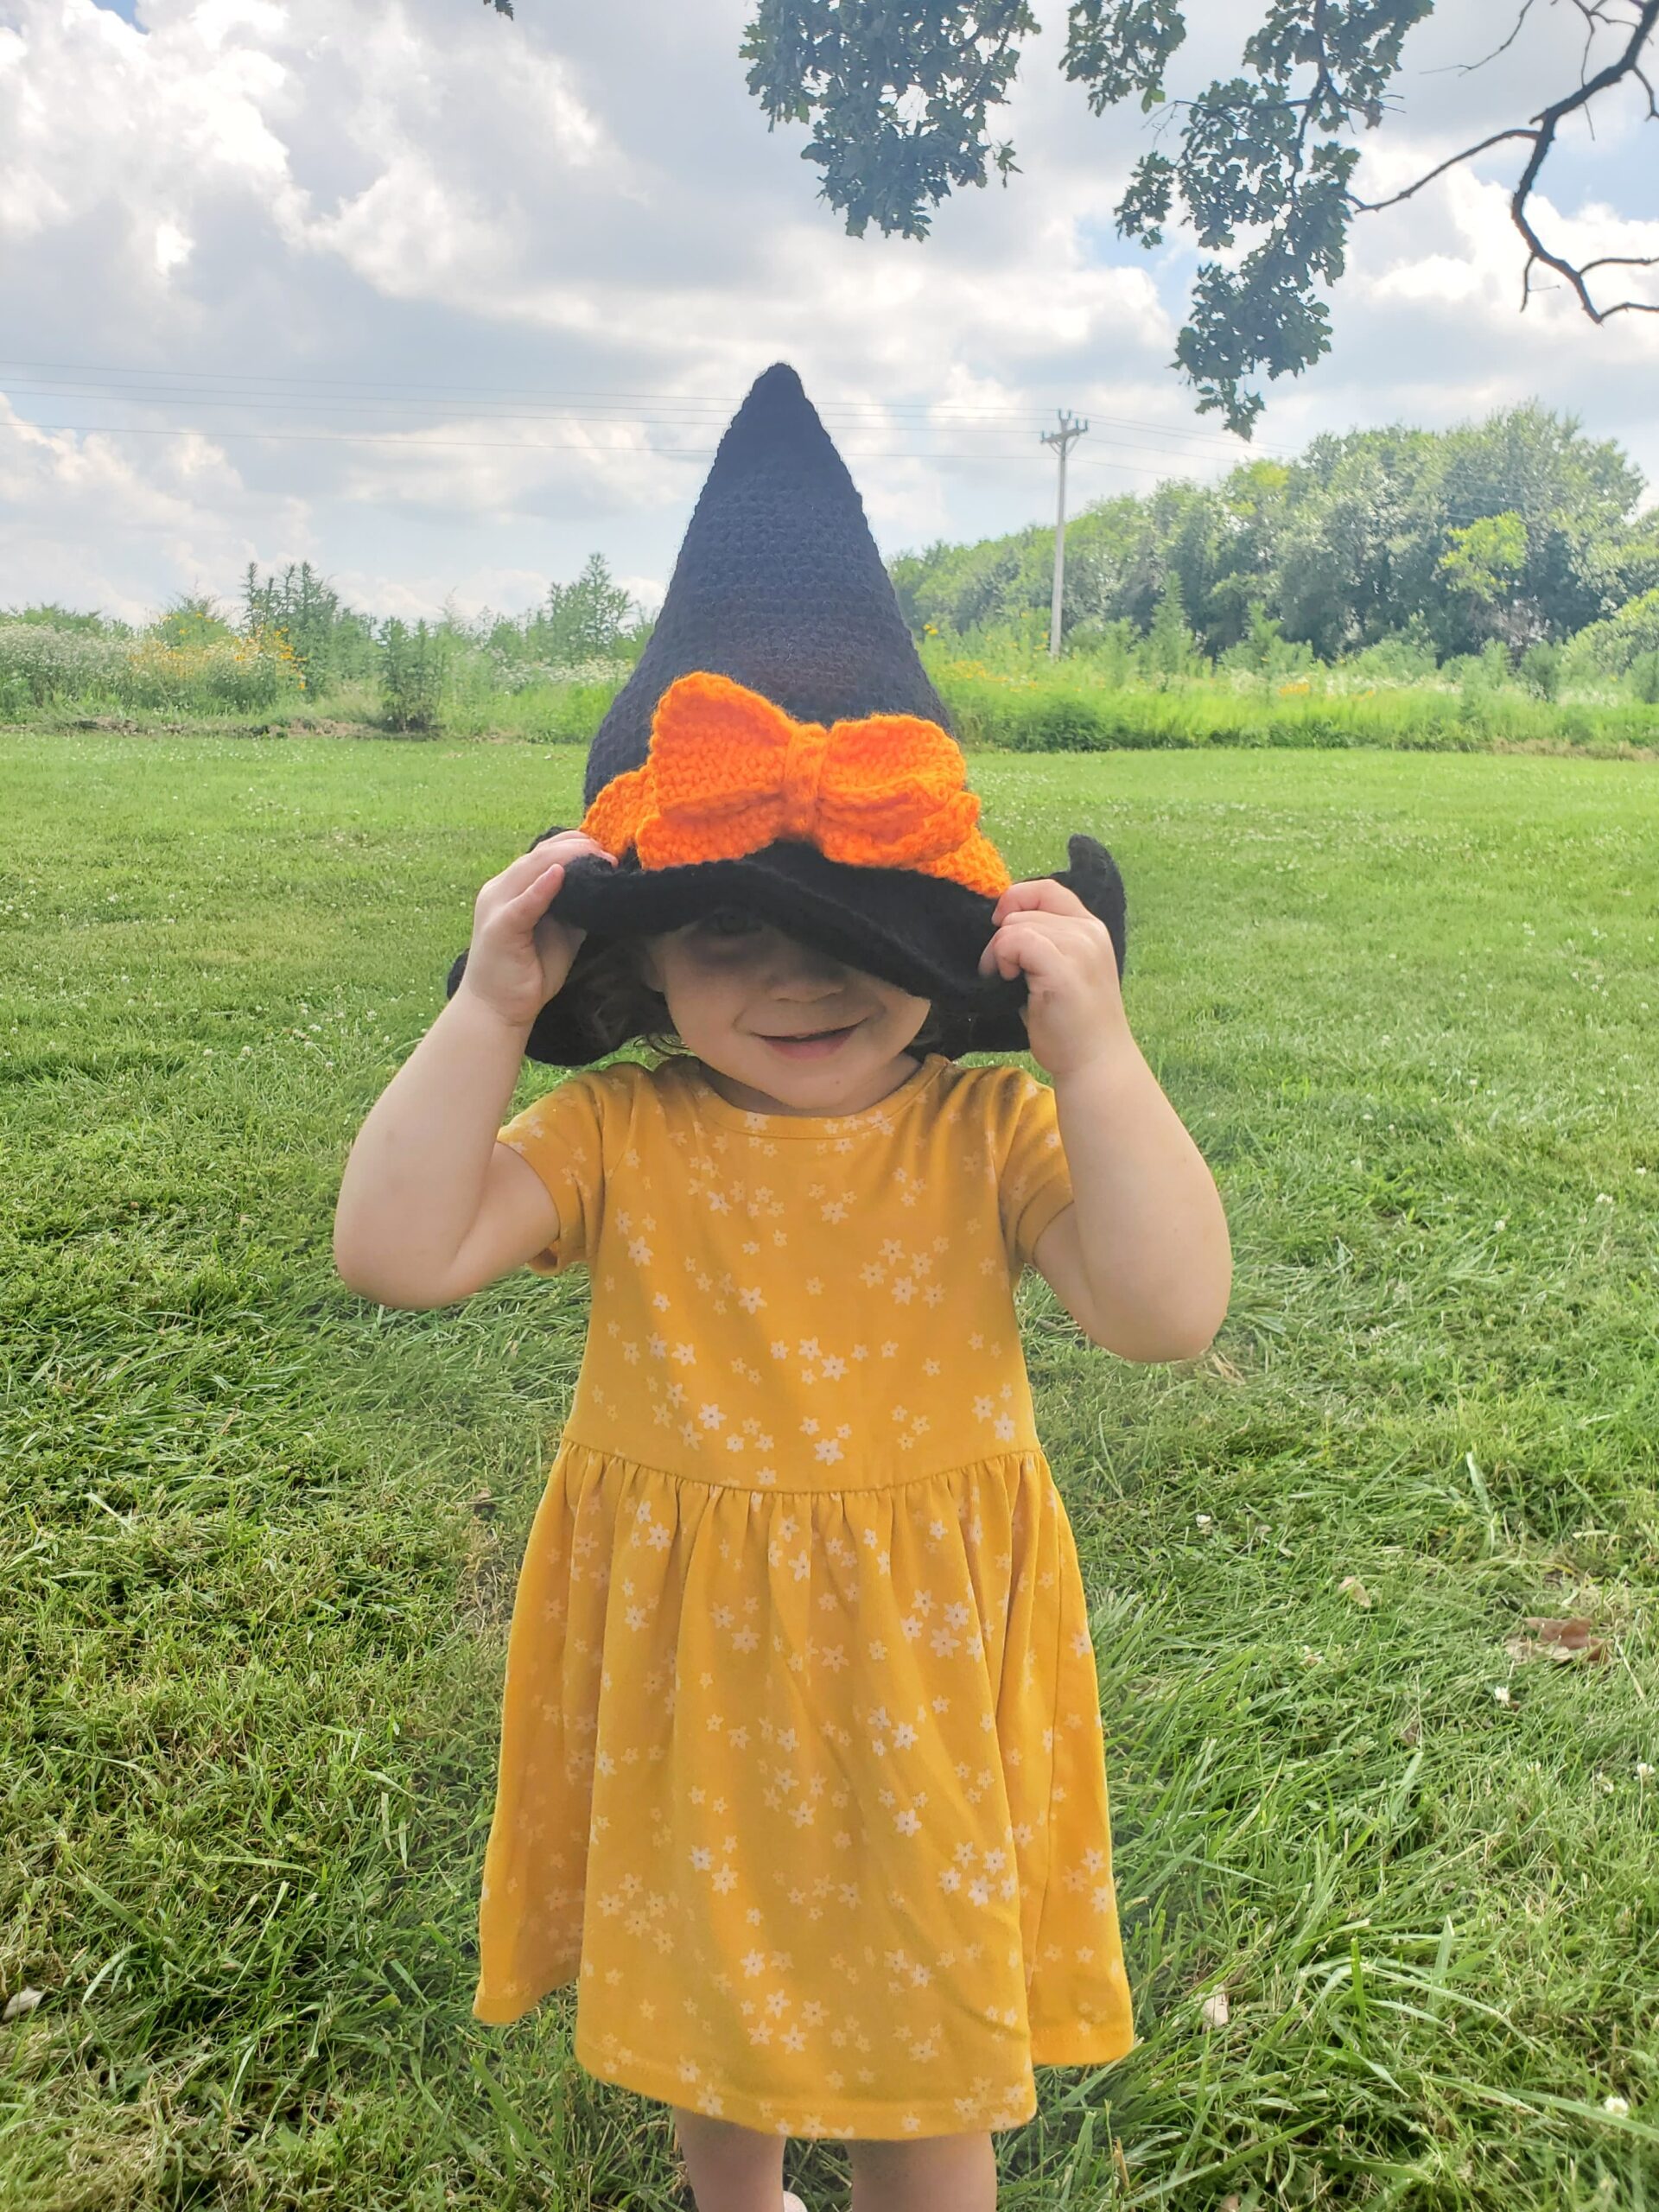
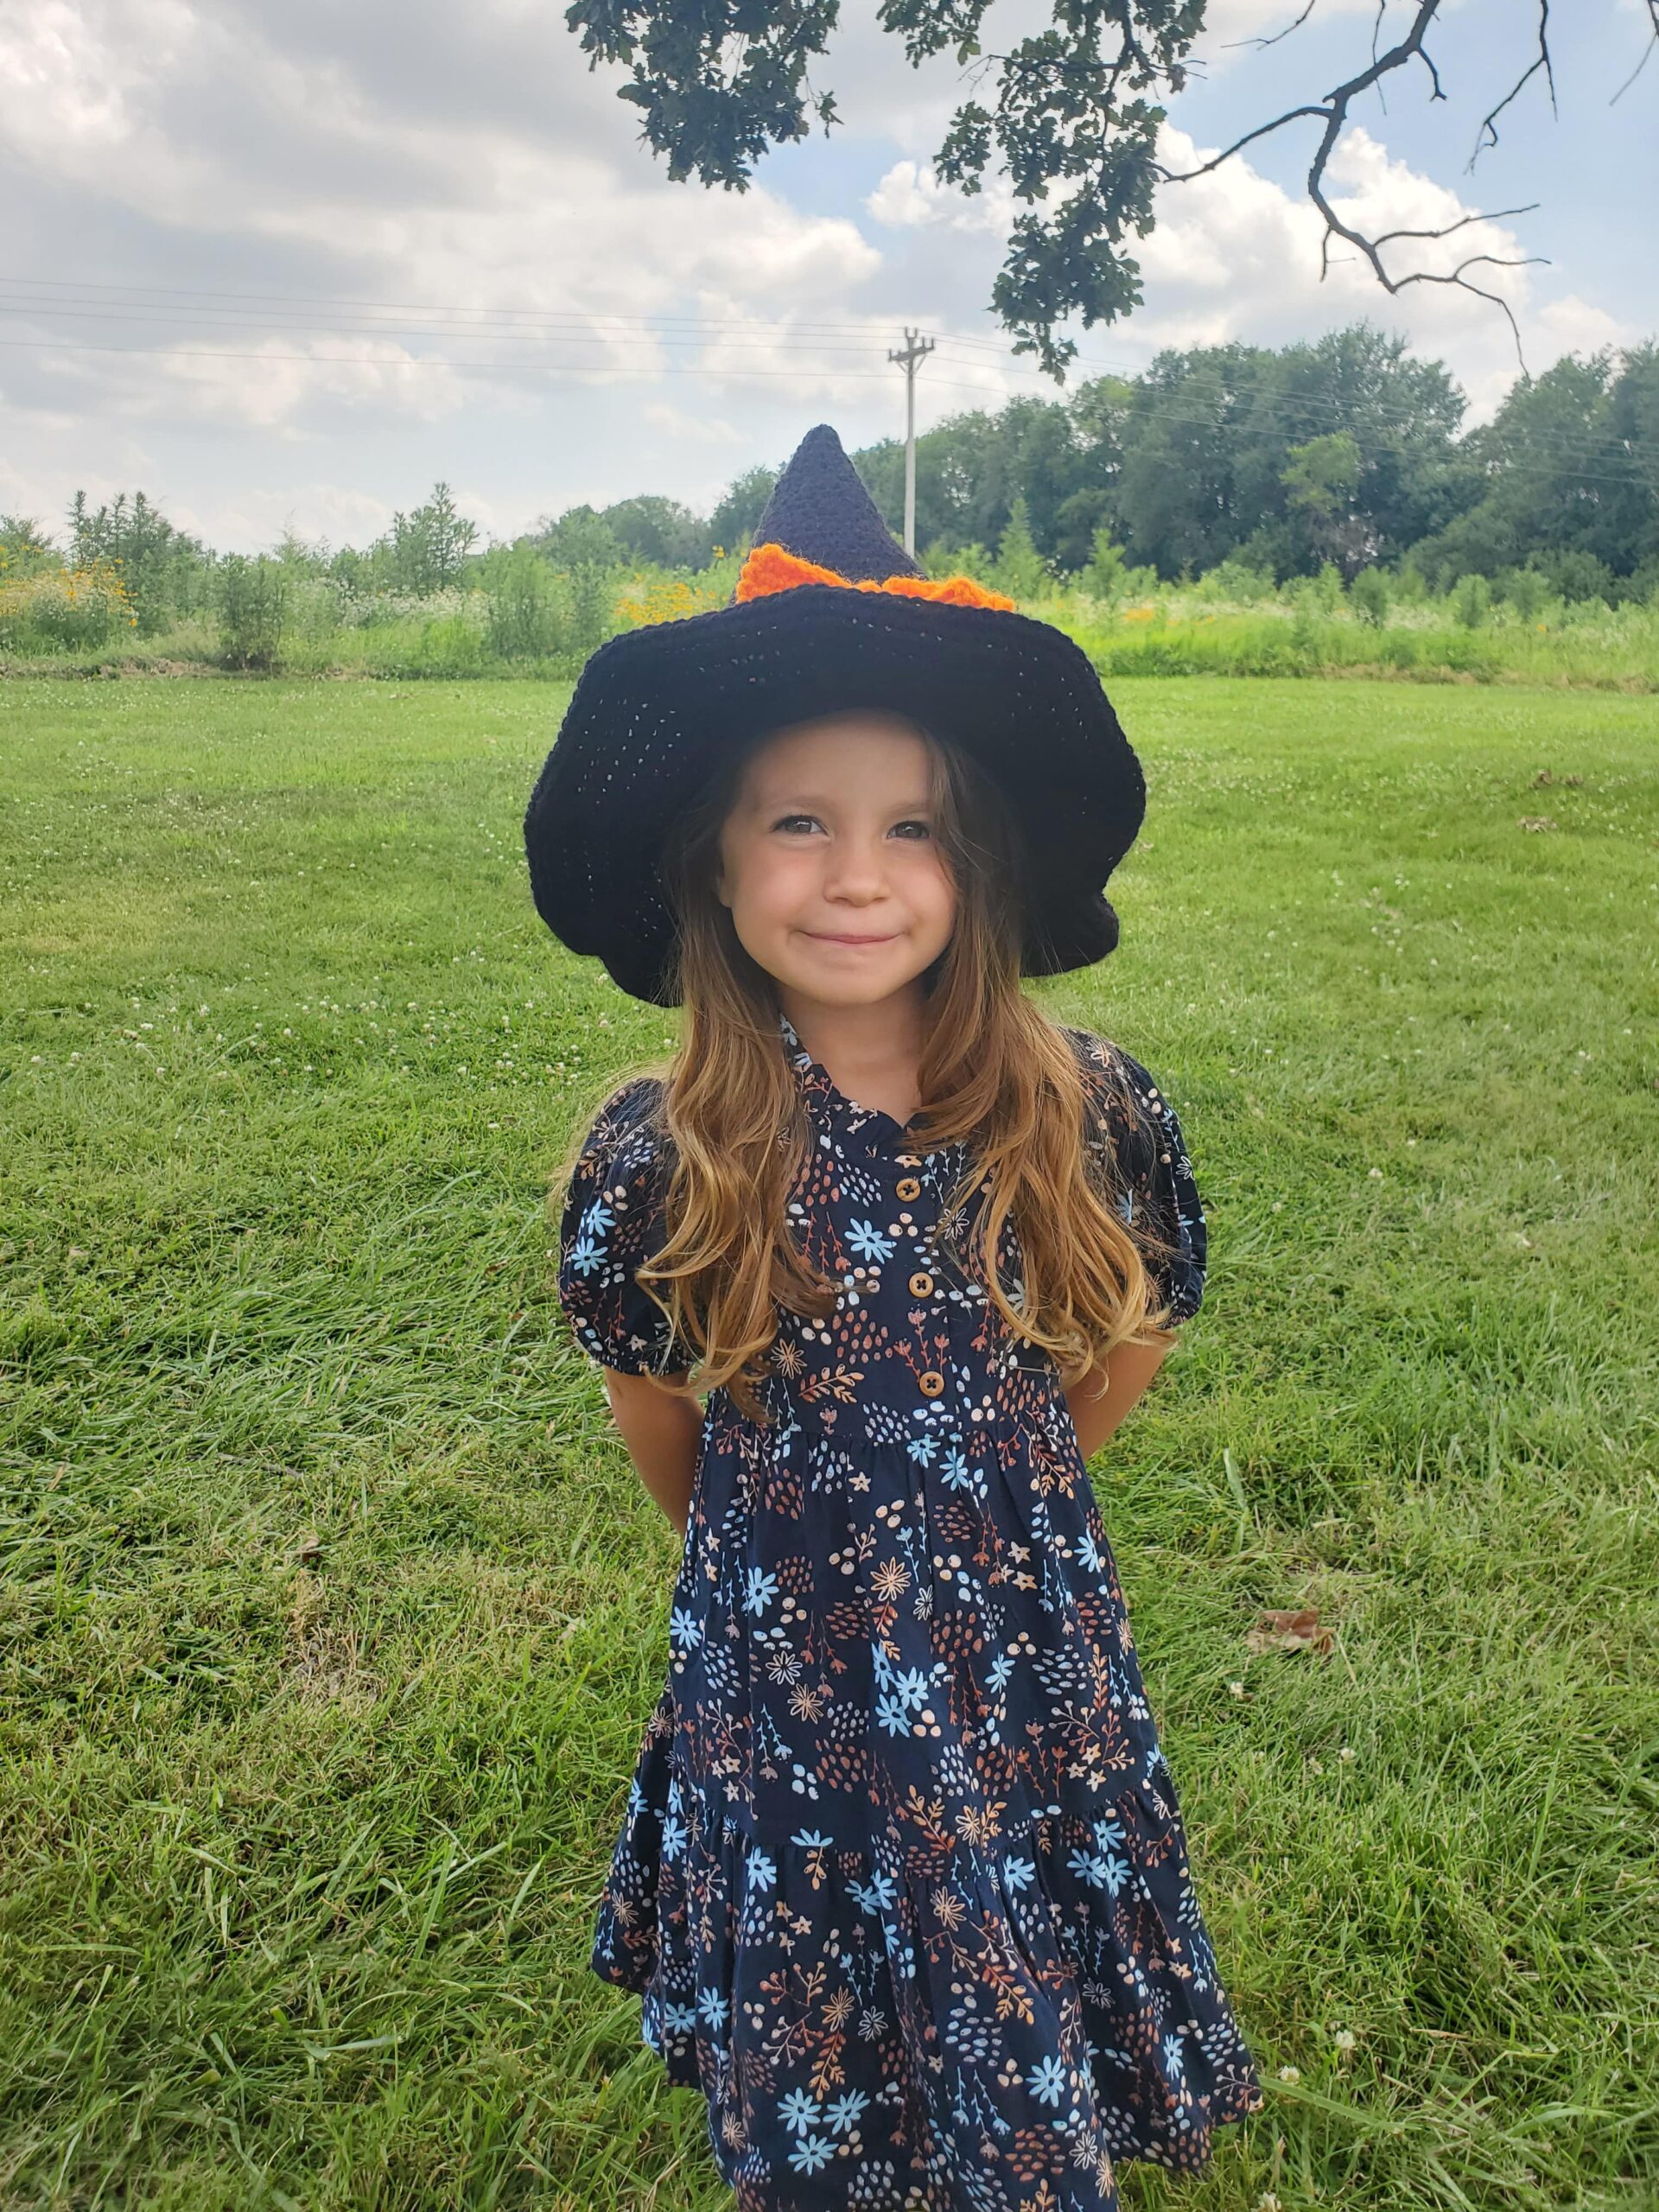
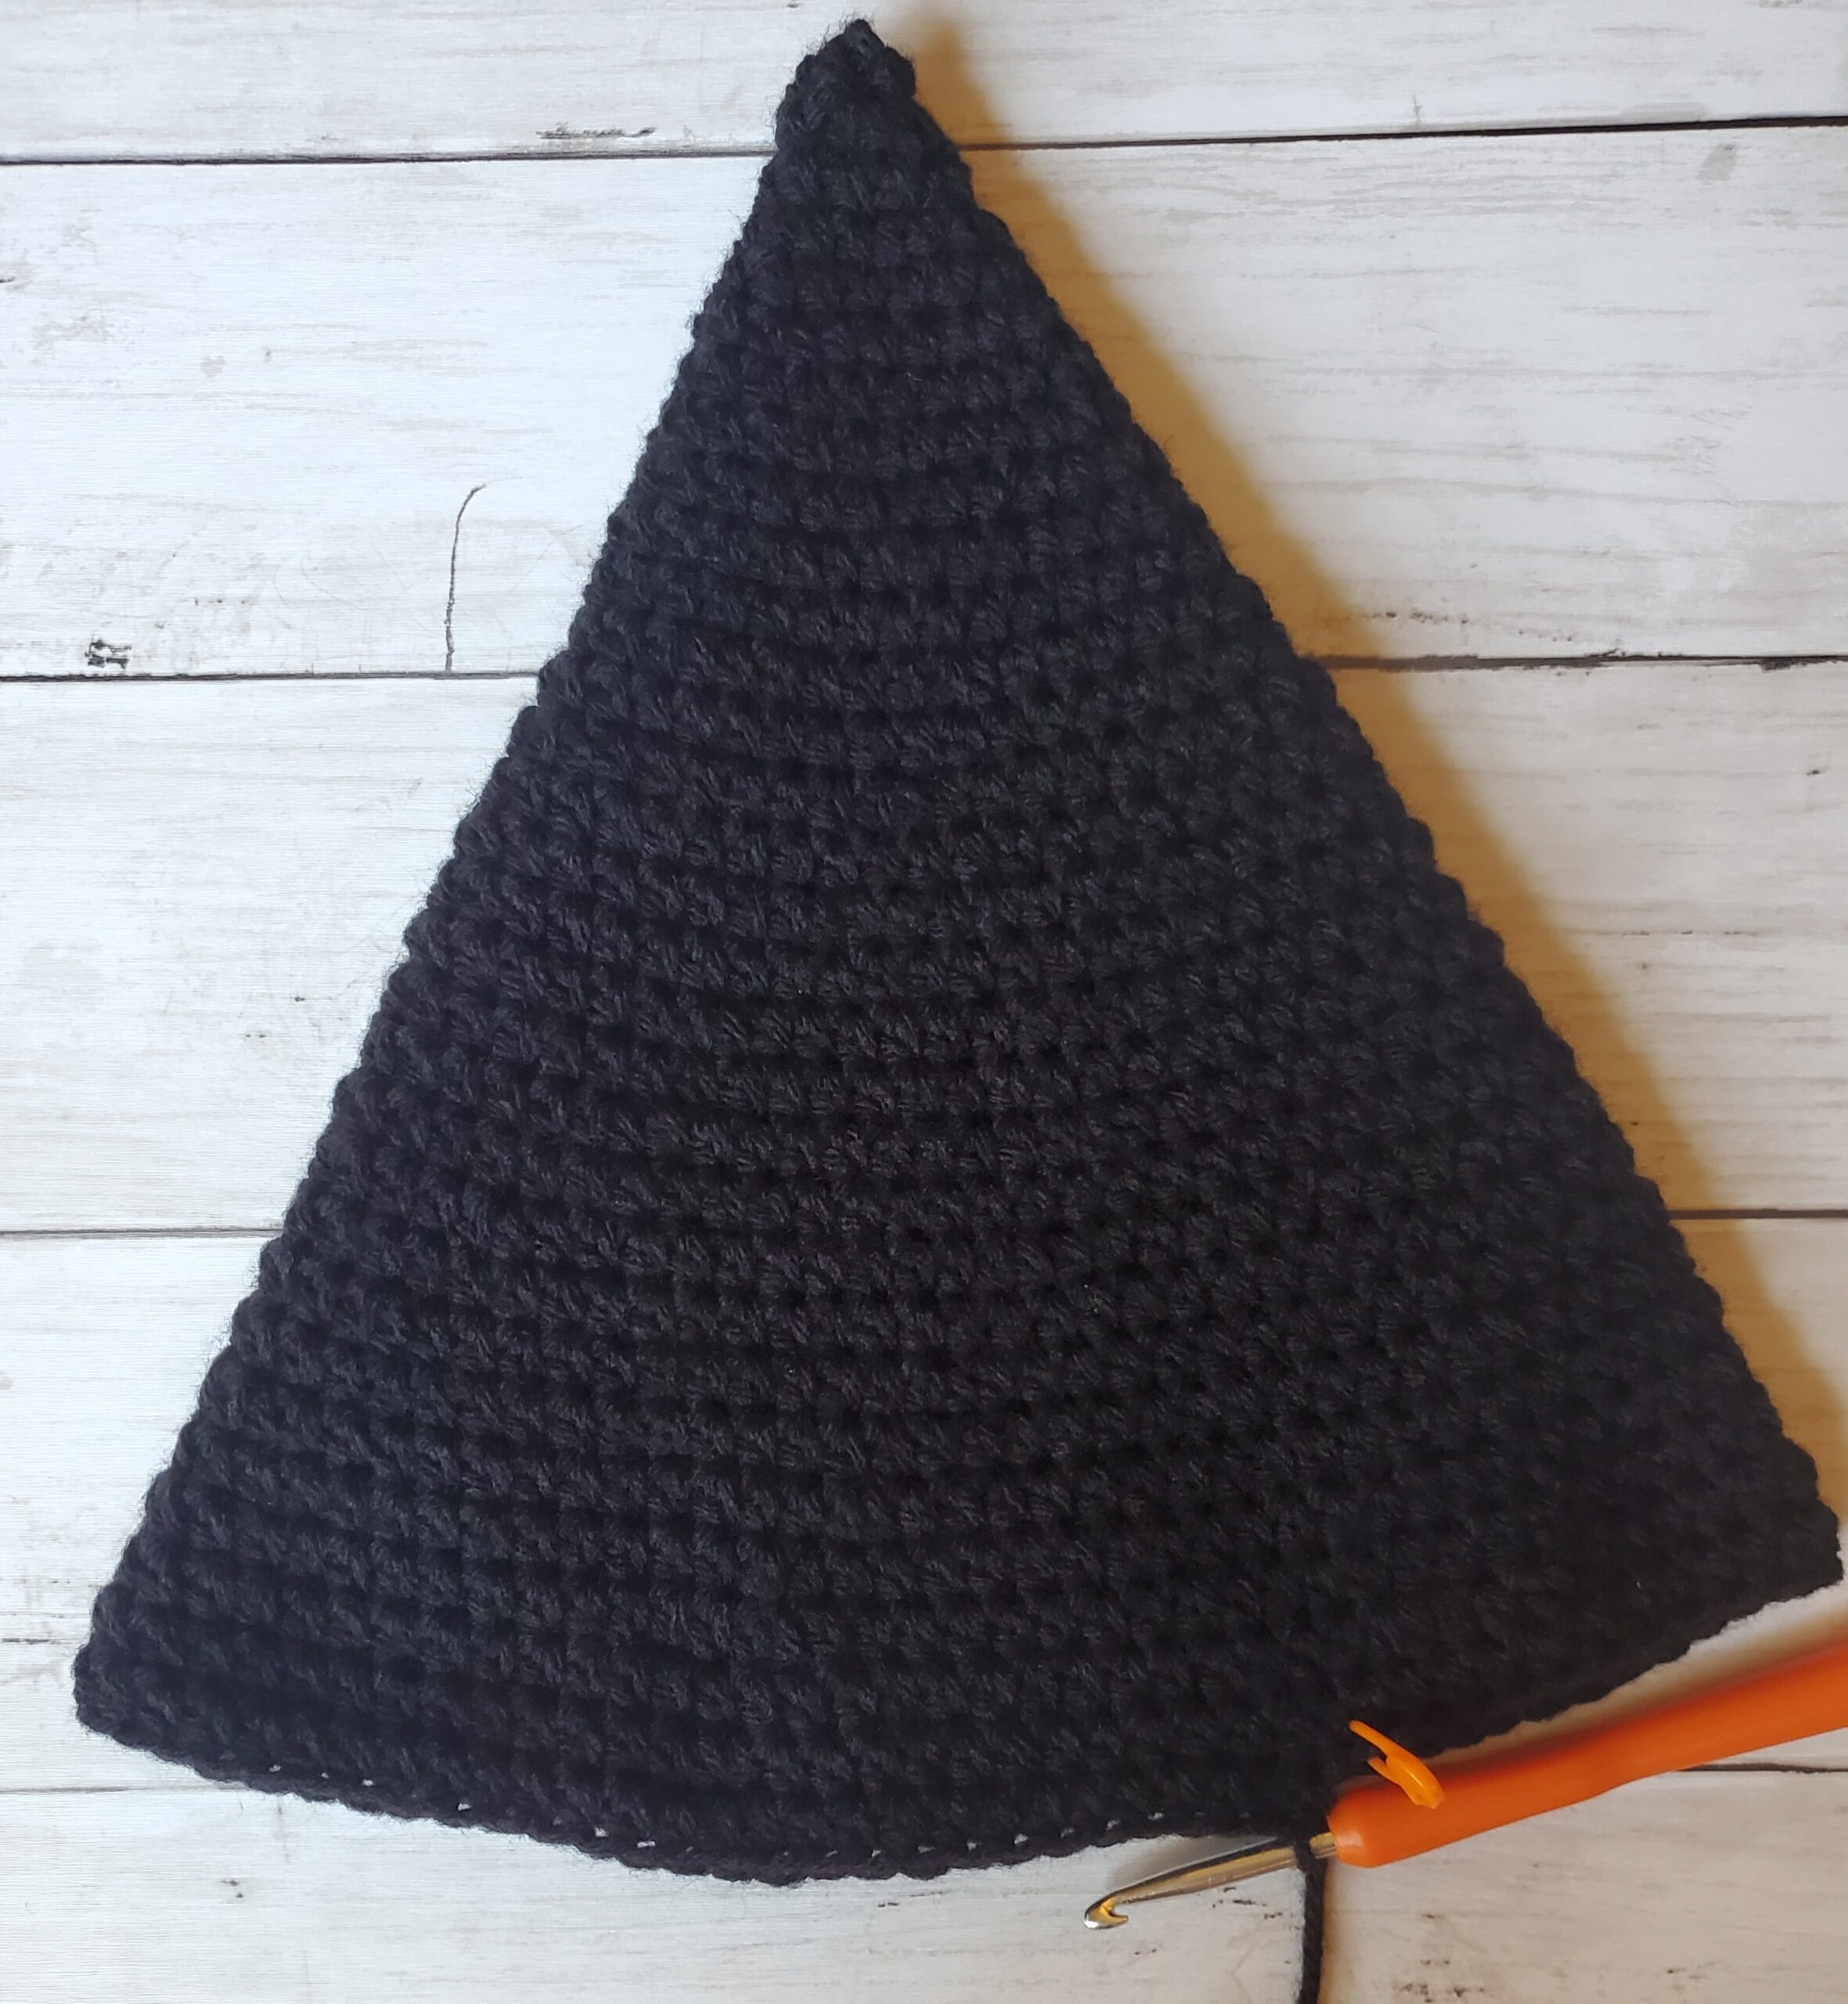
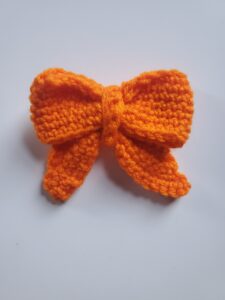
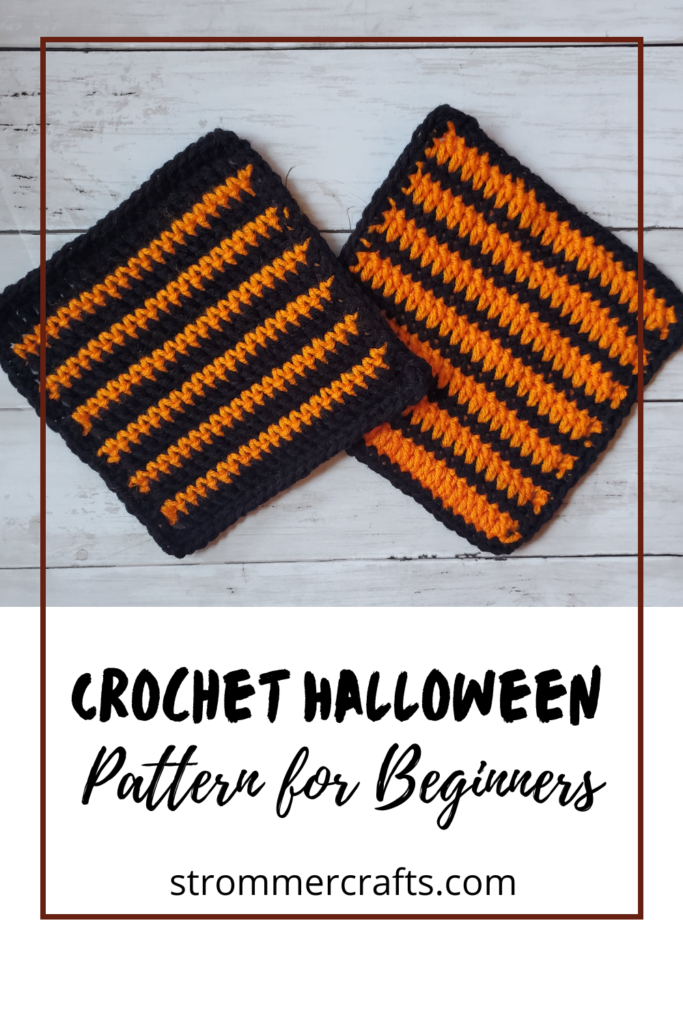
Finished Size:

7” x 7” (give or take depending on your tension)

Please note that some of these links are affiliate links. That means that if you click on these links and make a purchase, I may receive a commission at no extra cost to you. You can find more information about our disclosure policy here. Thank you for helping out strommercrafts!

Materials Needed:

Abbreviations:

  • CH – chain
  • ST(S) – stitch(es)
  • SL ST – slip stitch
  • SC – single crochet
  • DC – double crochet

Helpful Tips:

  • The CH3’s on the DC rows count as a stitch.
  • The CH1’s on the SC rows do not count as a stitch.
  • The number in parenthesis at the end of a row indicates the number of stitches you should have when finished.

Crochet Halloween Pattern – Washcloth

 With black yarn

CH 23 

  • Row 1: DC in 3rd CH from hook, DC in each ST across (22 sts)

Switch to orange yarn

  • Row 2: CH1 (does not count as a SC), turn, SC in each ST across, place last SC in top of the CH3 from previous row (22 sts)

Switch to black yarn

  • Row 3: CH3 (counts as a DC), turn, DC in each ST across (22 sts)

Switch to orange

  • Row 4: Repeat row 2

Switch to black

  • Row 5: Repeat row 3
  • Row 6-13: Continue alternating between the orange SC row and the black DC row. Row 13 should be a row of the black DC. 

Cut the orange yarn, but leave the black yarn on.

Border

Carry the rest of the orange yarn with you (or you can weave in with tapestry needle if you prefer).

  • Row 1: CH1, (SC in the same ST, CH1, SC) in same ST, going down the side, SC in the “leg” of the DC, SC in the orange SC, SC in the top of the DC, then SC in the “leg” of the same DC. Continue SC down the side this way until the next corner. (SC, CH1, SC) in the corner ST. SC in each ST across the next side, create another (SC, CH1, SC) in the 3rd corner. Repeat how you SC up the next side like you did previously, but you’ll notice the CH3’s instead of DC. SC in the 1st and 2nd CH’s of those CH3’s. (SC, CH1, SC) in the 4th corner. SC across the top, SL ST into the first SC you made. 

Cut yarn, pull through, weave in end with tapestry needle.

For the Other Washcloth,

start with the opposite color that you started with (in this case it will be orange), CH23, and repeat rows 1-13. Add the border when finished.

That’s it! Enjoy your Halloween with this beginner friendly, crochet washcloth! I absolutely love how they turned out, and i really like how the contrast of the black and orange yarn give it a neat zig zag pattern.

This post was all about how to make a crochet Halloween pattern dishcloth.

Thank you for reading, if you liked this pattern or have any questions, let me know in the comments below!