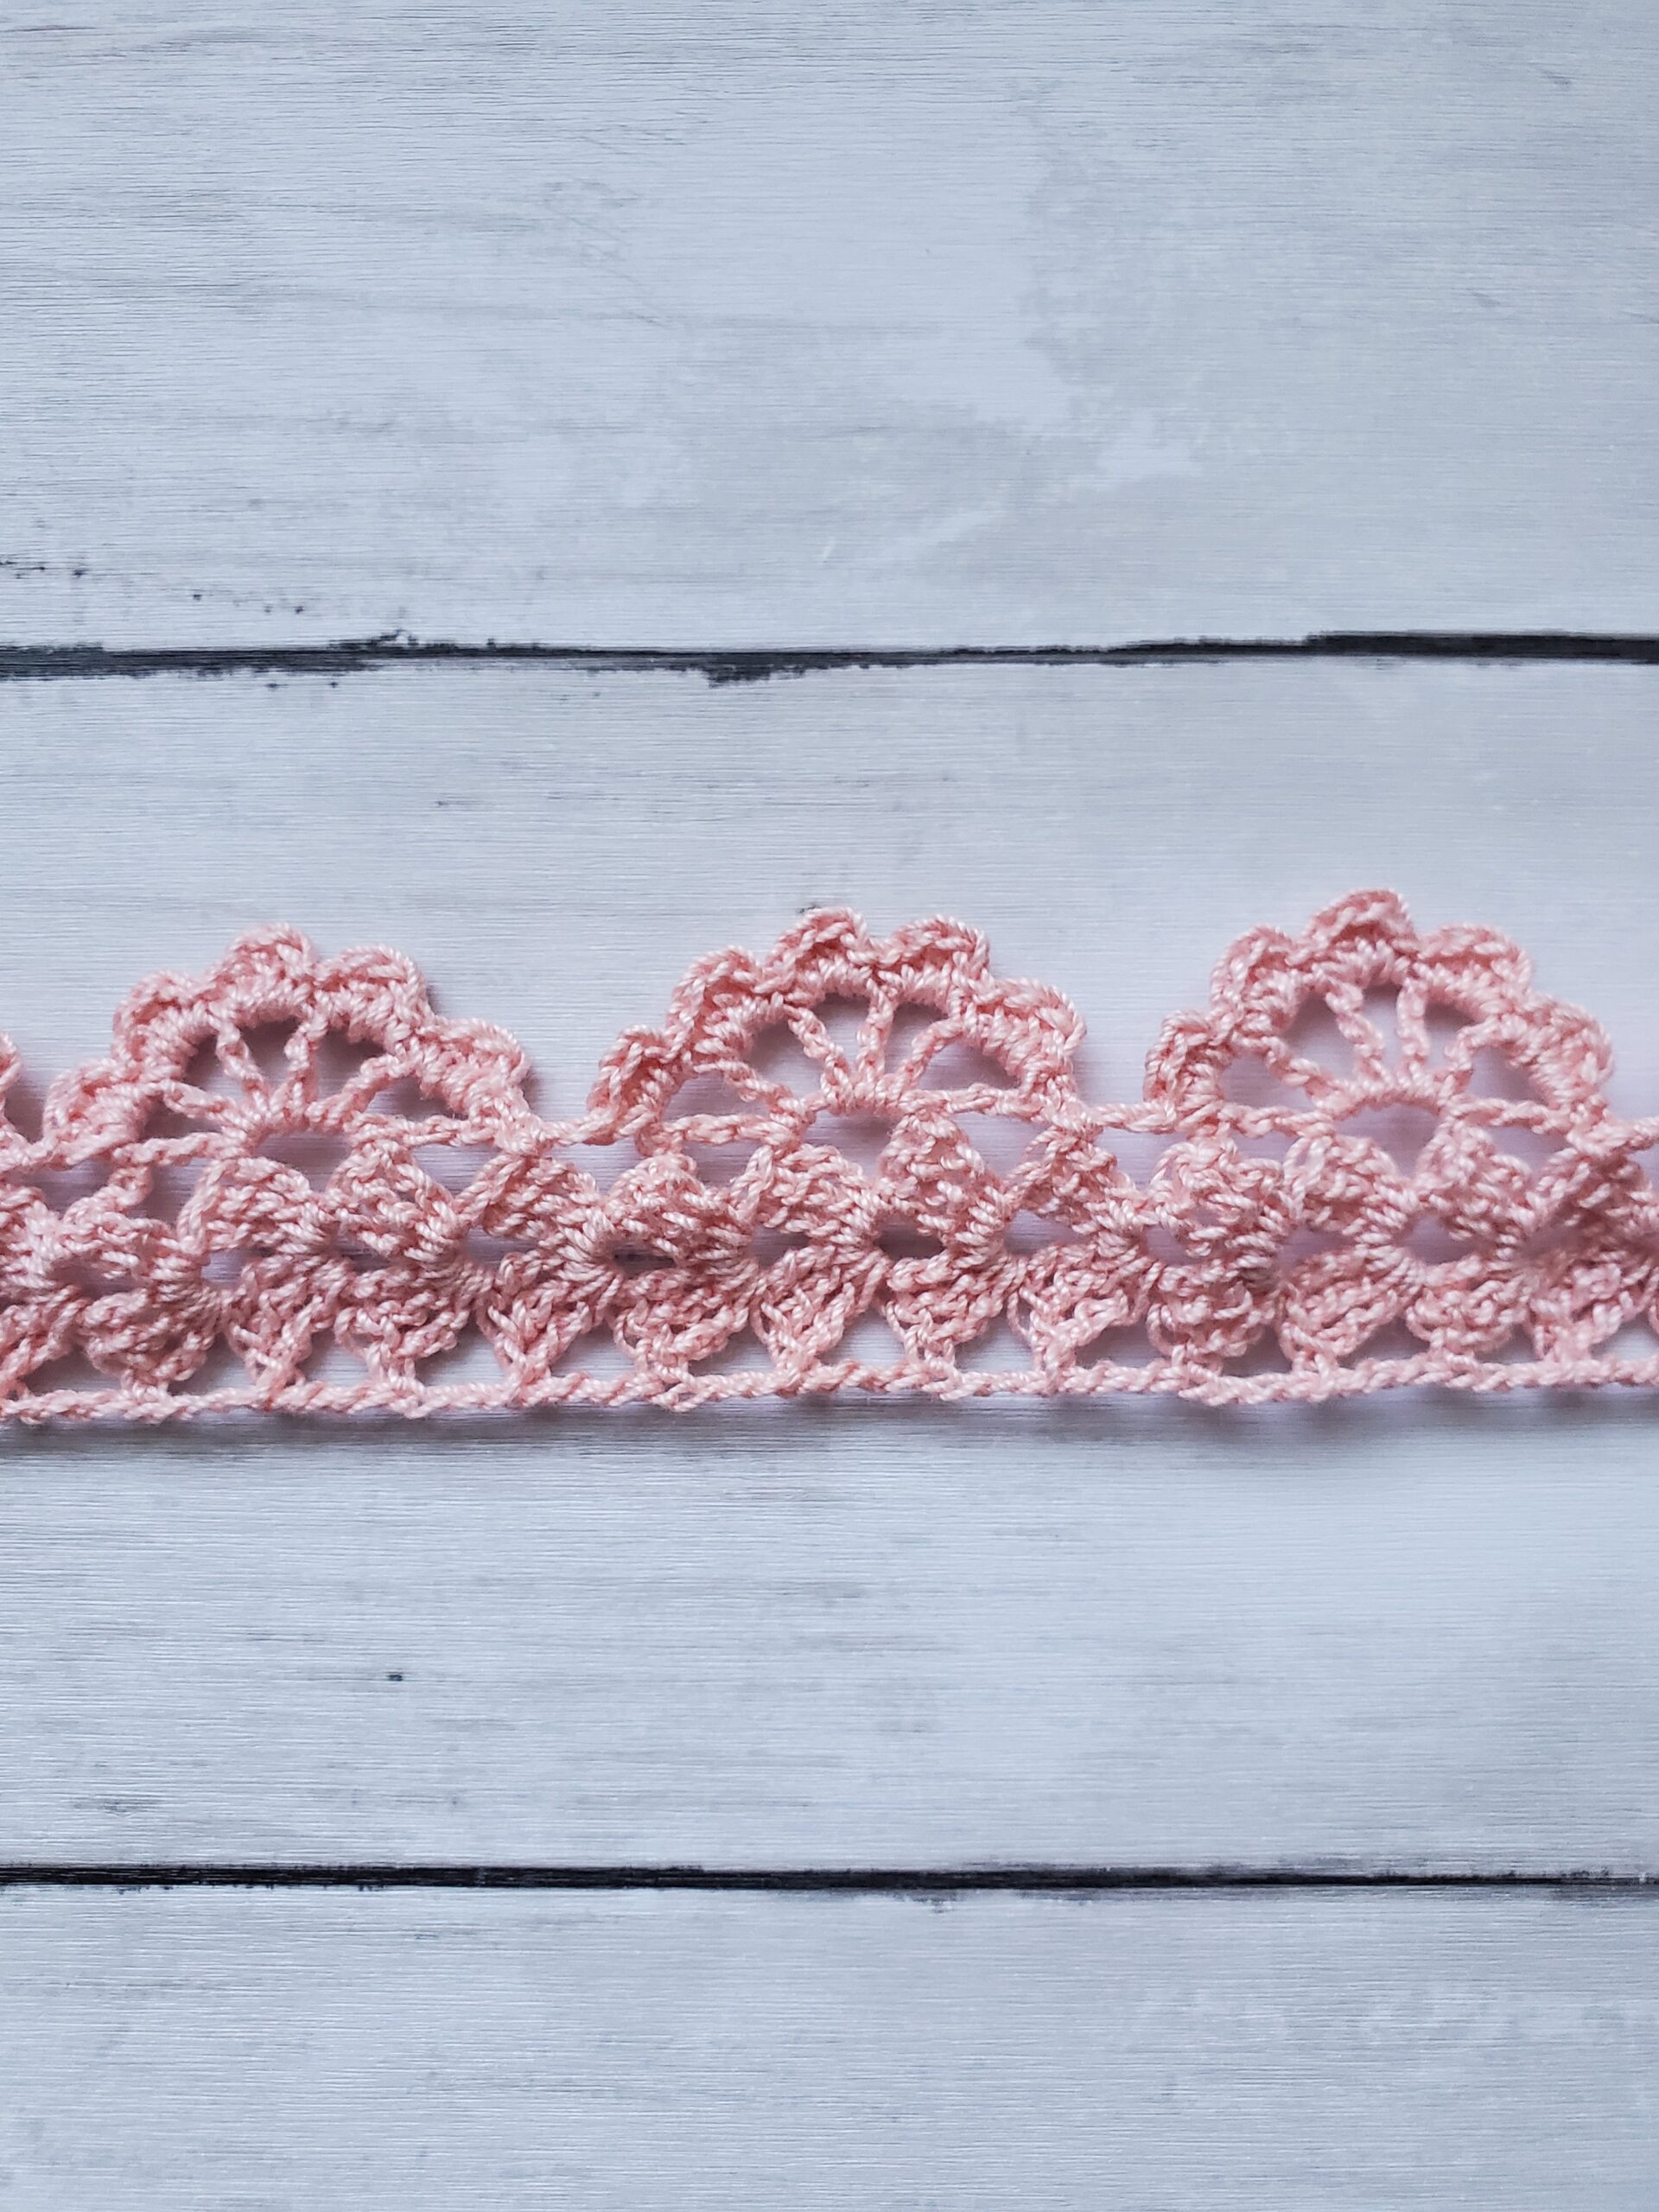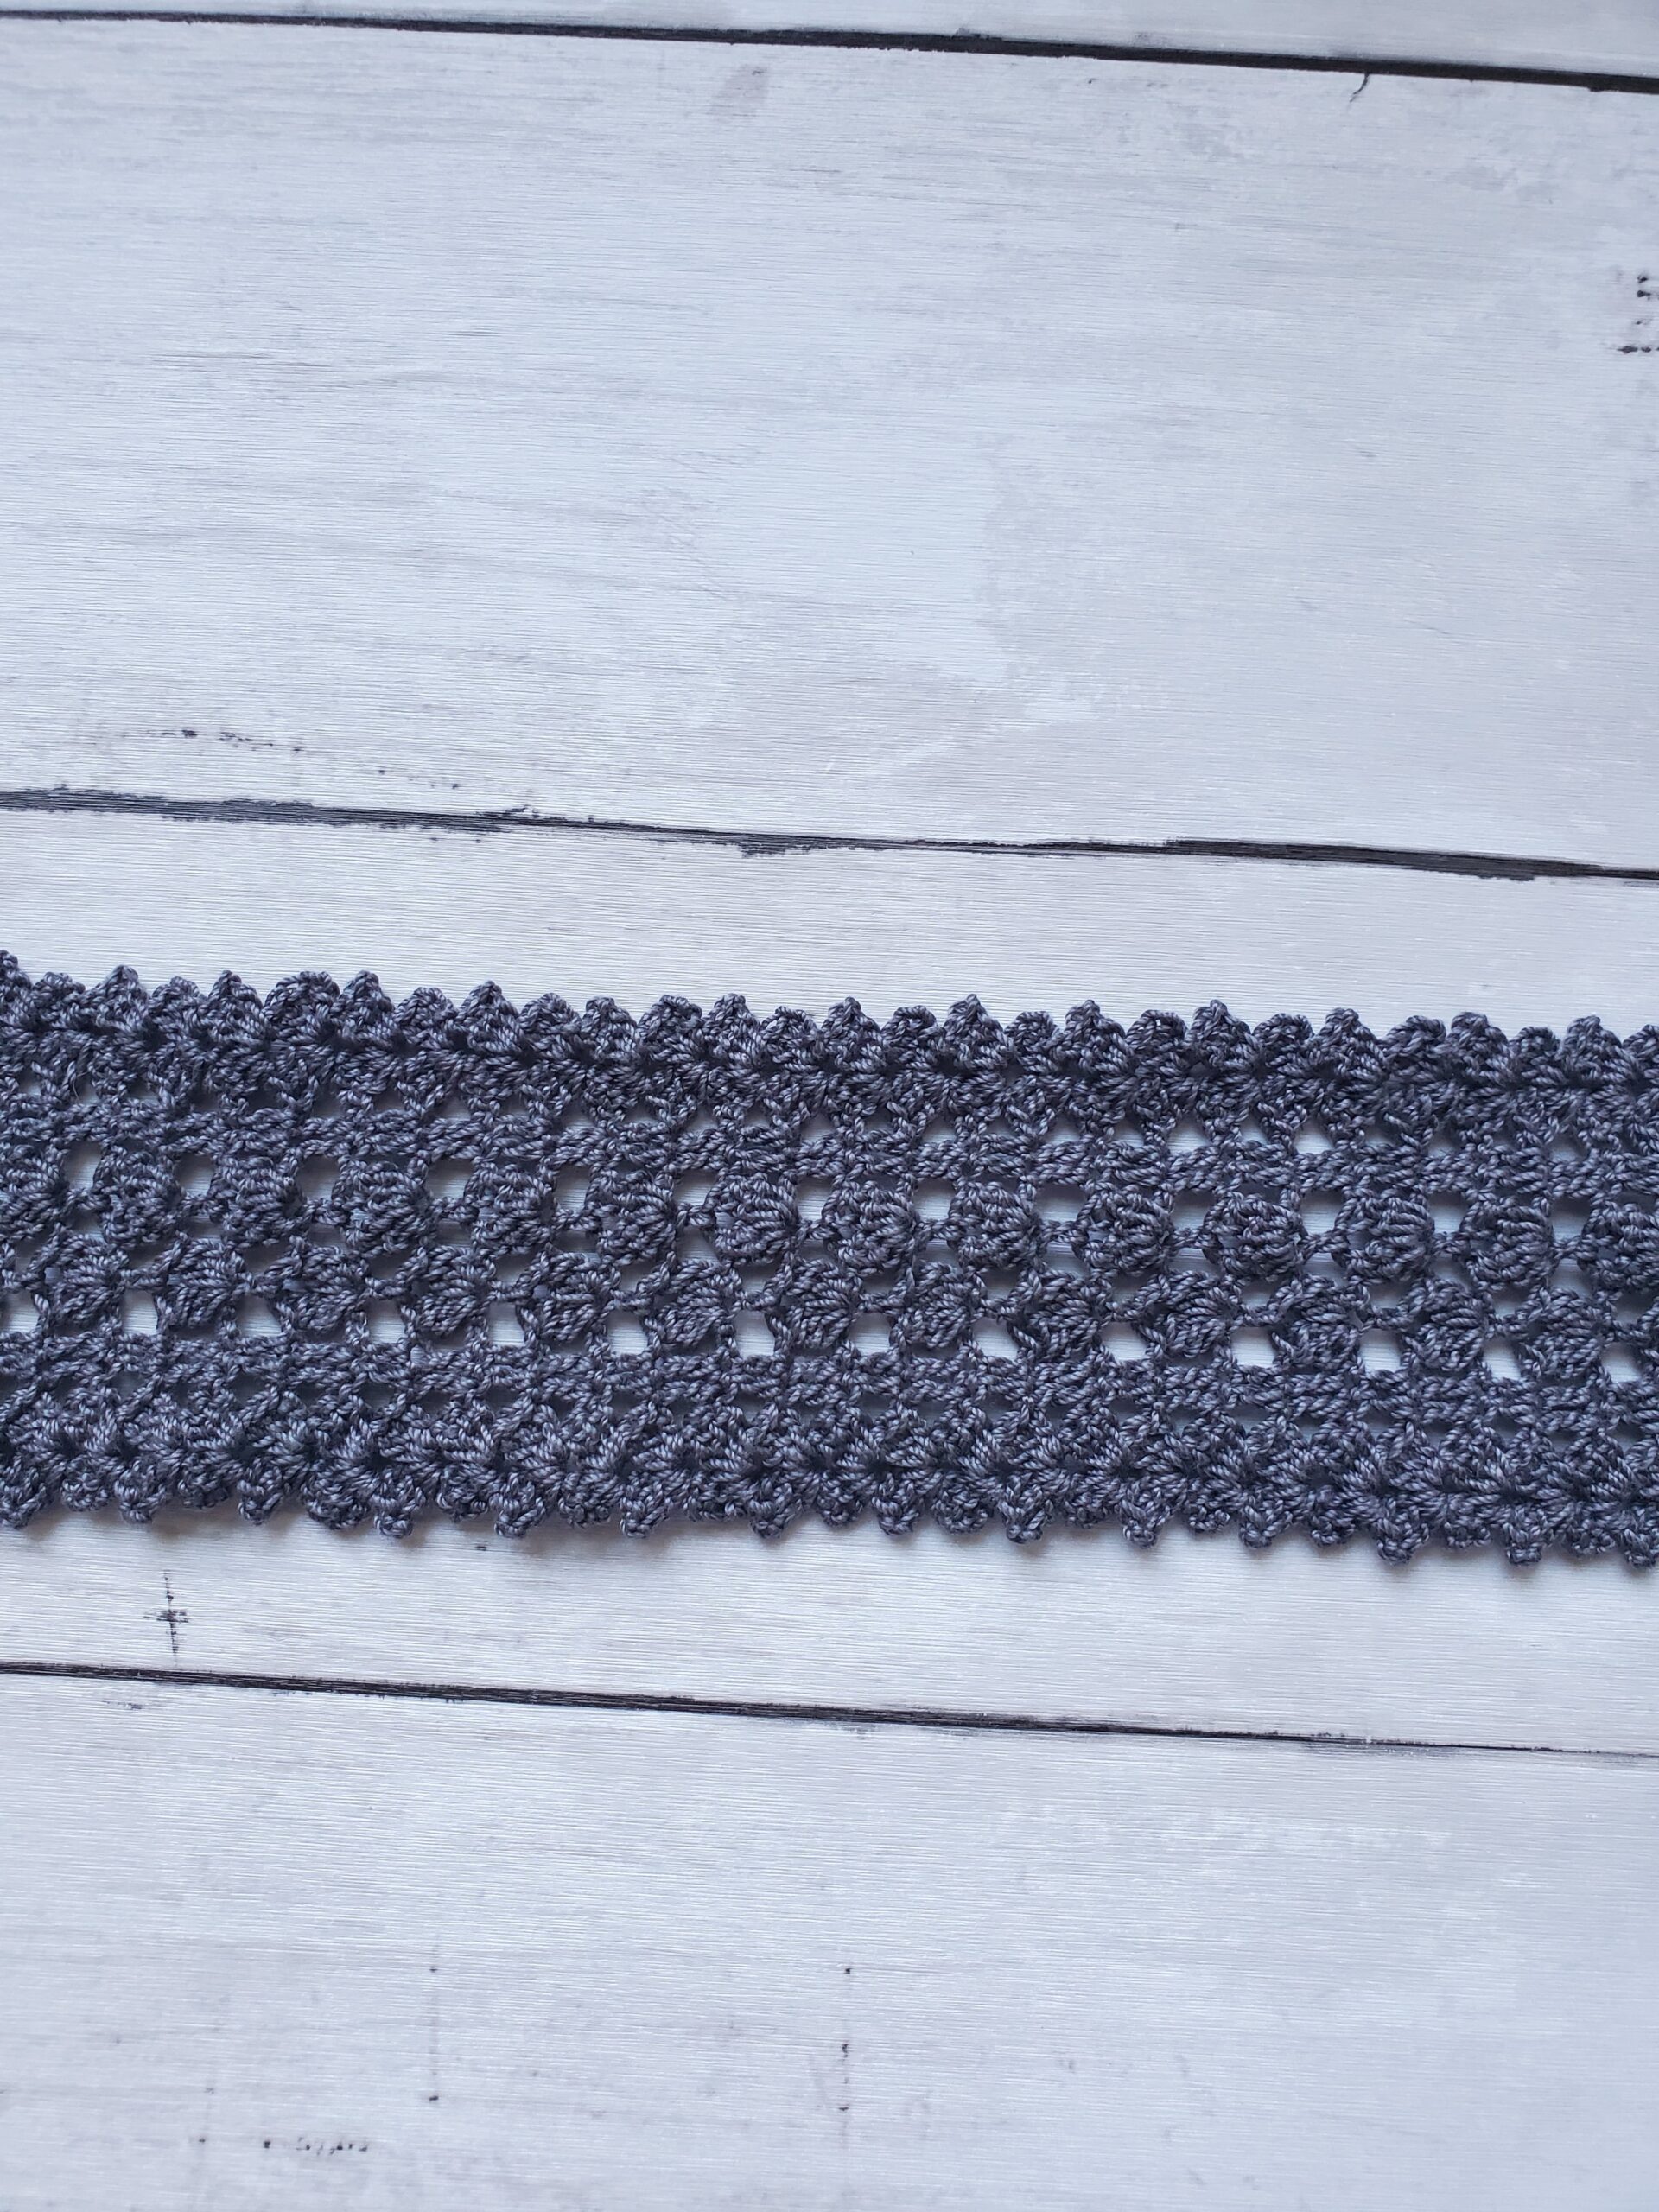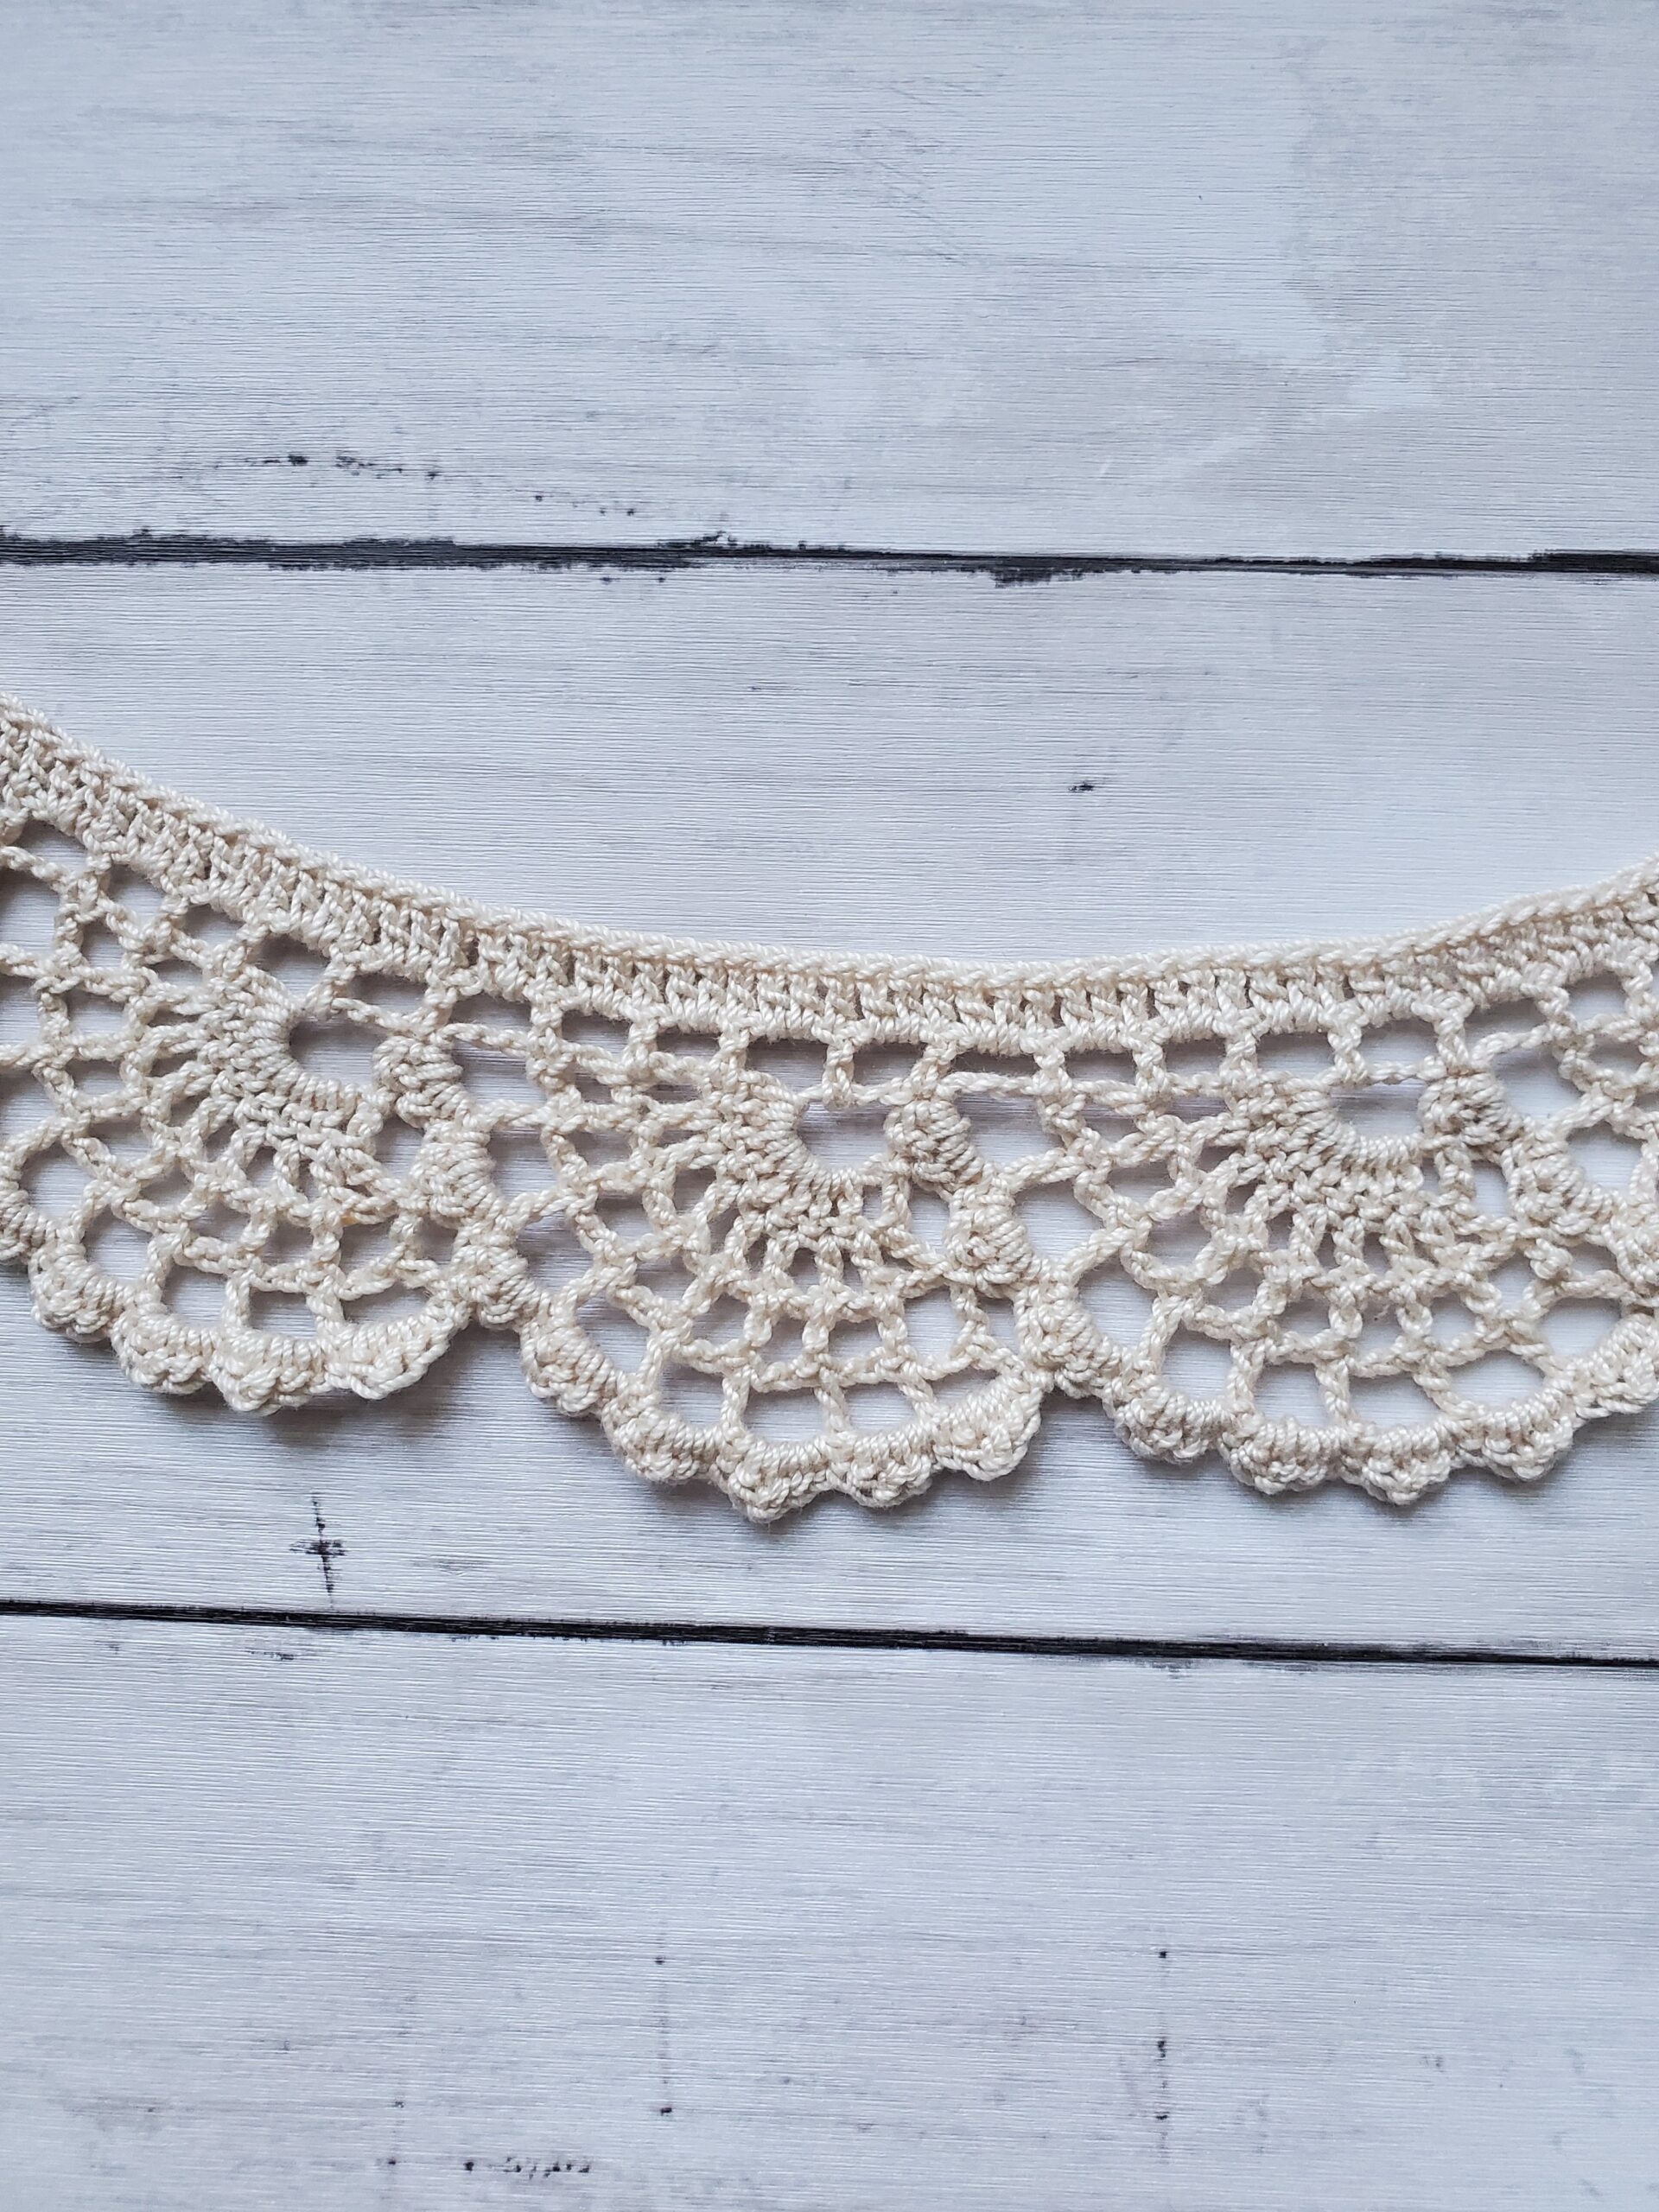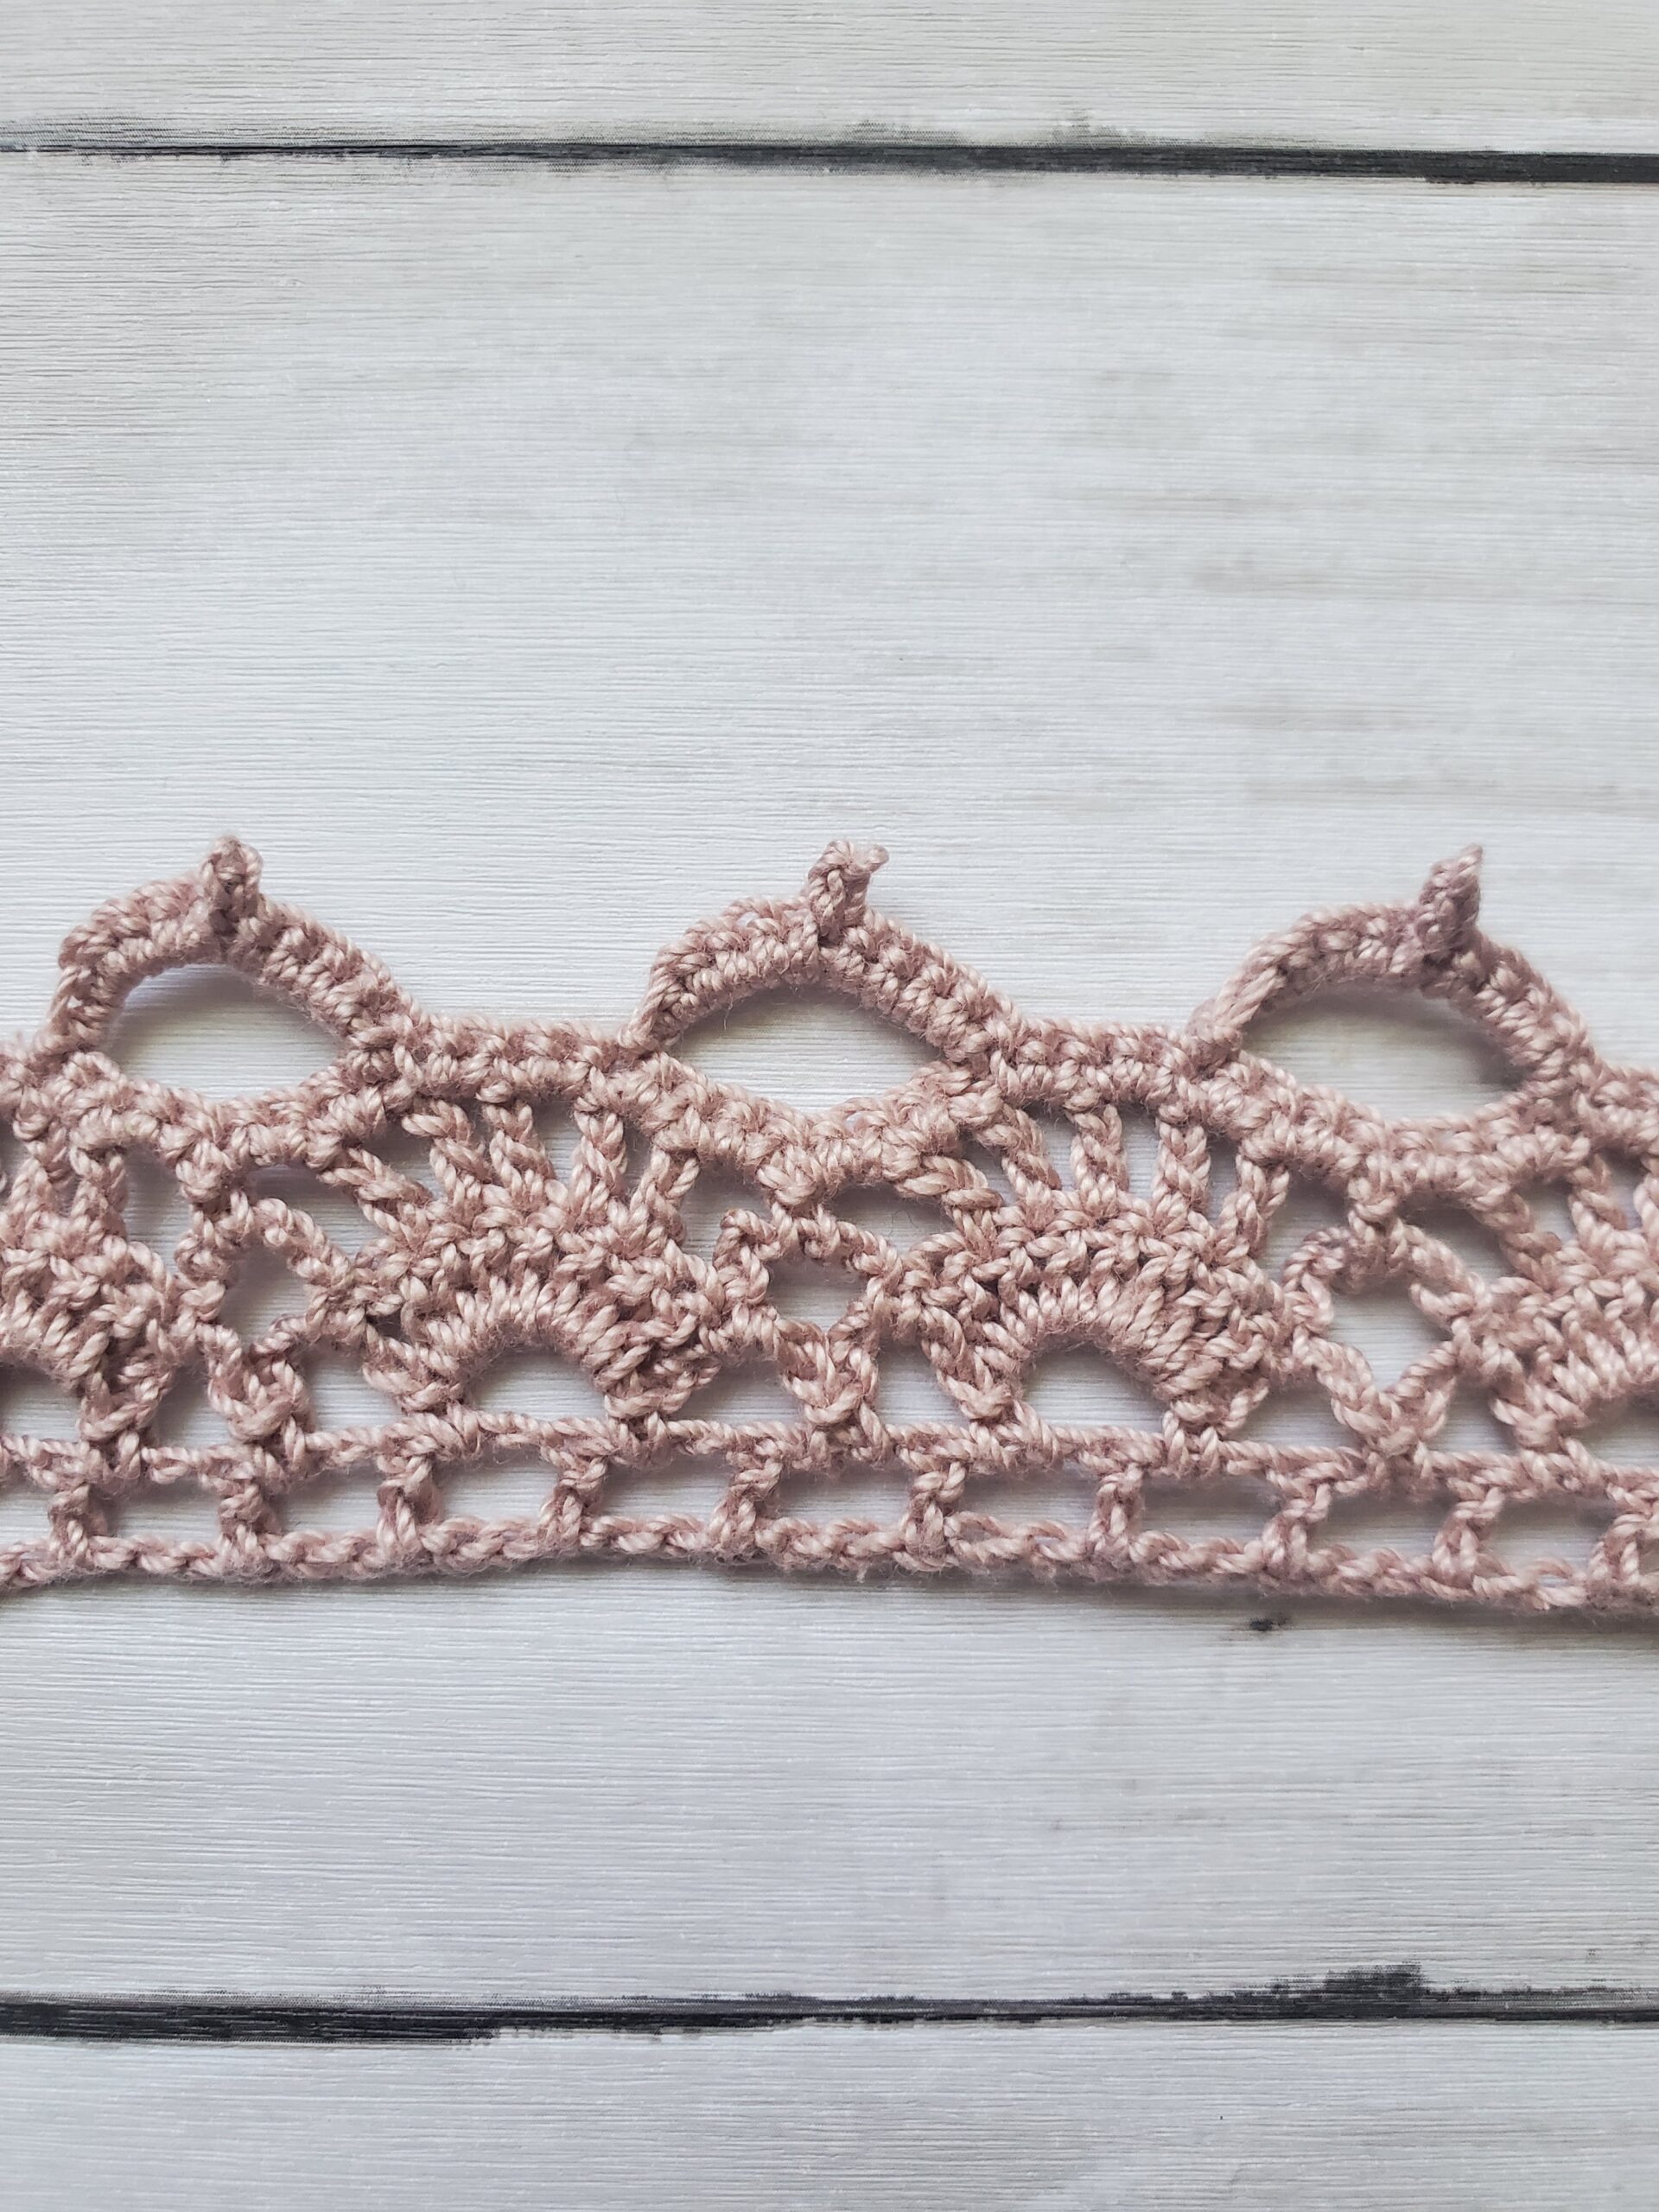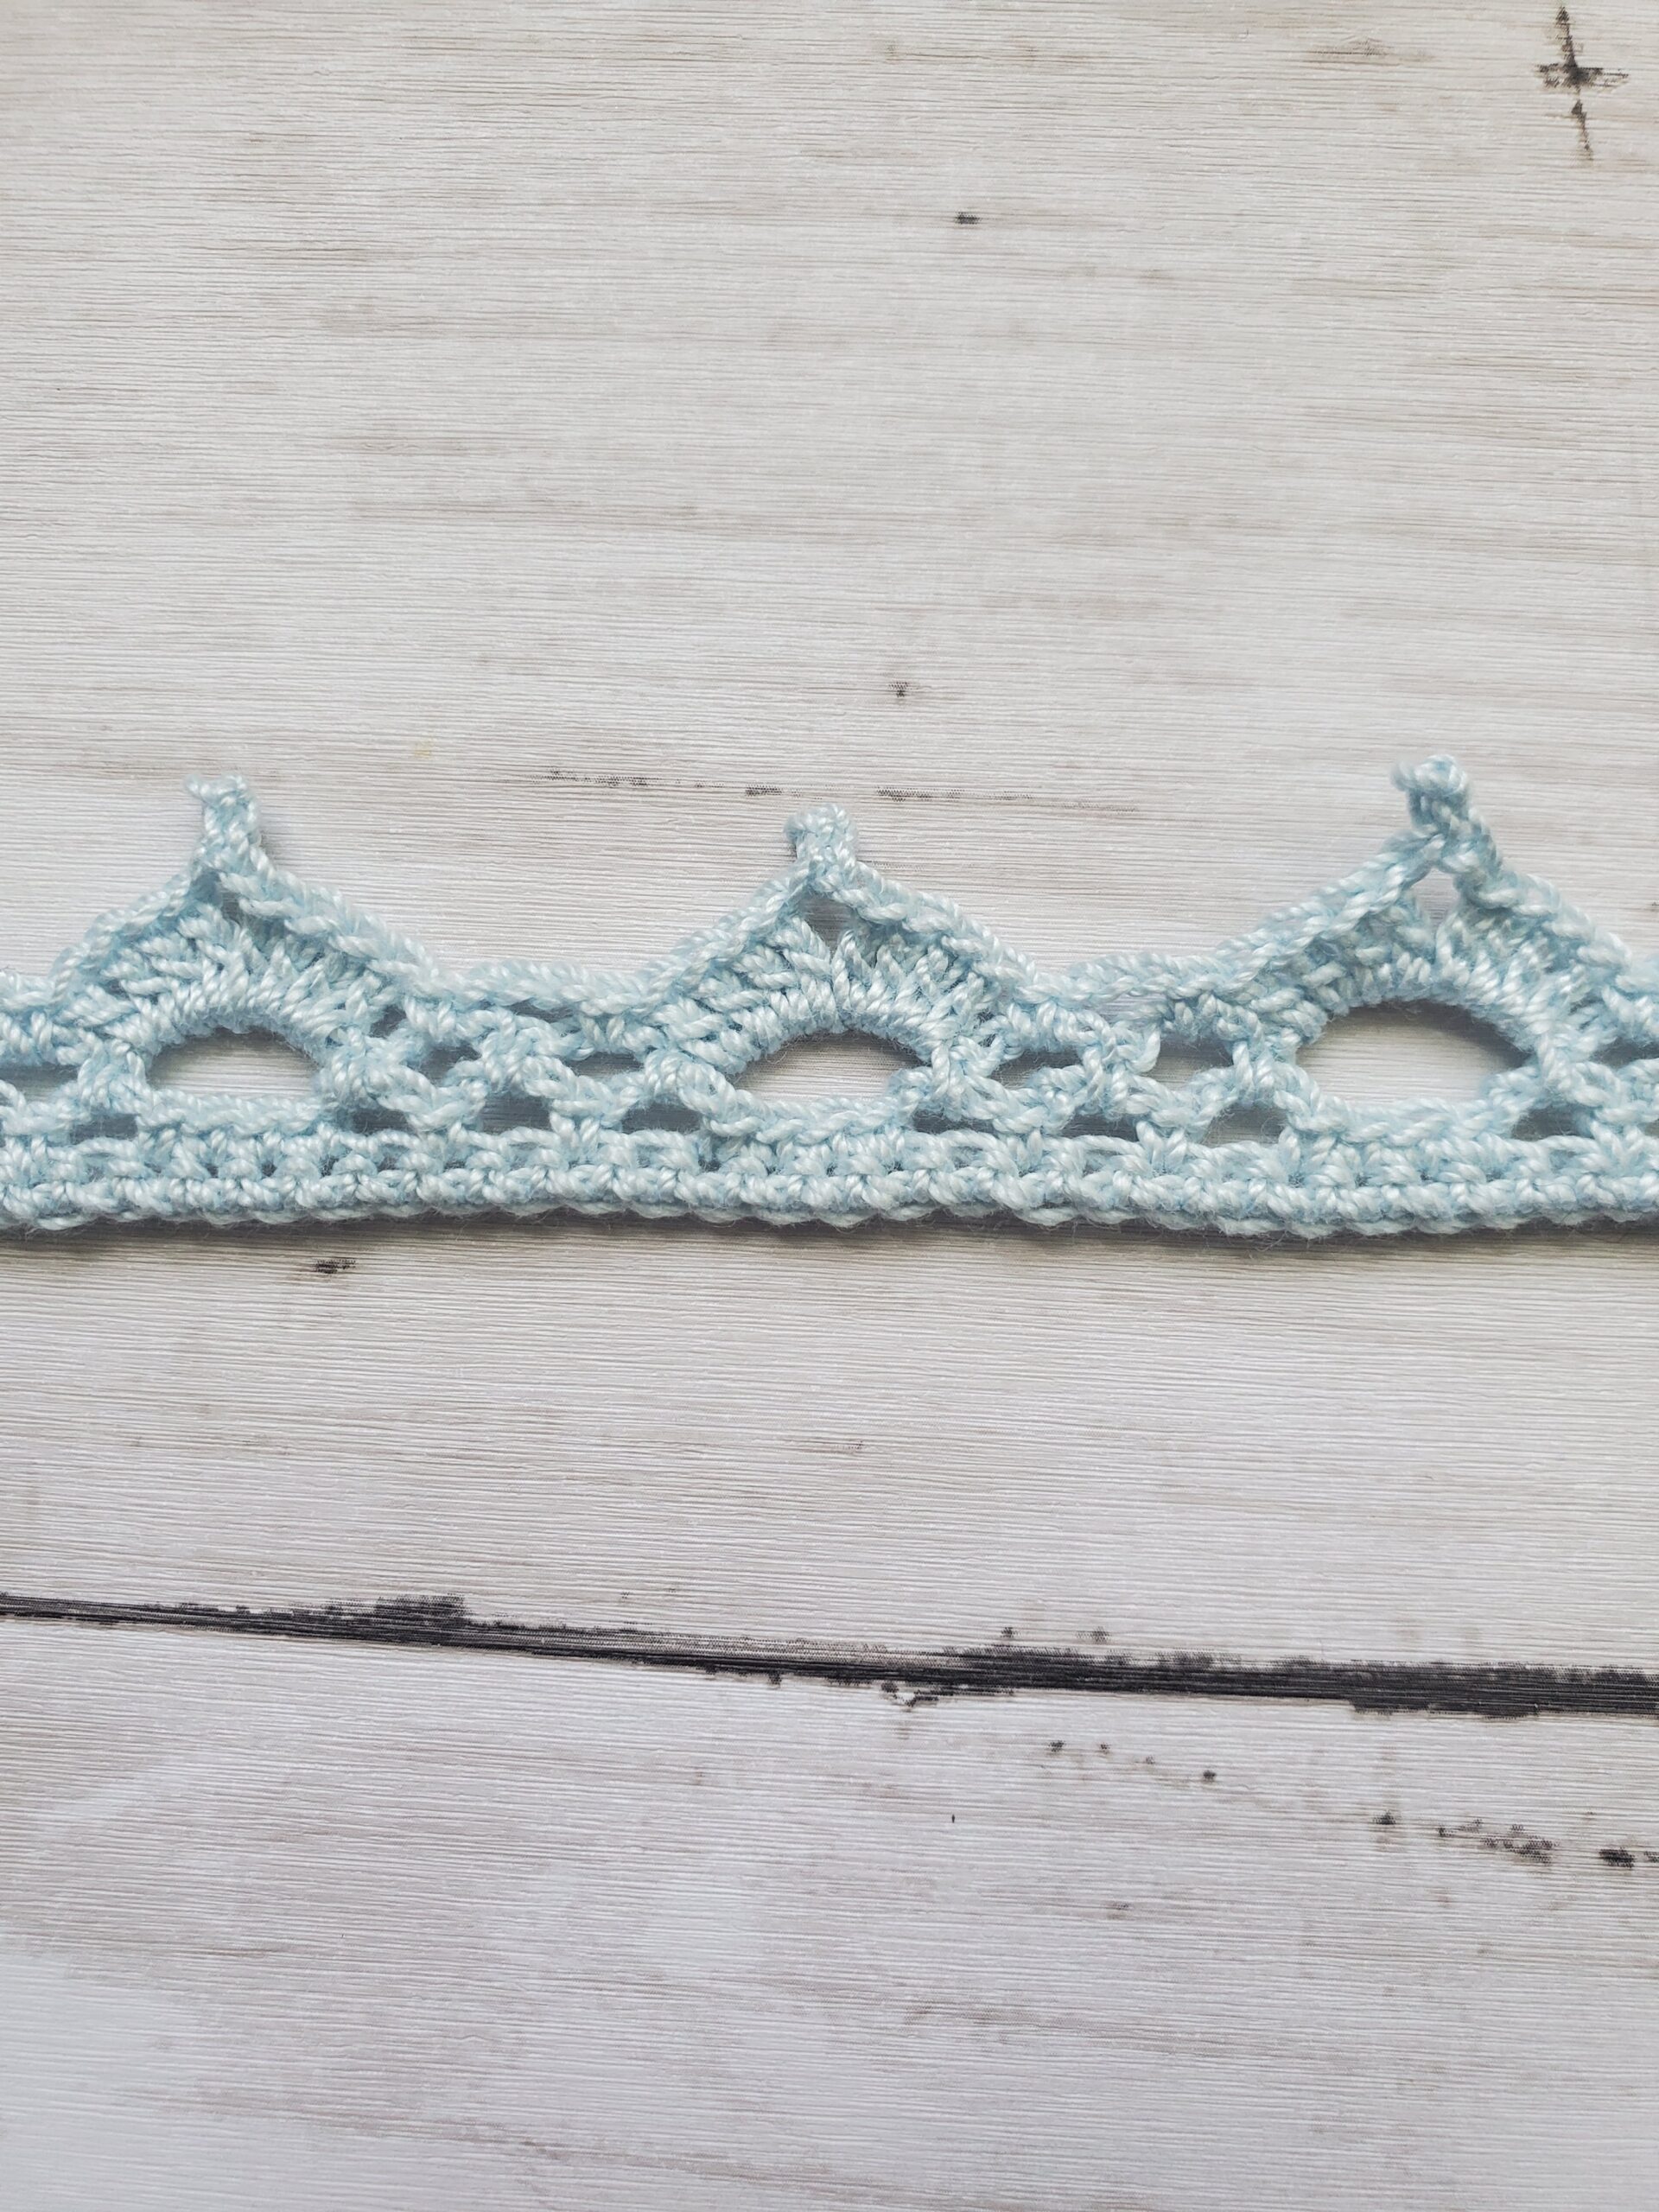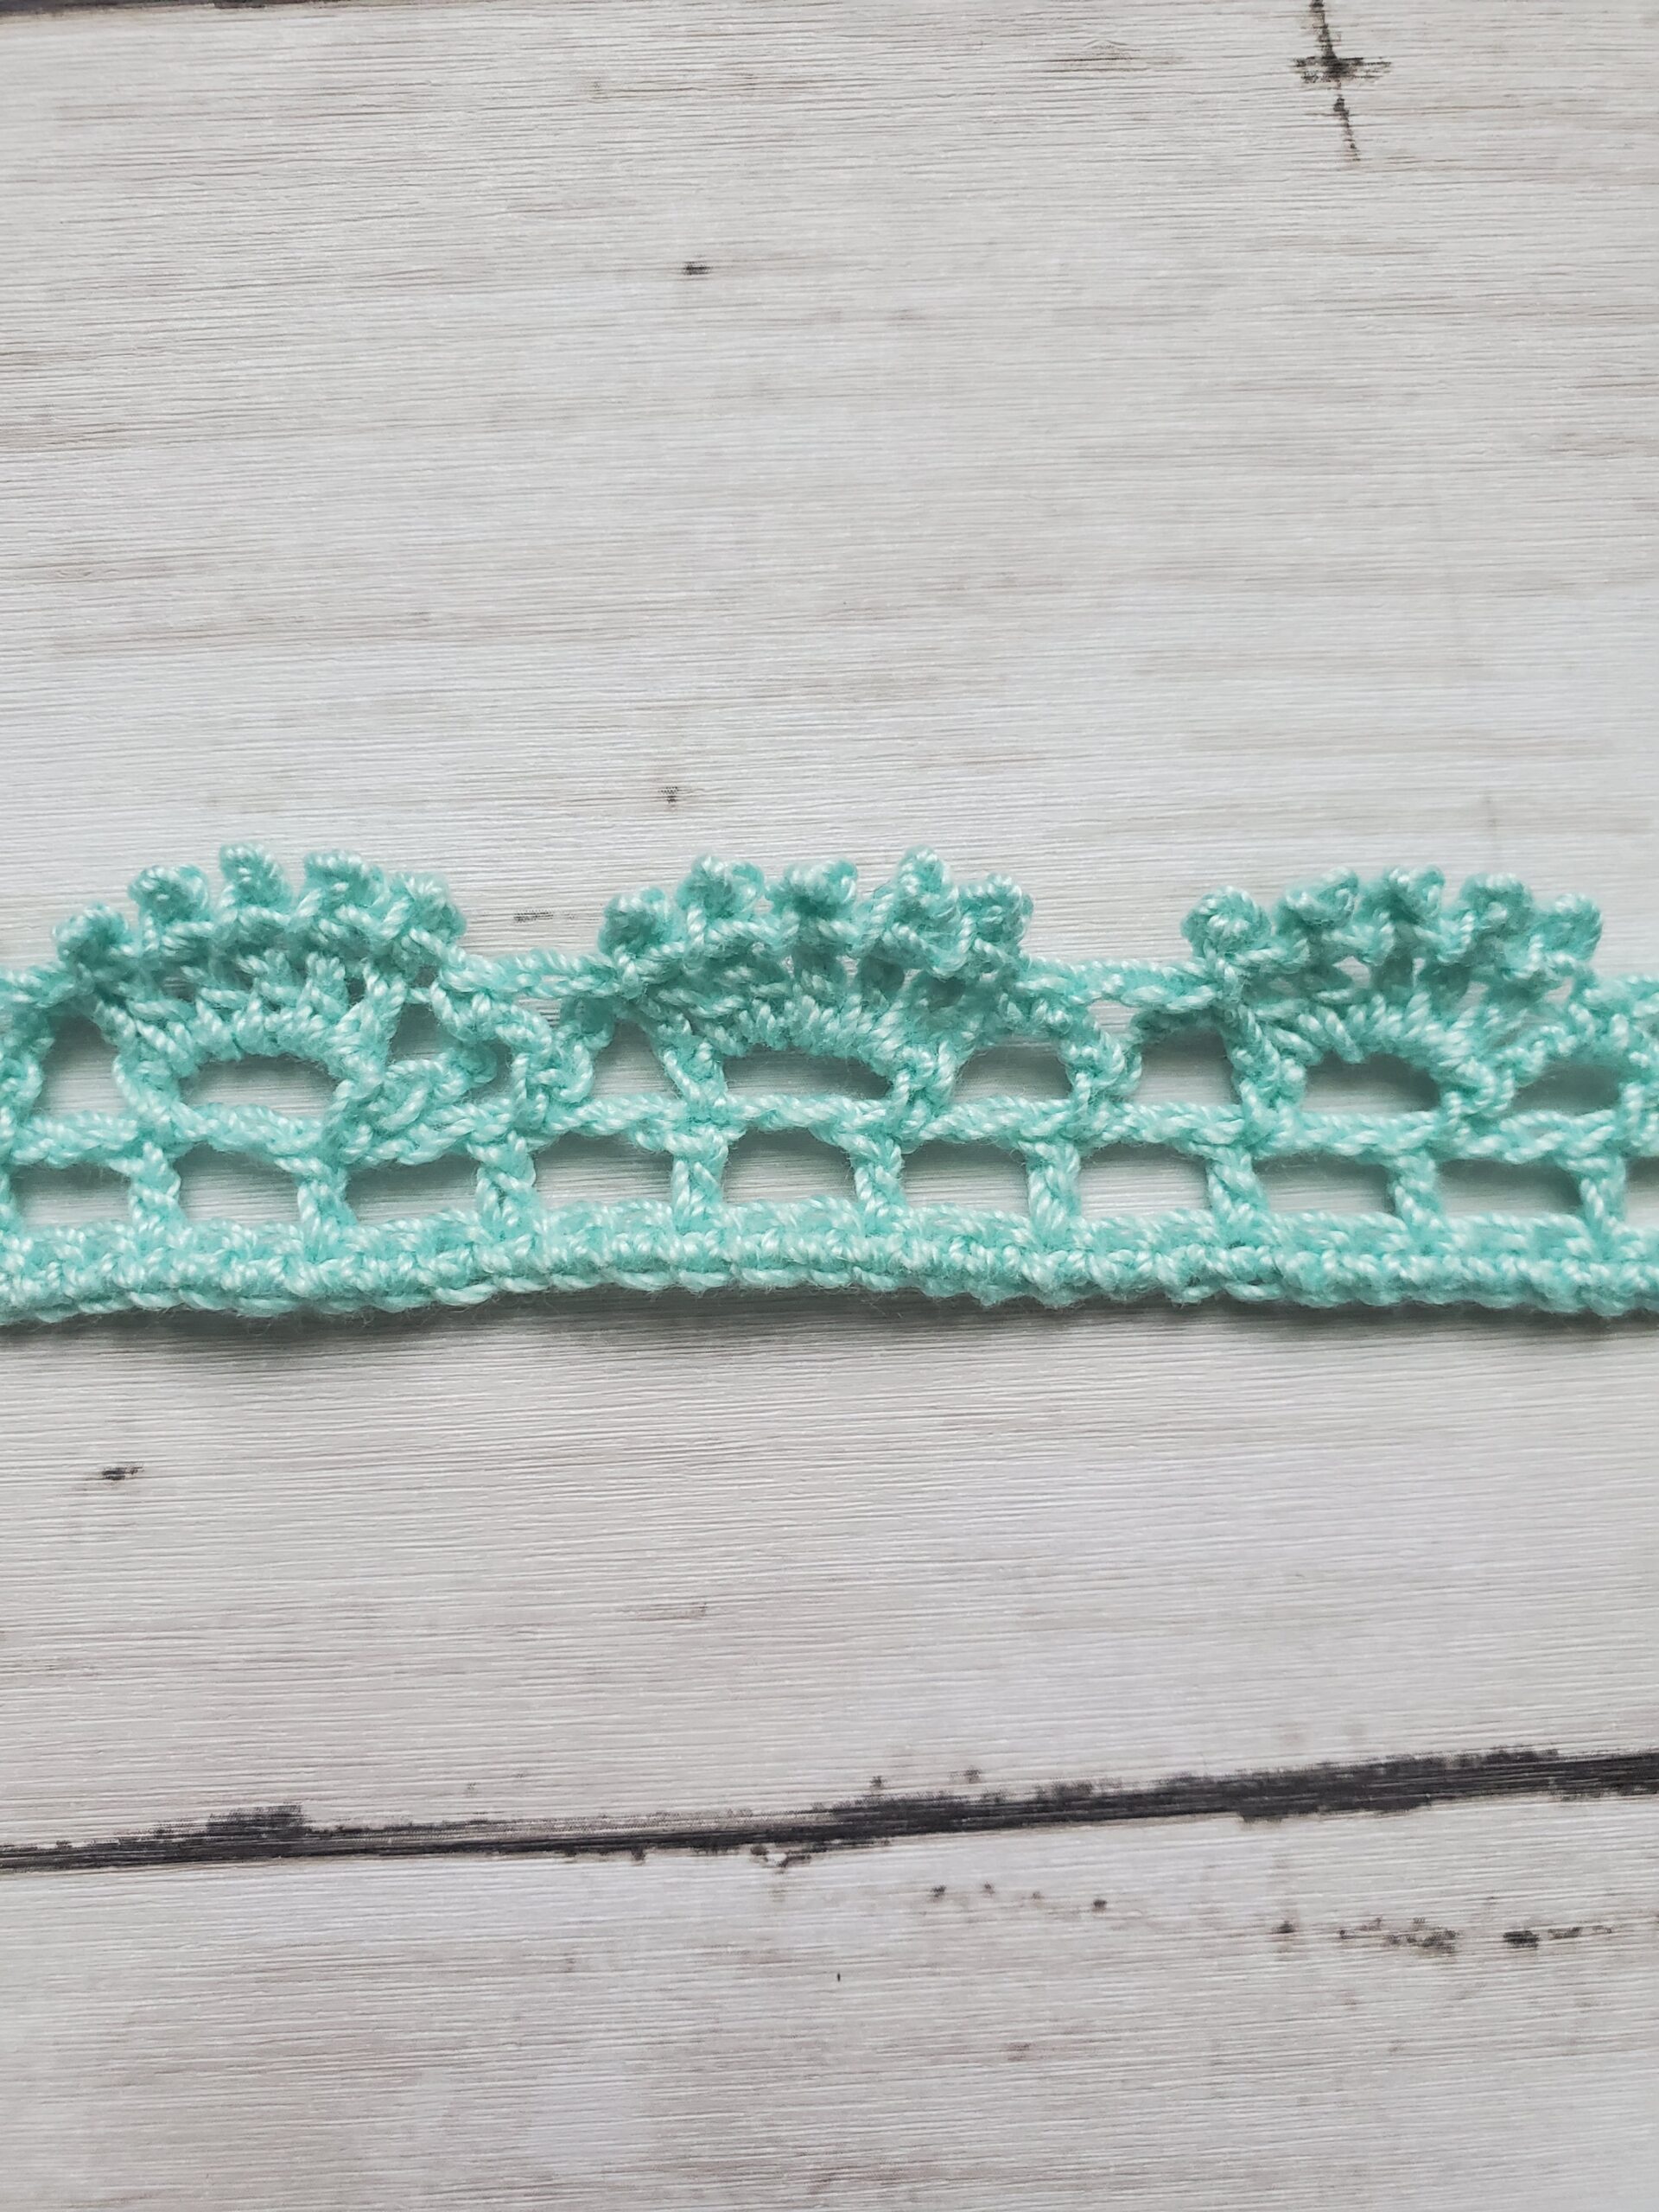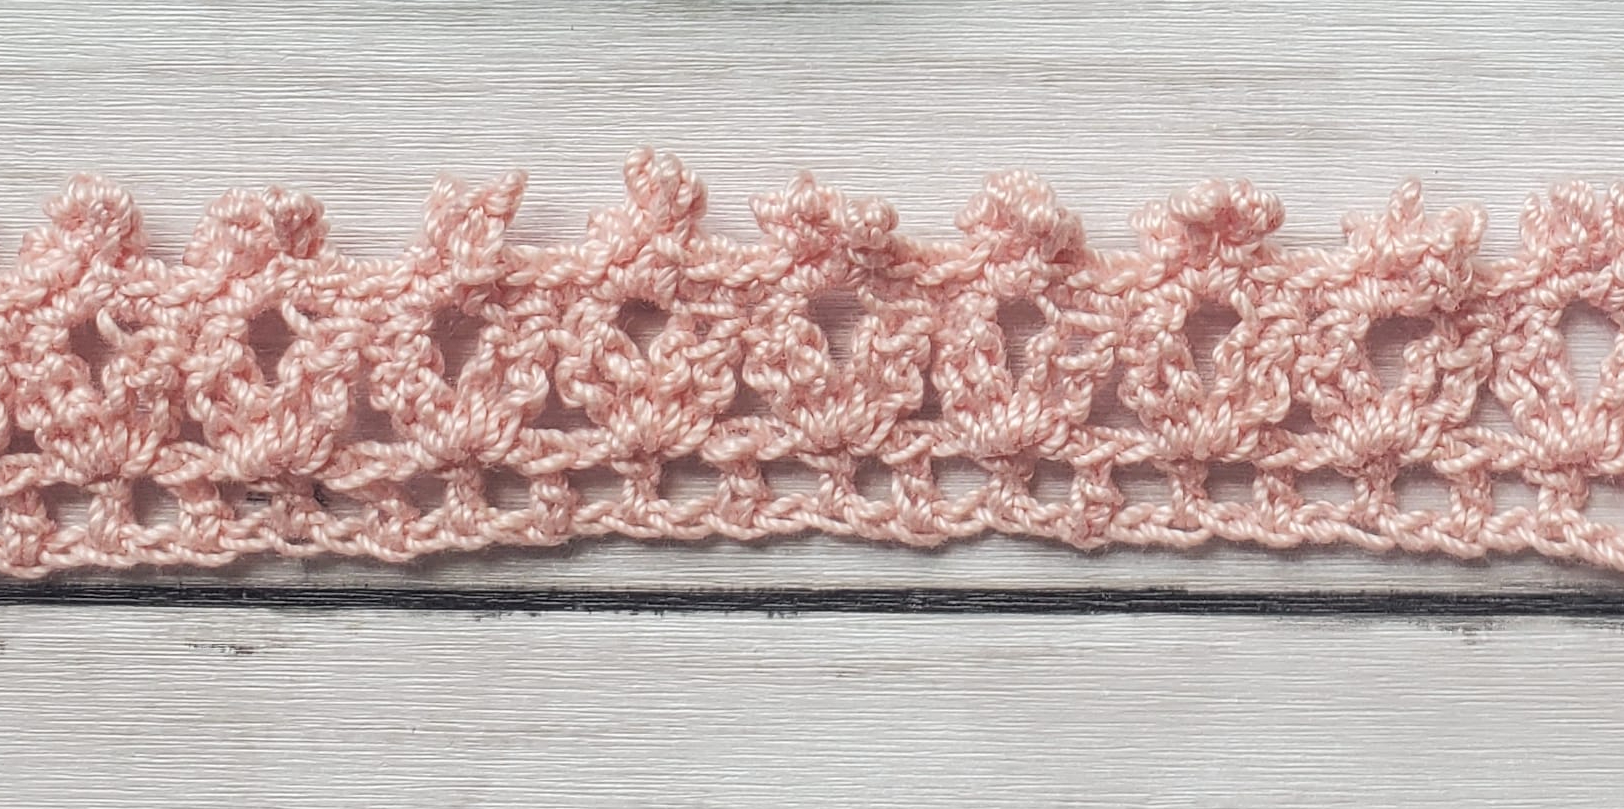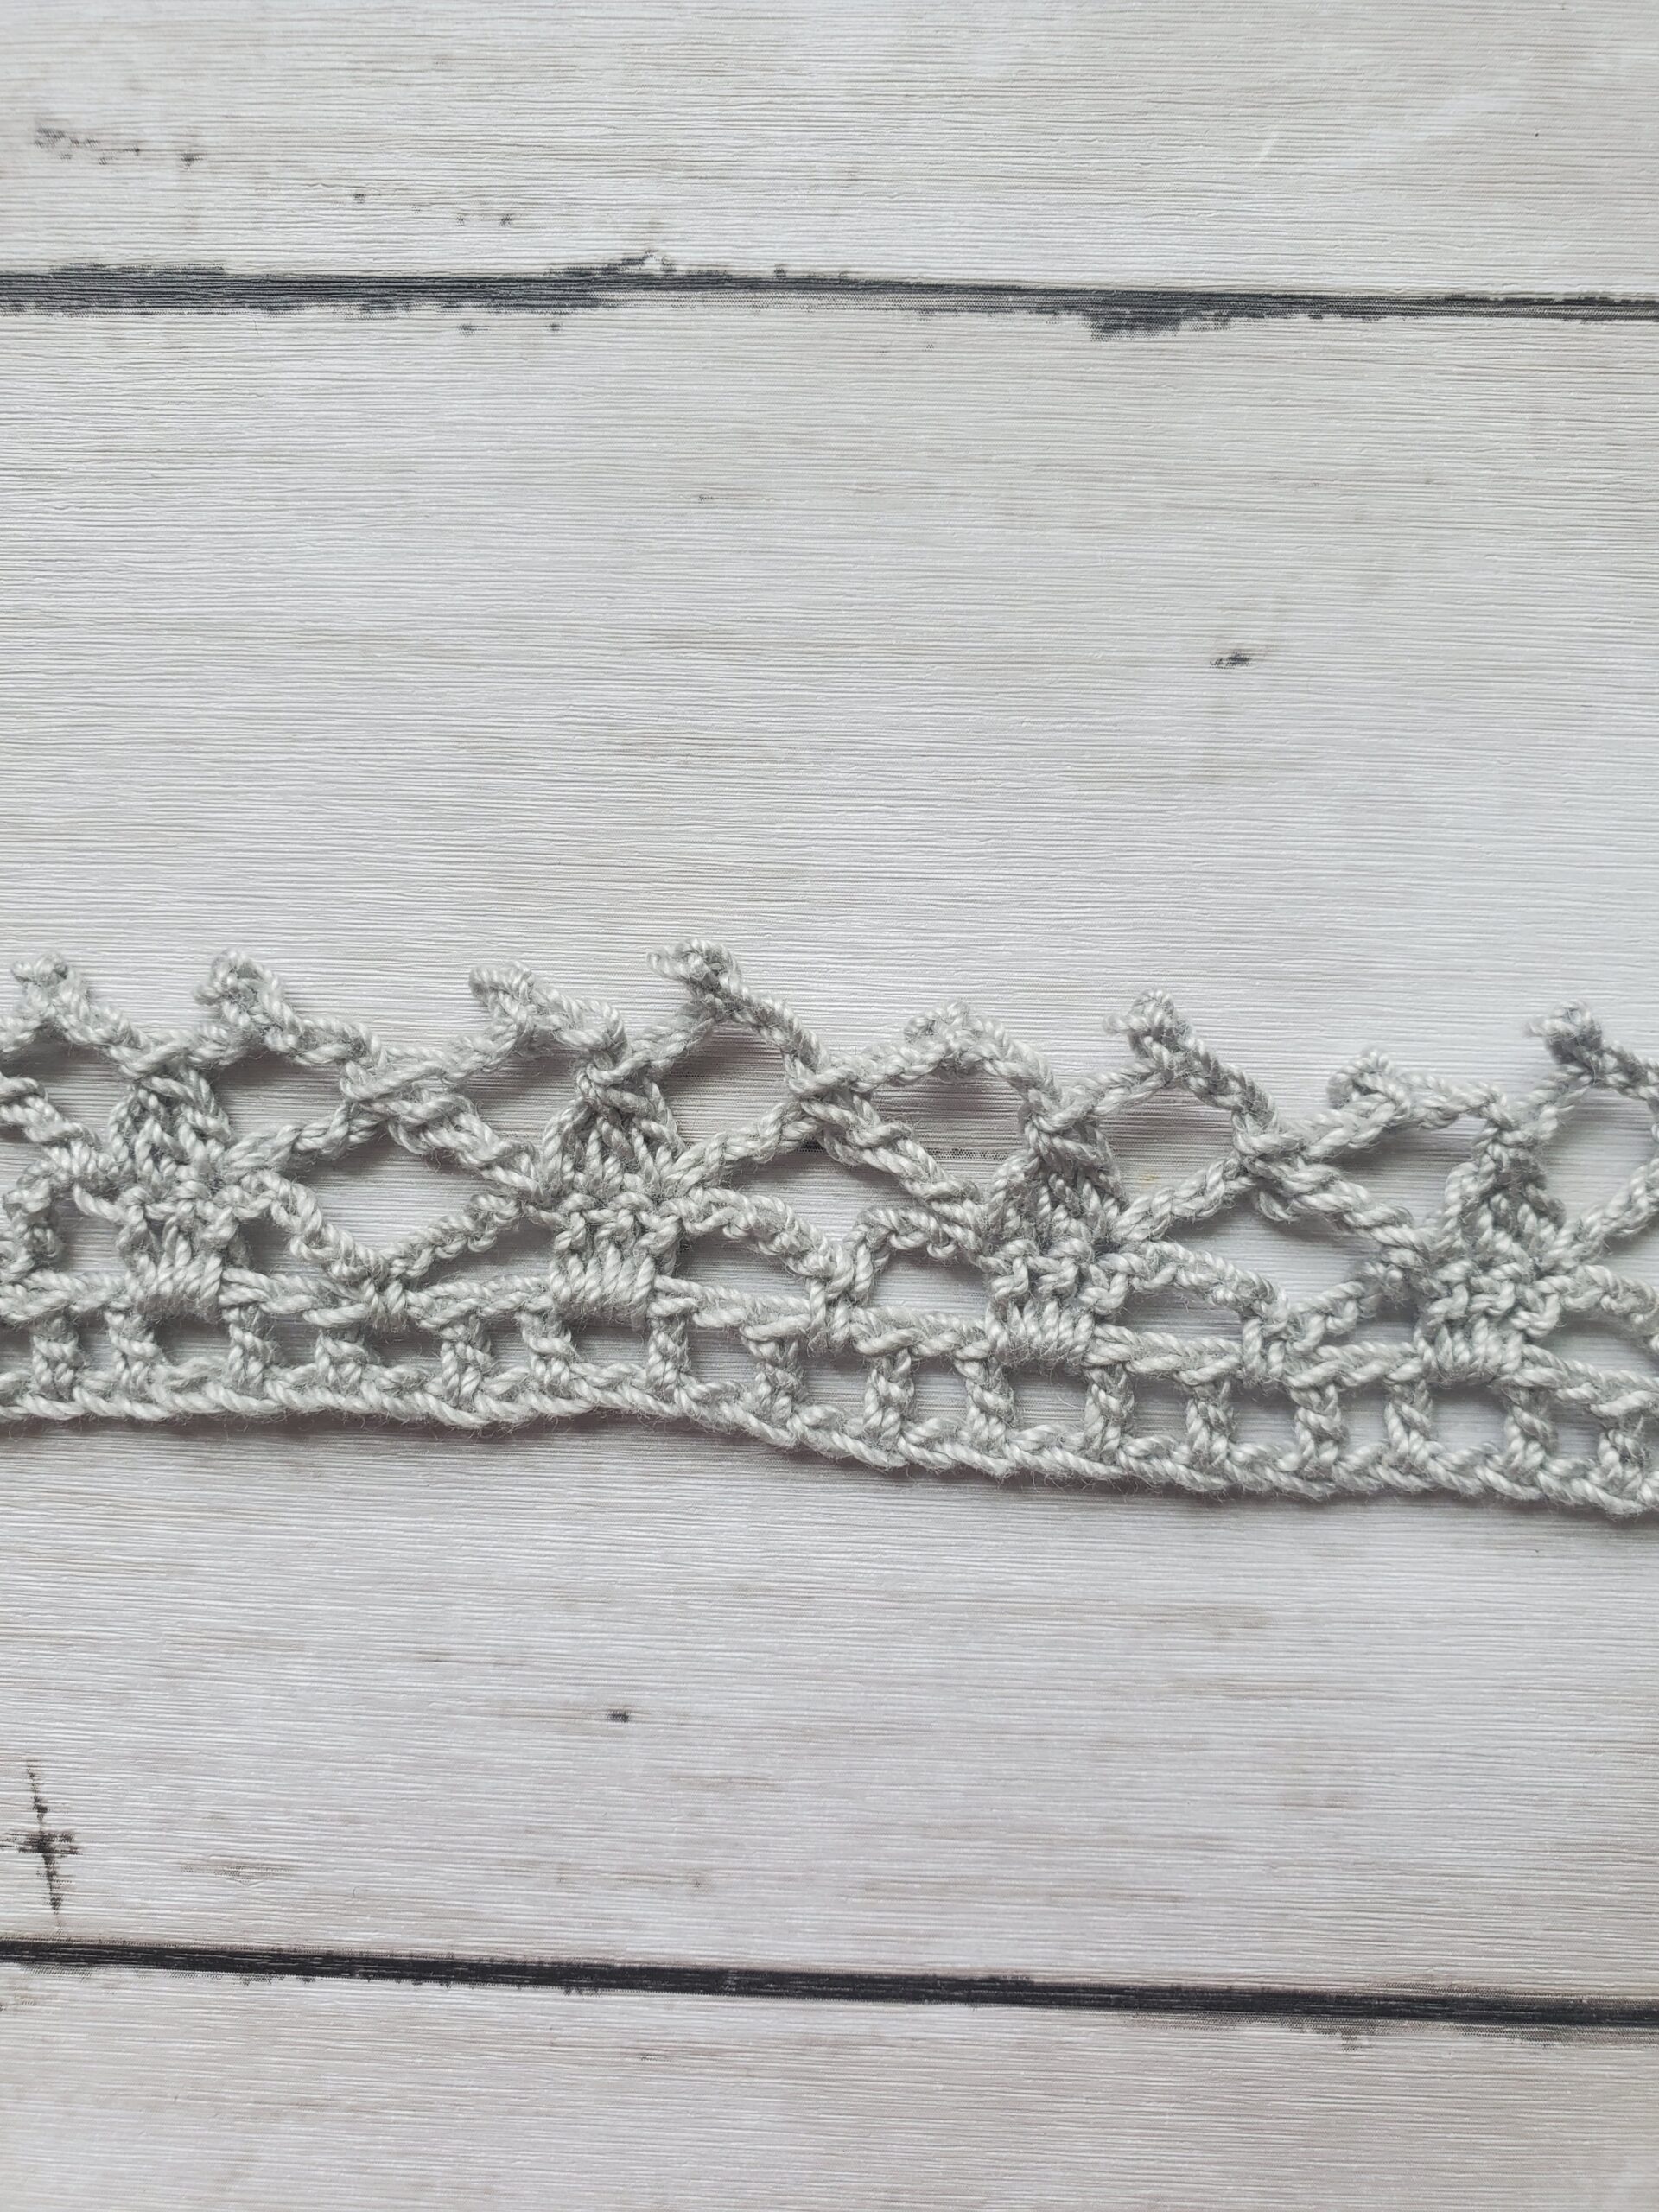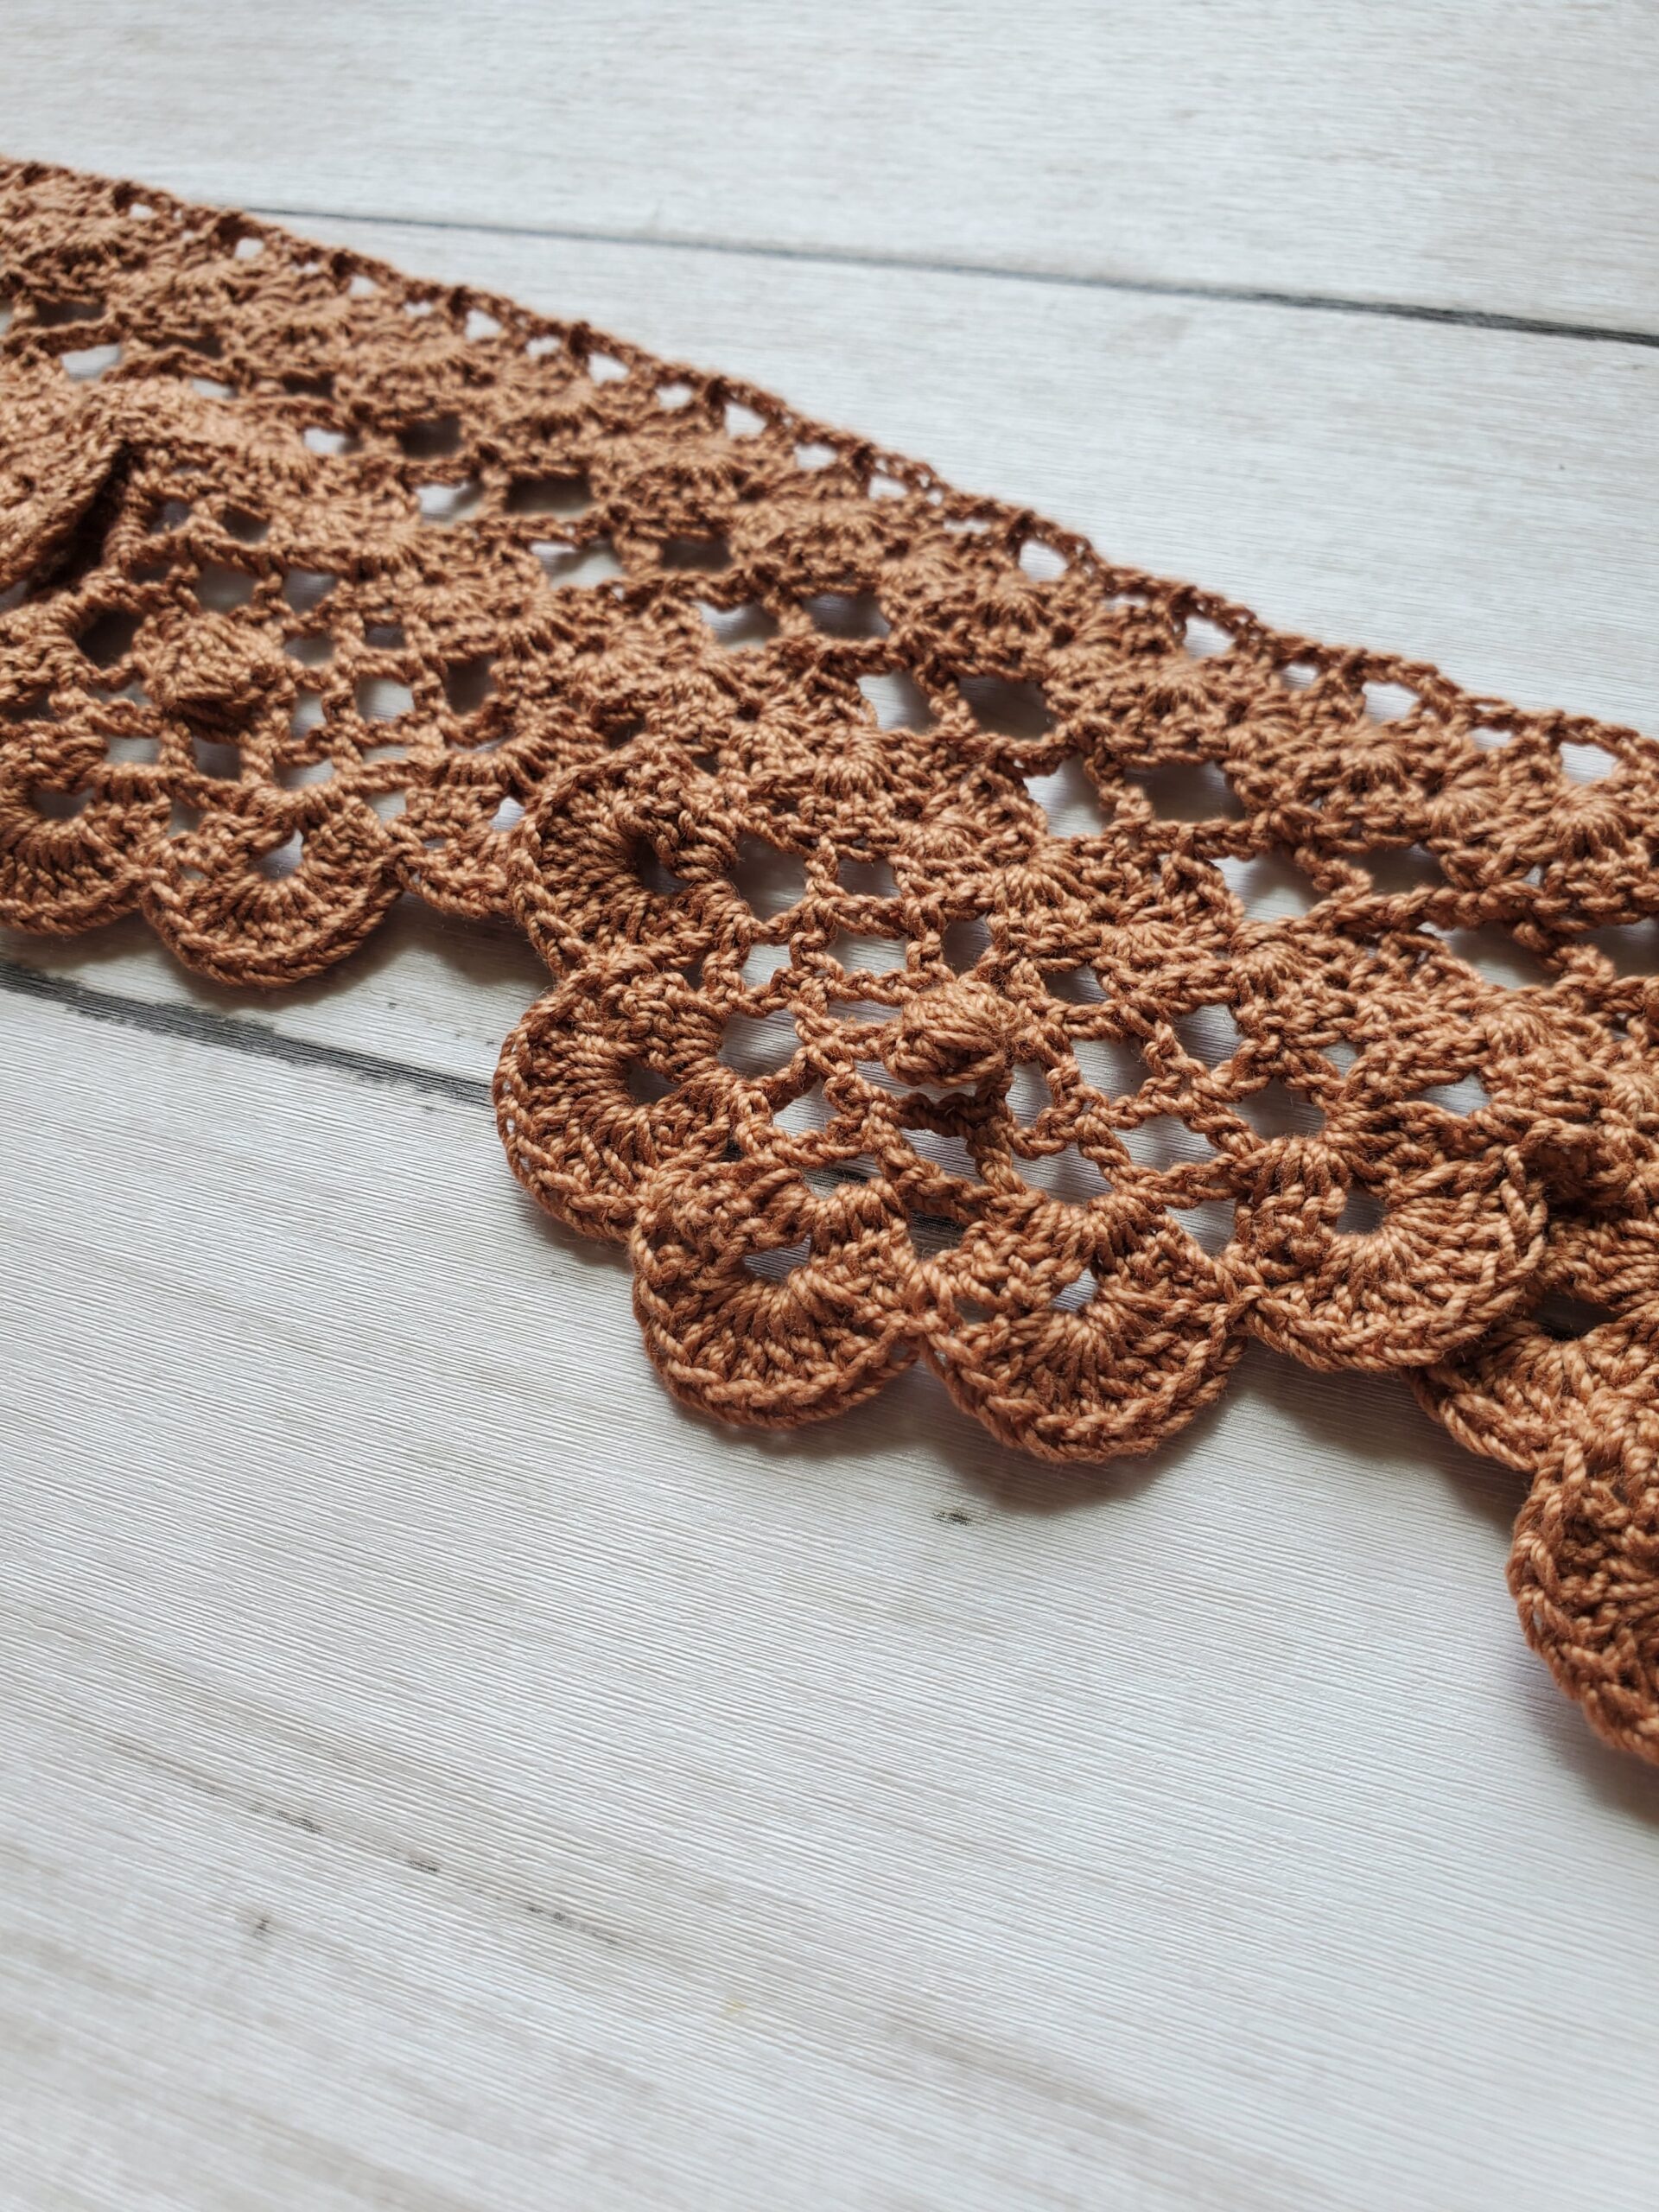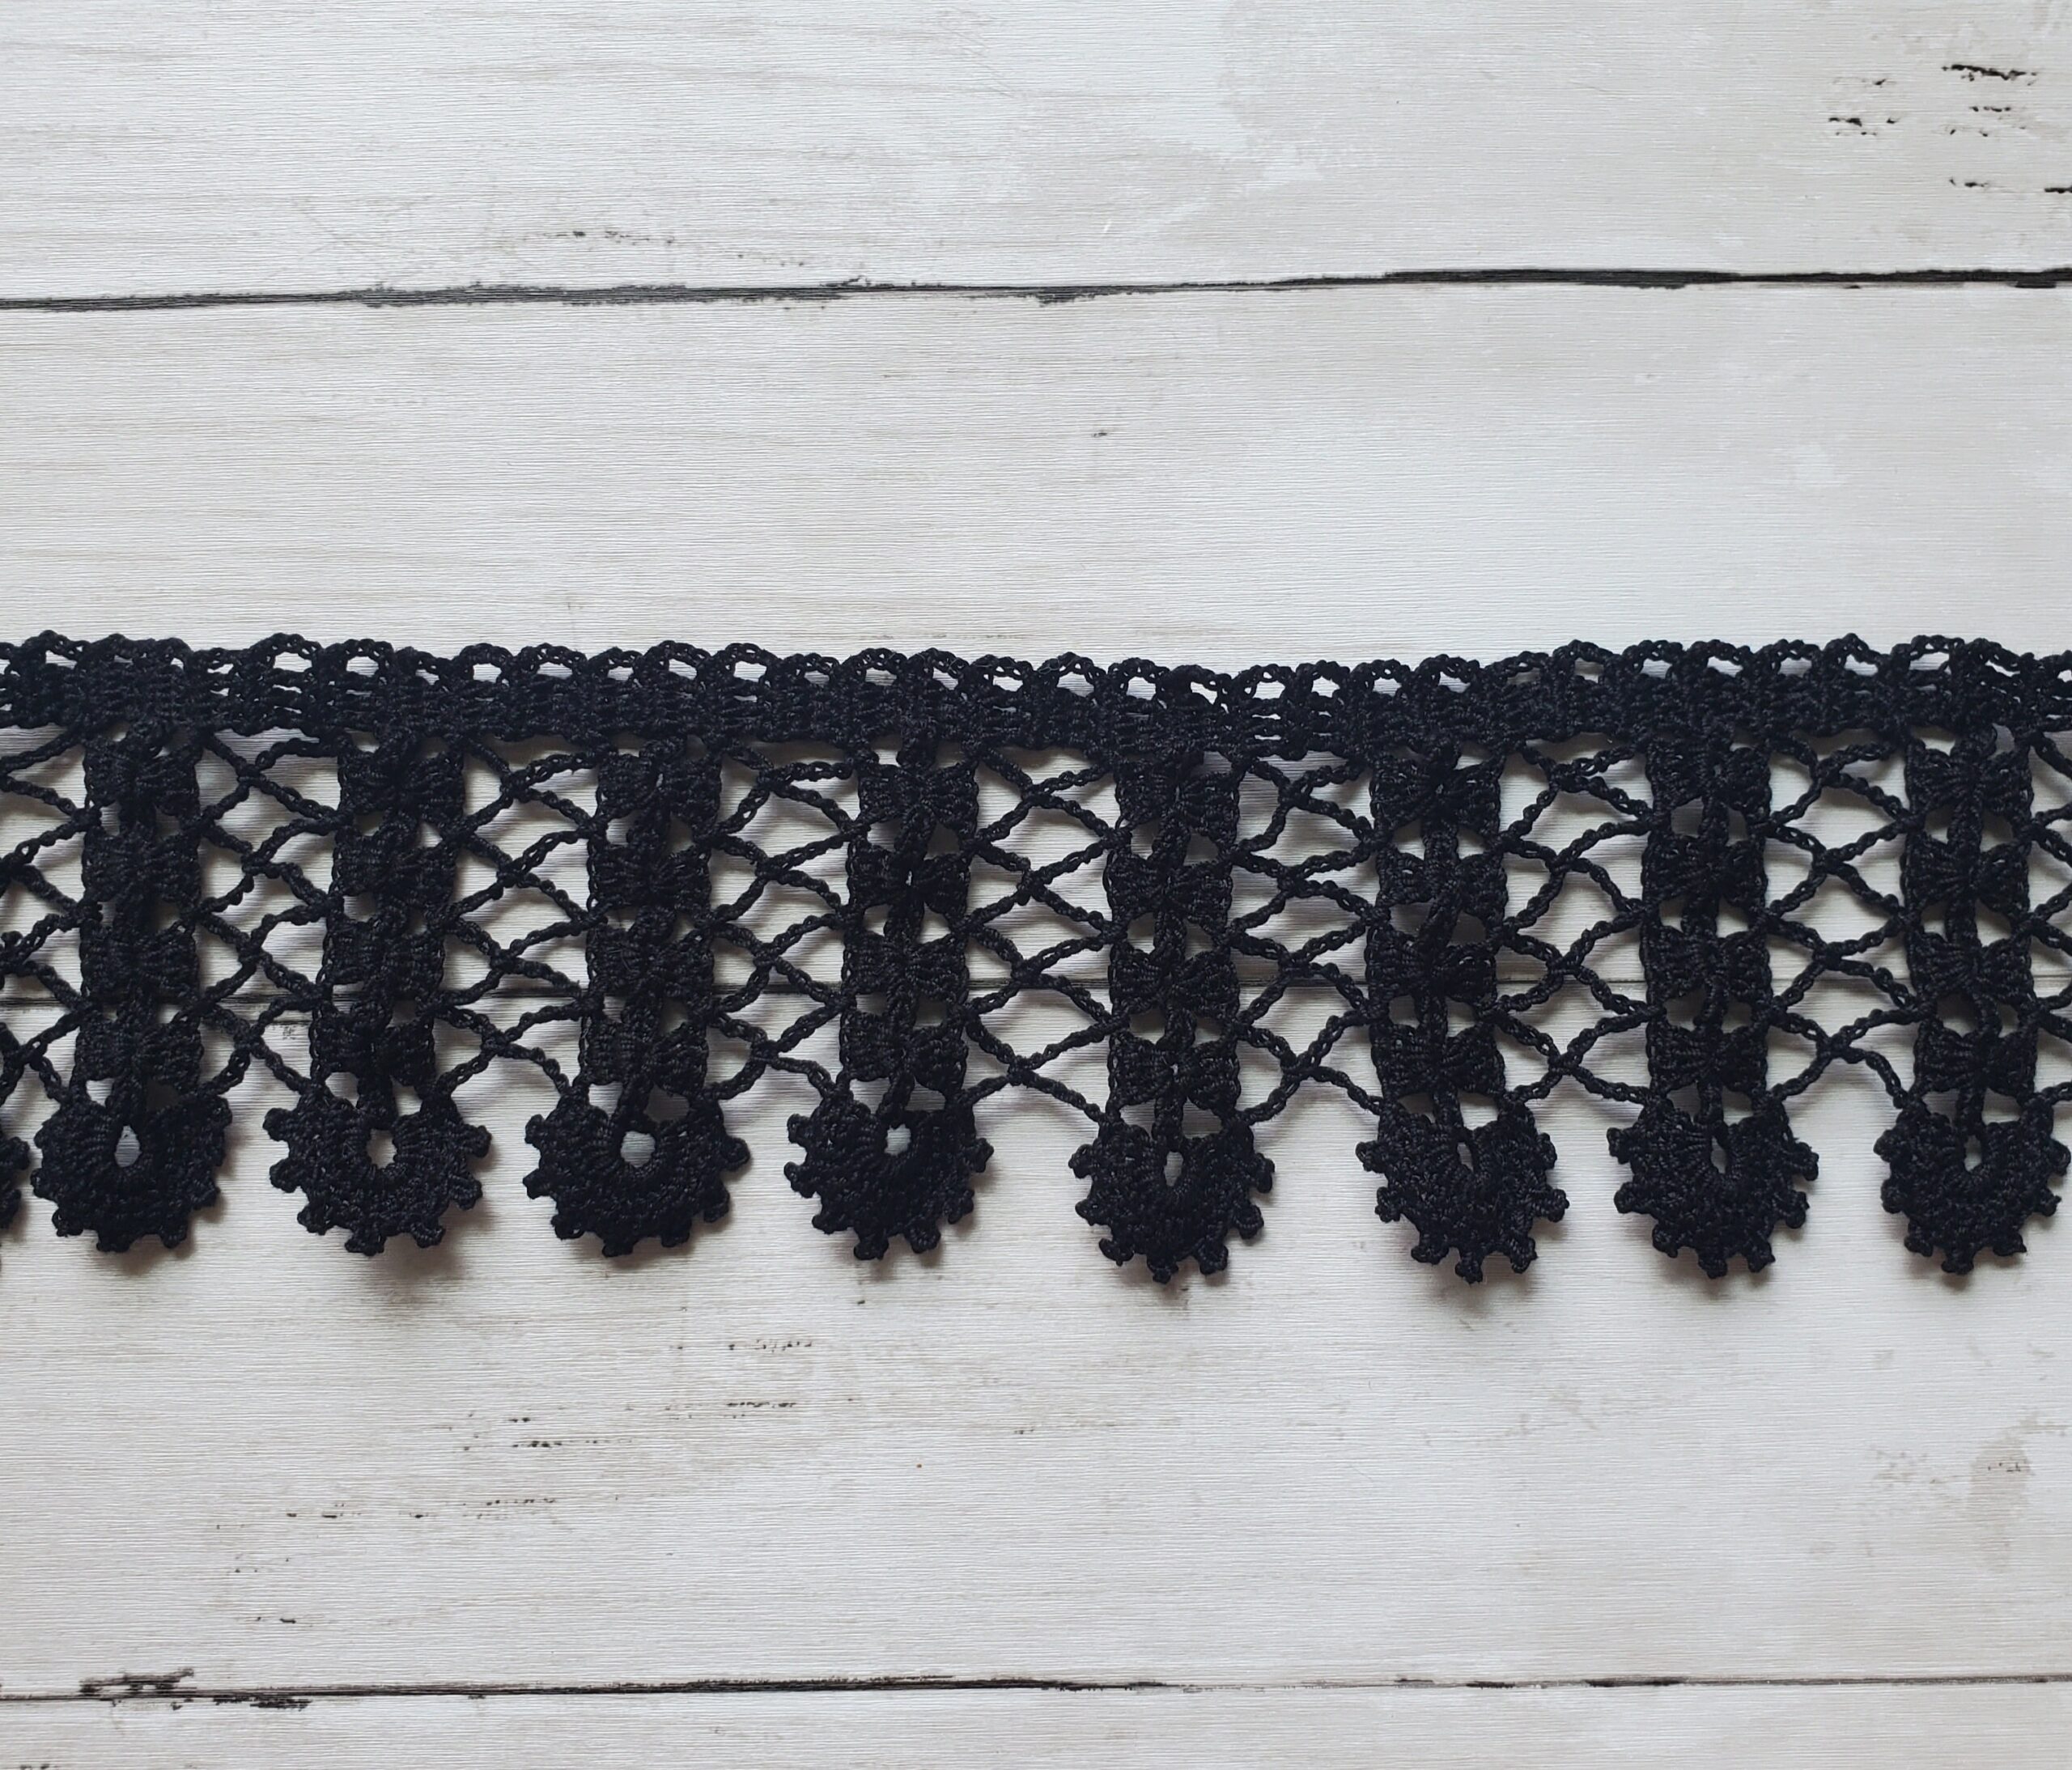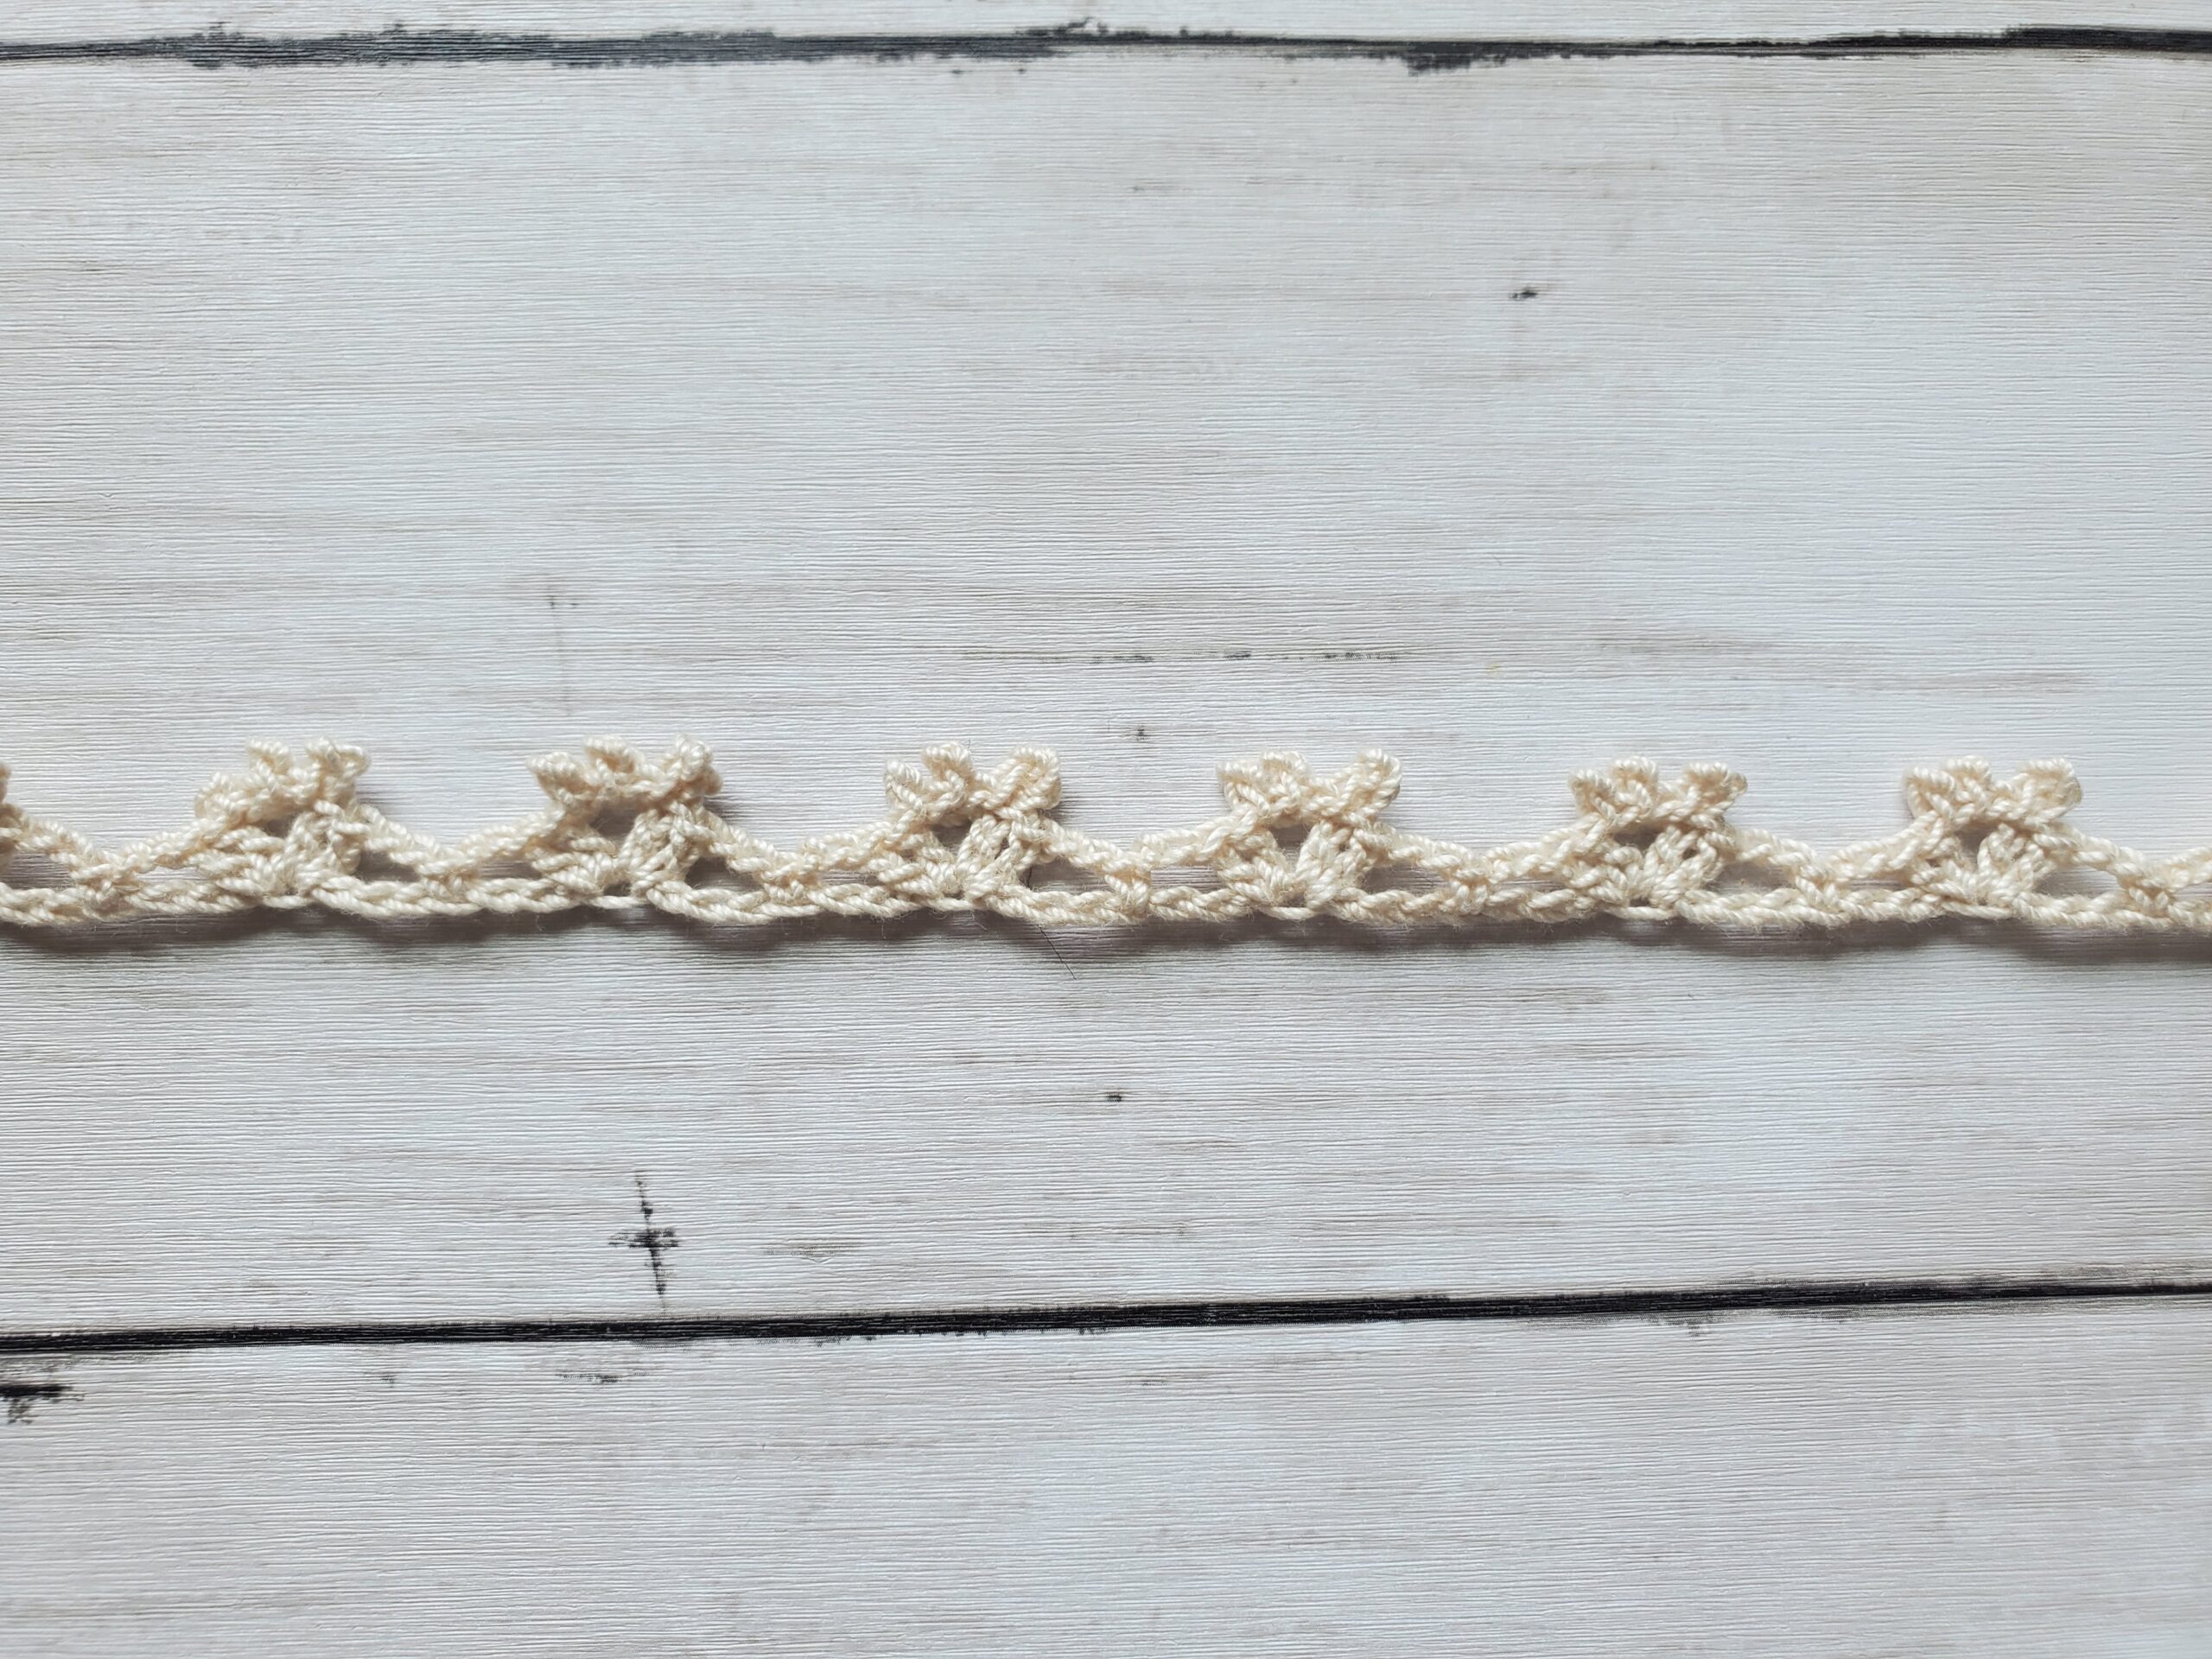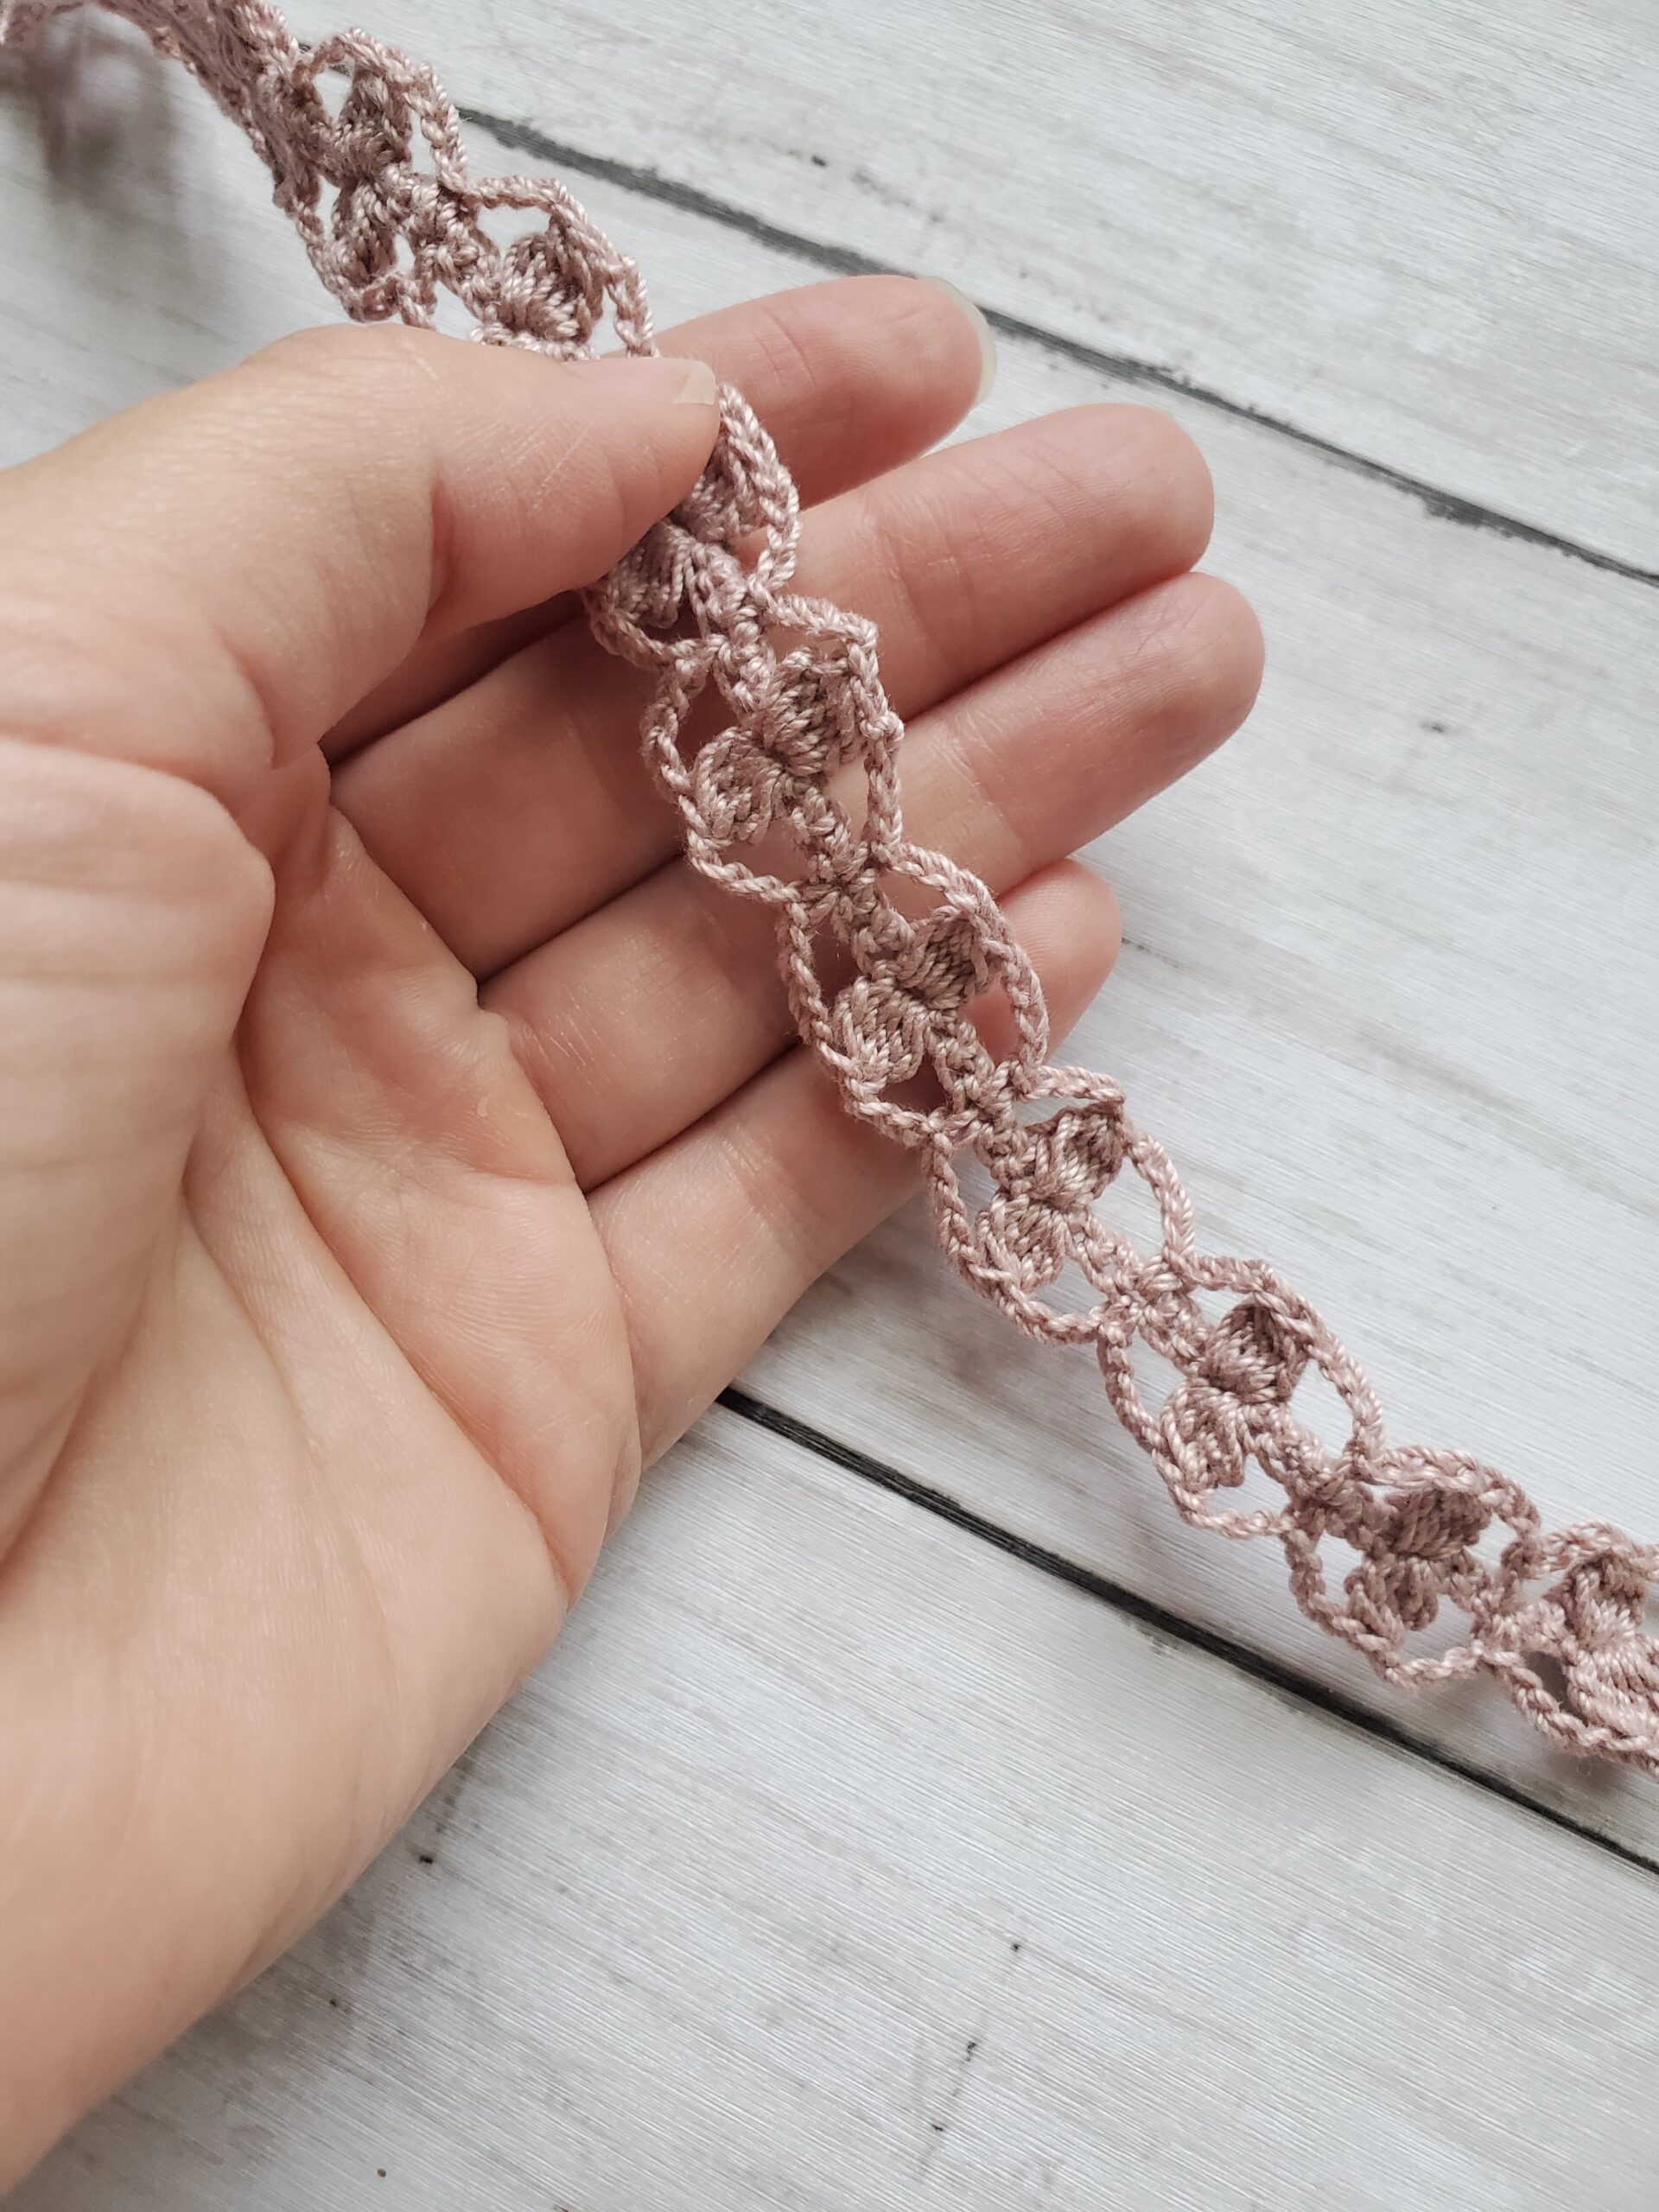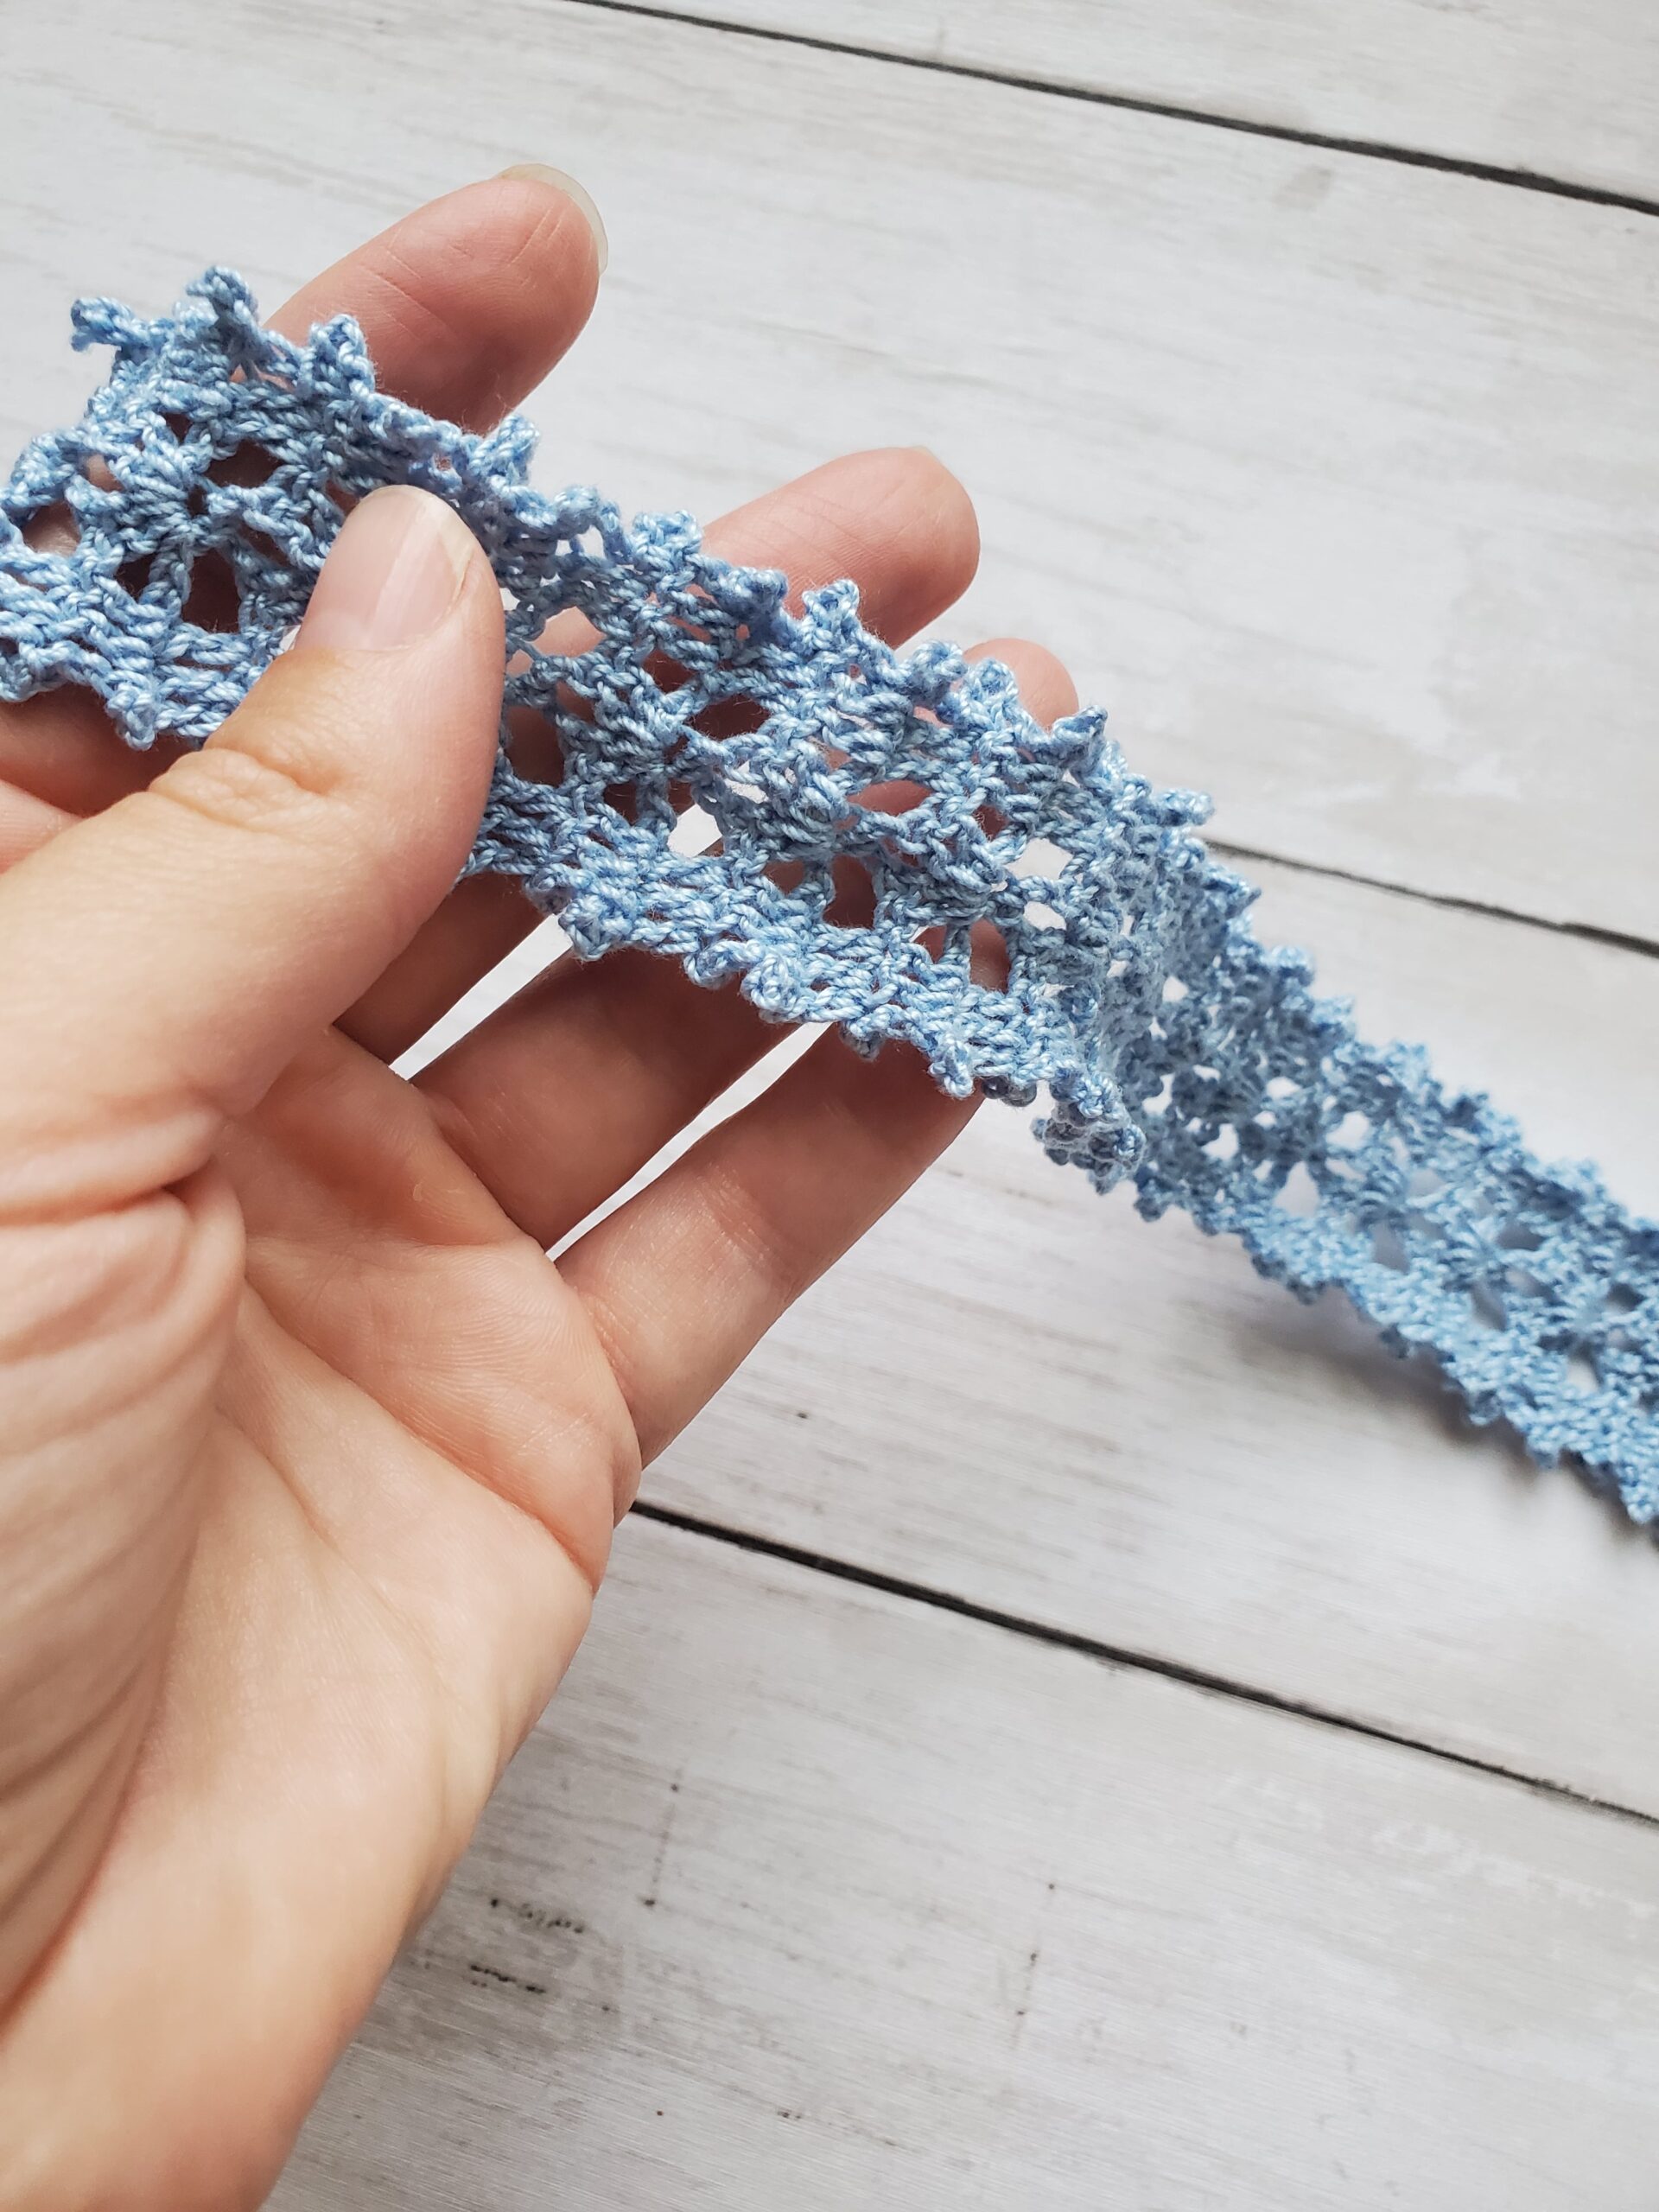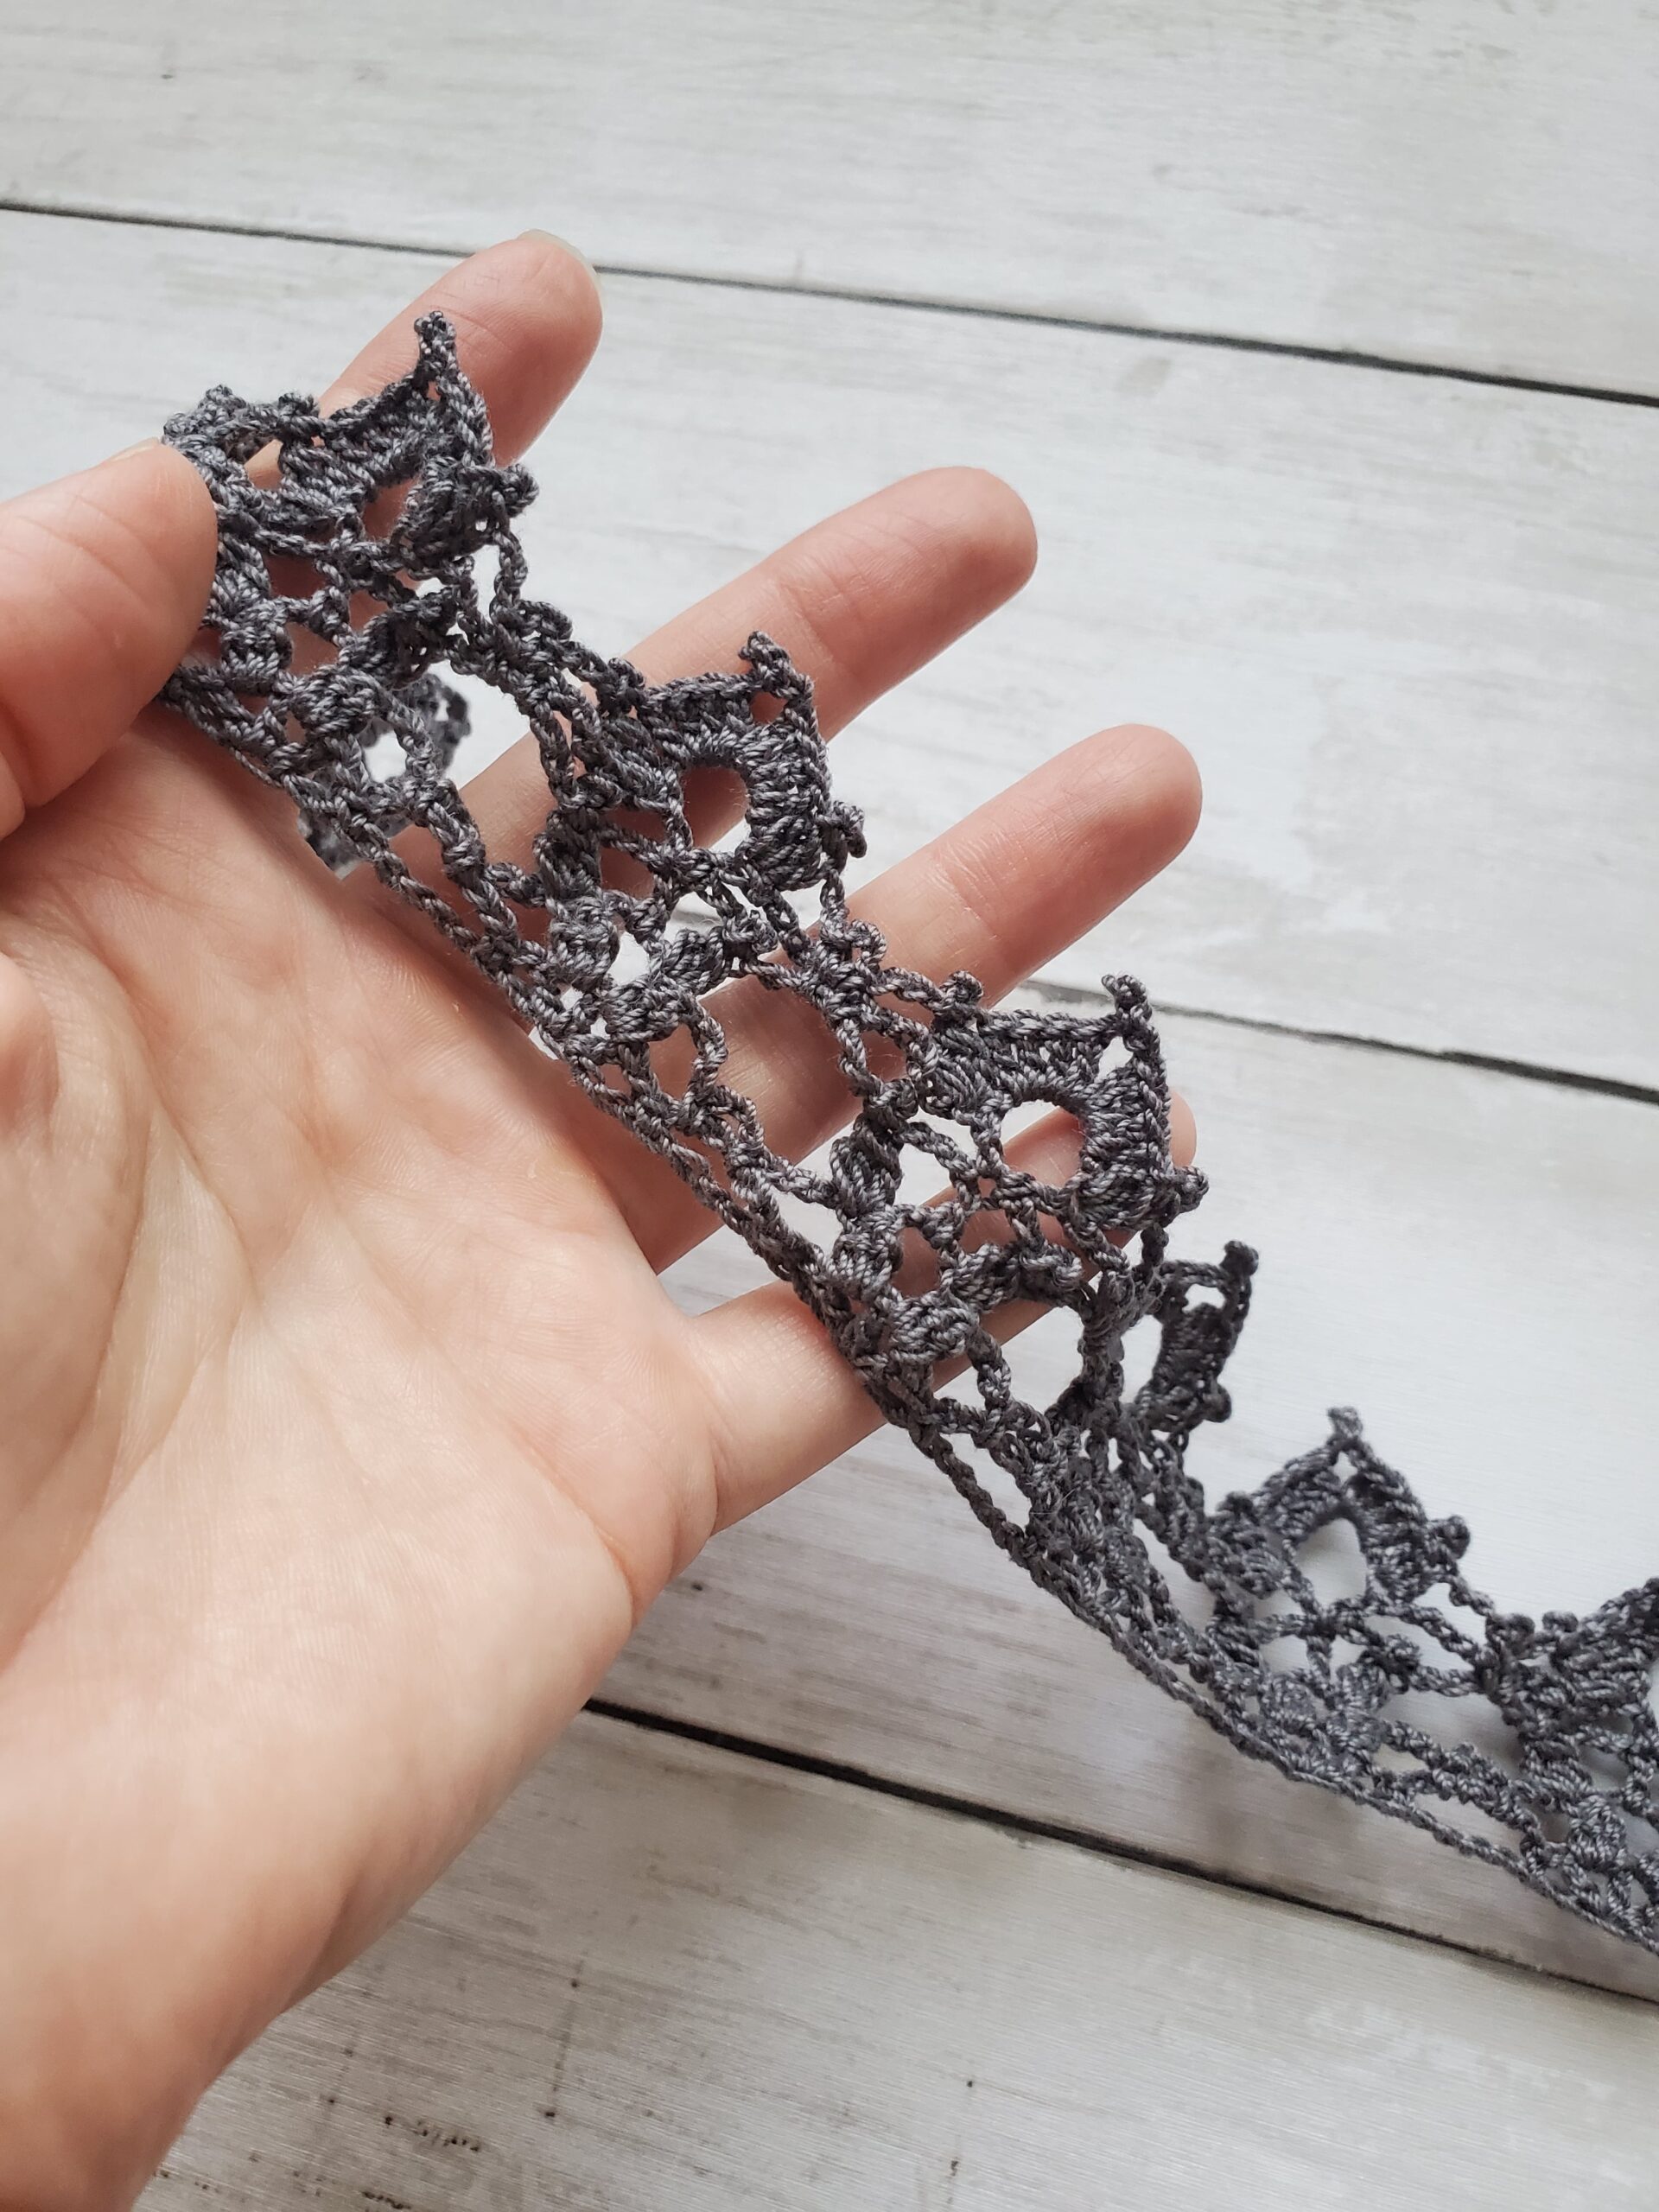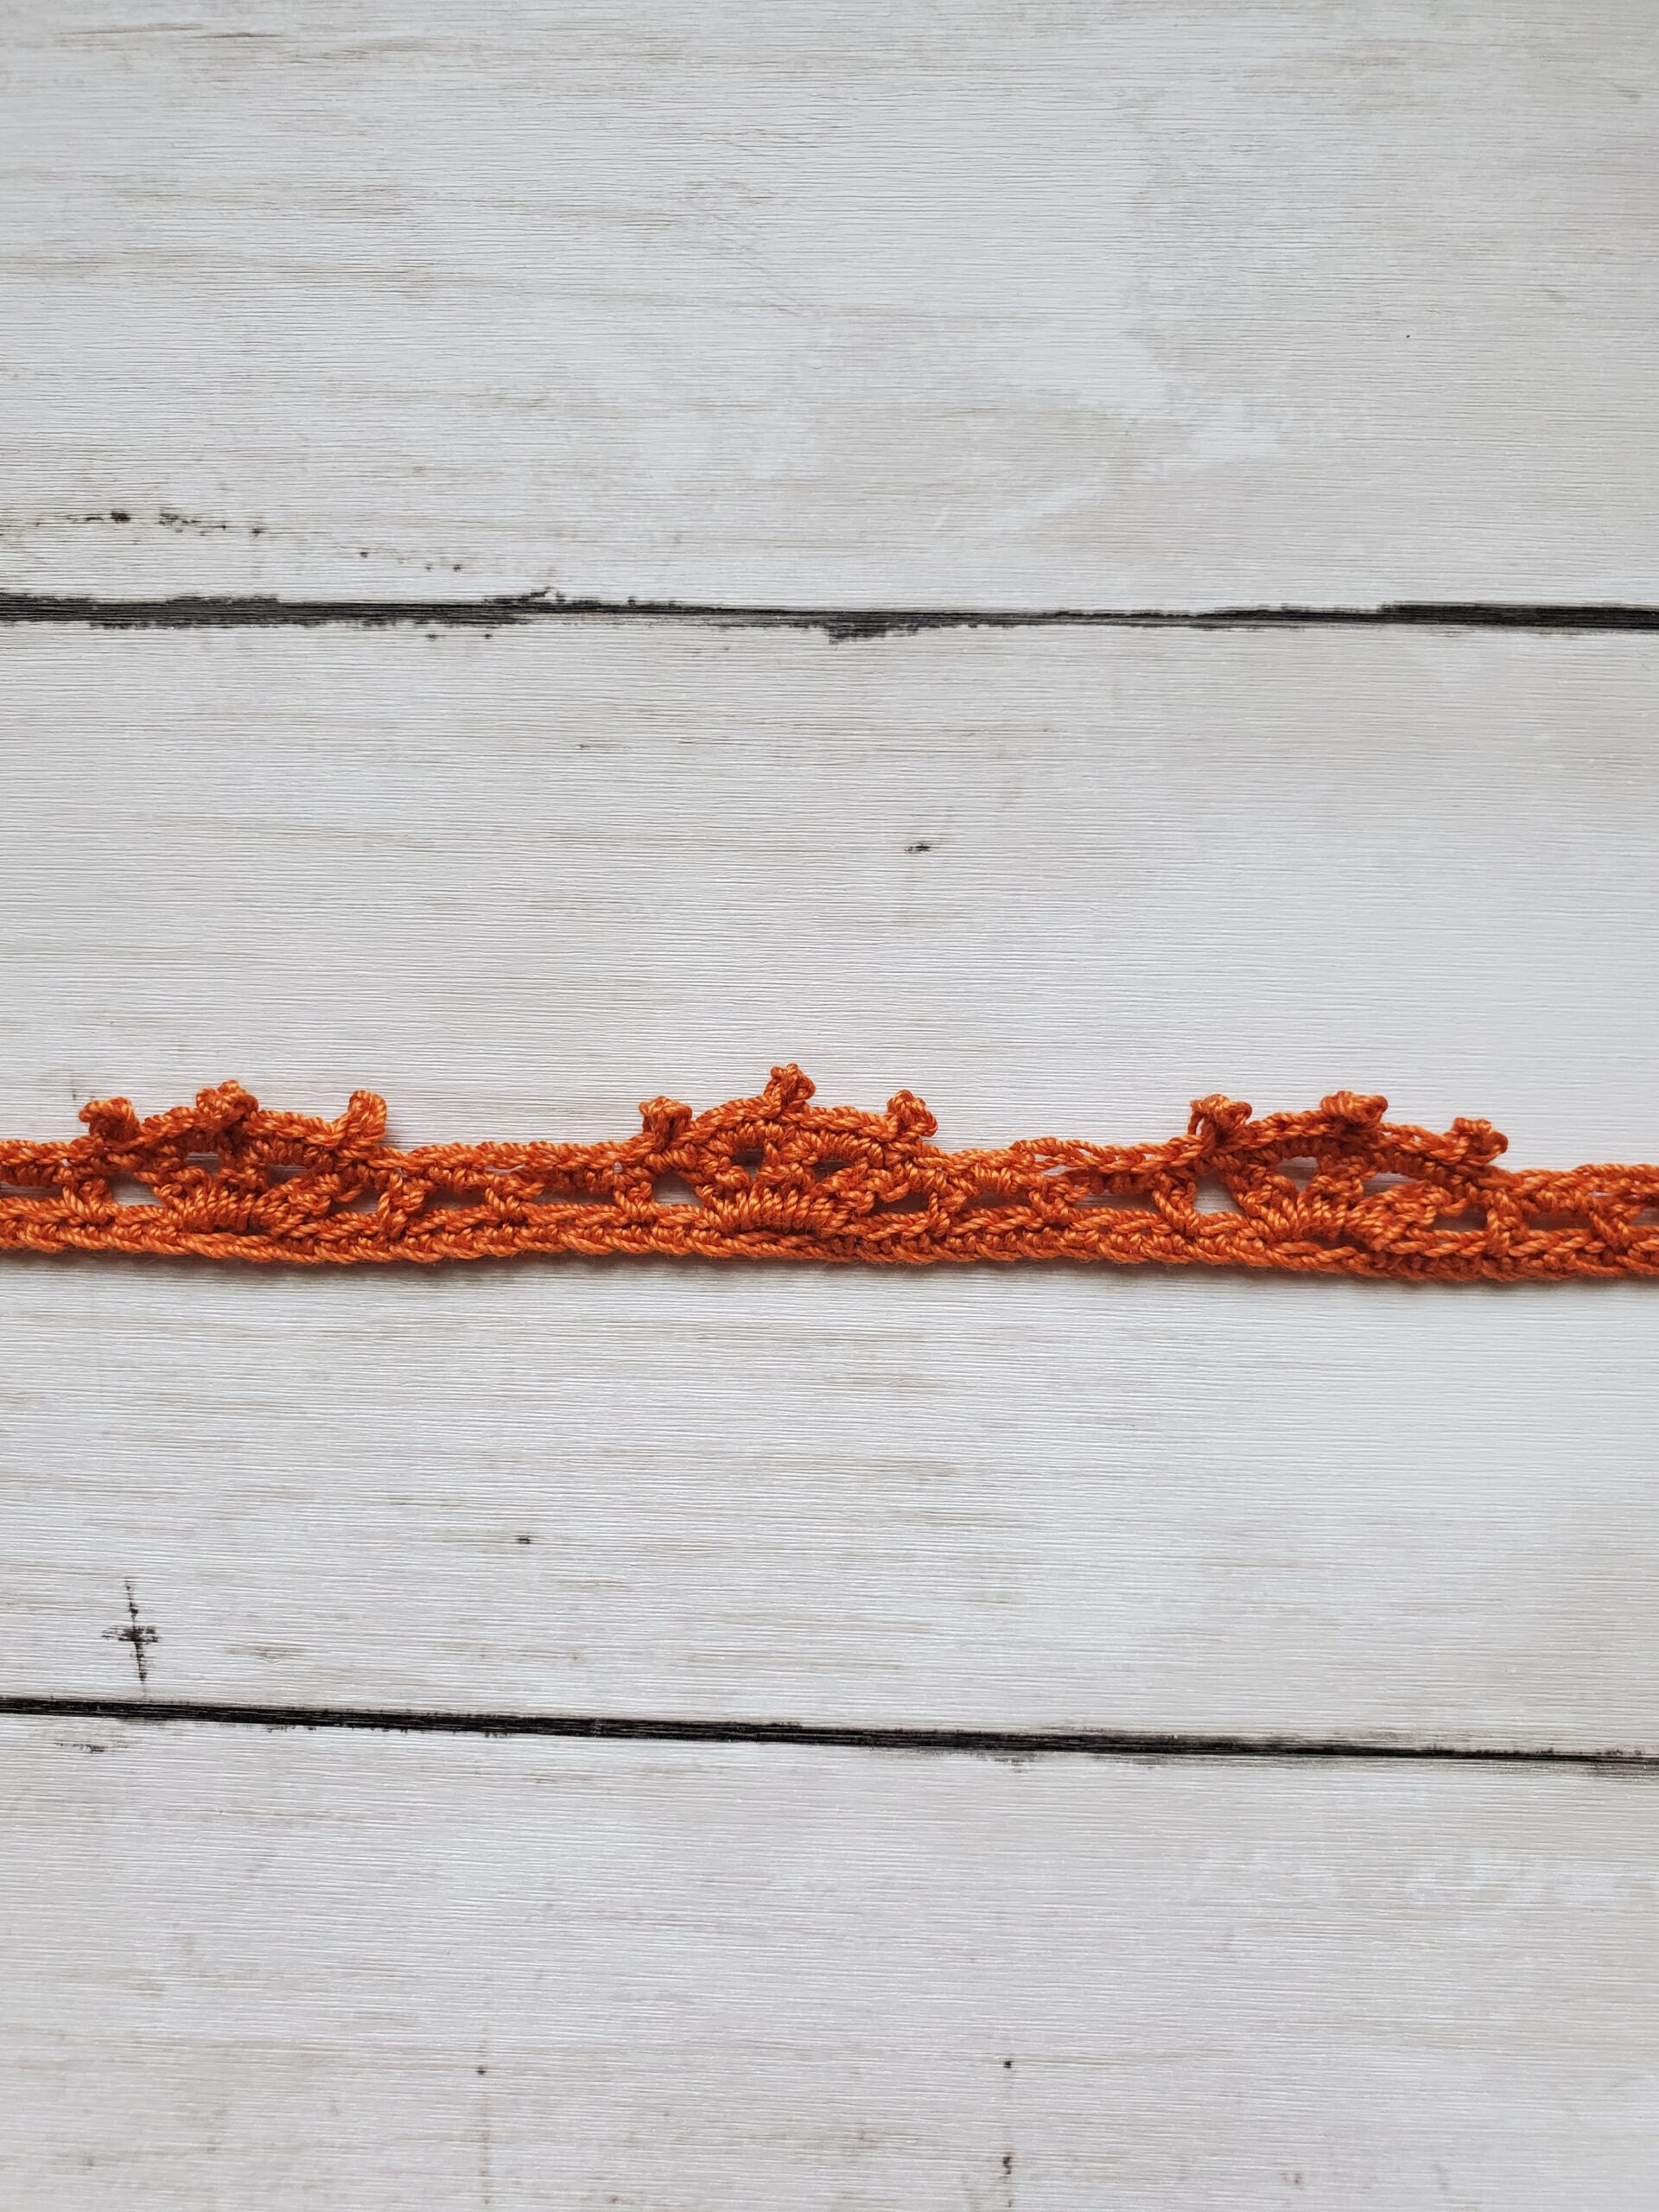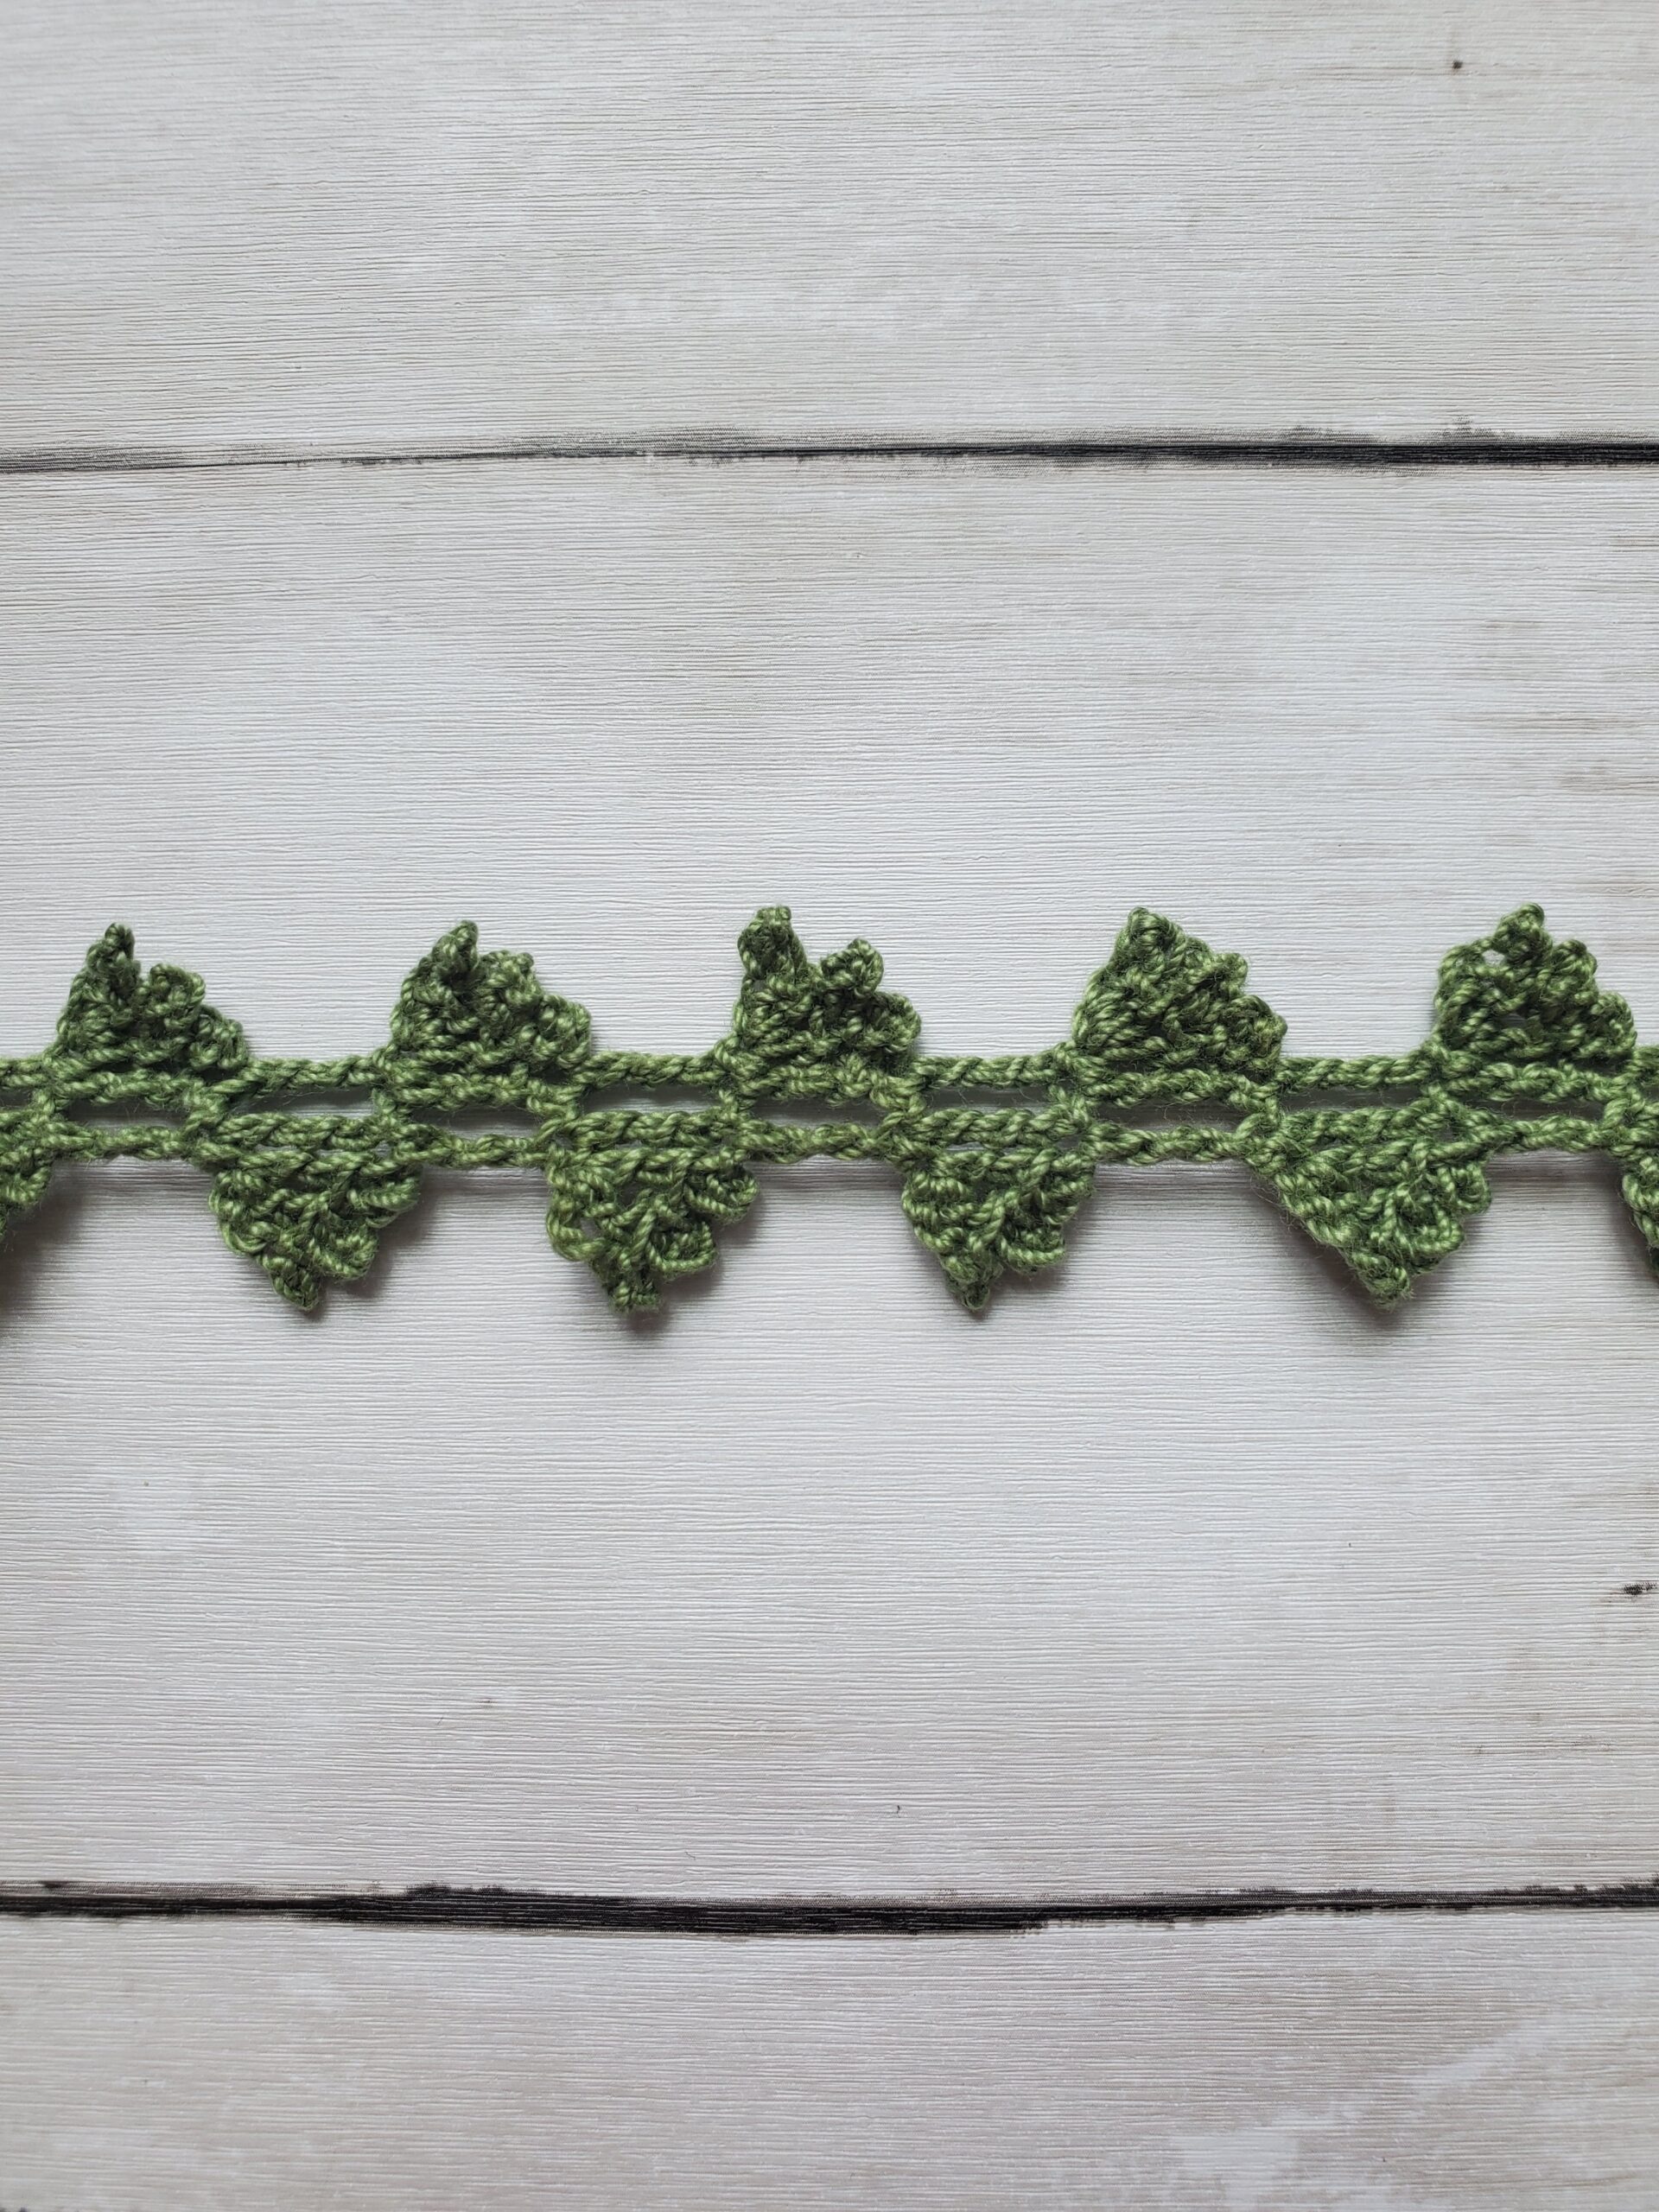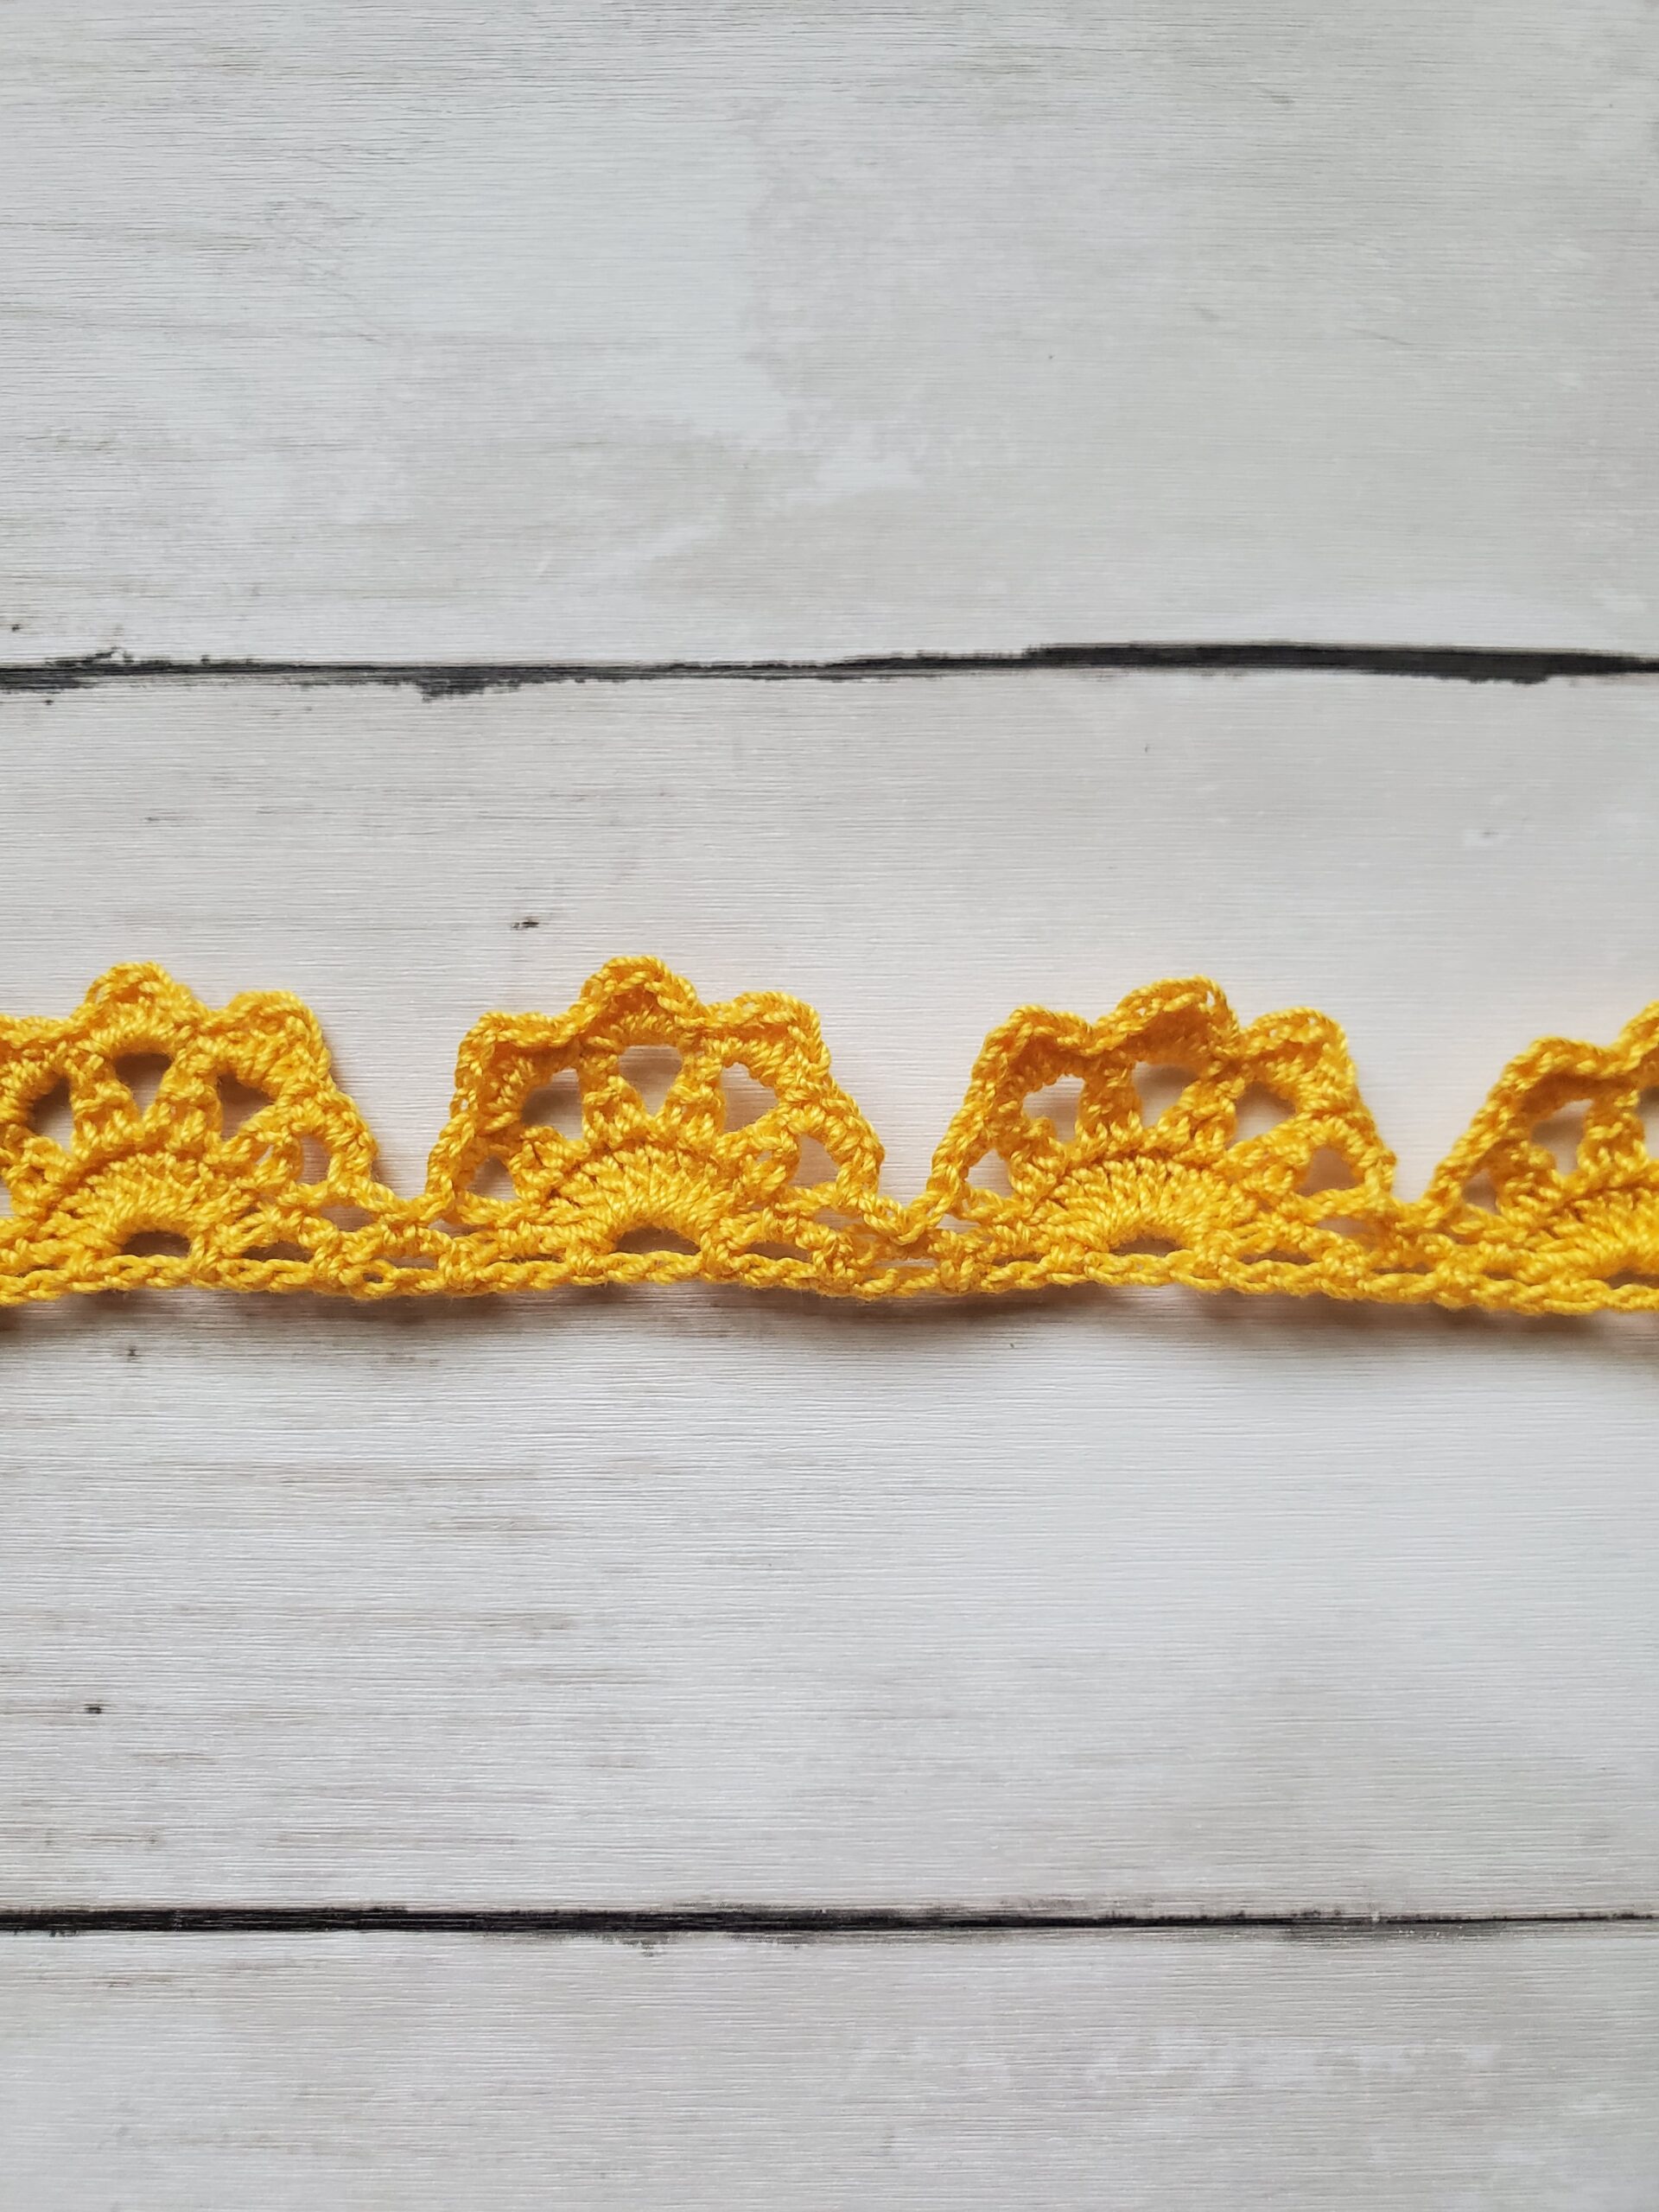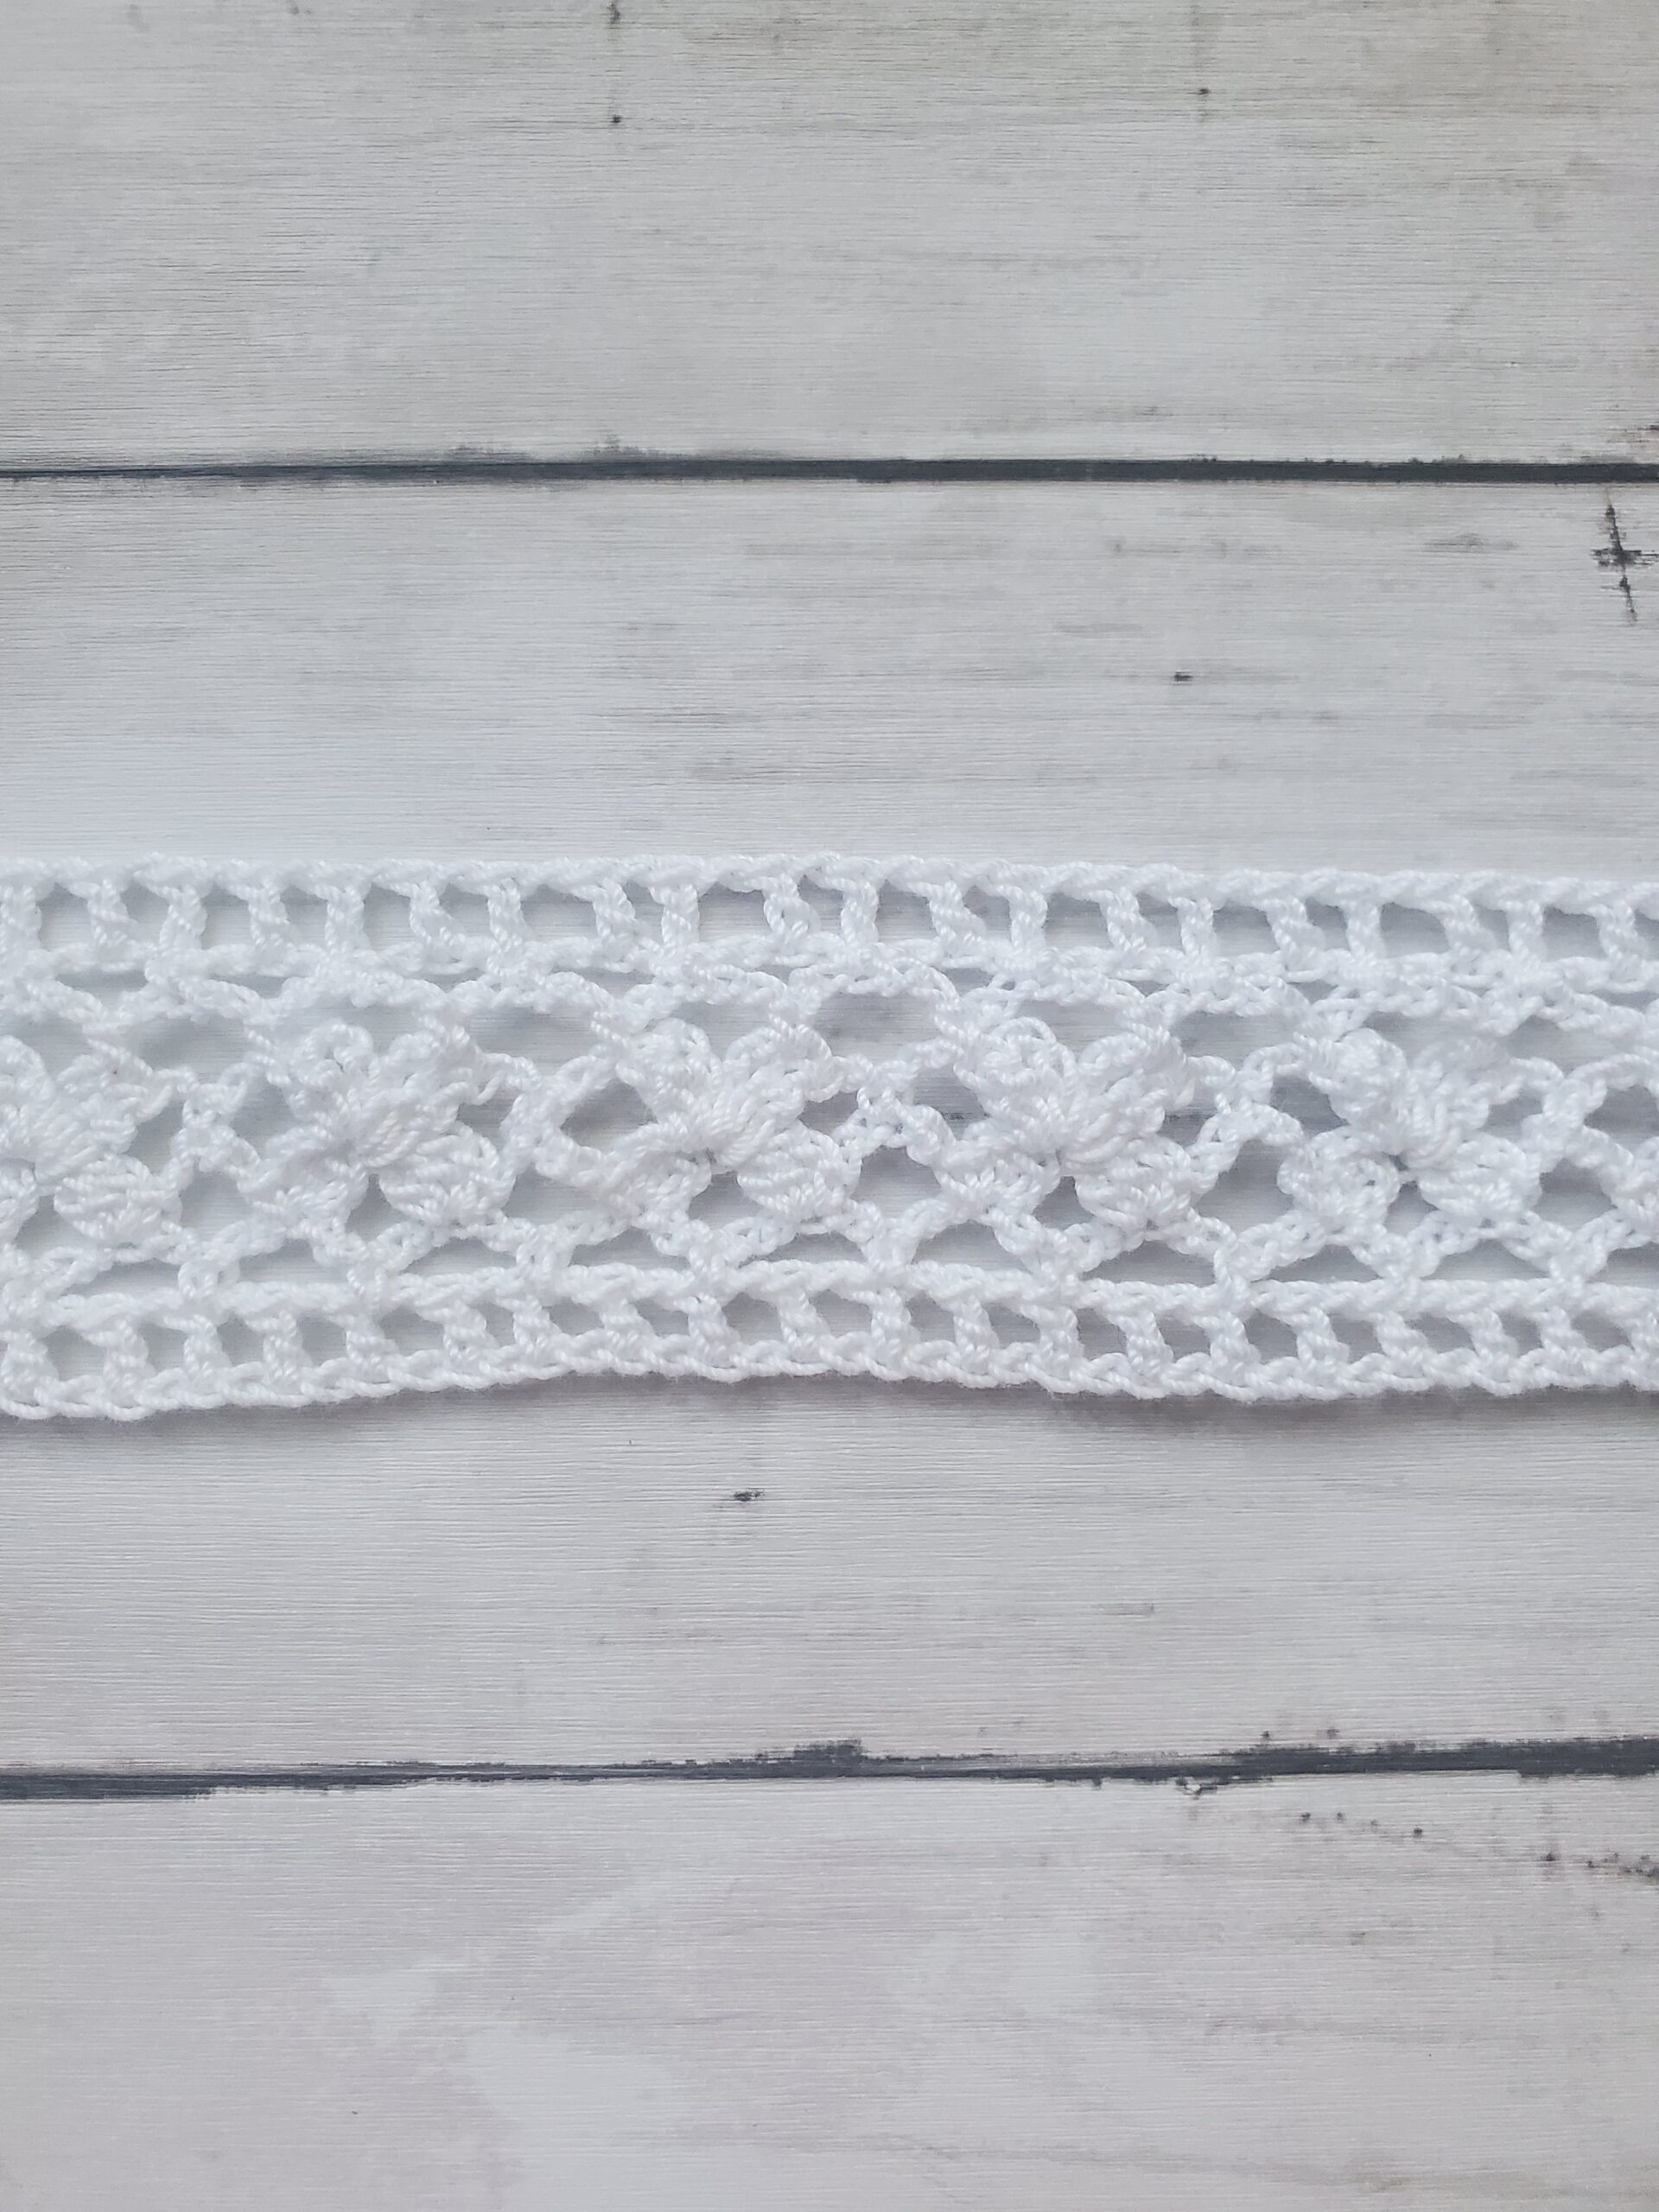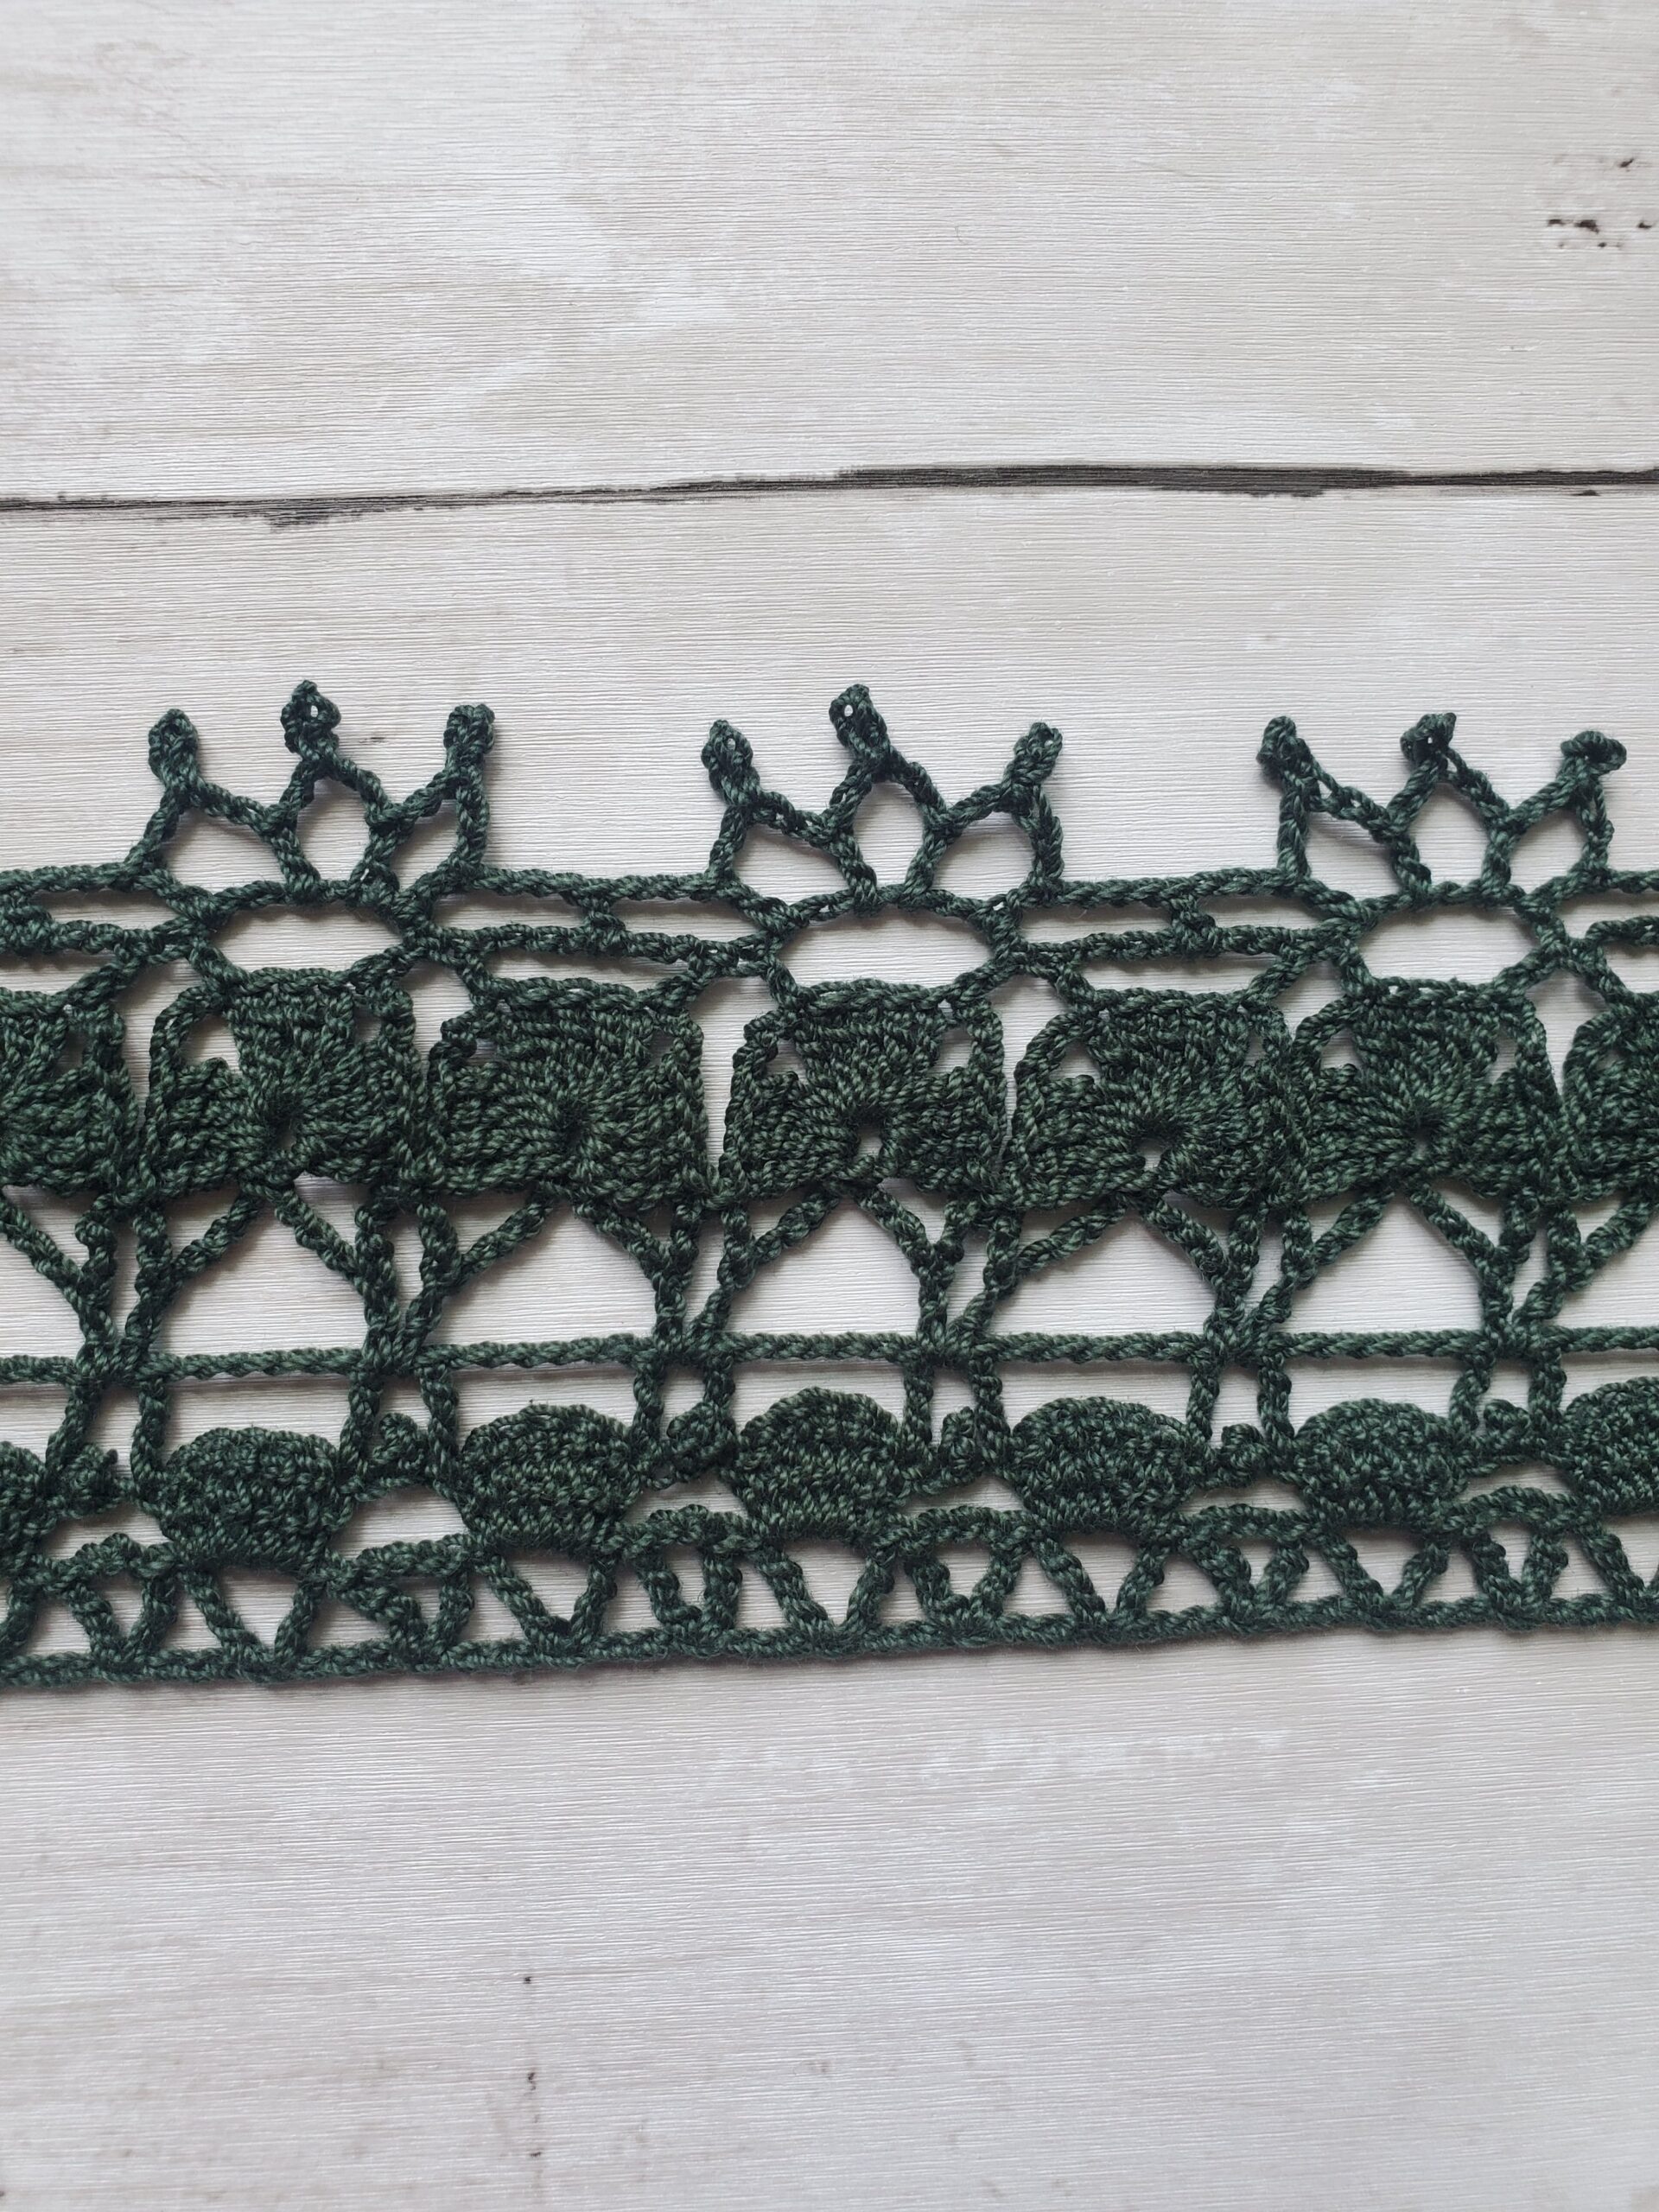
Pointed Crochet Lace Edging Pattern

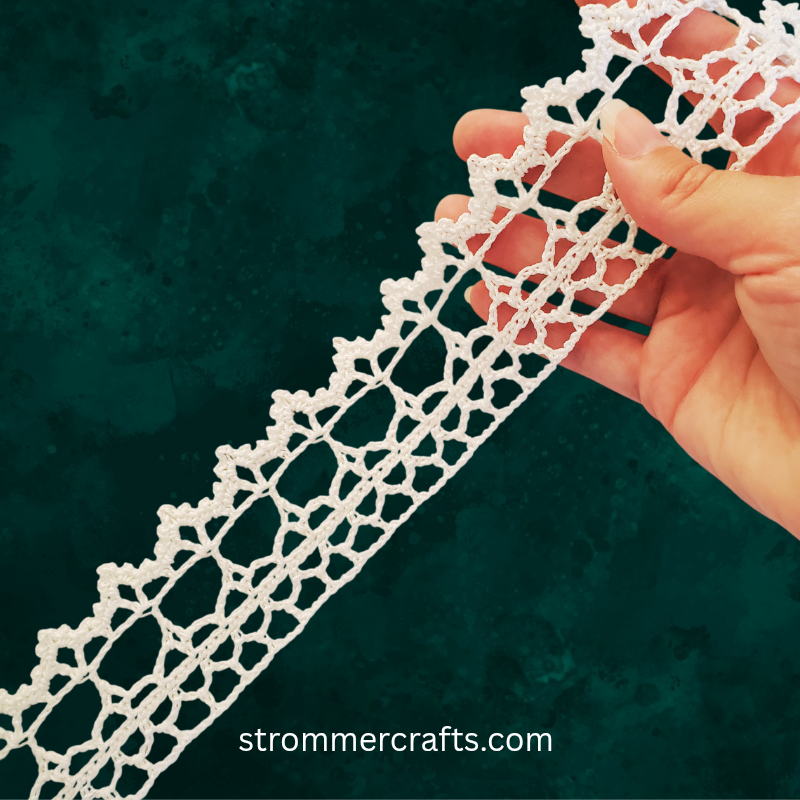
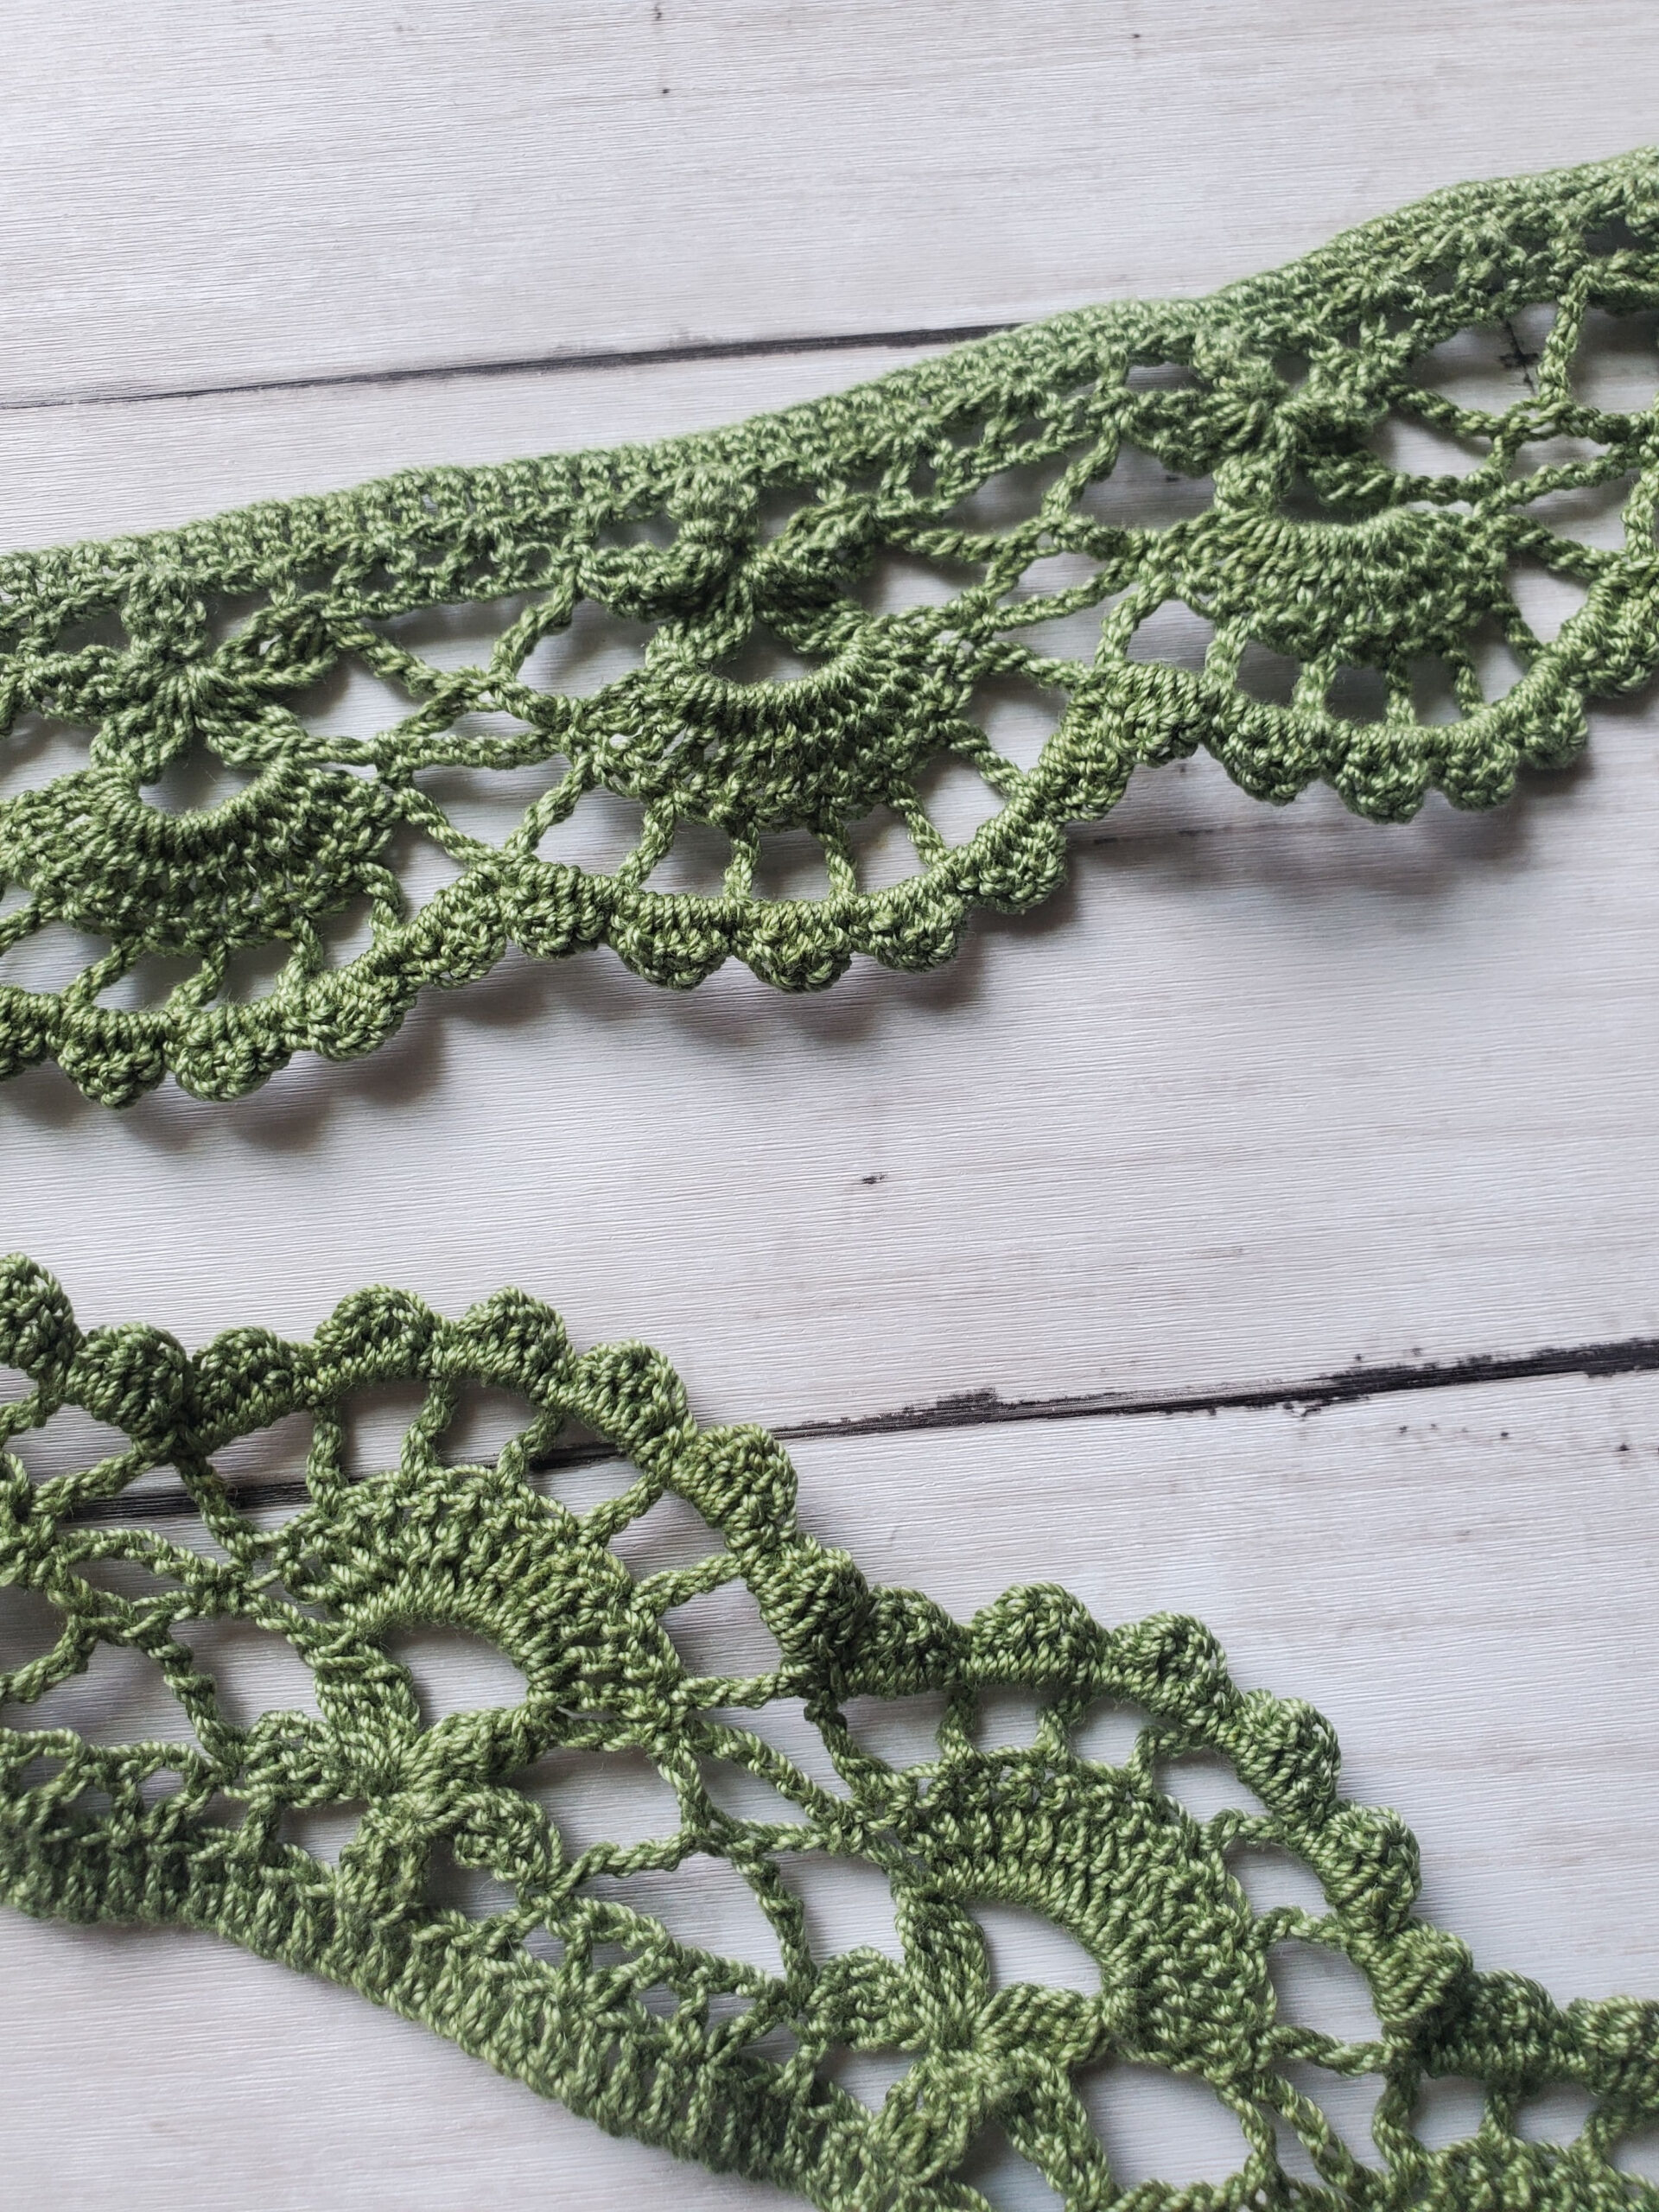
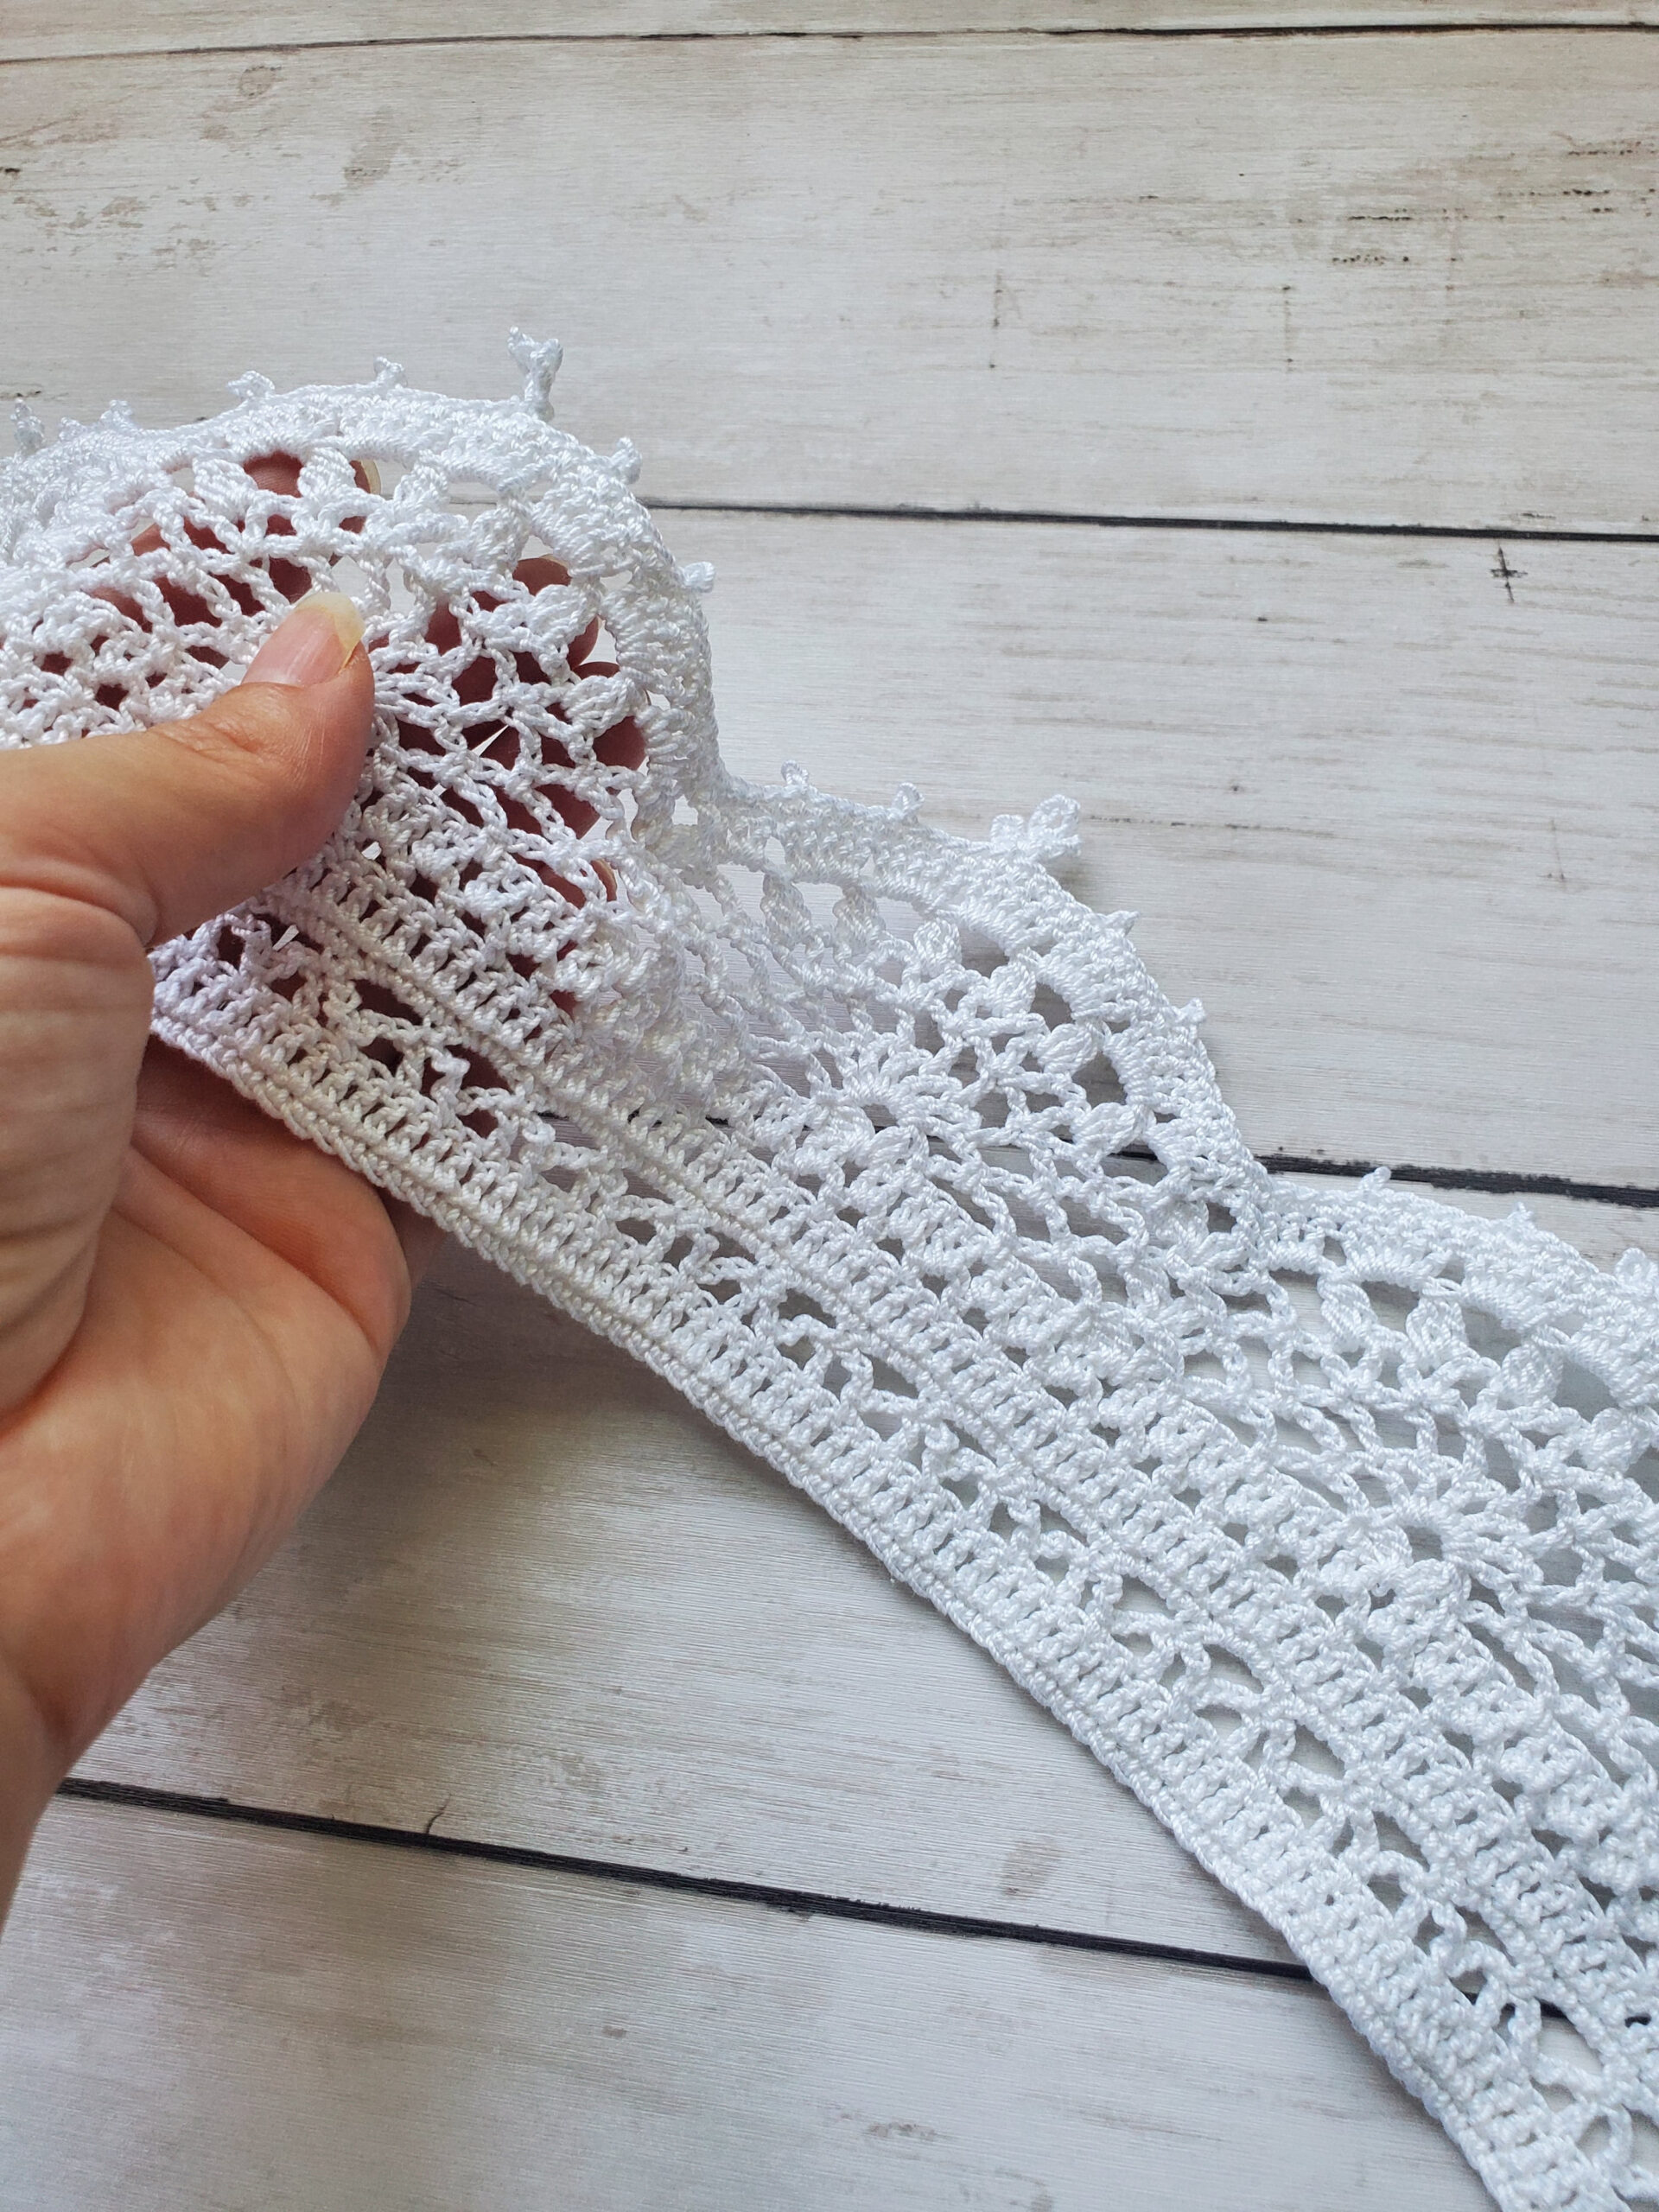
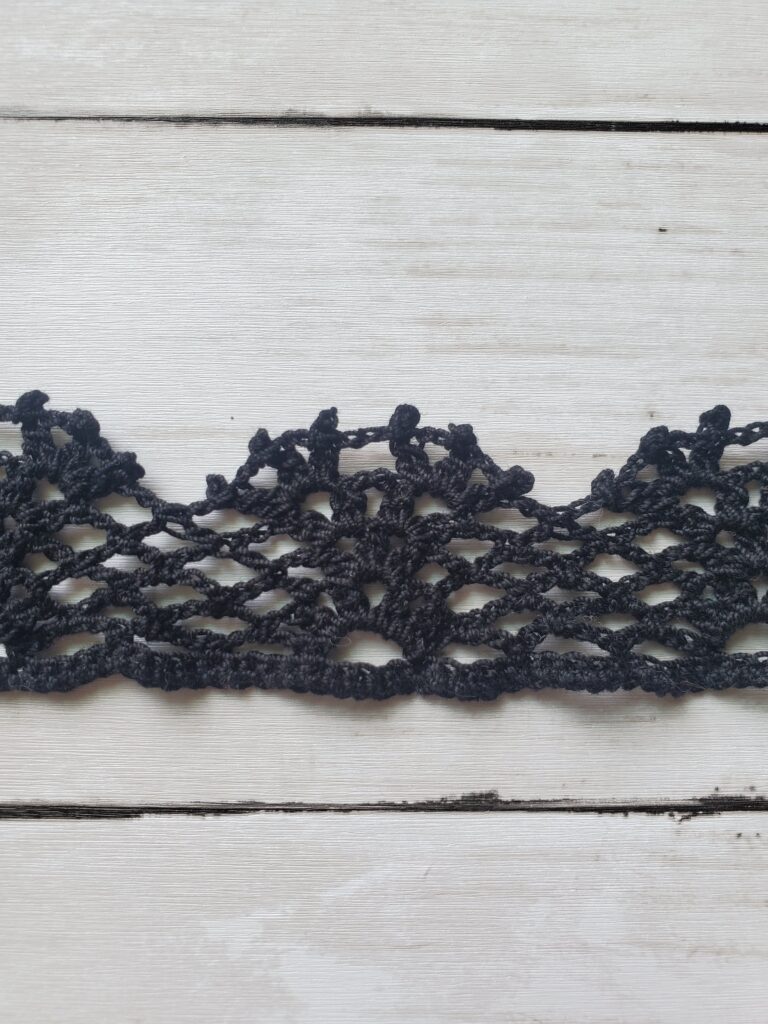
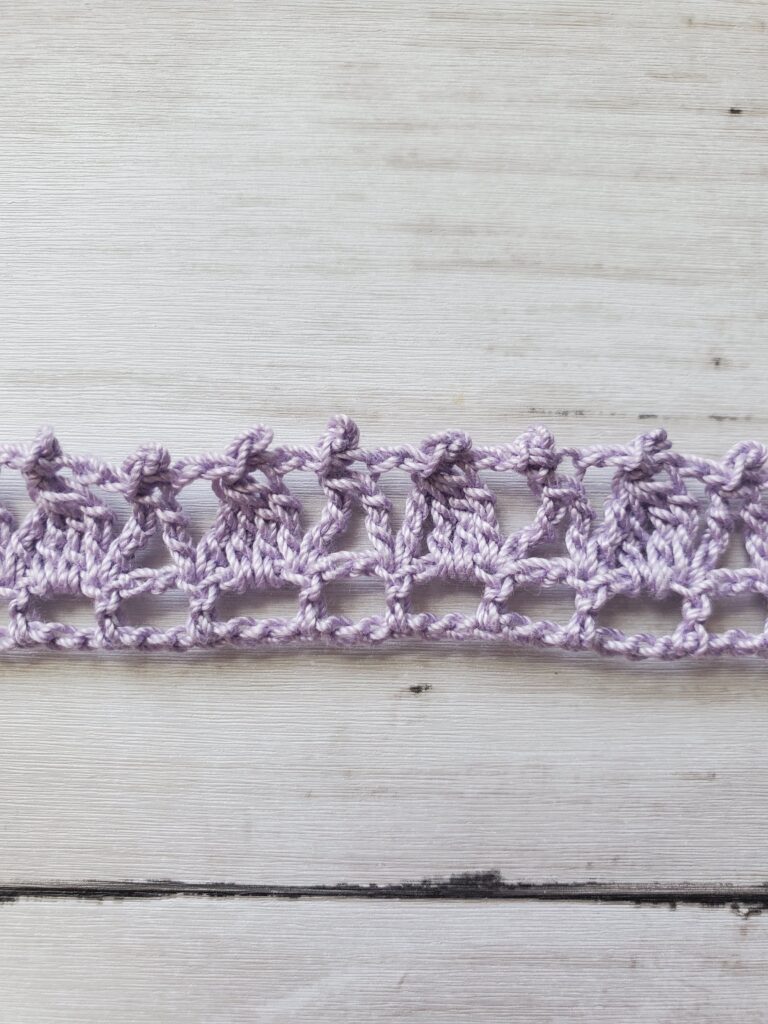
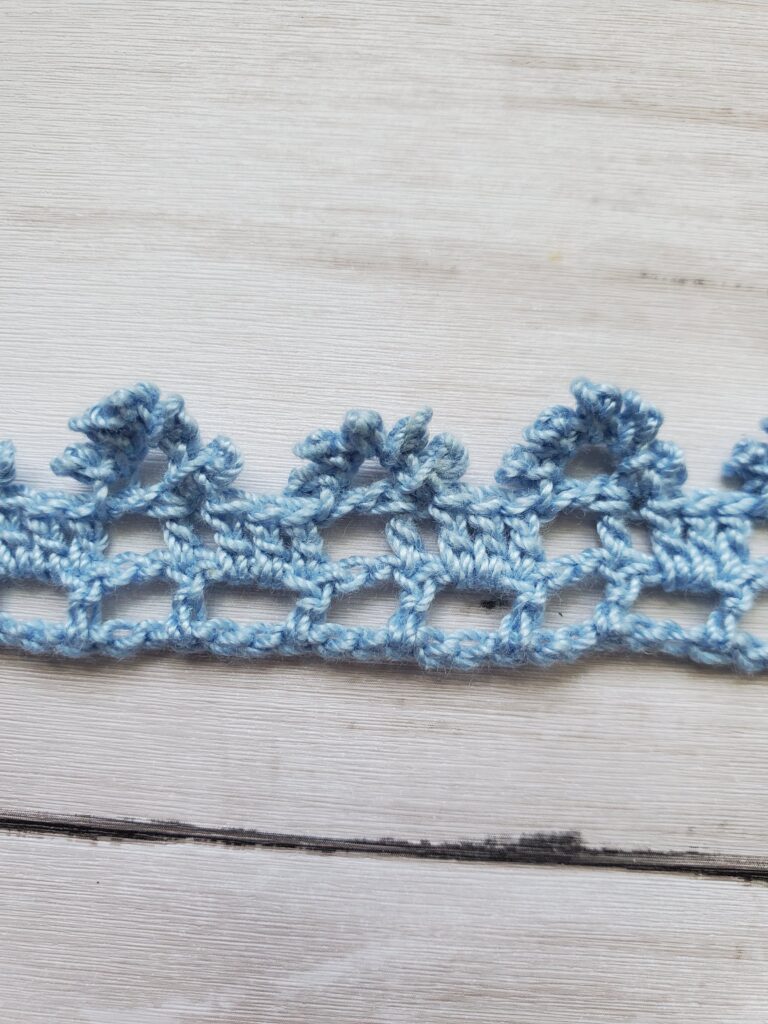
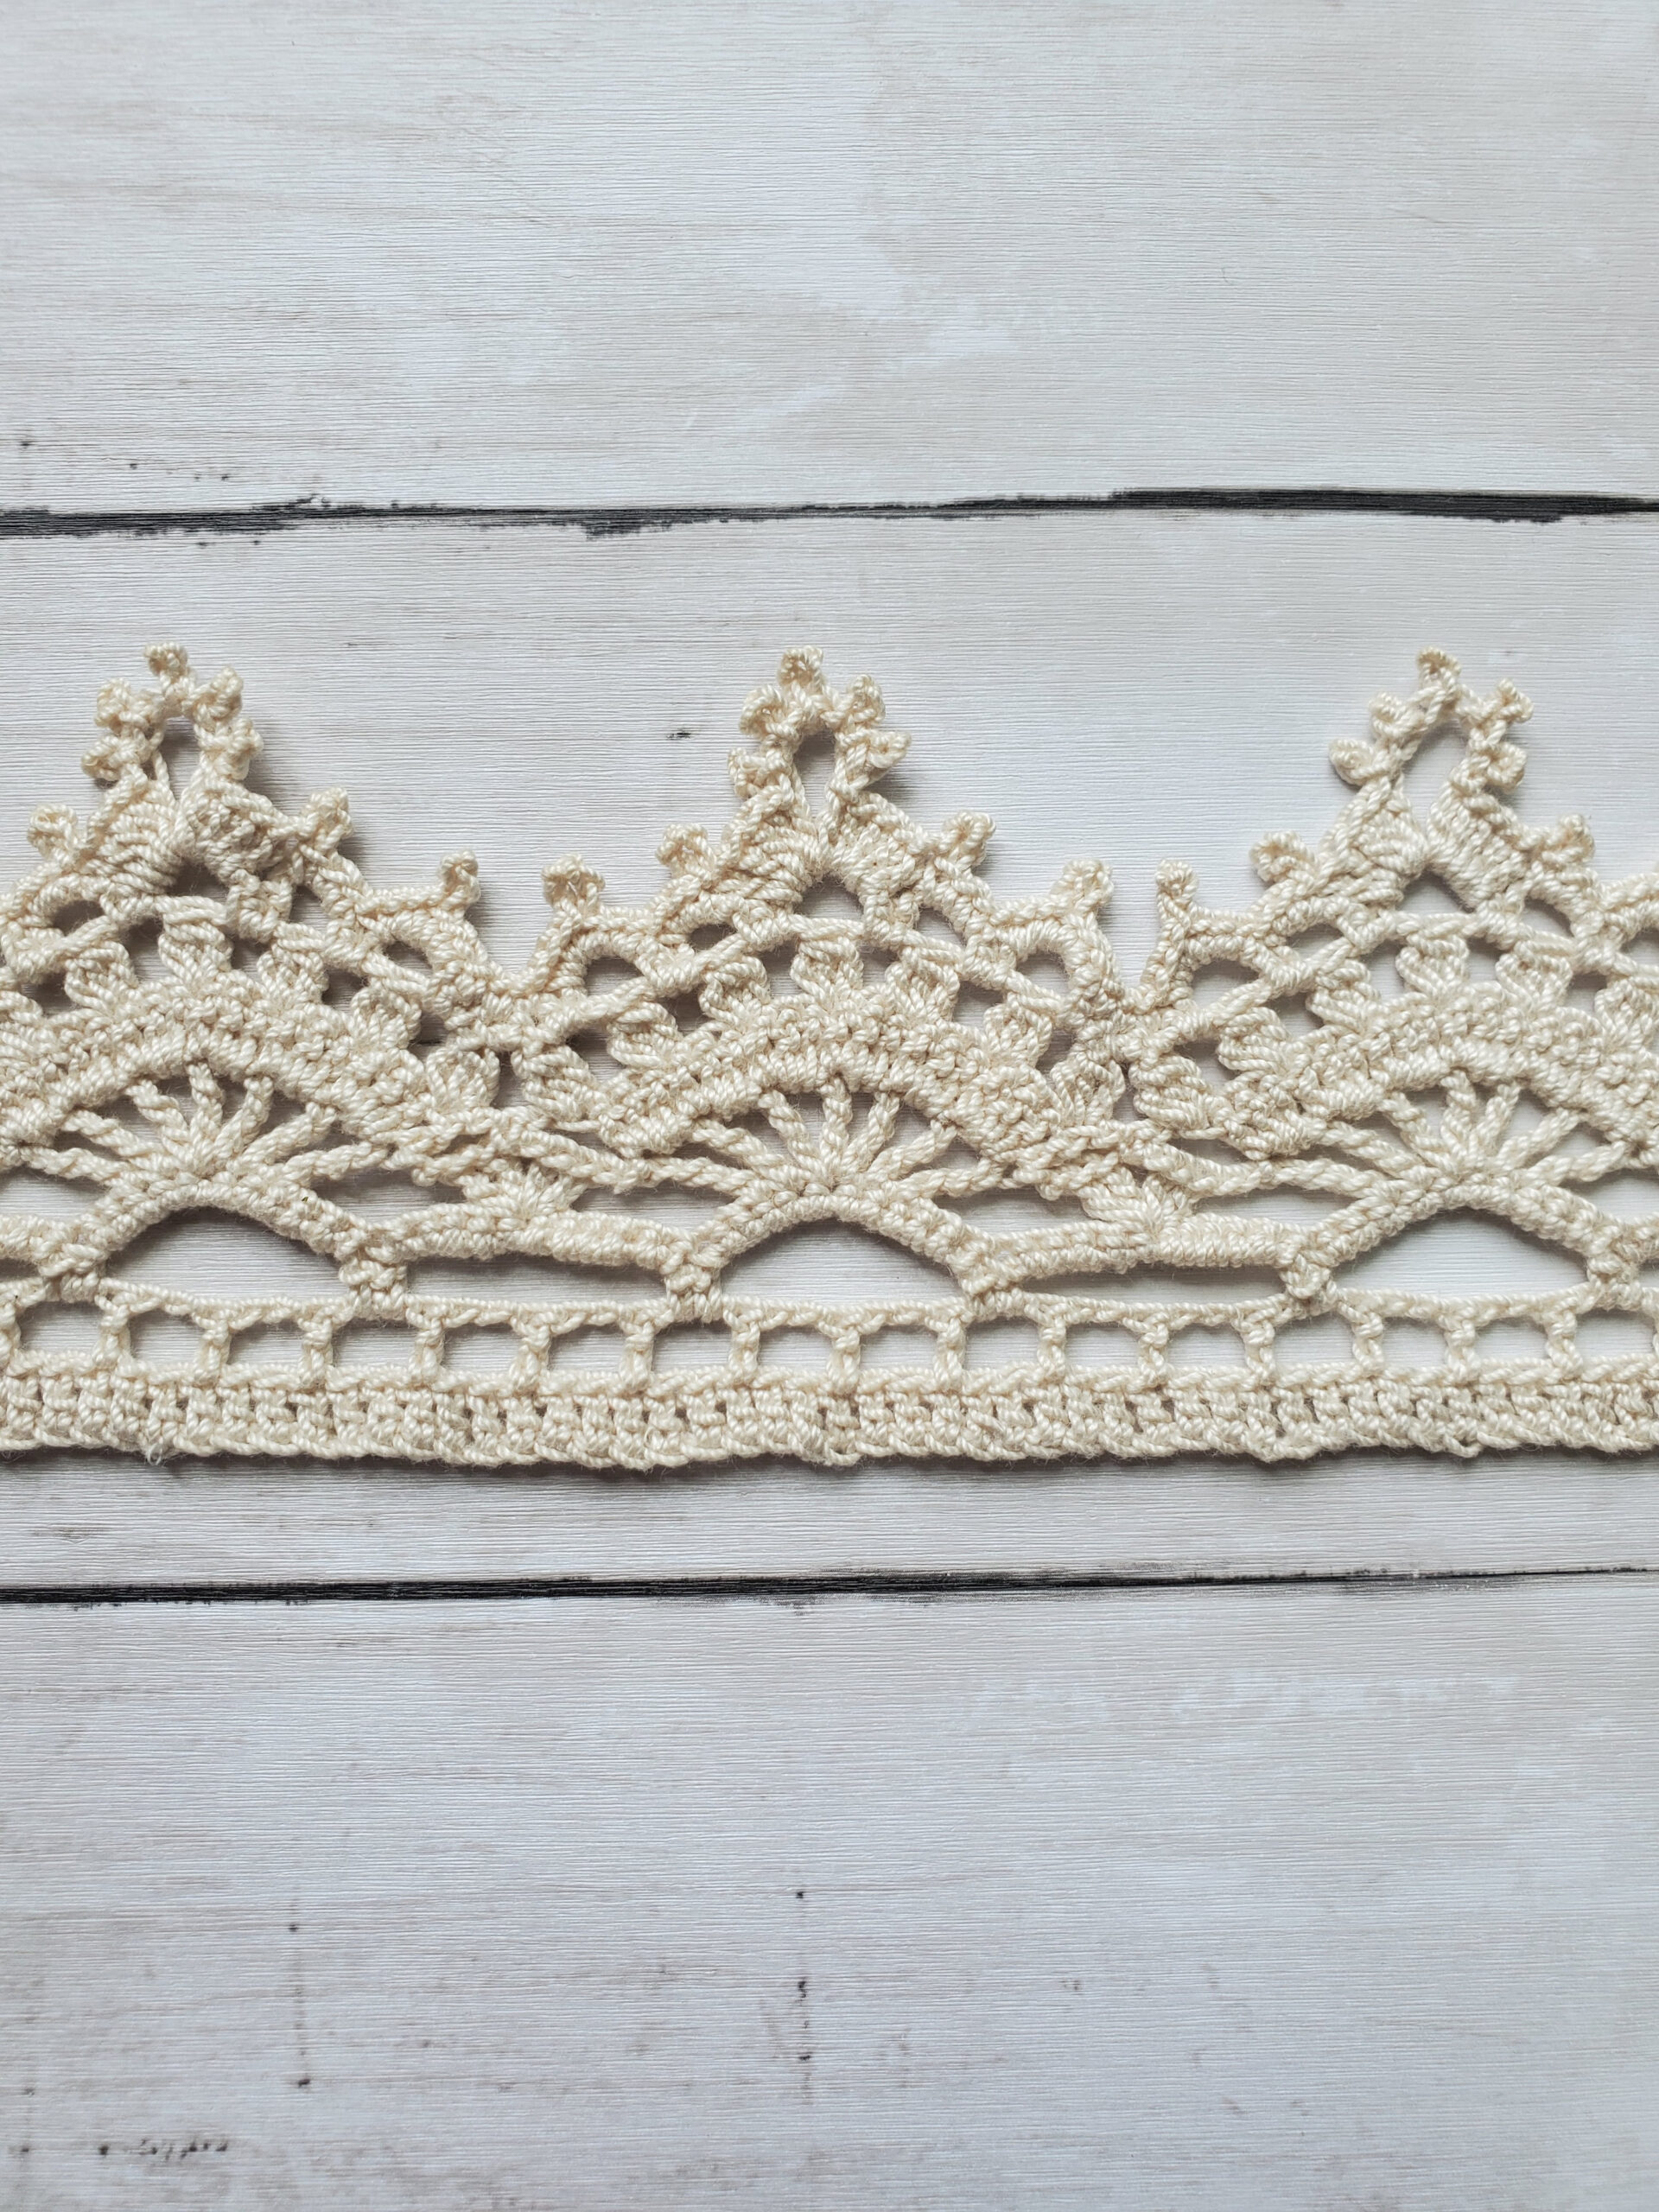
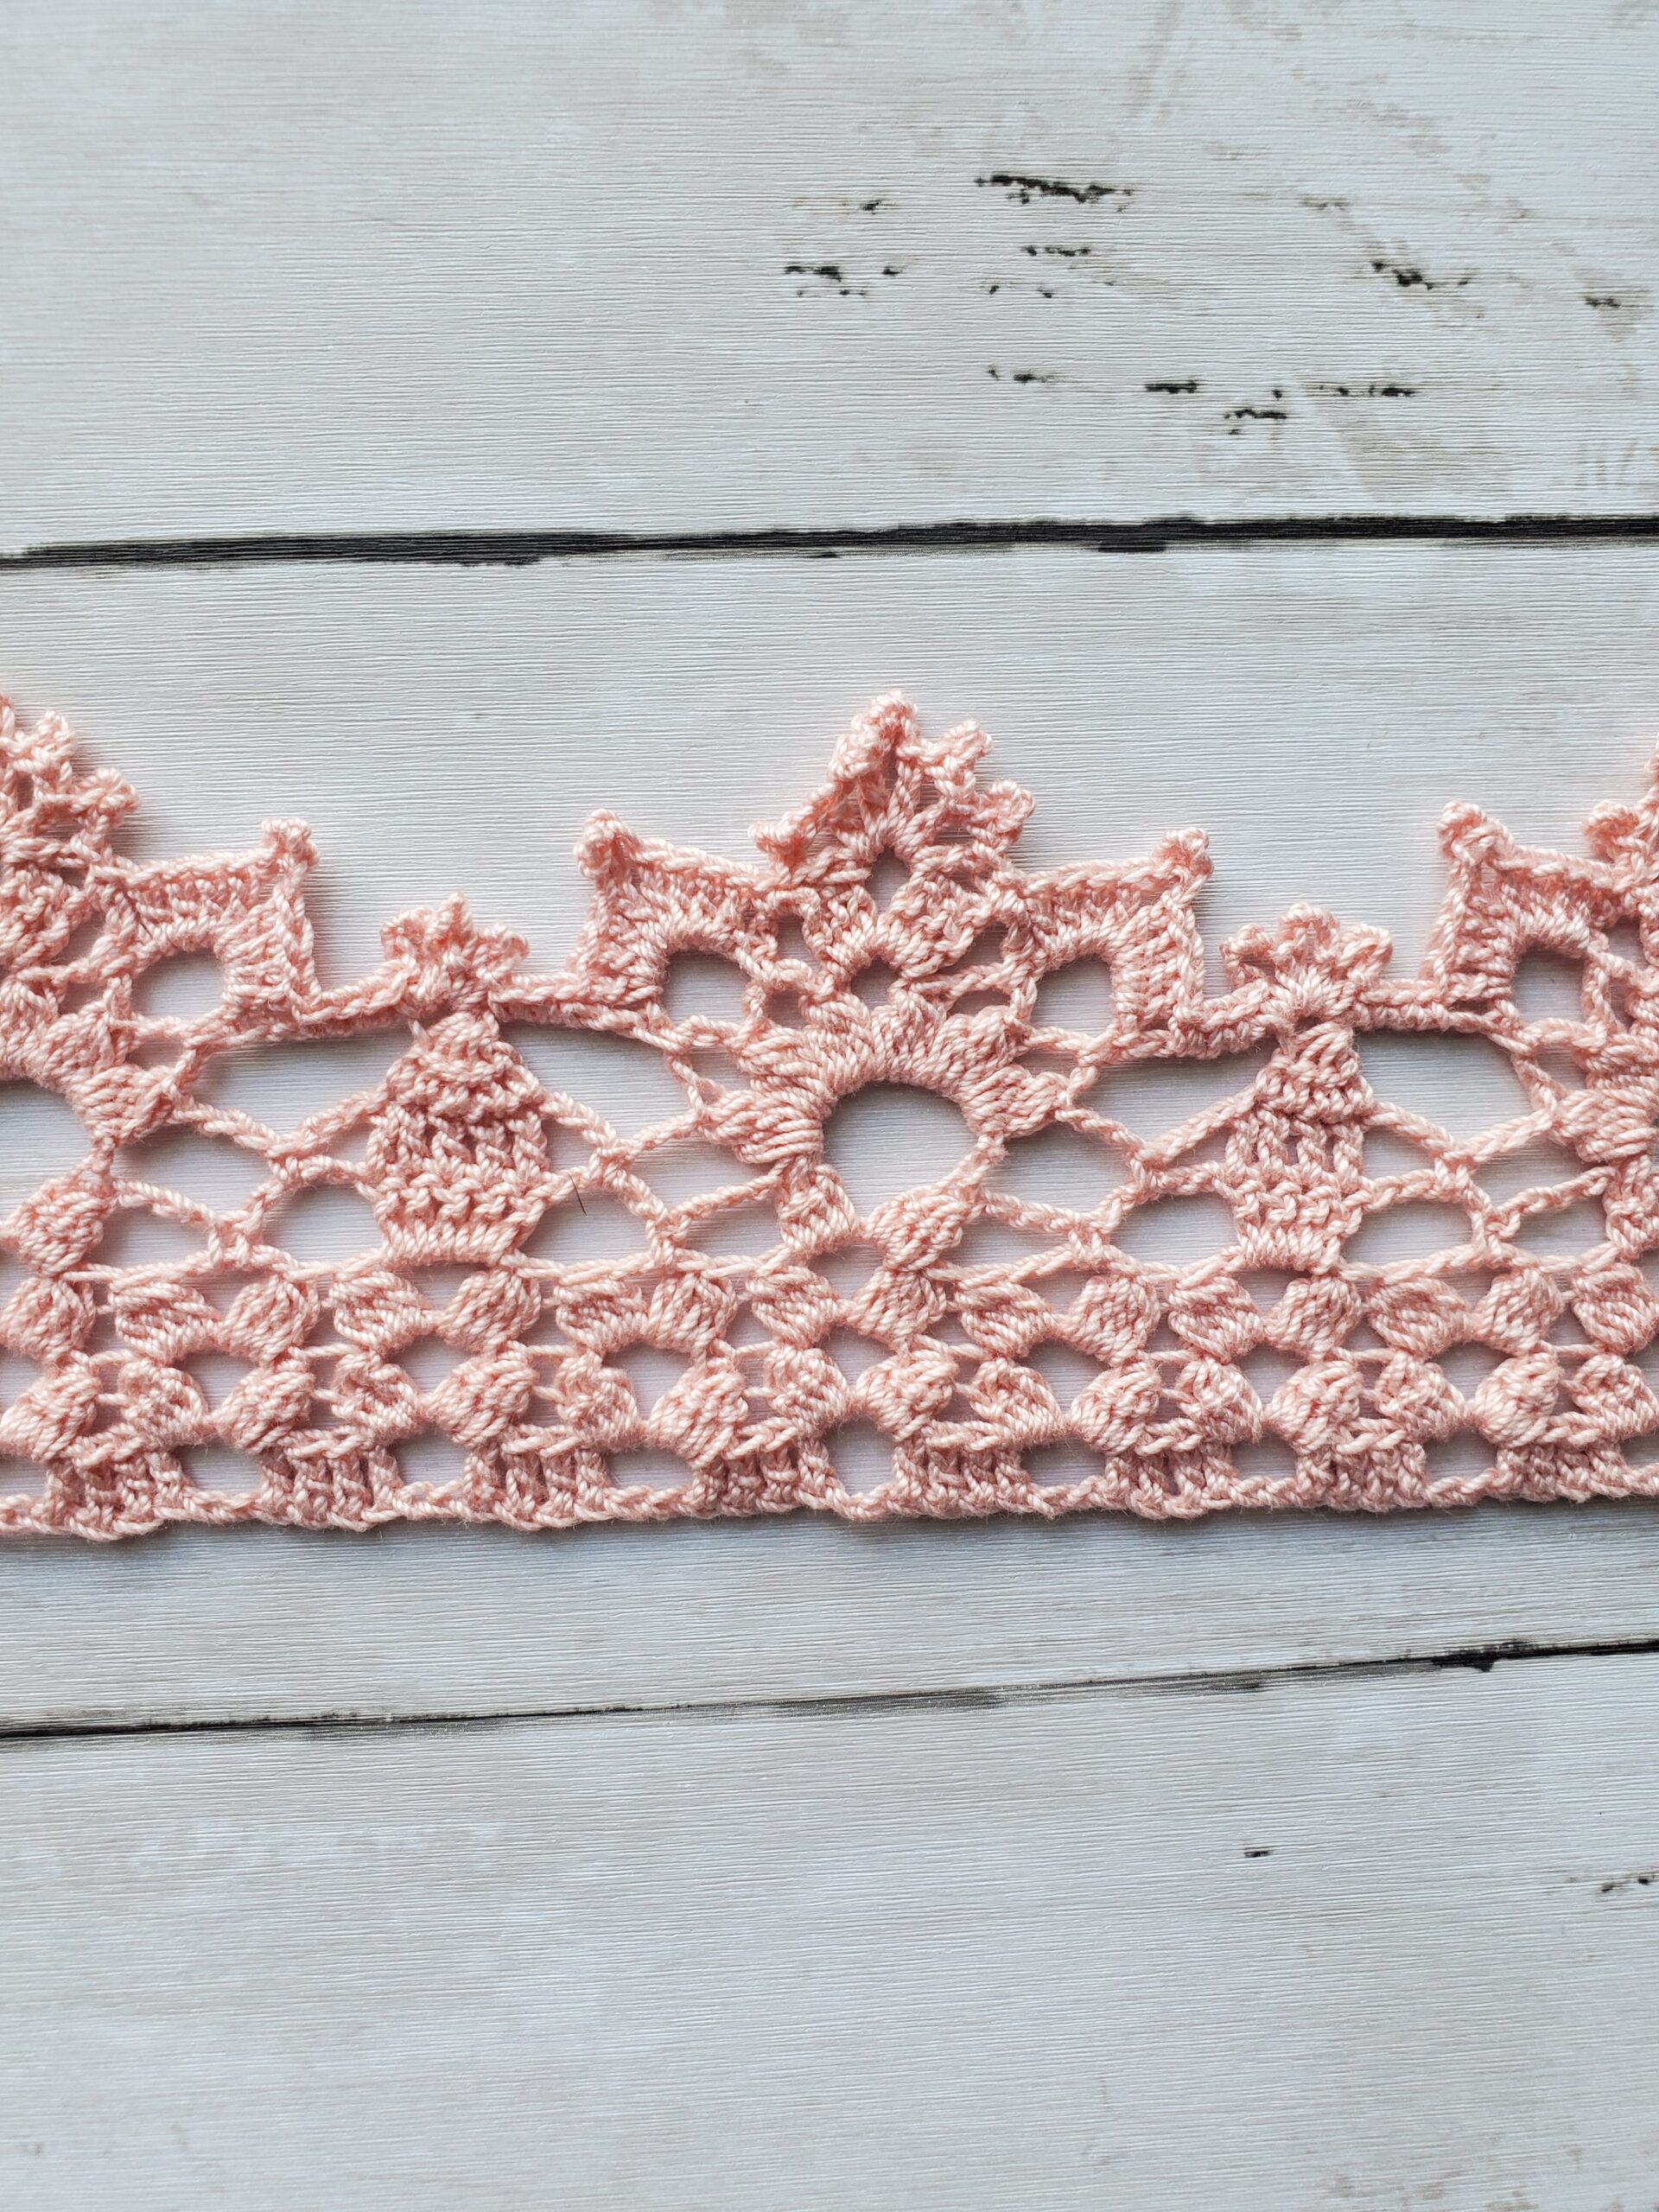
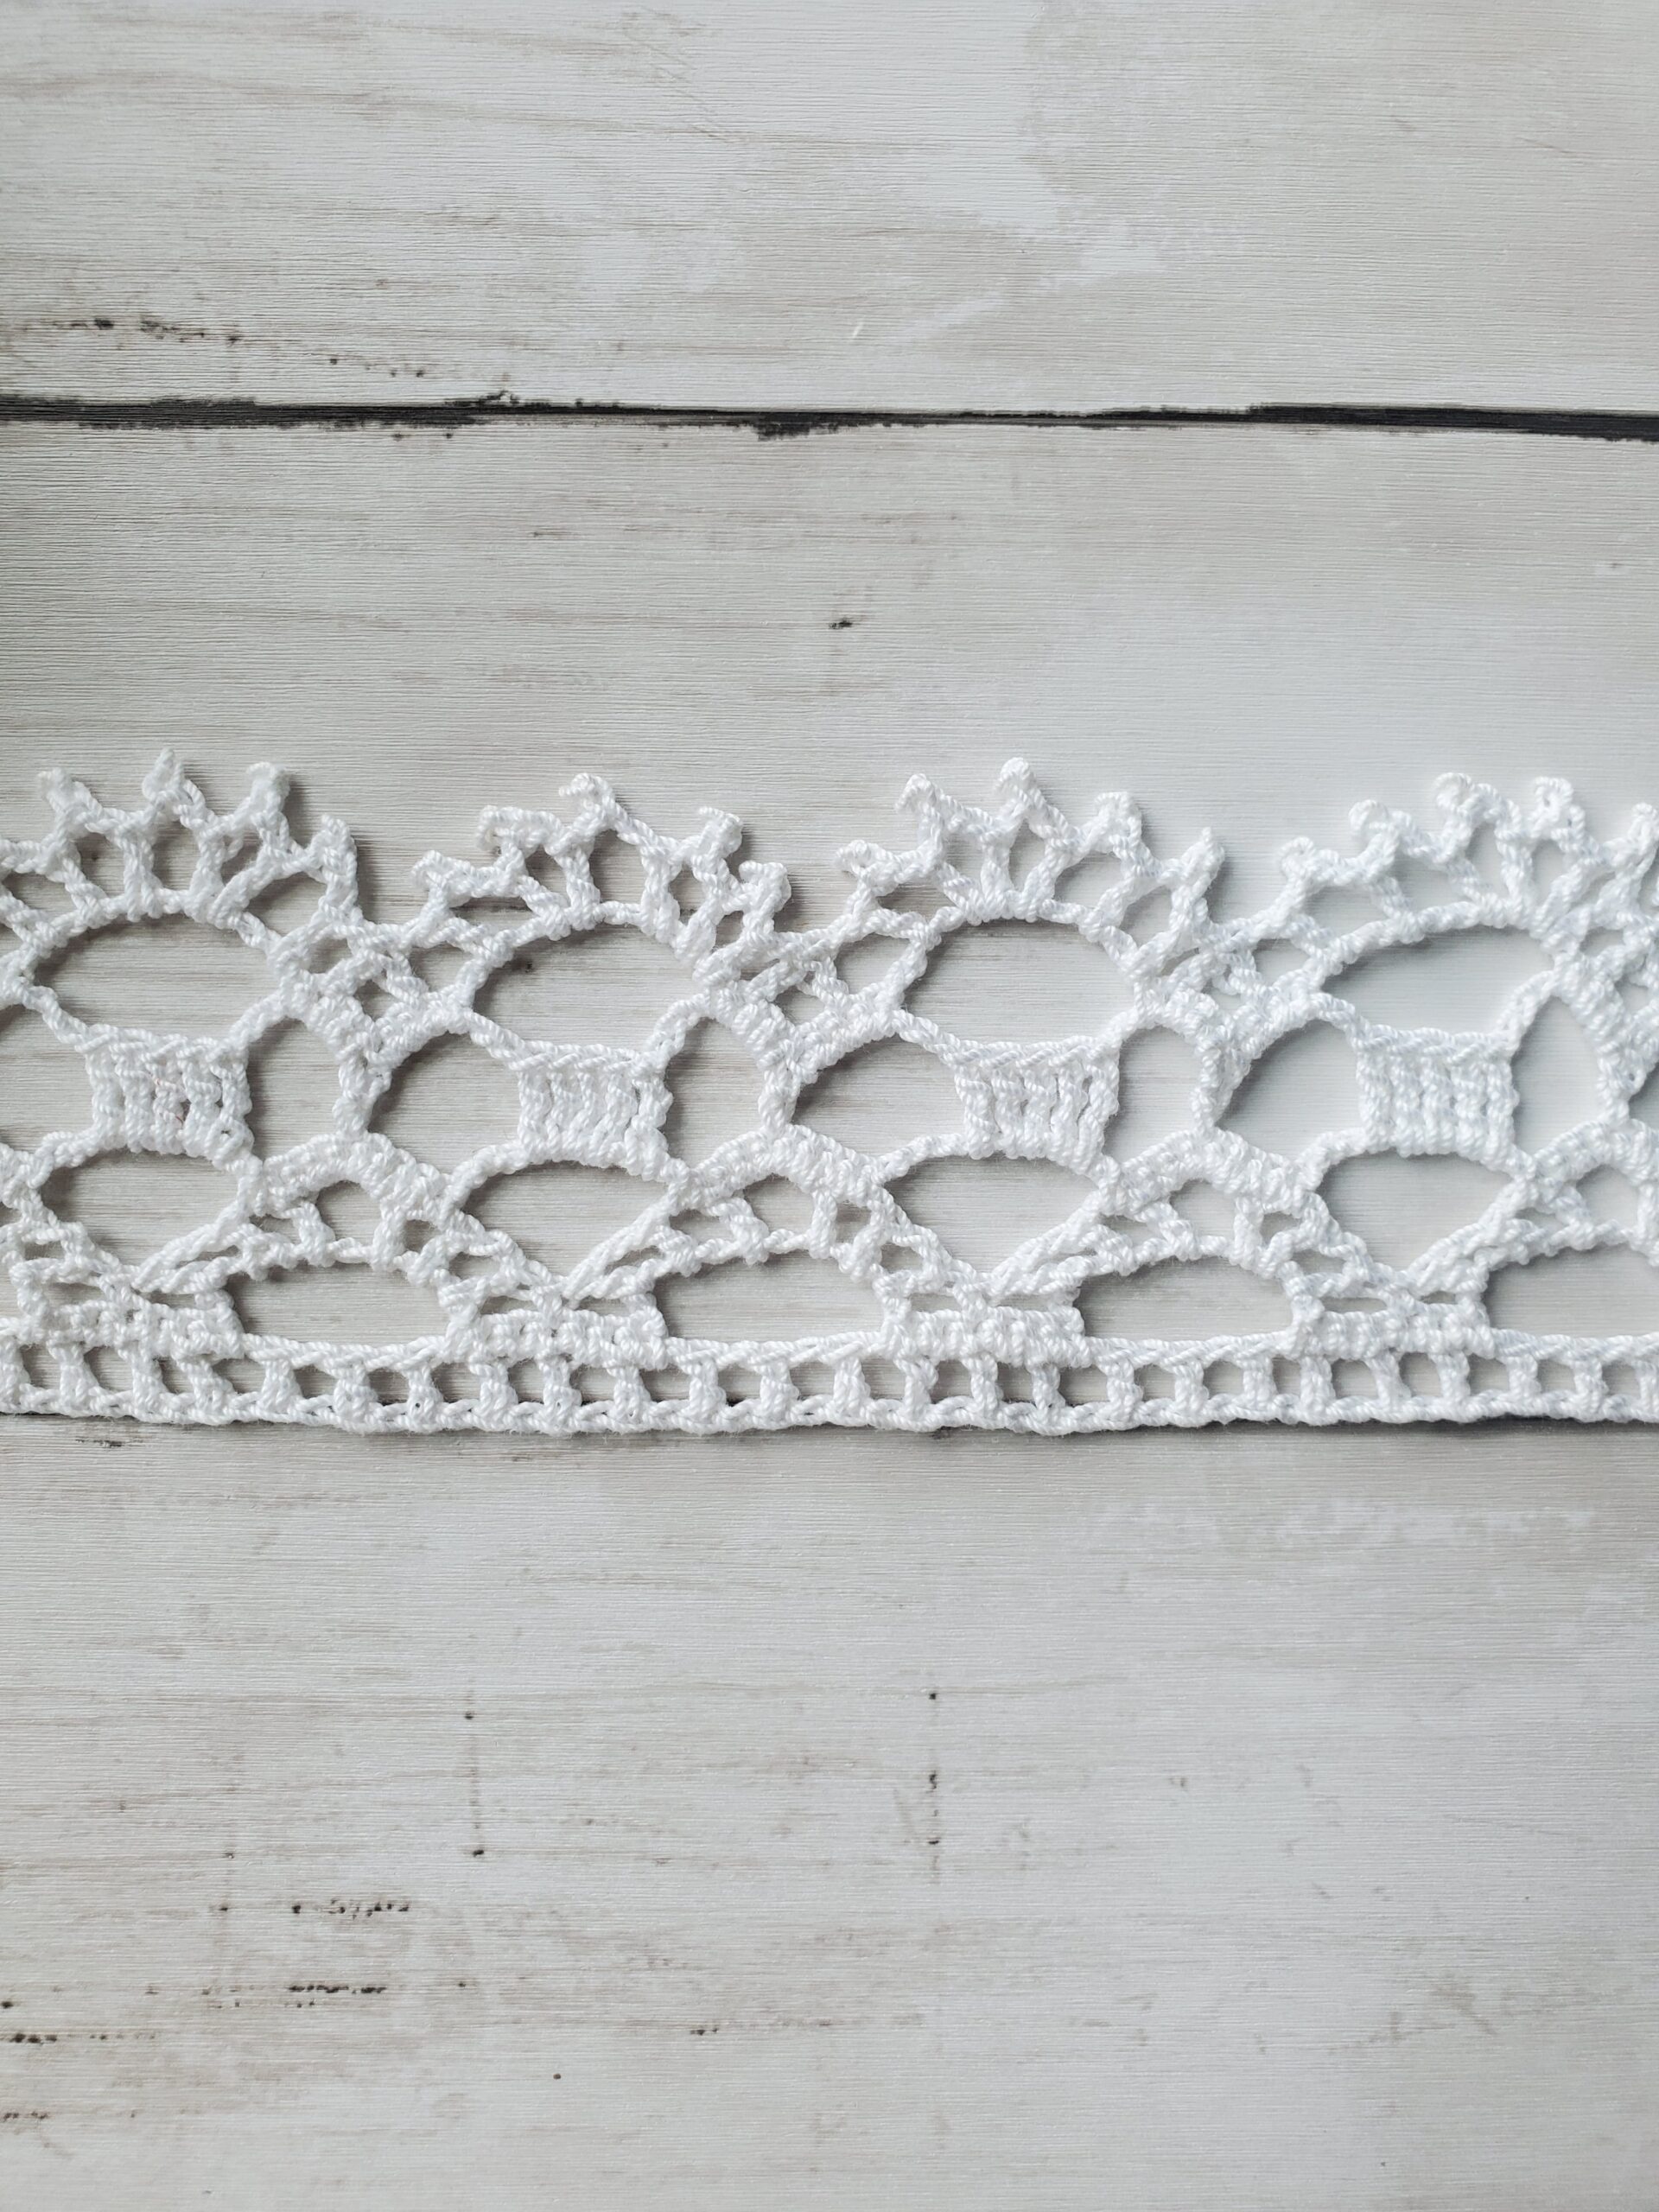
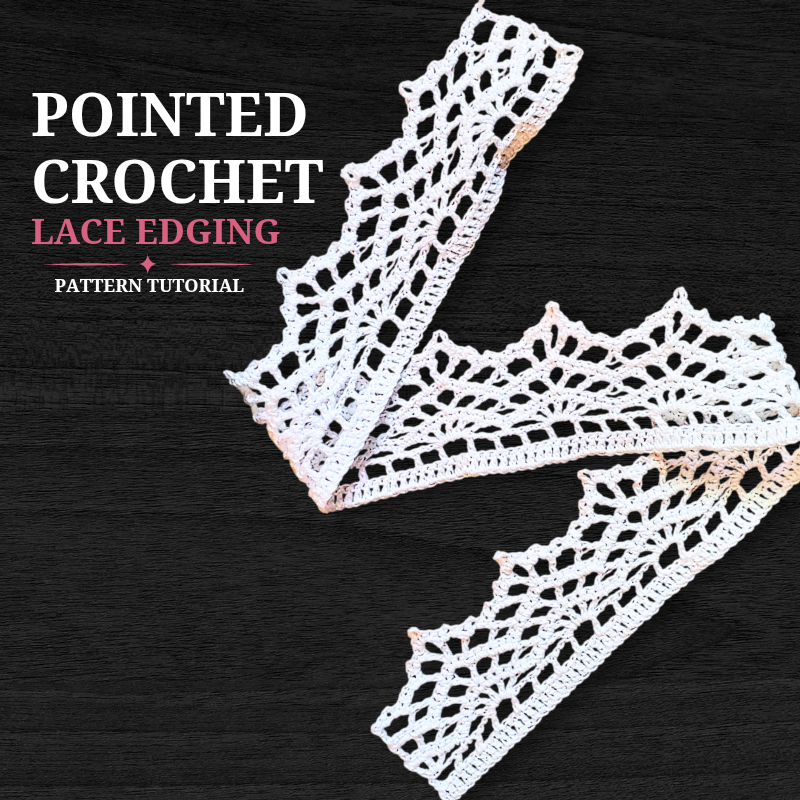
Hey everyone! Today I’m sharing with you another crochet lace edging pattern; the Pointed Crochet Lace Edging!
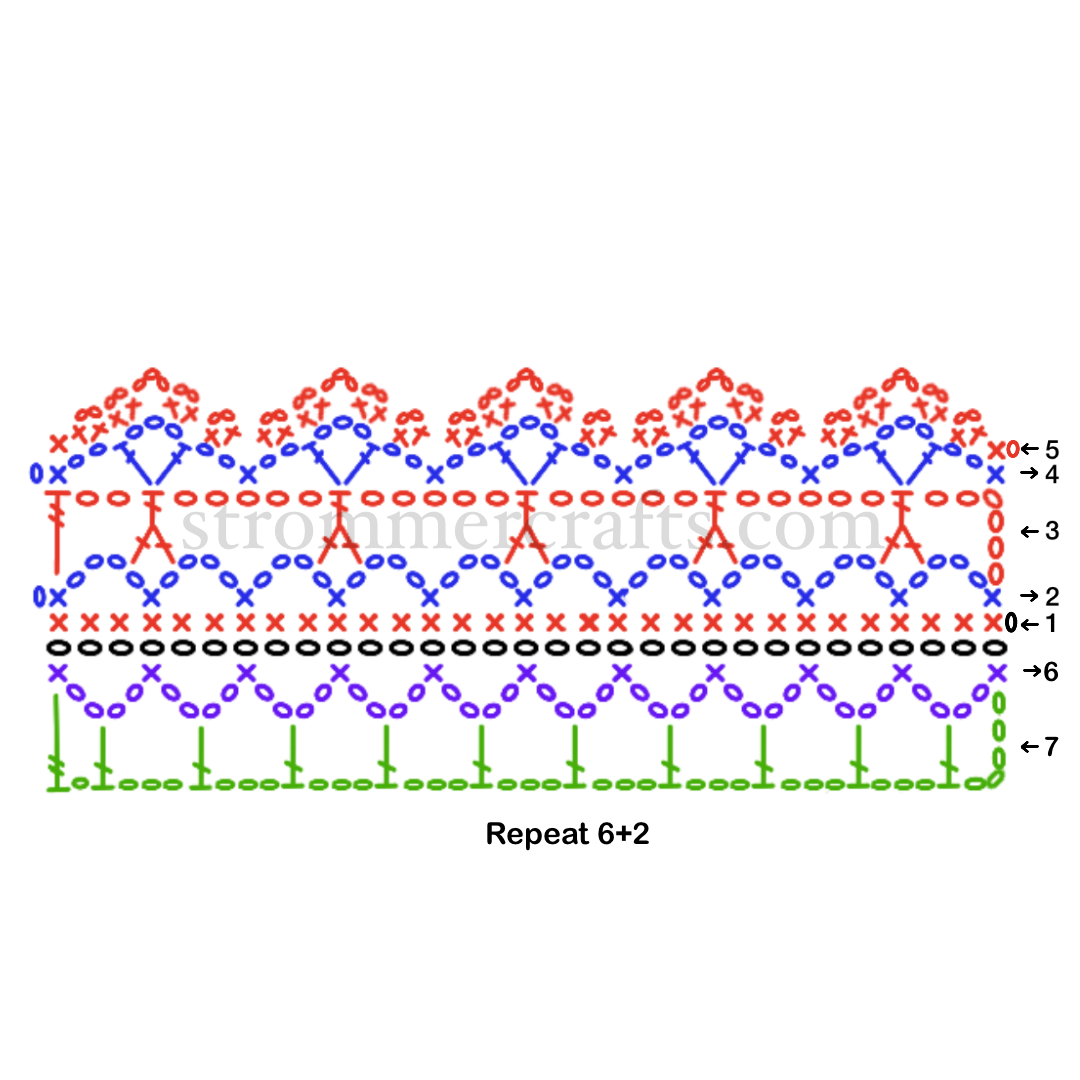
This edging is only 8 rows in height with a chain 12 repeat for the length.
Use this pattern for all of your edging needs! I think this would look amazing for tablecloths, but you could use it for a variety of other projects that need a little bit of a lacy flair!
I’m using size 10 crochet thread for this, but I think a smaller thread like size 20 would look great too.
Related Posts:
- Gorgeous Crochet Lace Edging Pattern
- 31 Crochet Lace Edging Patterns to Try
- Simple Crochet Tape Pattern
Please note that some of these links may be affiliate links. That means that if you click on these links and make a purchase, I may receive a commission at no extra cost to you. You can find more information about our disclosure policy here. Thank you for your support.
Materials Used:
- Size 10 Crochet Thread
- 1.65mm Crochet Hook
- Scissors
- Tapestry Needle
Abbreviations Used (US Terms):
- Ch(s) – chain(s)
- St(s) – stitch(es)
- Sl st – slip stitch
- Sc – single crochet
- Dc – double crochet
- Dc2tog – doubt crochet 2 stitches together
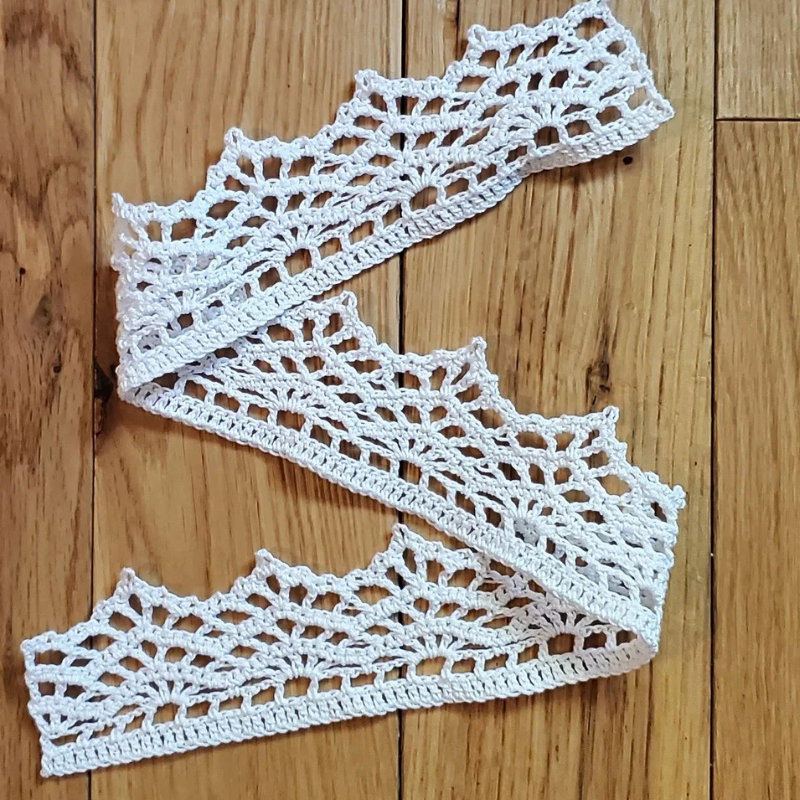
YOUTUBE VIDEO NOT LOADING? CLICK FOR THE POINTED CROCHET LACE EDGING PATTERN HERE.
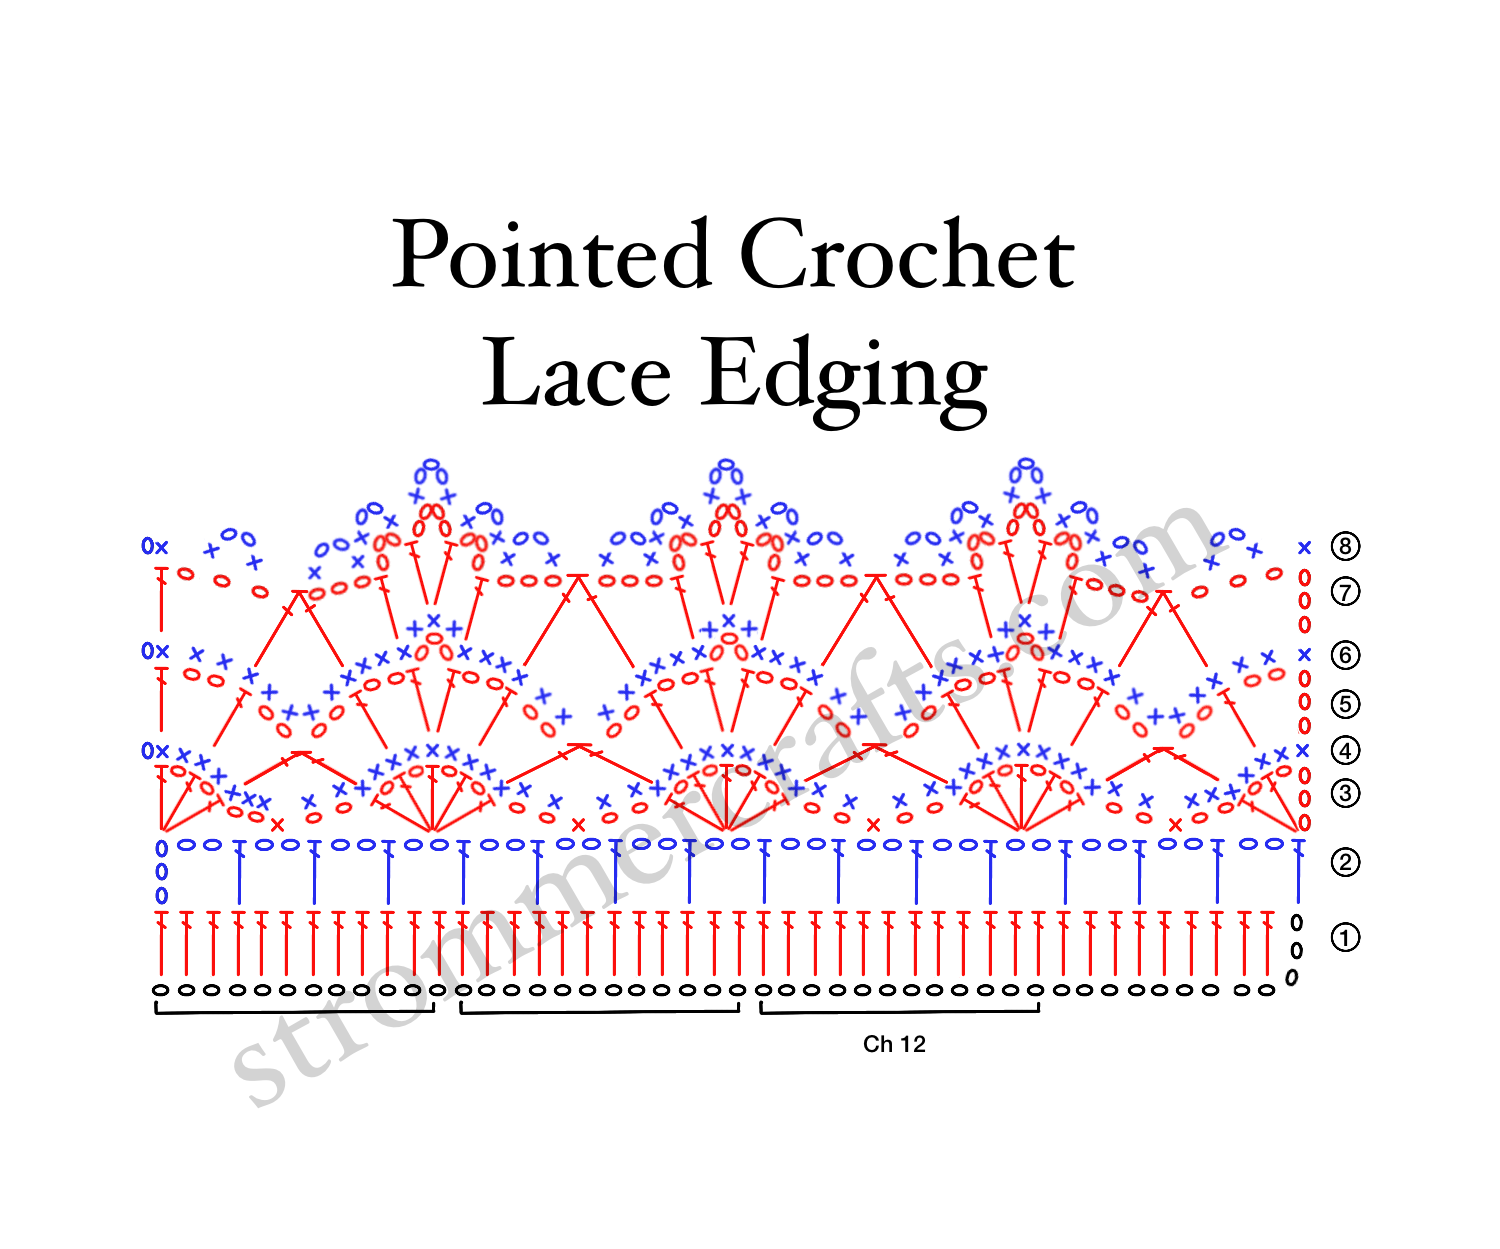
Crochet Lace Edging Pattern
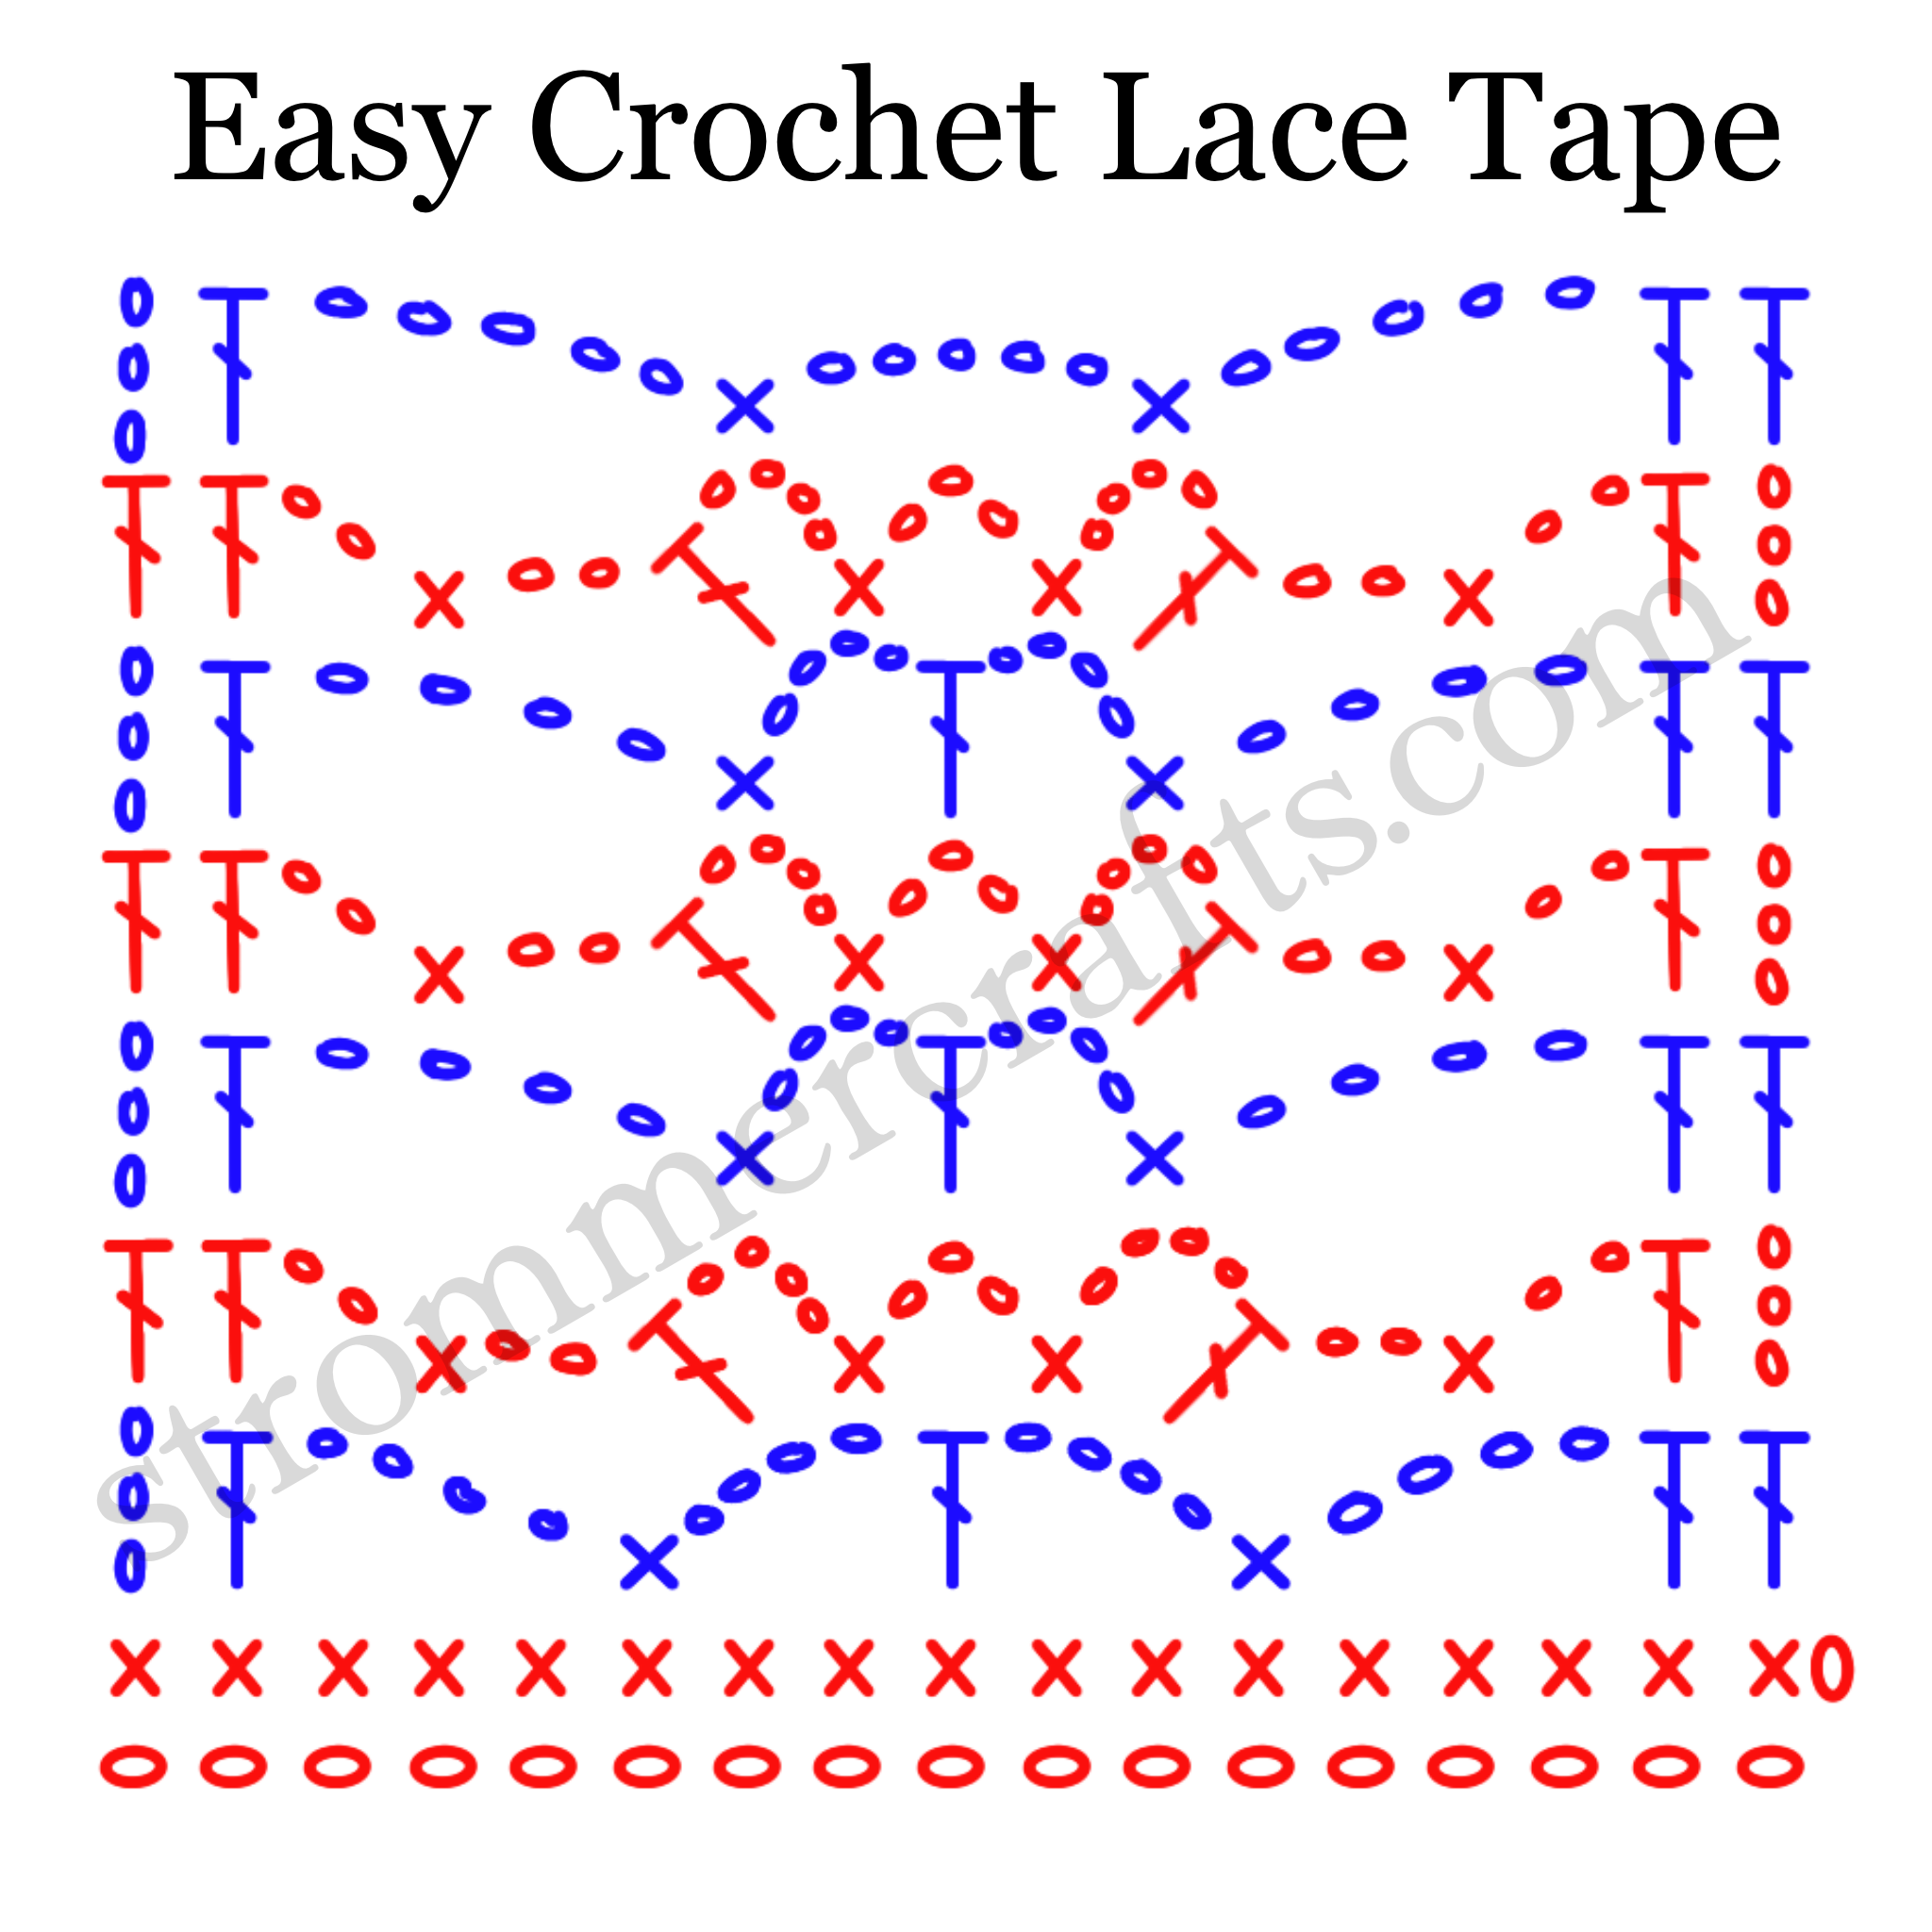
Ch a repeat of 12
Row 1: Dc into 4th ch away from your hook. Dc into each and every stitch across.
Row 2: Ch 5 (counts as a dc and ch 2), turn, skip 2 sts, dc into next st. *Ch 2, skip 2 sts, dc into next st.* Repeat from *to* across.
Row 3: Ch 4 (counts as dc and ch 1), turn, dc in same st, ch 1, dc again in same st. *Ch 2, skip the next ch 2 space, skip the next dc, sc in the next ch 2 space.
Ch 2, skip next dc, skip next ch 2 space, skip next ch dc, (dc, ch 1, dc, ch 1, dc, ch 1, dc, ch 1, dc) in the next ch 2 space.*
Repeat from *to* until you’ve sc into the second to last ch 2 space. Ch 2, (dc, ch 1, dc, ch 1, dc) in 3rd ch of starting ch 5 from previous row.
Row 4: Ch 1 (does not count as a st), turn, sc in same st. *Sc in each ch 1 and dc across, 2 sc in next ch 2 space, skip next sc, 2 sc in next ch 2 space.*
Repeat from *to* until end. Making sure to place a sc in the starting ch 4 space and a sc in the 3rd ch of the same ch 4.
Row 5: Ch 5 (counts as as dc and ch 2), turn, skip a st, dc in next st, *ch 2, skip a st, dc2tog with the first leg in the next st, skip 4 sts and place second leg in next st.
Ch 2, skip a st, dc in next st, ch 3, skip a st, (dc, ch 3, dc) in next st. Ch 2, skip a st, dc in next st*
Repeat from *to*
Finish row with ch 2, skip a st, dc2tog with the first leg in the next st, skip 4 sts and place second leg in next st. Ch 2, skip a st, dc into next, ch 2, skip a st, dc in last st.
Row 6: Ch 1 (does not count as a st), turn, sc in same st. 2 sc in next ch 2 space, sc in next dc, 2 sc in next ch 2 space, skip *dc2tog, (2 sc in next ch 2 space, sc in next dc x2 times), 3 sc in next ch 3 space.
(Sc in next dc, 2 sc in next ch 2 space x2 times)*
Repeat from *to* until end
Skip last dc2tog, 2 sc in next ch 2 space, sc in next dc, 2 sc in next ch 2 space, sc in 3rd ch of starting ch 5 from previous row.
Row 7: Ch 6 (counts as dc and ch 3), turn, *skip 2 sts, dc2tog placing the first leg in the next sc, skip 4 sts and place second leg in next st.
Ch 3, skip 2 sts, dc in next st, ch 3, skip a st, (dc, ch 4, dc) in next st, ch 3, skip a st, dc in next st, ch 3*
Repeat from *to*
Skip 2 sts, dc in last st.
Row 8: Ch 1, turn, (sc, ch 2, sc) in next ch 3 space, *skip dc2tog, [(sc, ch 2, sc) in next ch 3 space x2 times].
(Sc, ch 3, sc) in next ch 4 space, [(sc, ch 2, sc) in next ch 3 space x2 times]*
Repeat from *to* until end.
Skip dc2tog, (sc, ch 2, sc) in next ch 3 space, sc in 3rd ch of starting ch 6 from previous row.
Cut thread with scissors, pull through and weave in any loose ends with your tapestry needle.
That’s all for the Pointed Crochet Lace Edging Pattern. Hope you enjoyed this pattern, until next time.