The Grim Reader: A Crochet Bookmark Pattern
Hello everyone! Today I have an exciting treat for all the bookworms and crochet enthusiasts out there. I’m thrilled to present my latest creation: The Grim Reader Bookmark. That pun made me laugh, so I had to use it to name this pattern.
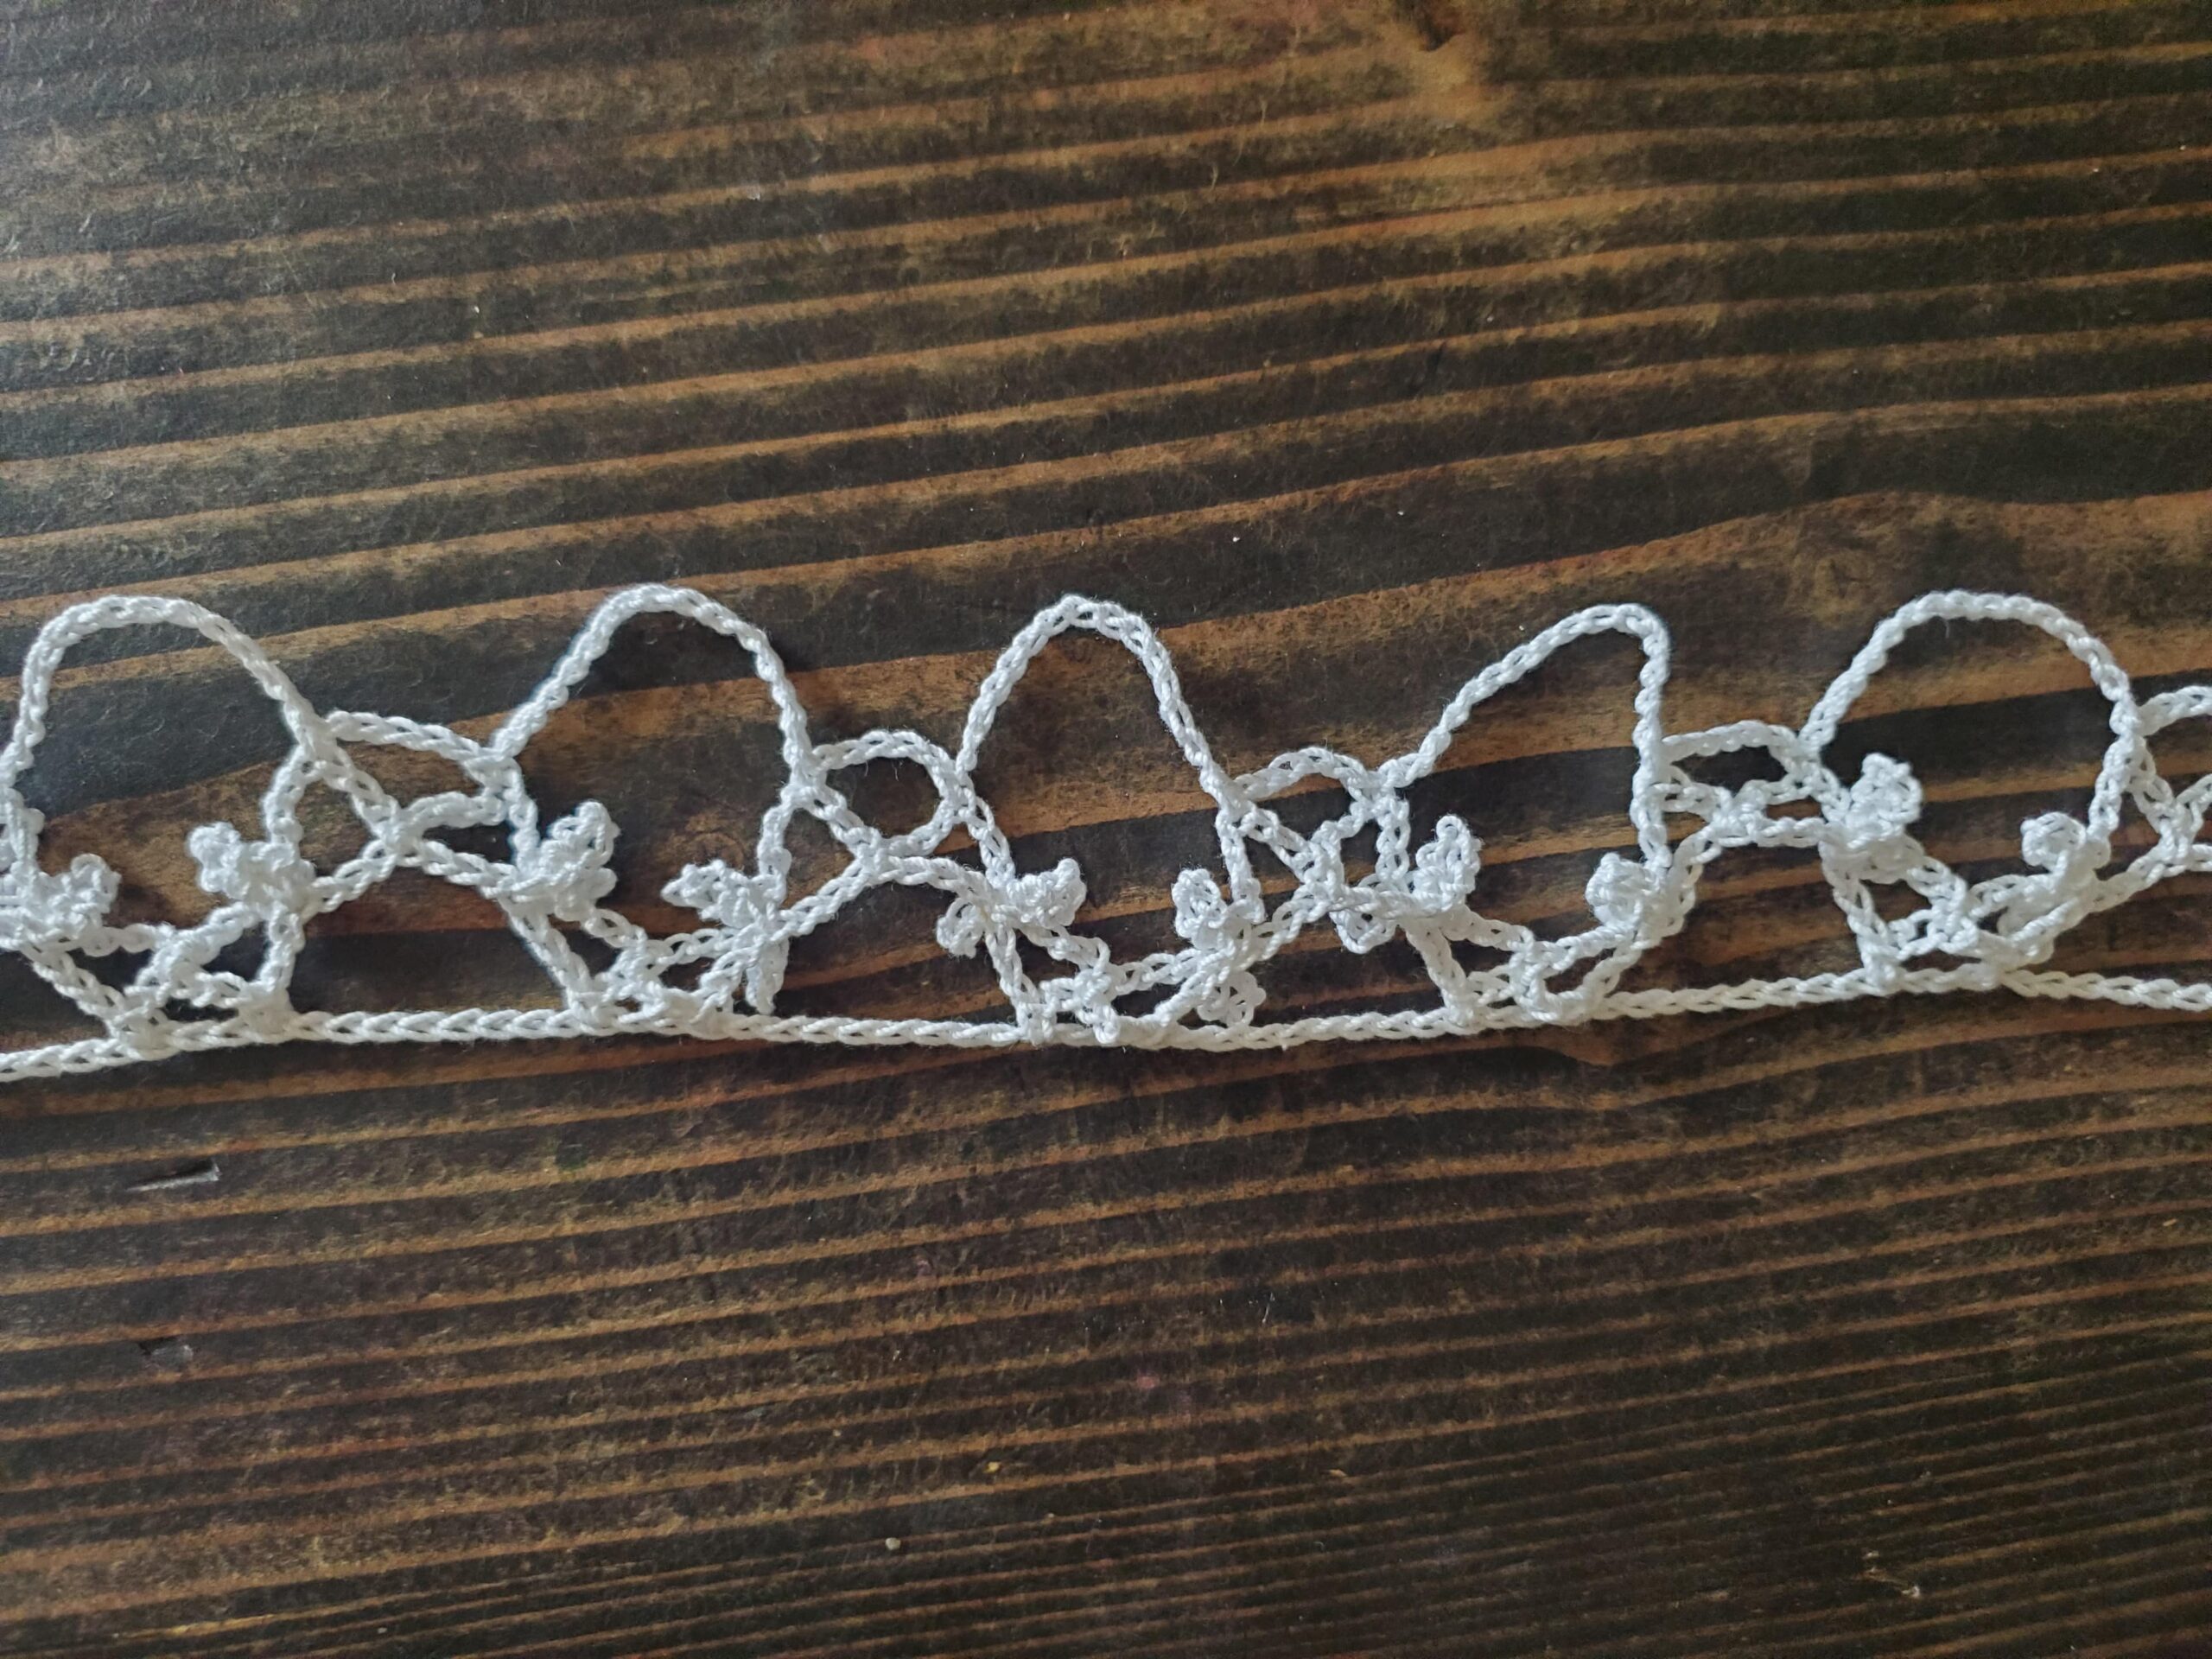
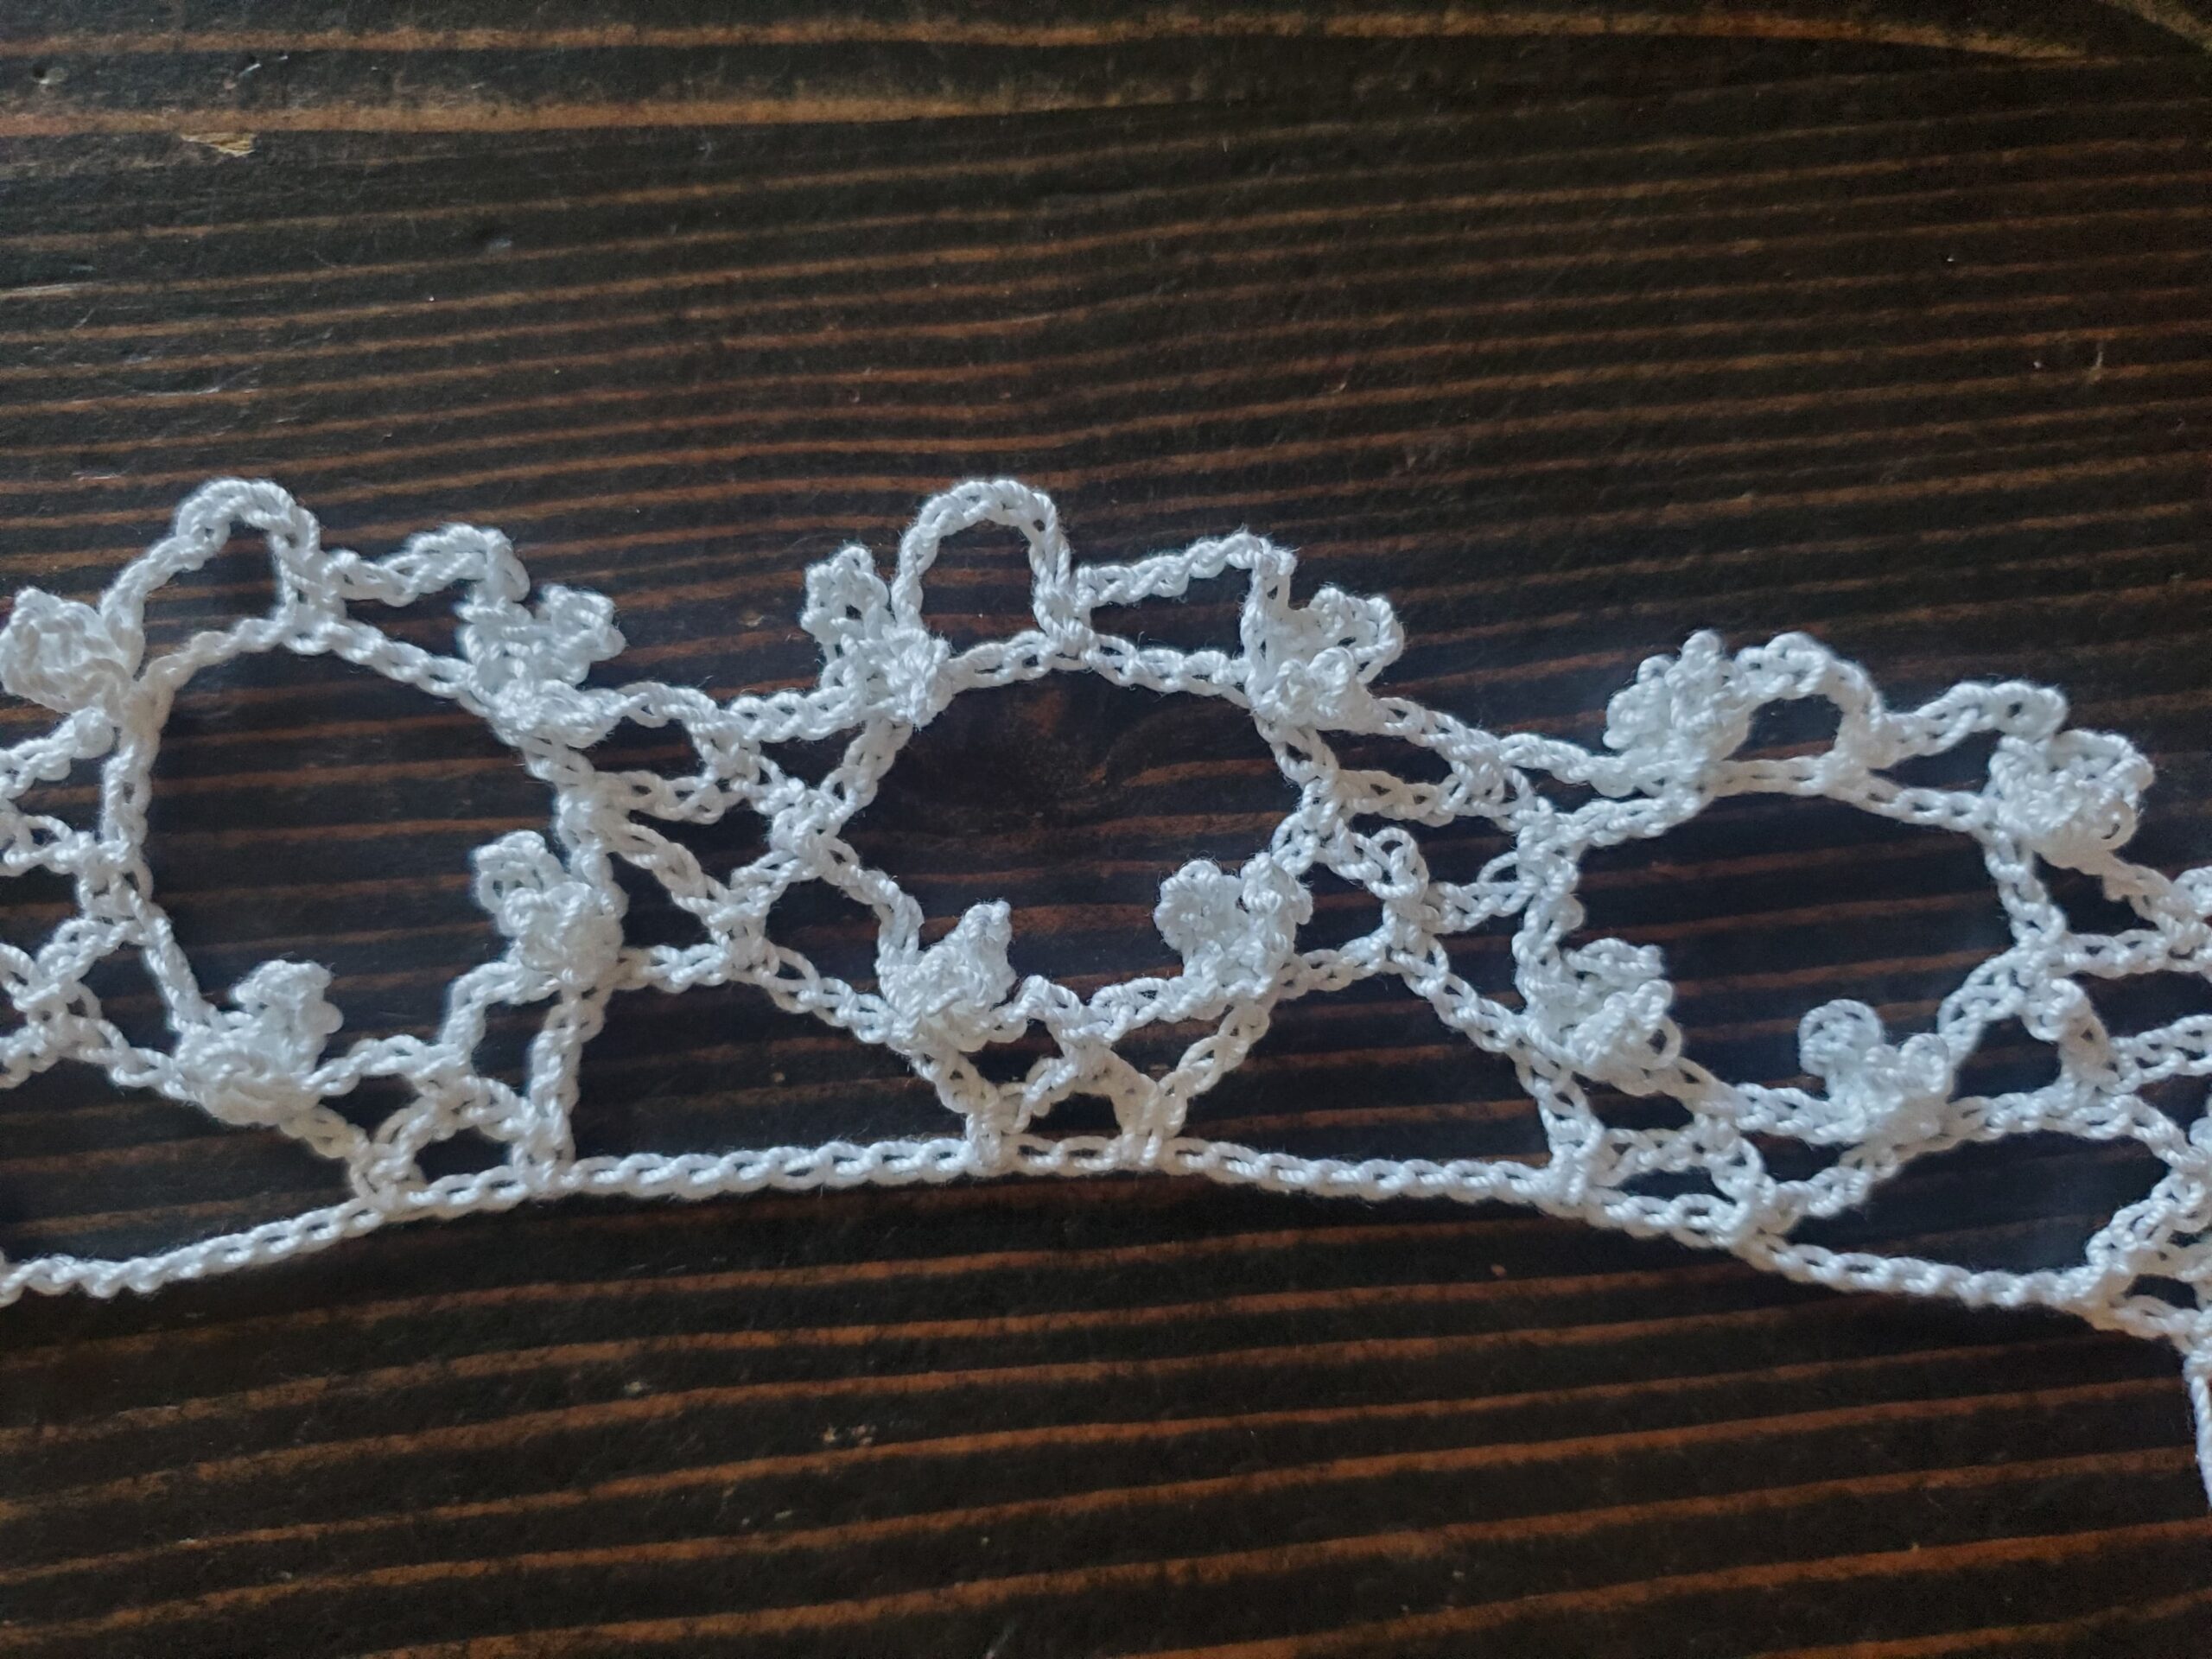
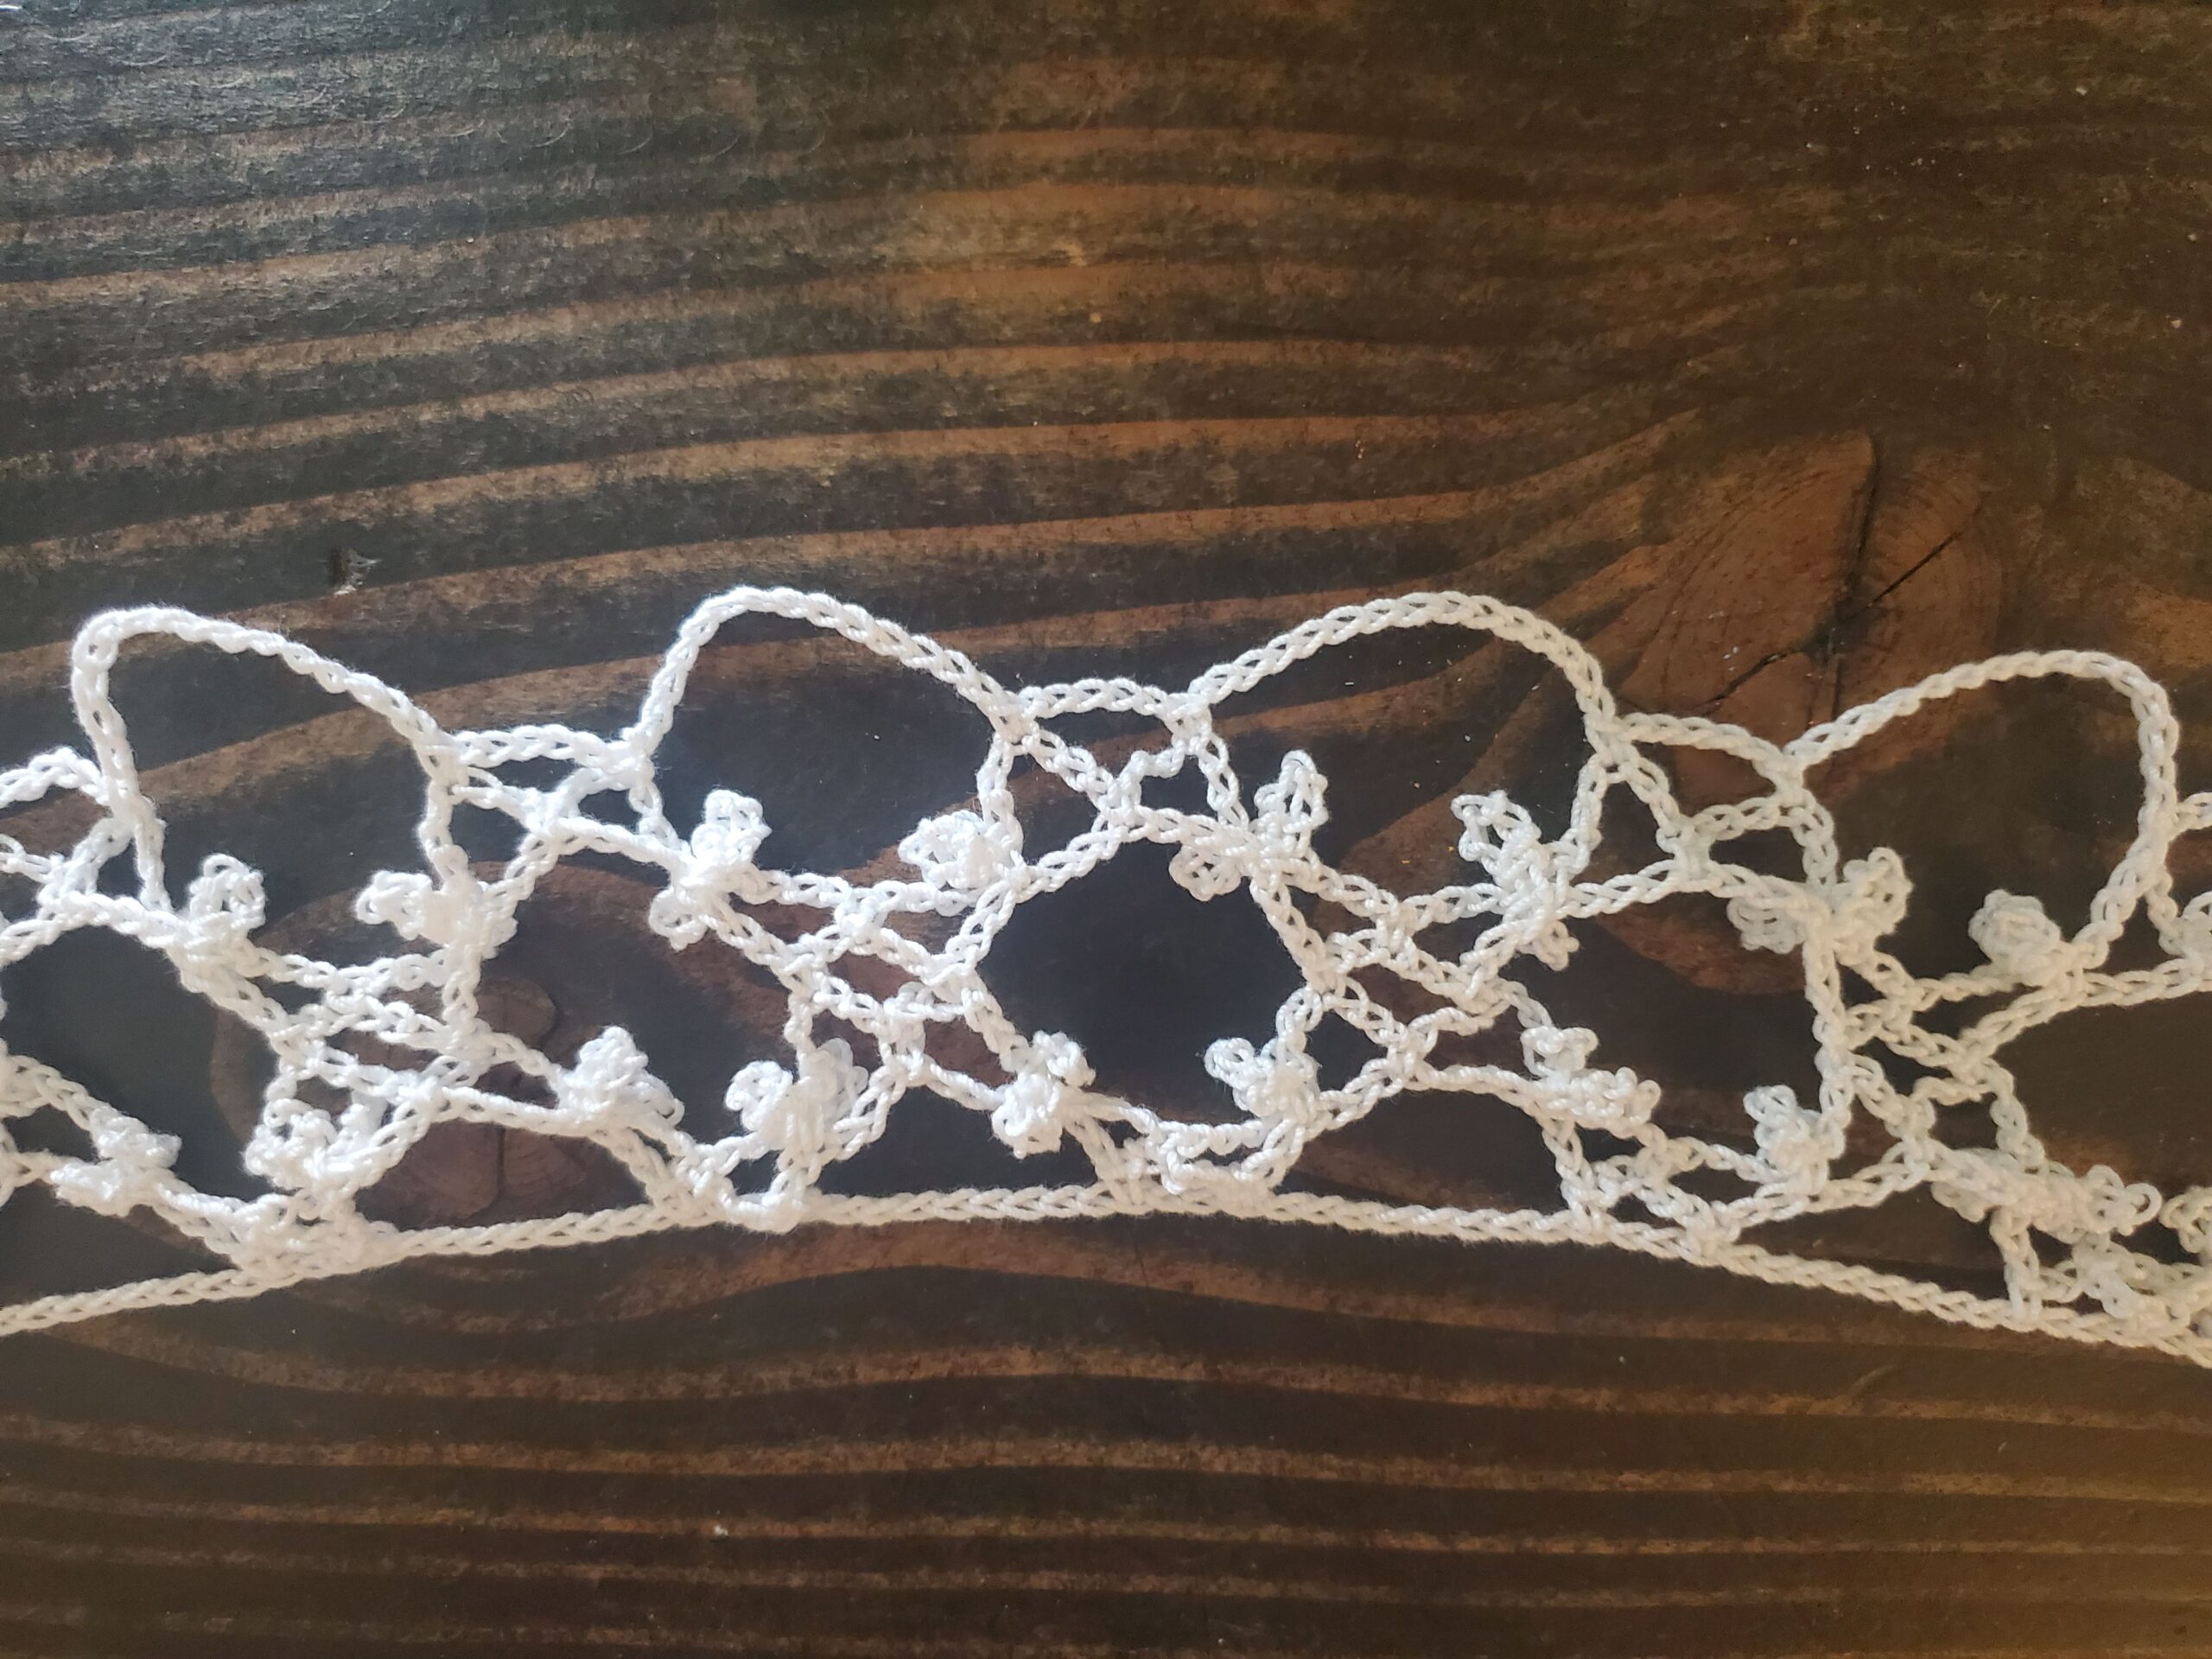
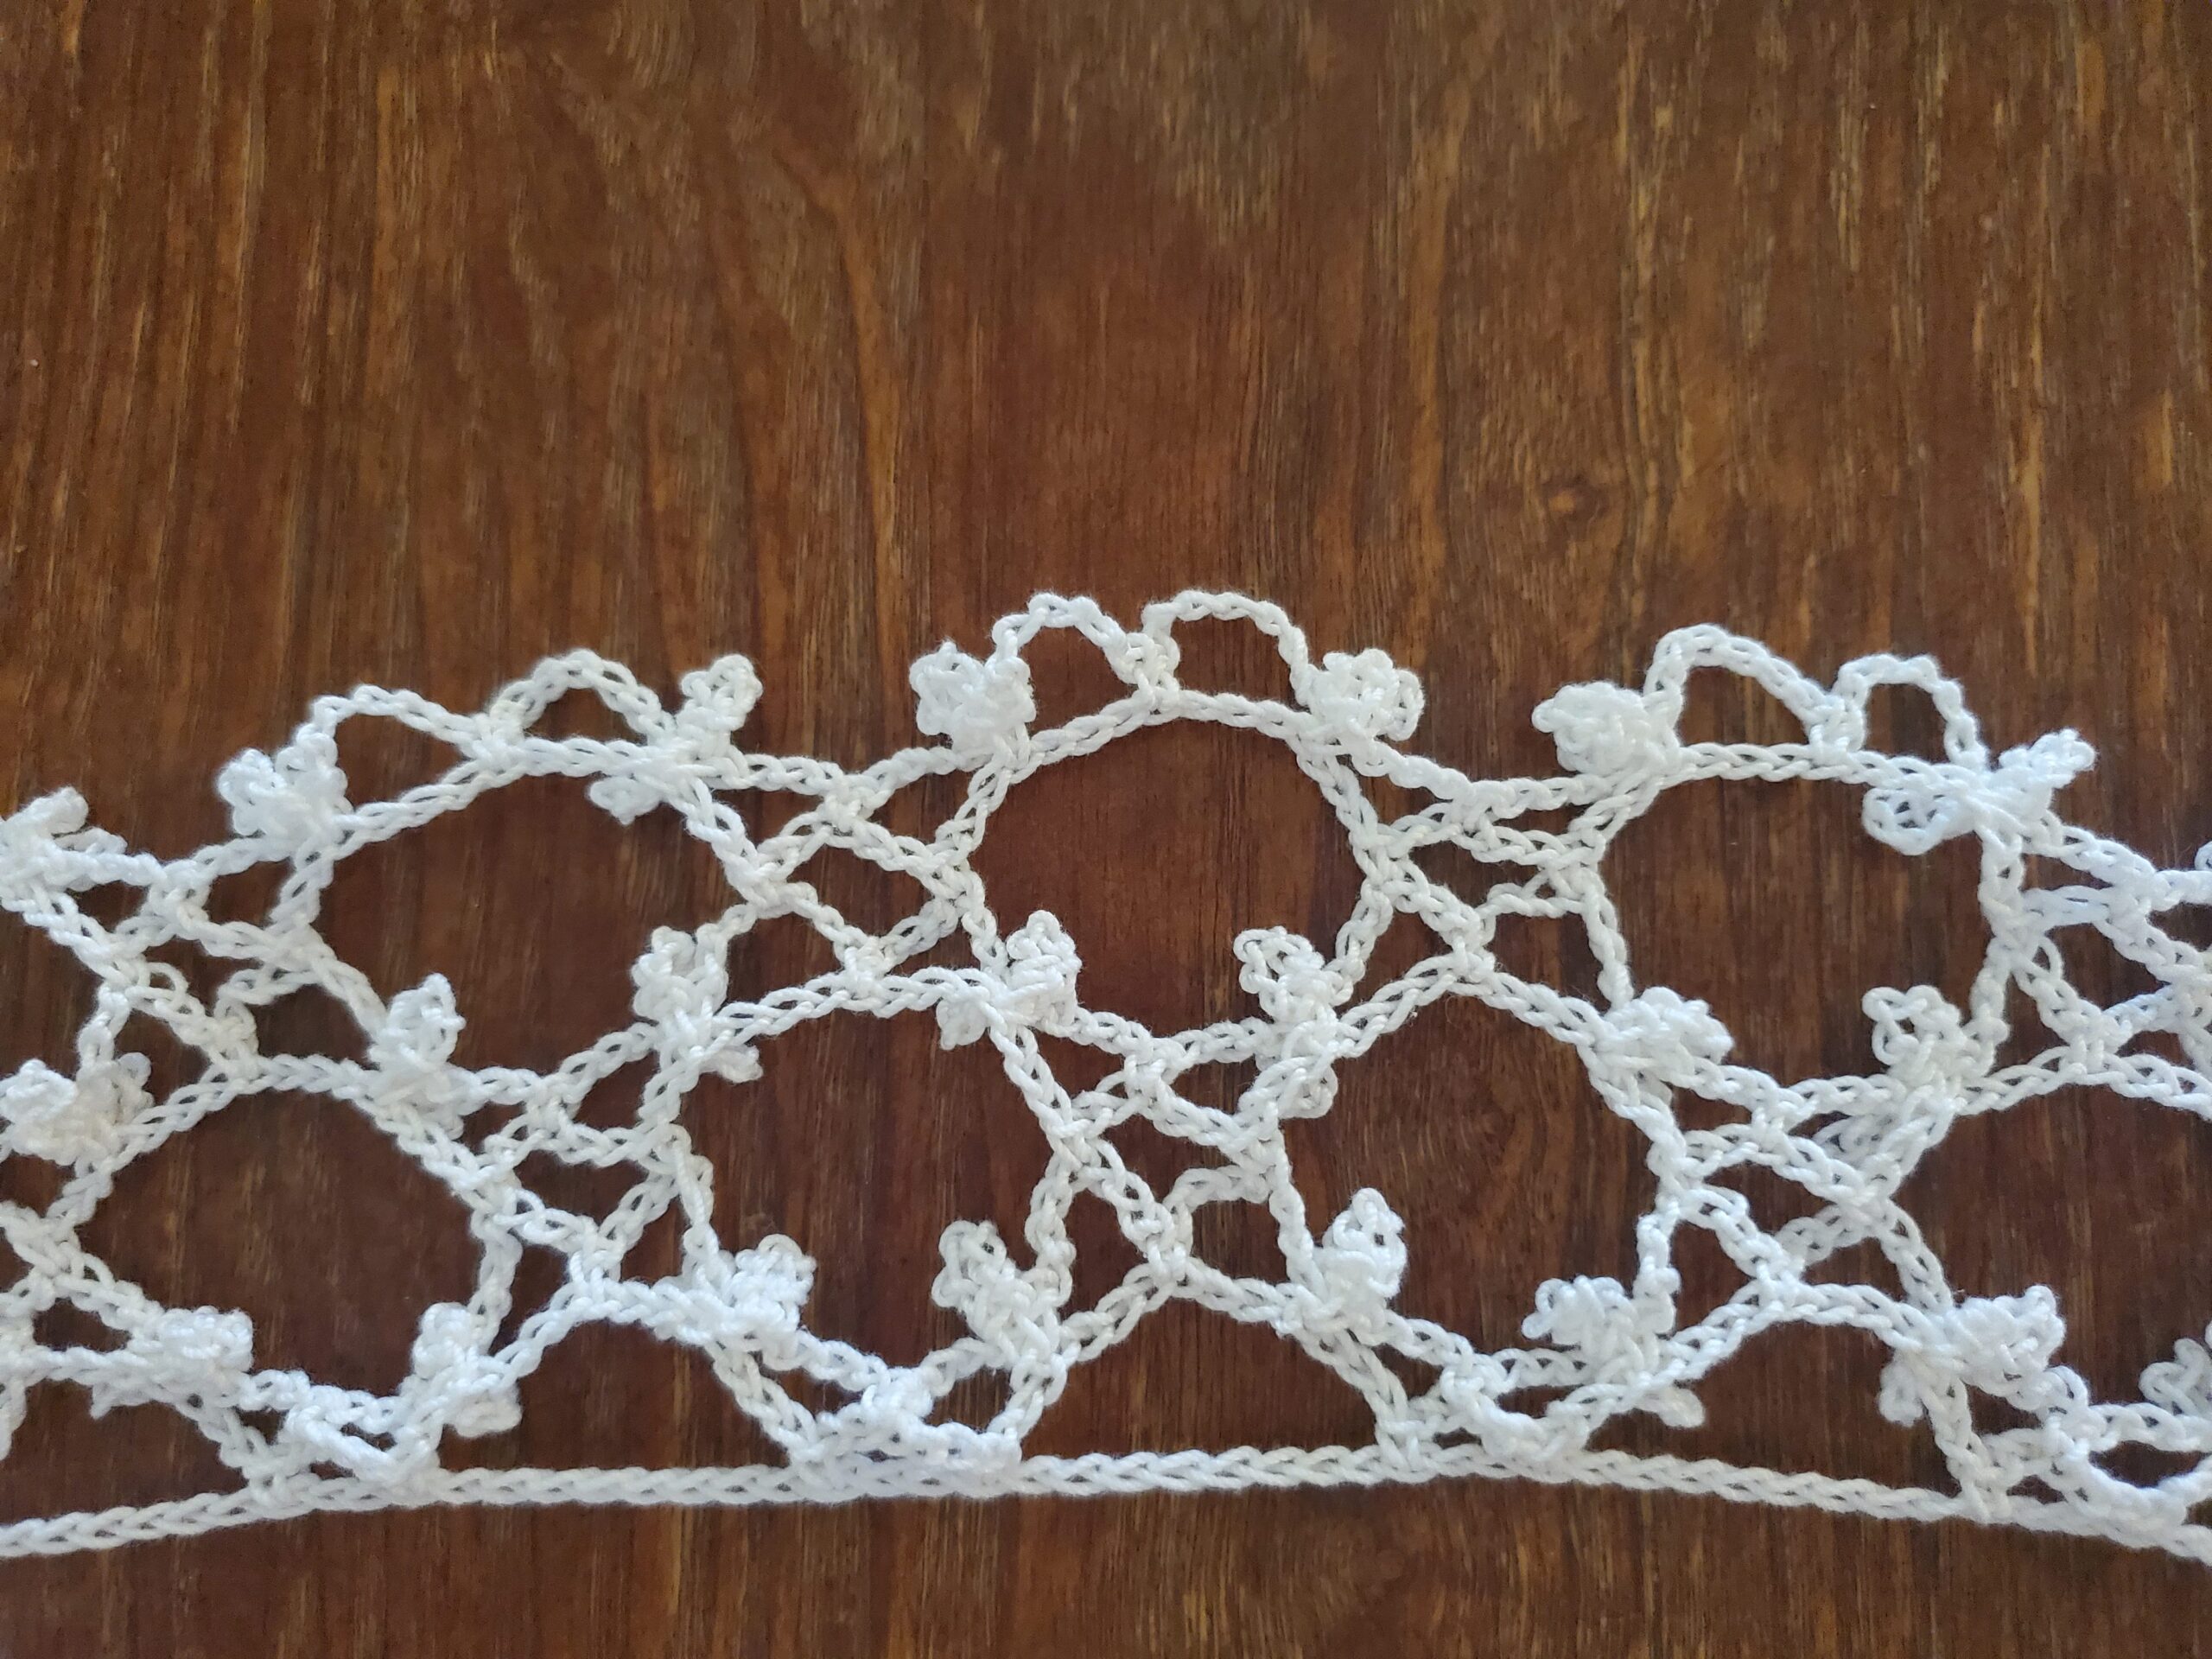
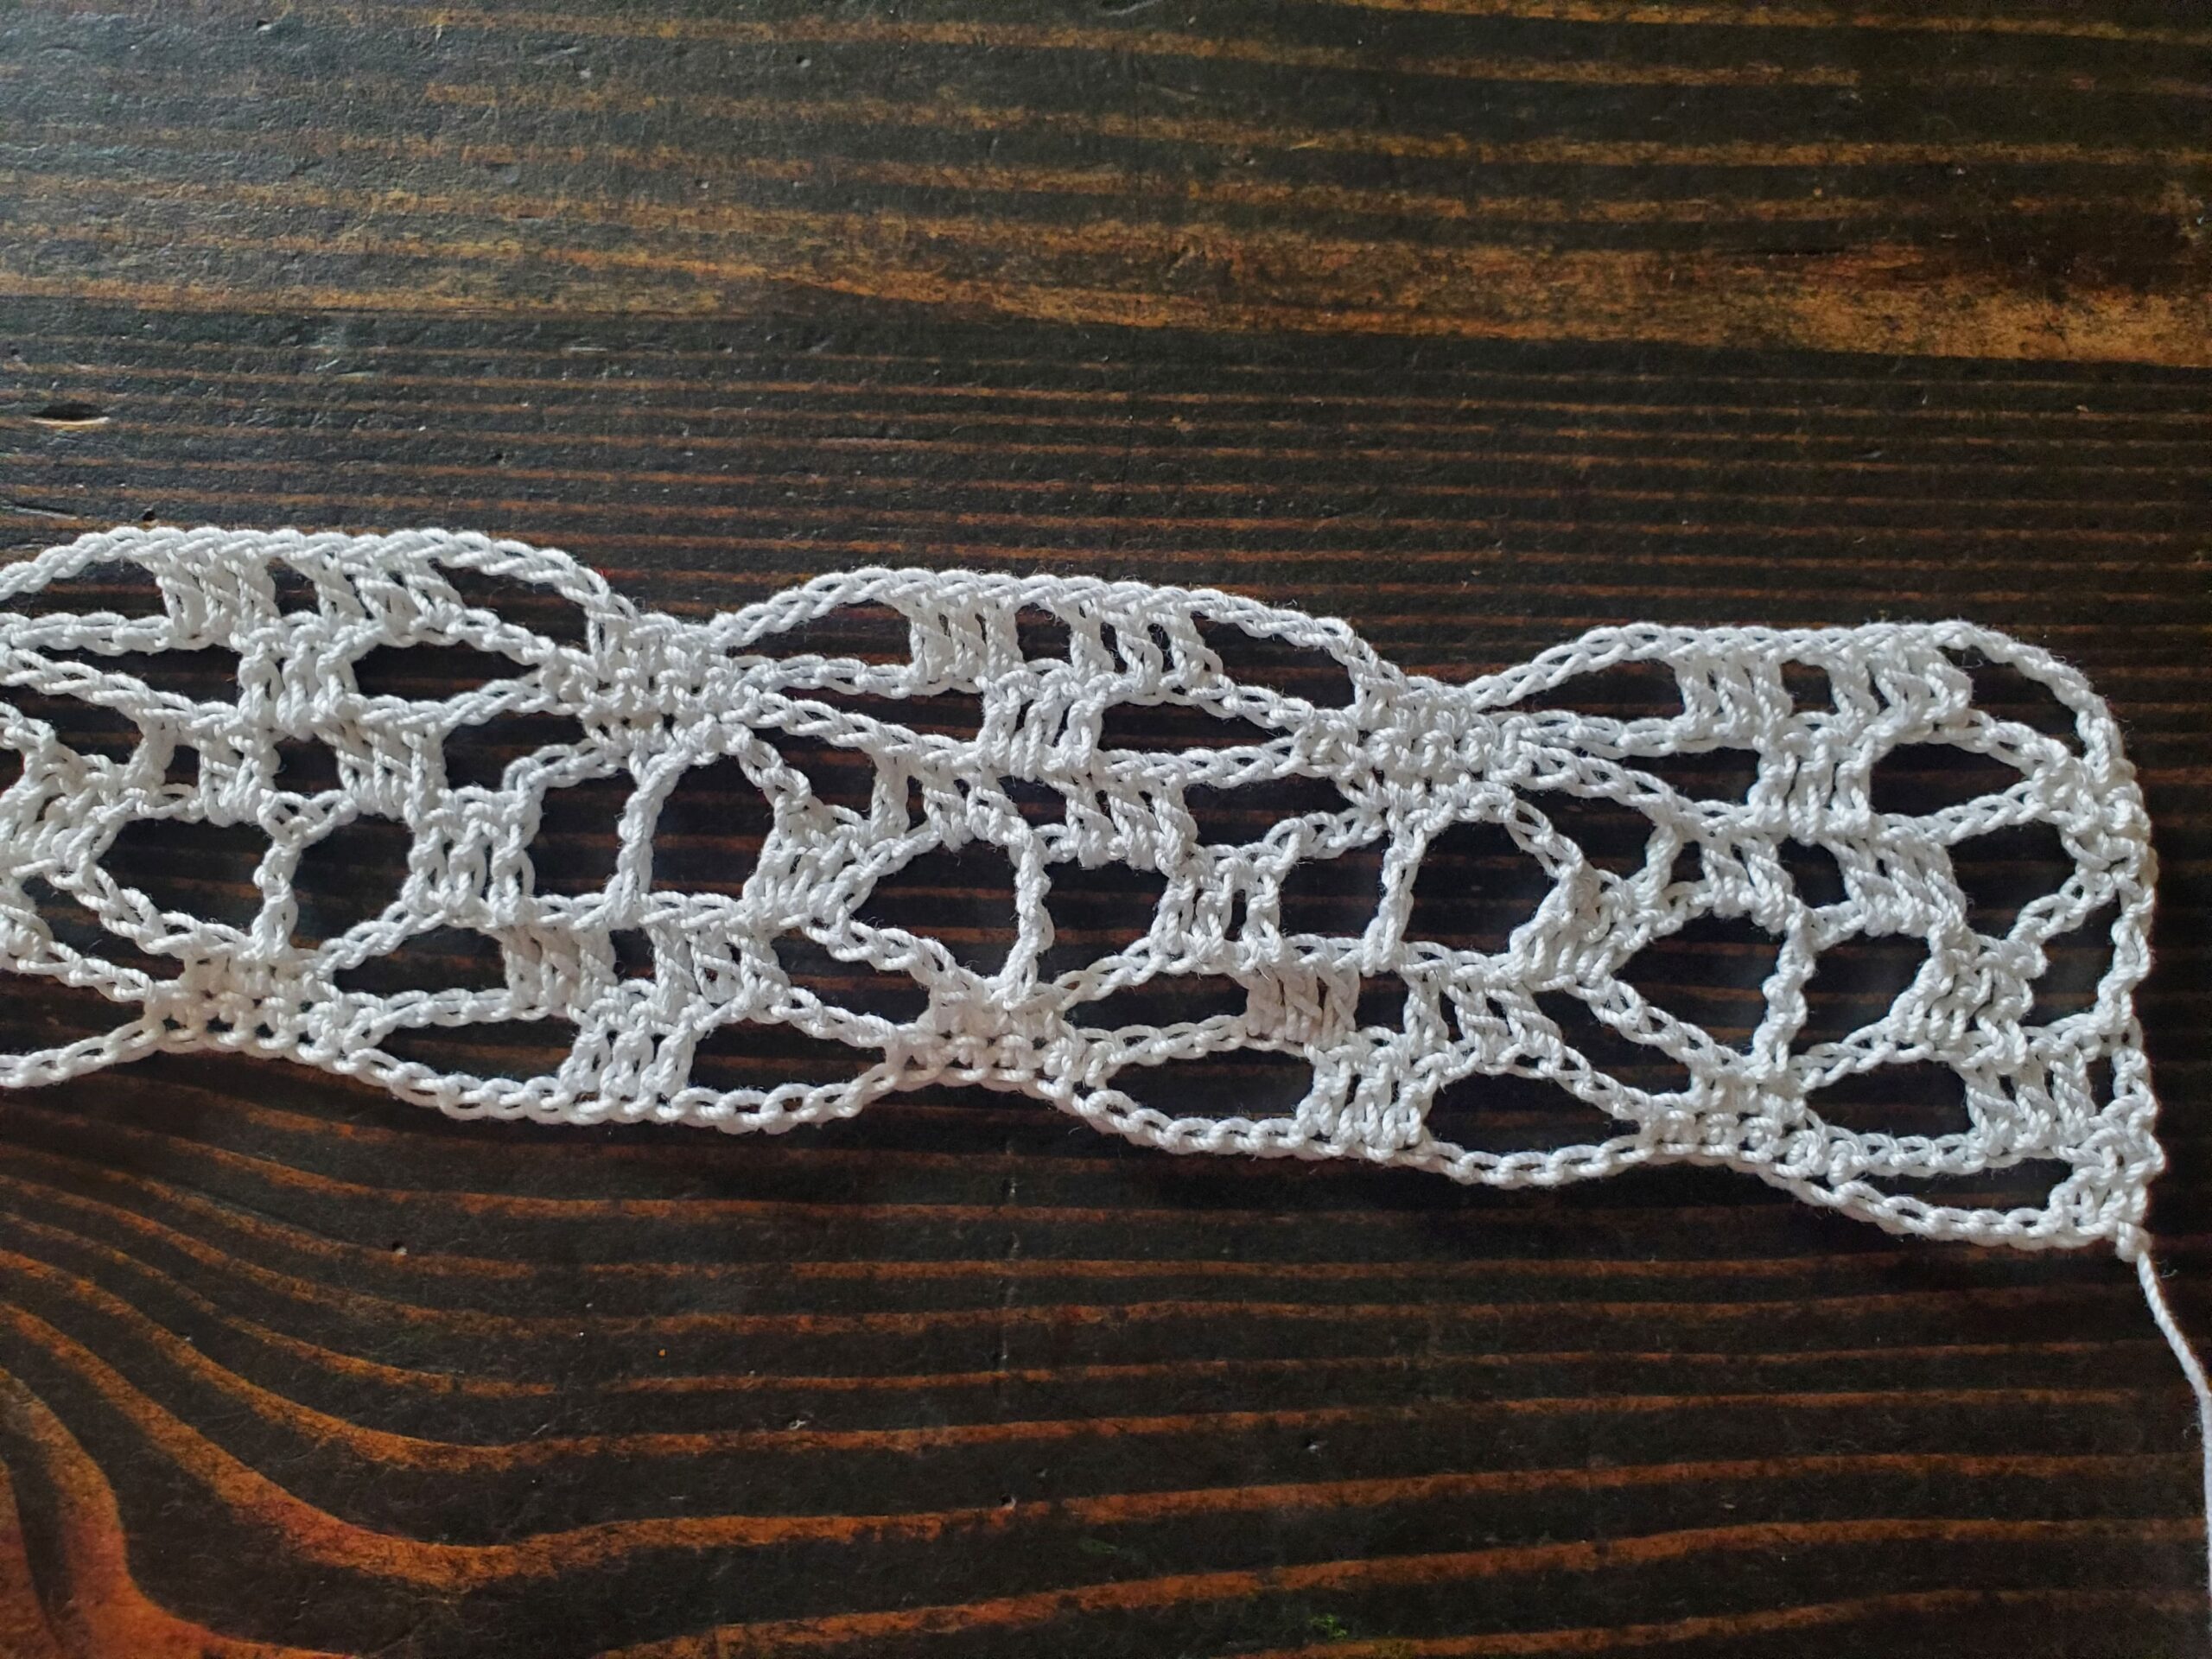
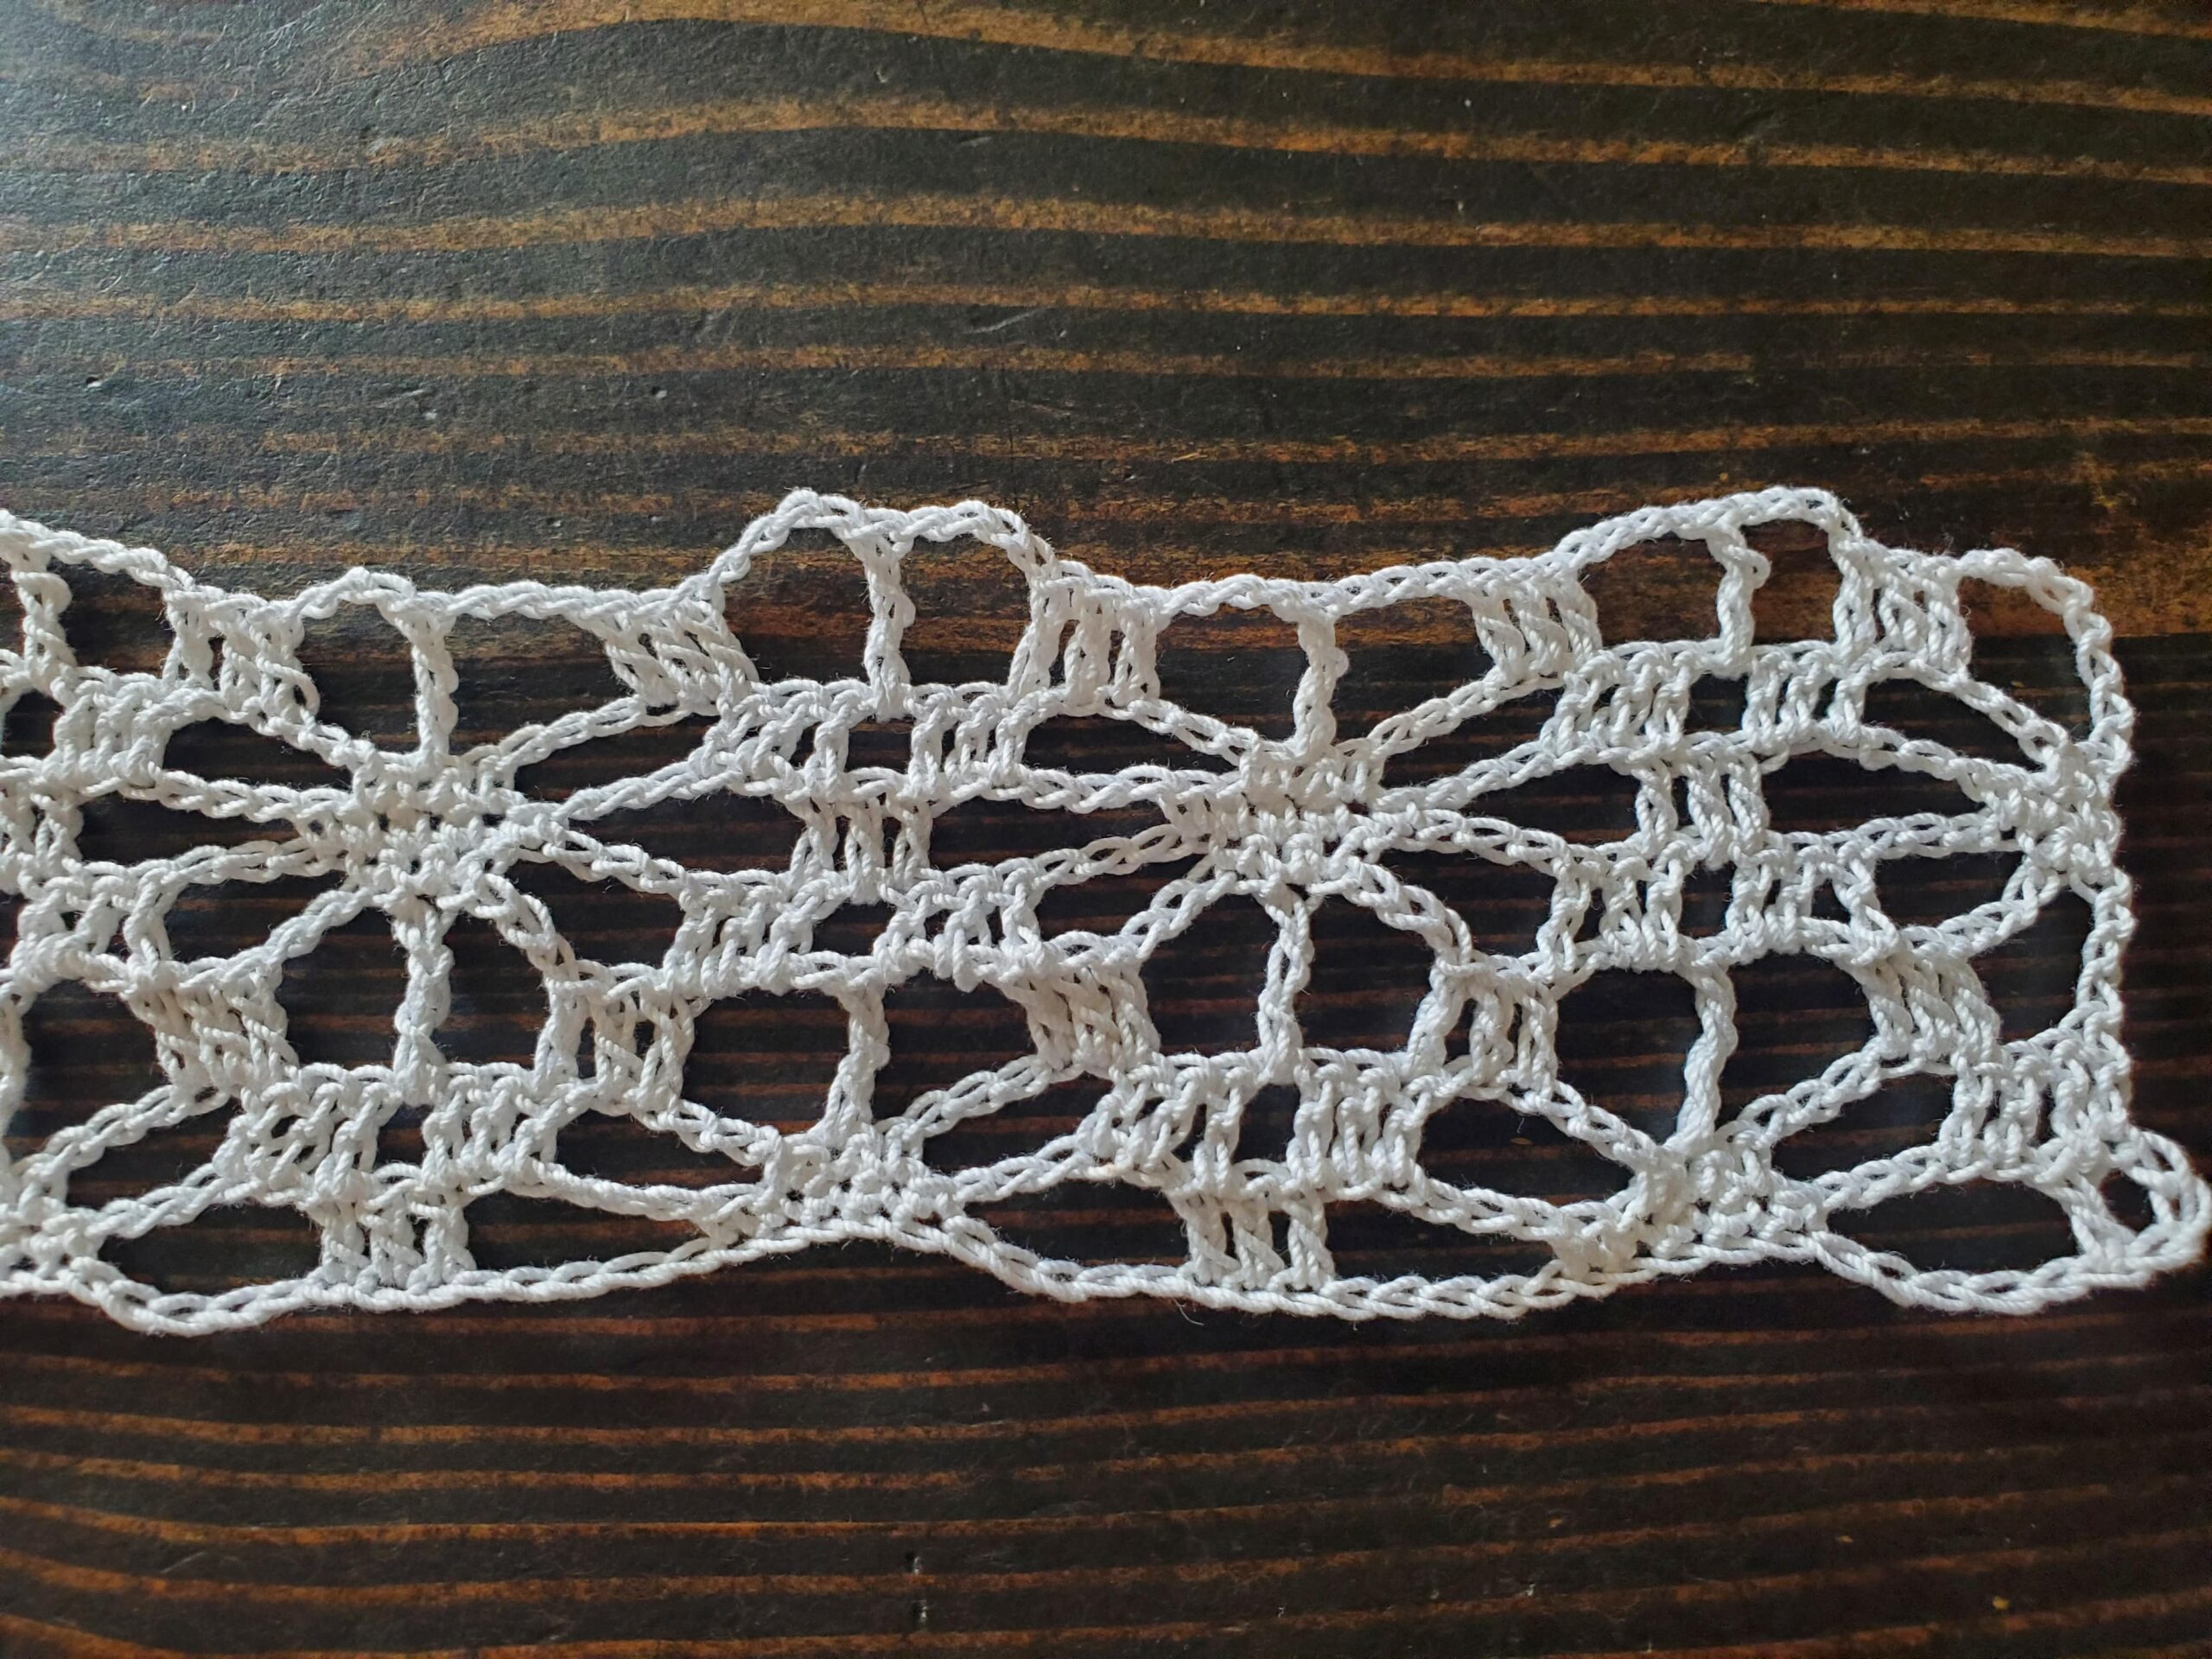
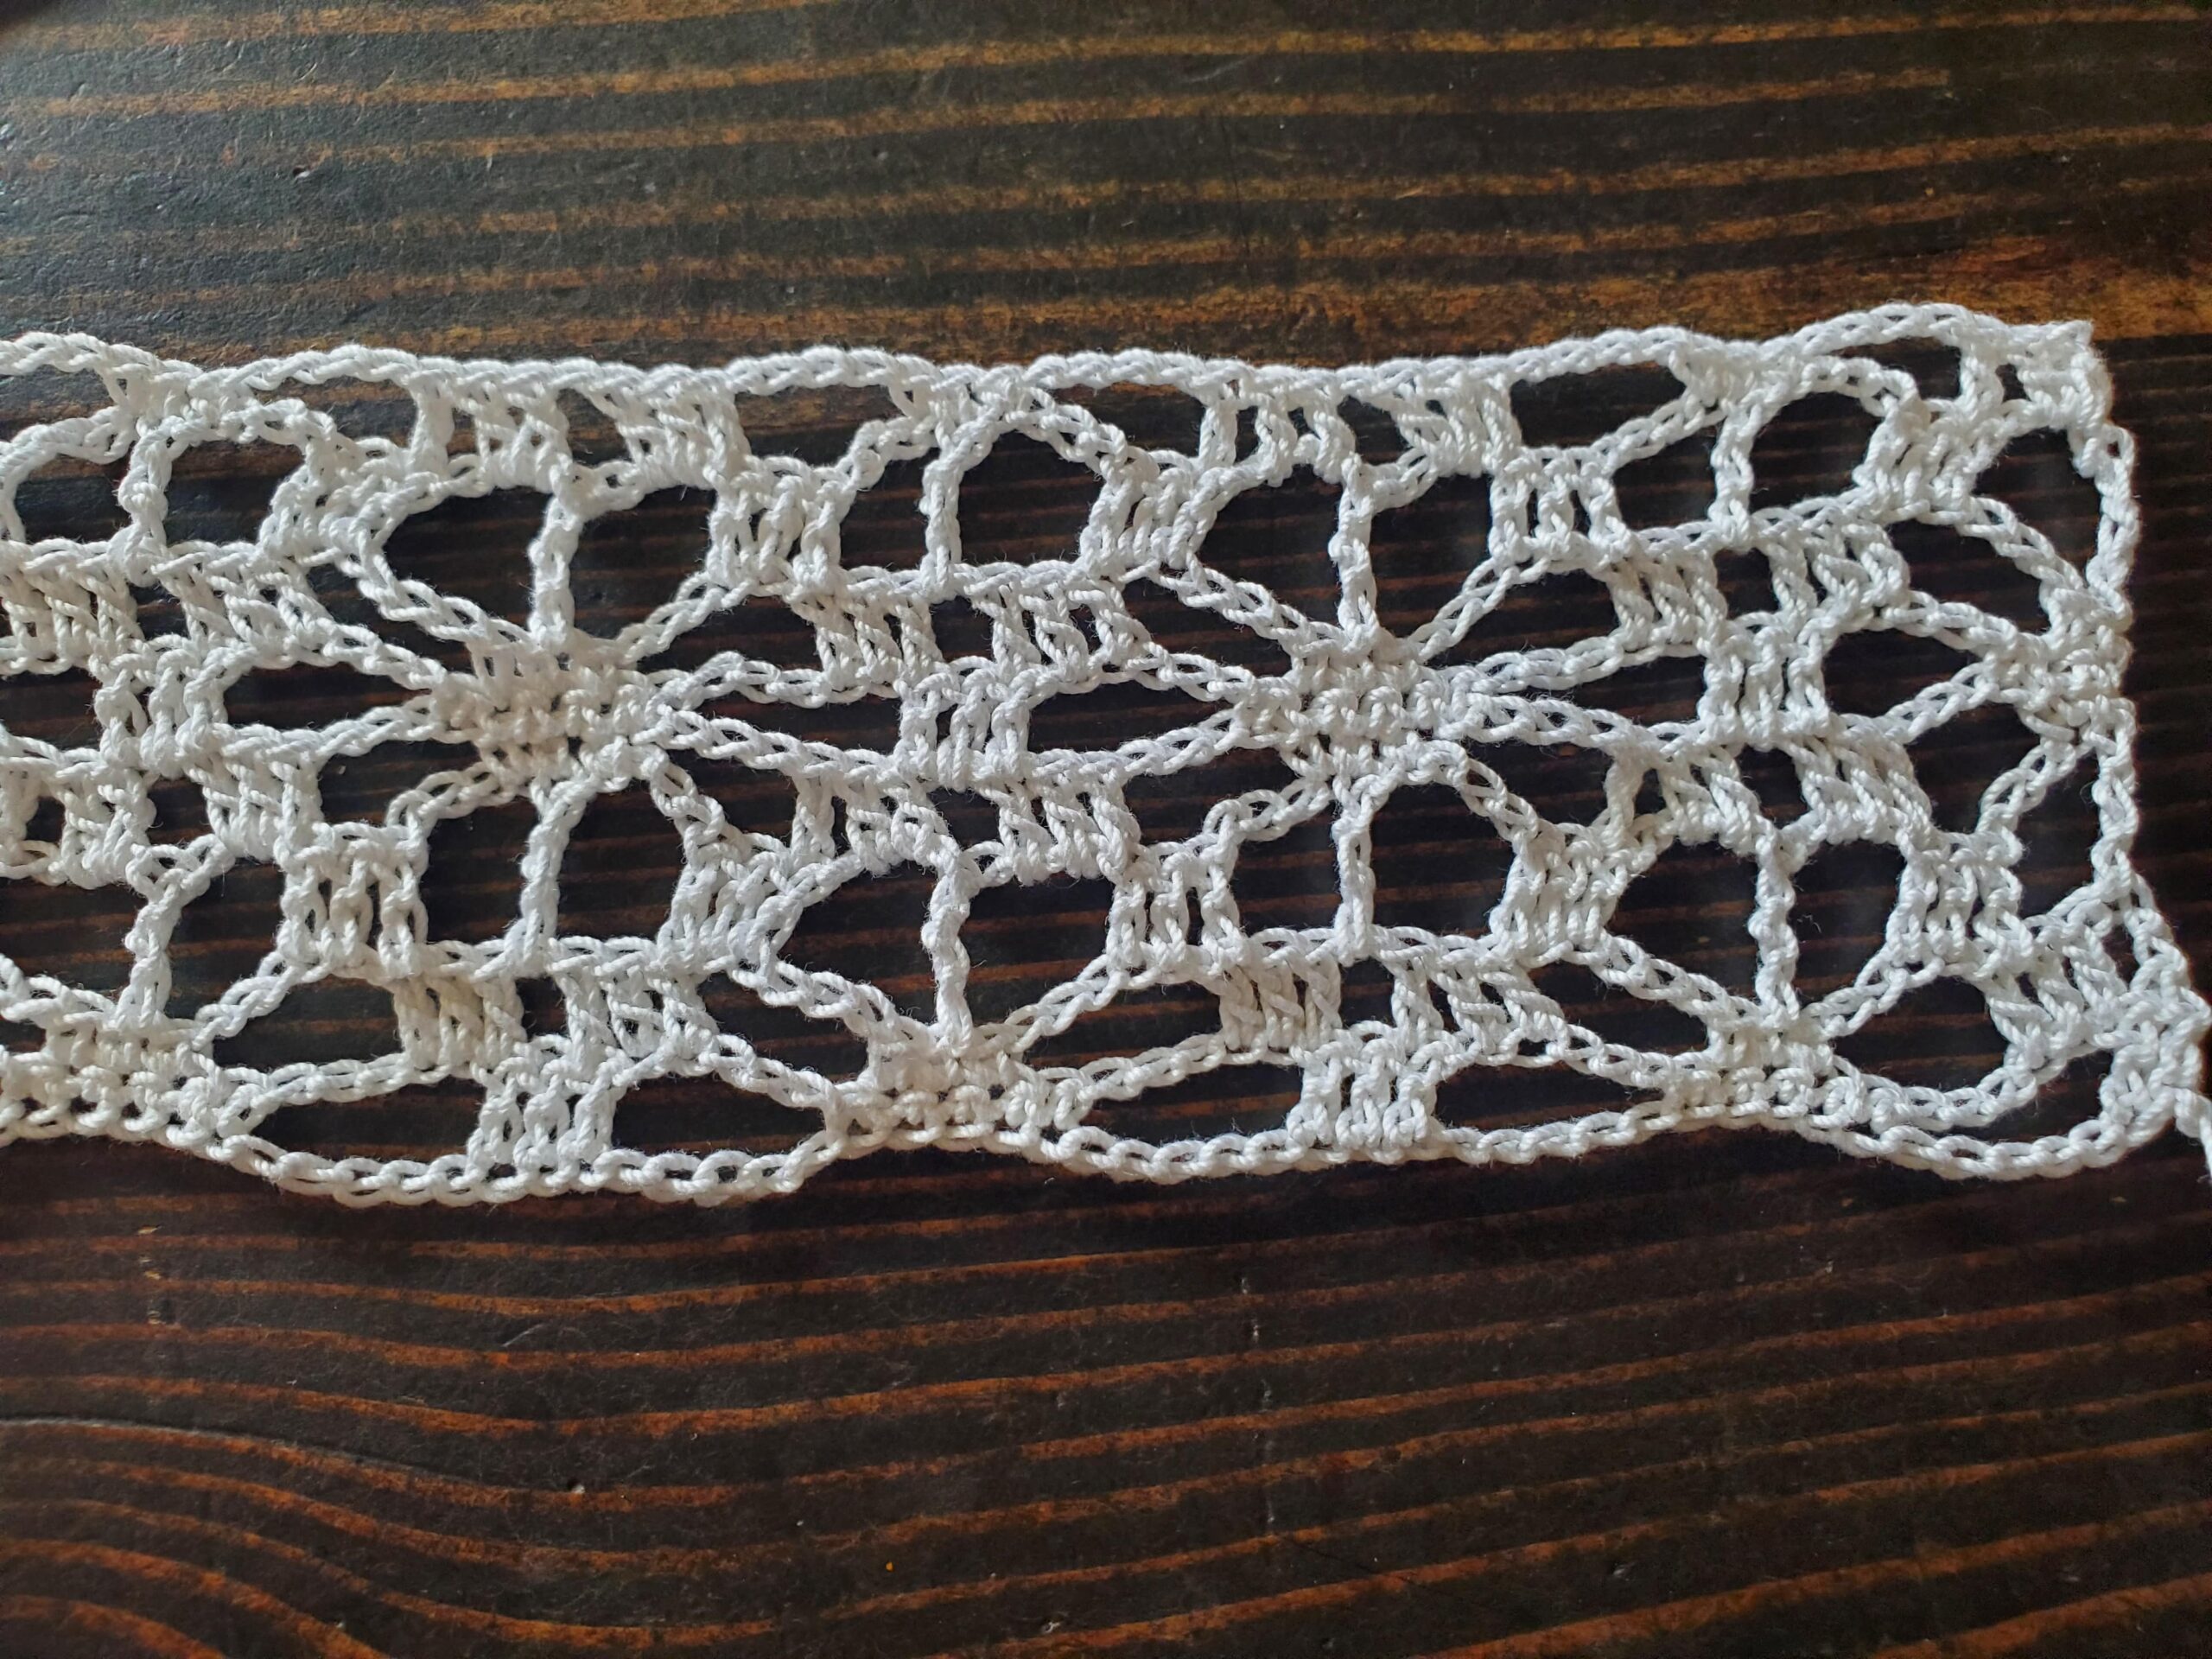
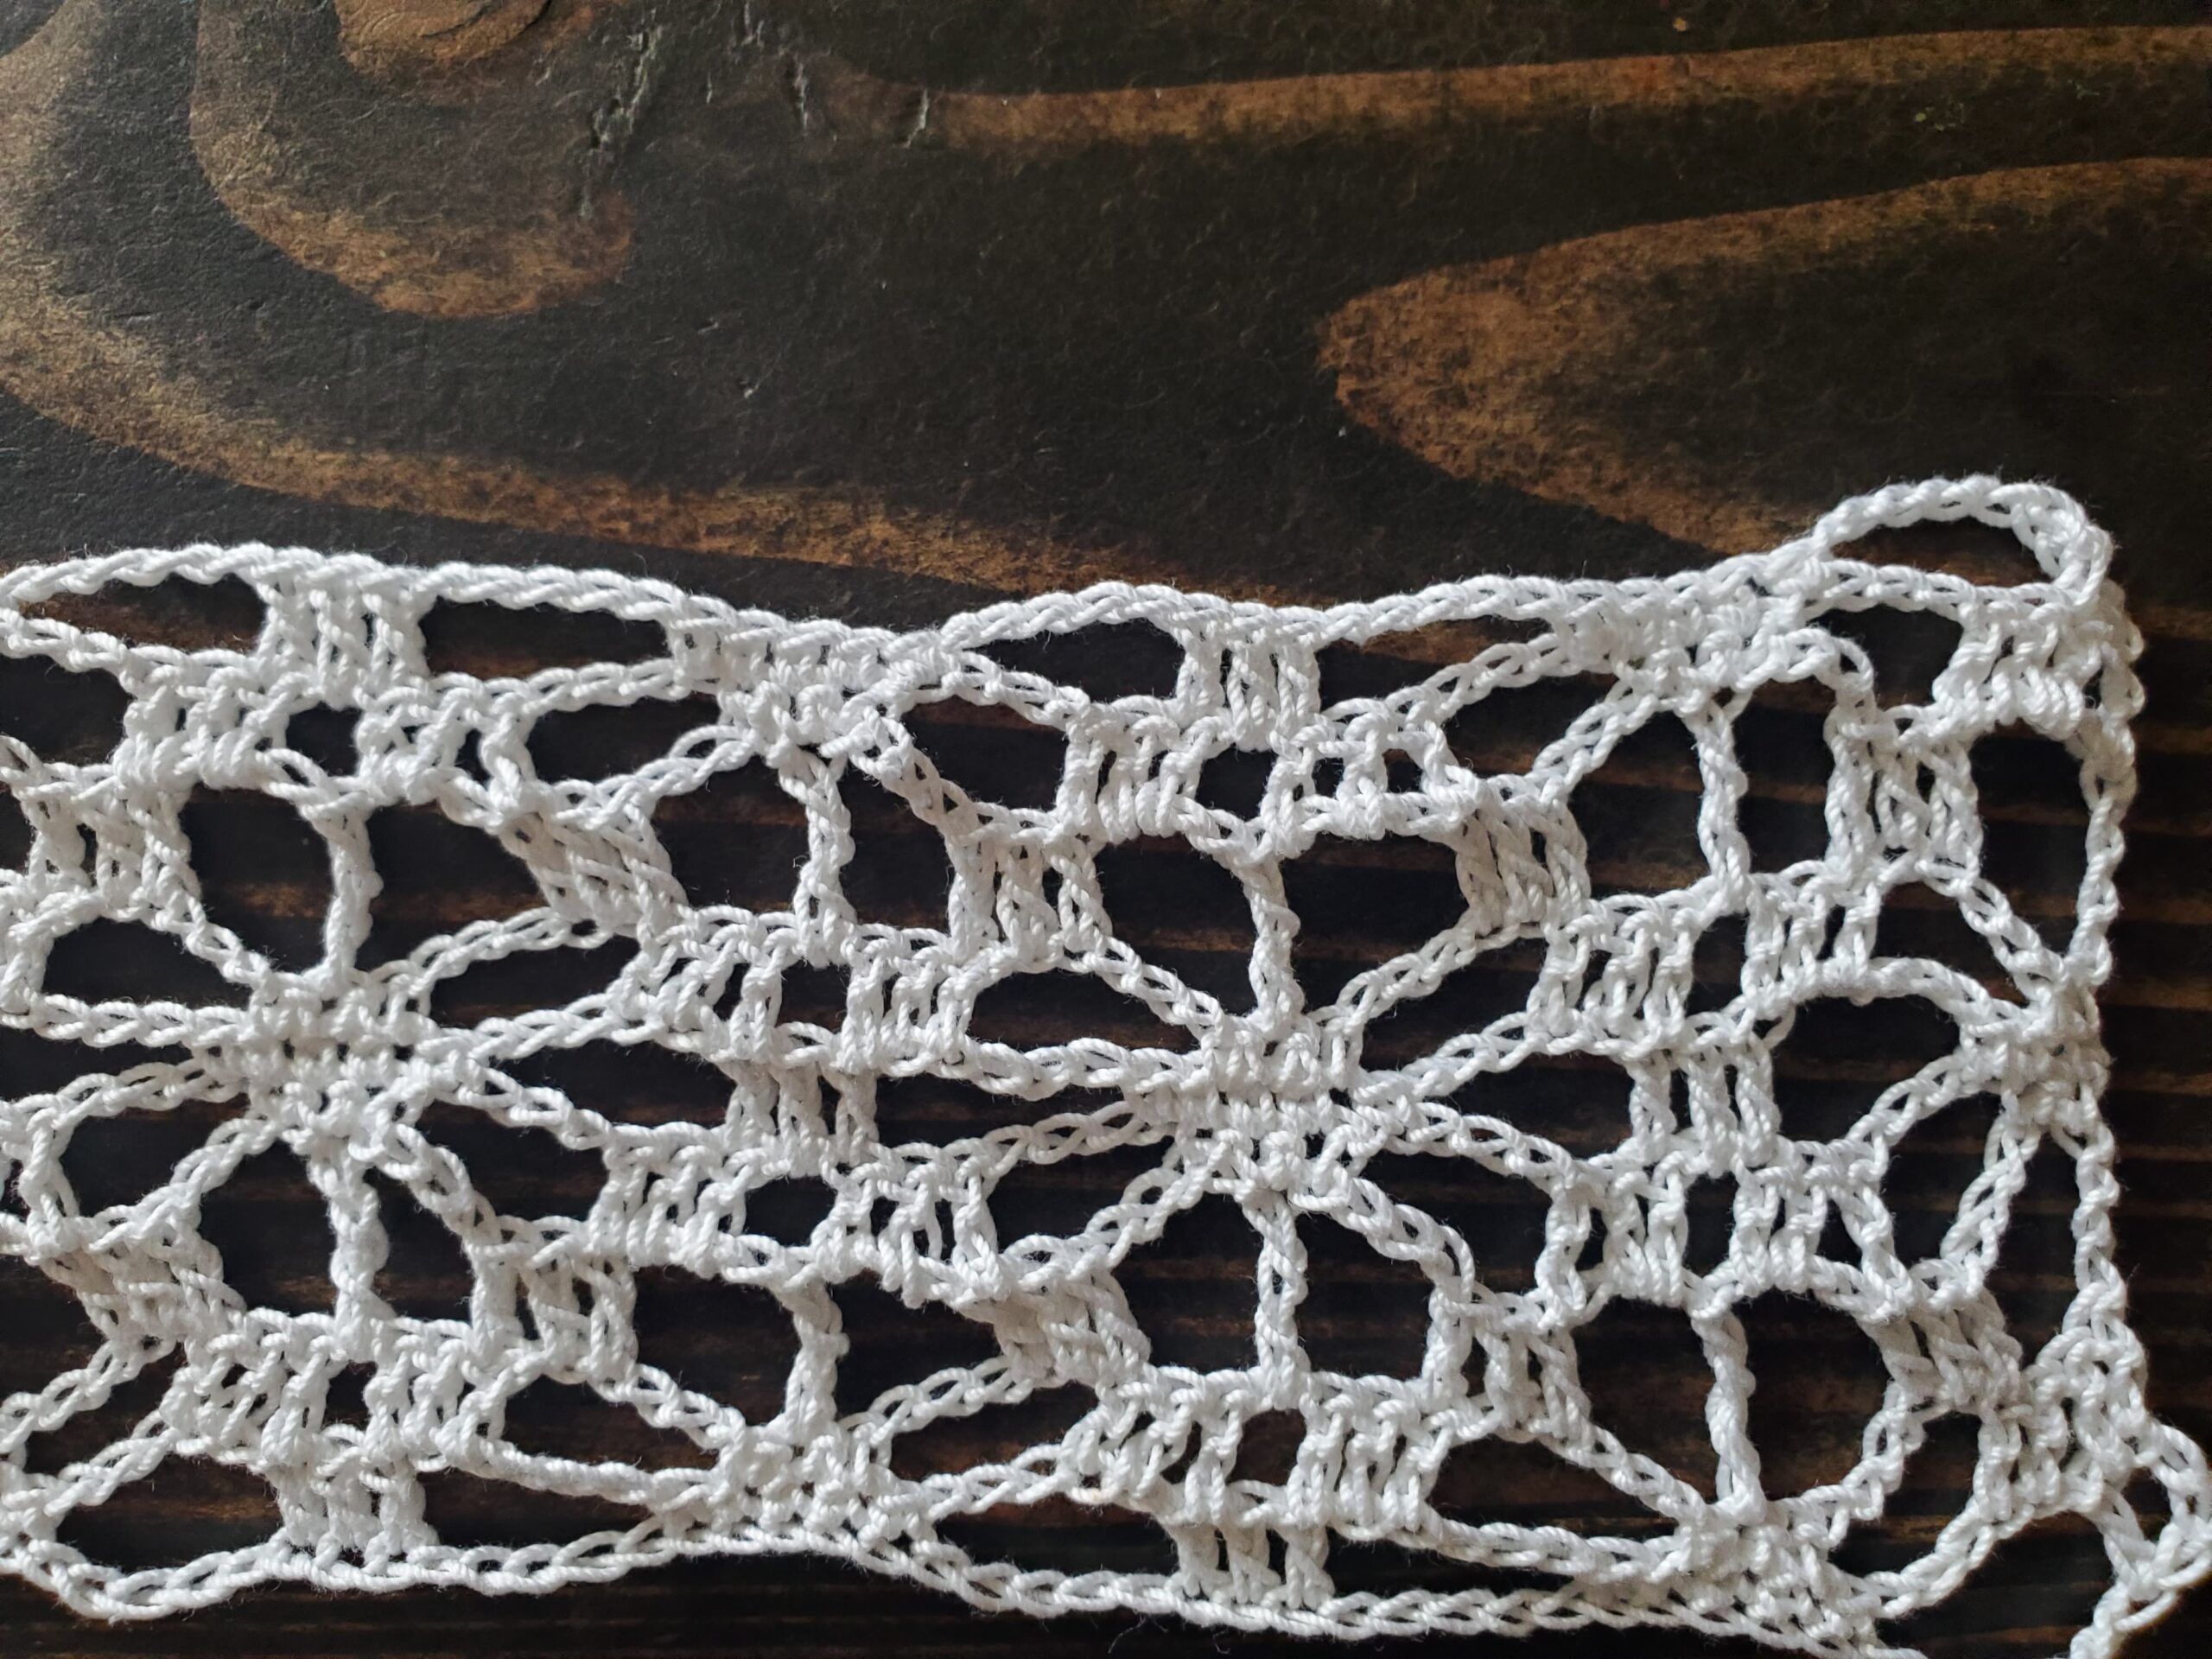
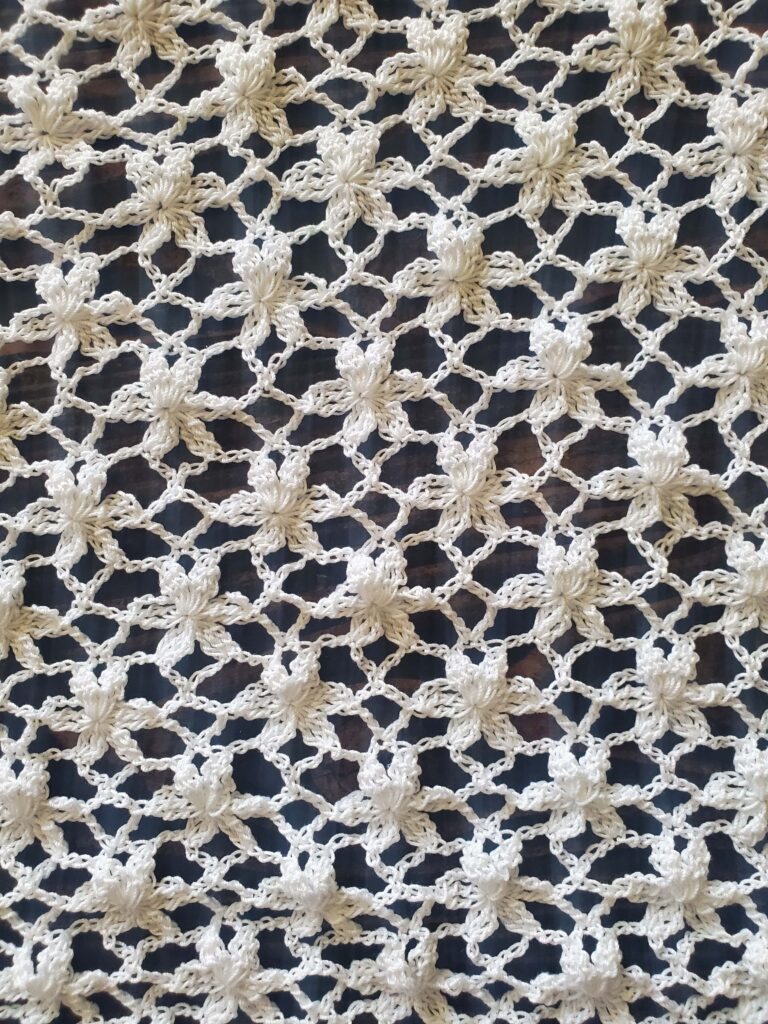
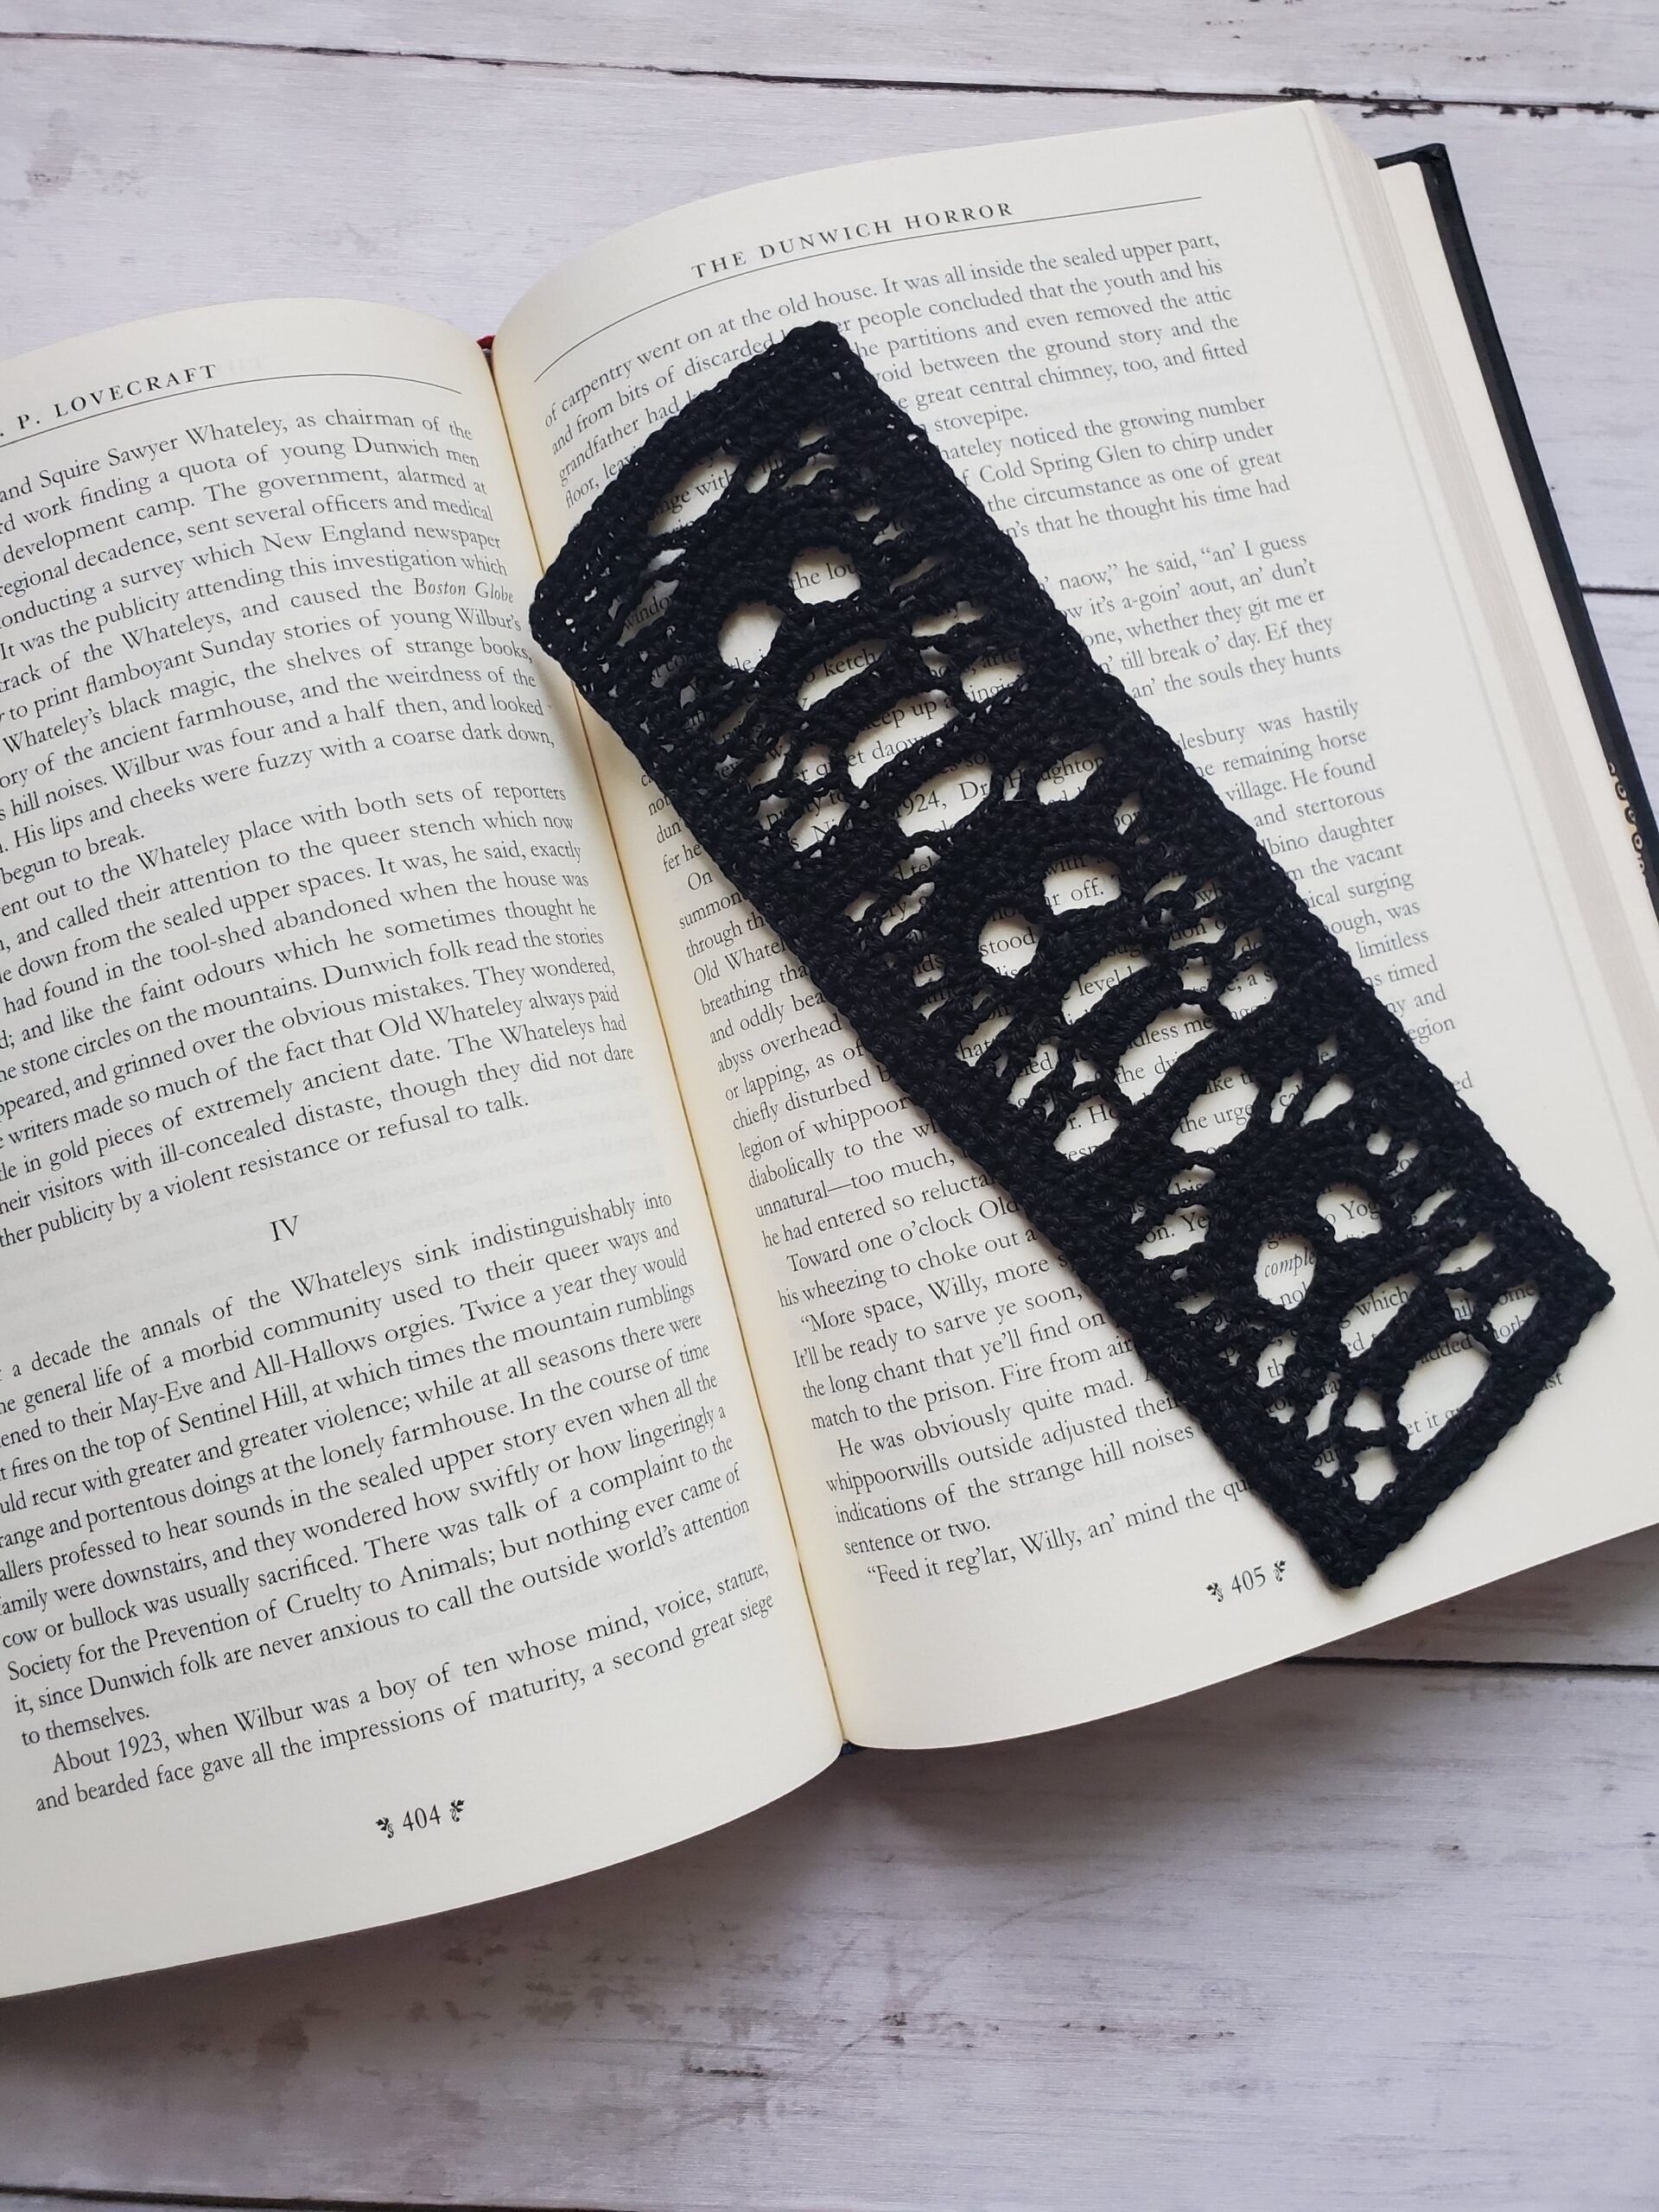
This crochet skull bookmark combines lace and literature with a touch of quirky charm. If you’re a fan of spooky tales, a lover of Gothic literature, or simply appreciate unique and eye-catching crochet bookmarks, this pattern is sure to get you inspired.
The Grim Reader Bookmark will serve as a companion for all your reading adventures and is suitable for both beginner and experienced crocheters.
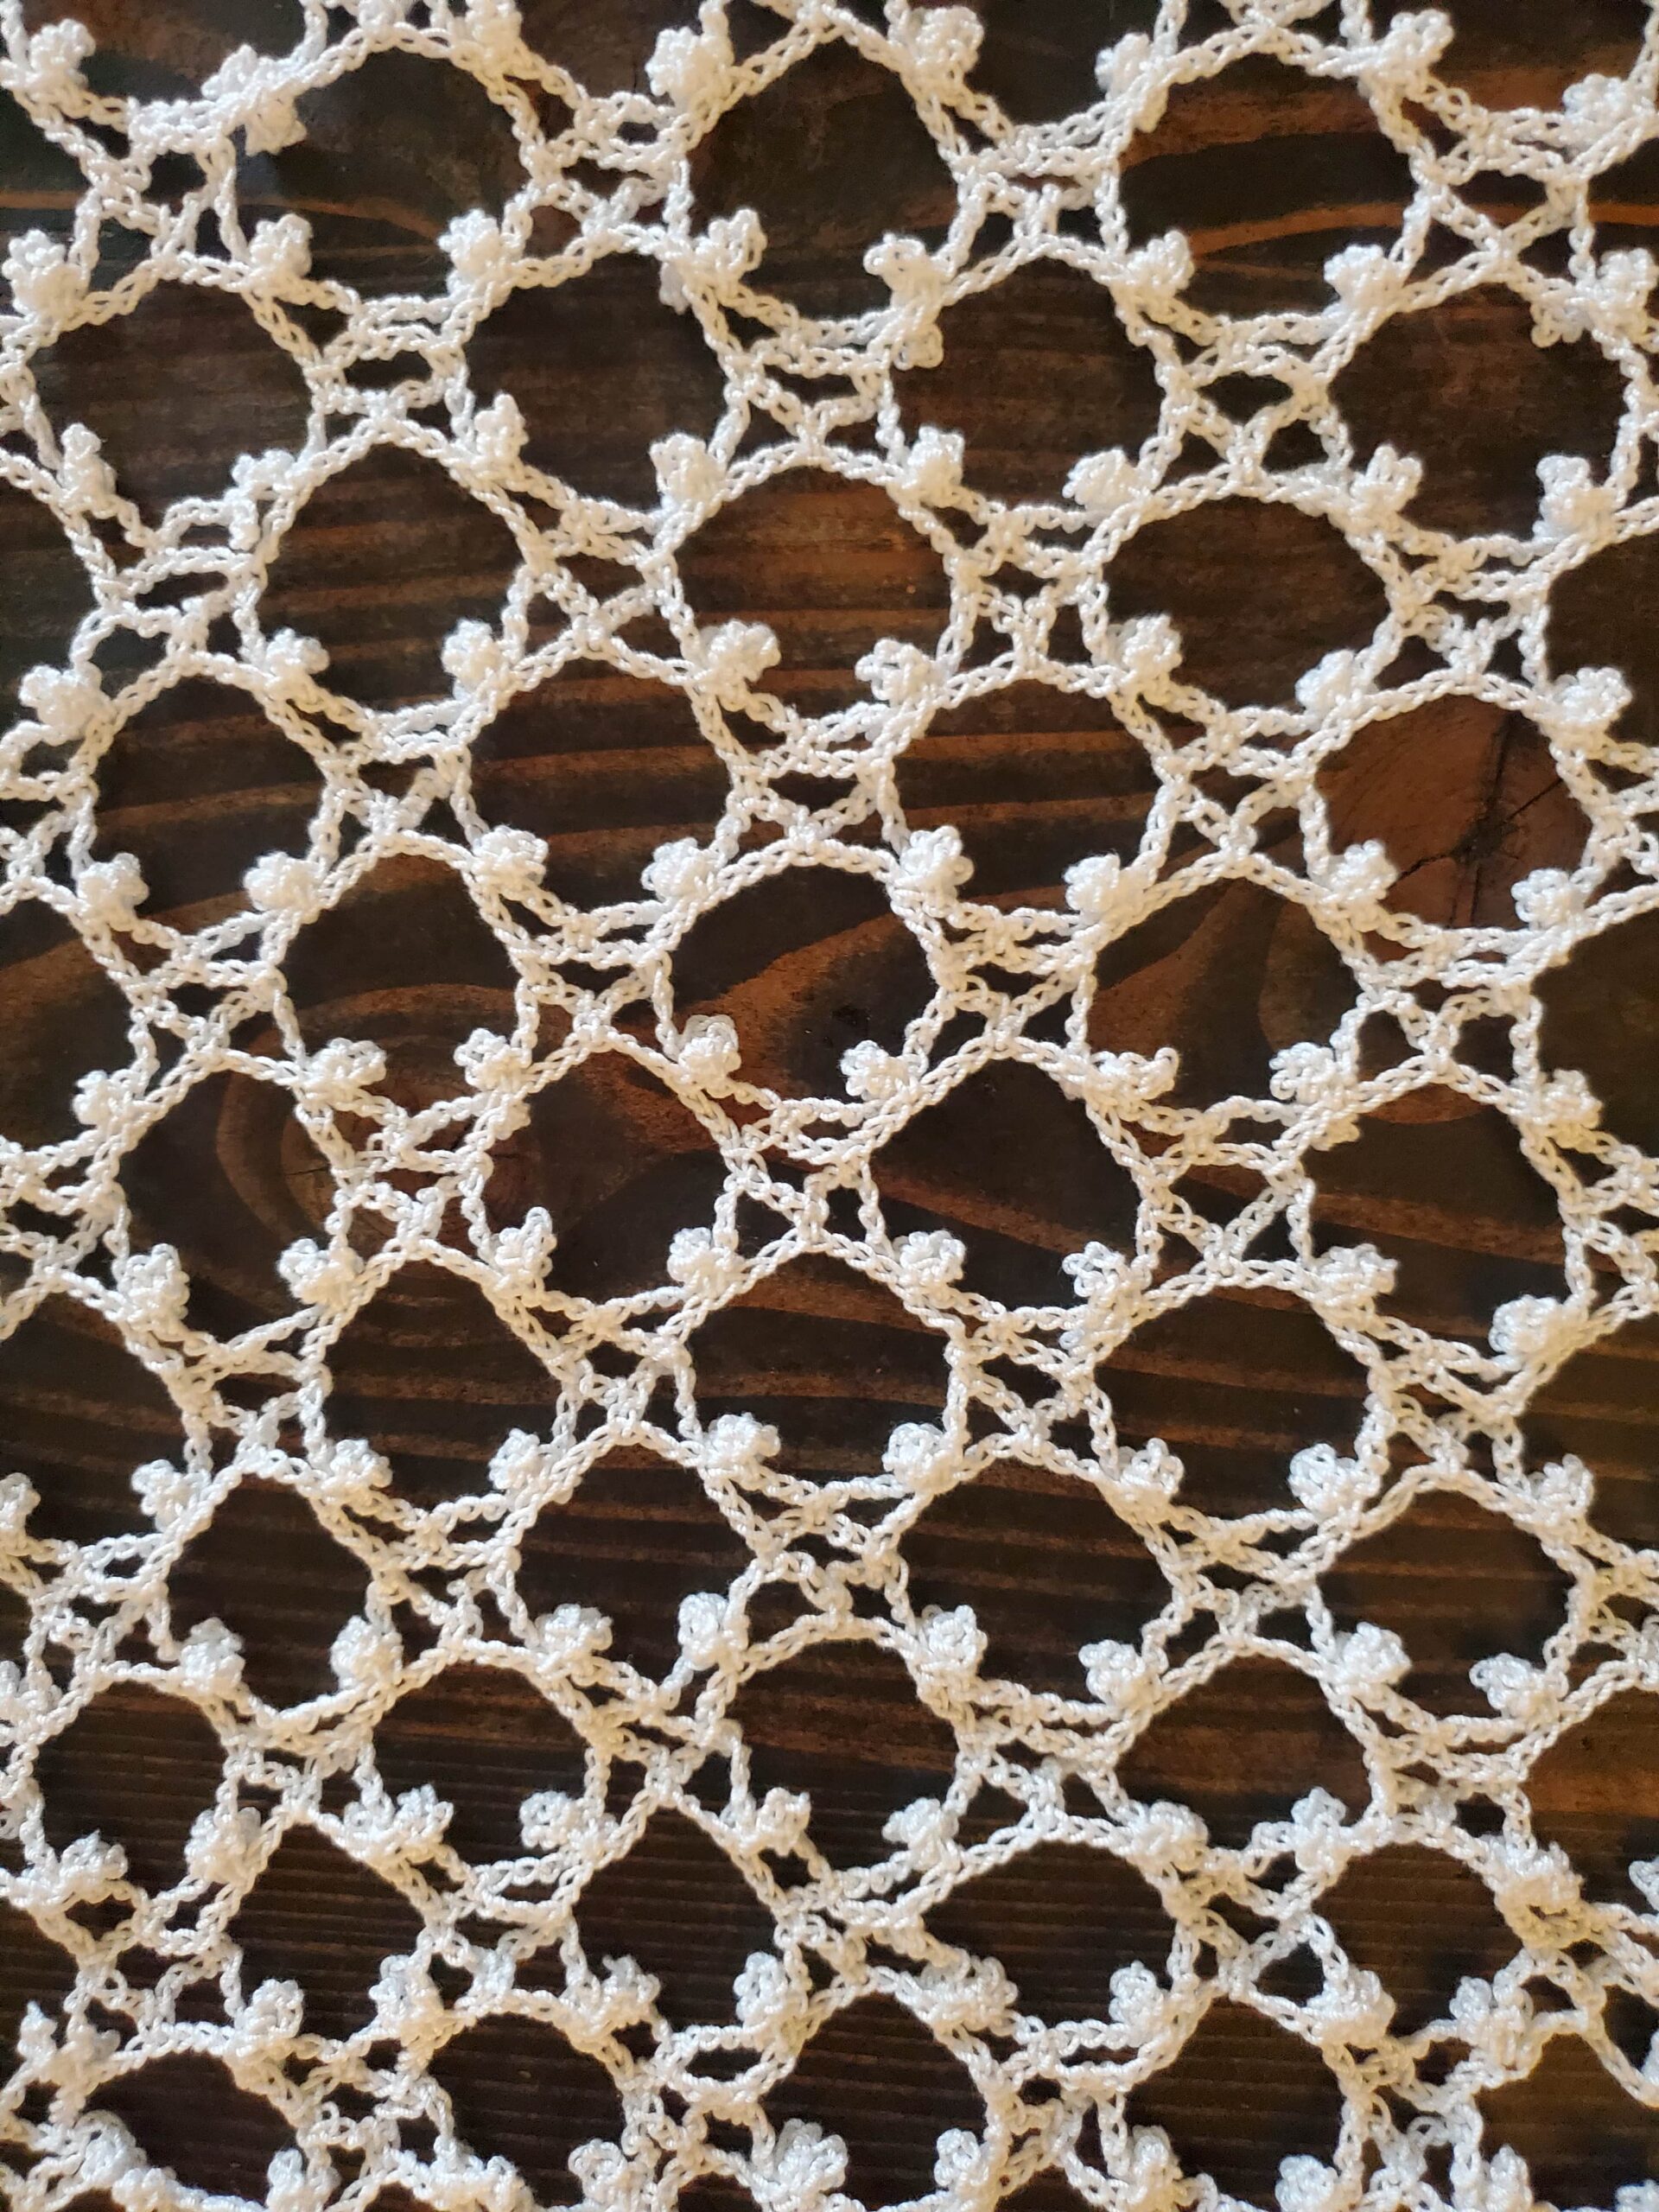
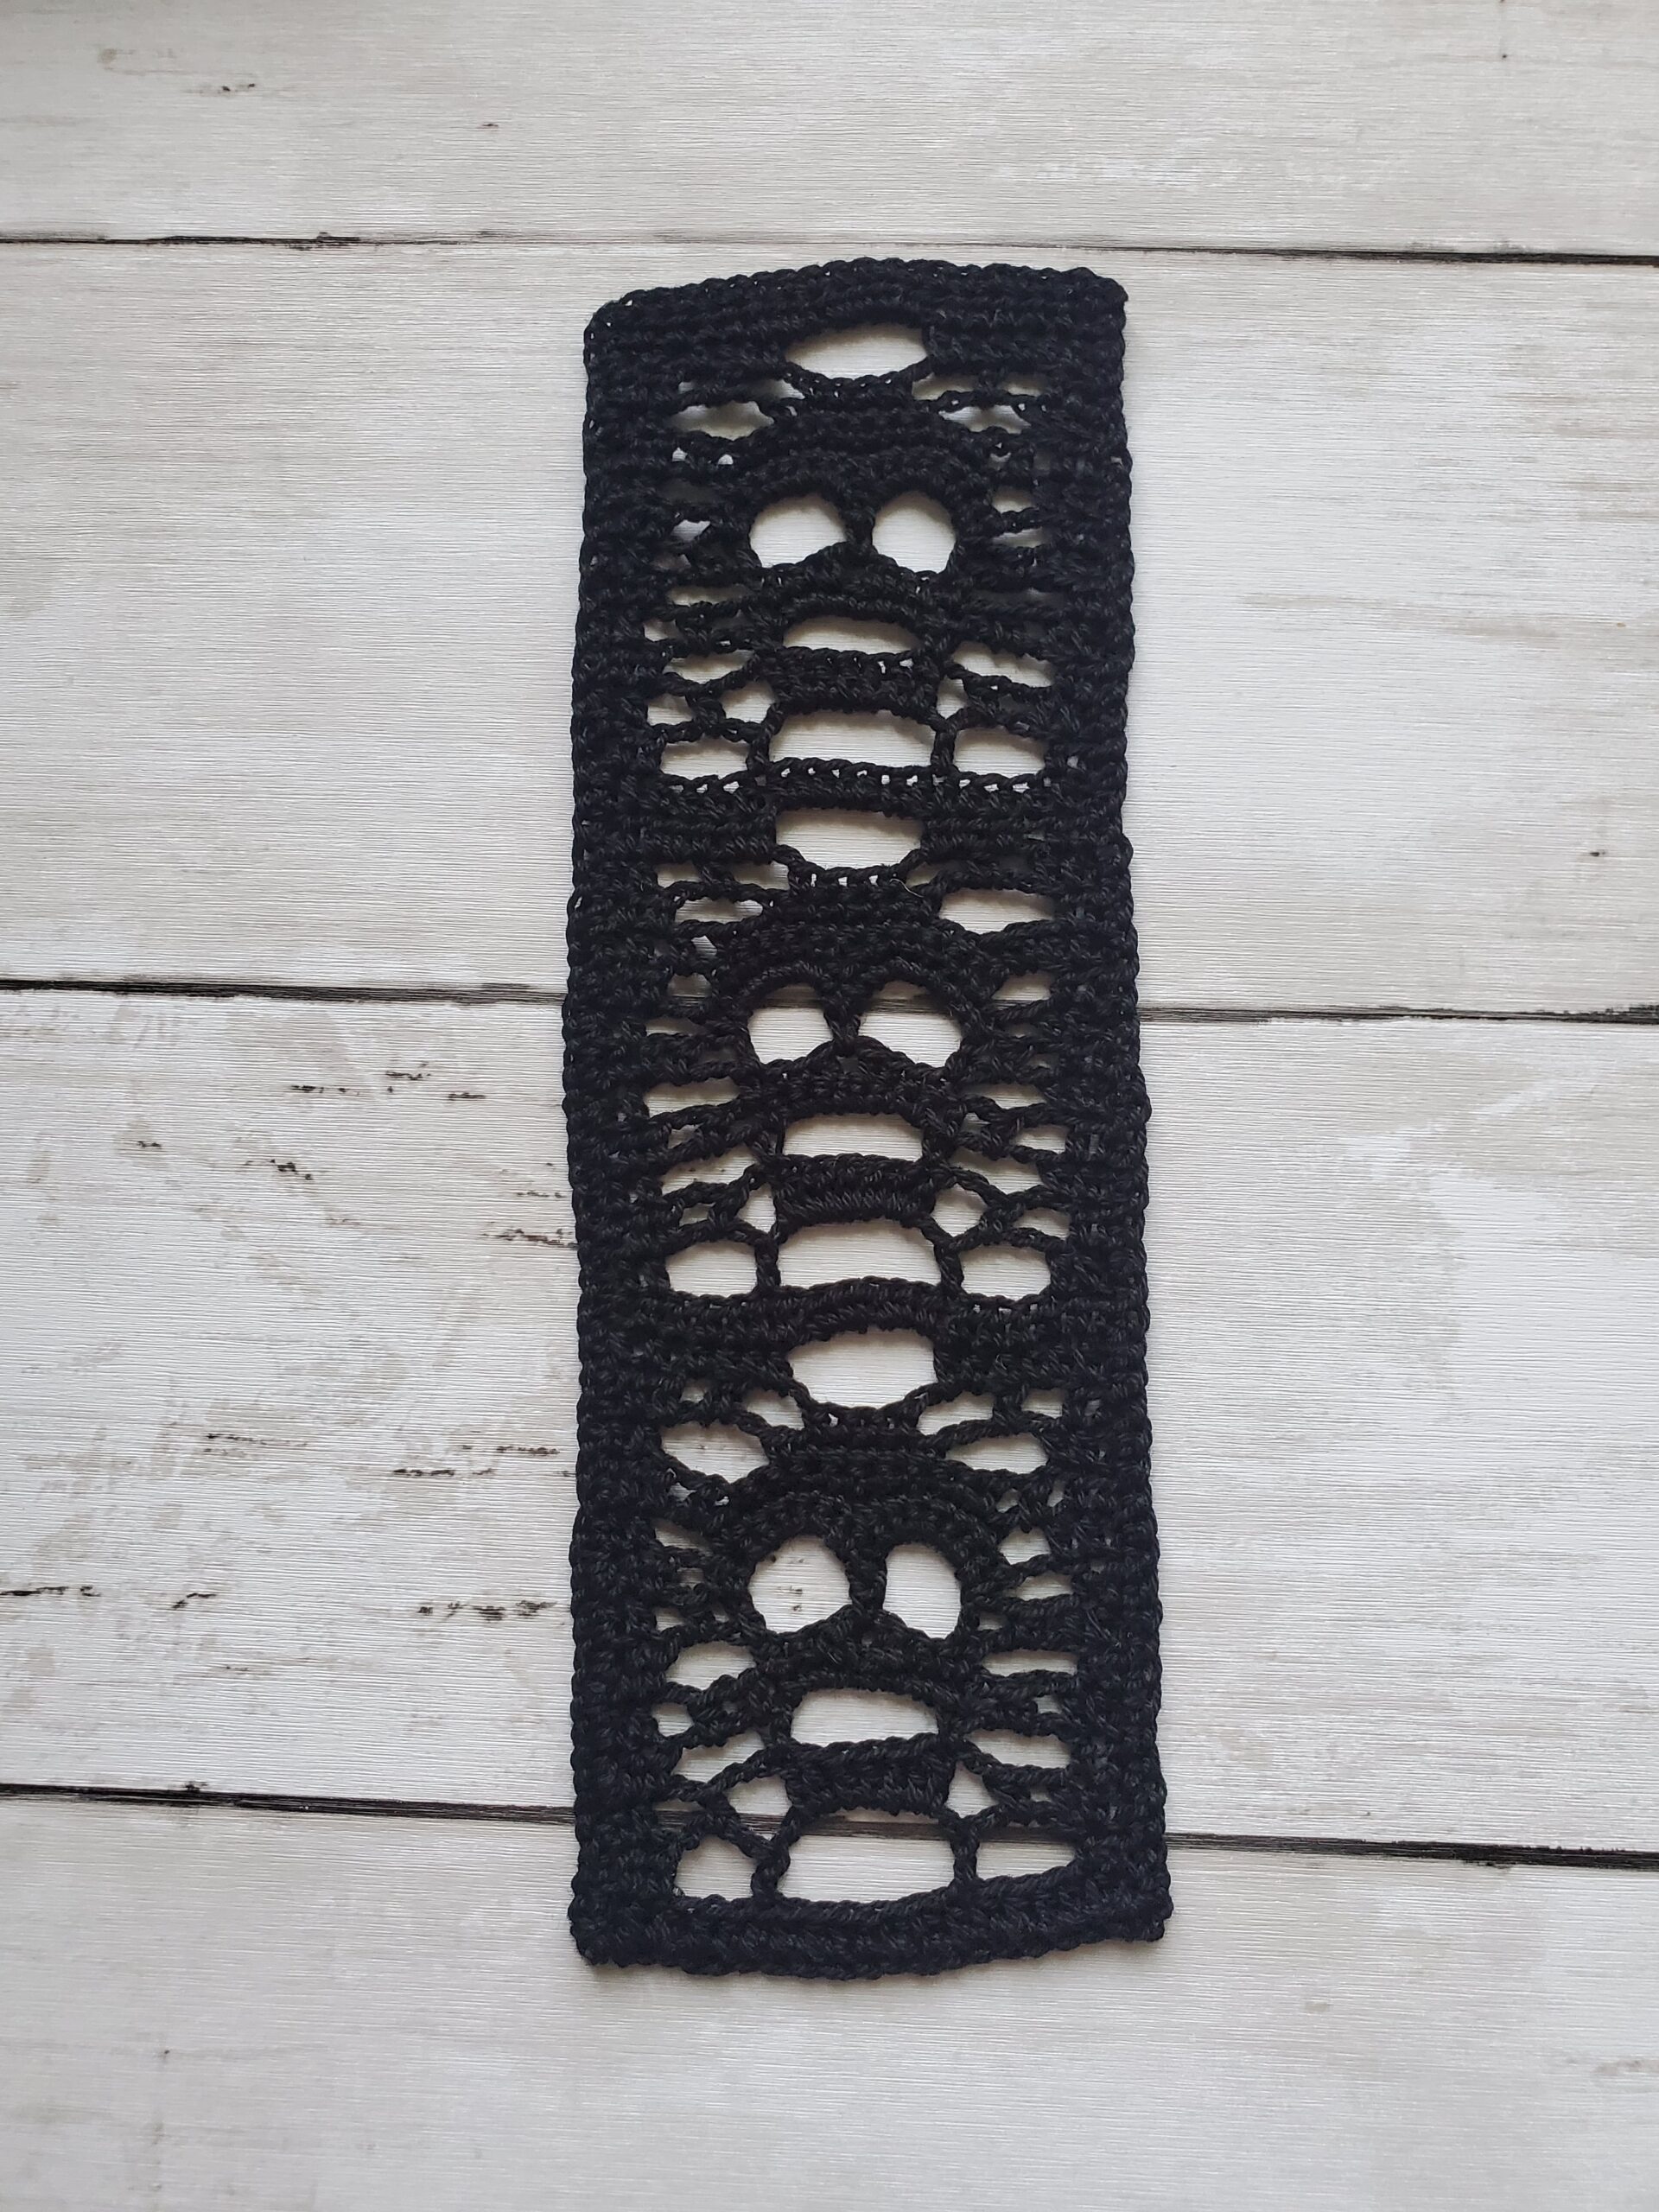
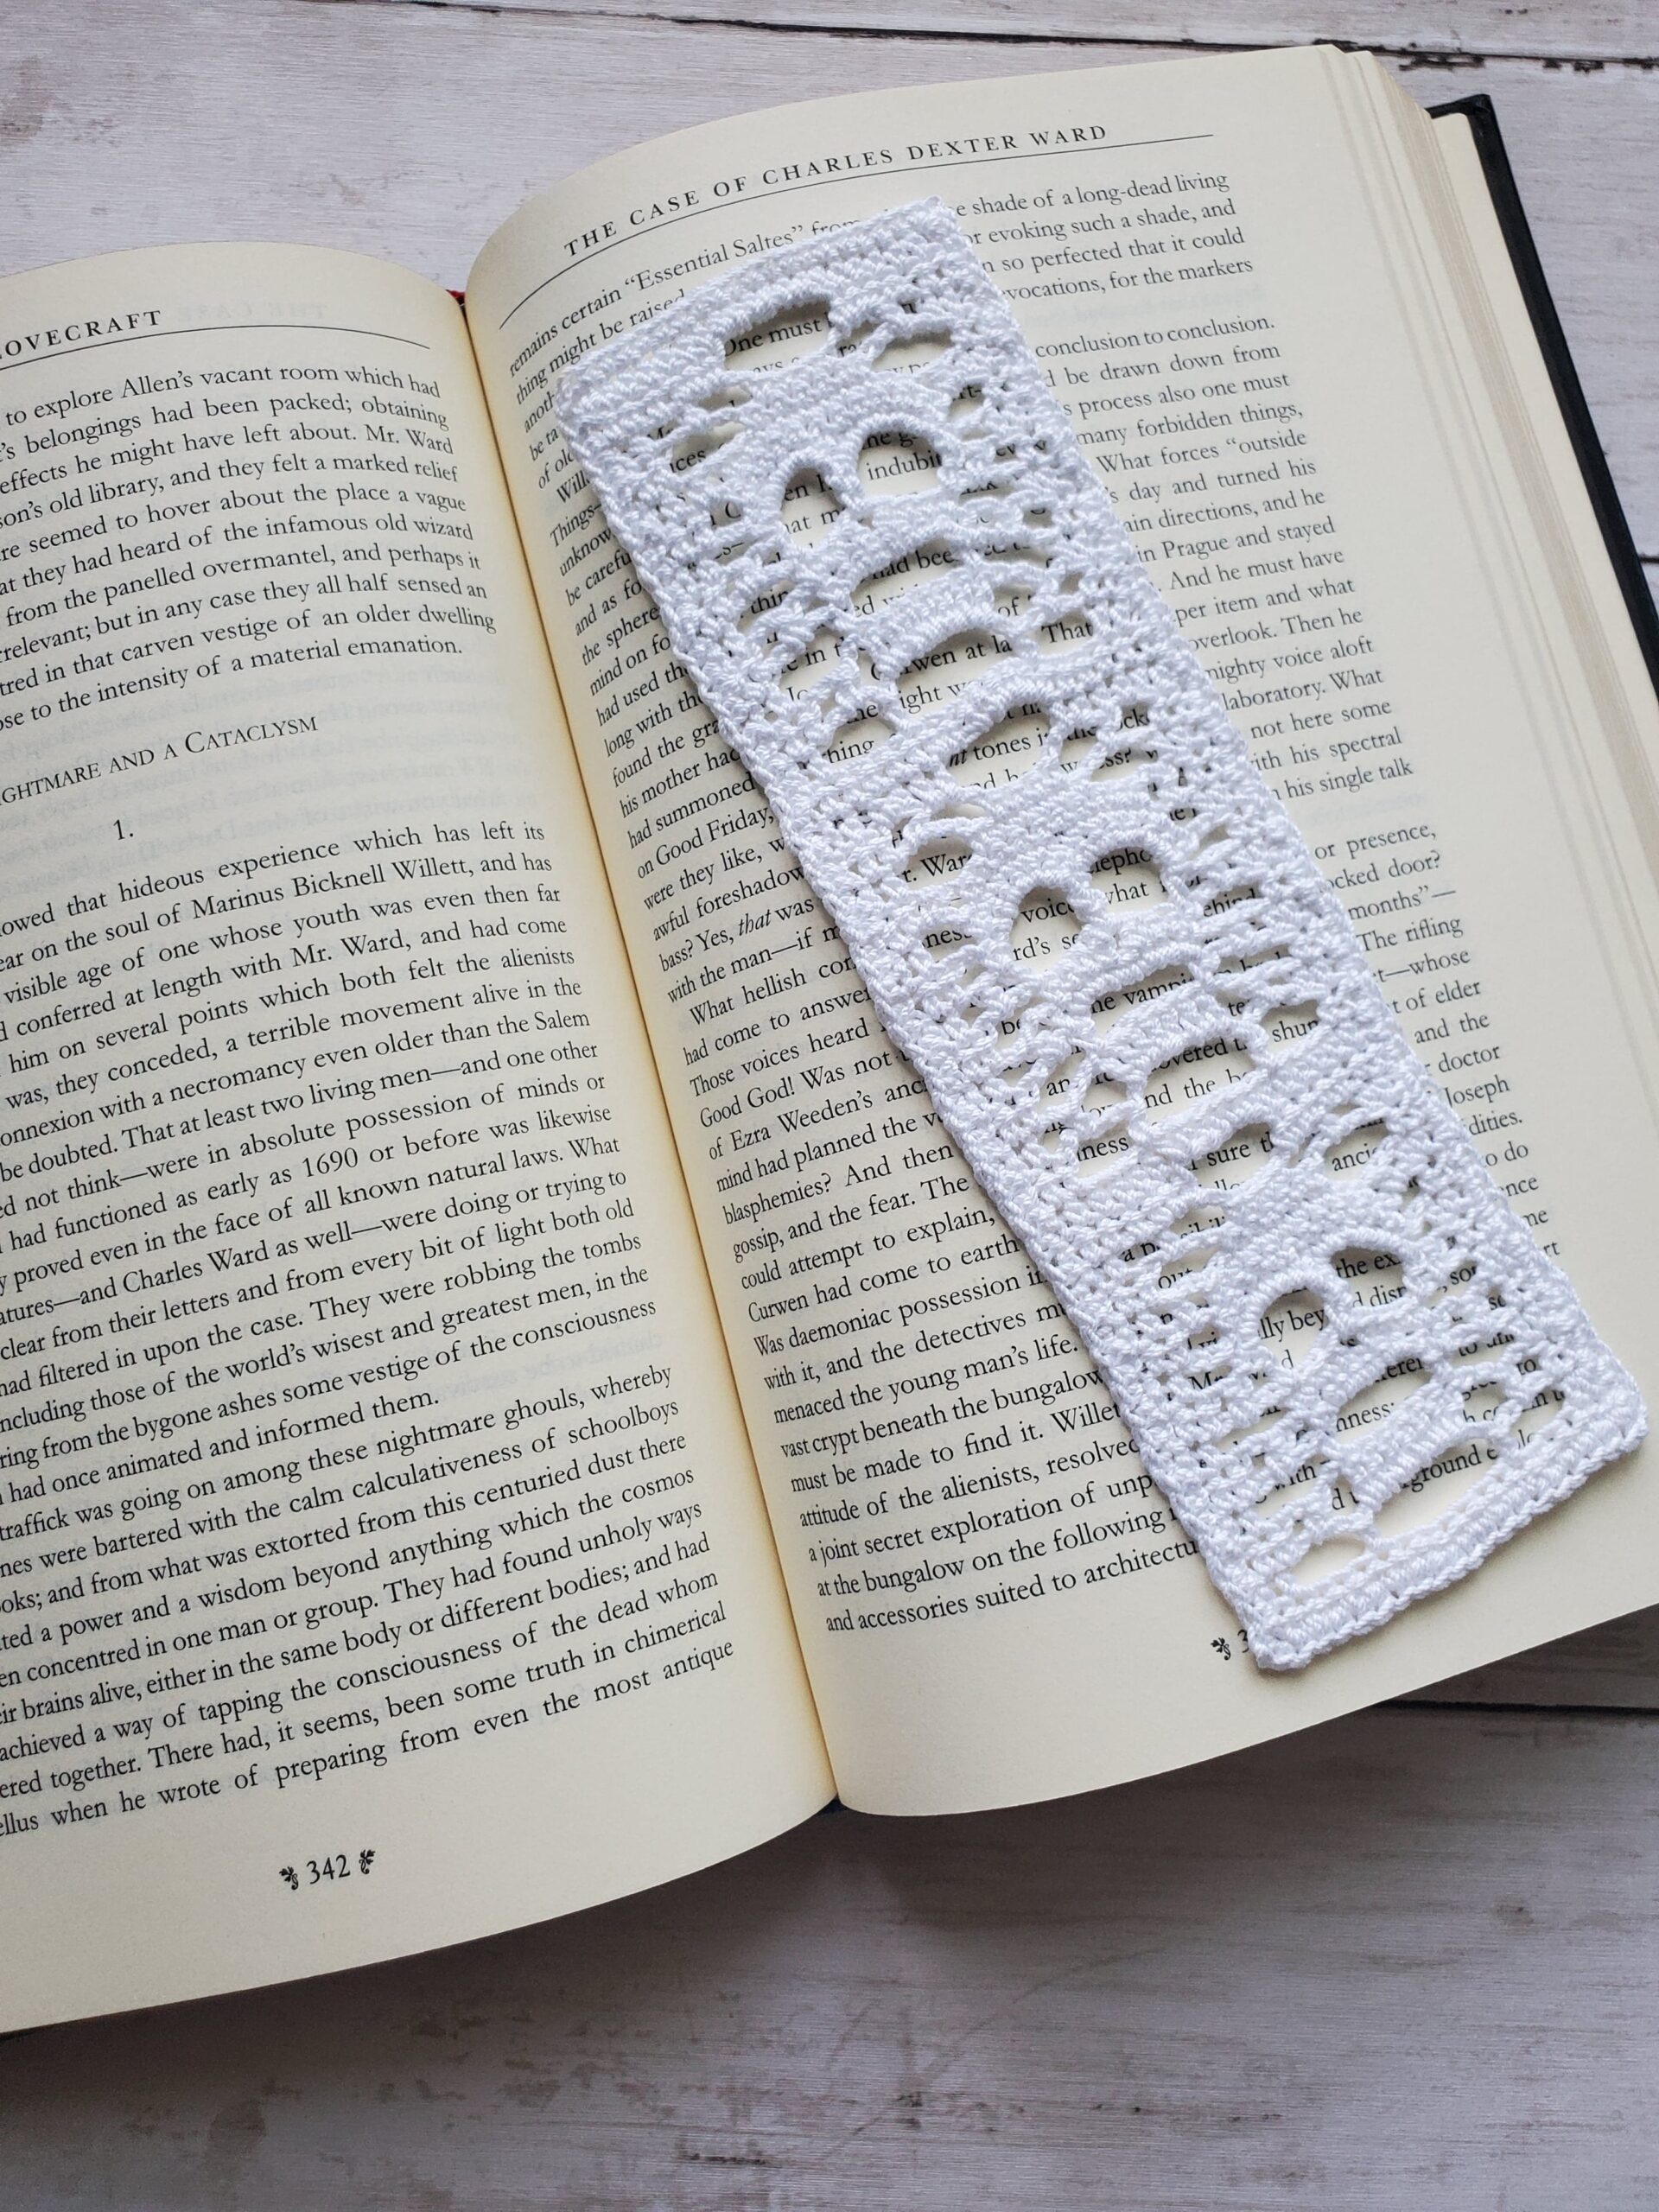
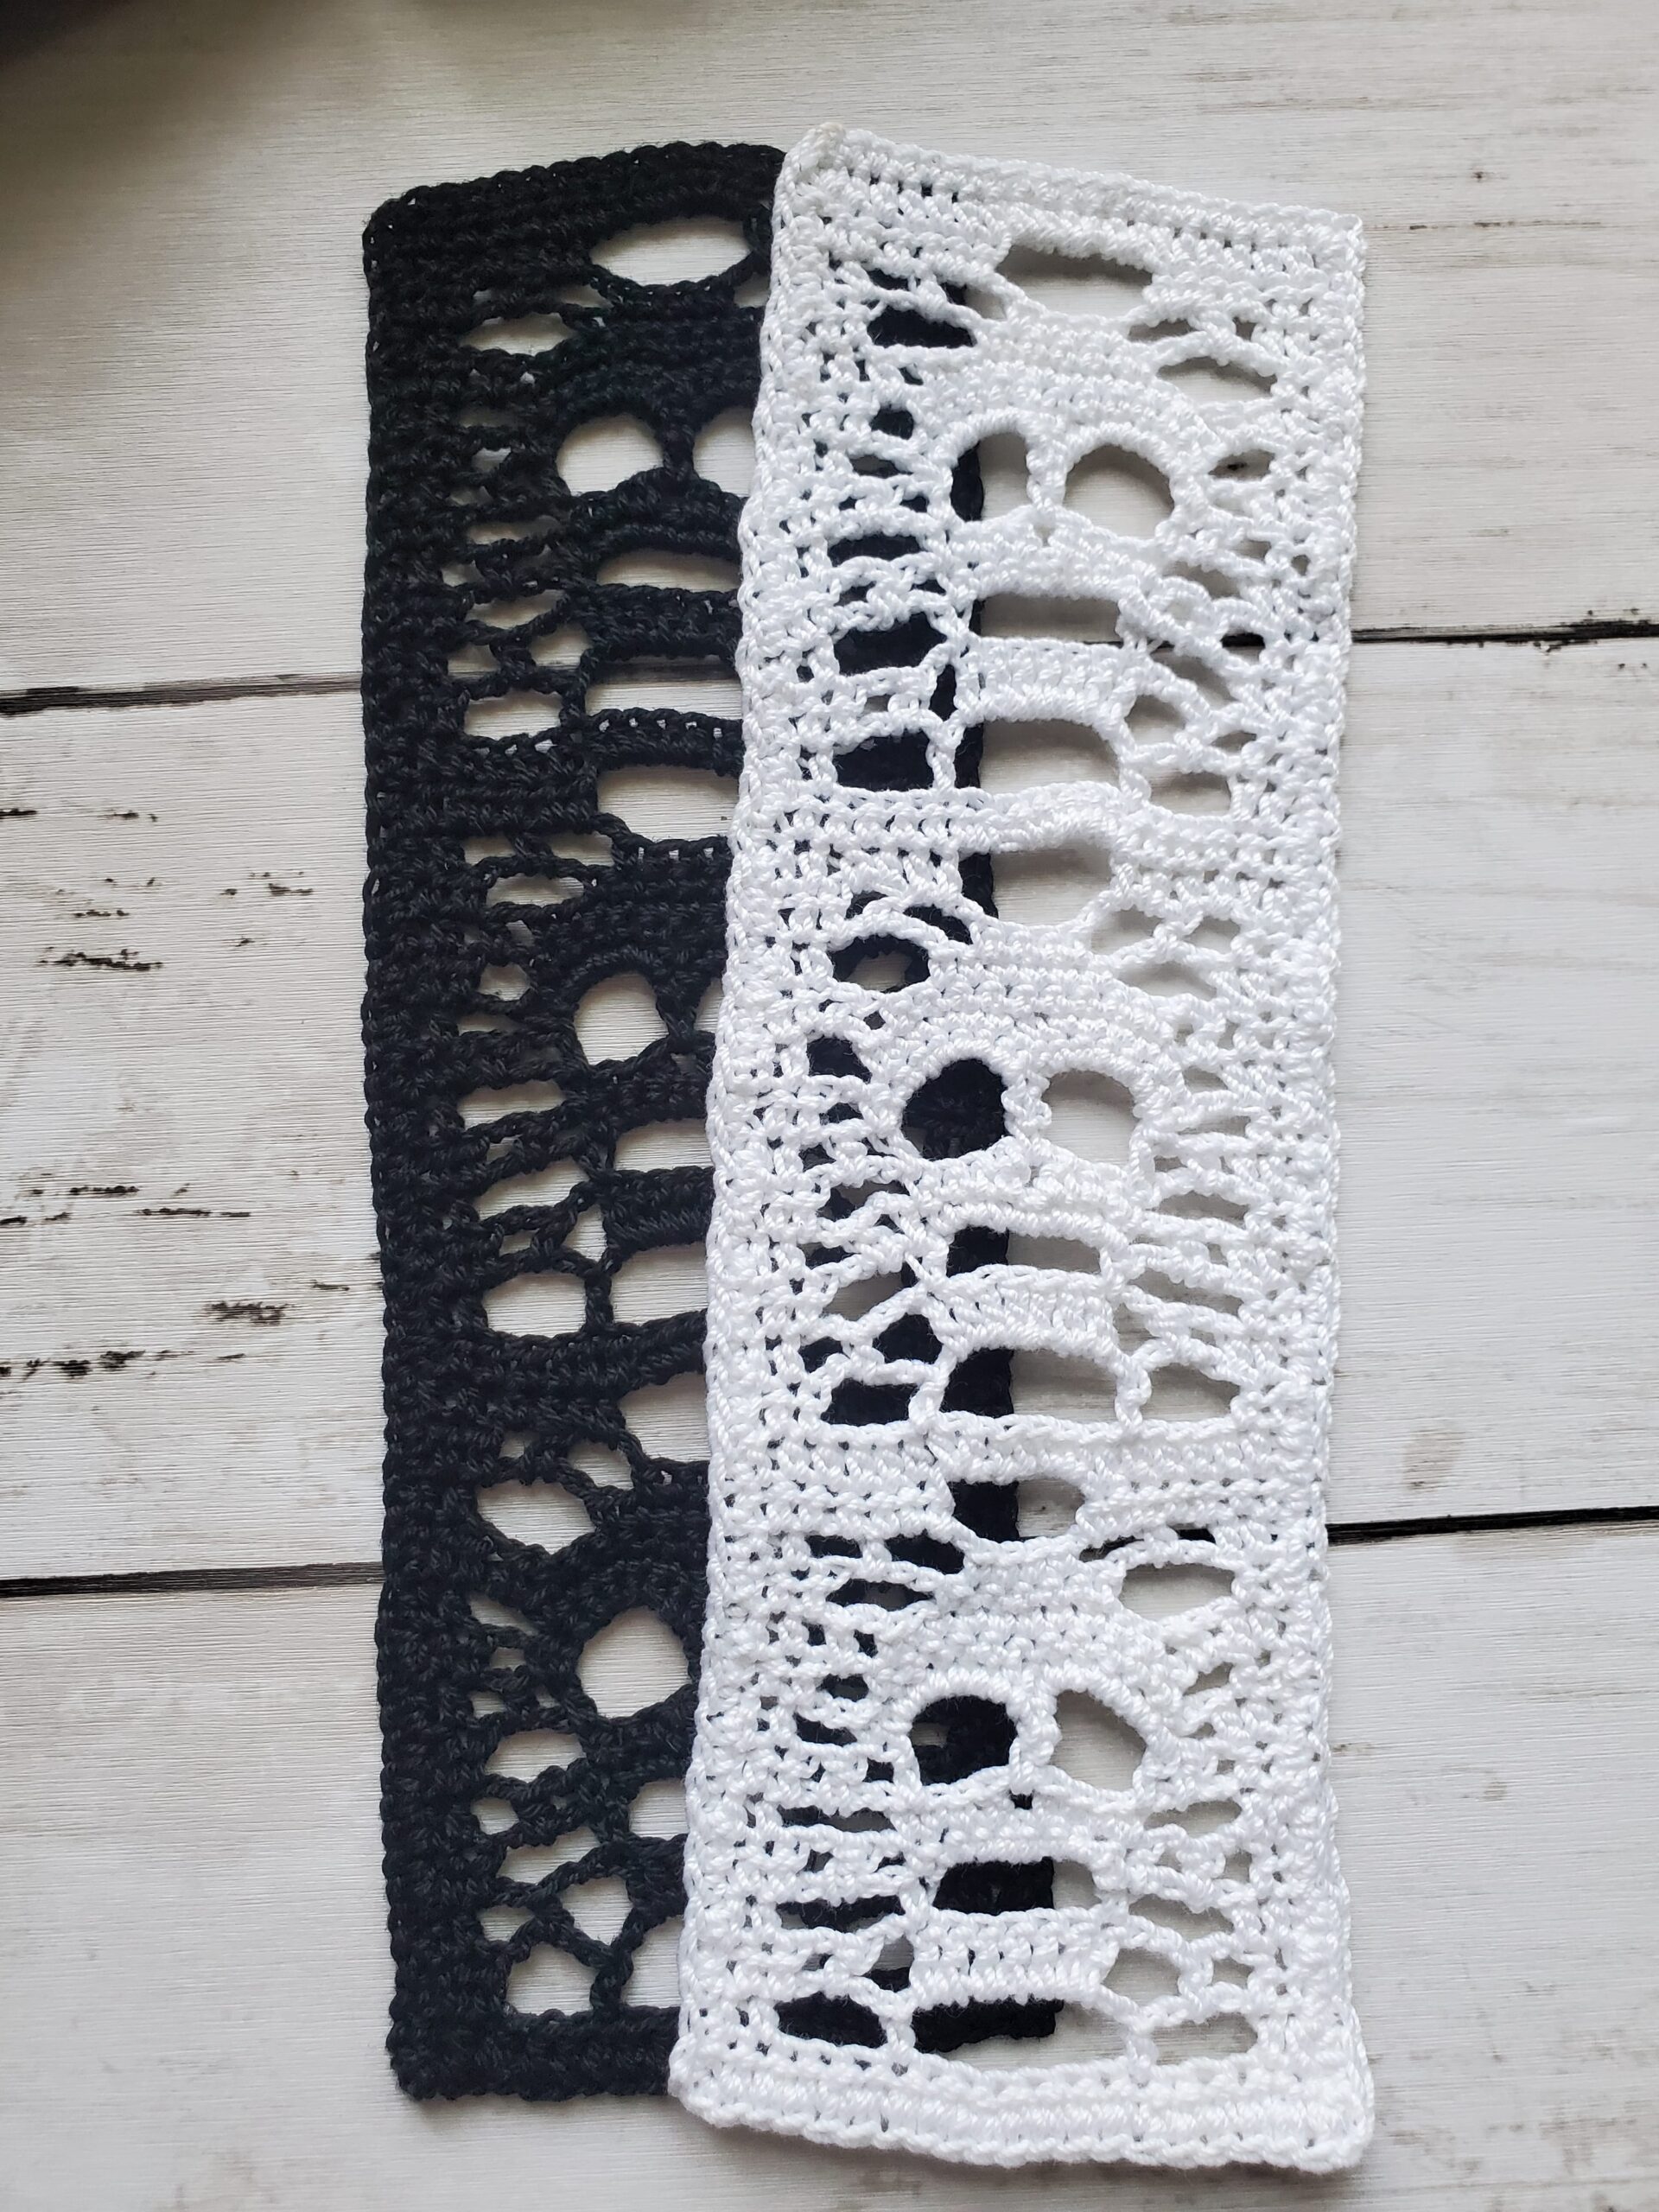
I’ve used white and black crochet thread for this pattern, but I encourage you to experiment with different colors to customize your skull bookmark according to your style and preferences.
Not only is this a fun and Gothic project for yourself, the Grim Reader also makes for a fantastic gift for fellow book lovers, teachers, librarians, or anyone who appreciates the charm of handmade bookmarks. Pair it with a book that exudes those dark academia vibes and you’ve got the best night in!
Check out the pattern below!
Related Posts:
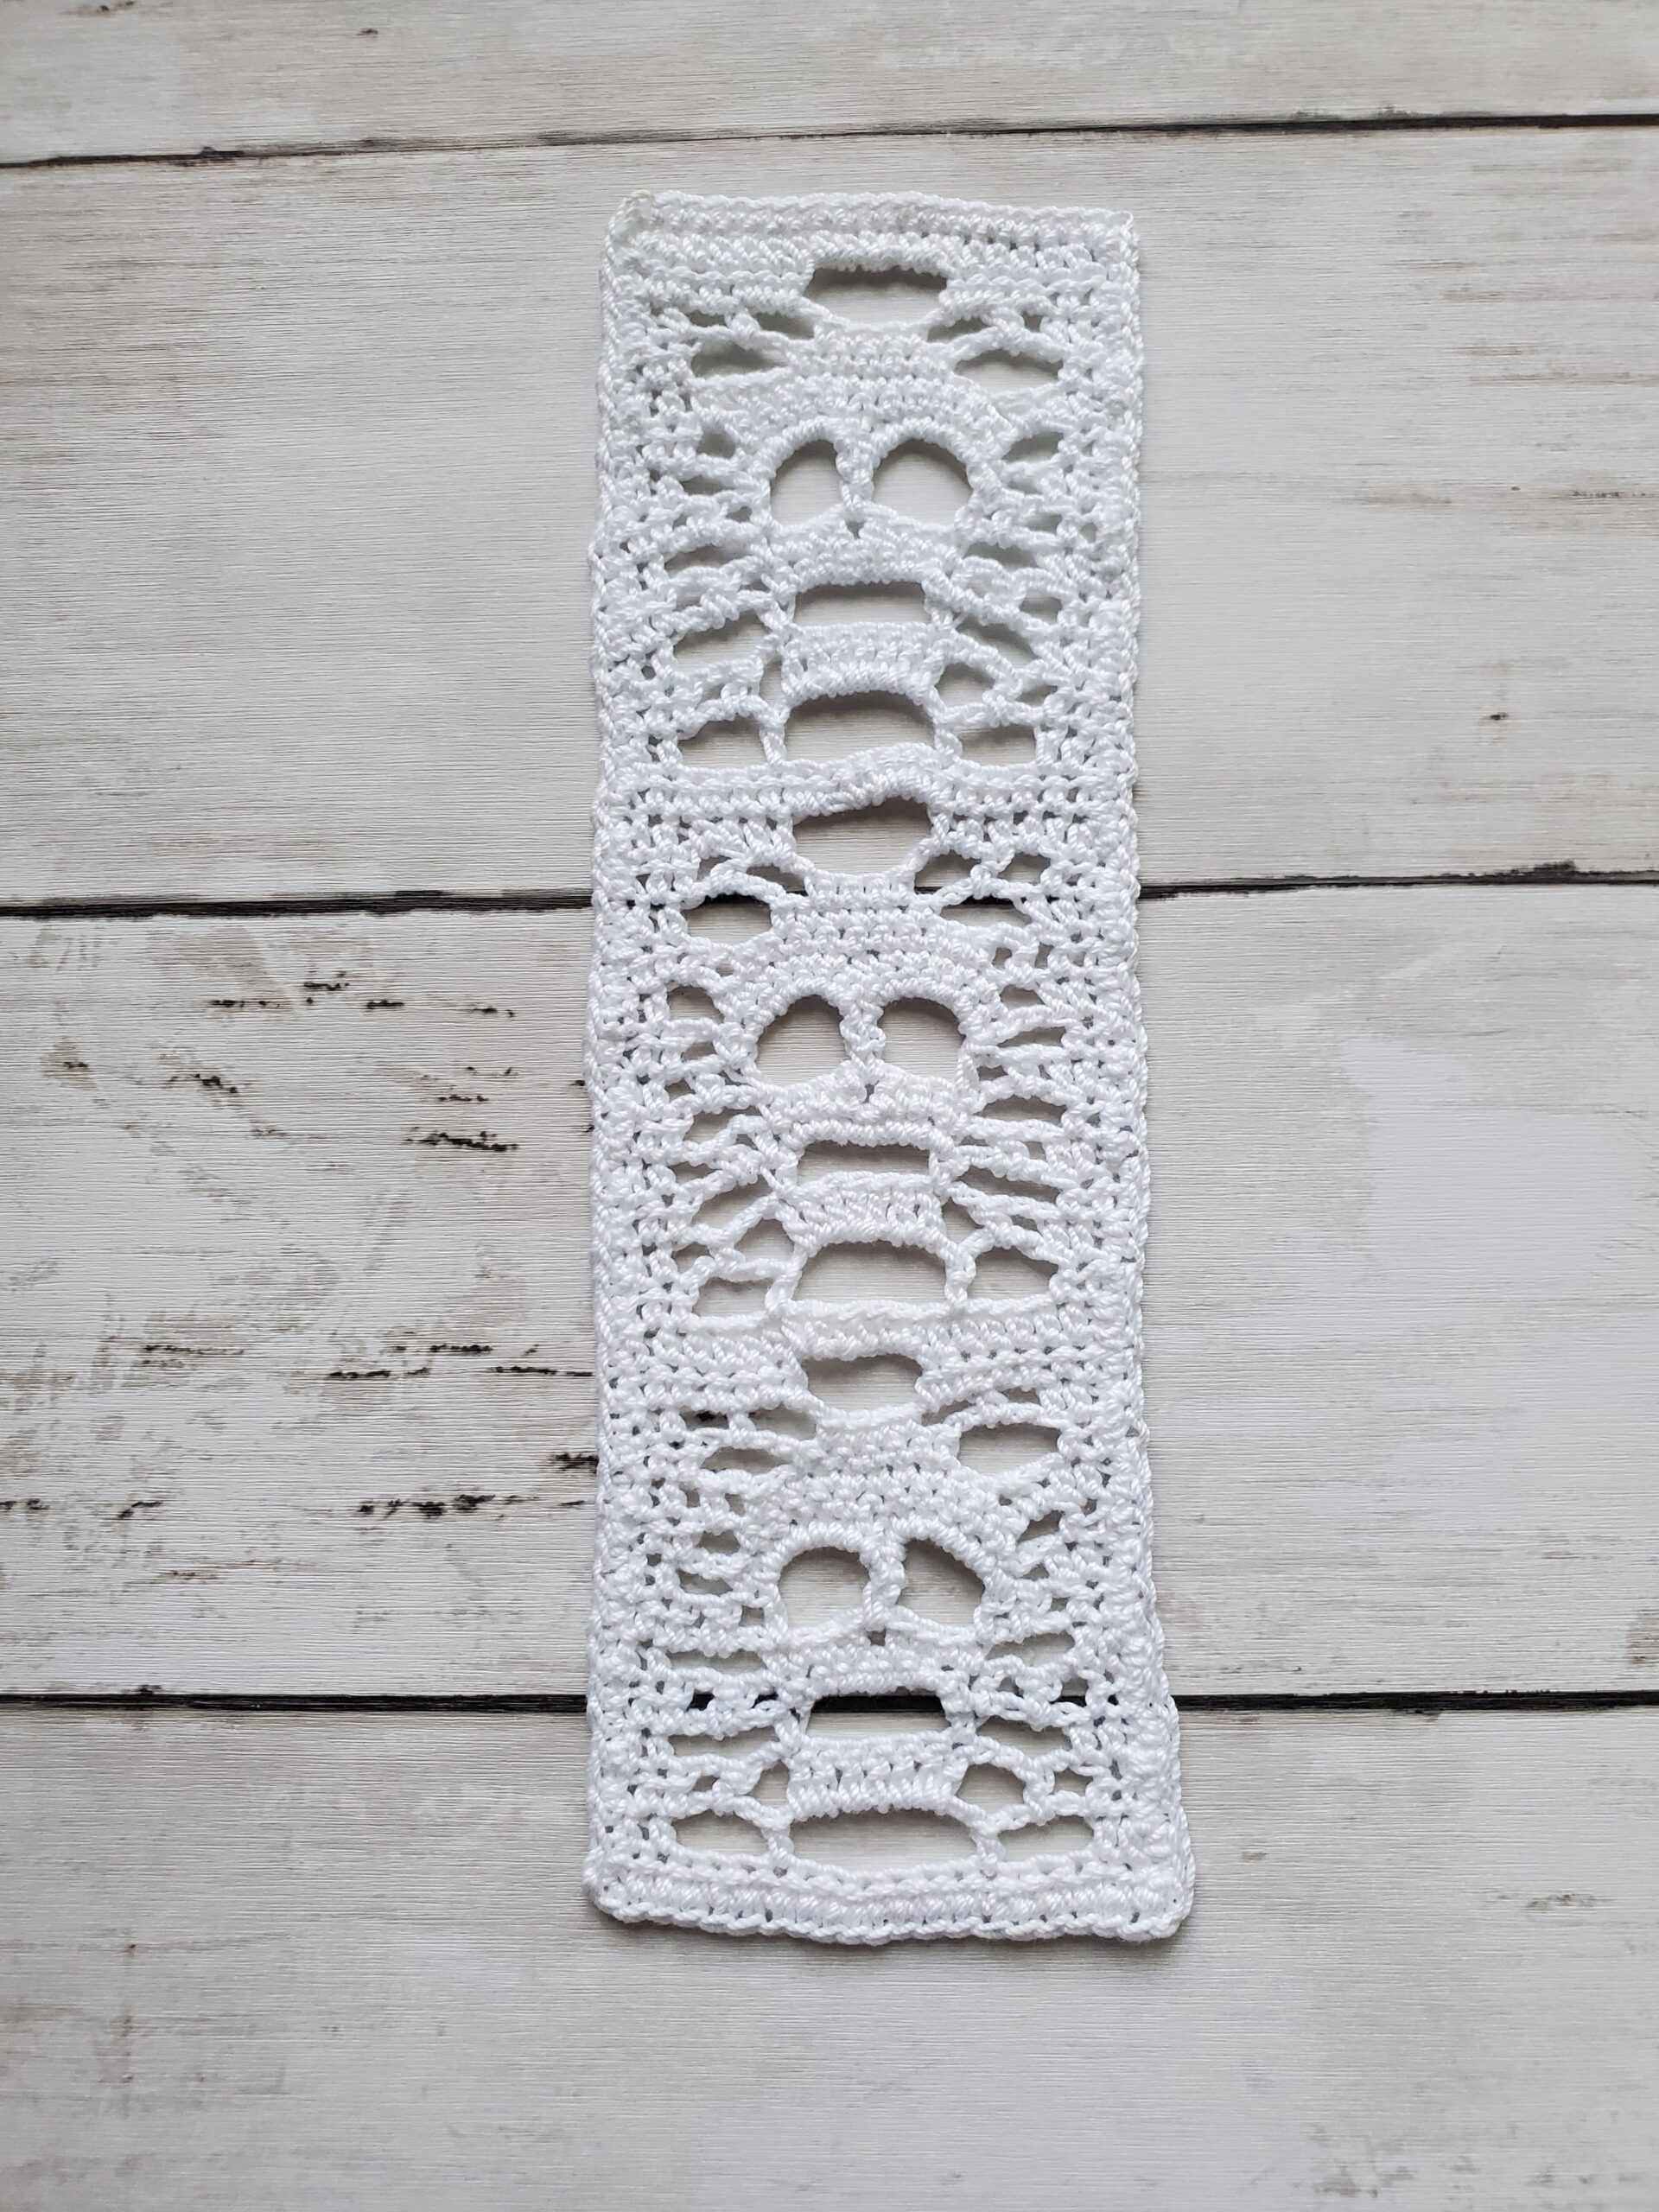
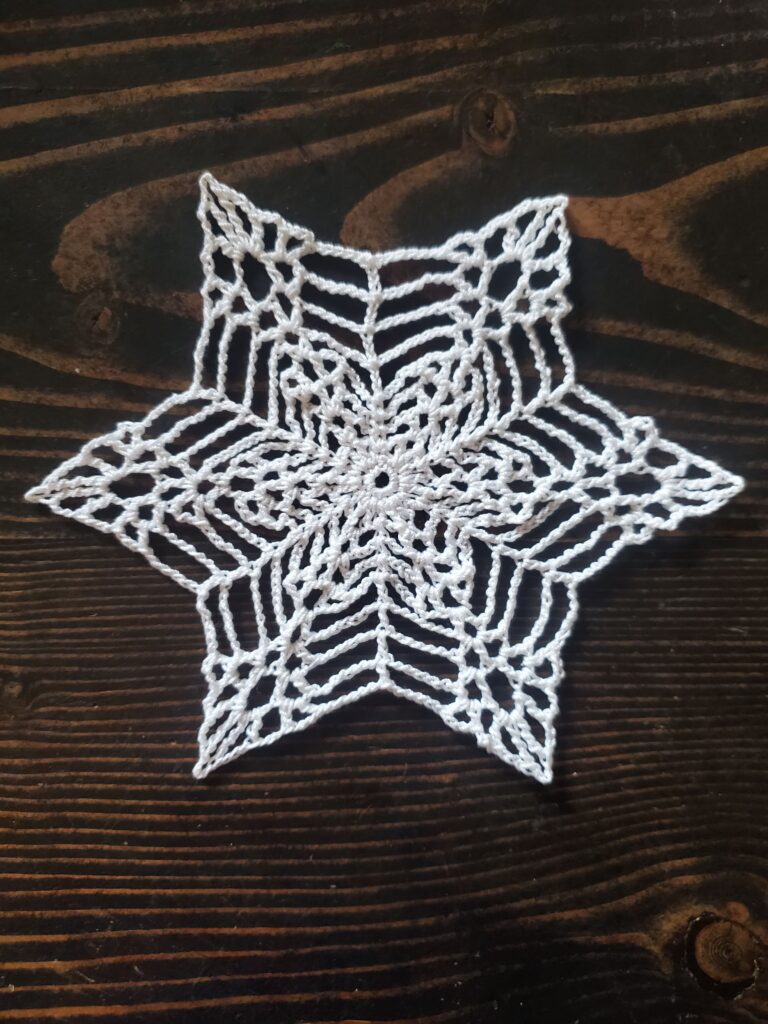
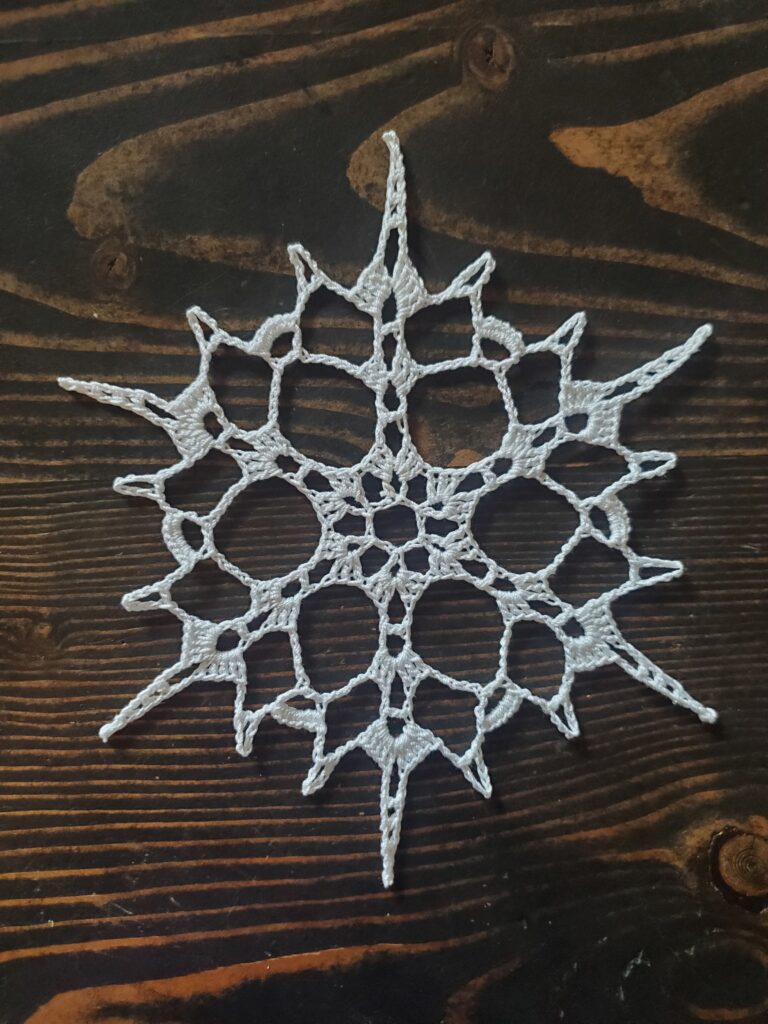
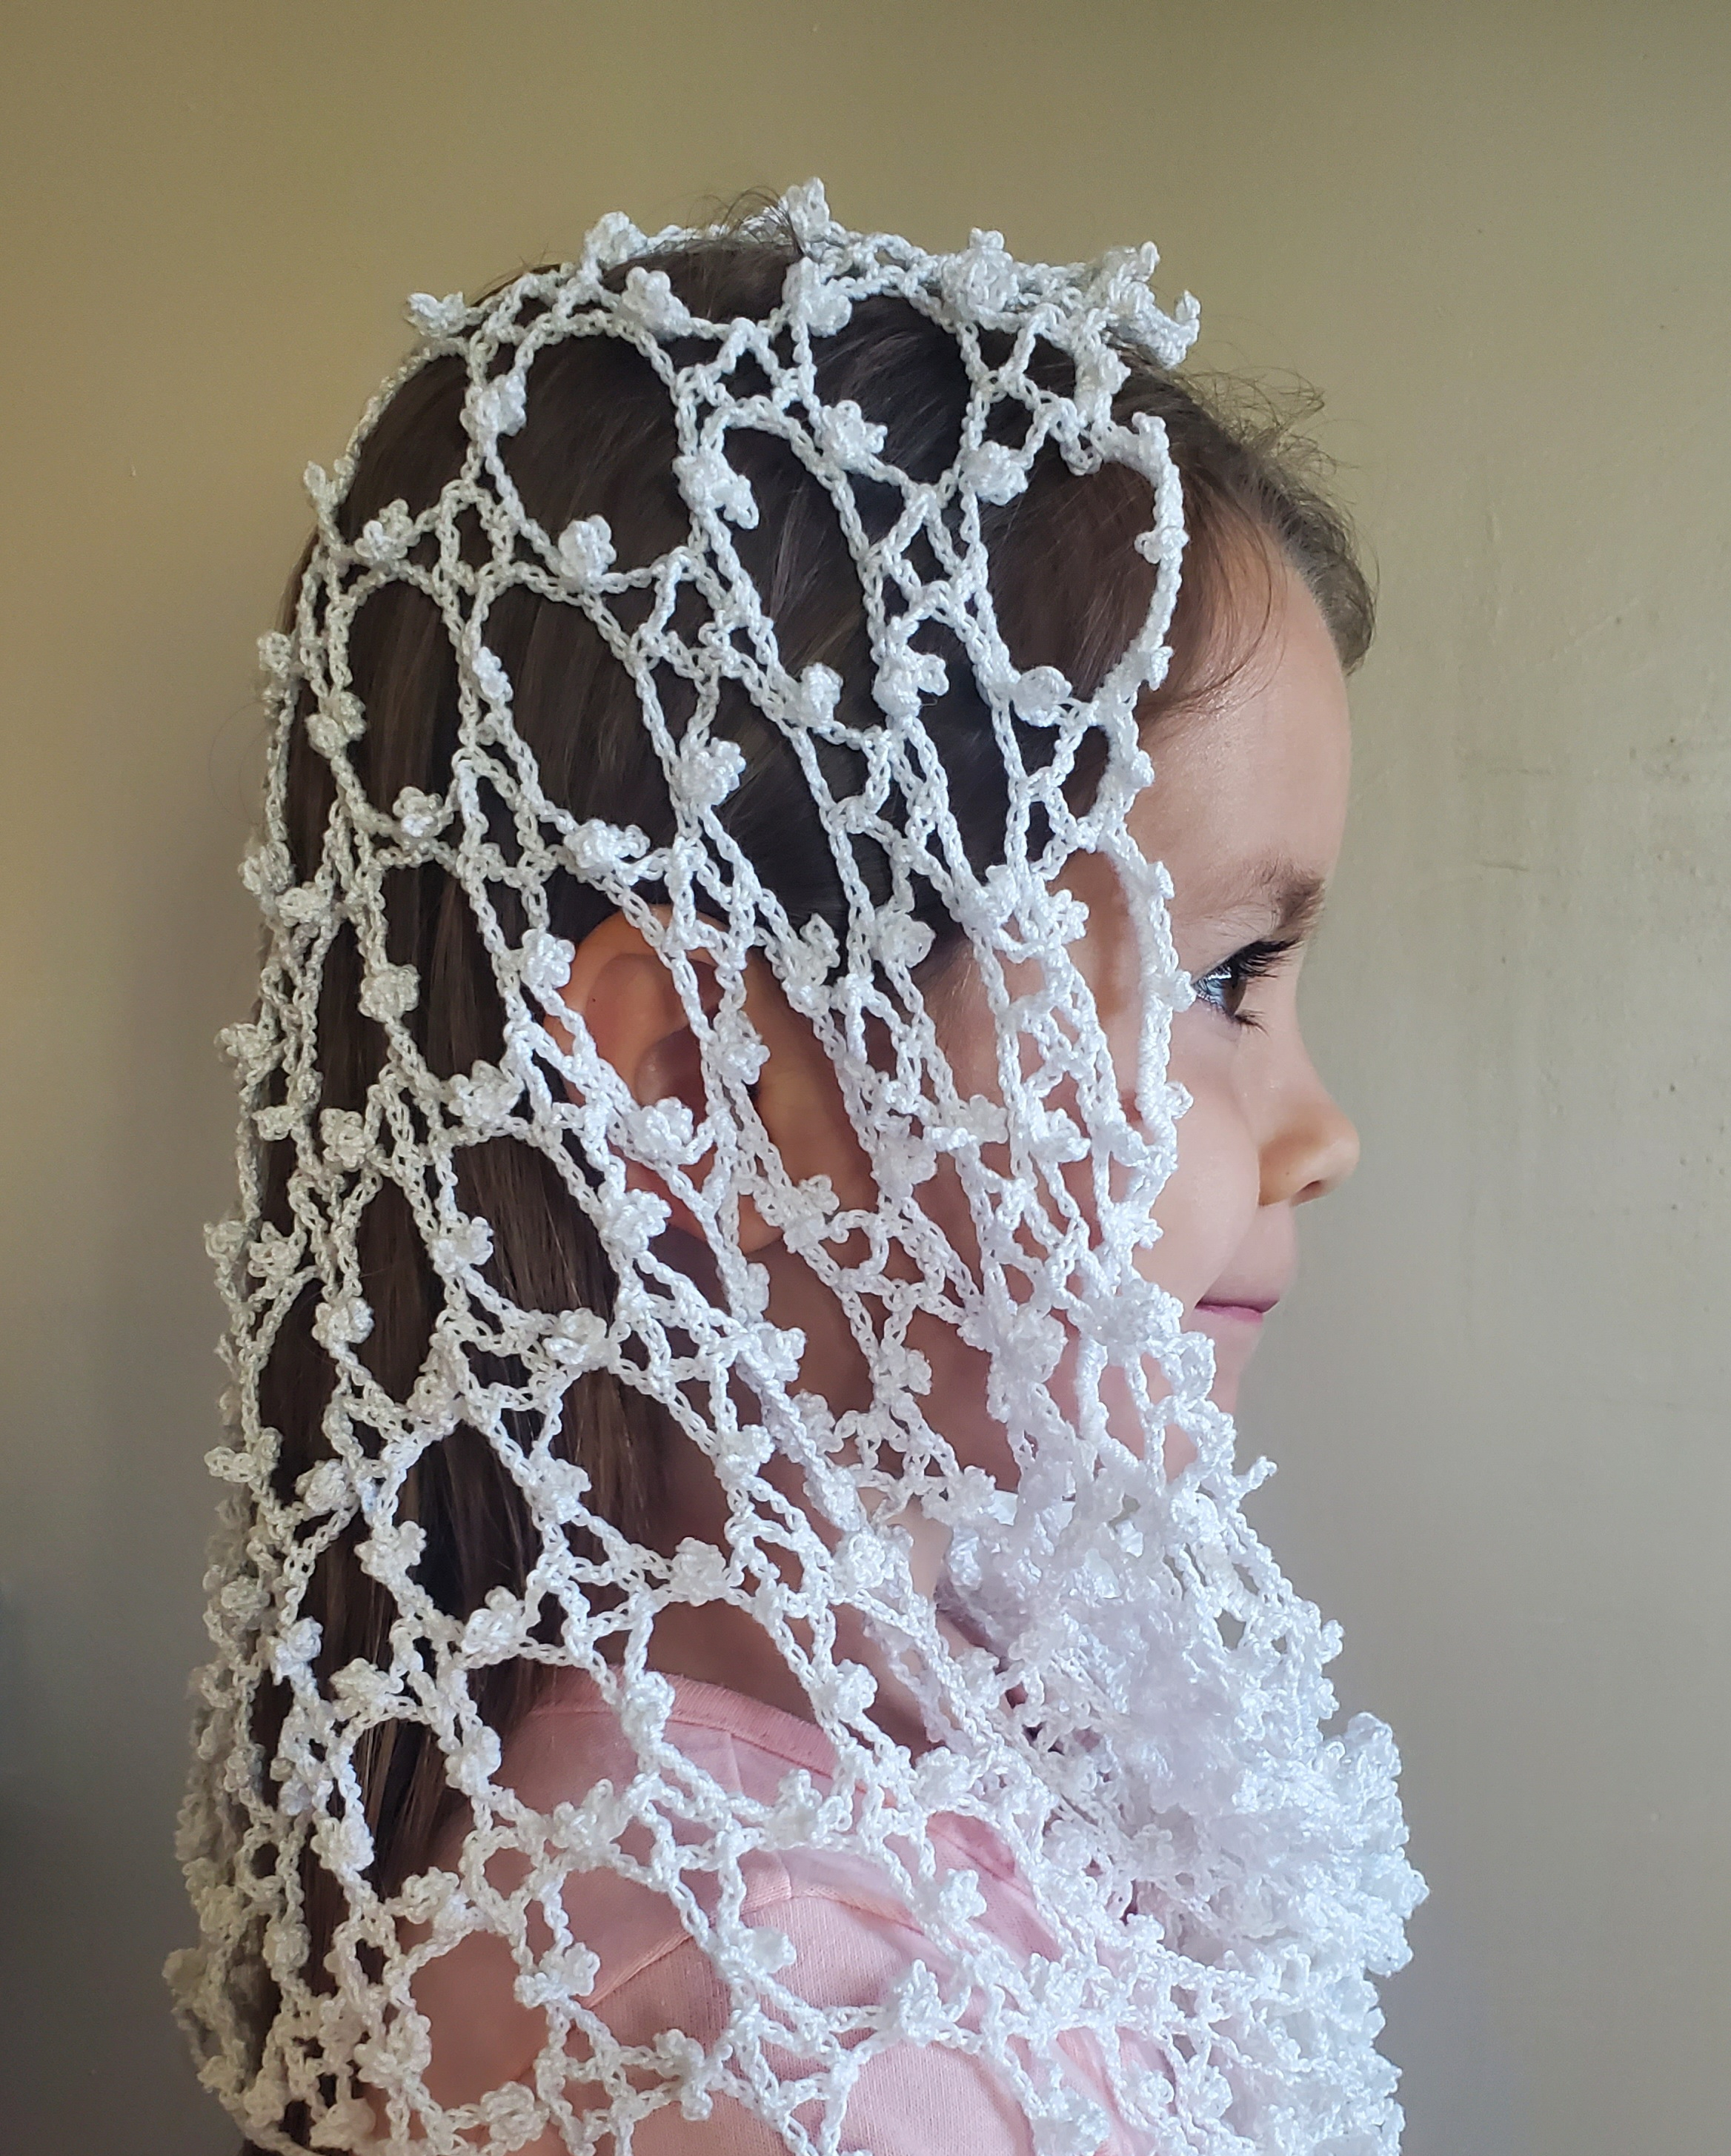
Which one do you think looks better? I honestly like them both, but feel free to expand out and use any yarn color you like!
Please note that some of these links are affiliate links. That means that if you click on these links and make a purchase, I may receive a commission at no extra cost to you. You can find more information about our disclosure policy here. Thank you for your support.
Size:
- After blocking, the bookmark is roughly 2.5in x 7.5 in
Materials Needed:
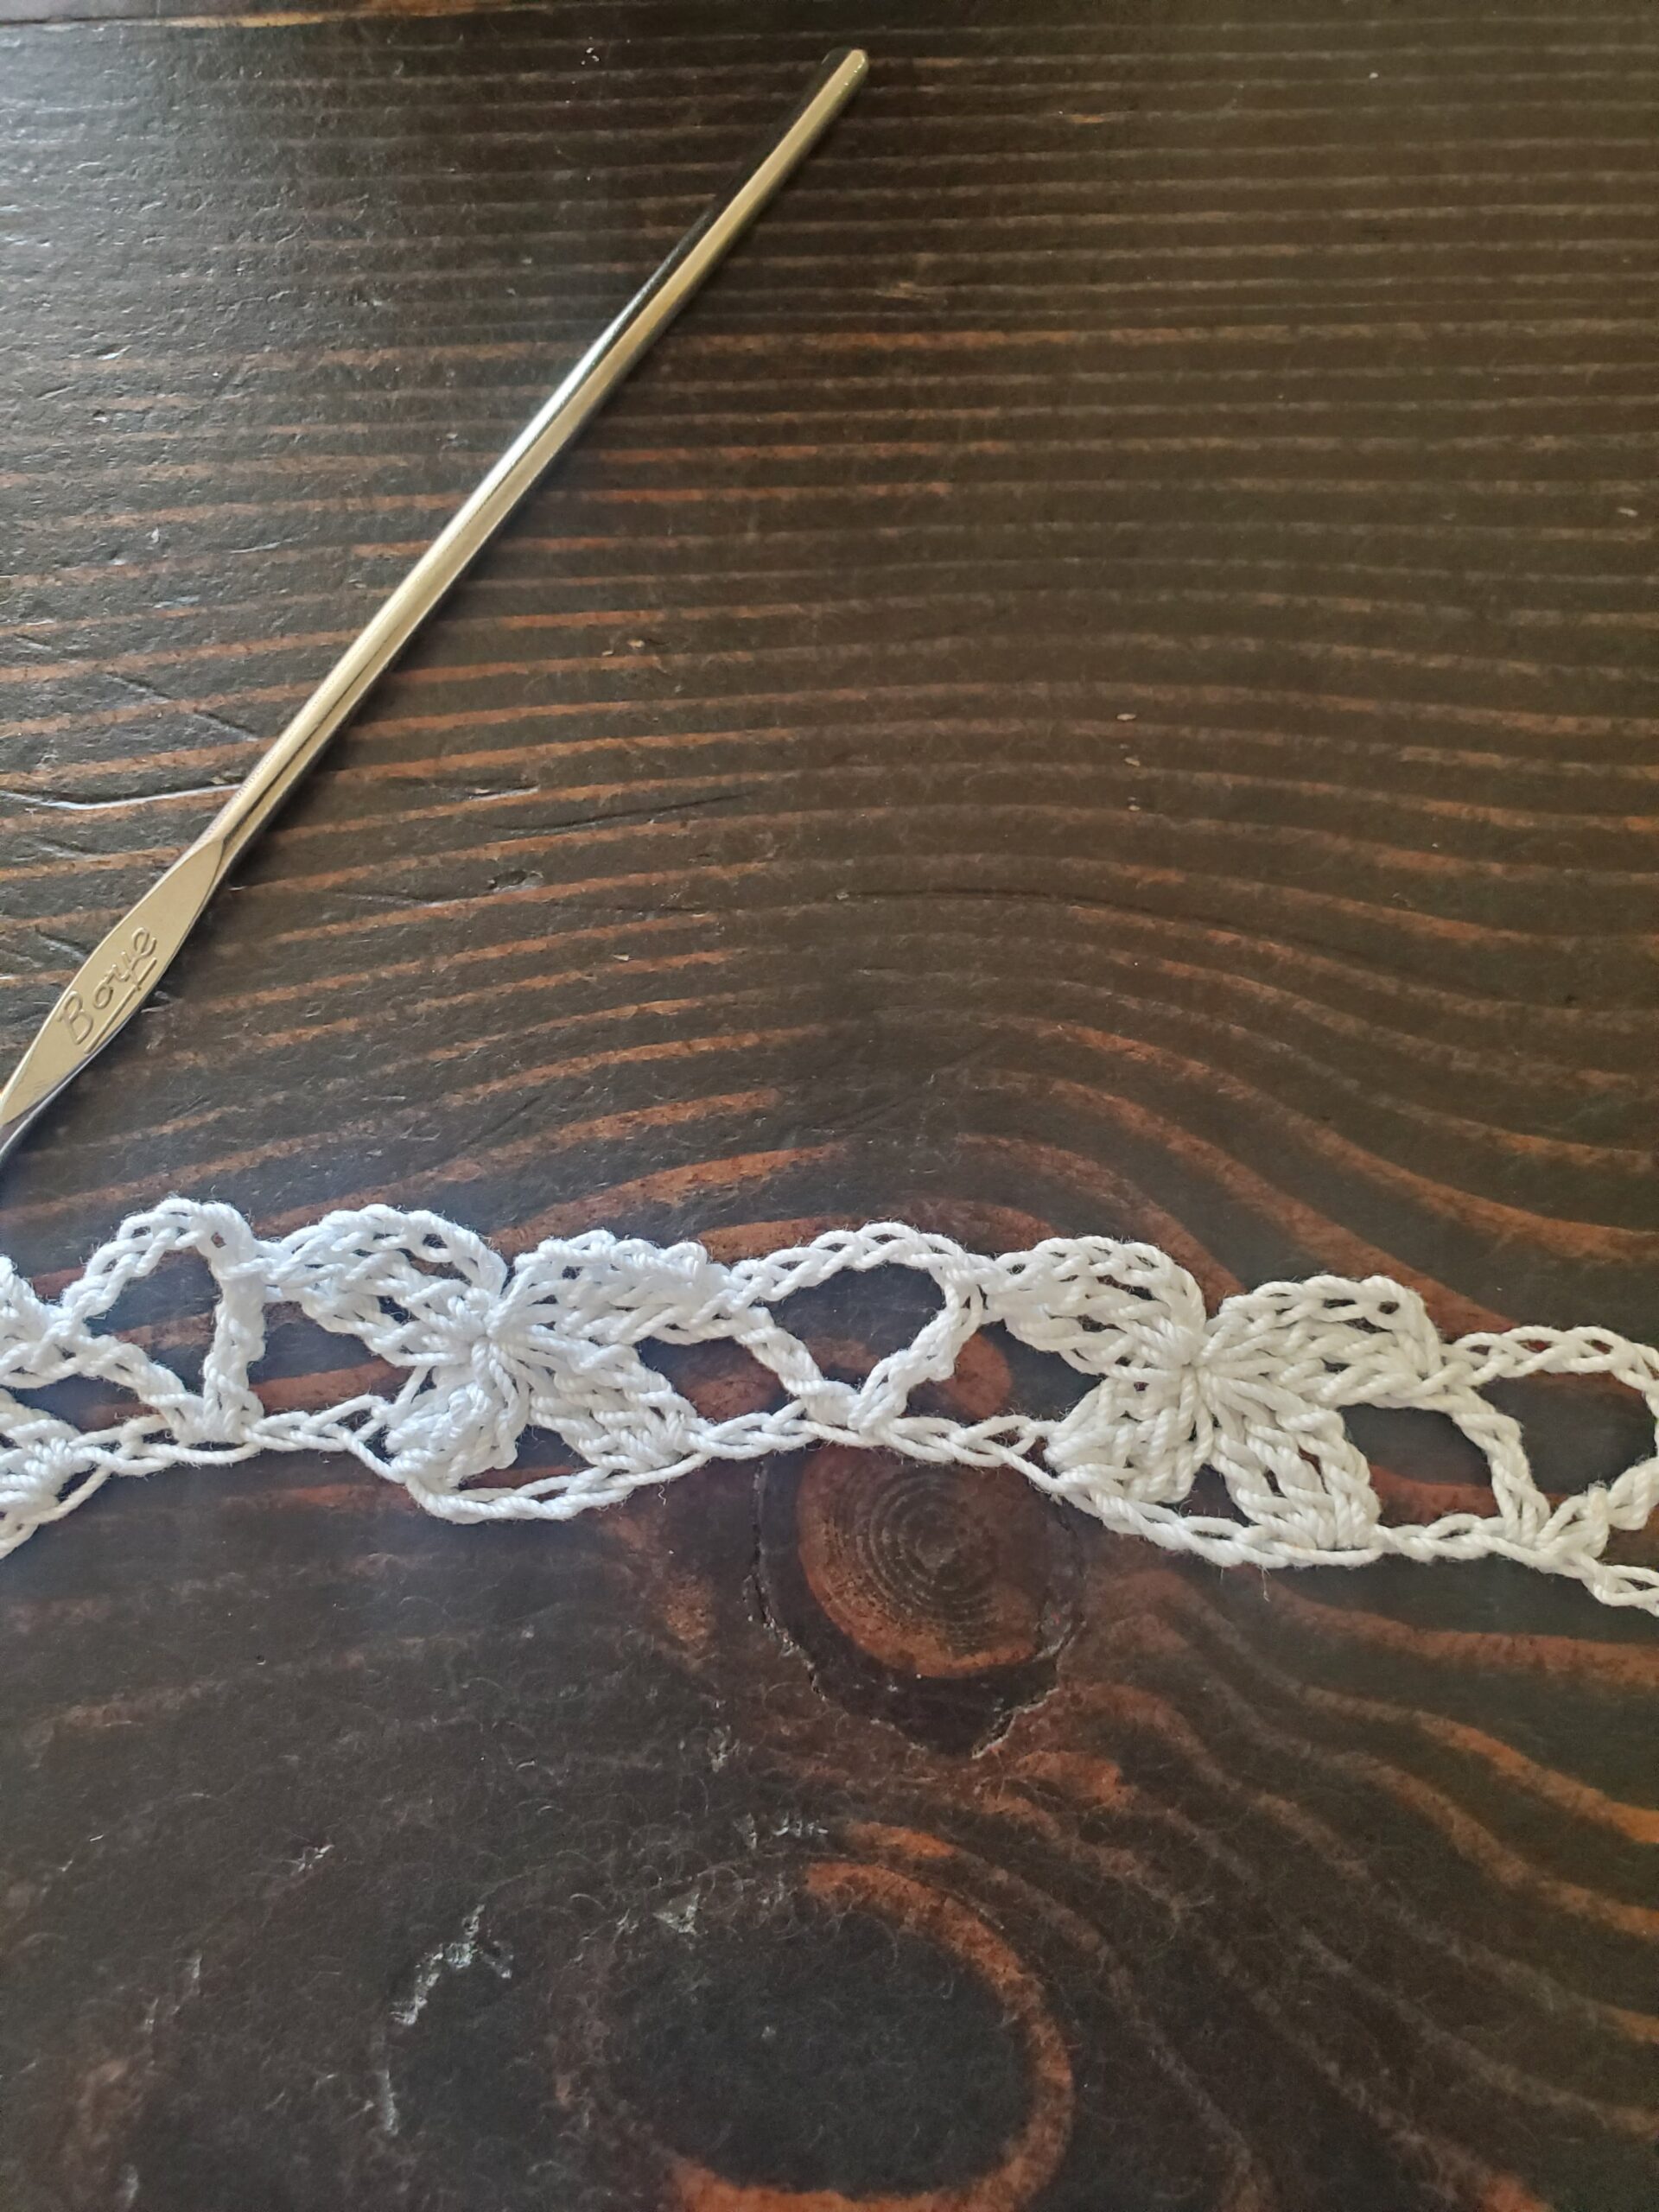
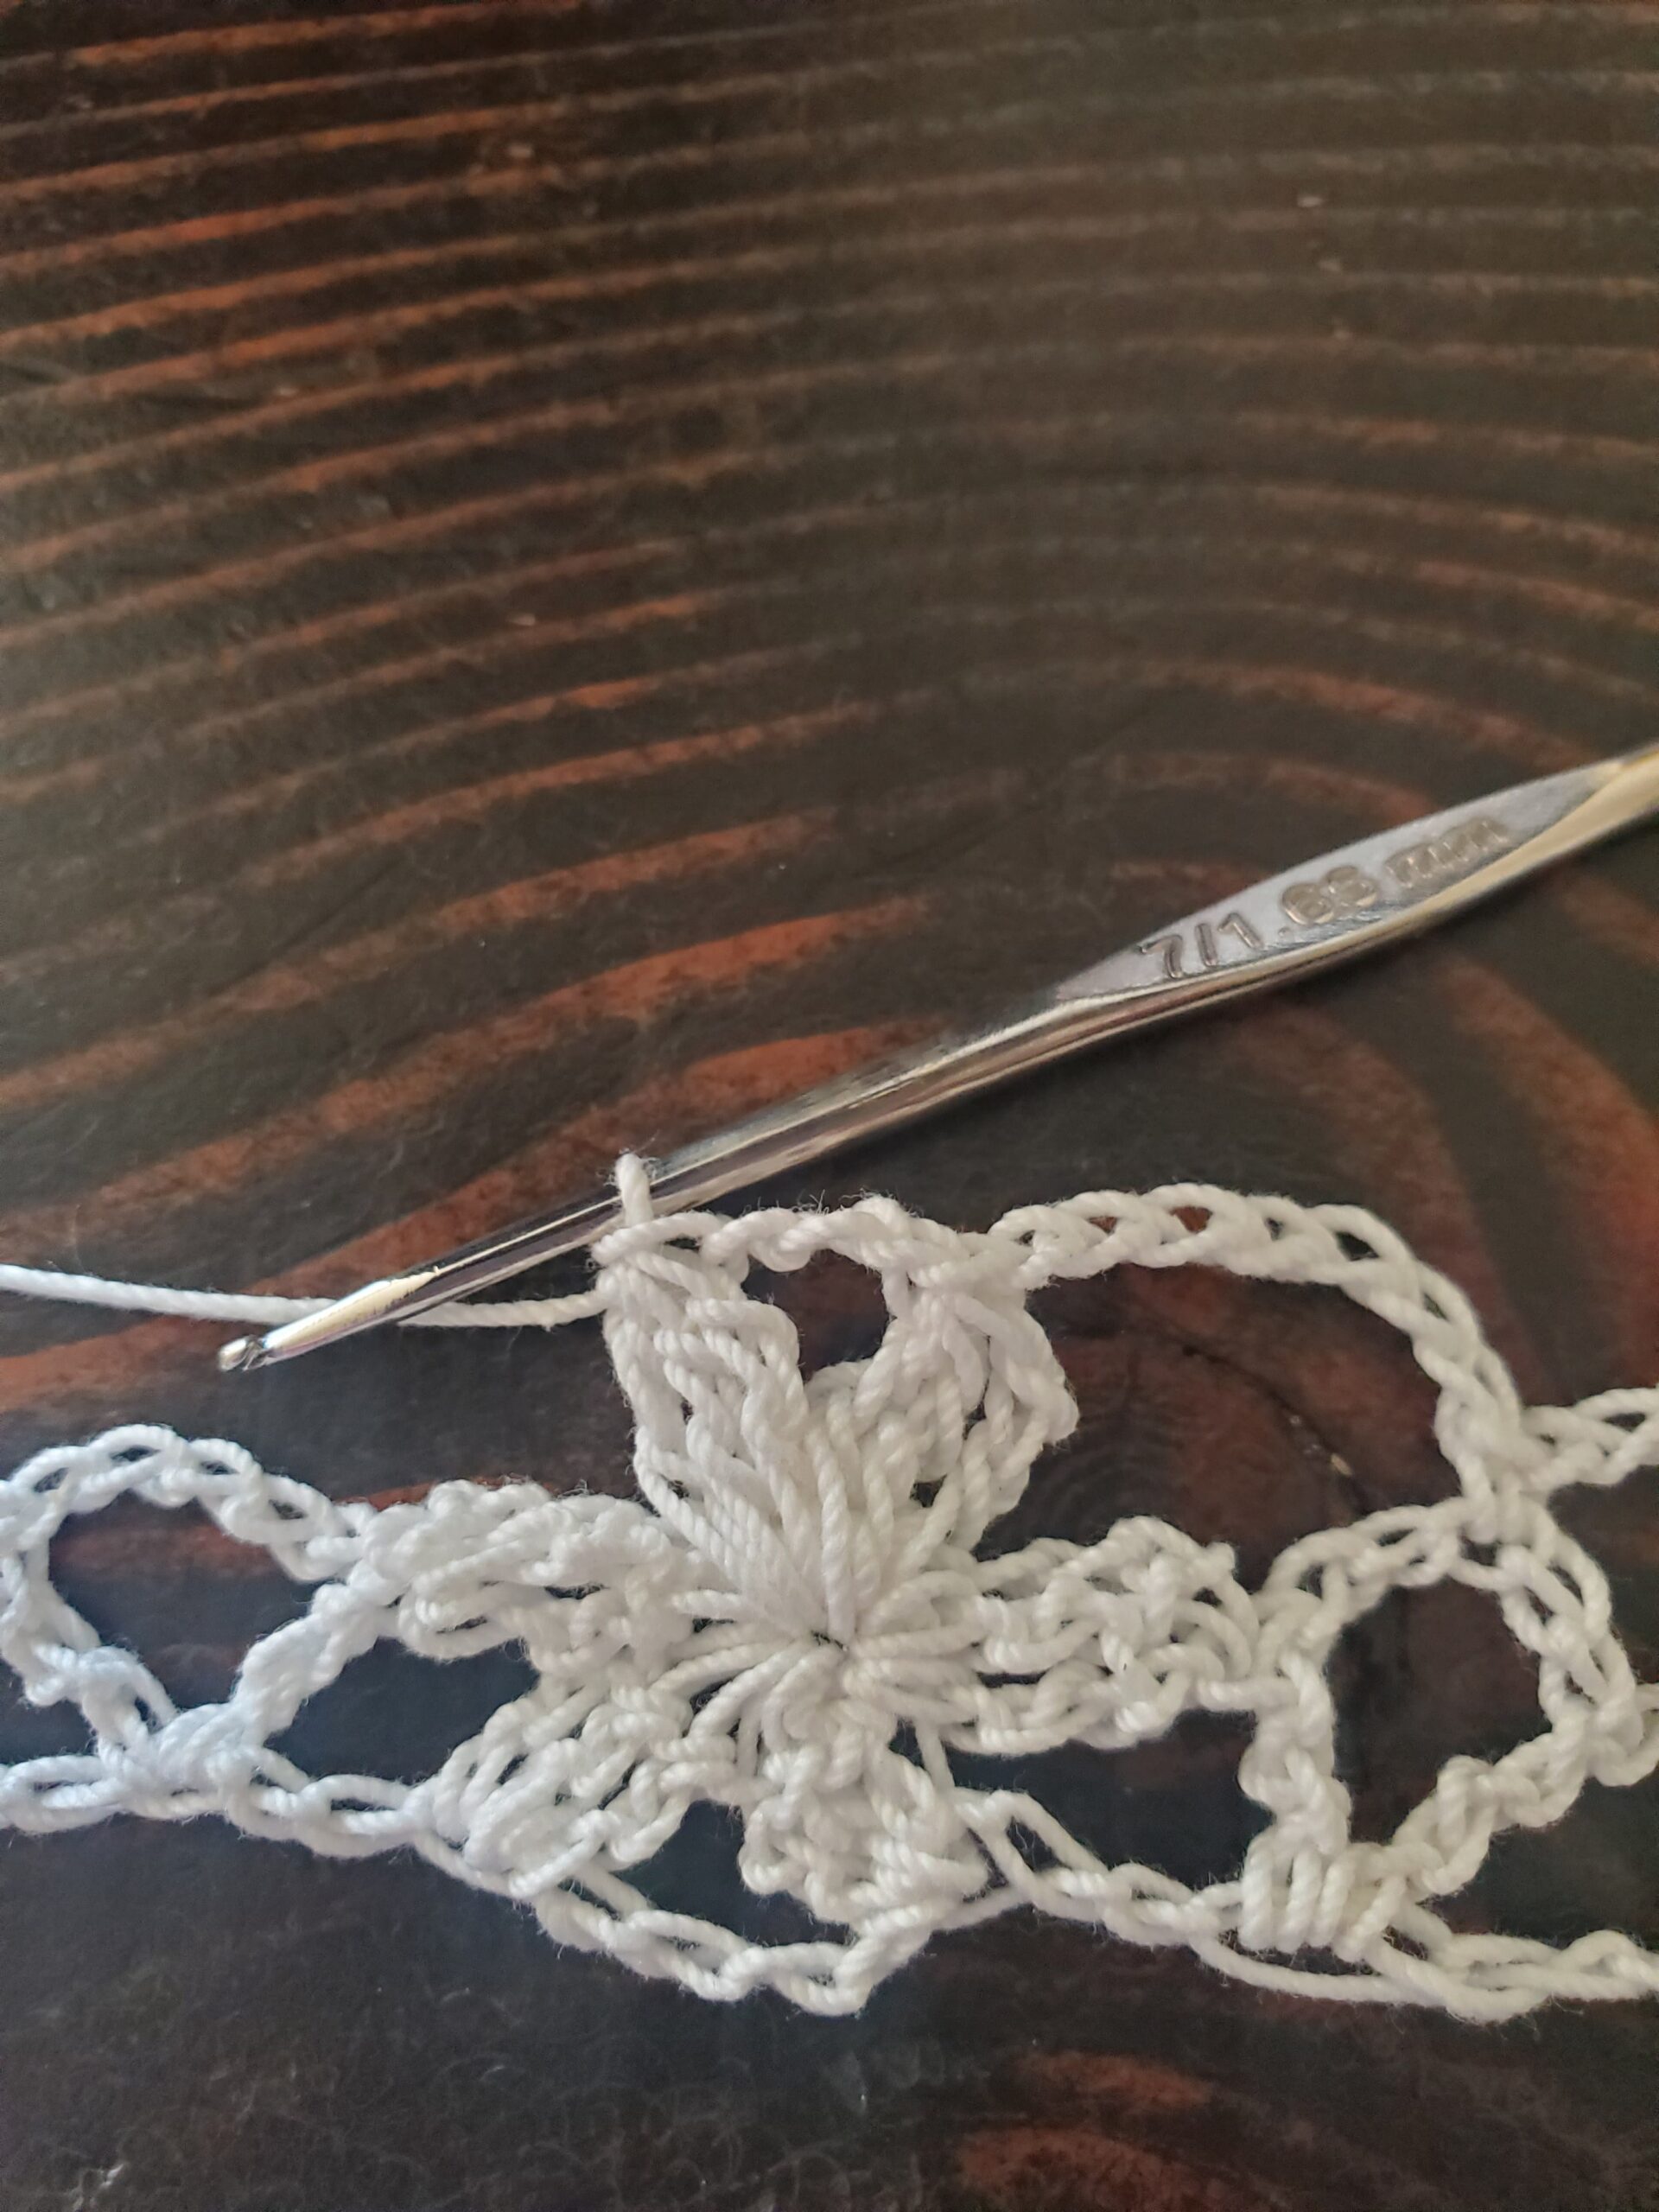
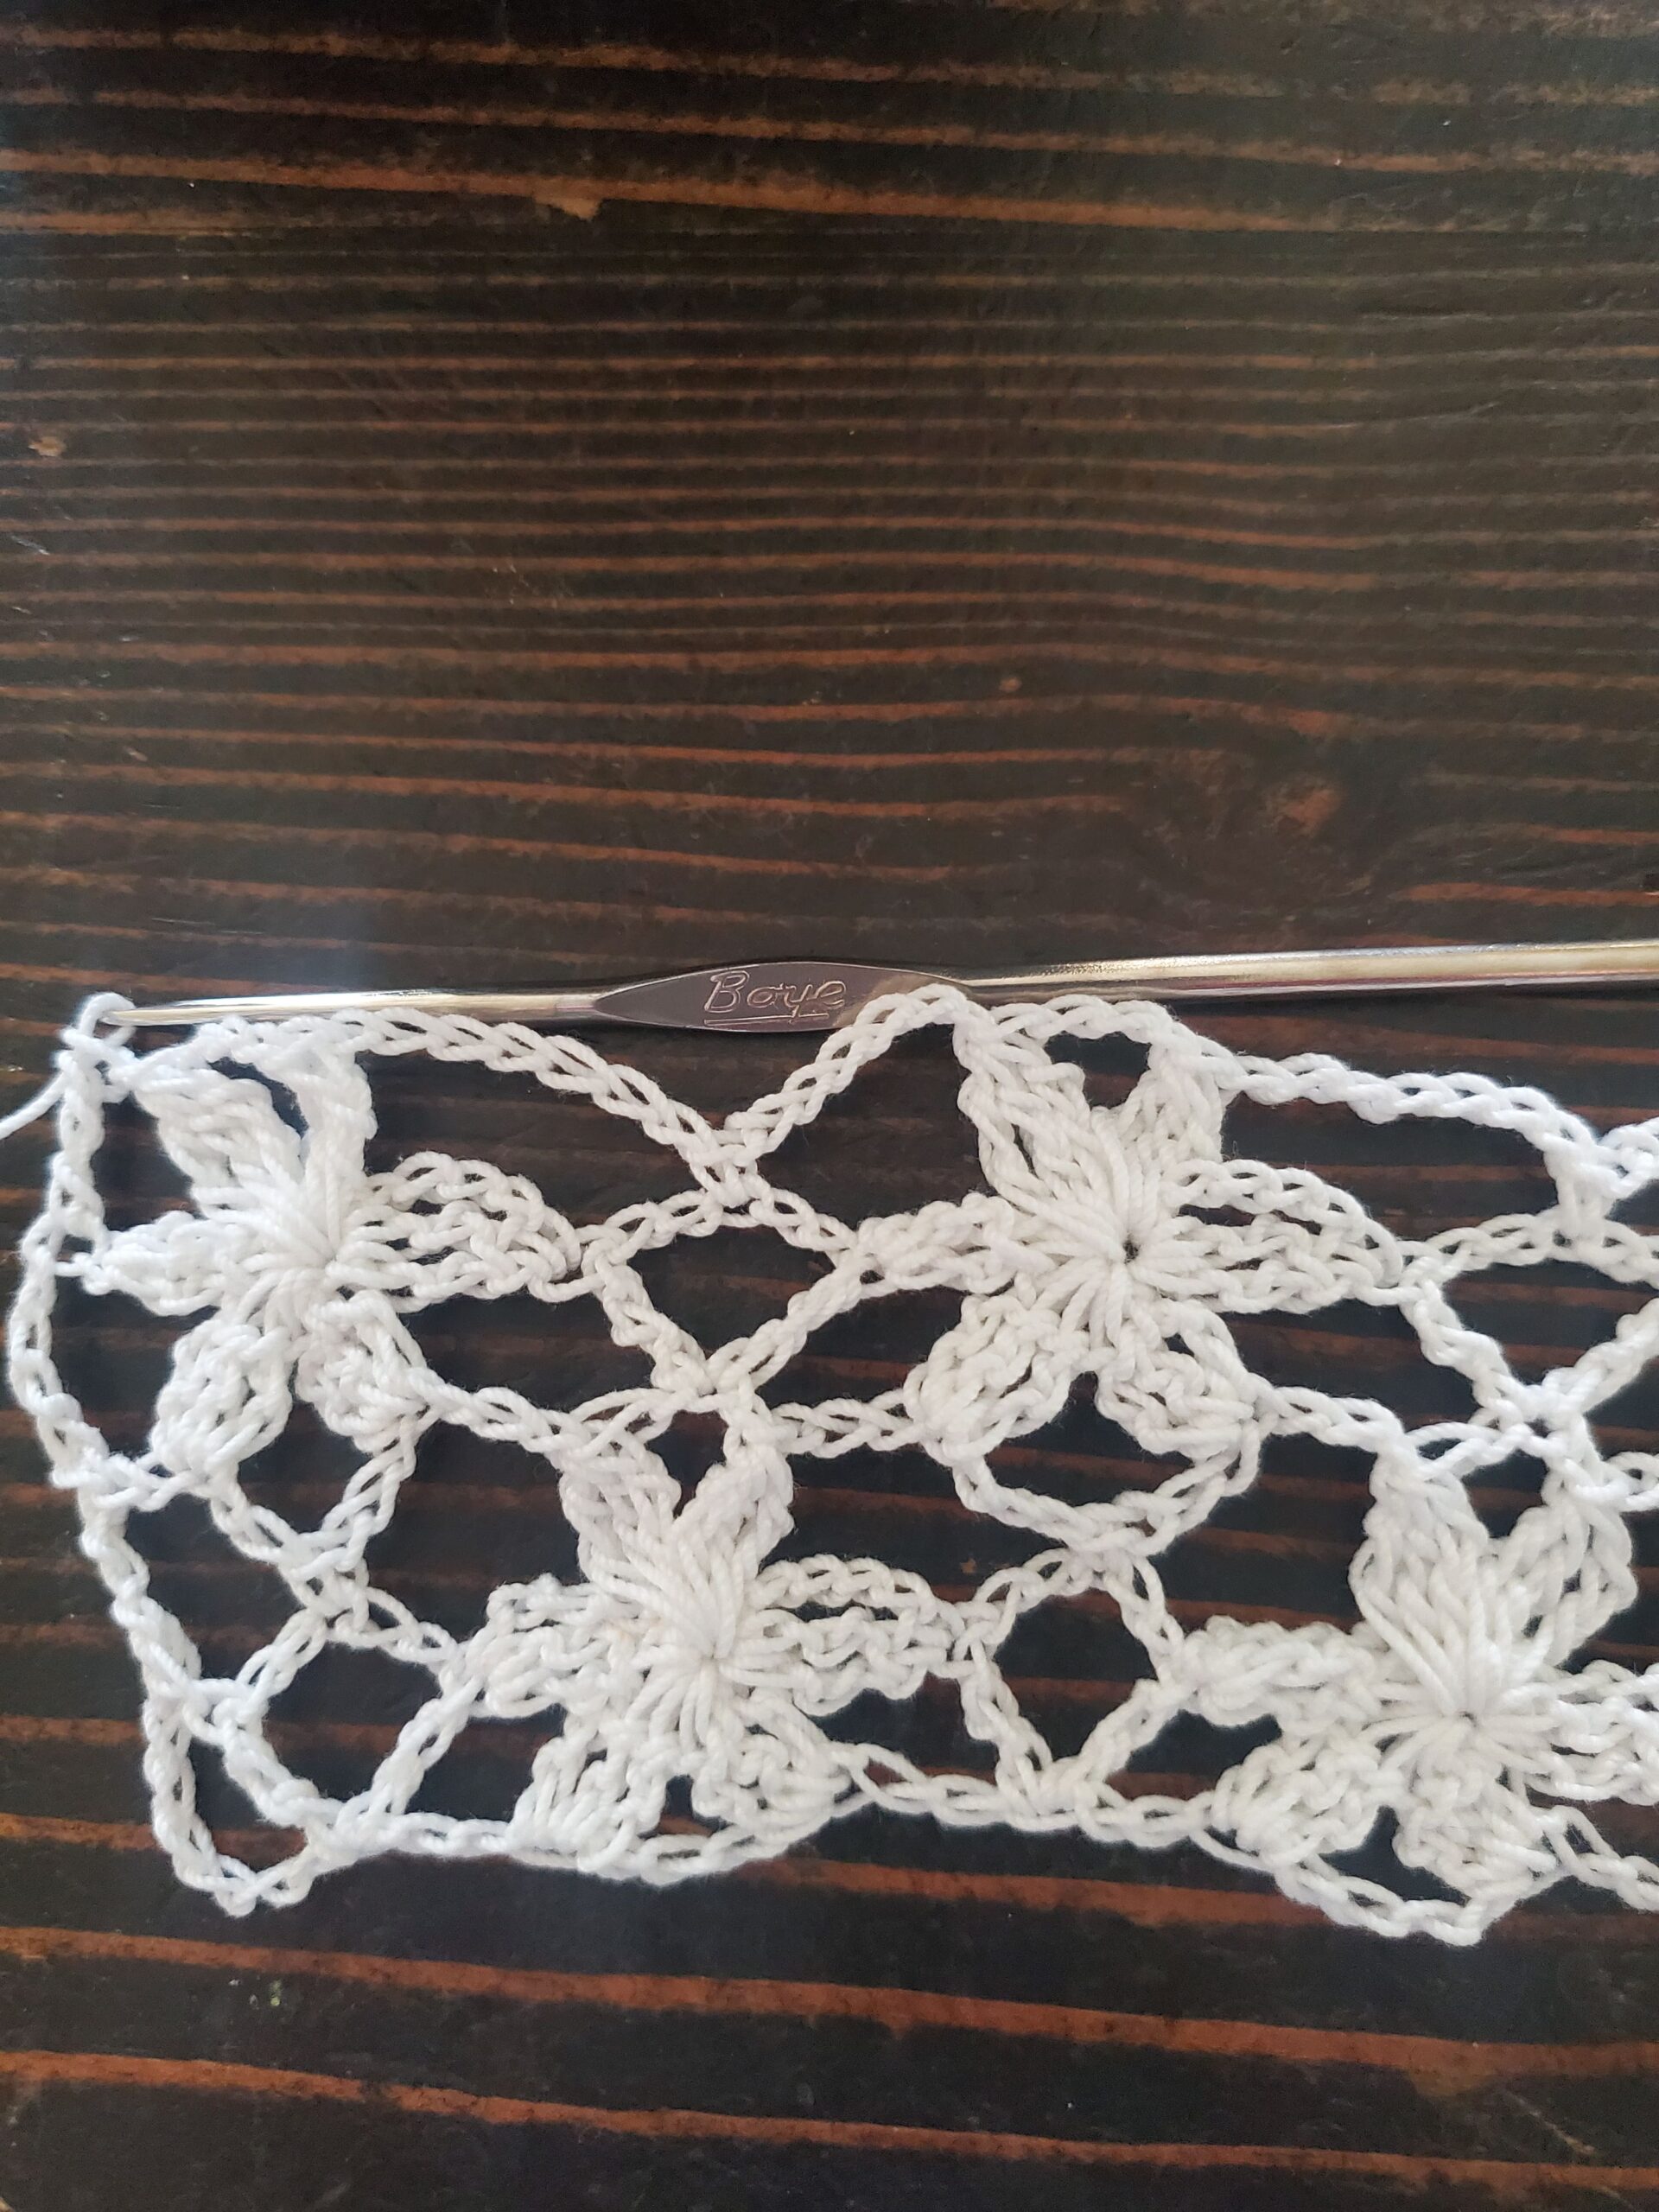
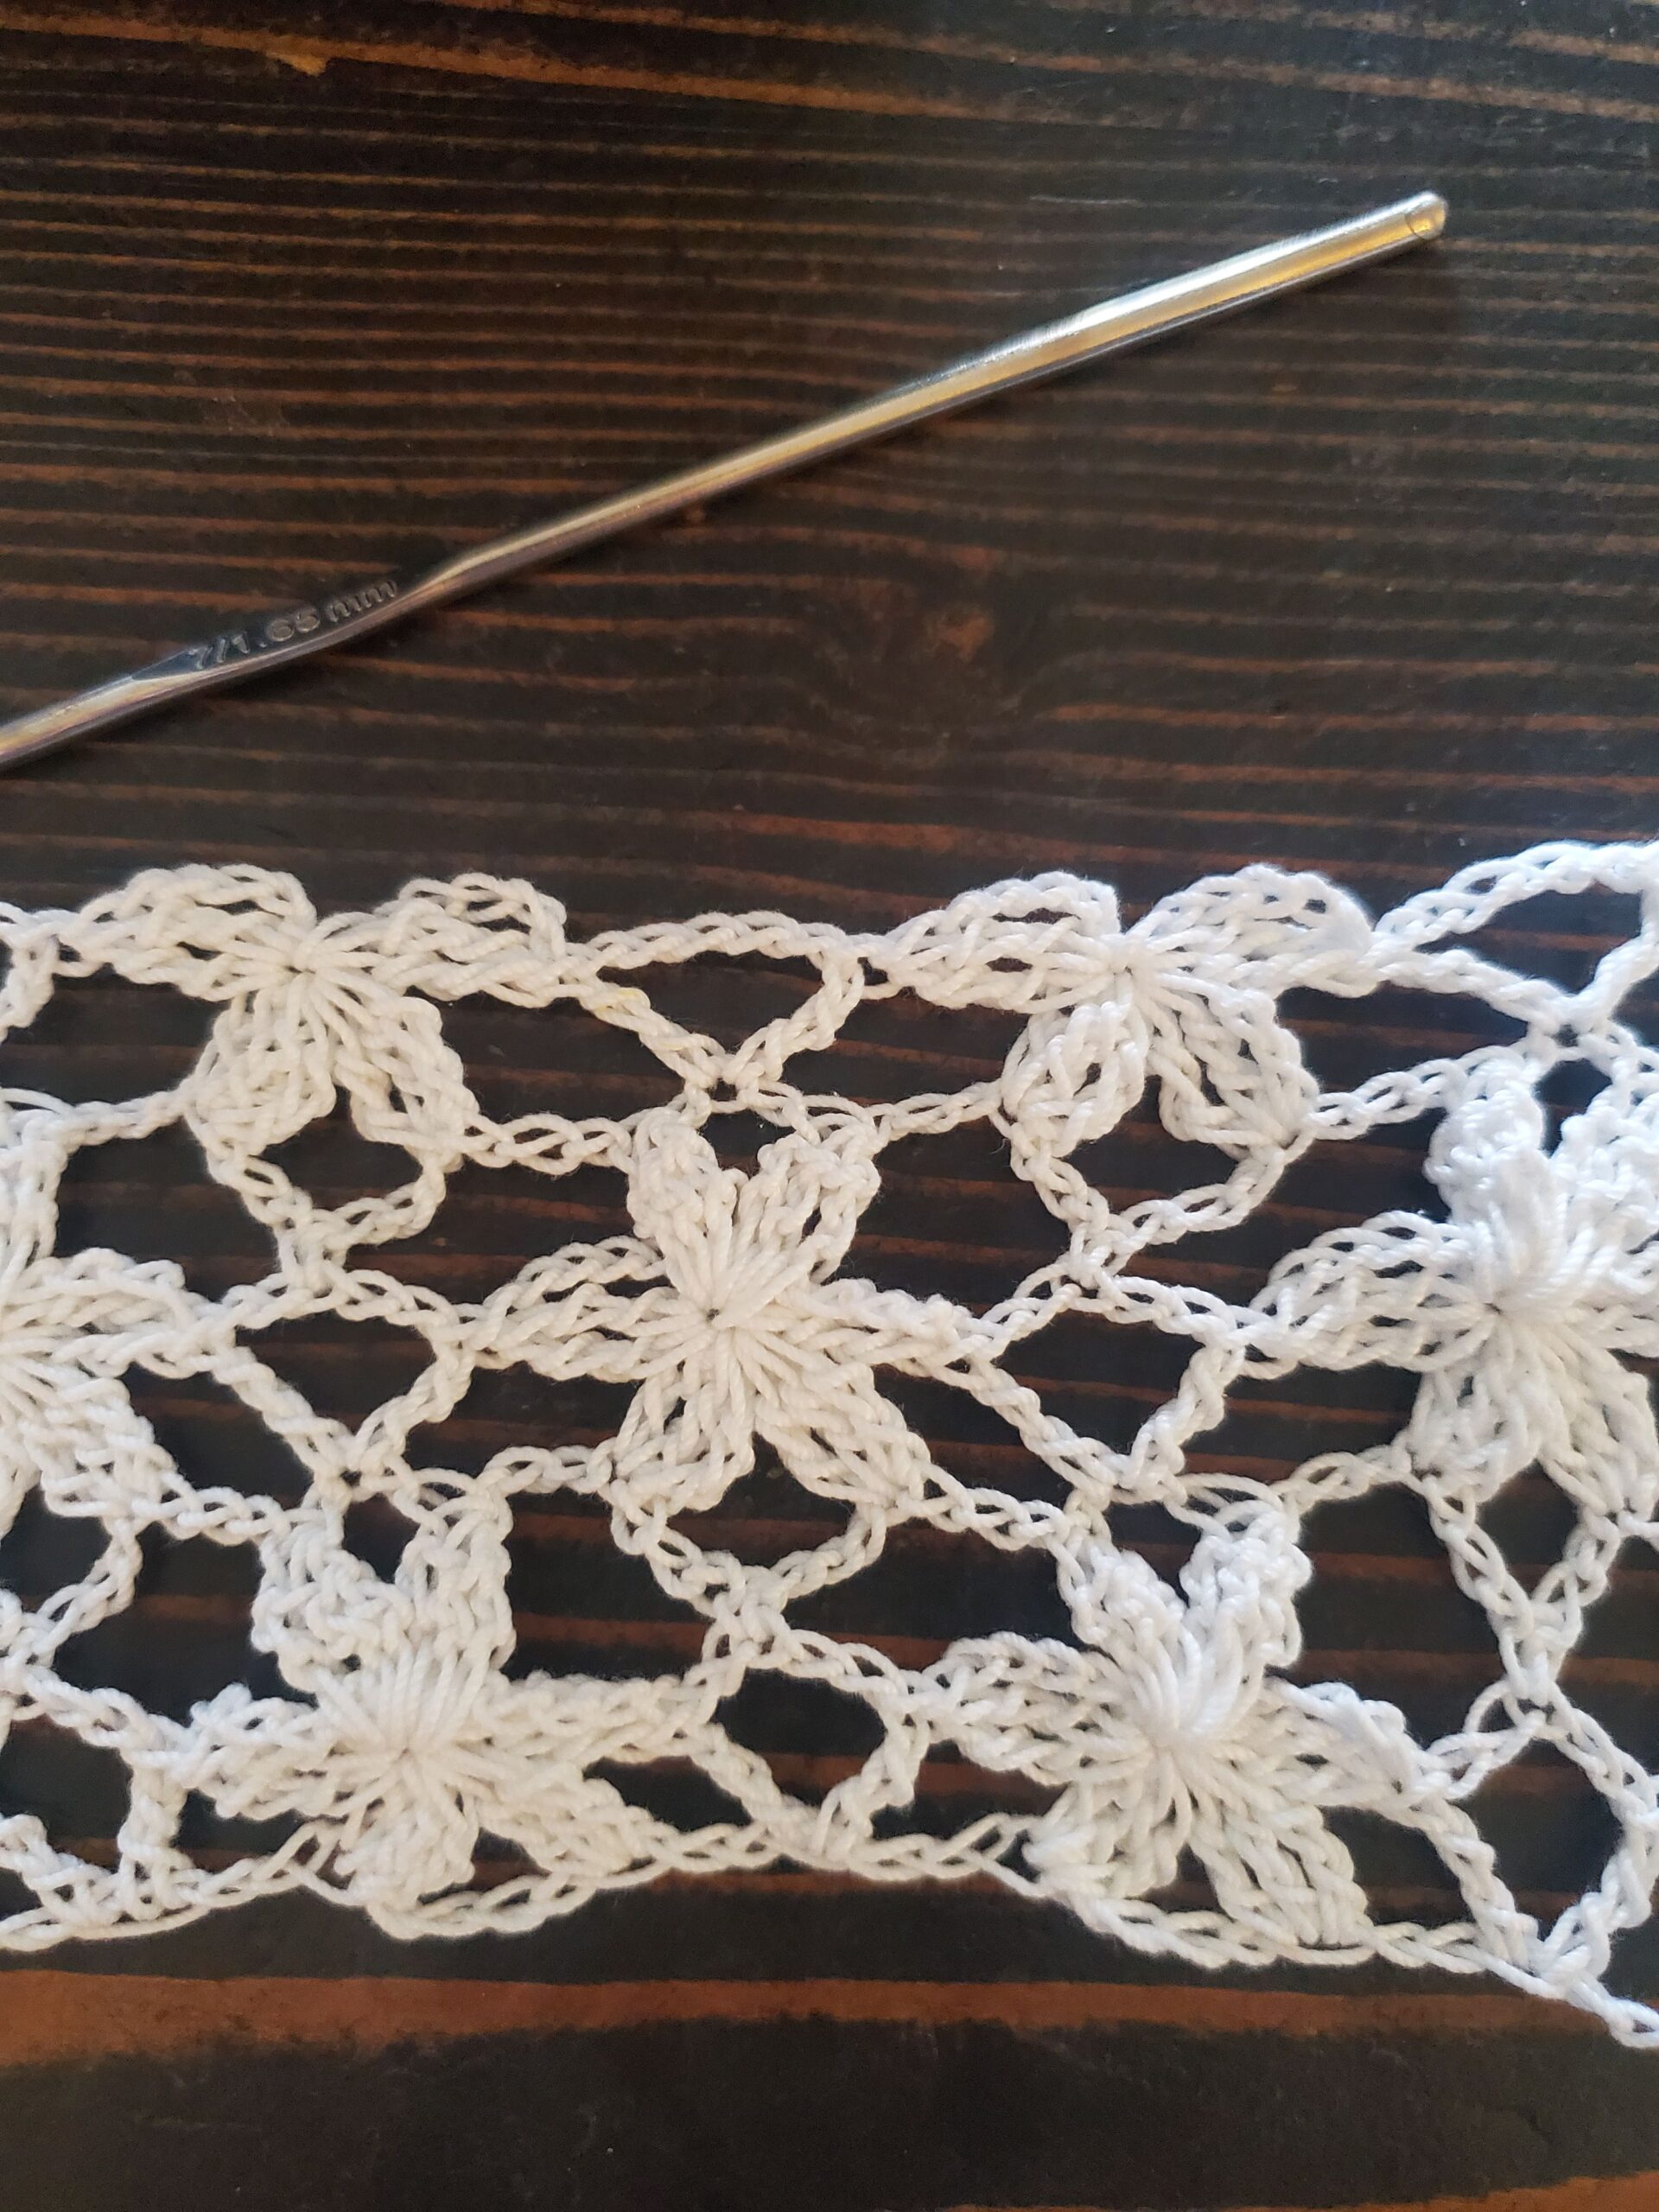
- 1.65 mm crochet hook
- Red Heart White Crochet Thread Cotton Yarn Size 10 x 1 skein OR
- Red Heart Black Crochet Thread Cotton Yarn Size 10 x 1 skein
- Scissors
- Tapestry Needle
- Cardboard box or a Blocking Board (optional)
- Pins (optional)
Abbreviations Used:
- St(s) – stitch(es)
- Sl St – slip stitch
- Ch – chain
- Sc – single crochet
- Hdc – half double crochet
- Dc – double crochet
Special Instructions:
- The starting ch 2 is not considered a st.
- The number in () indicates how many sts you should have at then end, including the chs.
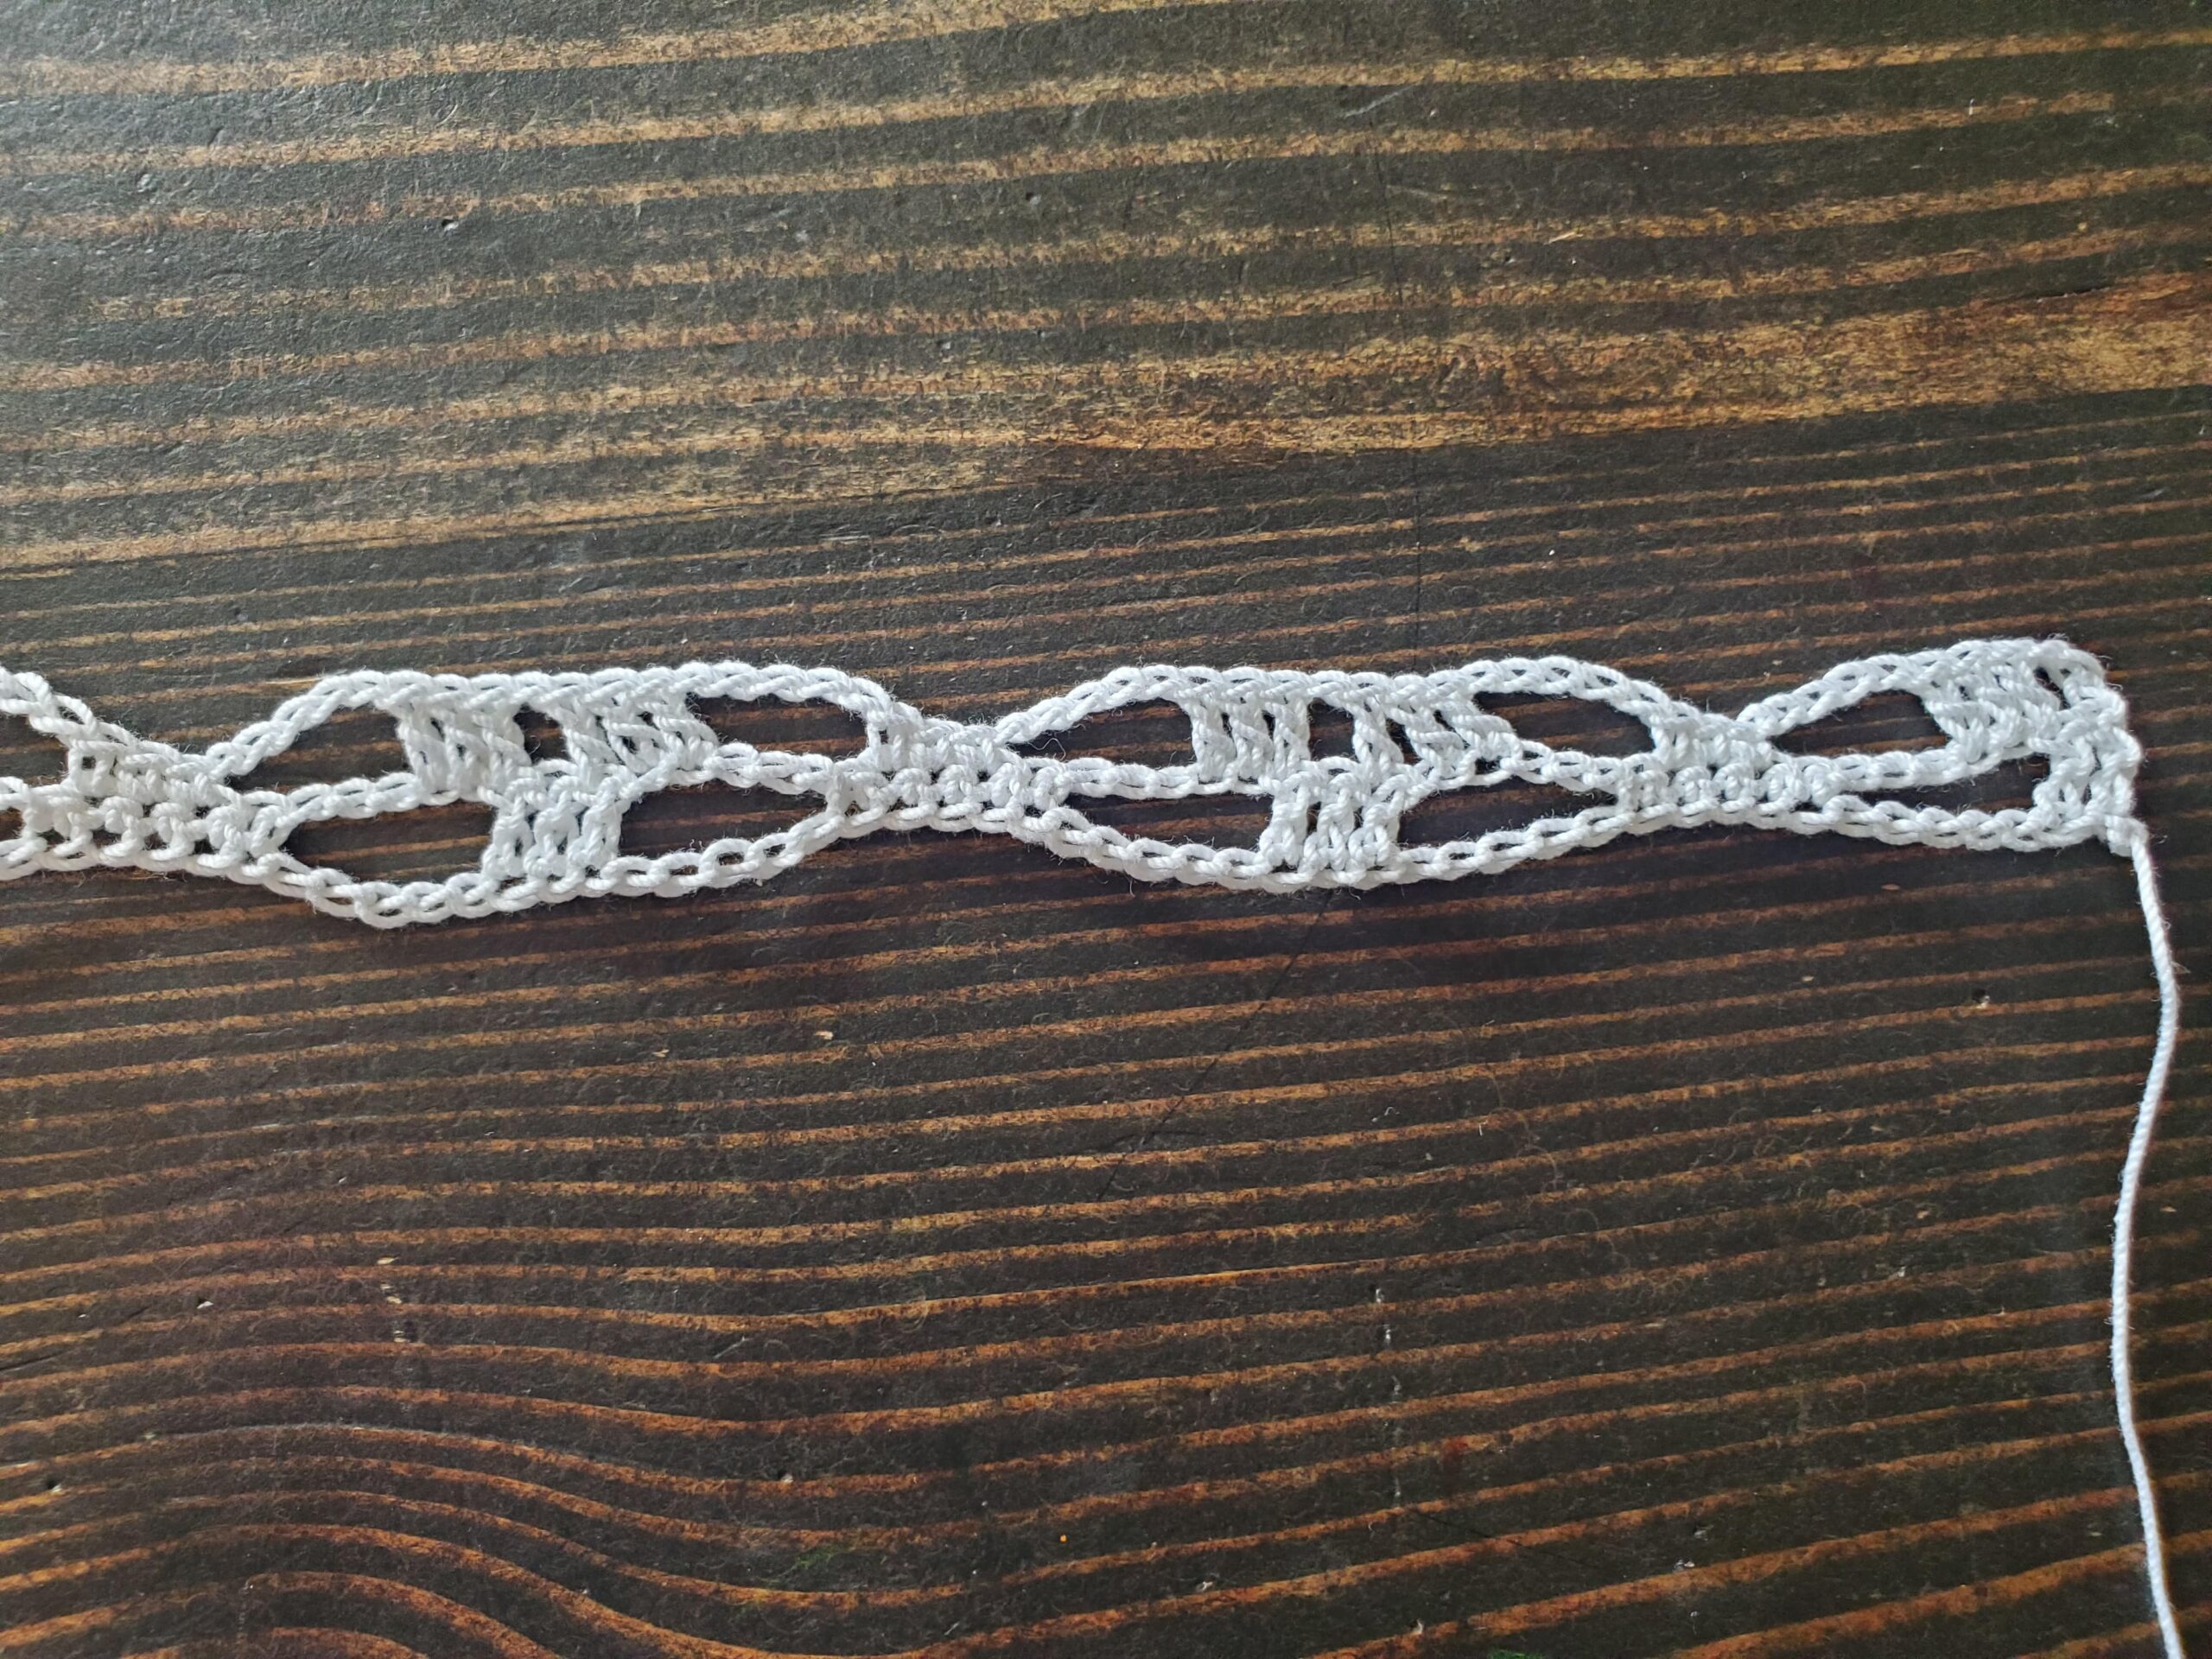
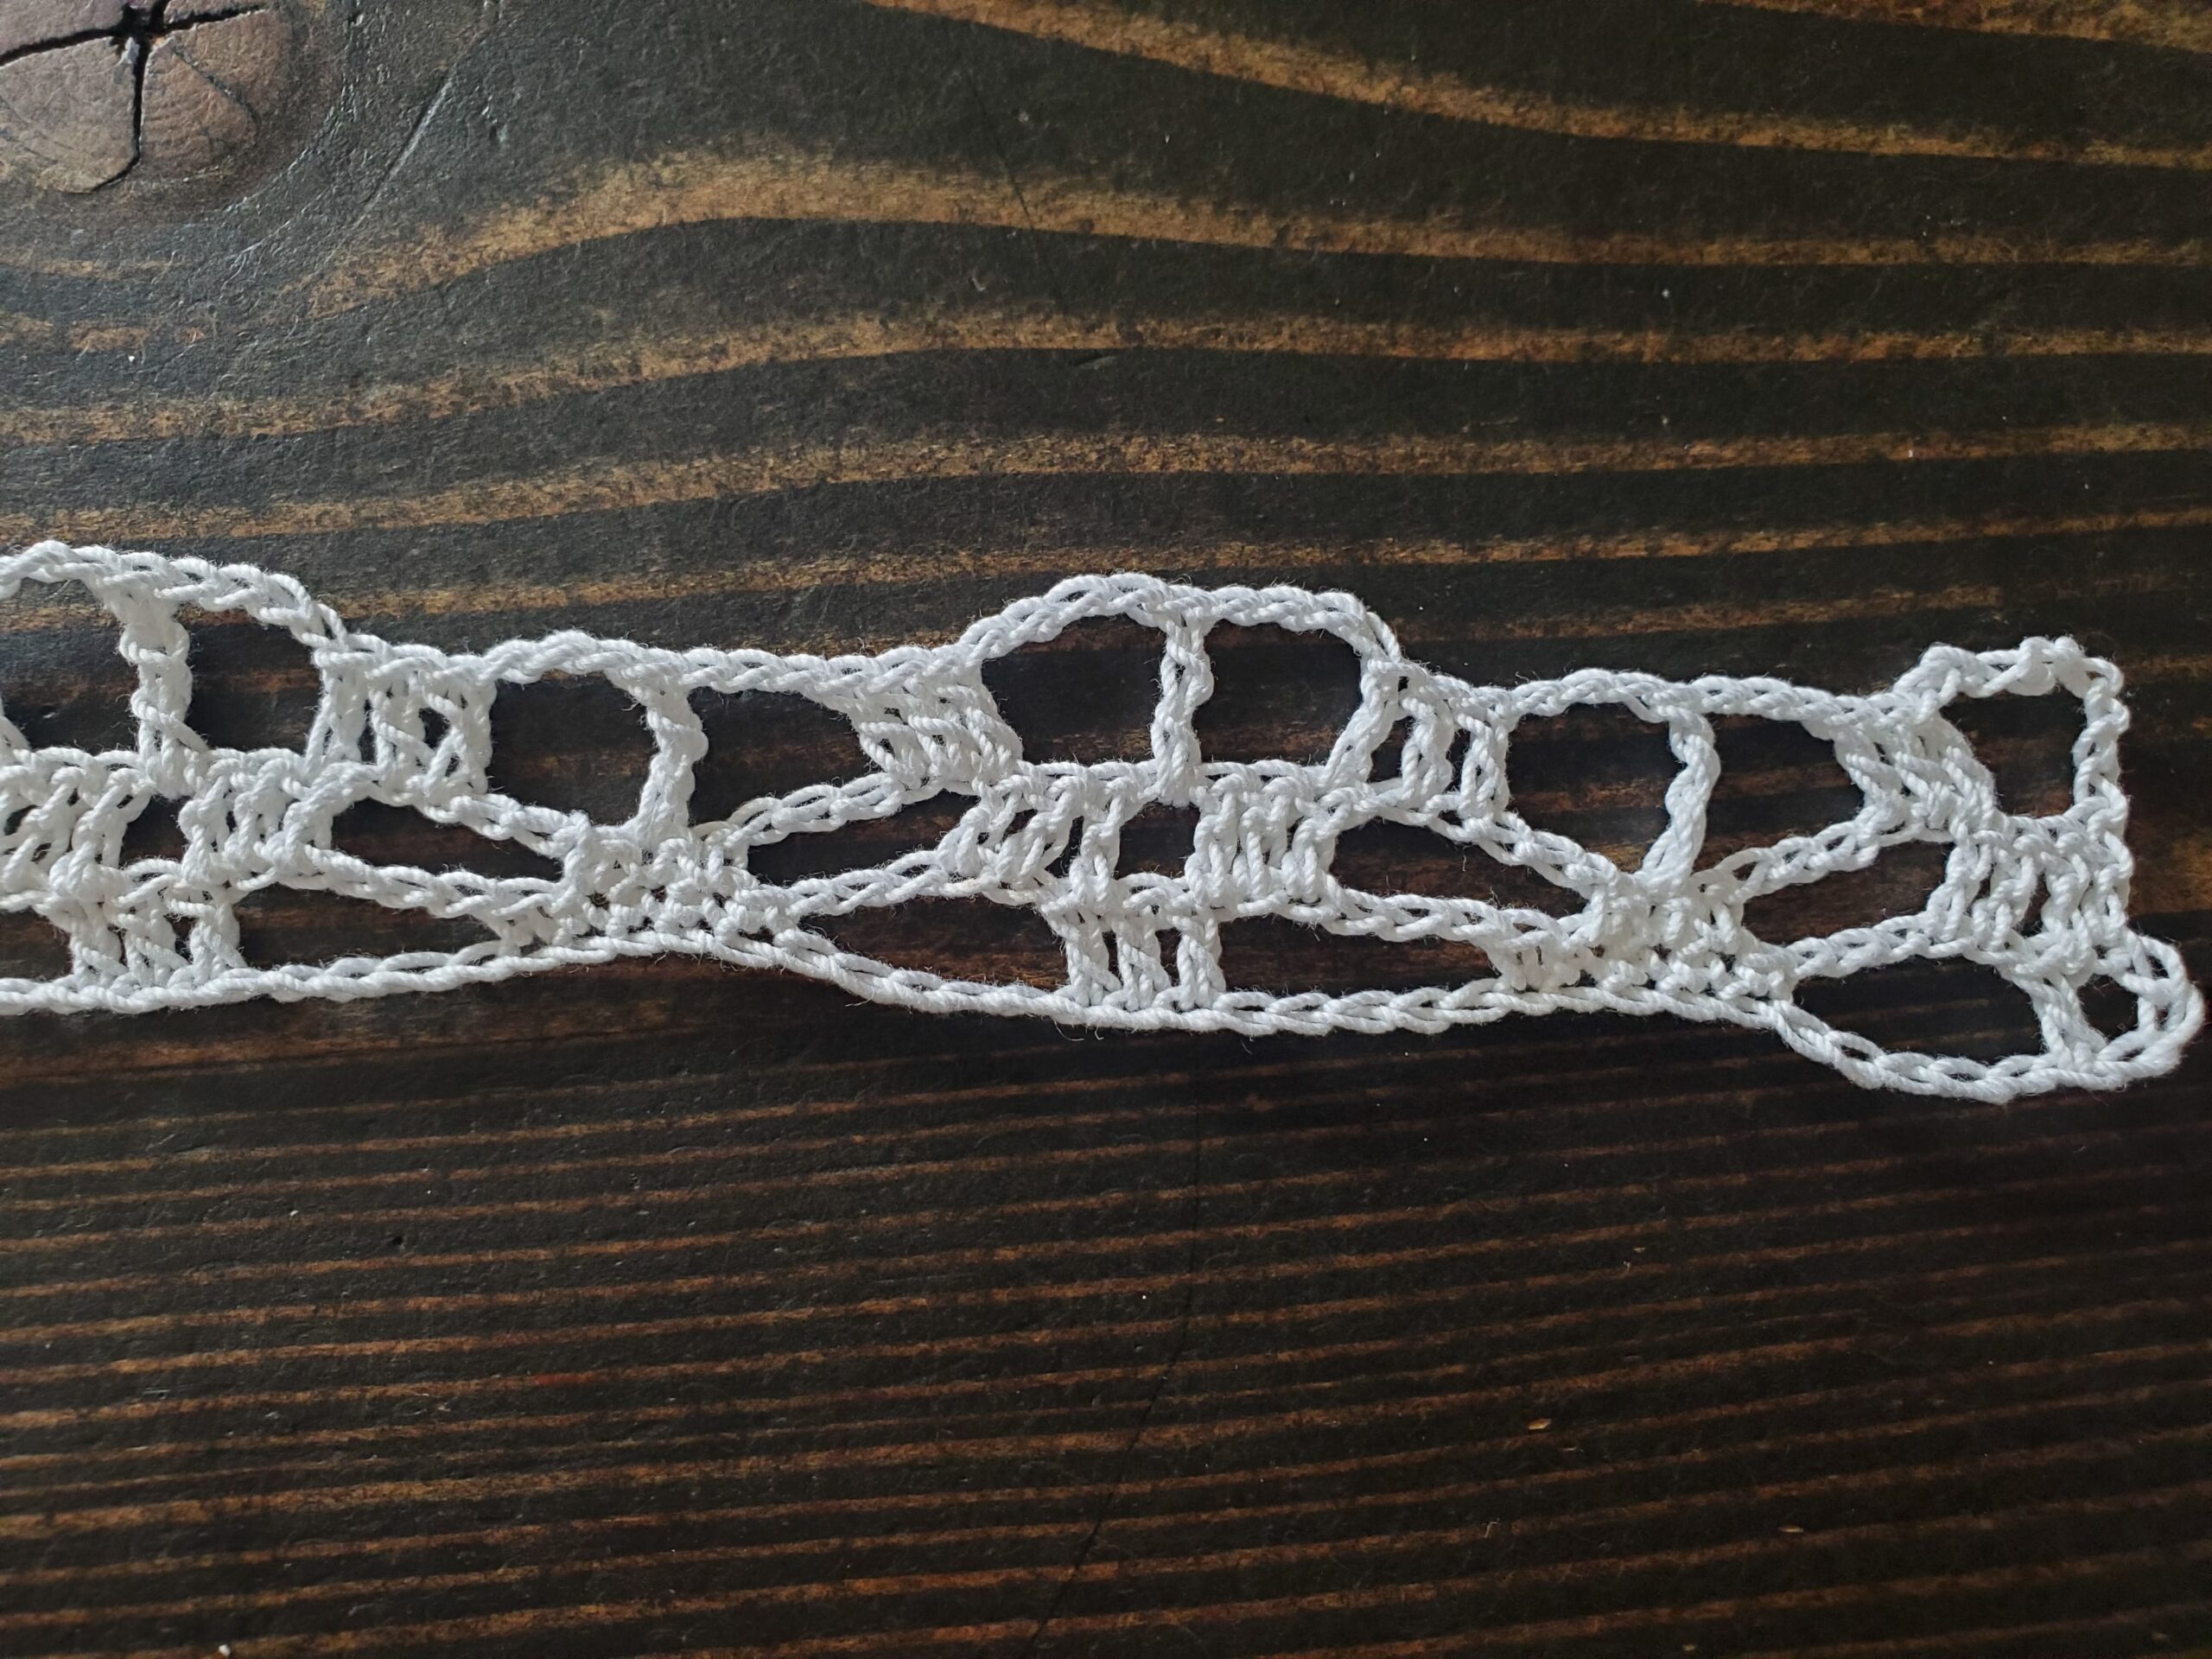
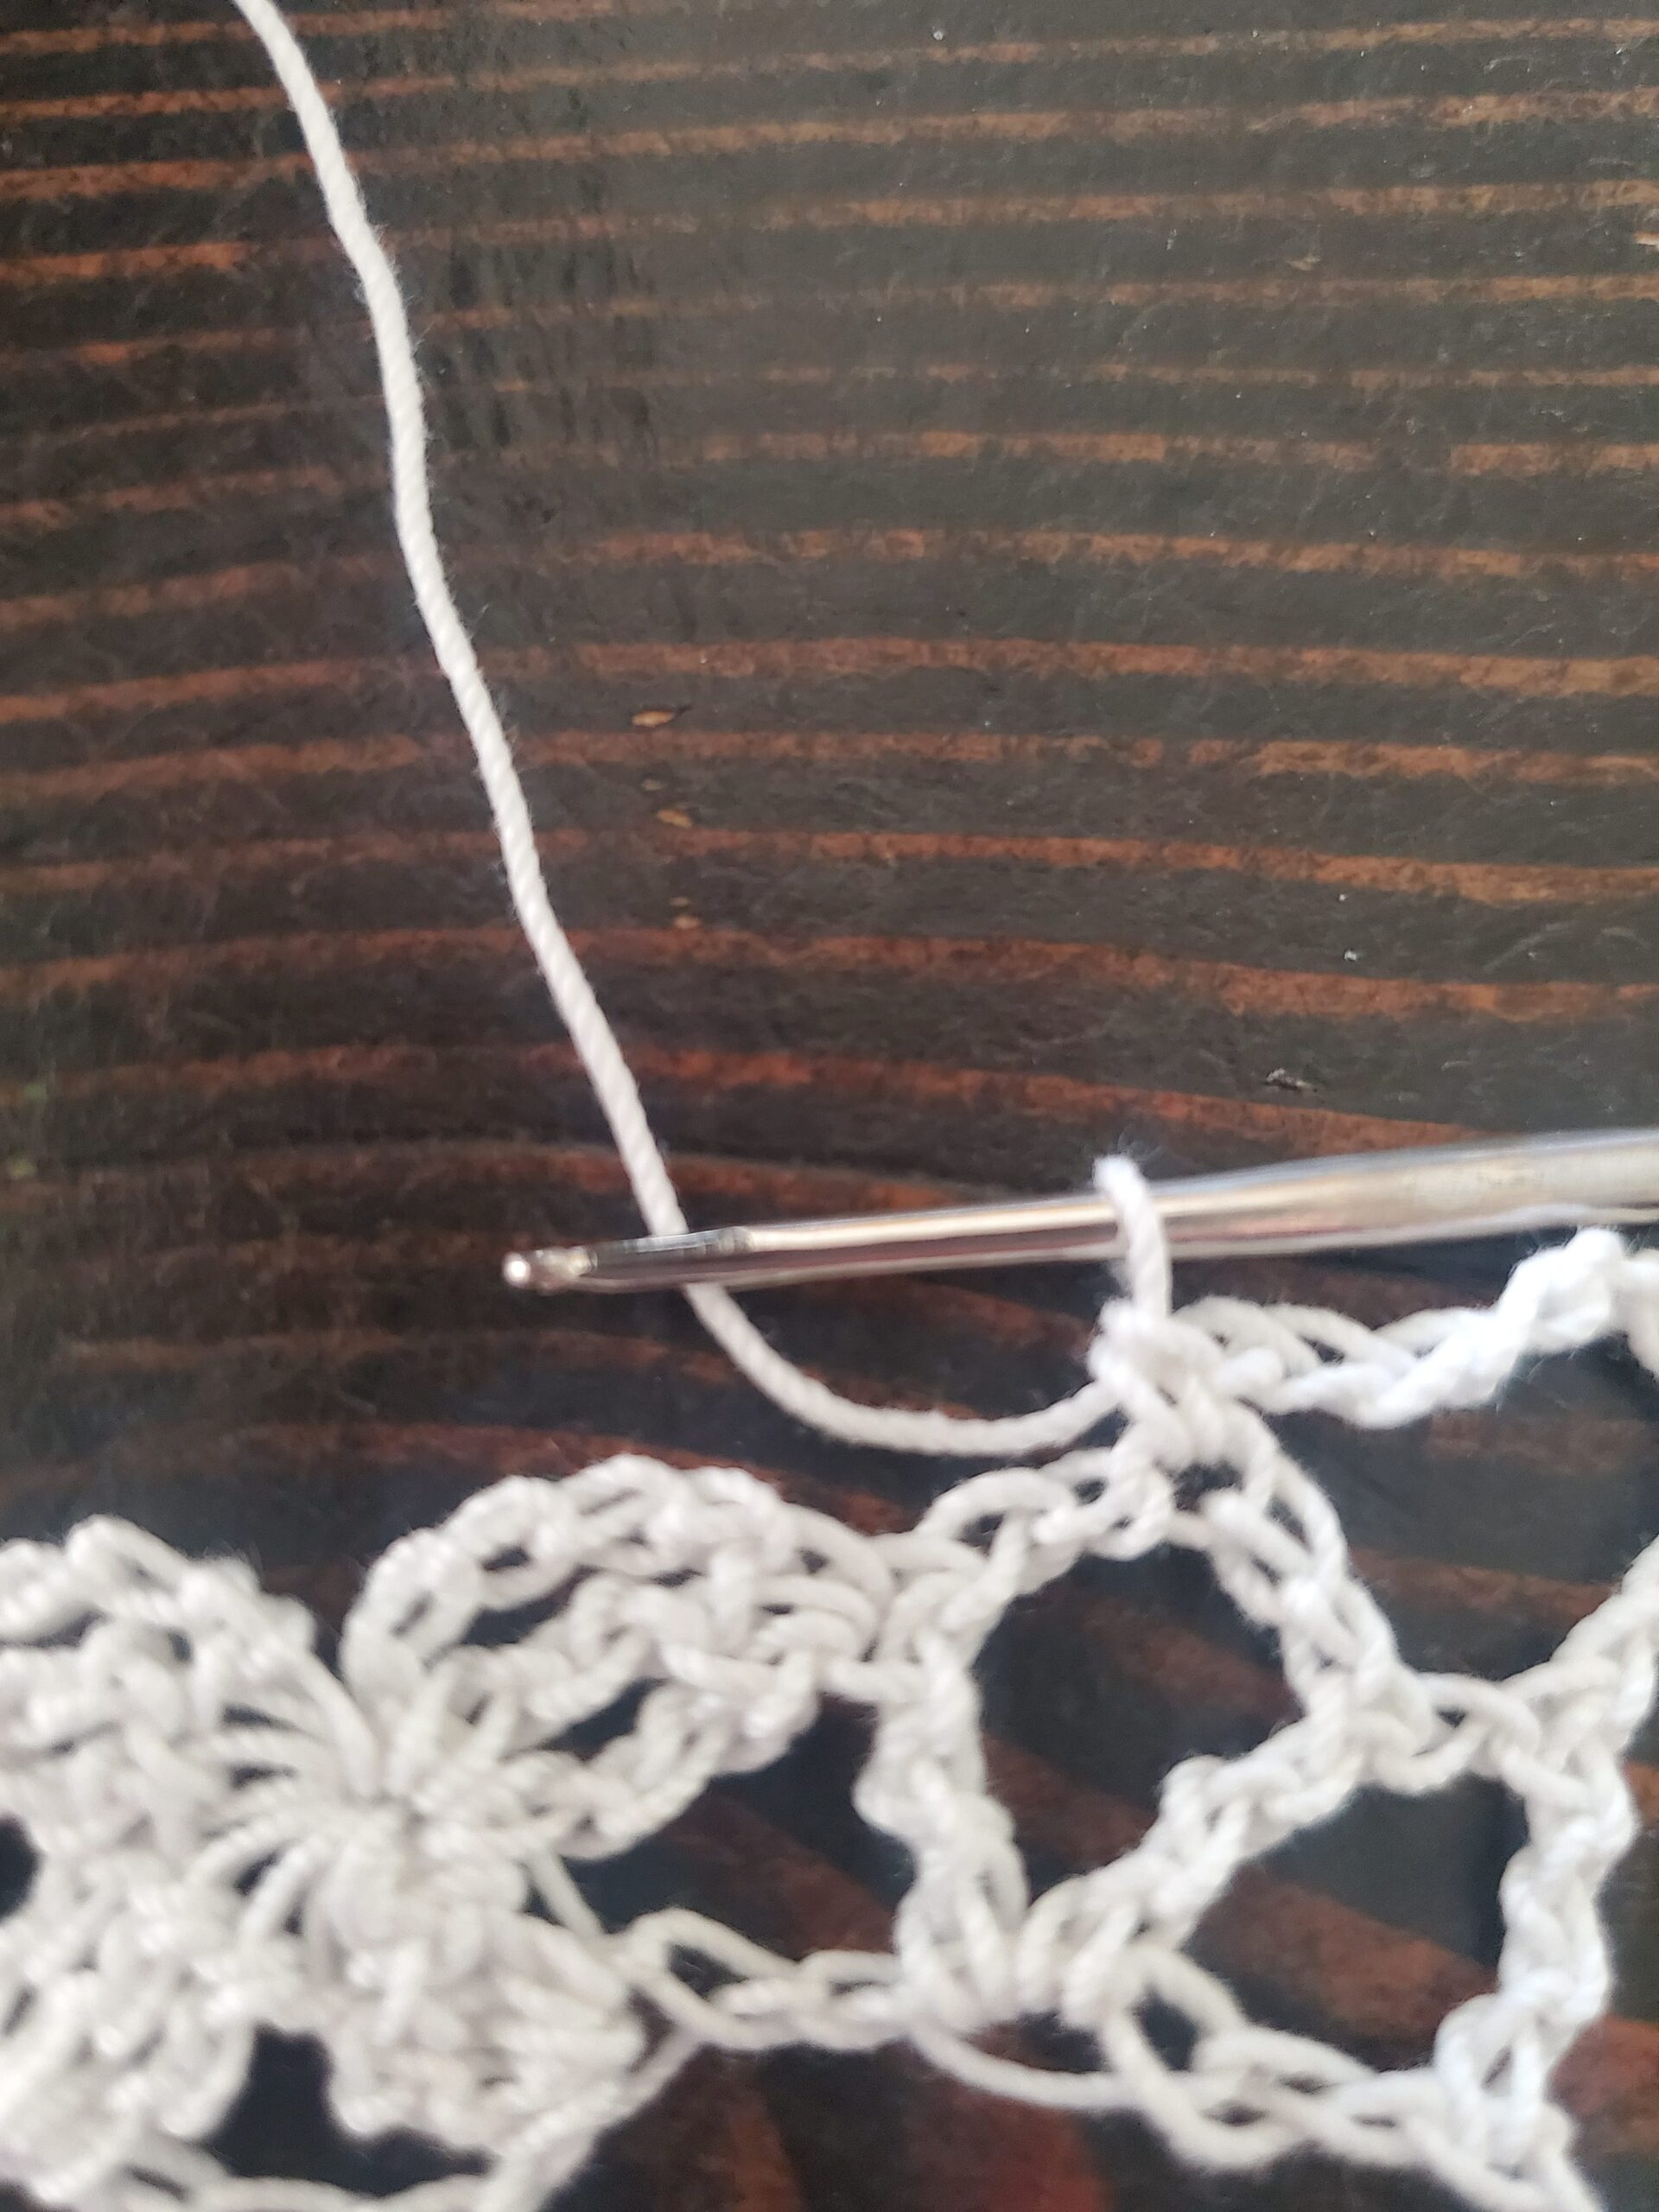
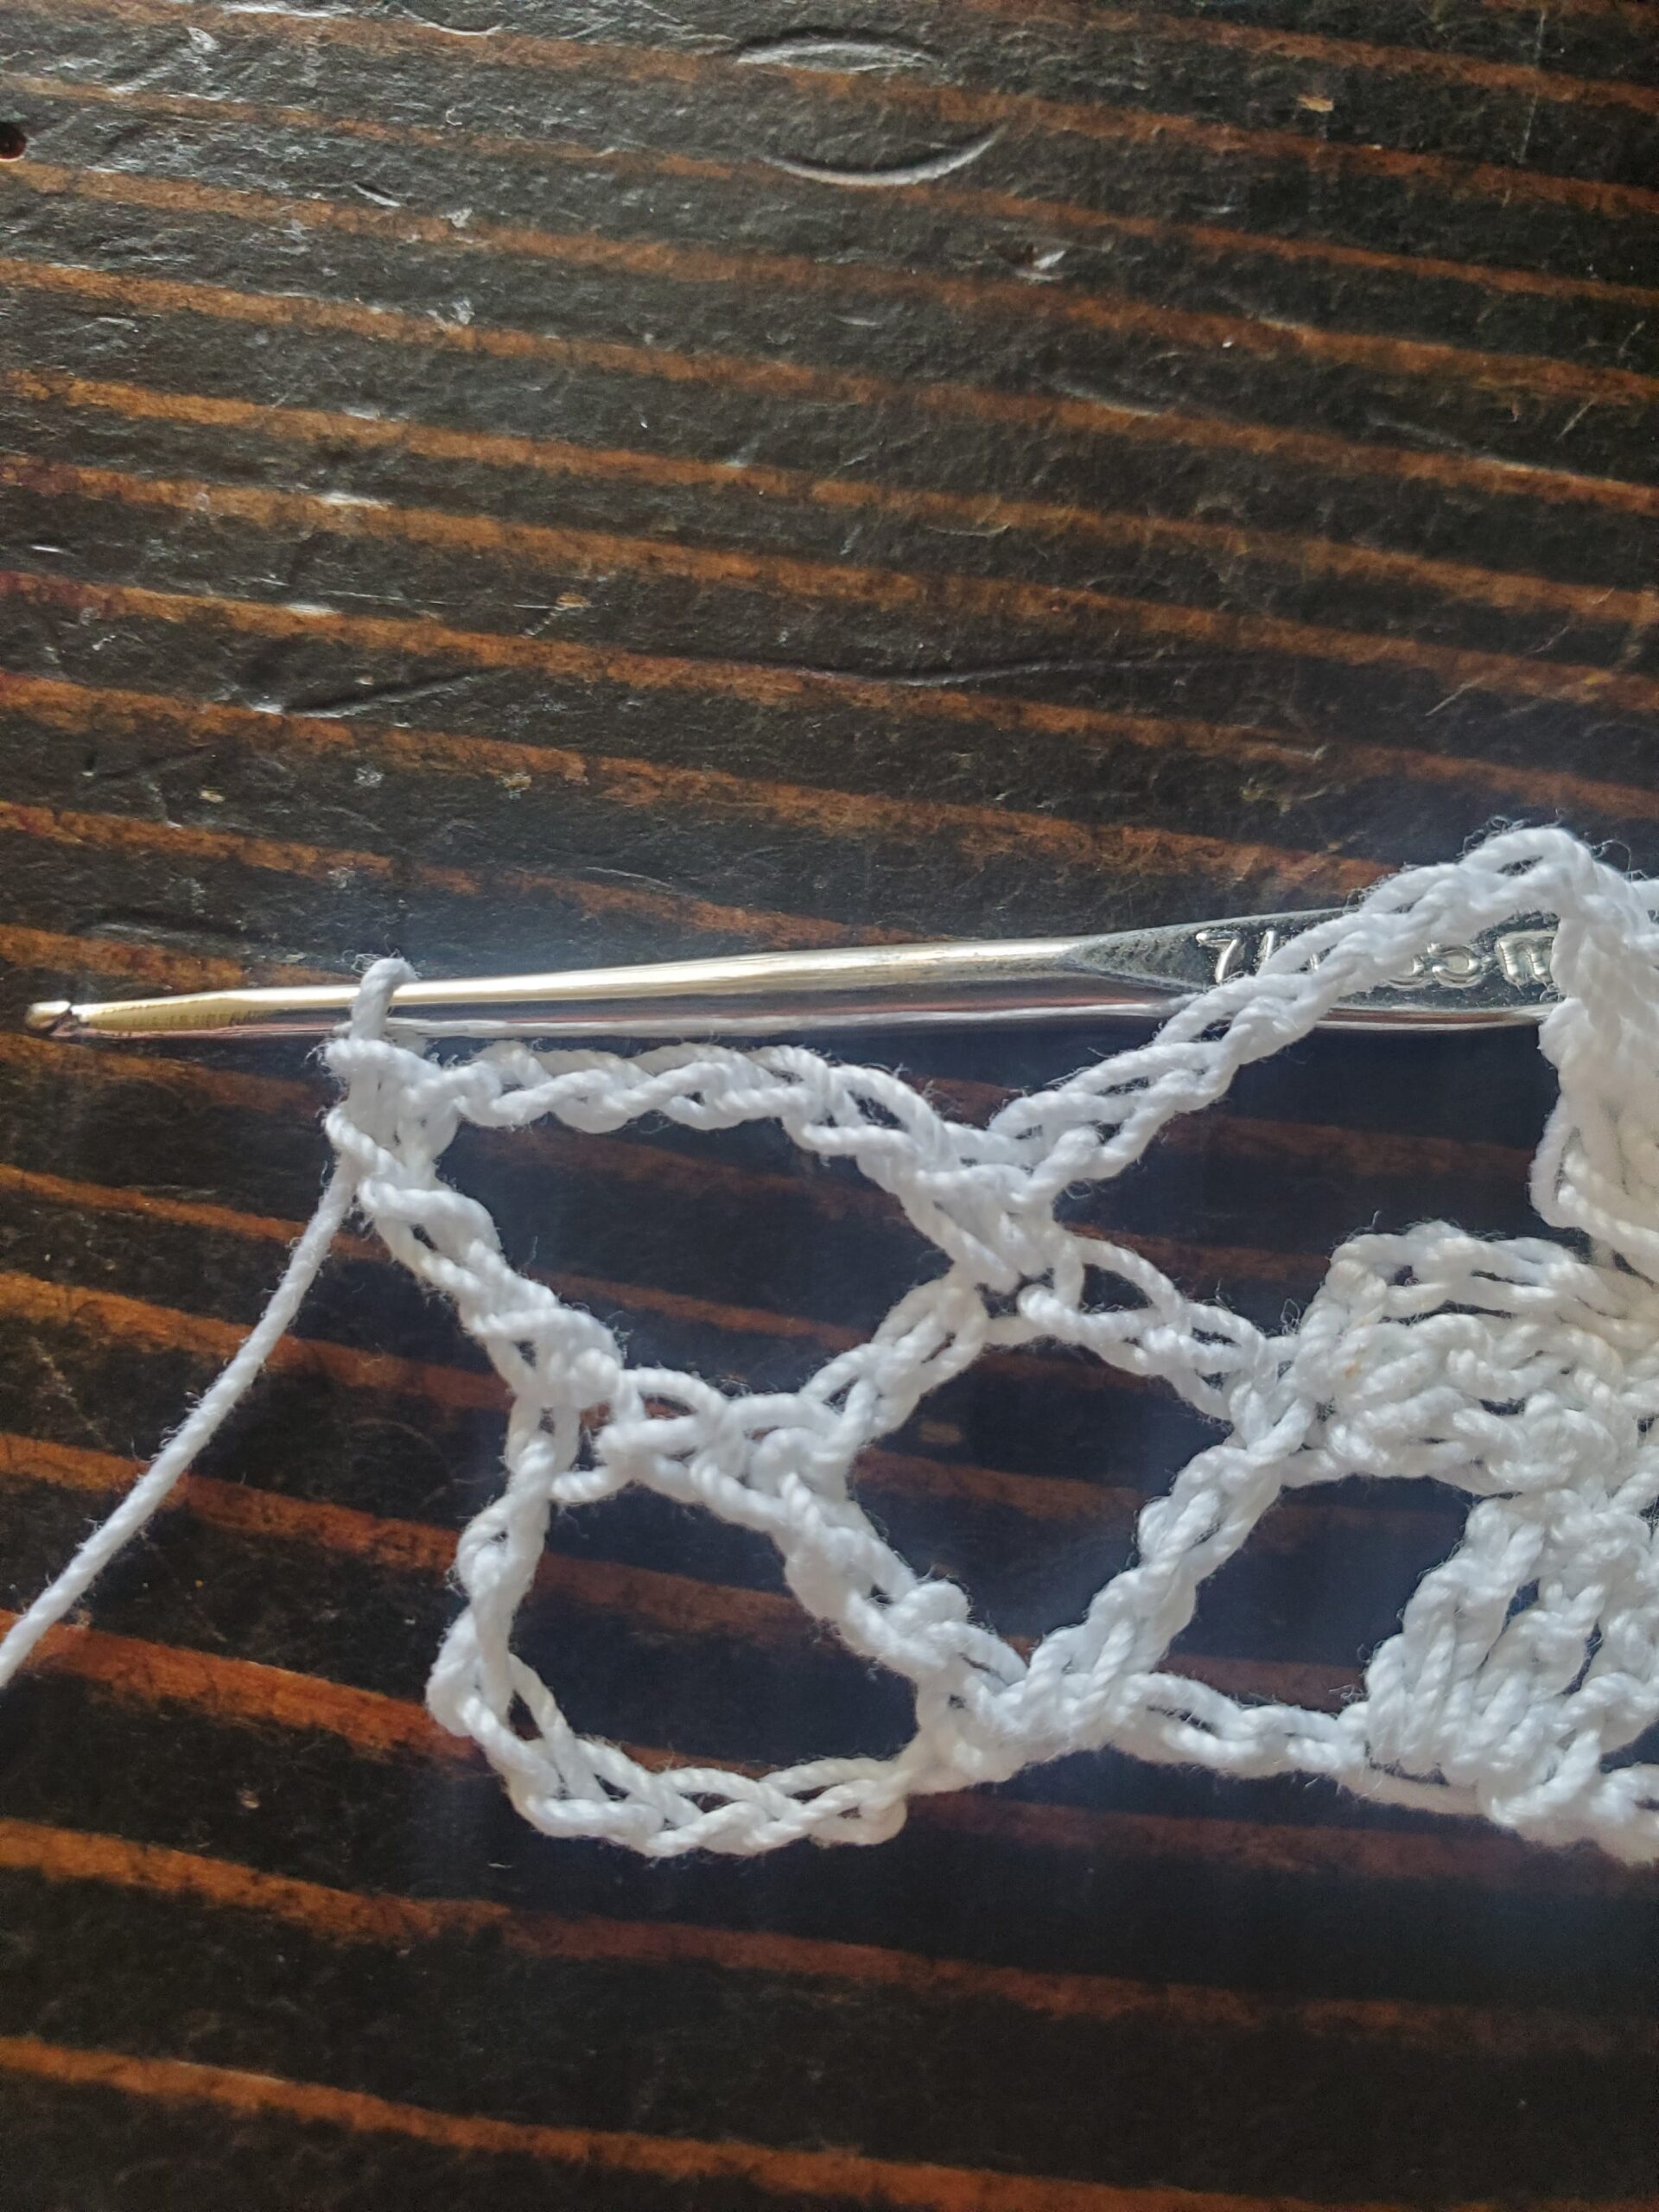
The Grim Reader Bookmark Pattern:
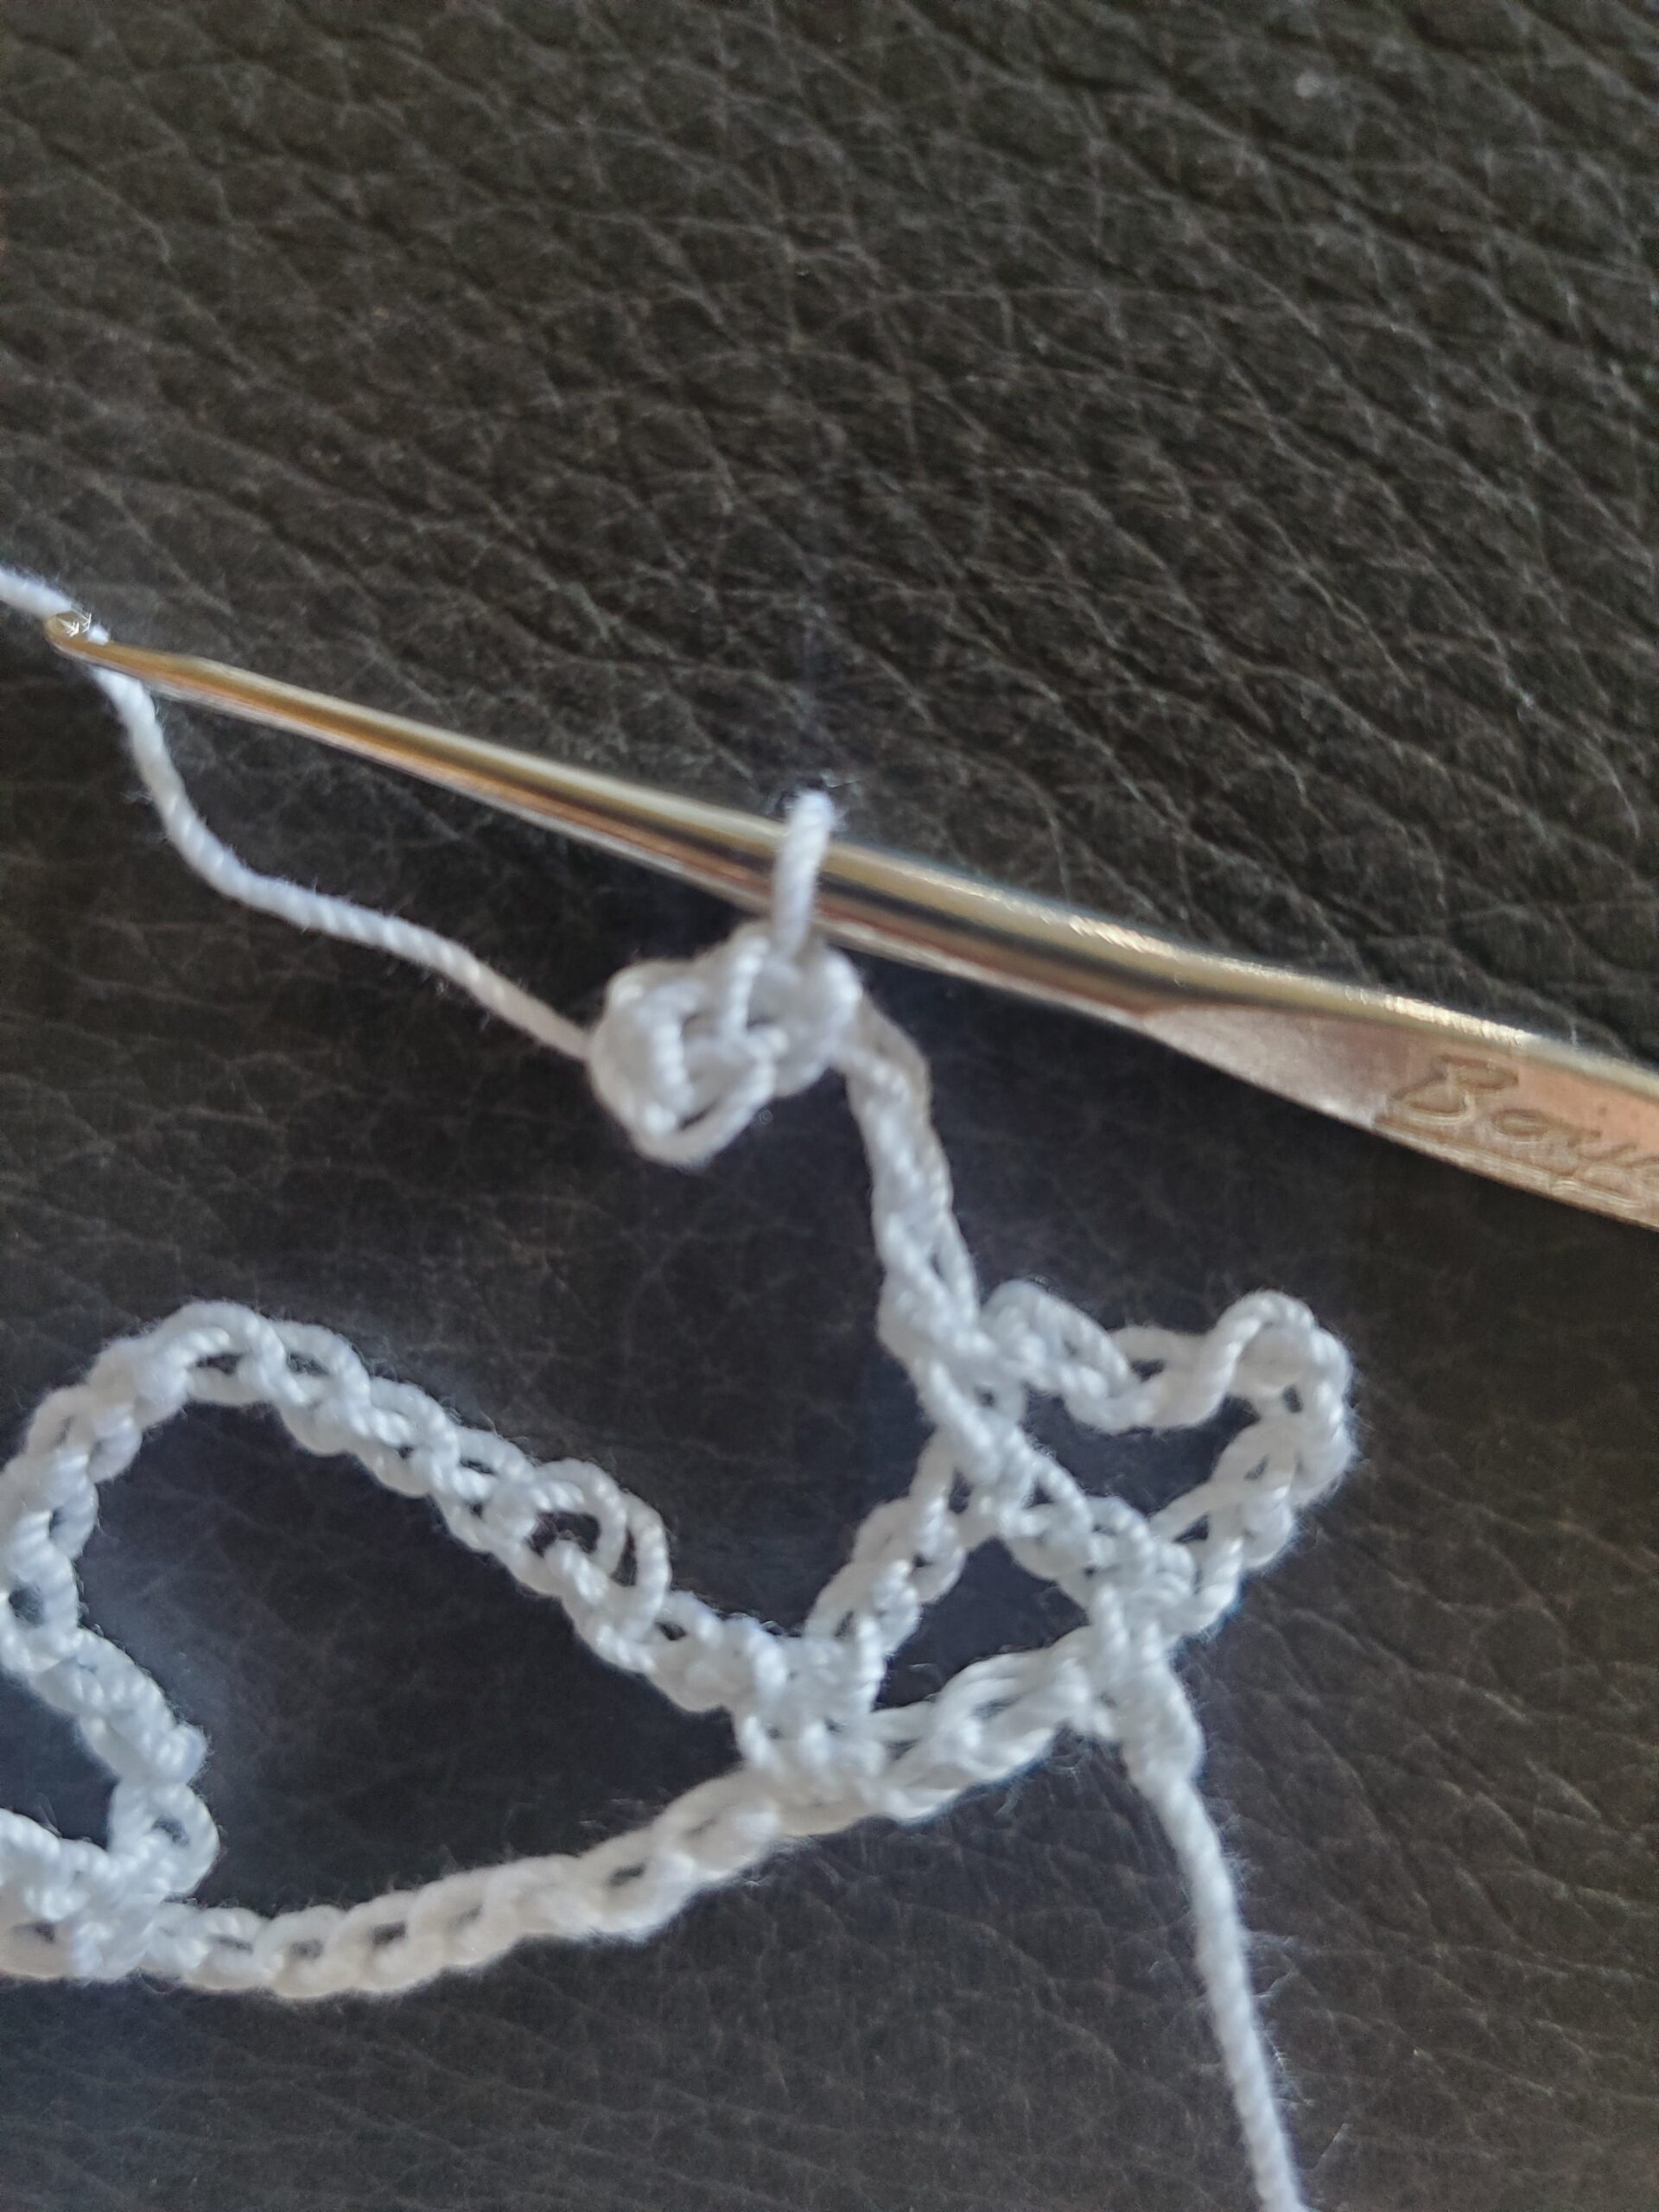
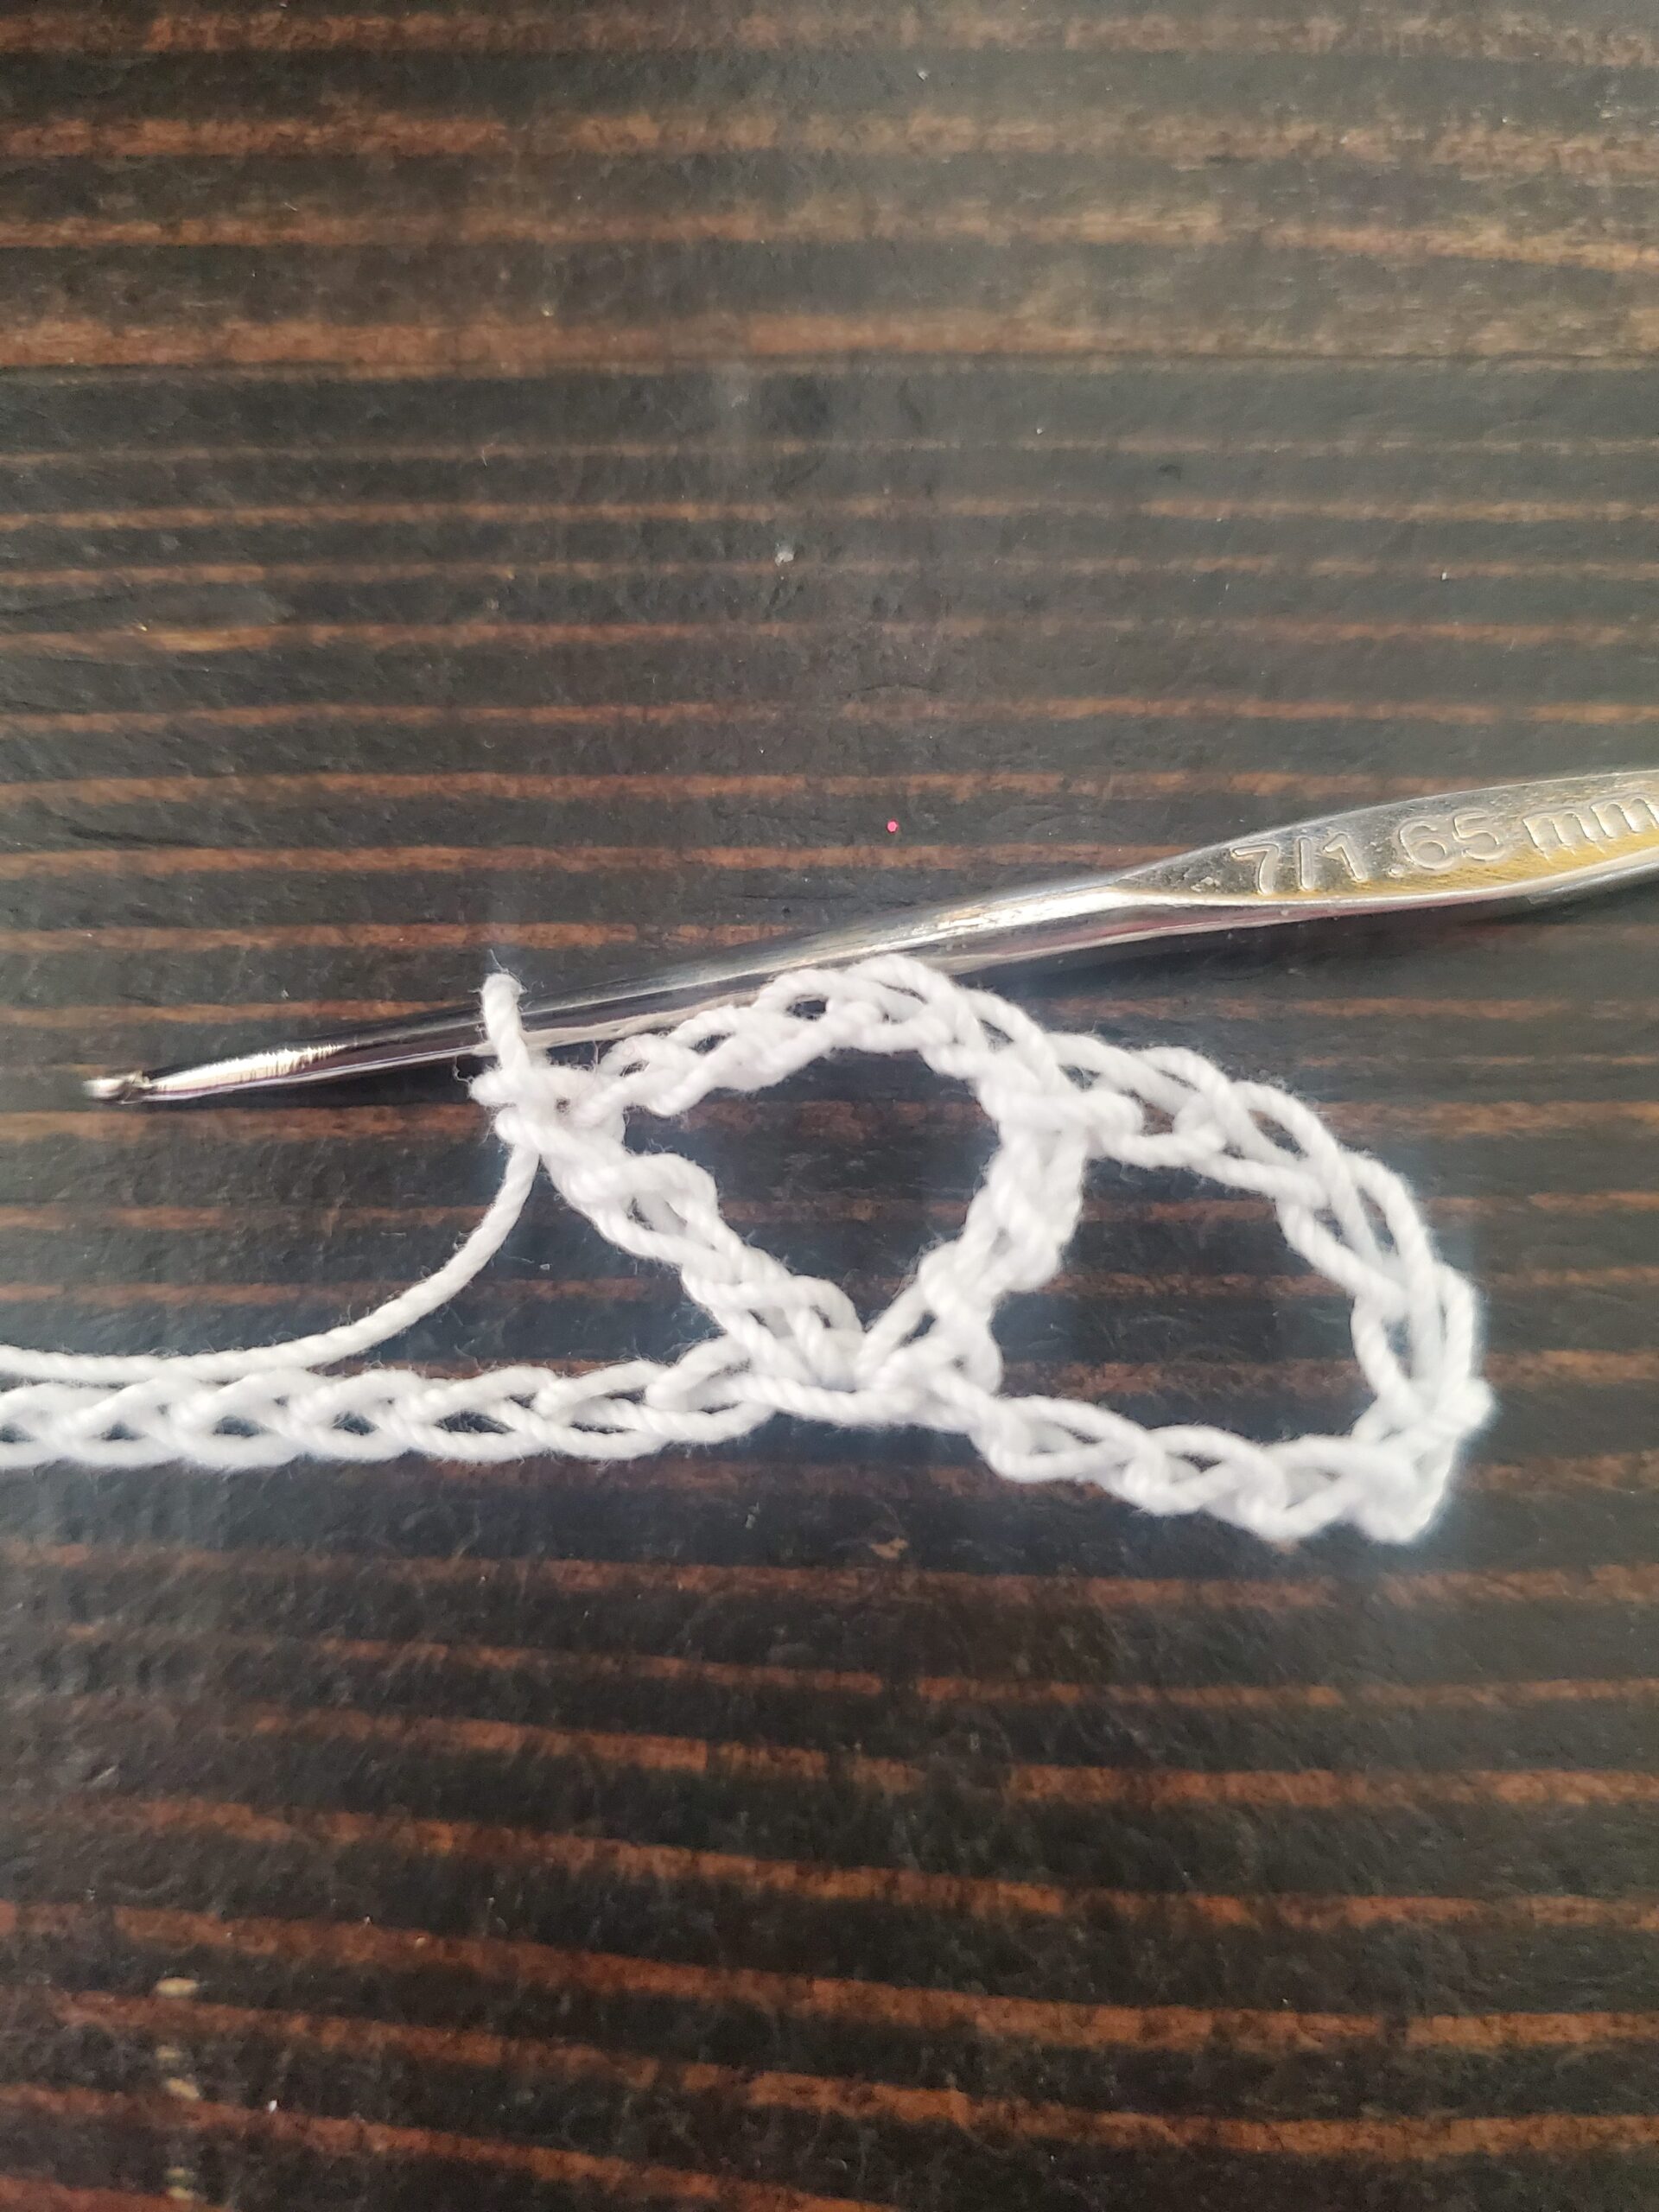
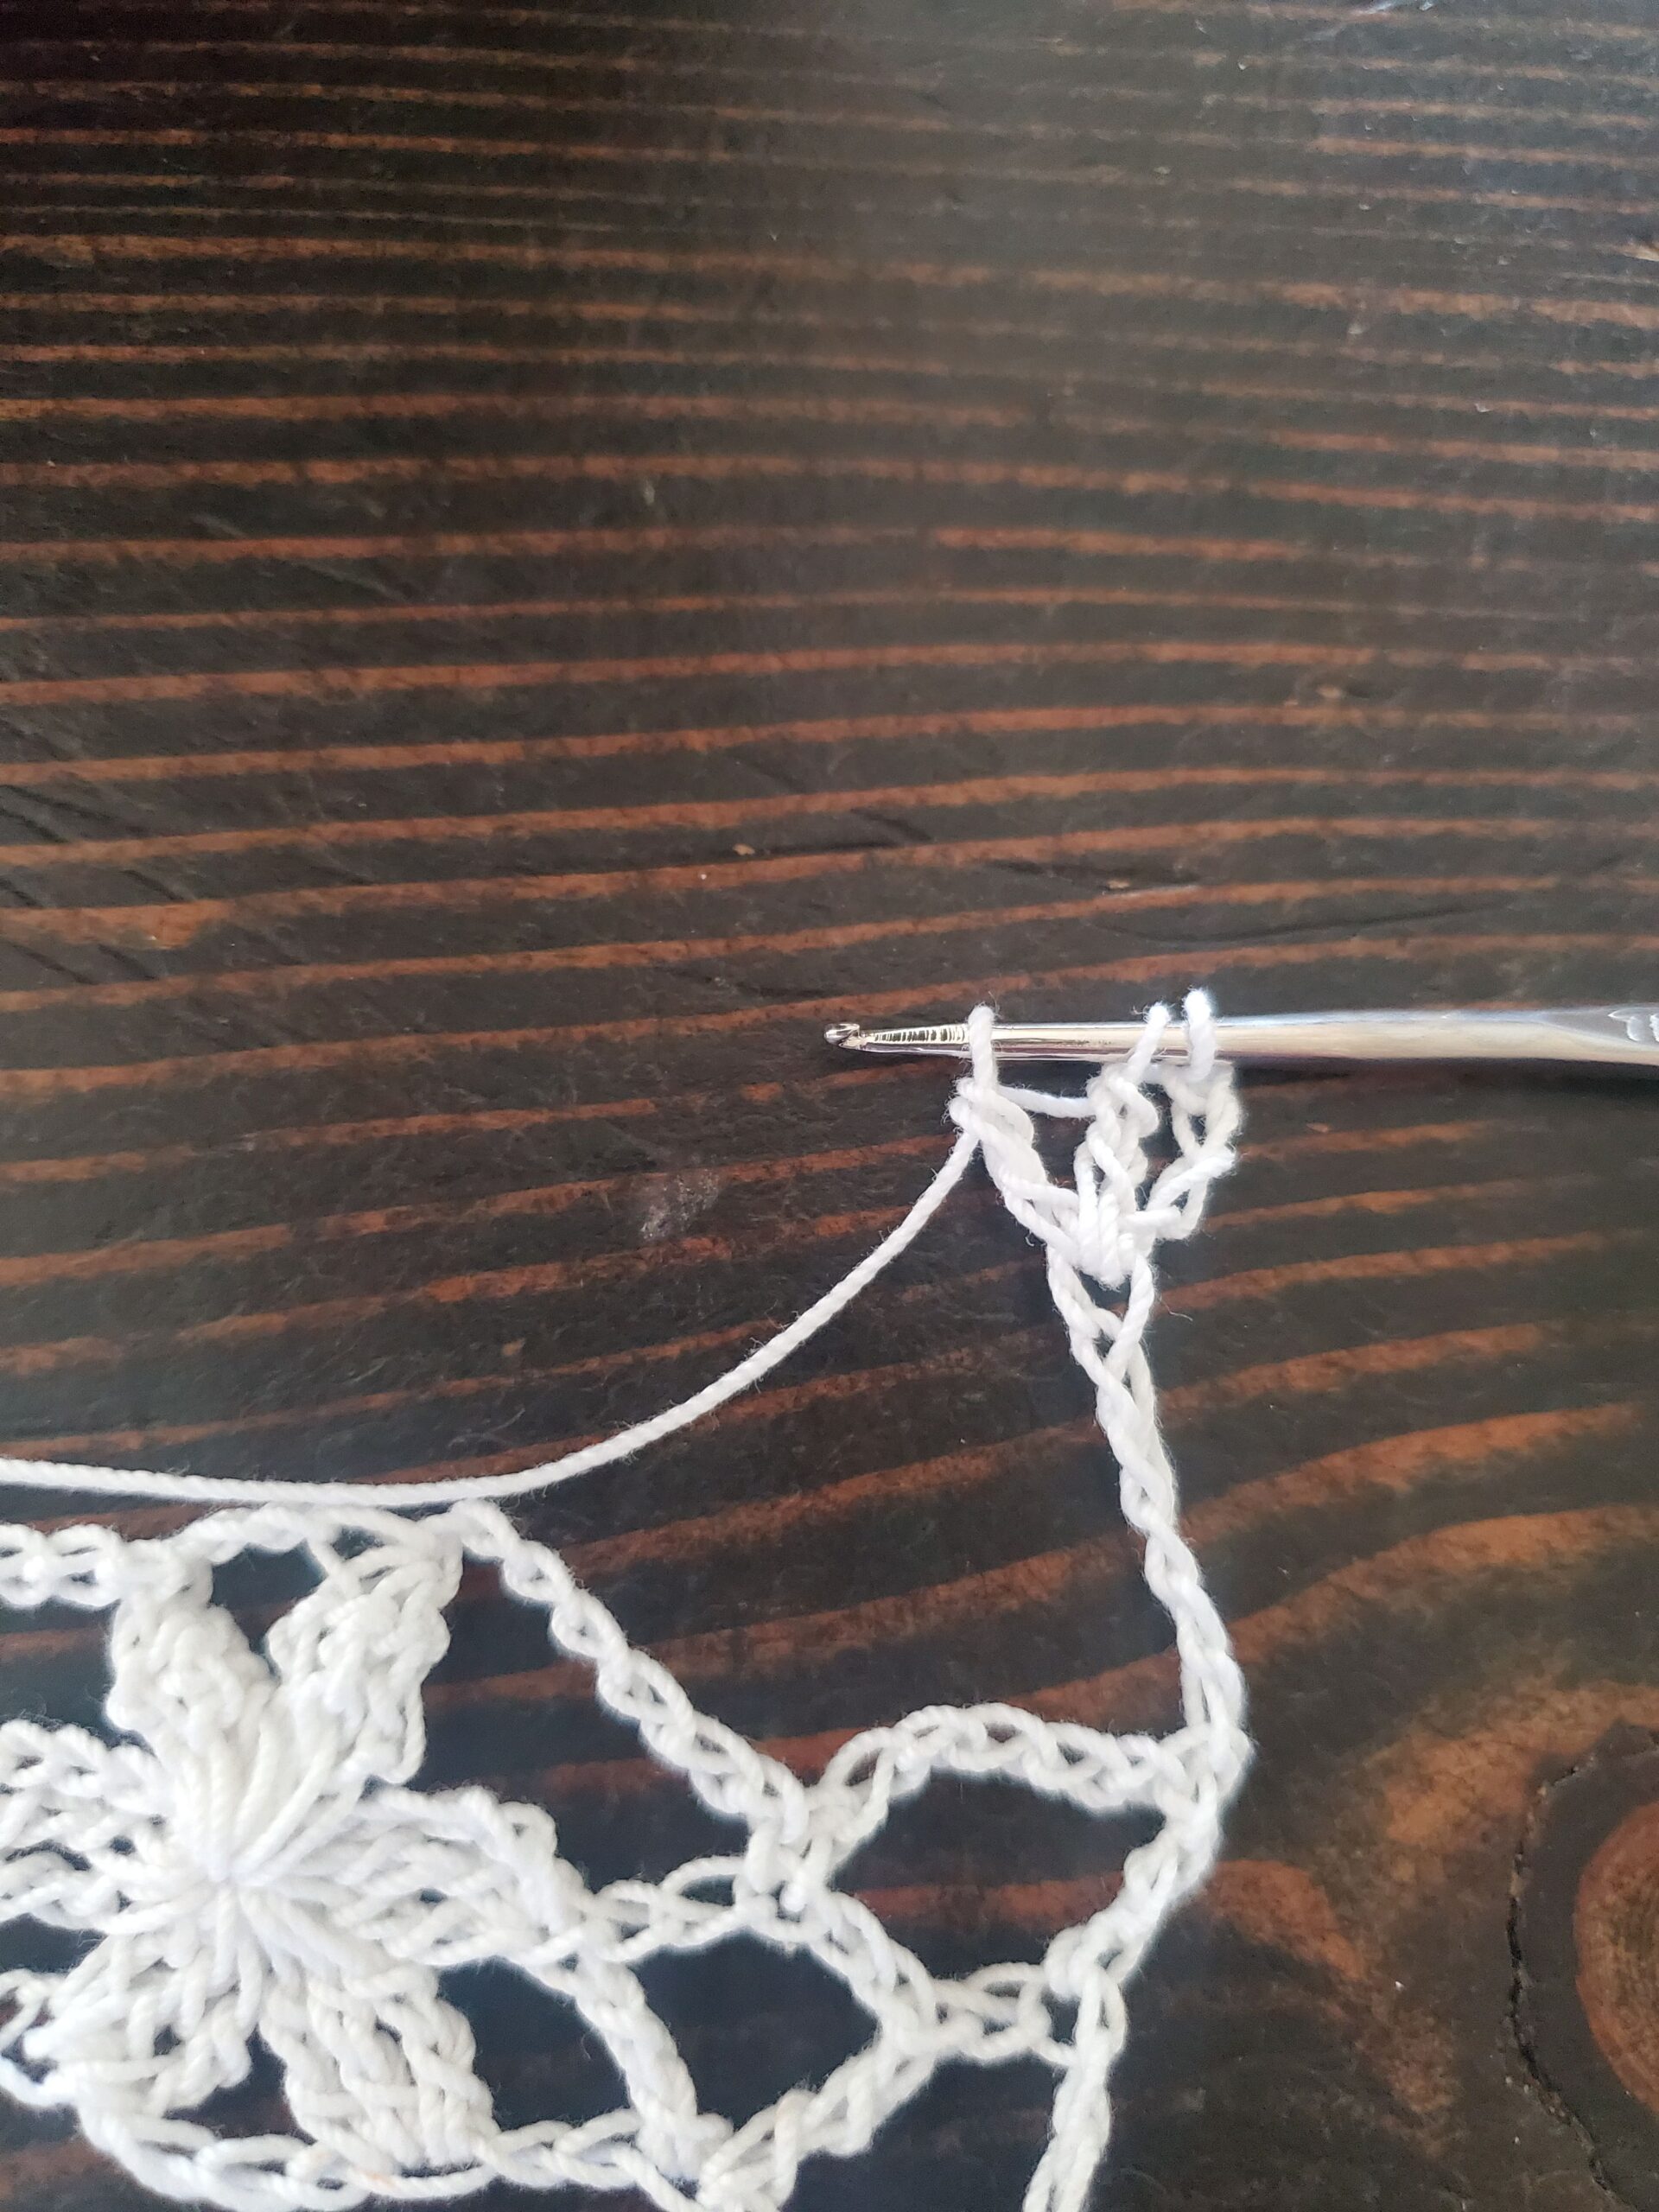
Ch 20
- Row 1: hdc in 3rd ch from hook, 1 hdc in each ch across (18 sts)
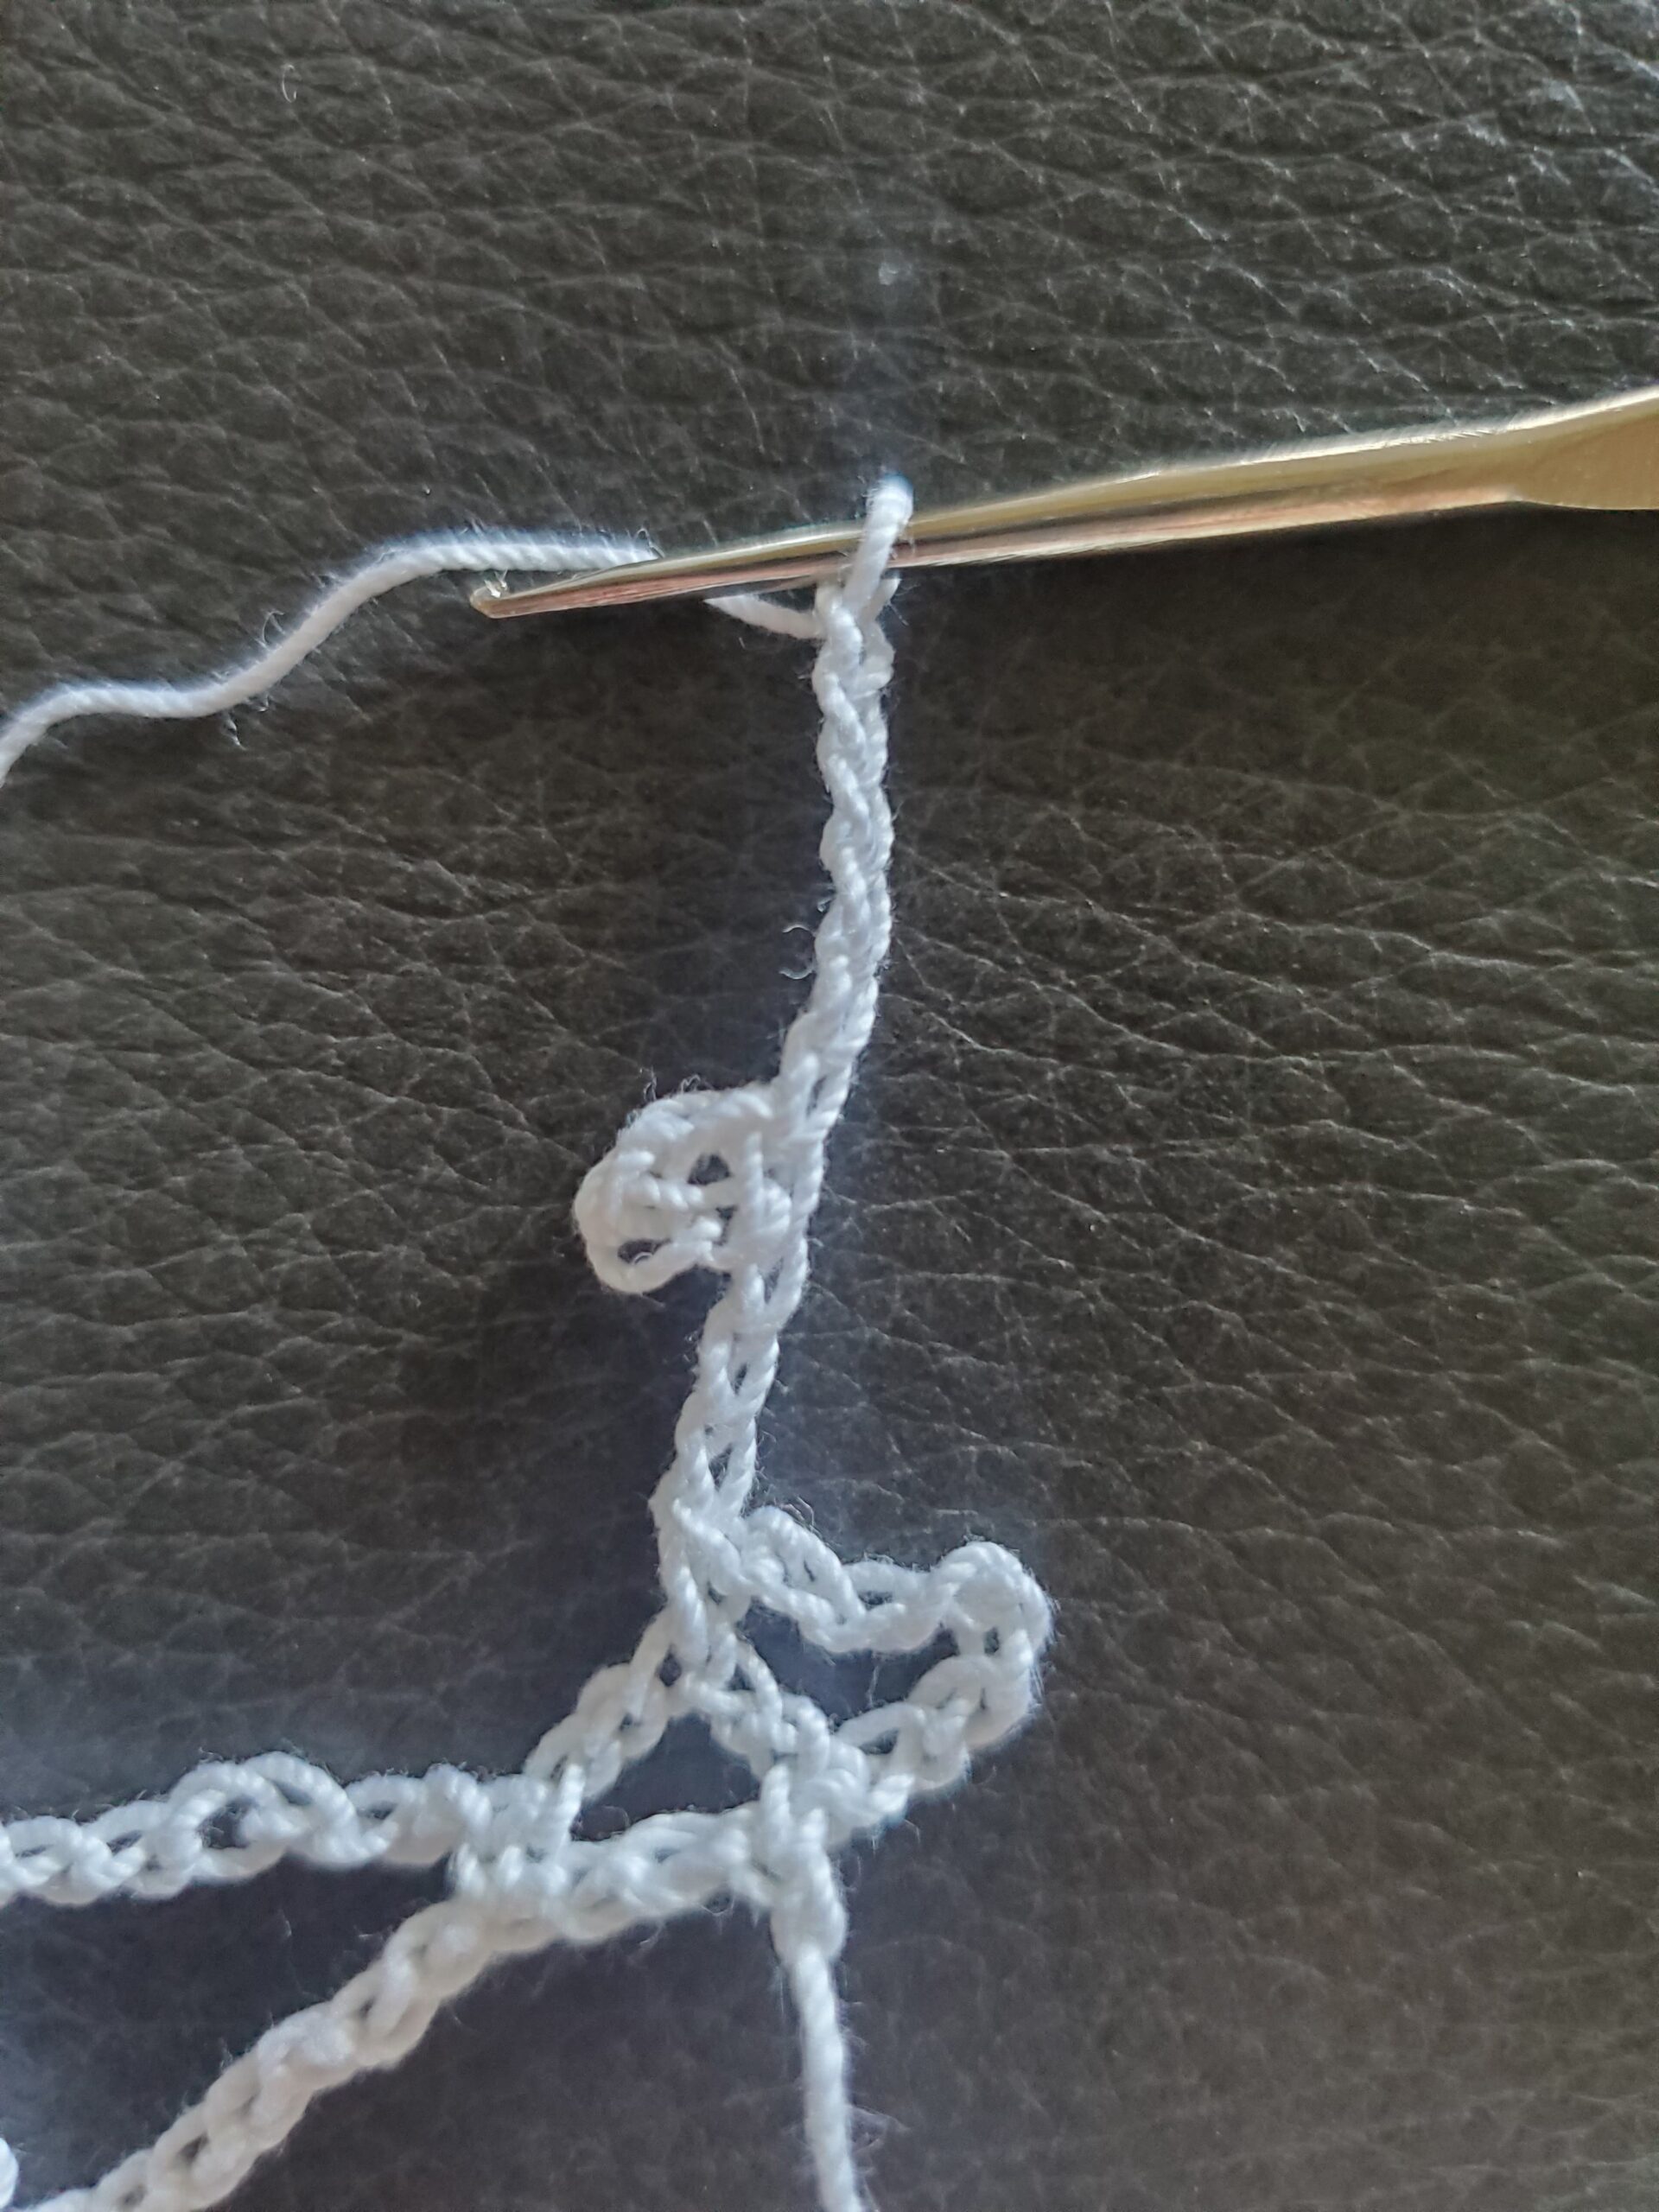
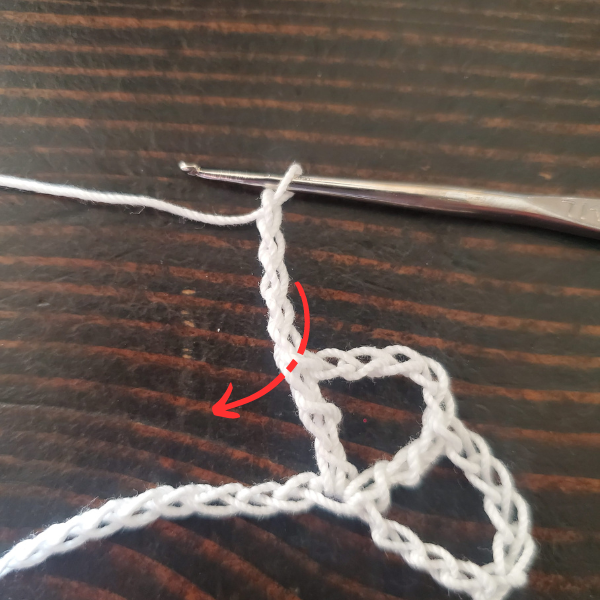
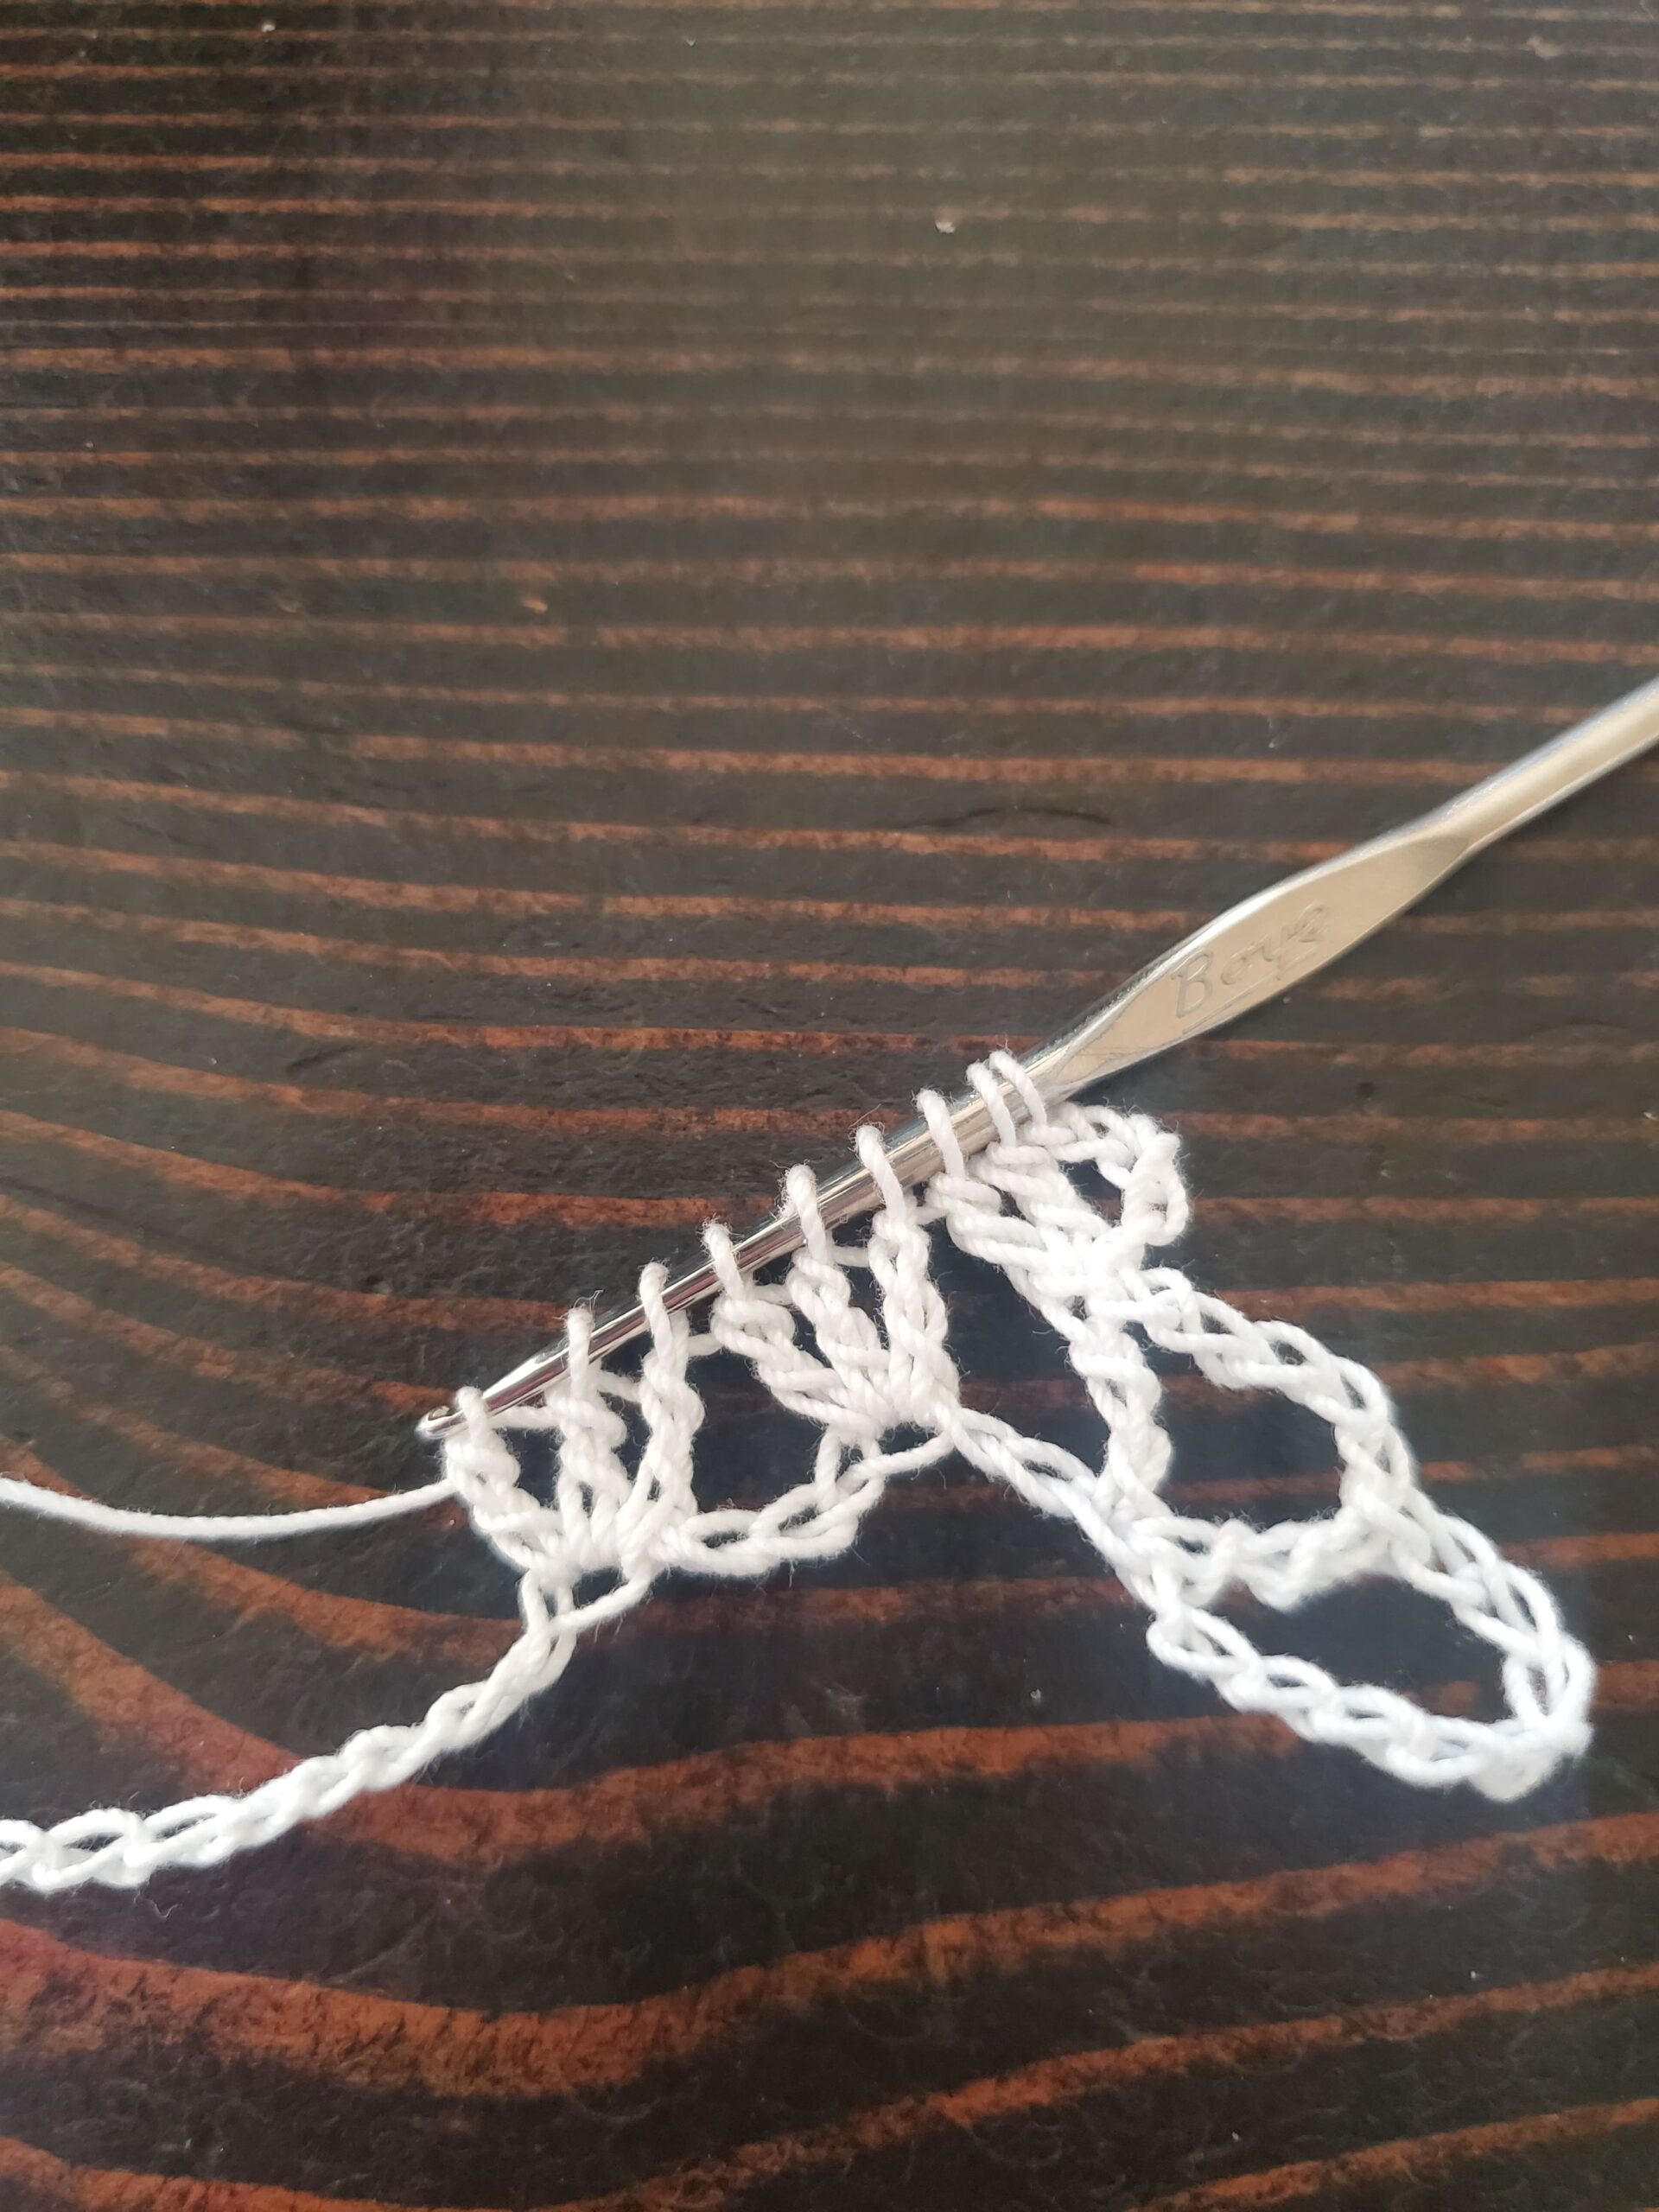
- Row 2: Turn, ch 2 (starting ch does not count as hdc for this Row or for the rest of the pattern), 1 hdc in next 2 sts, ch 4, skip 3 sts, 1 hdc in next st, ch 7, skip 6 sts, 1 hdc in next st, ch 4, skip 3 sts, 1 hdc in next 2 sts (21 sts)
- Row 3: Turn, ch 2, 1 hdc in next 2 sts, ch 2, 1 hdc in ch 4 space, ch 2, 7 dc in ch 7 space, ch 2, 1 hdc in next ch 4 space, ch 2, 1 hdc in next 2 sts (21 sts)
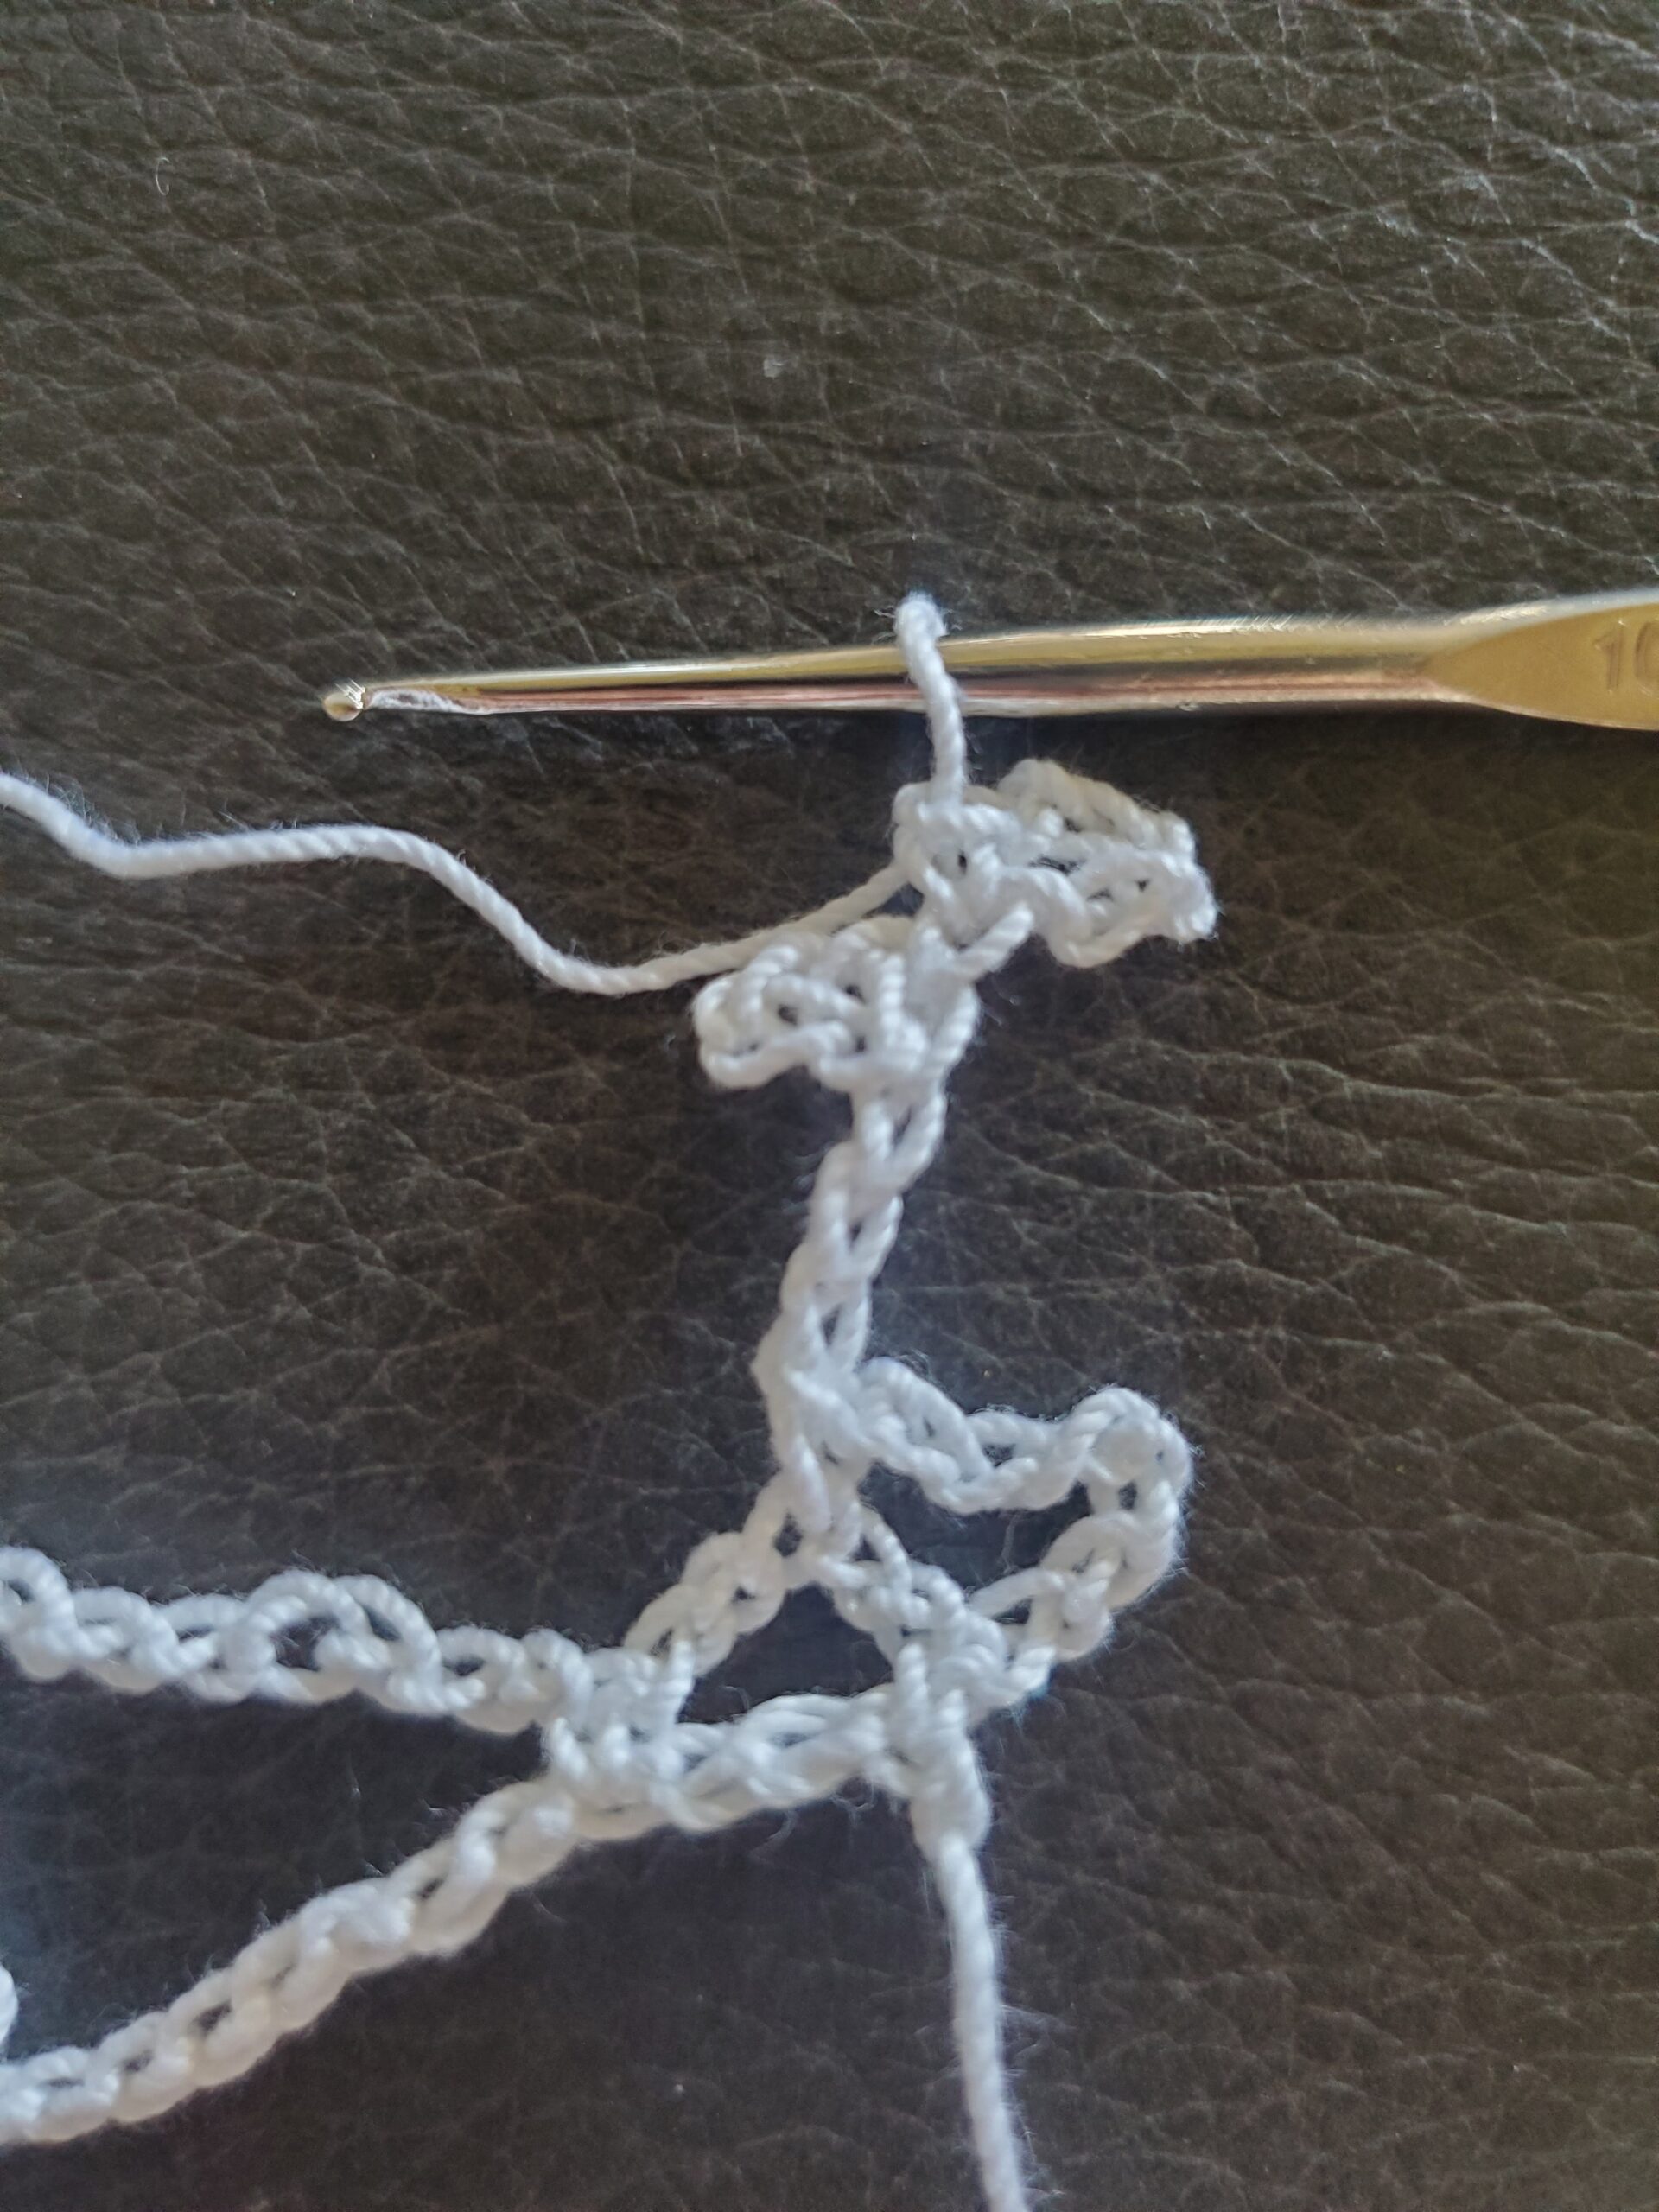
- Row 4: Turn, ch 2, 1 hdc in next 2 sts, ch 4, skip over next (ch 2 space, hdc, and ch 2 space) and 1 sc in 1st dc, ch 7, skip next 5 sts, sc in last dc, ch 4, skip over next (ch 2 space, hdc, and ch 2 space), 1 hdc in next 2 sts (21 sts)
- Row 5: Turn, ch 2, 1 hdc in next 2 sts, ch 2, hdc in ch 4 space, ch 2, 1 sc in next sc, 7 sc in ch 7 space, 1 sc in next sc, ch 2, 1 hdc in ch 4 space, ch 2, 1 hdc in next 2 sts (23 sts)
- Row 6: Turn, ch 2, 1 hdc in next 2 sts, ch 4, skip over next (ch 2 space, hdc, and ch 2 space), 1 sc in next 3 sts, 1 dc in next st, ch 1, skip 1 st, 1 dc in next st, 1 sc in next 3 sts, ch 4, skip over next (ch 2 space, hdc, and ch 2 space), 1 hdc in next 2 sts (21 sts)
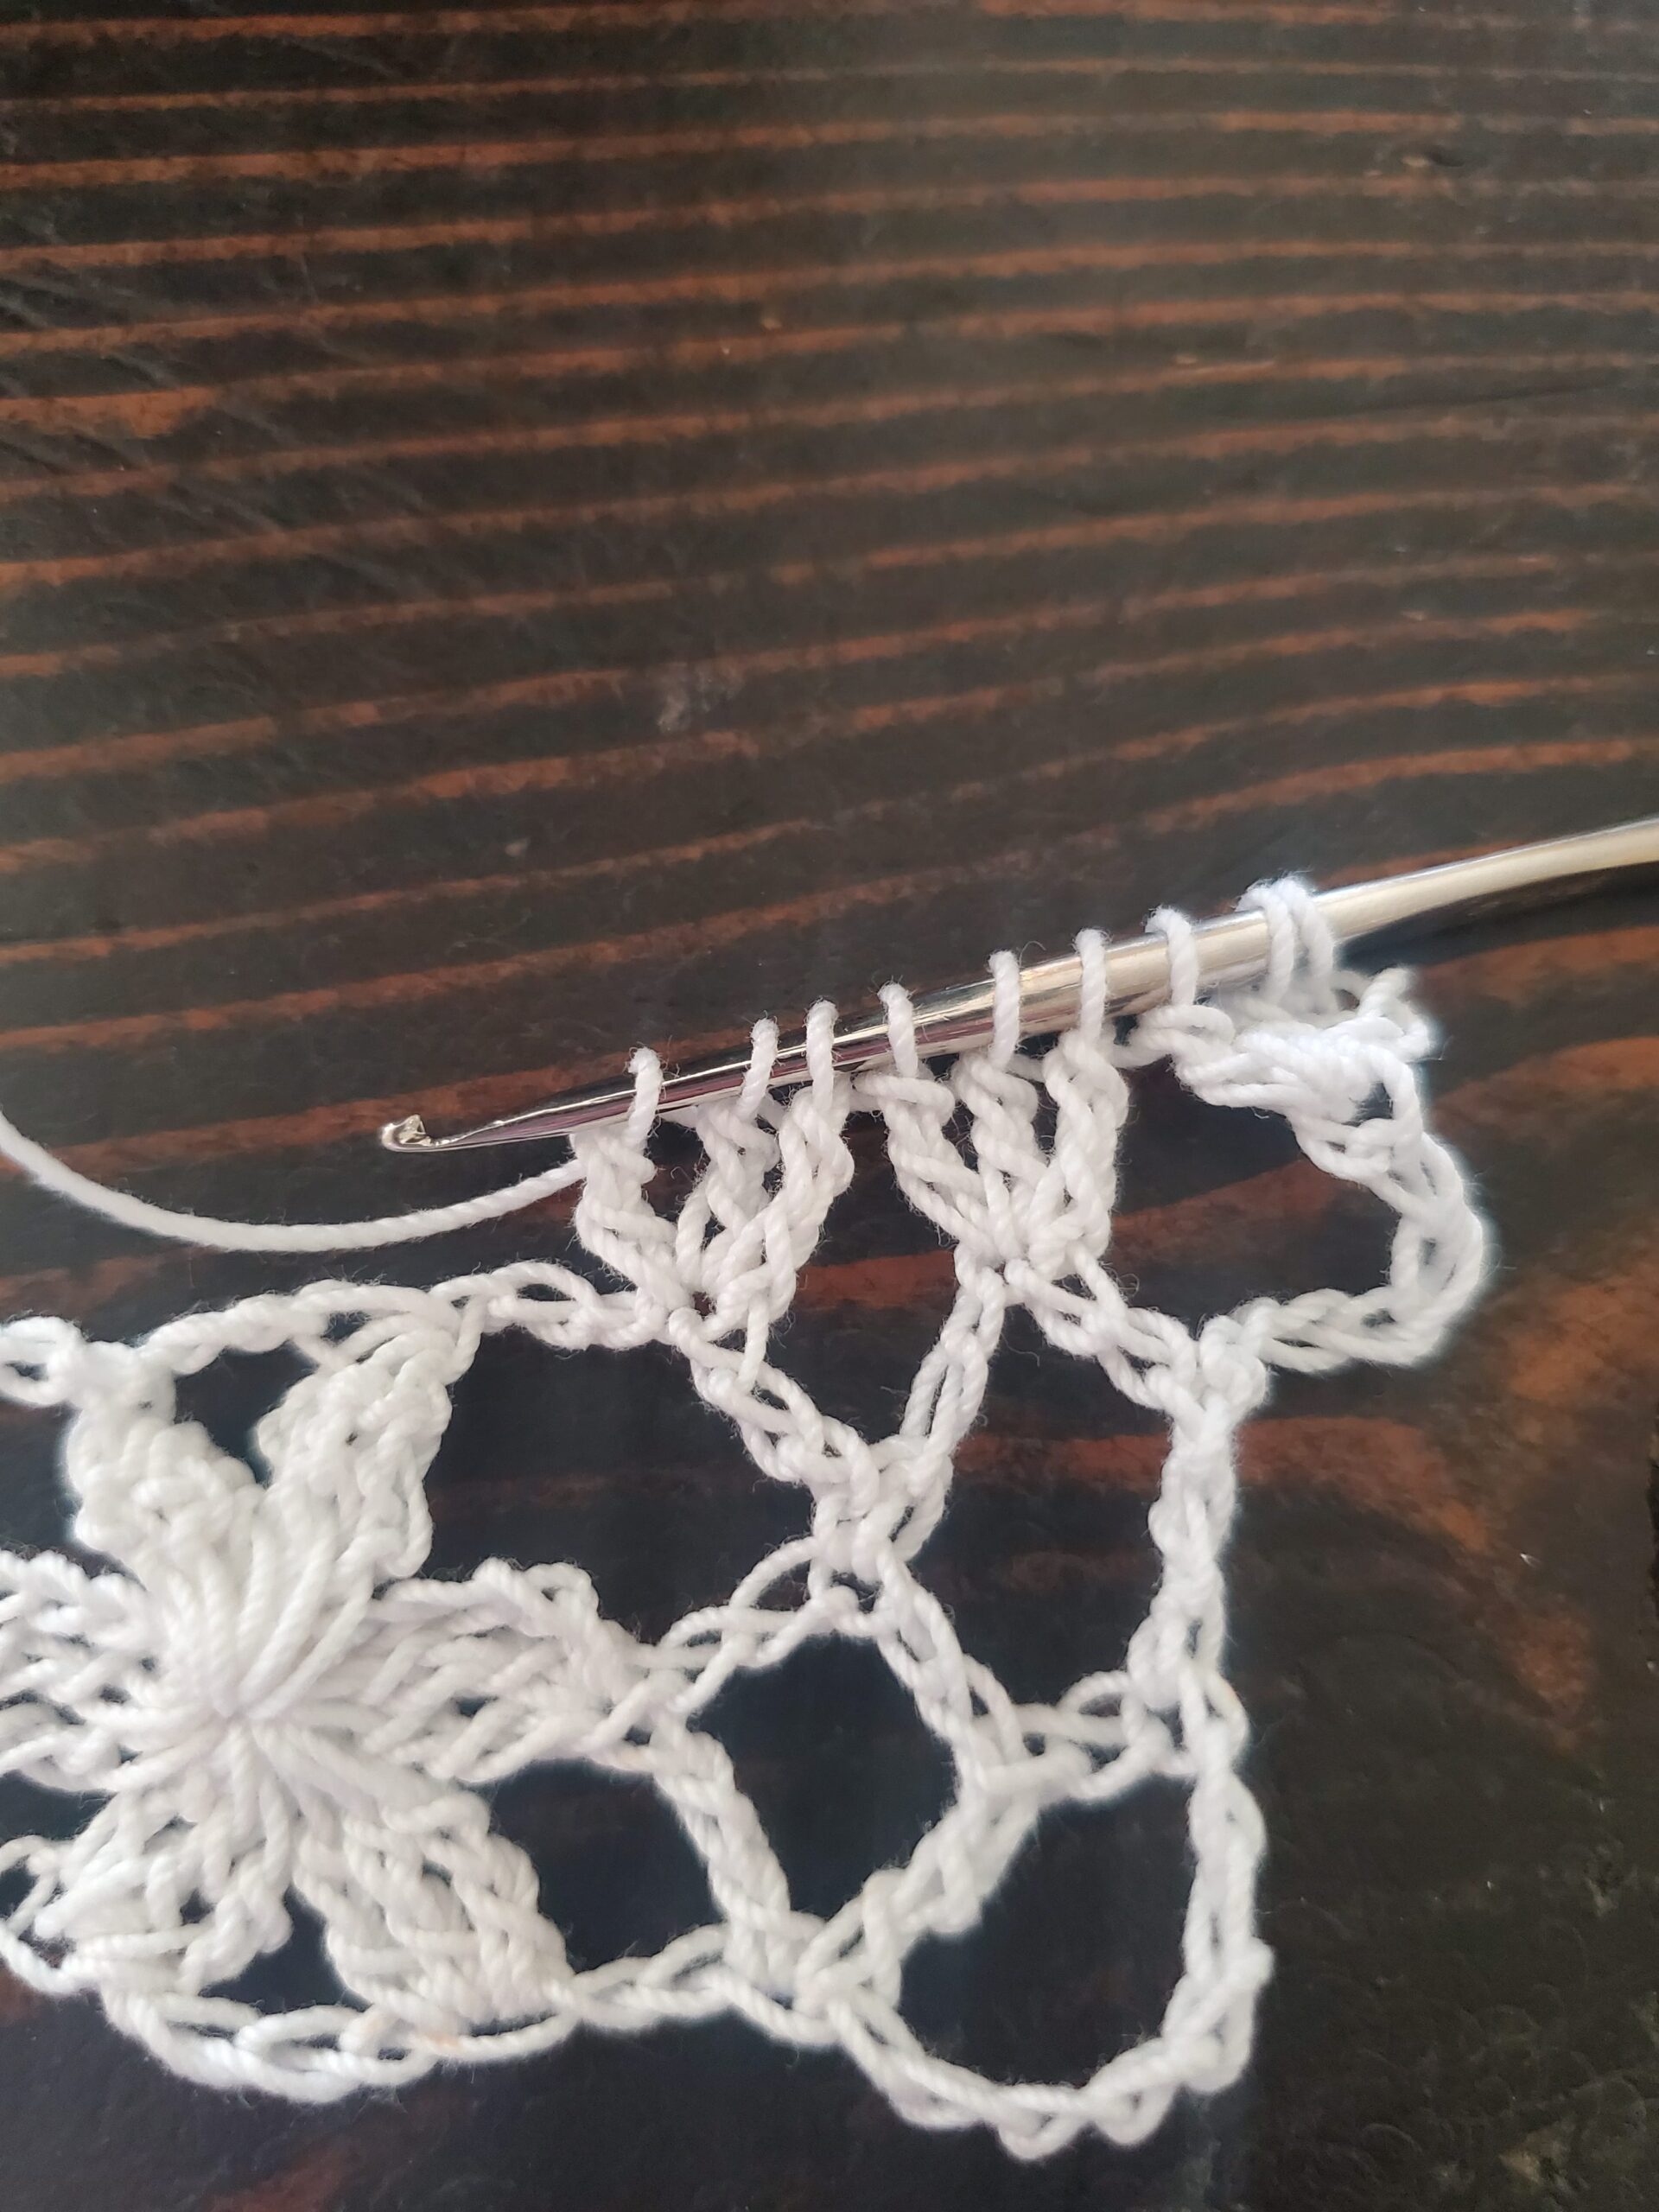
- Row 7: Turn, ch 2, 1 hdc in next 2 sts, ch 1, 1 hdc in ch 4 space, ch 1, 1 hdc in 1st sc, ch 7, sc in ch 1 space, ch 7, 1 hdc in last sc, ch 1, 1 hdc in ch 4 space, ch 2, 1 hdc in next 1 sts (27 sts)
- Row 8: Turn, ch 2, 1 hdc in next 2 sts, ch 2, skip over next (ch 1 space, hdc, ch 1 space), 1 sc in next hdc, 7 sc in 1st ch 7 space, 7 sc in 2nd ch 7 space, 1 sc in next hdc, ch 2, skip over next (ch 1 space, hdc, ch 1 space), 1 hdc in next 2 sts (24 sts)
- Row 9: Turn, ch 2, 1 hdc in next 2 sts, ch 2, skip ch 2 space, skip 1st sc, 1 sc in next 6 sts, skip next 2 sts, 1 sc in next 6 sts, ch 2, skip ch 2 space, 1 hdc in next 2 sts (20 sts)
- Row 10: Turn, ch 2, 1 hdc in next 2 sts, ch 1, hdc in ch 2 space, ch 1, skip 1st sc, 1 sc in next 10 sts, skip last sc, ch 1, hdc in ch 2 space, ch 1, 1 hdc in next 2 sts (20 sts)
- Row 11: Turn, ch 2, 1 hdc in next 2 sts, ch 4, skip over next (ch 1 space, hdc, ch 1 space), skip next 2 sc, 1 sc in next 6 sts, ch 4, skip over next (ch 1 space, hdc, ch 1 space), 1 hdc in next 2 sts (20 sts)
- Row 12: Turn, ch 2 1 hdc in next 2 sts, ch 2, hdc in ch 4 space, ch 3, skip 1st sc, 1 sc in next 4 sts, ch 3, skip last sc, hdc in ch 4 space, ch 2, 1 hdc in next 2 sts (20 sts)
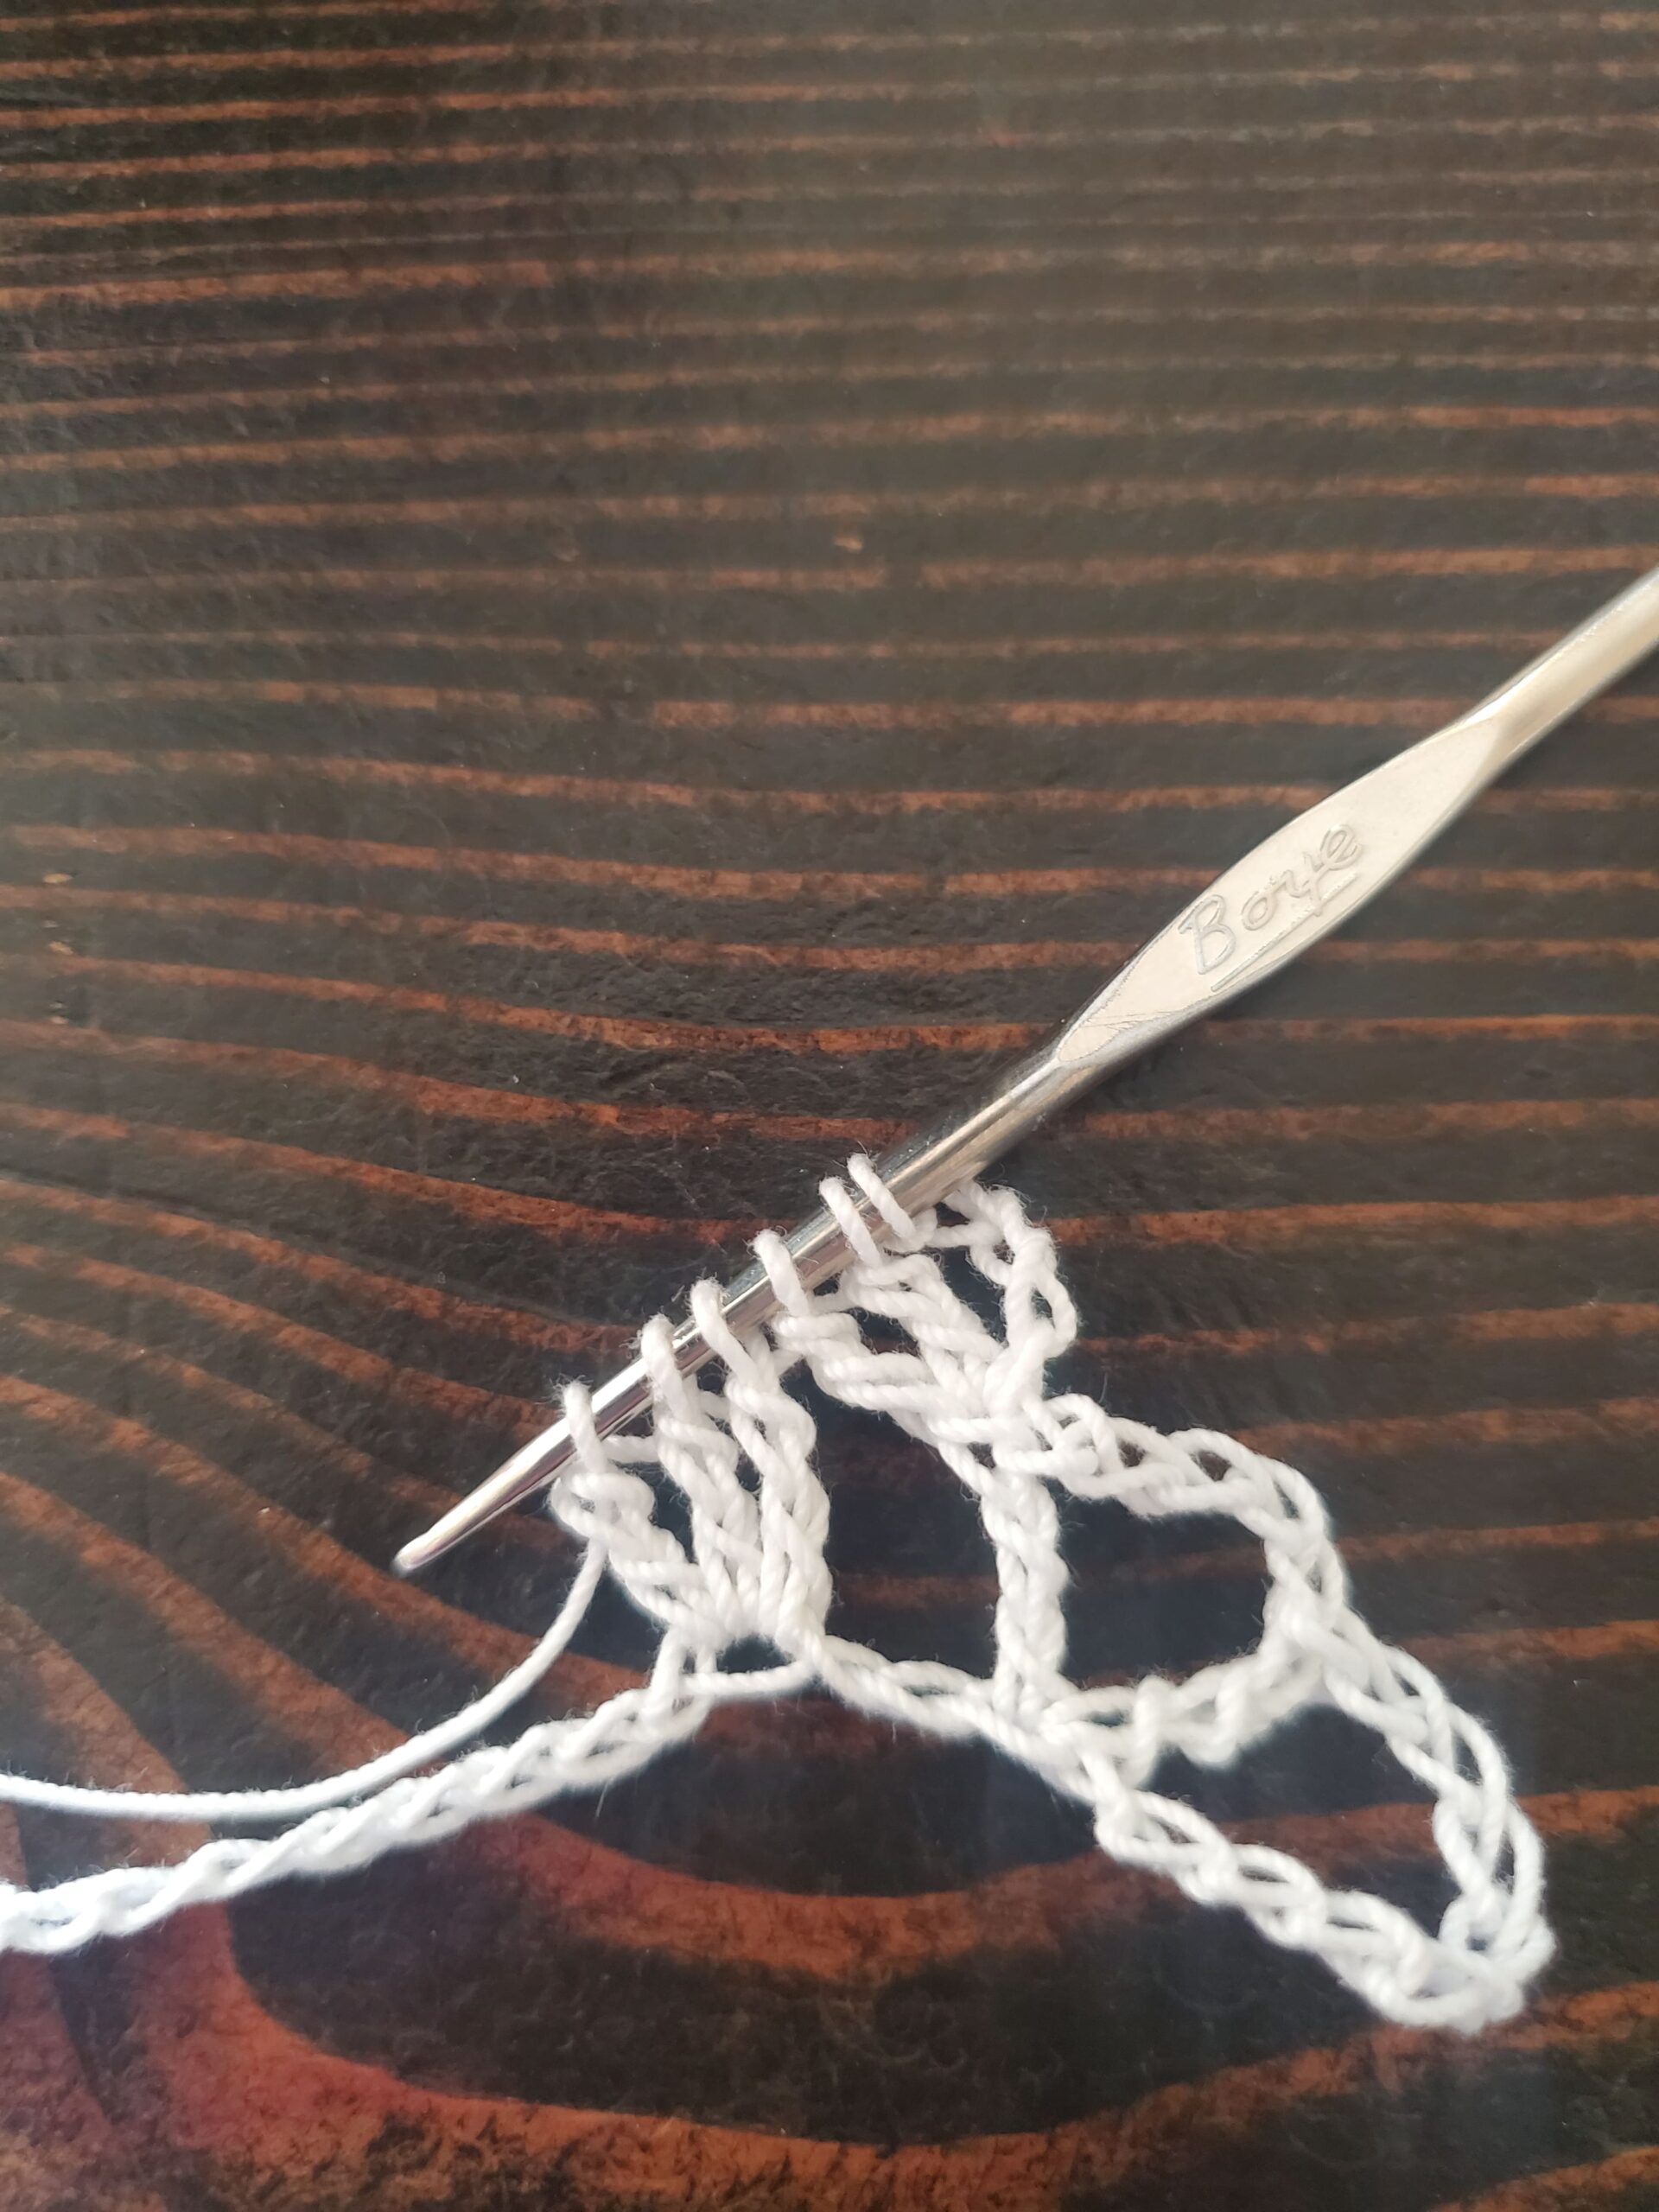
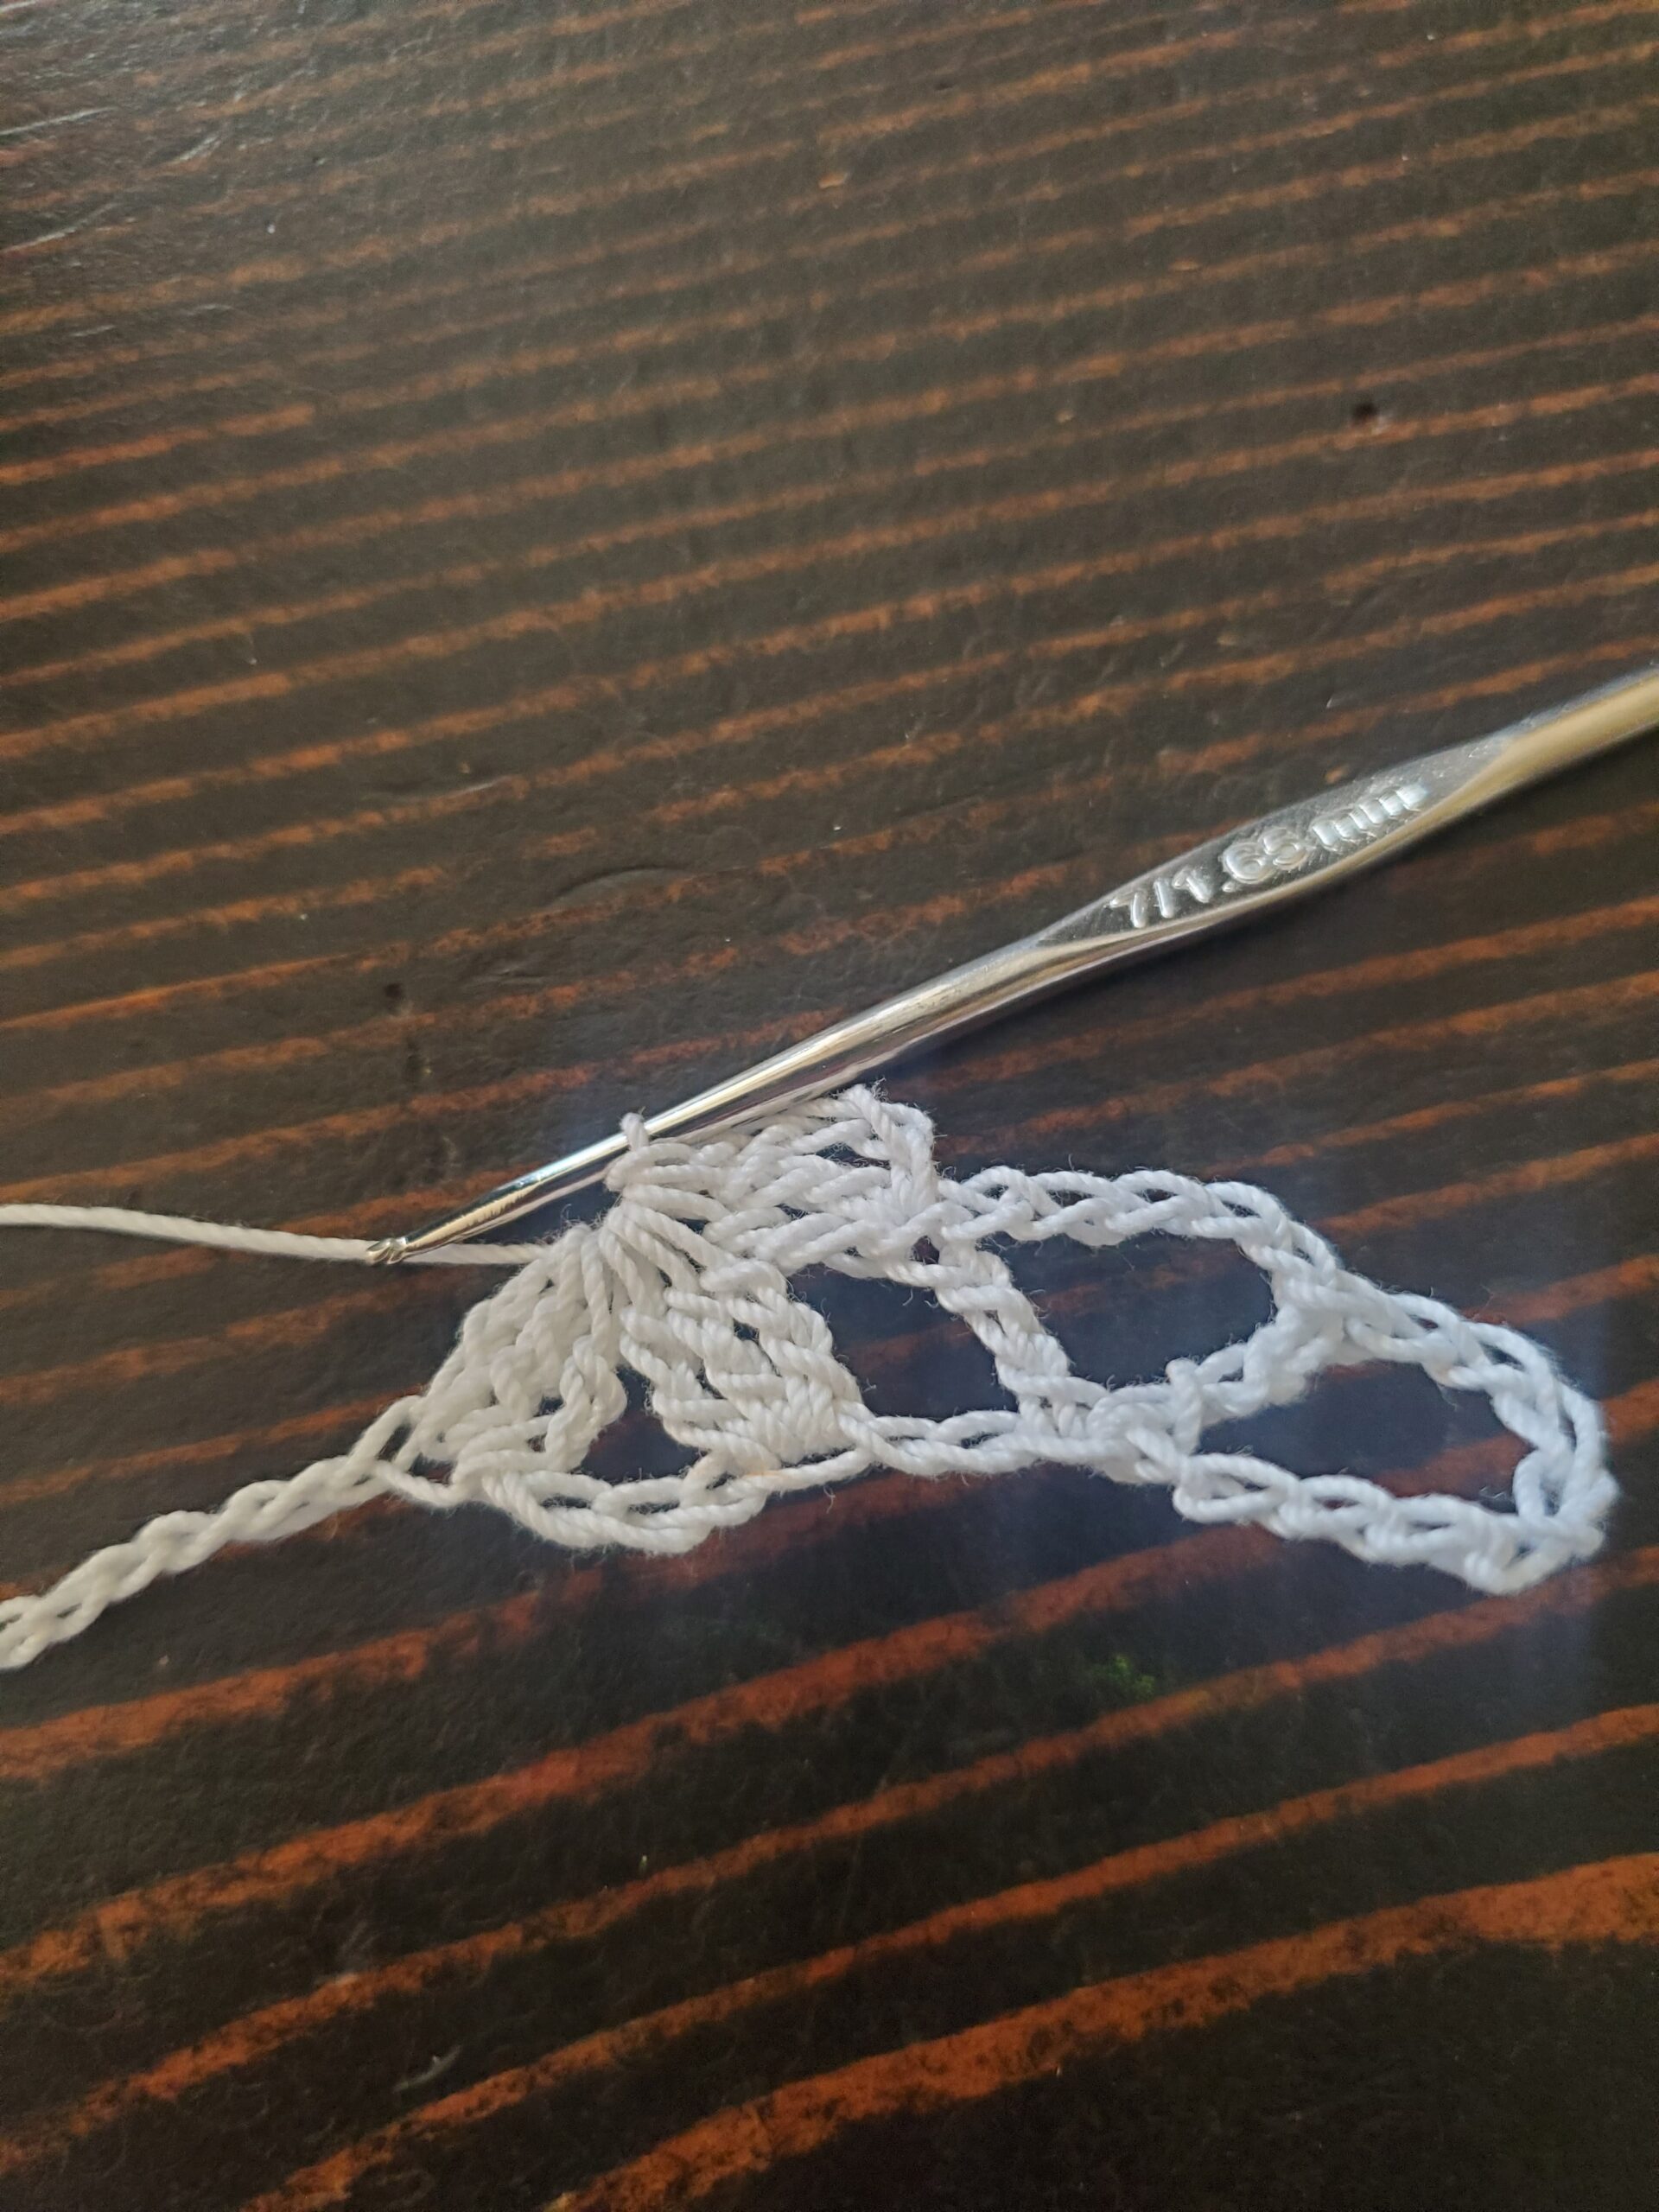
- Row 13: Turn, ch 2, 1 hdc in next 2 sts, 1 hdc in ch 2 space, 1 hdc in next hdc, 2 hdc in ch 3 space, ch 6, skip next 4 sts, 2 hdc in ch 3 space, 1 hdc in next hdc, 1 hdc in ch 2 space, 1 hdc in next 2 sts (18 sts)
- Row 14: Turn ch 2, 1 hdc in next 6 sts, 6 hdc in ch 6 space, 1 hdc in next 6 sts (18 sts)
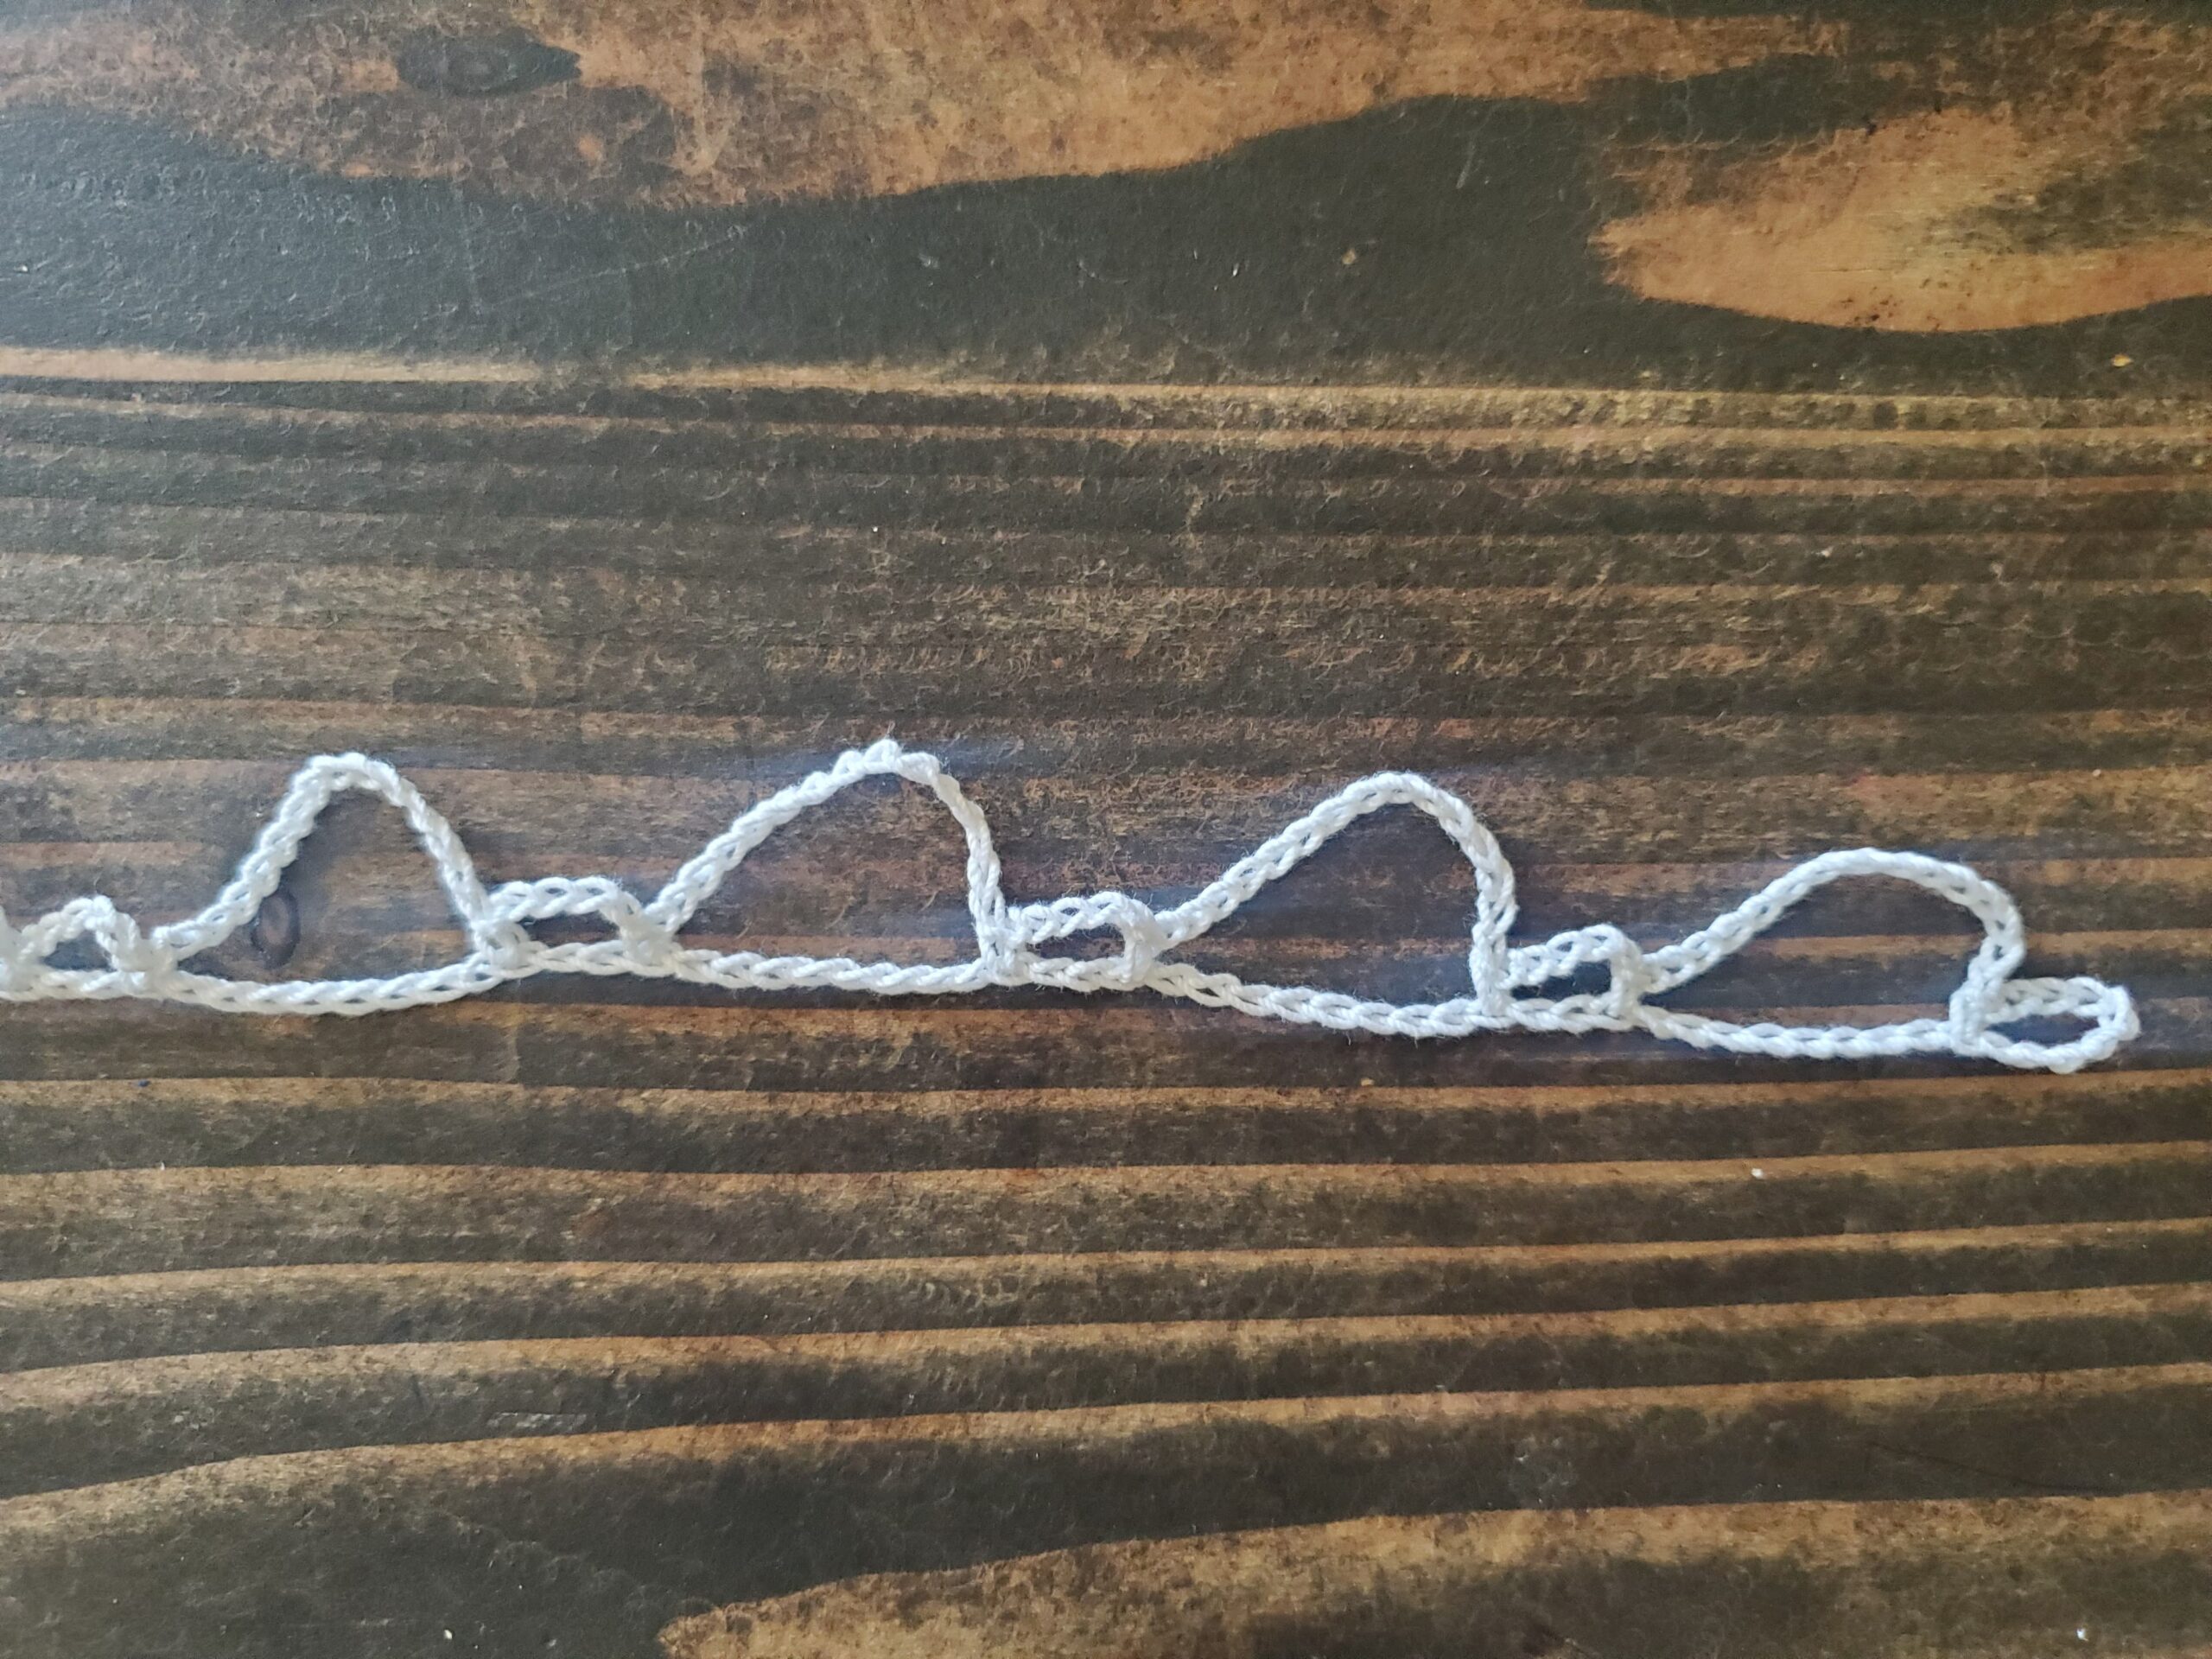
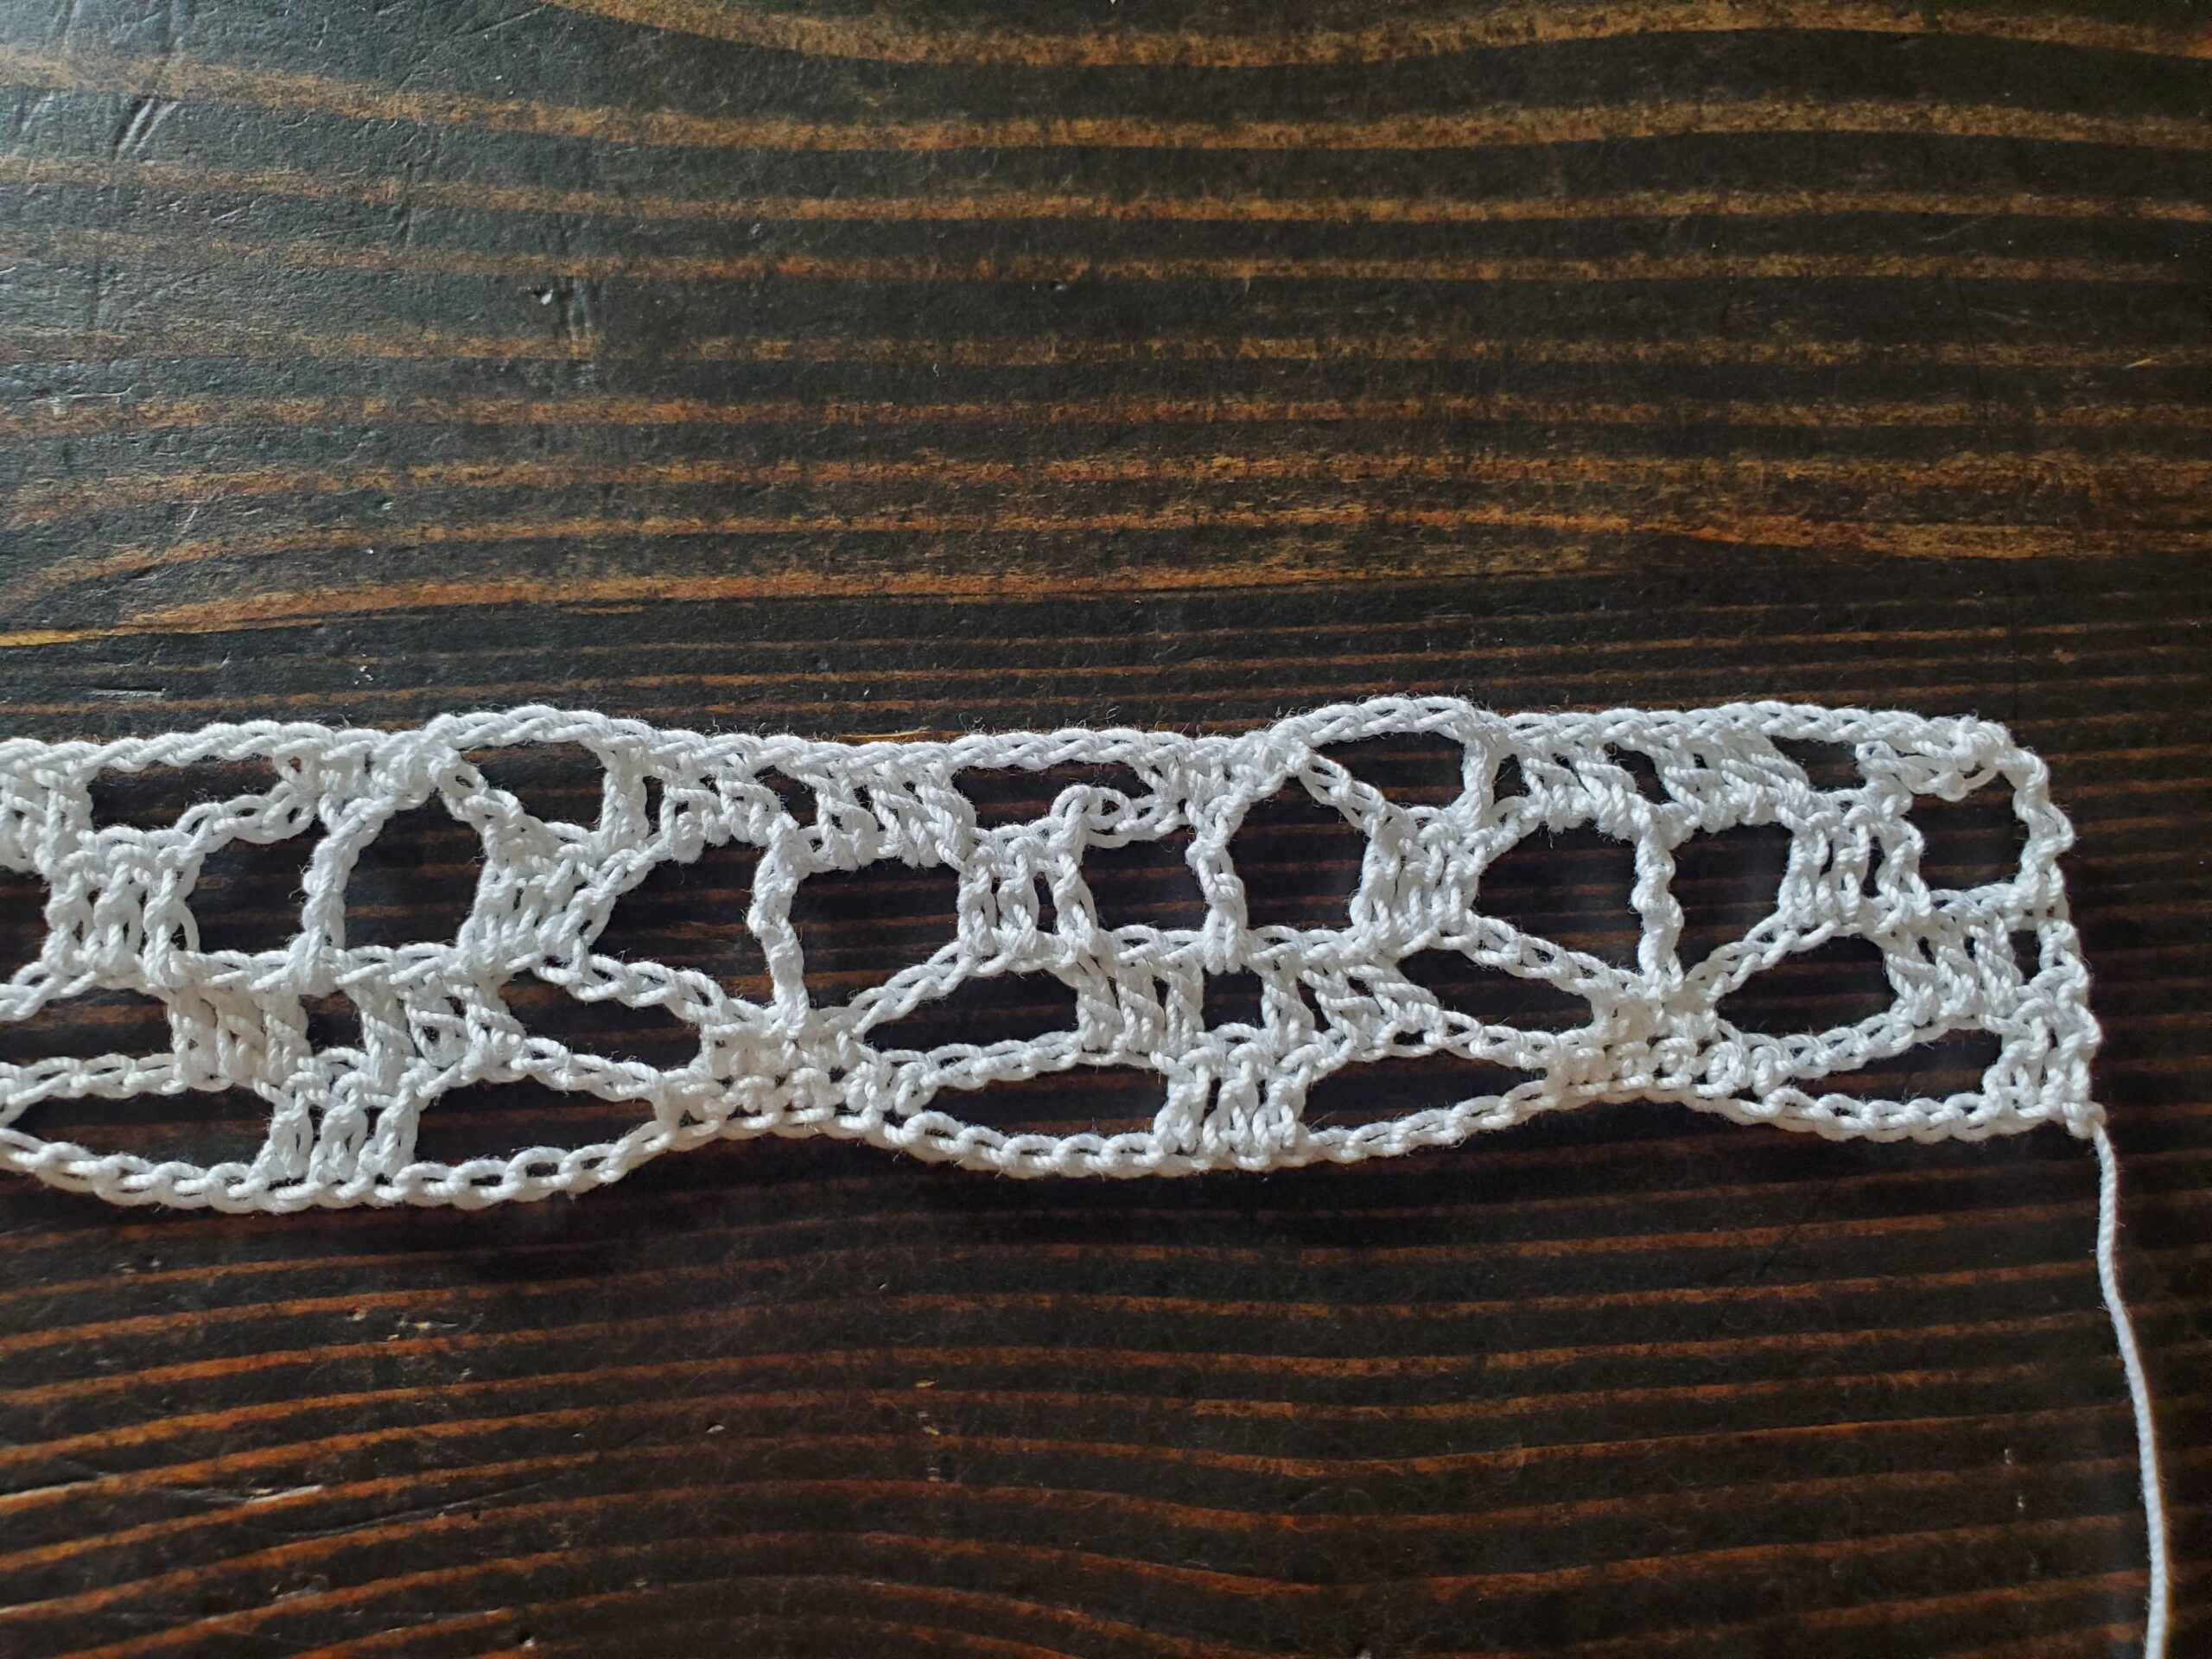
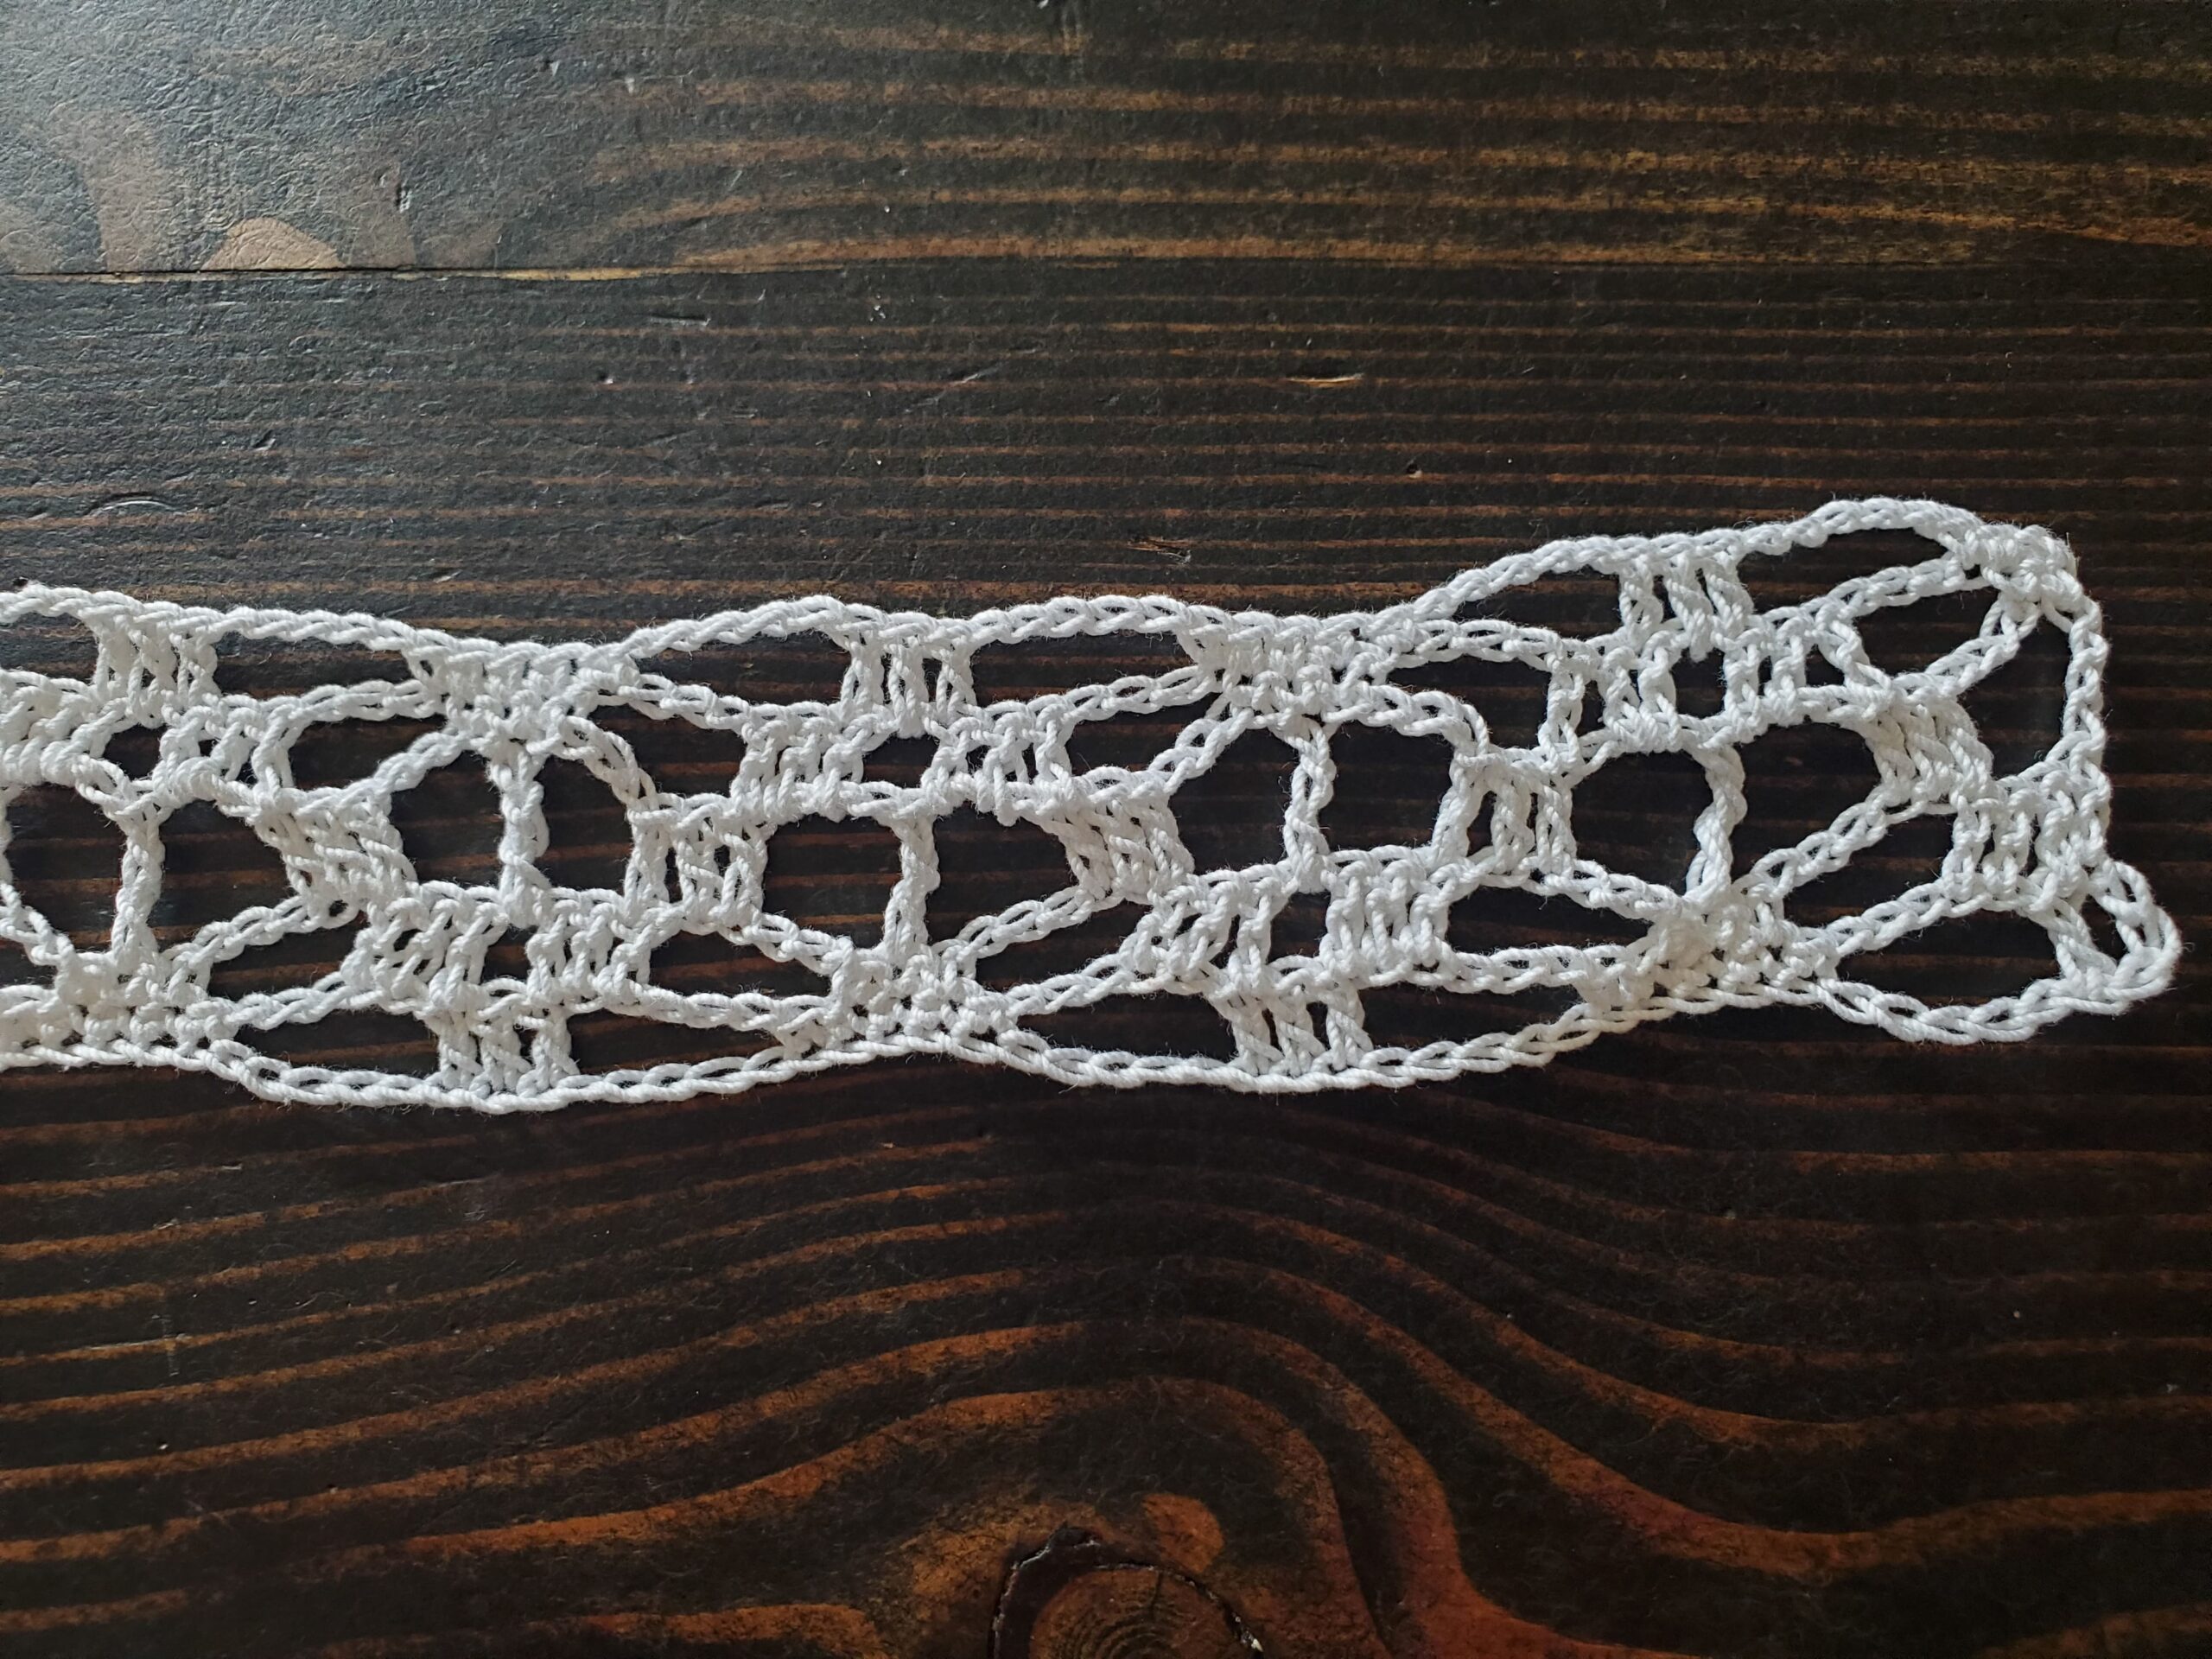
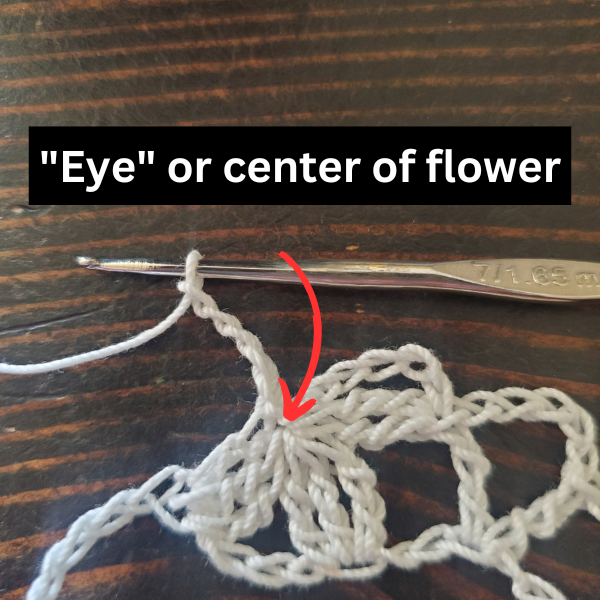
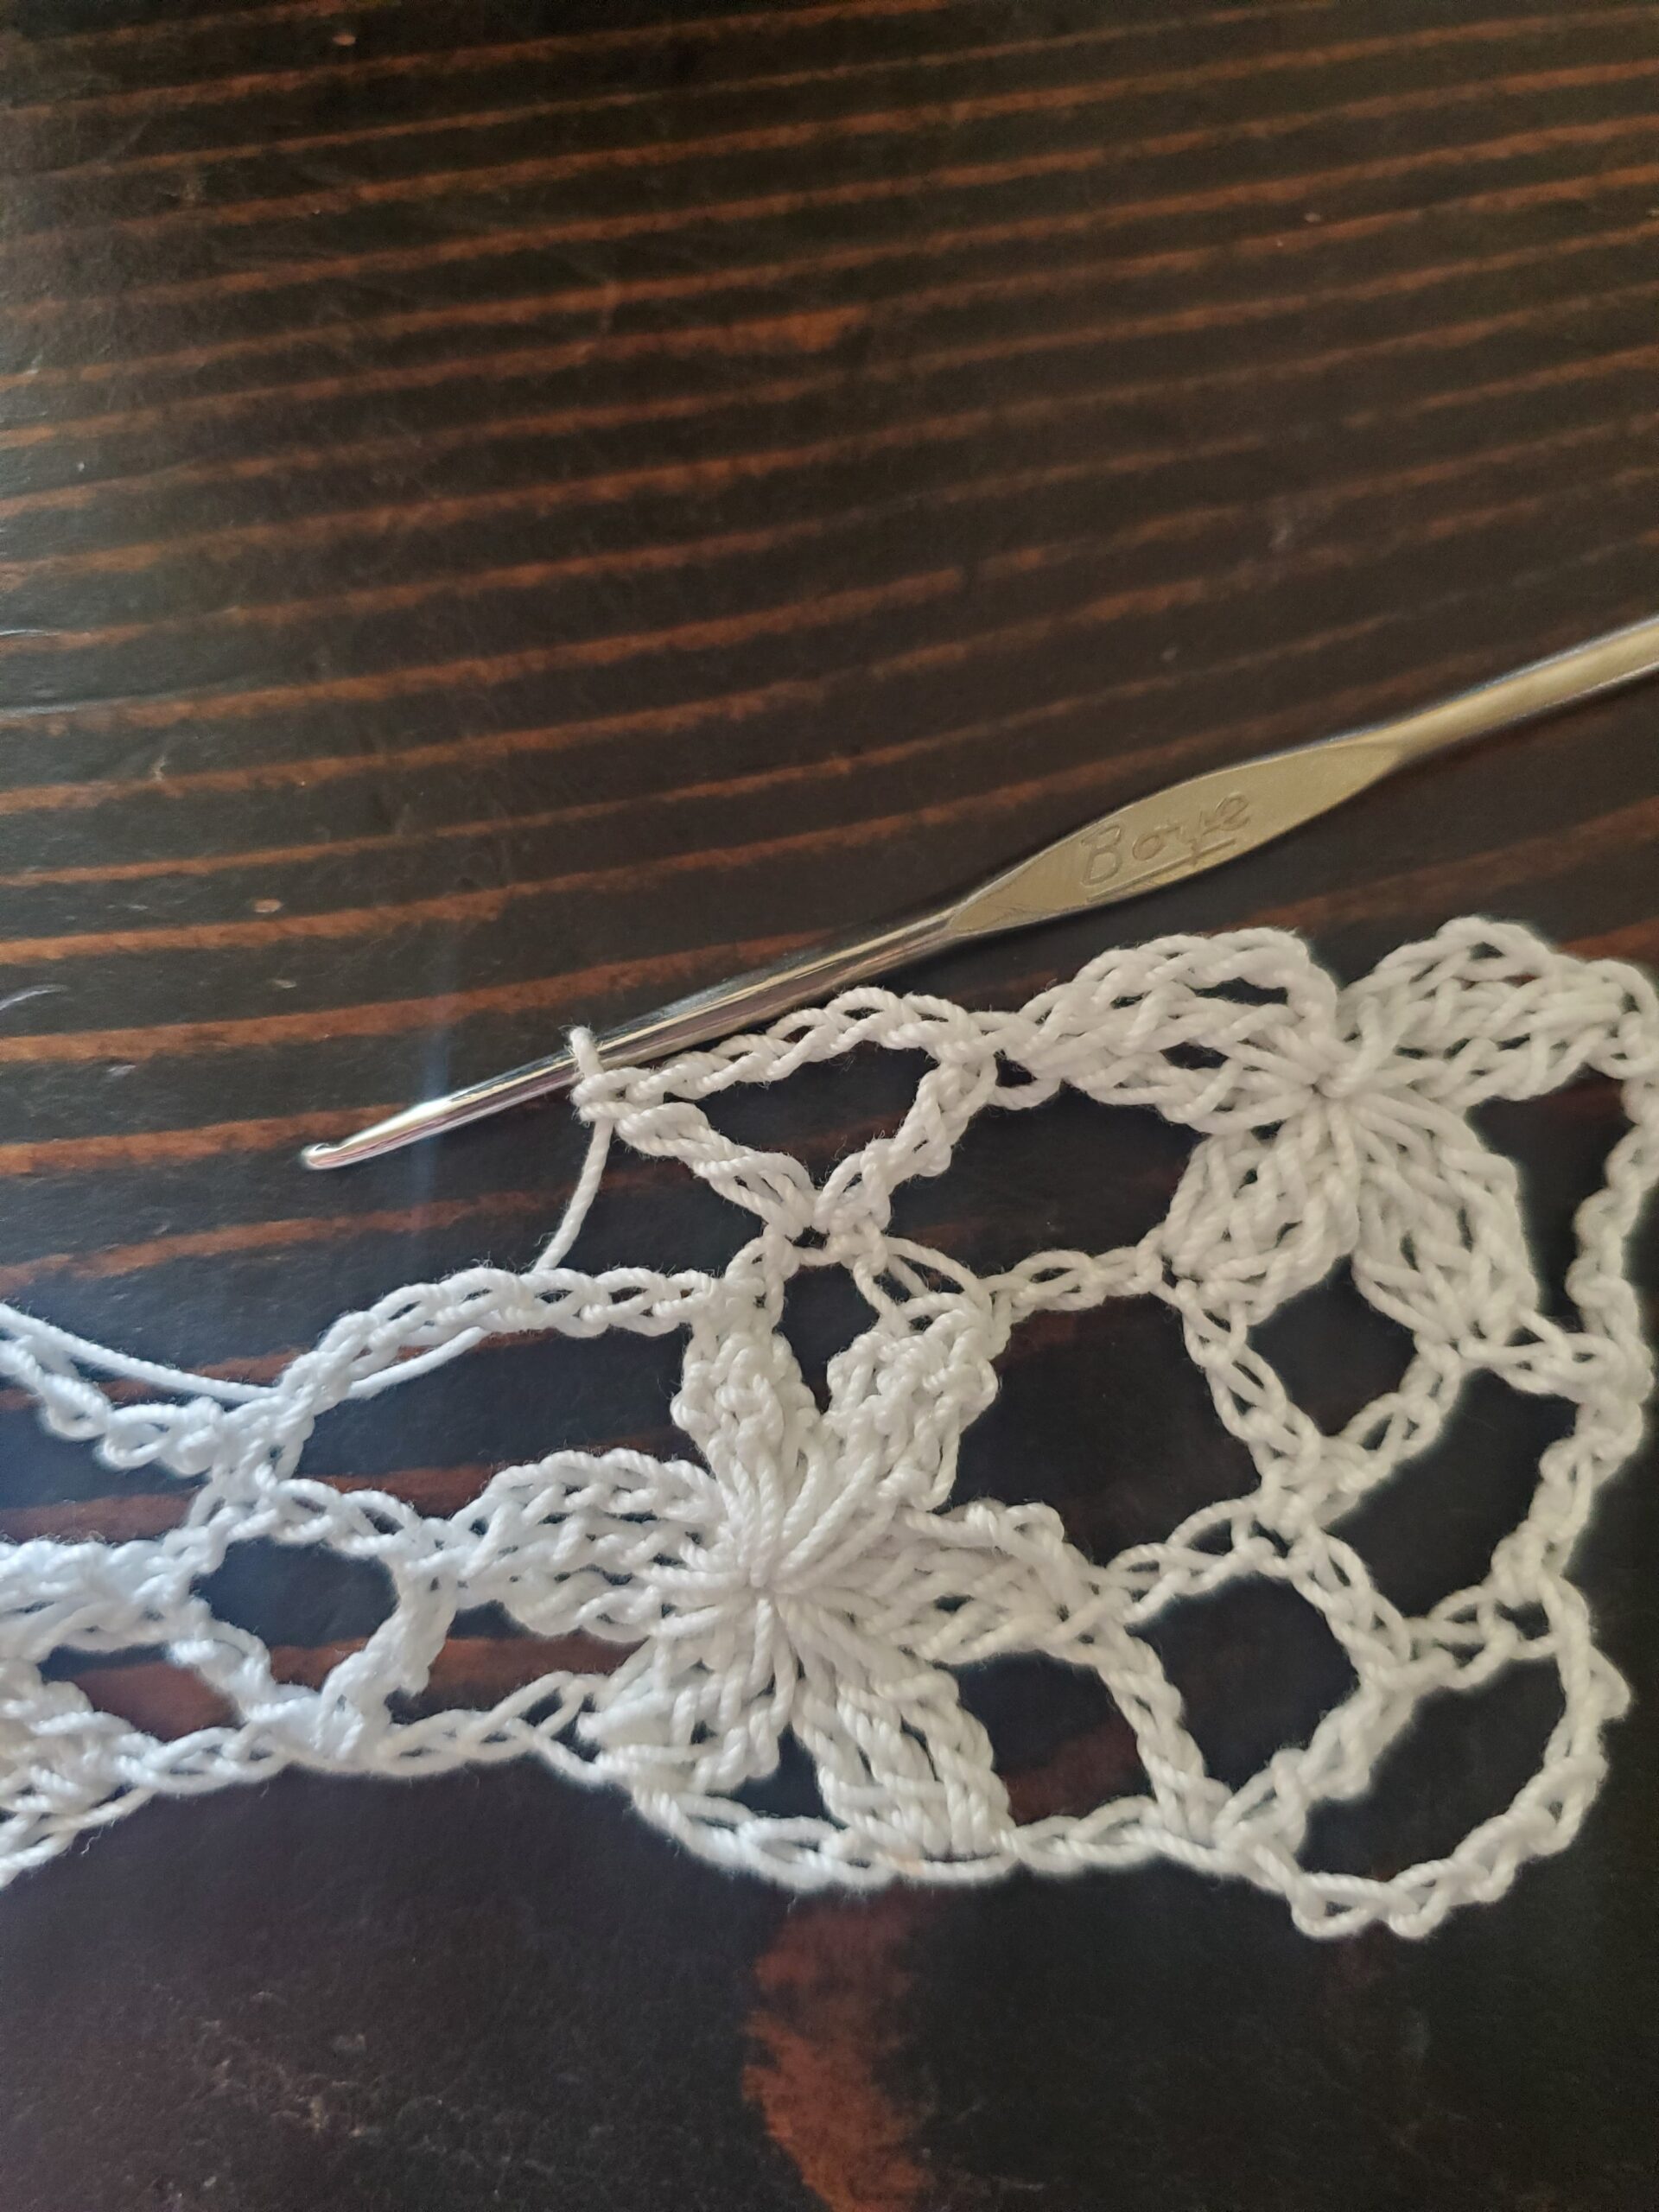
Repeat Rows 1-14 two more times for a total of 3 skull motifs.
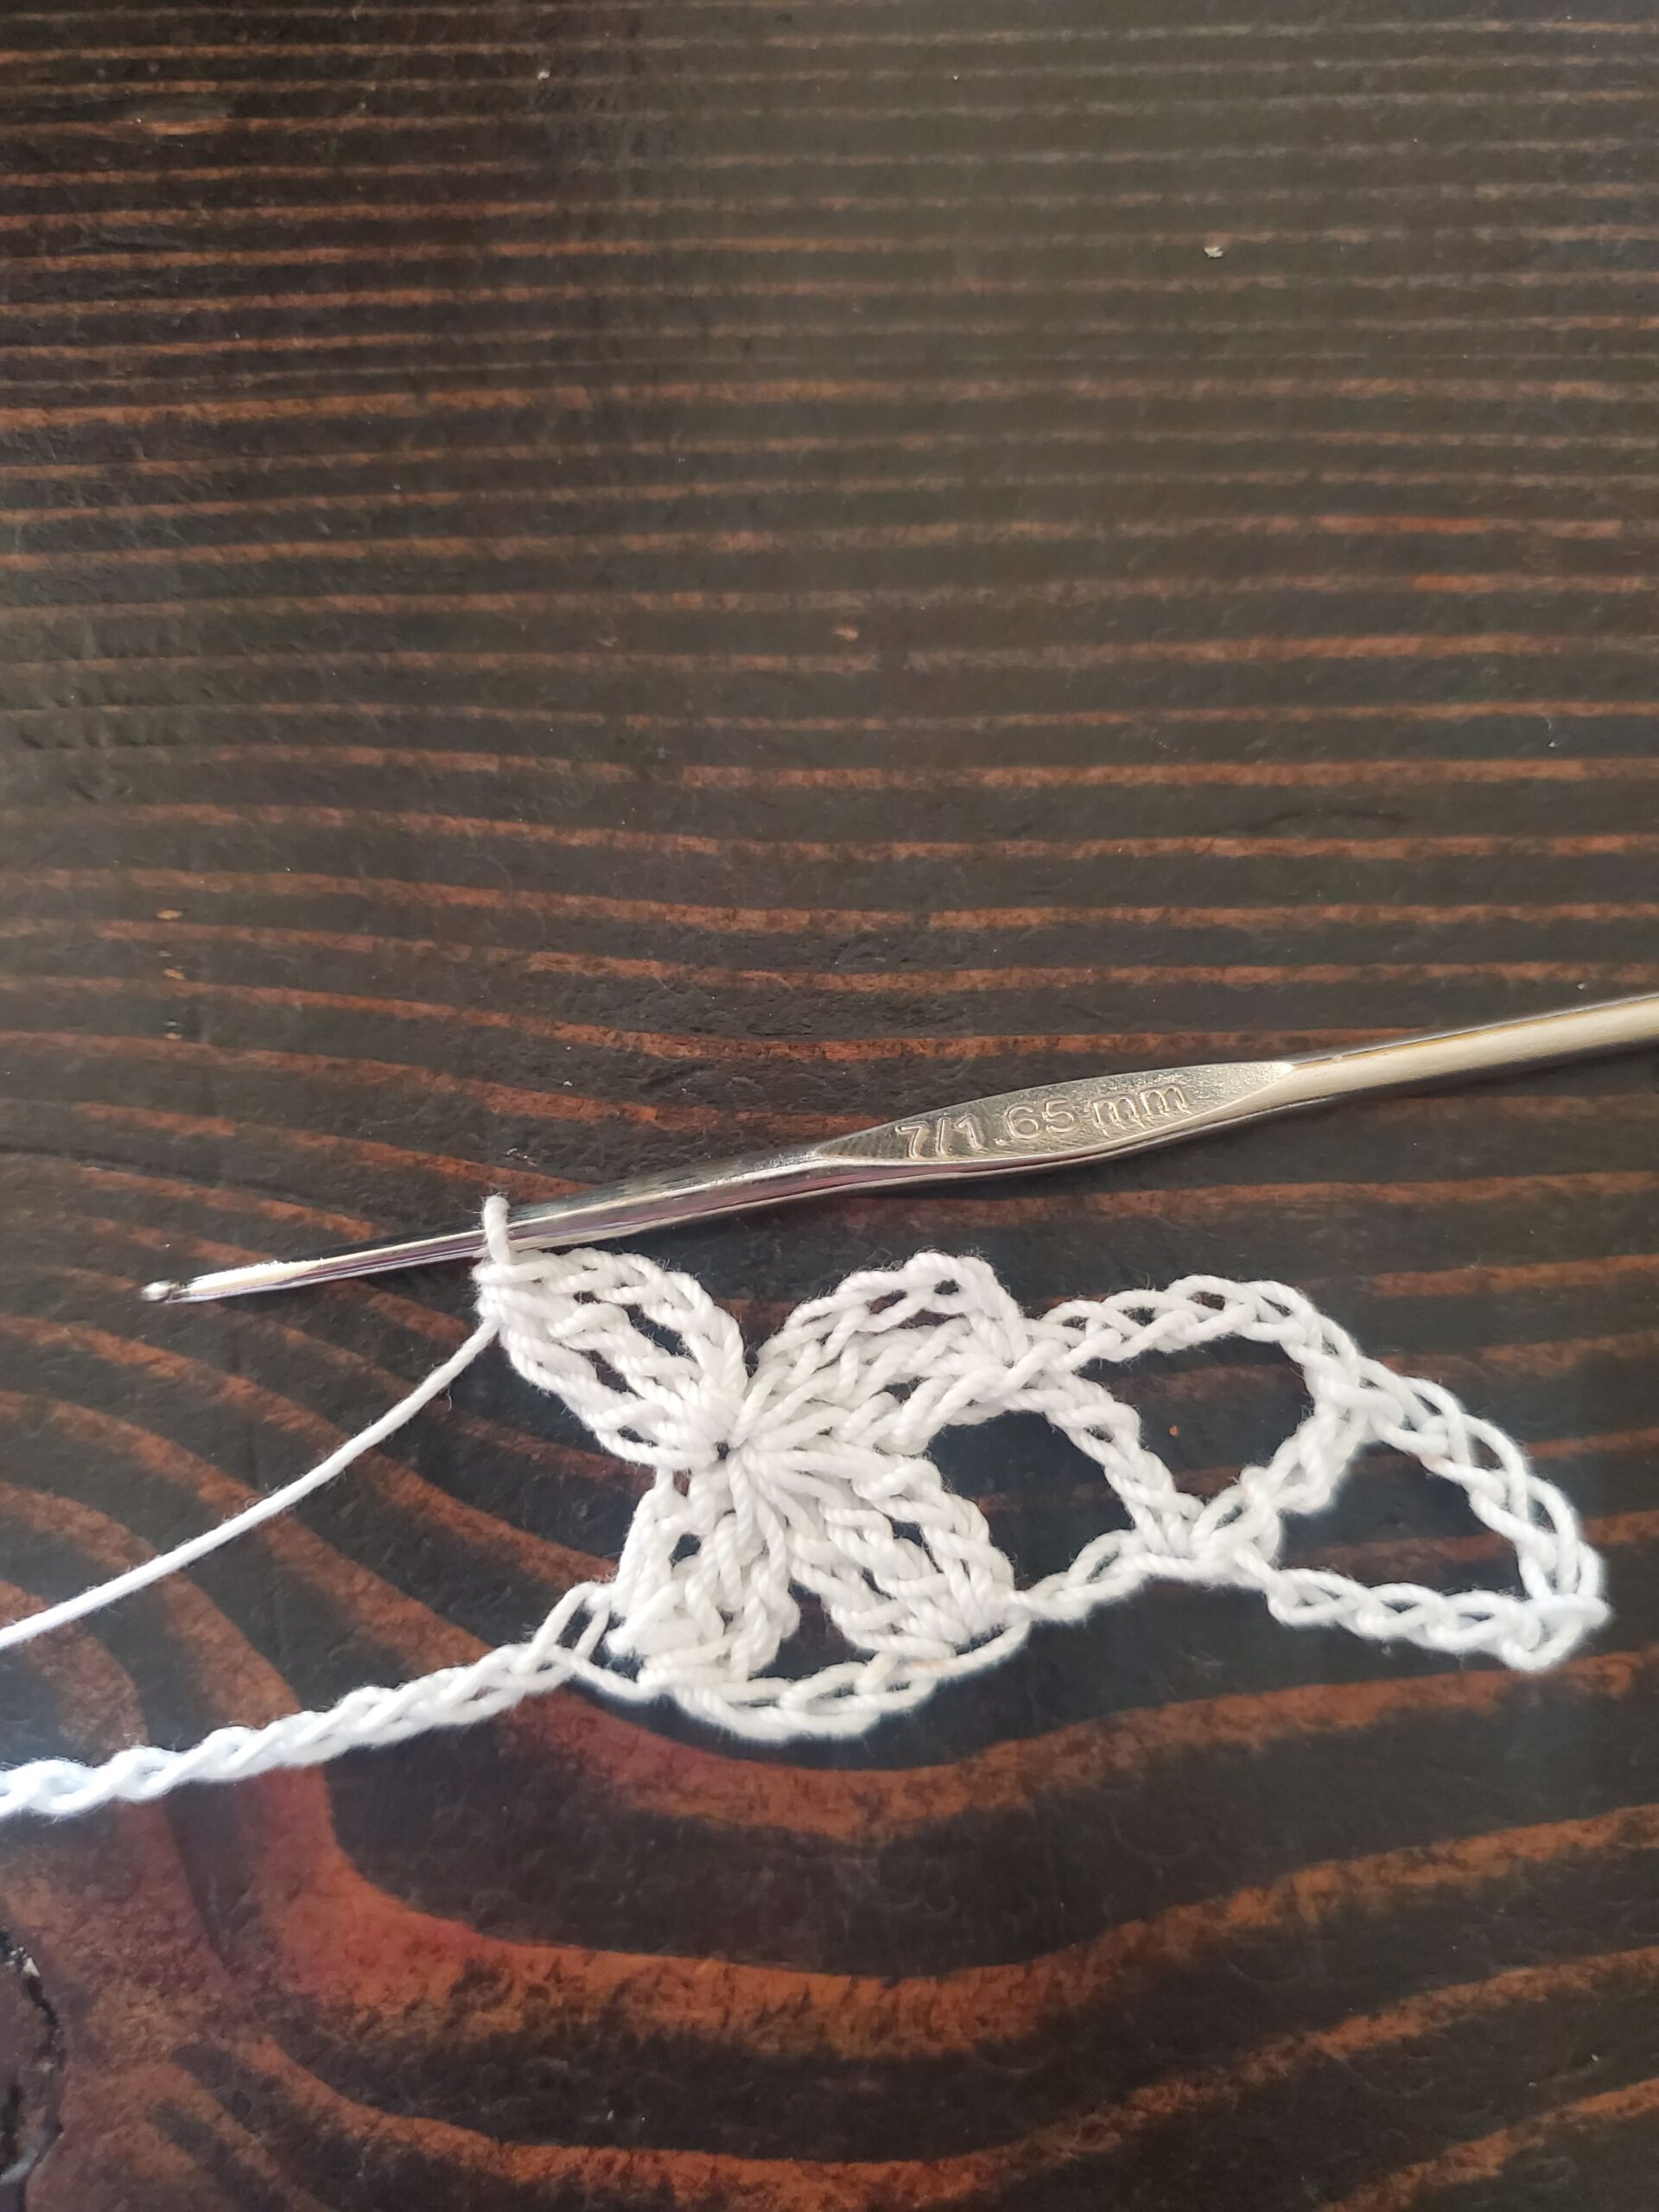
DO NOT CUT YARN.
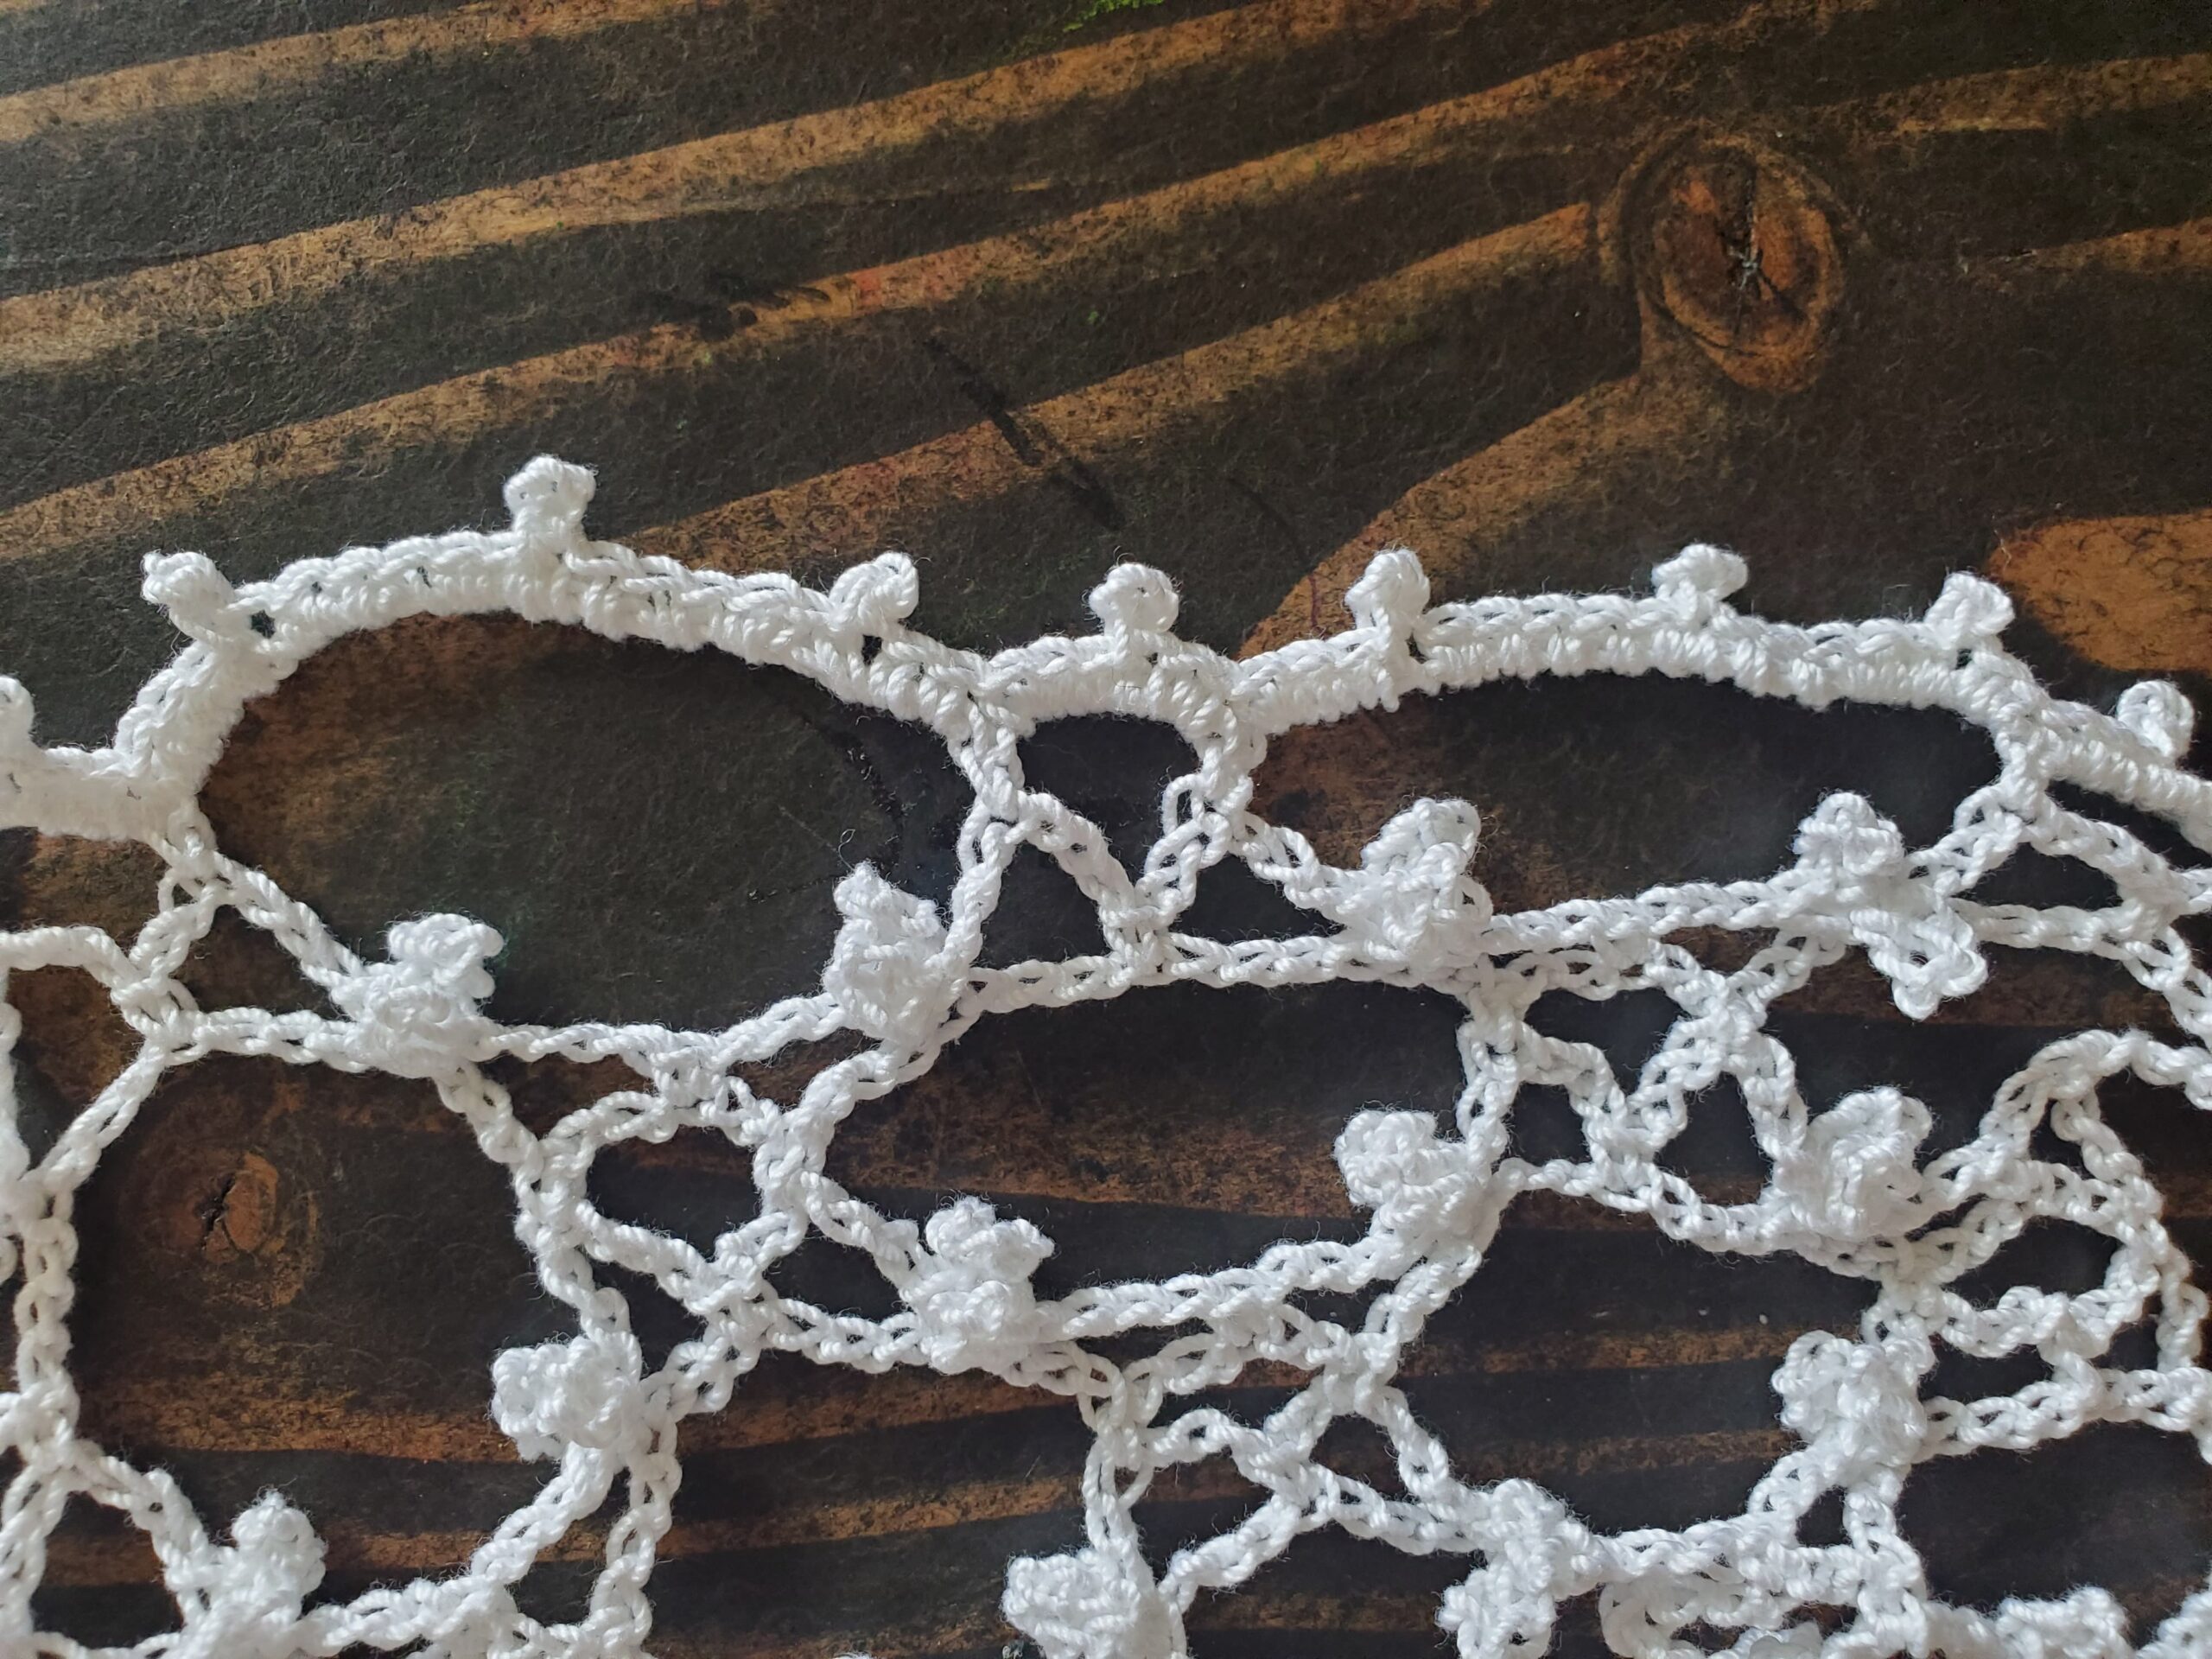
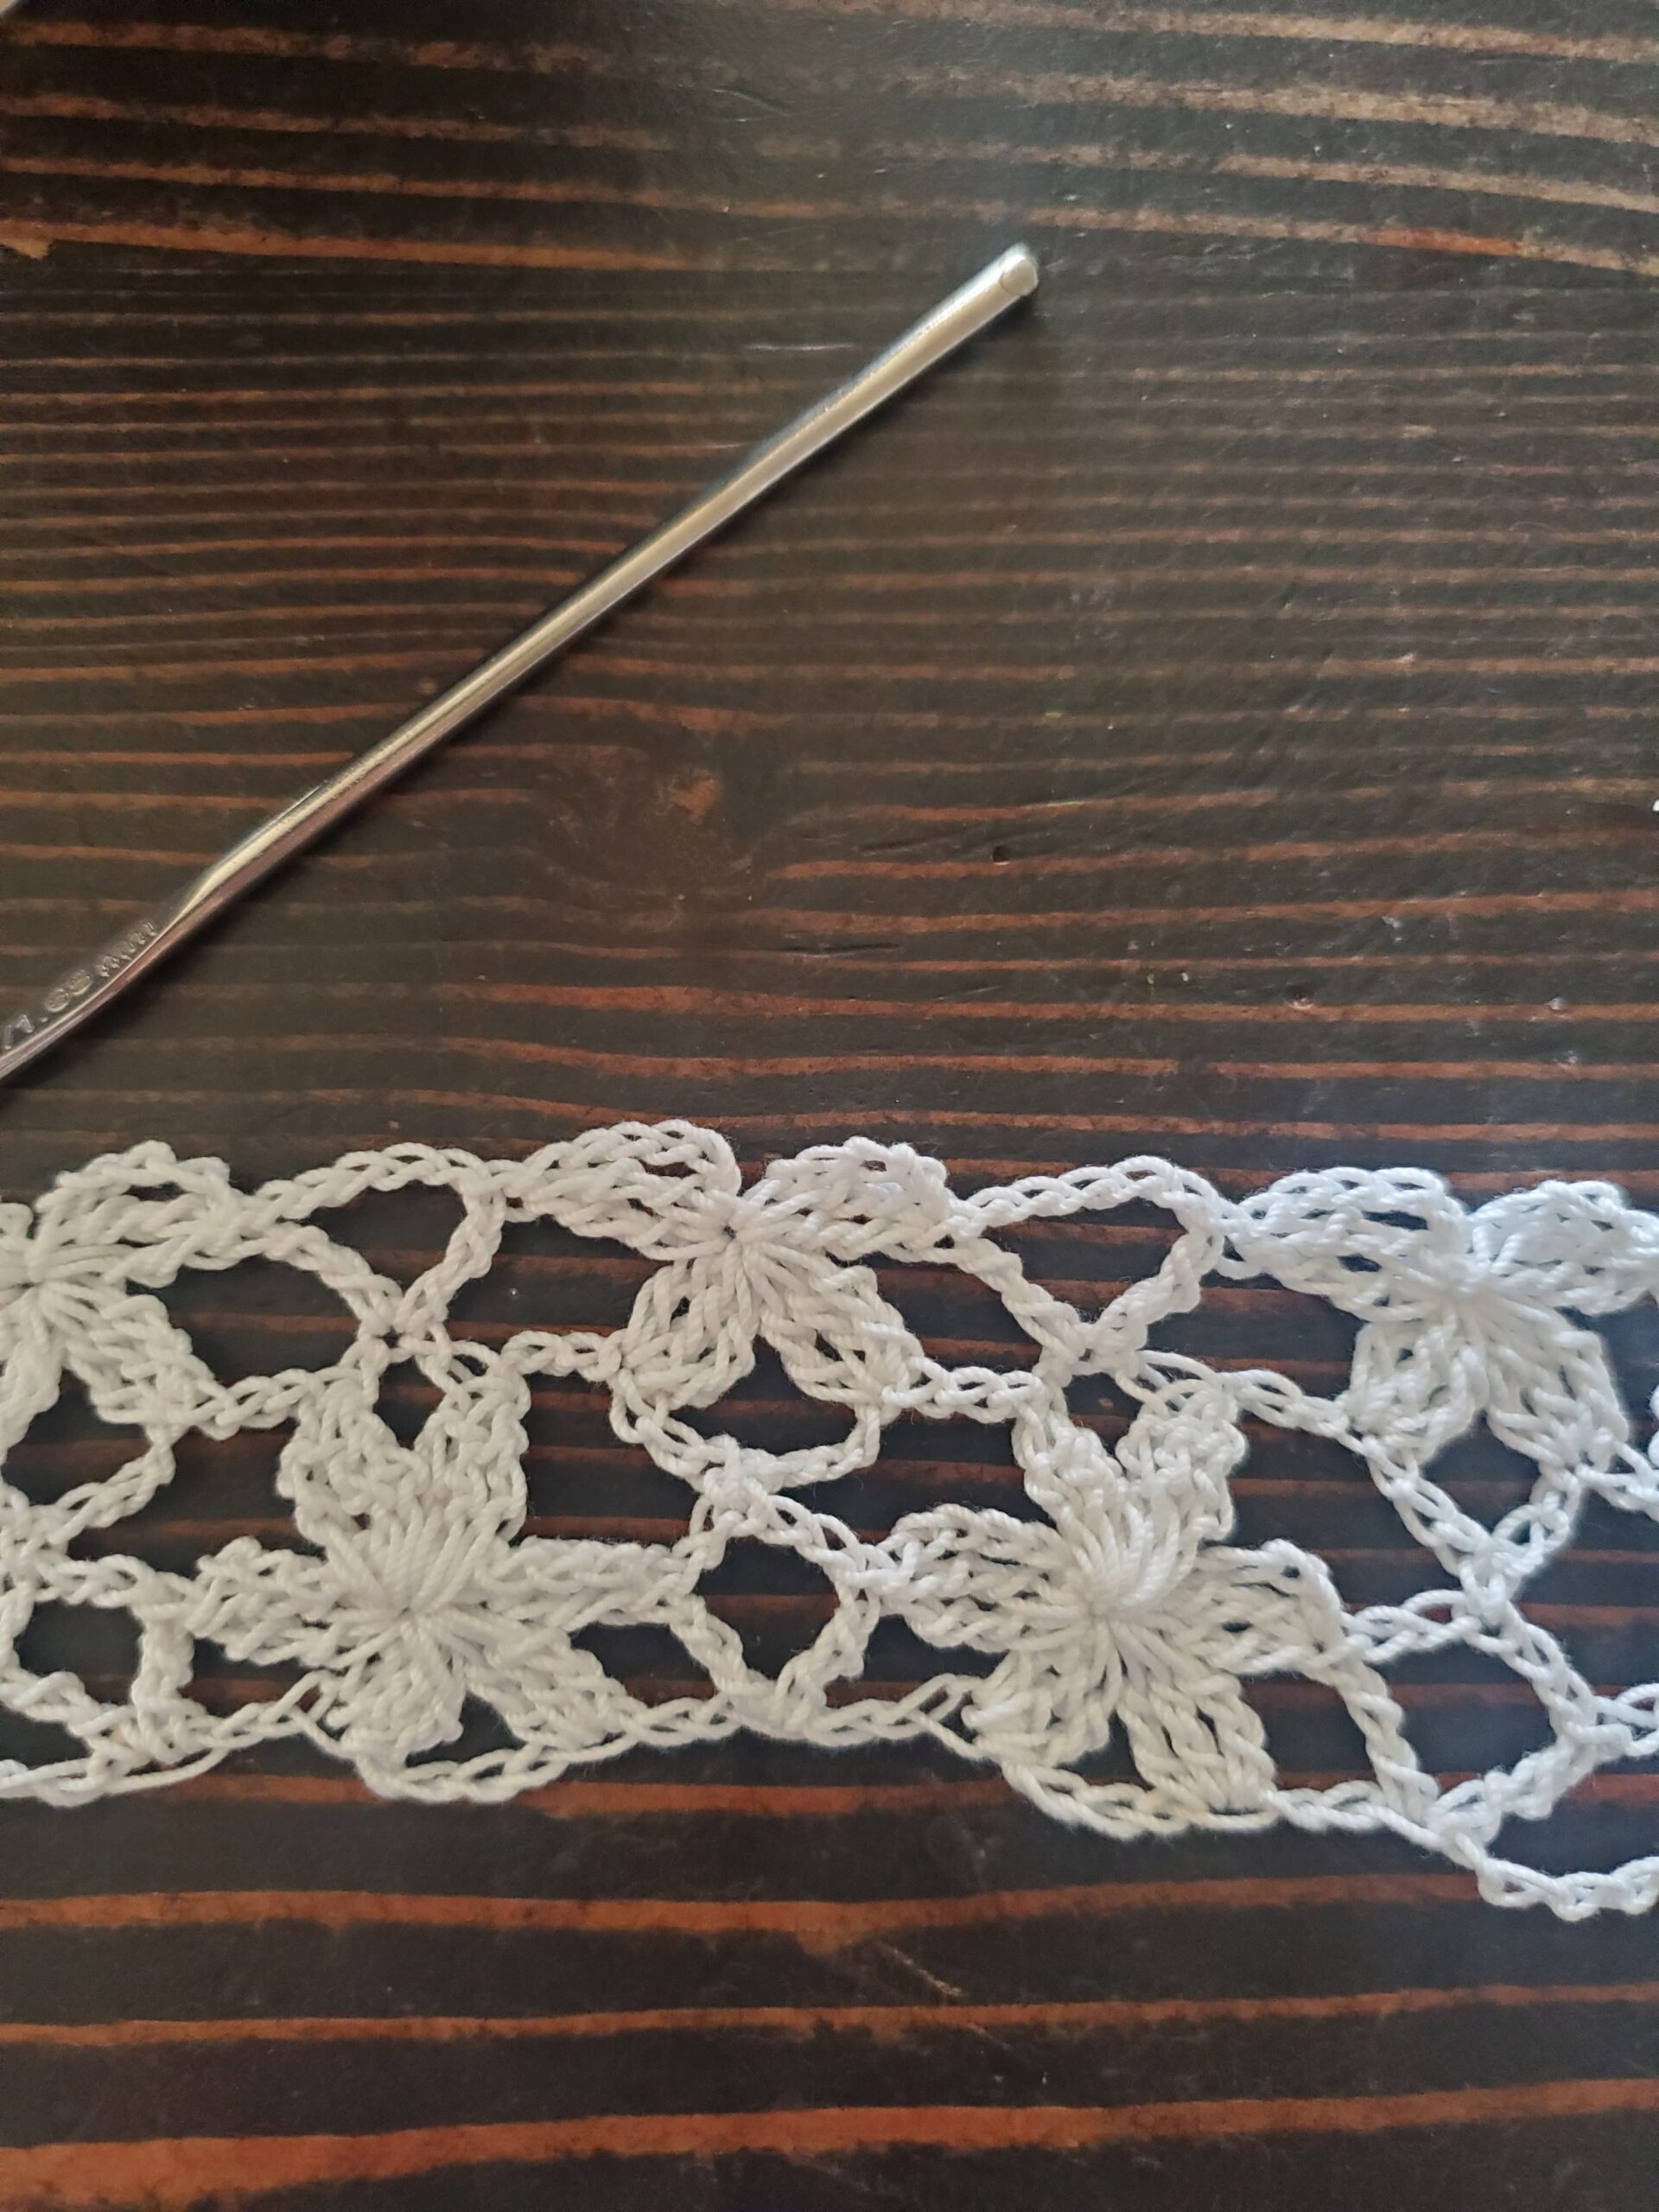
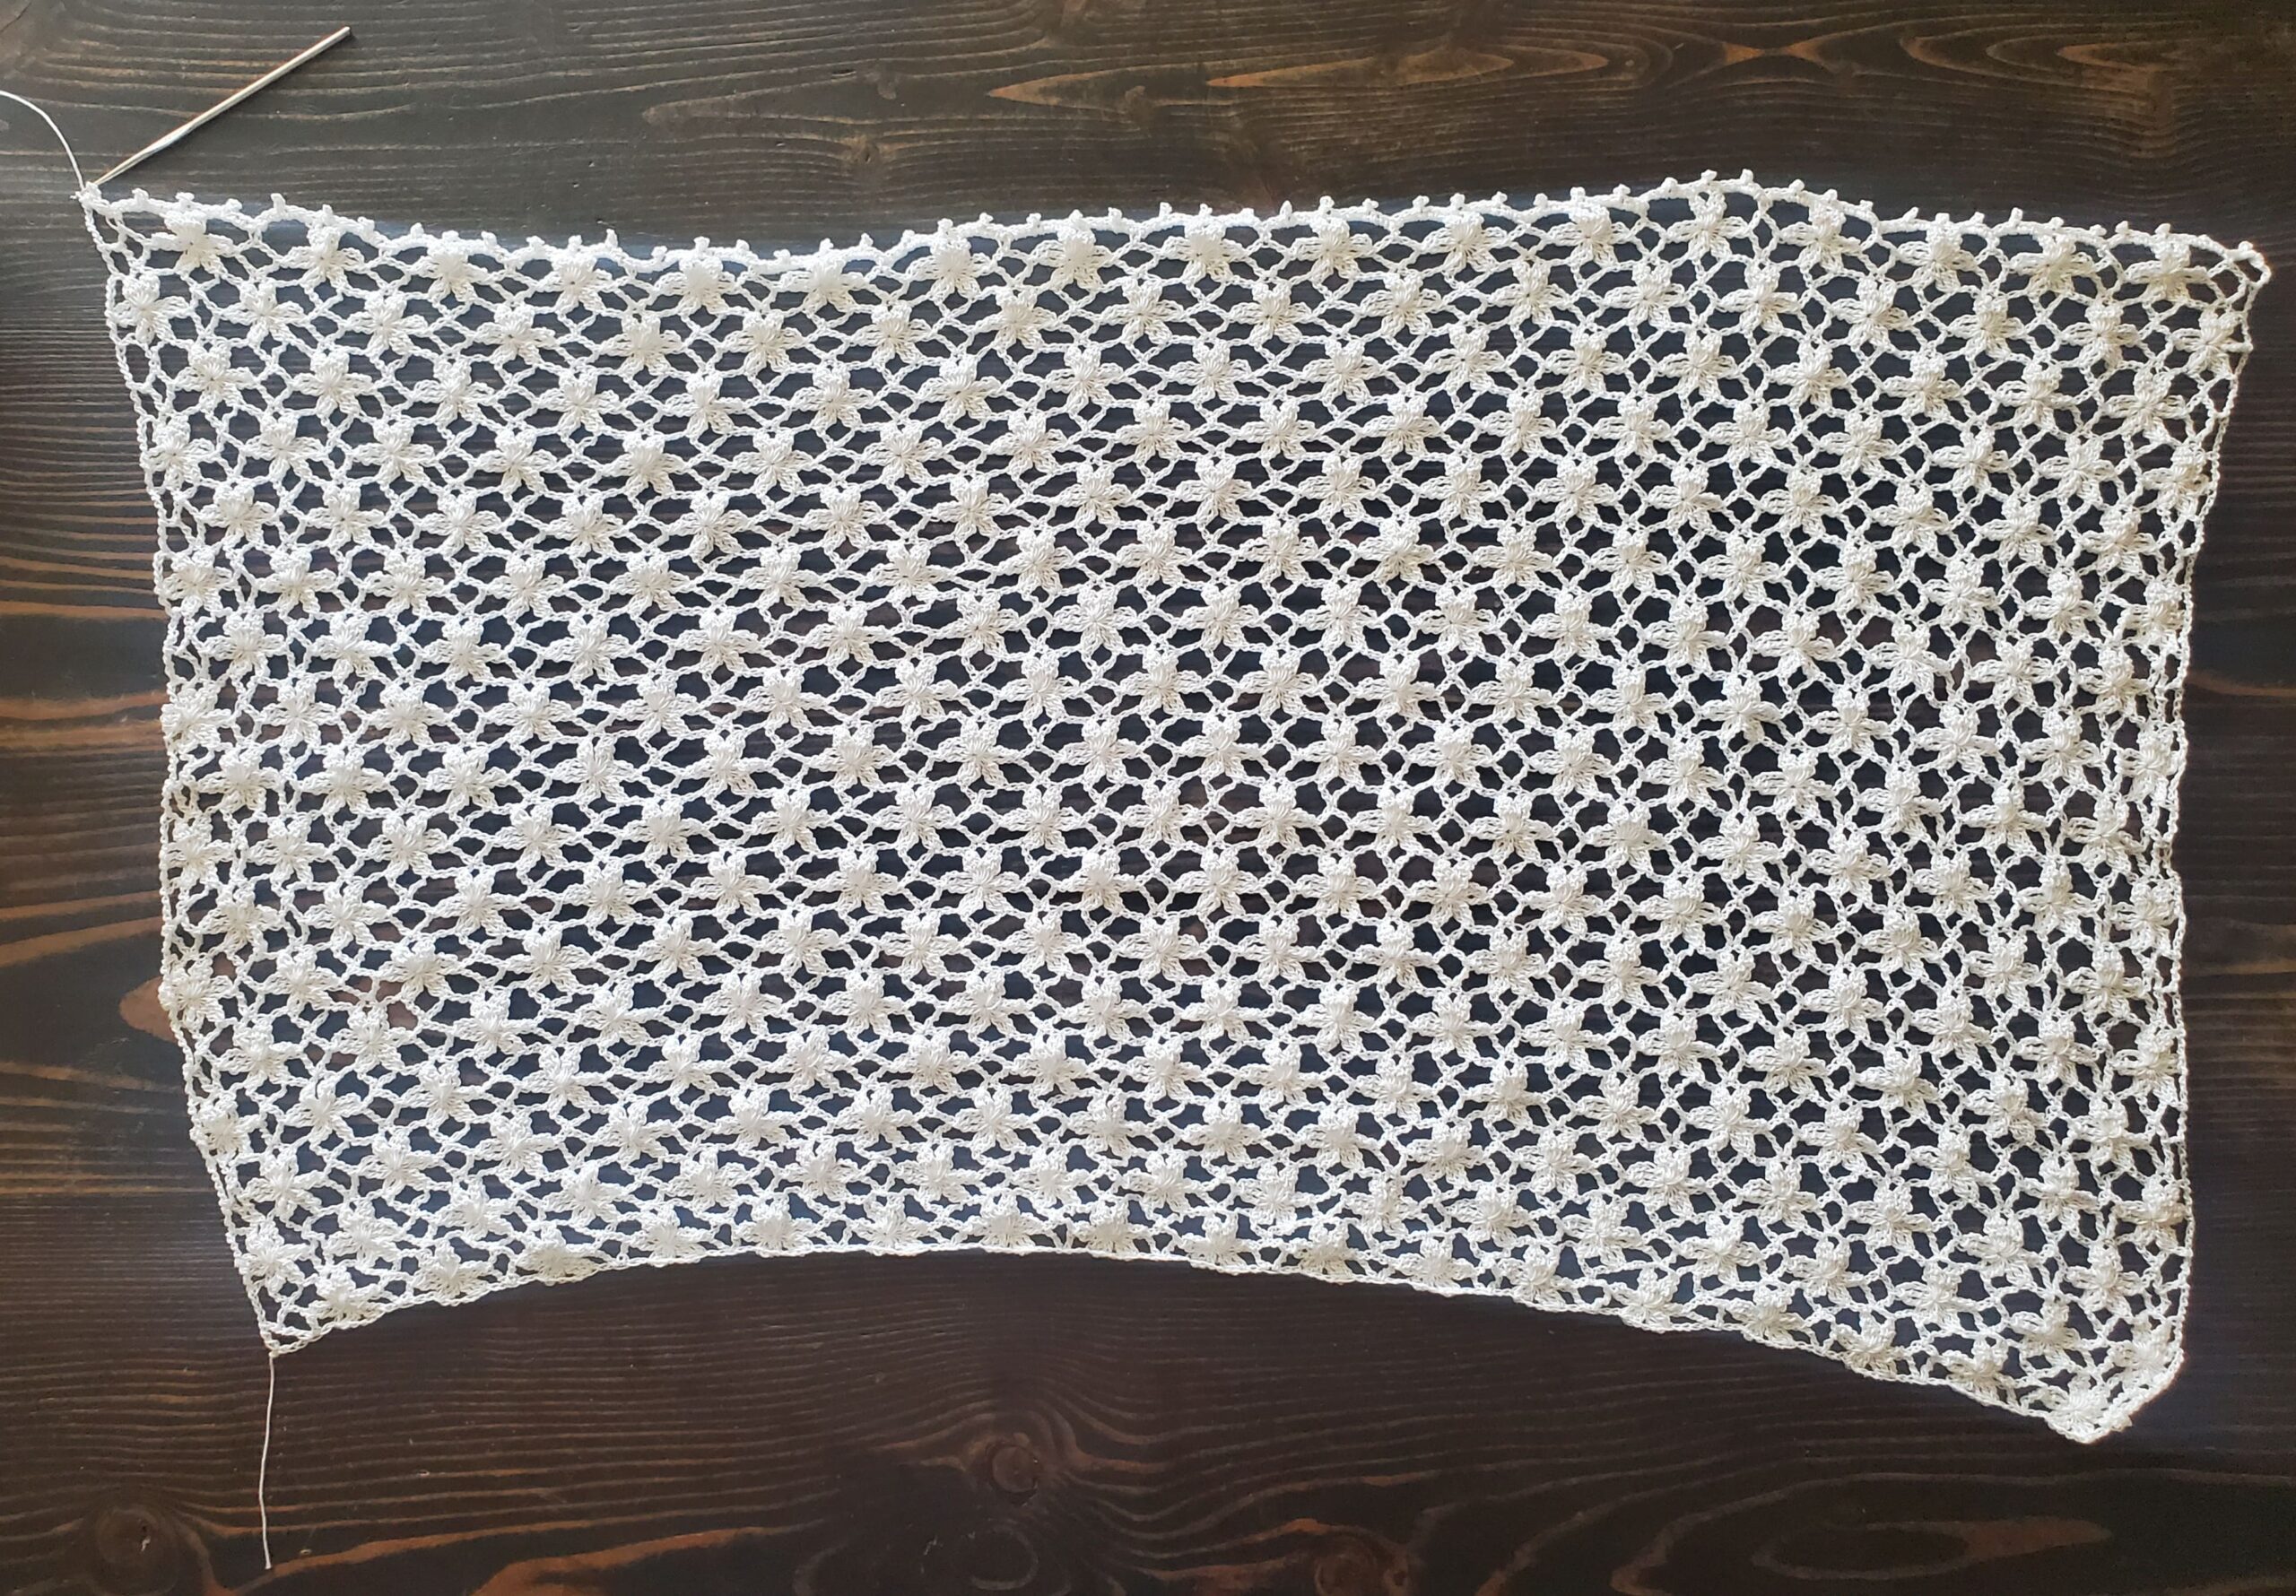
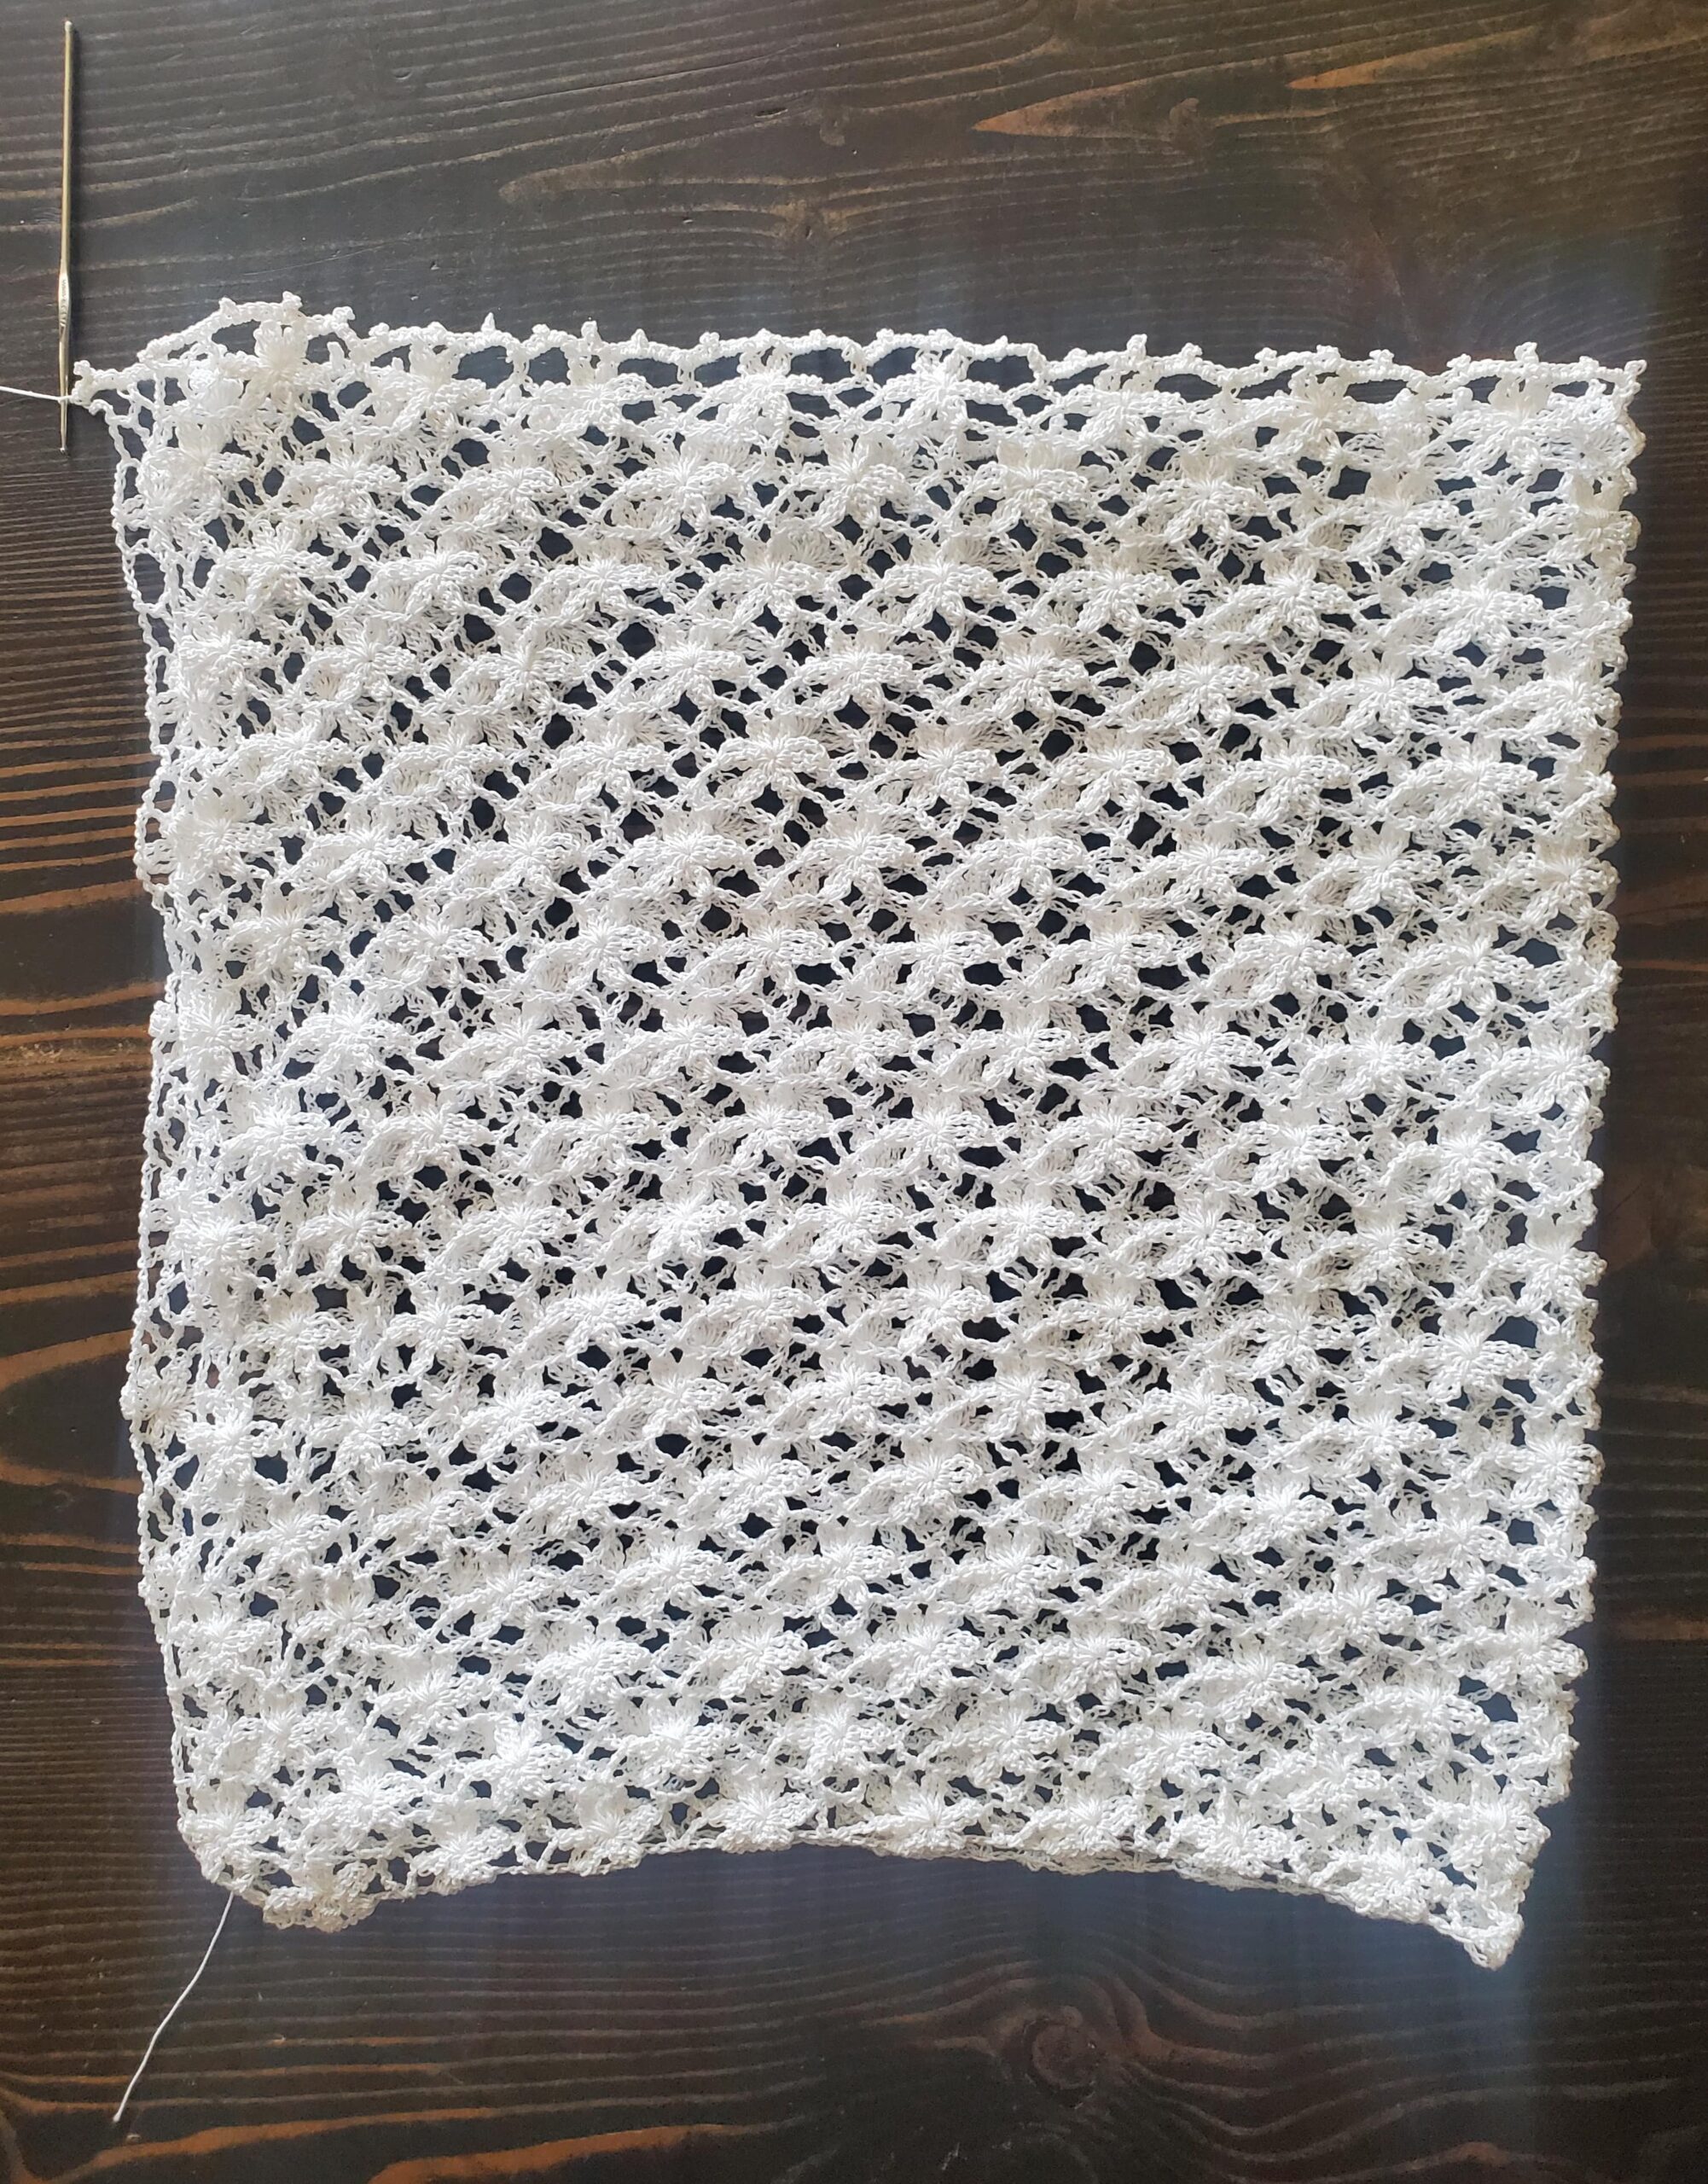
Border: Ch 1, sc in same st, ch 1, sc again in same st, going down the side of the bookmark, sc into the top of each hdc and the “leg” of each hdc. (sc, ch 1, sc) in corner st. I had 63 sts down each long side, and 18 sts on the short side, not including the two corner sts. Join with a sl st in ch 1 space.
Cut yarn with scissors, weave in end with tapestry needle.
Blocking: This is an optional step, but I recommend blocking your bookmark after weaving in your ends. I like to soak my projects in water for about a minute, then dry it with a towel by gently patting it dry (don’t wring it out), and pinning it to a pizza or a cardboard box to dry. To make the bookmark straight, mark with a ruler a few lines to help you when you pin.
You can use this blocking board from Boye, it’s awesome because you can interlock them, so if you need a bigger area to block you can customize your space, AND it has lines already on it.
I hope that the Grim Reader bookmark will add a touch of macabre charm during your reading adventures, and be a reminder that crochet and books can intertwine in wonderful ways!
Thanks for reading, until next time!