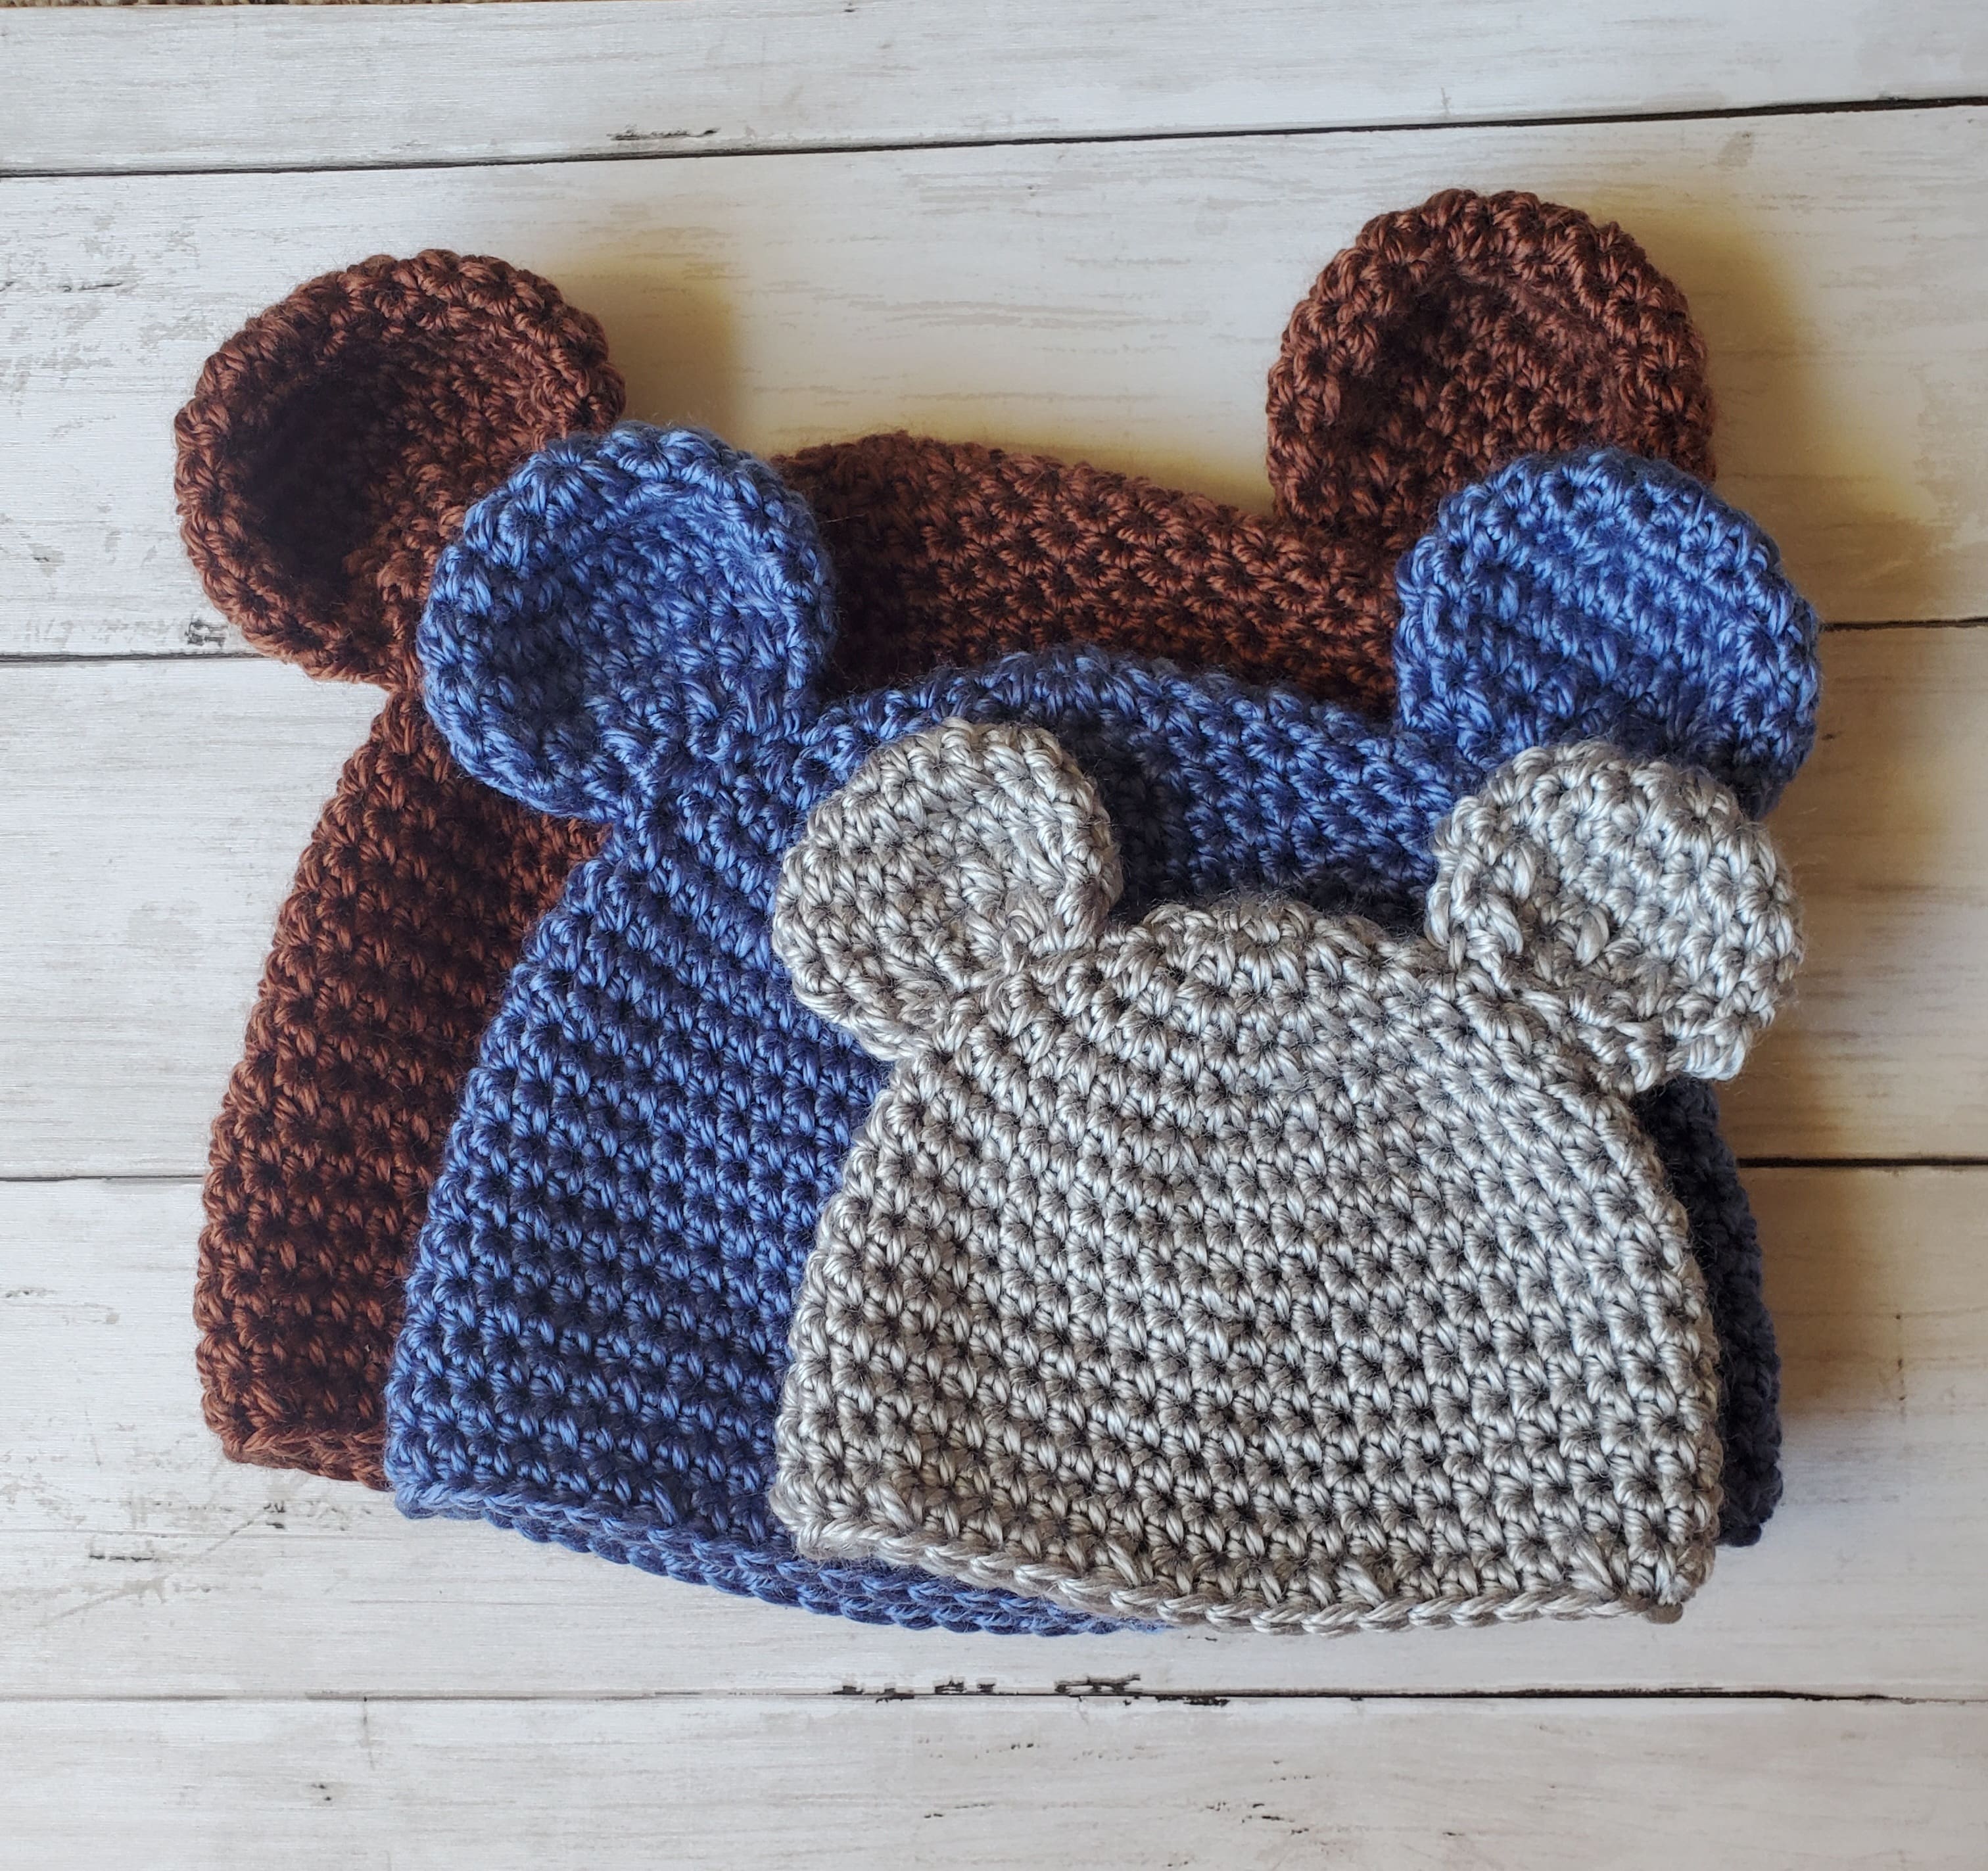
Crochet Bear Hat Pattern – Sizes Newborn to Adult
Hello everyone! Today I have for you a crochet bear hat pattern in sizes newborn to adult.
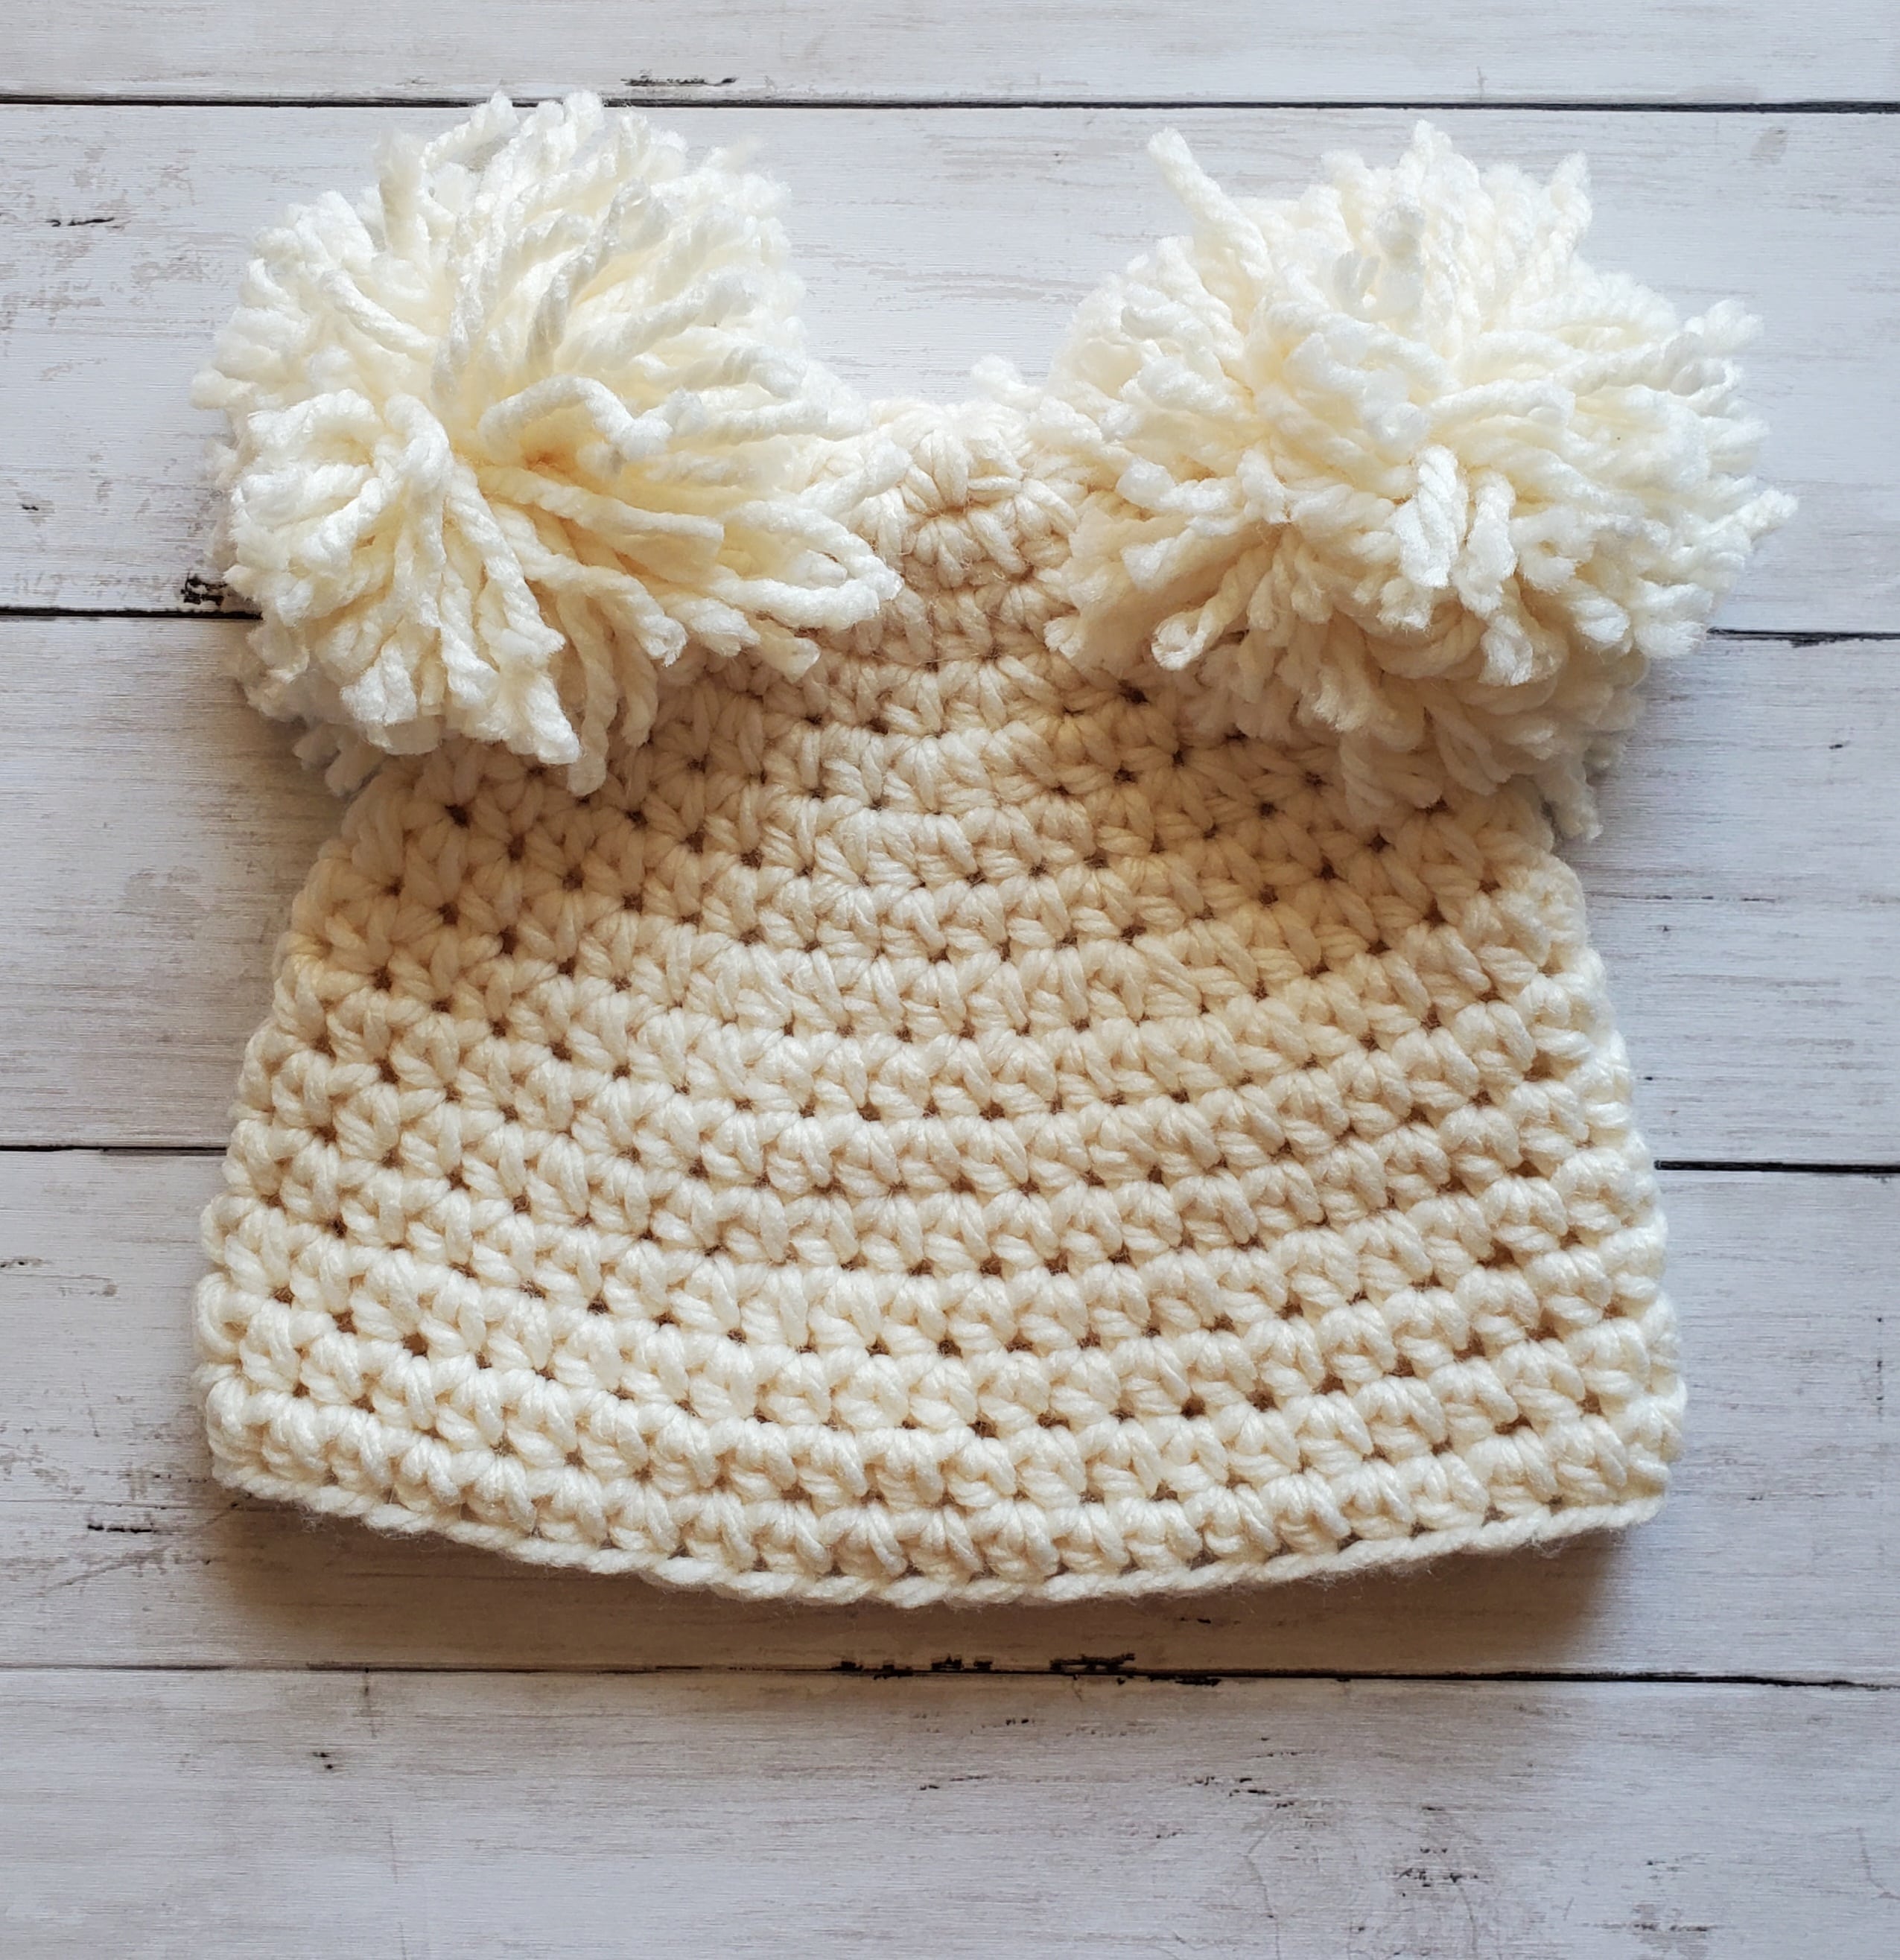
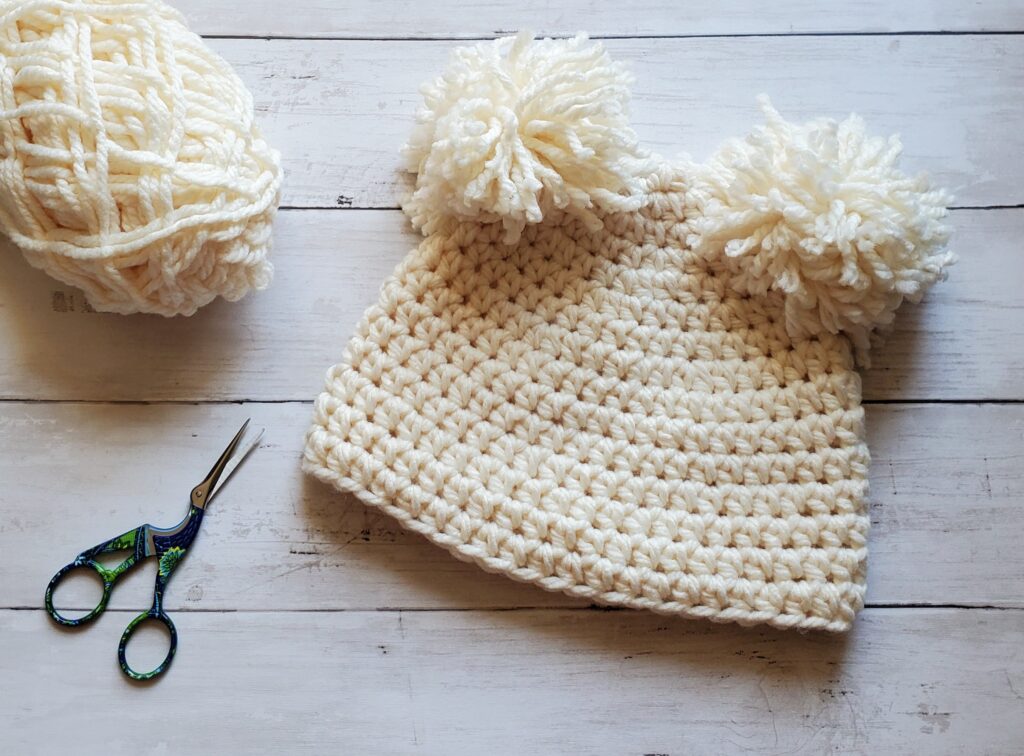
I think these crochet bear hats are so cute for both boys and girls!
I am using Soft Secret in Cocoa, Fog and Denim by Yarn Bee for this pattern. I believe you can only find this yarn at Hobby Lobby, but if you don’t feel like purchasing there, Caron Simply Soft Yarn feels very similar to this yarn in softness and weight and can be found at multiple retailers.
Two things that I love about using Yarn Bee’s Soft Secret yarn is; 1) I love how soft it is, even for a 100% acrylic yarn and 2) it’s pleasantly stretchy. So two great qualities for making crochet hats in my opinion.
I have multiple sizes for the hat listed below based on average head sizes for age. I always recommend obtaining an accurate head circumference measurement from yourself or whoever you’re crocheting the hat for in order to get the best fitting hat.
Related Posts:

Please note that some of these links are affiliate links. That means that if you click on these links and make a purchase, I may receive a commission at no extra cost to you. You can find more information about our disclosure policy here. Thank you for your support.
Abbreviations Used:
Please note these are in US terms, not UK.
- Ch – chain
- St – stitch
- Sl st – slip stitch
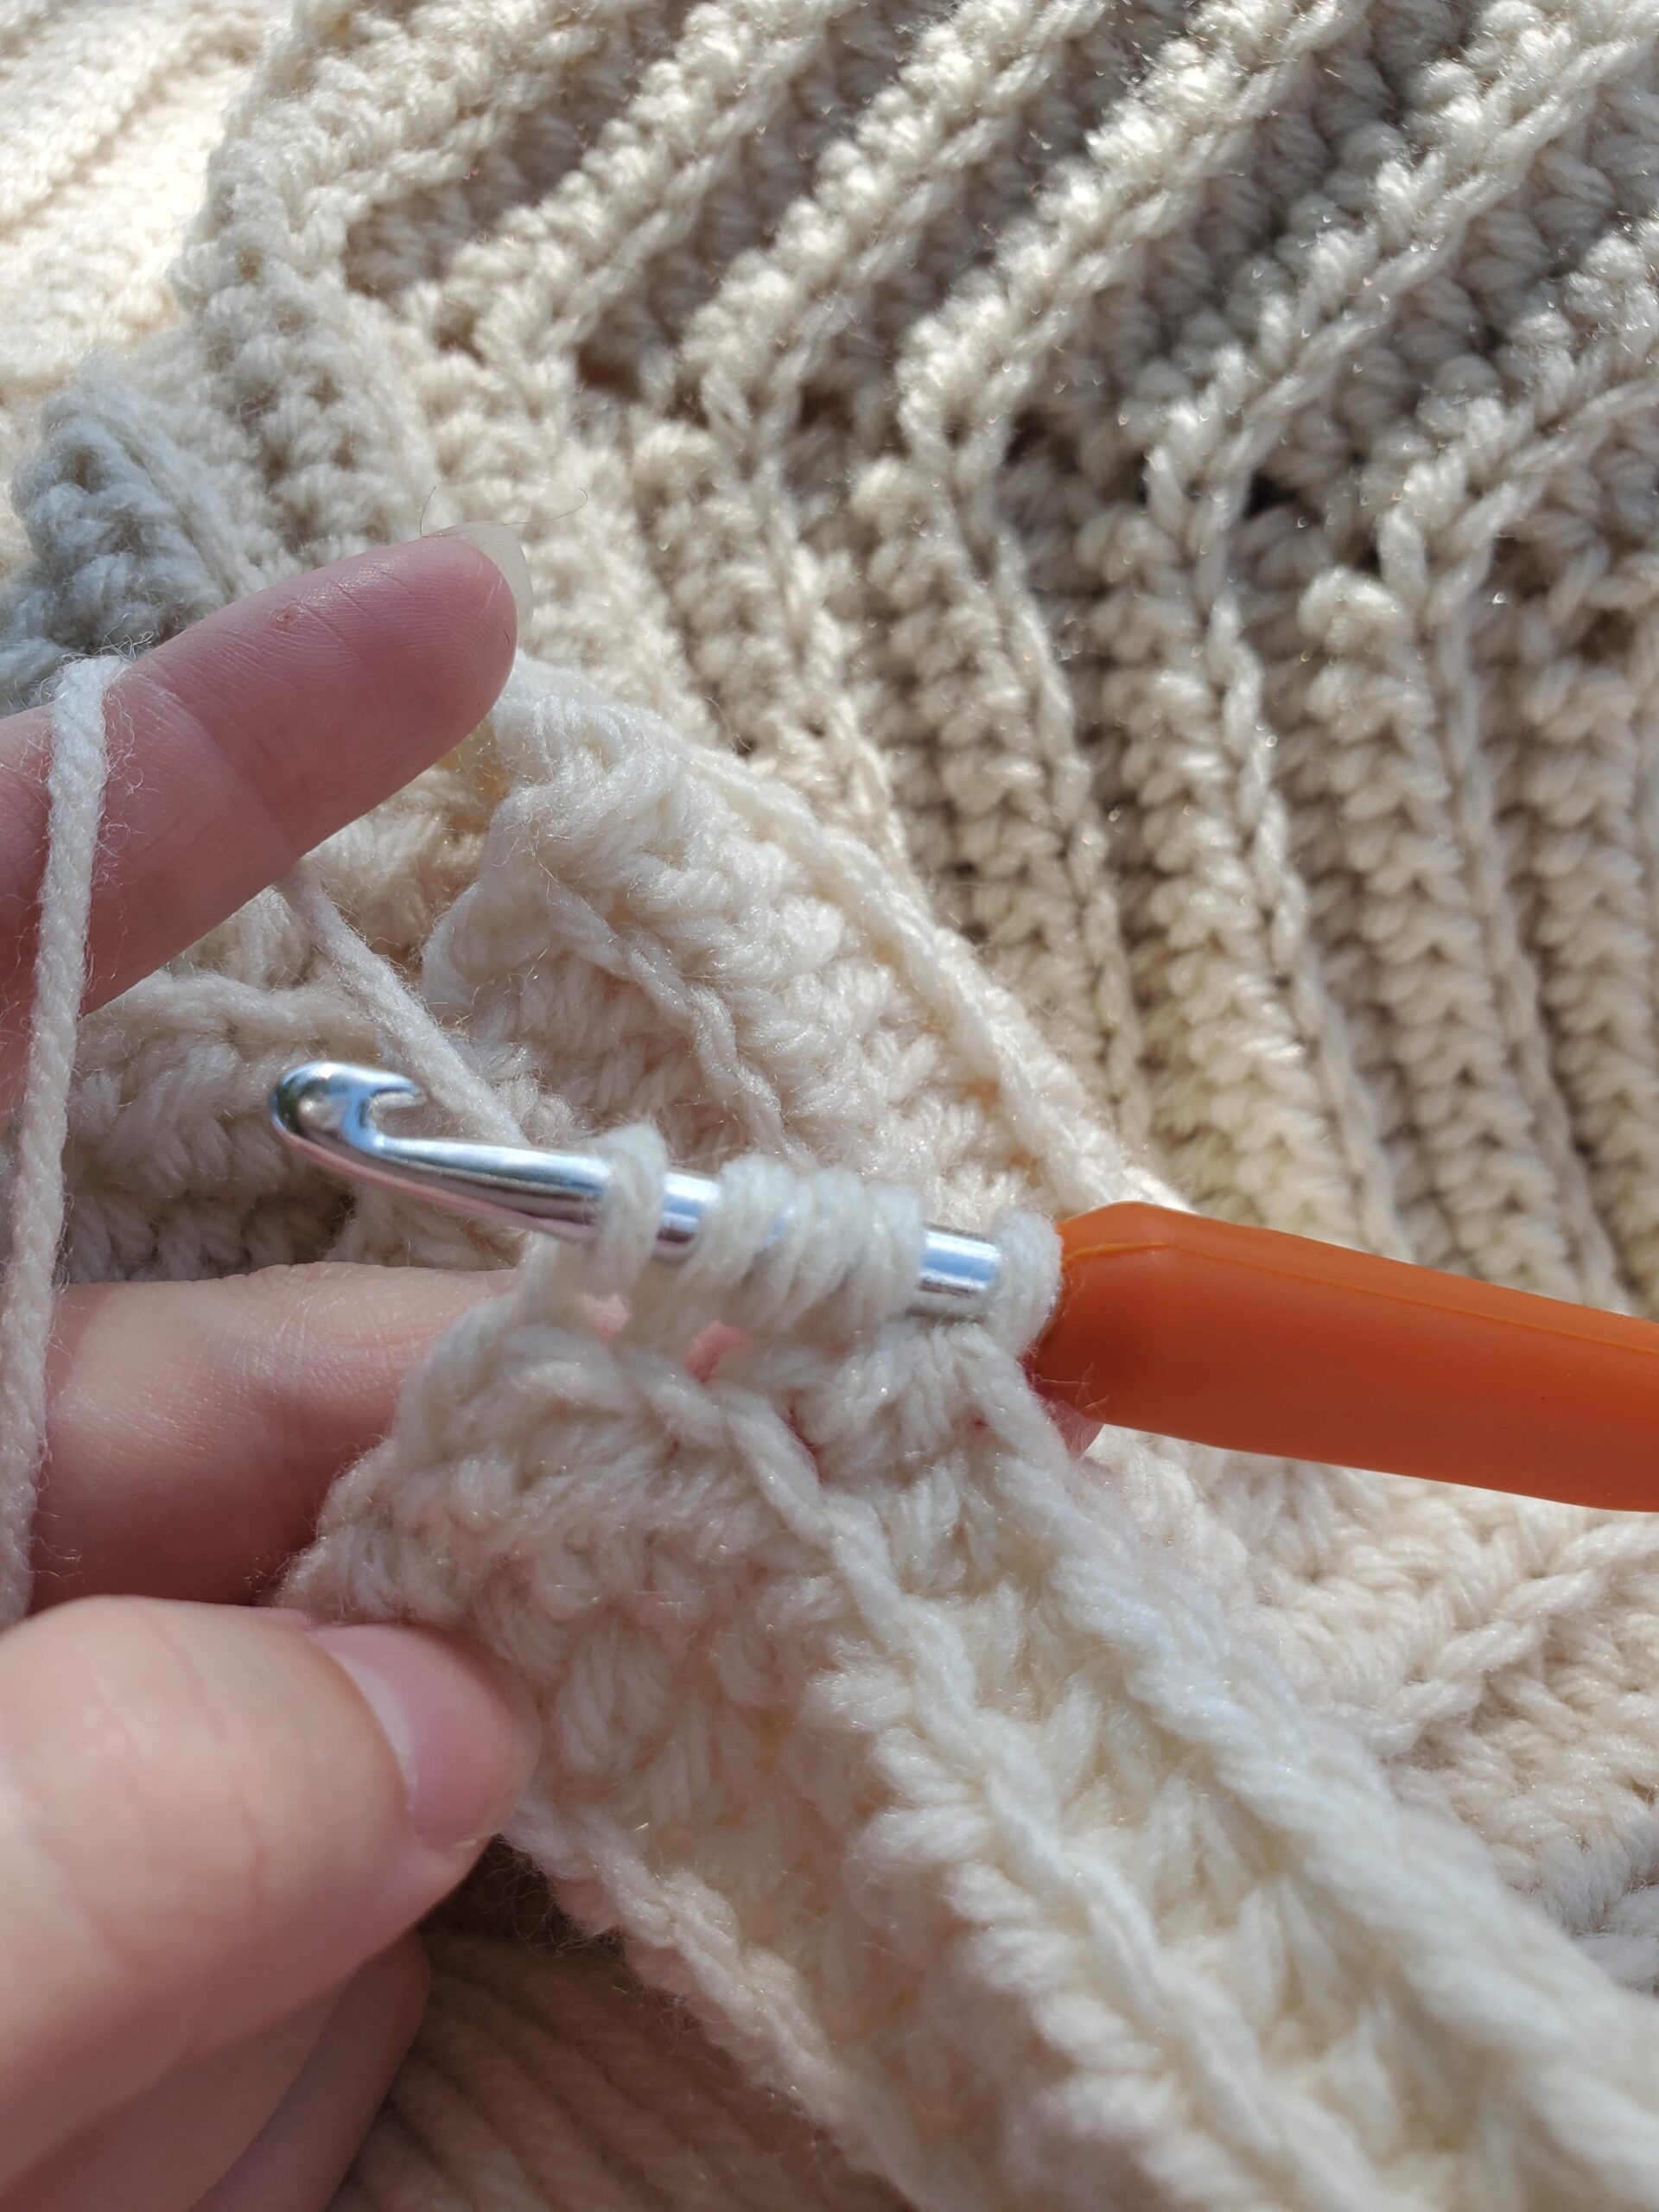
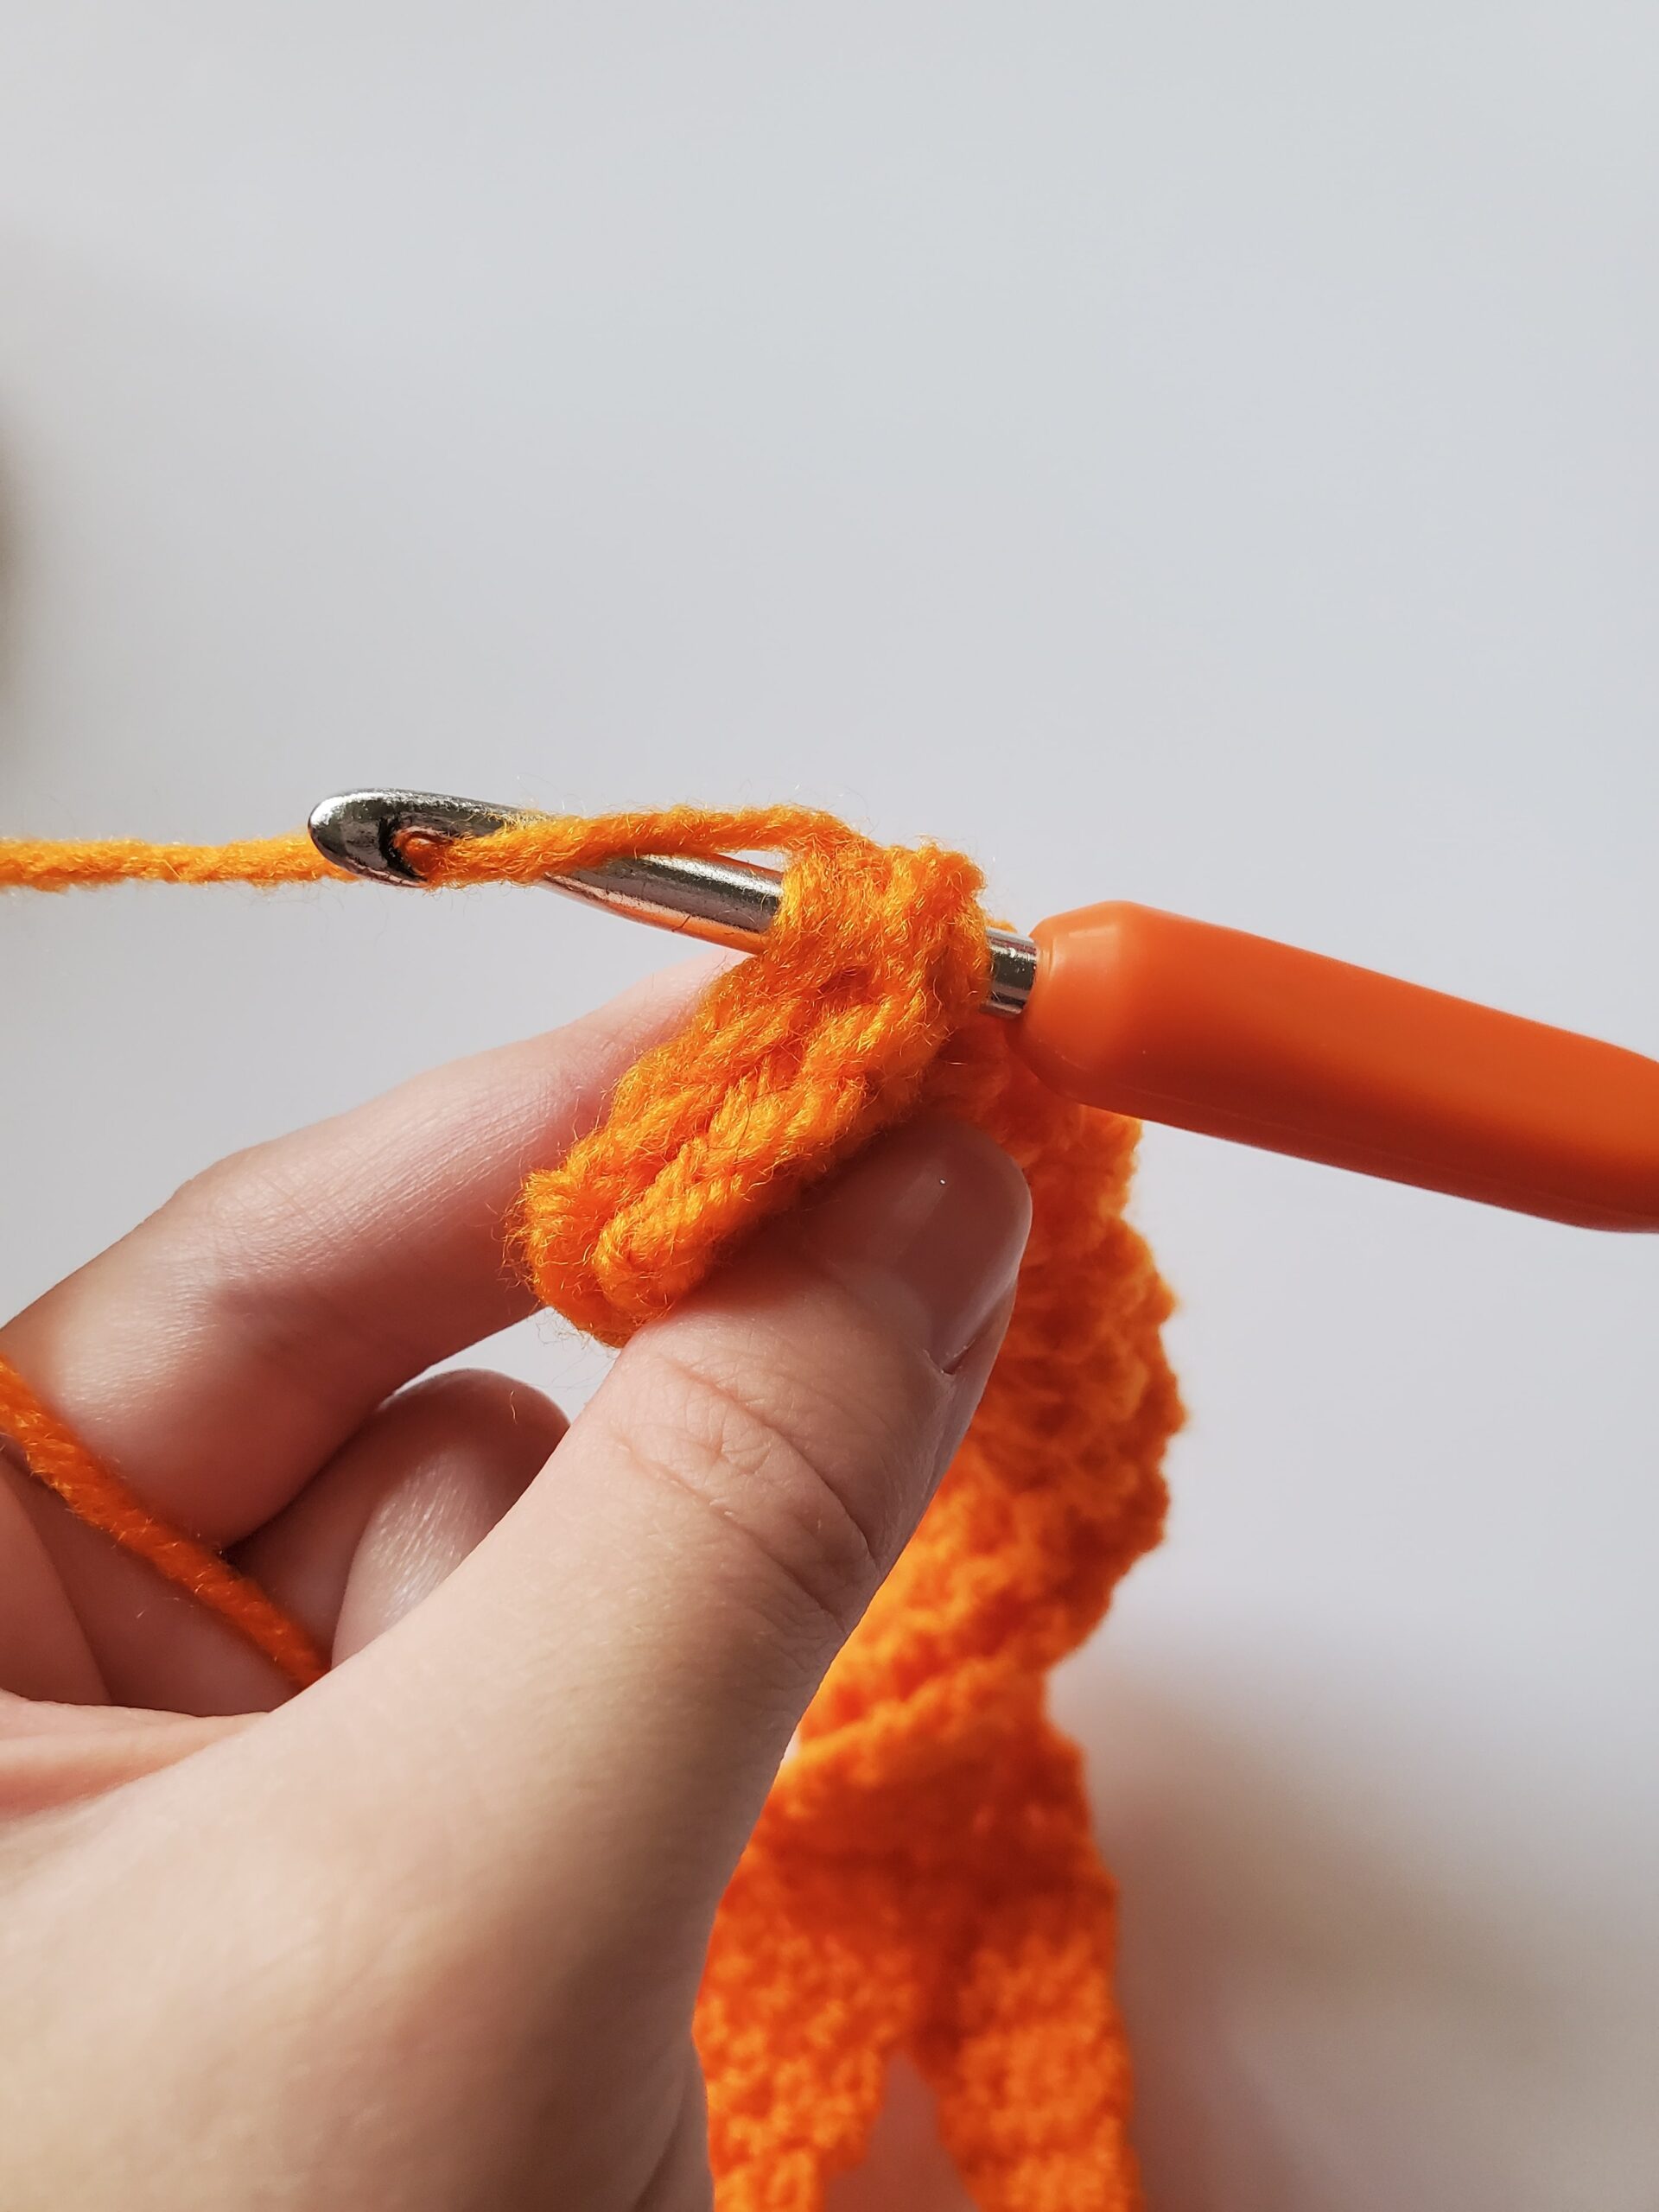
- Hdc – half double crochet
- Hdc2tog – half double crochet two stitches together
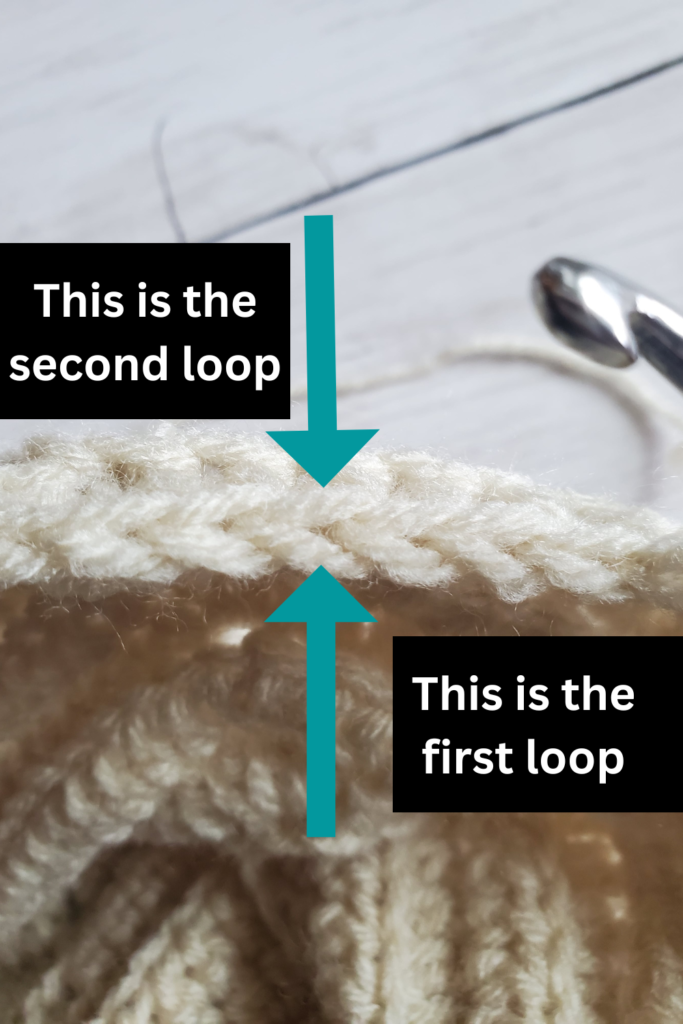
- Yarn over, insert hook into stitch, pull up a loop (3 loops on hook).
- Yarn over again, insert hook into next stitch, pull up a loop (5 loops on hook).
- Yarn over once more, pull through all 5 loops.
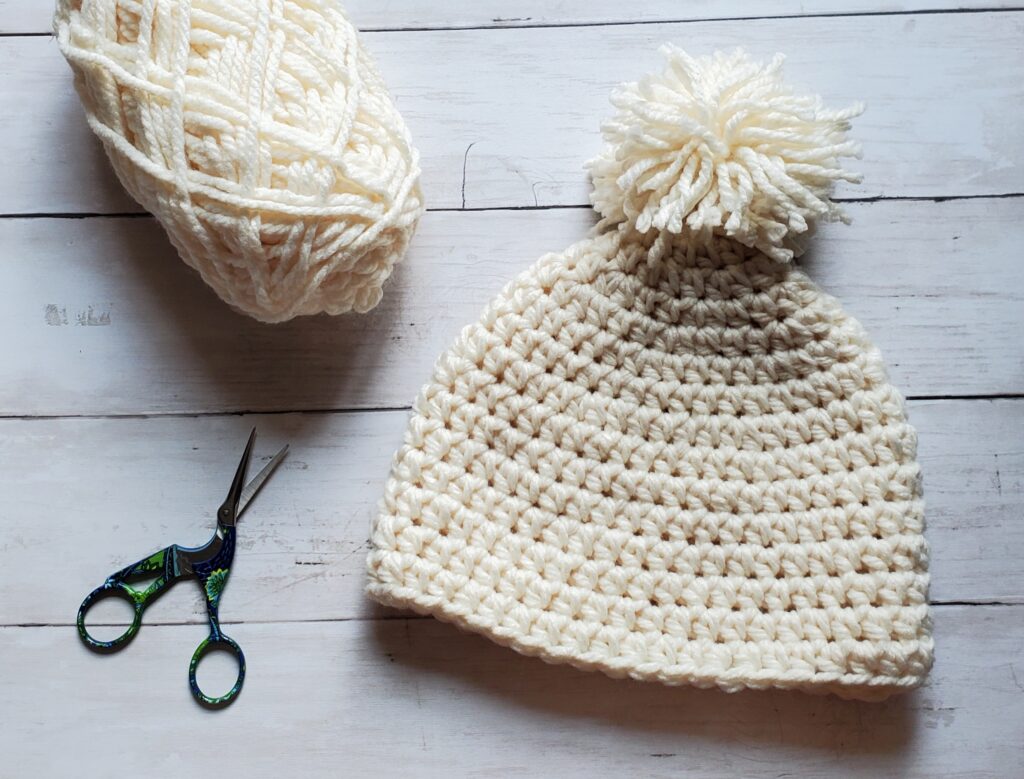
Materials Needed:
- Soft Secret in Cocoa by Yarn Bee x 1 skein (300 yards)
- Soft Secret in Fog by Yarn Bee x 1 skein (300 yards)
- Soft Secret in Denim by Yarn Bee x 1 skein (300 yards)
- 4 mm crochet hook
- Scissors
- Stitch Marker (scrap piece of yarn or paperclip can work instead)
- Tapestry Needle
- Measuring Tape (optional)
- Pins (optional)
Special Instructions:
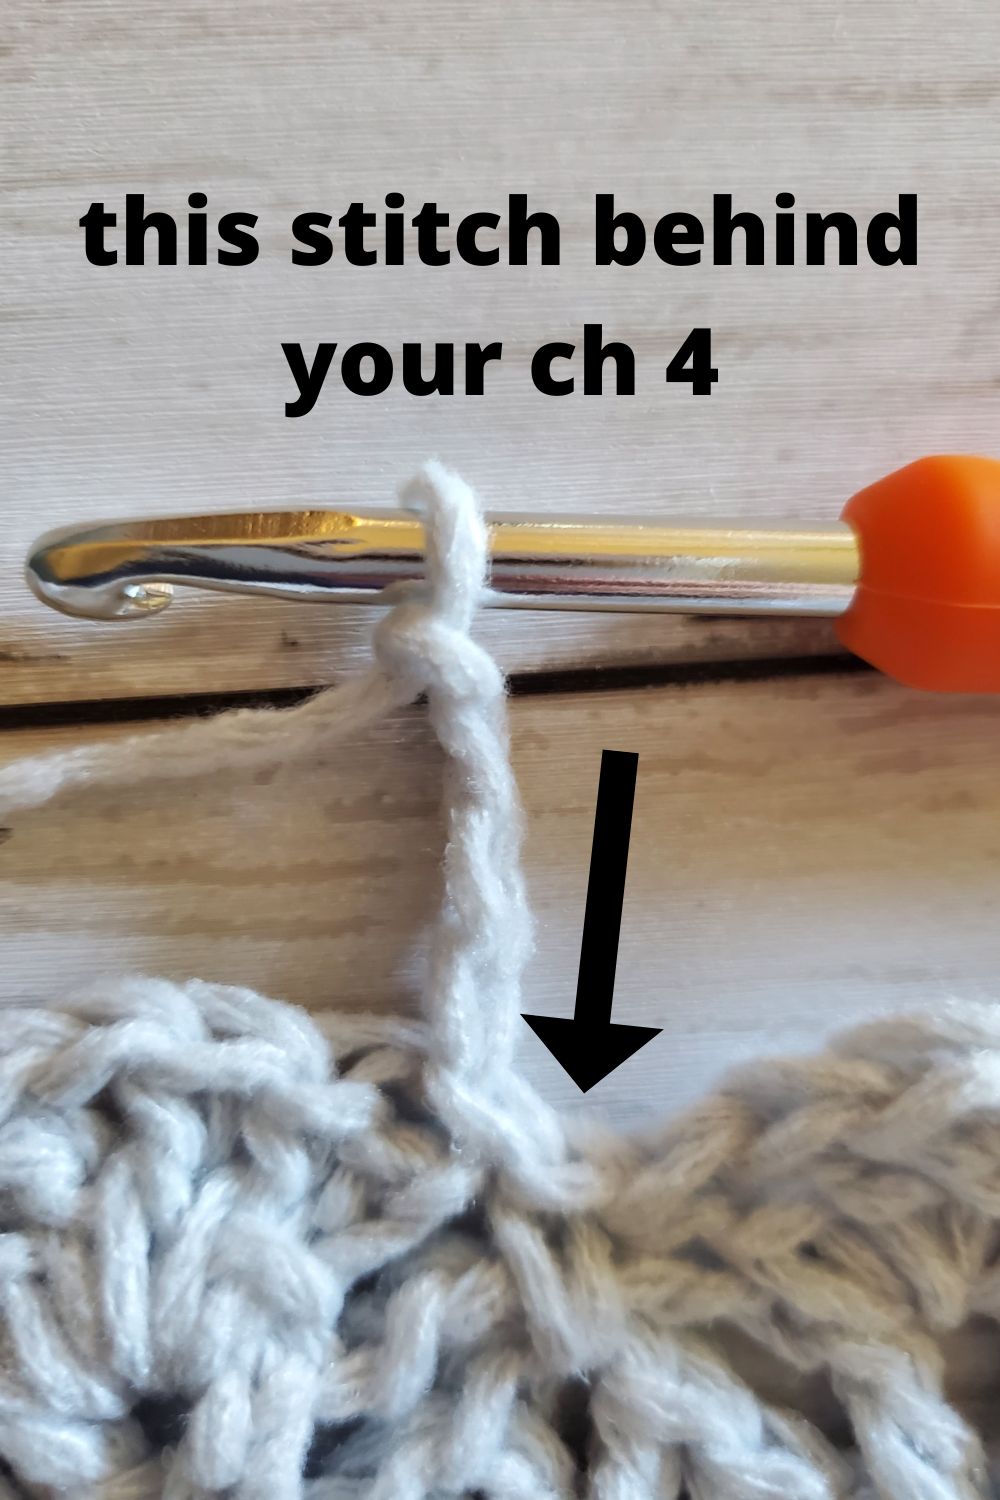
- The ch 1 at the beginning of the round does not count as a stitch.
- Slip stitch into the first stitch of the round, not the beginning chain when completing a round.
- The number in () at the end of the round indicates the number of stitches you should have when completing that round.
- For the bear ears – crochet in a continuous round, this means that we will not be slip stitching to the first st and chaining 1 like we have been with the hat. Continue crocheting with the next round at the end of your current round. Use a stitch marker to mark the beginning of your rounds.
Crochet Bear Hat Pattern
Newborn-3 Months
| Head Circumference: 13-14 inches | Crown Size: 3.5-5 inches | Hat Length: 4.5-6 inches |
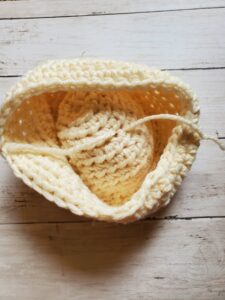
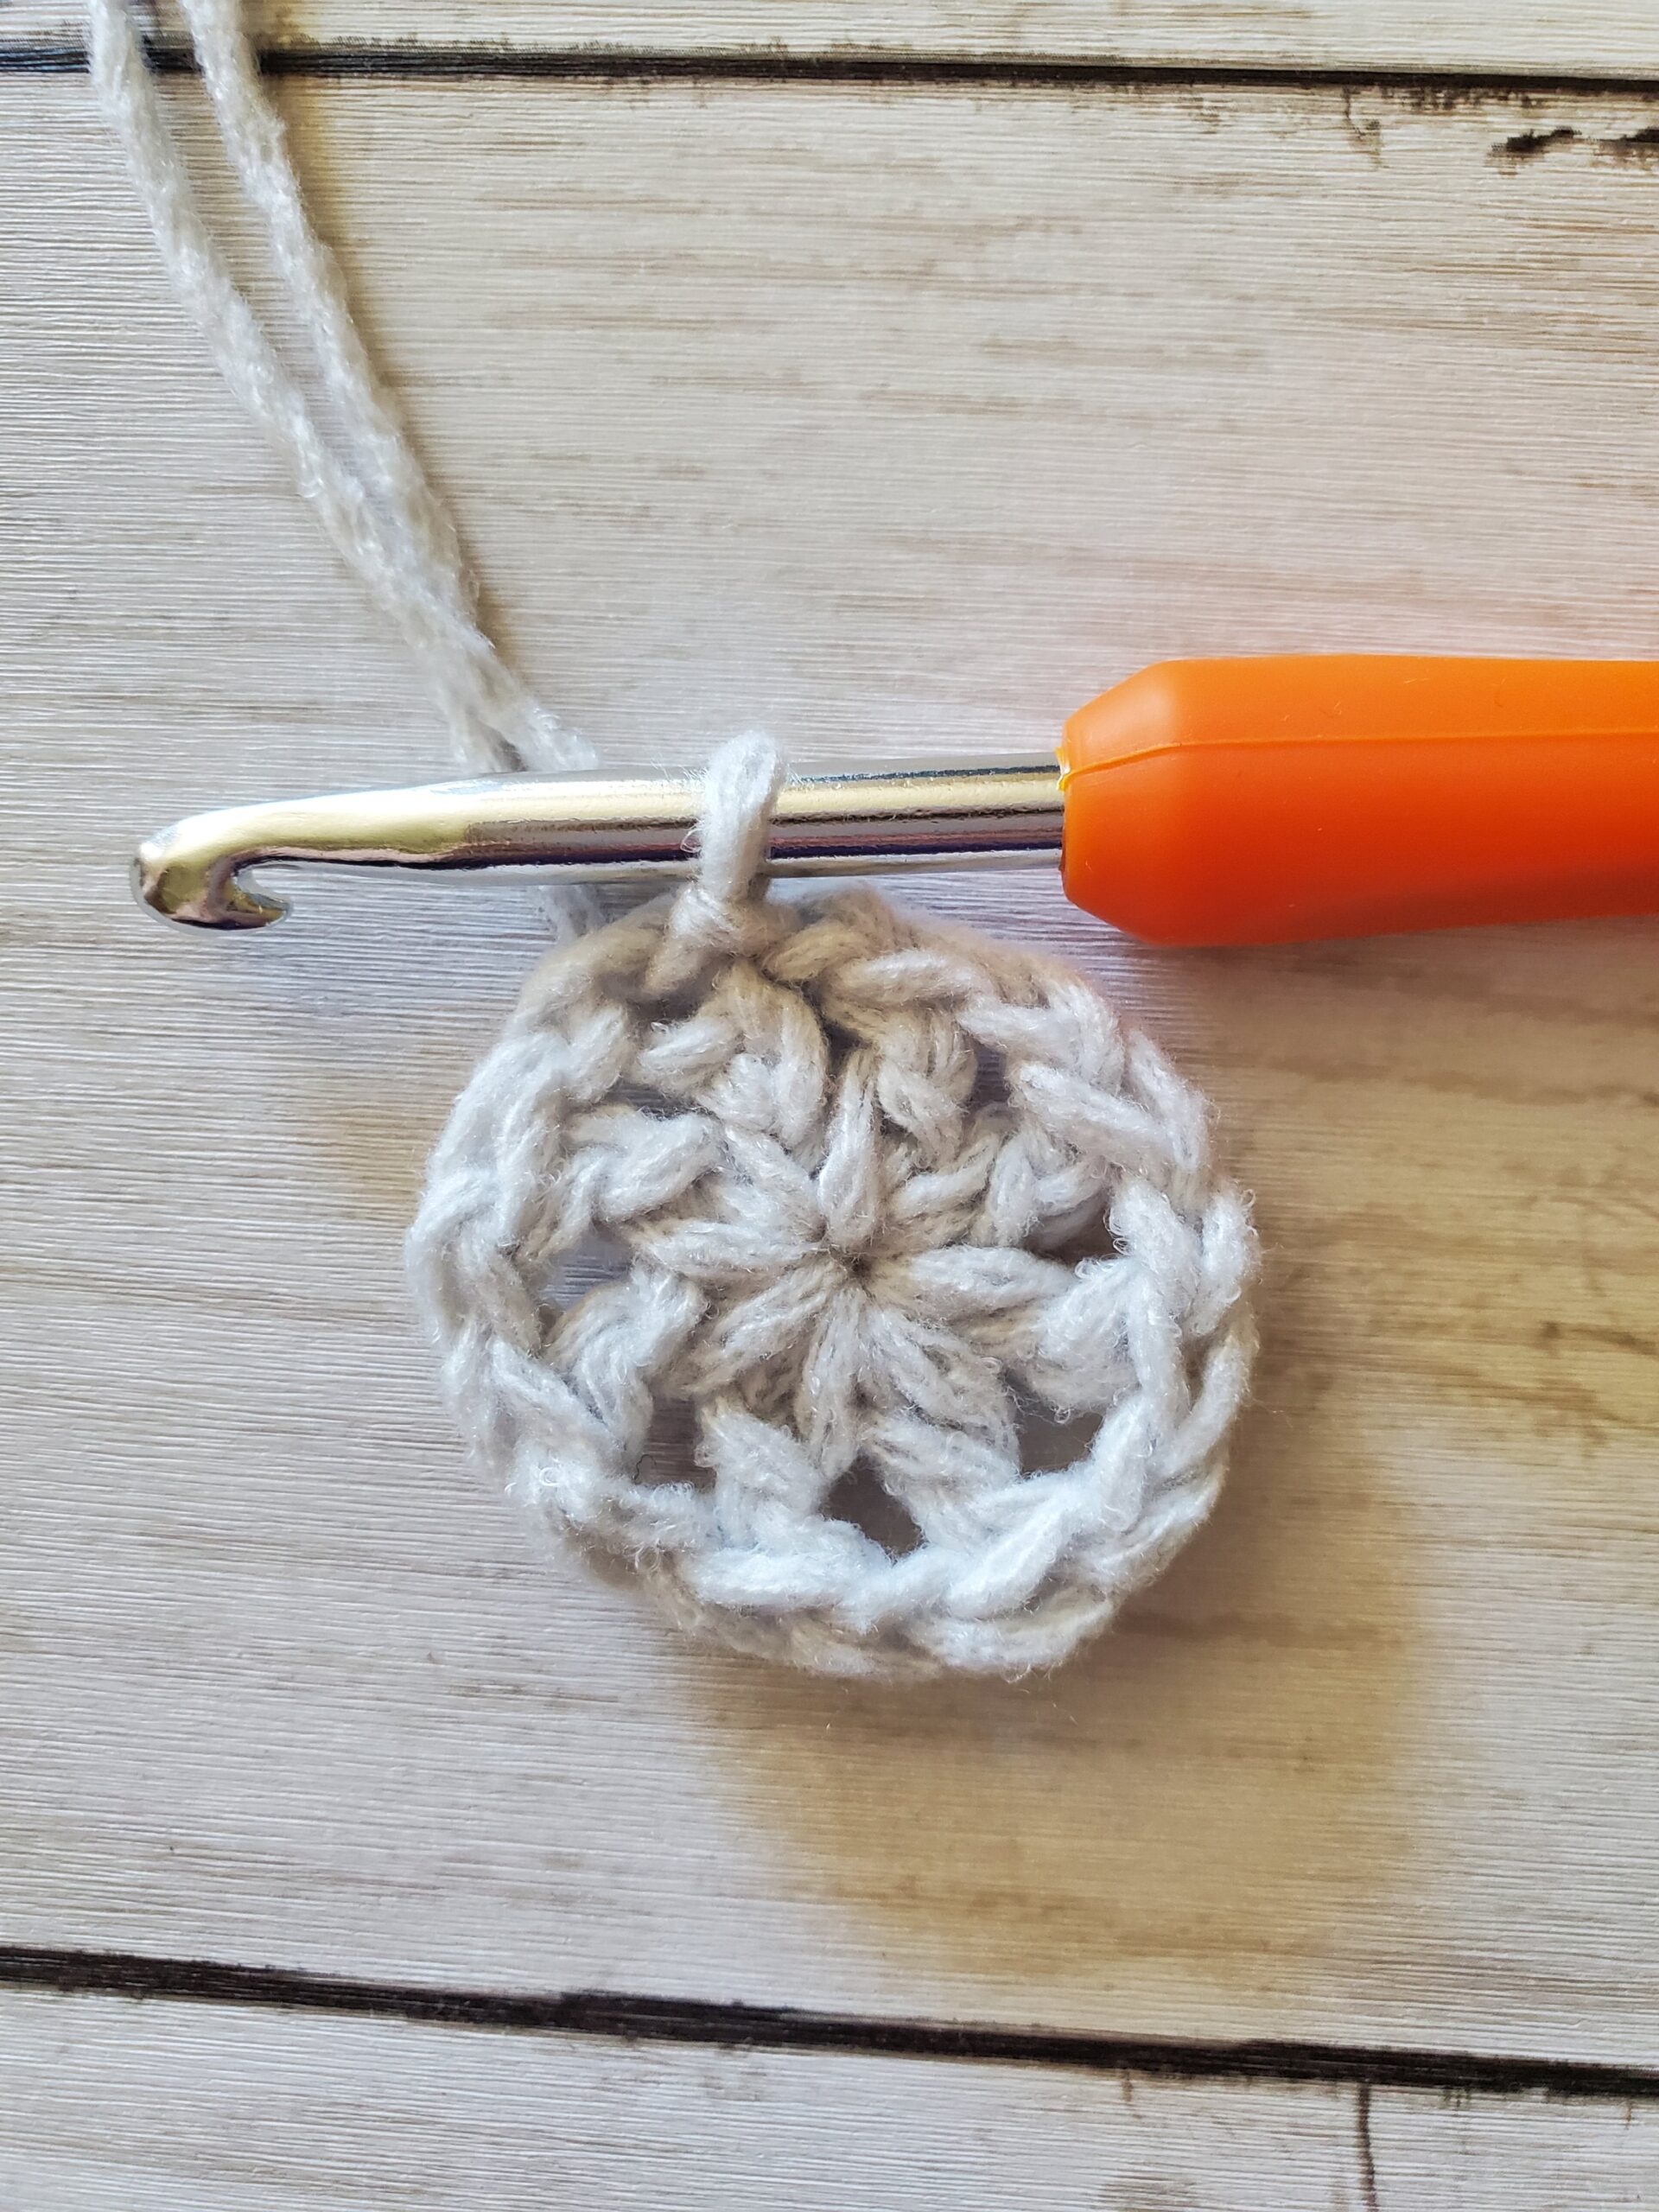
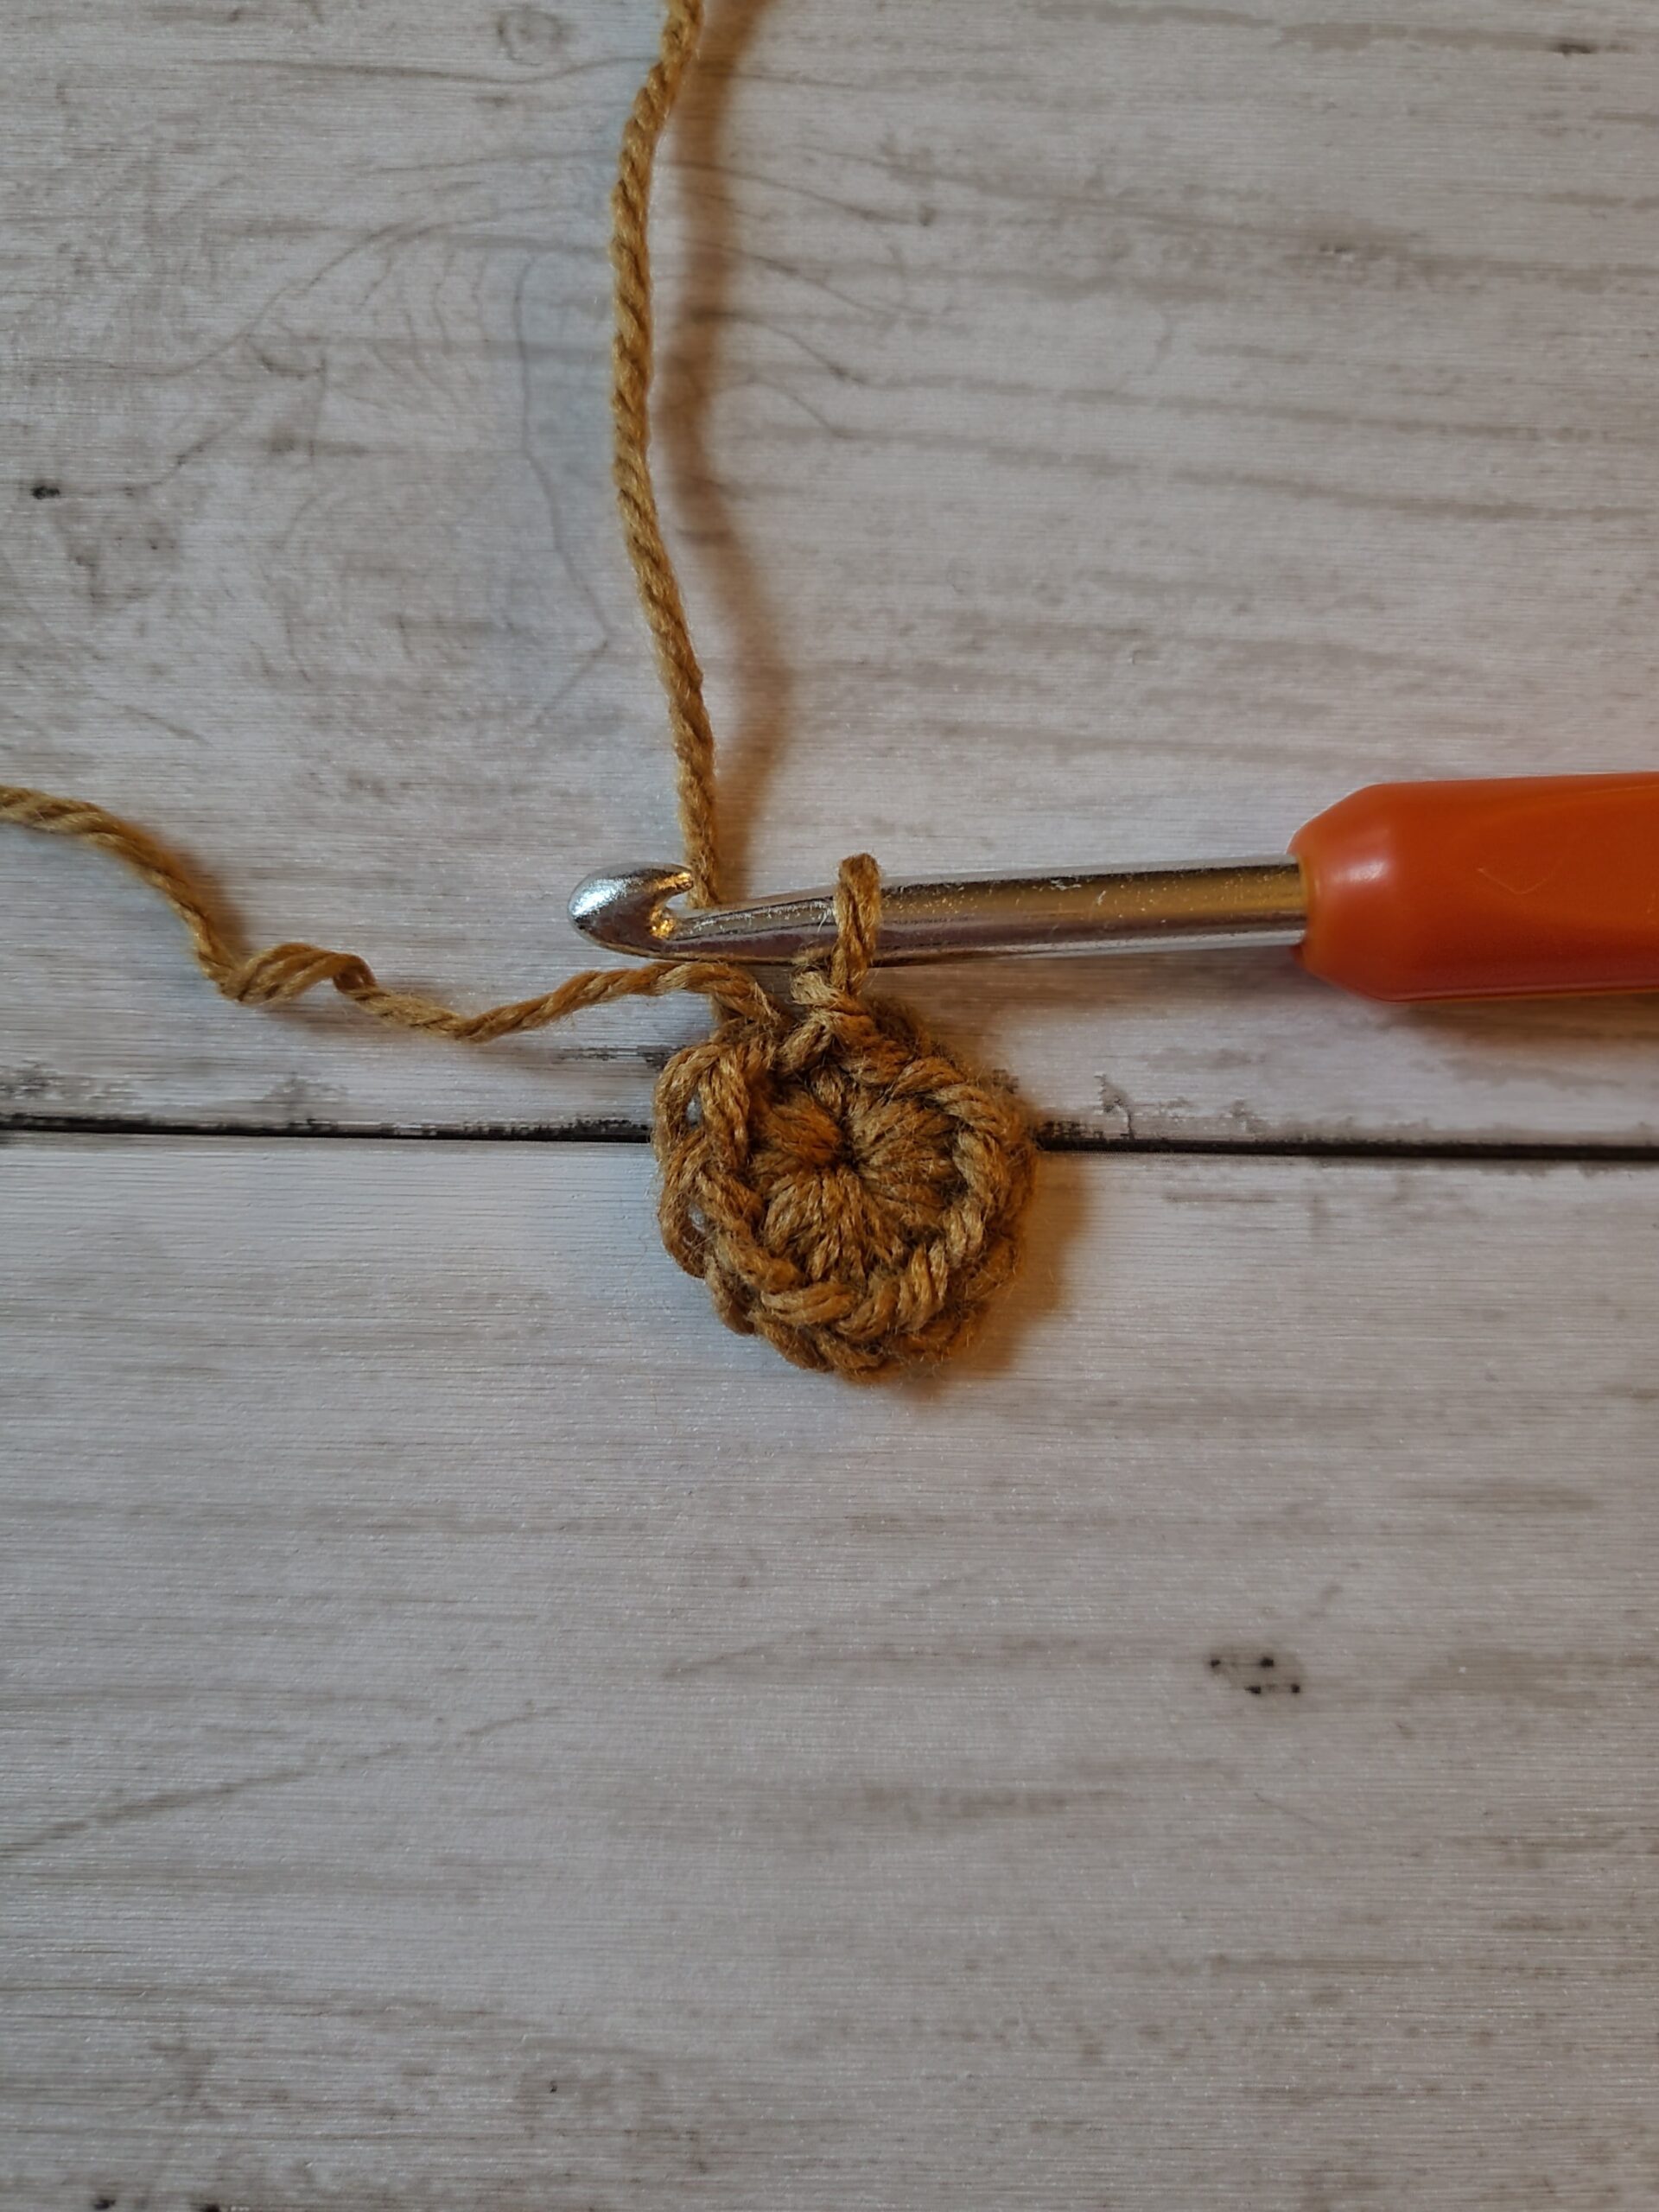
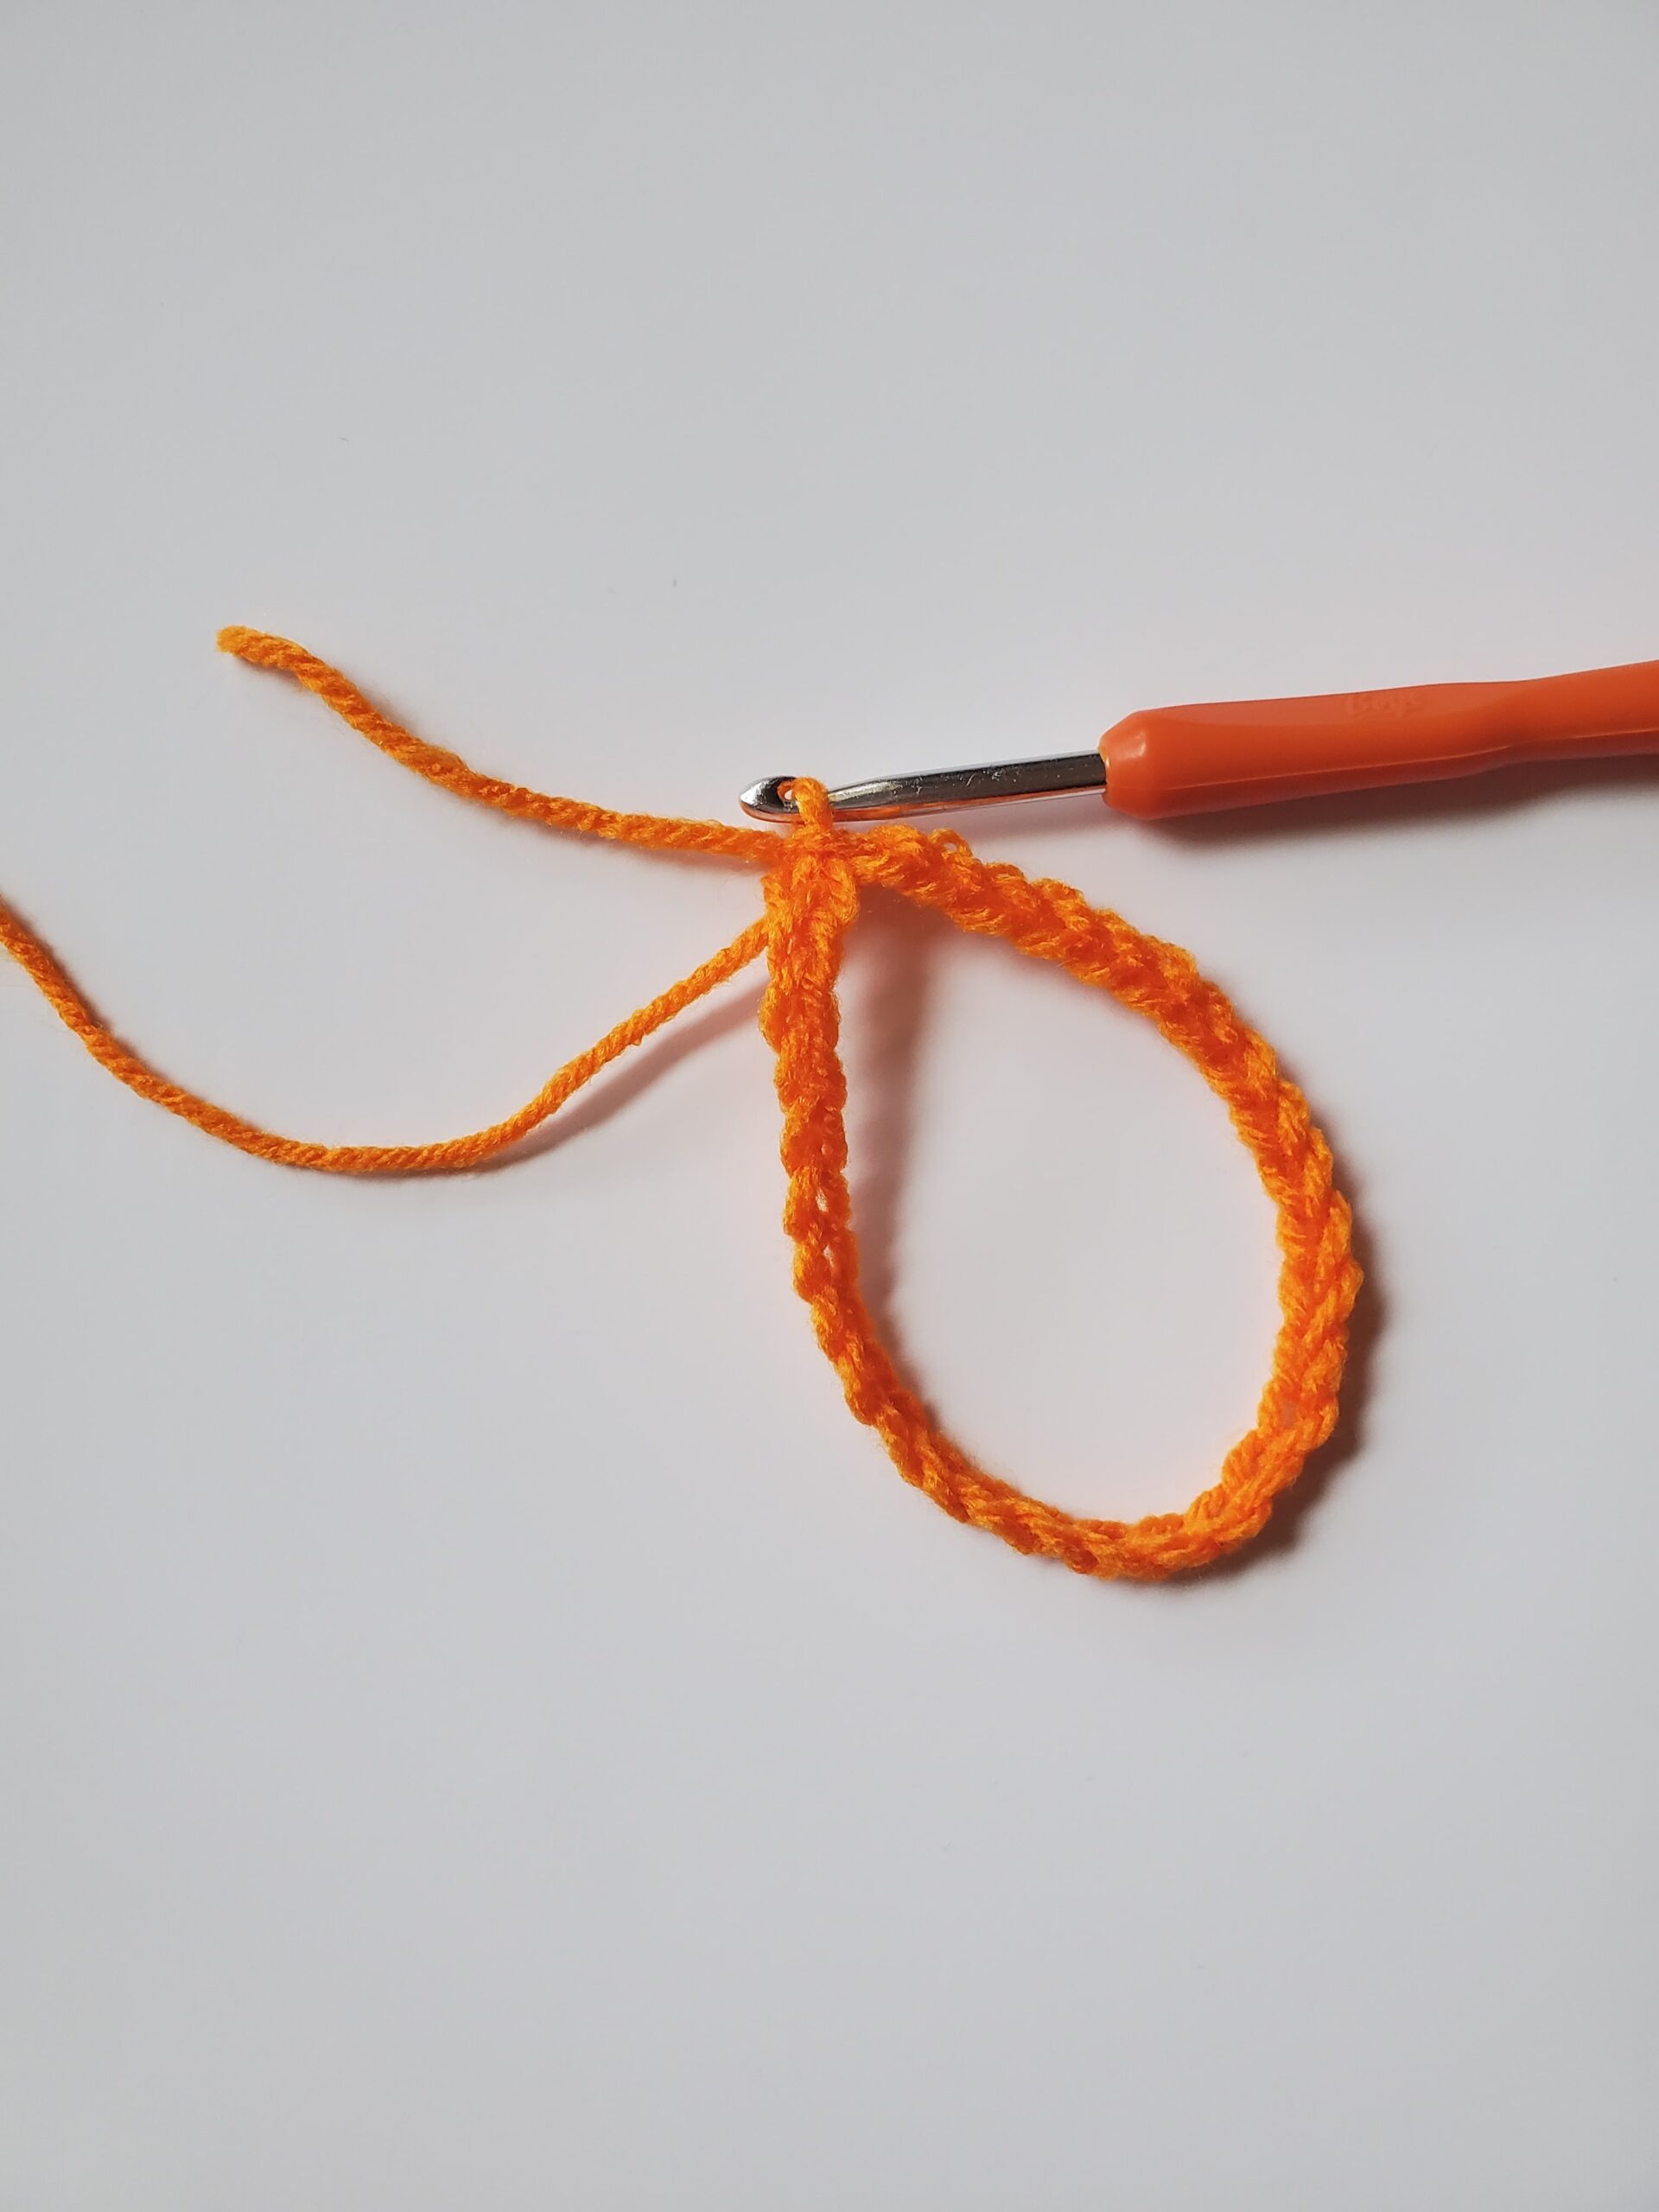
- Round 1: 8 hdc in magic ring/circle (alternatively ch 2 and crochet 8 hdc in the first ch), sl st to first st (8 sts)
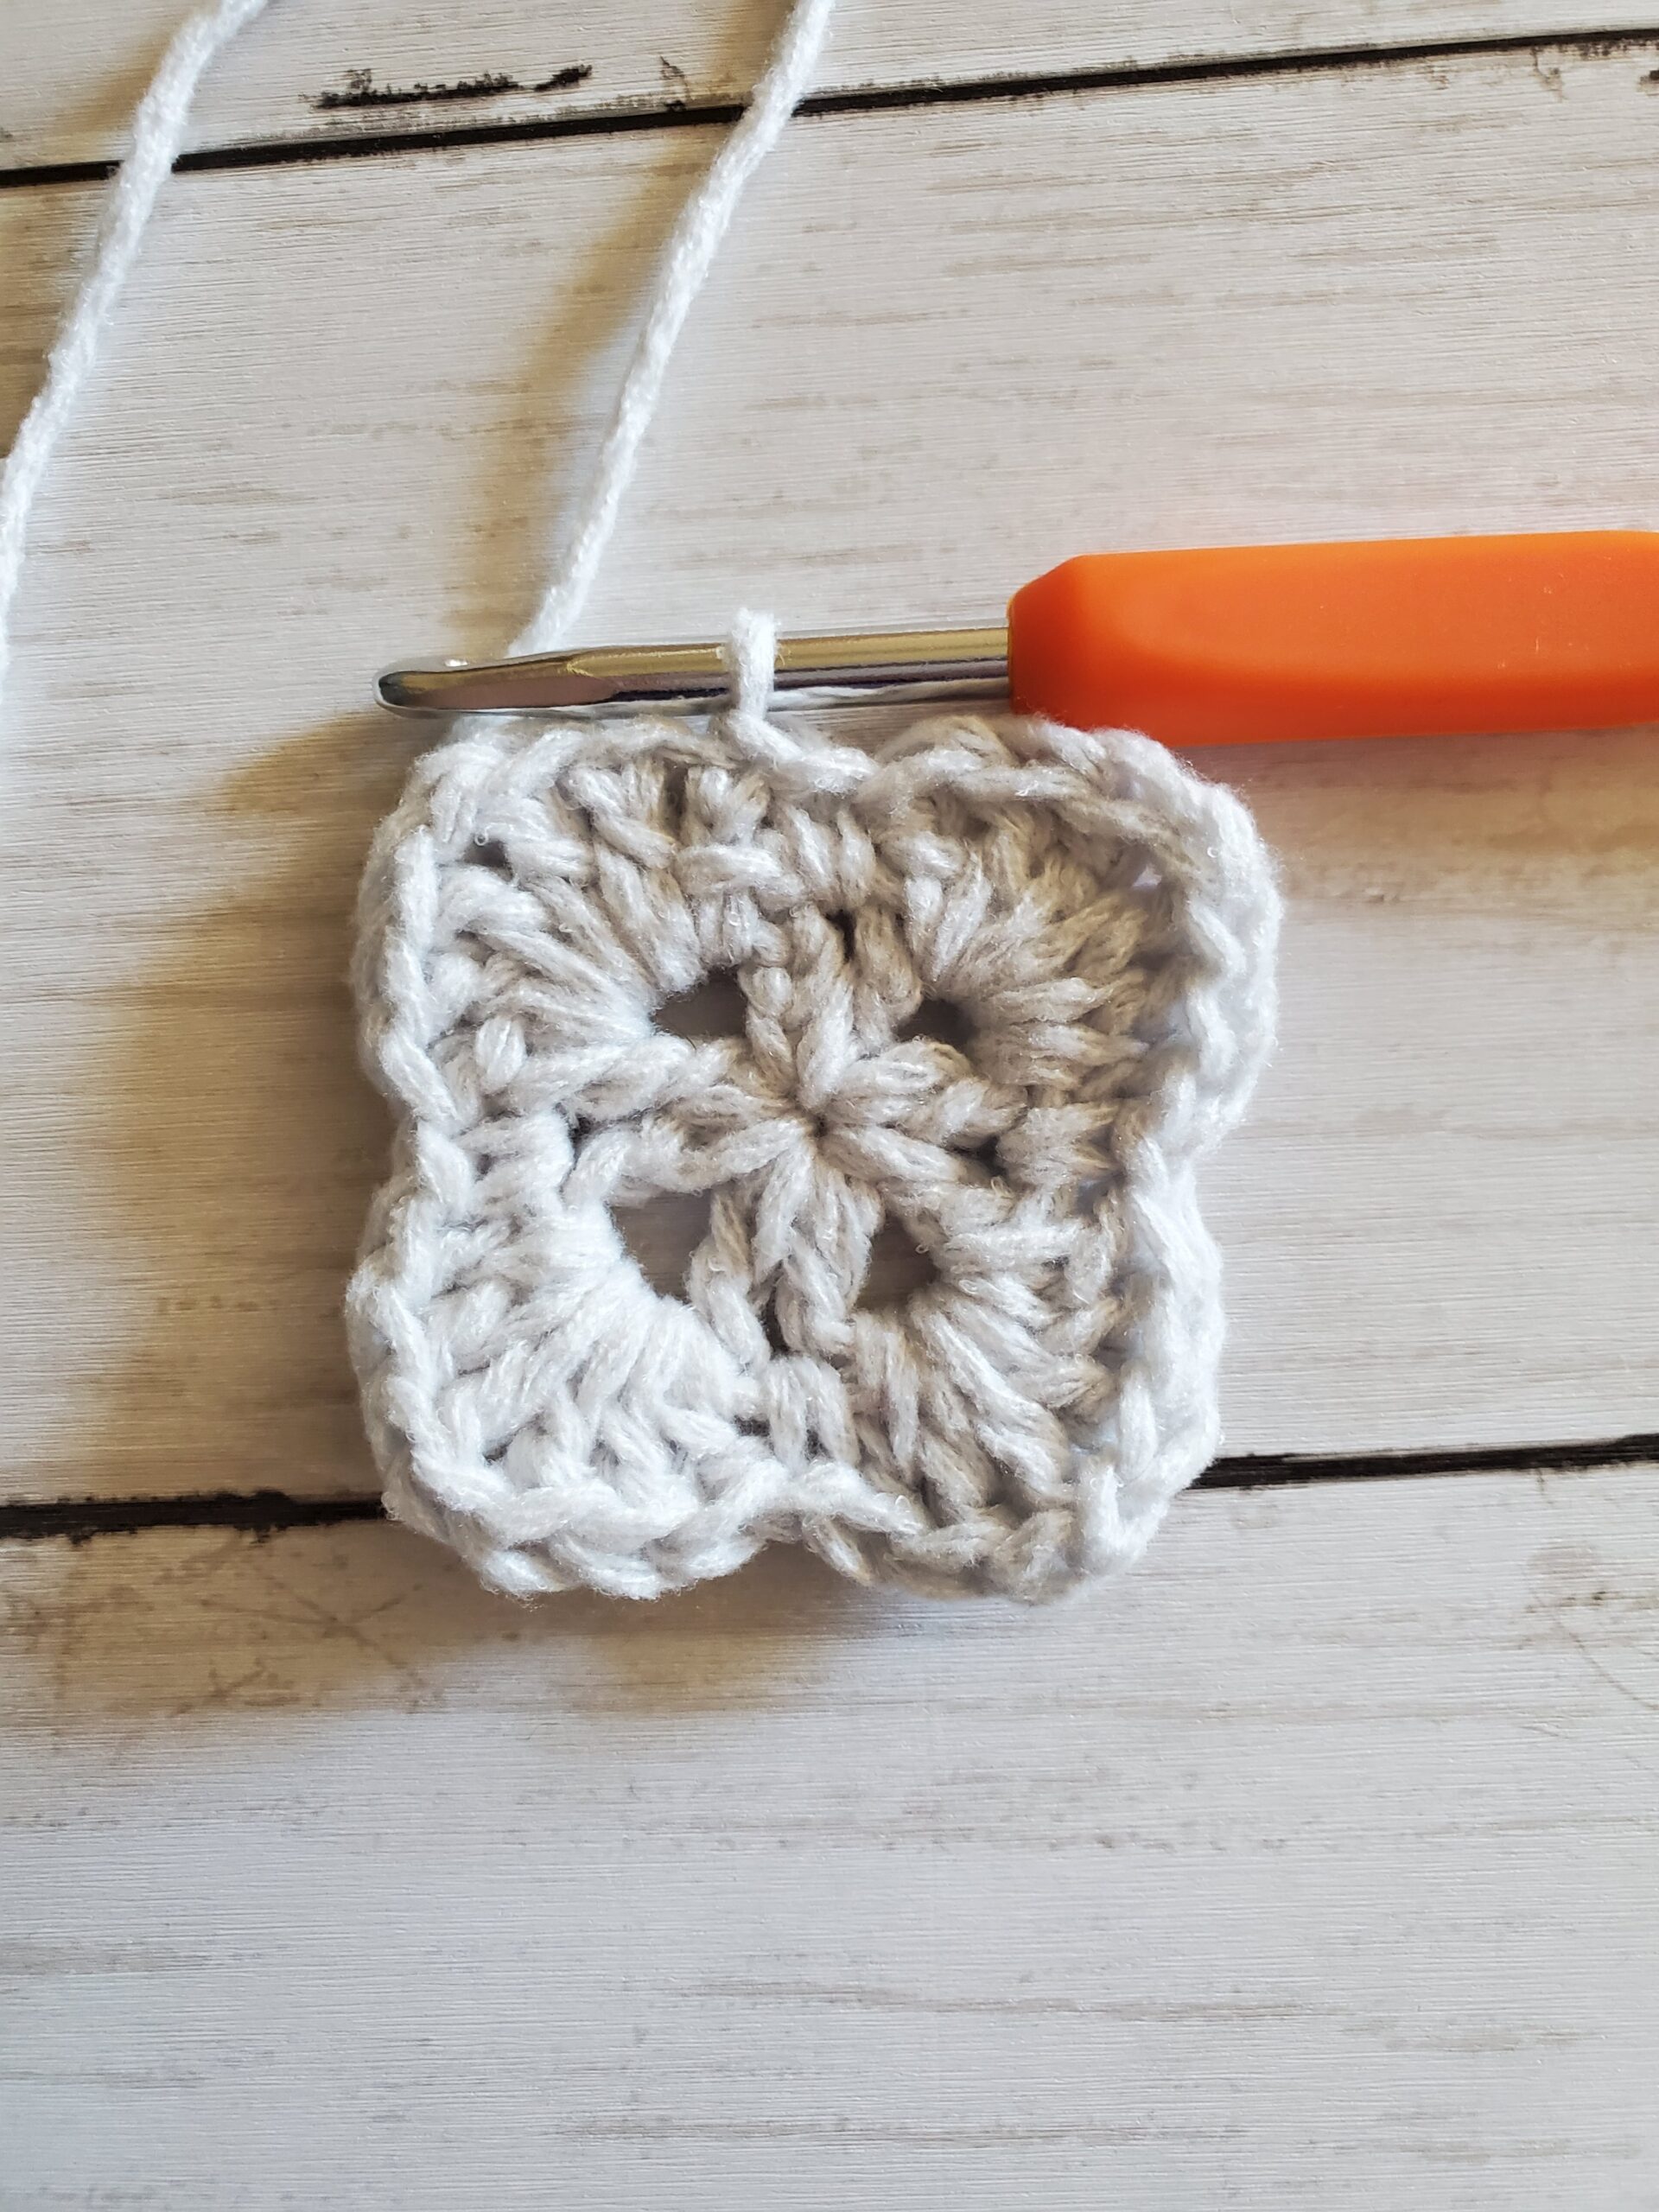
- Round 2: Ch 1, 2 hdc in each st around, sl st to first st (16 sts)
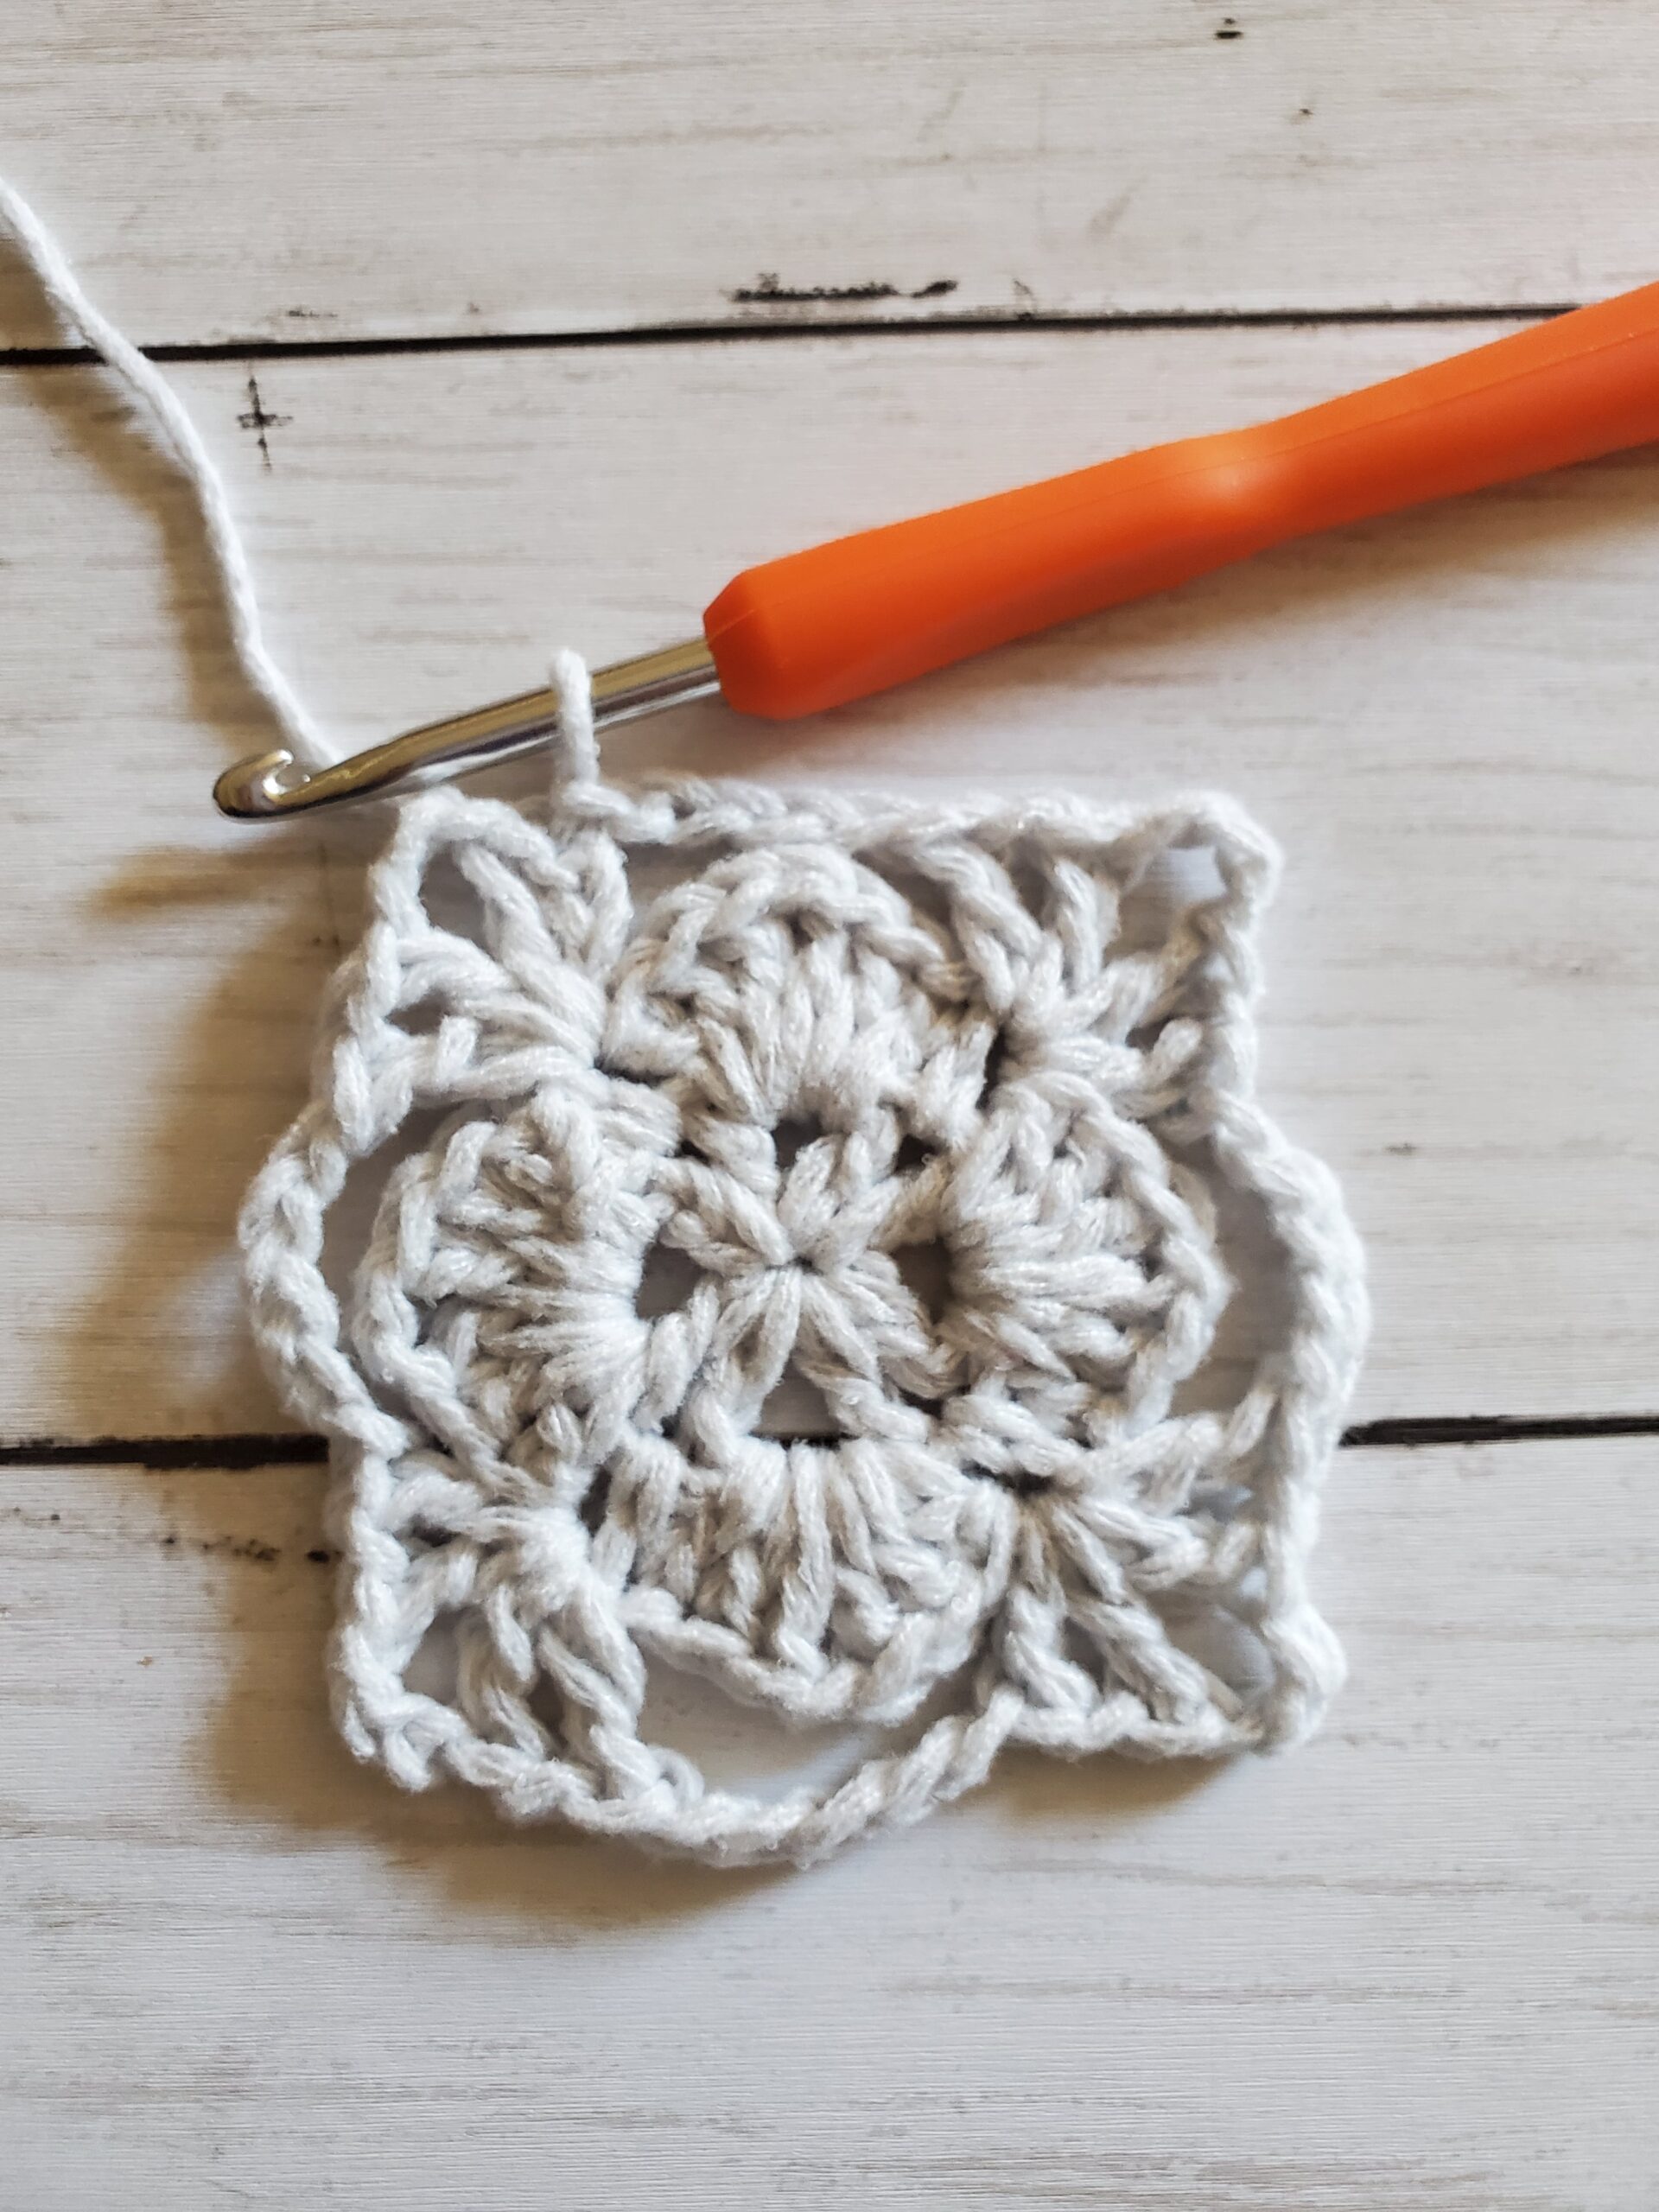
- Round 3: Ch 1, *2 hdc in next st, 1 hdc in next st,* repeat from *to,* sl st to first st (24 sts)
- Round 4: Ch 1, *2 hdc in next st, 1 hdc in next 2 sts,* repeat from *to,* sl st to first st (32 sts)
- Round 5: Ch 1, *2 hdc in next st, 1 hdc in next 3 sts,* repeat from *to,* sl st to first st (40 sts)
- Round 6: Ch 1, *2 hdc in next st, 1 hdc in next 4 sts,* repeat from *to,* sl st to first st (48 sts)
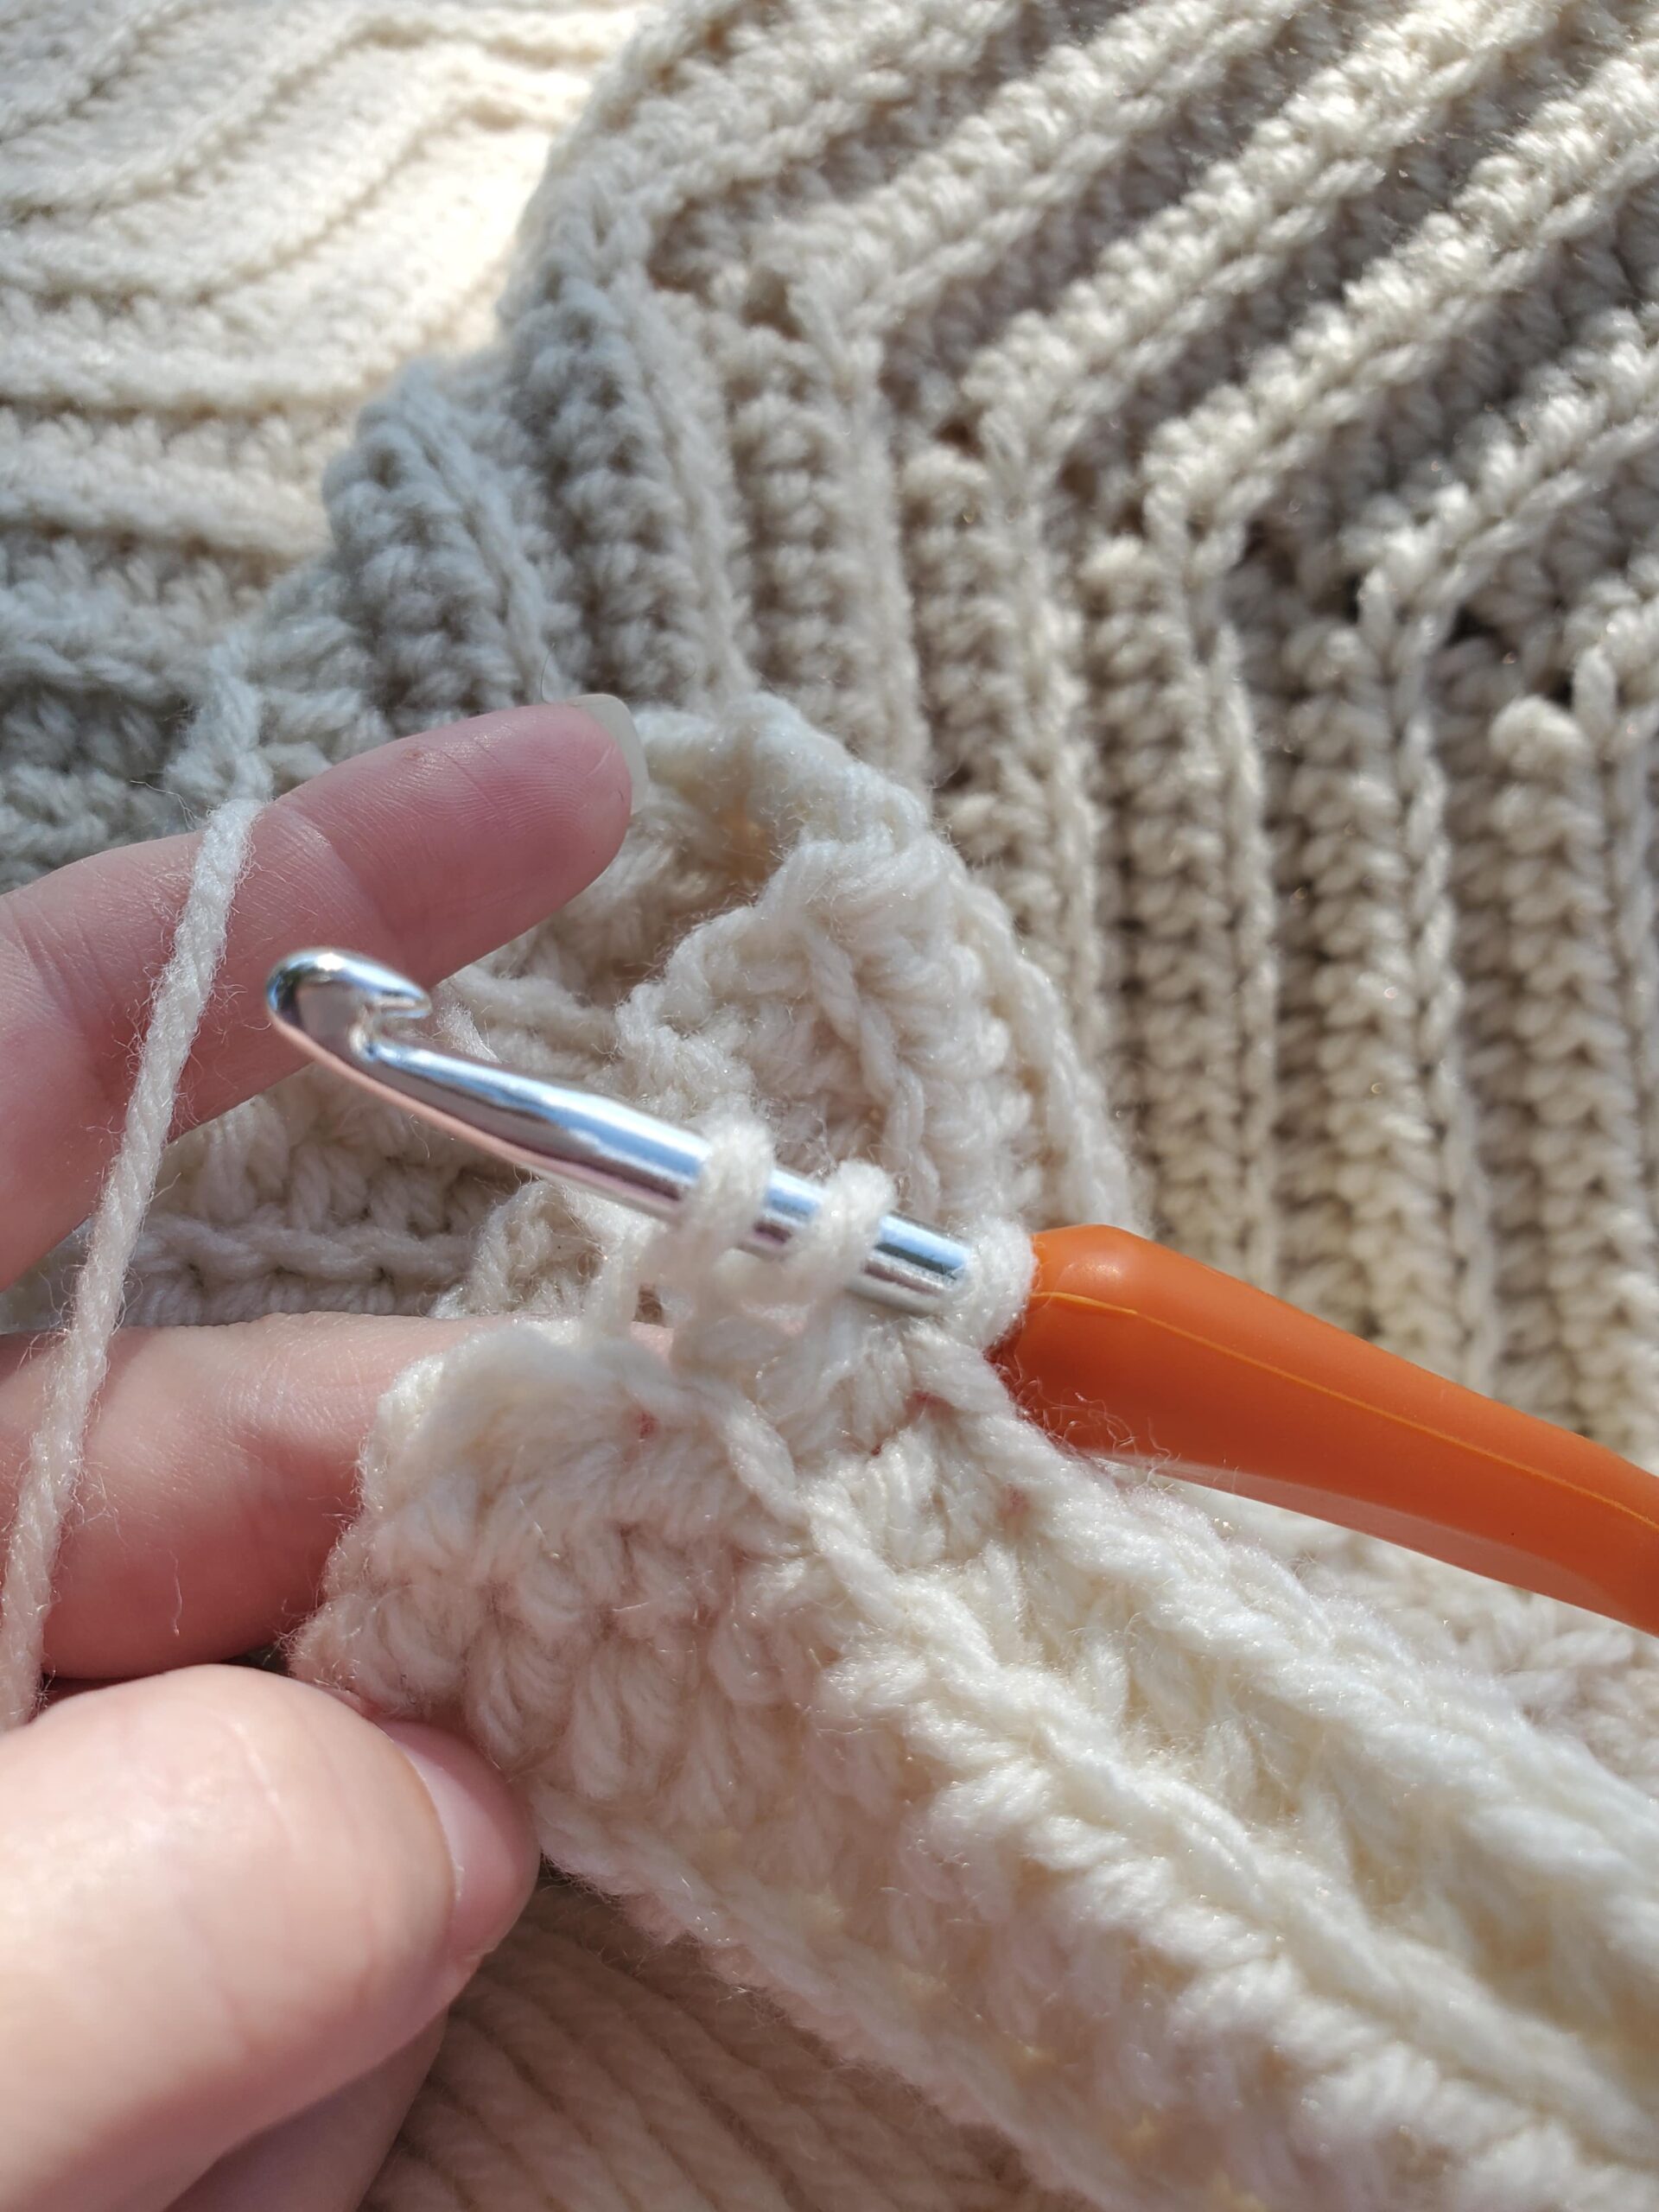
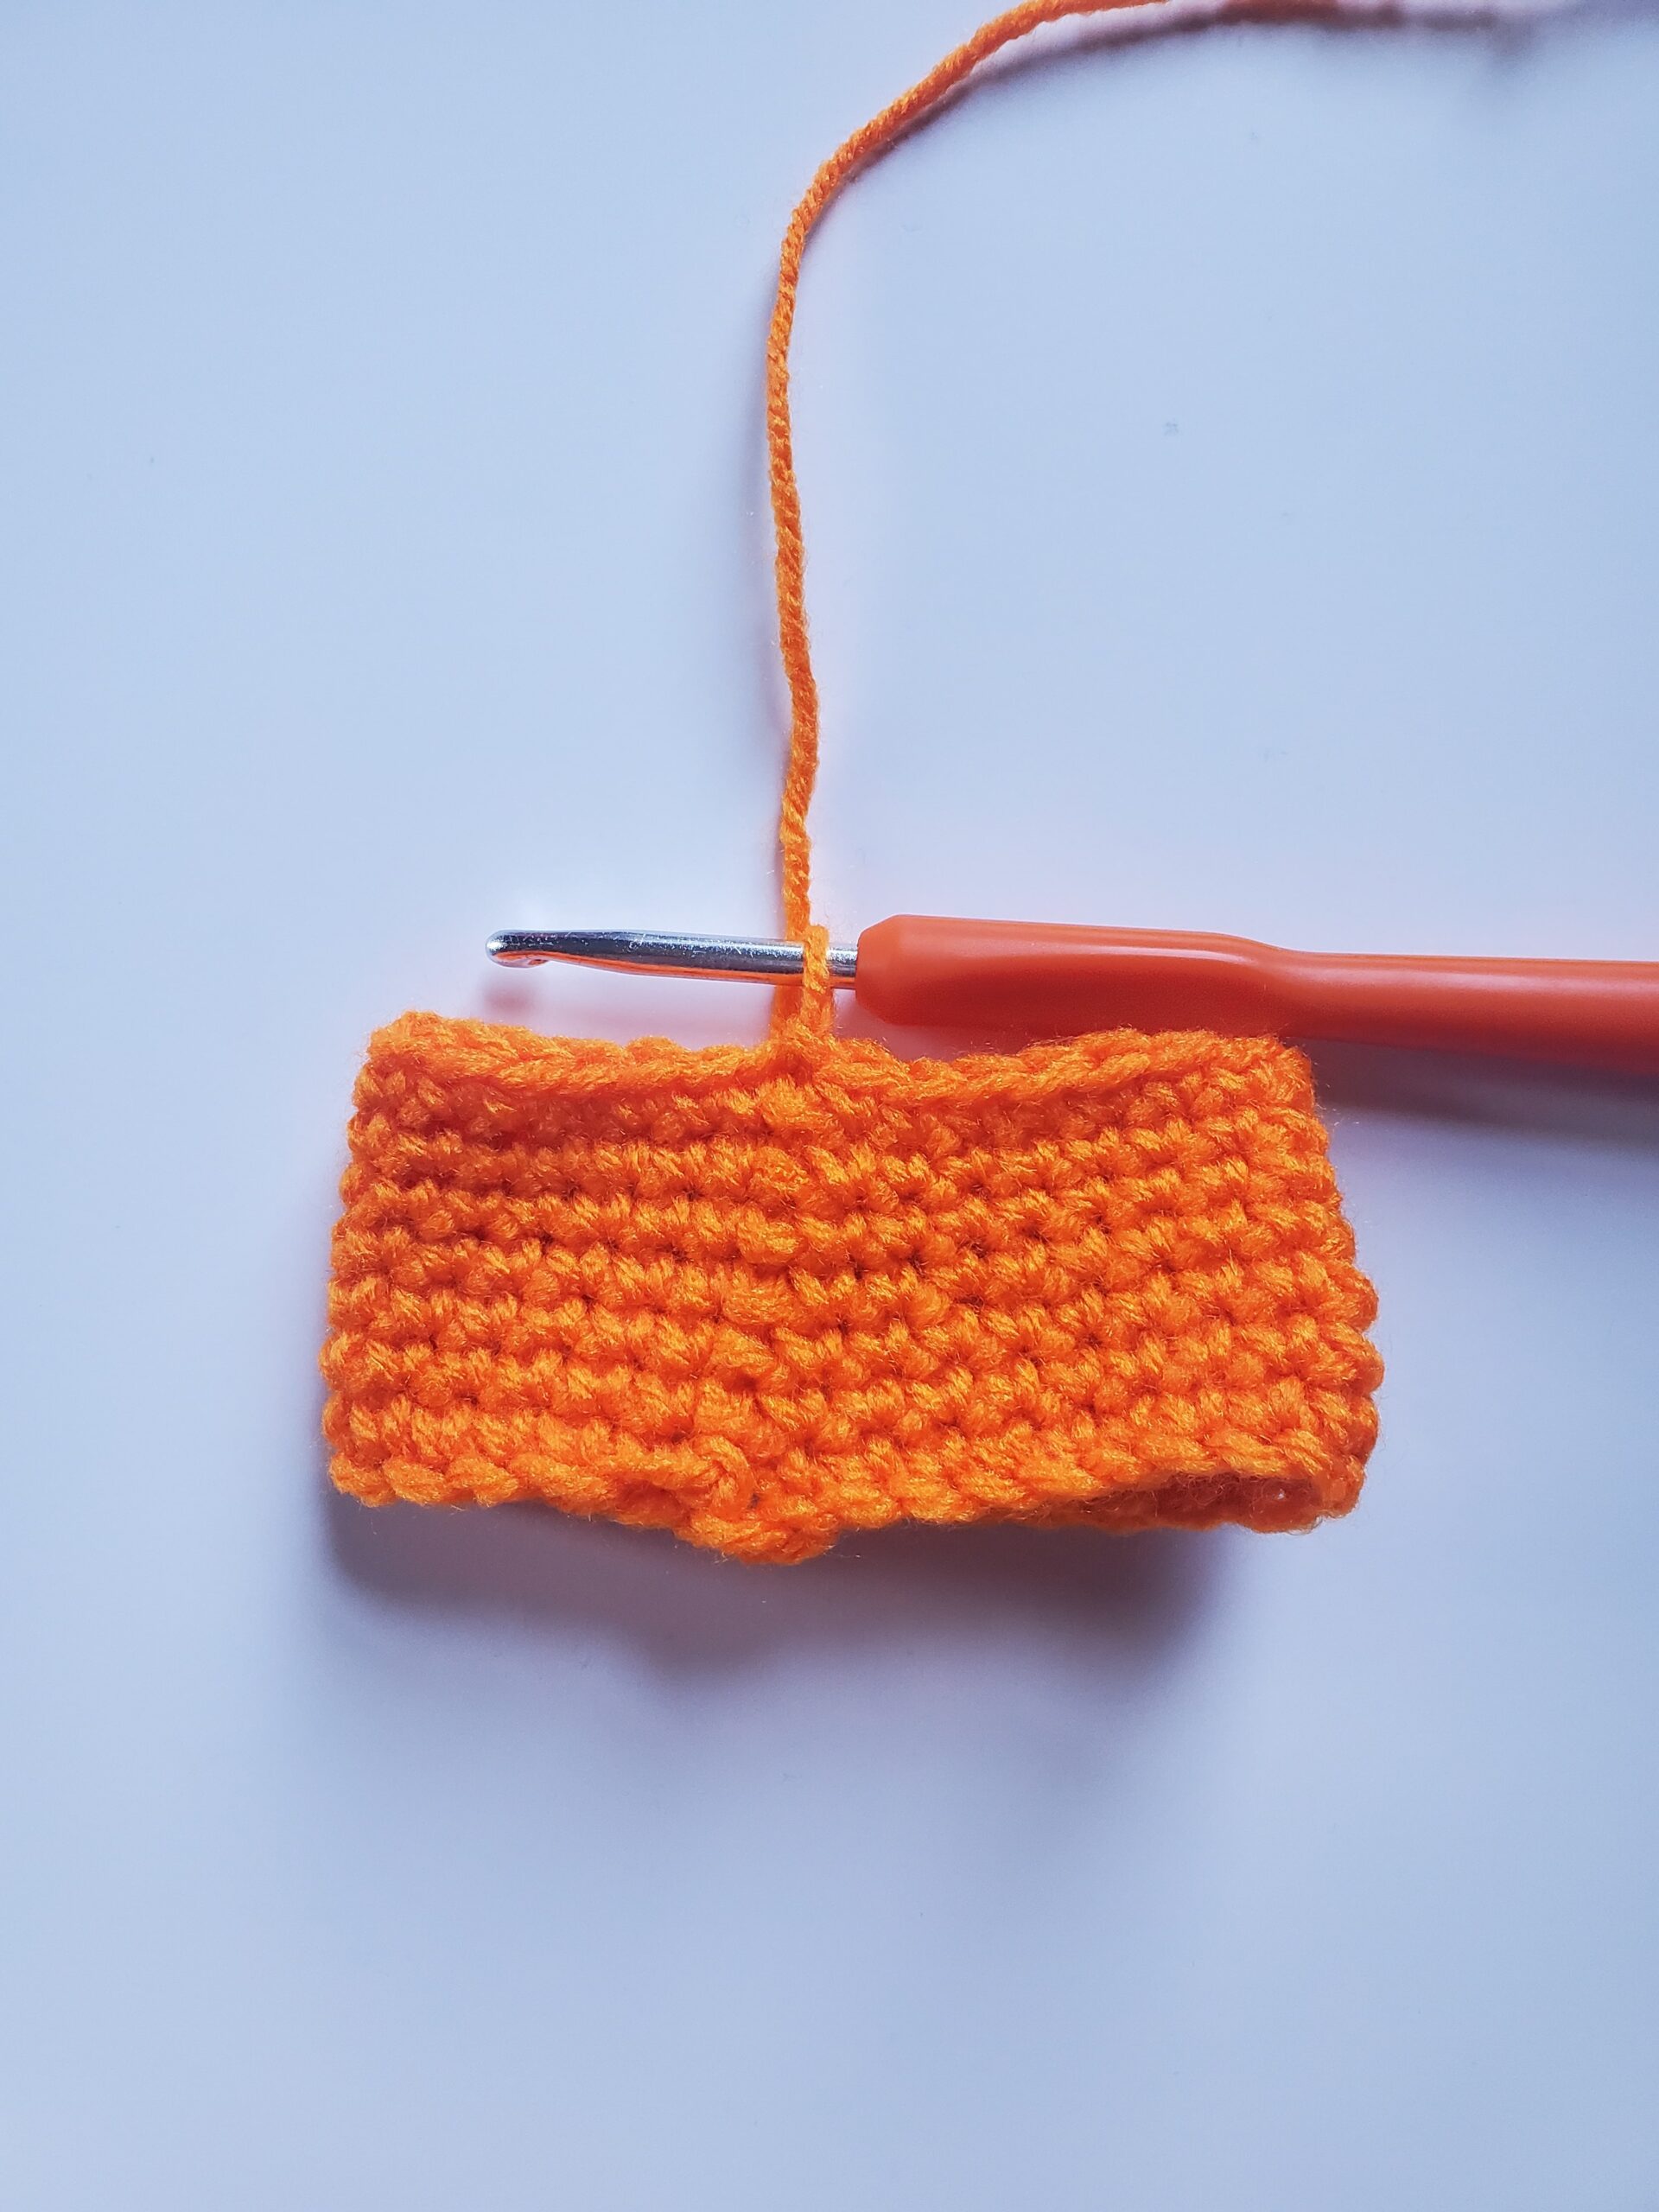
Round 7-15 (or until desired length): Ch 1, 1 hdc in each st around, sl st to first st (48 sts) - Round 16: Ch 1, *hdc2tog, 1 hdc in next 3 sts,* repeat from *to,* sl st to first st (40 sts)
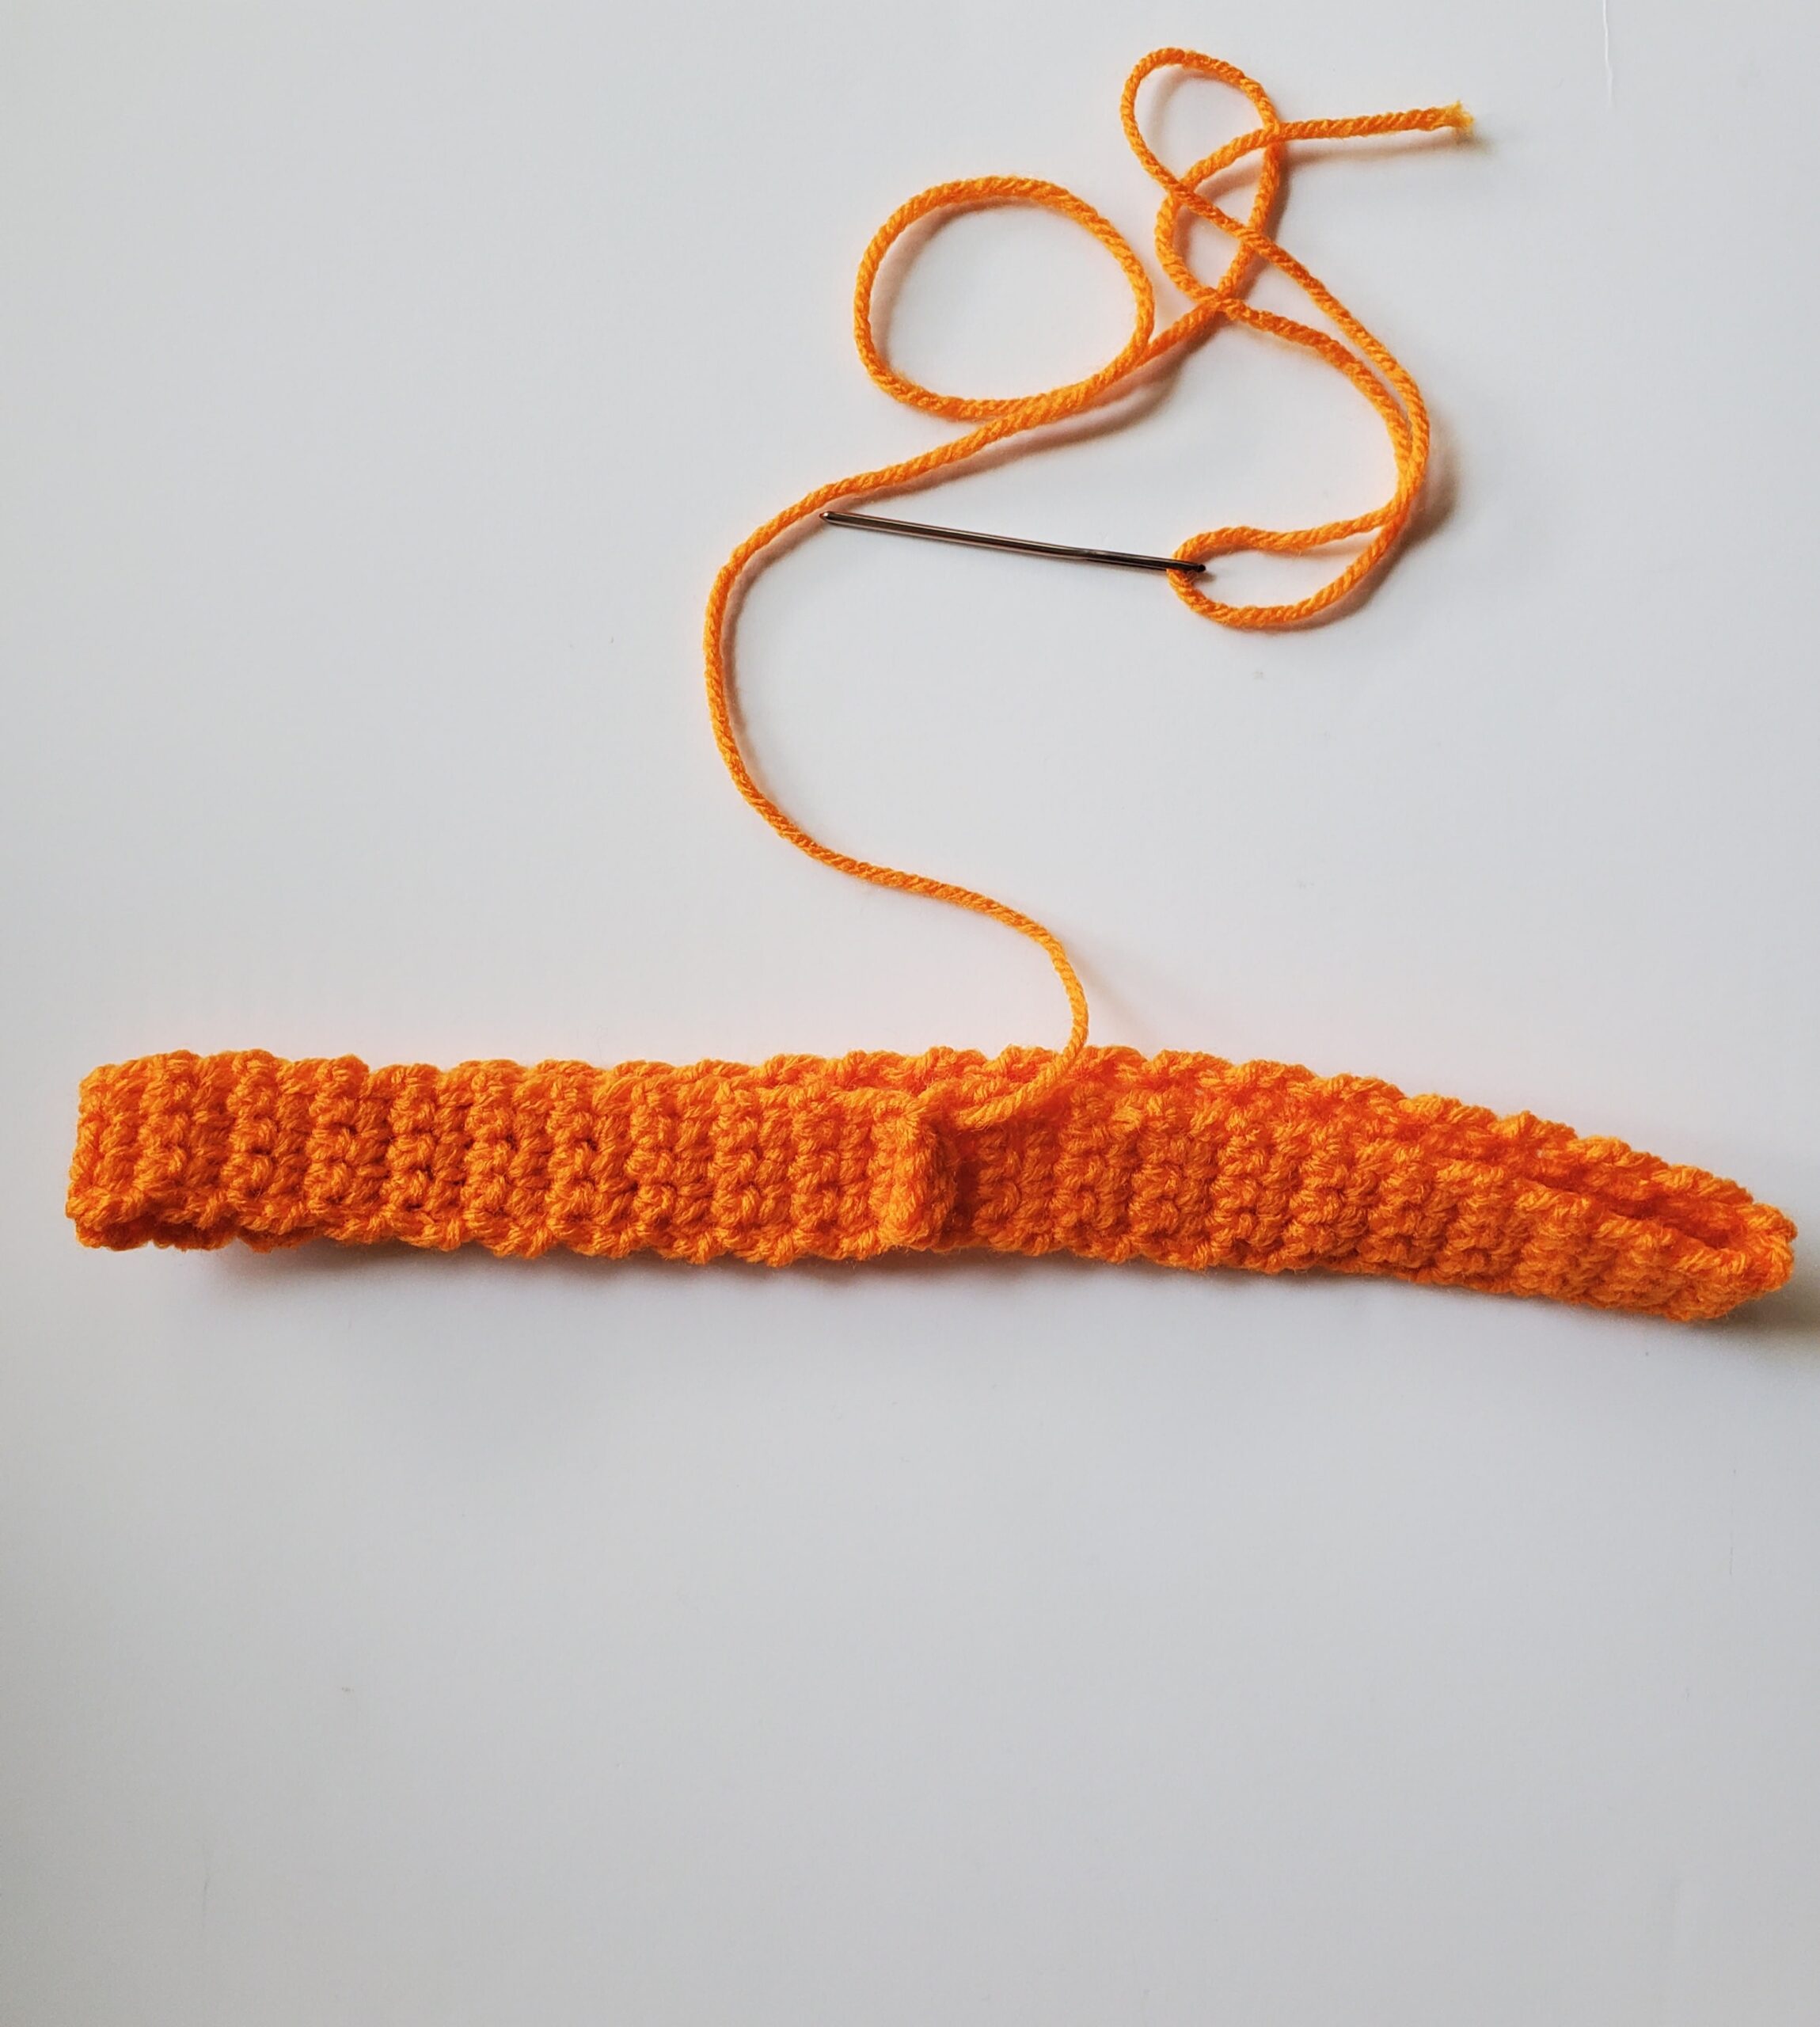
Cut yarn with scissors, pull through, weave in end with tapestry needle.
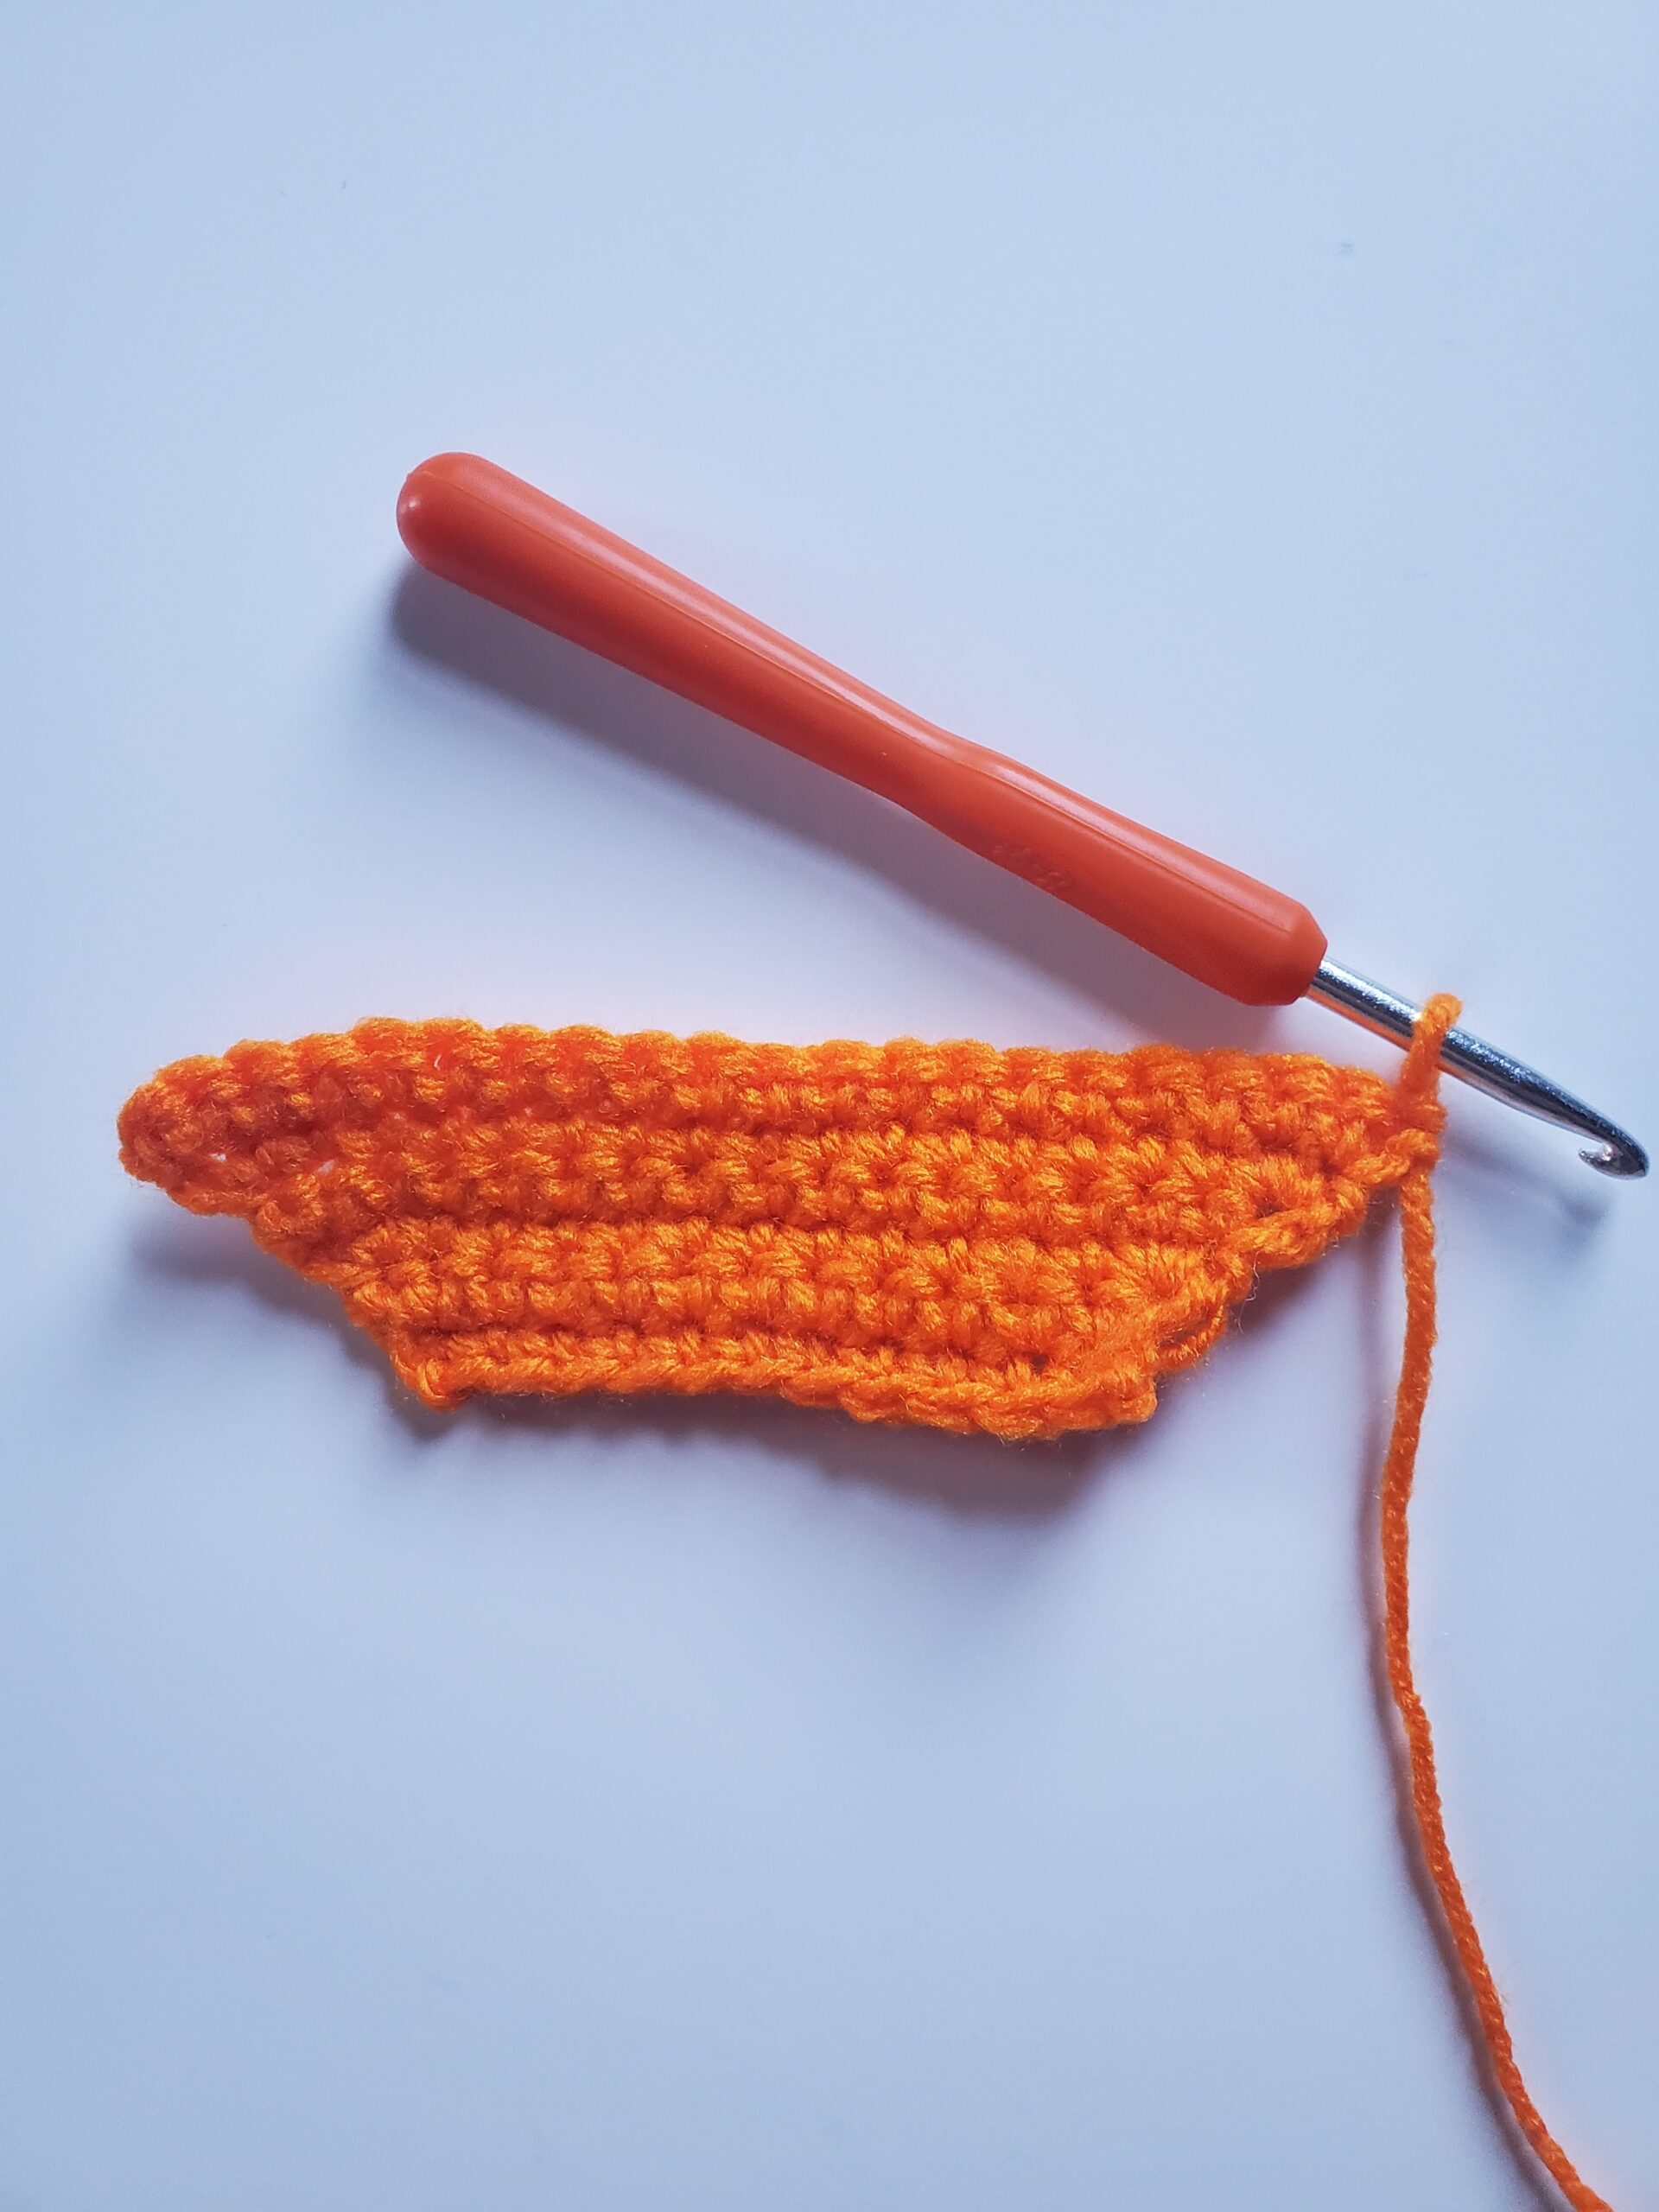
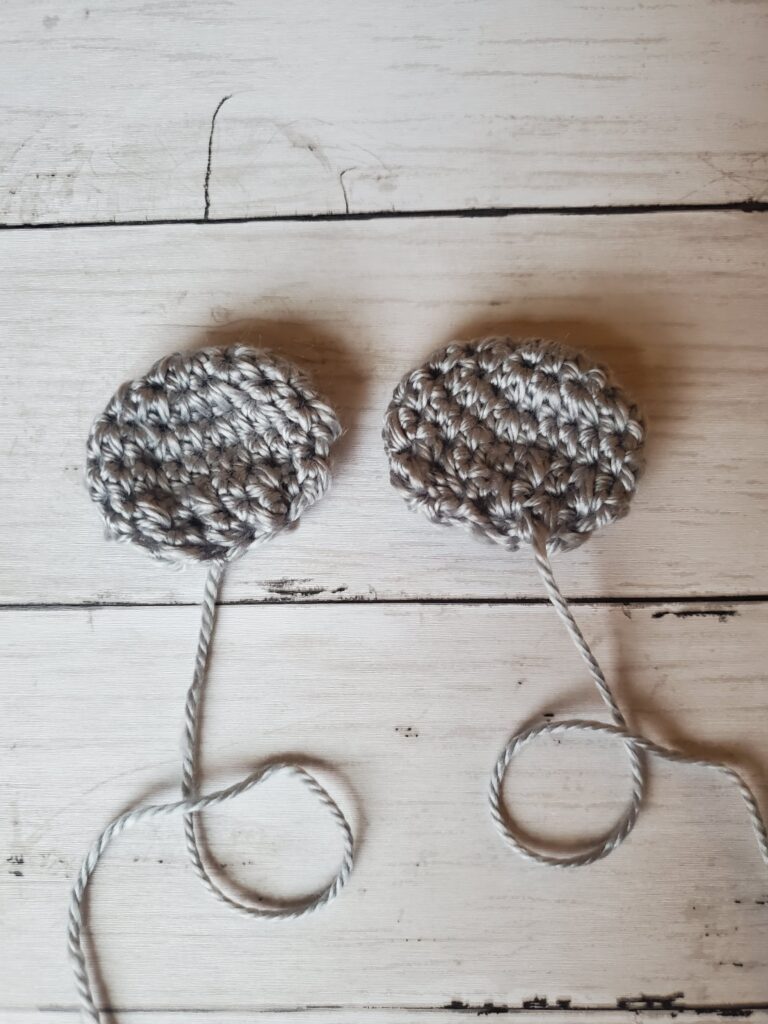
Crochet Bear Ears x 2 (Newborn-3 Months):
- Round 1: 8 hdc in magic ring/circle (alternatively ch 2 and crochet 8 hdc in first ch) (8 sts)
- Round 2: 2 hdc in each st around (16 sts)
- Round 3: *2 hdc in next st, 1 hdc in next st* repeat from *to* (24 sts)
- Round 4: 1 hdc in each st around (24 sts
- Round 5: *hdc2tog, 1 hdc in next st* repeat from *to* (16 sts)
- Round 6: hdc2tog around, sl st to first st (8 sts)
Cut yarn with scissors (leave enough yarn for sewing onto the hat), pull through.
See below for assembly.
3-6 Months
| Head Circumference: 14-15 inches | Crown Size: 5-5.25 inches | Hat Length: 6-6.25 inches
- Round 1: 8 hdc in magic ring/circle (alternatively ch 2 and crochet 8 hdc in the first ch), sl st to first st (8 sts)
- Round 2: Ch 1, 2 hdc in each st around, sl st to first st (16 sts)
- Round 3: Ch 1, *2 hdc in next st, 1 hdc in next st,* repeat from *to,* sl st to first st (24 sts)
- Round 4: Ch 1, *2 hdc in next st, 1 hdc in next 2 sts,* repeat from *to,* sl st to first st (32 sts)
- Round 5: Ch 1, *2 hdc in next st, 1 hdc in next 3 sts,* repeat from *to,* sl st to first st (40 sts)
- Round 6: Ch 1, *2 hdc in next st, 1 hdc in next 4 sts,* repeat from *to,* sl st to first st (48 sts)
- Round 7: Ch 1, *2 hdc in next st, 1 hdc in next 5 sts,* repeat from *to,* sl st to first st (56 sts)
- Round 8: Ch 1, *2 hdc in next st, 1 hdc in next 6 sts,* repeat from *to,* sl st to first st (64 sts)
- Round 9-17 (or until desired length): Ch 1, 1 hdc in each st around (64 sts)
- Round 18: Ch 1, *hdc2tog, 1 hdc in next 5 sts,* repeat from *to,* sl st to first st (56 sts)
Cut yarn with scissors, pull through, weave in end with tapestry needle.
Crochet Bear Ears x 2 (3-6 Months)
- Round 1: 8 hdc in magic ring/circle (alternatively ch 2 and crochet 8 hdc in first ch) (8 sts)
- Round 2: 2 hdc in each st around (16 sts)
- Round 3: *2 hdc in next st, 1 hdc in next st* repeat from *to* (24 sts)
- Round 4: 1 hdc in each st around (24 sts
- Round 5: *hdc2tog, 1 hdc in next st* repeat from *to* (16 sts)
- Round 6: hdc2tog around, sl st to first st (8 sts)
Cut yarn with scissors (leave enough yarn for sewing onto the hat), pull through
See below for assembly.
6-12 Months
| Head Circumference: 16-17 inches | Crown Size: 5.25-5.5 inches | Hat Length: 6.25-6.5 inches |
- Round 1: 8 hdc in magic ring/circle (alternatively ch 2 and crochet 8 hdc in the first ch), sl st to first st (8 sts)
- Round 2: Ch 1, 2 hdc in each st around, sl st to first st (16 sts)
- Round 3: Ch 1, *2 hdc in next st, 1 hdc in next st,* repeat from *to,* sl st to first st (24 sts)
- Round 4: Ch 1, *2 hdc in next st, 1 hdc in next 2 sts,* repeat from *to,* sl st to first st (32 sts)
- Round 5: Ch 1, *2 hdc in next st, 1 hdc in next 3 sts,* repeat from *to,* sl st to first st (40 sts)
- Round 6: Ch 1, *2 hdc in next st, 1 hdc in next 4 sts,* repeat from *to,* sl st to first st (48 sts)
- Round 7: Ch 1, *2 hdc in next st, 1 hdc in next 5 sts,* repeat from *to,* sl st to first st (56 sts)
- Round 8: Ch 1, *2 hdc in next st, 1 hdc in next 6 sts,* repeat from *to,* sl st to first st (64 sts)
- Round 9: Ch 1, *2 hdc in next st, 1 hdc in next 7 sts,* repeat from *to,* sl st to first st (72 sts)
- Round 10-18 (or until desired length): Ch 1, 1 hdc in each st around (72 sts)
- Round 19: Ch 1, *hdc2tog, 1 hdc in next 6 sts,* repeat from *to,* sl st to first st (64 sts)
Cut yarn with scissors, pull through, weave in end with tapestry needle.
Crochet Bear Ears x 2 (6-12 Months)
- Round 1: 8 hdc in magic ring/circle (alternatively ch 2 and crochet 8 hdc in first ch) (8 sts)
- Round 2: 2 hdc in each st around (16 sts)
- Round 3: *2 hdc in next st, 1 hdc in next st,* repeat from *to* (24 sts)
- Round 4: *2 hdc in next st,1 hdc in next 2 sts,* repeat from *to* (32 sts)
- Round 5: 1 hdc in each st around (32 sts)
- Round 6: *hdc2tog, 1 hdc in next 2 sts,* repeat from *to* (24 sts)
- Round 7: *hdc2tog, 1 hdc in next st,* repeat from *to* (16 sts)
- Round 8: hdc2tog around, join with sl st (8 sts)
Cut yarn with scissors (leave enough yarn for sewing onto the hat), pull through
See below for assembly.
Toddler (1-3 Years)
| Head Circumference: 18-19 inches | Crown Size: 6-6.25 inches | Hat Length: 7.25-7.5 inches |
- Round 1: 8 hdc in magic ring/circle (alternatively ch 2 and crochet 8 hdc in the first ch), sl st to first st (8 sts)
- Round 2: Ch 1, 2 hdc in each st around, sl st to first st (16 sts)
- Round 3: Ch 1, *2 hdc in next st, 1 hdc in next st,* repeat from *to,* sl st to first st (24 sts)
- Round 4: Ch 1, *2 hdc in next st, 1 hdc in next 2 sts,* repeat from *to,* sl st to first st (32 sts)
- Round 5: Ch 1, *2 hdc in next st, 1 hdc in next 3 sts,* repeat from *to,* sl st to first st (40 sts)
- Round 6: Ch 1, *2 hdc in next st, 1 hdc in next 4 sts,* repeat from *to,* sl st to first st (48 sts) Round 7: Ch 1, *2 hdc in next st, 1 hdc in next 5 sts,* repeat from *to,* sl st to first st (56 sts)
- Round 8: Ch 1, *2 hdc in next st, 1 hdc in next 6 sts,* repeat from *to,* sl st to first st (64 sts)
- Round 9: Ch 1, *2 hdc in next st, 1 hdc in next 7 sts,* repeat from *to,* sl st to first st (72 sts)
- Round 10: Ch 1, *2 hdc in next st, 1 hdc in next 8 sts,* repeat from *to,* sl st to first st (80 sts)
- Round 11-22: Ch 1, 1 hdc in each st around, sl st to first st (80 sts)
- Round 23: Ch 1, *hdc2tog, 1 hdc in next 7 sts,* repeat from *to,* sl st to first st (72 sts)
Cut yarn with scissors, pull through, weave in end with tapestry needle.
Crochet Bear Ears x 2 (Toddler 1-3 Years)
- Round 1: 8 hdc in magic ring/circle (alternatively ch 2 and crochet 8 hdc in first ch) (8 sts)
- Round 2: 2 hdc in each st around (16 sts)
- Round 3: *2 hdc in next st, 1 hdc in next st,* repeat from *to* (24 sts)
- Round 4: *2 hdc in next st,1 hdc in next 2 sts,* repeat from *to* (32 sts)
- Round 5: 1 hdc in each st around (32 sts)
- Round 6: *hdc2tog, 1 hdc in next 2 sts,* repeat from *to* (24 sts)
- Round 7: *hdc2tog, 1 hdc in next st,* repeat from *to* (16 sts)
- Round 8: hdc2tog around, join with sl st (8 sts)
Cut yarn with scissors (leave enough yarn for sewing onto the hat), pull through.
See below for assembly.
Child (3-10 Years)
| Head Circumference: 19-20 inches | Crown Size: 6.25-6.5 inches | Hat Length: 7.5-8 inches |
- Round 1: 8 hdc in magic ring/circle (alternatively ch 2 and crochet 8 hdc in the first ch), sl st to first st (8 sts)
- Round 2: Ch 1, 2 hdc in each st around, sl st to first st (16 sts)
- Round 3: Ch 1, *2 hdc in next st, 1 hdc in next st,* repeat from *to,* sl st to first st (24 sts)
- Round 4: Ch 1, *2 hdc in next st, 1 hdc in next 2 sts,* repeat from *to,* sl st to first st (32 sts)
- Round 5: Ch 1, *2 hdc in next st, 1 hdc in next 3 sts,* repeat from *to,* sl st to first st (40 sts)
- Round 6: Ch 1, *2 hdc in next st, 1 hdc in next 4 sts,* repeat from *to,* sl st to first st (48 sts)
- Round 7: Ch 1, *2 hdc in next st, 1 hdc in next 5 sts,* repeat from *to,* sl st to first st (56 sts)
- Round 8: Ch 1, *2 hdc in next st, 1 hdc in next 6 sts,* repeat from *to,* sl st to first st (64 sts)
- Round 9: Ch 1, *2 hdc in next st, 1 hdc in next 7 sts,* repeat from *to,* sl st to first st (72 sts)
- Round 10: Ch 1, *2 hdc in next st, 1 hdc in next 8 sts,* repeat from *to,* sl st to first st (80 sts)
- Round 11: Ch 1, *2 hdc in next st, 1 hdc in next 9 sts,* repeat from *to,* sl st to first st (88 sts)
- Round 12-23: Ch 1, 1 hdc in each st around, sl st to first st (88 sts)
- Round 24: Ch 1, *hdc2tog, 1 hd in next 8 sts,* repeat from *to,* sl st to first st (80 sts)
Cut yarn with scissors, pull through, weave in end with tapestry needle.
Crochet Bear Ears x 2 (Child 3-10 Years)
- Round 1: 8 hdc in magic ring/circle (alternatively ch 2 and crochet 8 hdc in first ch) (8 sts)
- Round 2: 2 hdc in each st around (16 sts)
- Round 3: *2 hdc in next st, 1 hdc in next st,* repeat from *to* (24 sts)
- Round 4: *2 hdc in next st,1 hdc in next 2 sts,* repeat from *to* (32 sts)
- Round 5: *2 hdc in next st, 1 hdc in next 3 sts,* repeat from *to* (40 sts)
- Round 6: 1 hdc in each st around (40 sts)
- Round 7: *hdc2tog in next st, 1 hdc in next 3 sts,* repeat from *to* (32 sts)
- Round 8: *hdc2tog in next st, 1 hdc in next 2 sts,* repeat from *to* (24 sts)
- Round 9: *hdc2tog, in next st, 1 hdc in next st,* repeat from *to* (16 sts)
- Round 10: hdc2tog around (8 sts)
Cut yarn with scissors (leave enough yarn for sewing onto the hat), pull through.
See below for assembly.
Teen/Adult
| Head Circumference: 20-22 inches | Crown Size: 7 inches | Hat Length: 8.5-9 inches |
- Round 1: 8 hdc in magic ring/circle (alternatively ch 2 and crochet 8 hdc in the first ch), sl st to first st (8 sts)
- Round 2: Ch 1, 2 hdc in each st around, sl st to first st (16 sts)
- Round 3: Ch 1, *2 hdc in next st, 1 hdc in next st,* repeat from *to,* sl st to first st (24 sts)
- Round 4: Ch 1, *2 hdc in next st, 1 hdc in next 2 sts,* repeat from *to,* sl st to first st (32 sts)
- Round 5: Ch 1, *2 hdc in next st, 1 hdc in next 3 sts,* repeat from *to,* sl st to first st (40 sts)
- Round 6: Ch 1, *2 hdc in next st, 1 hdc in next 4 sts,* repeat from *to,* sl st to first st (48 sts)
- Round 7: Ch 1, *2 hdc in next st, 1 hdc in next 5 sts,* repeat from *to,* sl st to first st (56 sts)
- Round 8: Ch 1, *2 hdc in next st, 1 hdc in next 6 sts,* repeat from *to,* sl st to first st (64 sts)
- Round 9: Ch 1, *2 hdc in next st, 1 hdc in next 7 sts,* repeat from *to,* sl st to first st (72 sts)
- Round 10: Ch 1, *2 hdc in next st, 1 hdc in next 8 sts,* repeat from *to,* sl st to first st (80 sts)
- Round 11: Ch 1, *2 hdc in next st, 1 hdc in next 9 sts,* repeat from *to,* sl st to first st (88 sts)
- Round 12: Ch 1, *2 hdc in next st, 1 hdc in next 10 sts,* repeat from *to,* sl st to first st (96 sts)
- Round 13-24: Ch 1, 1 hdc in each st around (96 sts)
- Round 25: Ch 1, *hdc2tog, 1 hdc in next 9 sts,* repeat from *to,* sl st to first st (88 sts)
Cut yarn with scissors, pull through, weave in end with tapestry needle.
Crochet Bear Ears x 2 (Teen/Adult)
- Round 1: 8 hdc in magic ring/circle (alternatively ch 2 and crochet 8 hdc in first ch) (8 sts)
- Round 2: 2 hdc in each st around (16 sts)
- Round 3: *2 hdc in next st, 1 hdc in next st,* repeat from *to* (24 sts)
- Round 4: *2 hdc in next st,1 hdc in next 2 sts,* repeat from *to* (32 sts)
- Round 5: *2 hdc in next st, 1 hdc in next 3 sts,* repeat from *to* (40 sts)
- Round 6: *2 hdc in next st, 1 hdc in next 4 sts,* repeat from *to* (48 sts)
- Round 7: 1 hdc in each st around (48 sts)
- Round 8: *hdc2tog in next st, 1 hdc in next 4 sts,* repeat from *to* (40 sts)
- Round 9: *hdc2tog in next st, 1 hdc in next 3 sts,* repeat from *to* (32 sts)
- Round 10:*hdc2tog in next st, 1 hdc in next 2 sts,* repeat from *to* (24 sts)
- Round 11: *hdc2tog in next st, 1 hdc in next 1 sts,* repeat from *to* (16 sts)
- Round 12: hdc2tog around (8 sts)
Cut yarn with scissors (leave enough yarn for sewing onto the hat), pull through
See below for assembly.
Crochet Bear Hat Assembly
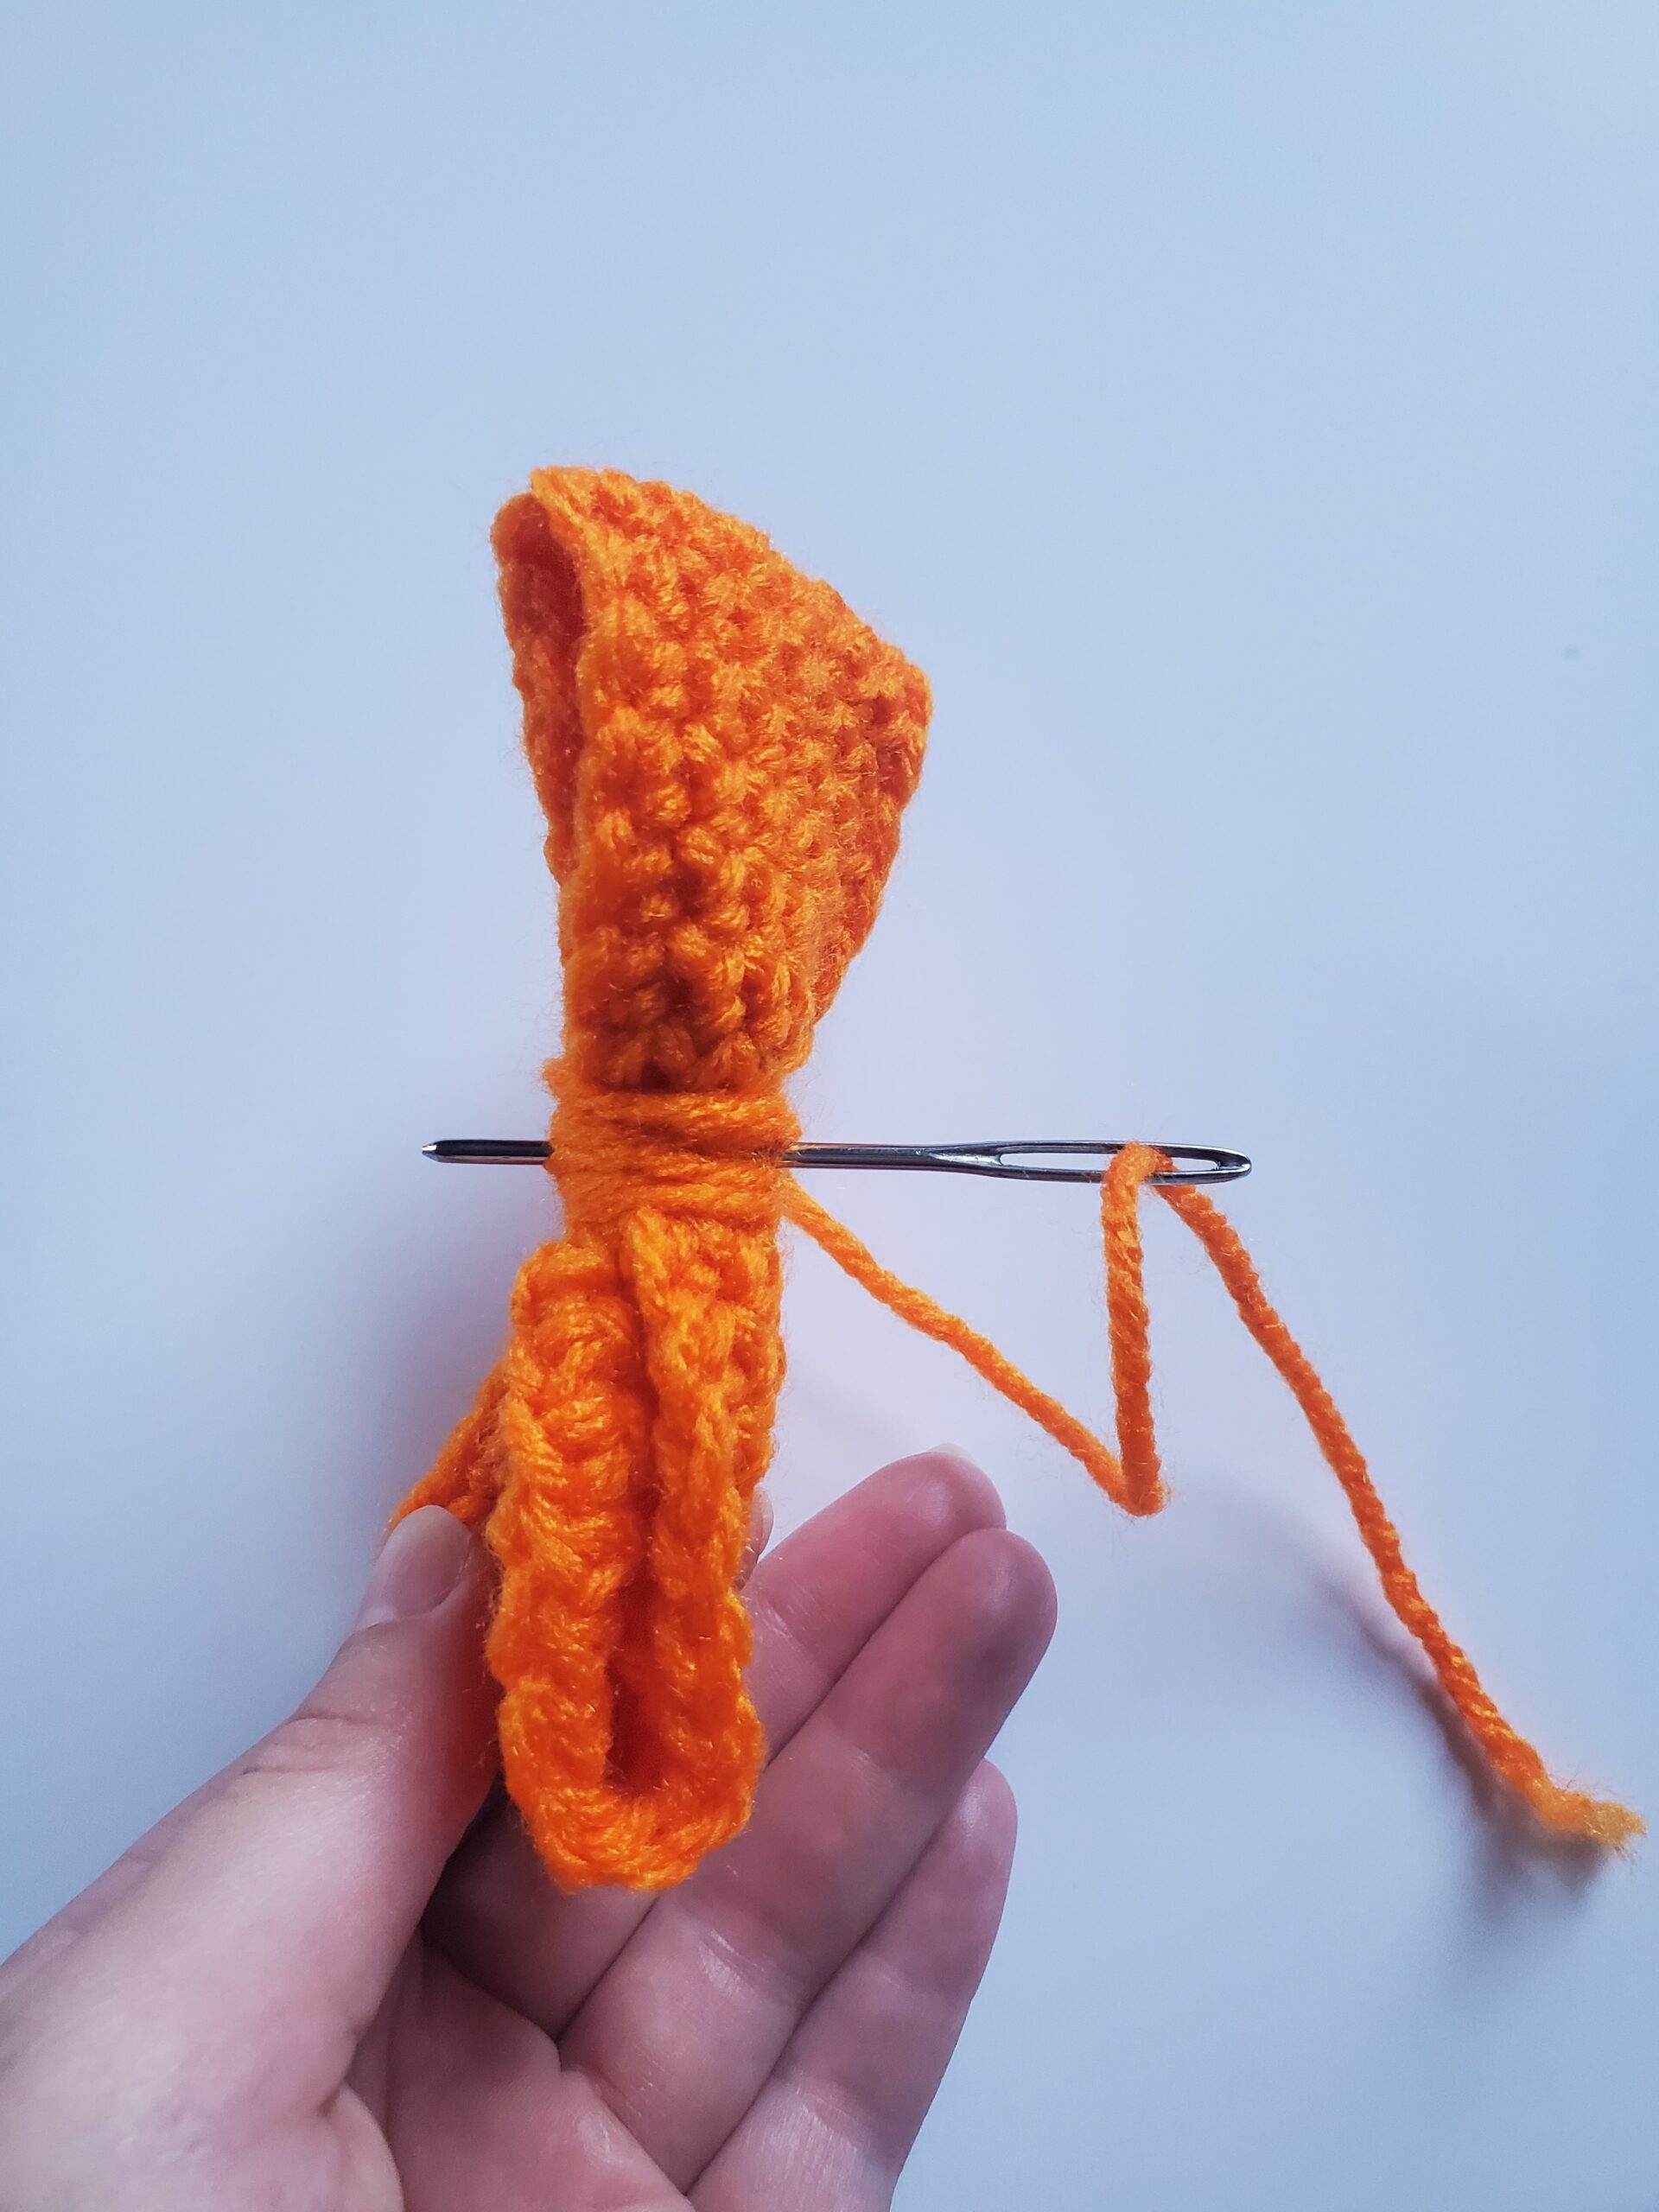
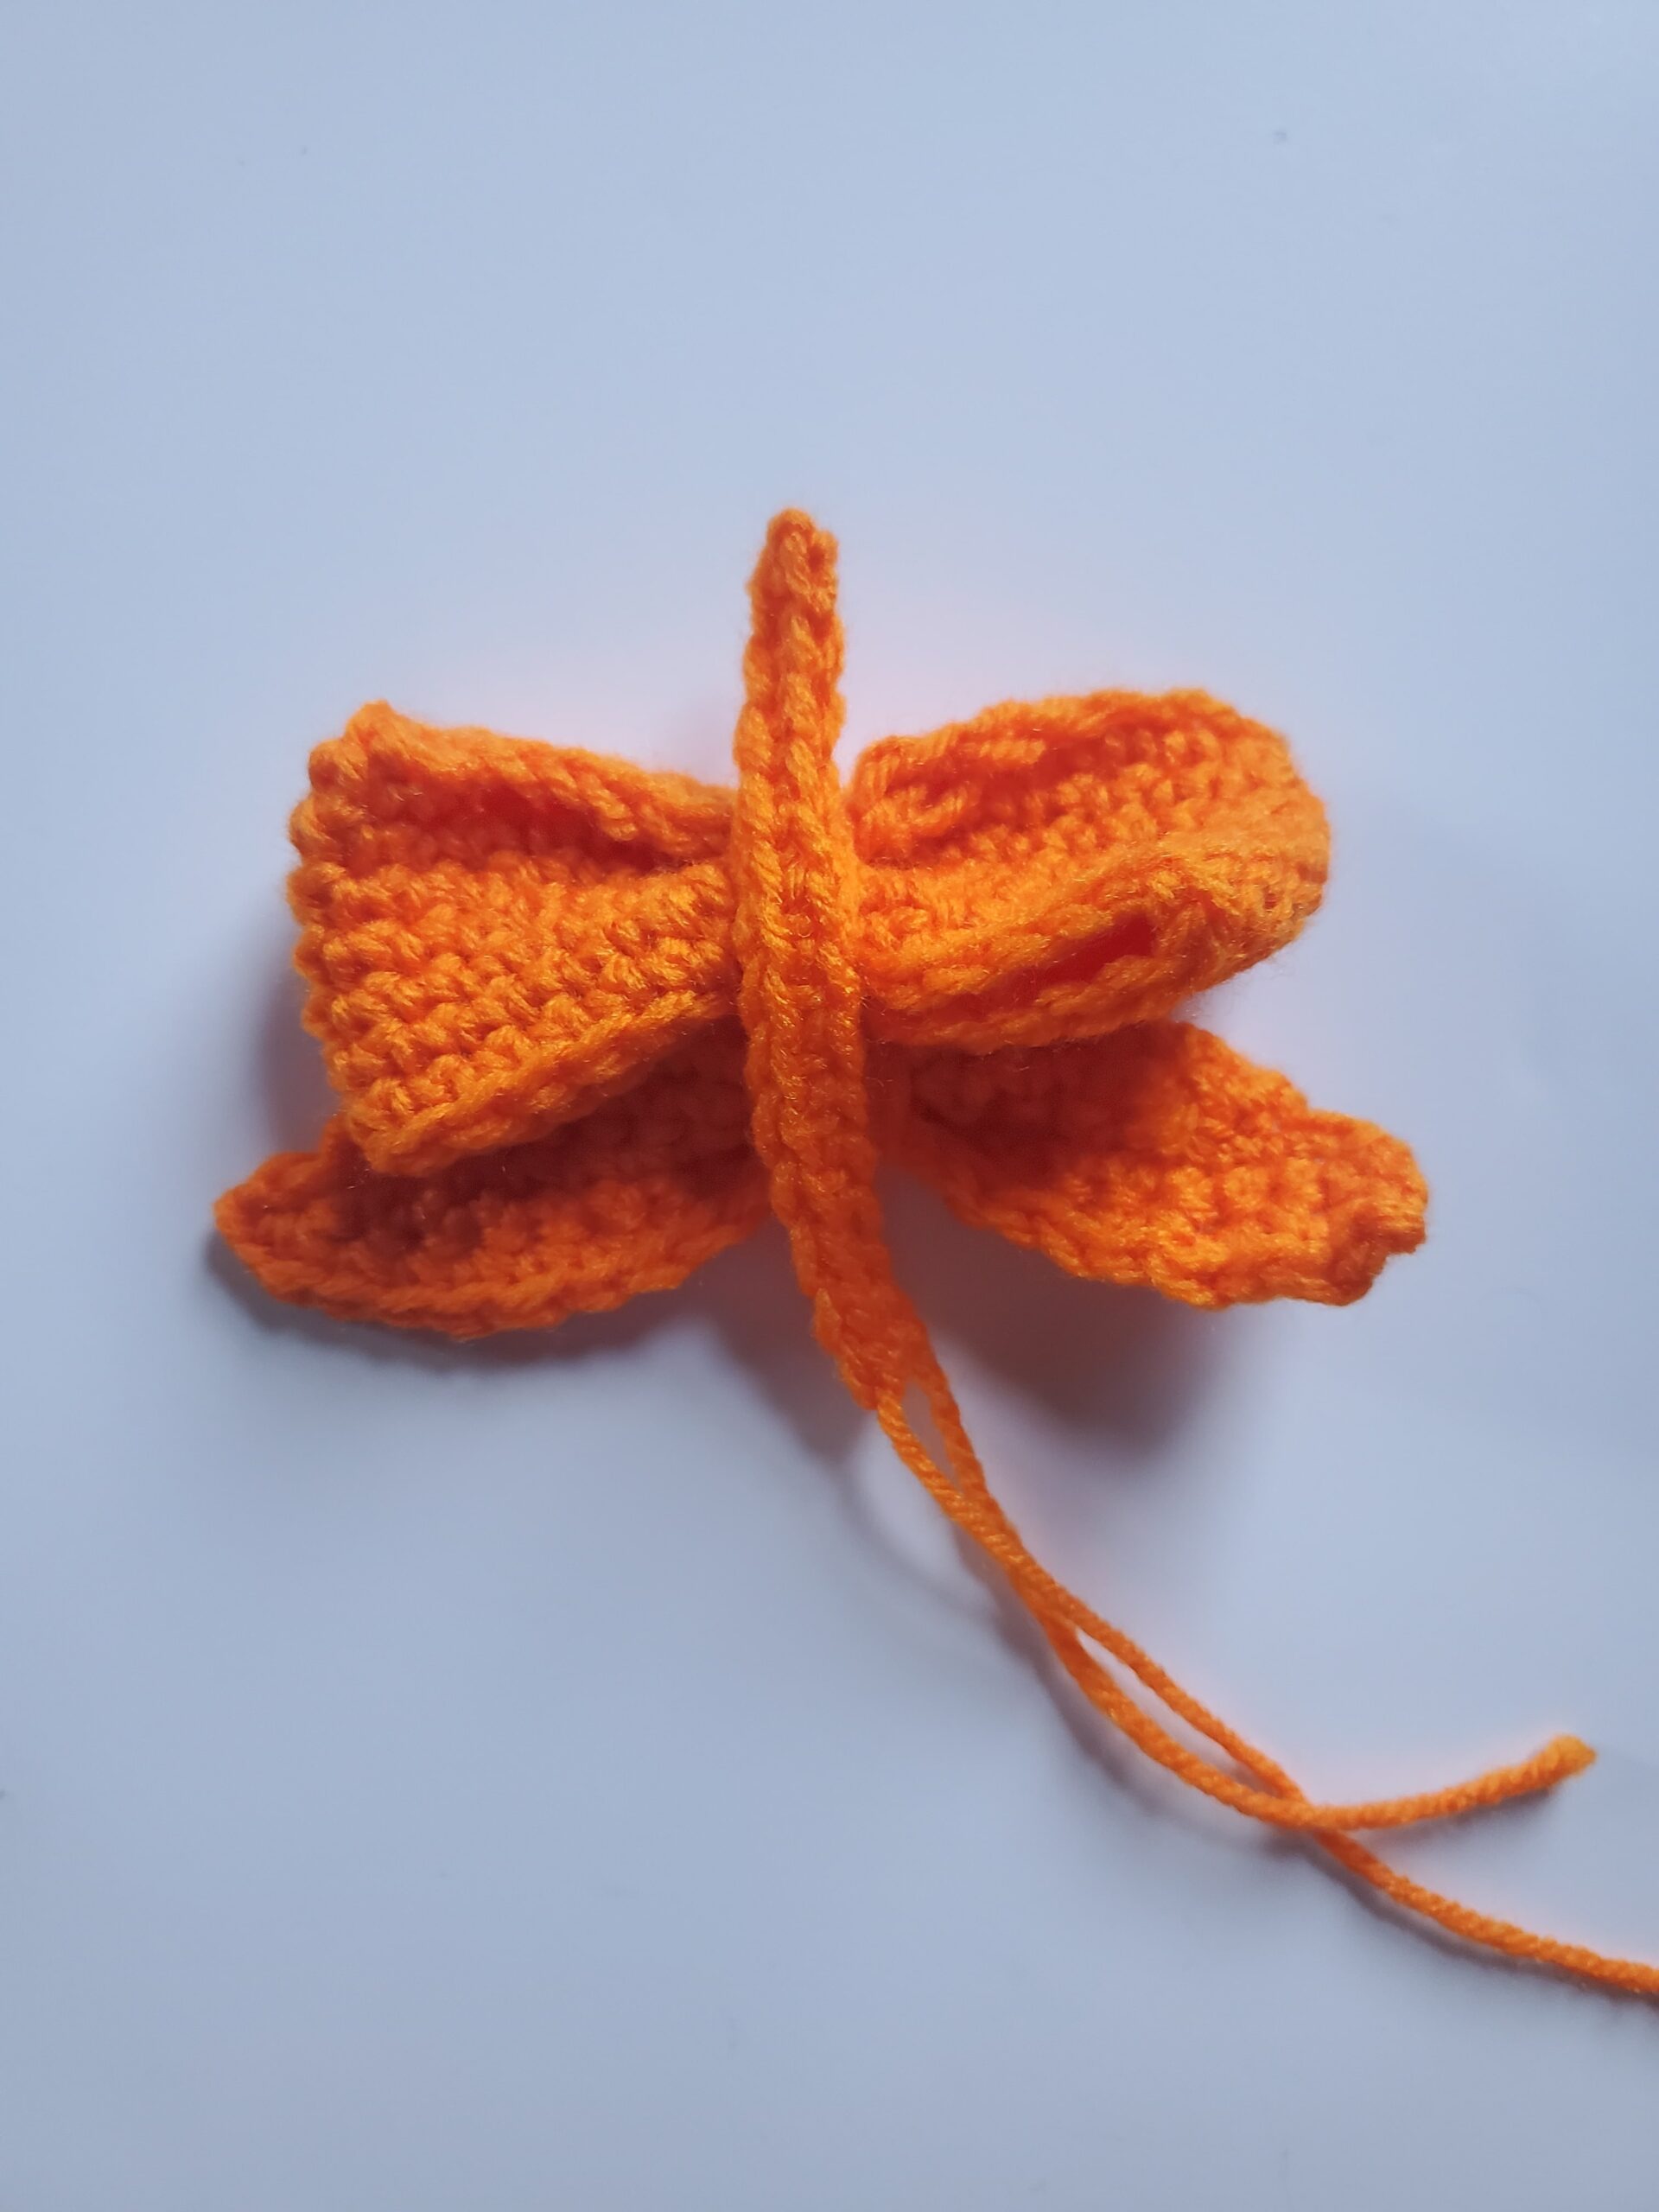
- Sew the bottoms of your bear ears shut with your extra long tail of yarn by folding the bottom together.
- Make sure you are looking at the very front of your hat.
- I suggest using pins to keep your bear ears in place while you sew onto the hat with your tapestry needle.
- If you don’t have pins, count out from the center of the top of the hat evenly on both sides.
- Sew the ears securely, especially if your sewing child size and up ears, the bigger the ears, the floppier they are.
- Cut any extra yarn with scissors.

Thank you for checking out my crochet bear hat pattern! I hope your hat turned out great!
This post was all about how to crochet a bear hat in sizes newborn to adult!
Did you make this pattern? Tag me on Instagram @strommer_crafts!