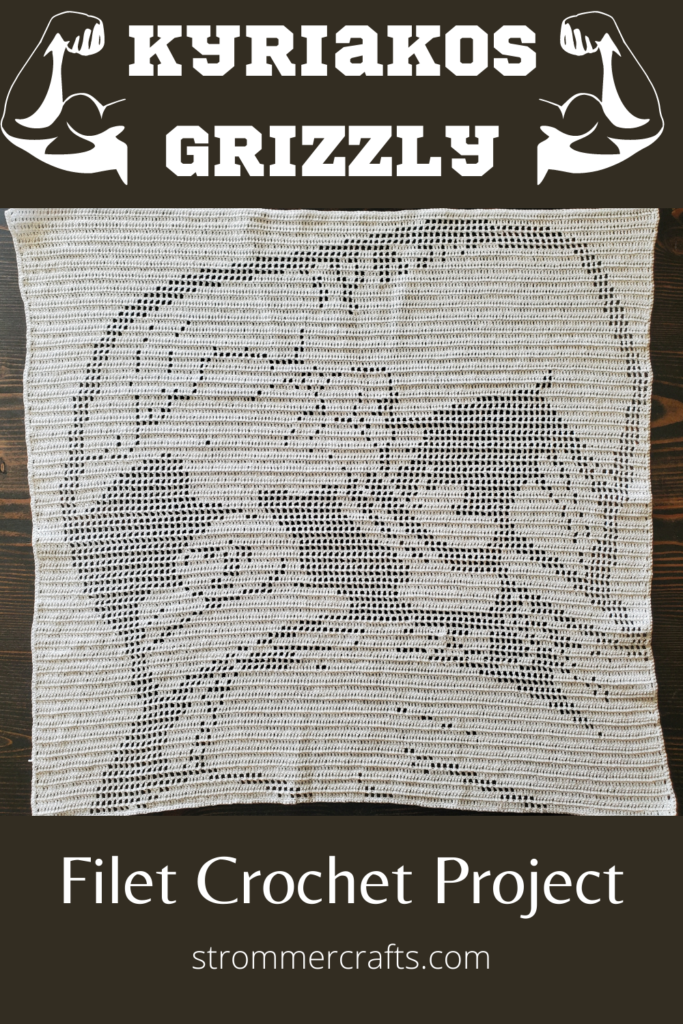
If you don’t know who Kyriakos Grizzly is, he’s a huge guy from Greece who posts videos on YouTube of himself working out and weightlifting in unconventional ways.
He’s become a meme in the fitness community and has been named the Bloat Lord due to his massiveness and ability to move an incredible amount of weight.
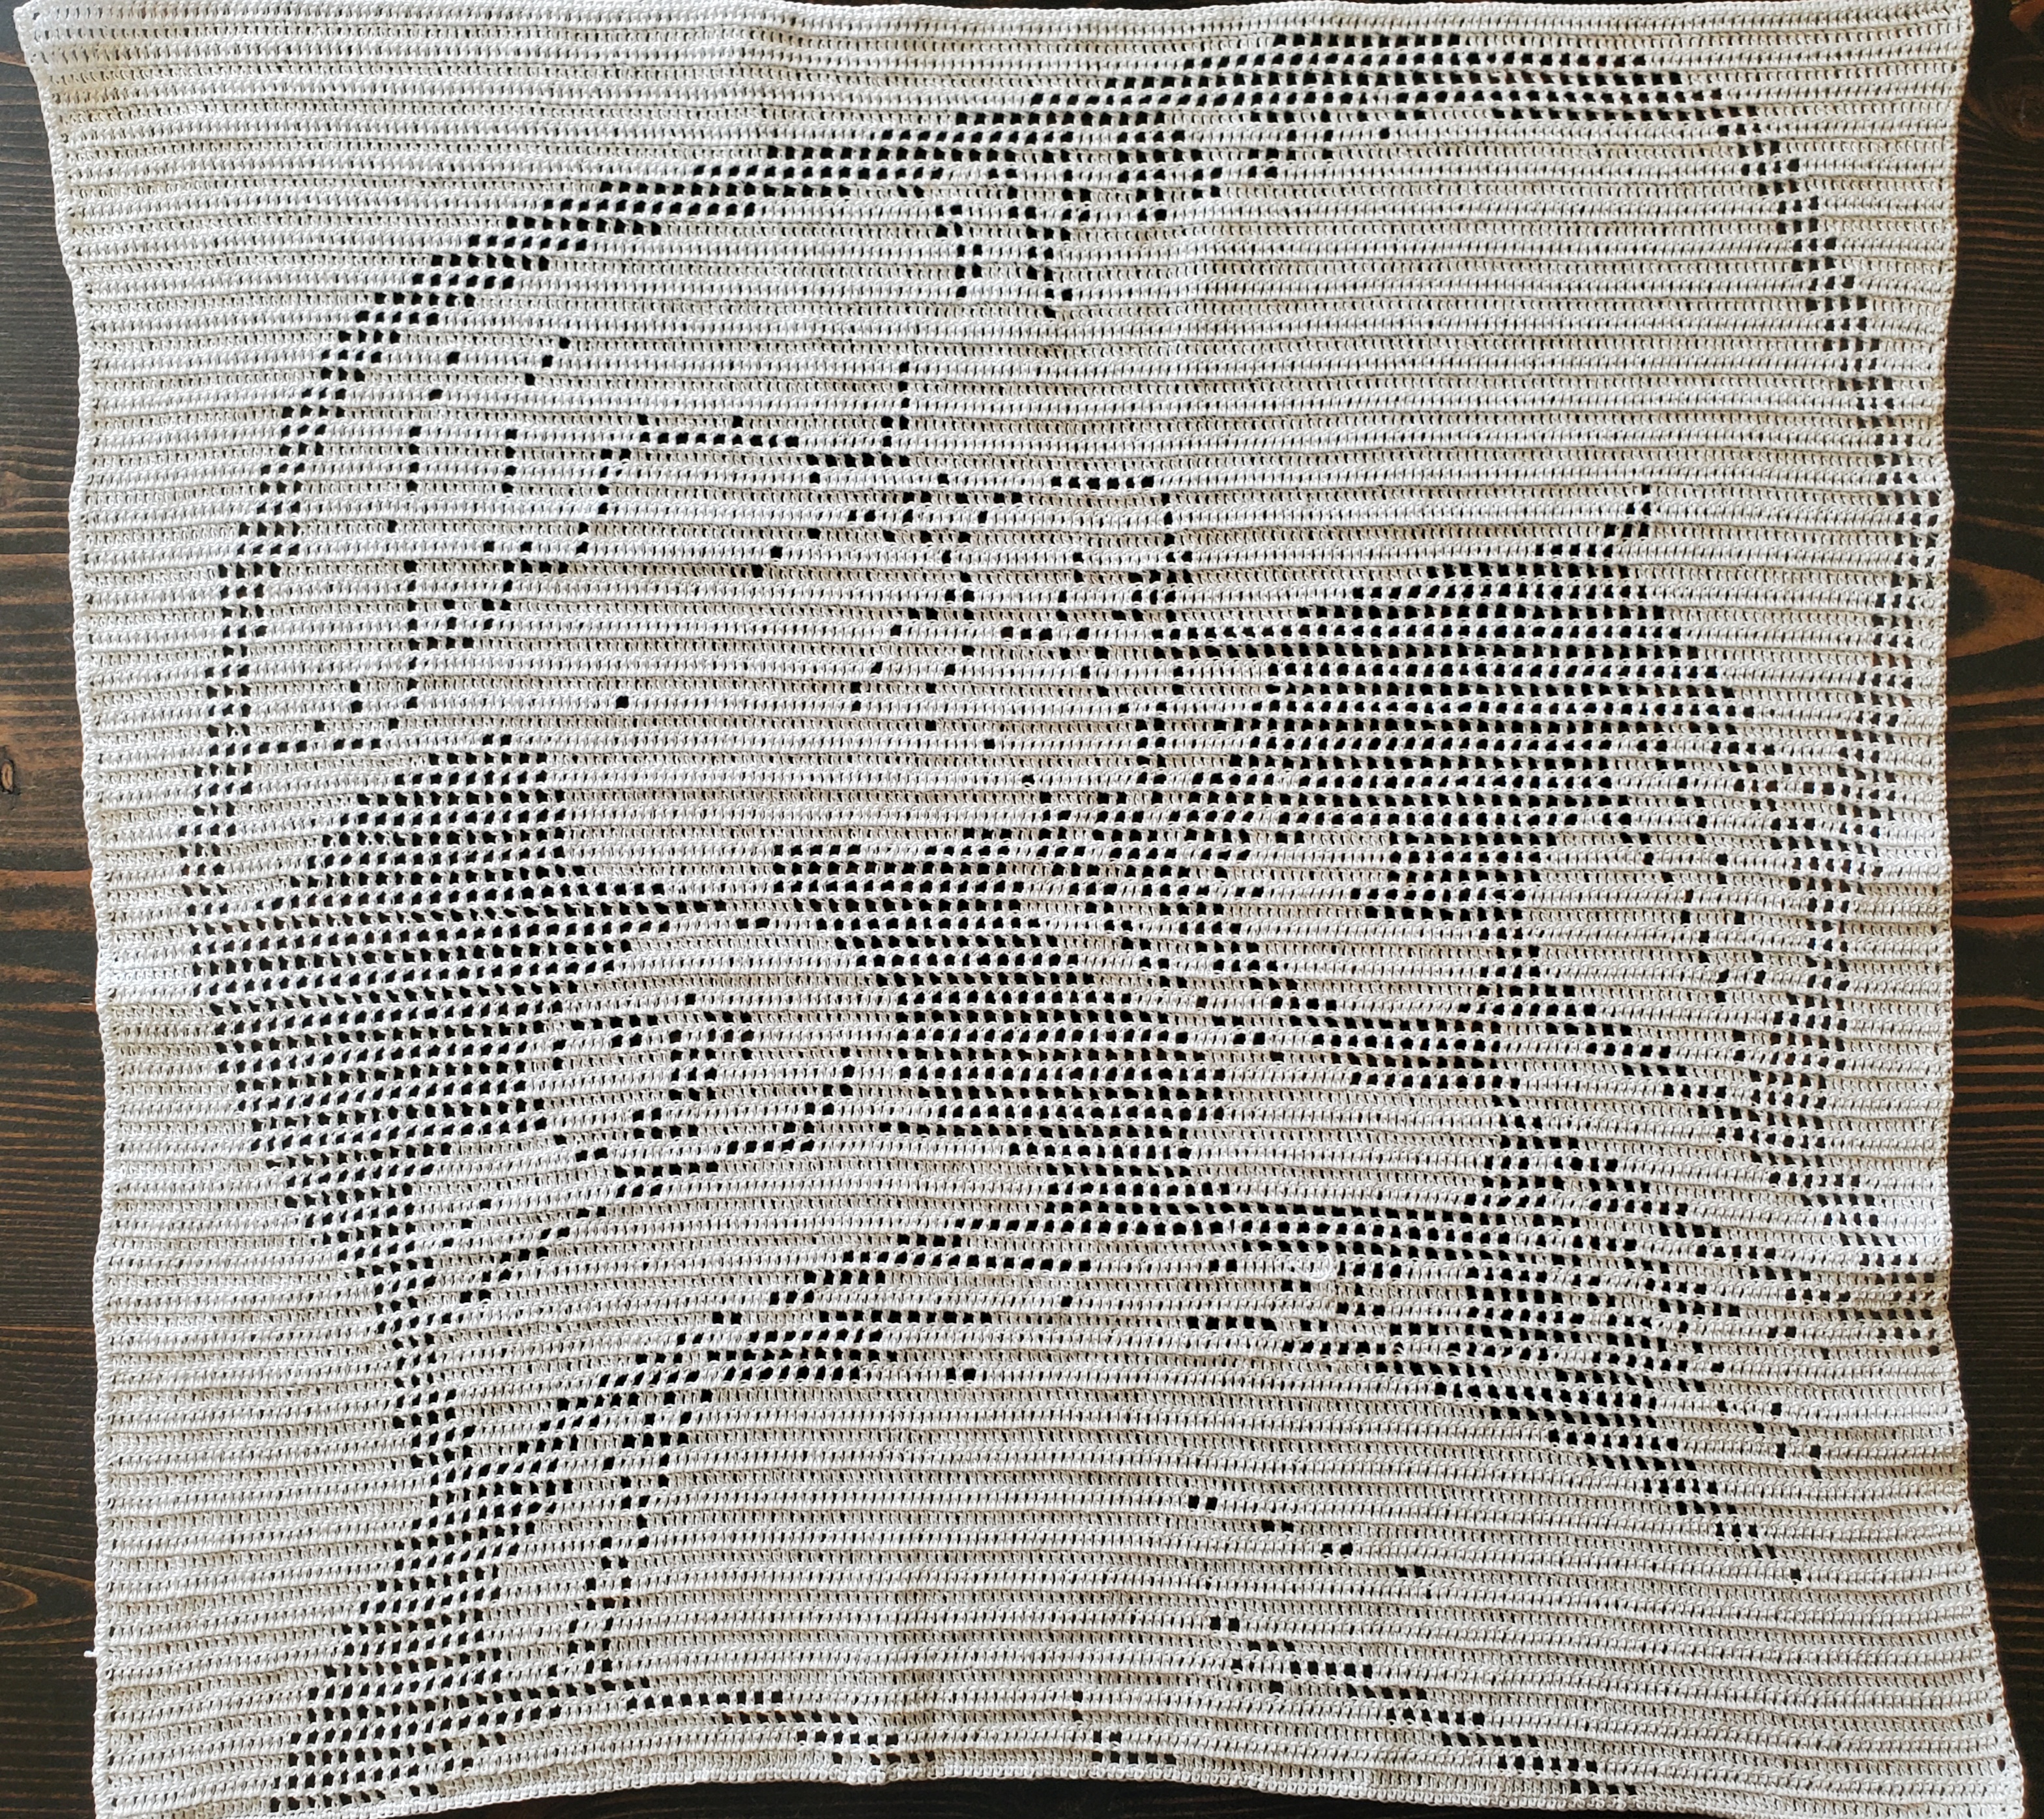
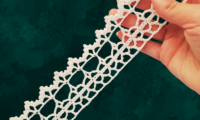
I was inspired to crochet this image of Kyriakos Grizzly after watching one of his most famous workout videos on YouTube, which can be found here.
In this workout video, he shrugs like 7 plates worth of weight on each side of the bar and then screams loudly when he’s done.
For those of you who aren’t familiar with weight lifting, a plate is 25 lbs. So if my math is correct, he’s shrugging something crazy, like 350 lbs.
I can barely bench the bar, let alone hold that much weight. I think I’d probably collapse and die!
However, even if I can’t lift much weight, I’m still incredibly impressed. This is why I wanted to crochet the image of him screaming in that moment. That, and also my husband loves the meme, so I made it for him too!
If you’re interested in crocheting Kyriakos Grizzly screaming, keep reading!
Method Used
I used a method of crocheting called filet crochet to make this image. If you’re not familiar with how to filet crochet, I learned how to do it here.
I also used 3DC, so 3 double crochet in a row = 1 block filled OR 1 double crochet, a ch 1, and then another double crochet = 1 open block.
How Long Will This Take?
This piece took me around a month of working 1-2 hours a day to complete. This is due to using a tiny crochet hook and thread to get all the details in his face.
I also made a few mistakes and had to frog a couple of rows. So if you’re careful and pay attention (unlike me lol!), your timeline might look different.
Materials Used:
1.65 mm crochet hook
Red Heart Classic Crochet Thread Size 10 in White (1000 yards) x 2
Tapestry Needle
Scissors
Helpful Tips:
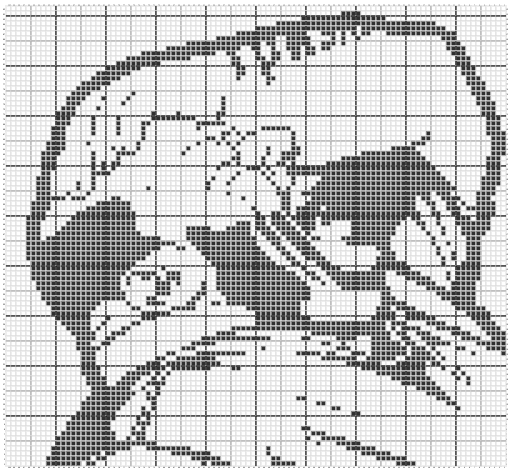
Below I have a link to the chart I used to make Kyriakos Grizzly’s face. You might have to create an account on Stitch Fiddle in order to view it, but I’m not entirely sure, but it’s totally free to do so.
On the chart; black squares = open blocks and white squares = closed blocks.
When you get to the end of a row, ch 3 and turn. This counts as a stitch.
If for some reason, the link is not working, I have a picture of the chart, although it may be difficult to see the squares.
I highly recommend finding a way to mark off squares as you go. I edited the chart on Stitch Fiddle and used different colored squares to show where I left off. You may also try to print out the chart and mark off as you go. Even writing down what row you’re on will be helpful.
You can also use a stitch marker or a scrap piece of thread/yarn to mark one side of the chart, so you don’t get turned around. I placed a stitch marker on the right side of my work so I could determine right from left (very helpful in the very beginning).
Starting Chain: Chain 204, double crochet into 5th chain from hook. Follow the chart starting from the bottom from left to right, placing 3 double crochet per white block (remember that 1 double crochet will be shared with the next block when you are counting. To make it easier multiply the number of needed blocks by 2 and add 1 double crochet). For the black blocks, chain 1, skip a chain, and then double crochet in the next chain.
Continue until the end of the row, turn and ch 3 (counts as a double crochet) for row 2.
Follow the chart reading from right to left now for the second row. At the end of this row, place a double crochet in the top of the ch 3 from the previous row.
Keep crocheting each based on the chart, I recommend counting your open blocks and making sure they line up correctly, especially on Kyriakos Grizzly’s t-shirt.
Once the last row is completed, do not cut your thread!
Border: Chain 1, place a (single crochet, chain 1, single crochet) in the corner, single crochet down the side of the piece. Place another (single crochet, chain 1, single crochet) in the next corner stitch.
Continue single crocheting in each stitch across all sides and placing in the corners a (single crochet, chain 1, single crochet). Slip stitch to the initial chain 1, cut thread of scissors and pull through.
Weave in end with tapestry needle.
Blocking and Framing:
This is actually something I intend to do with this project, but just *haven’t* been able to do yet.
I like to block my projects using cardboard and pins, but I am currently out of cardboard large enough to do this with. So once I get my hands on a piece large enough, I will be blocking this to get framed.
As for framing, I plan on sewing the blocked piece with clear/invisible thread onto a dark place mat (I’ve heard using suede can be good, but sewing into it can be difficult). Once that’s completed, I will get this framed according to the blocked dimensions.
We have a framing business in our town that I plan on checking prices out on, however, I need to block and sew onto a place mat before doing this.
Once I complete those steps I will try to update this post with pictures of the framed piece!


Leave a Reply
You must be logged in to post a comment.