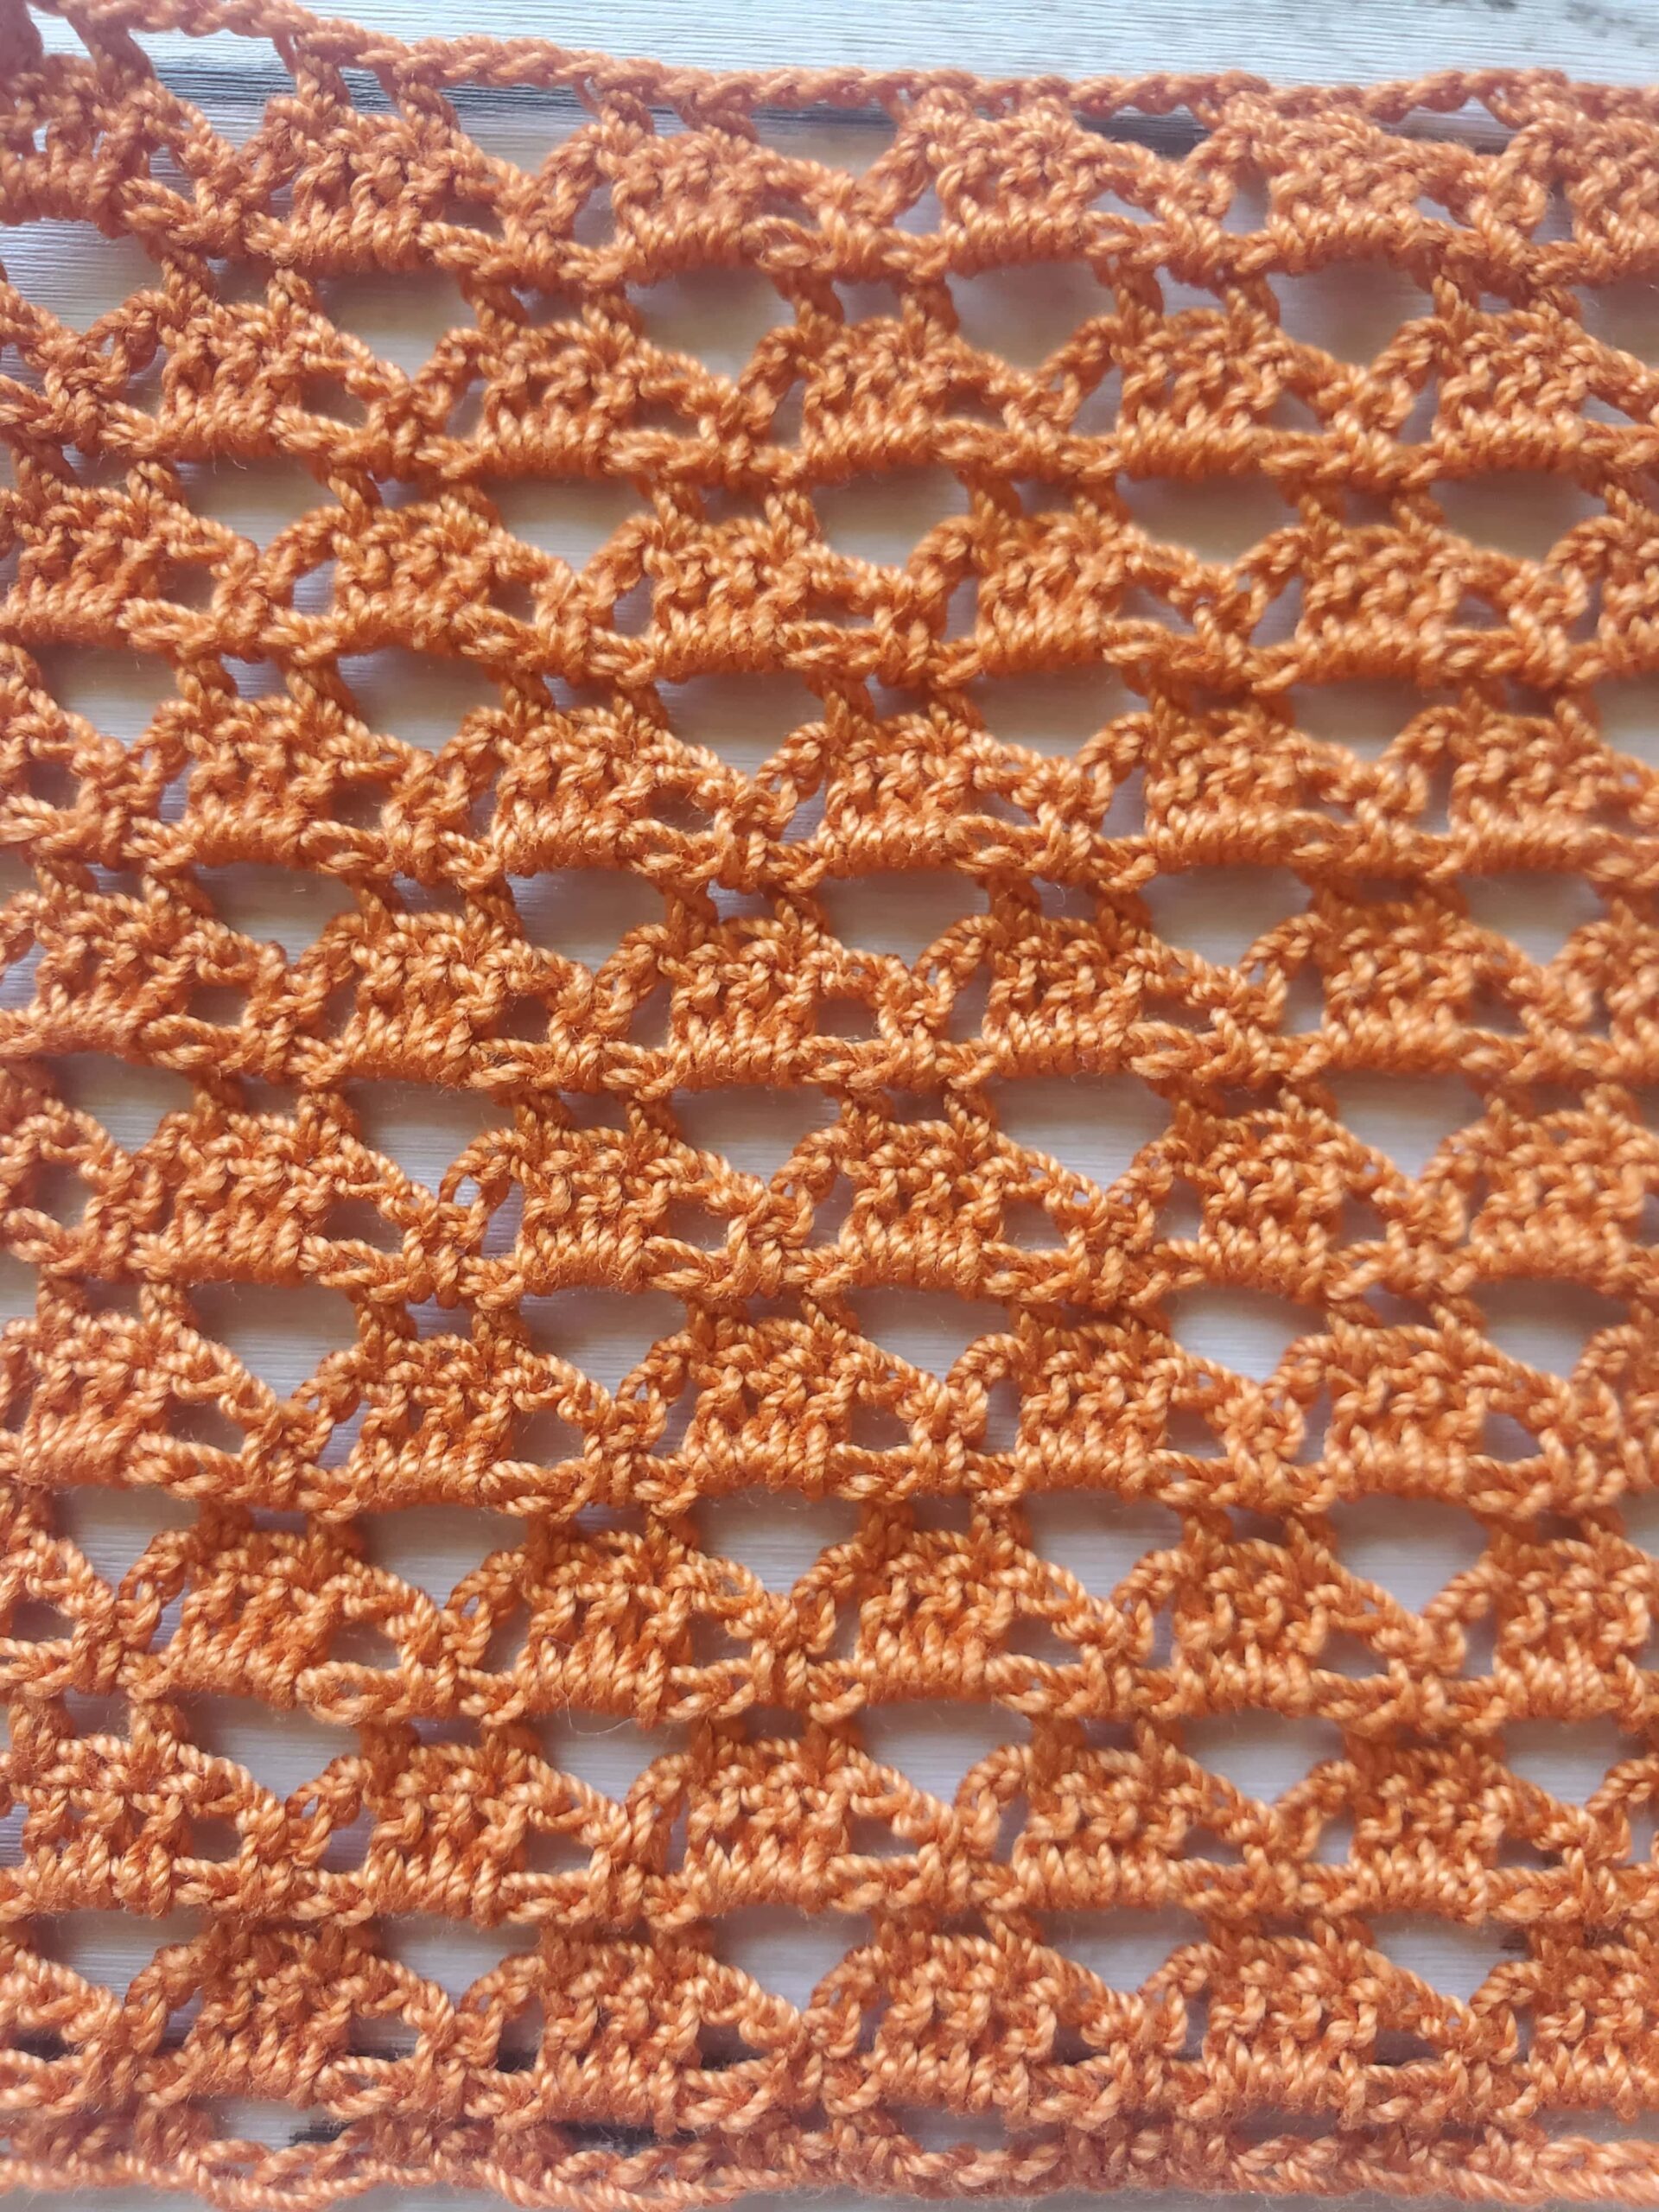
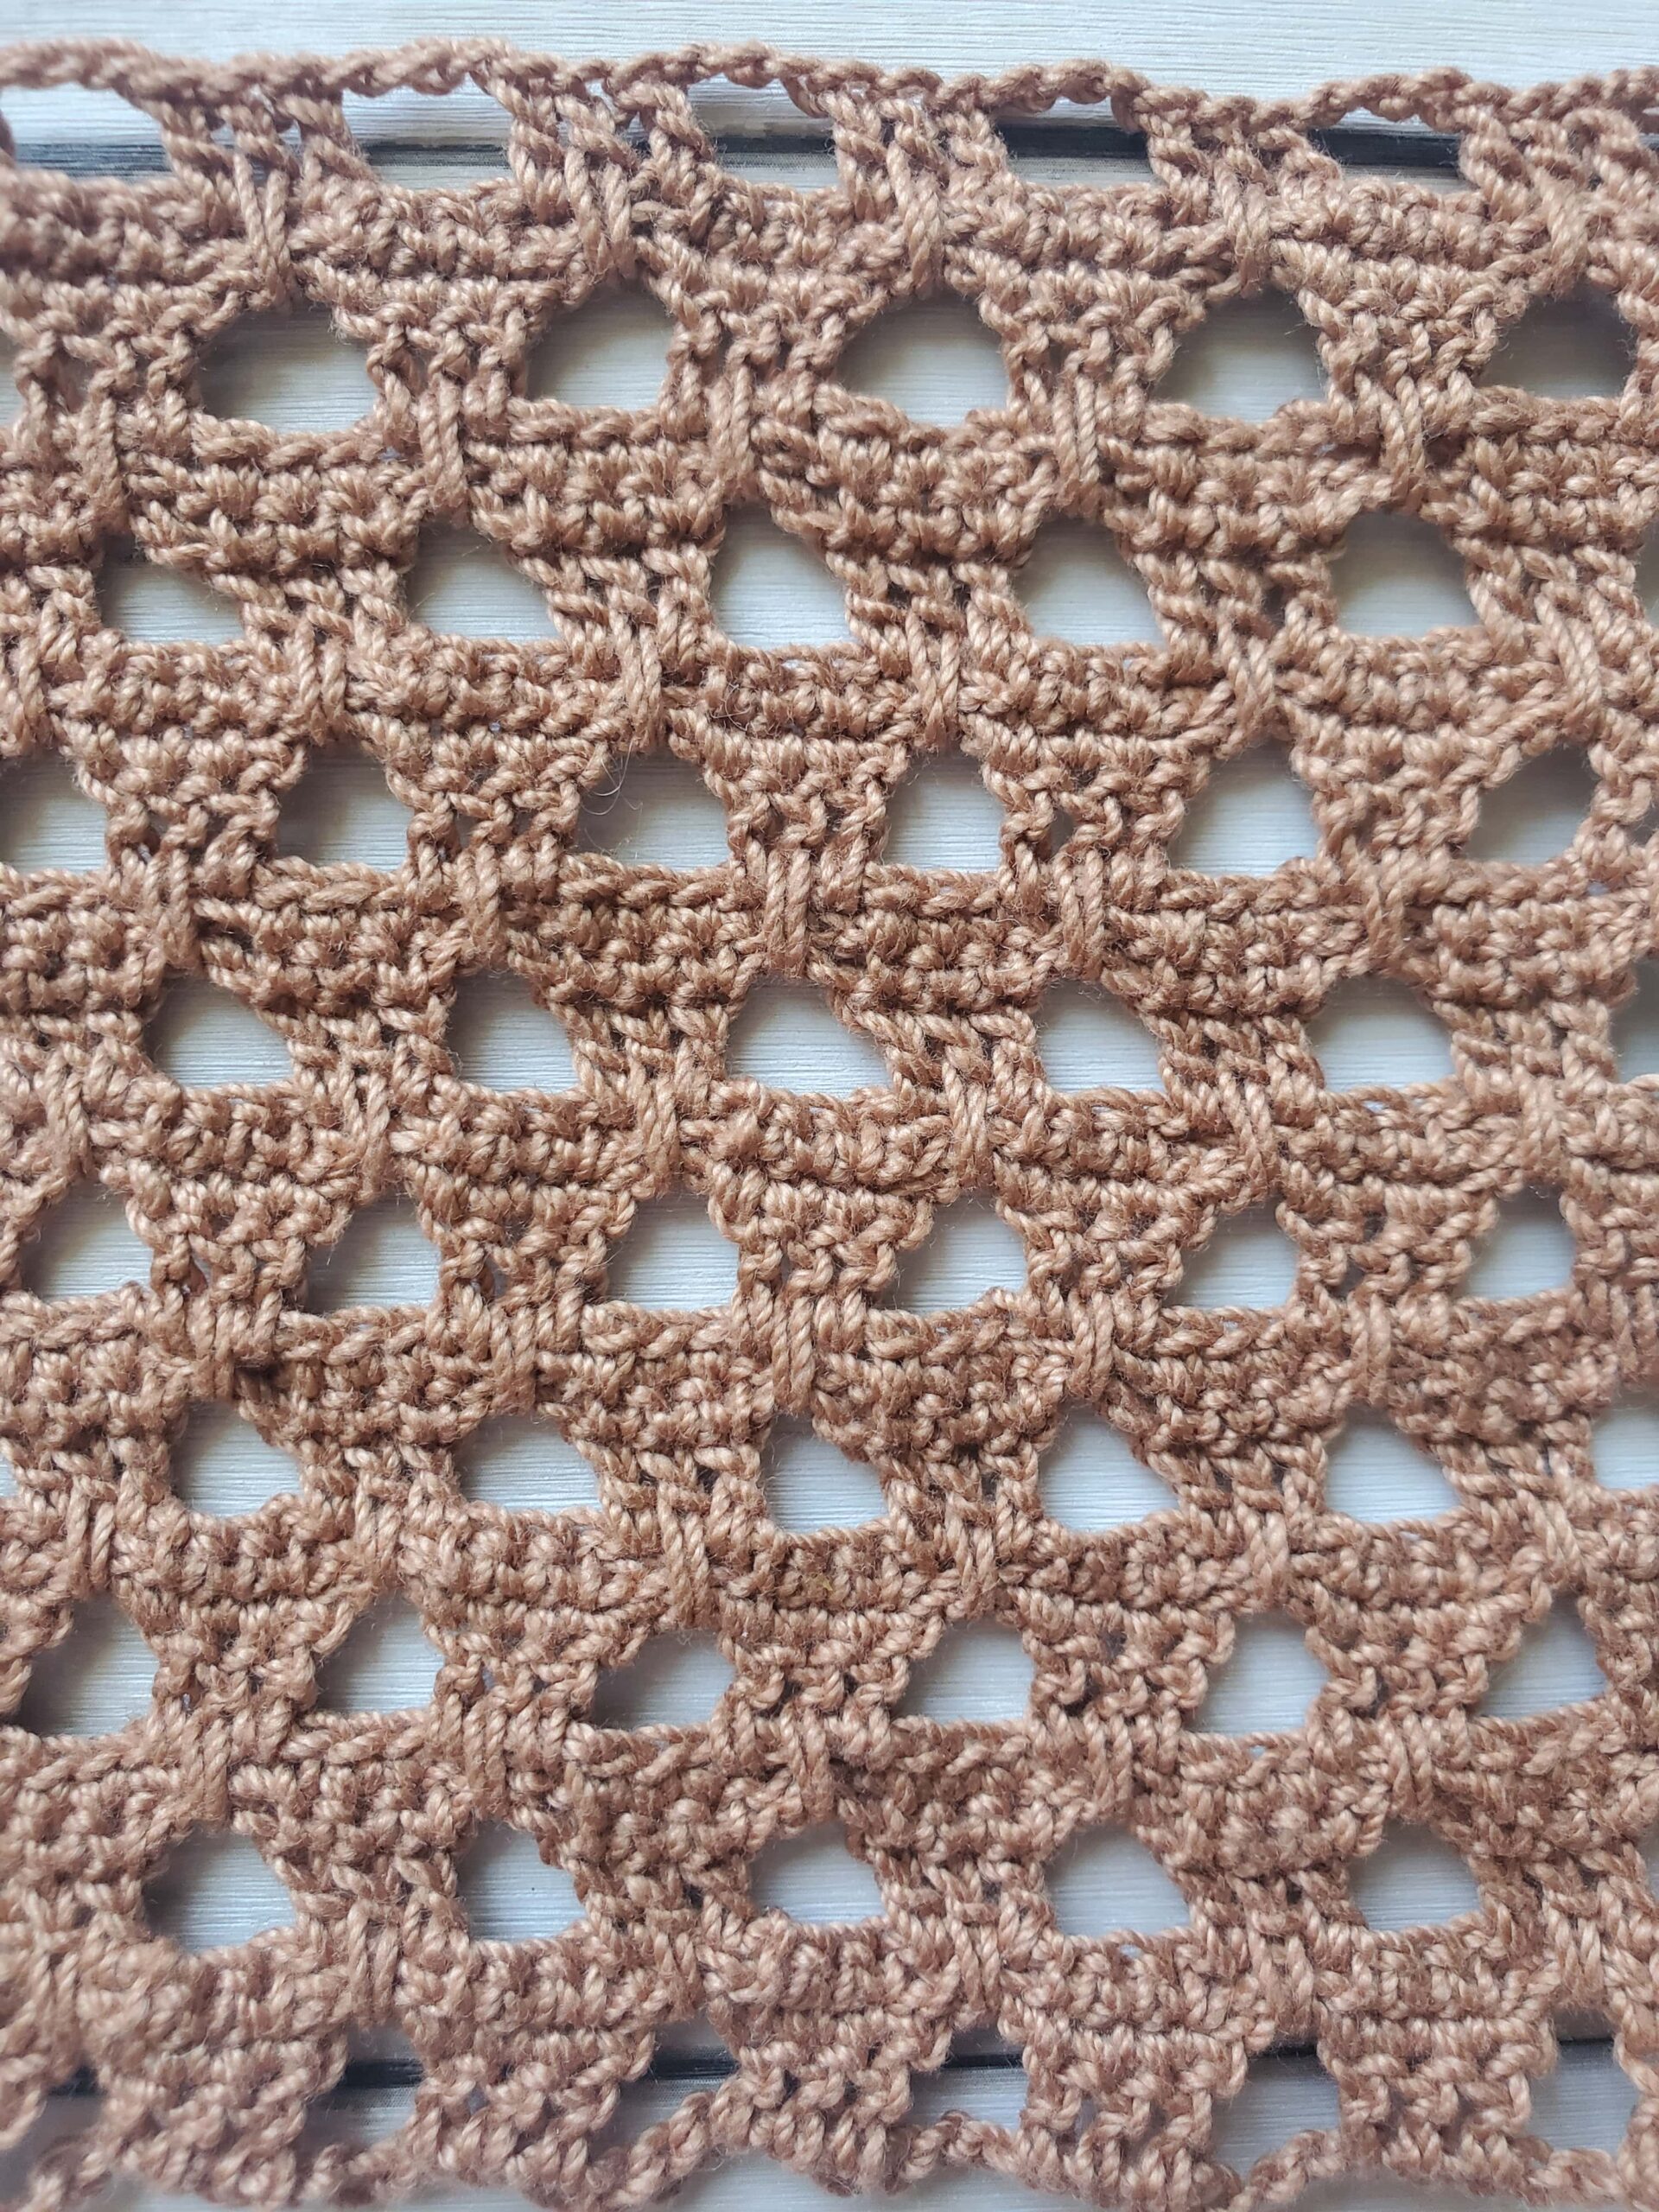
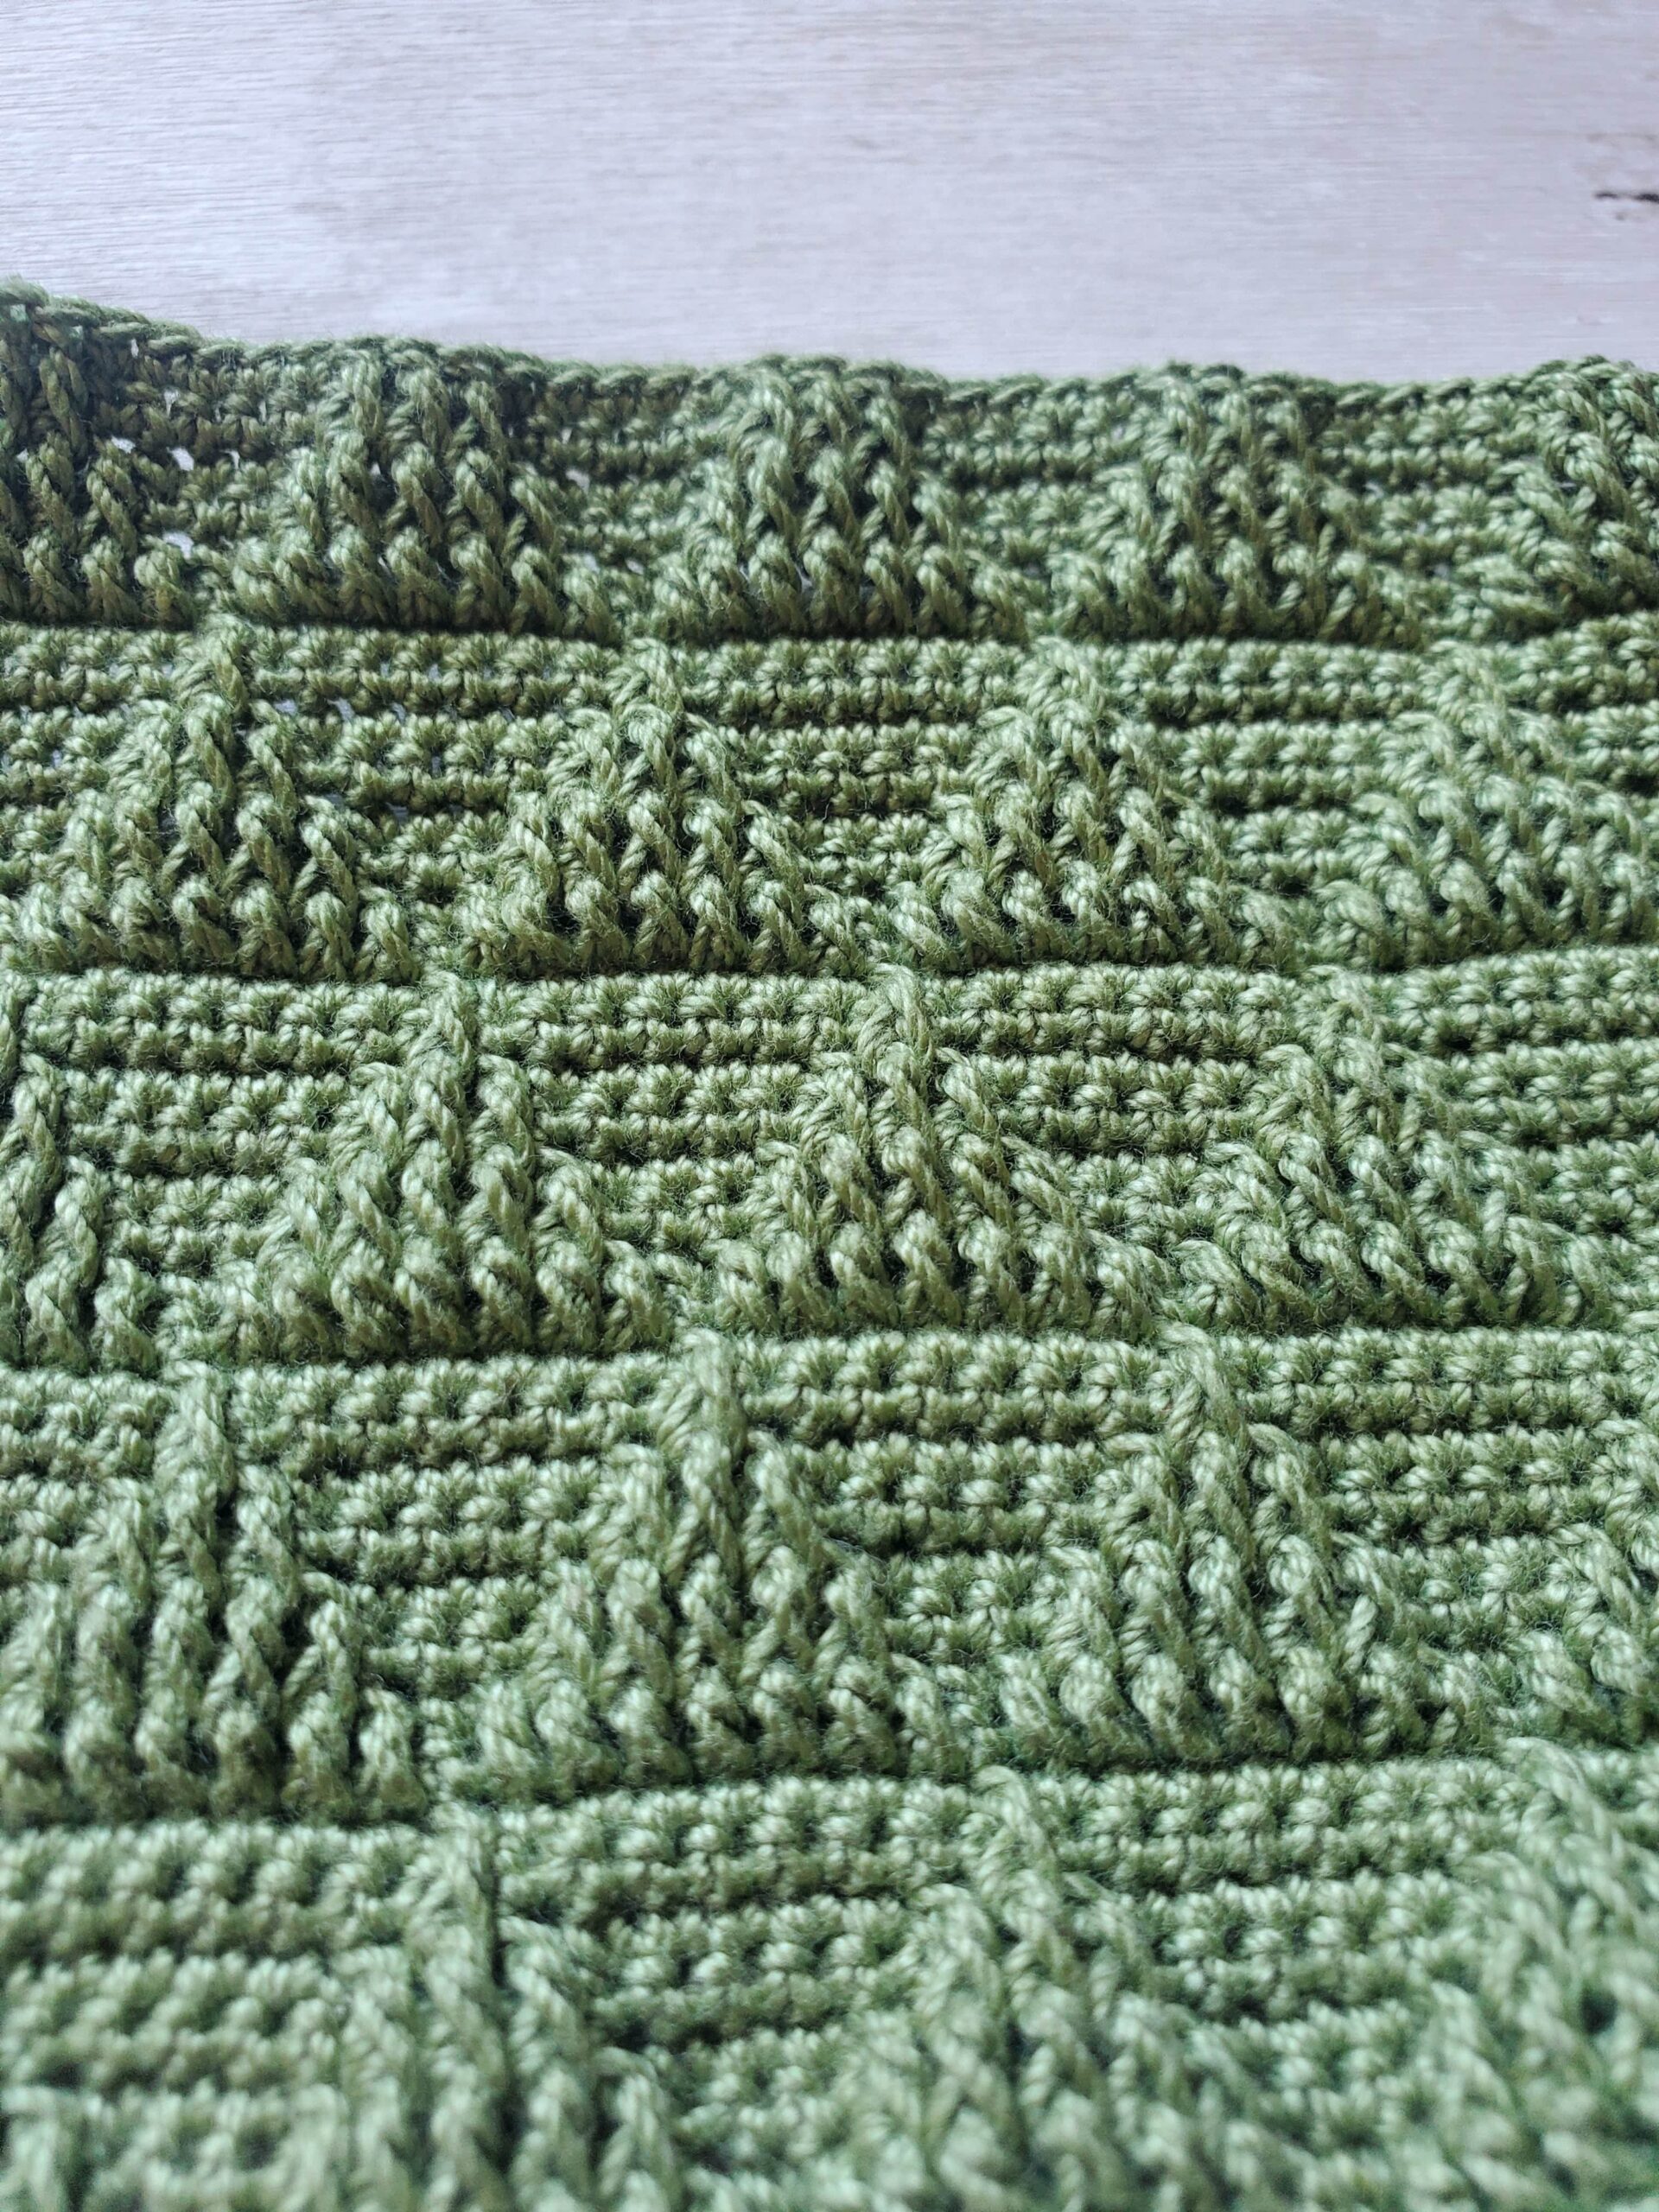
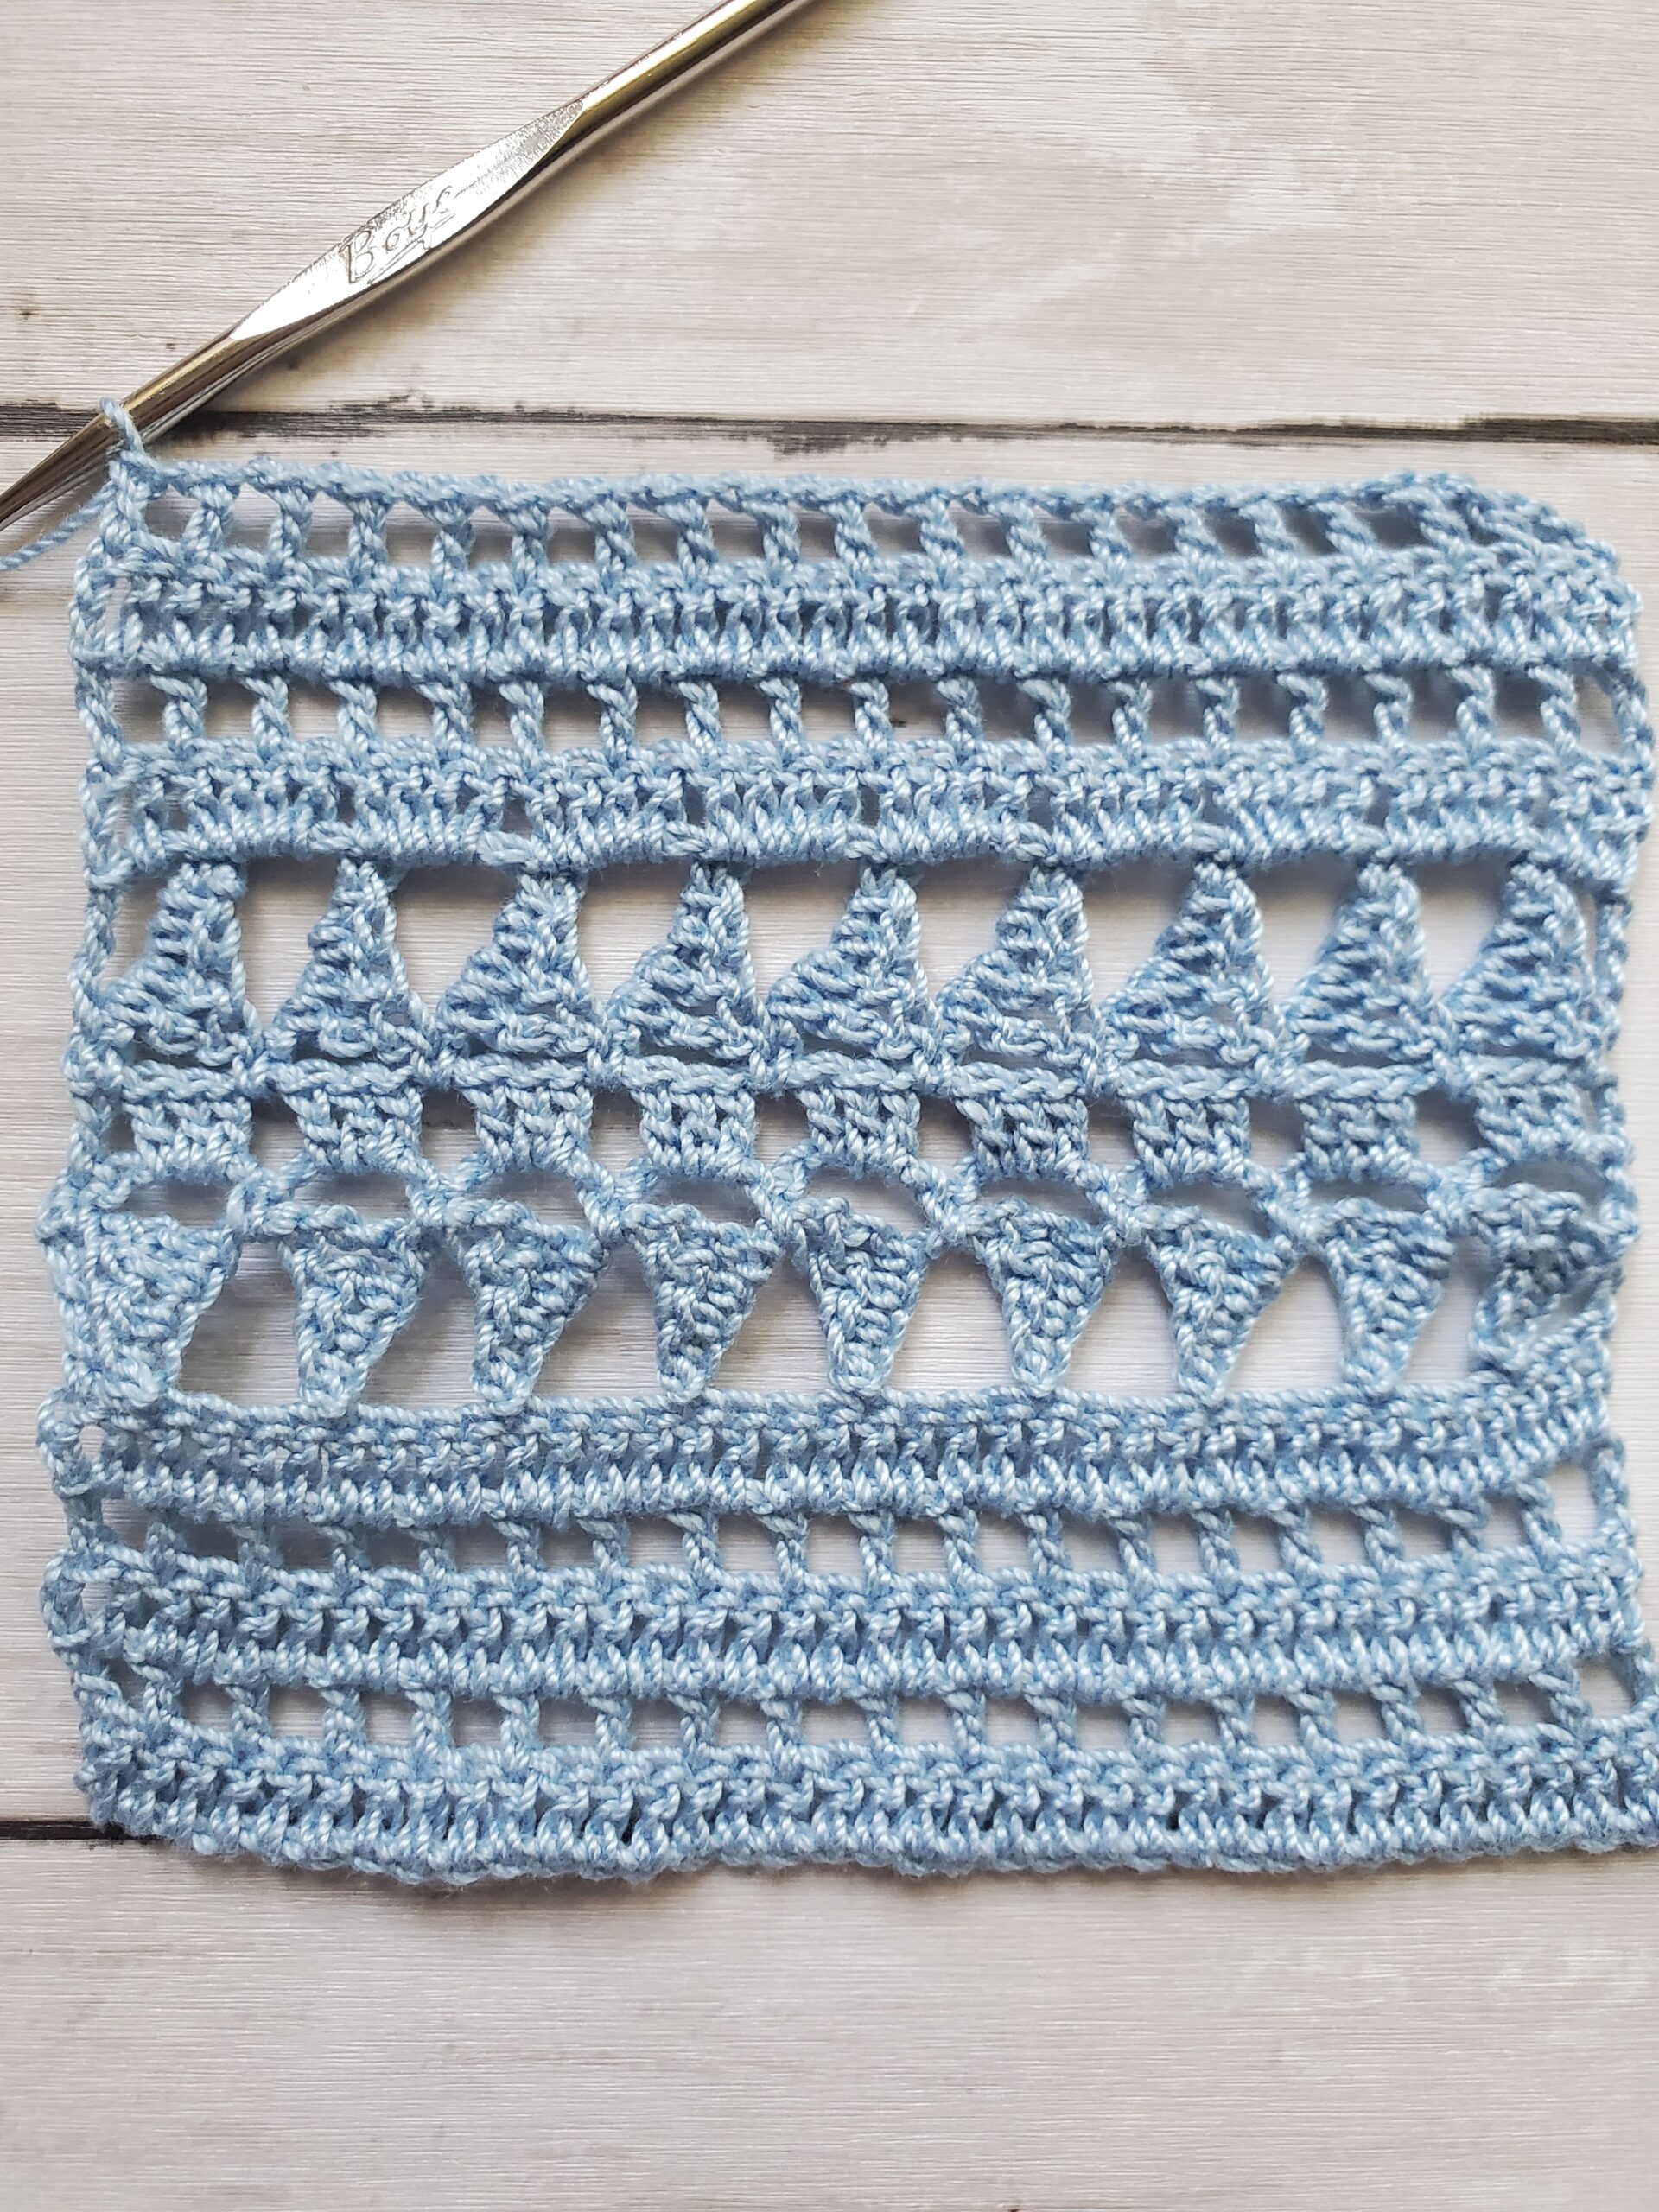
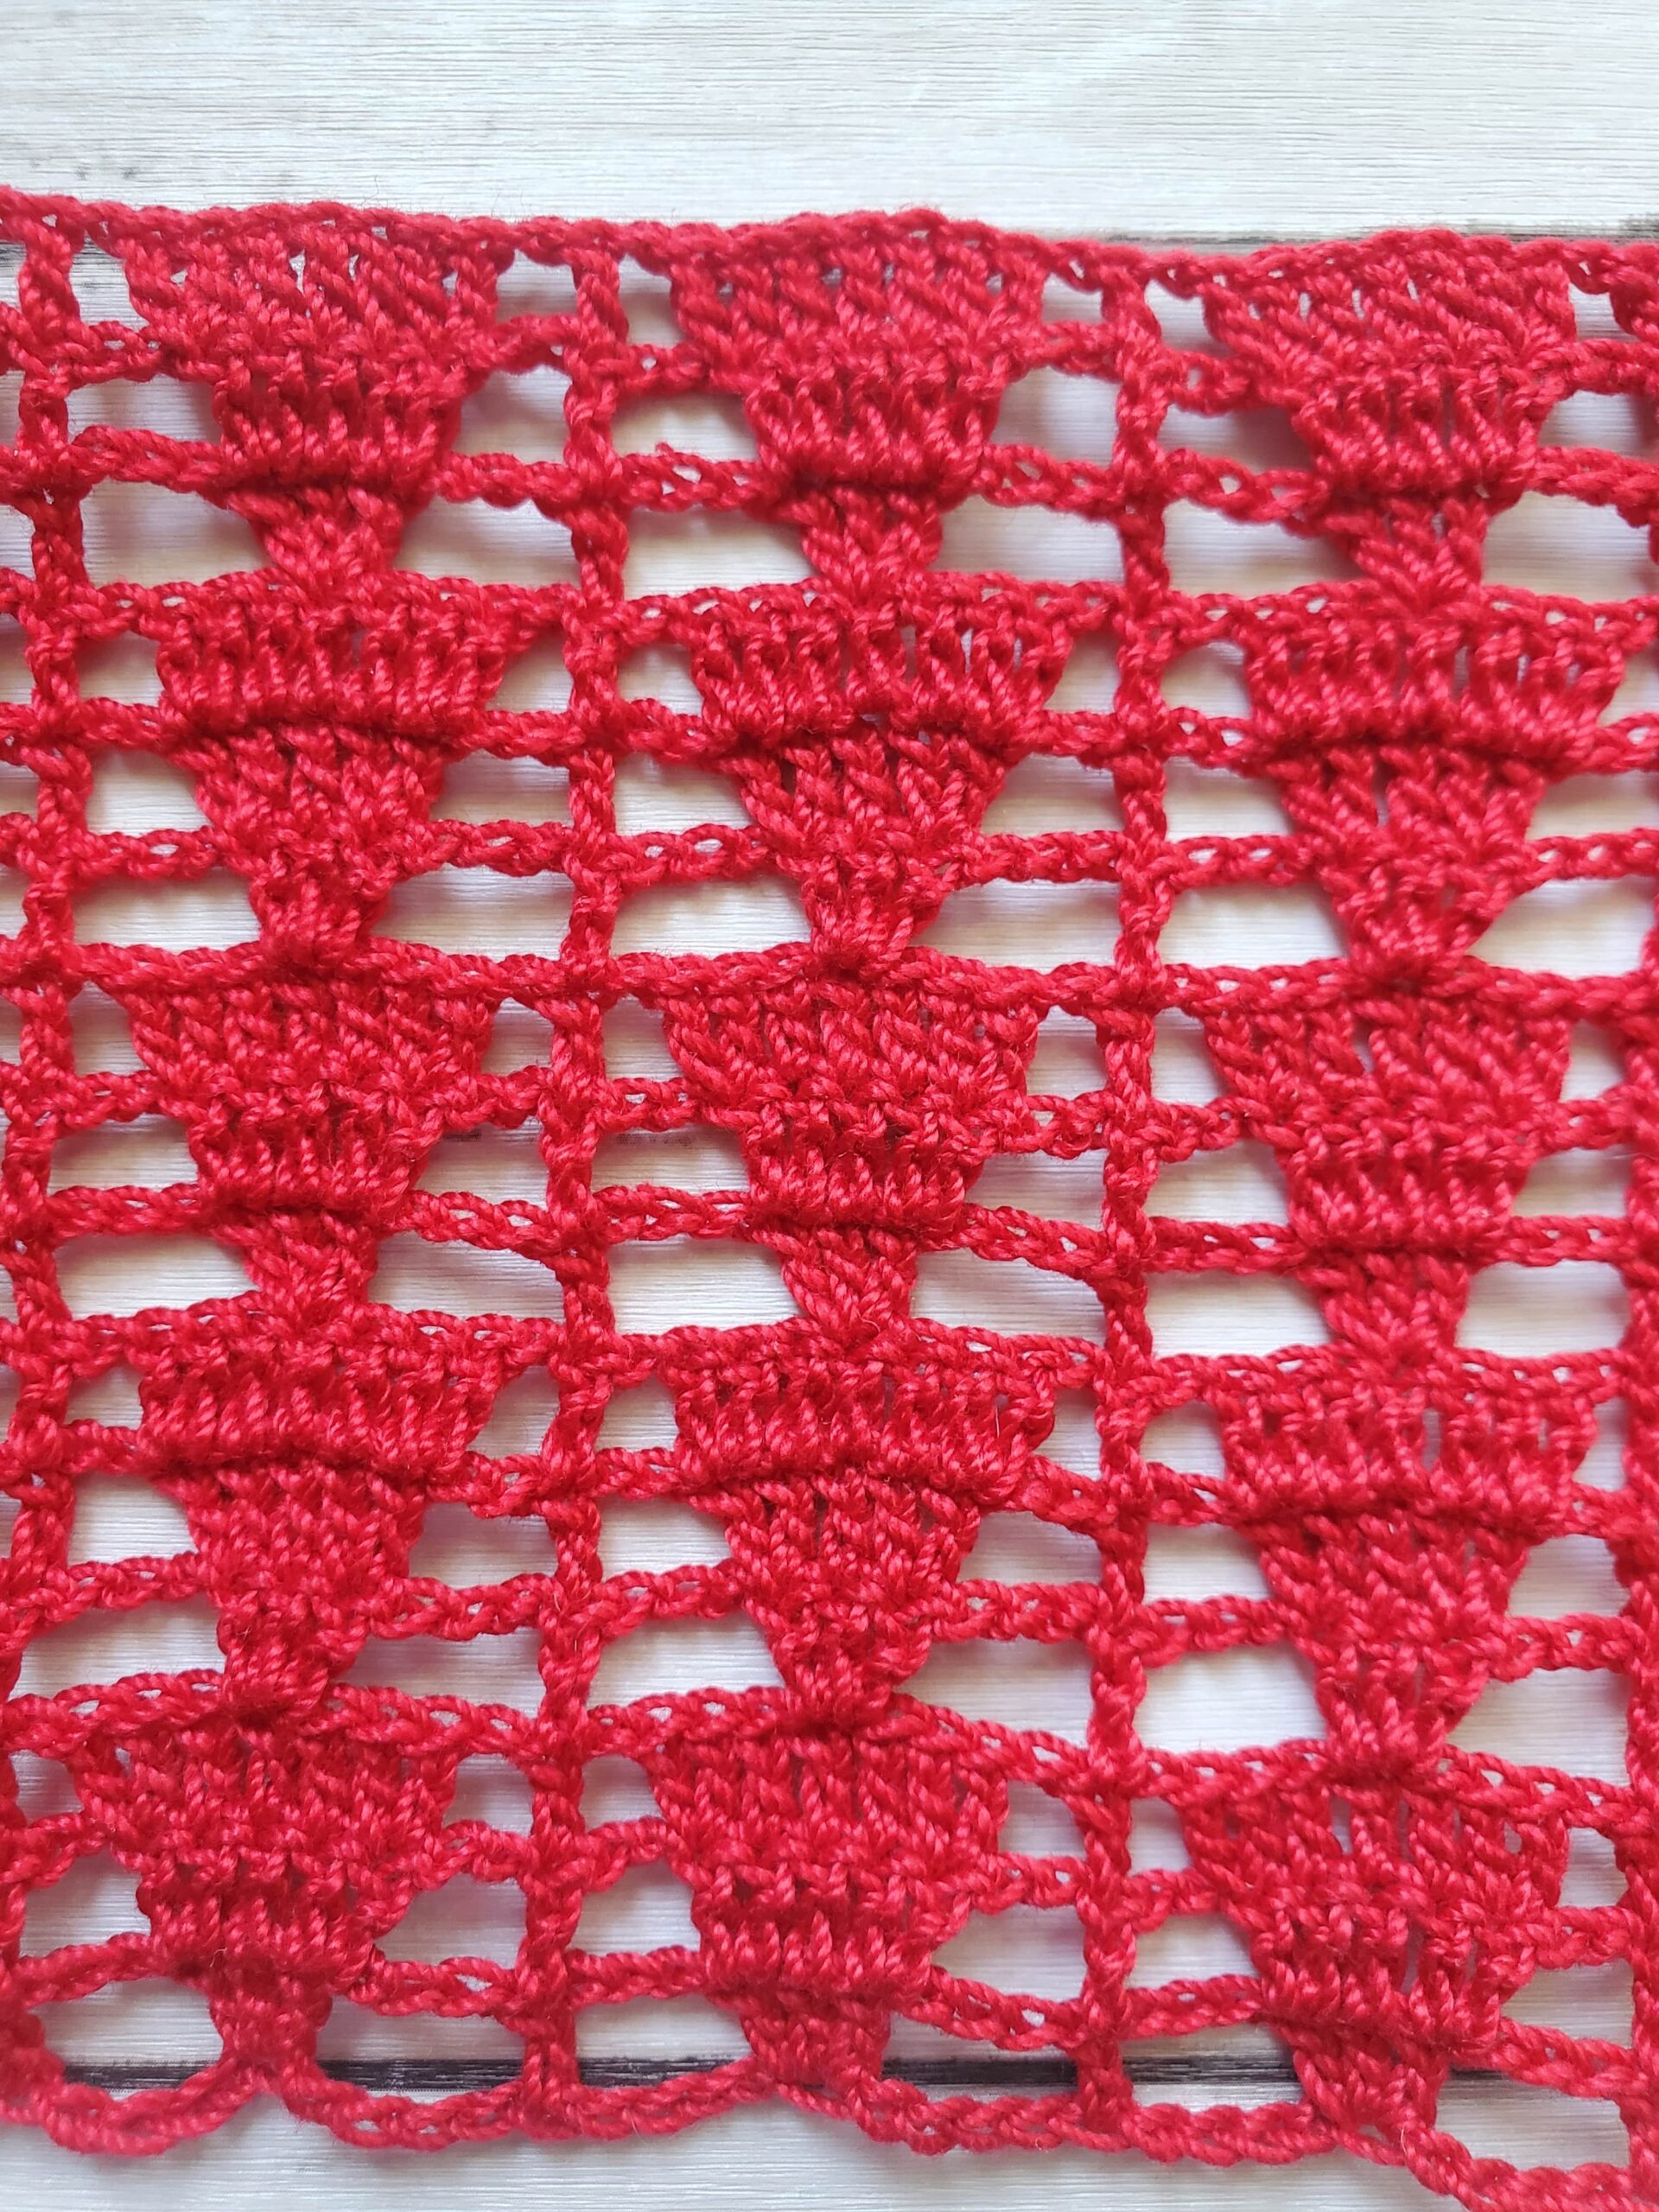
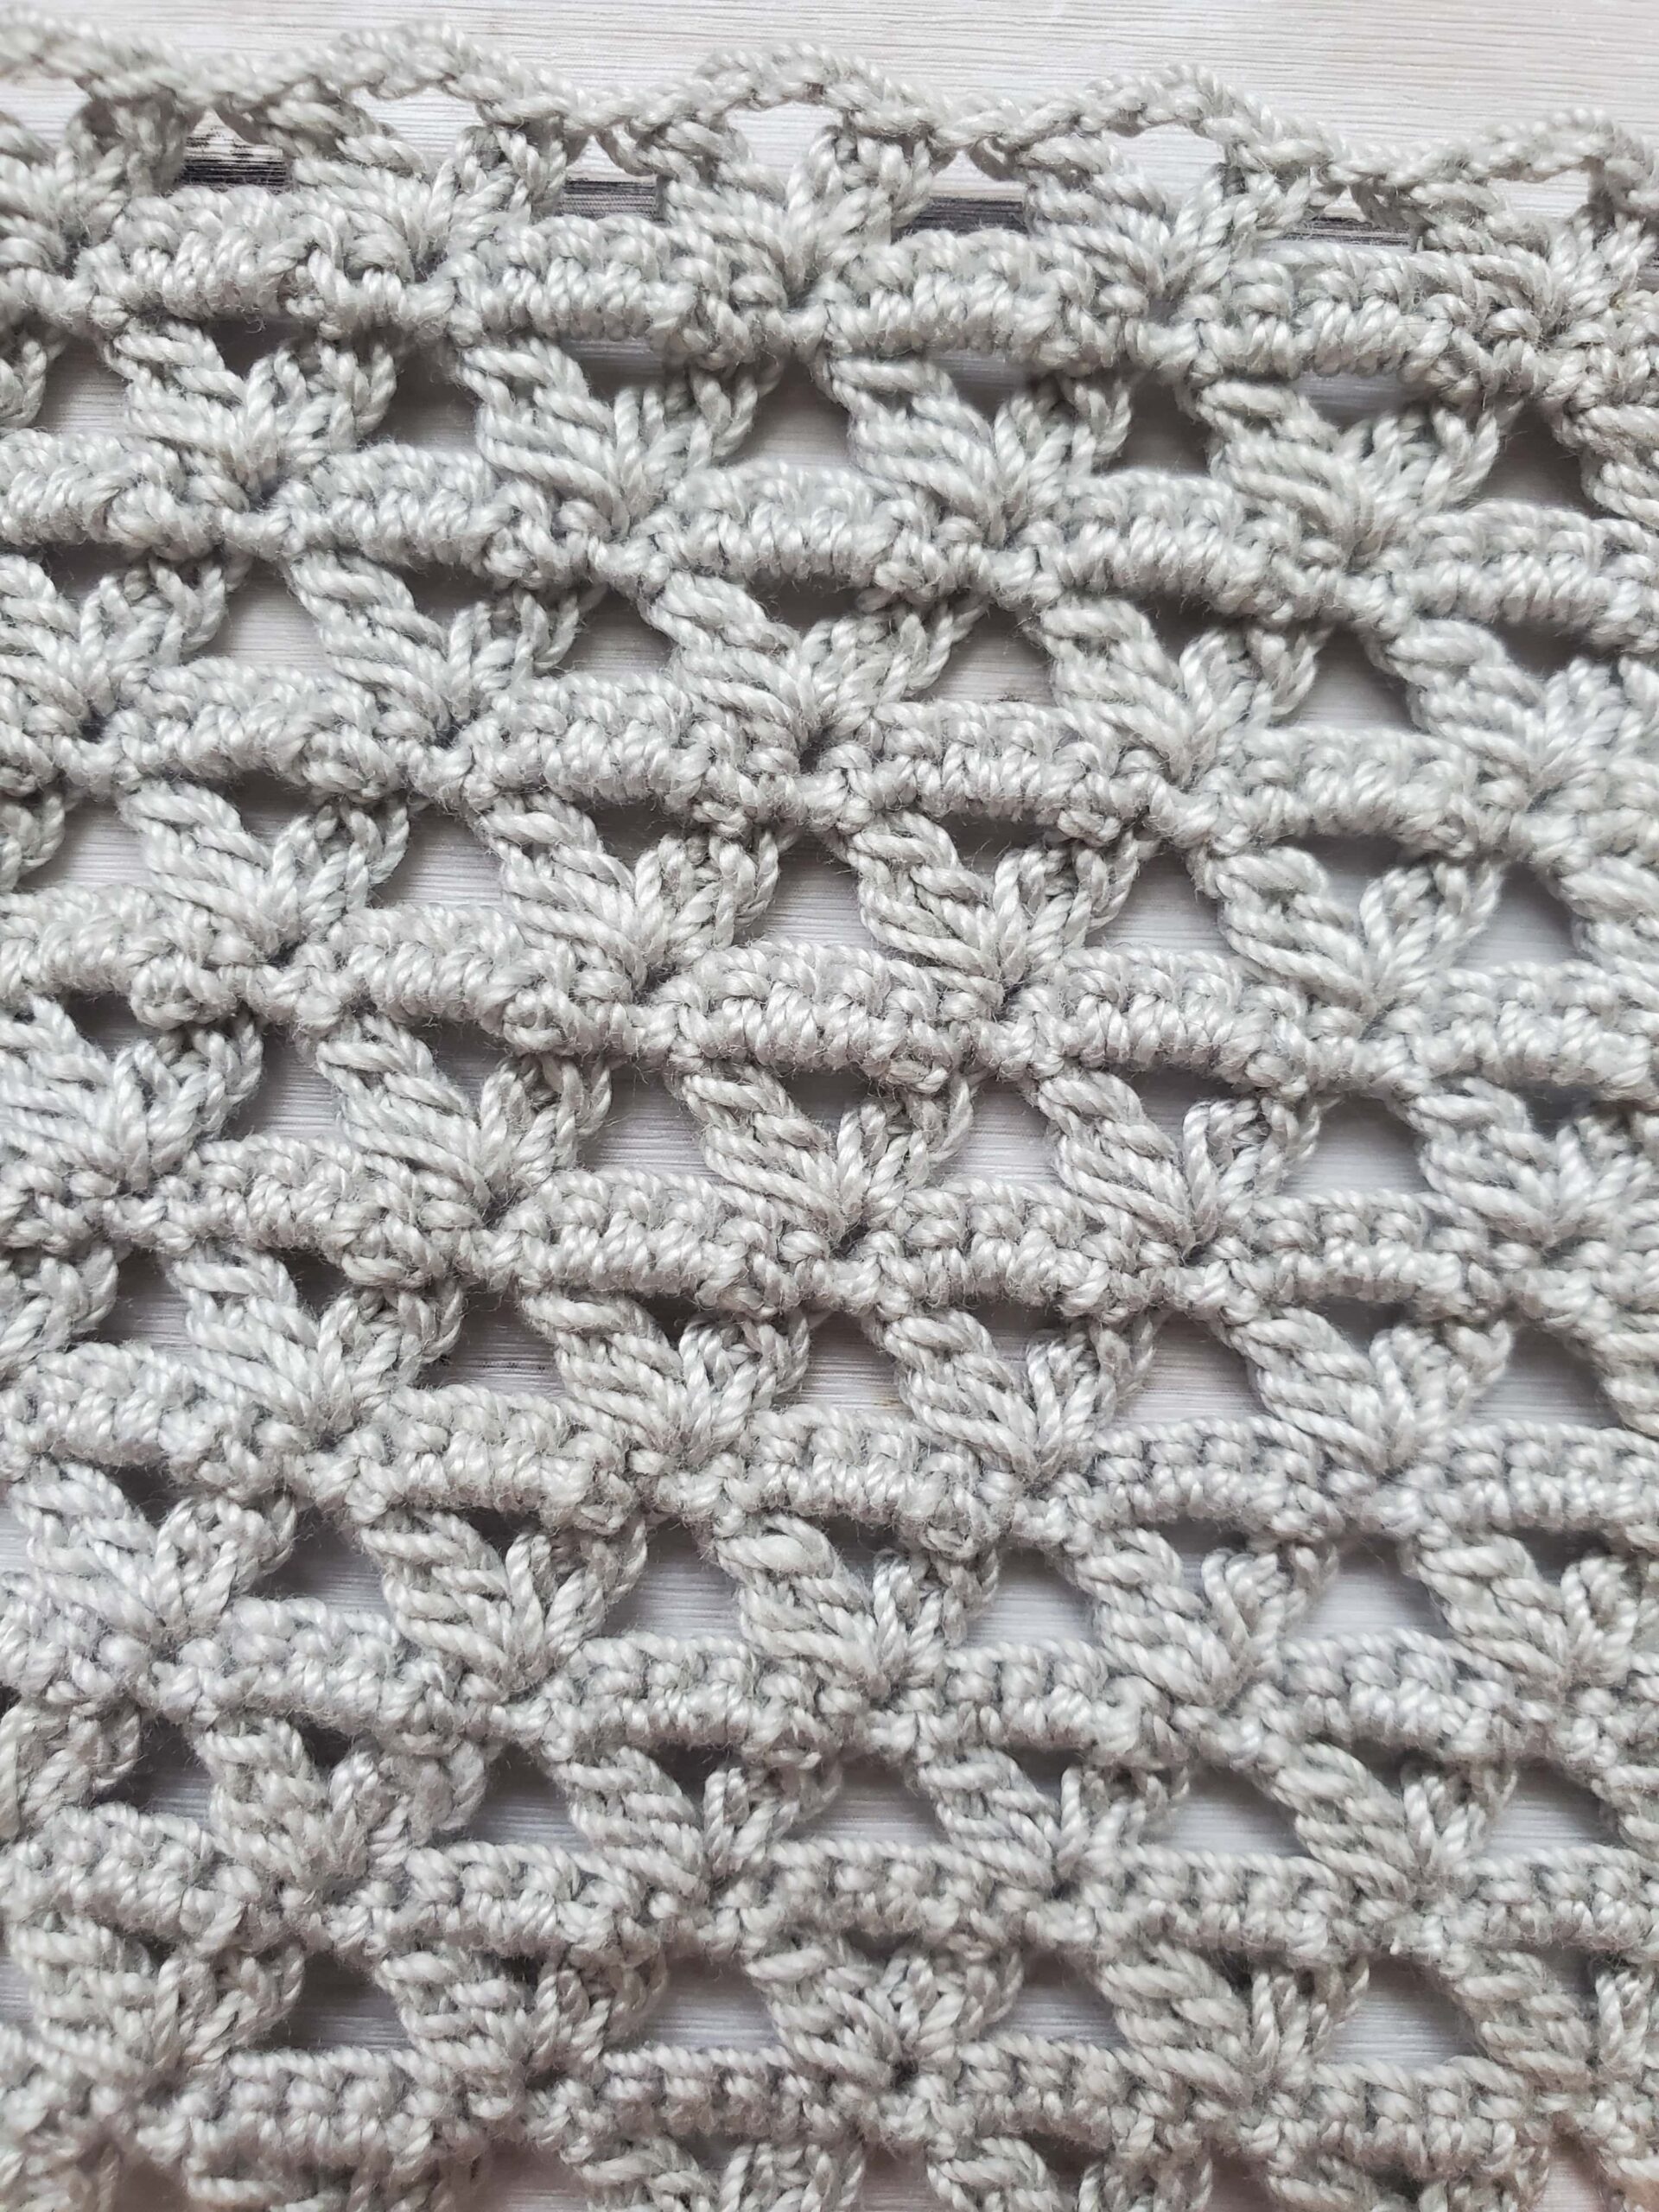
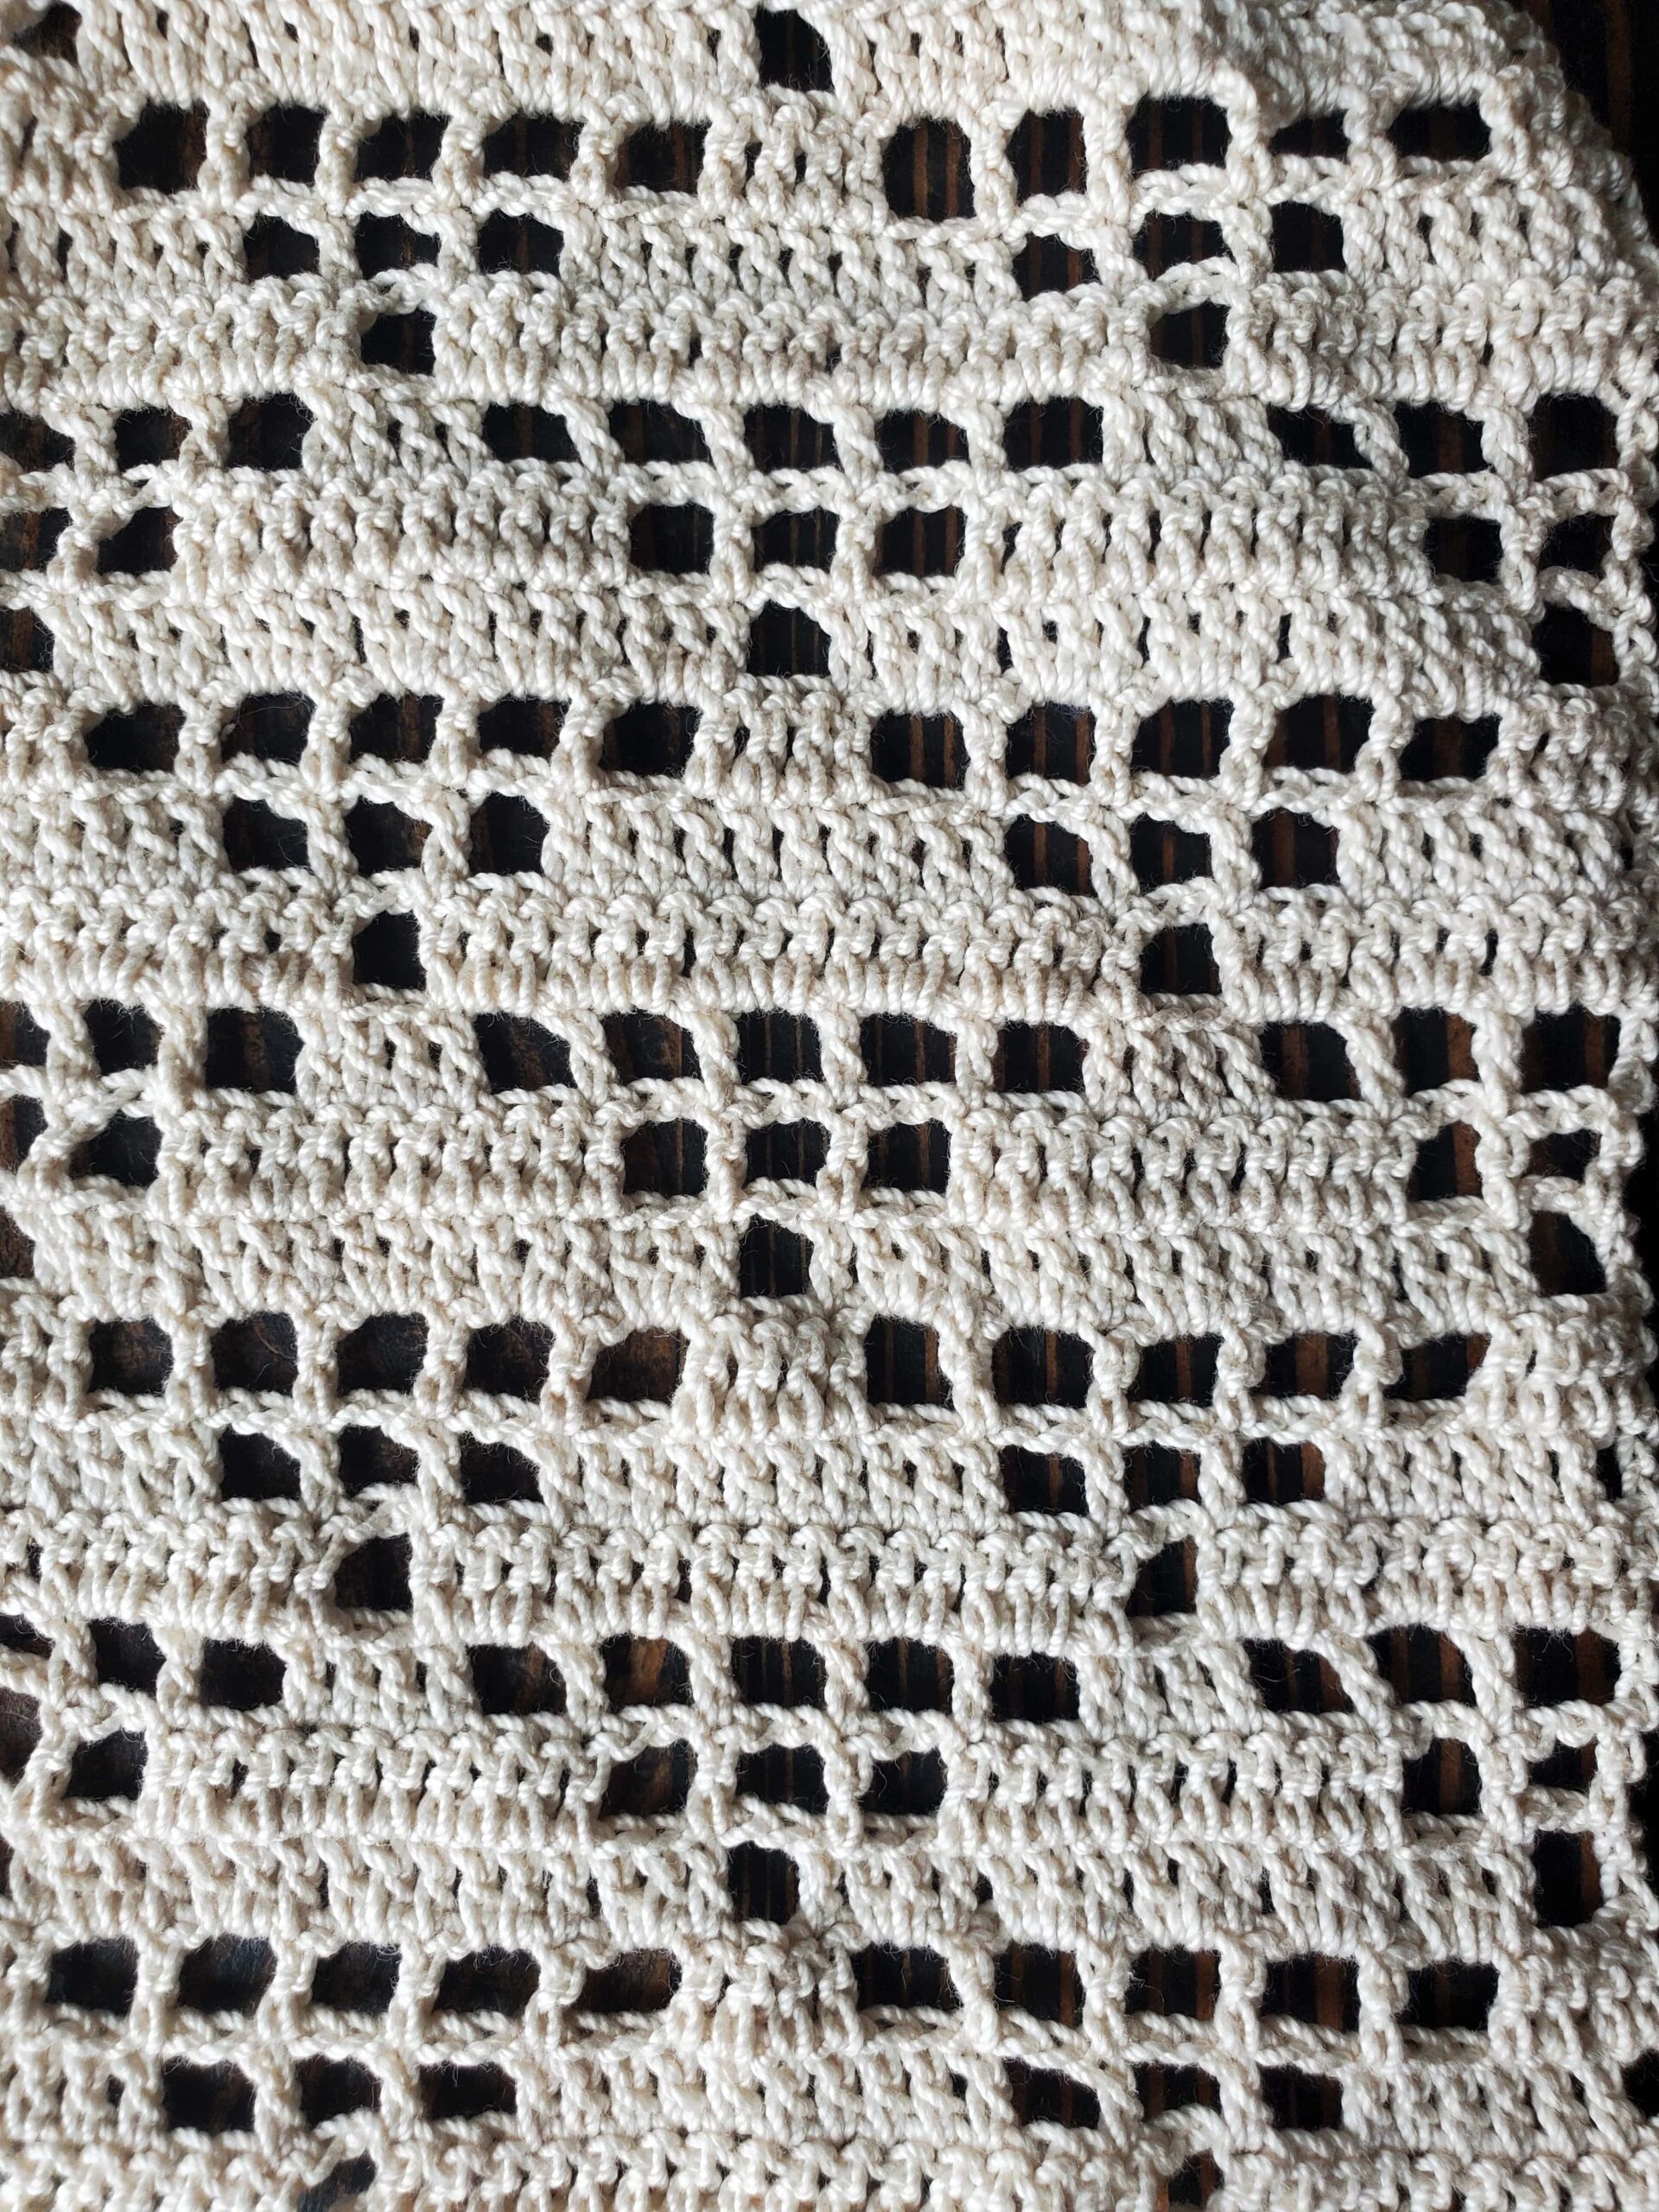
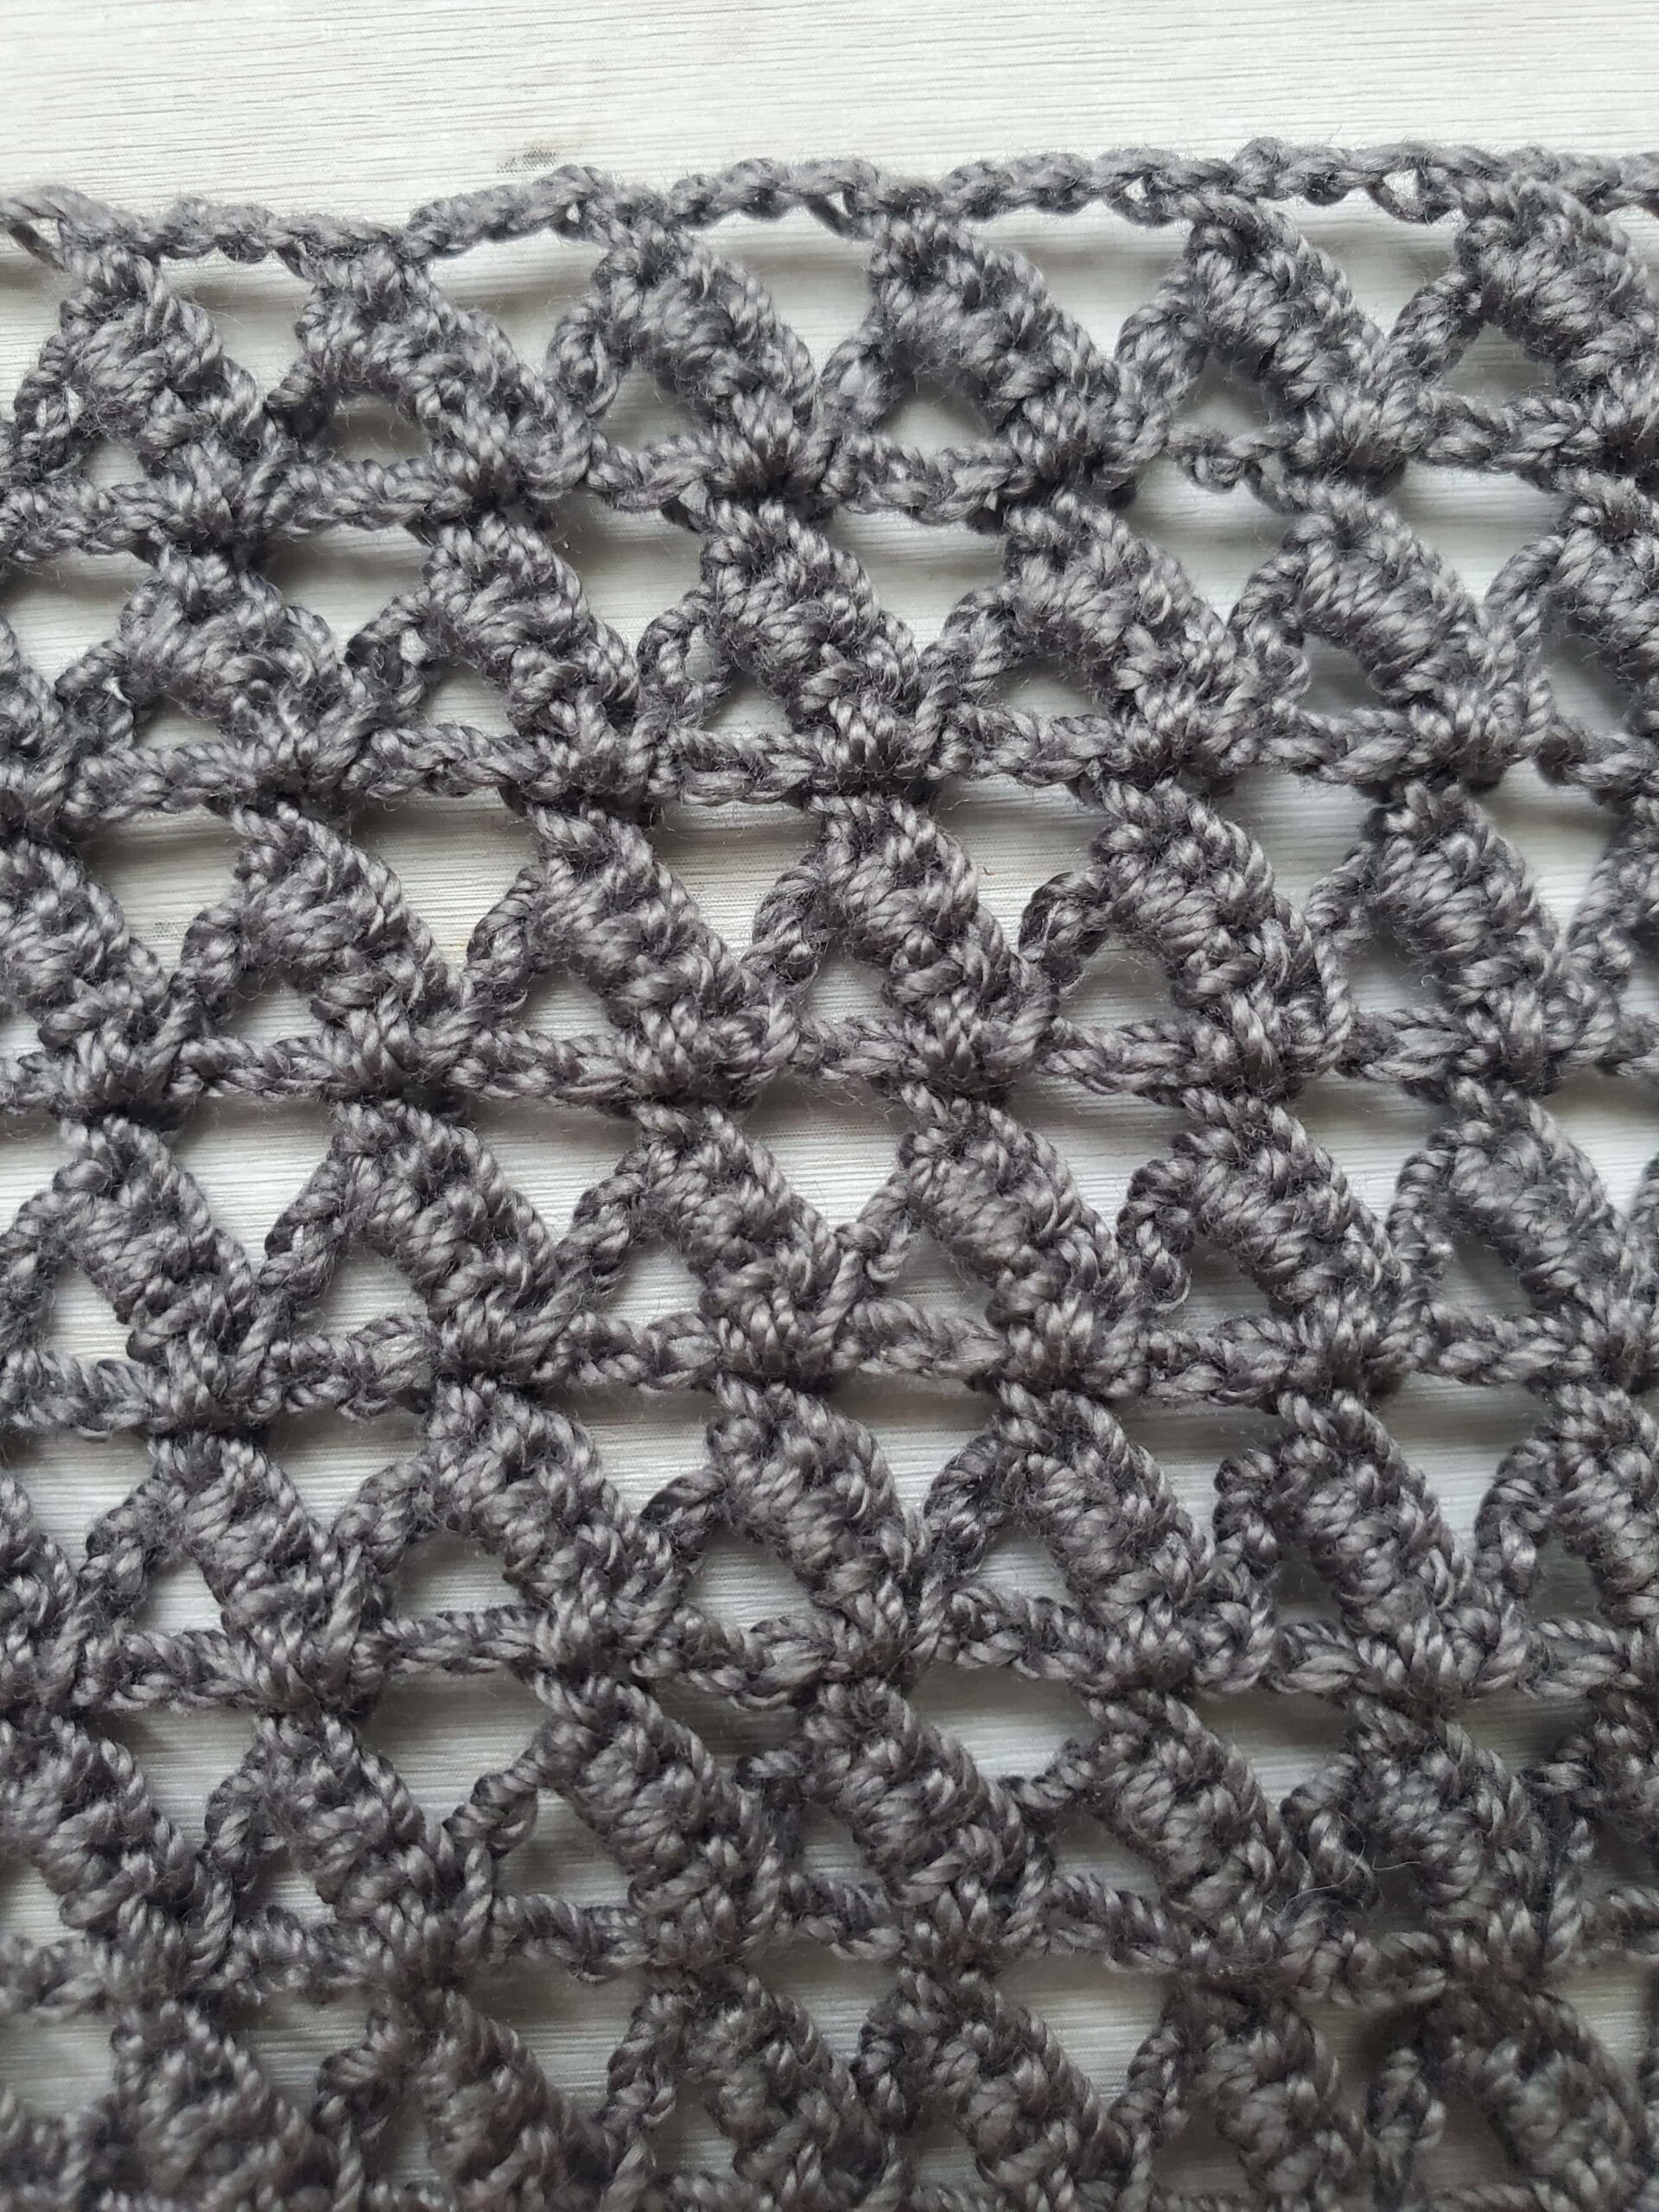
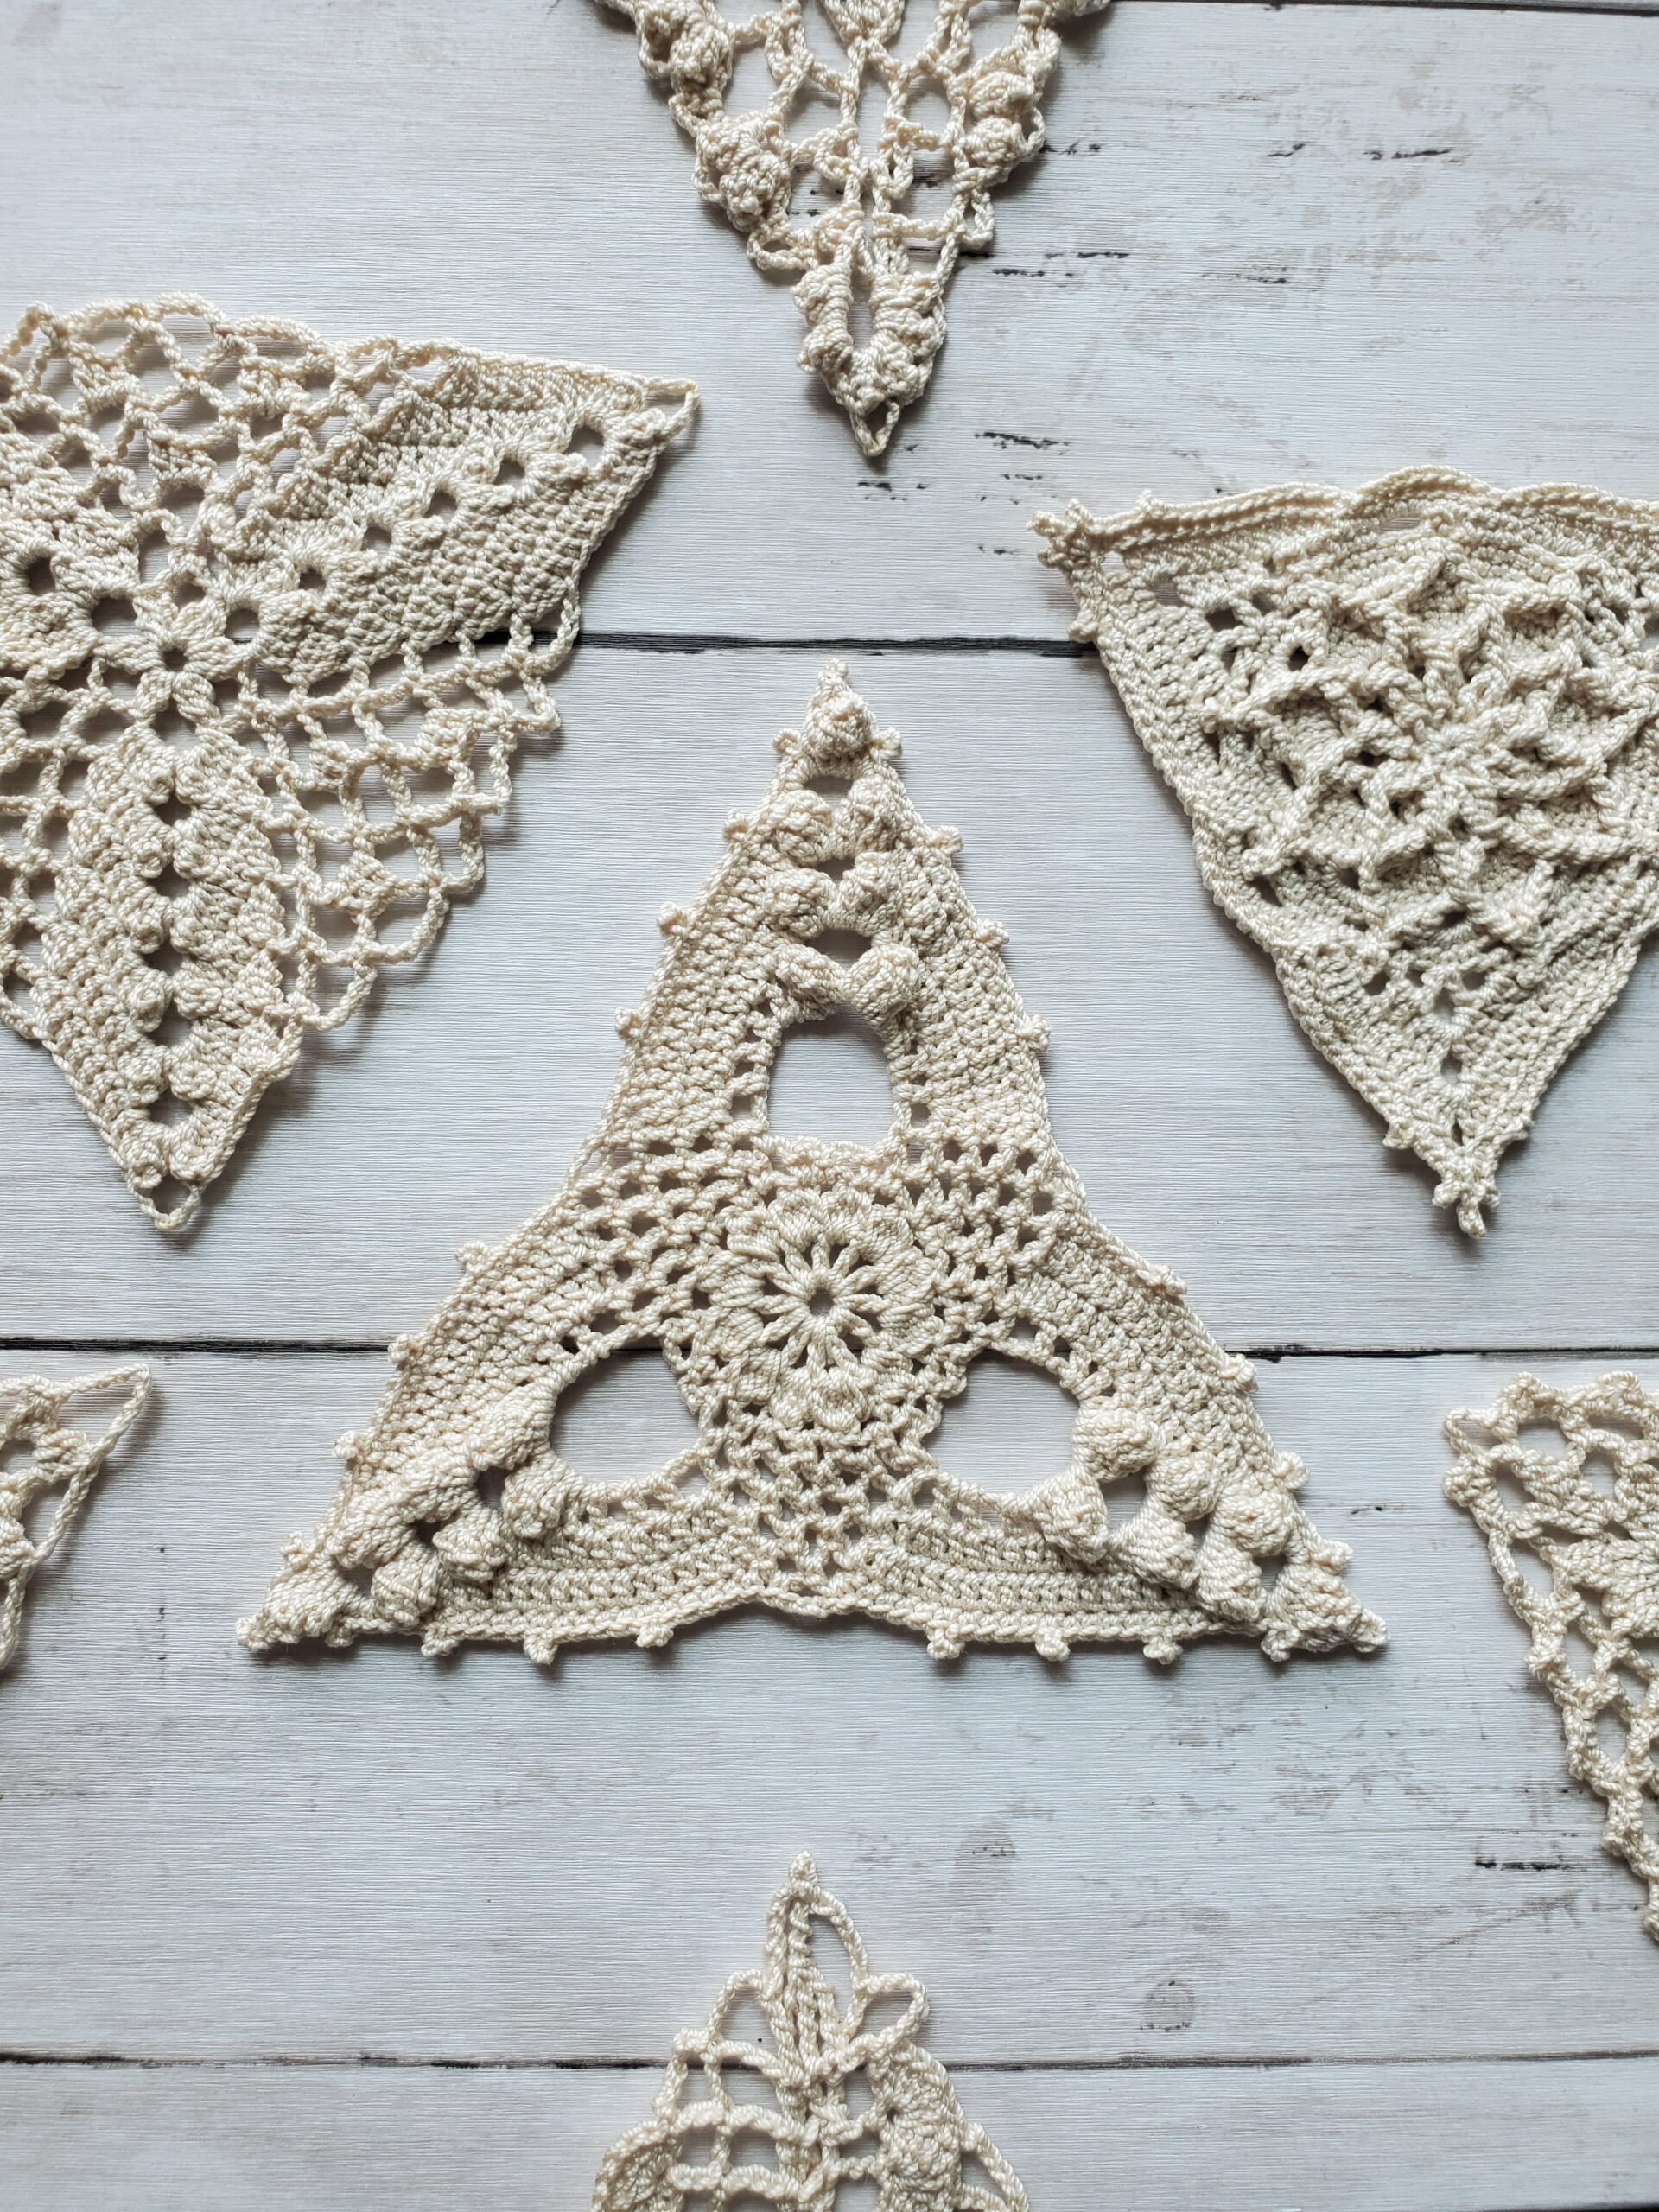
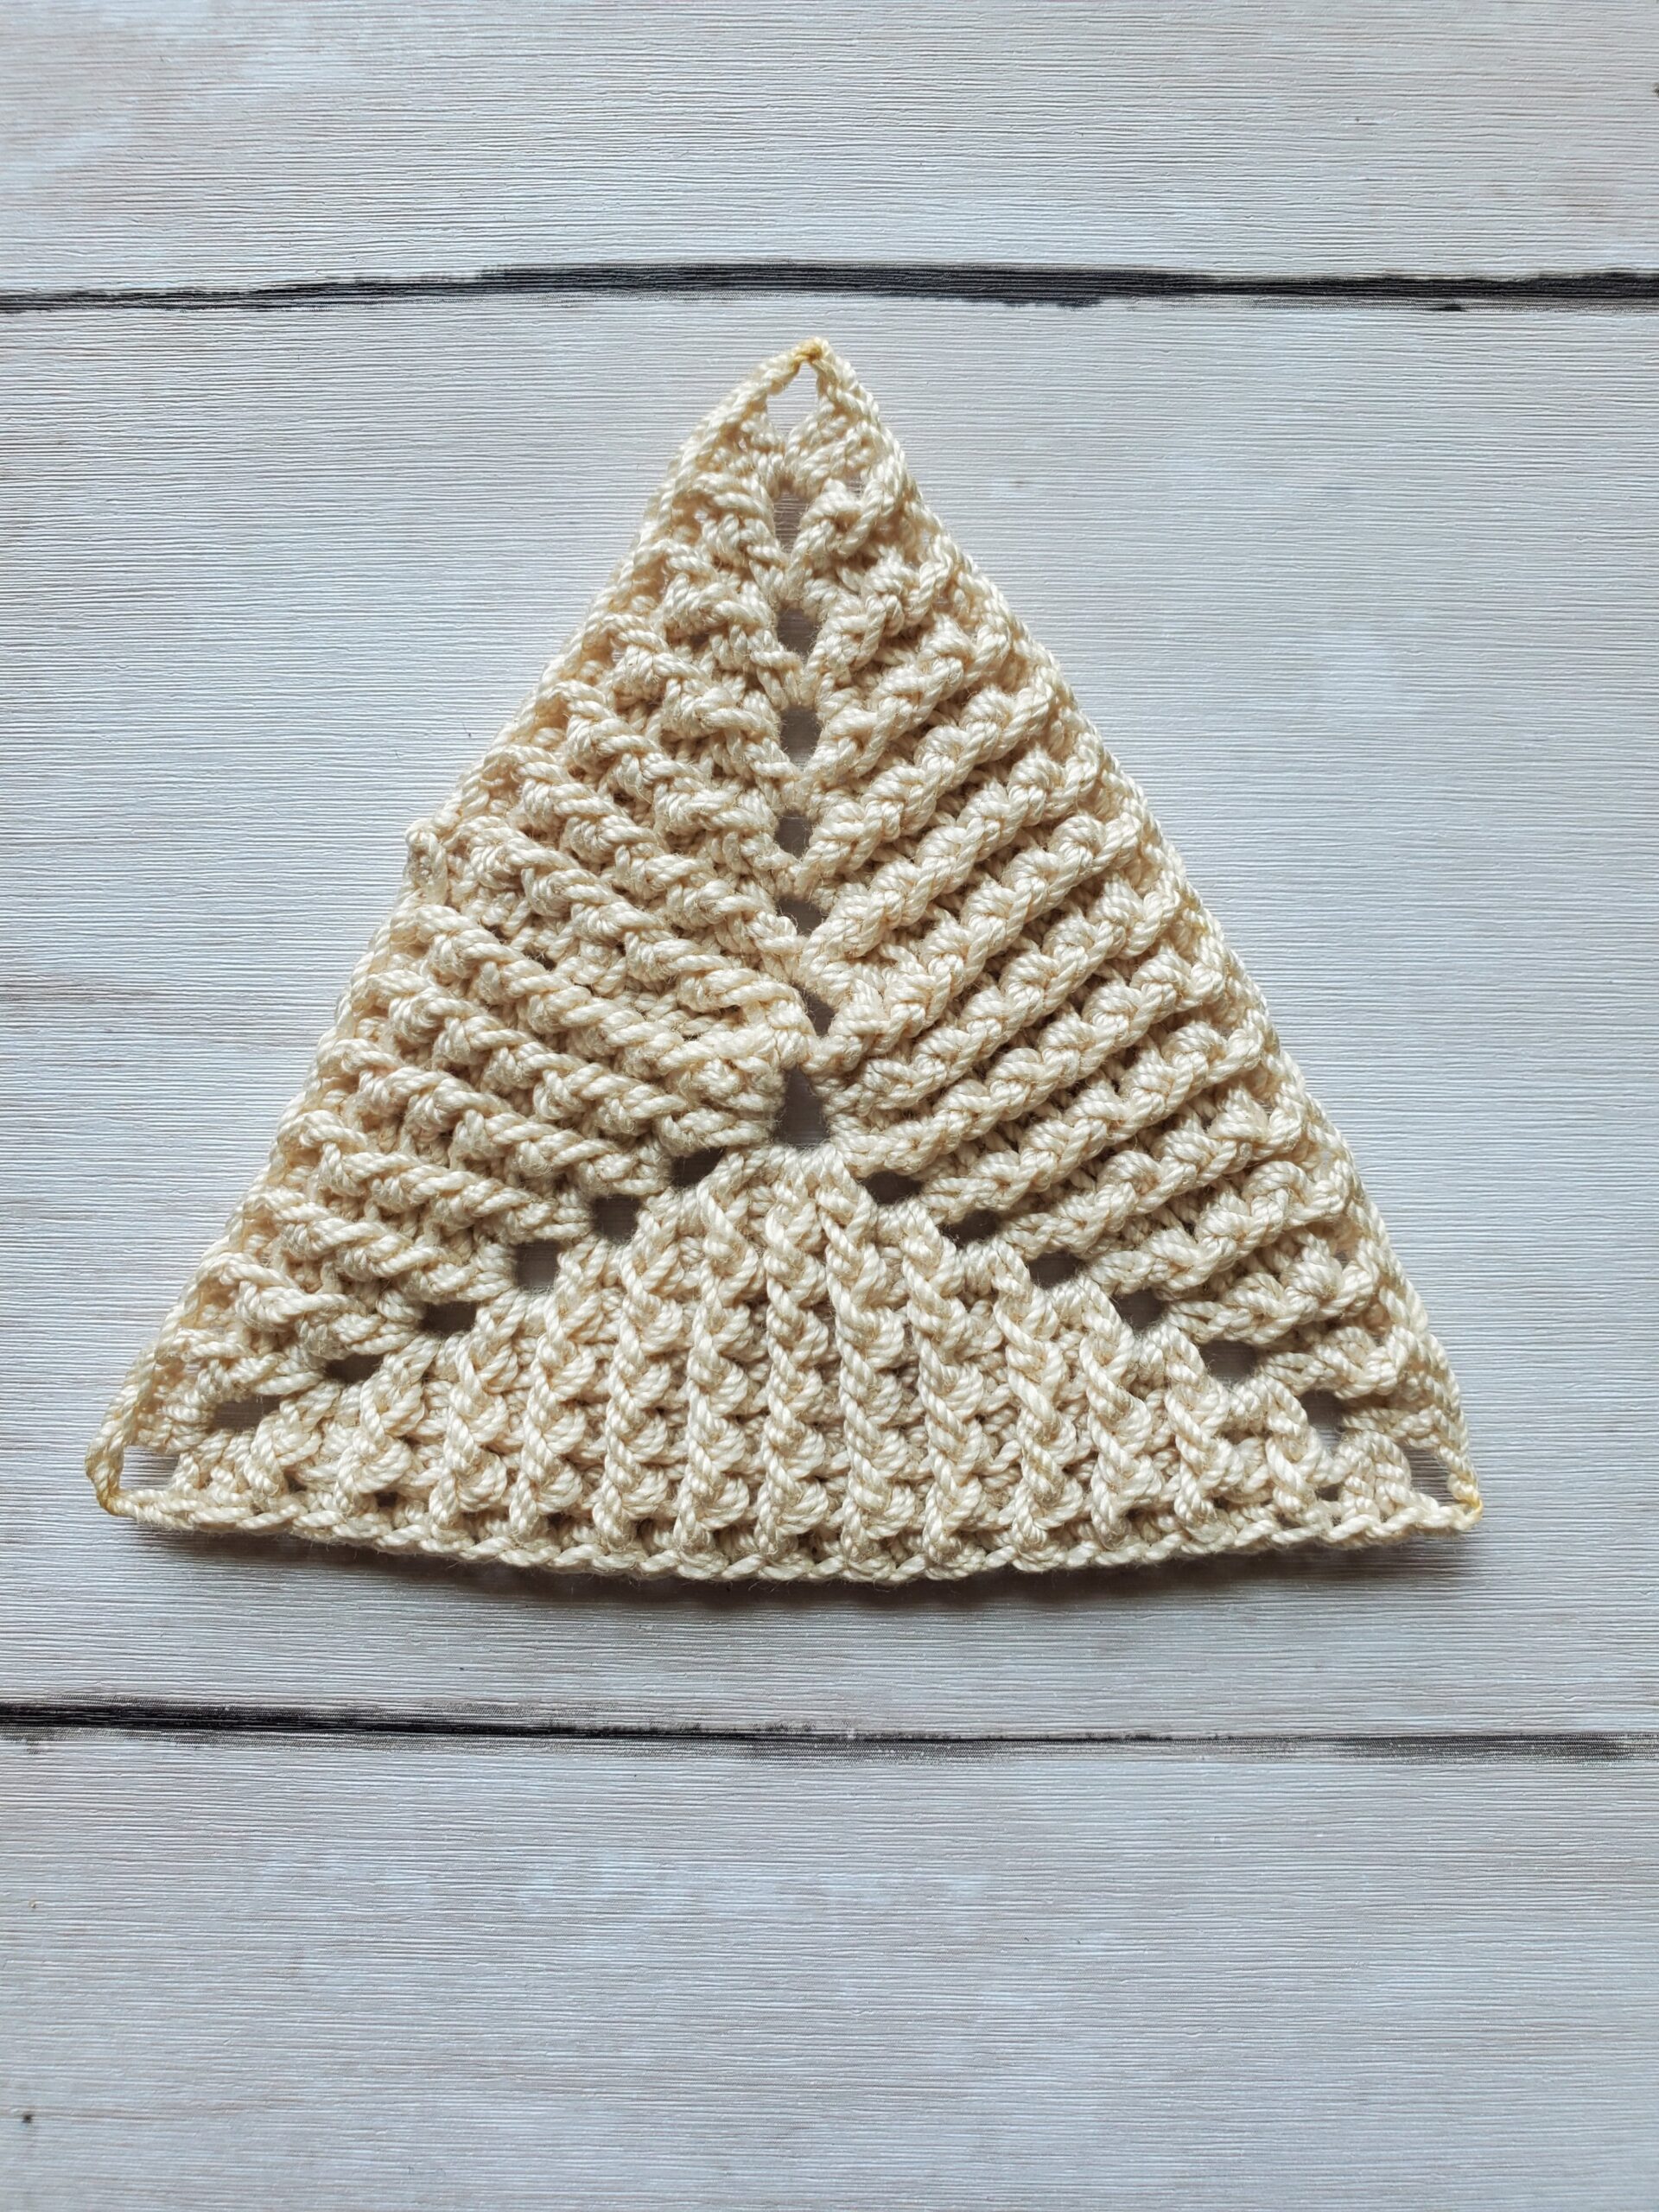
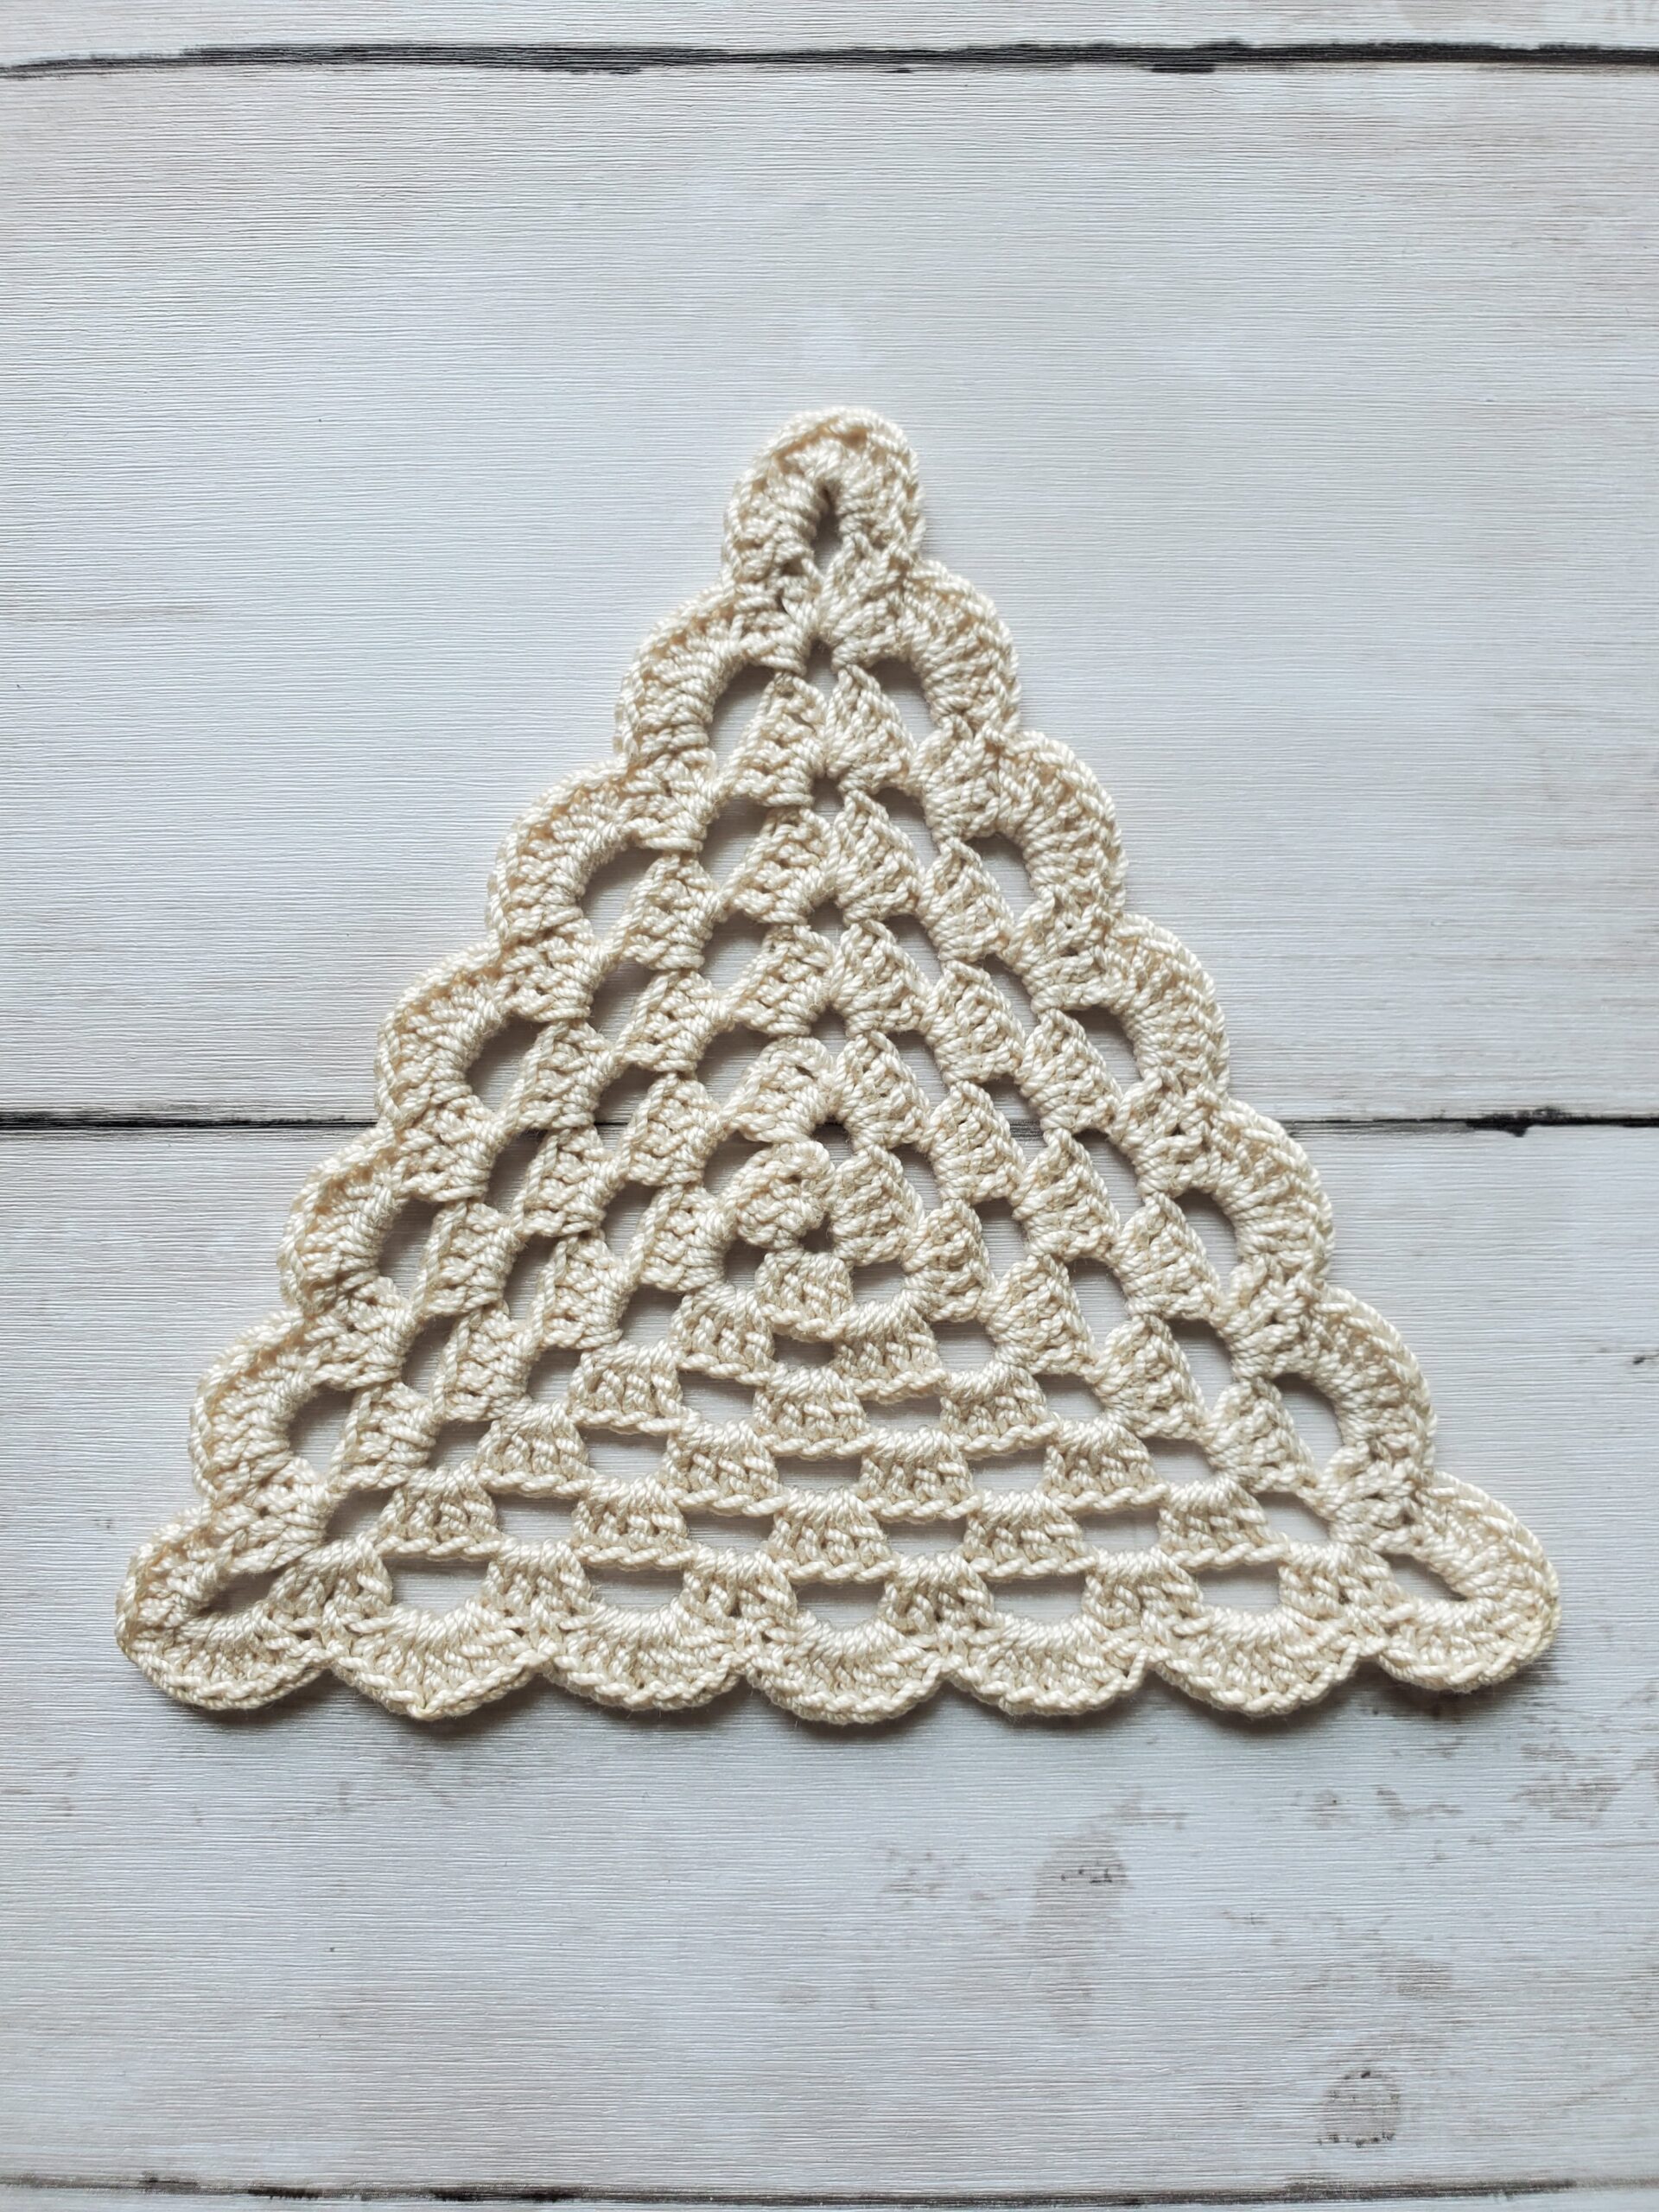
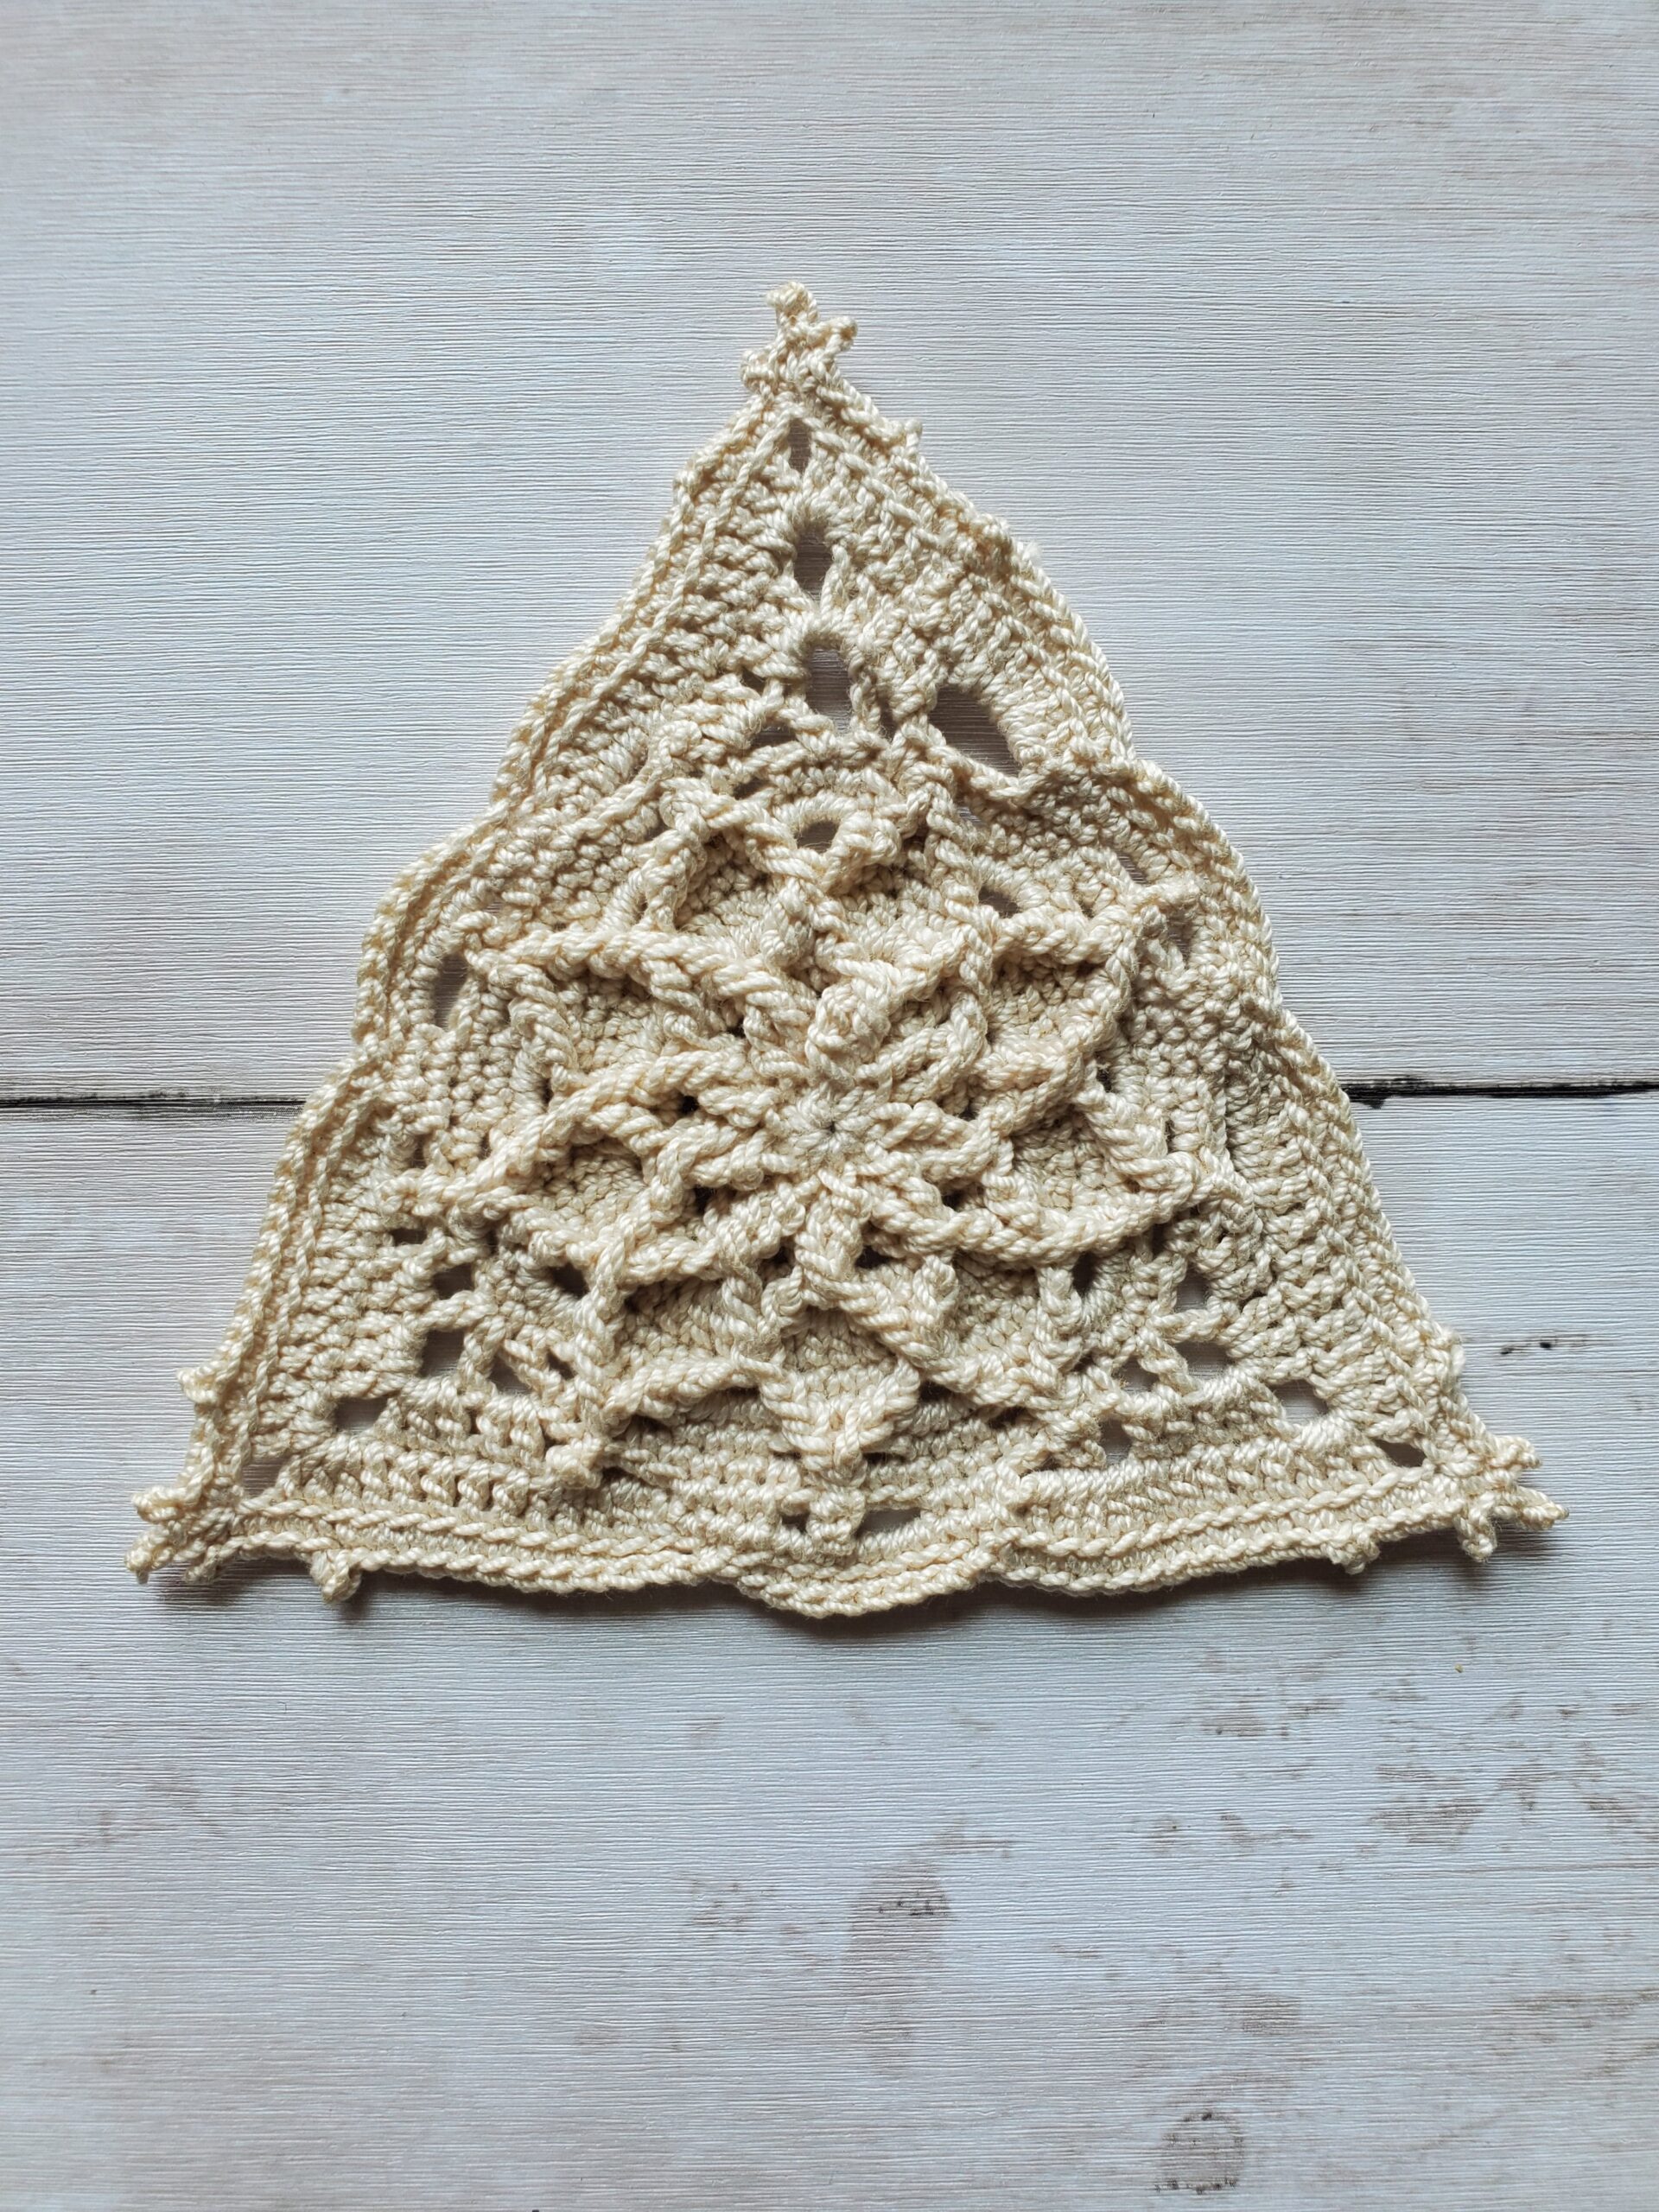
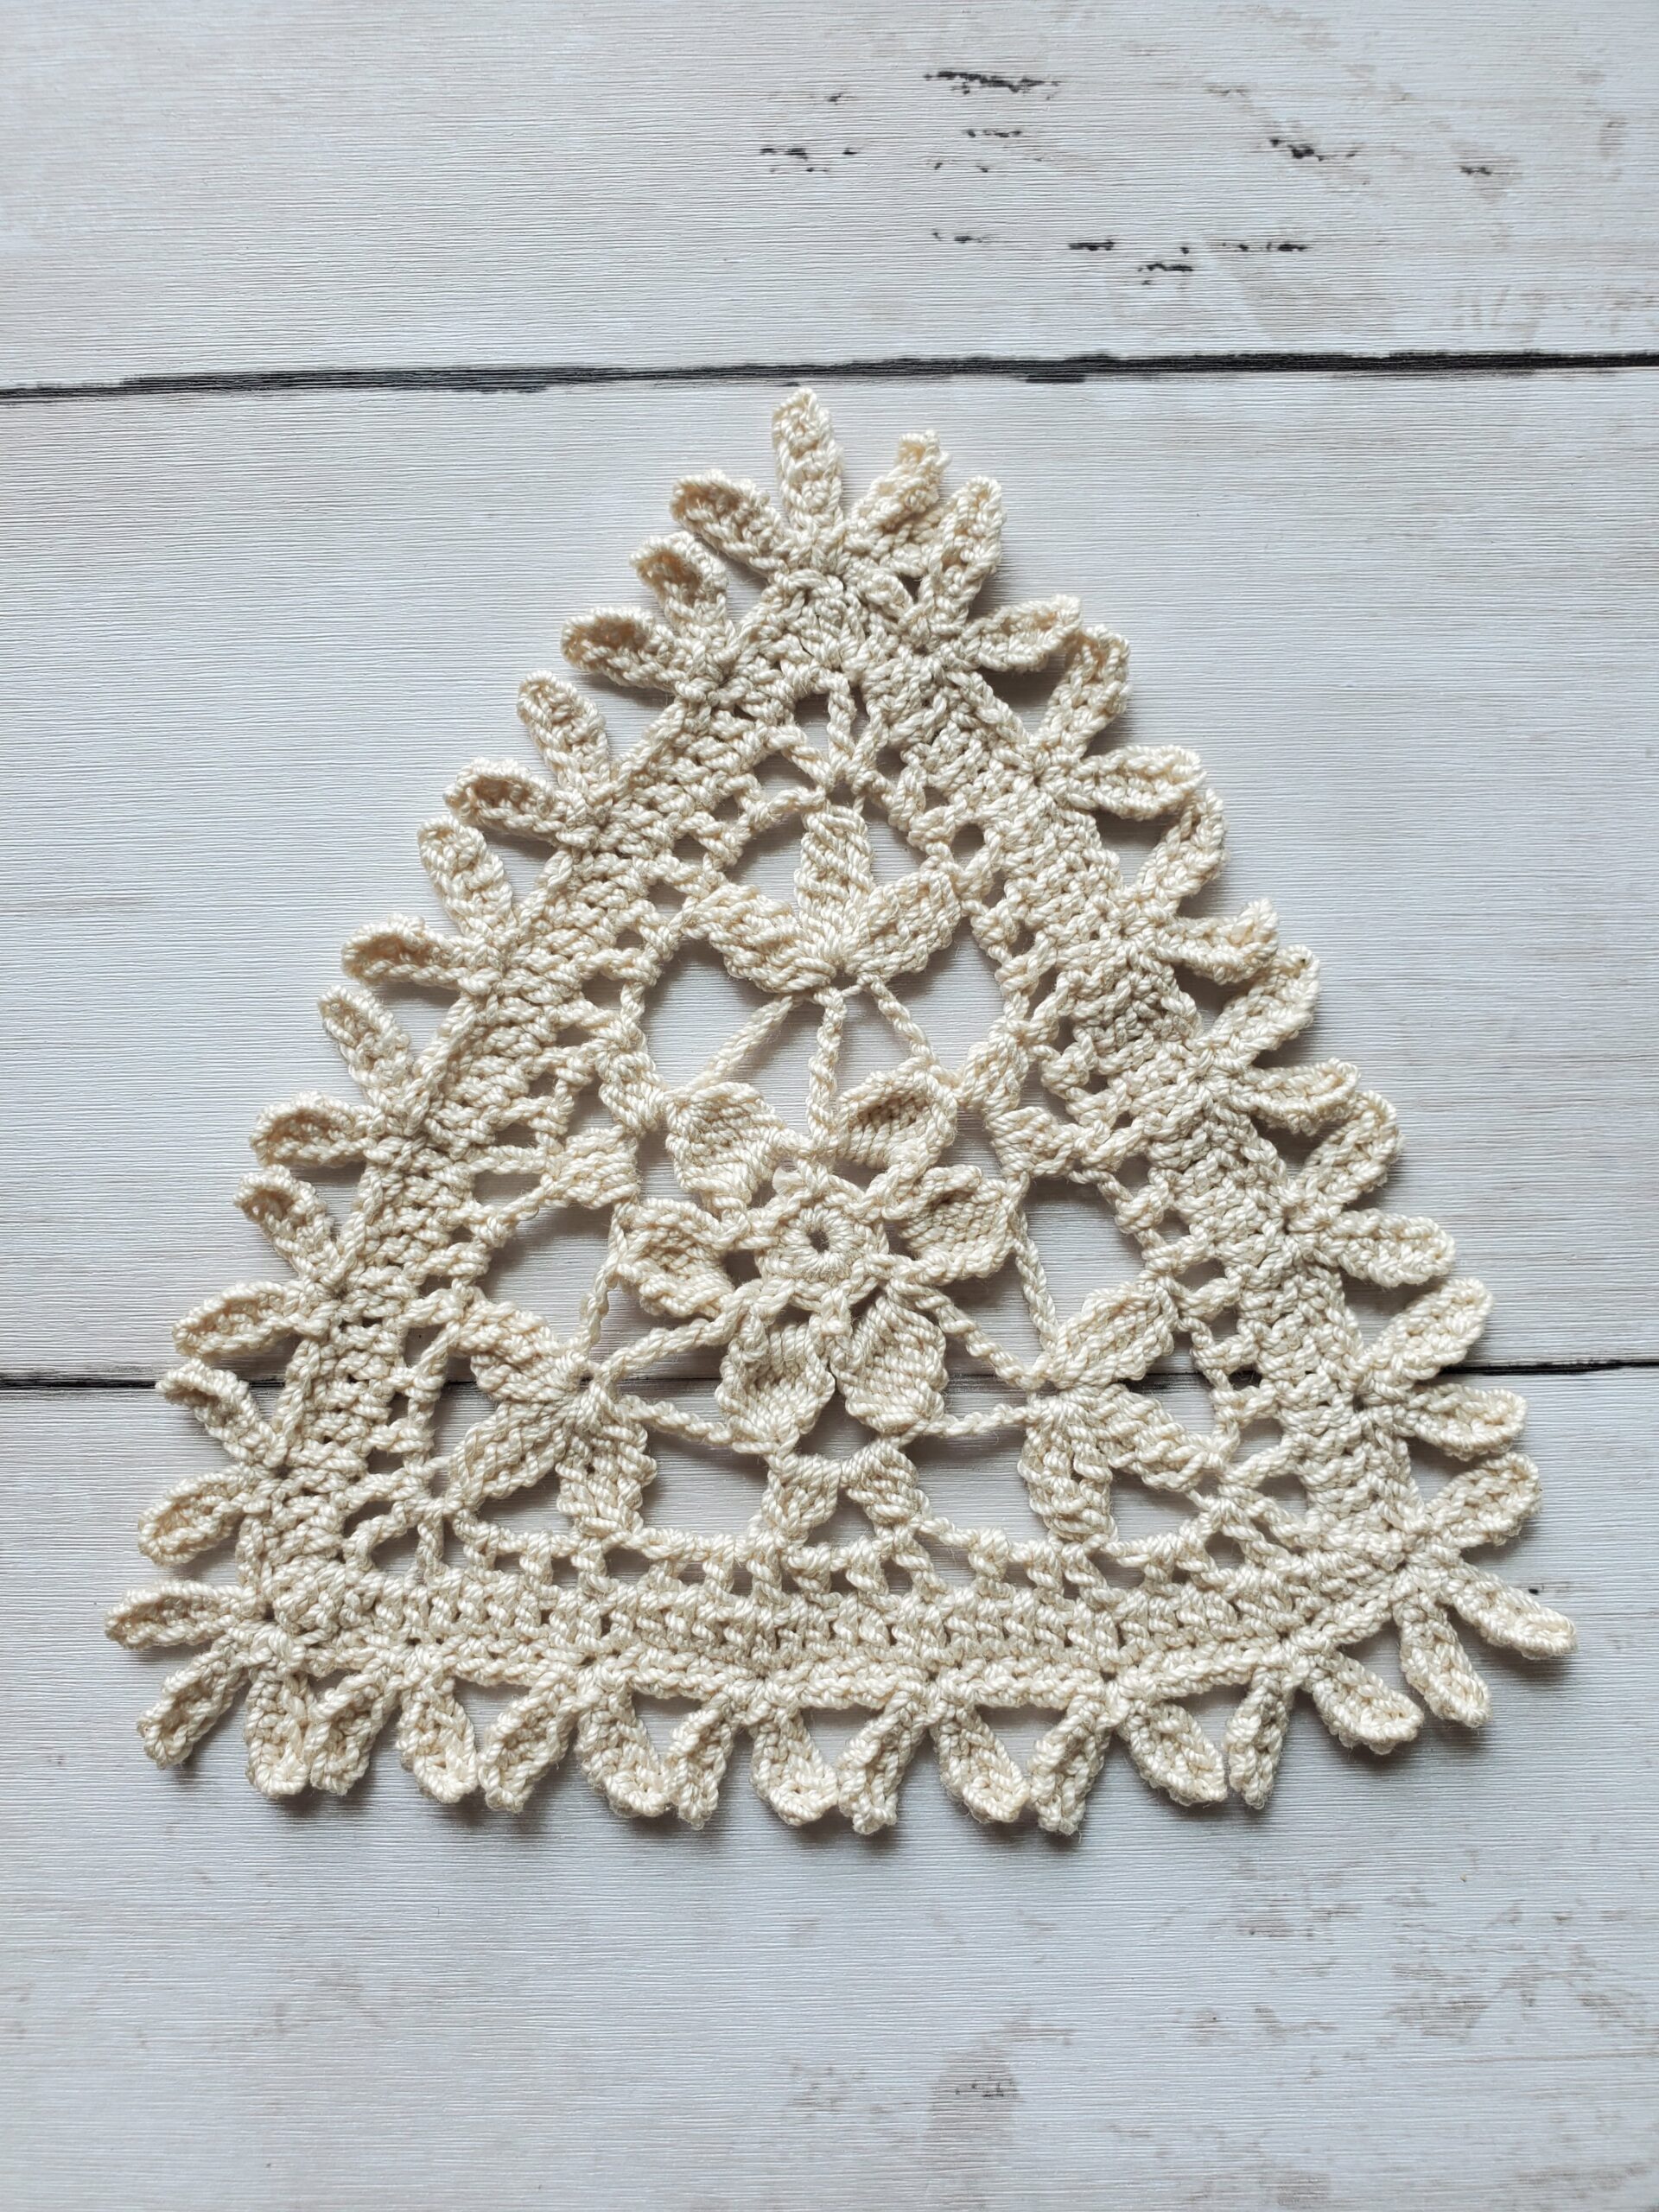
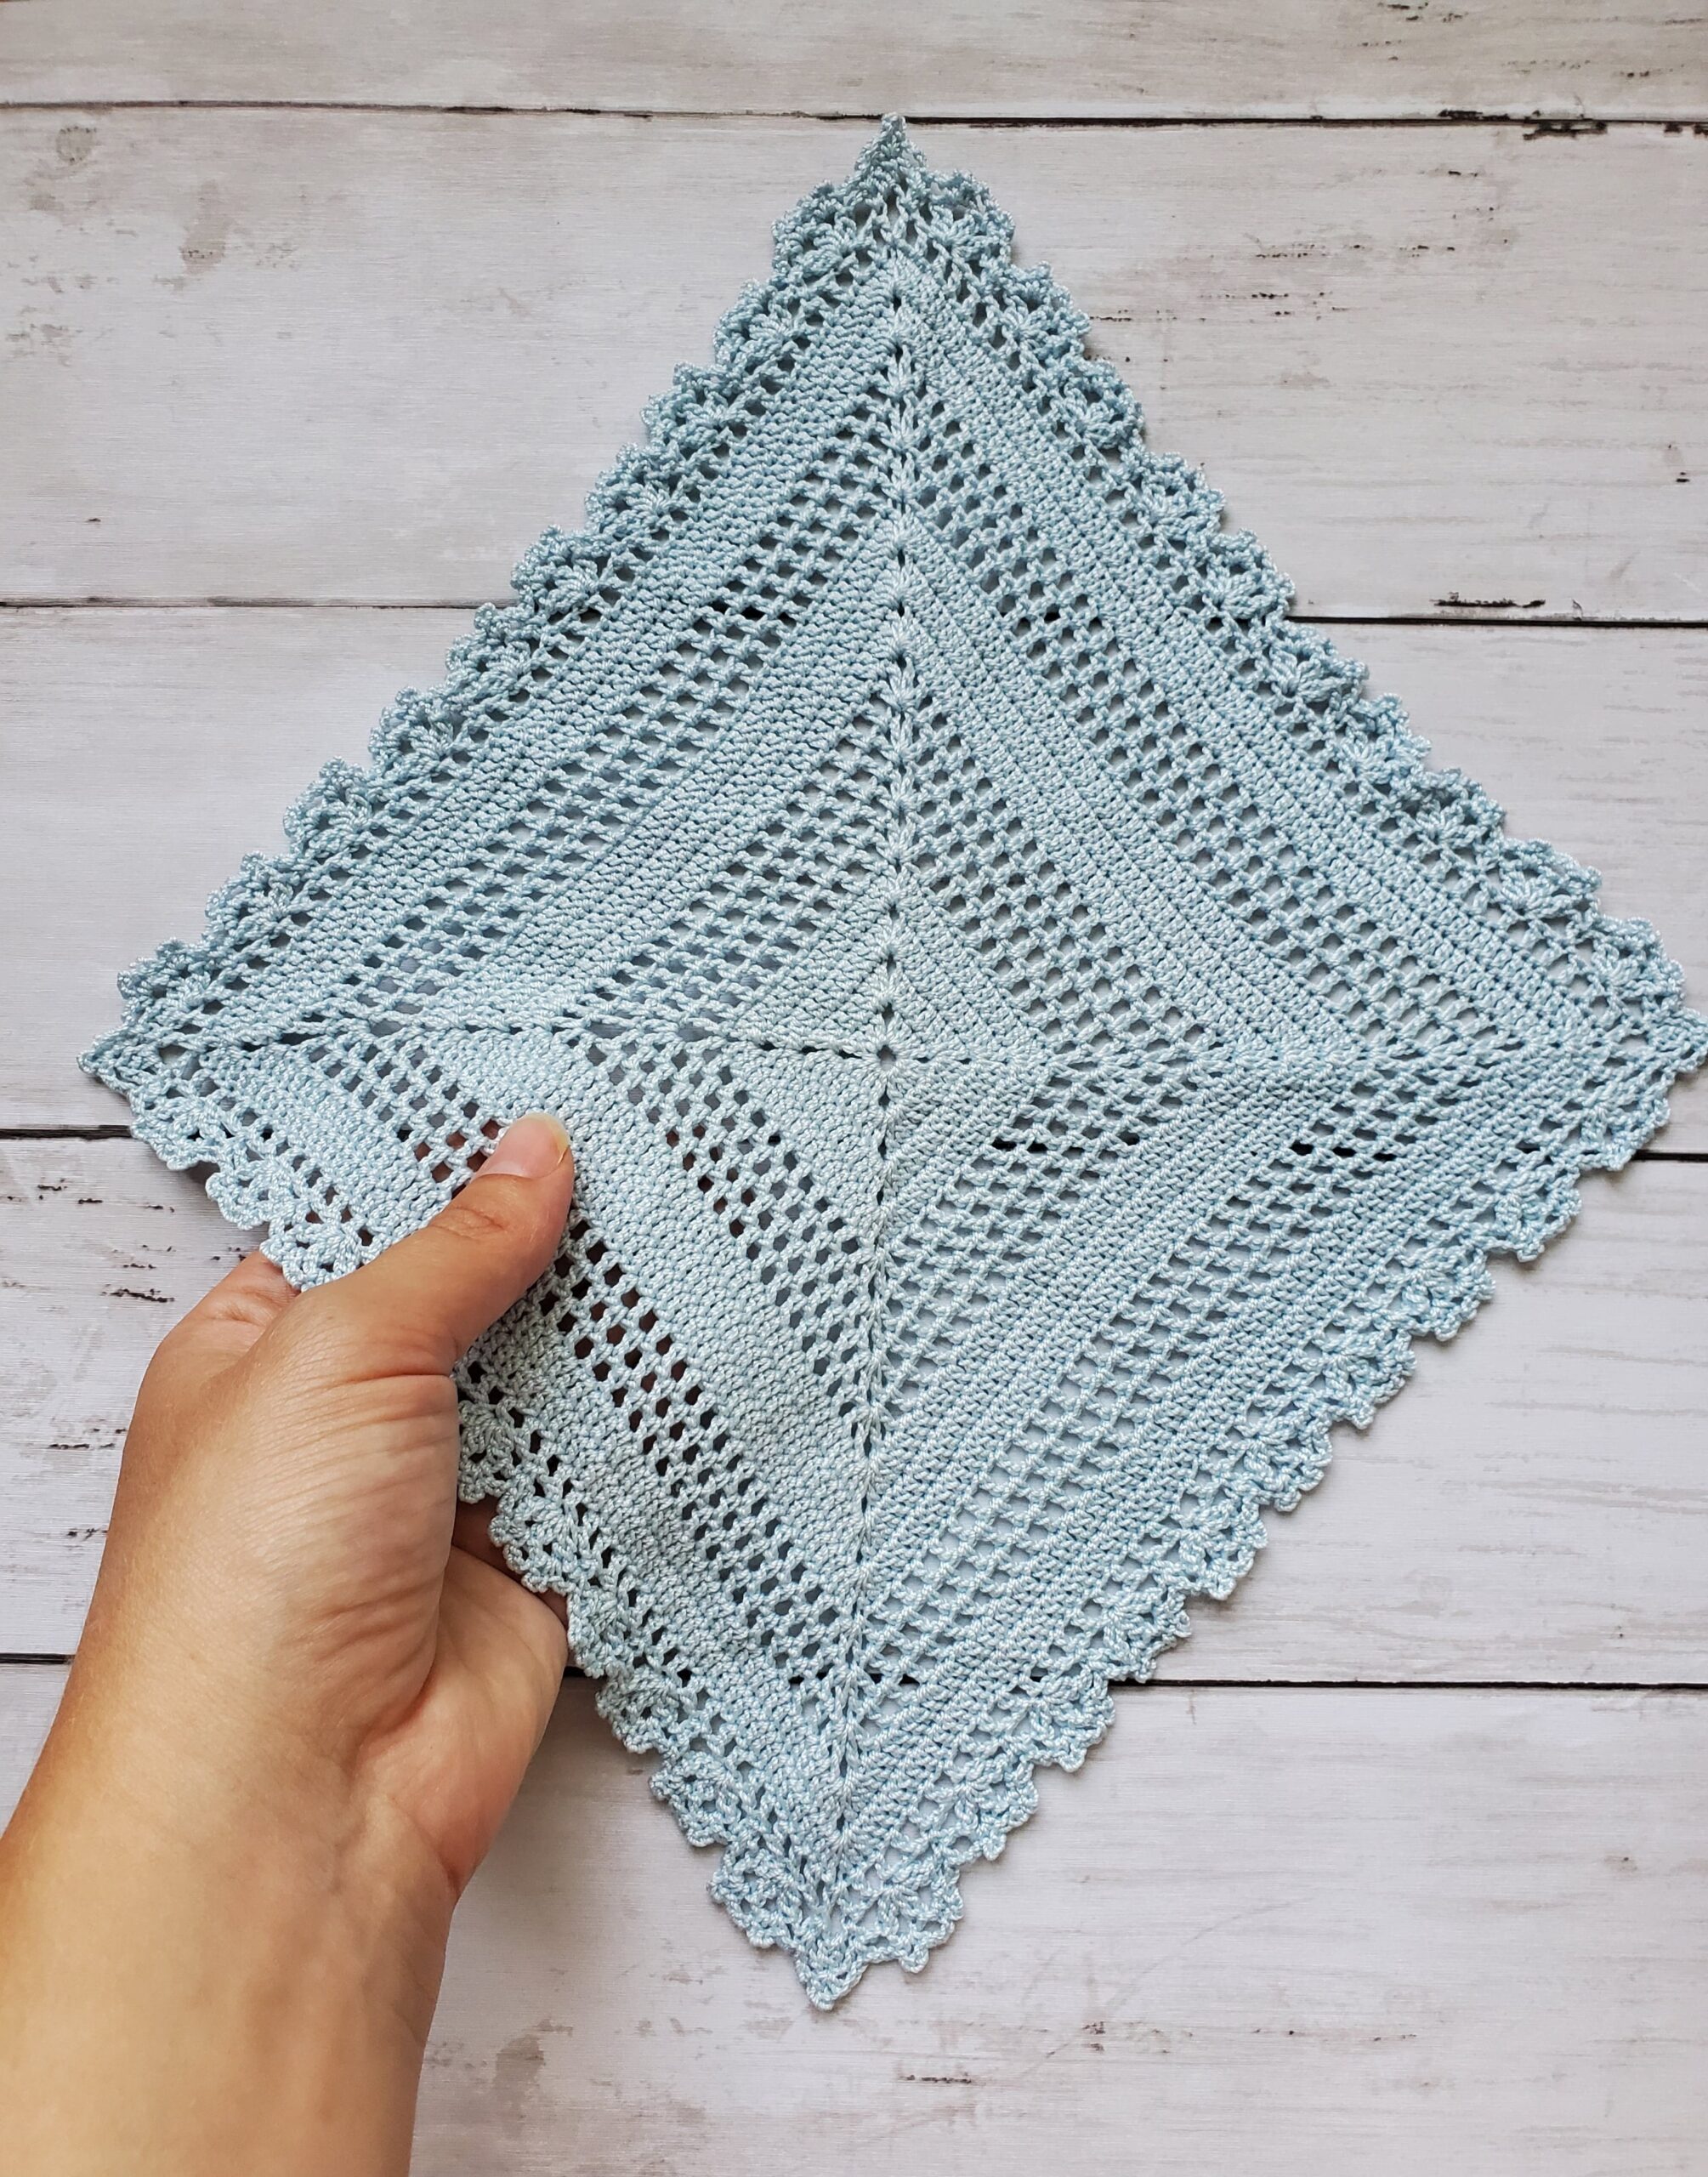
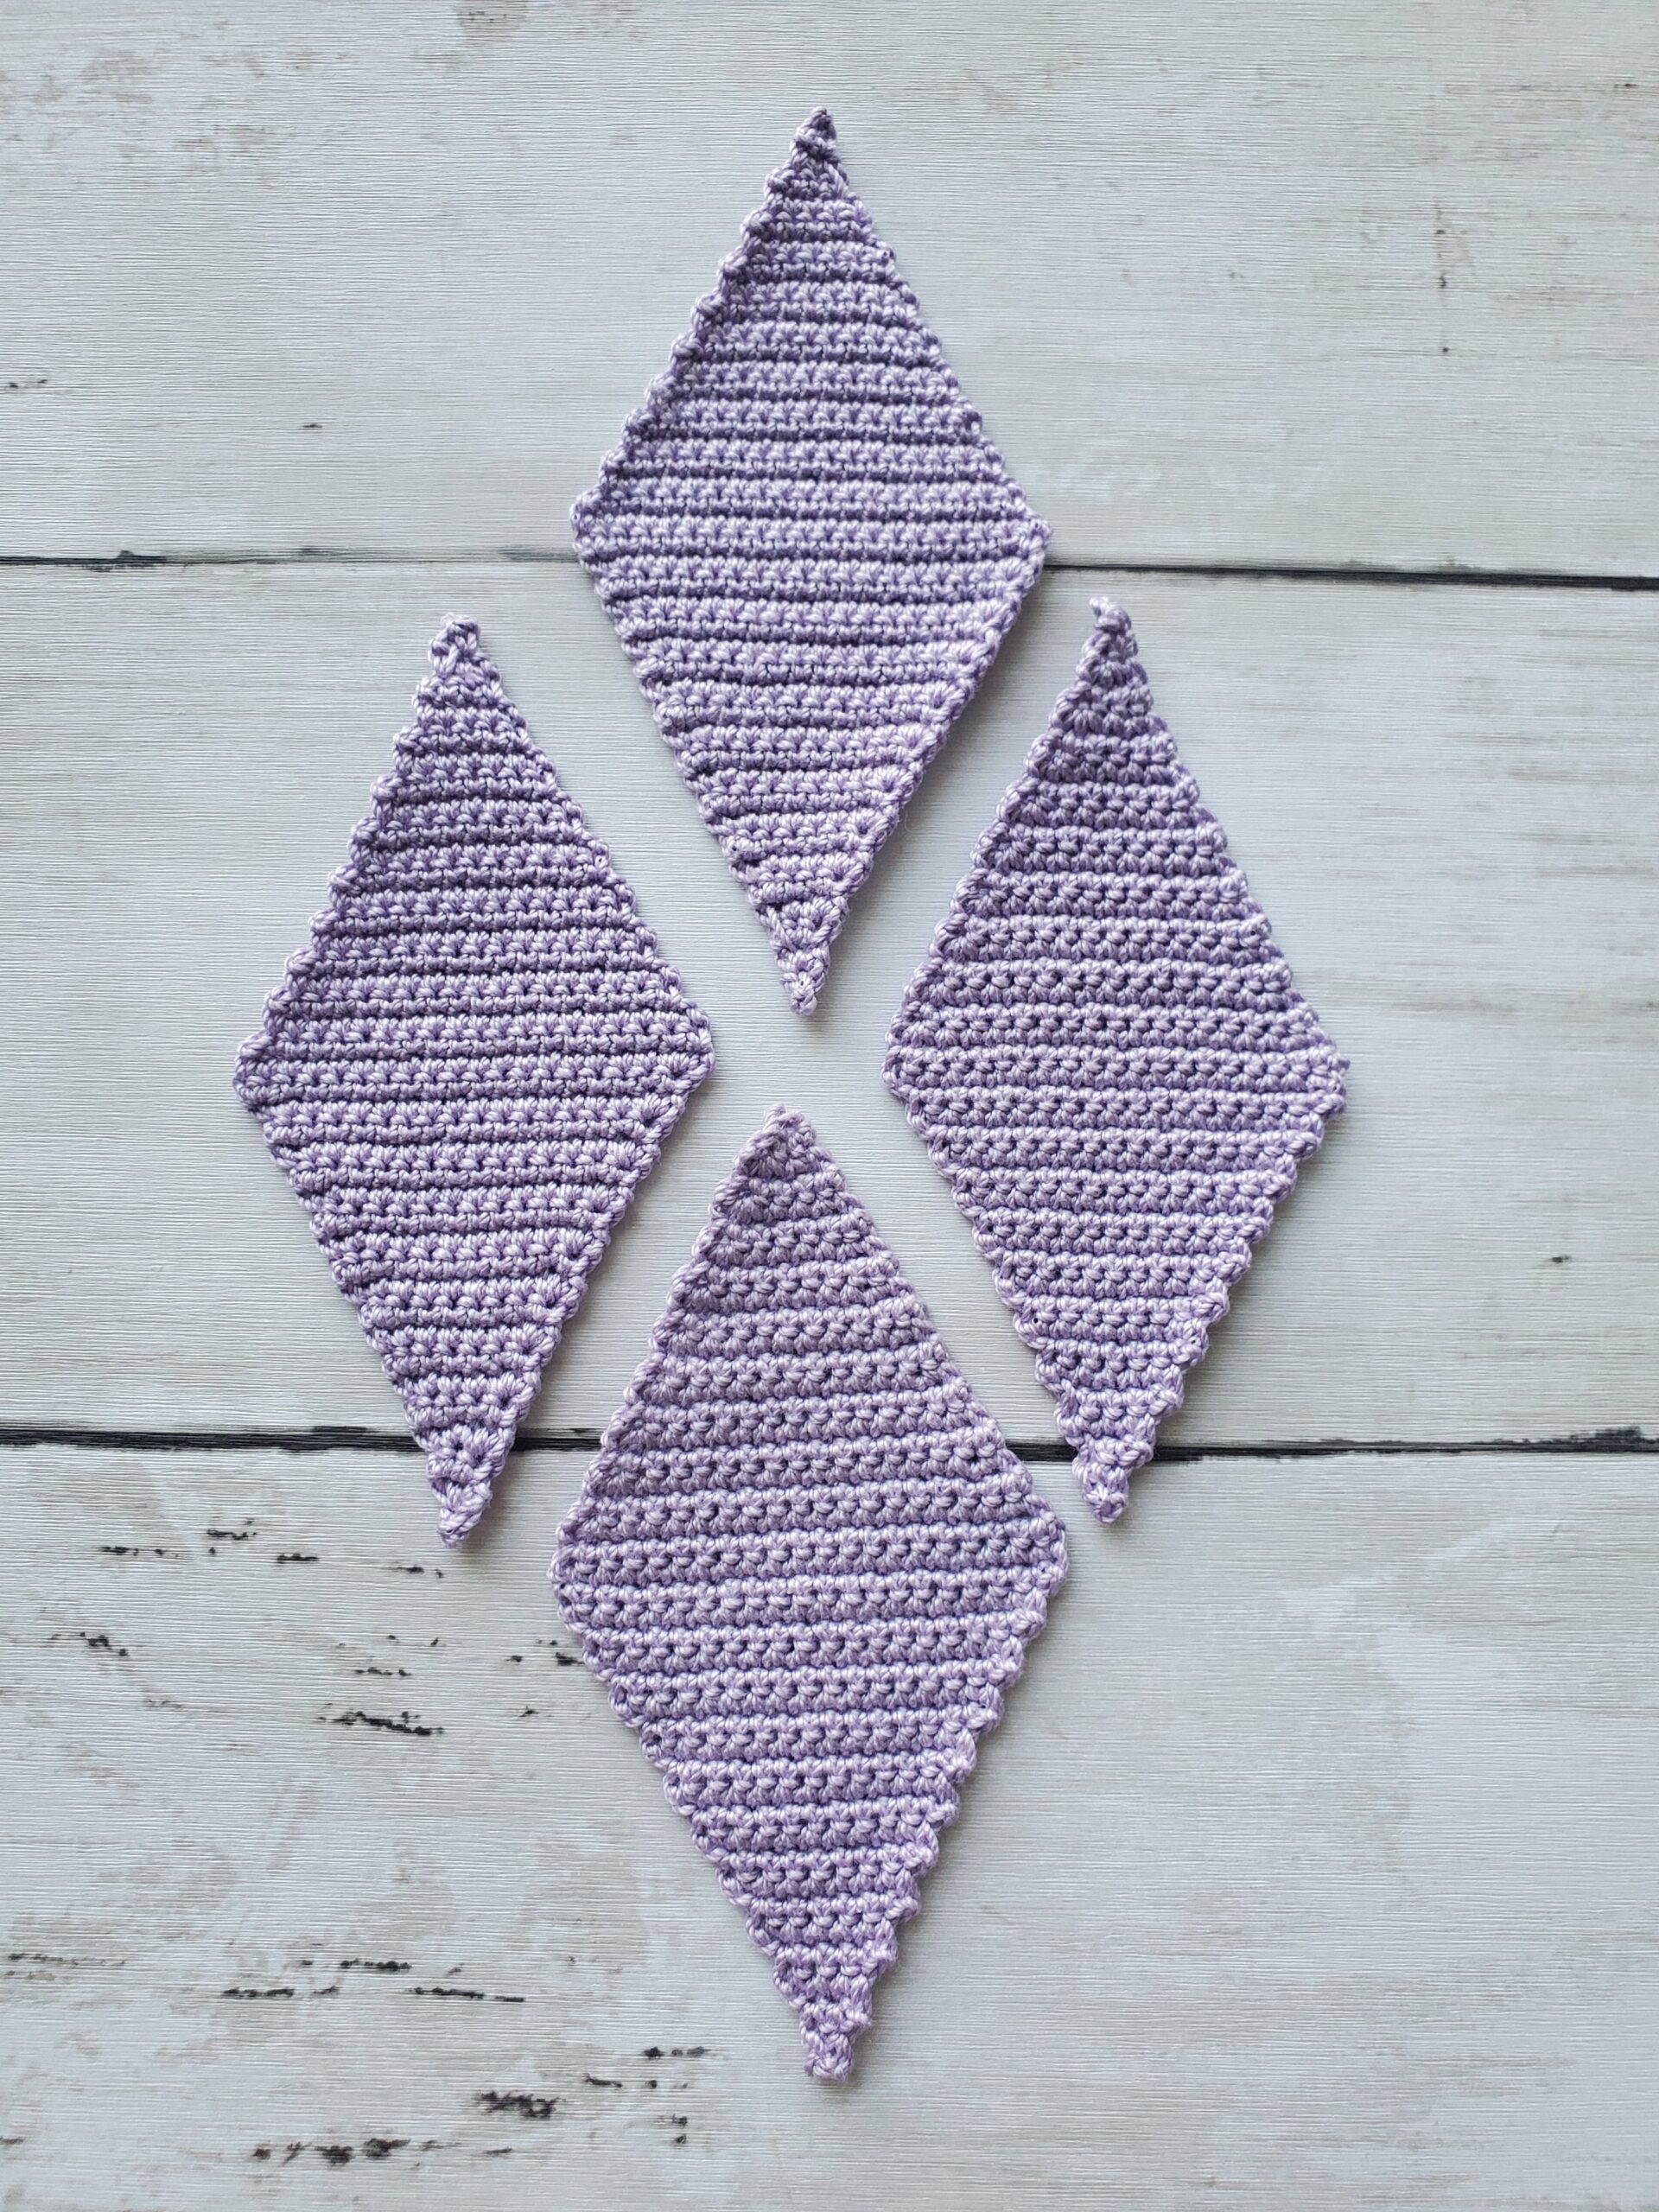
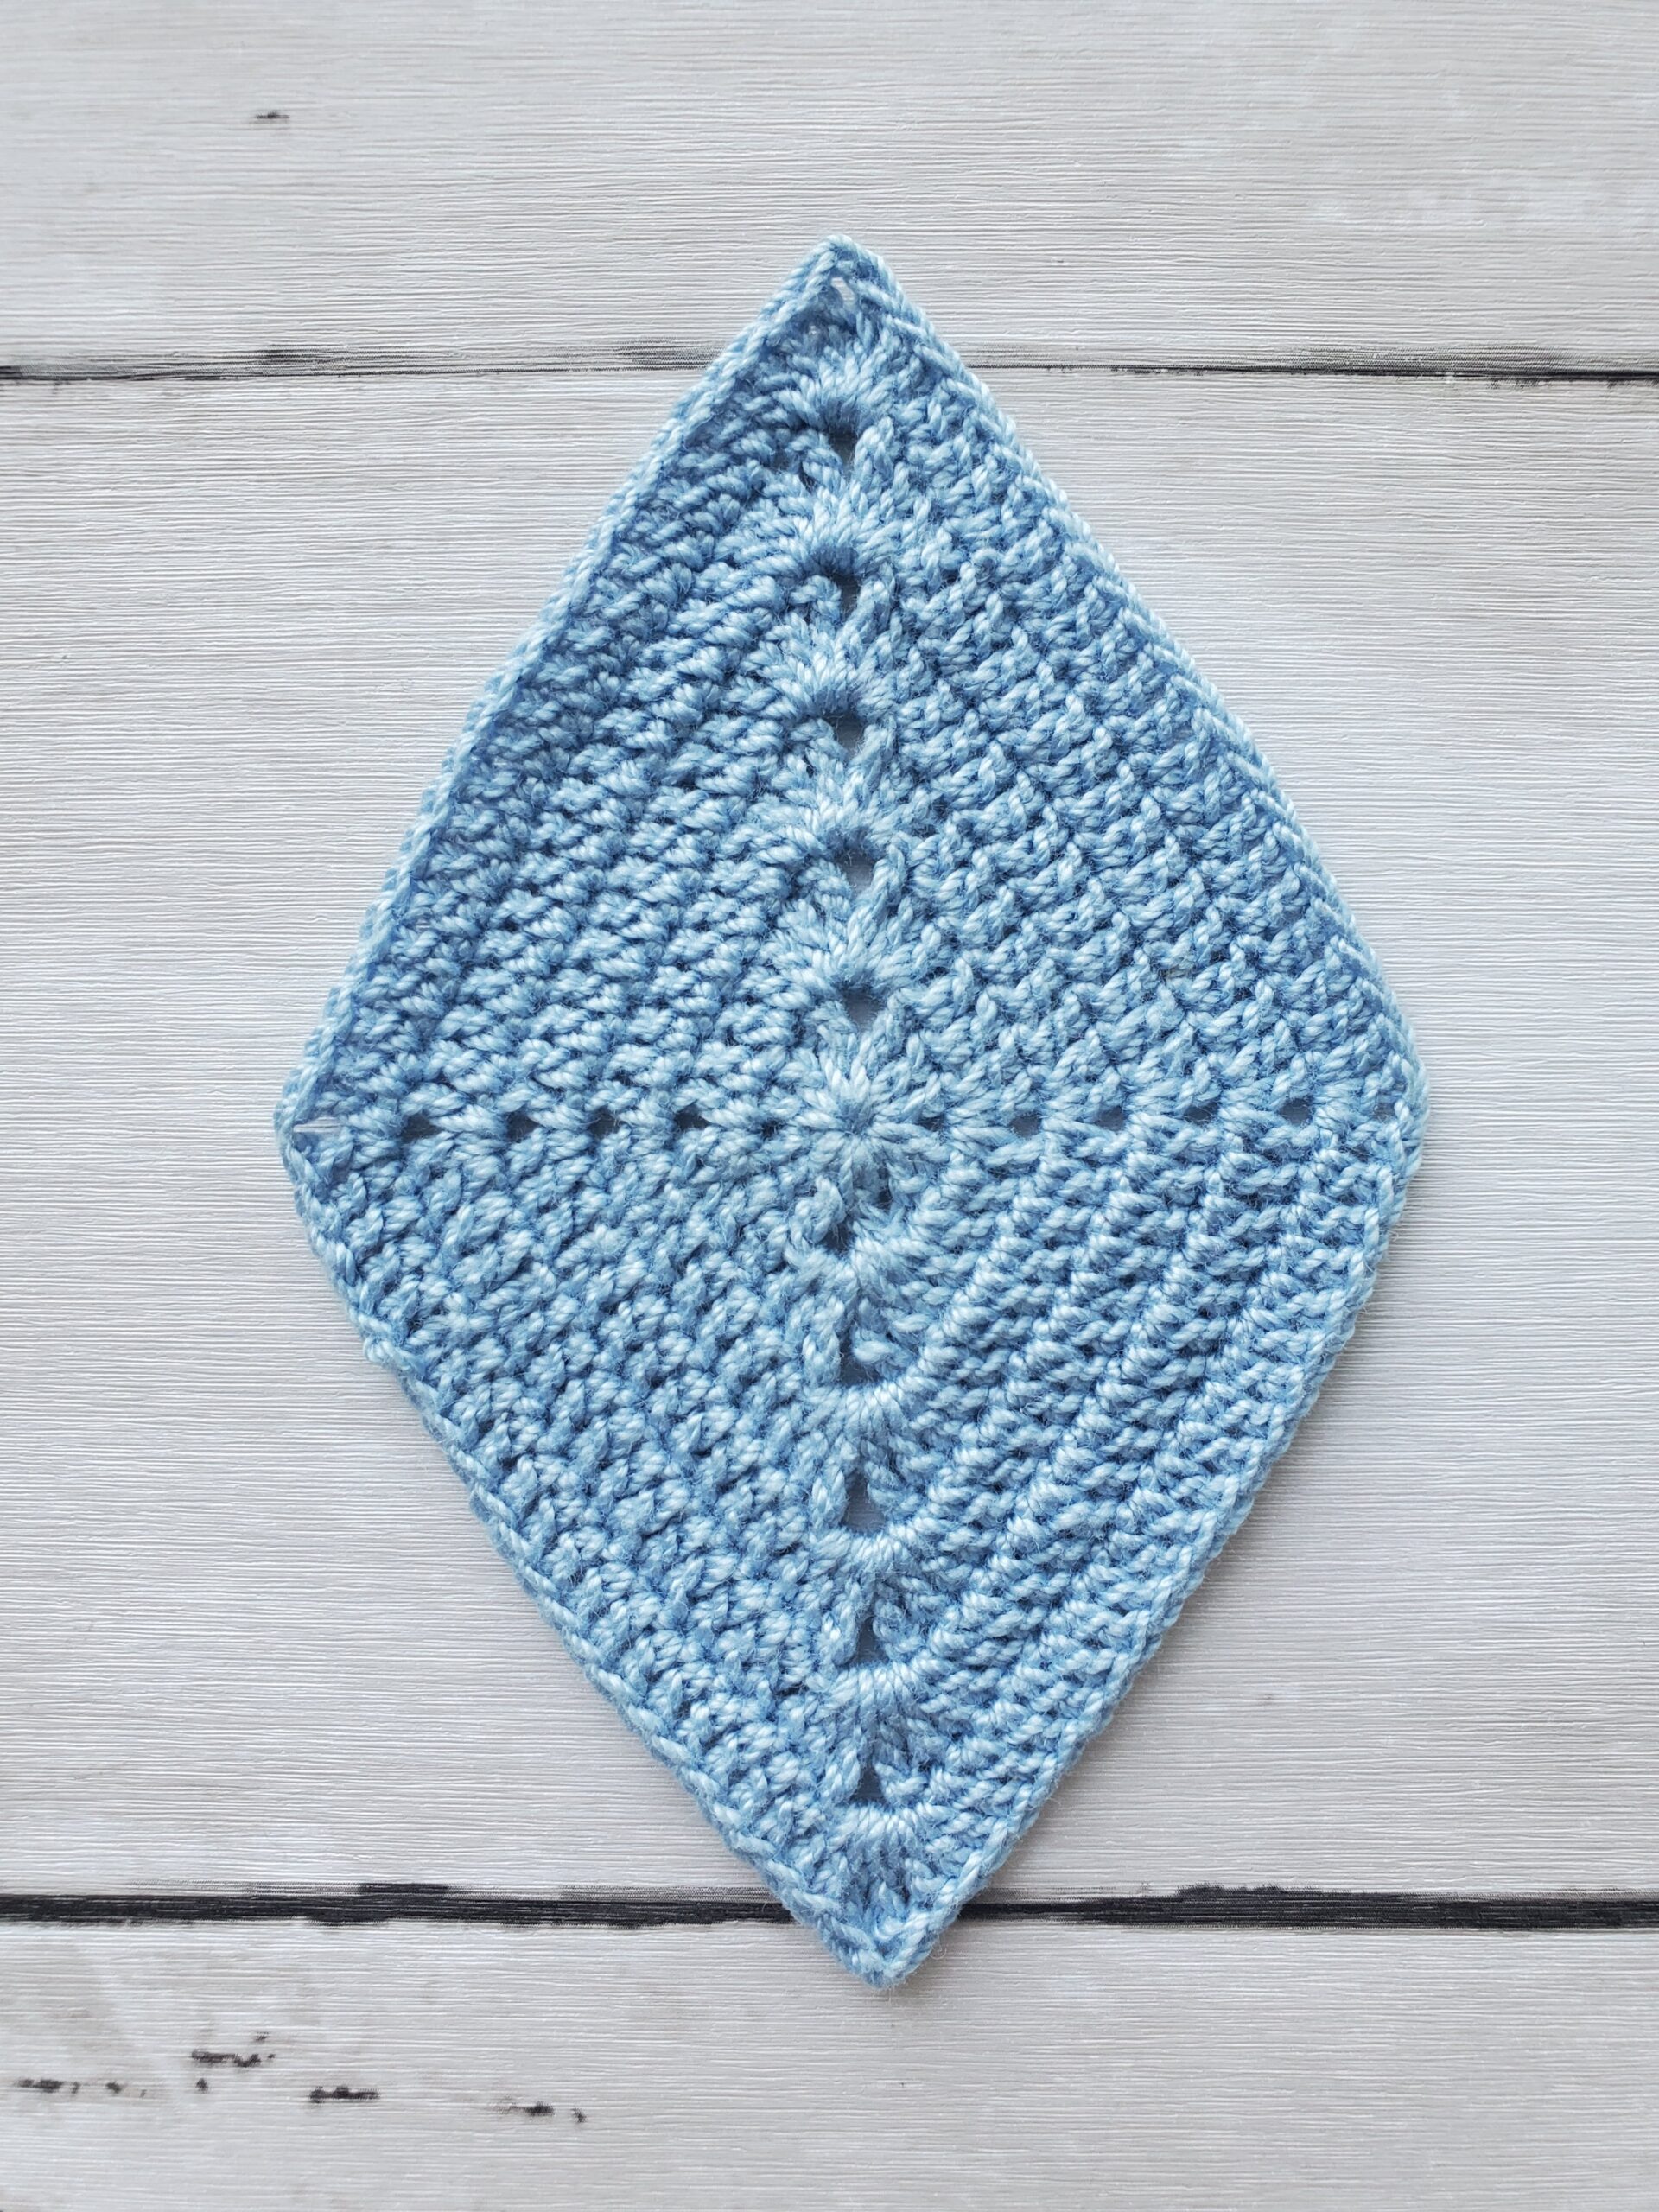
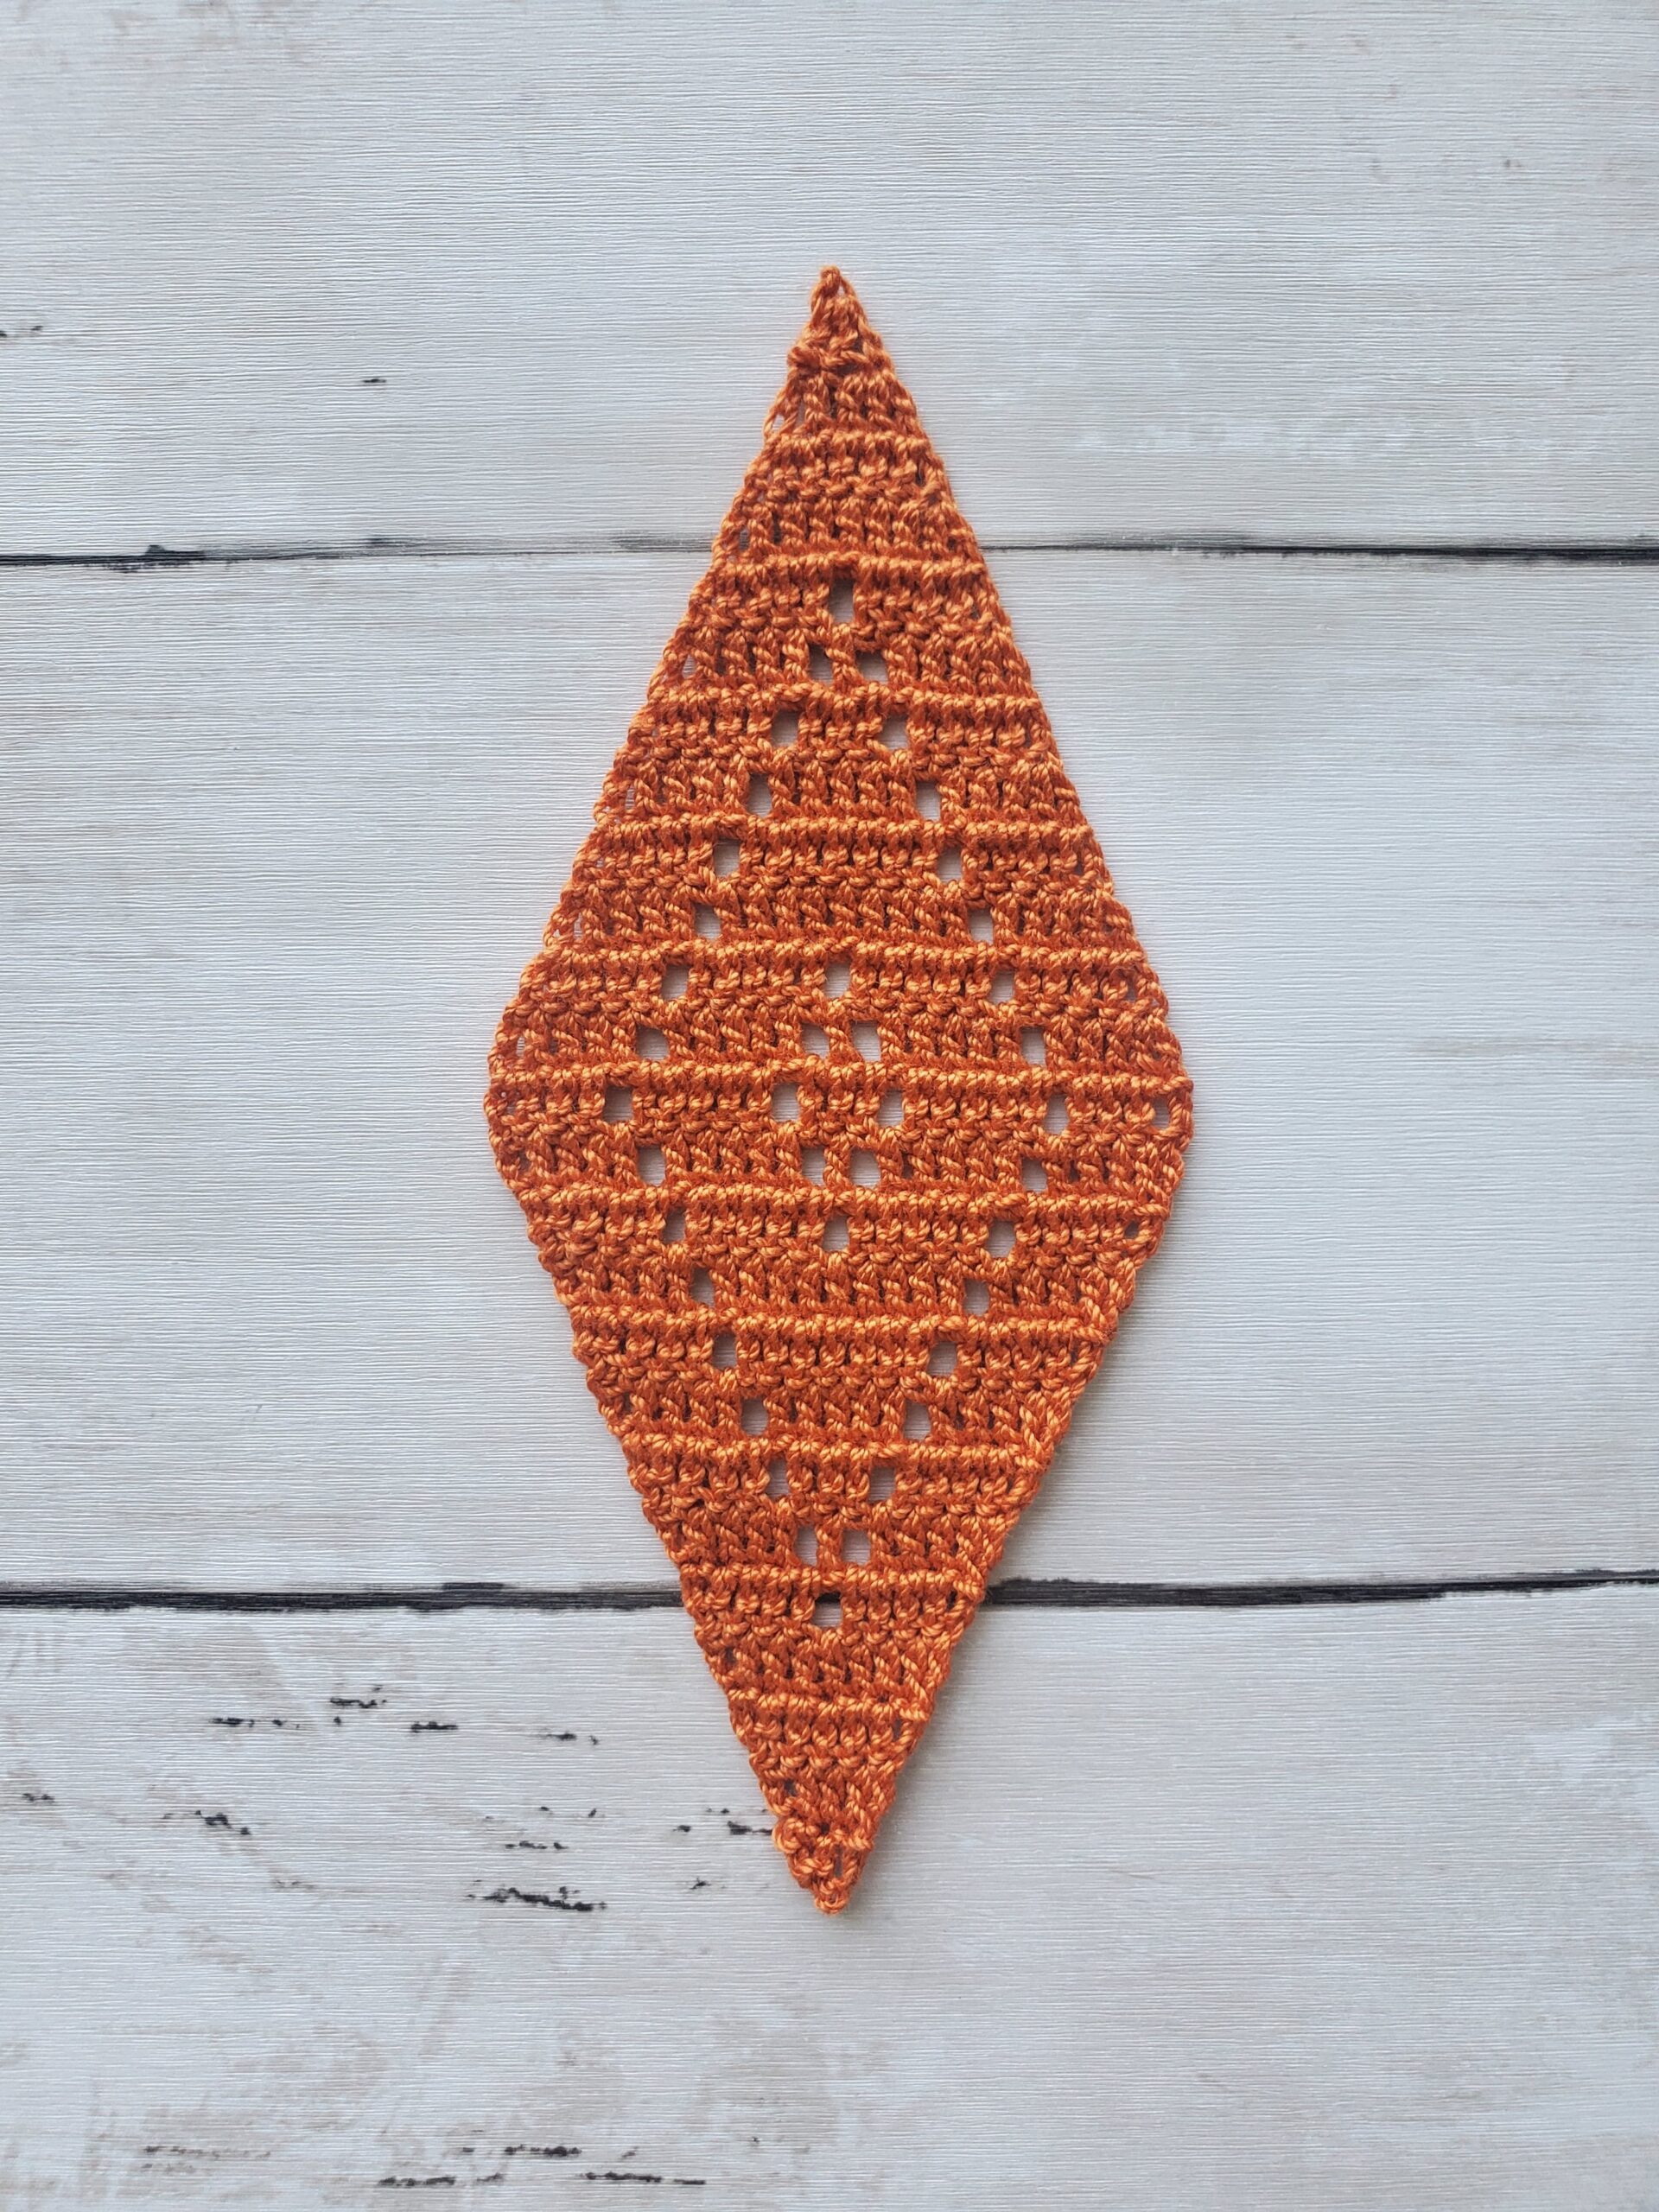
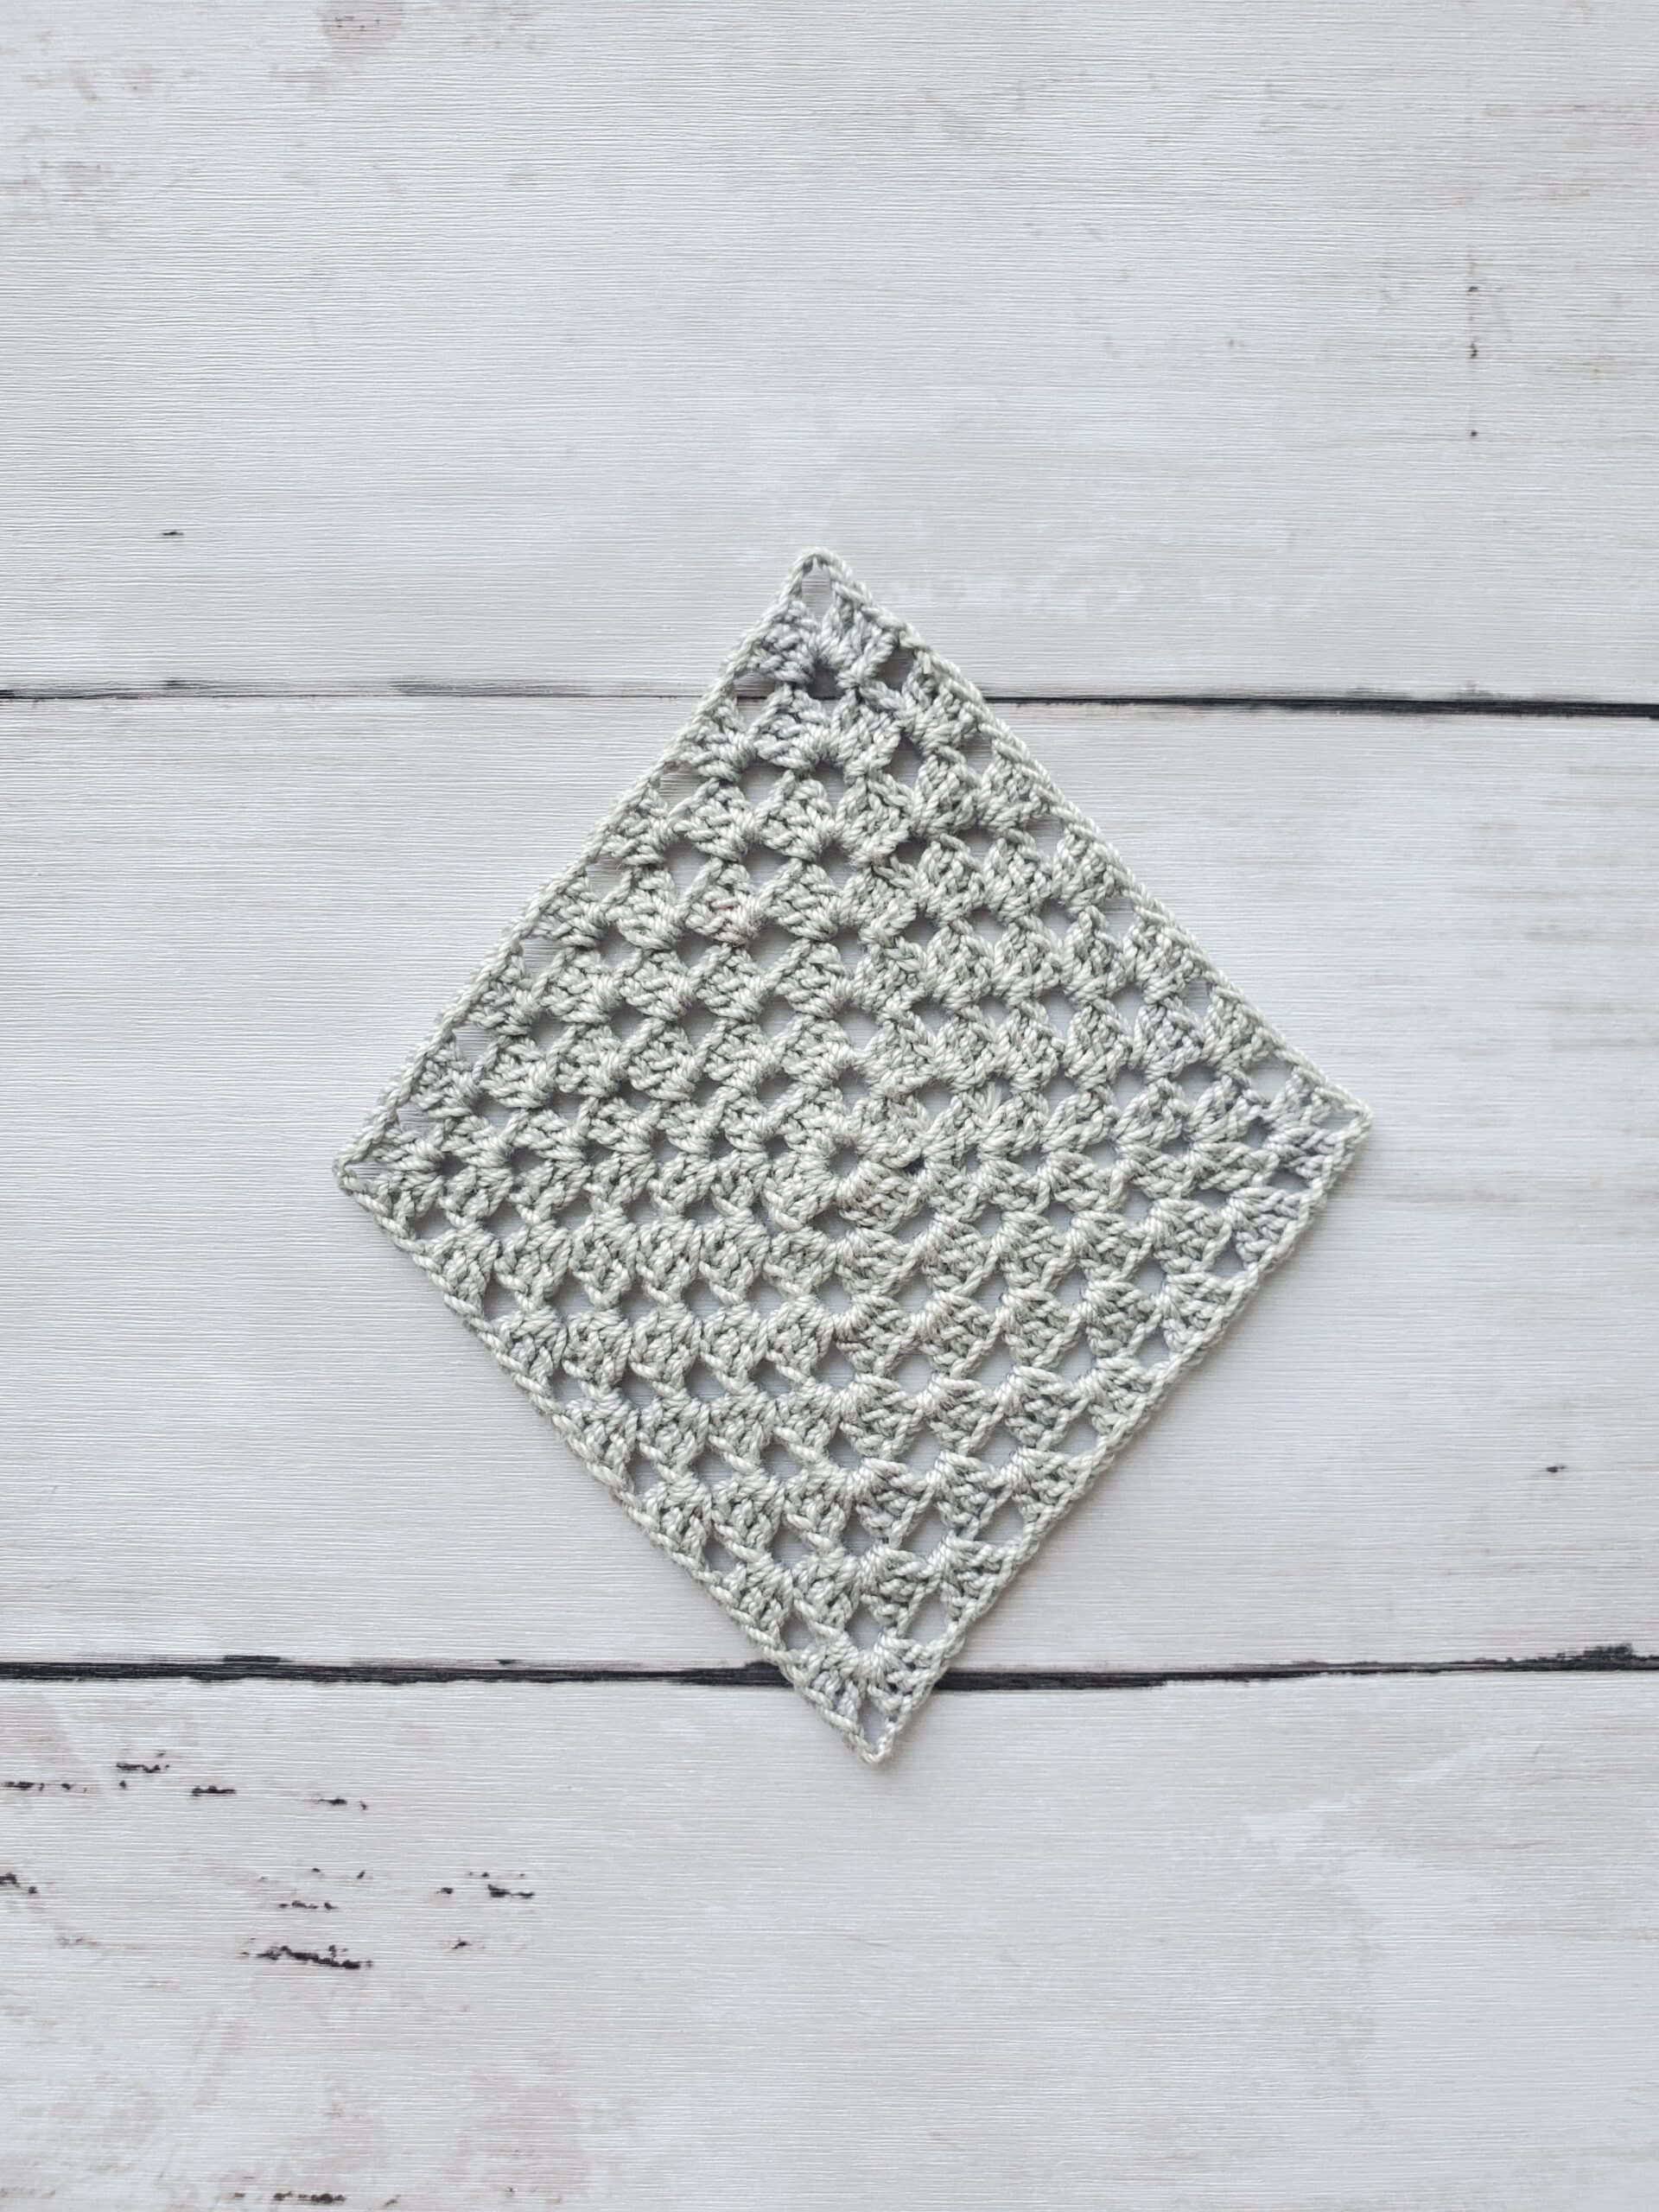
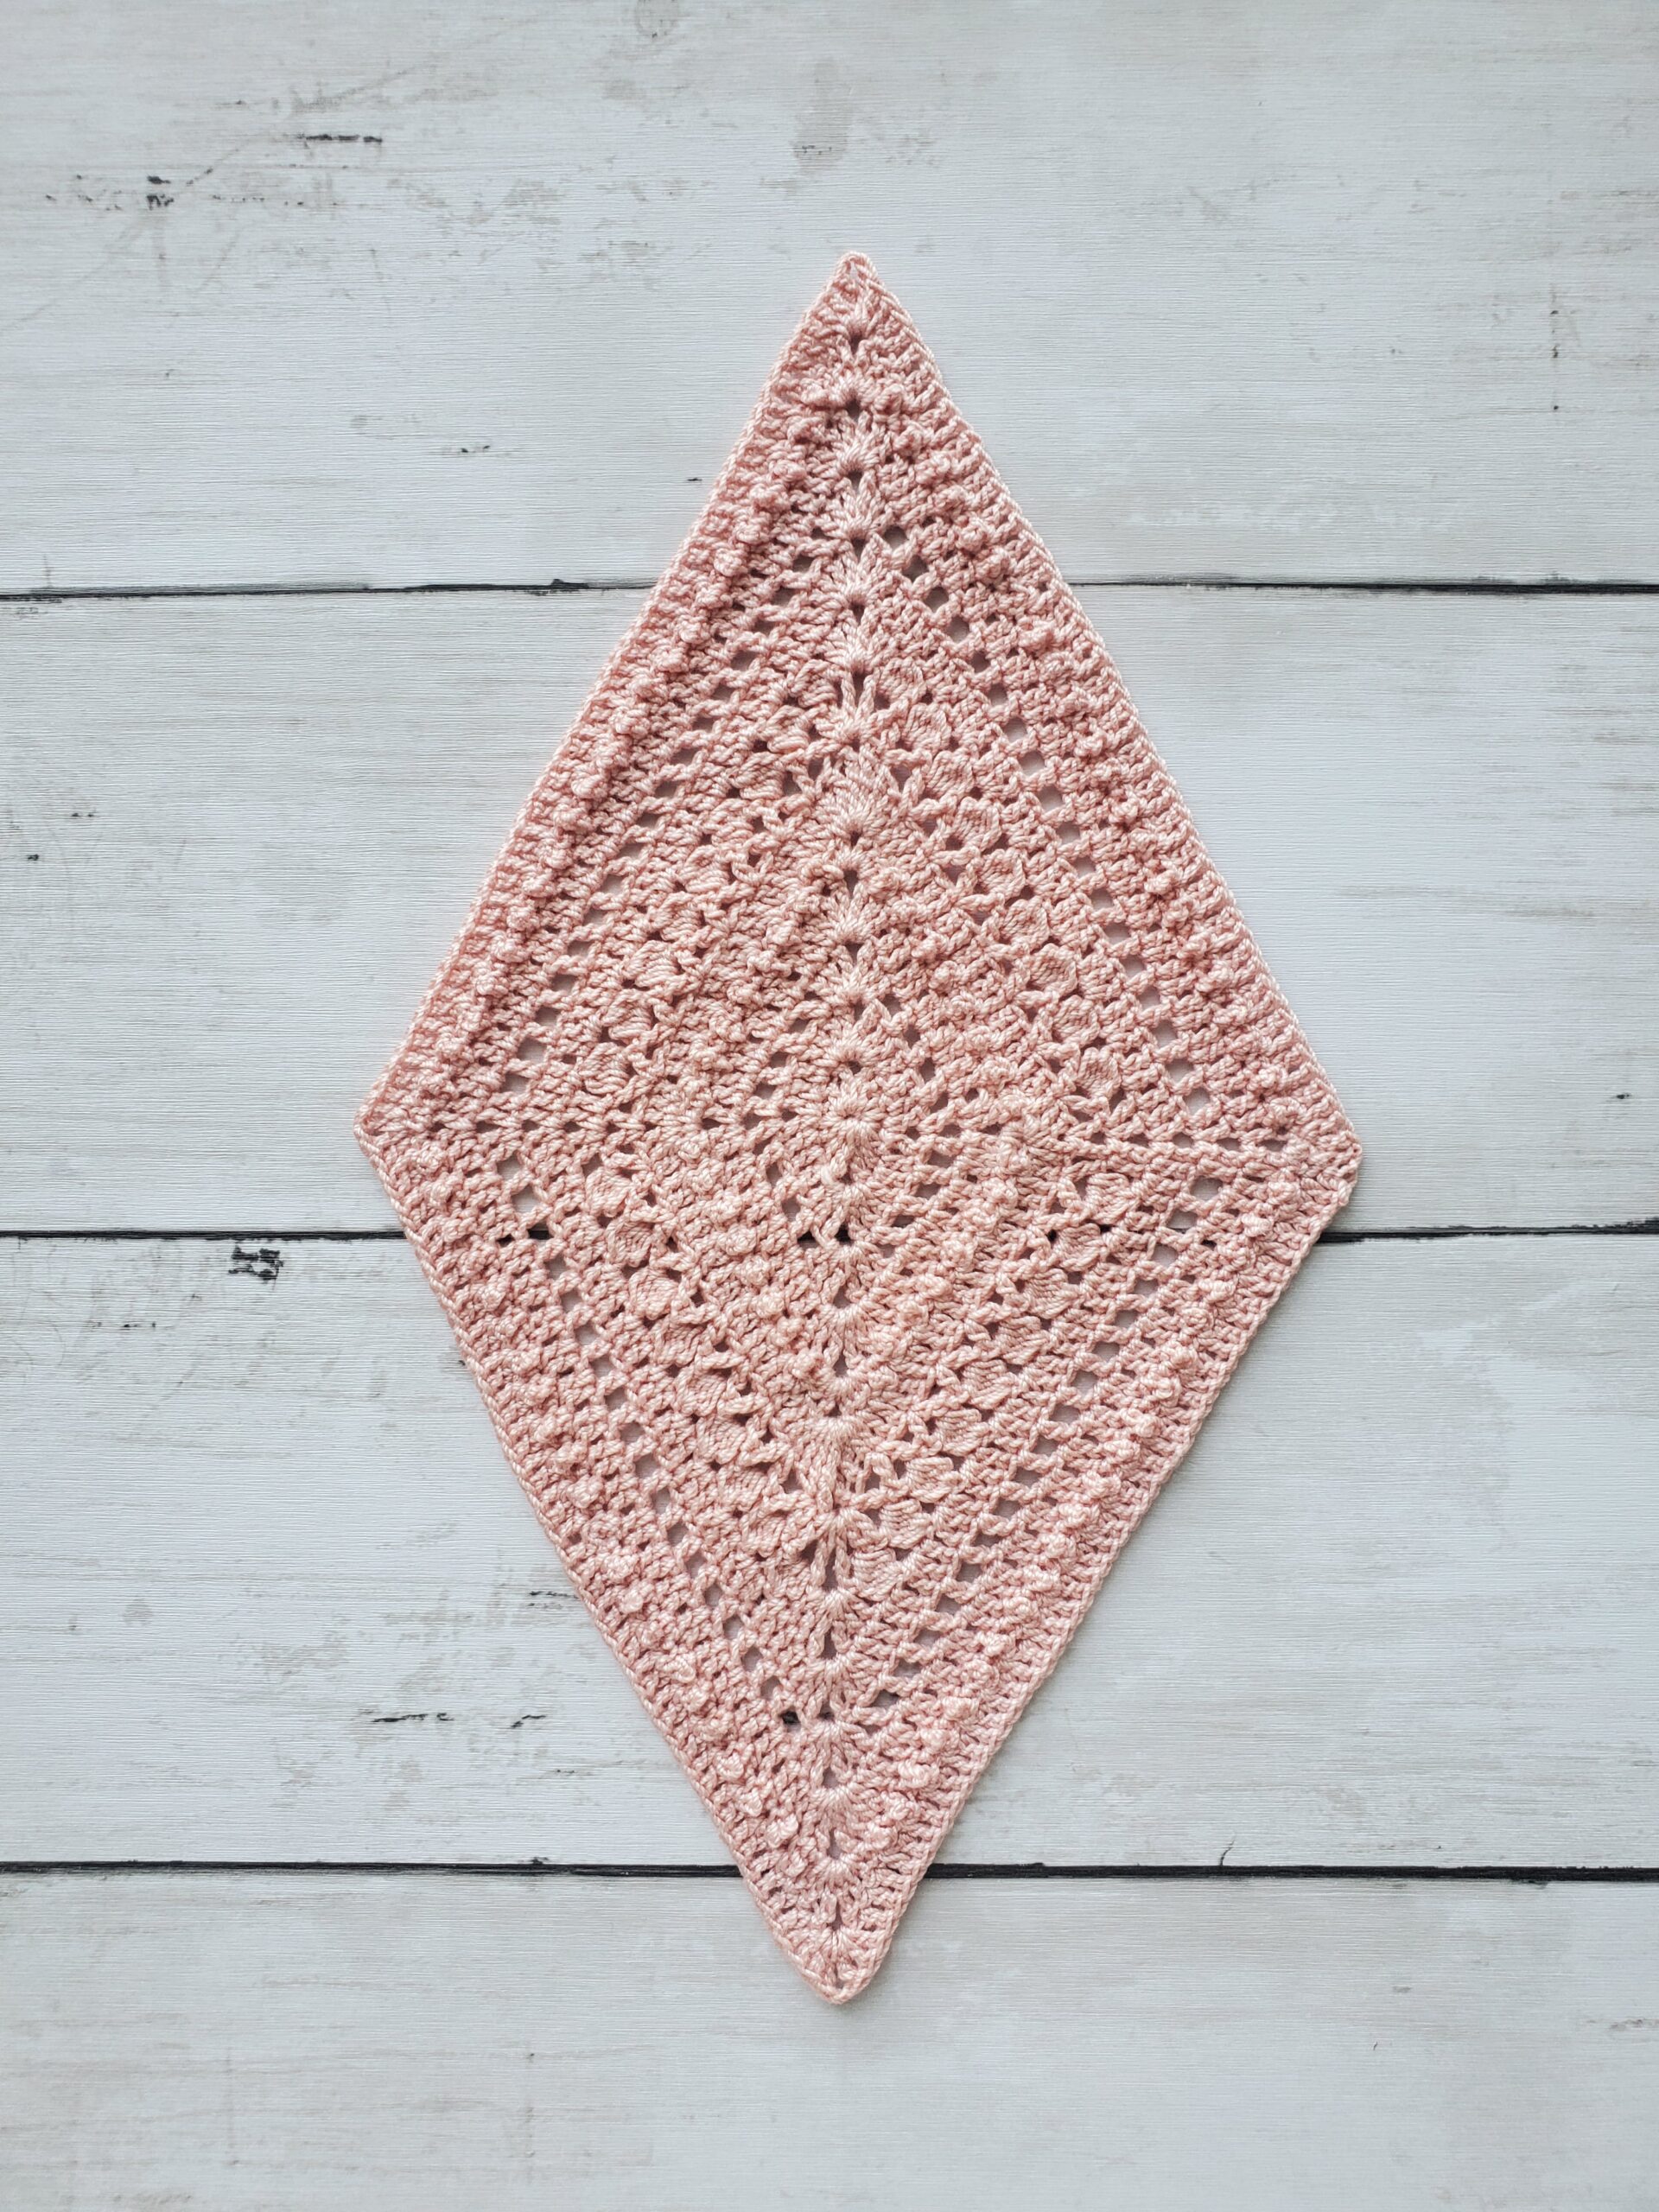
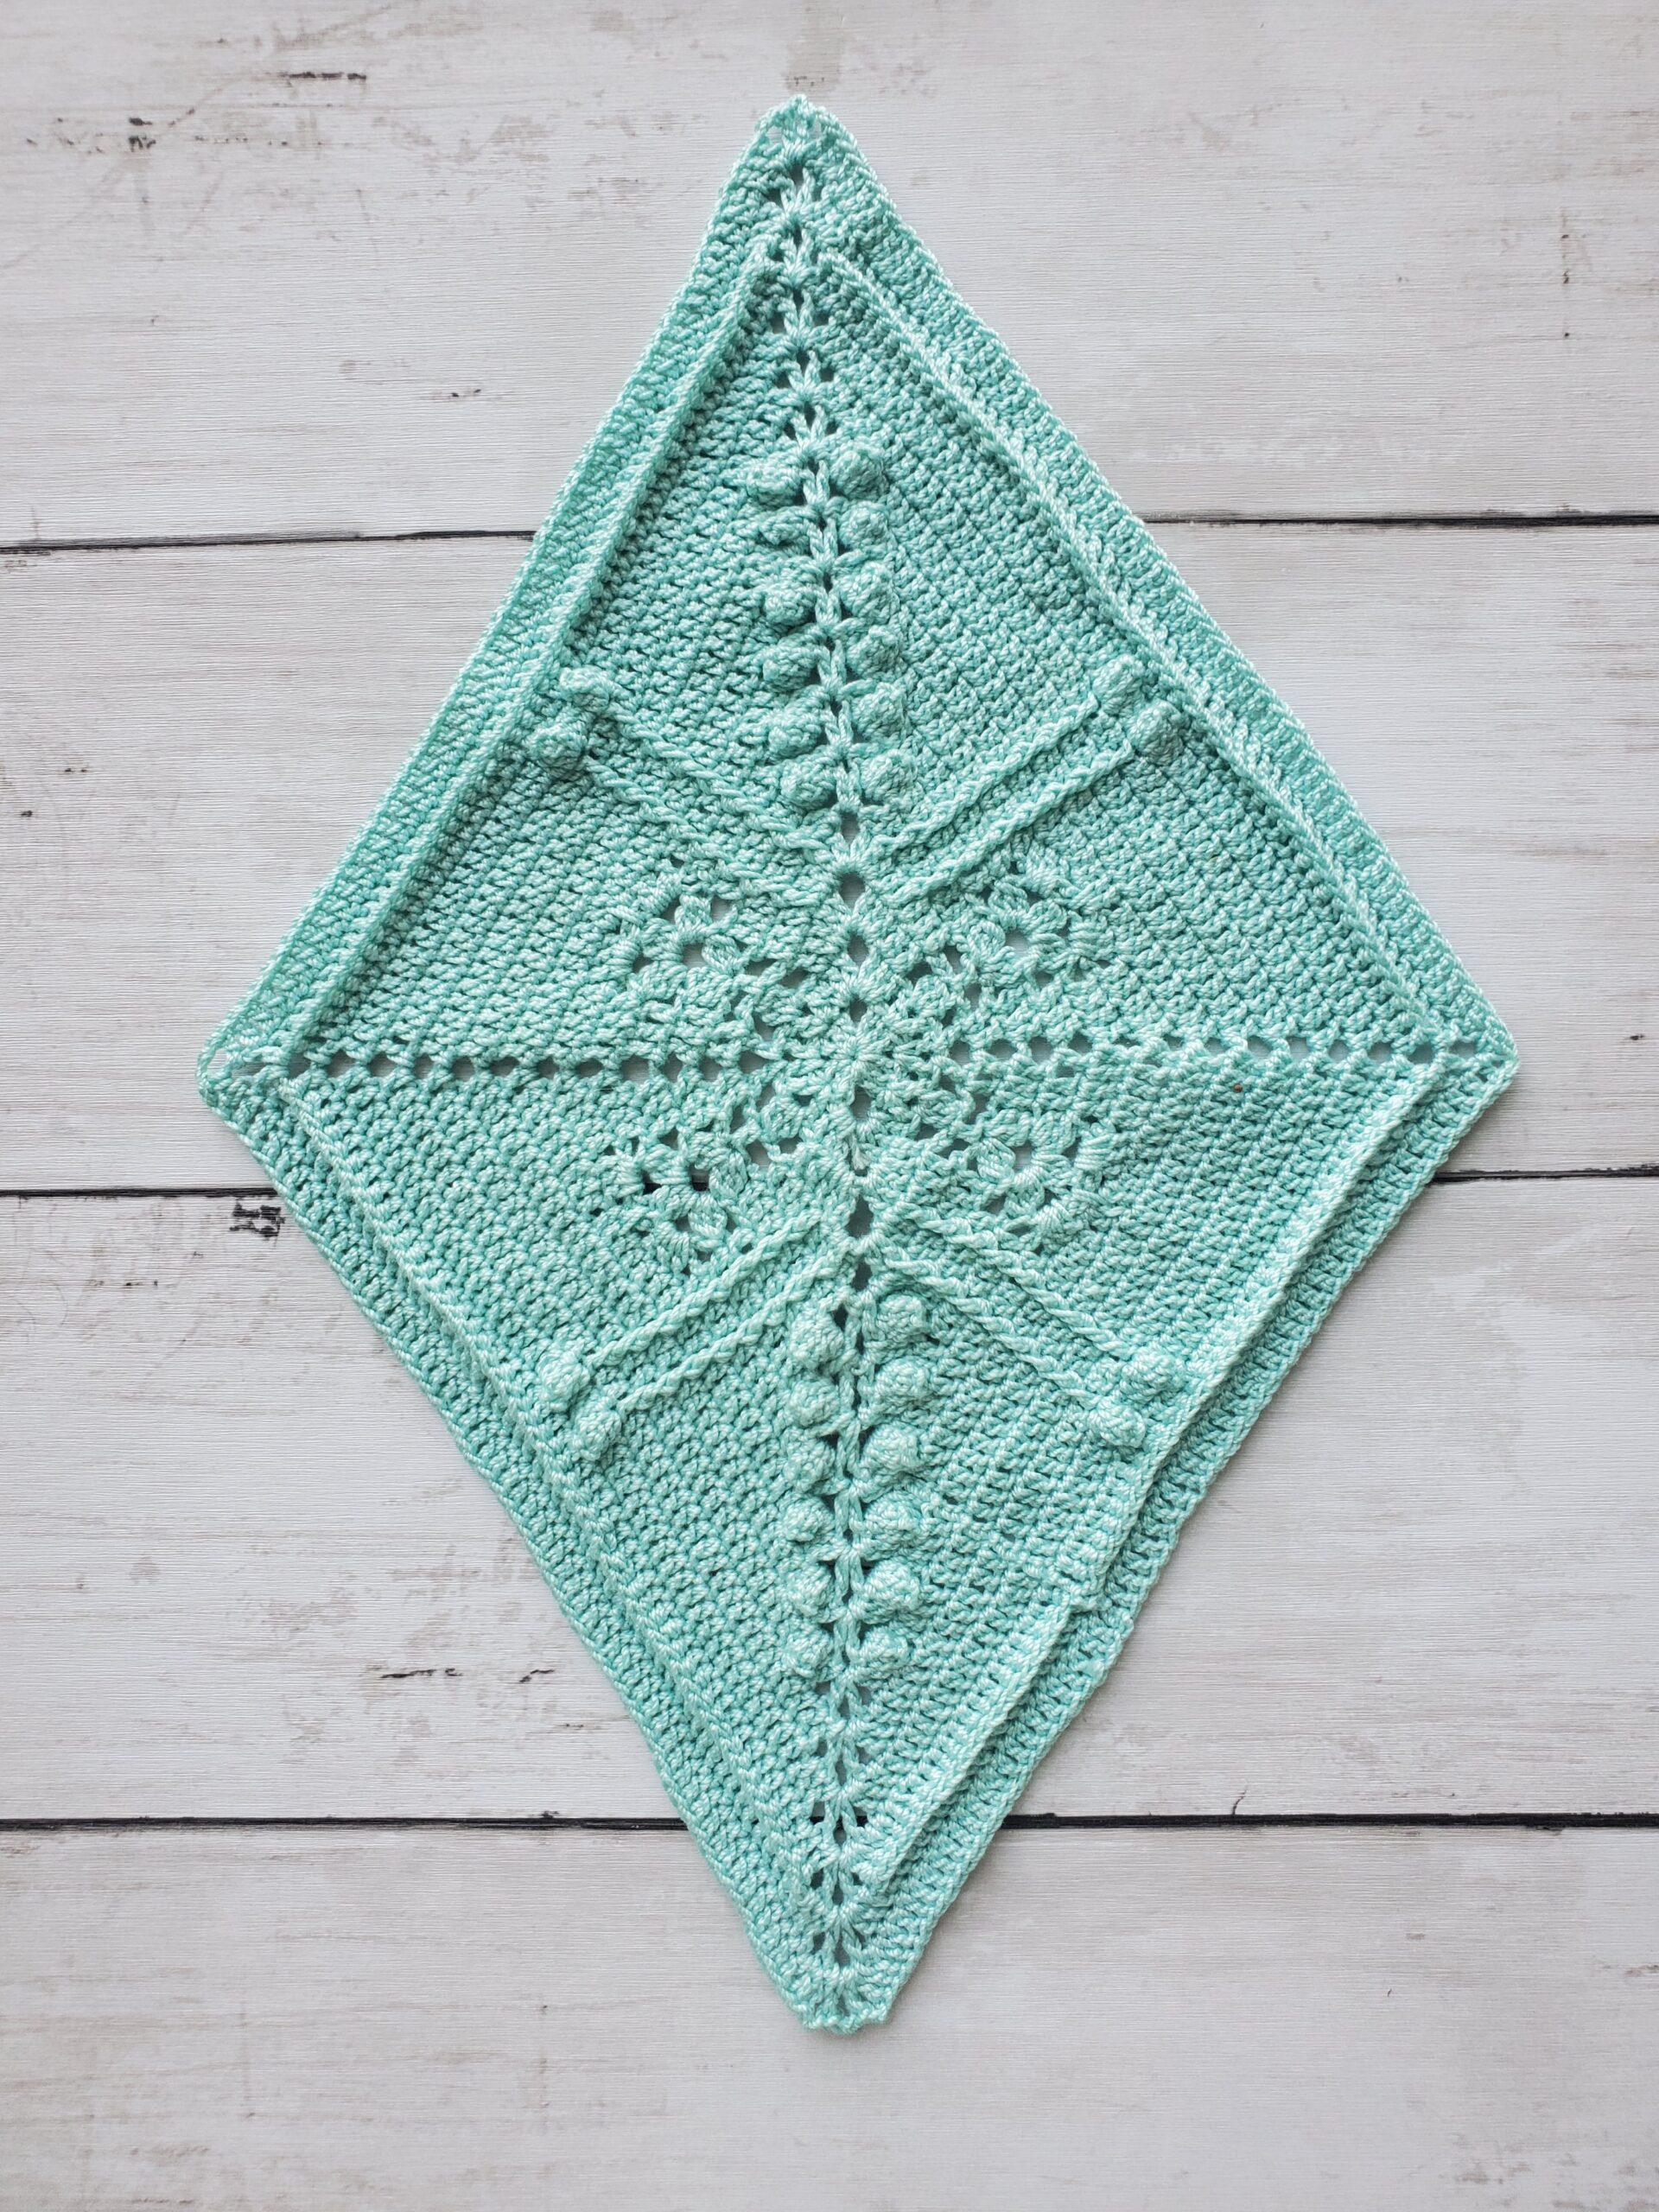
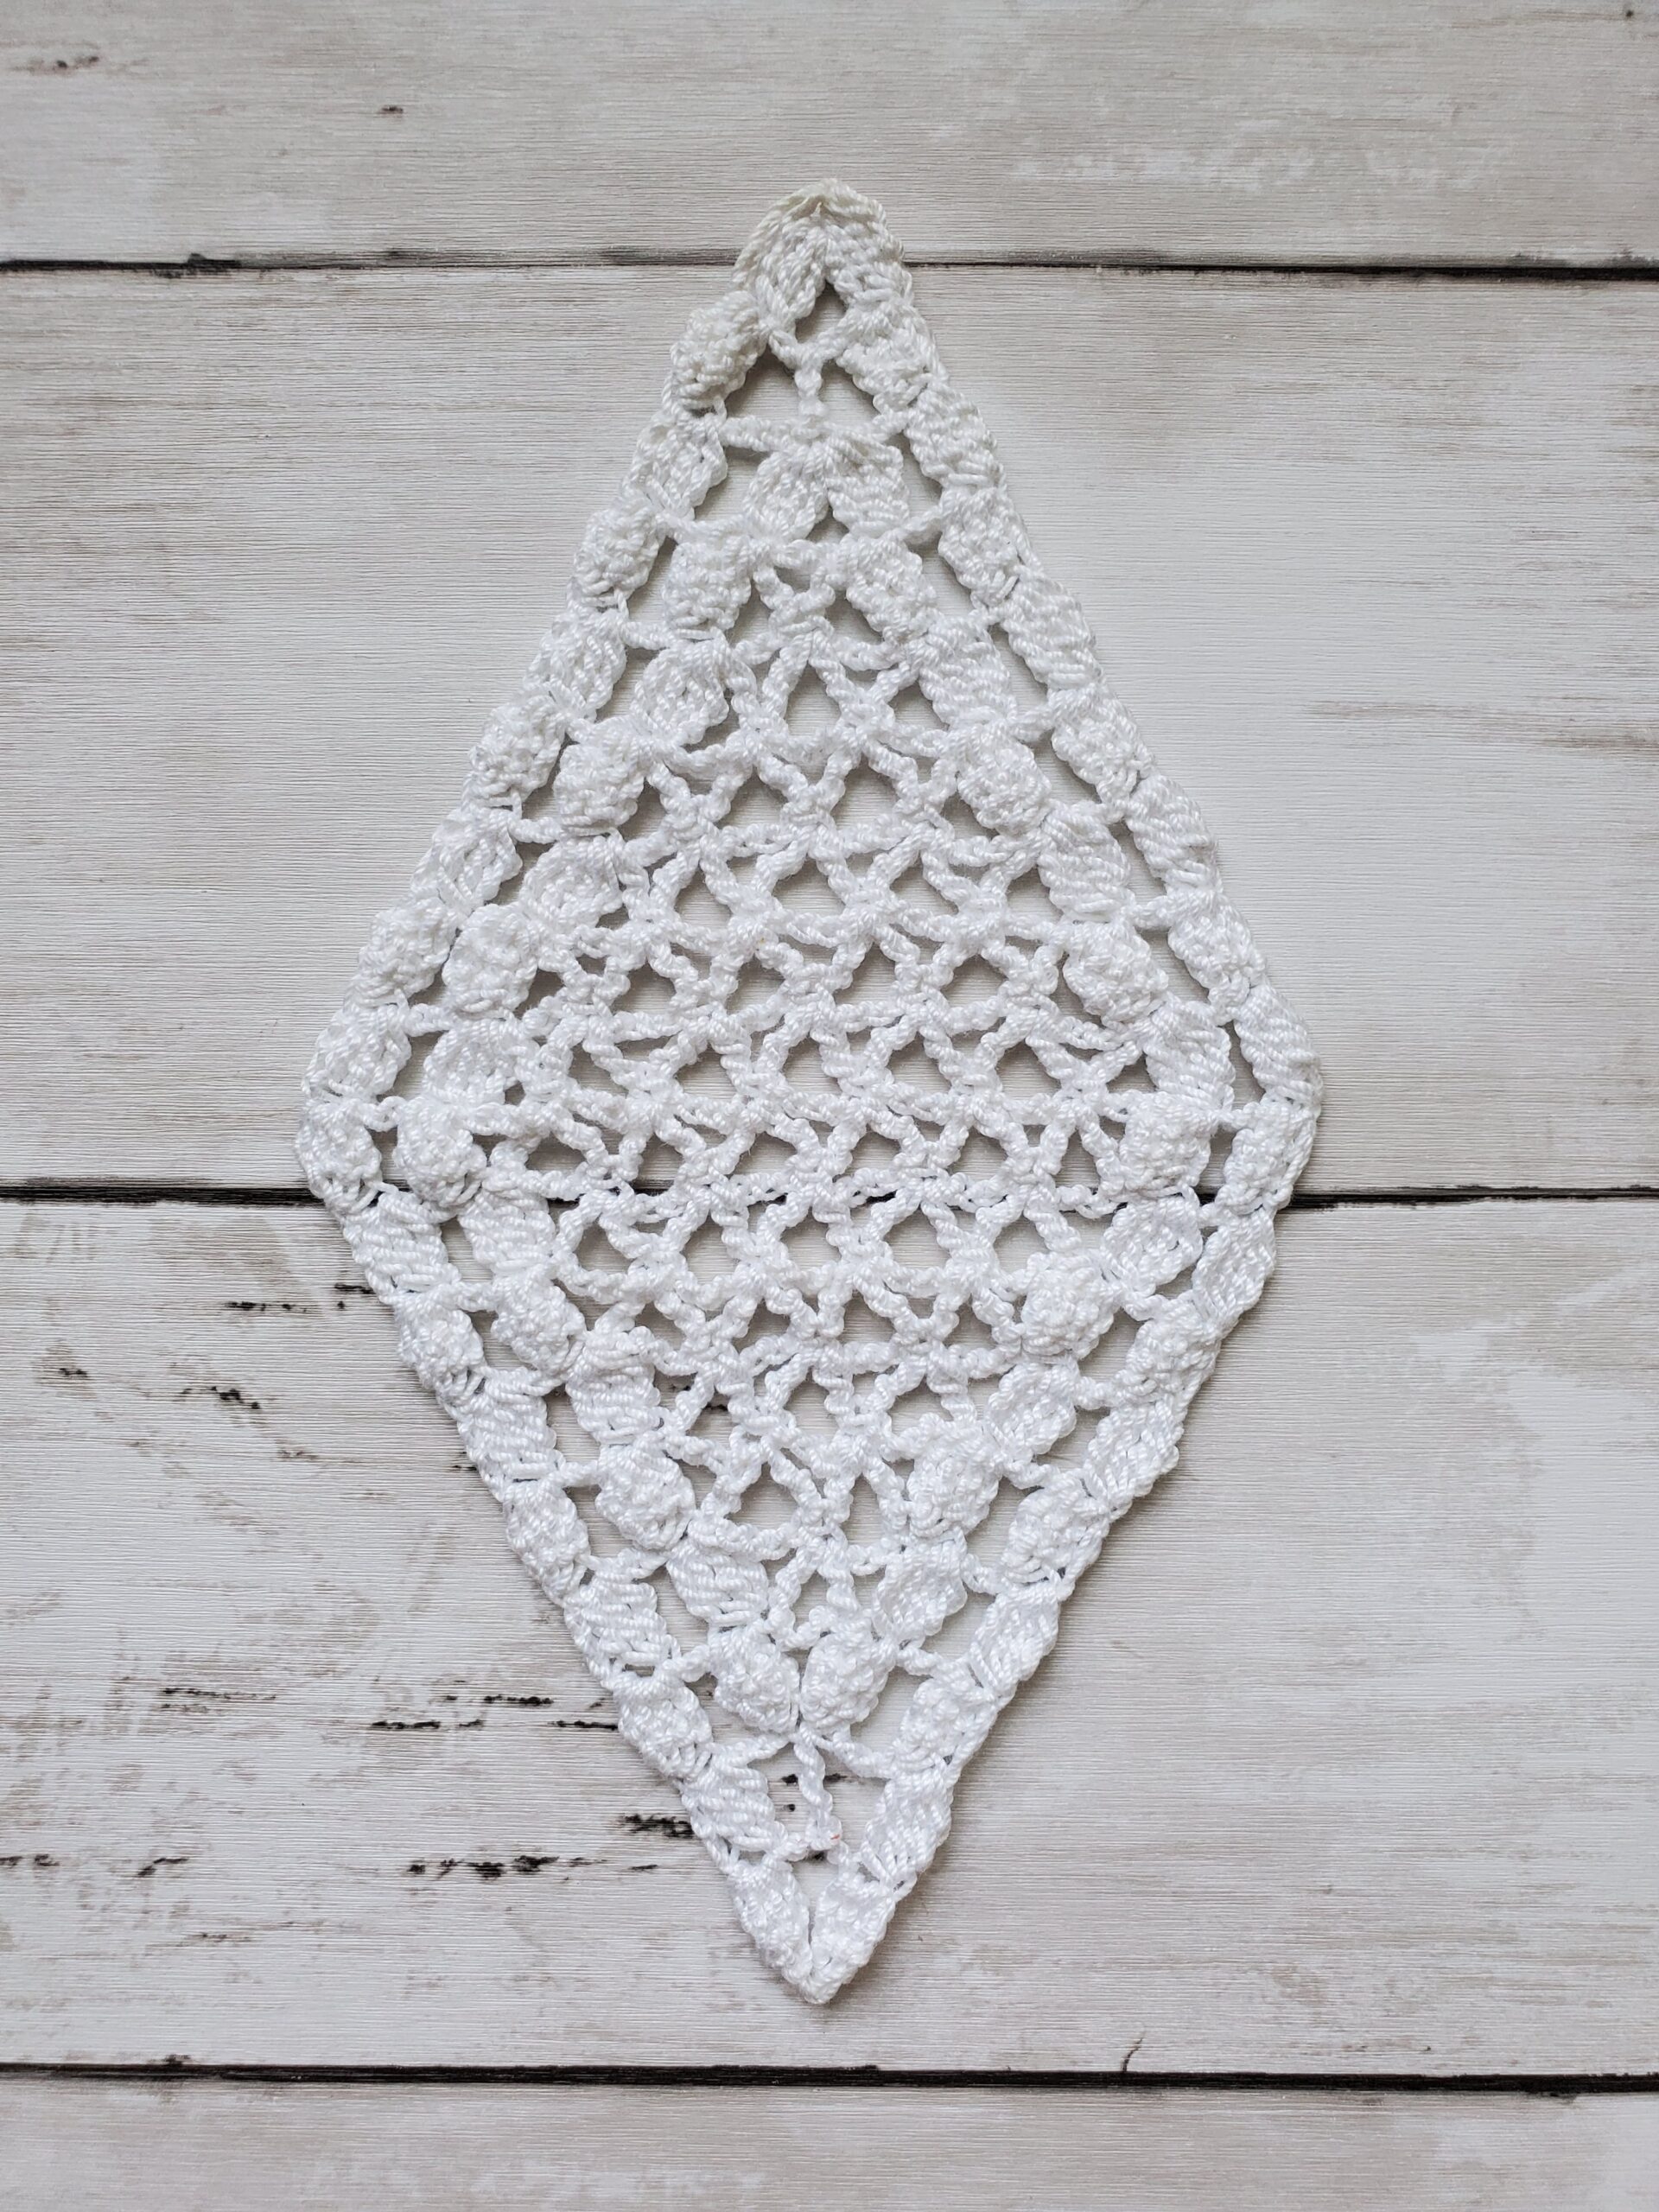
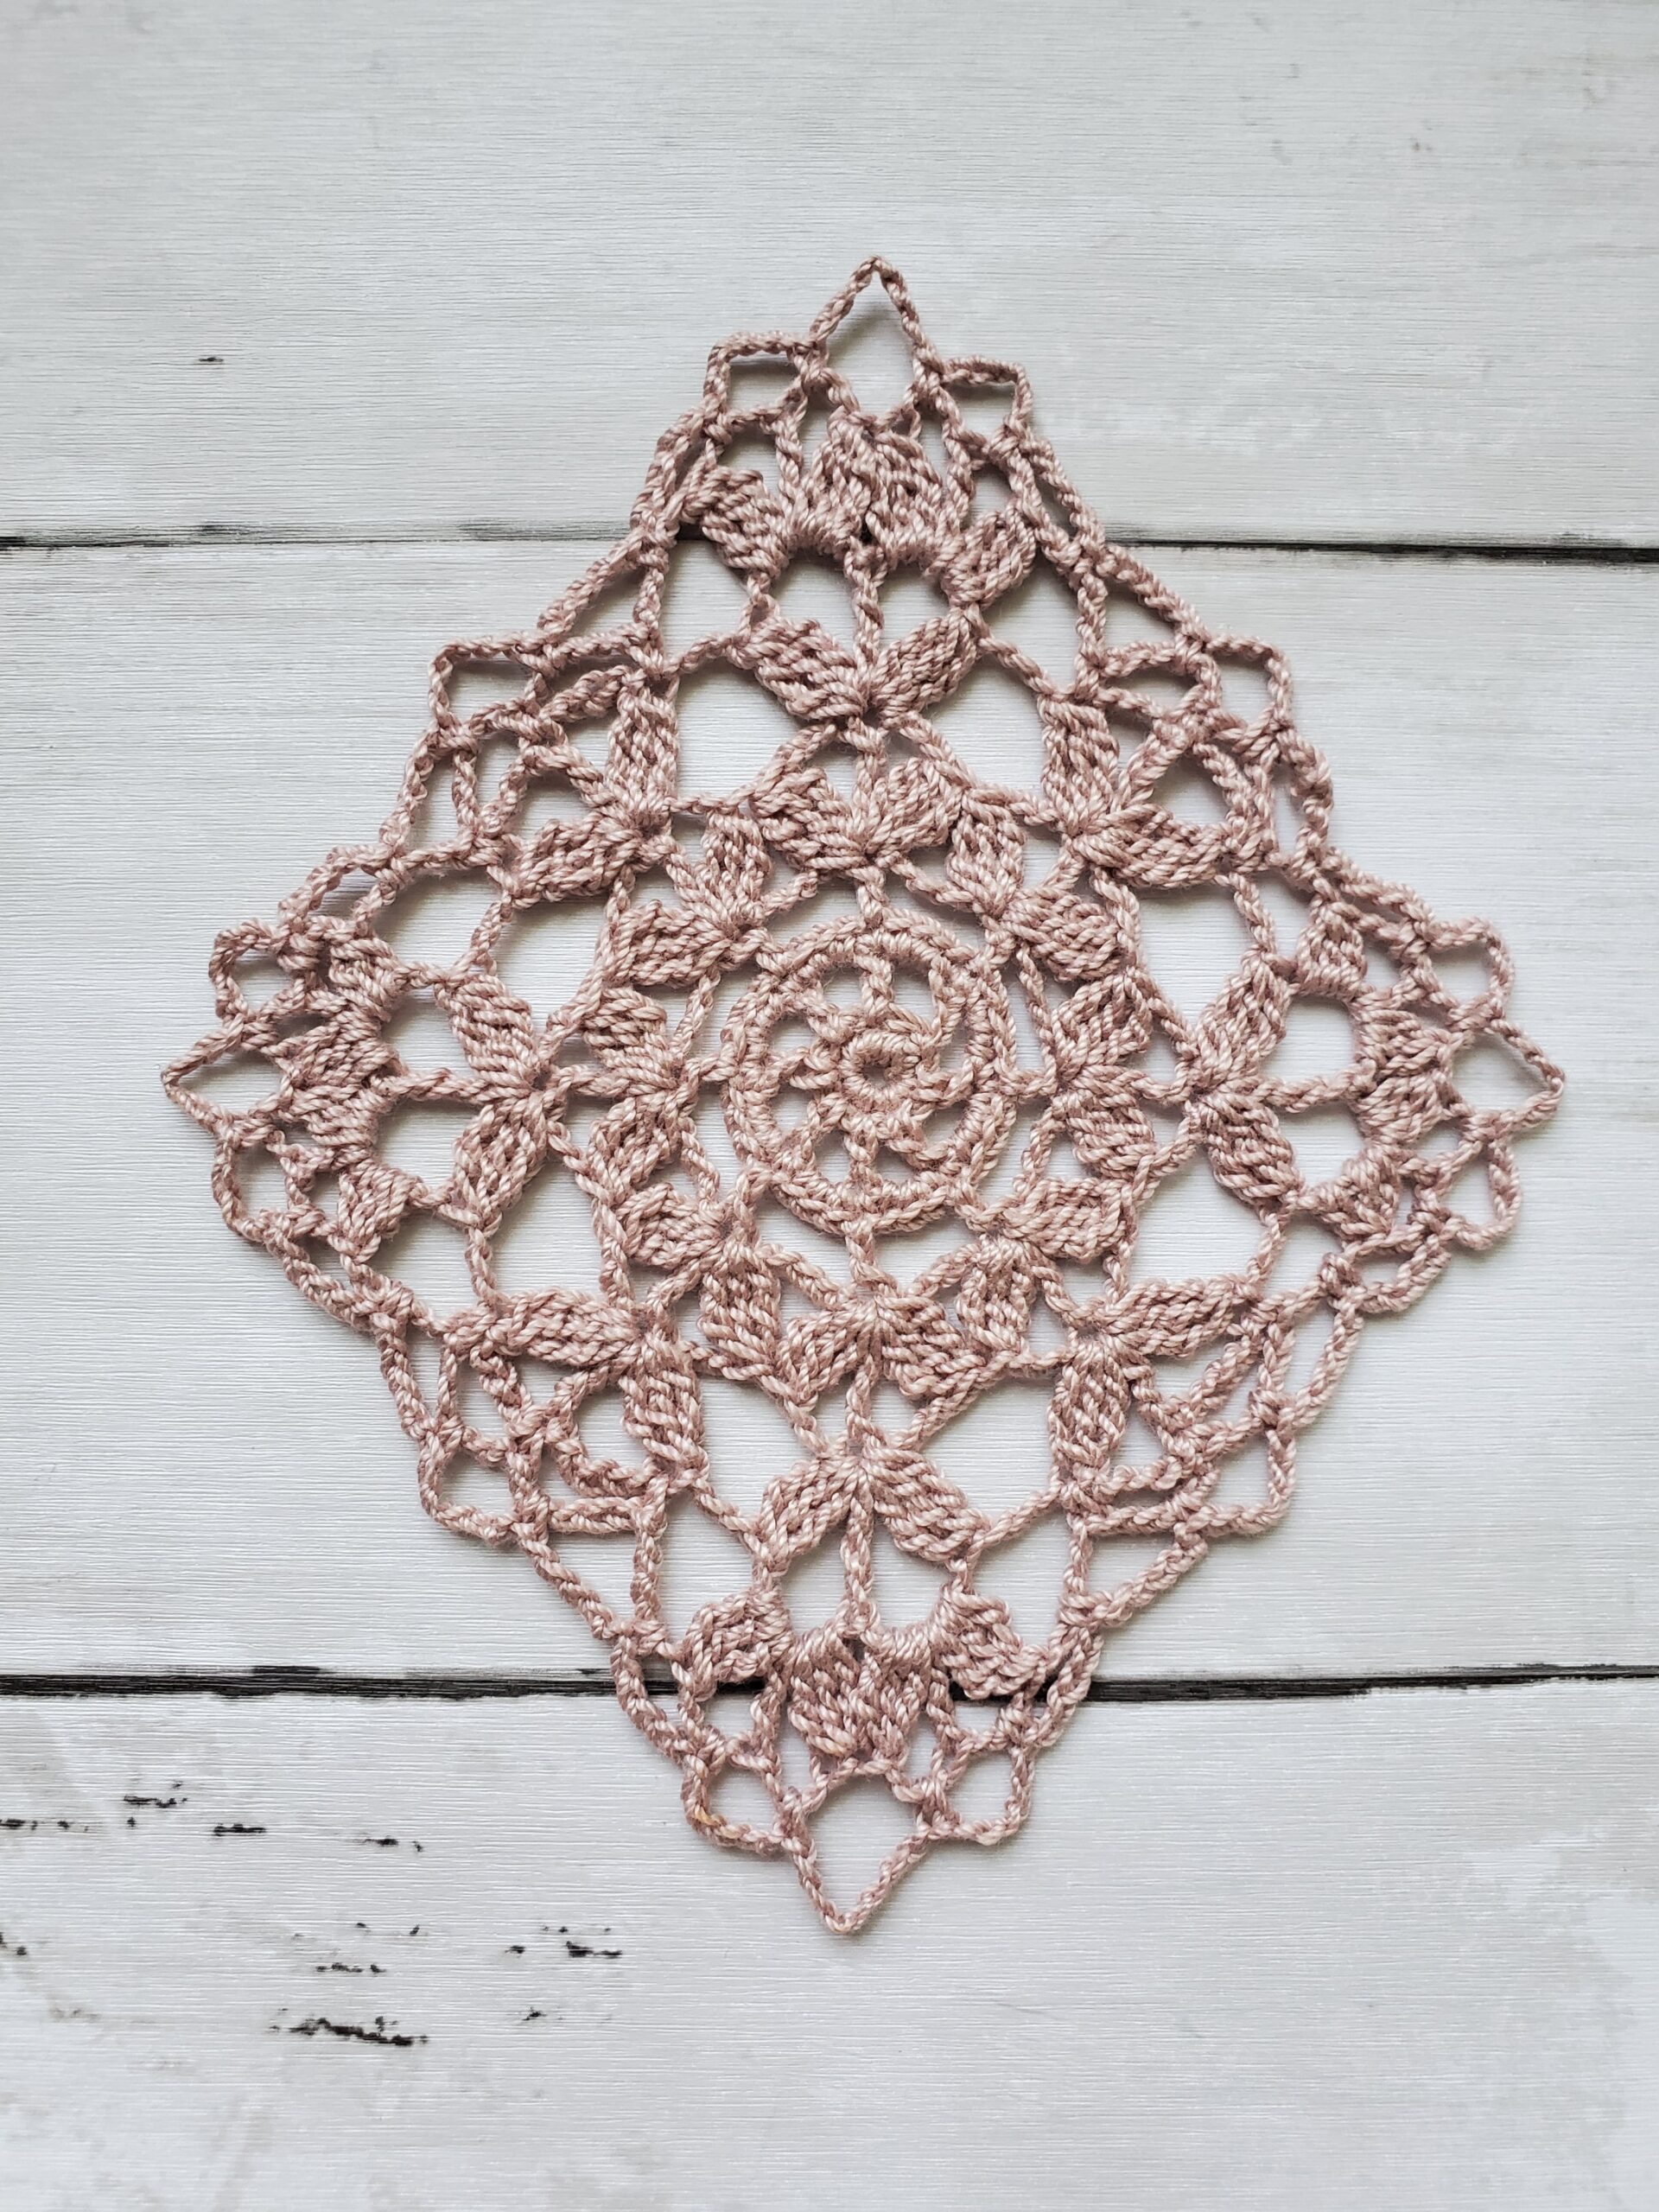
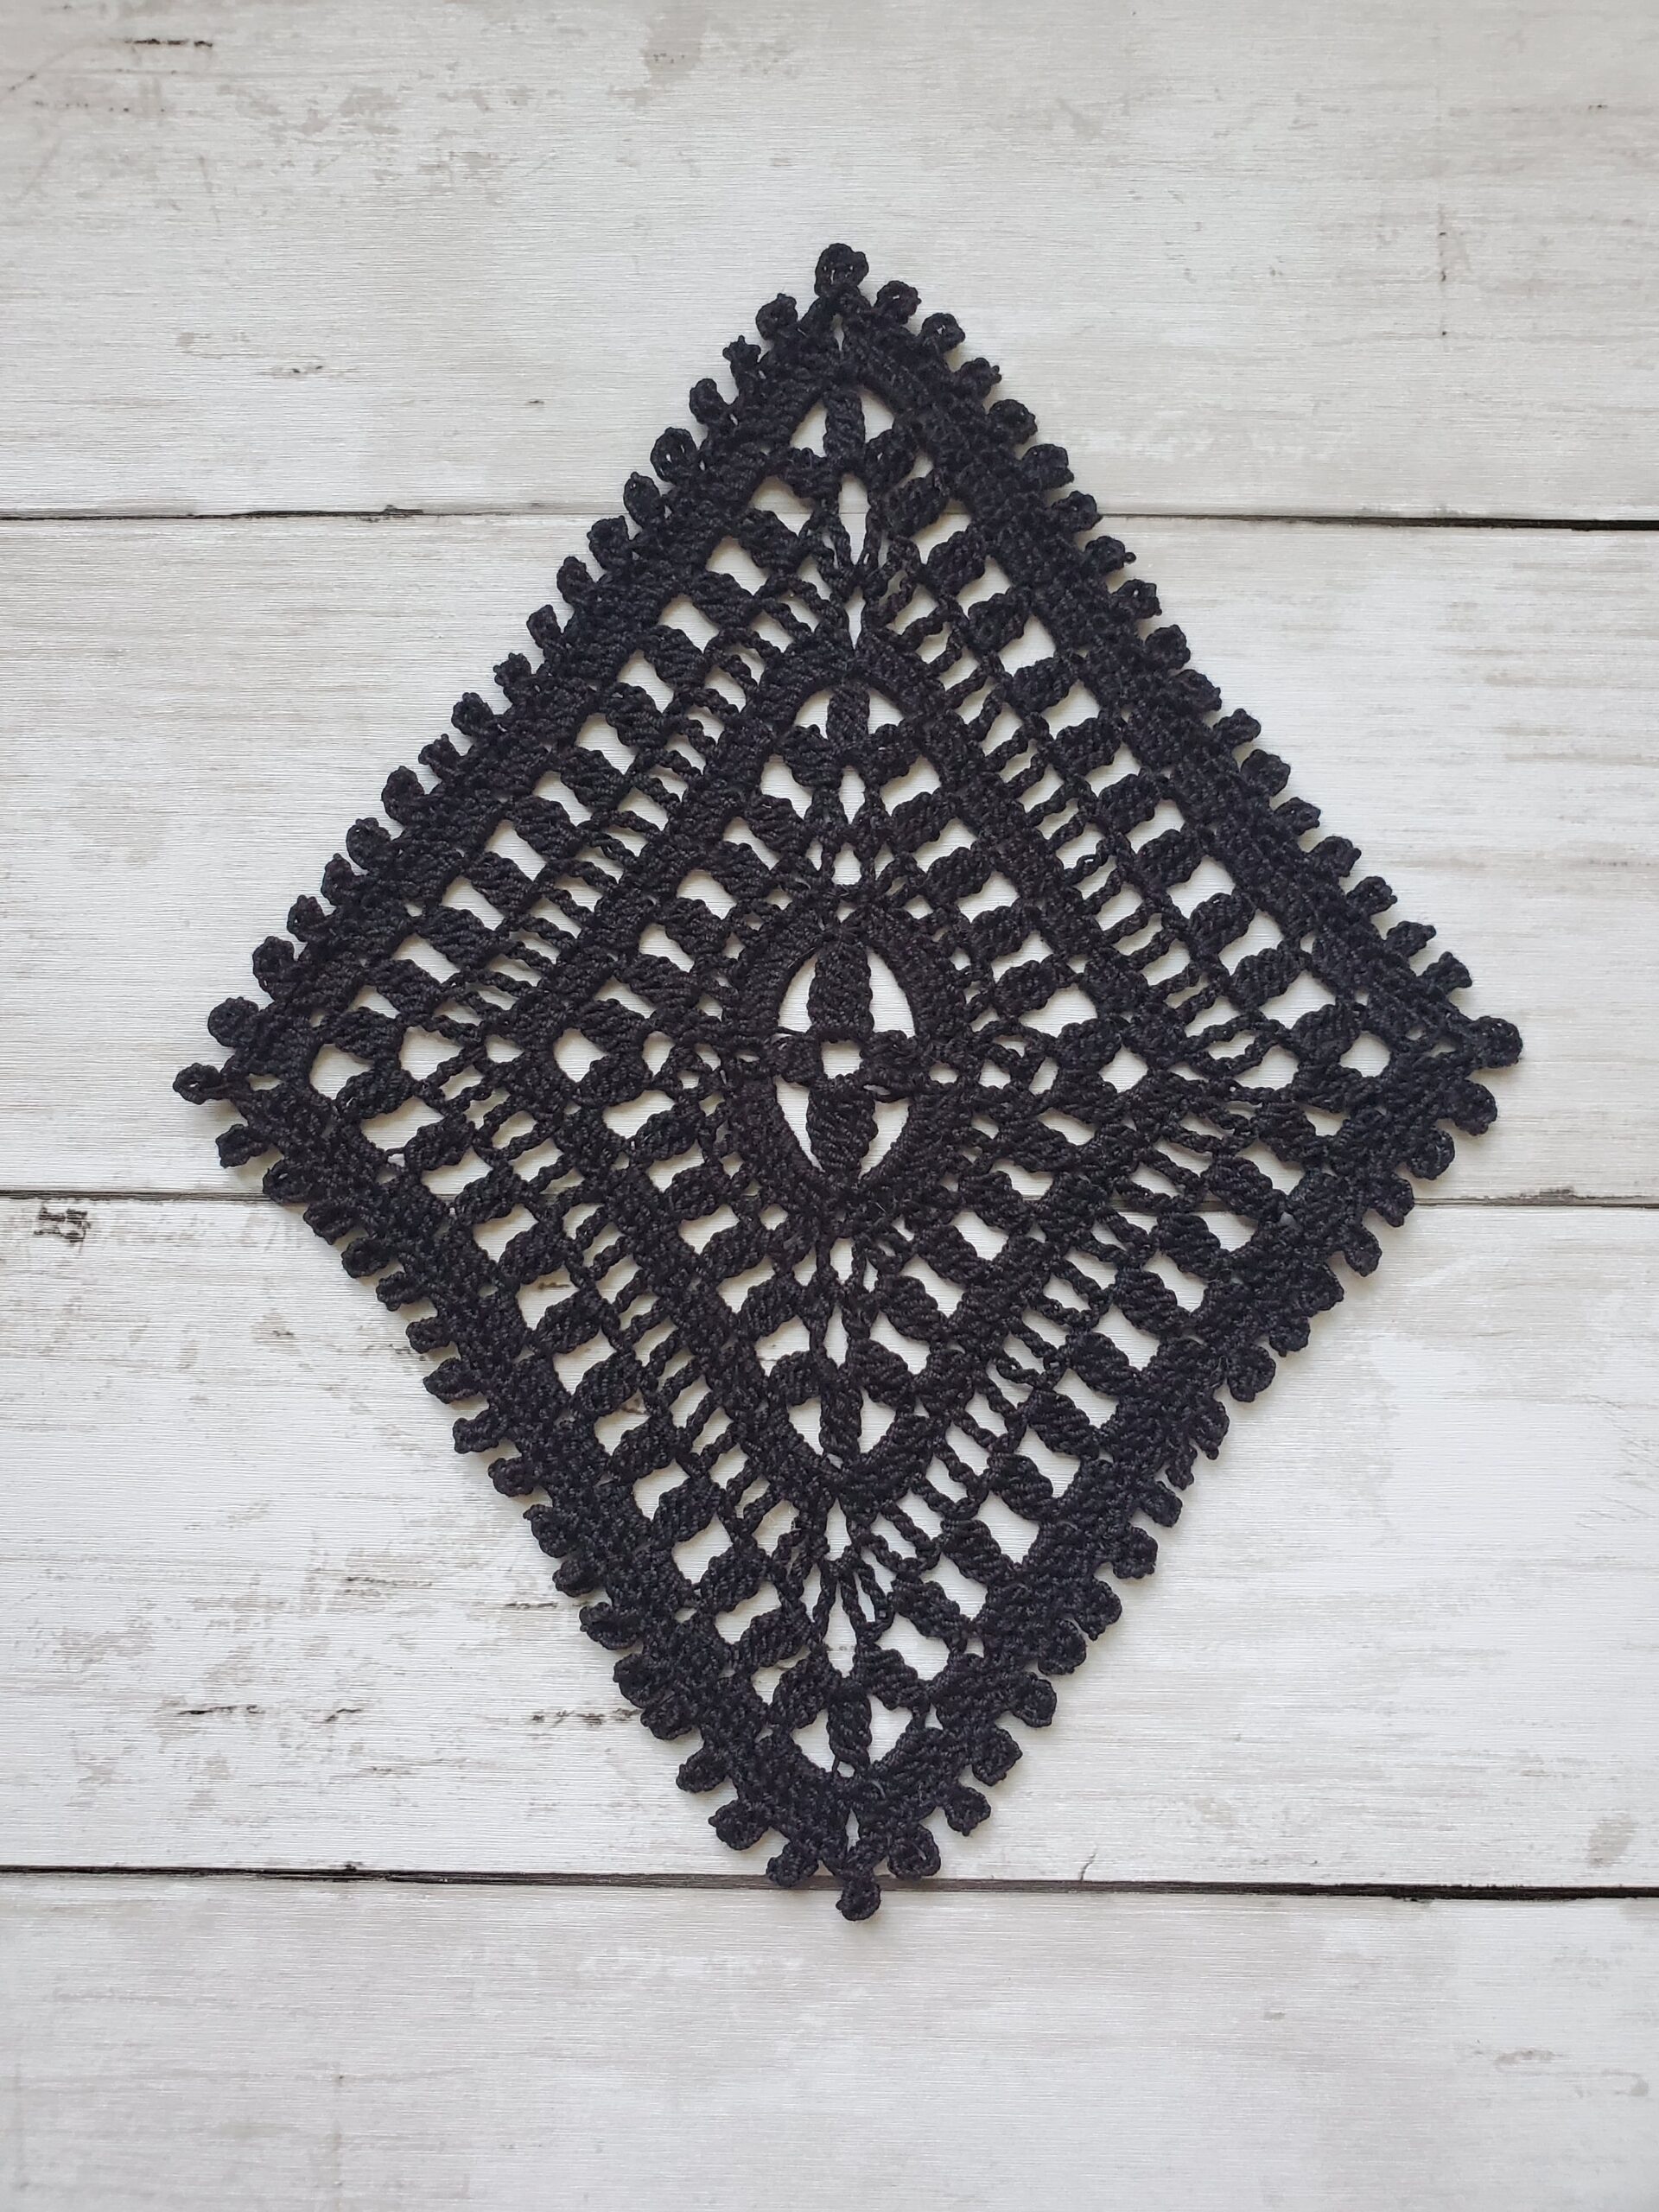
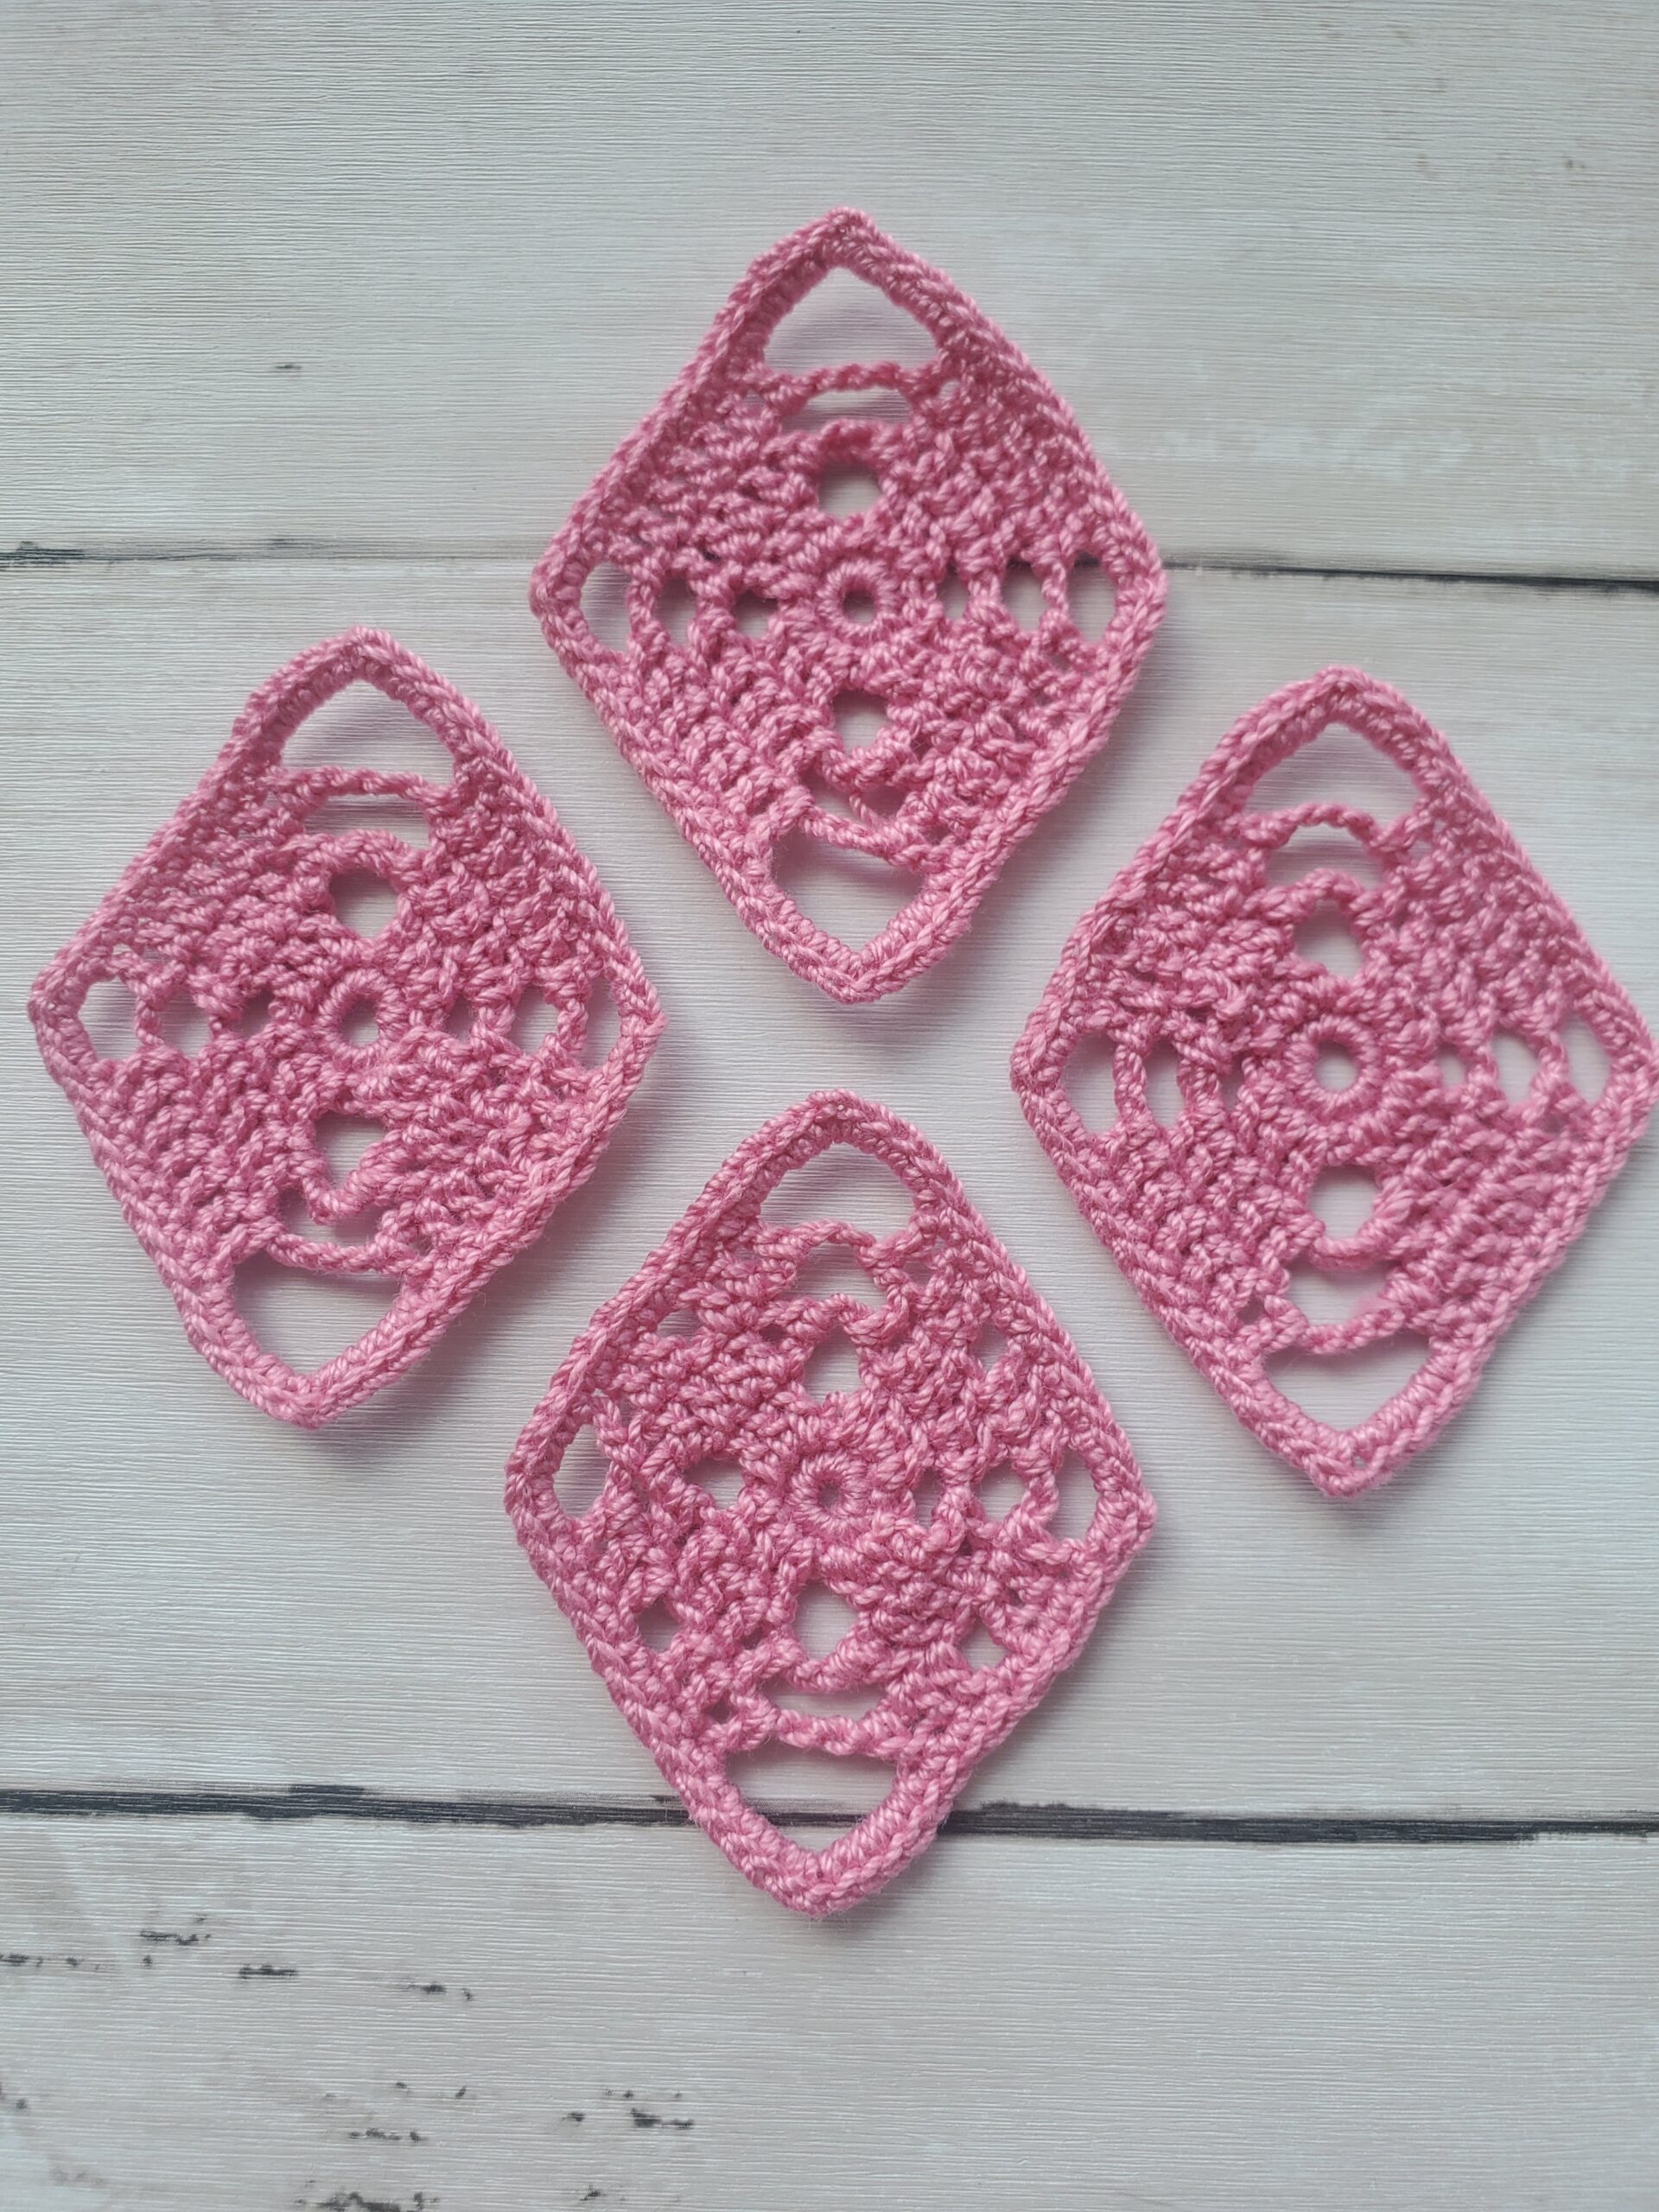
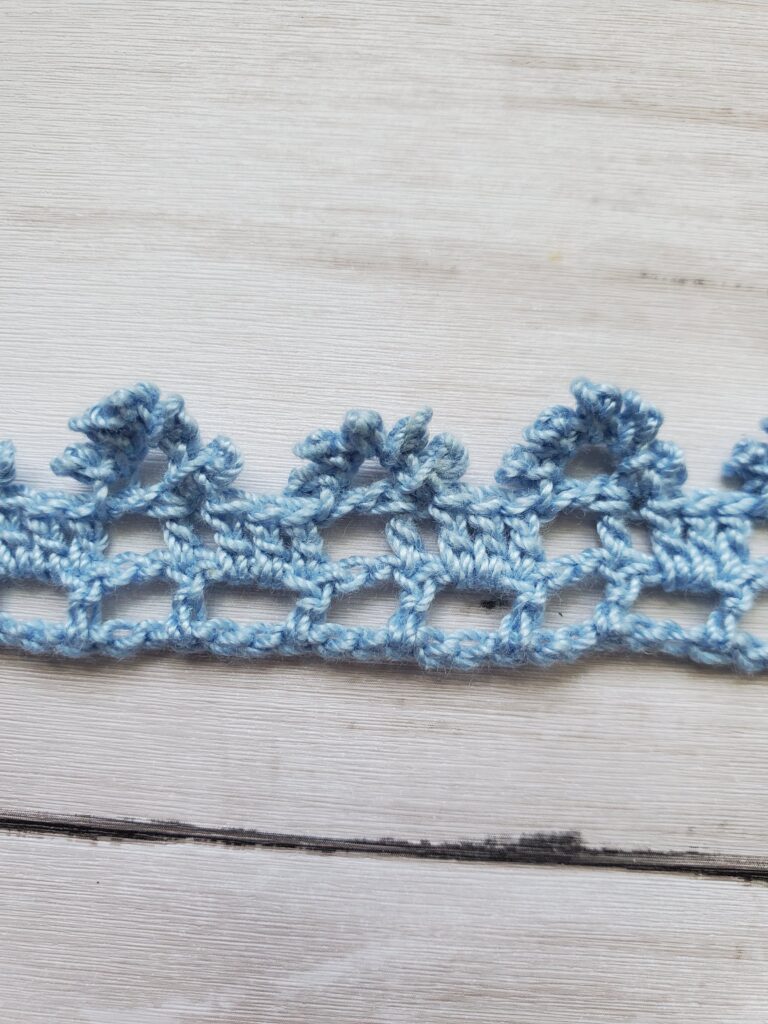
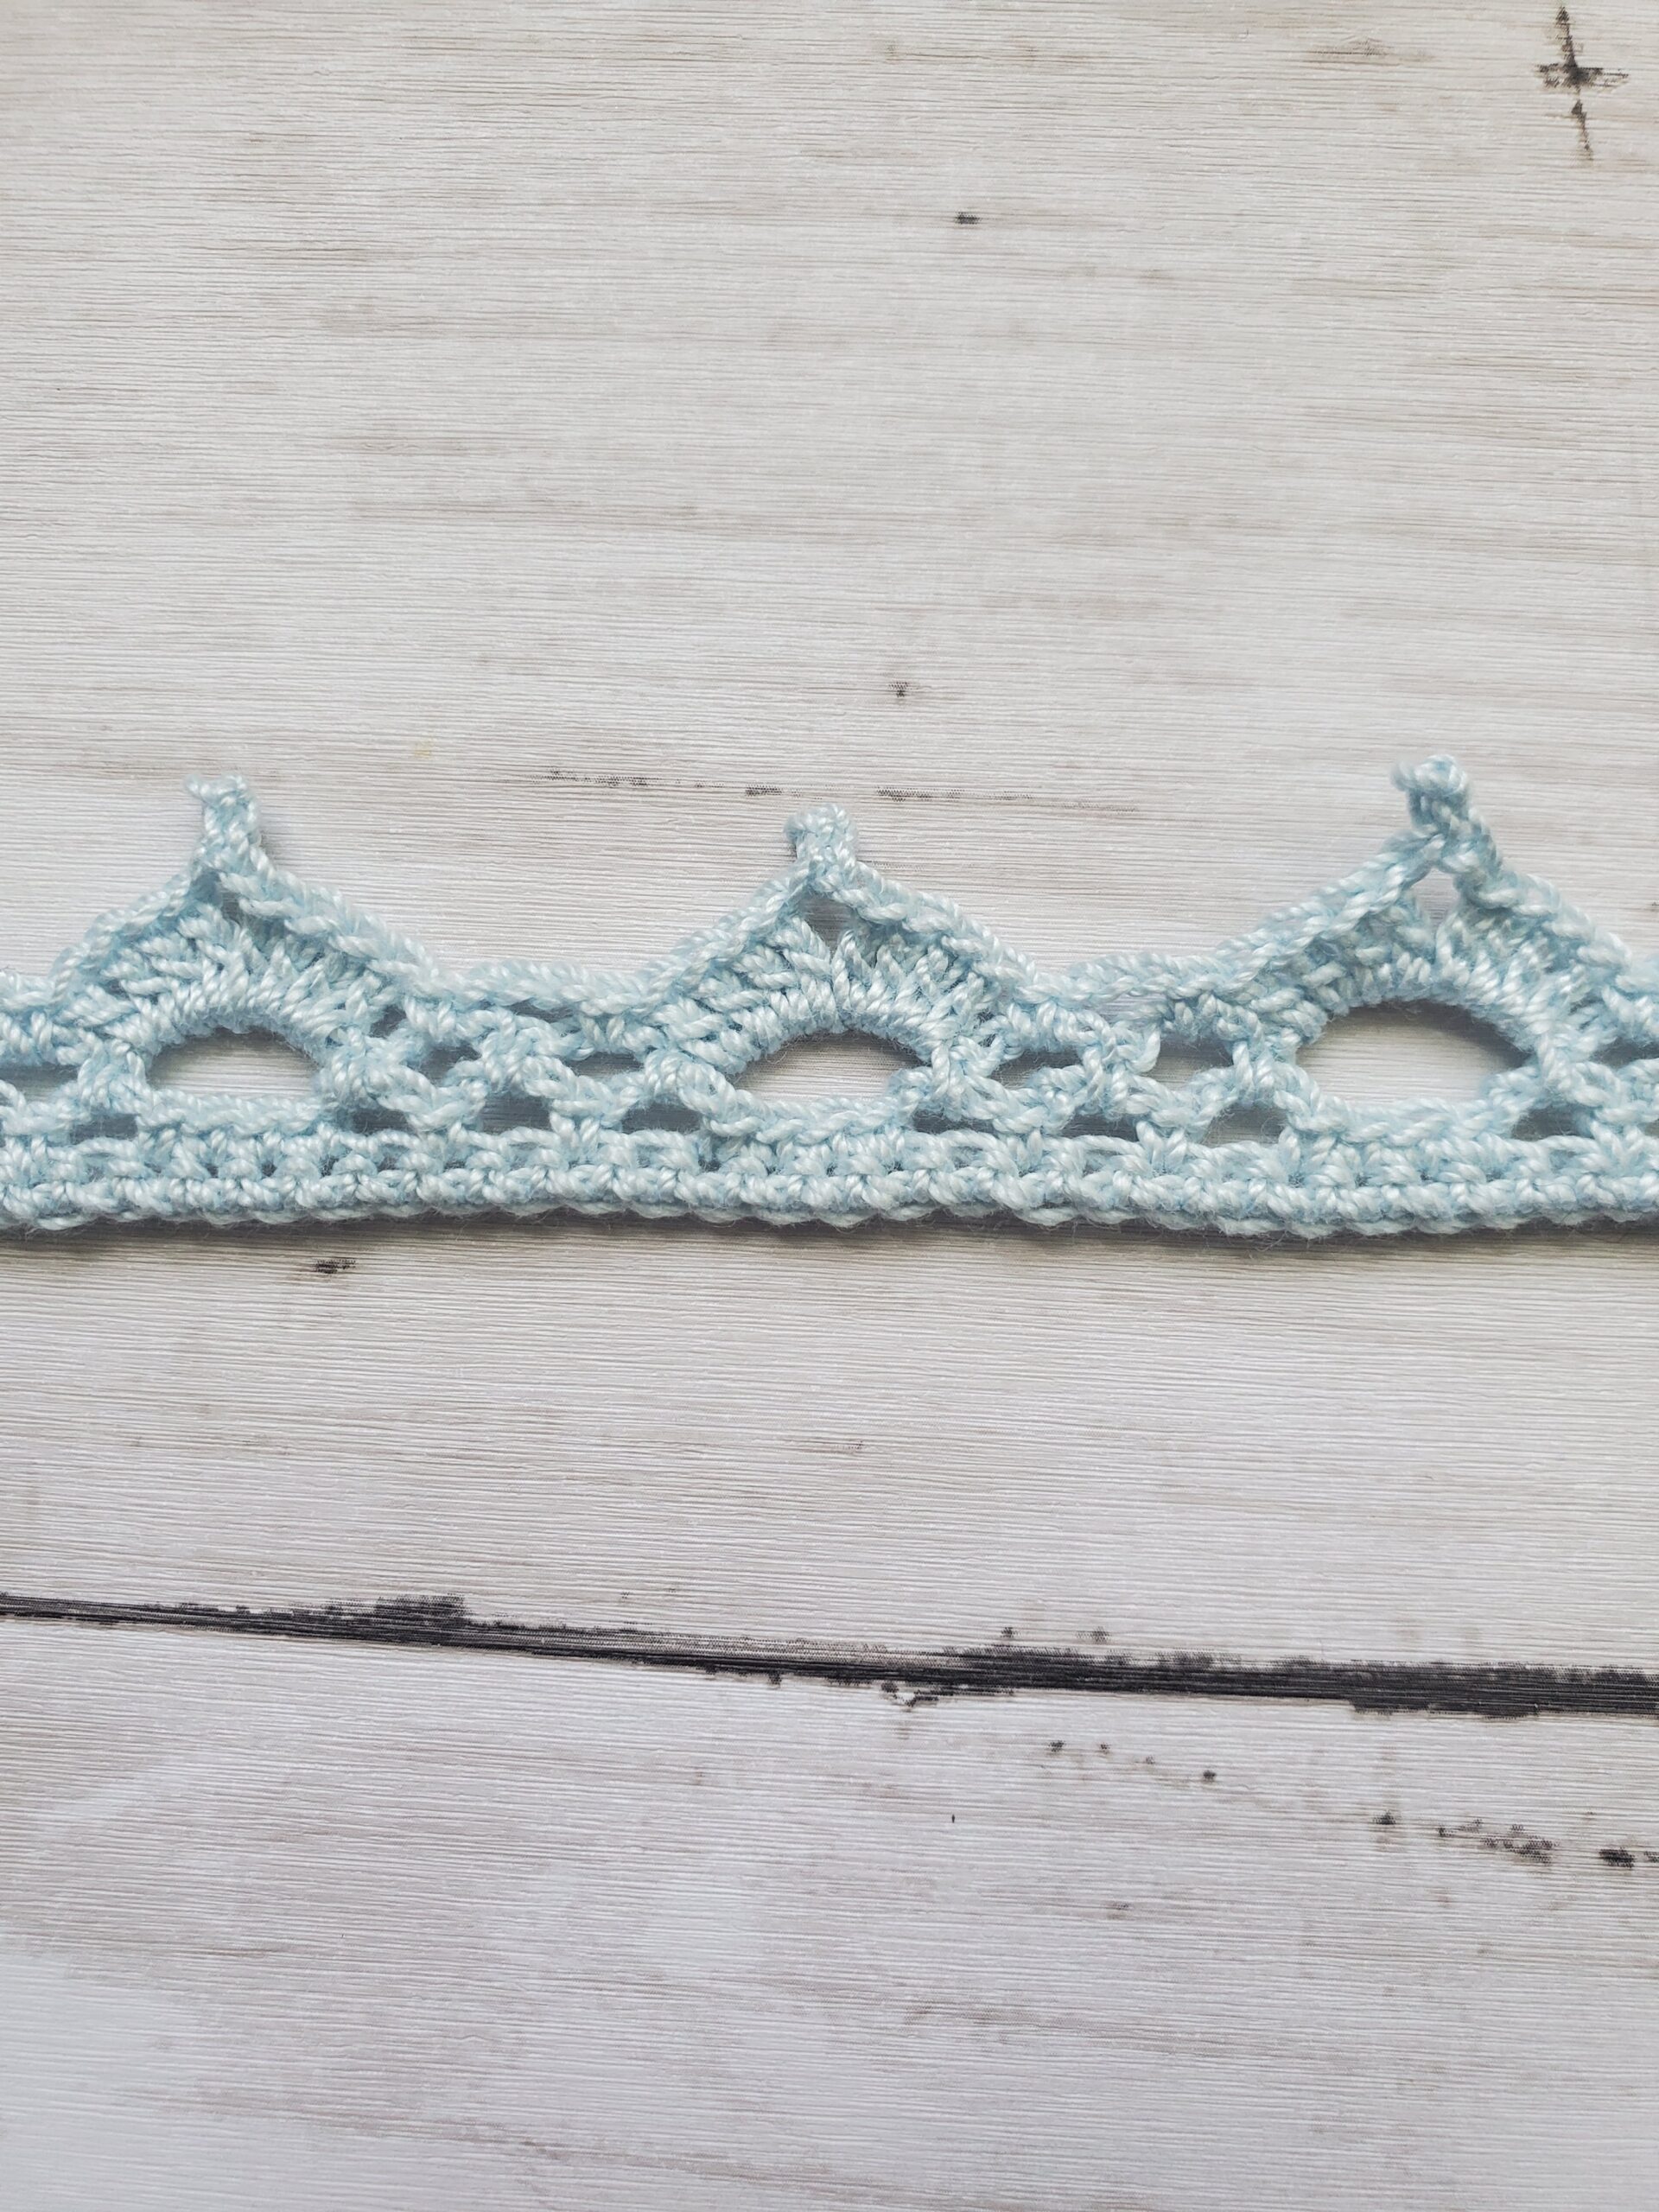
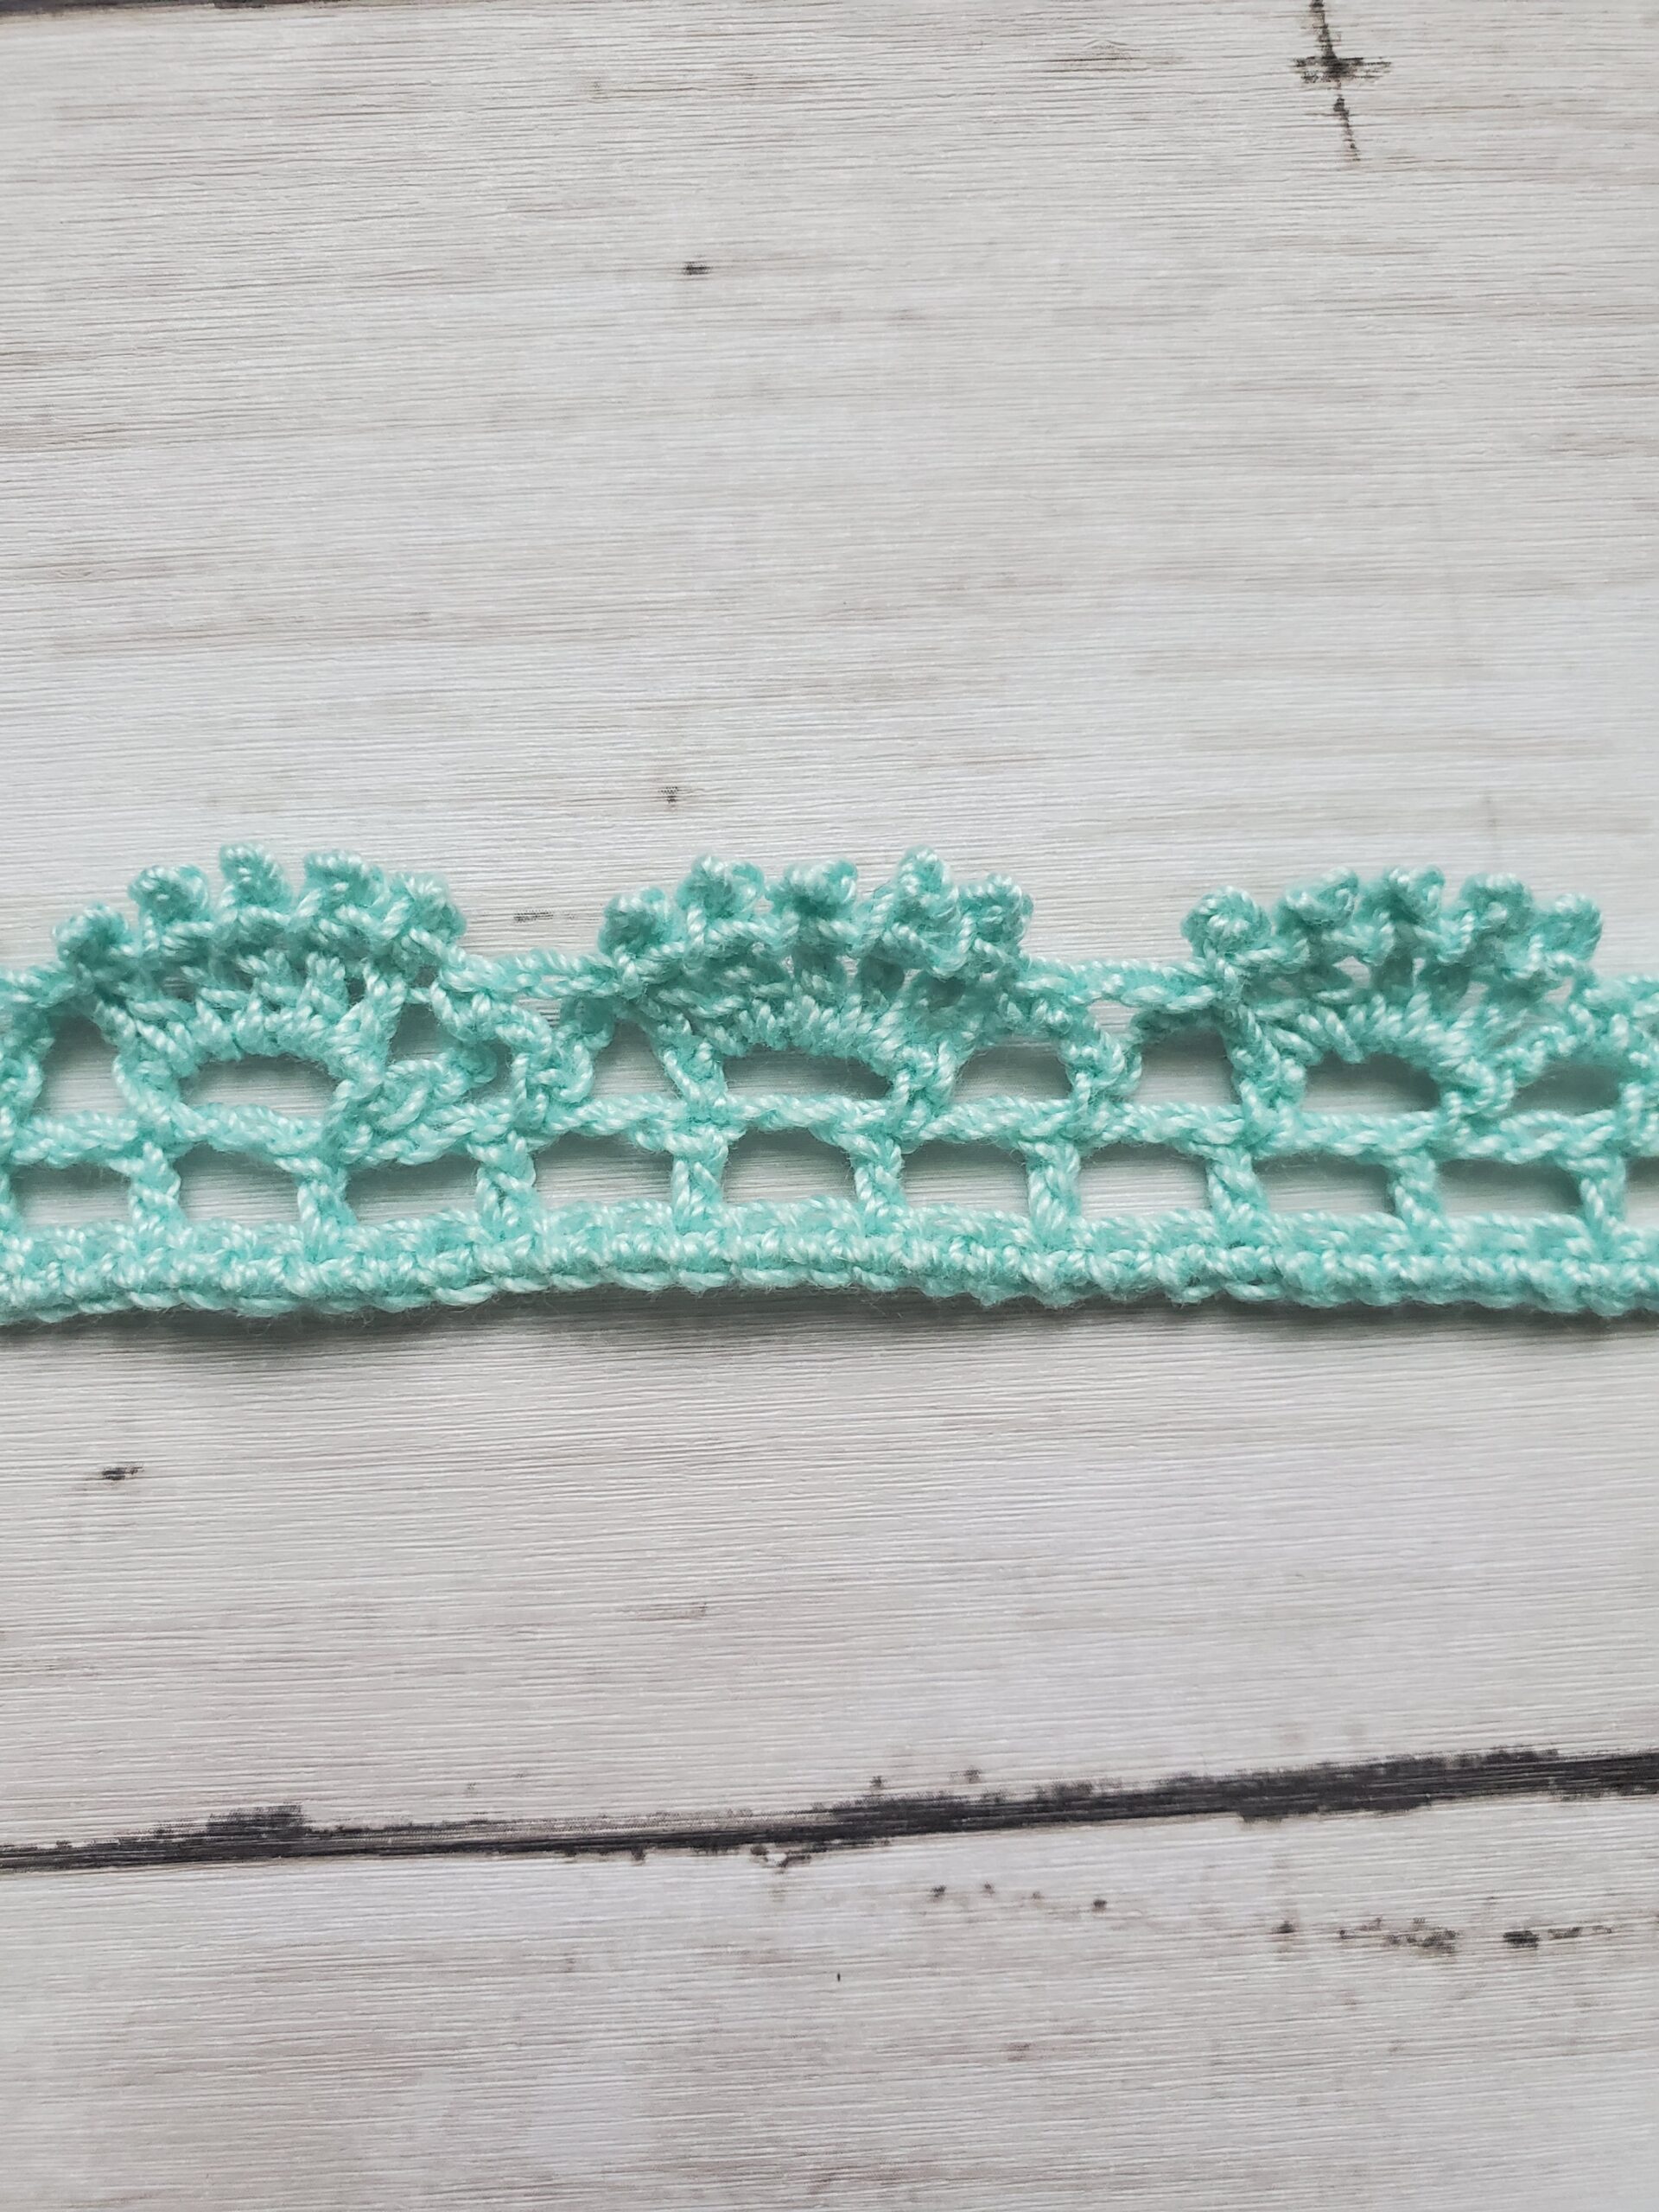
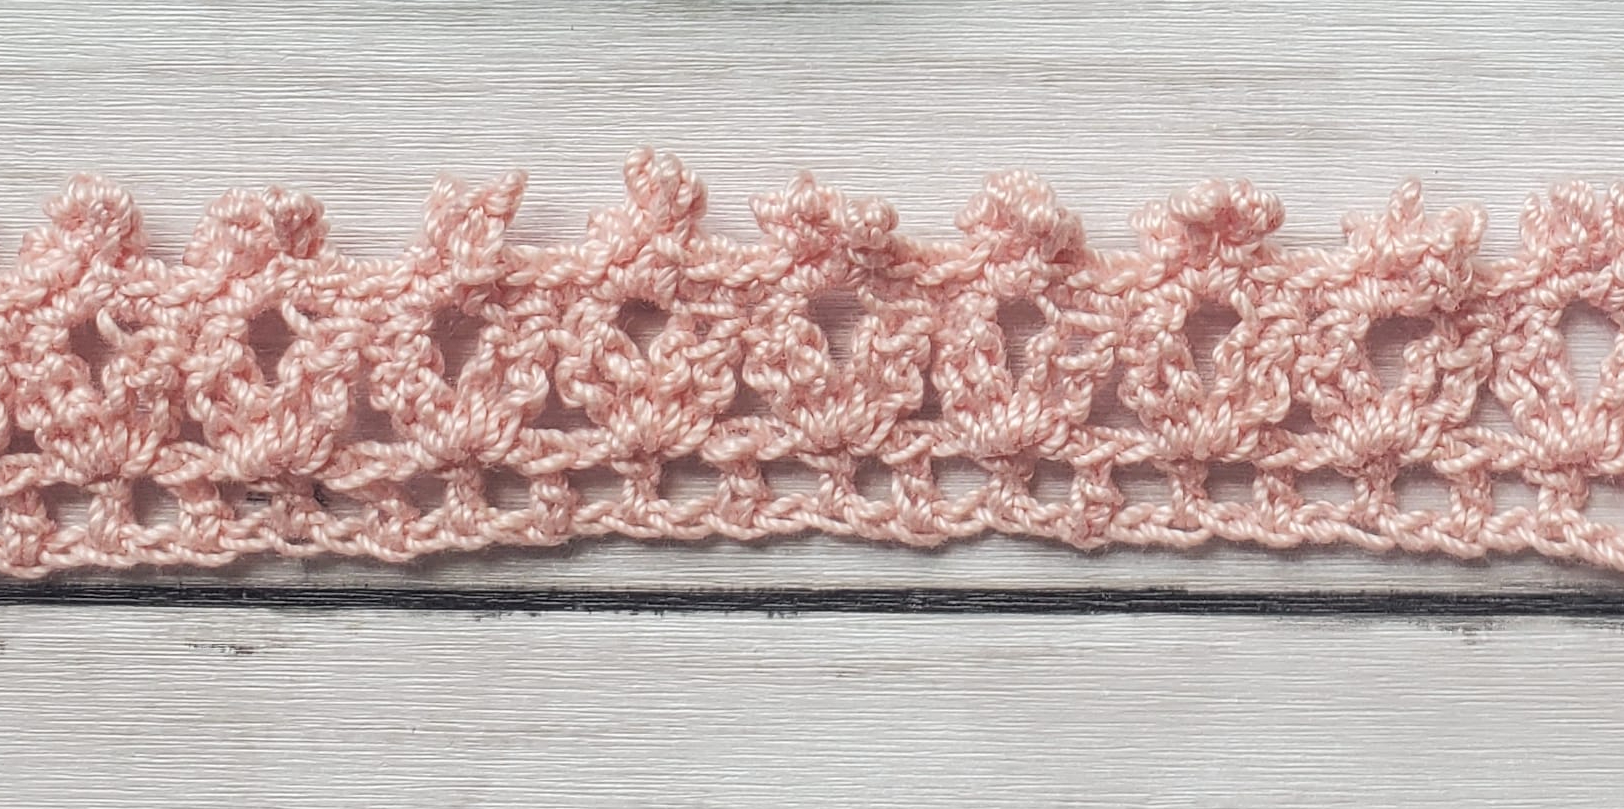
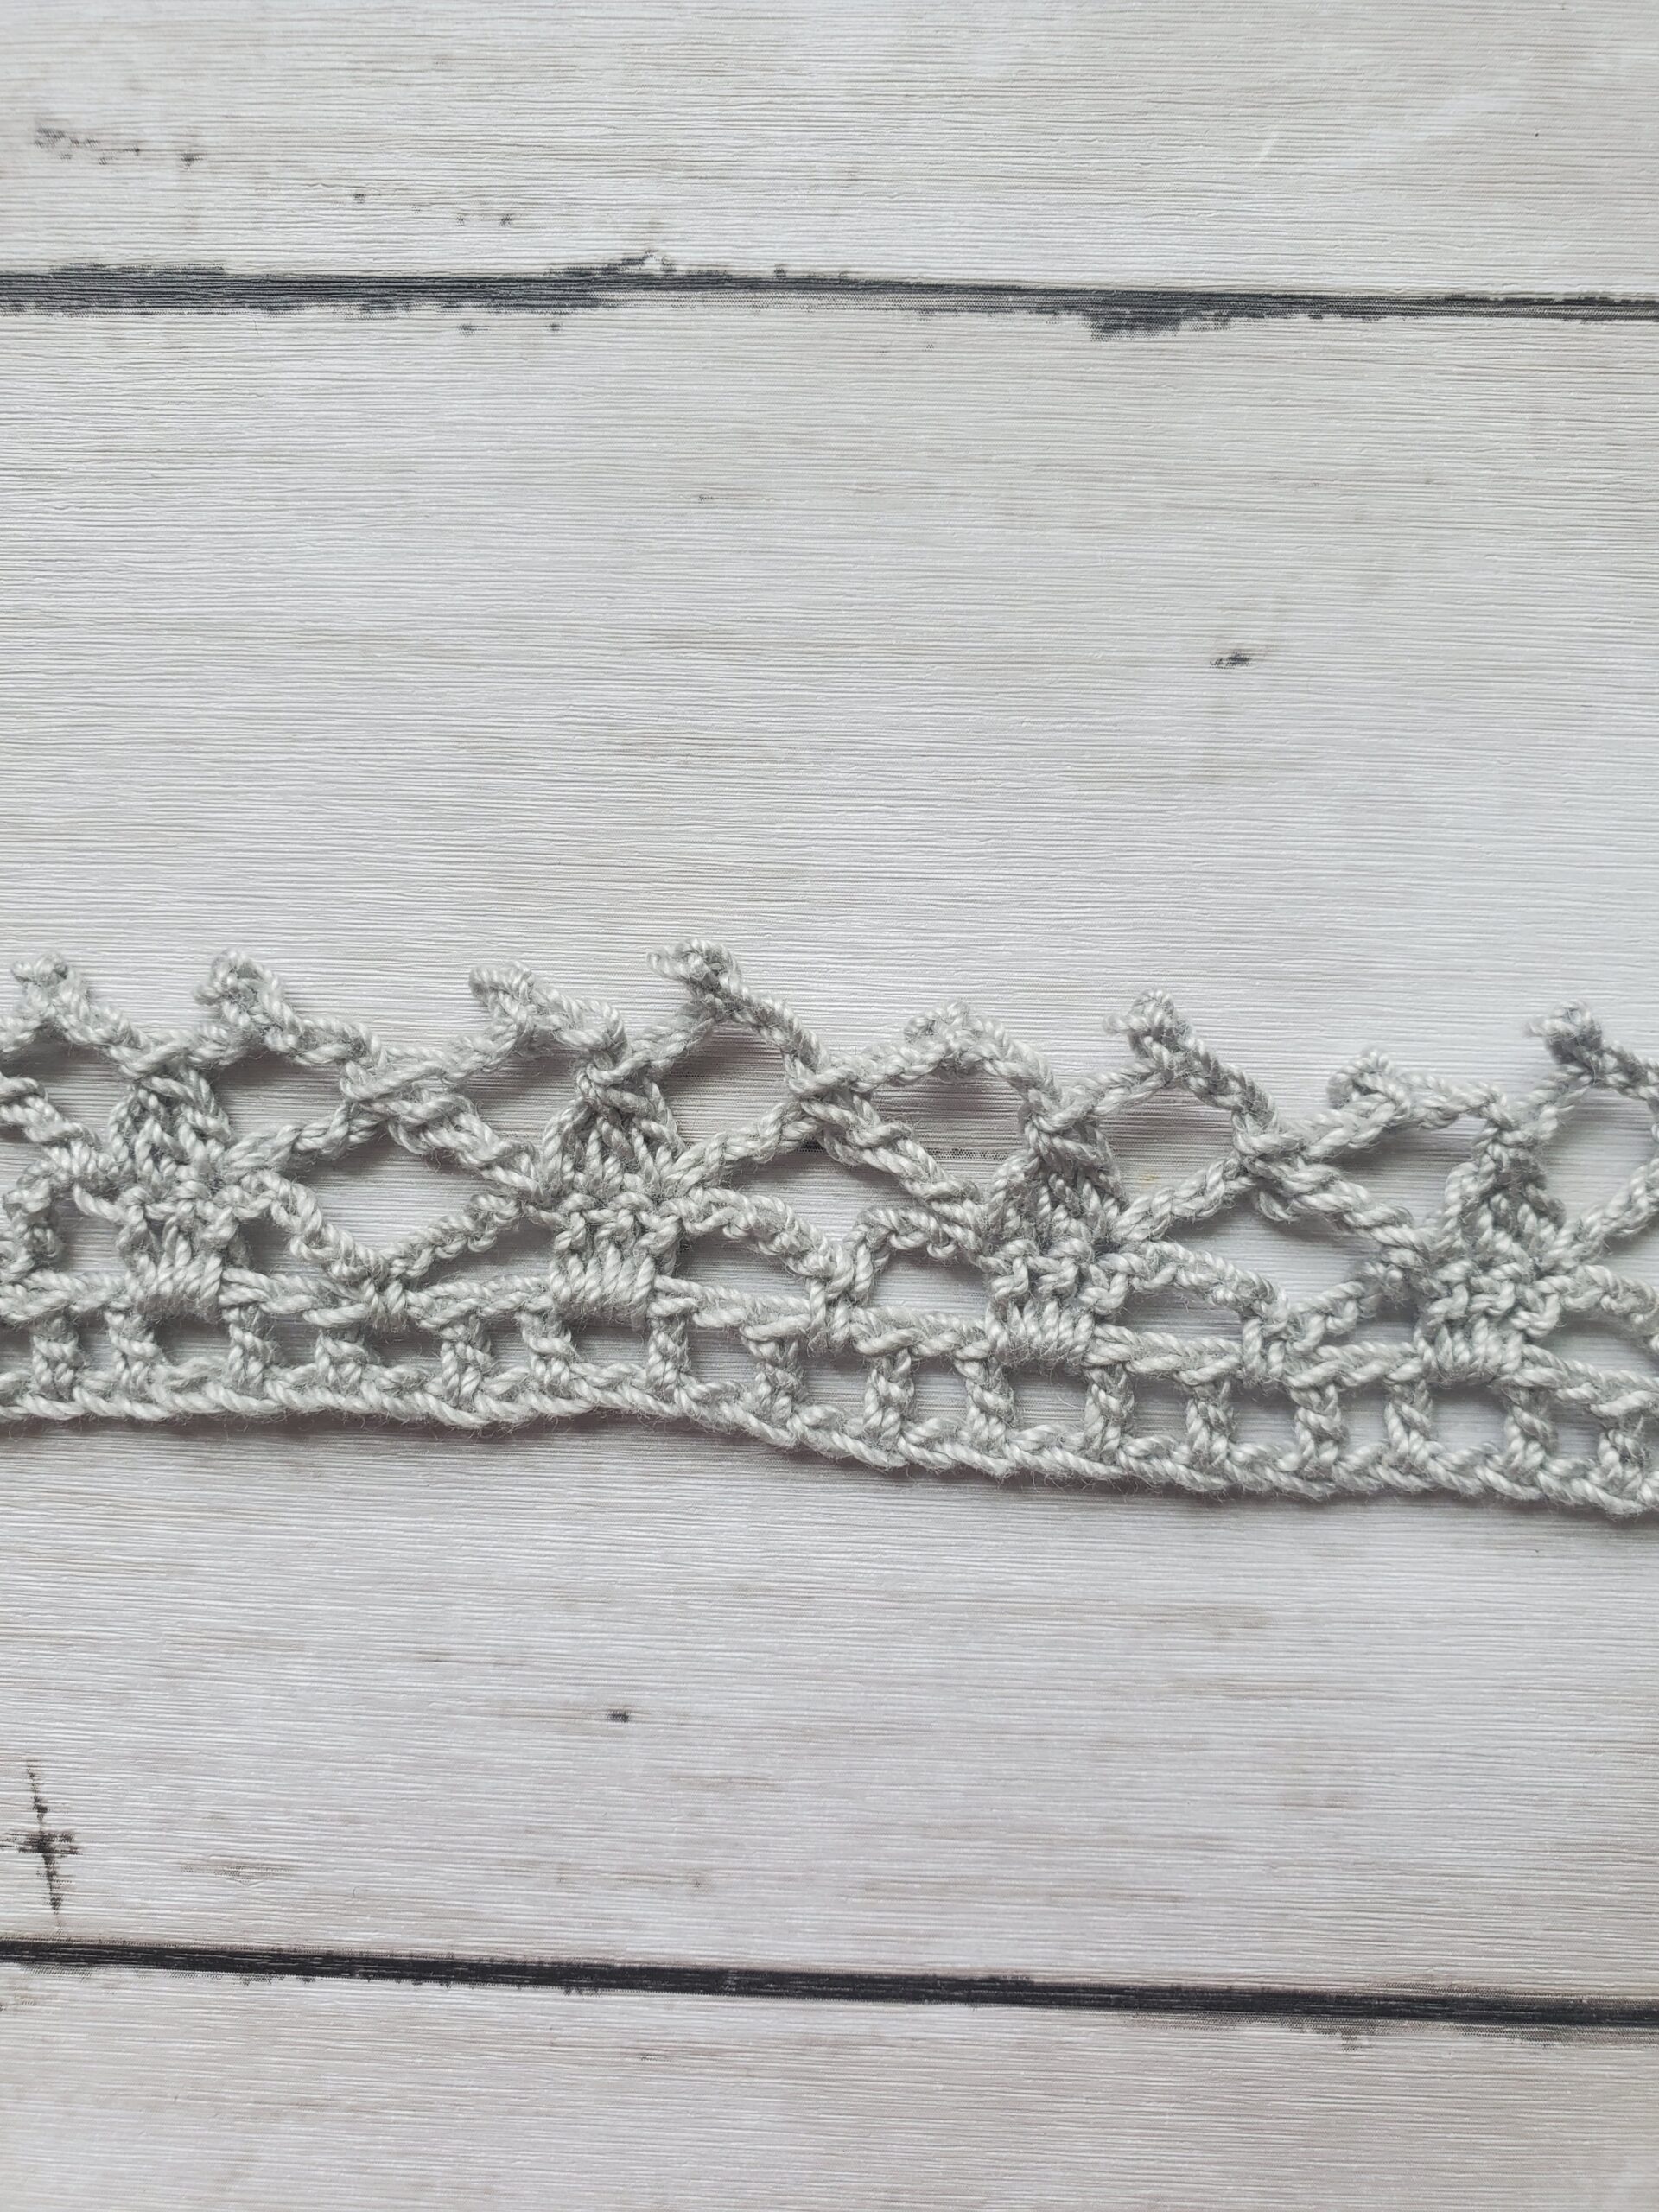
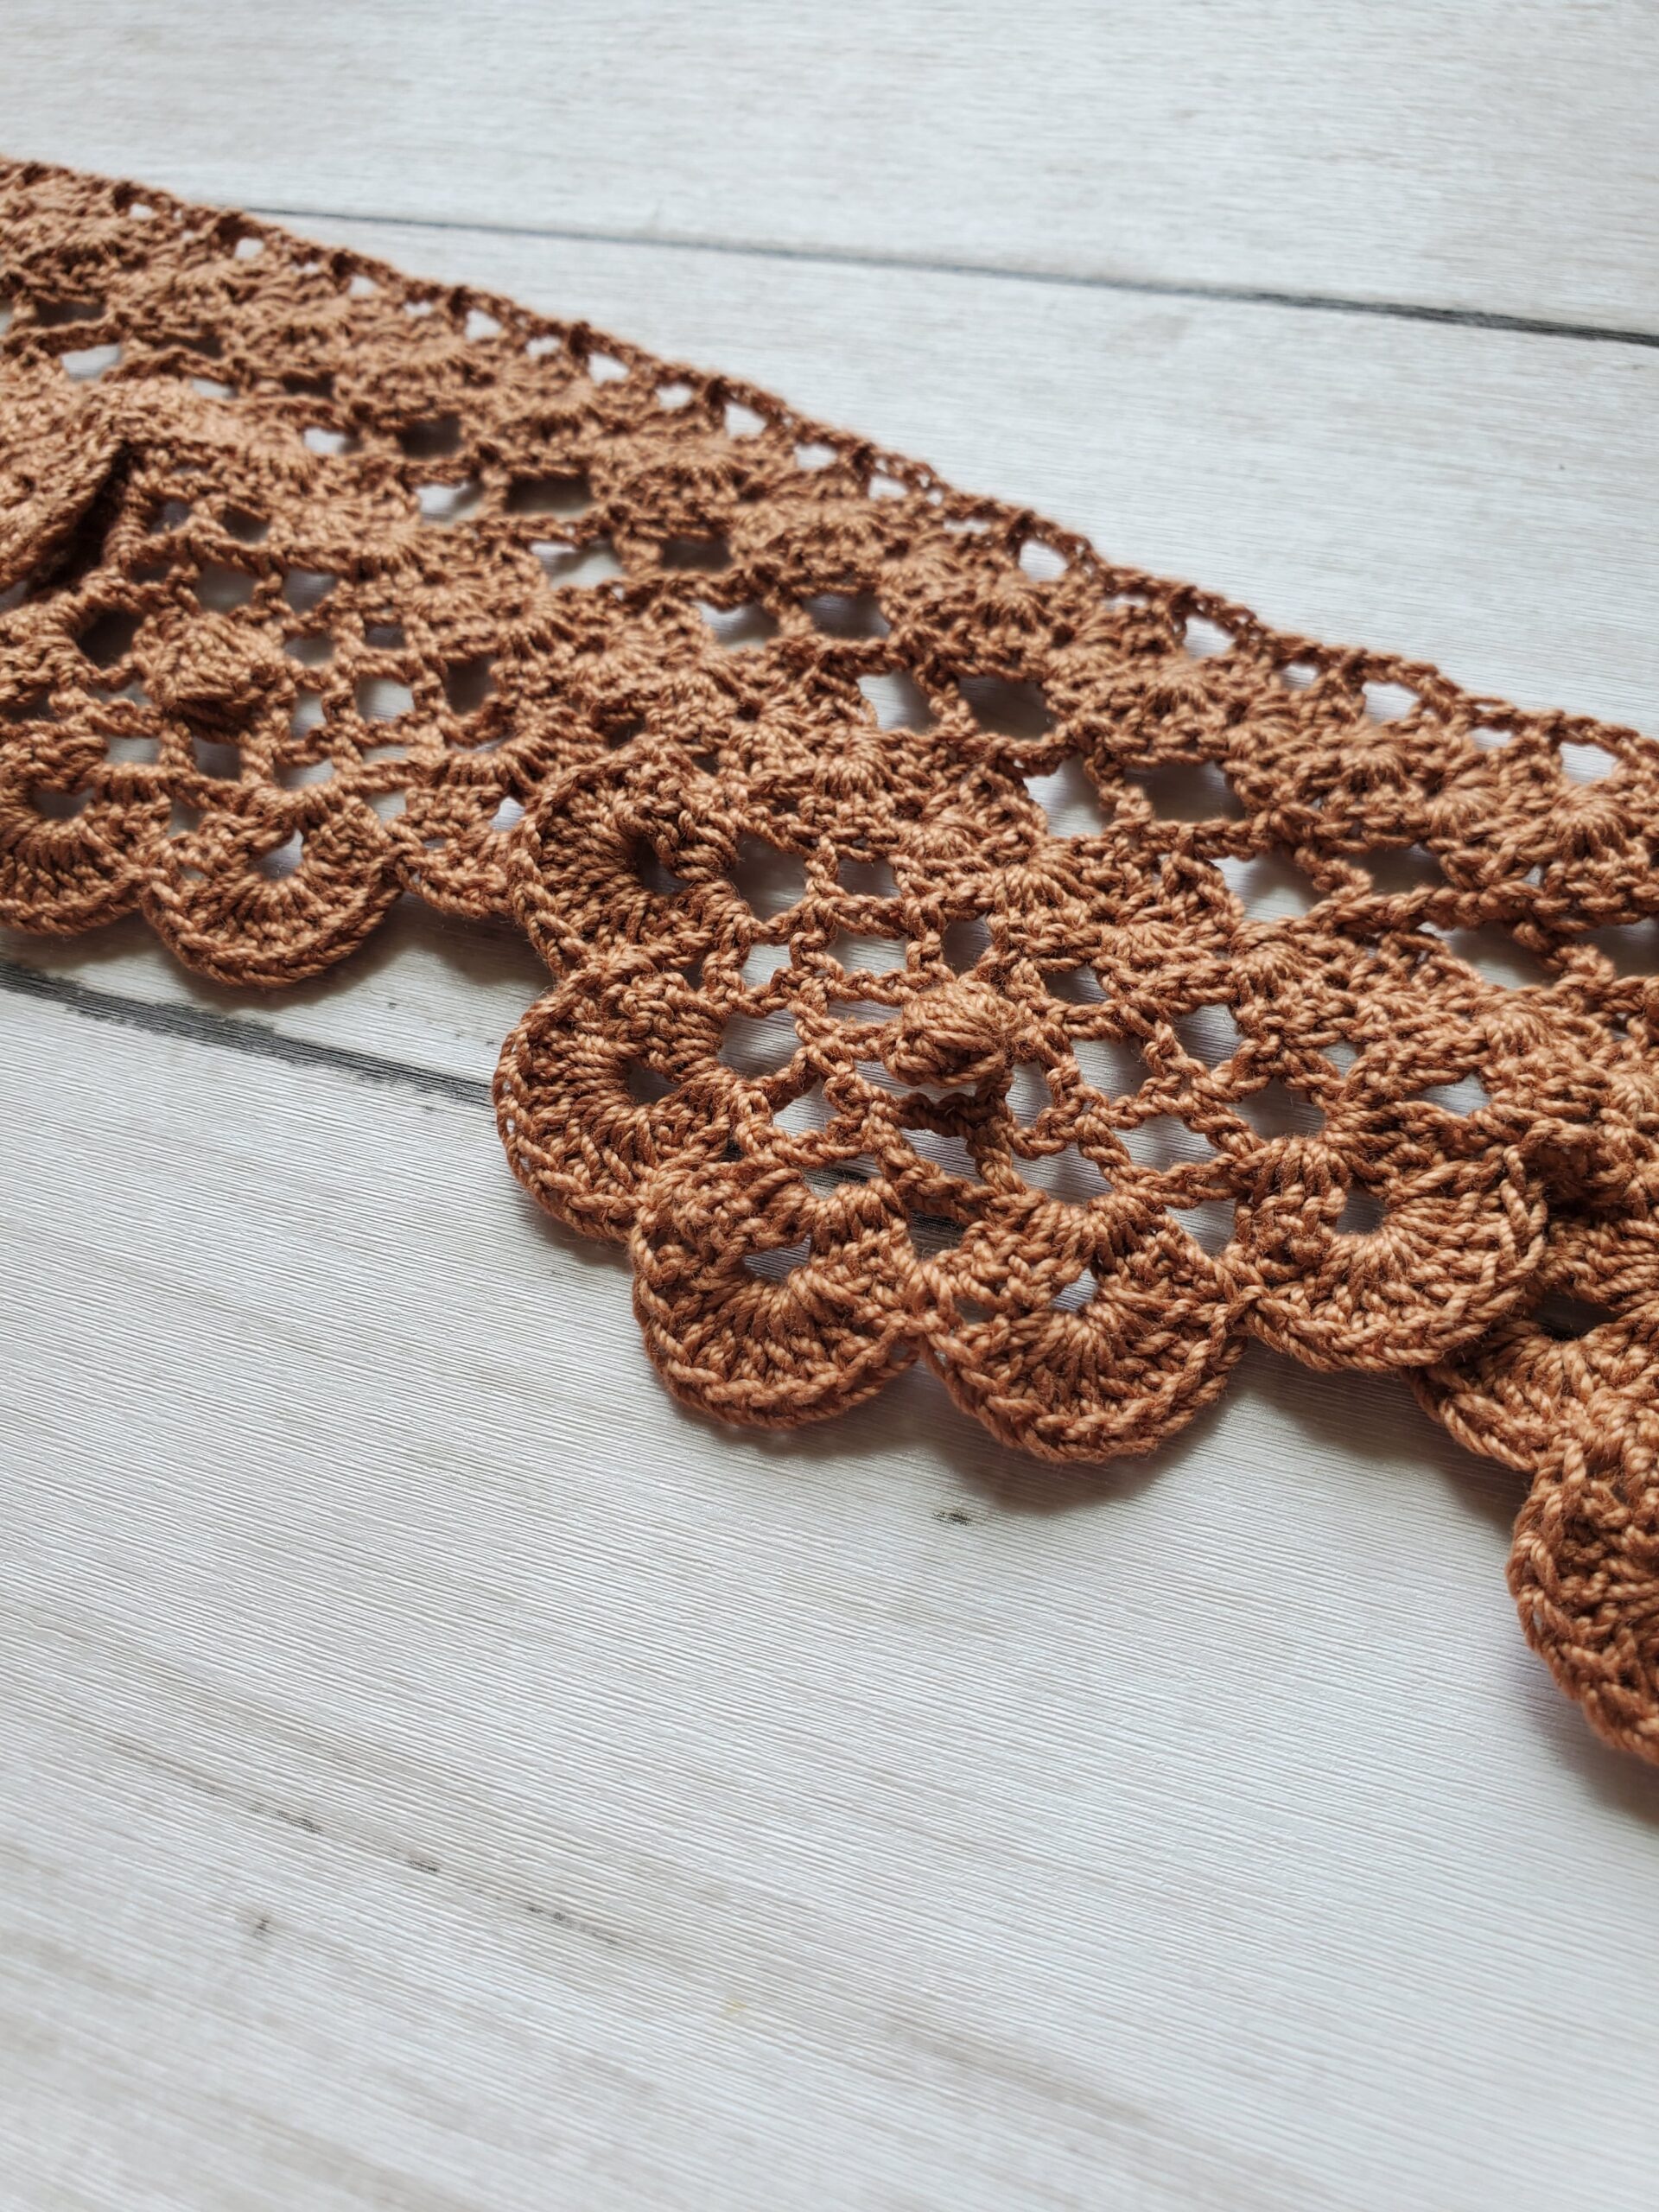
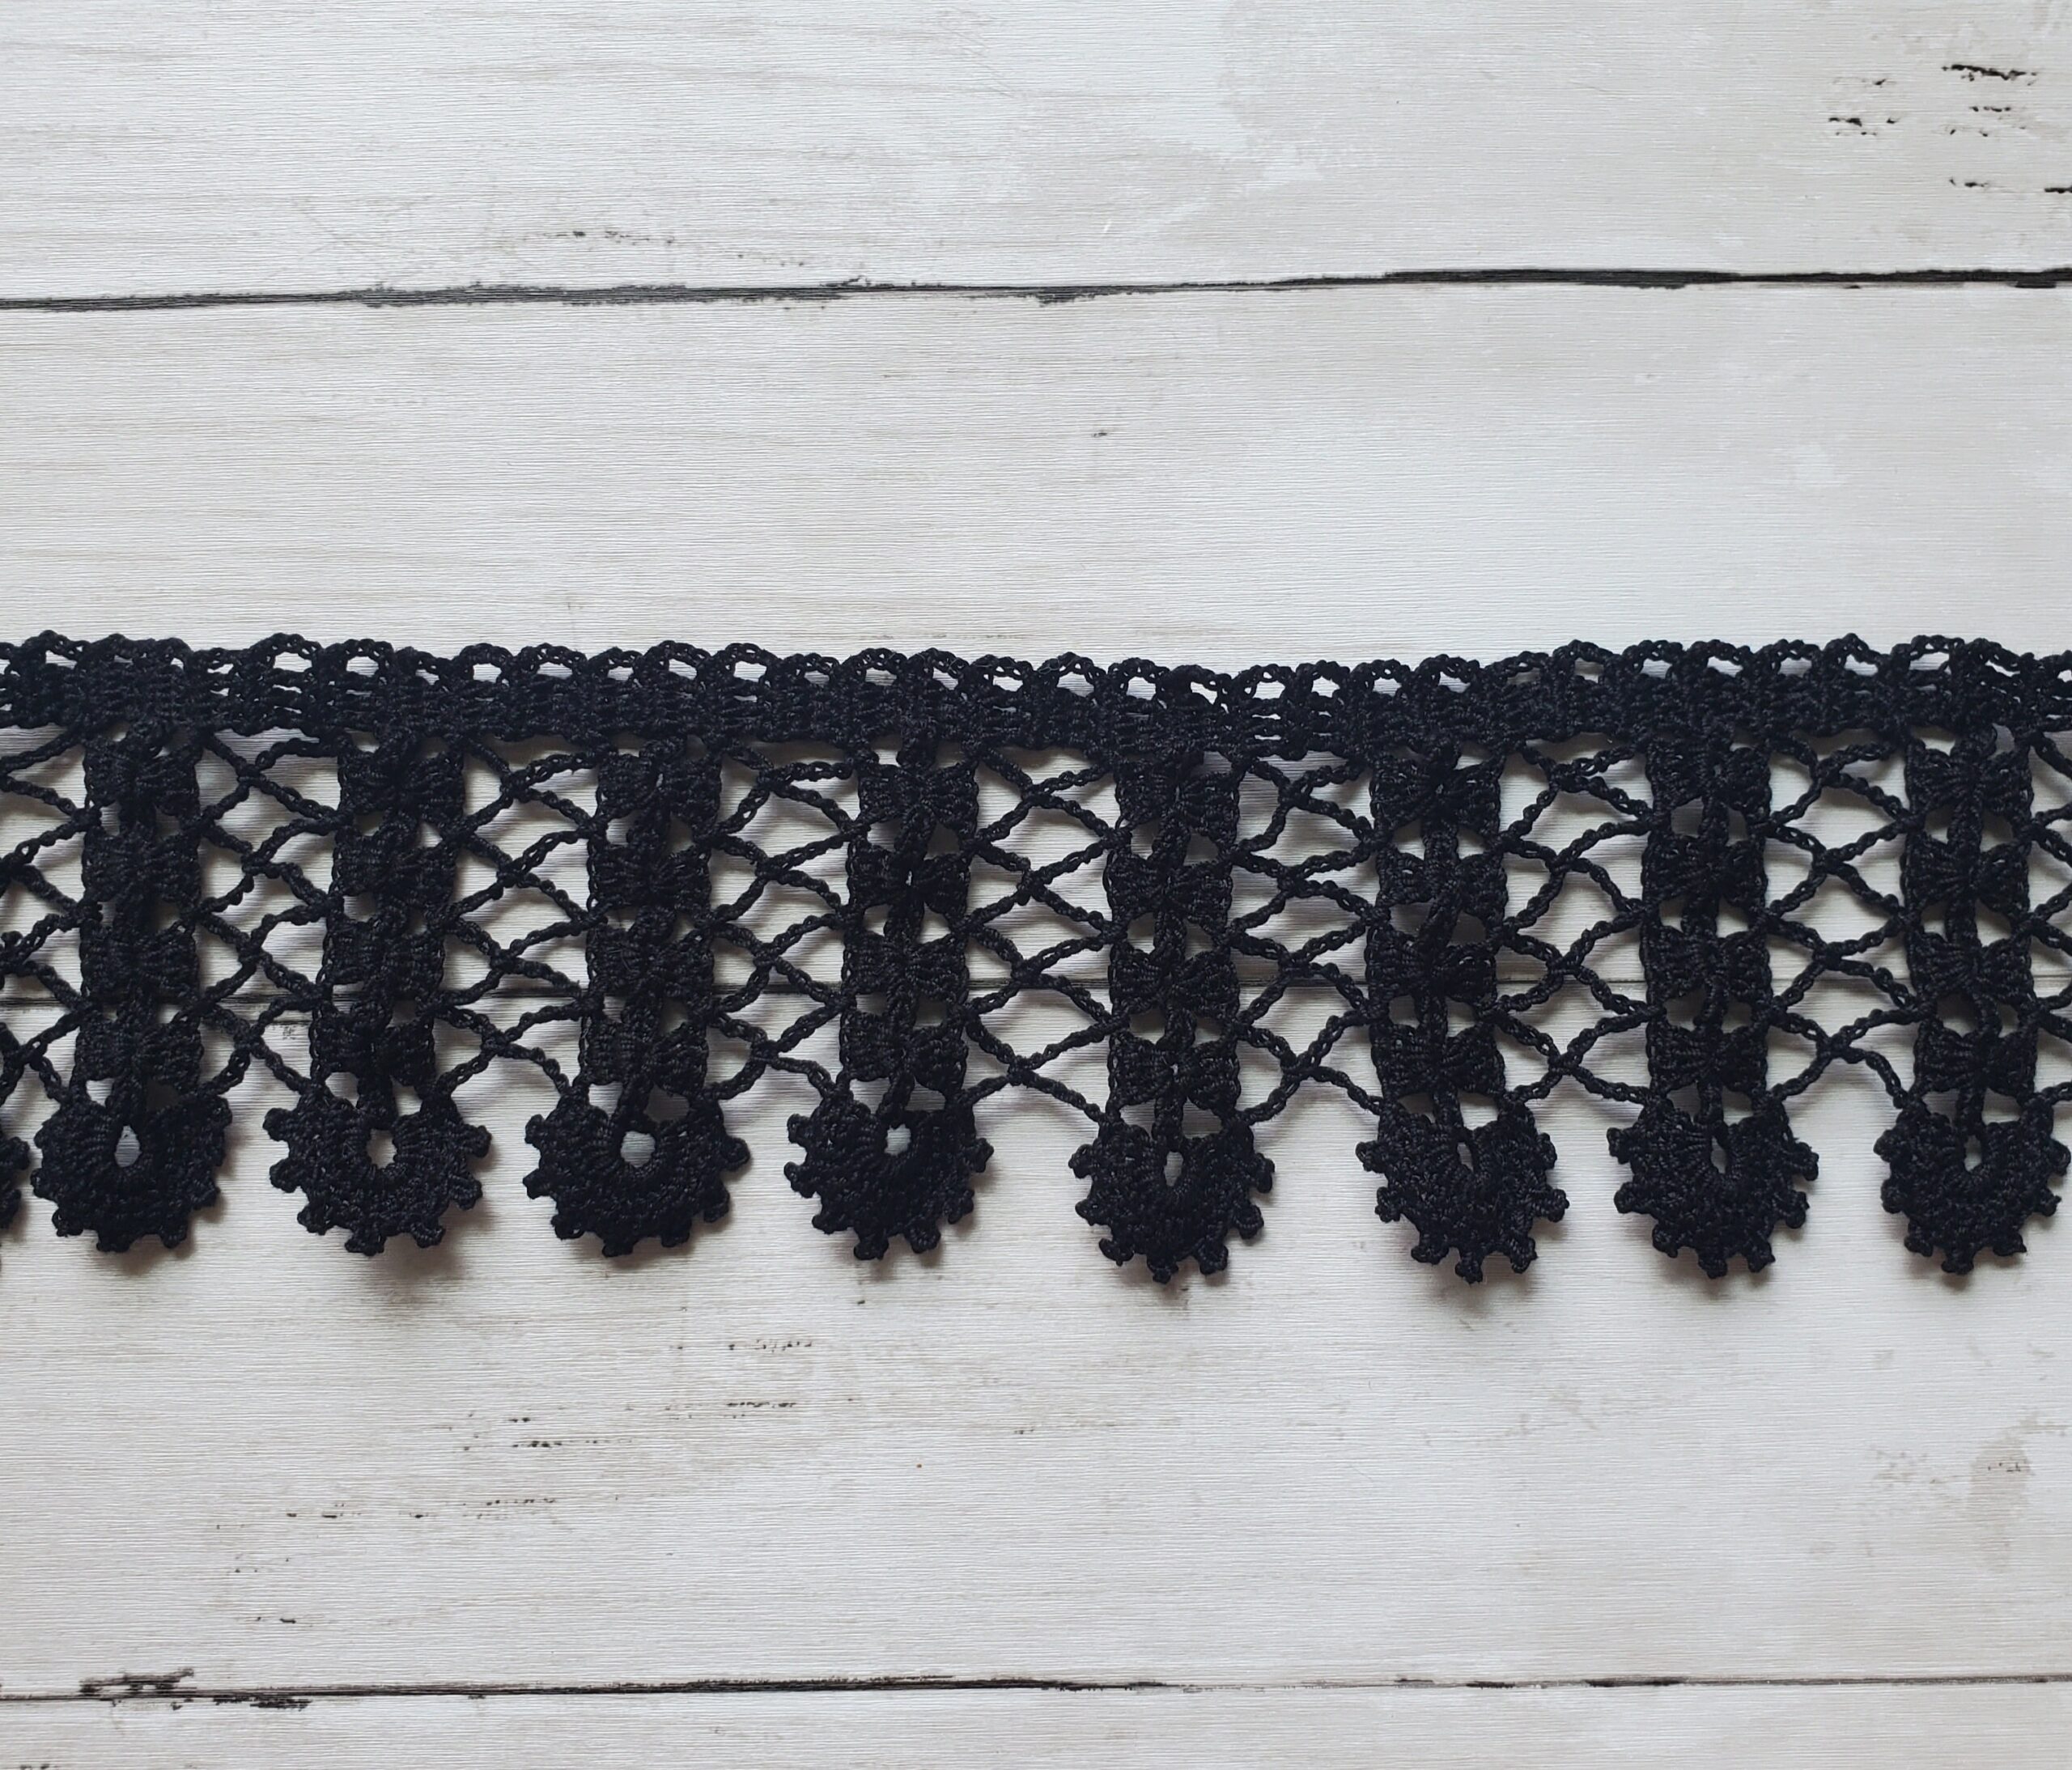
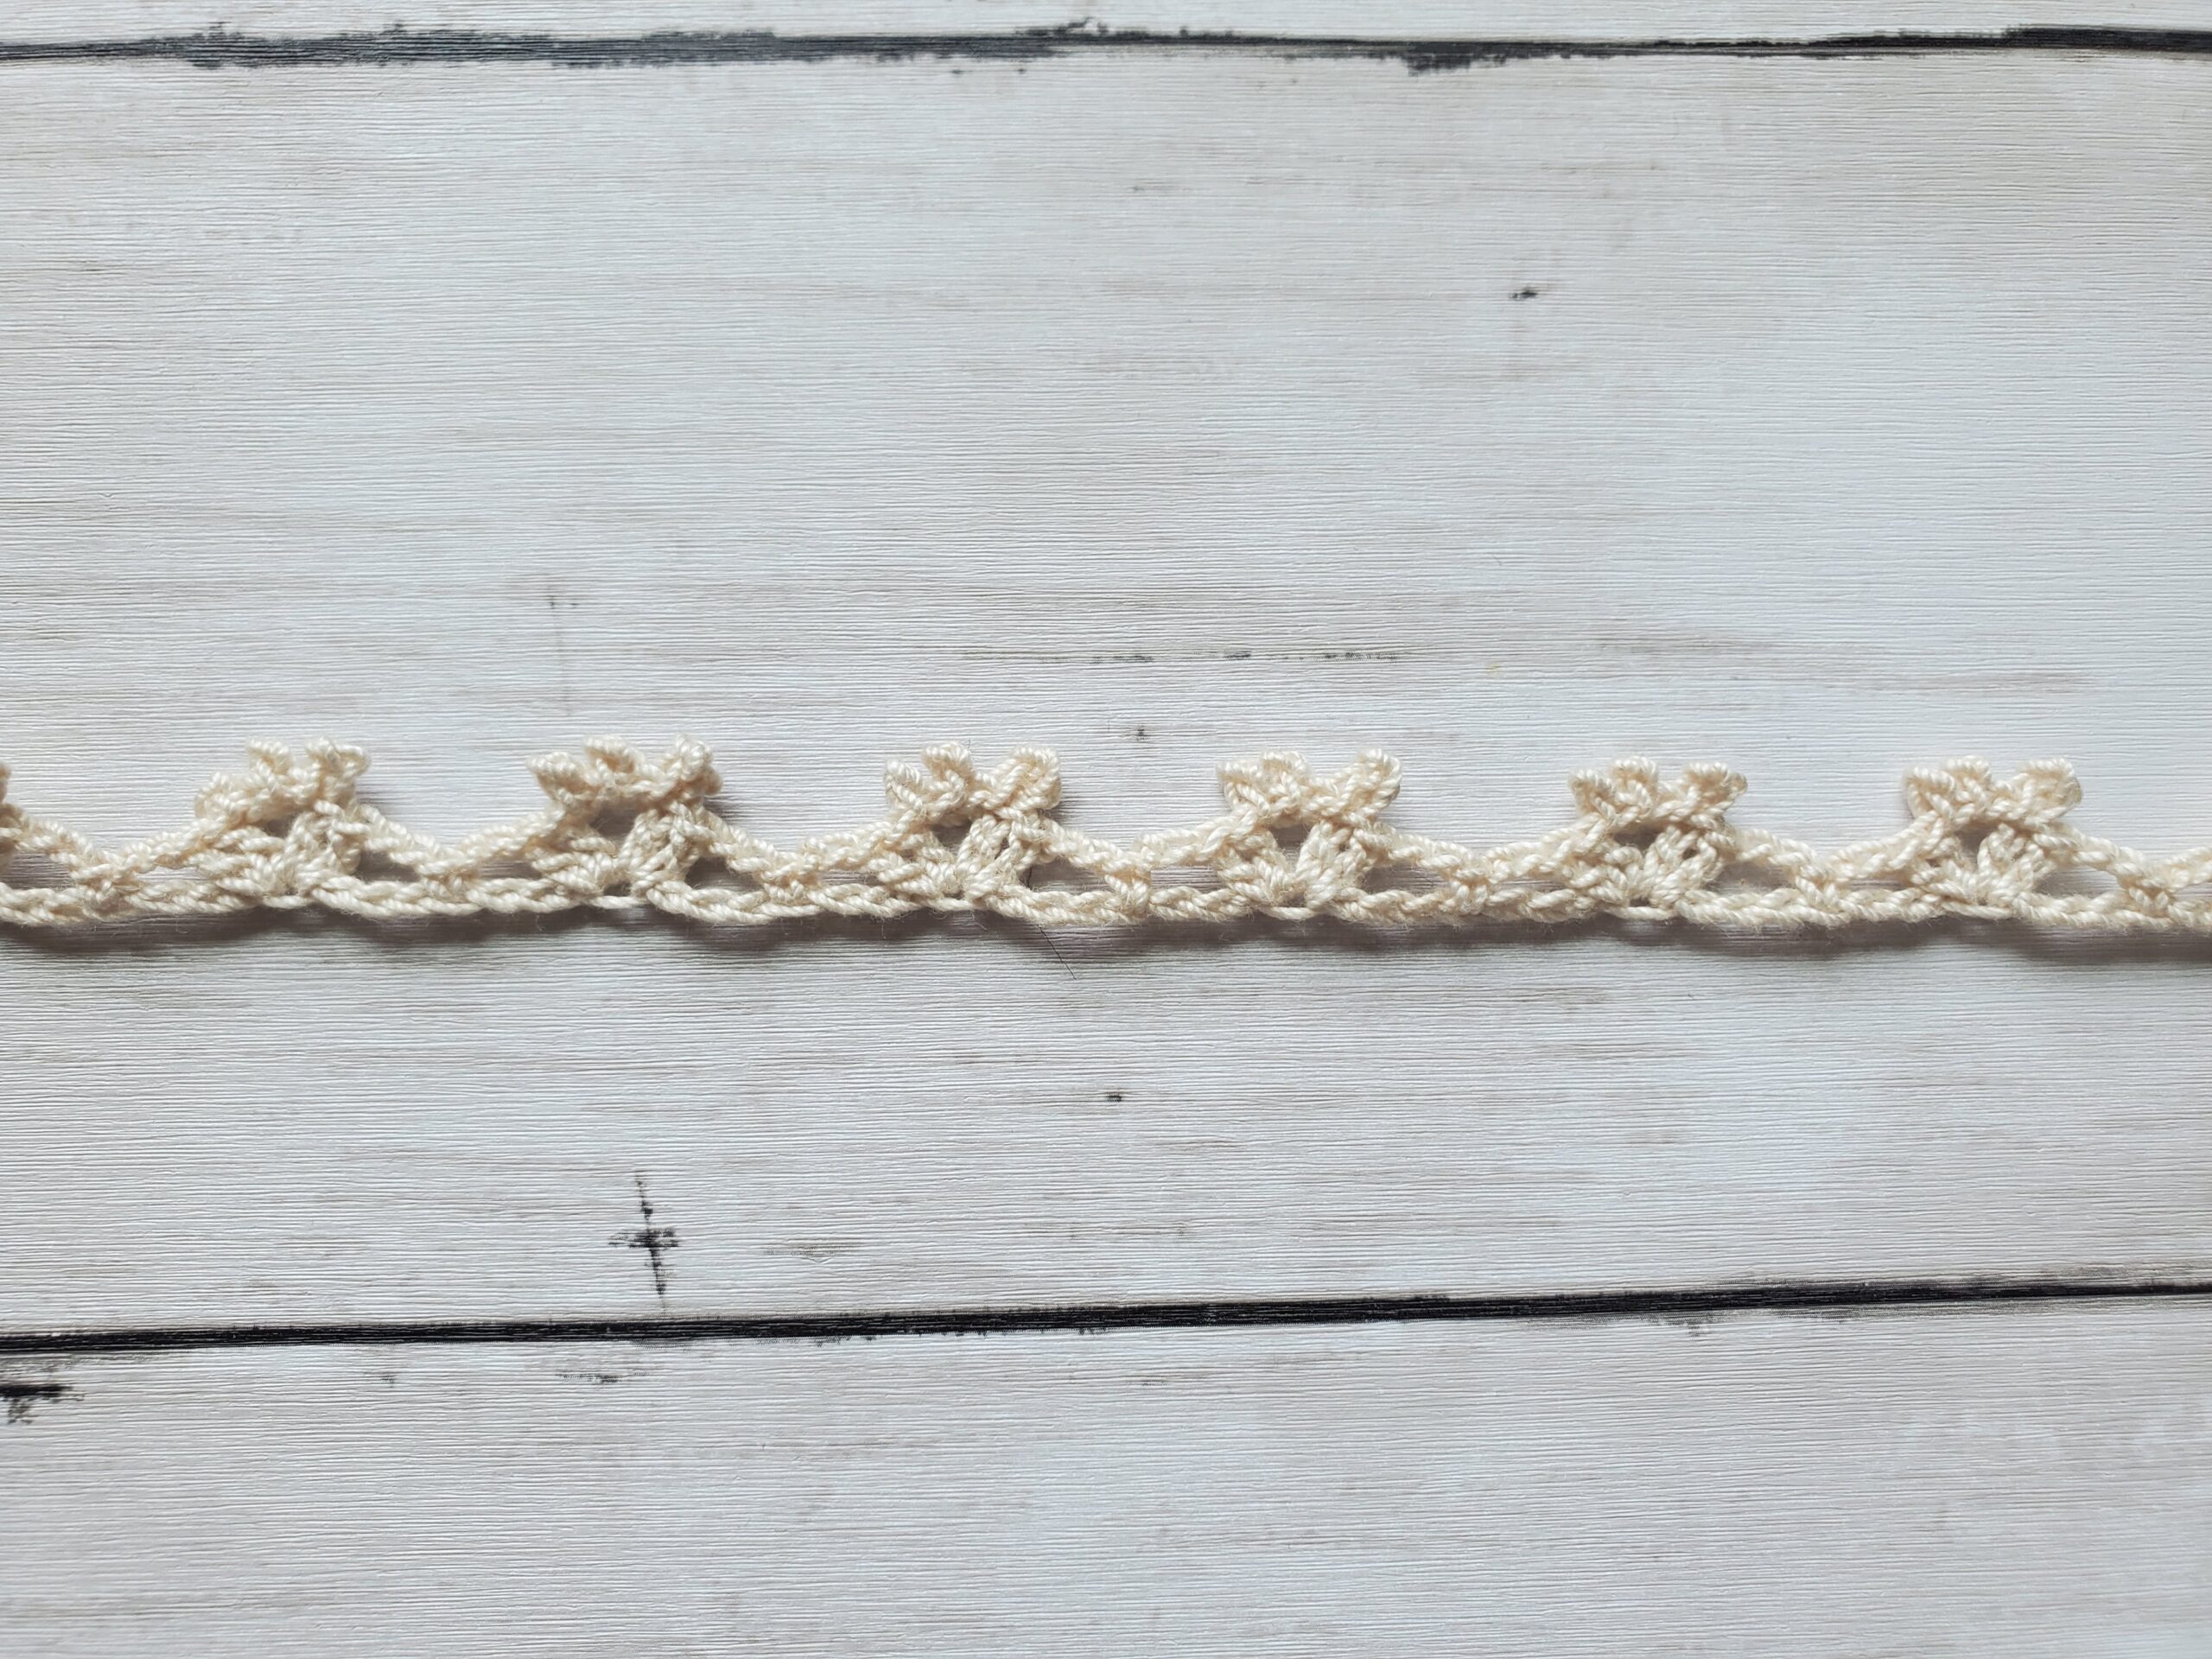
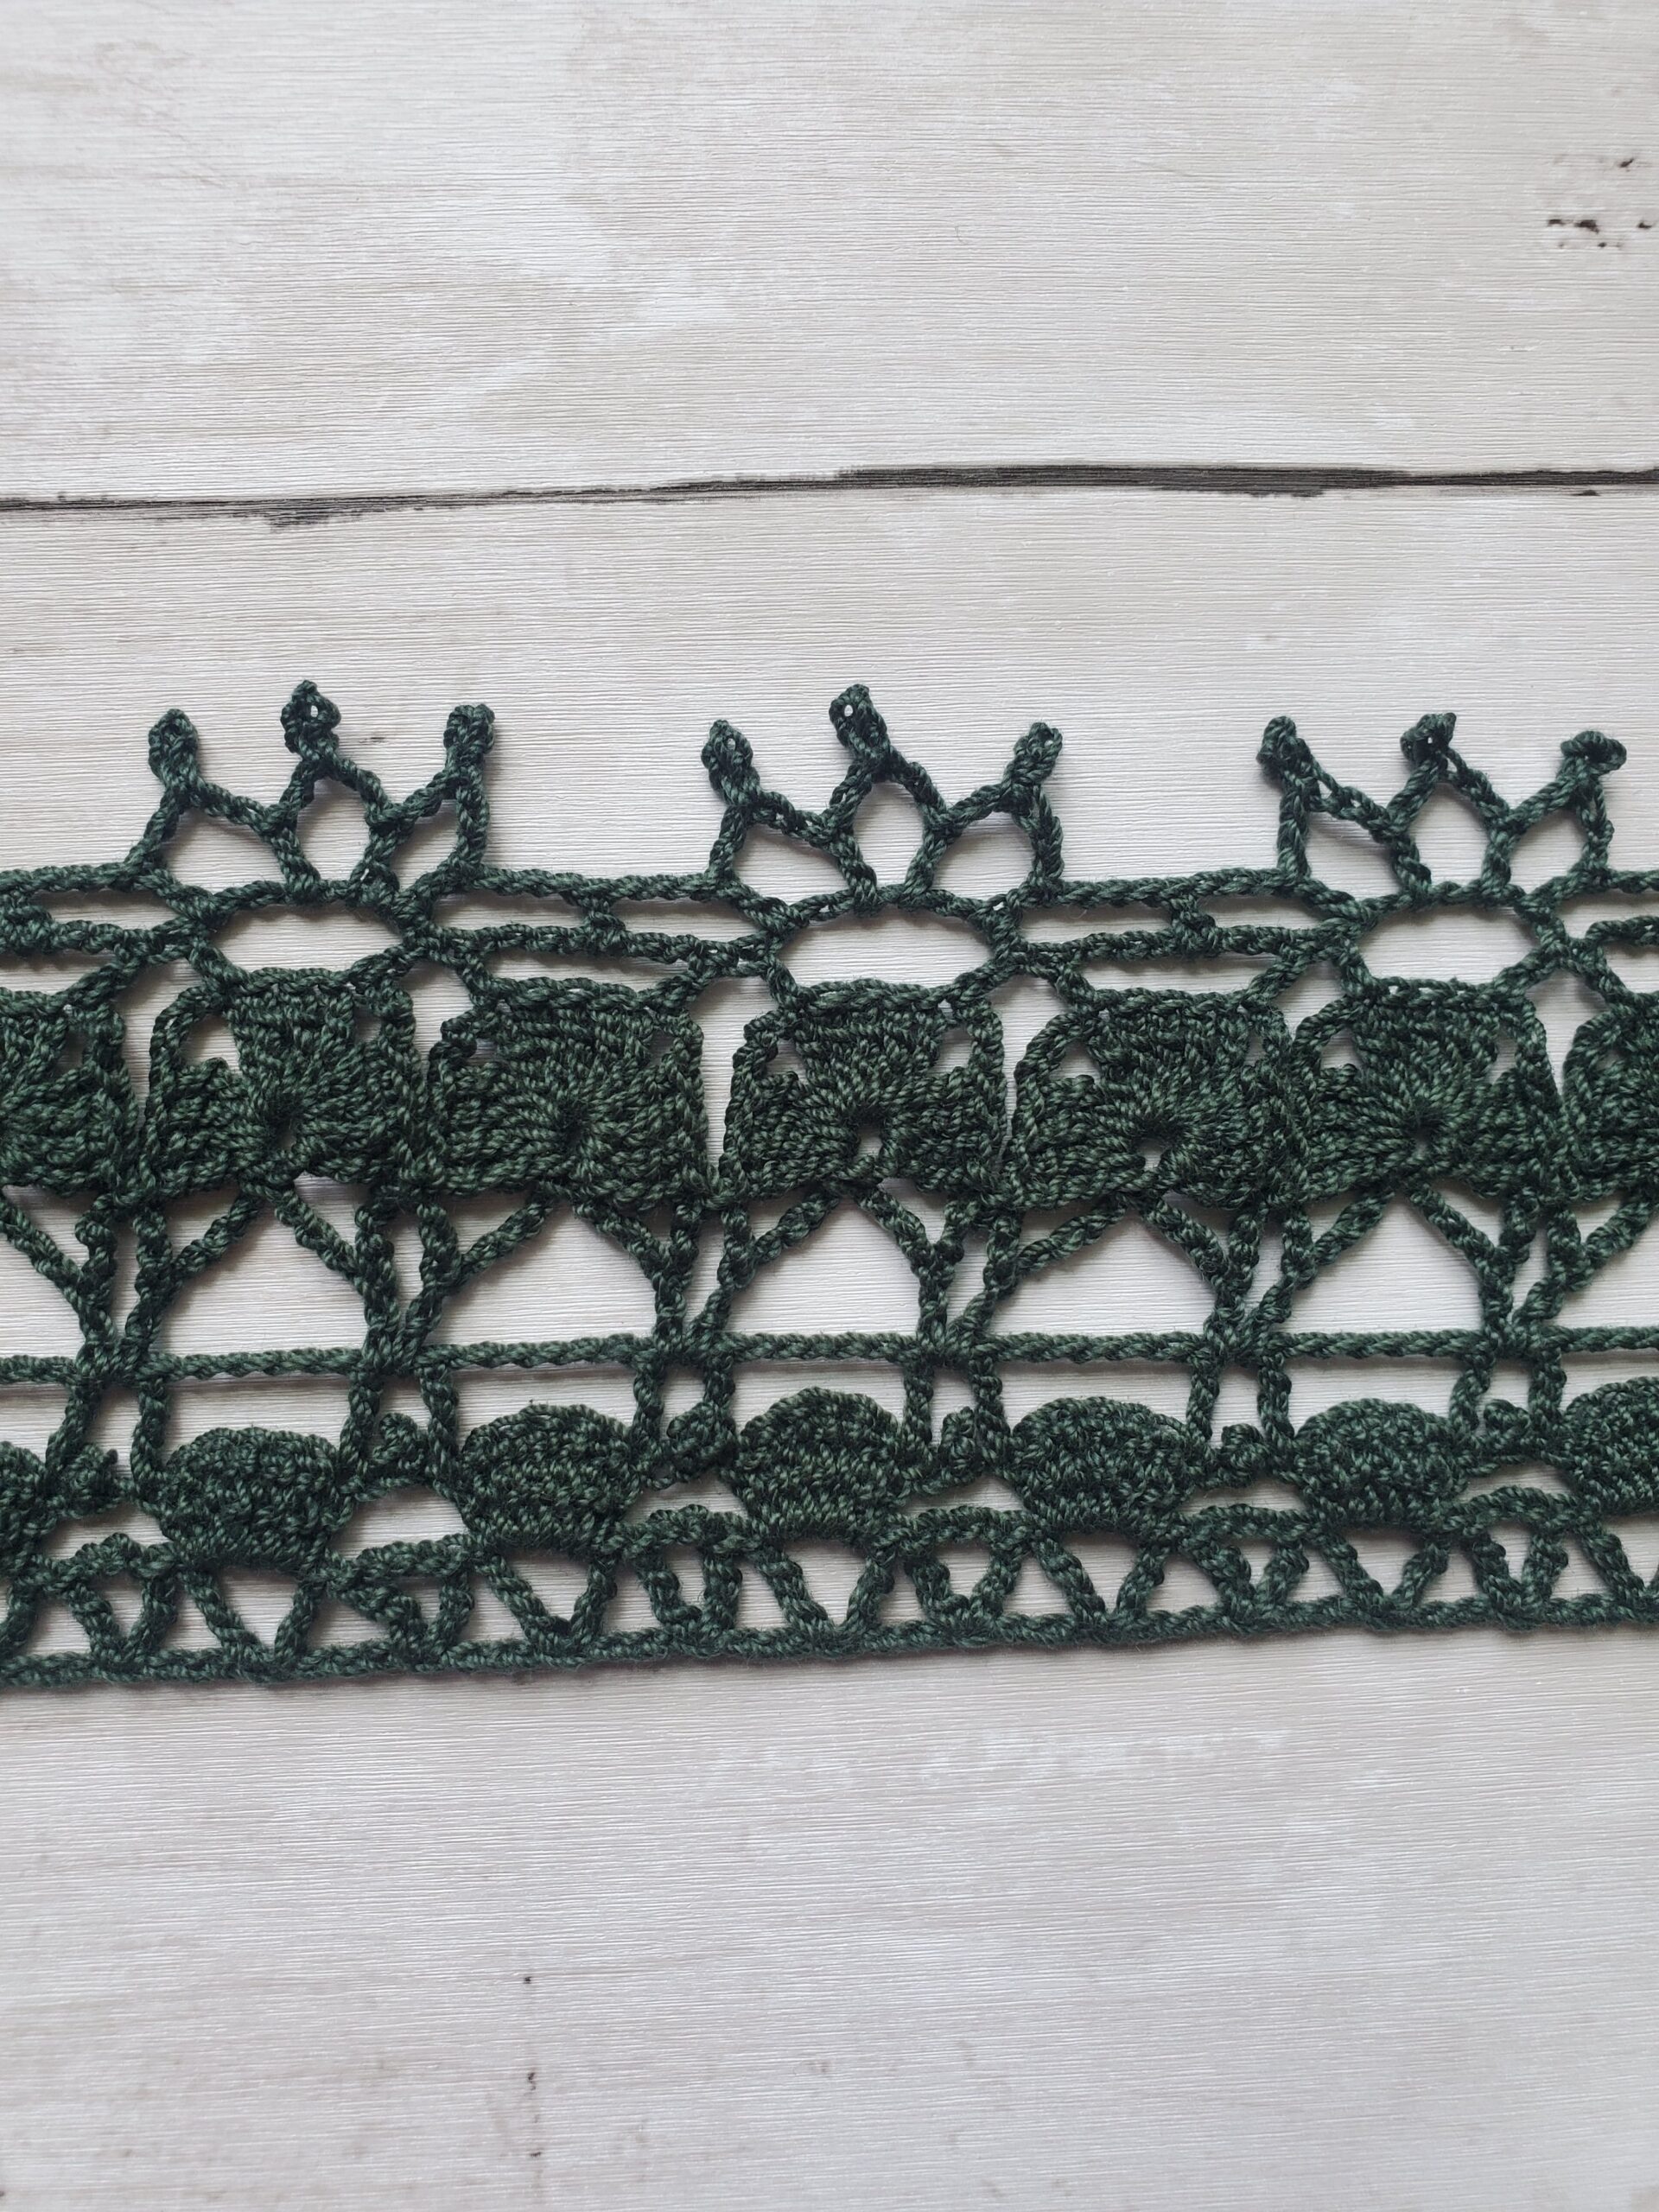
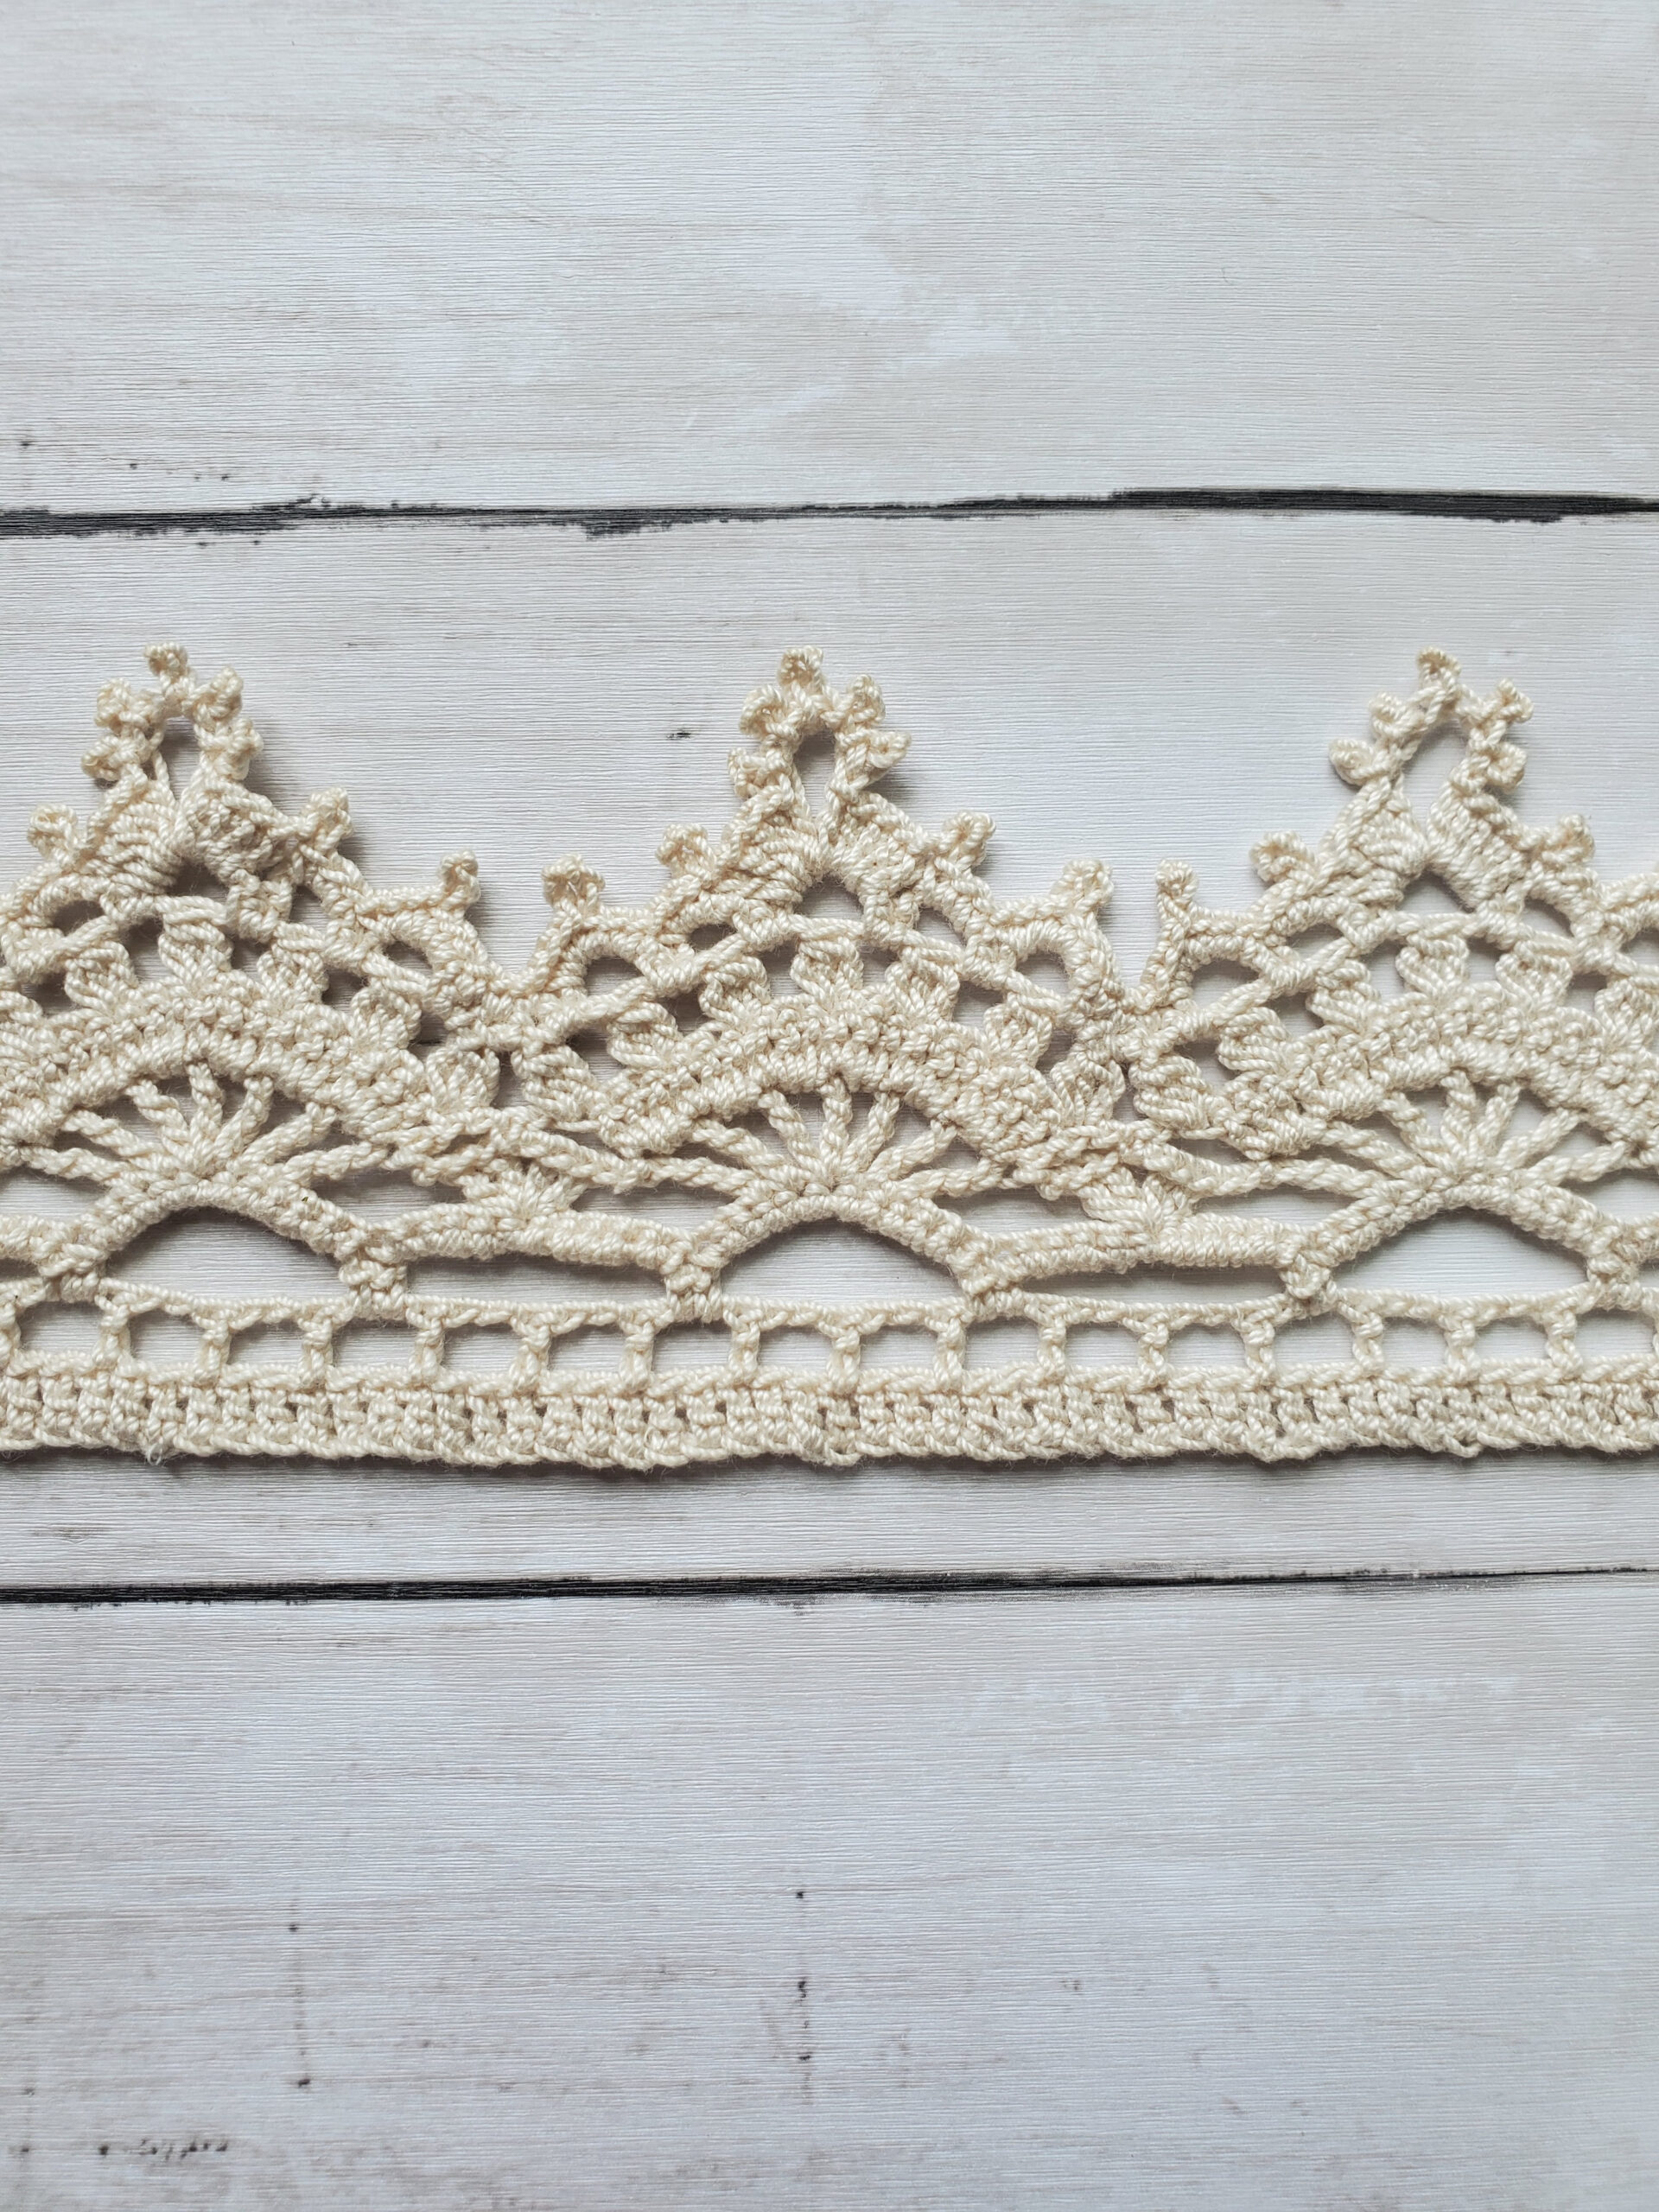
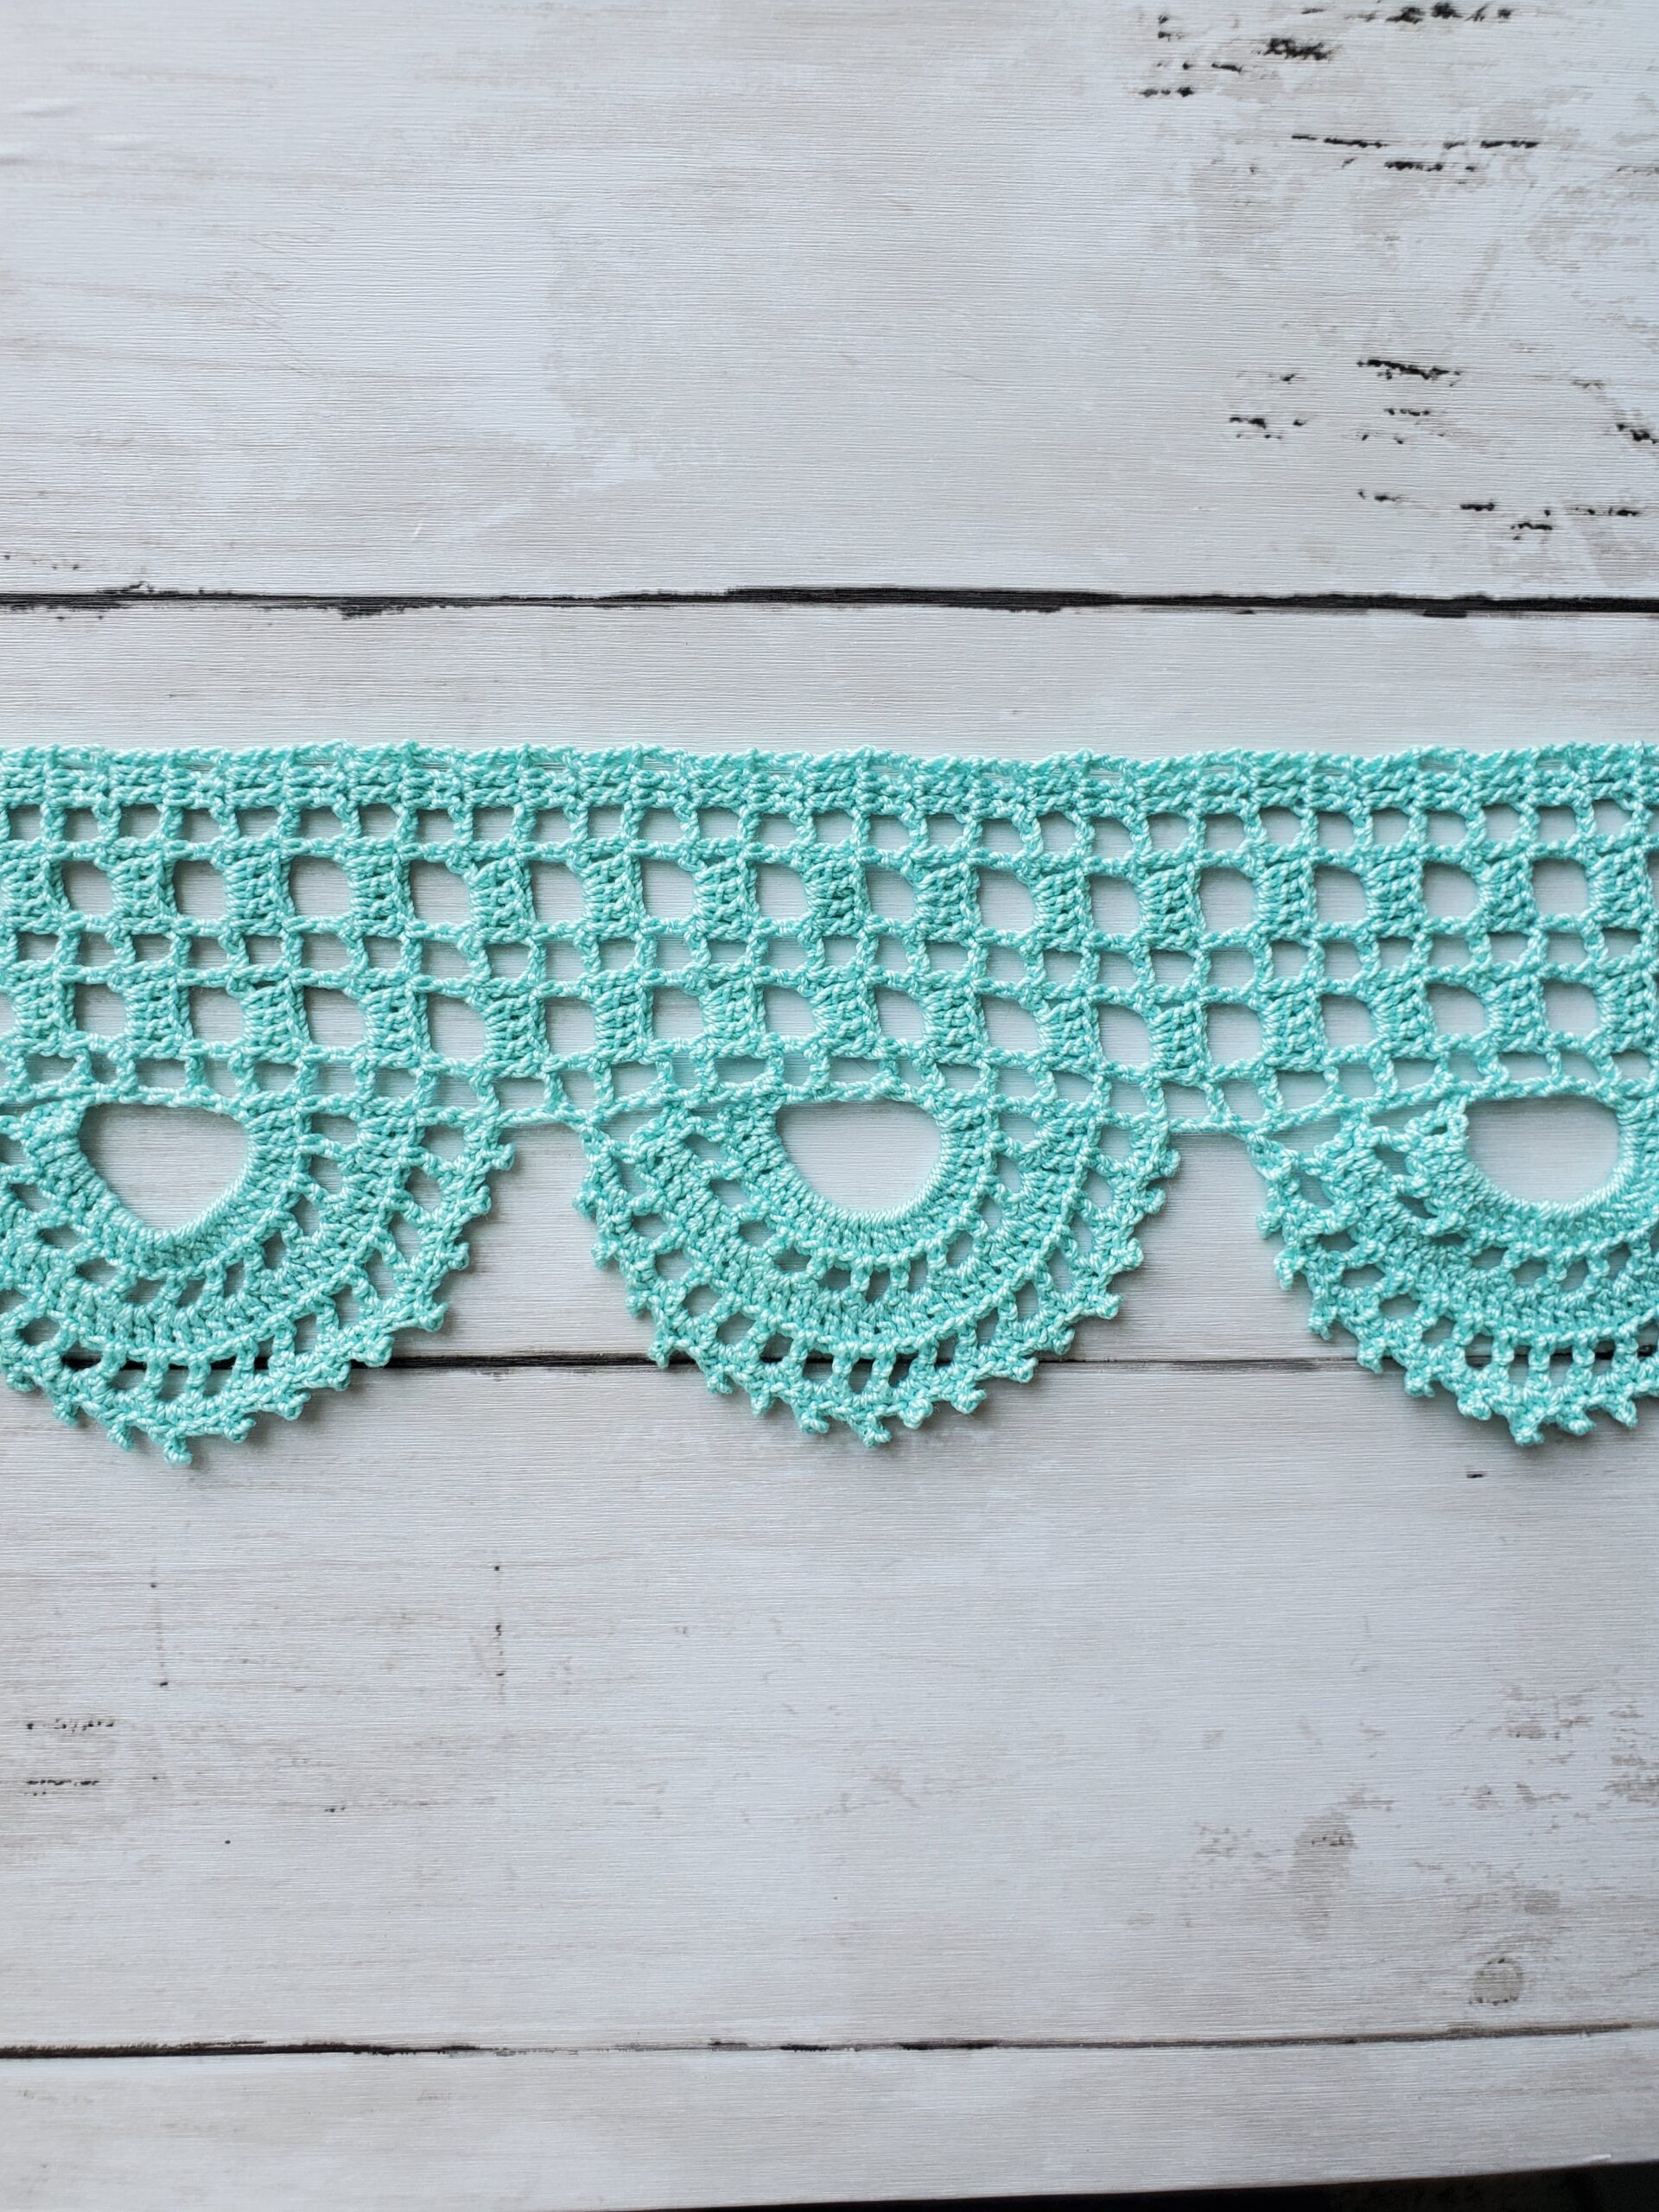
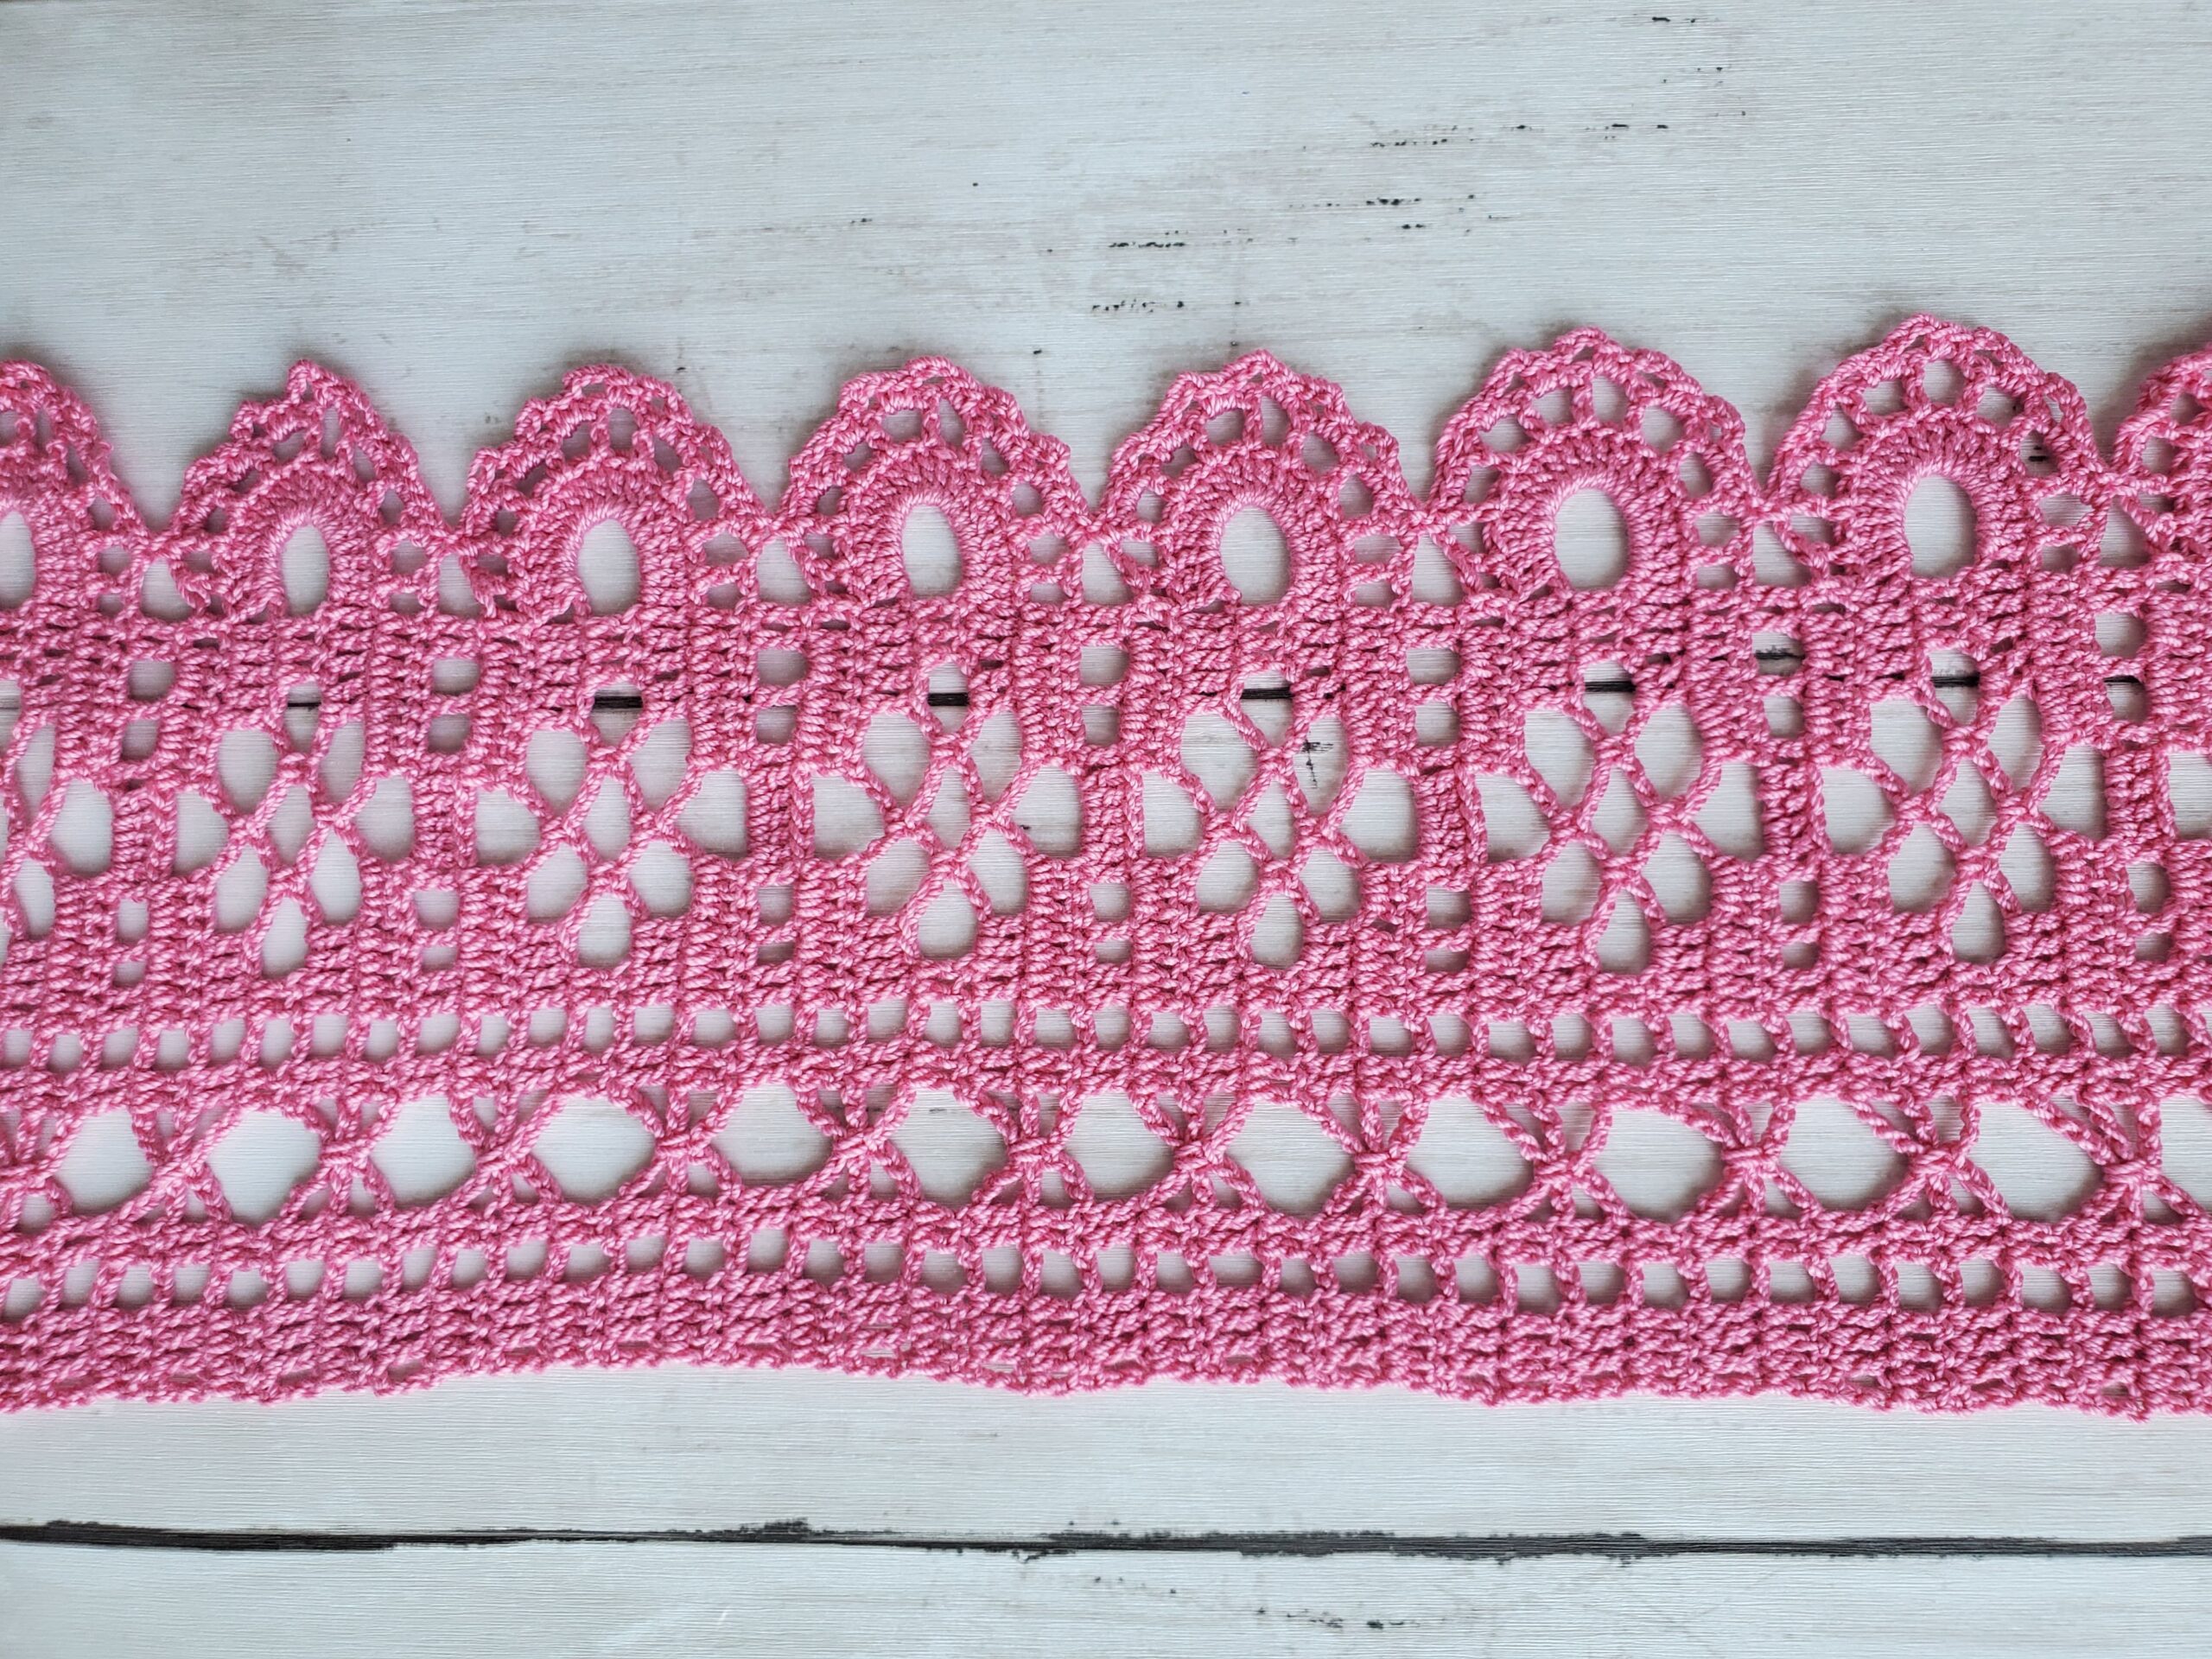
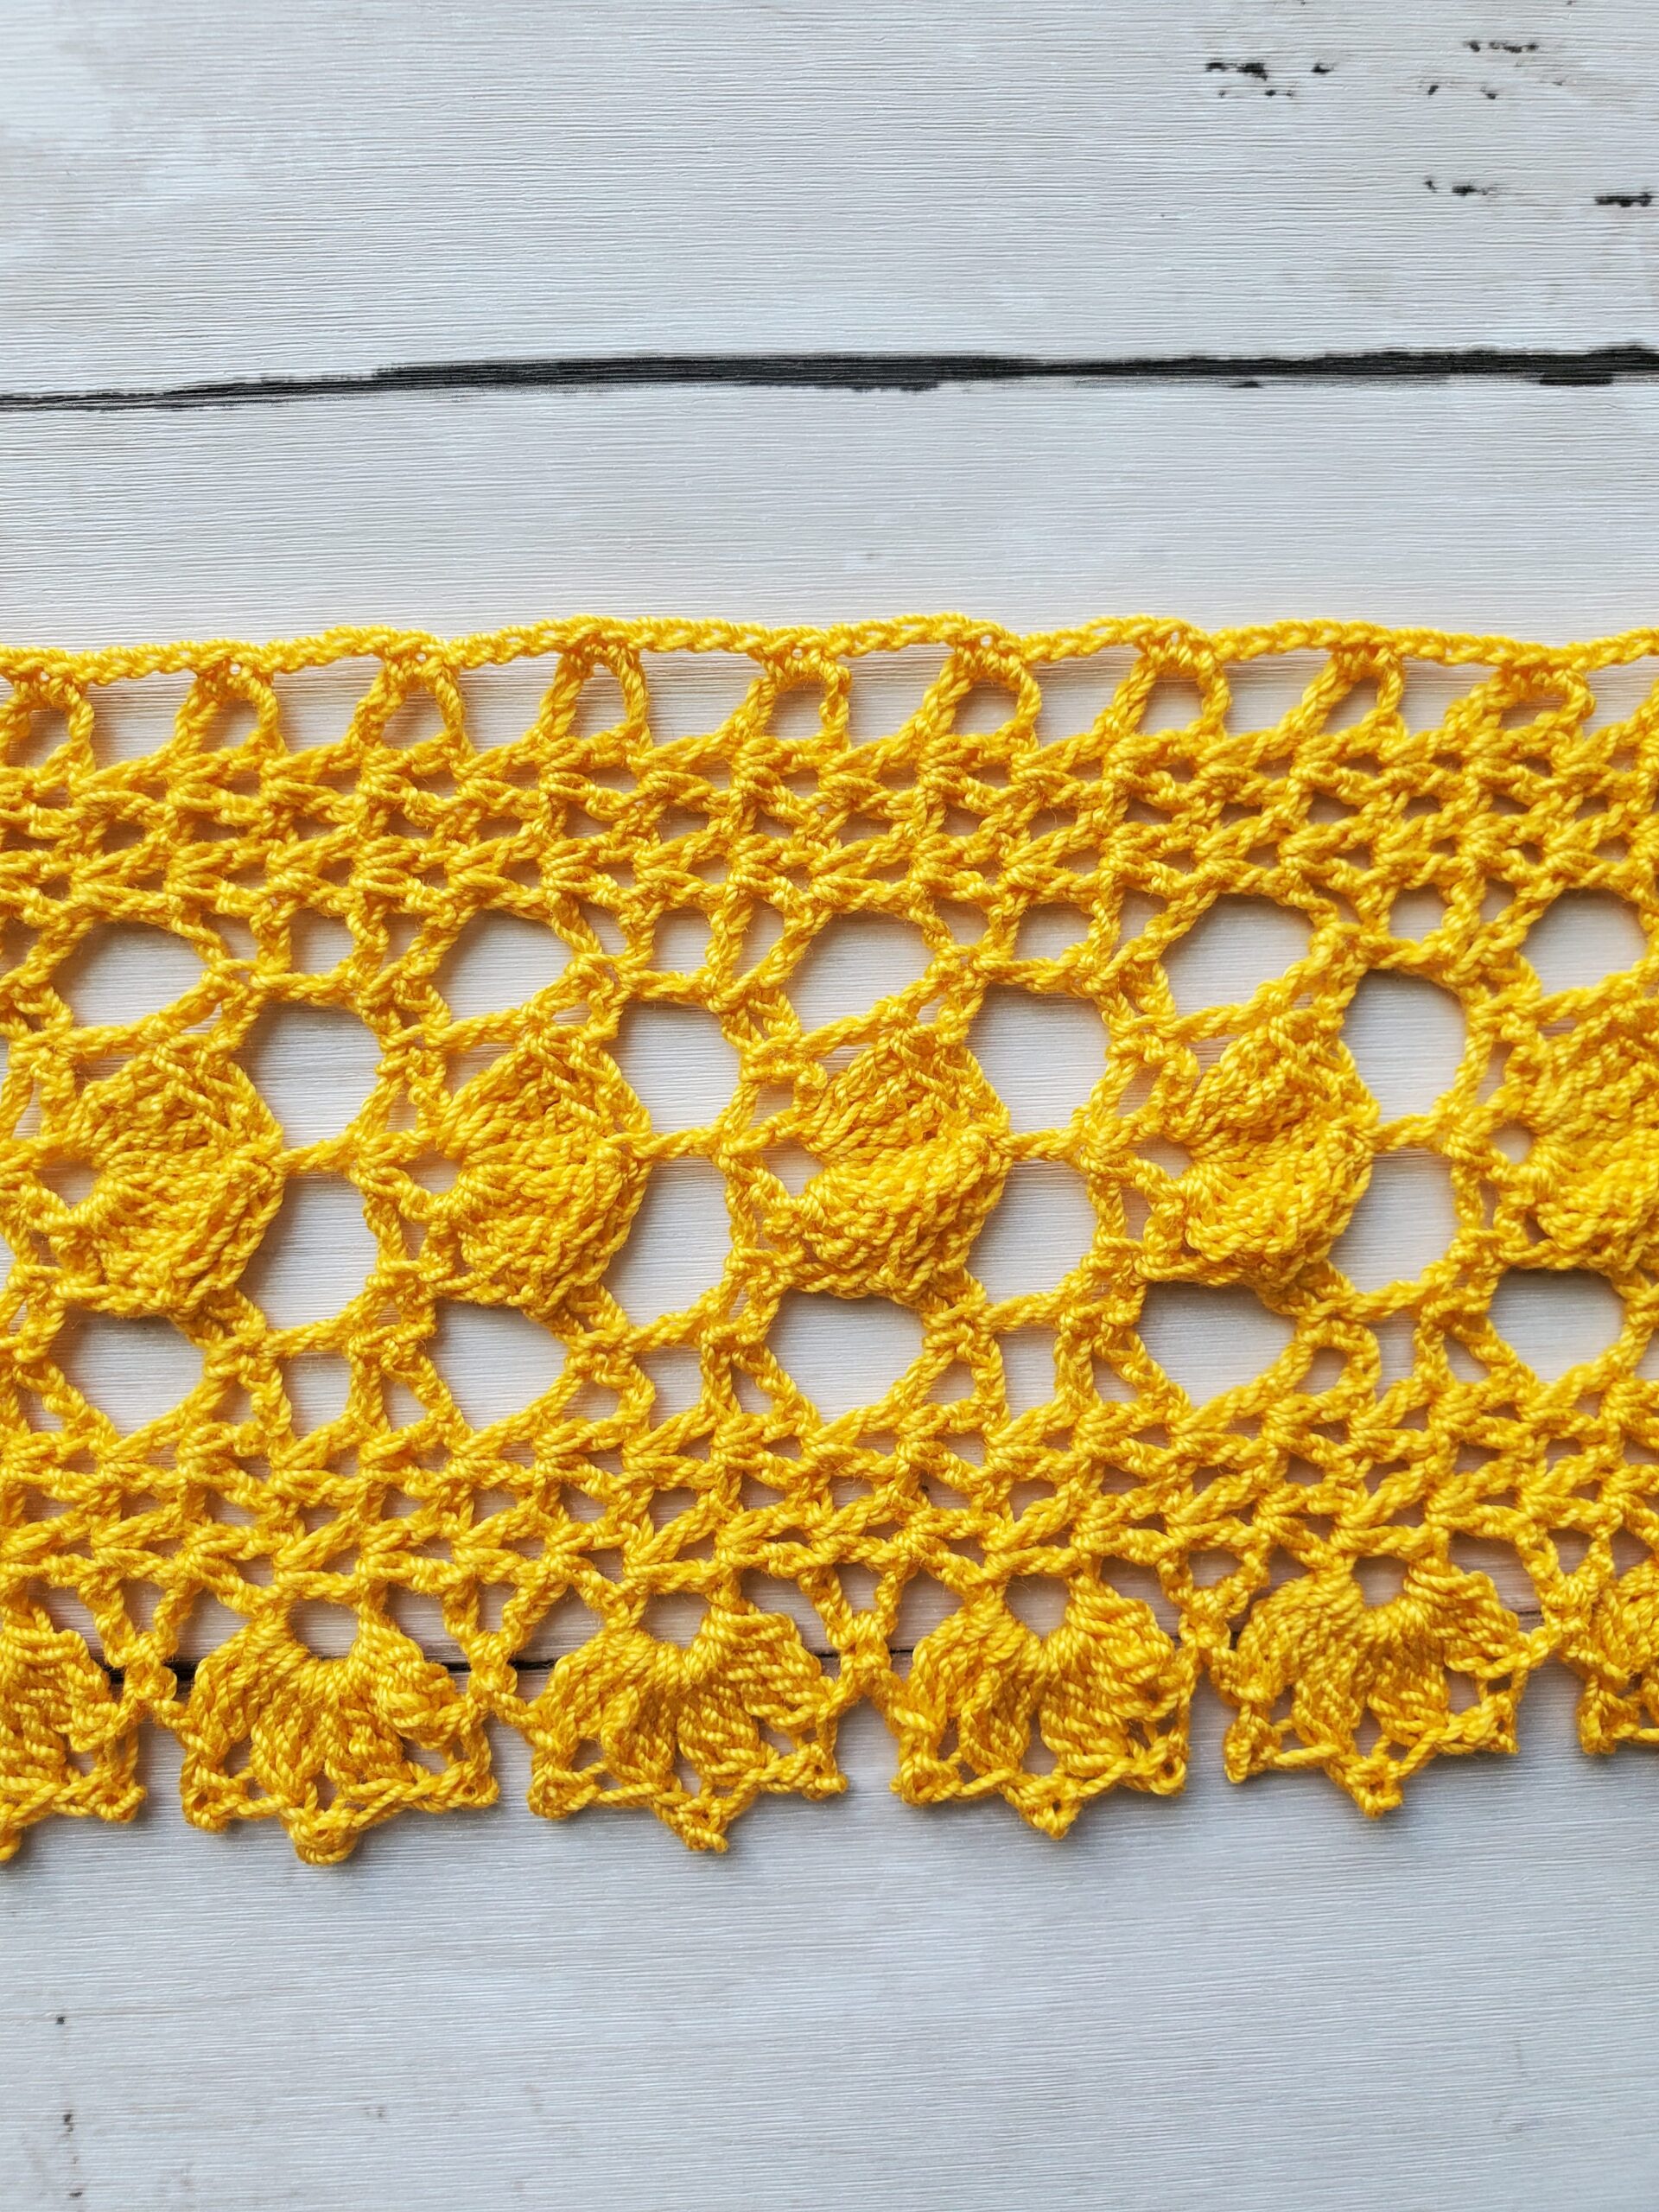
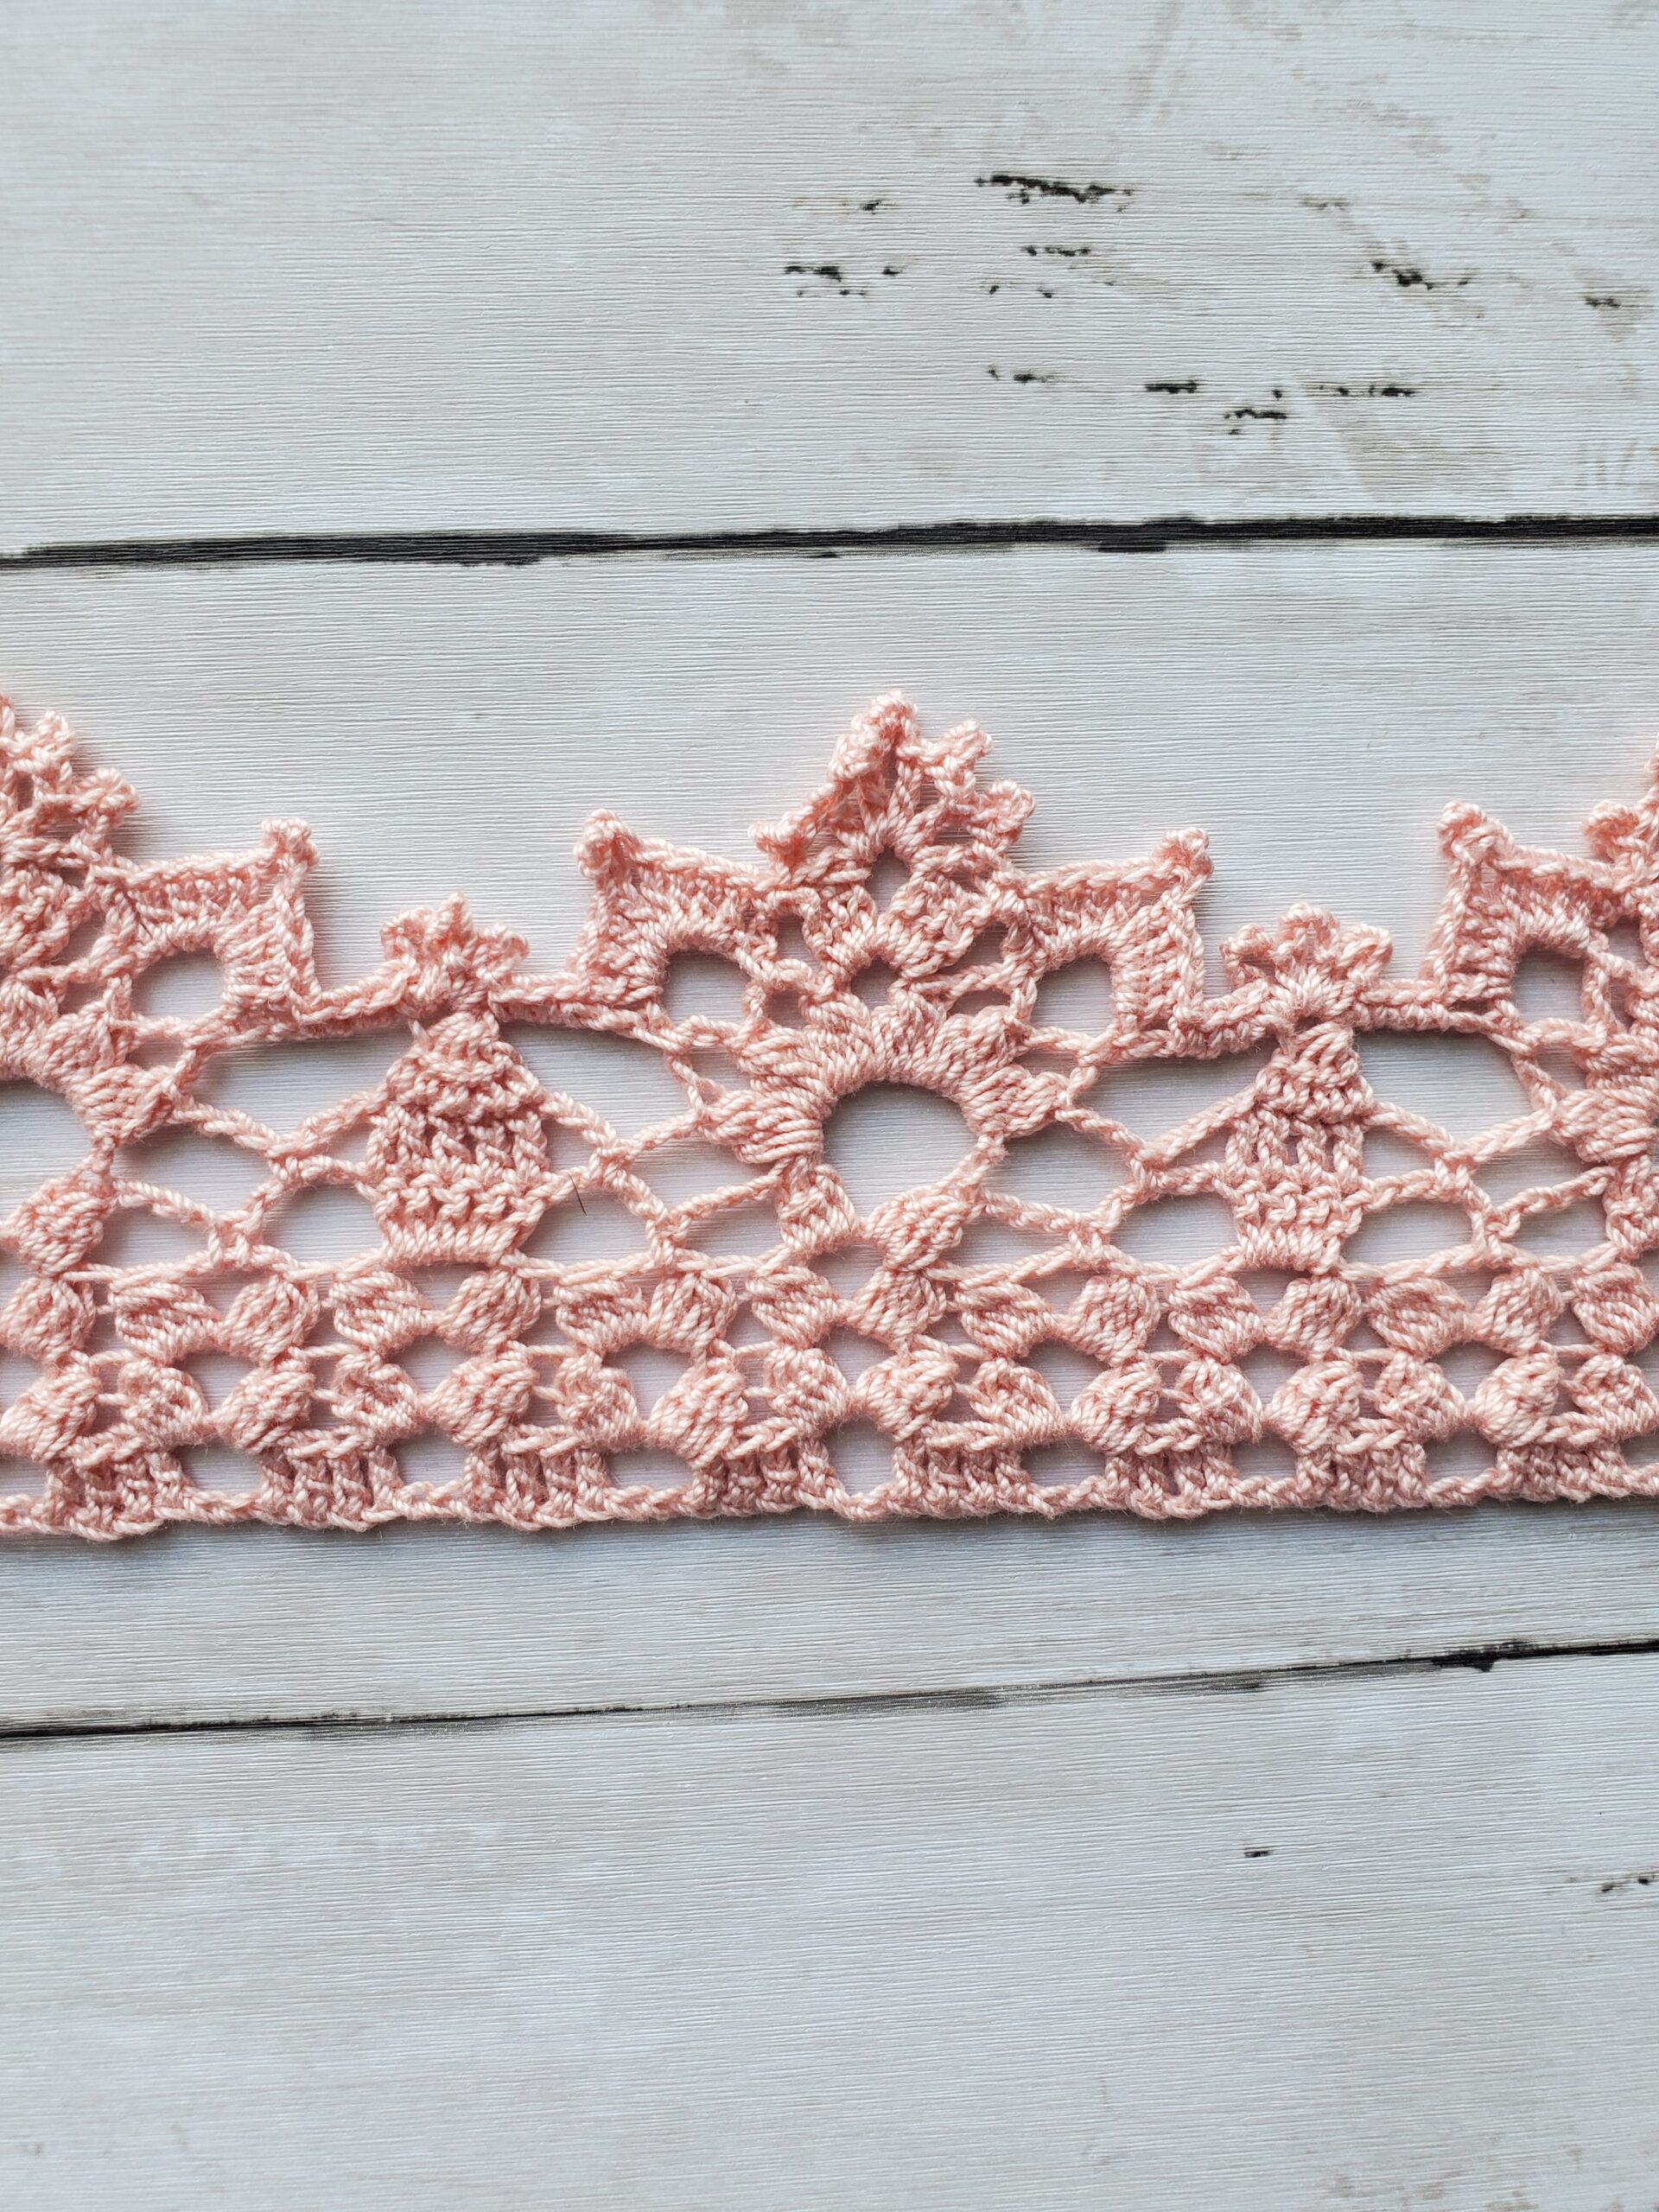
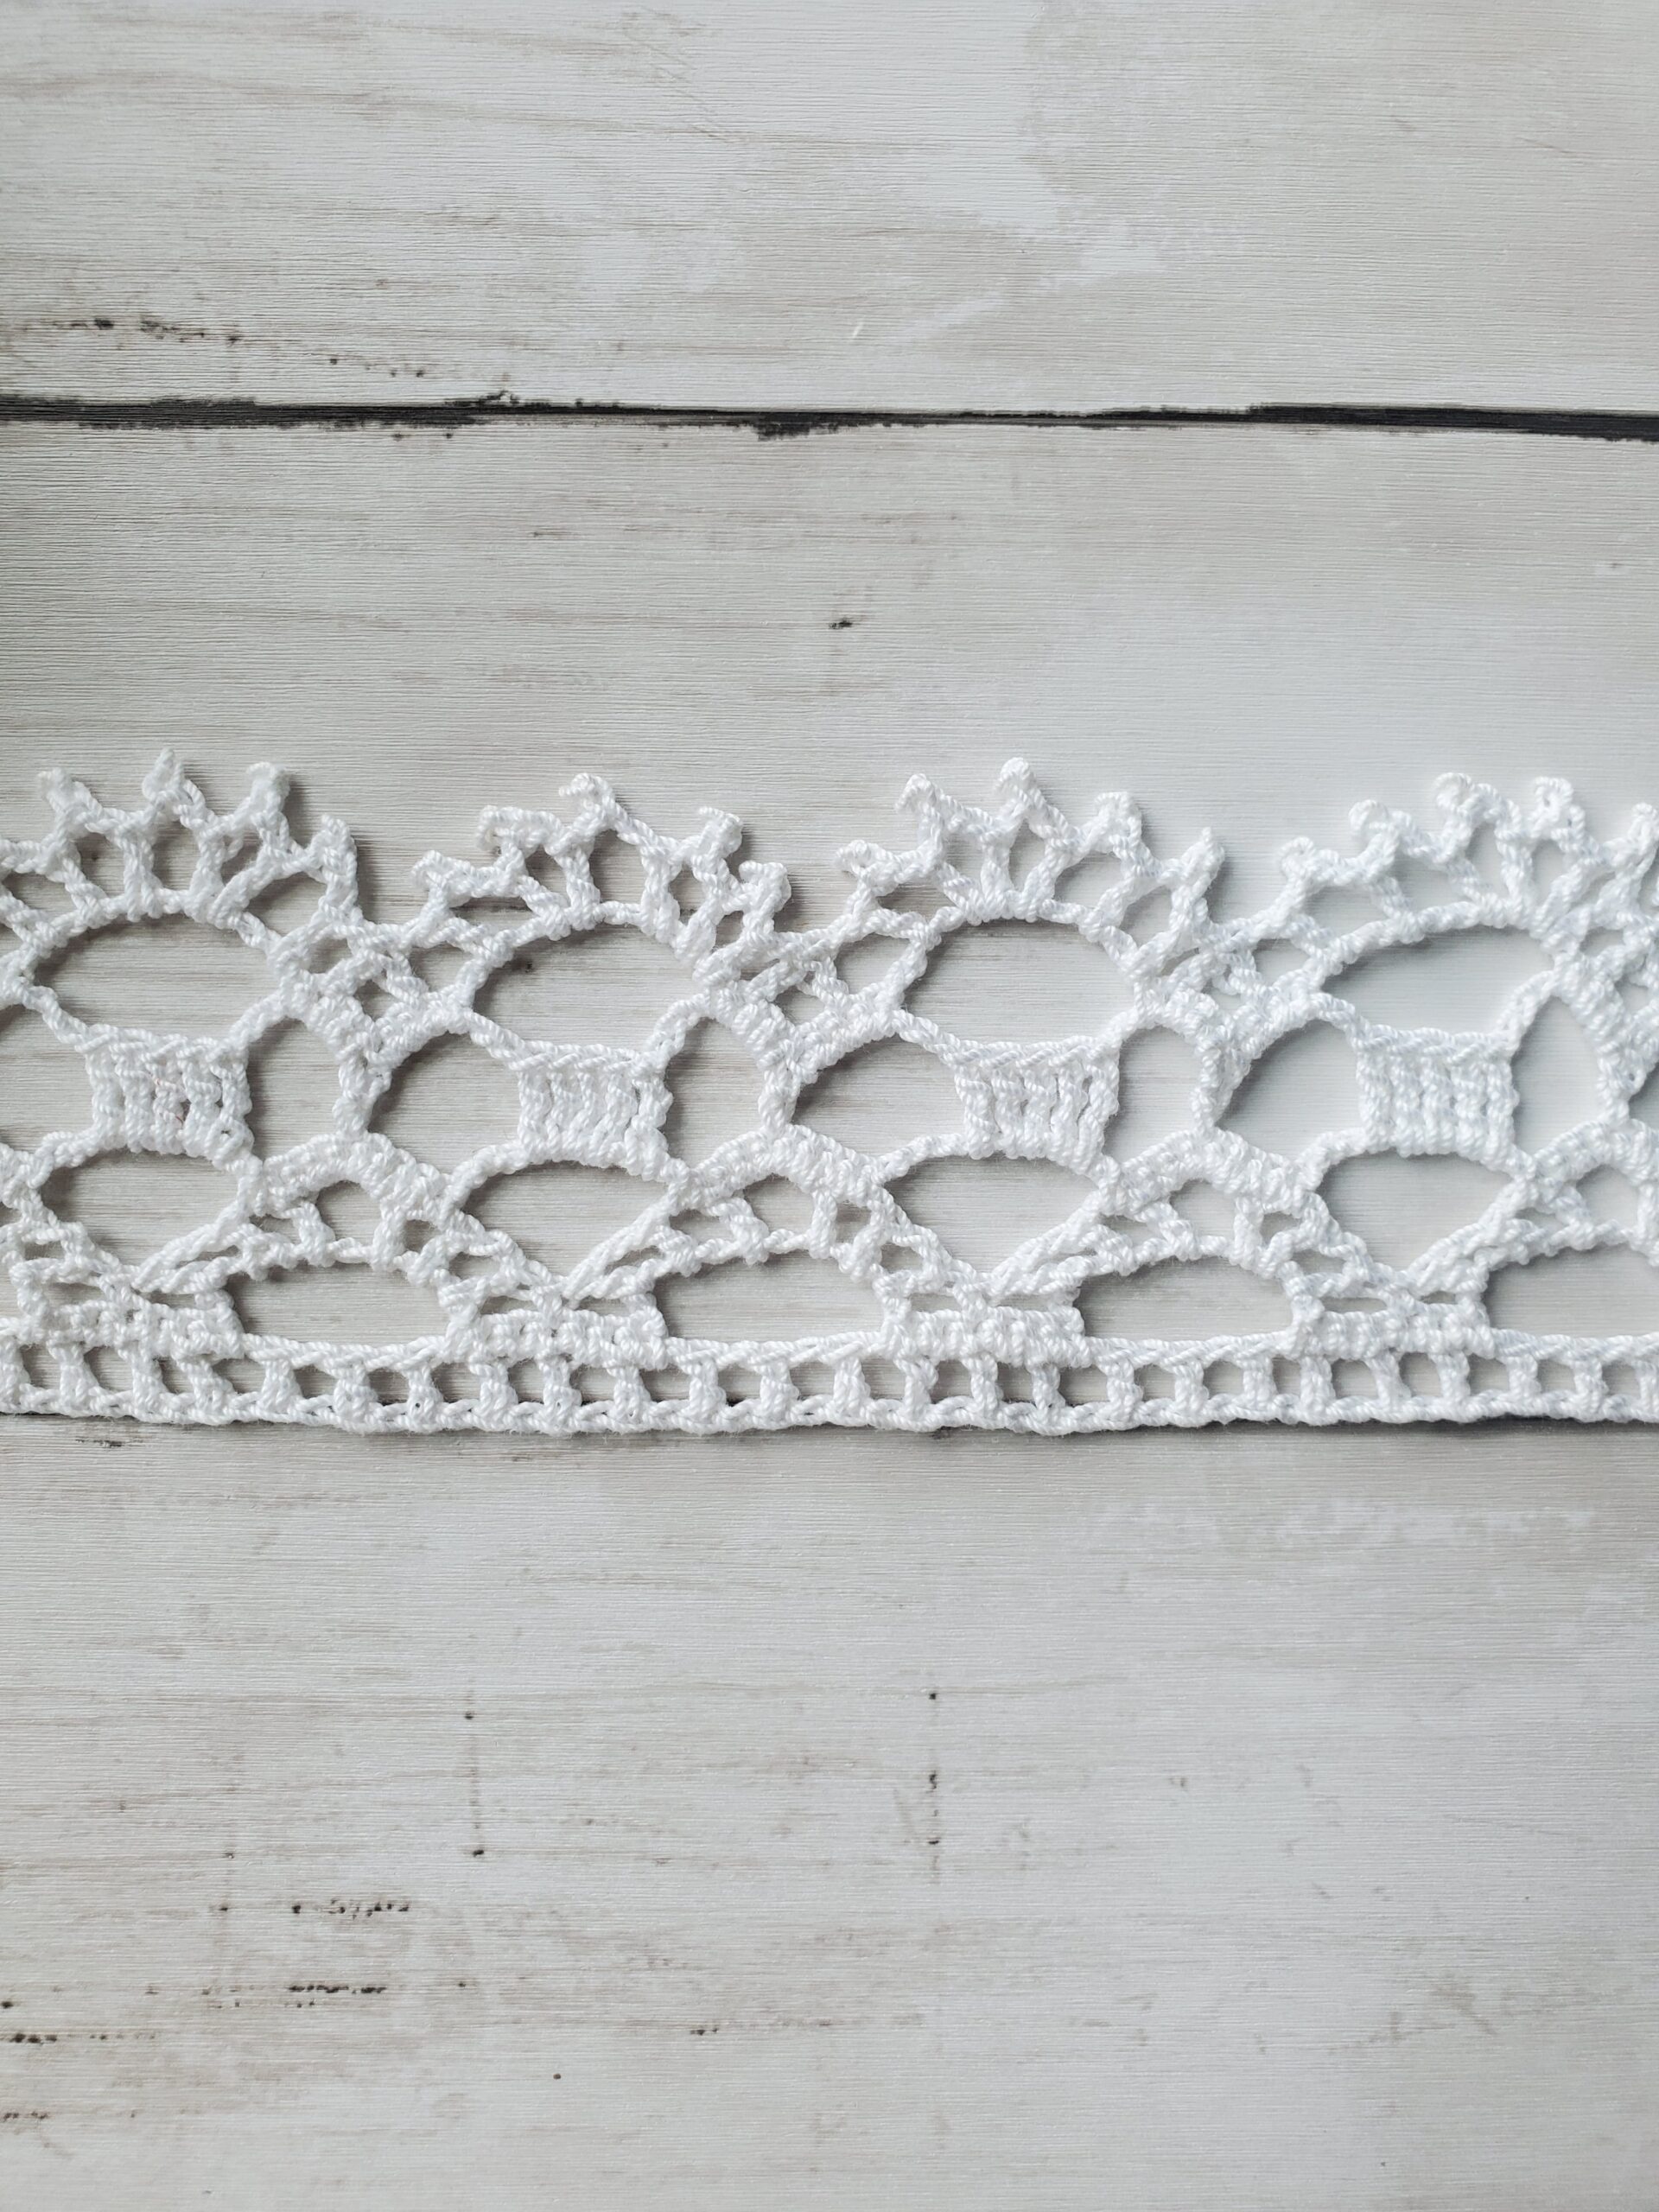
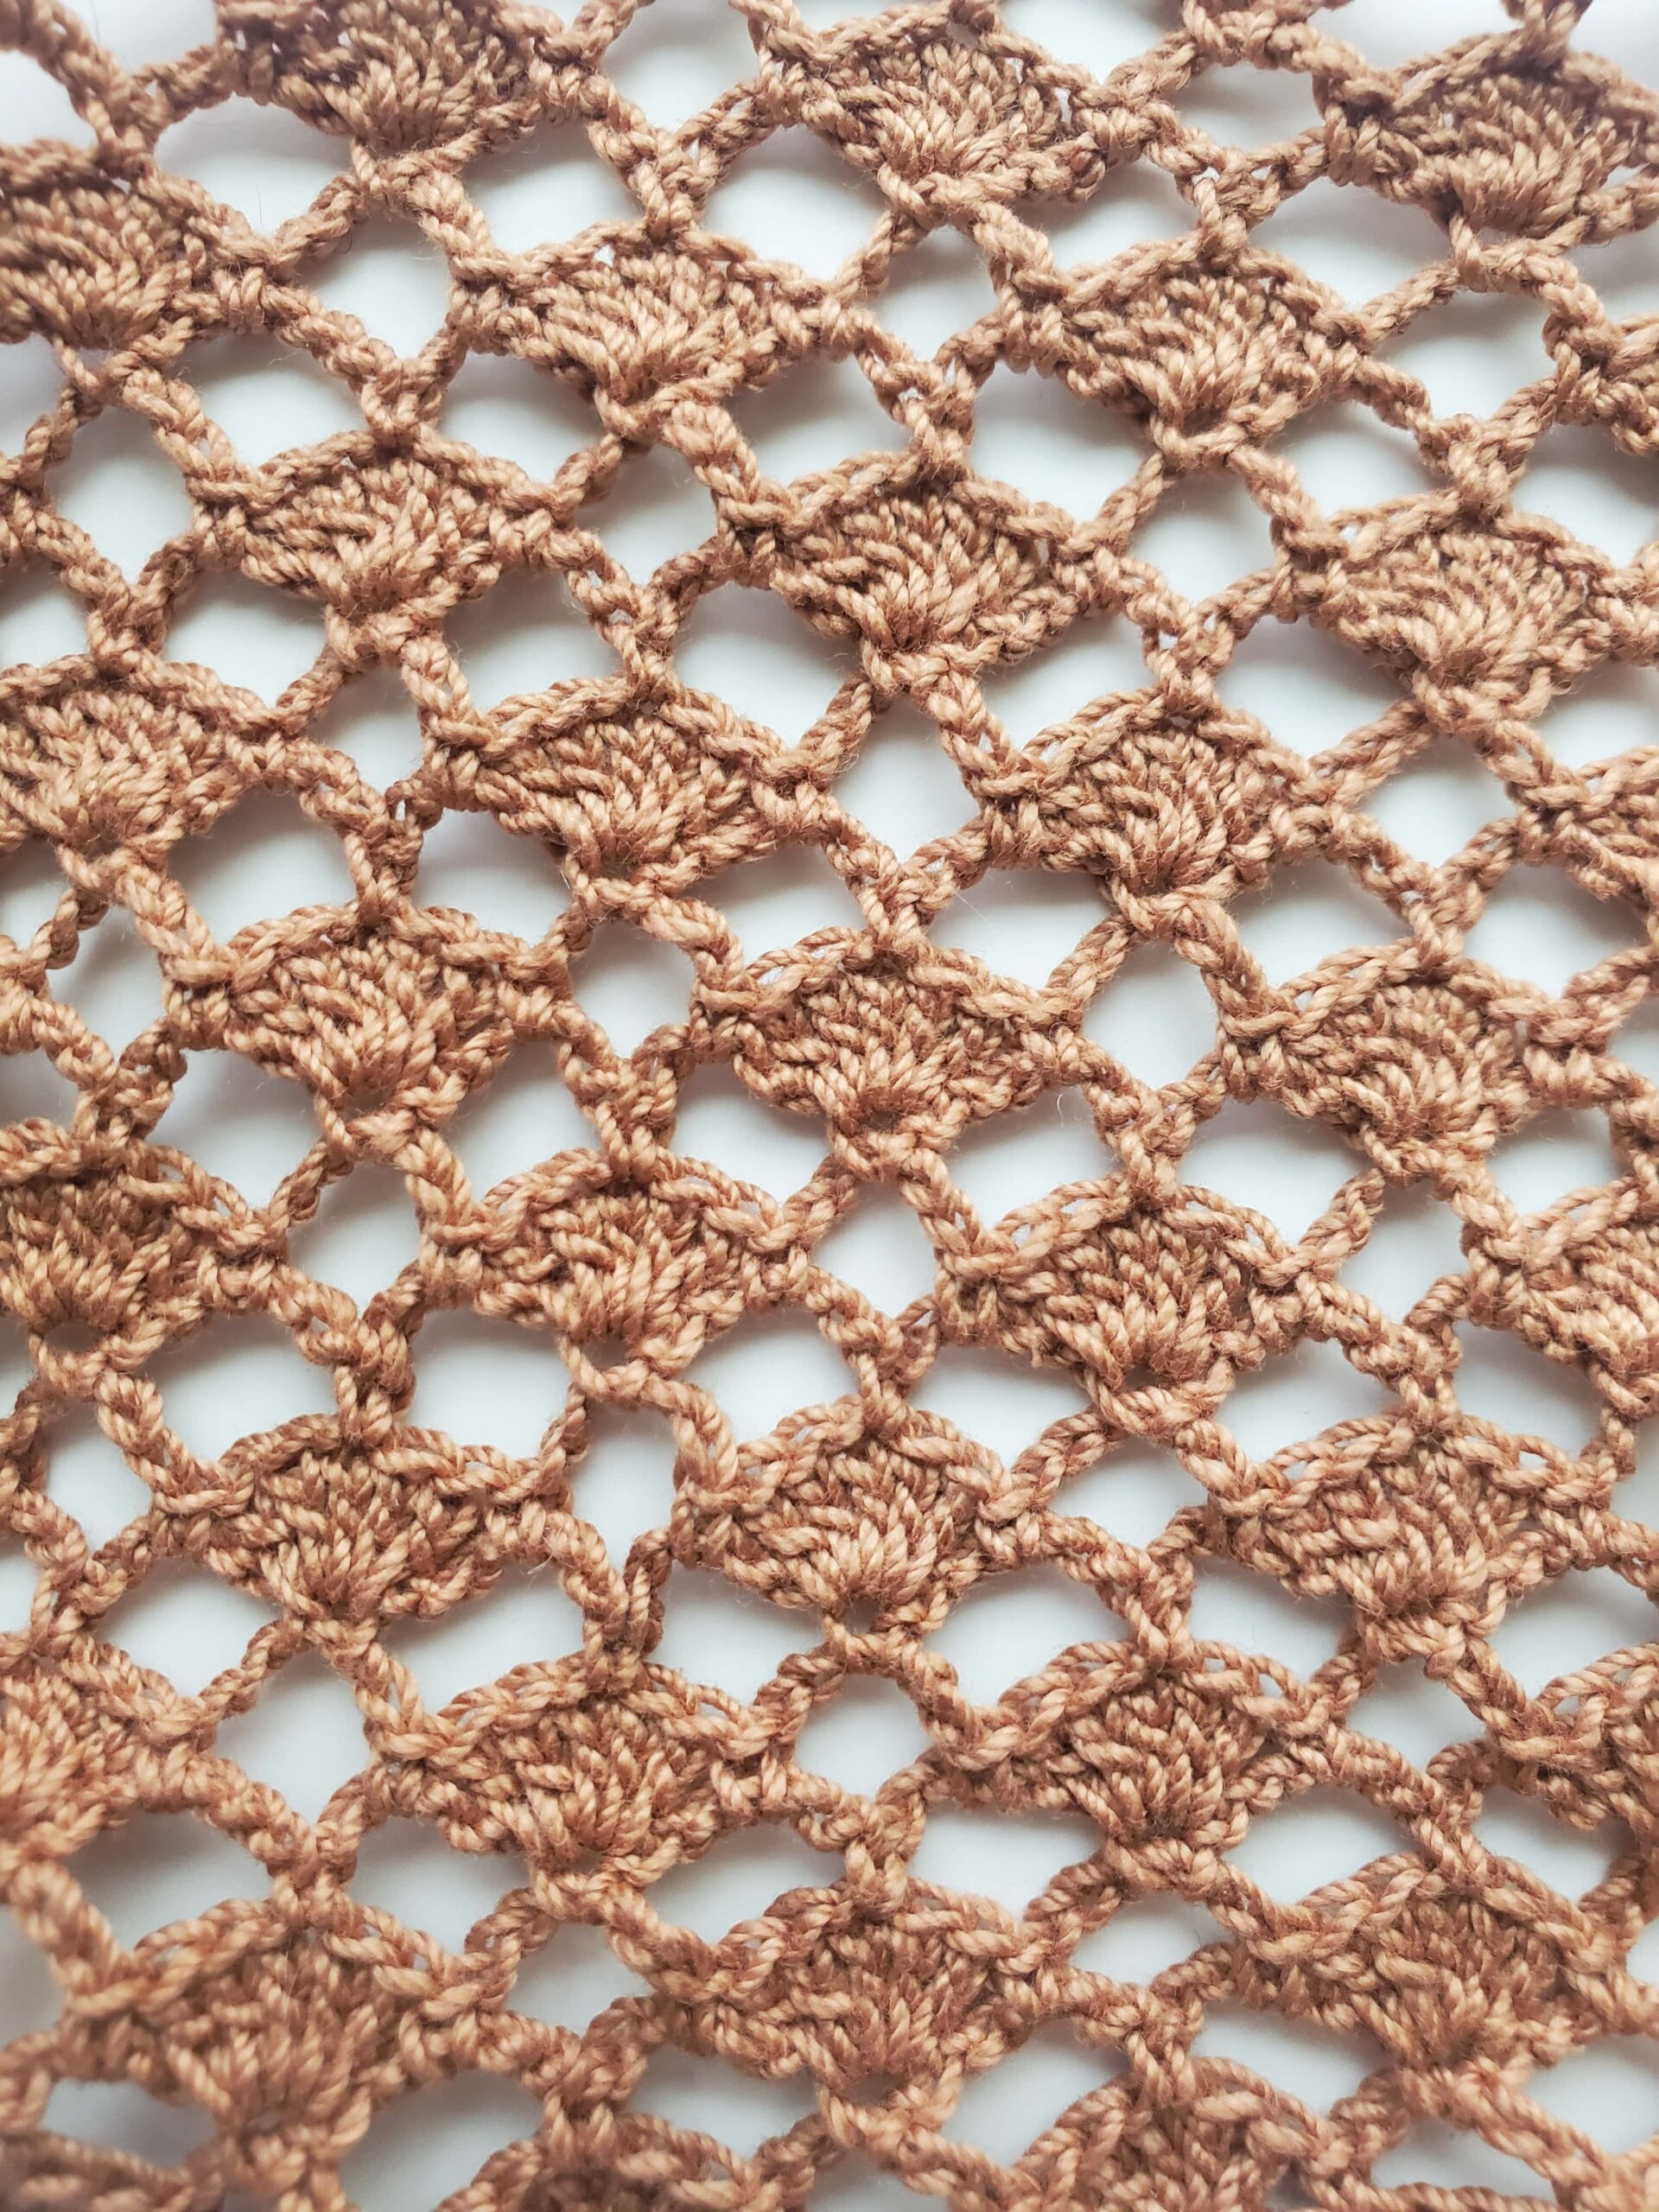
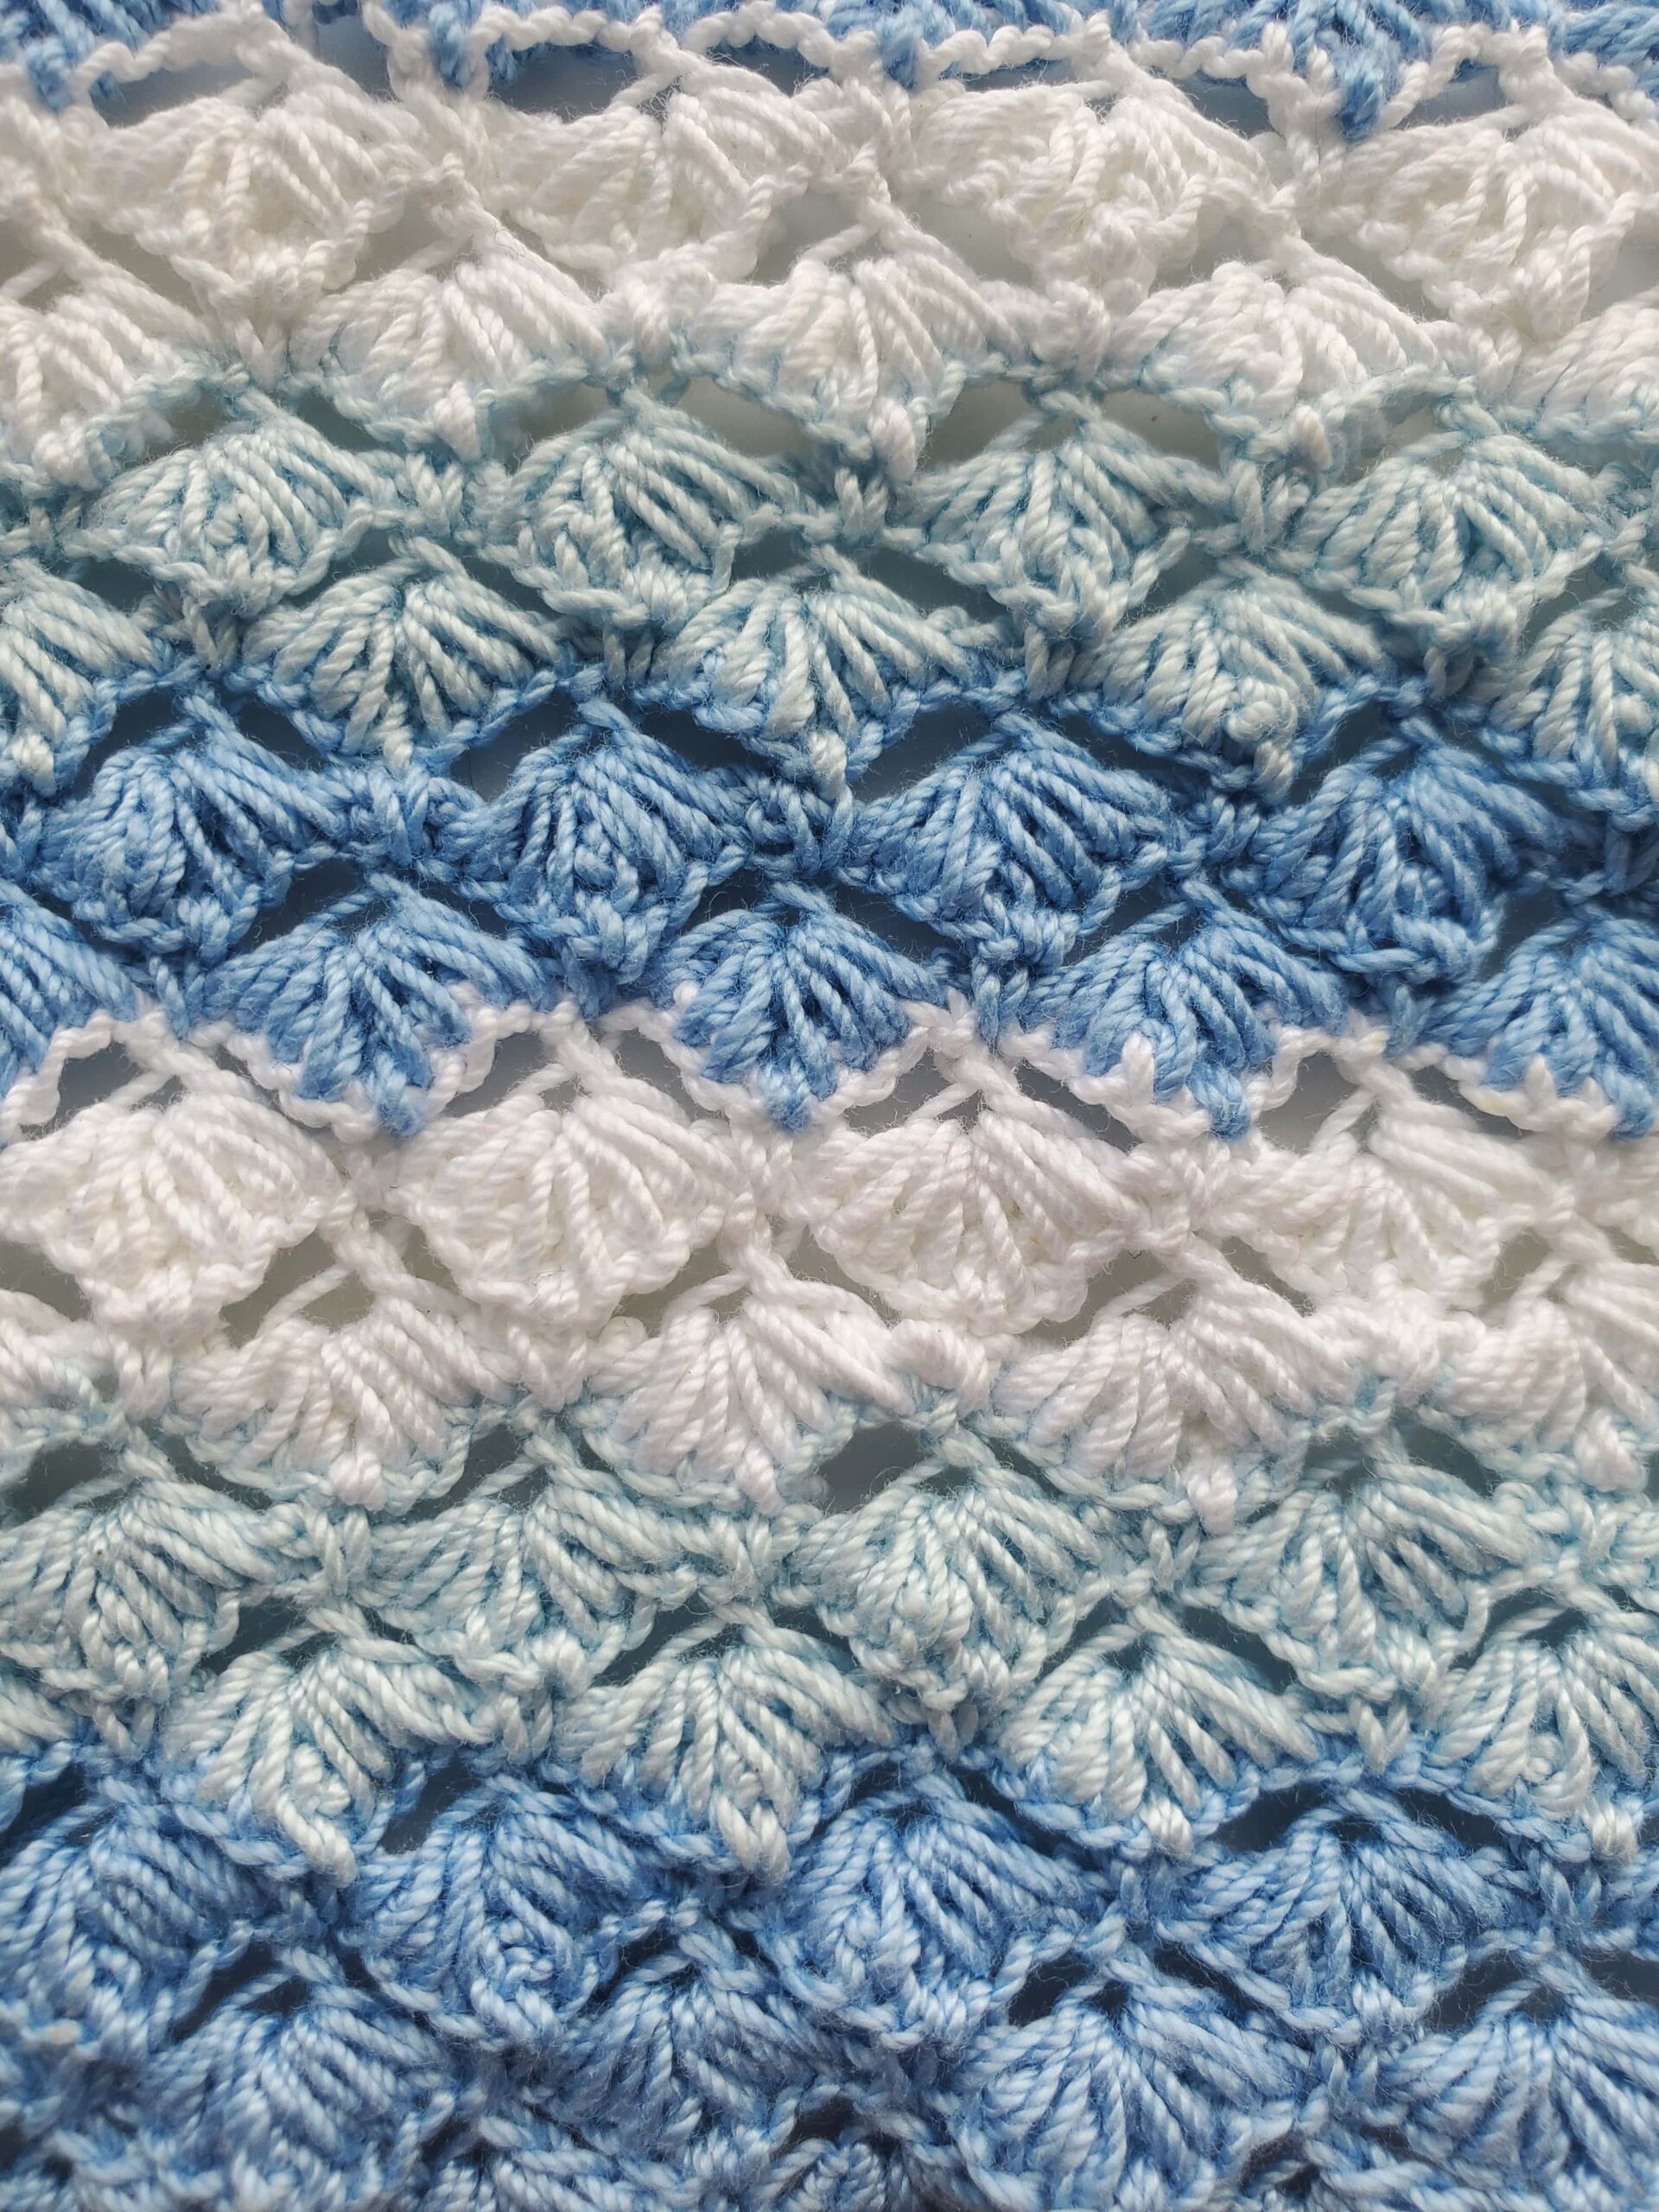
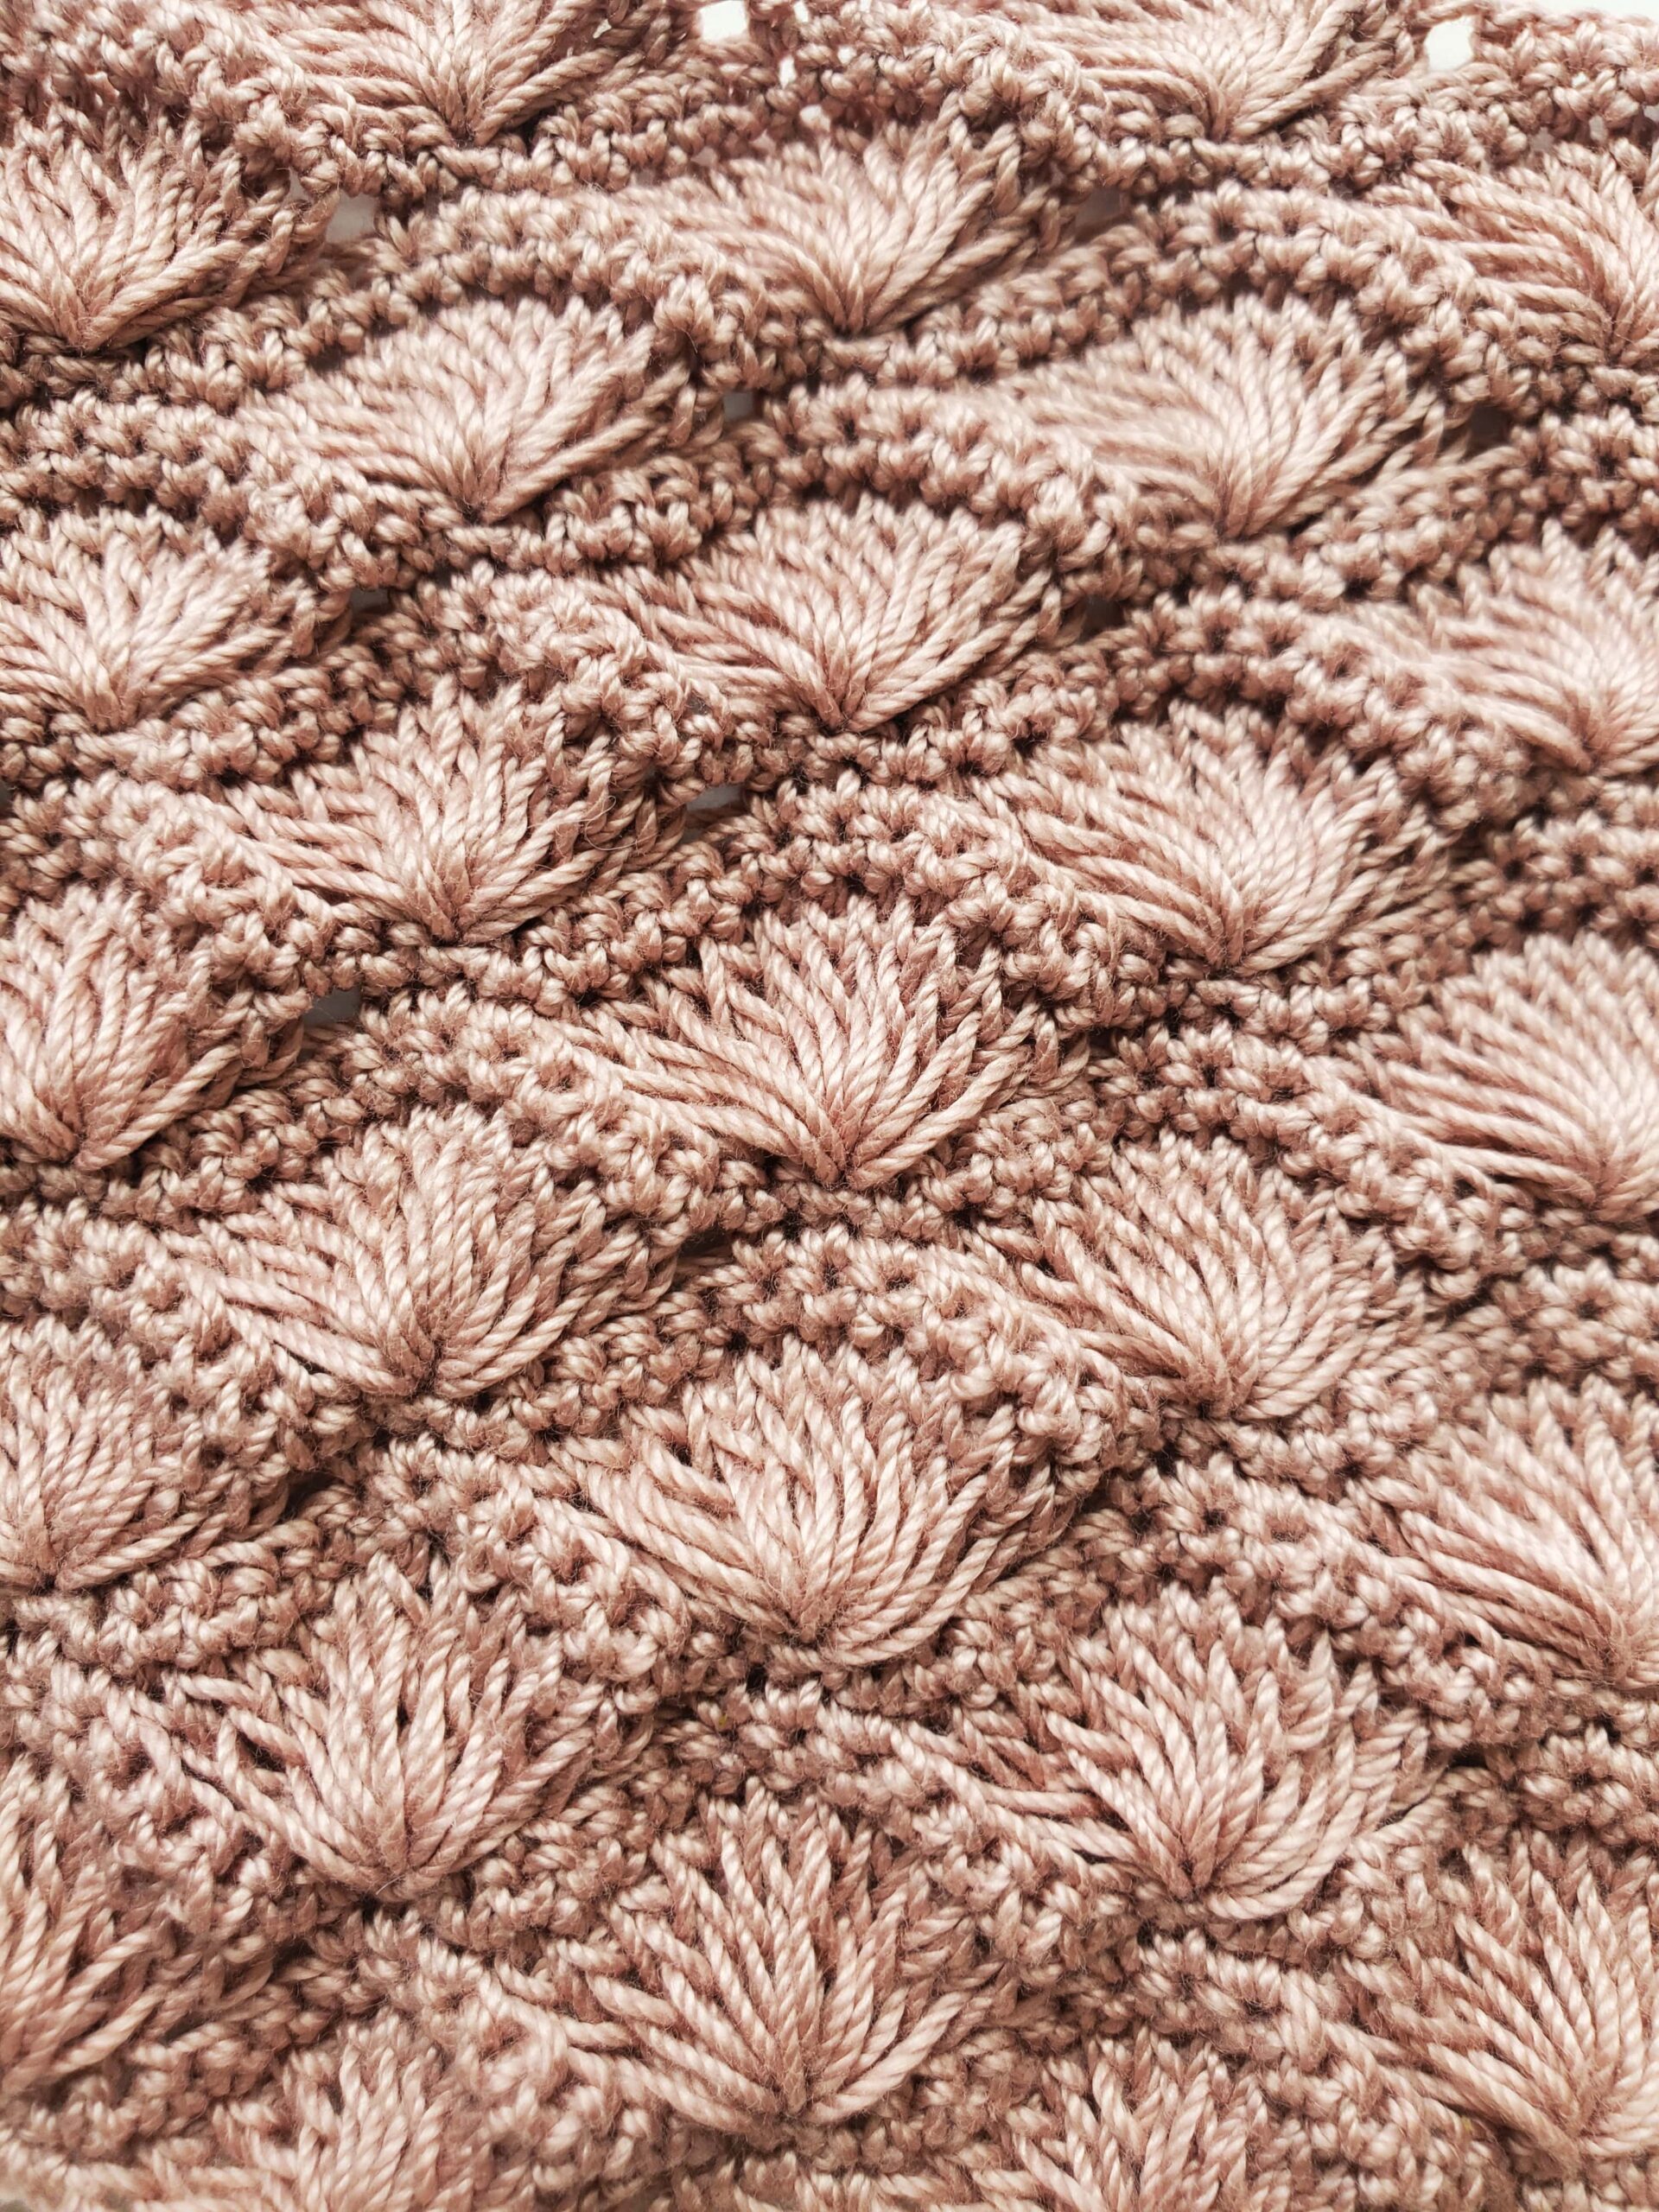
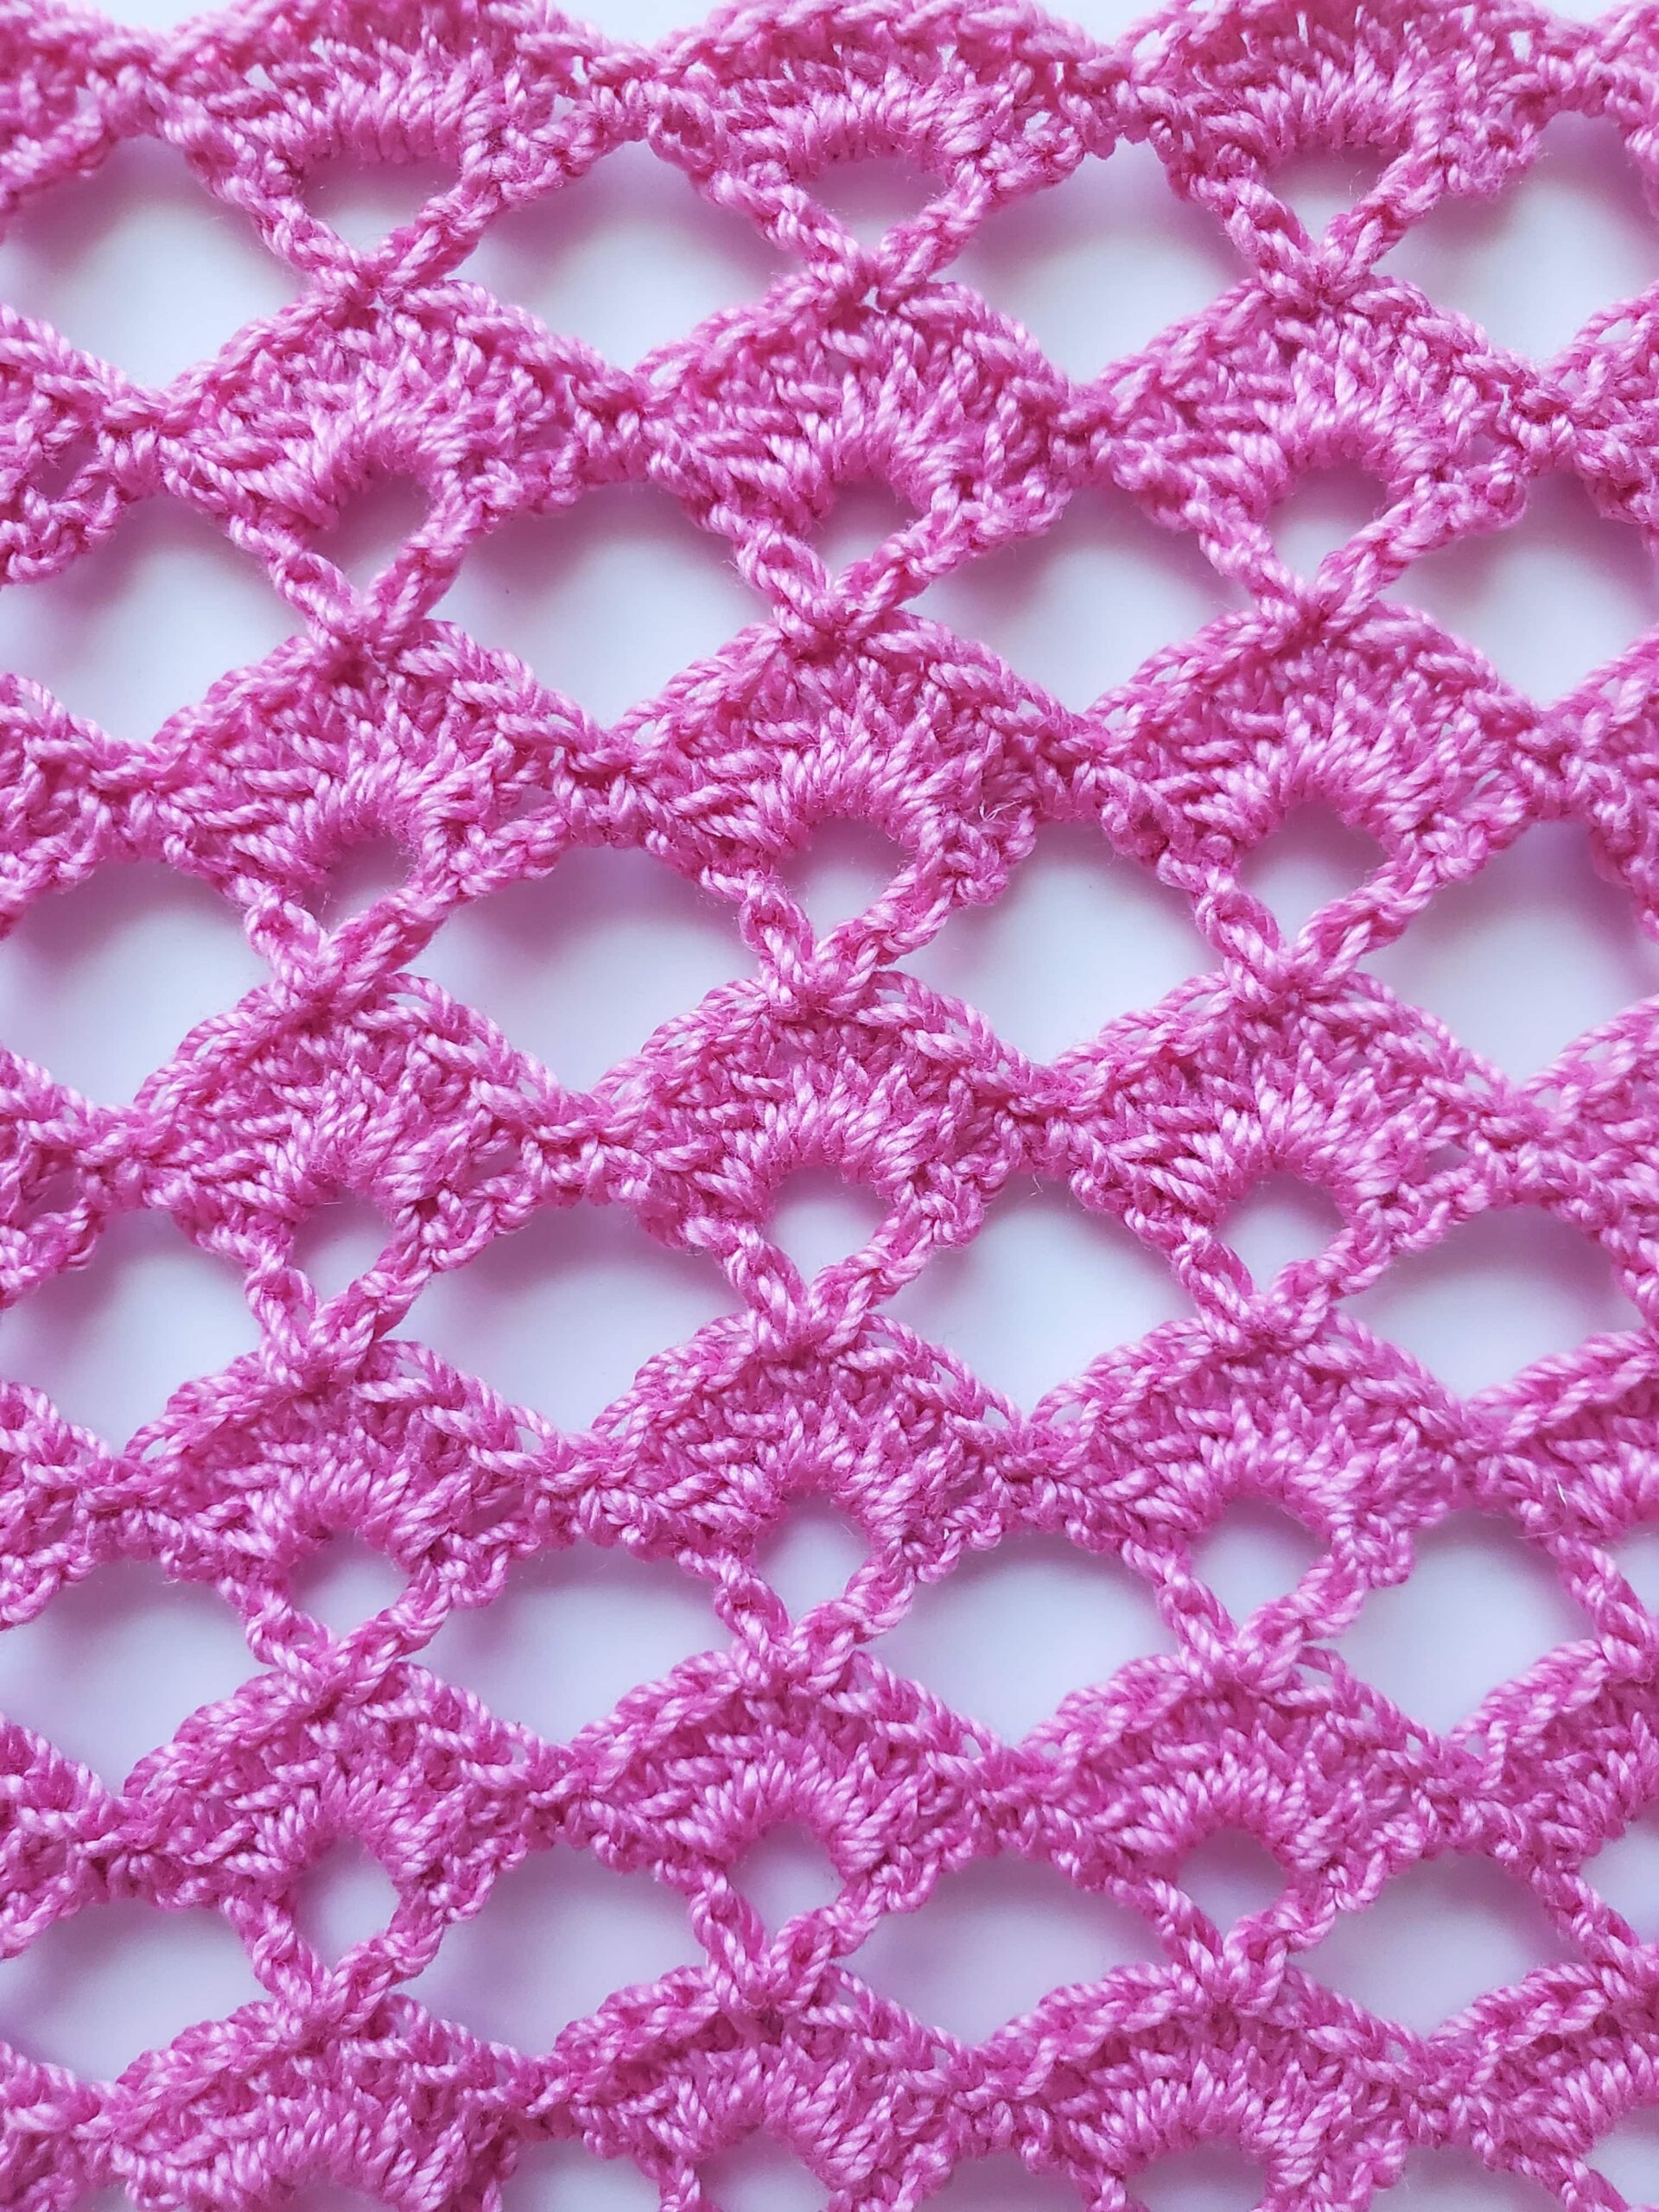
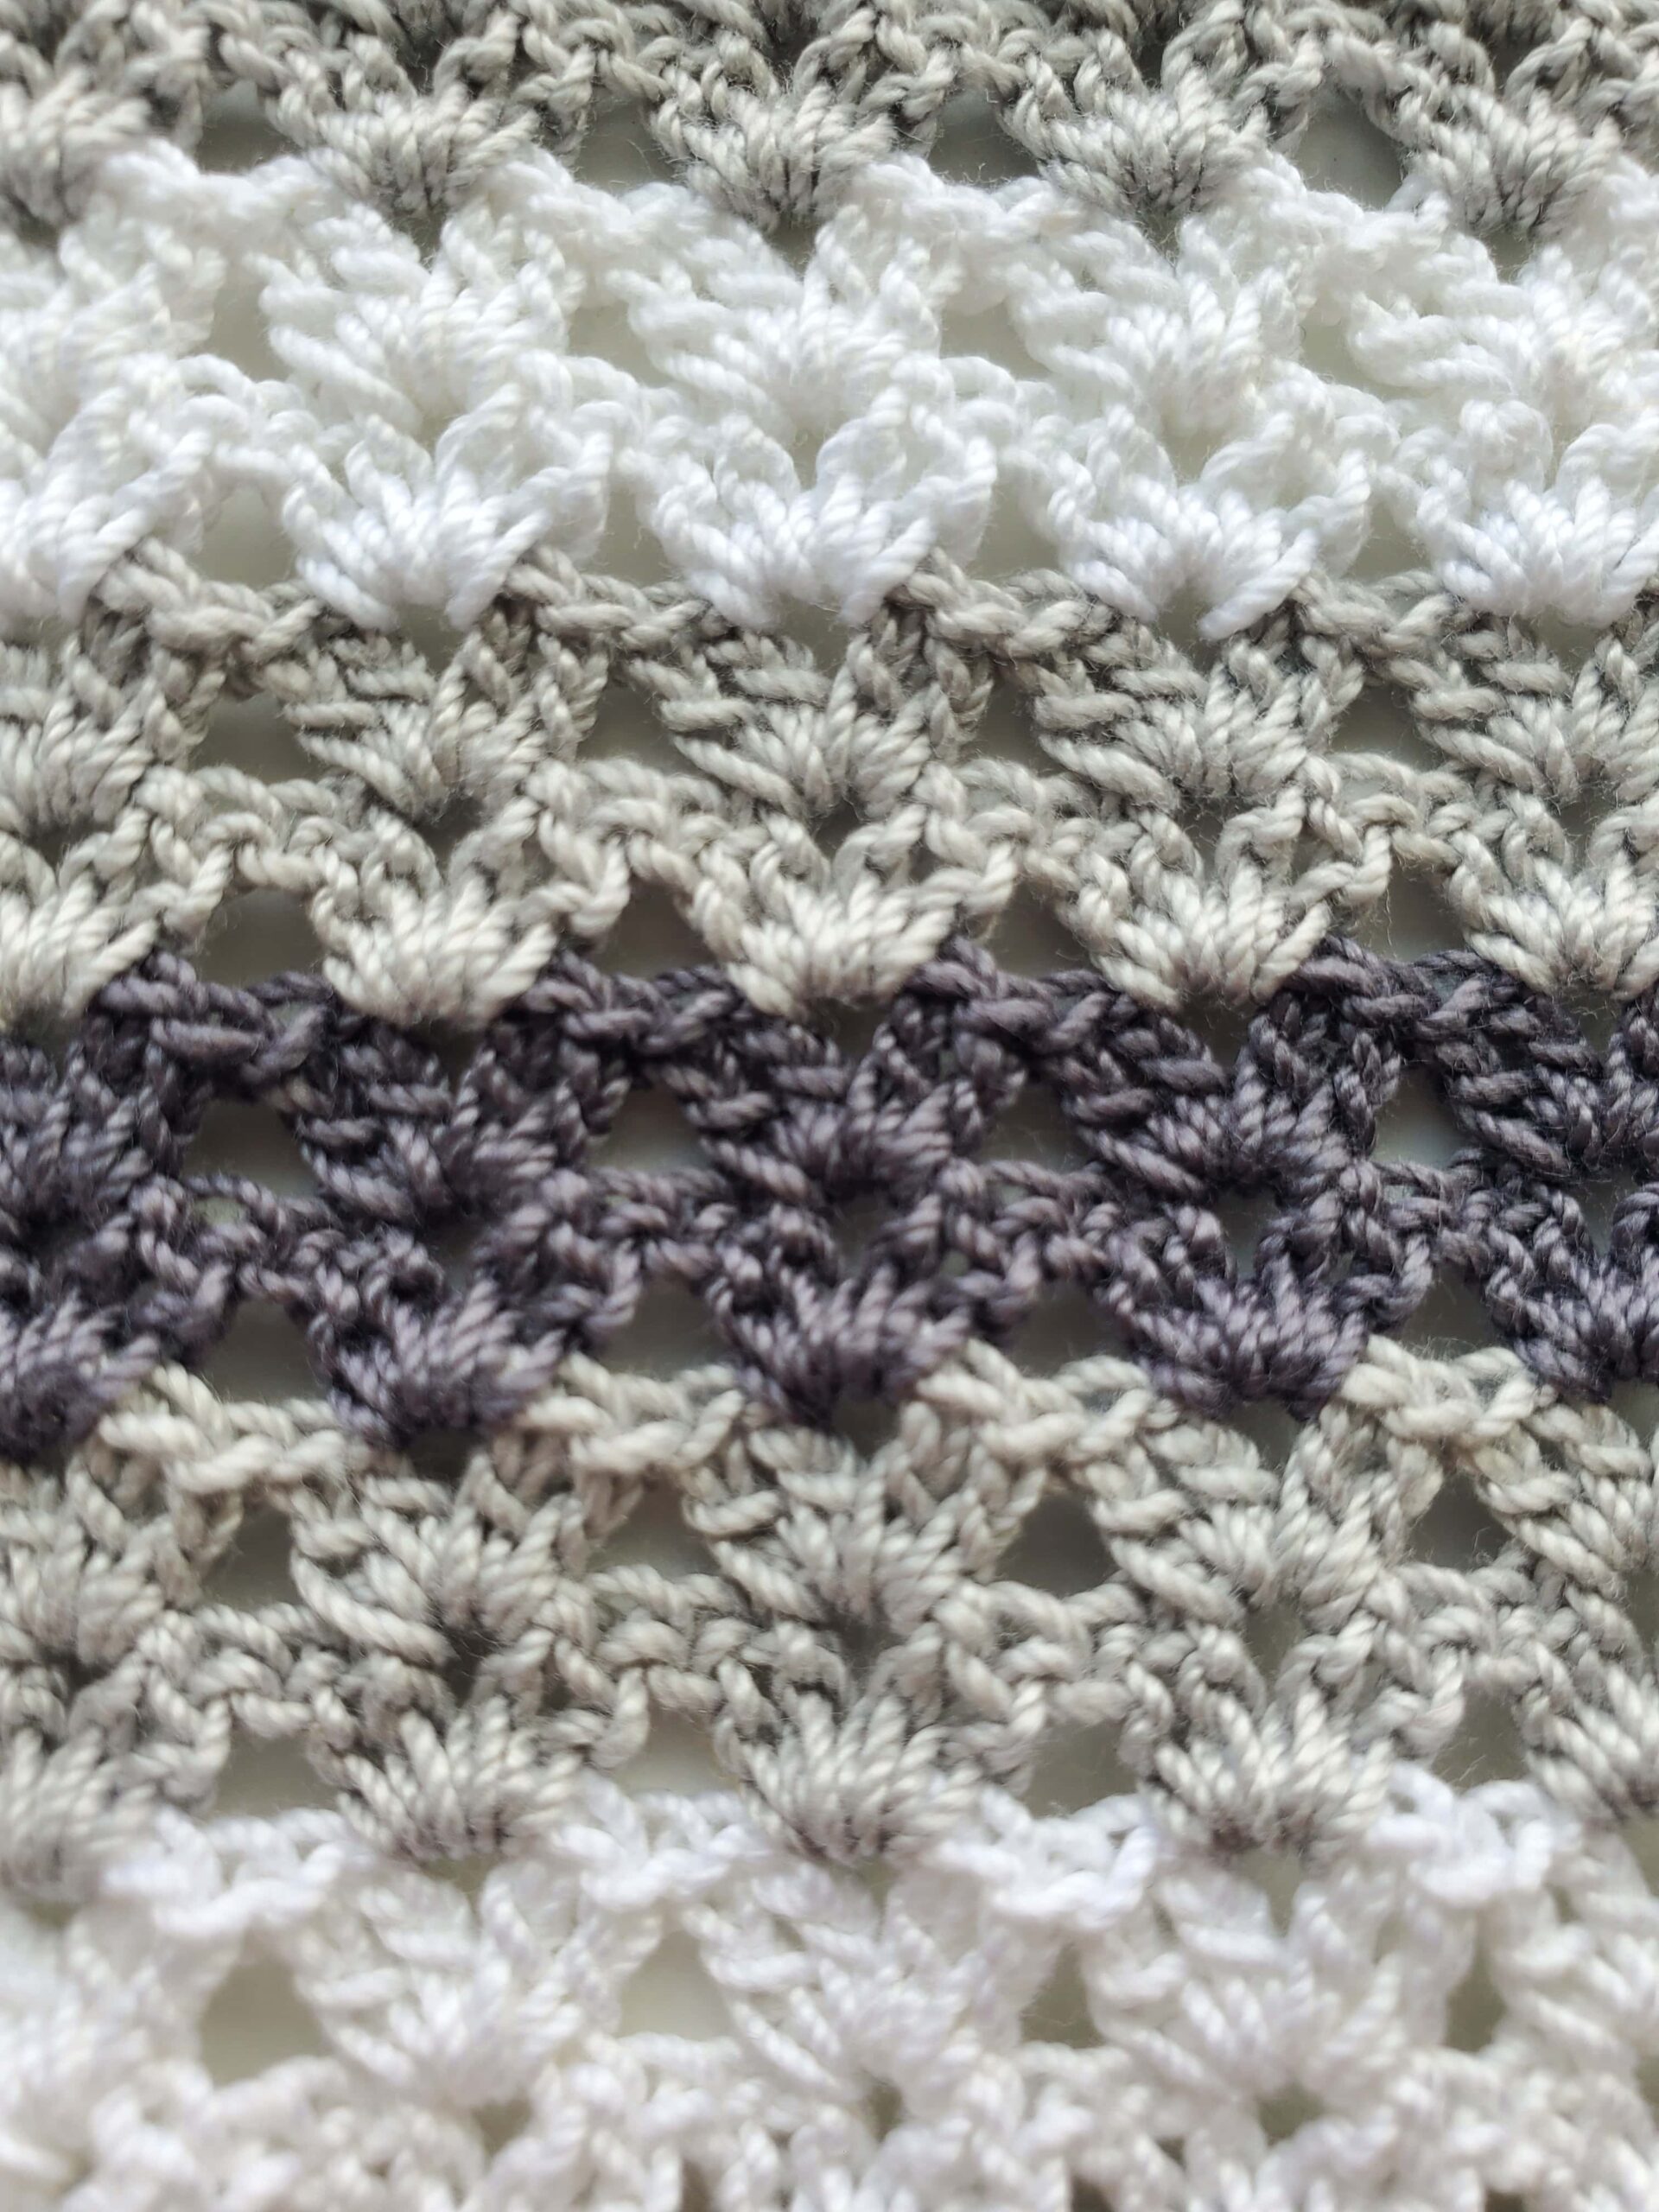
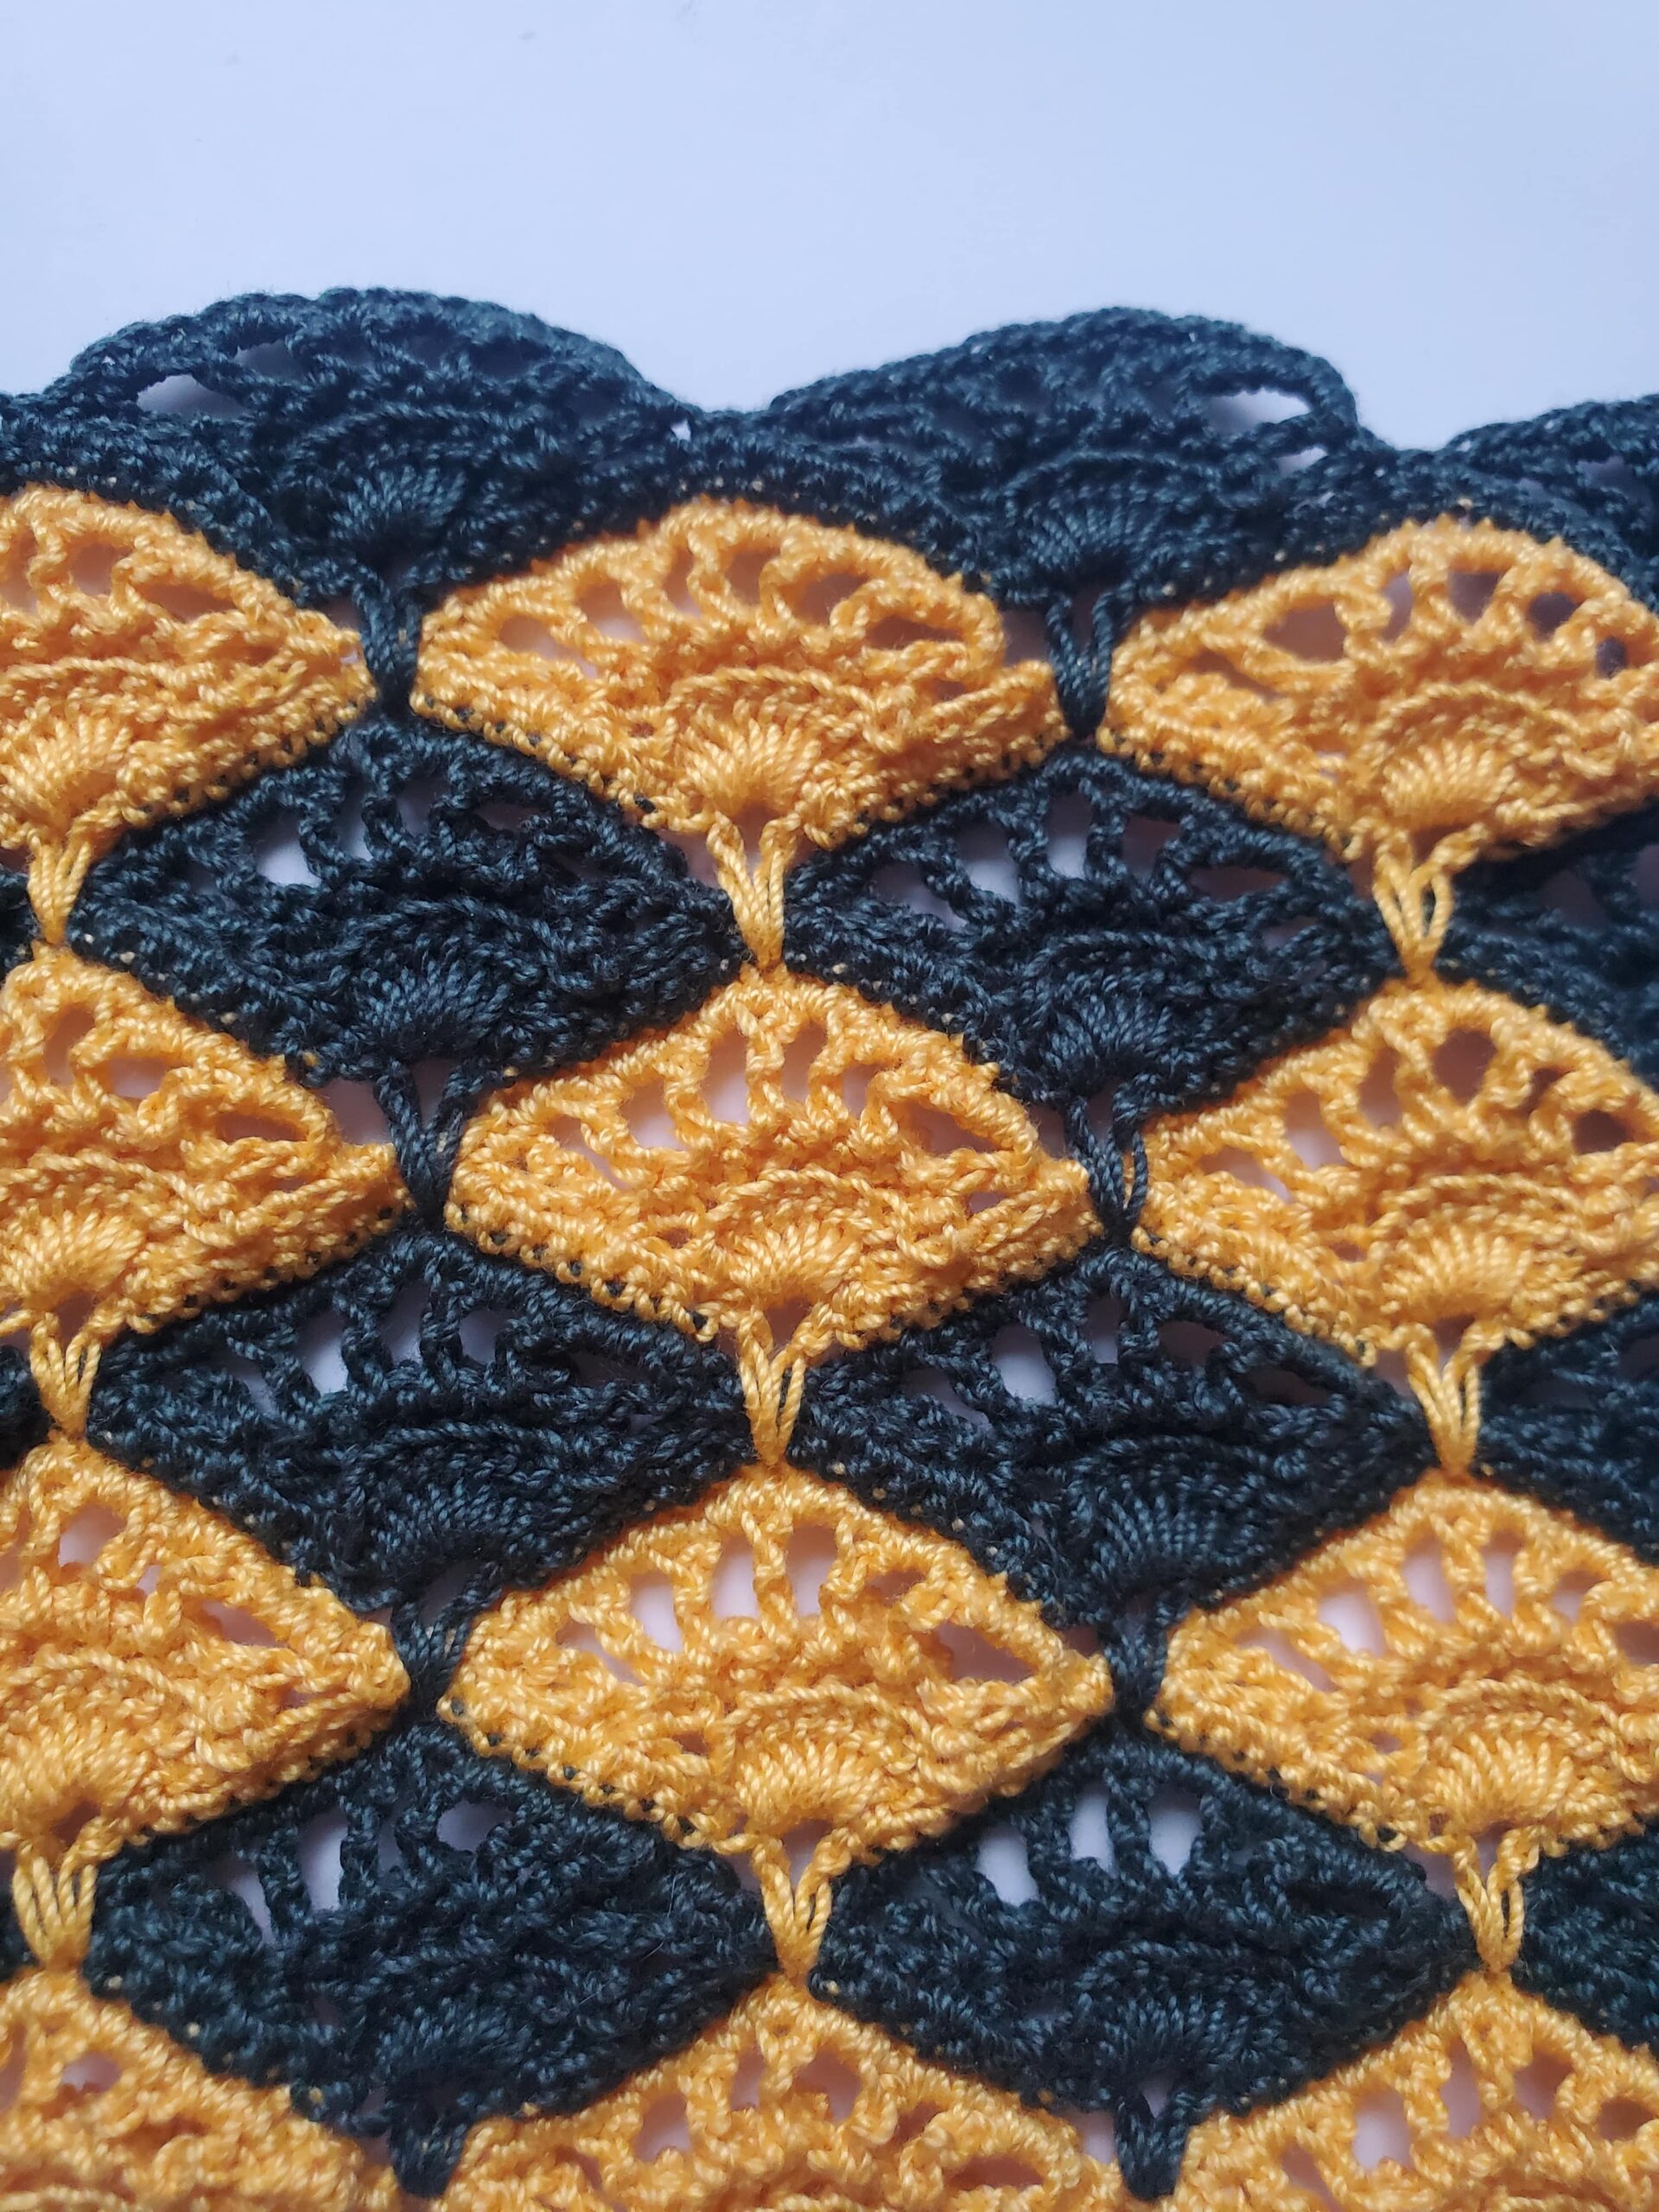
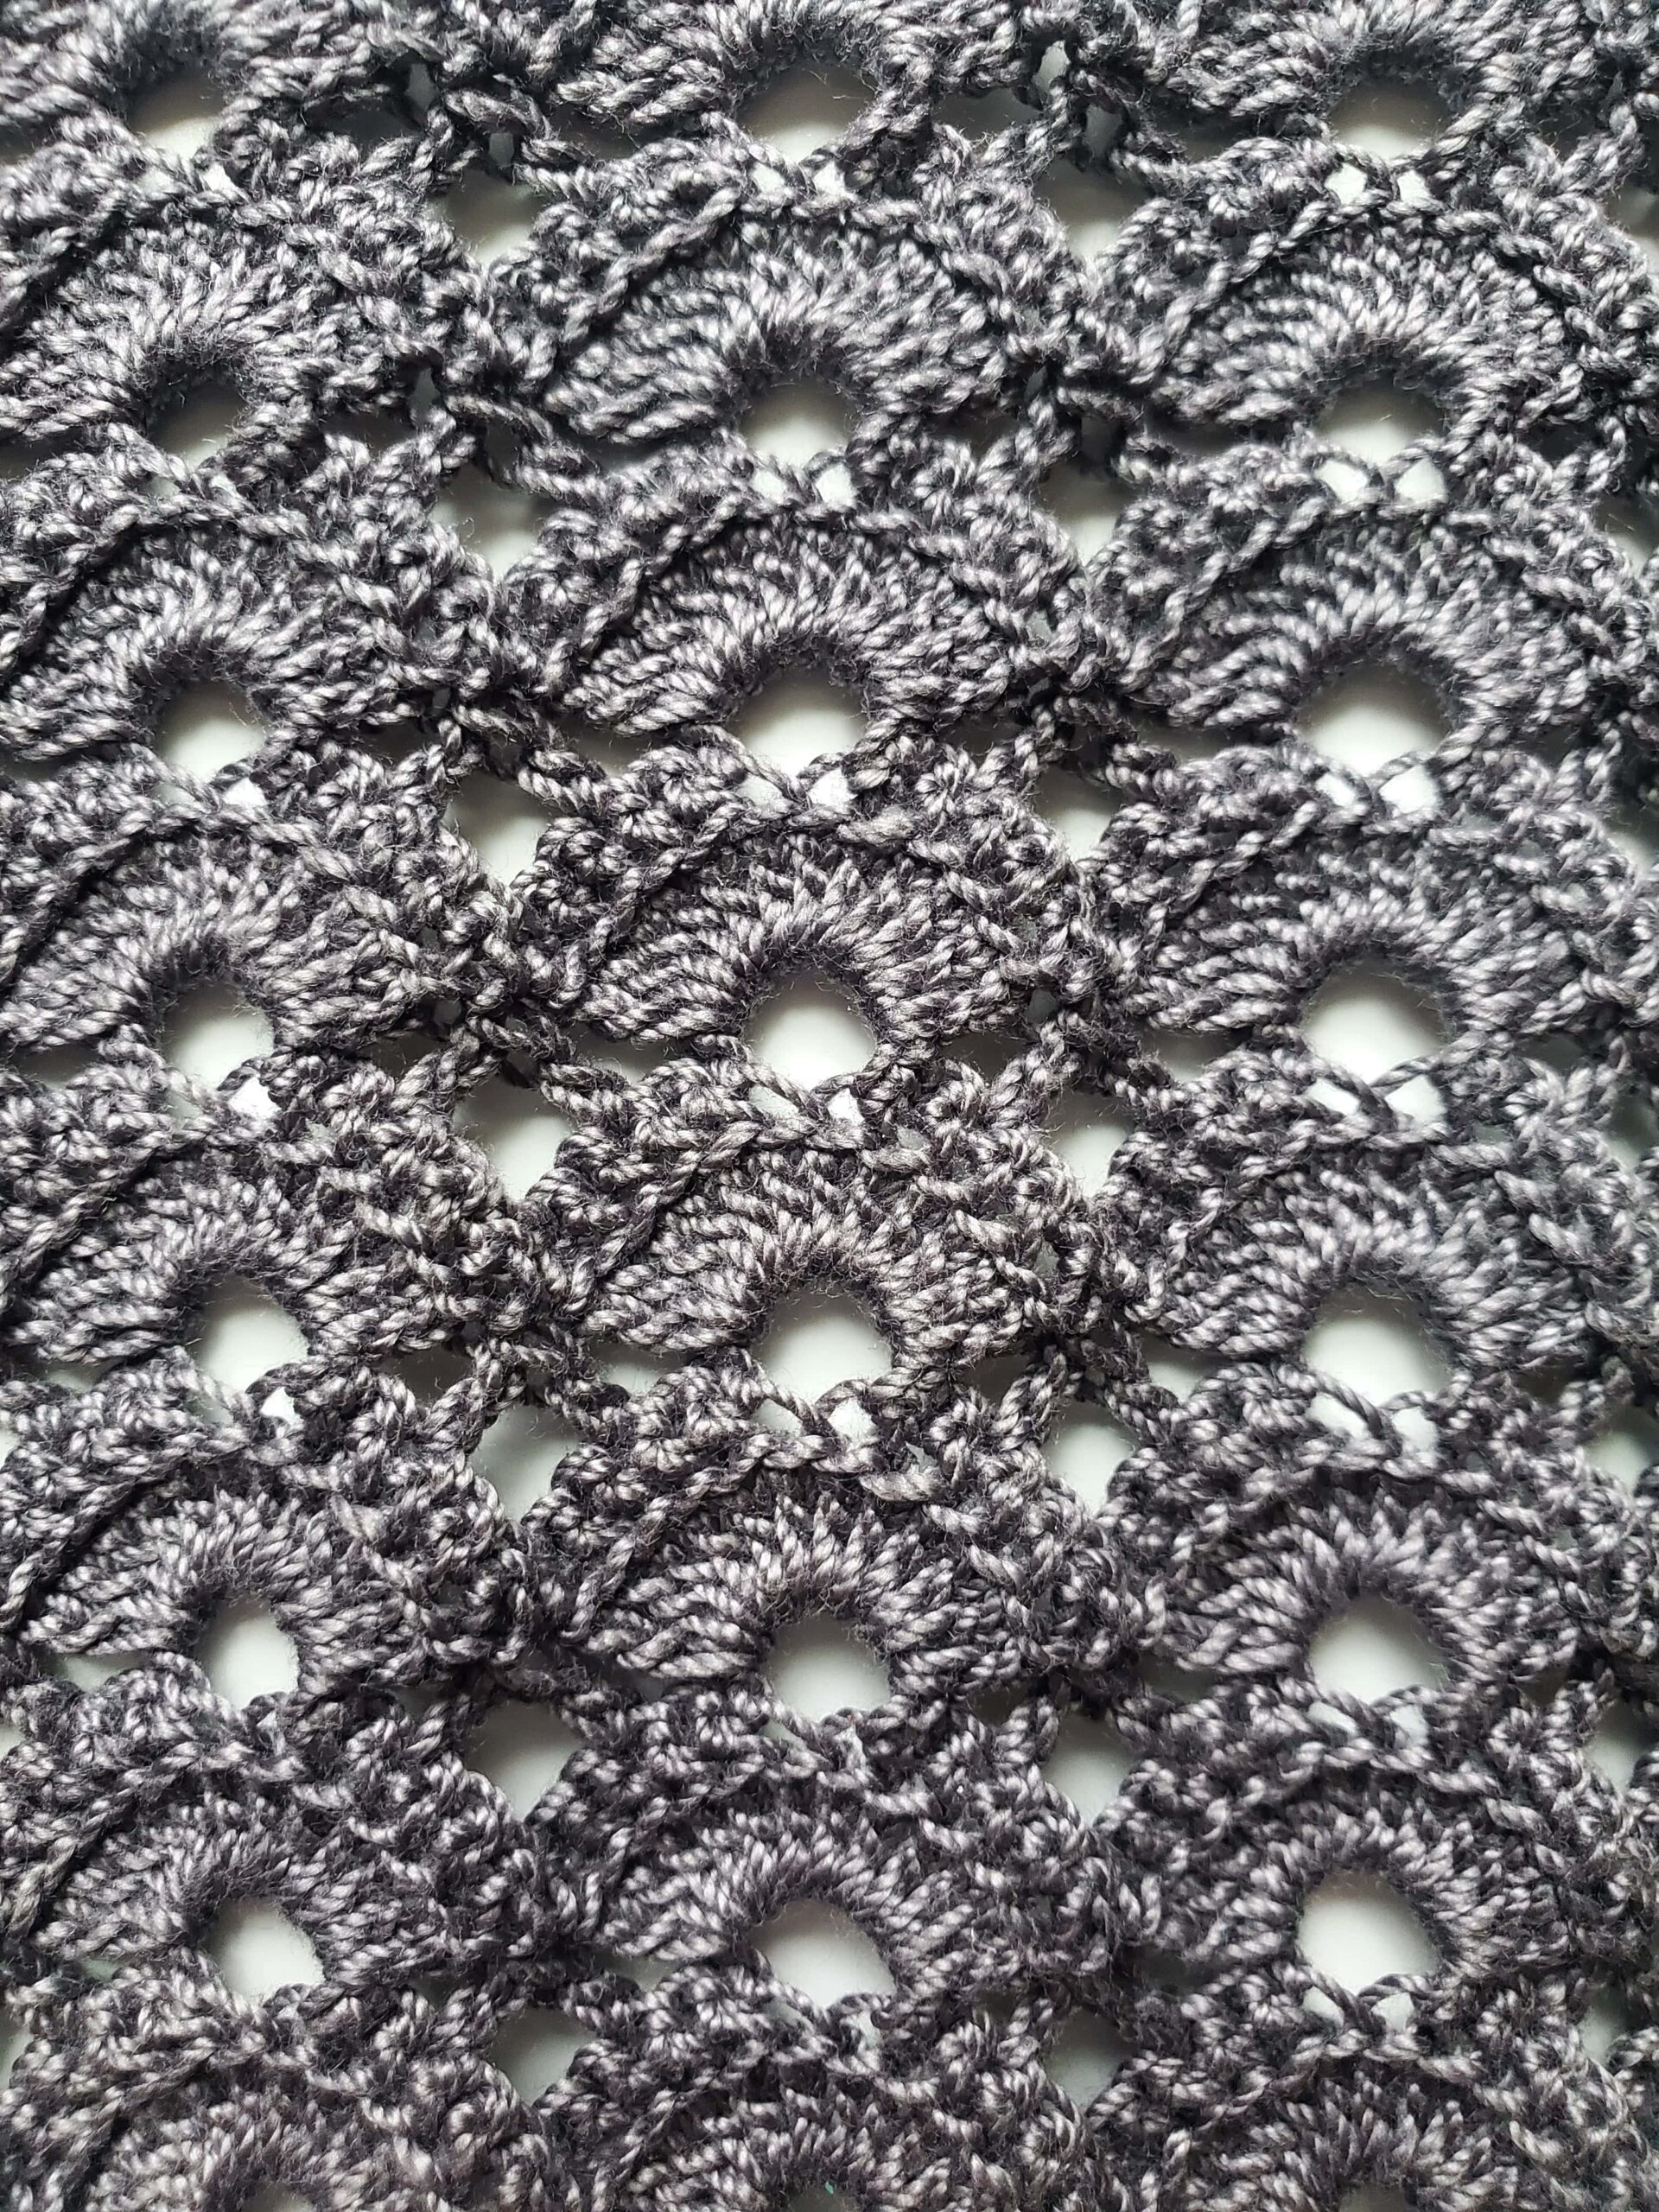
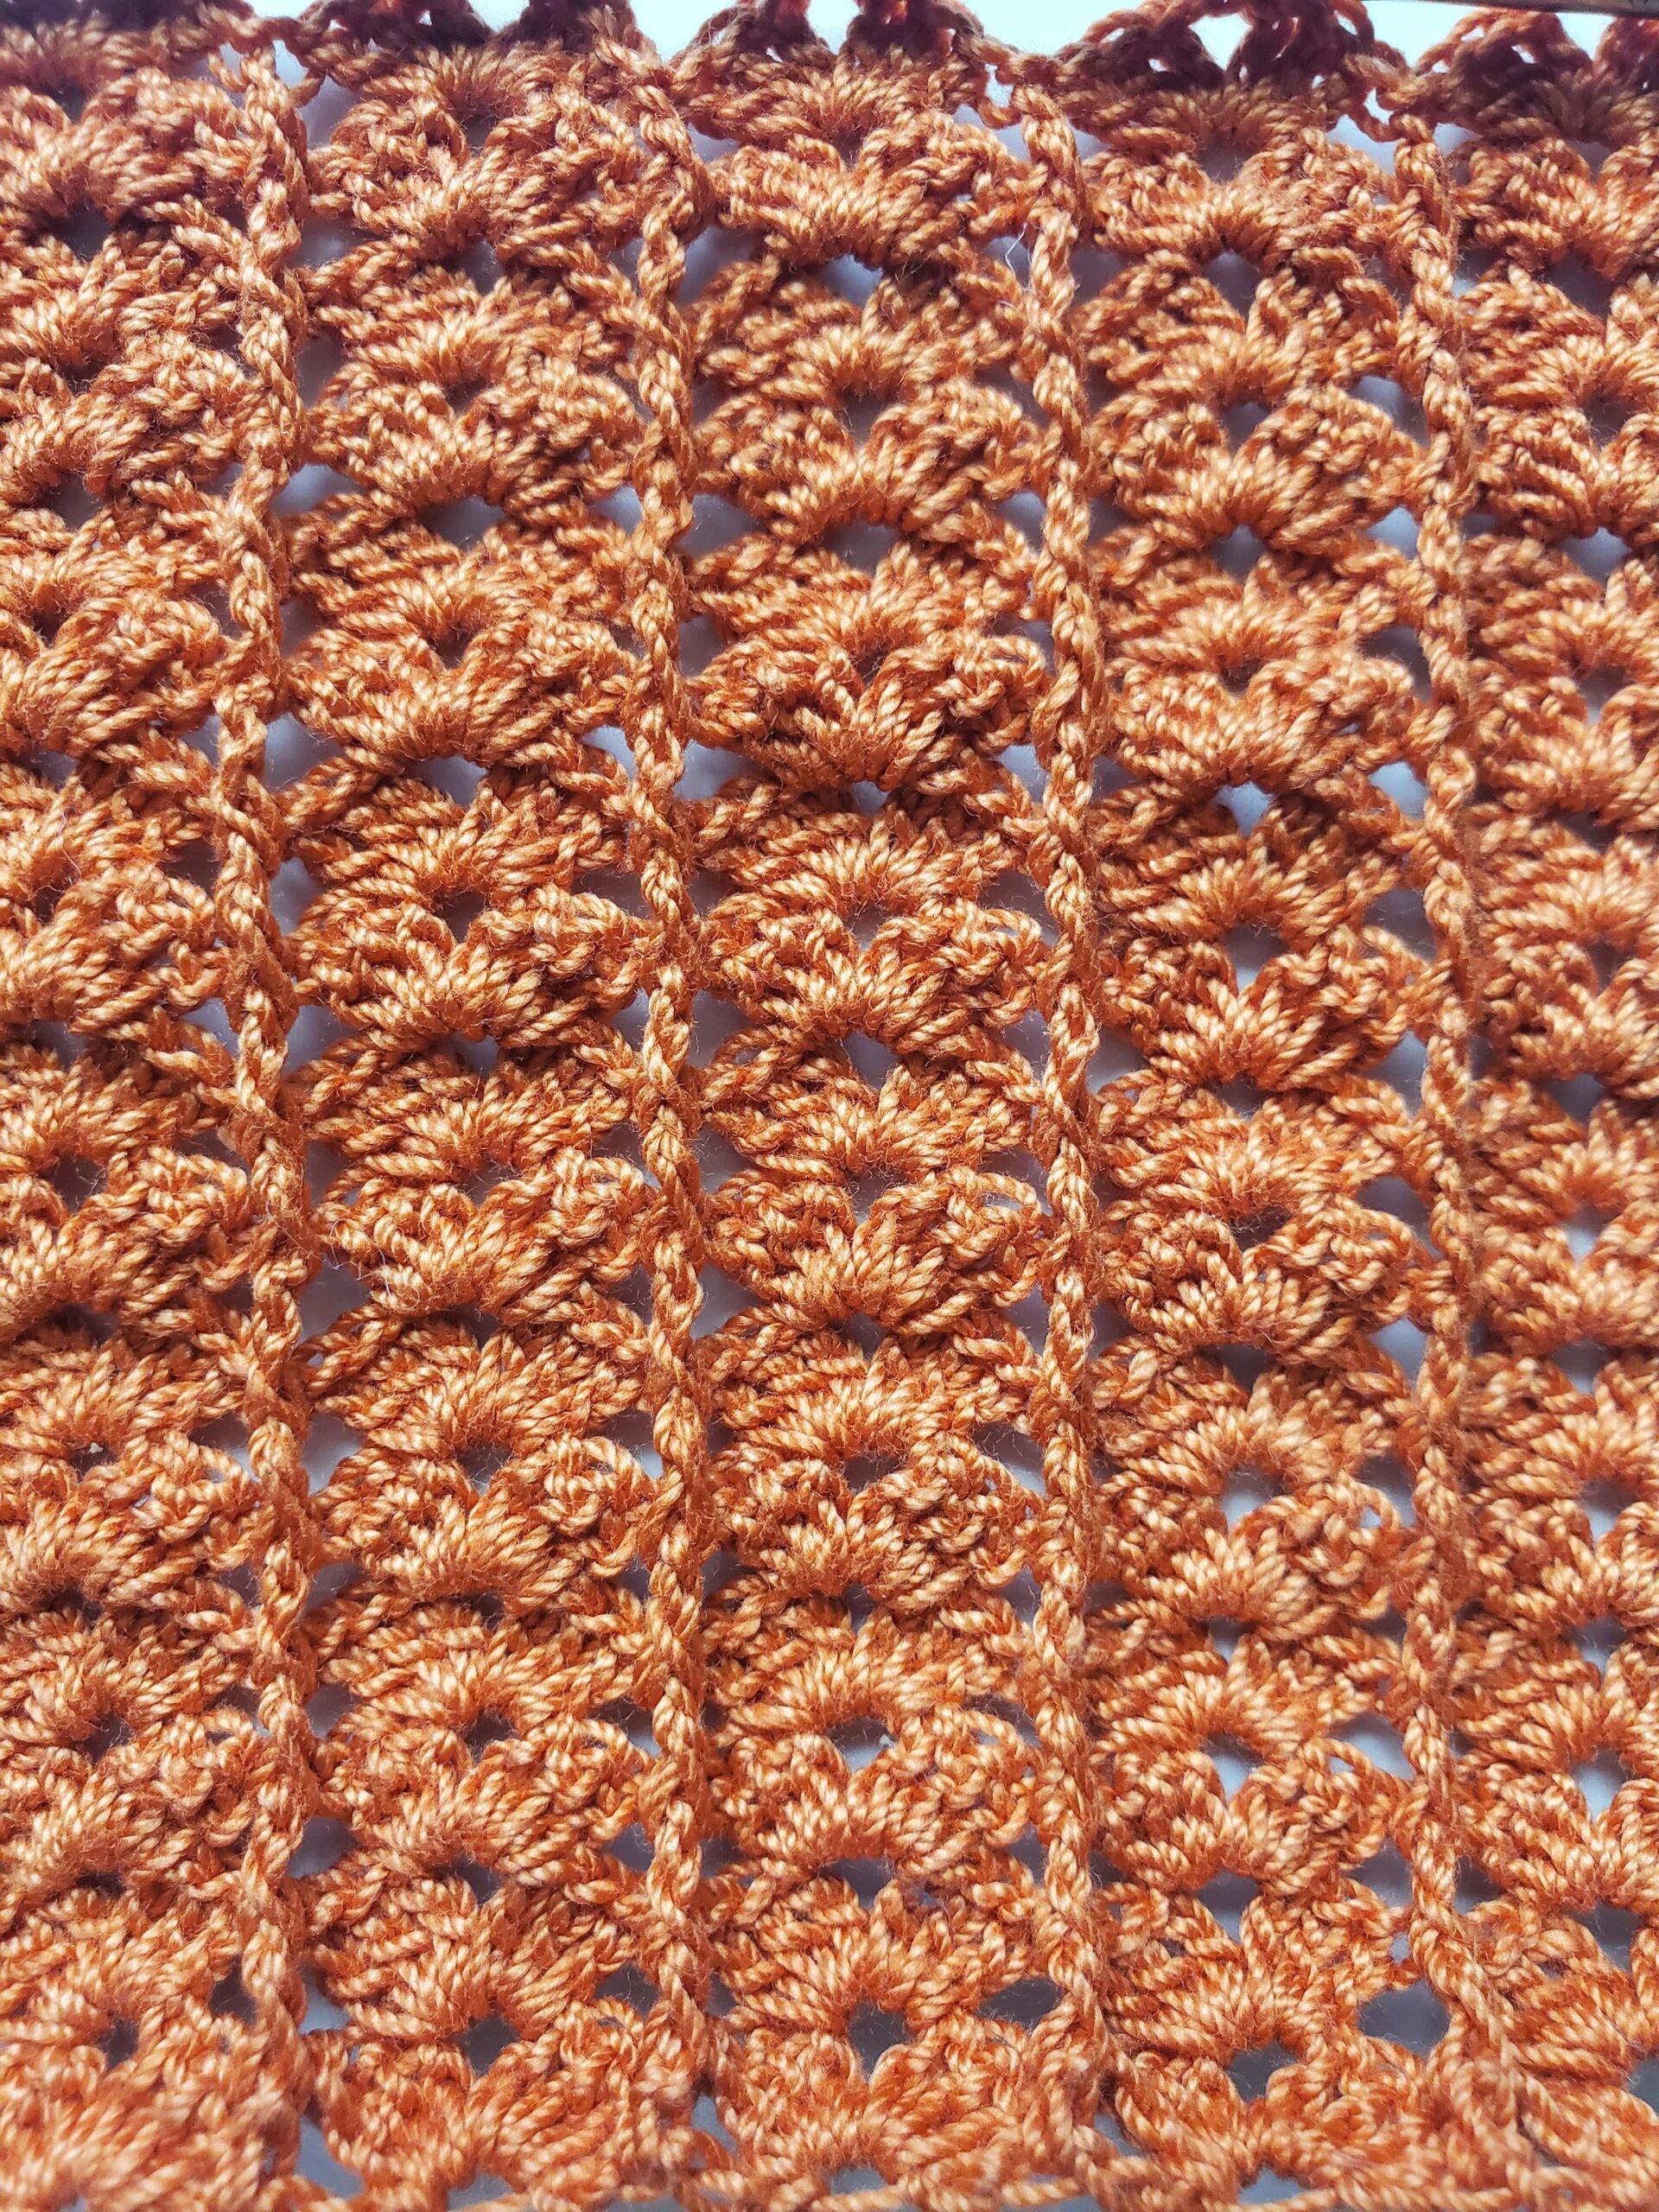
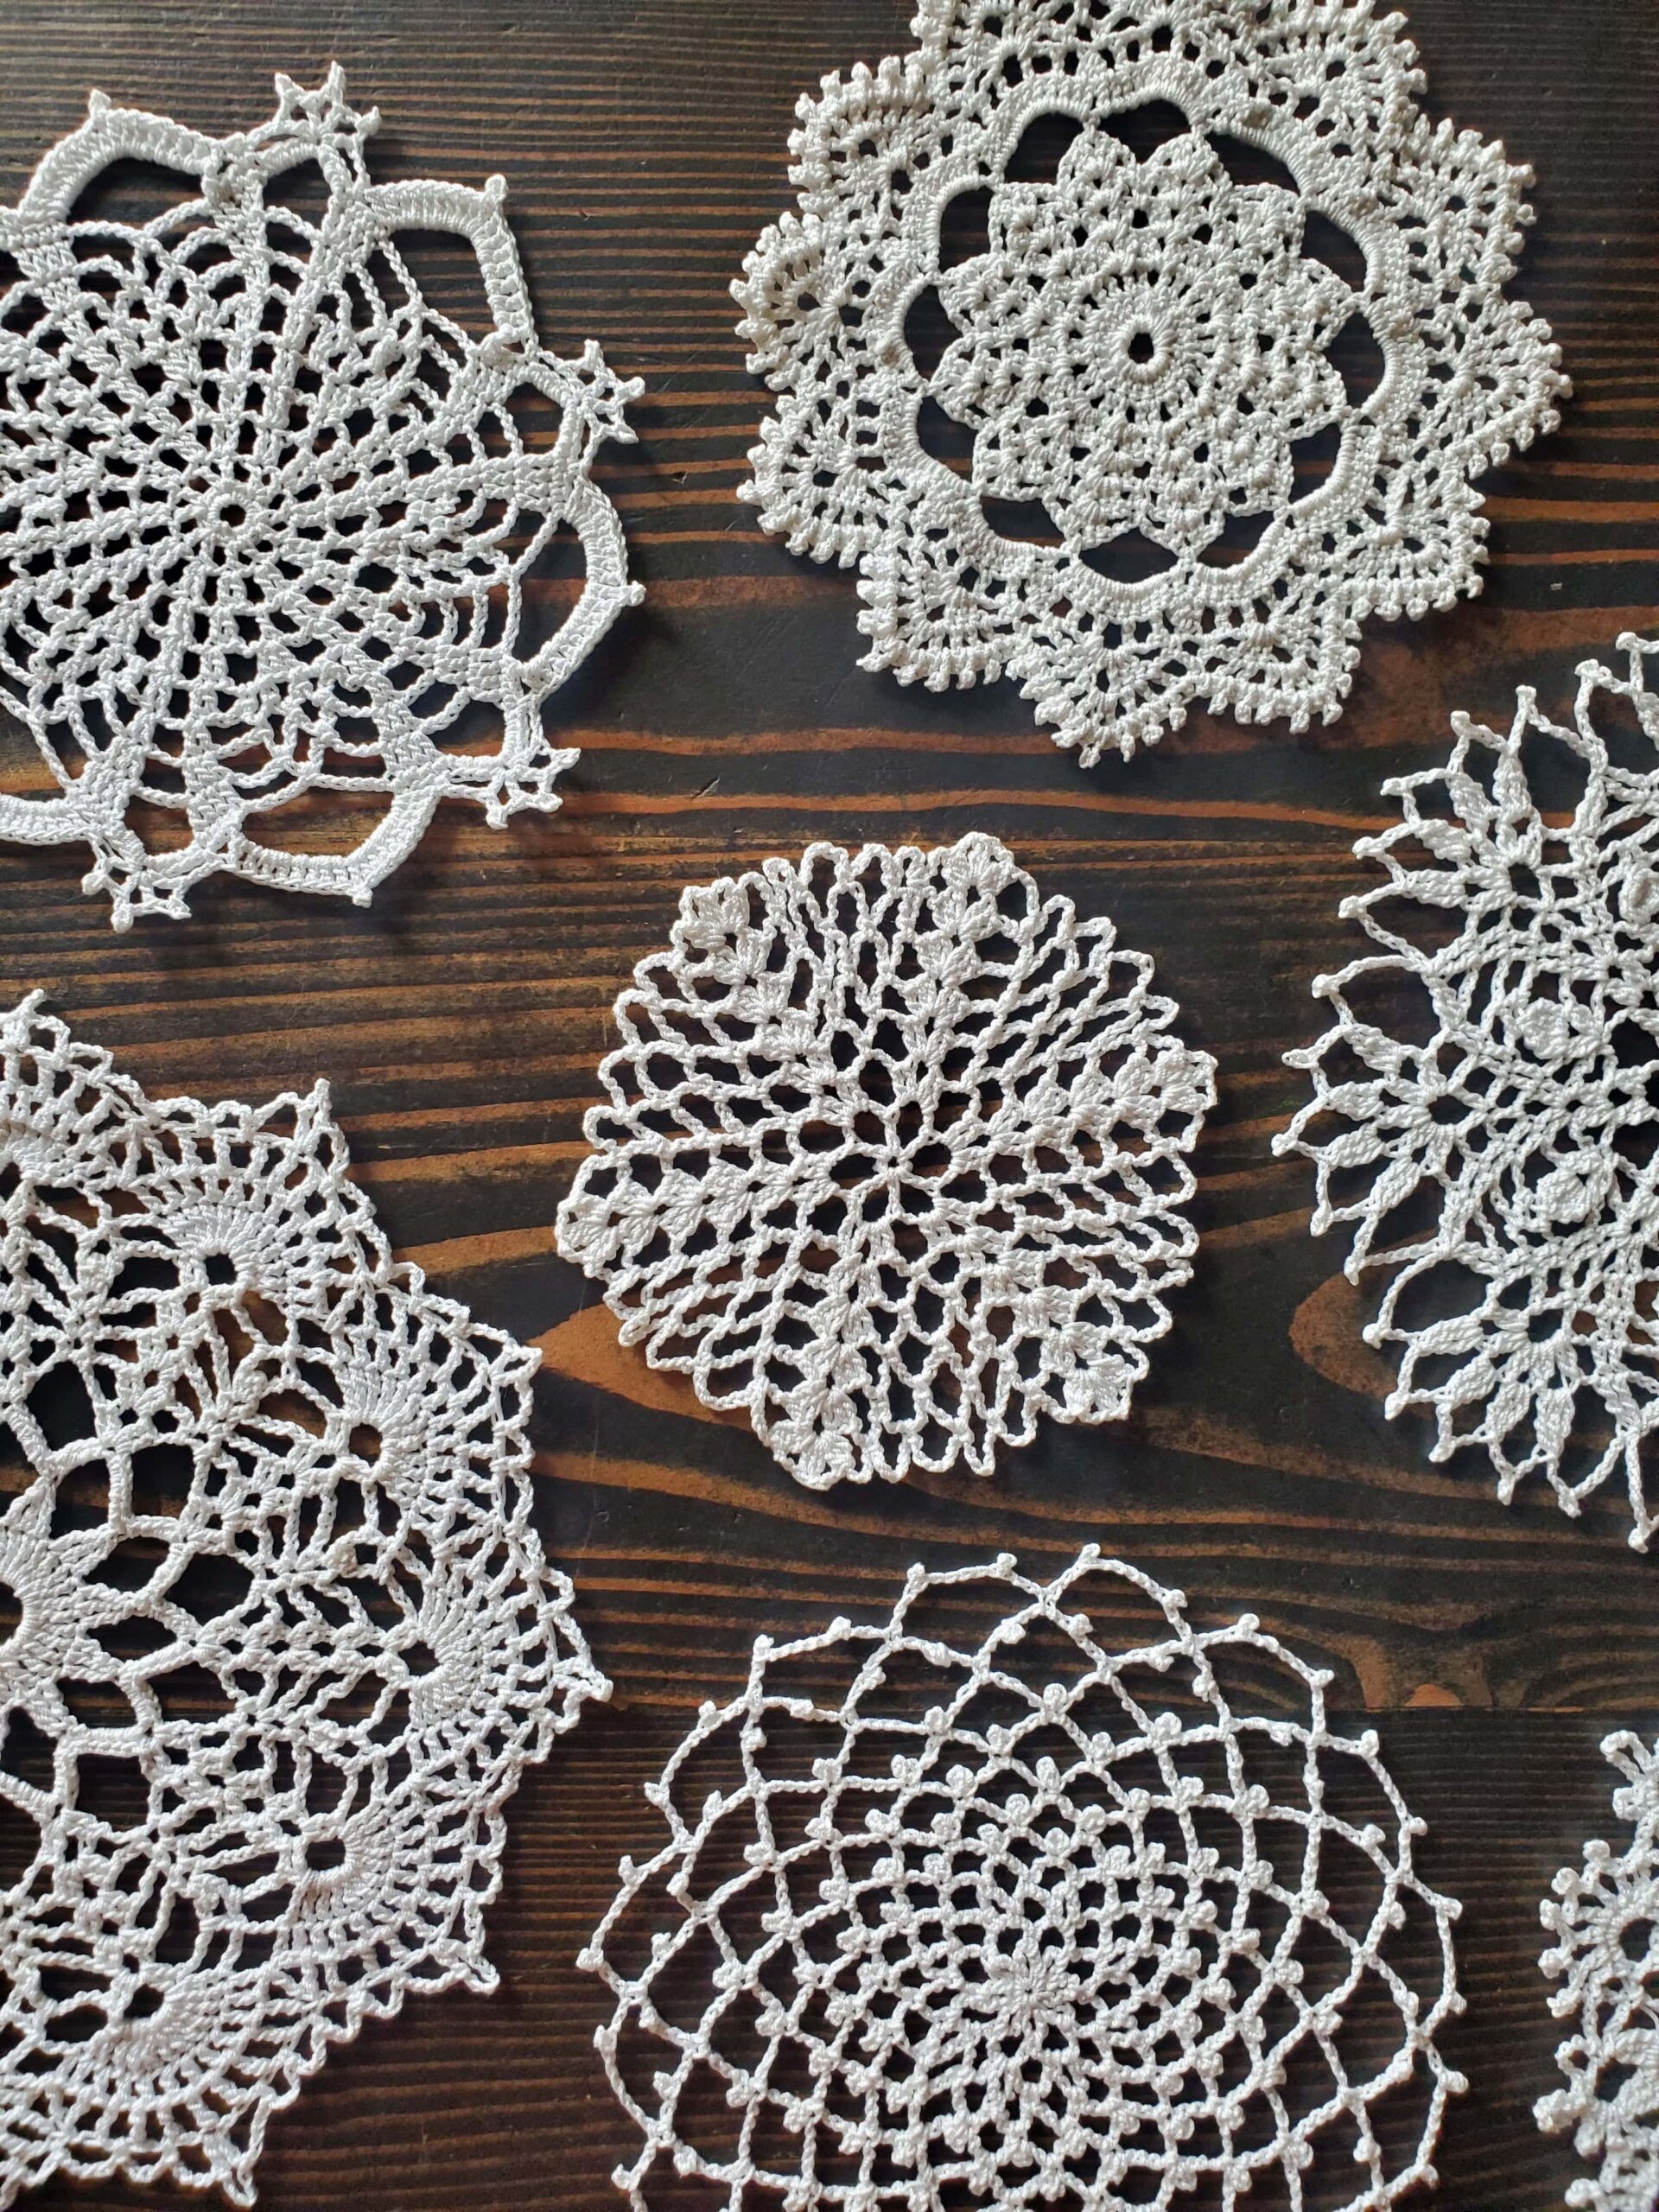
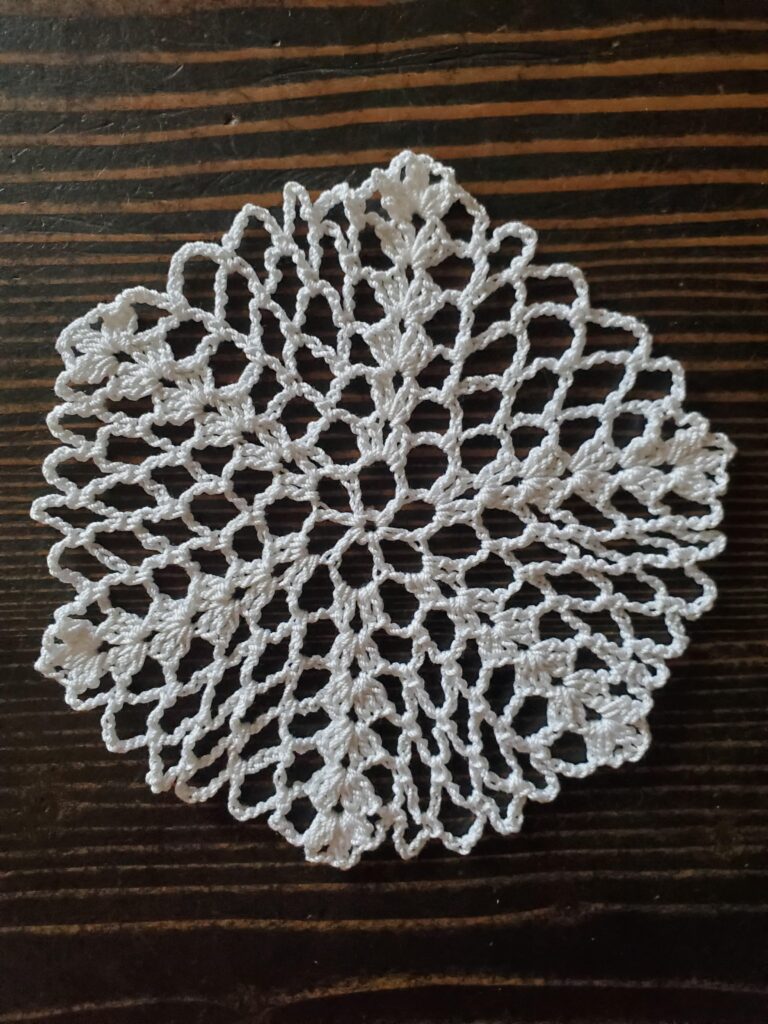
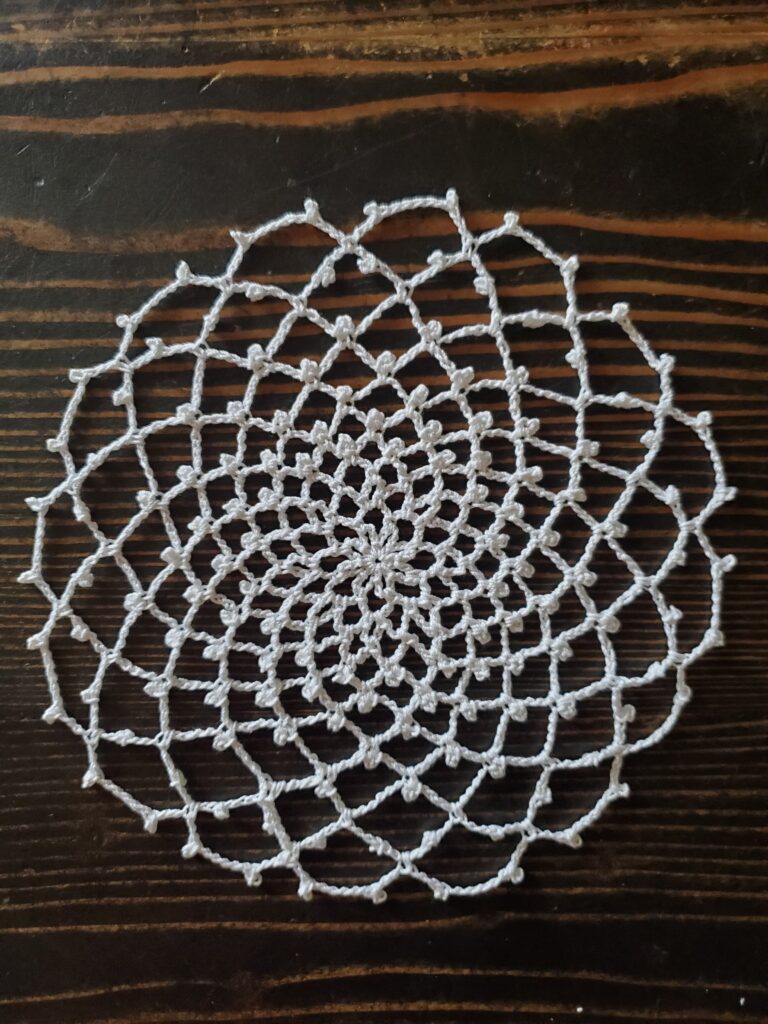
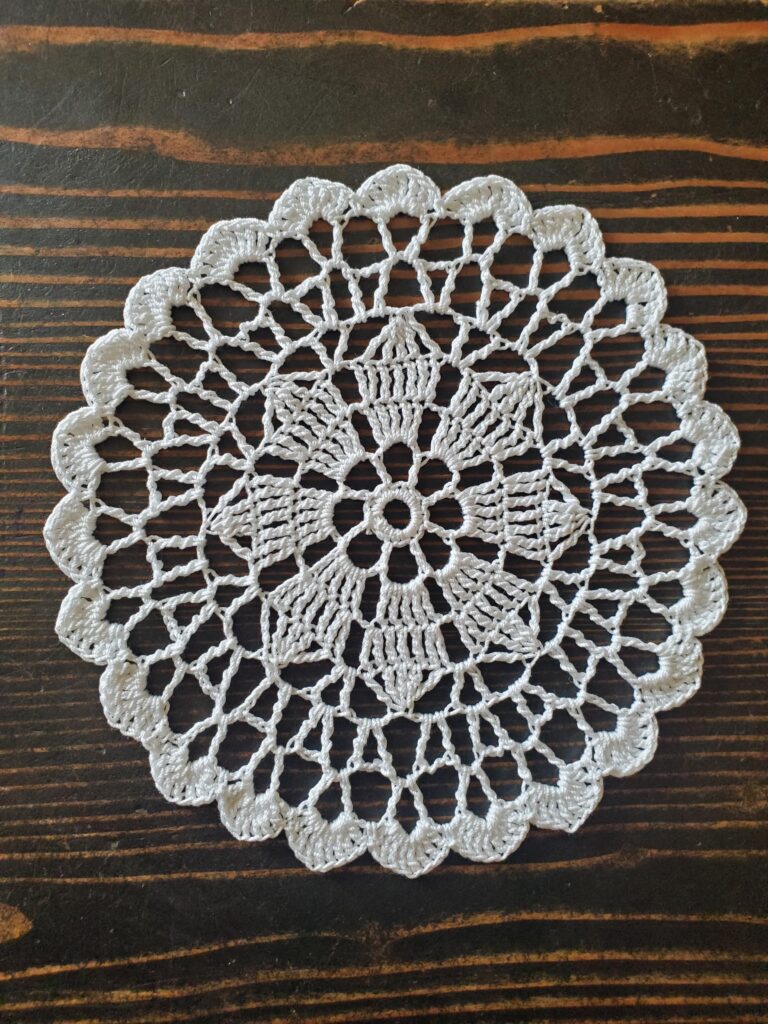
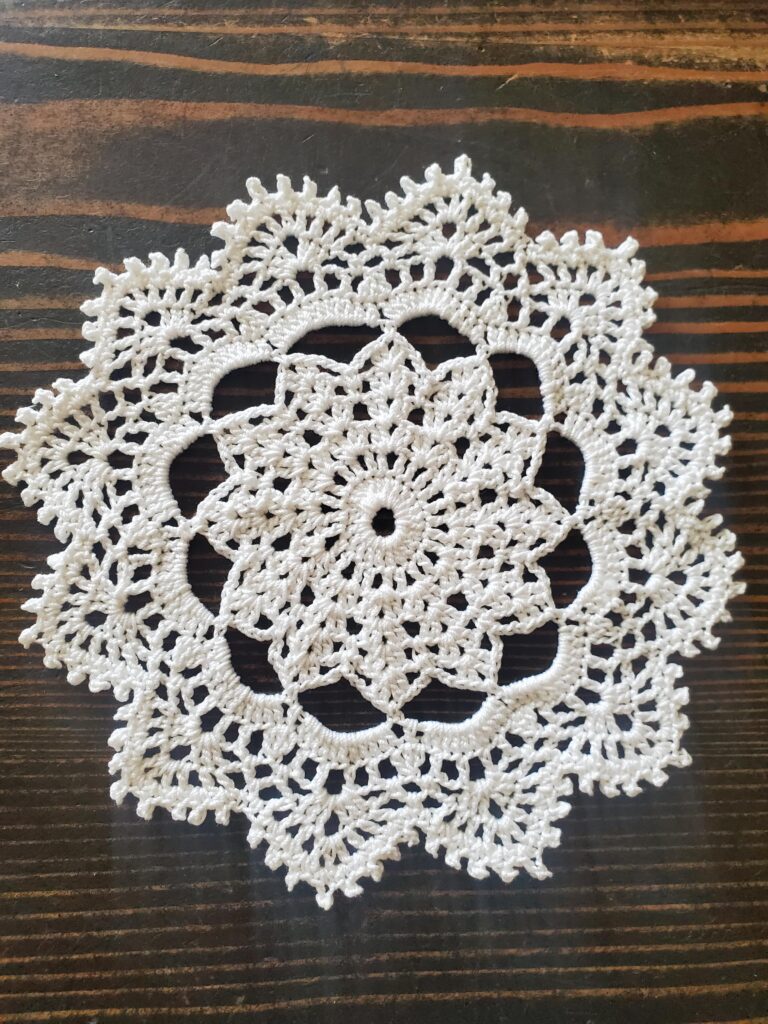
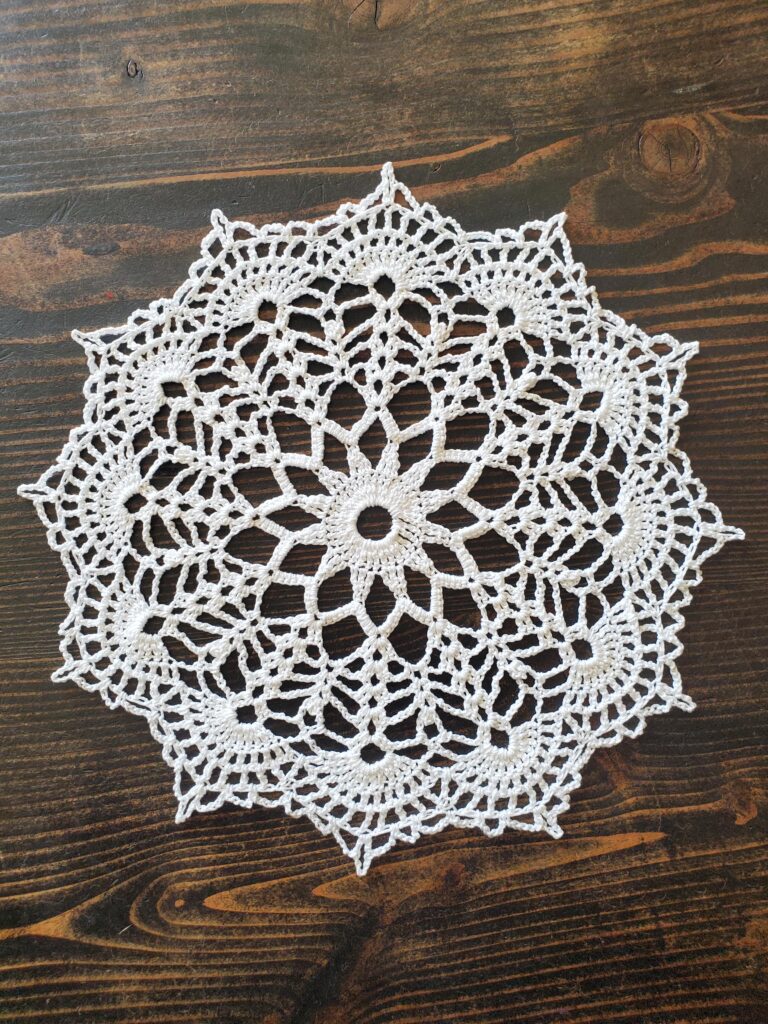
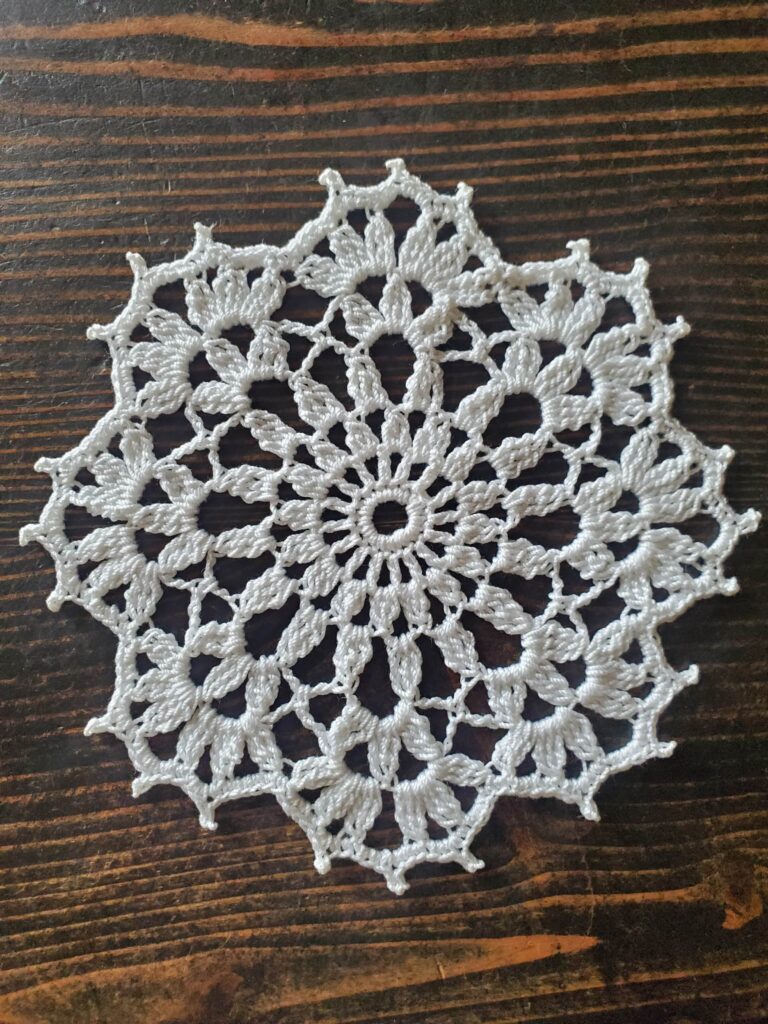
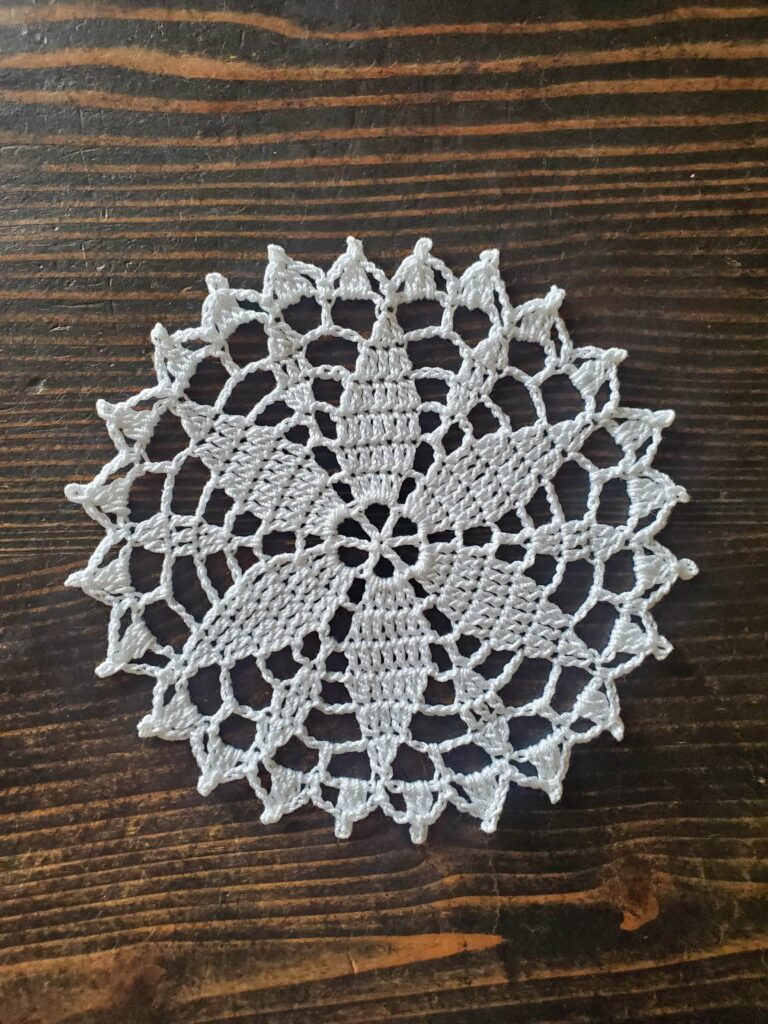
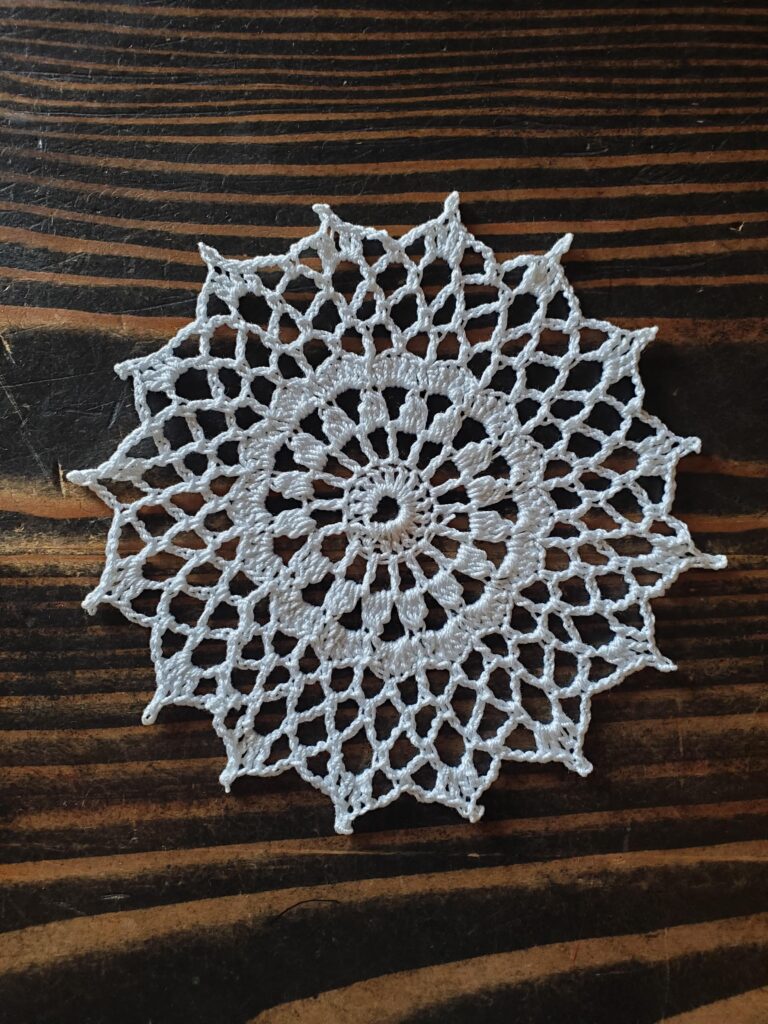
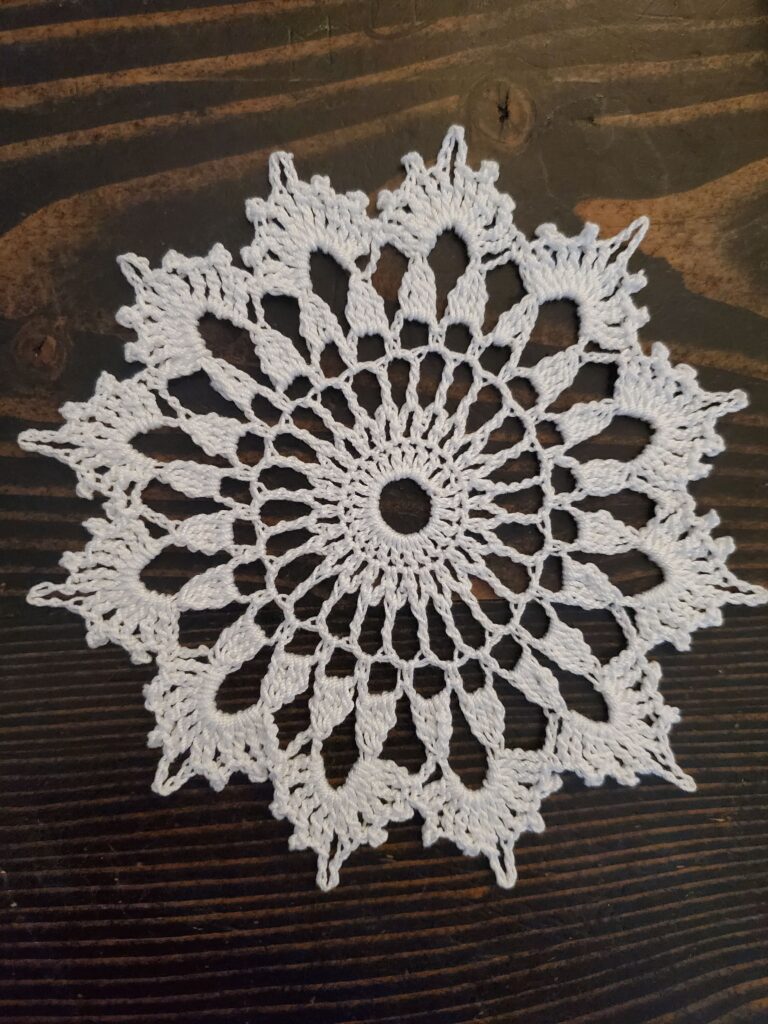
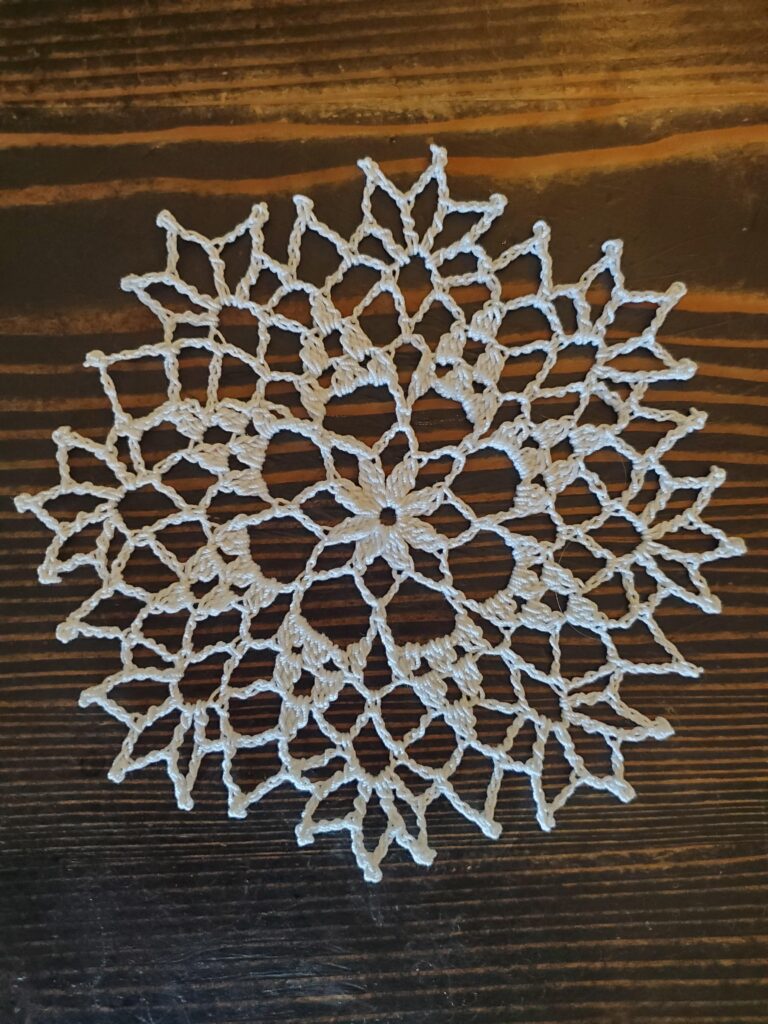
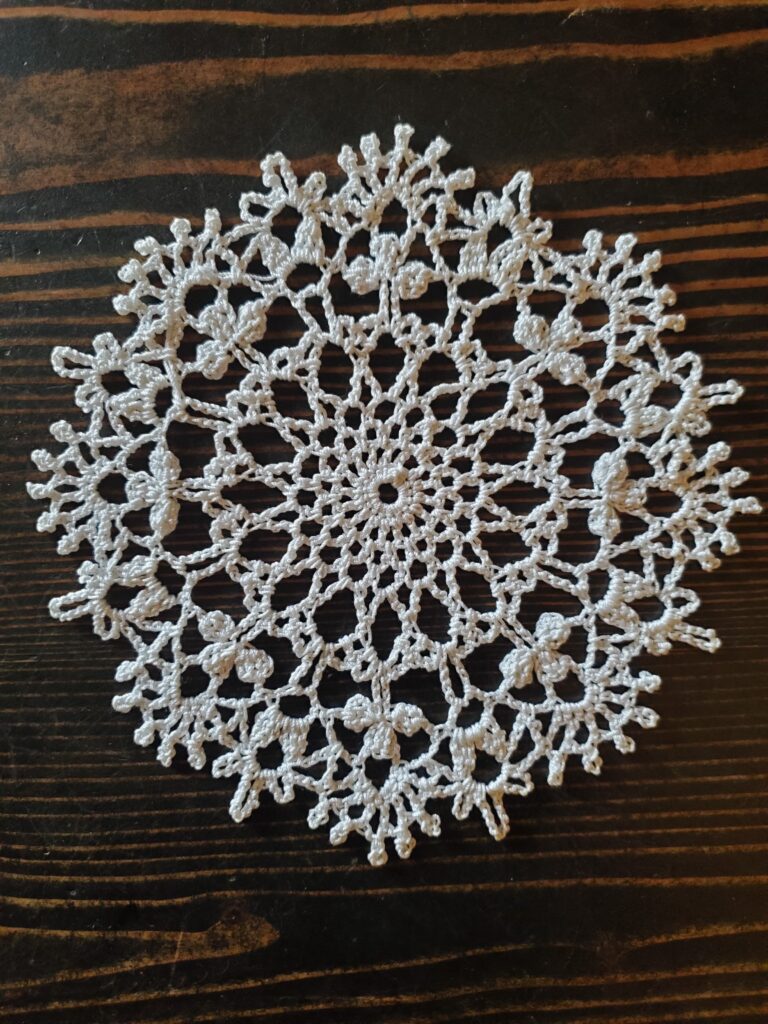
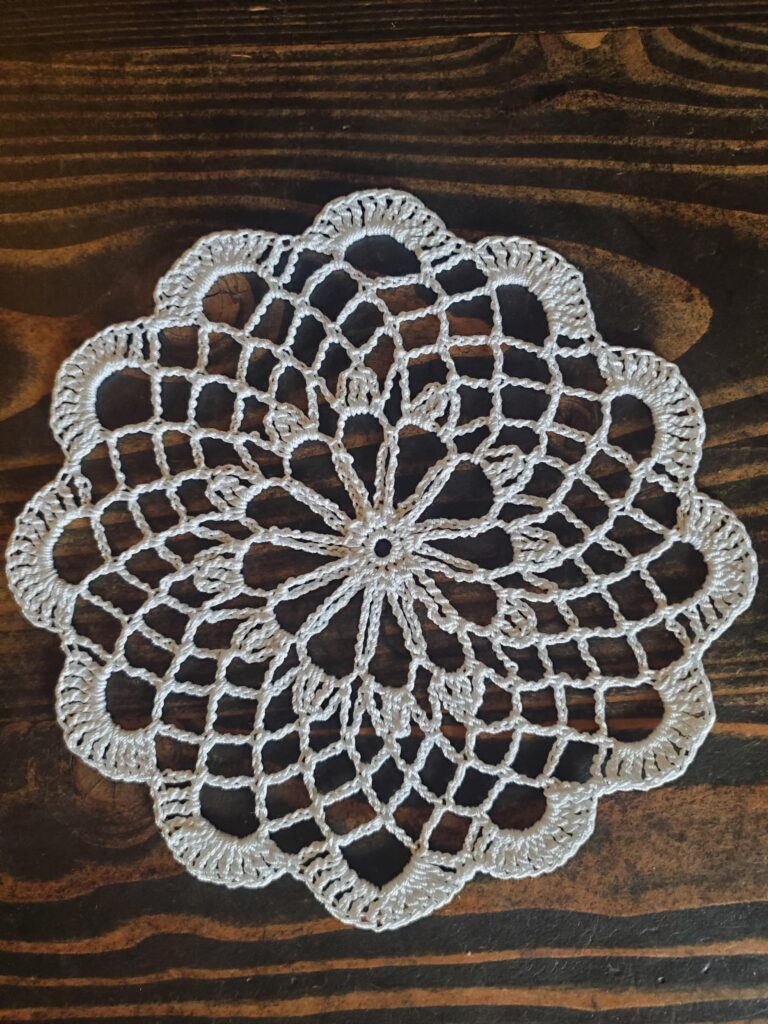
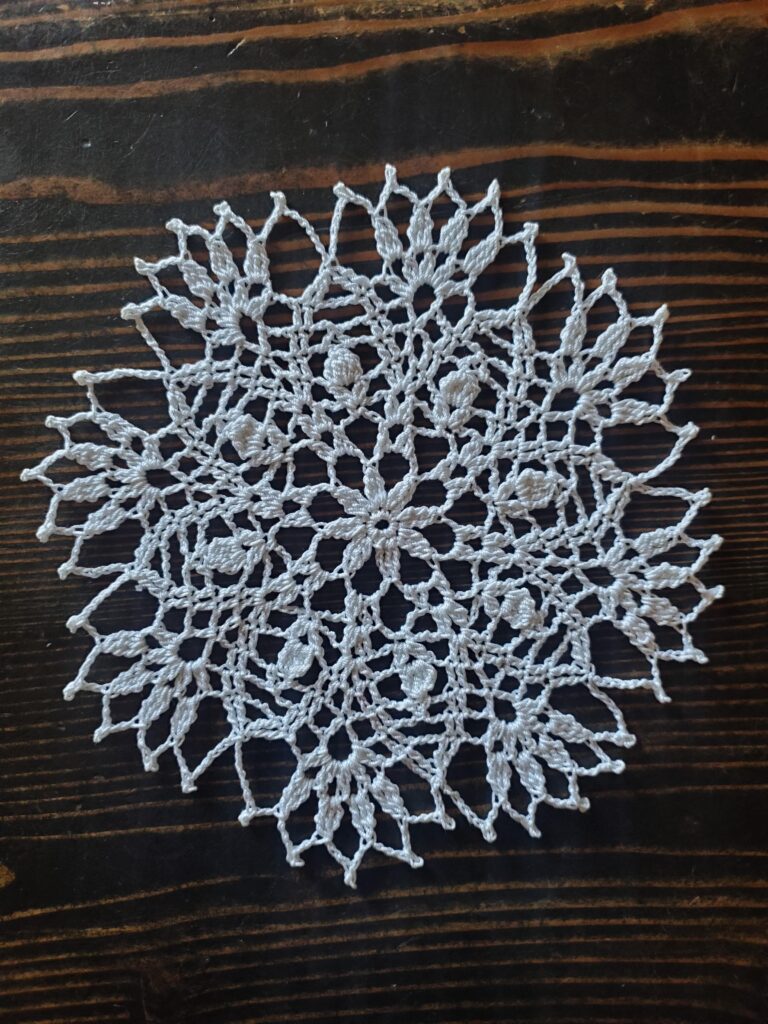
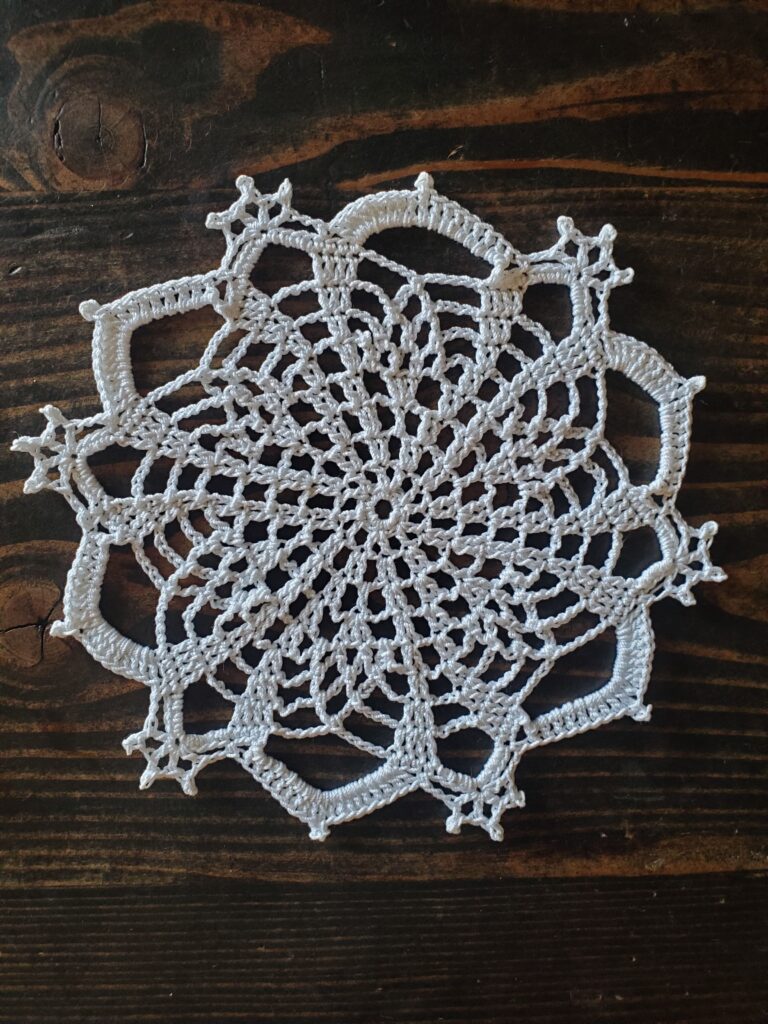
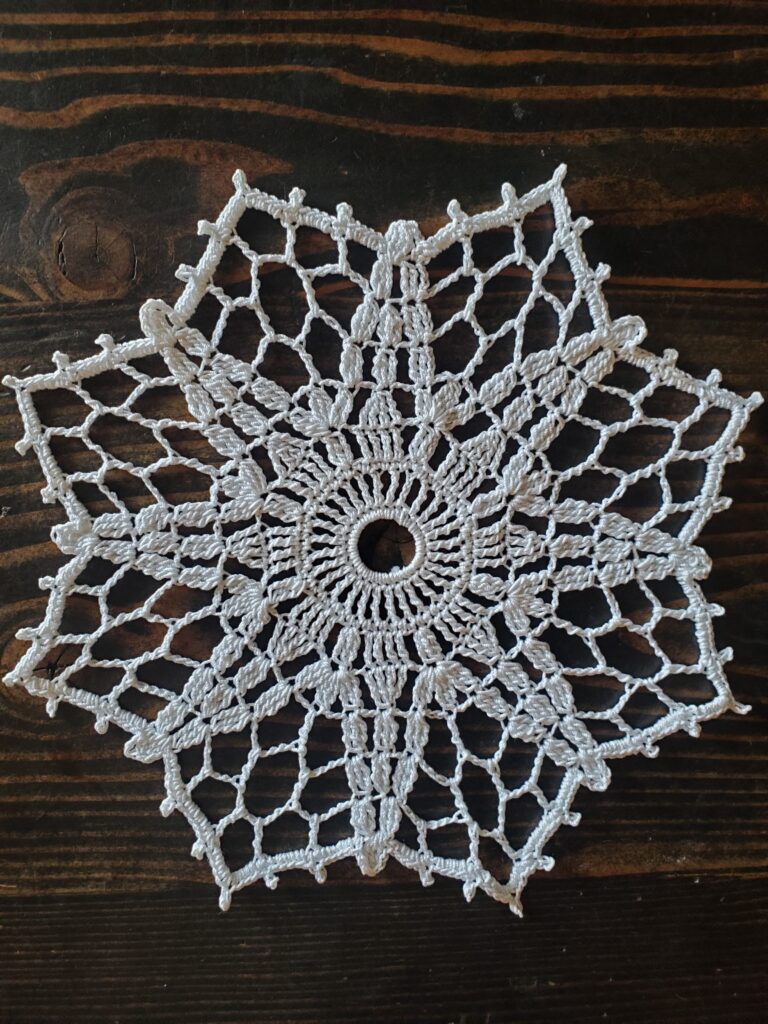
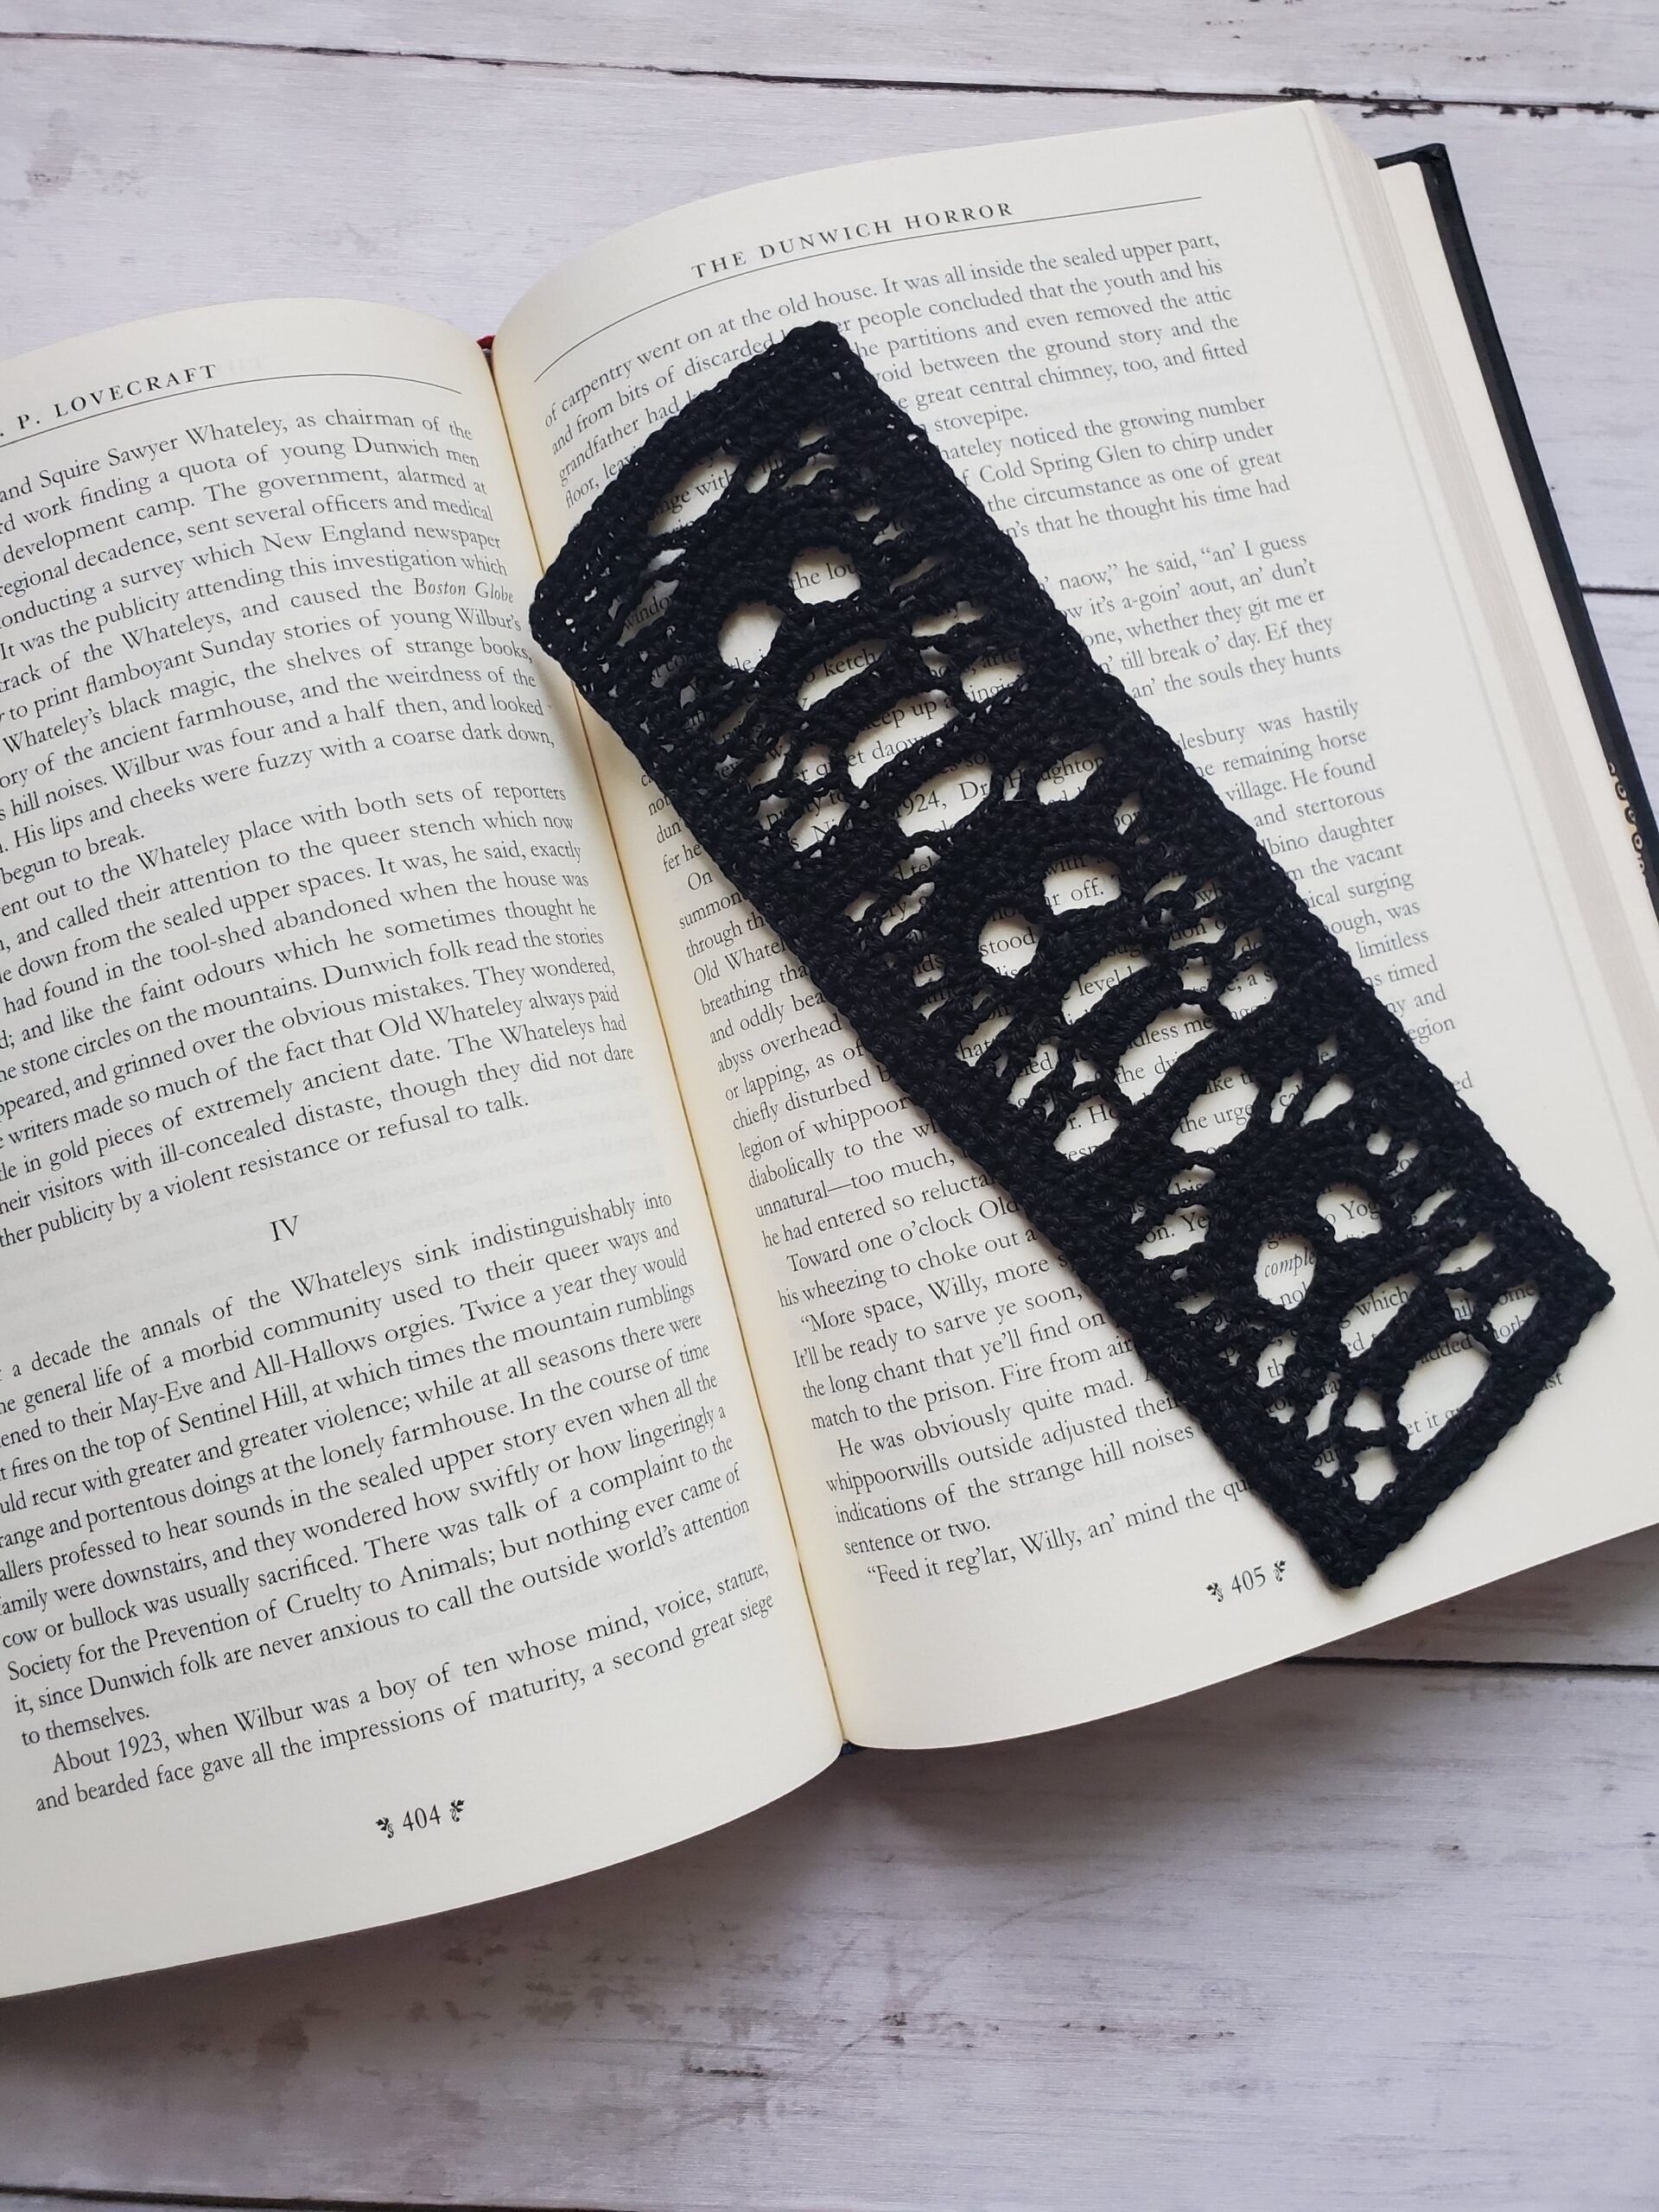
Hello everyone! Today I have a list of 31 Crochet Lace Edgings that will hopefully inspire you for your next project!
I’ve scoured the internet for some of the prettiest crochet lace patterns and this is the list I want to share with you today. Most of these patterns I’ve found on Pinterest, others just from a Google or Youtube search, and a few from Ravelry.
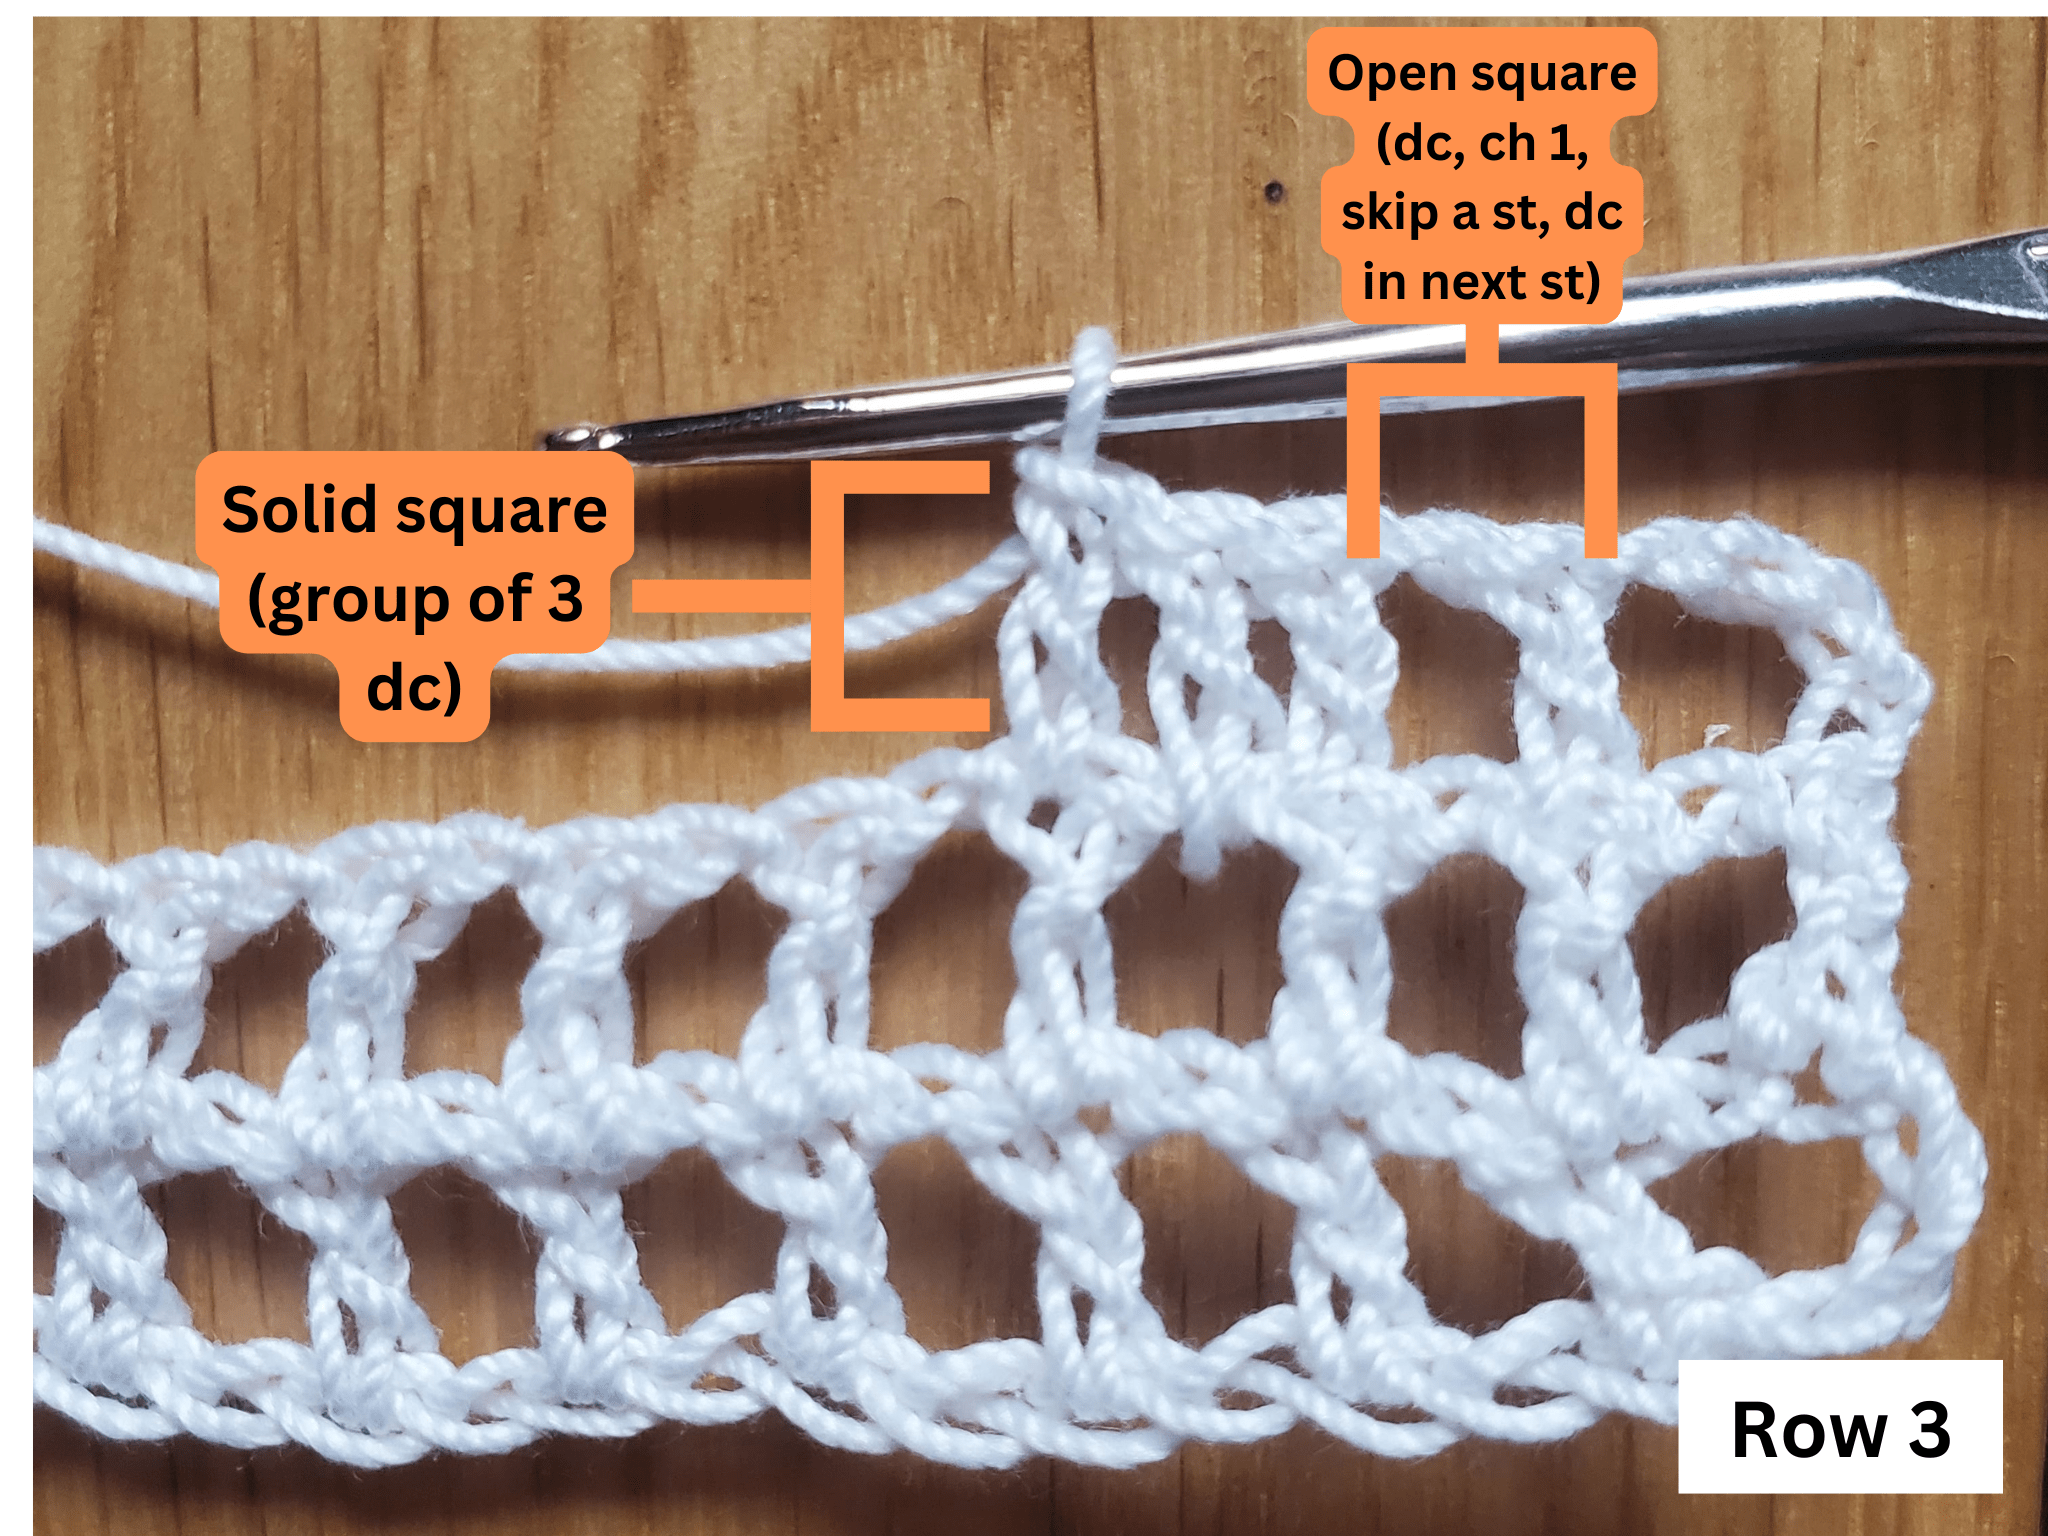
The ones that are from Pinterest are typically diagram only patterns, but don’t let that deter you from trying them out! I remember being a newish crocheter and looking at these and being so confused! Now that I’ve been crocheting for a while, I think sometimes they’re easier to read than written instructions, especially if the creator of the pattern speaks another language. I’ve found that there’s so many cool crochet lace patterns out there that are in different languages, so these diagrams are very helpful.
I’ve also tried my best to link all these patterns back to the original creator, however some of these sources I’ve found on Pinterest are so obscure or difficult to reverse image search, I’ve had to link to the pin itself. So if anyone recognizes a pattern, let me know so I can properly attribute the creator!
Related Posts:
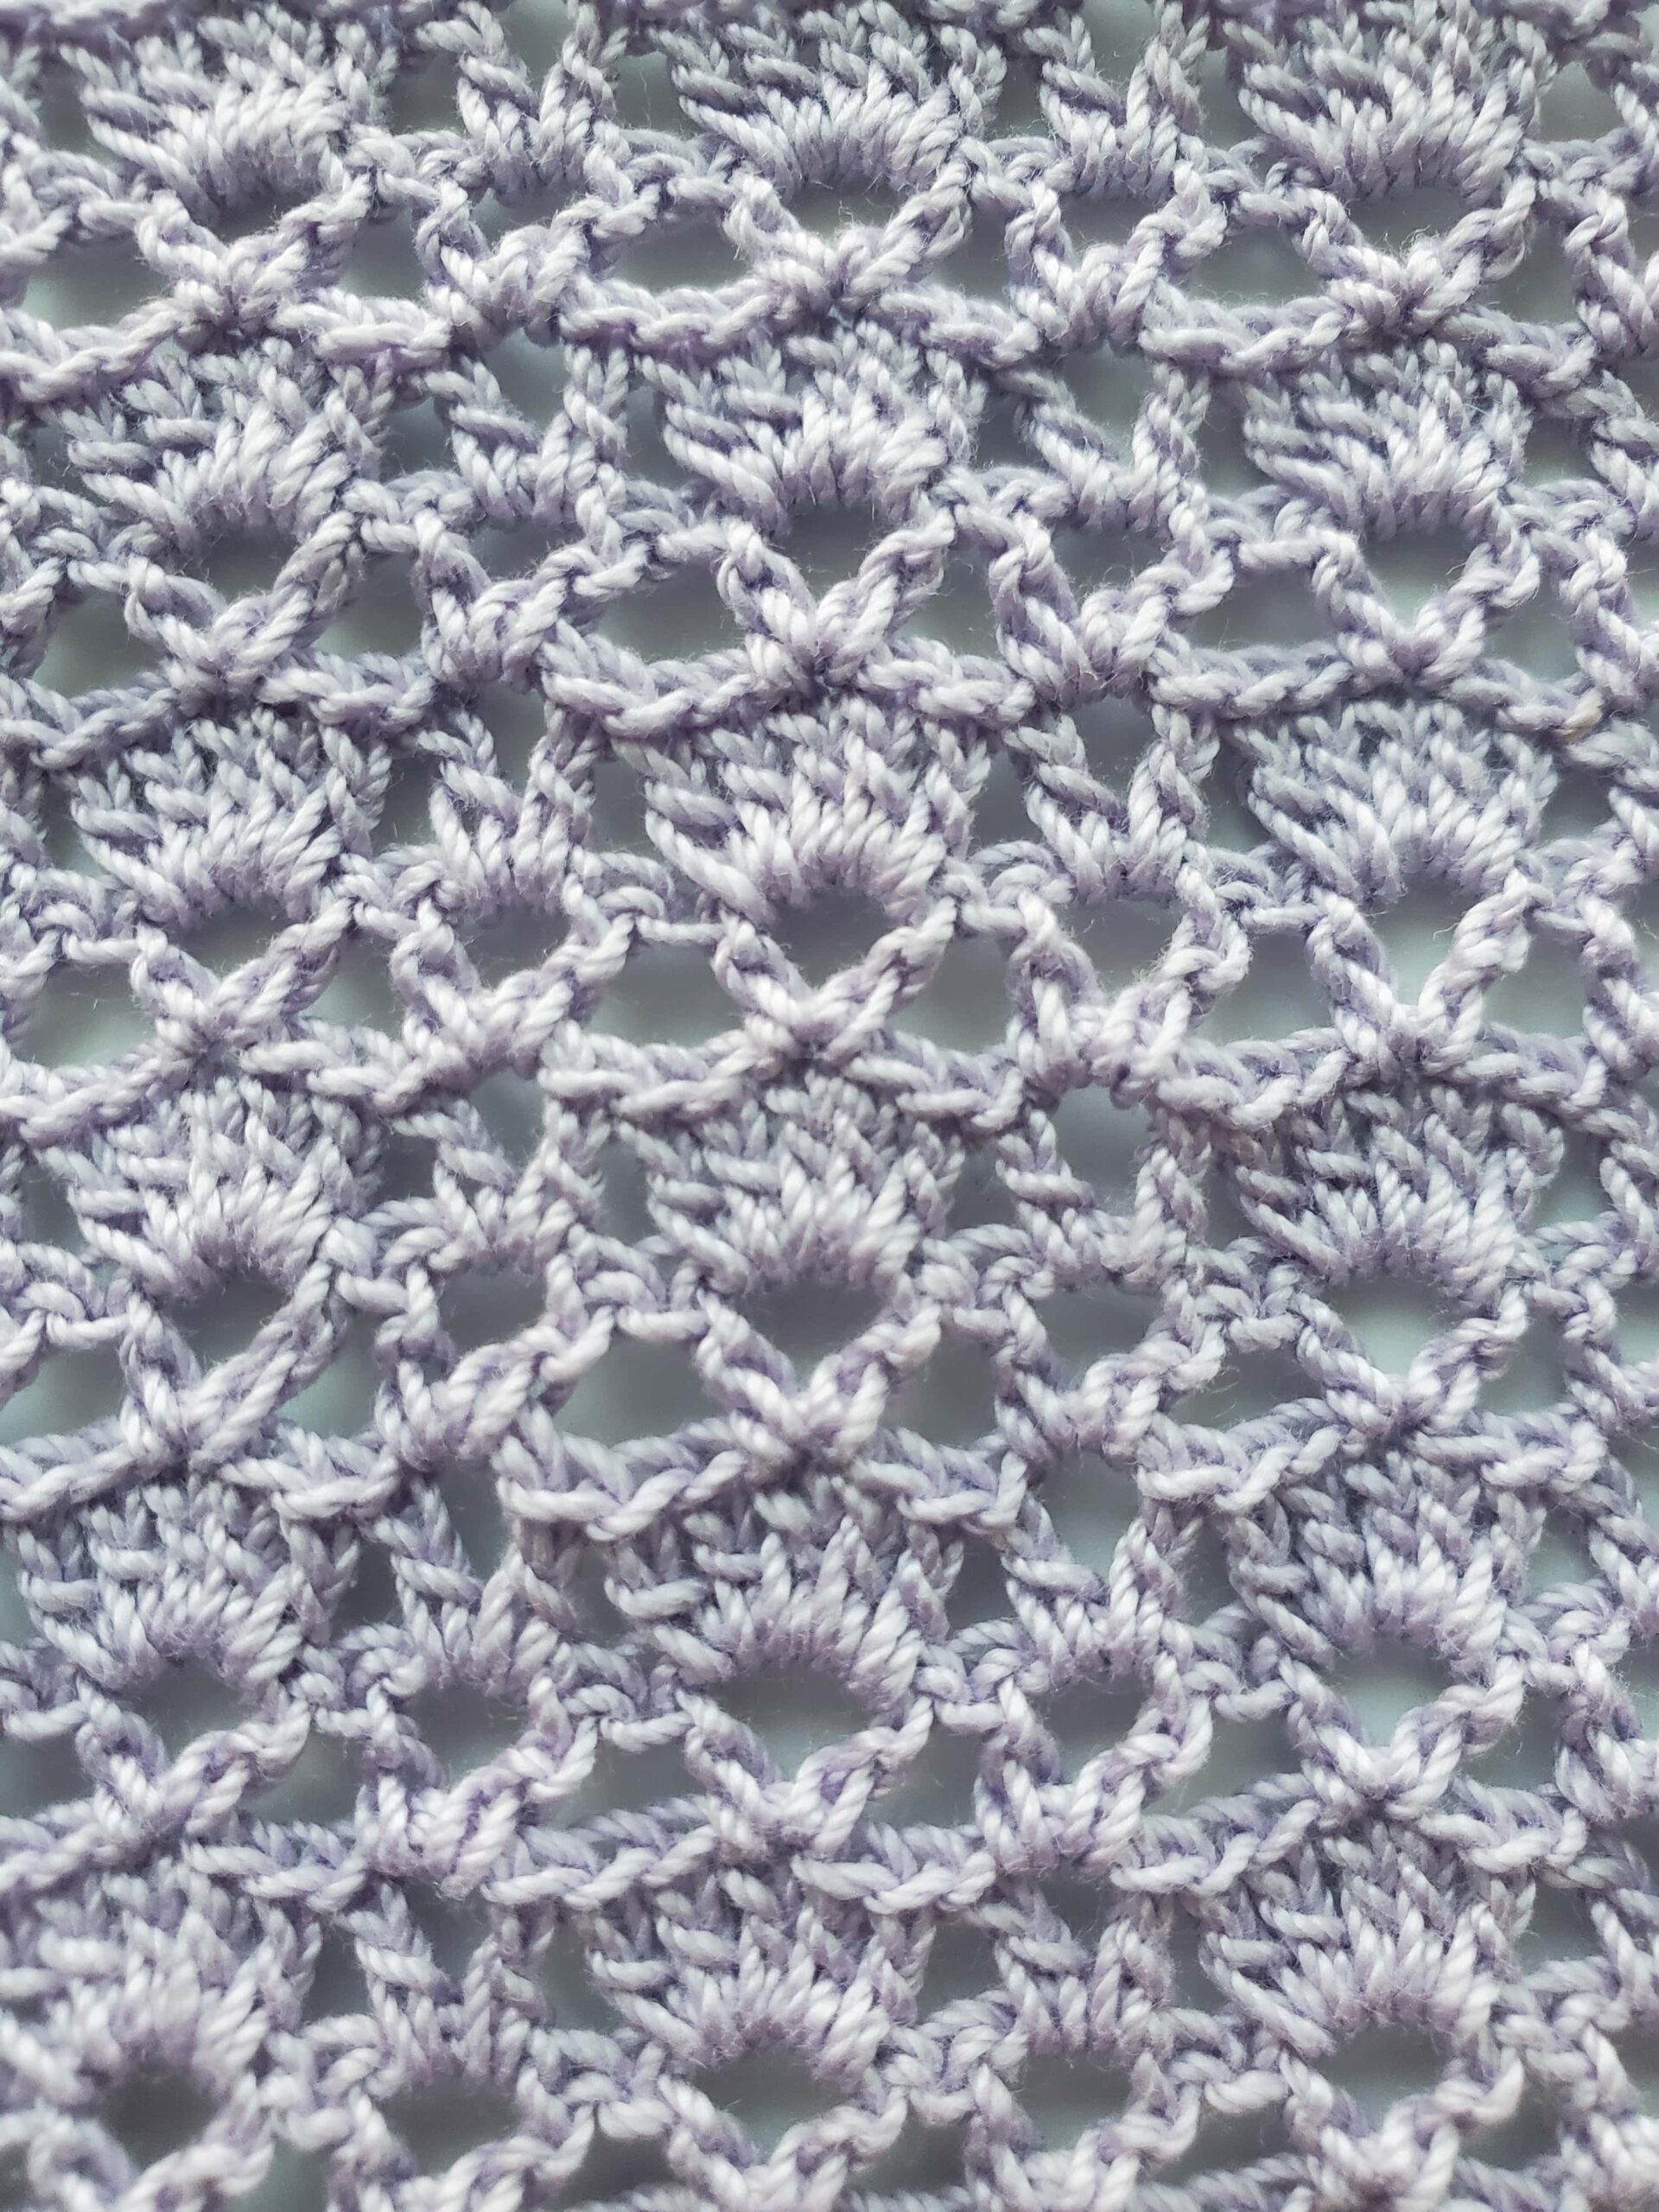
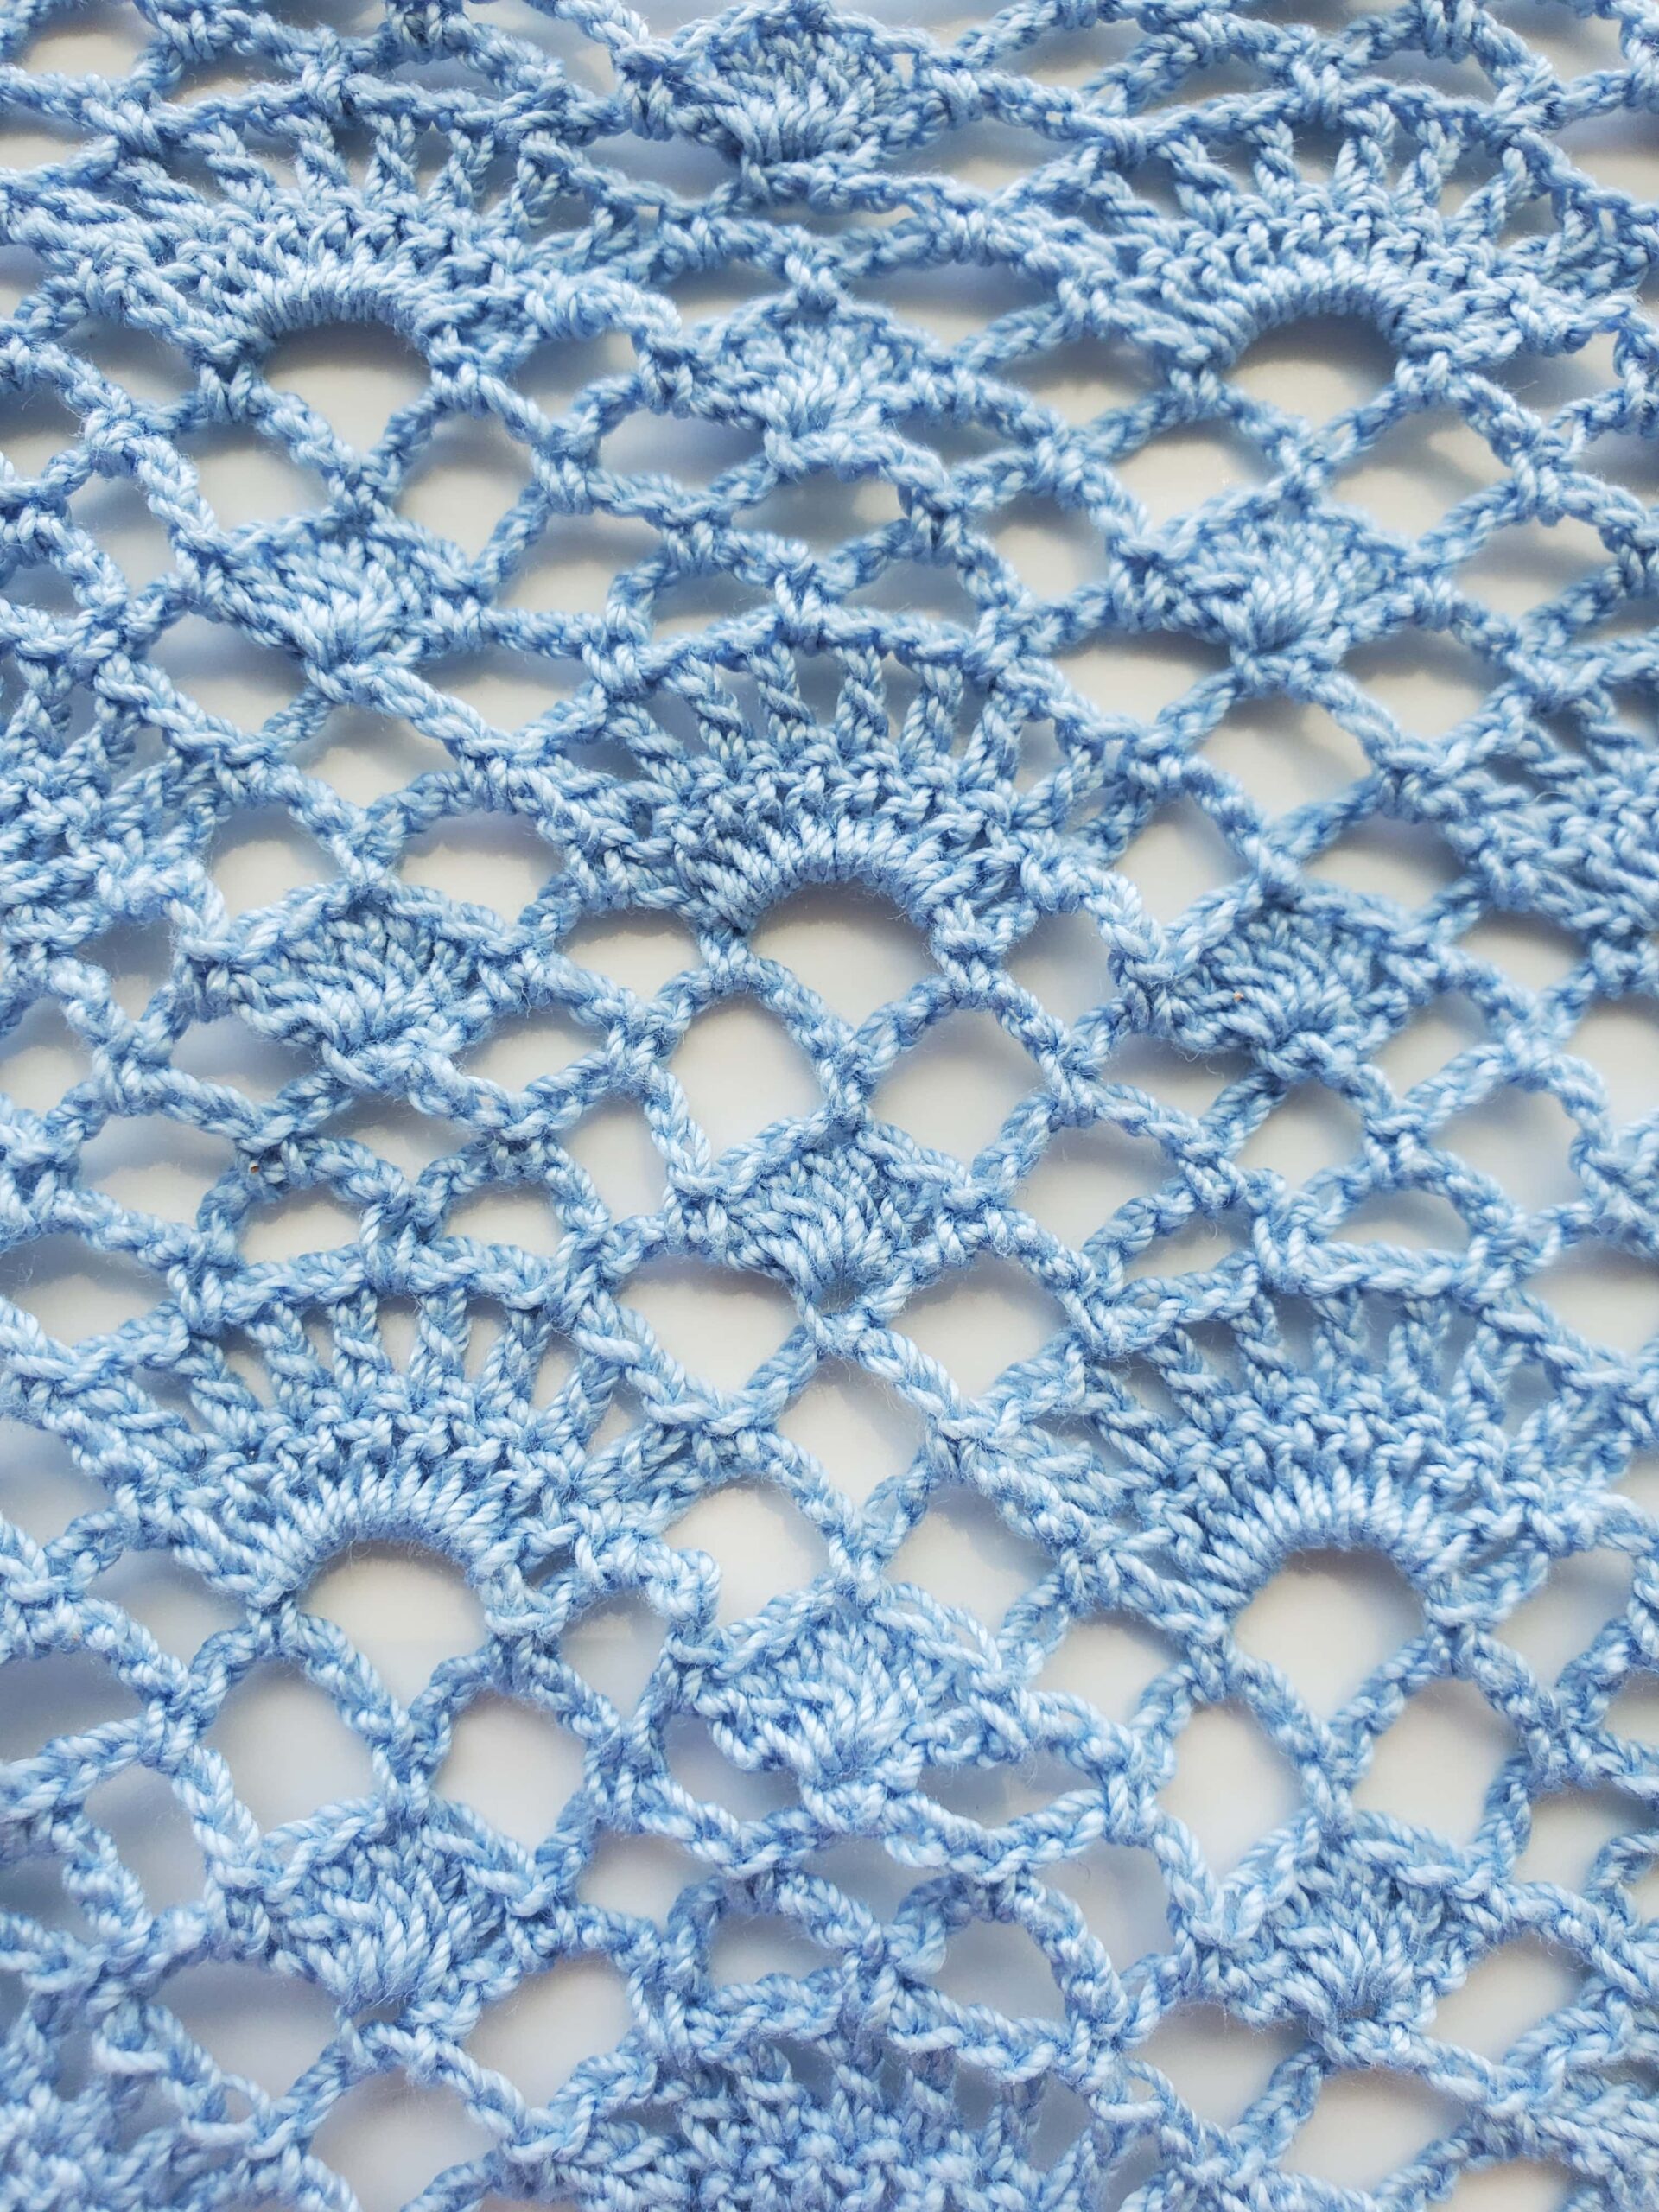
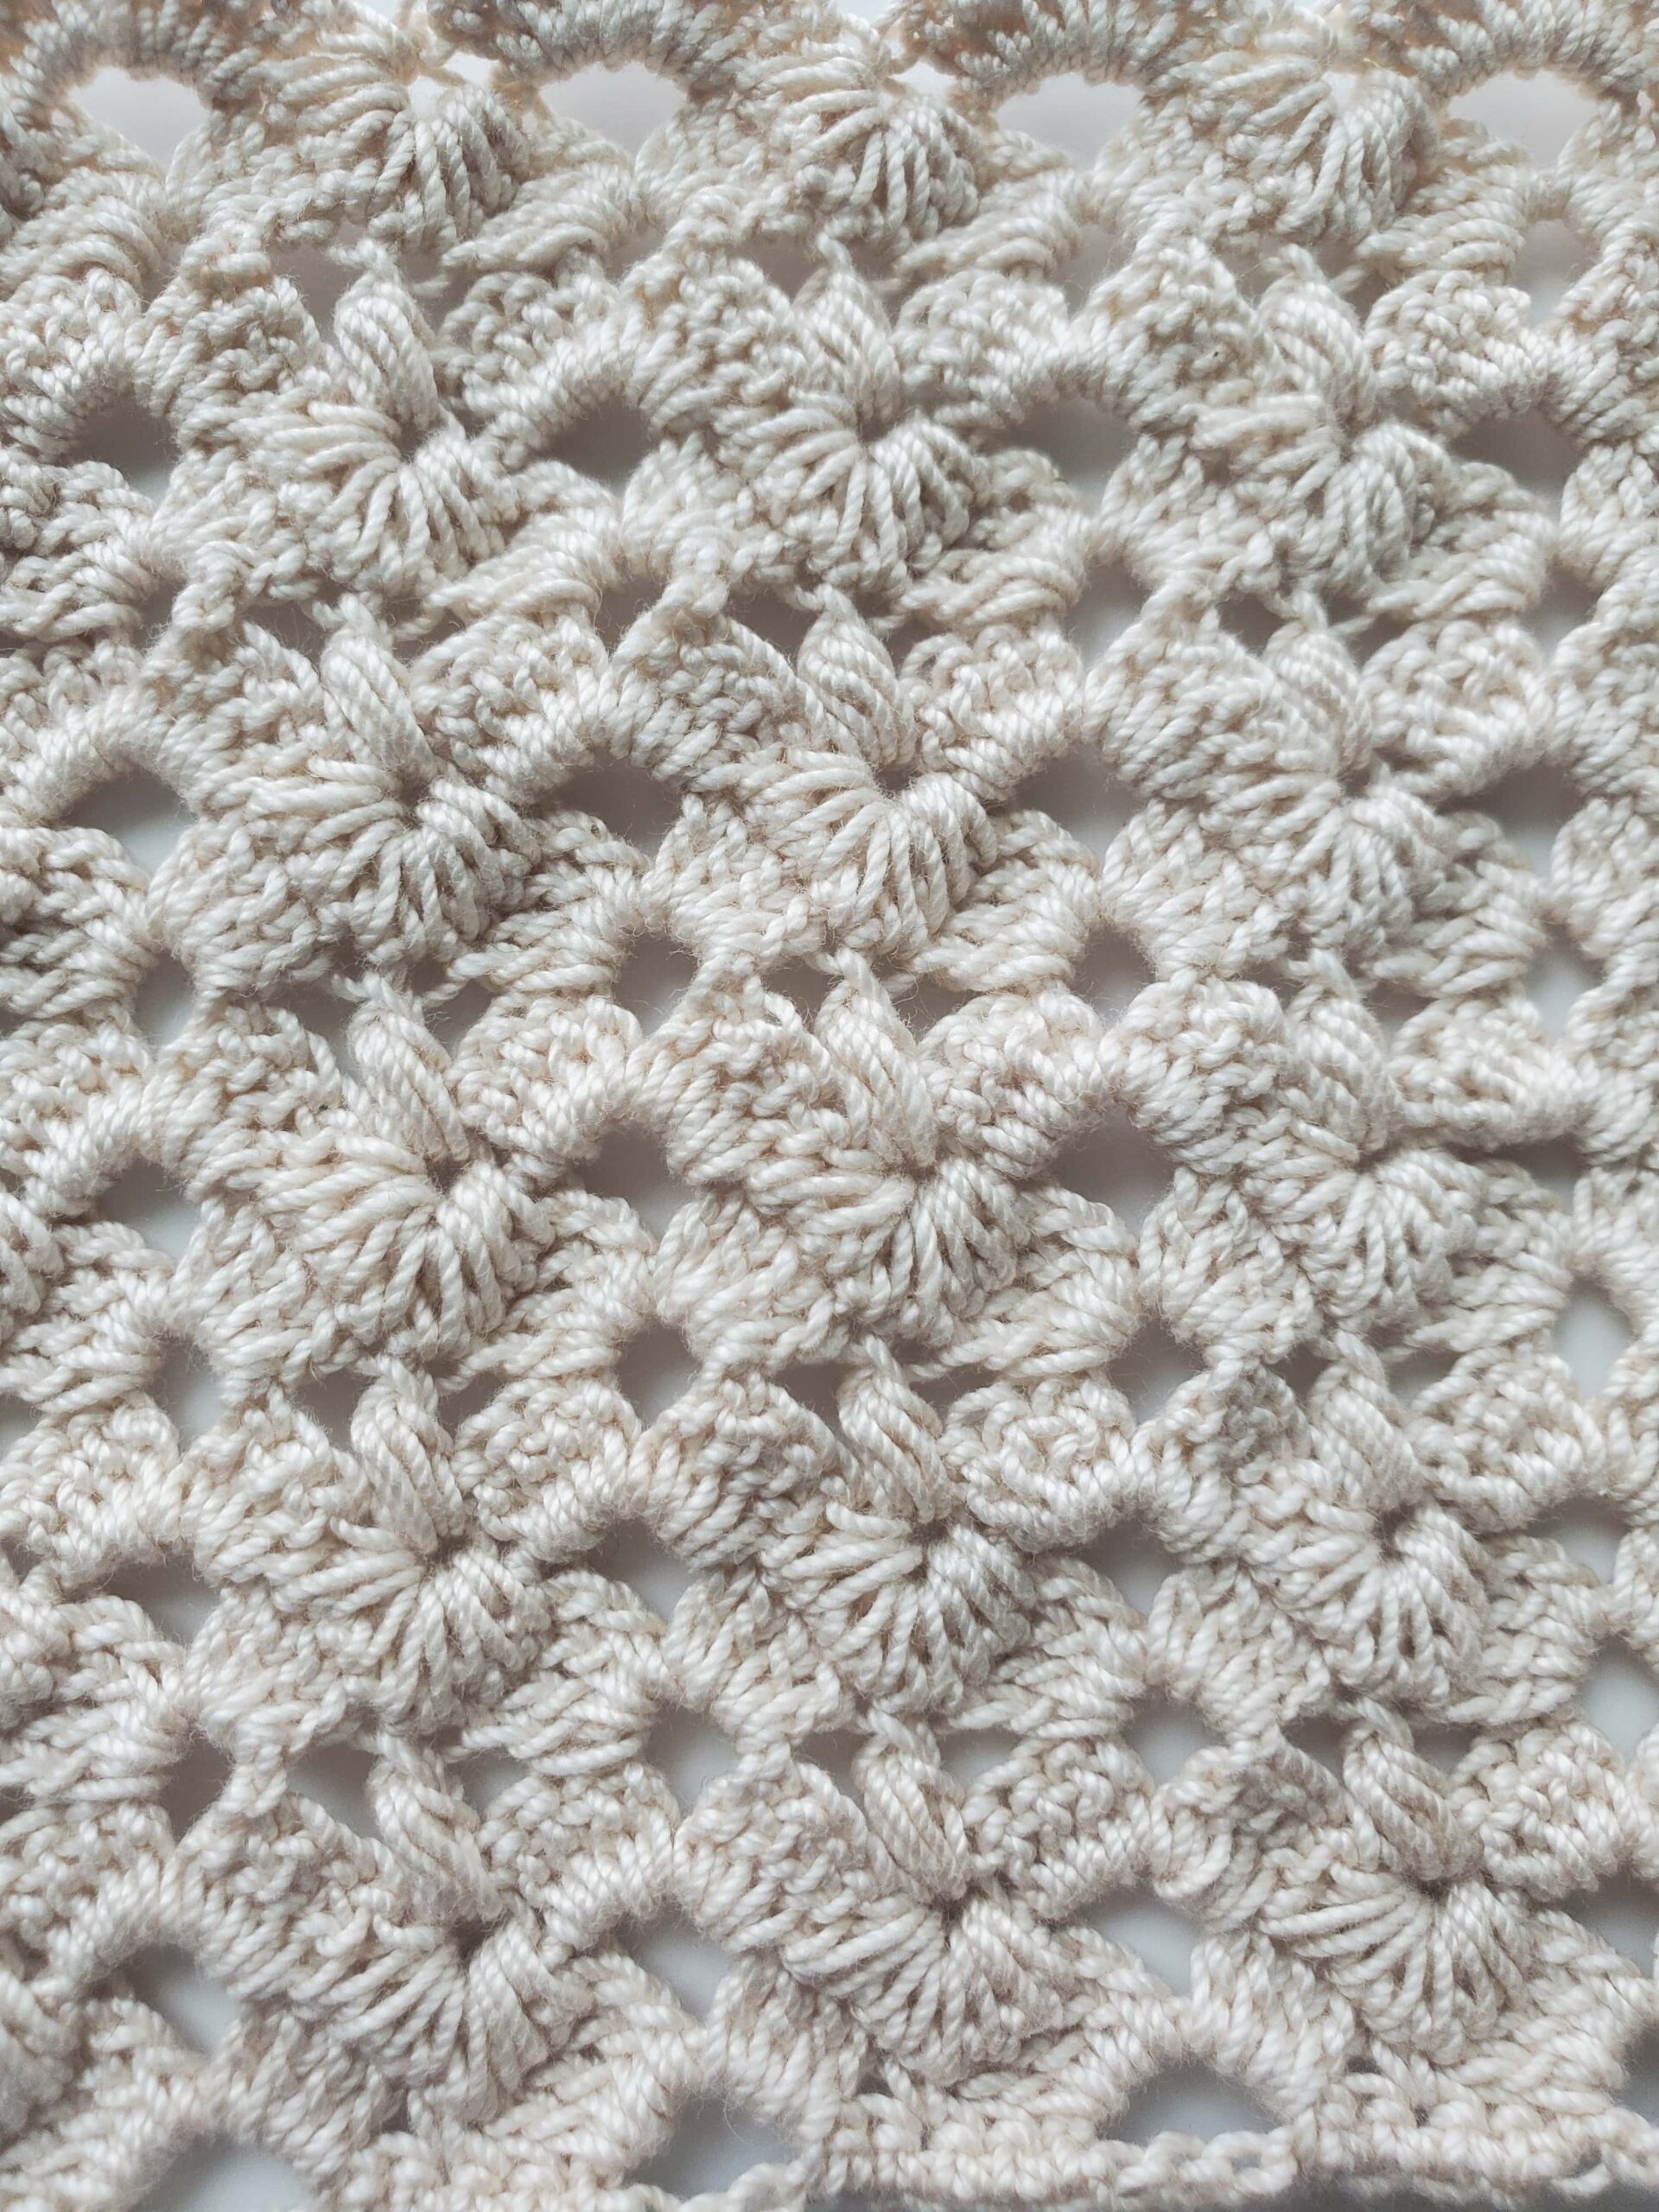
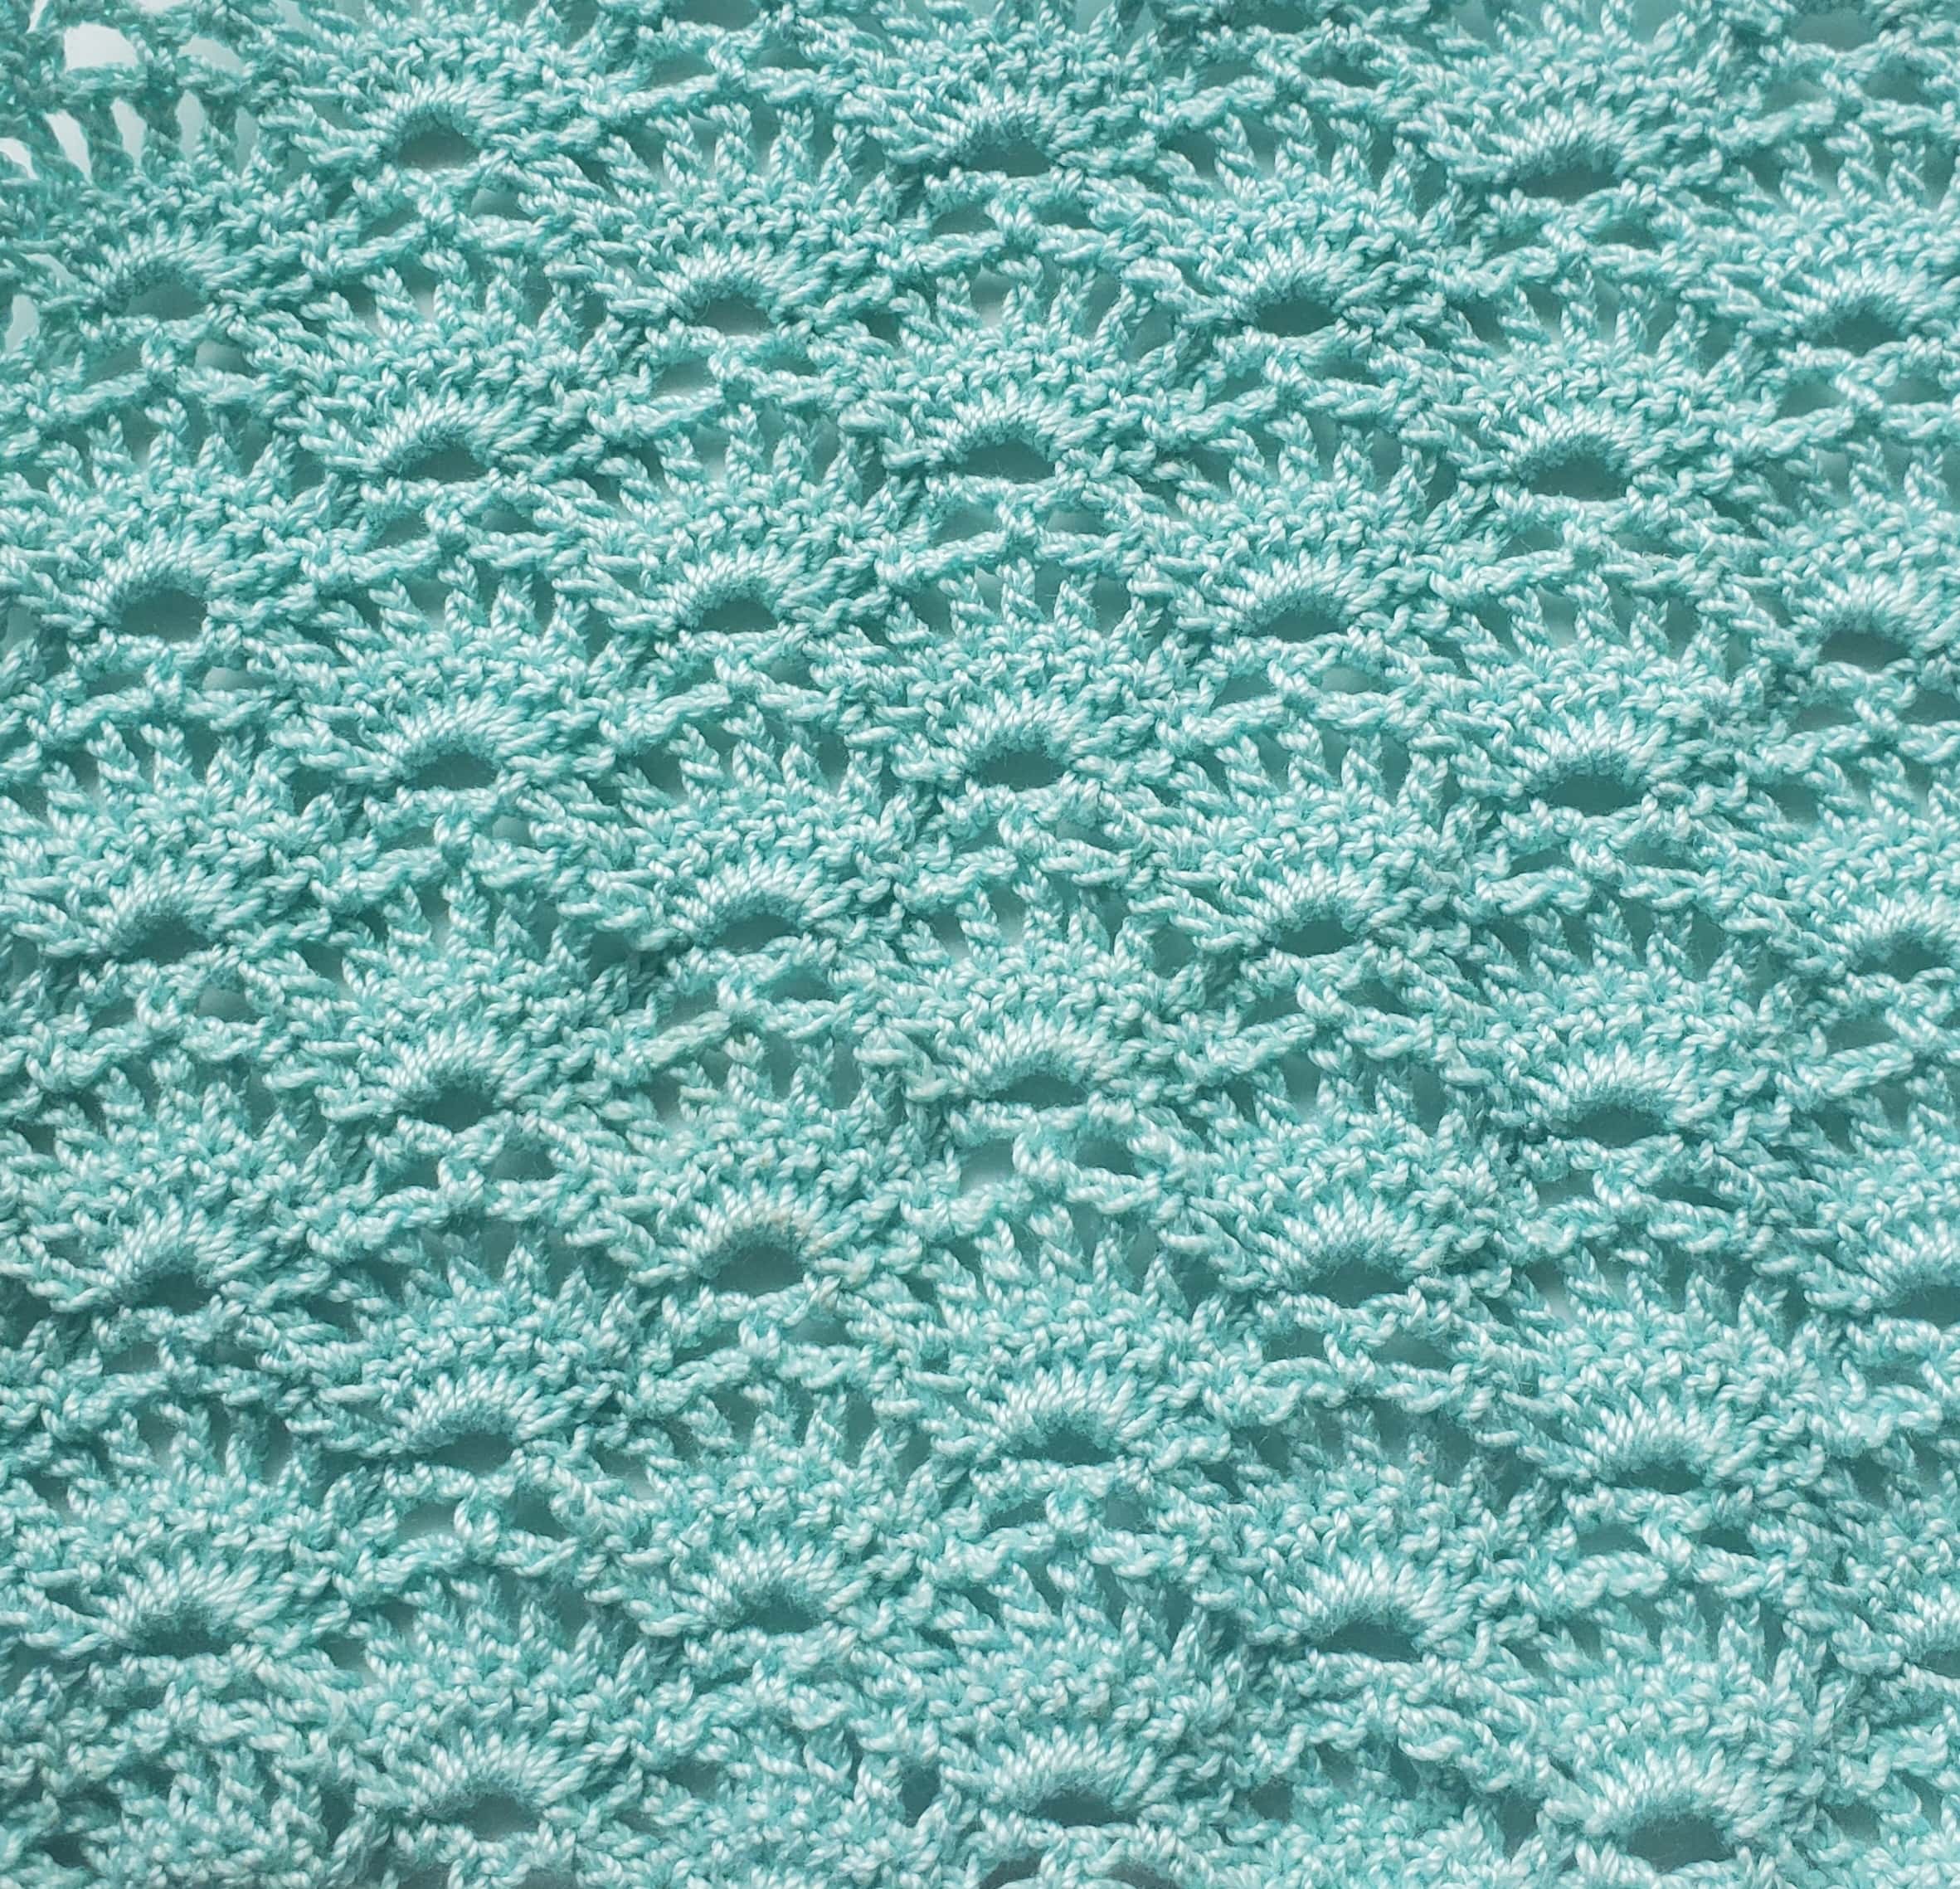
What do you use Crochet Lace Edgings For?
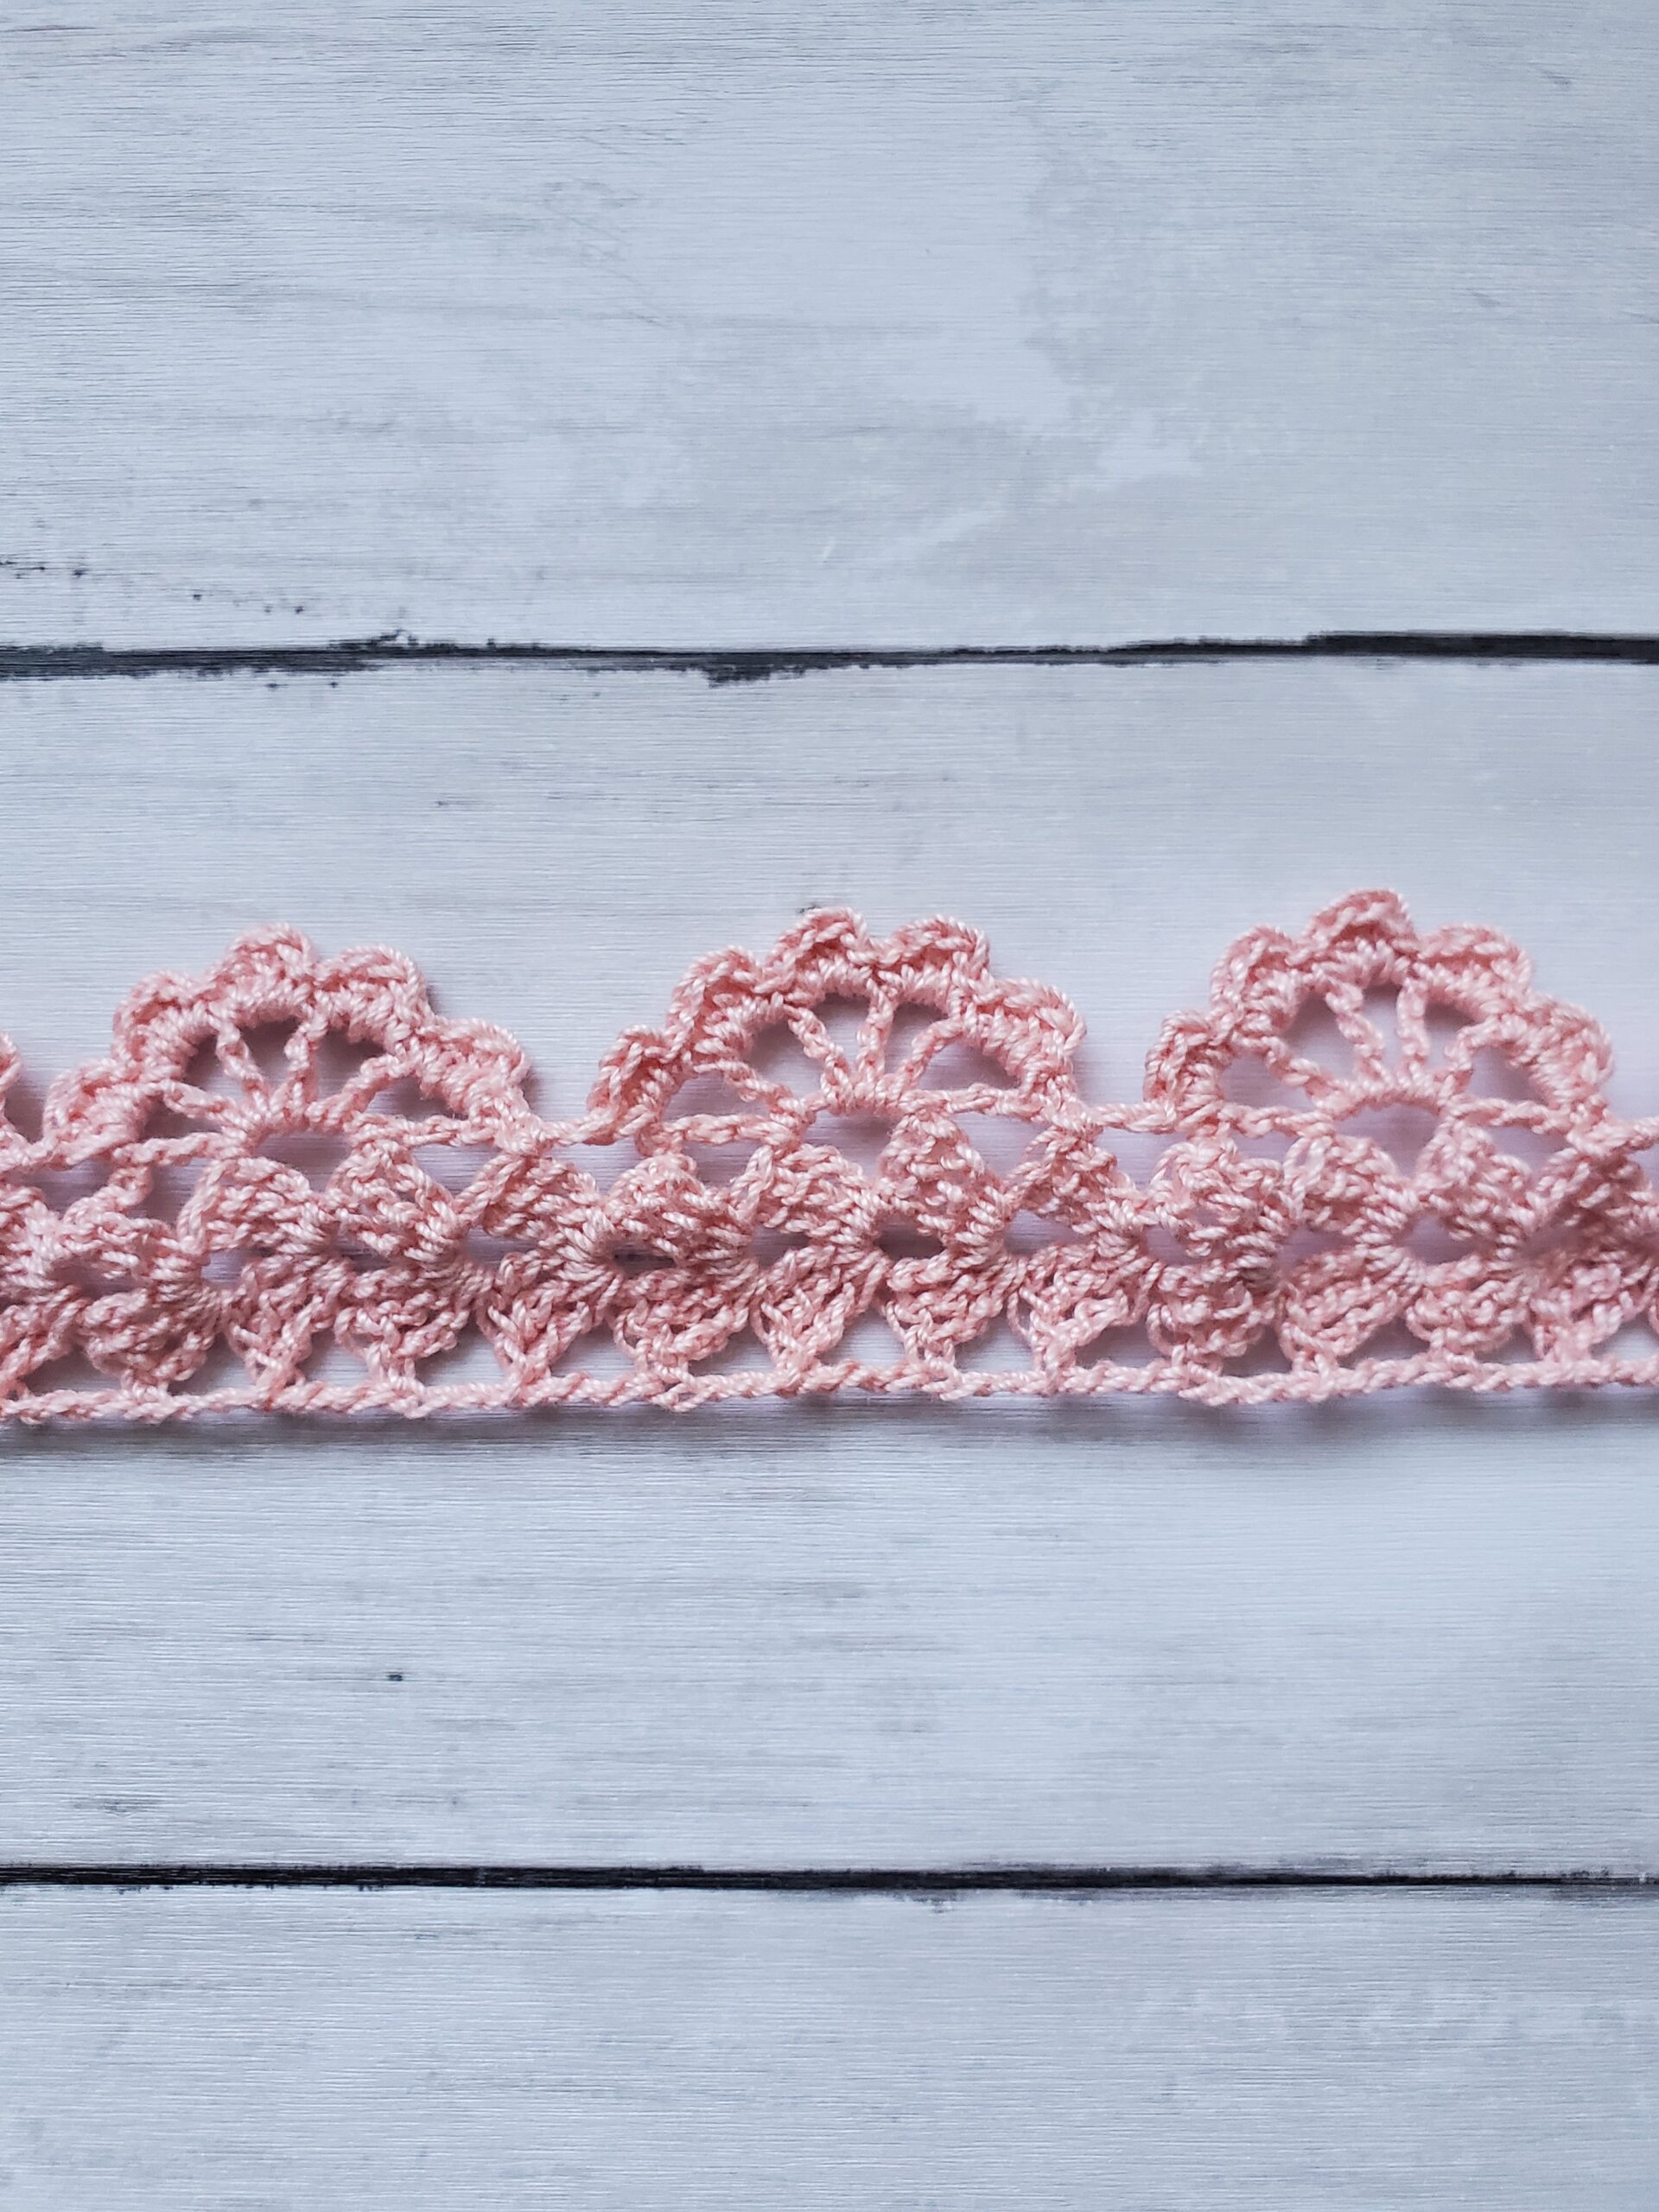
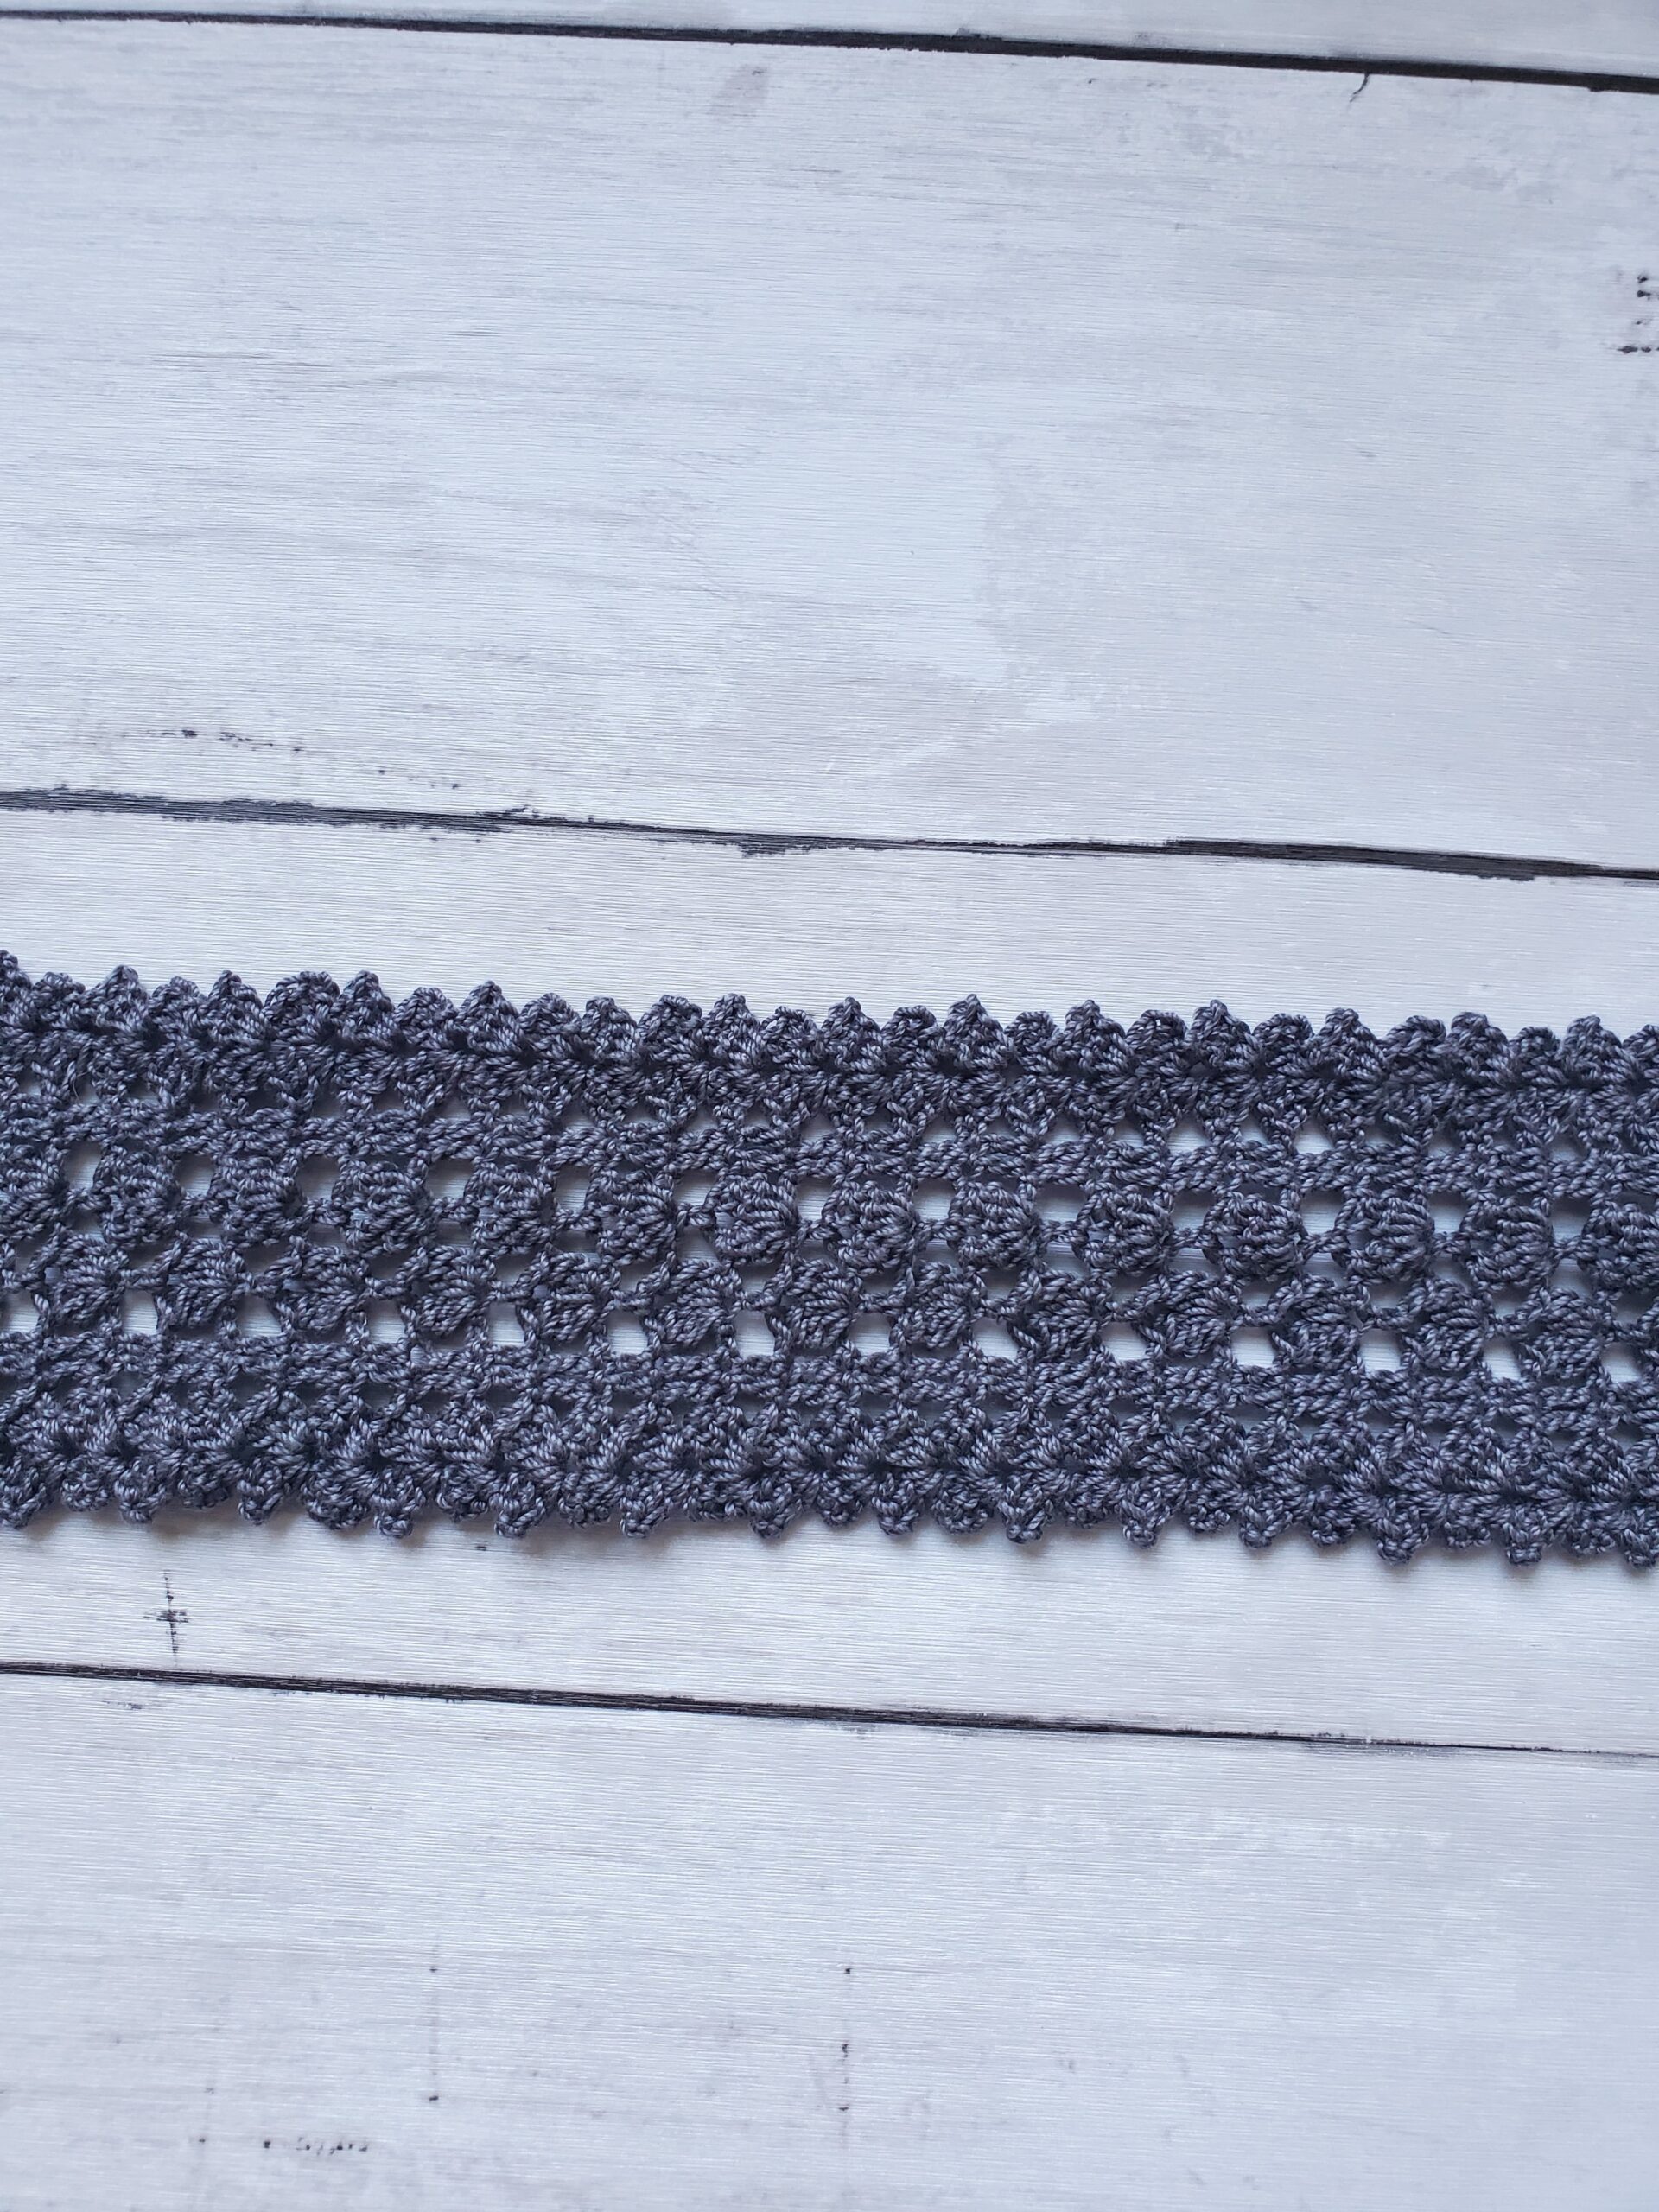
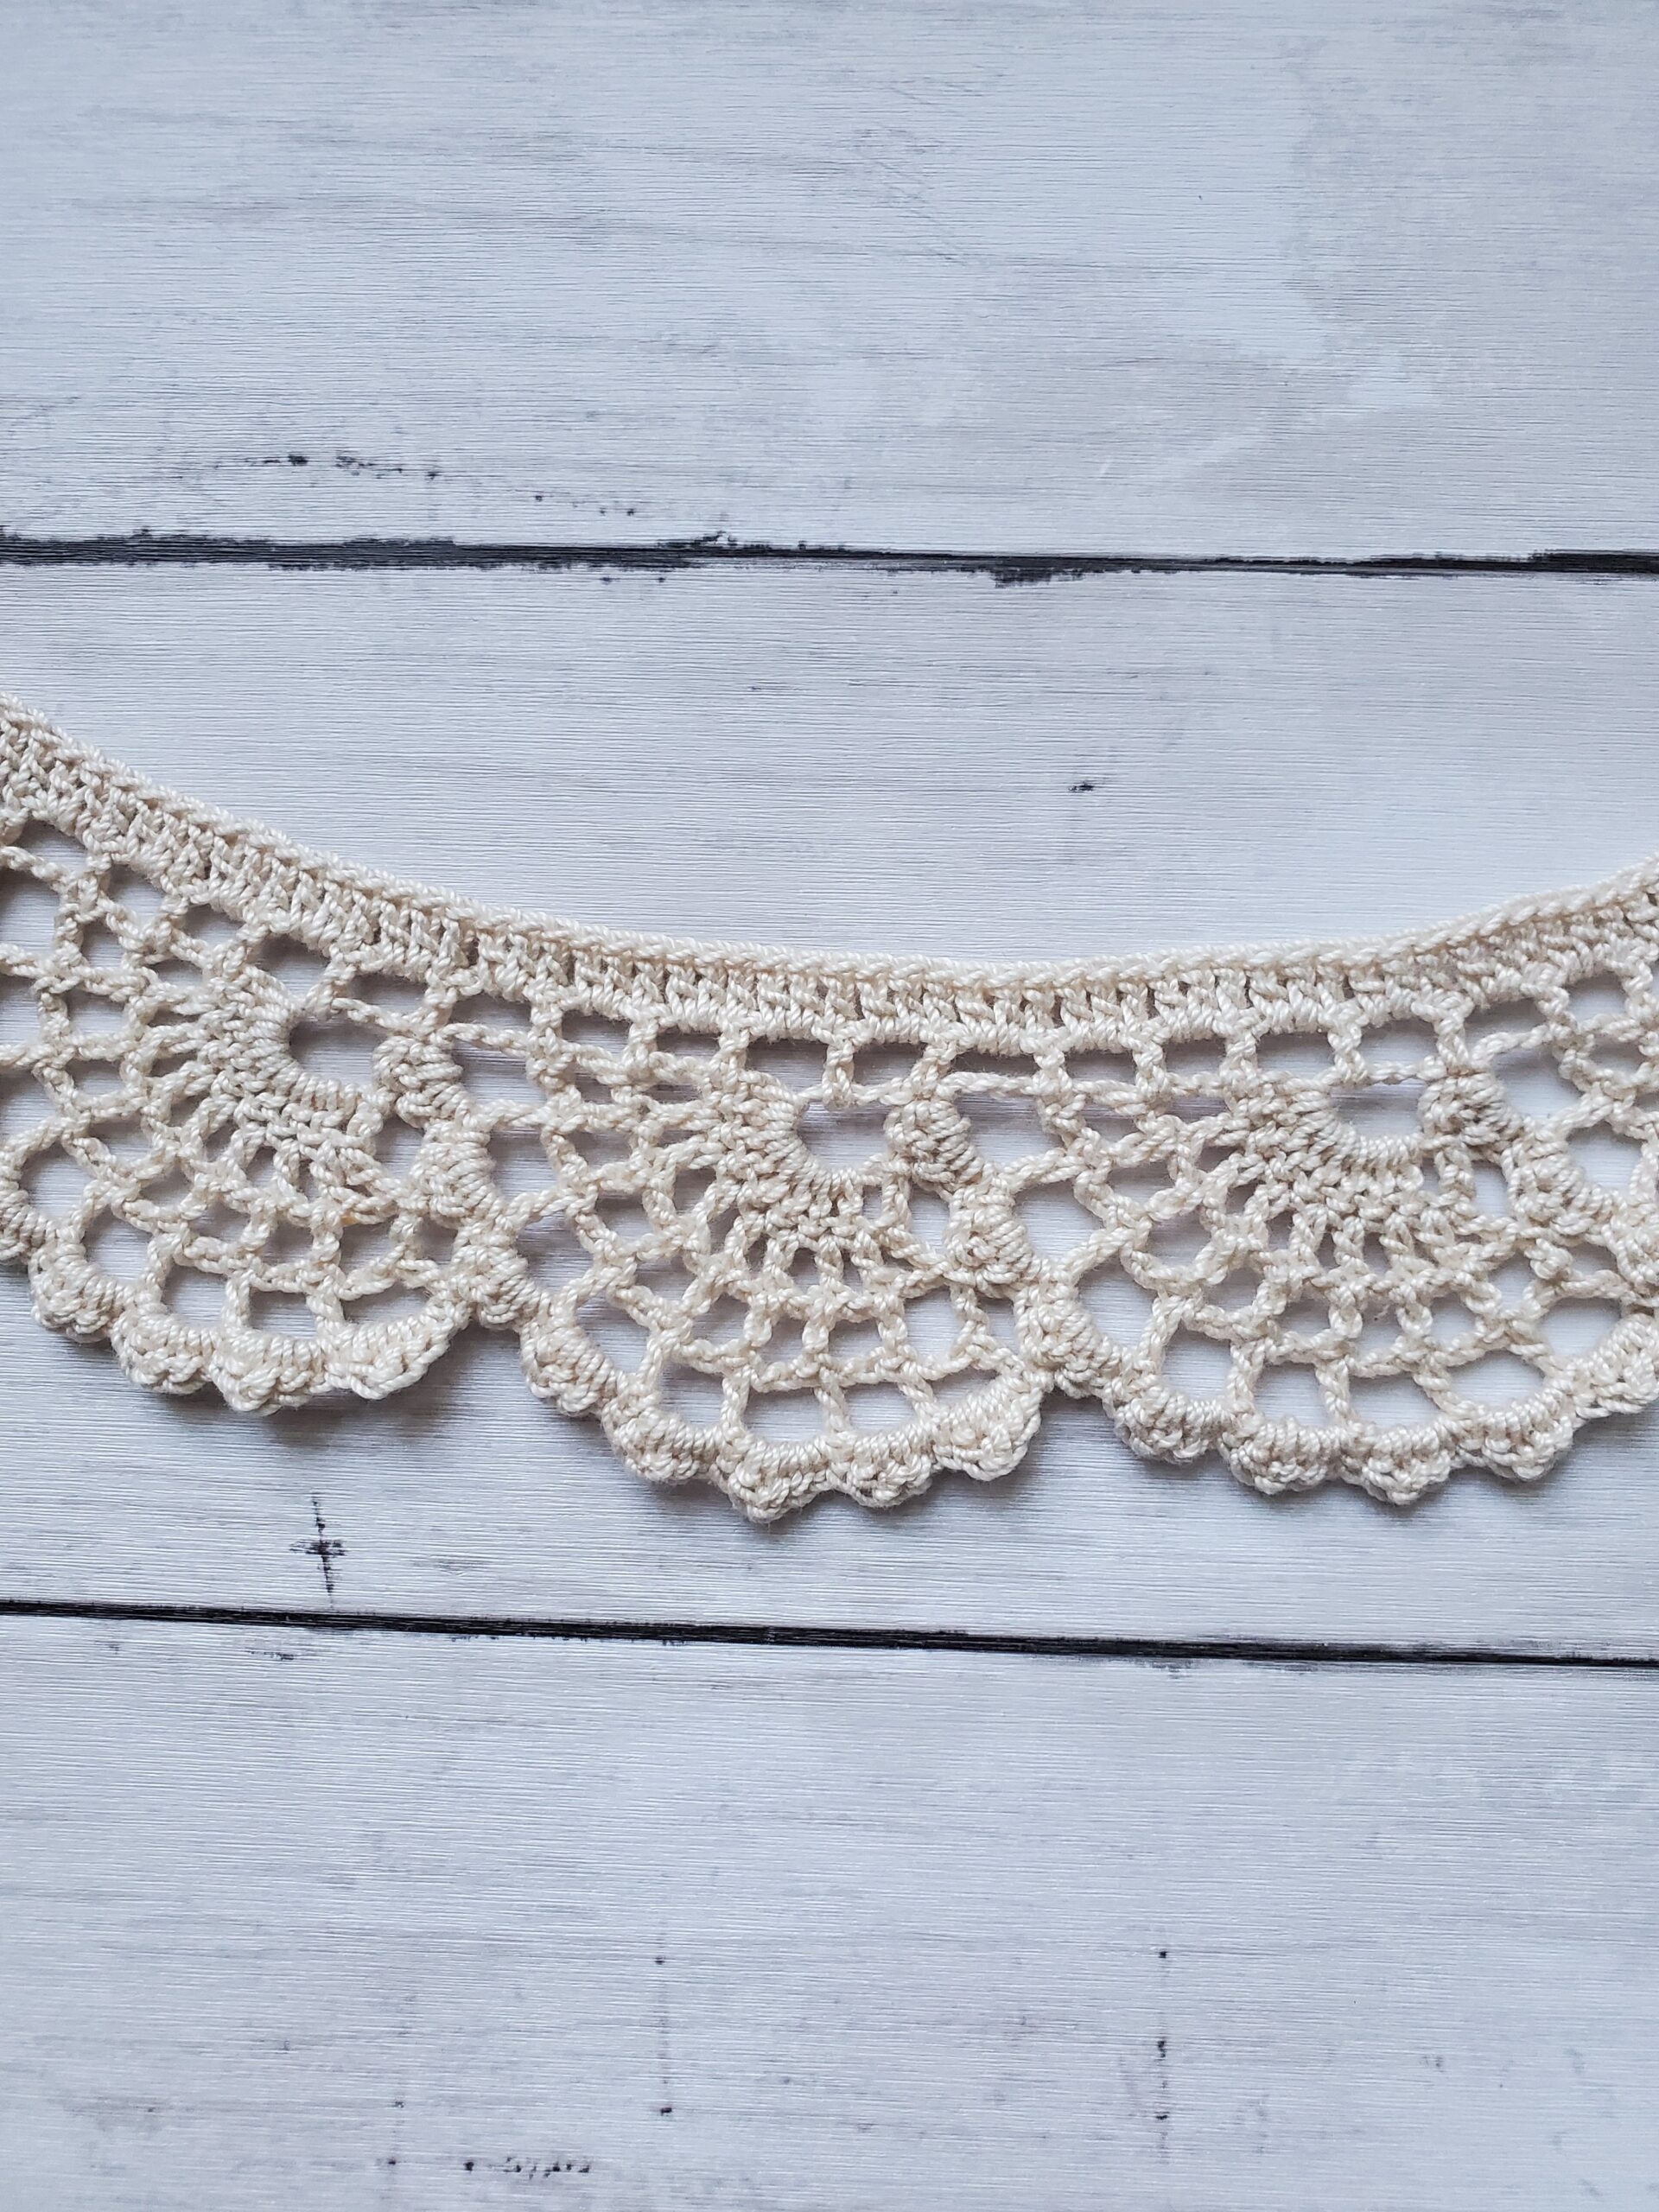
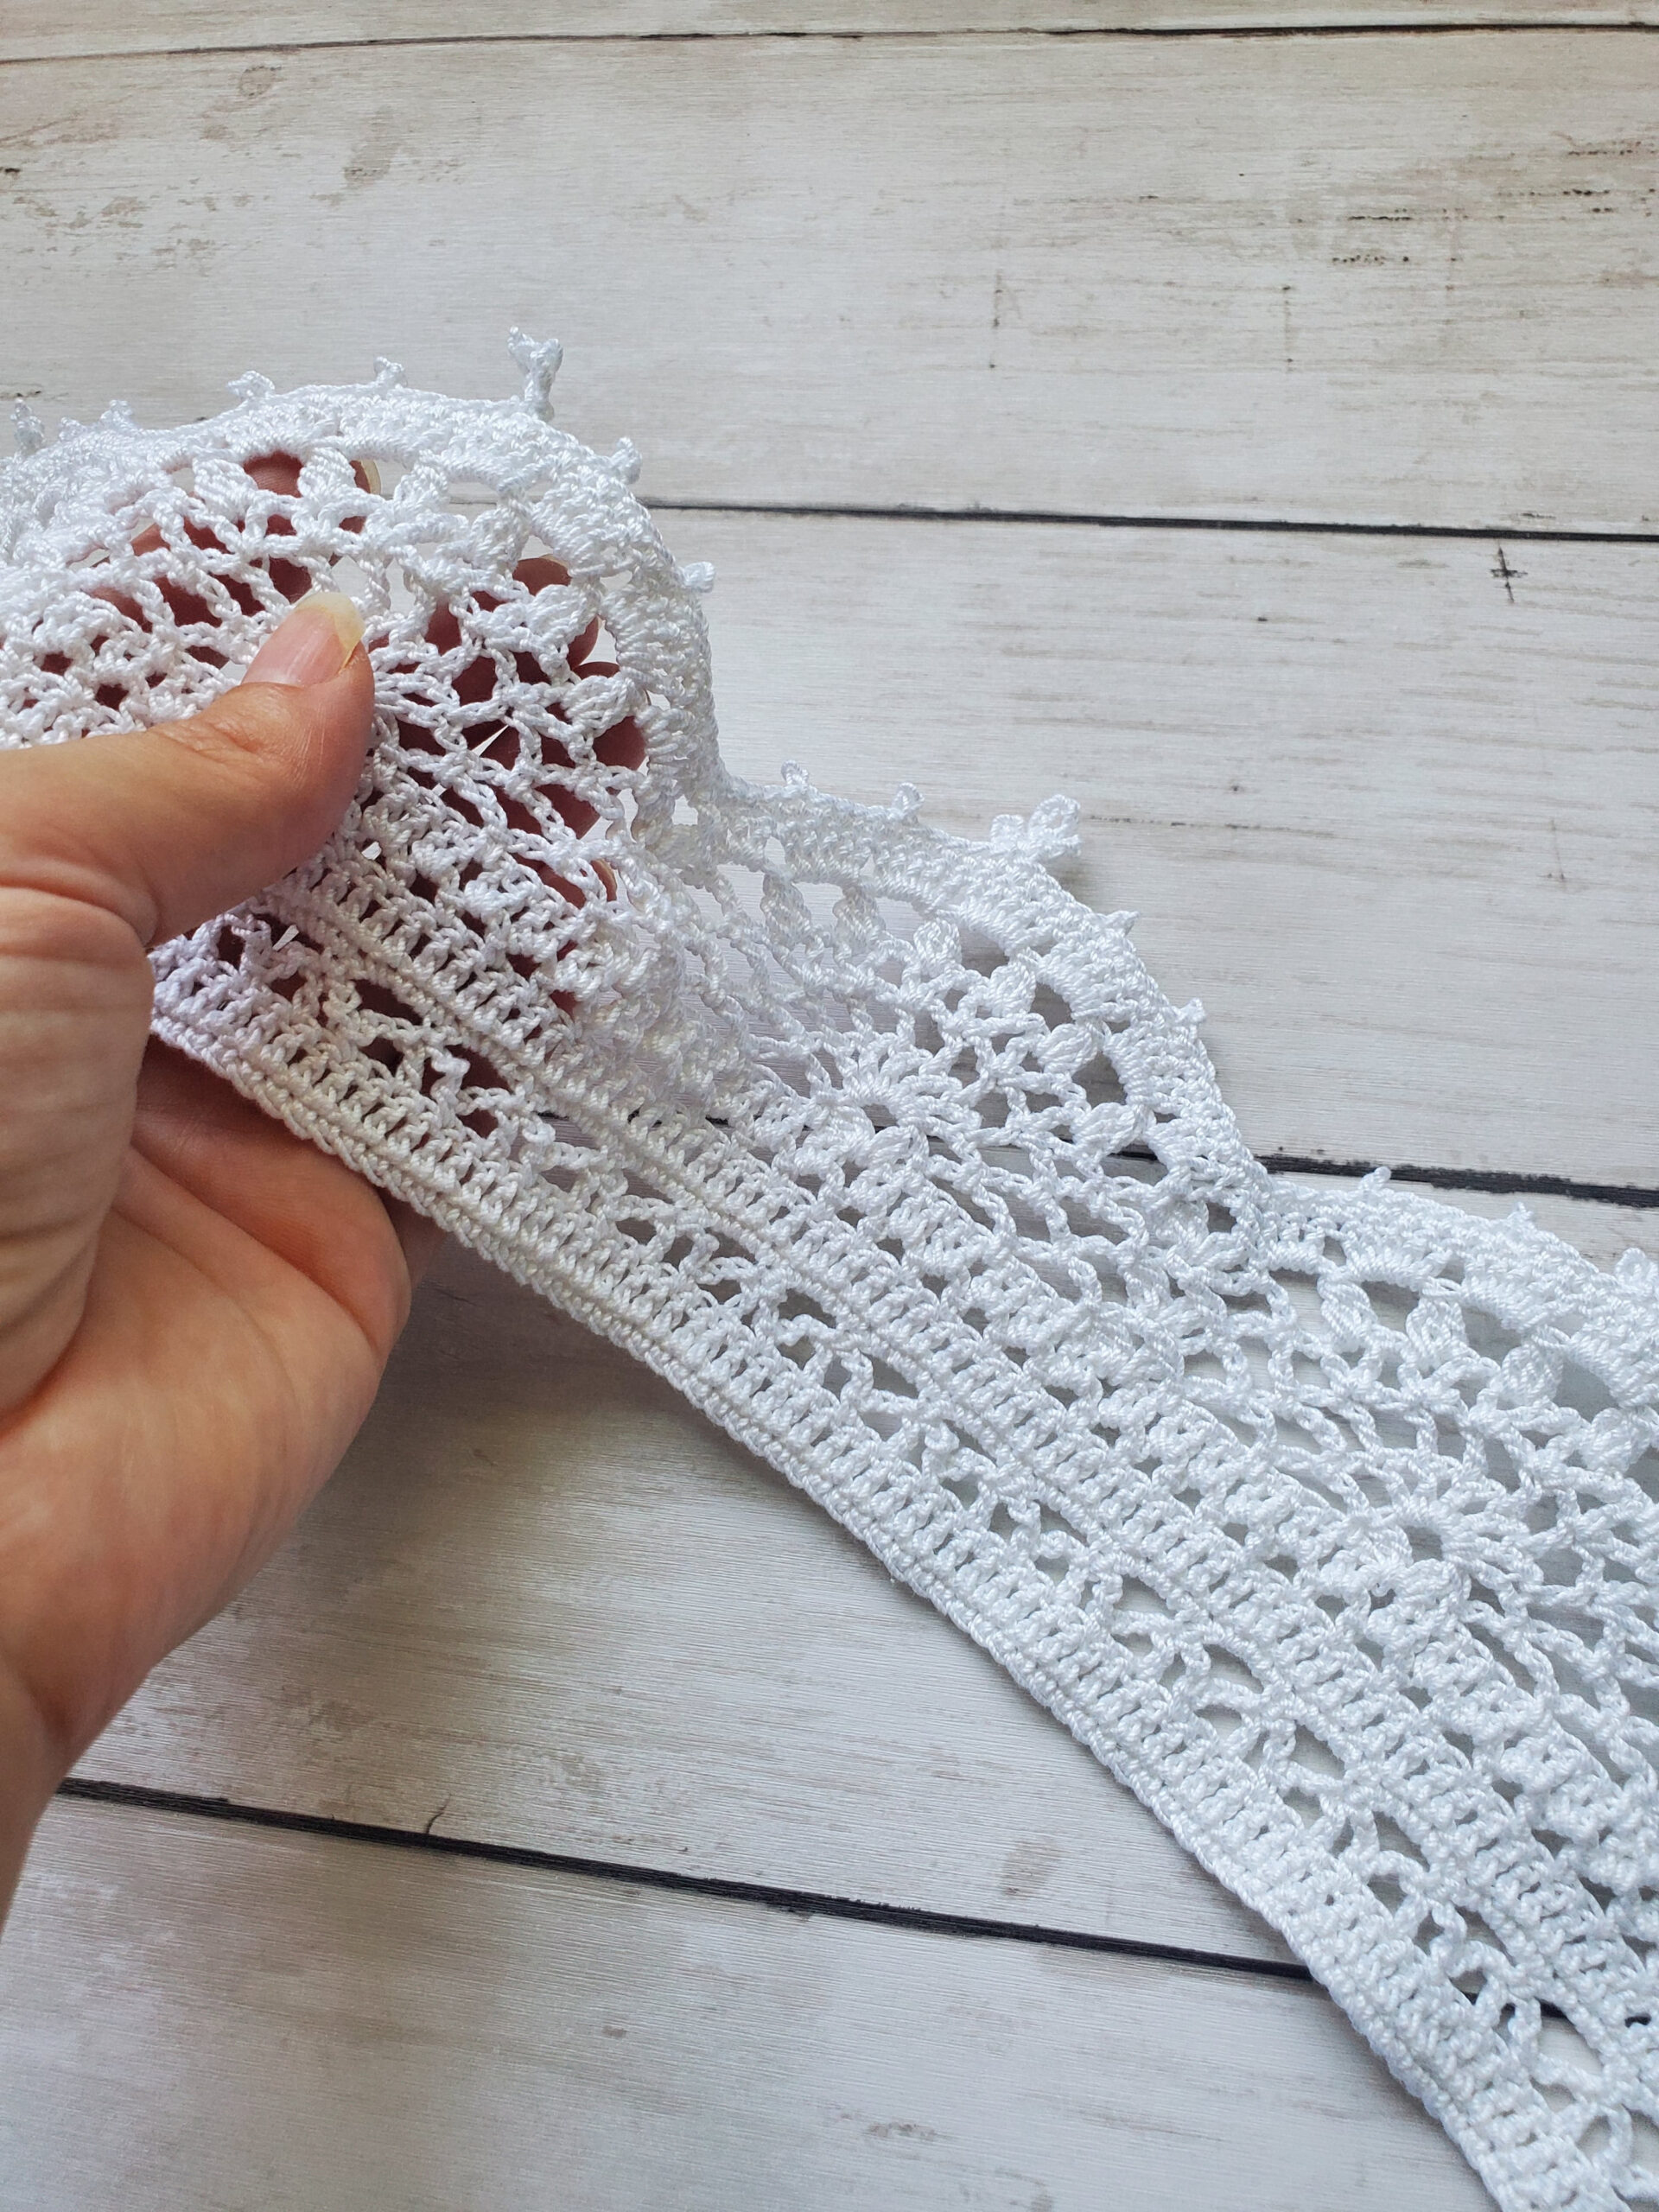
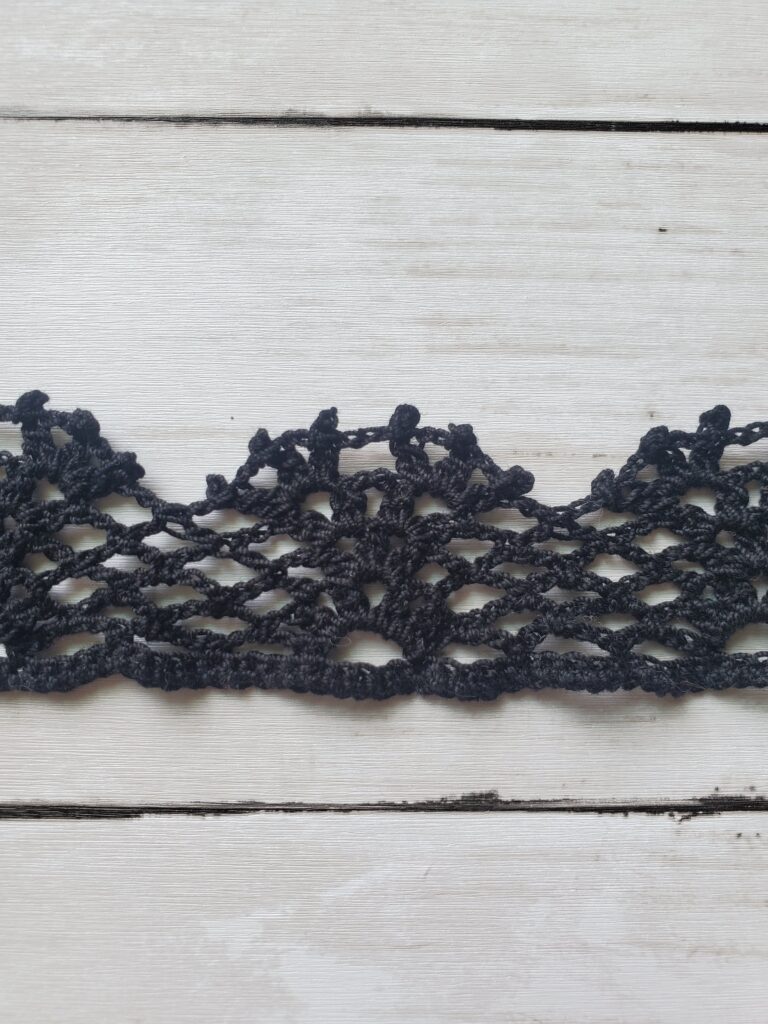
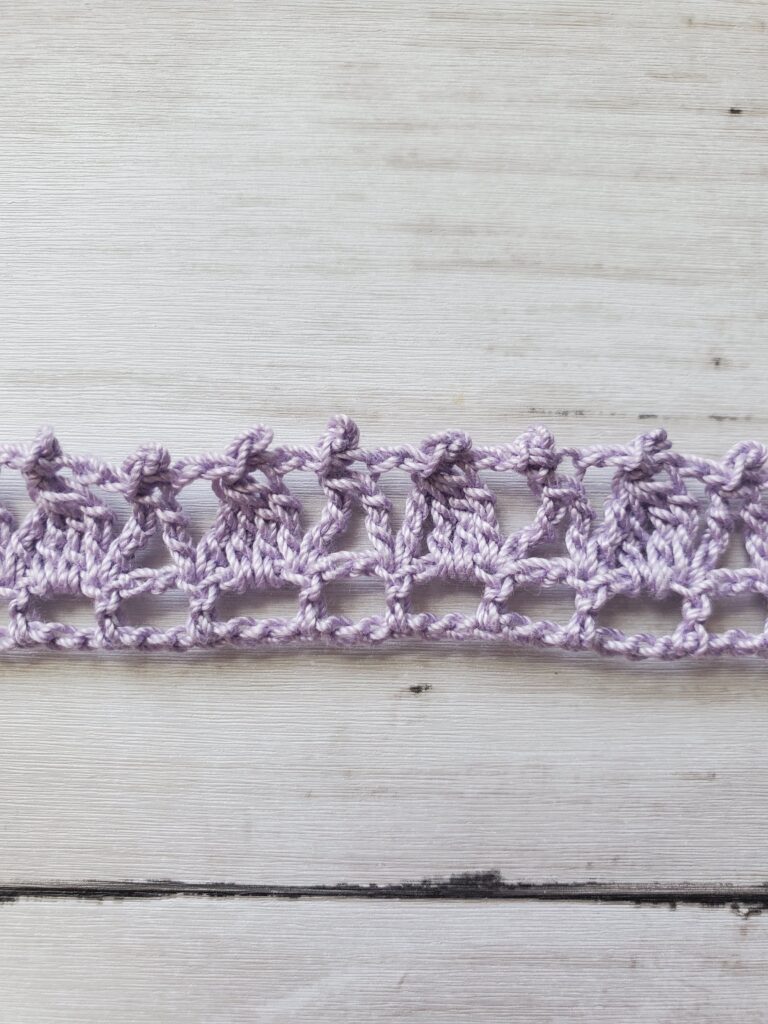
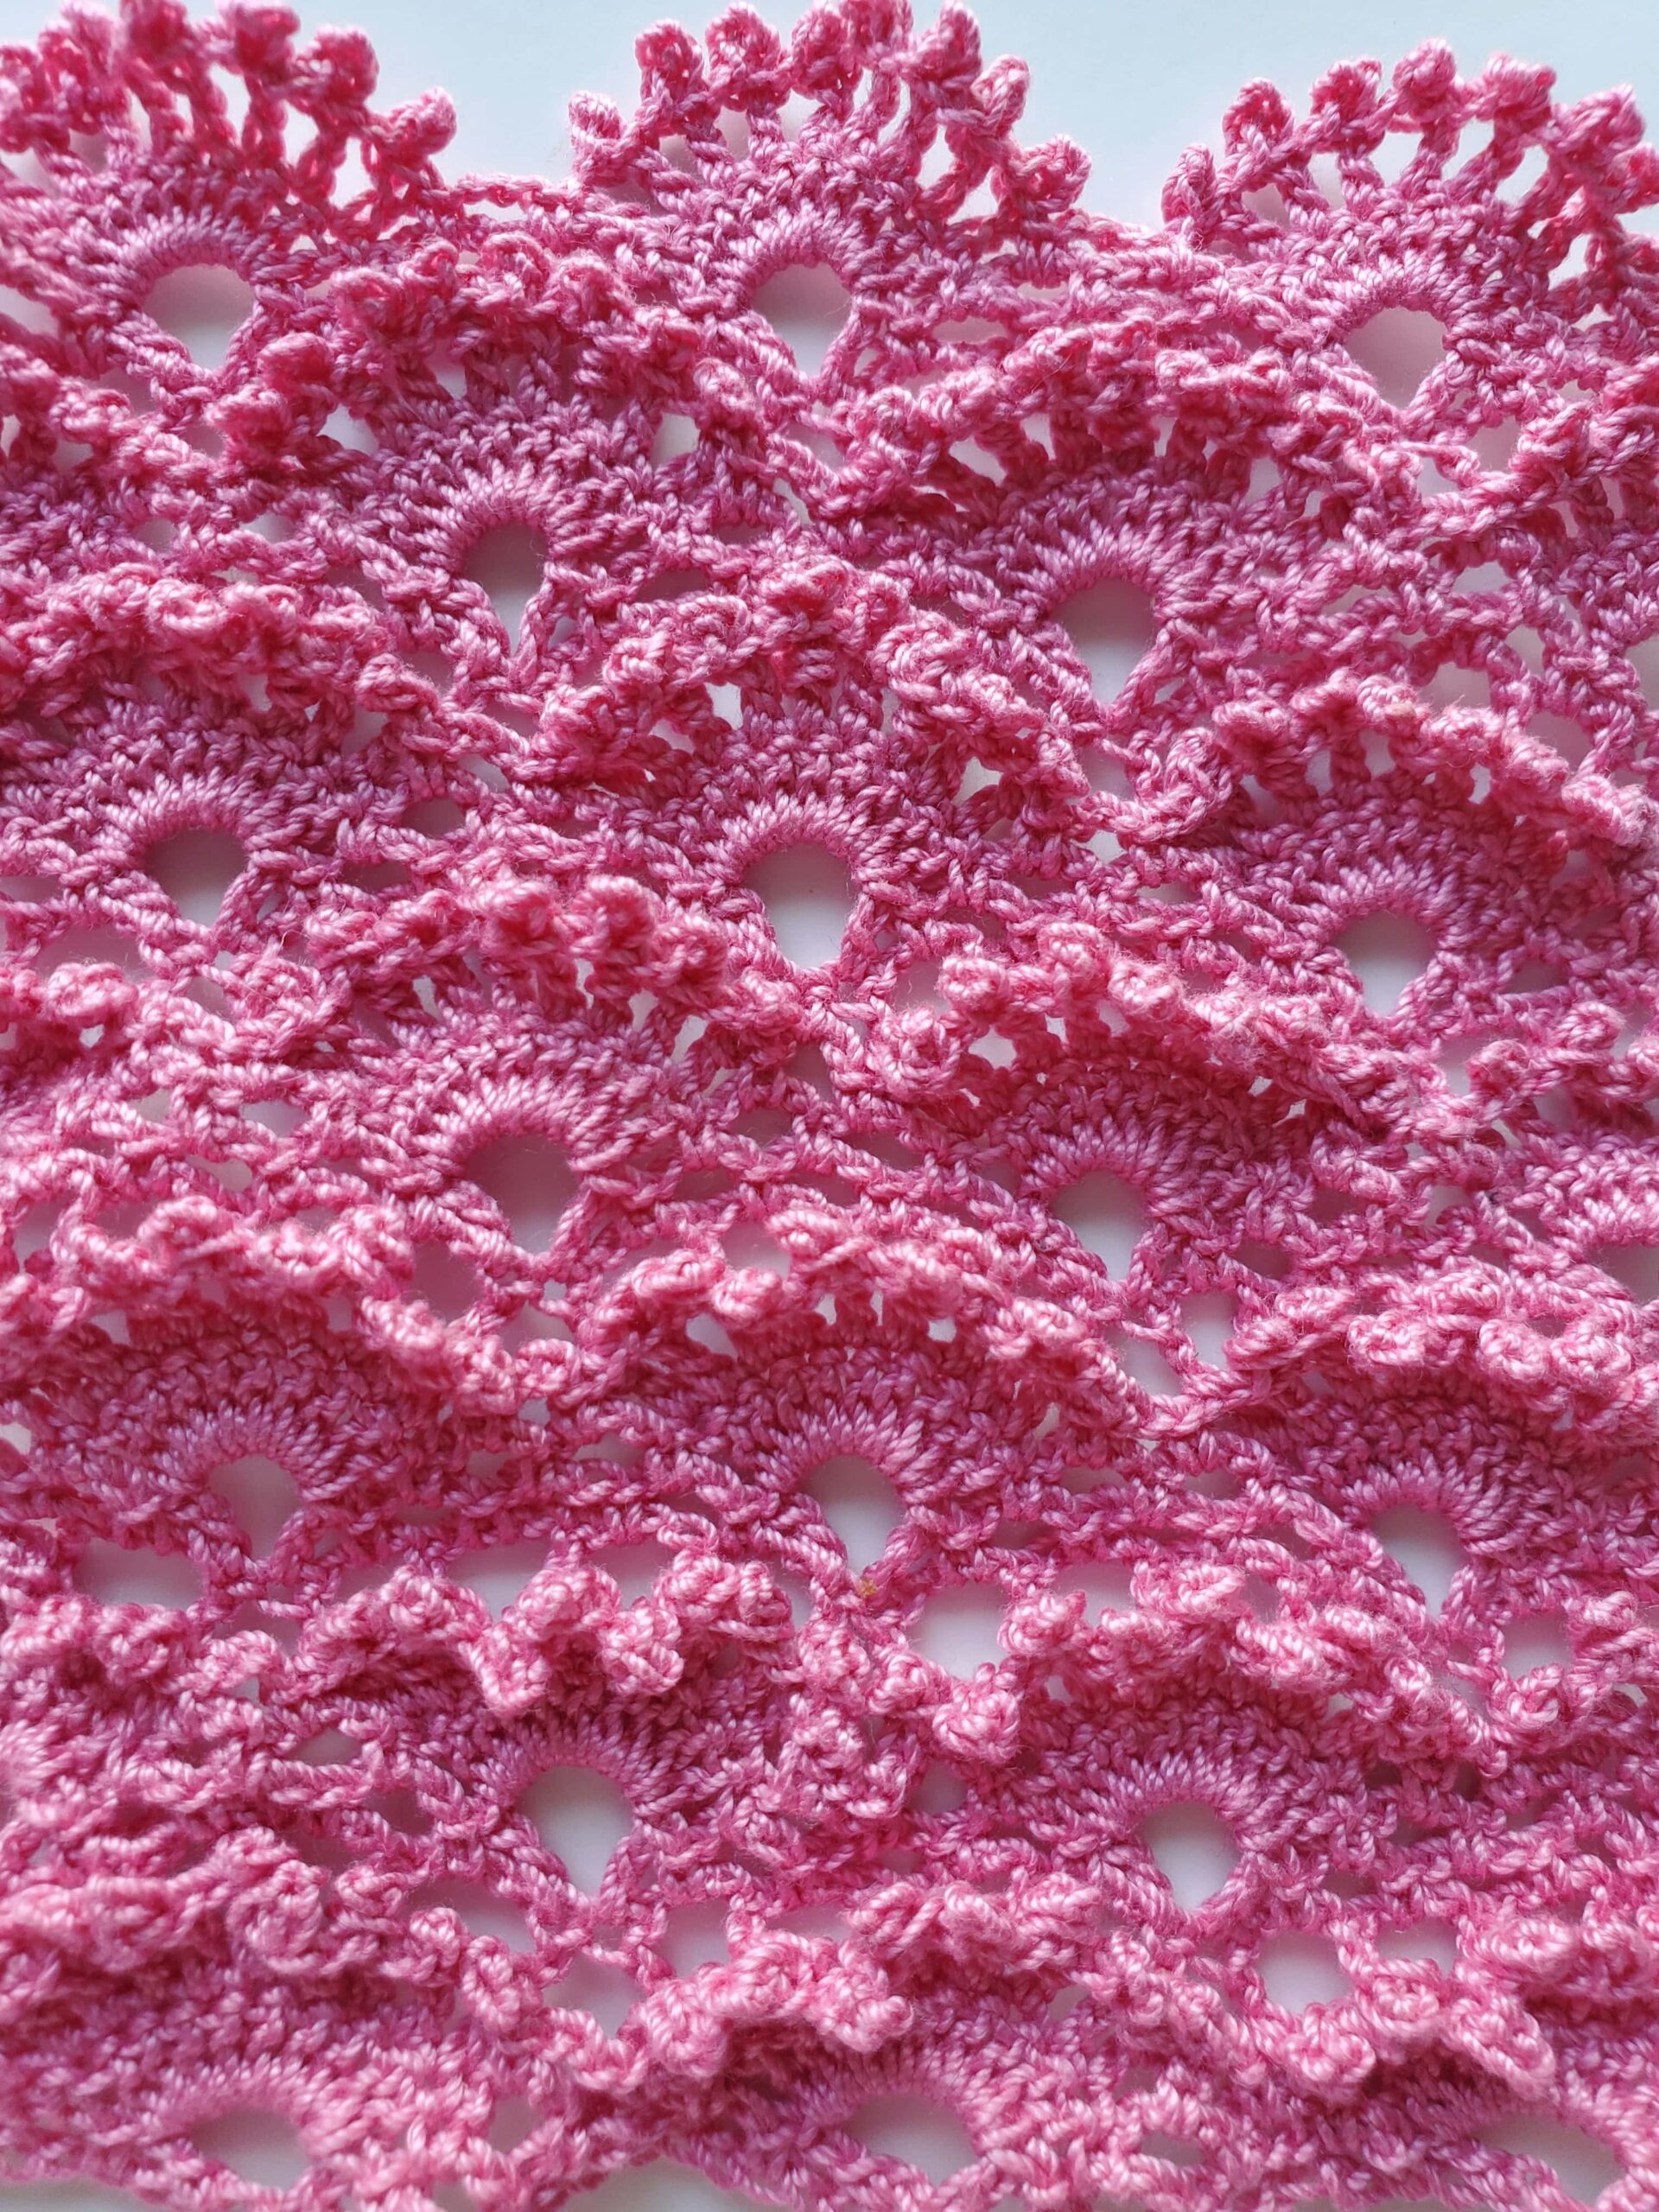
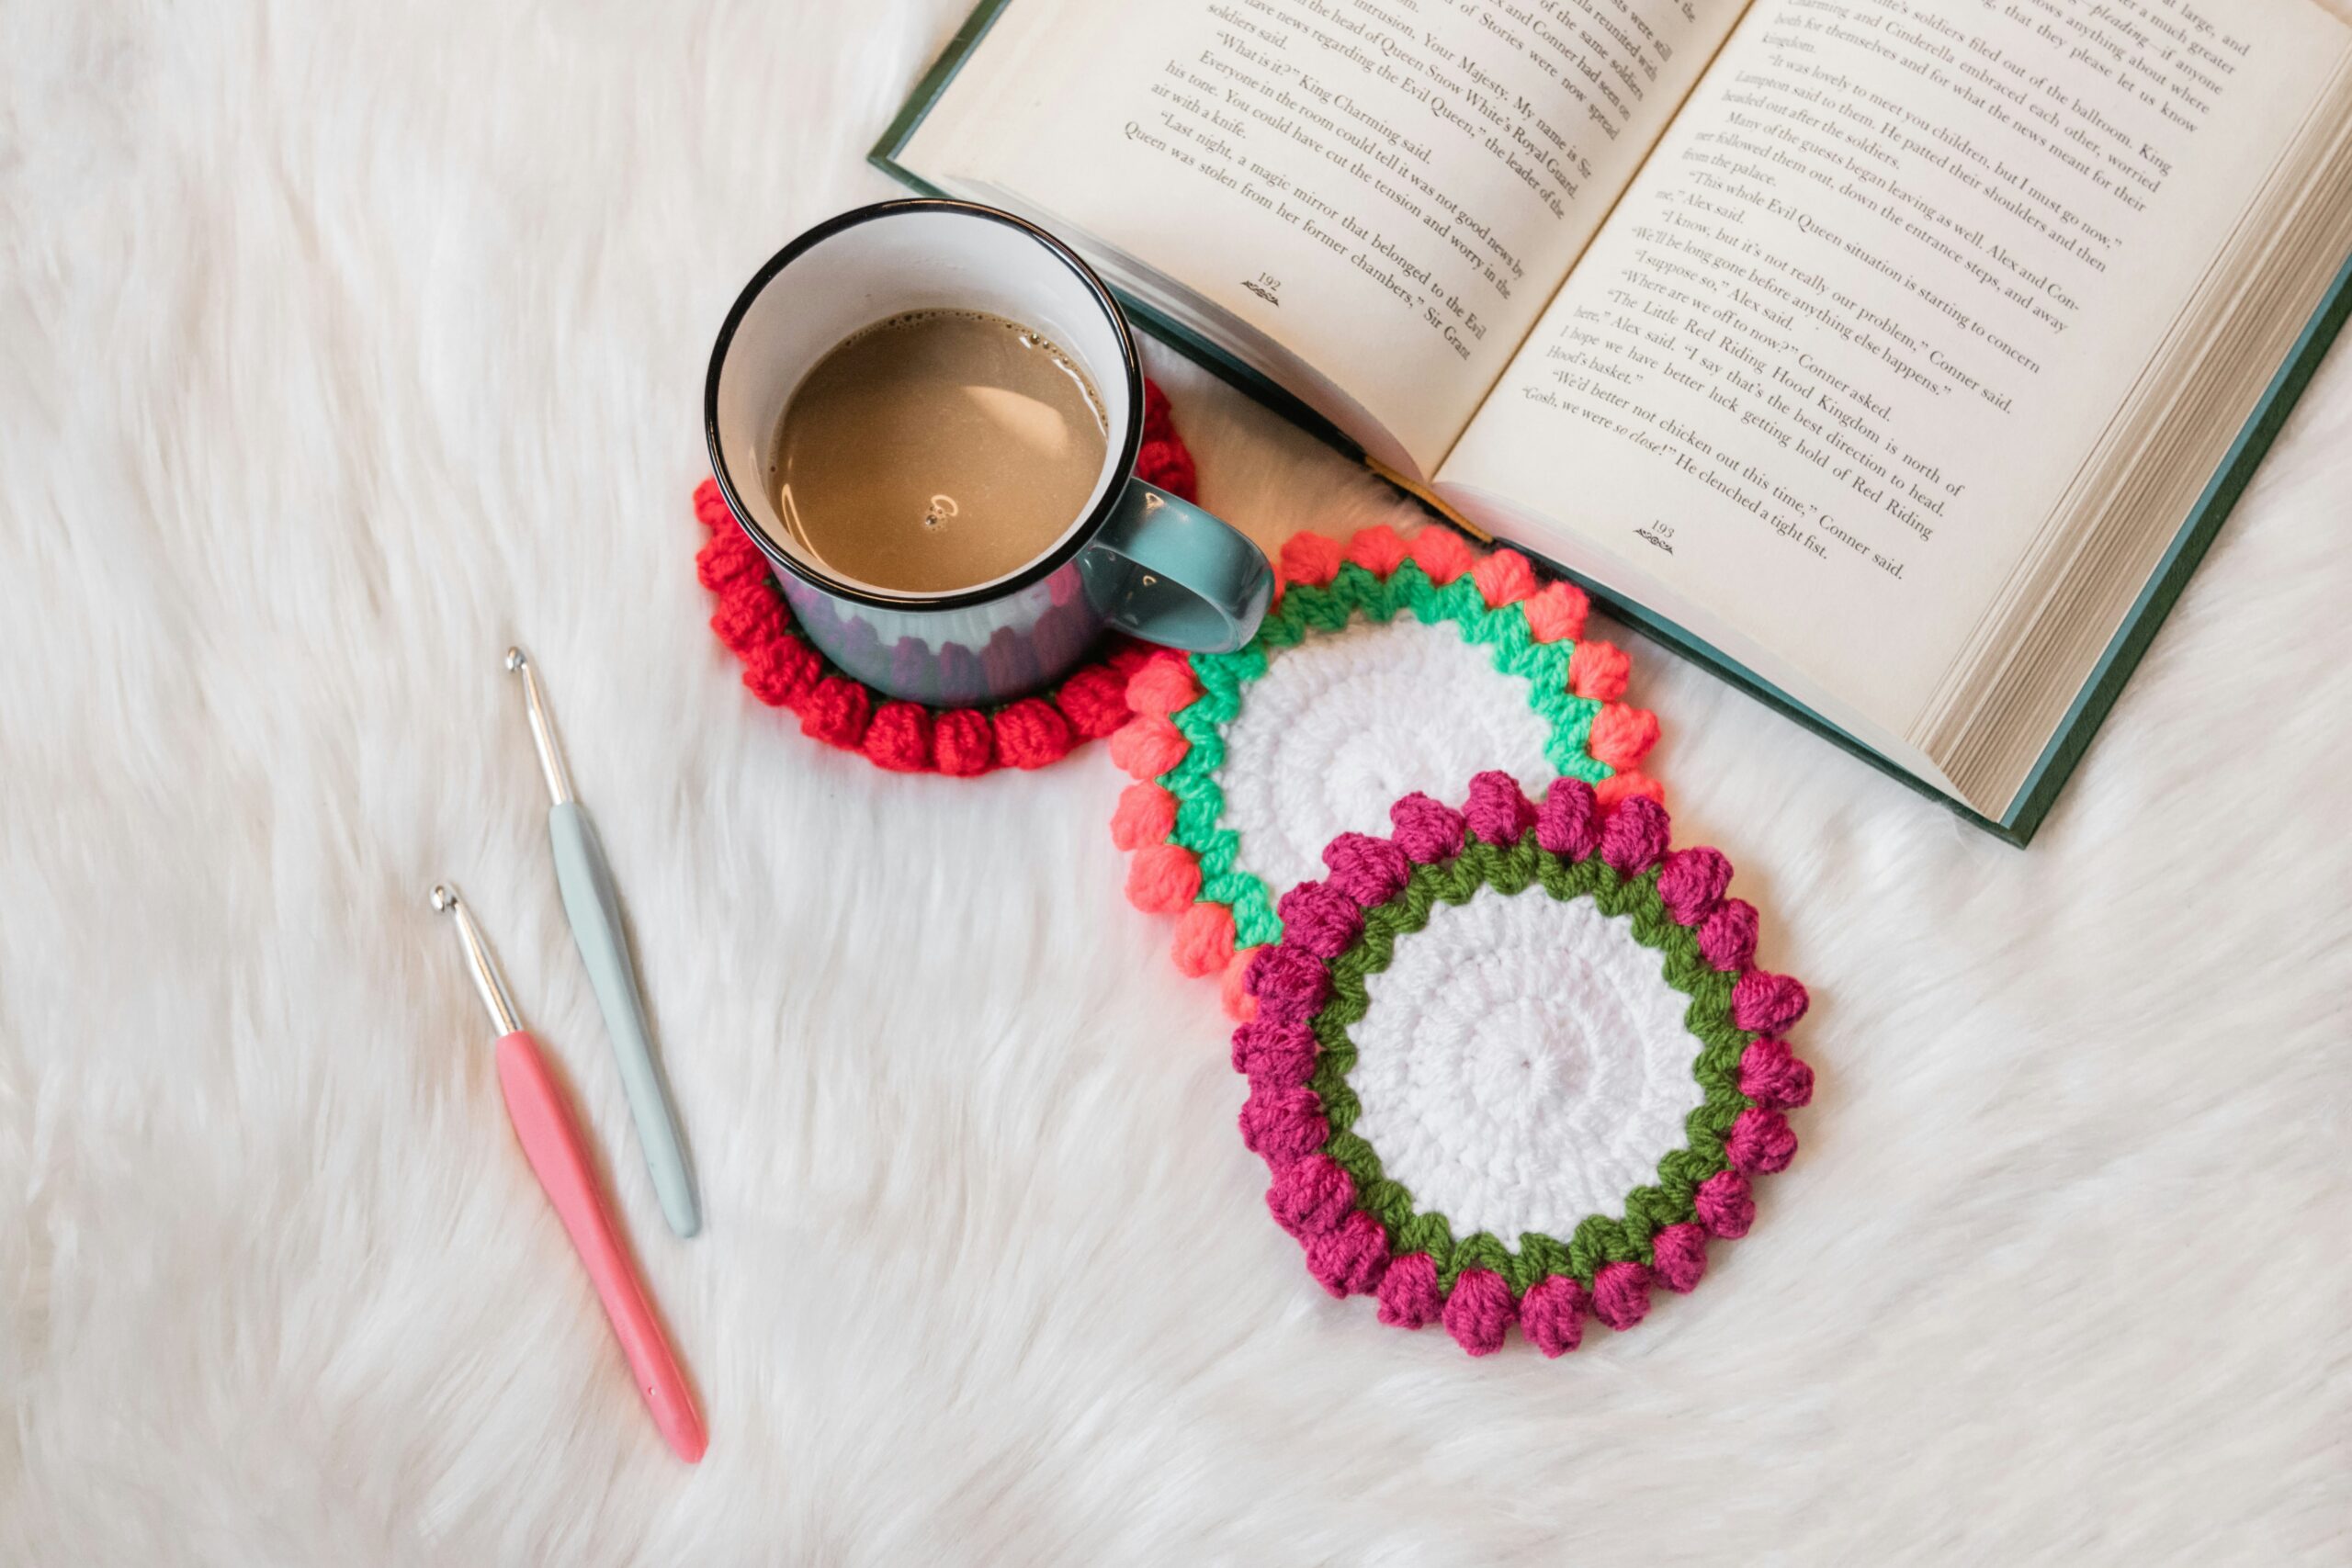
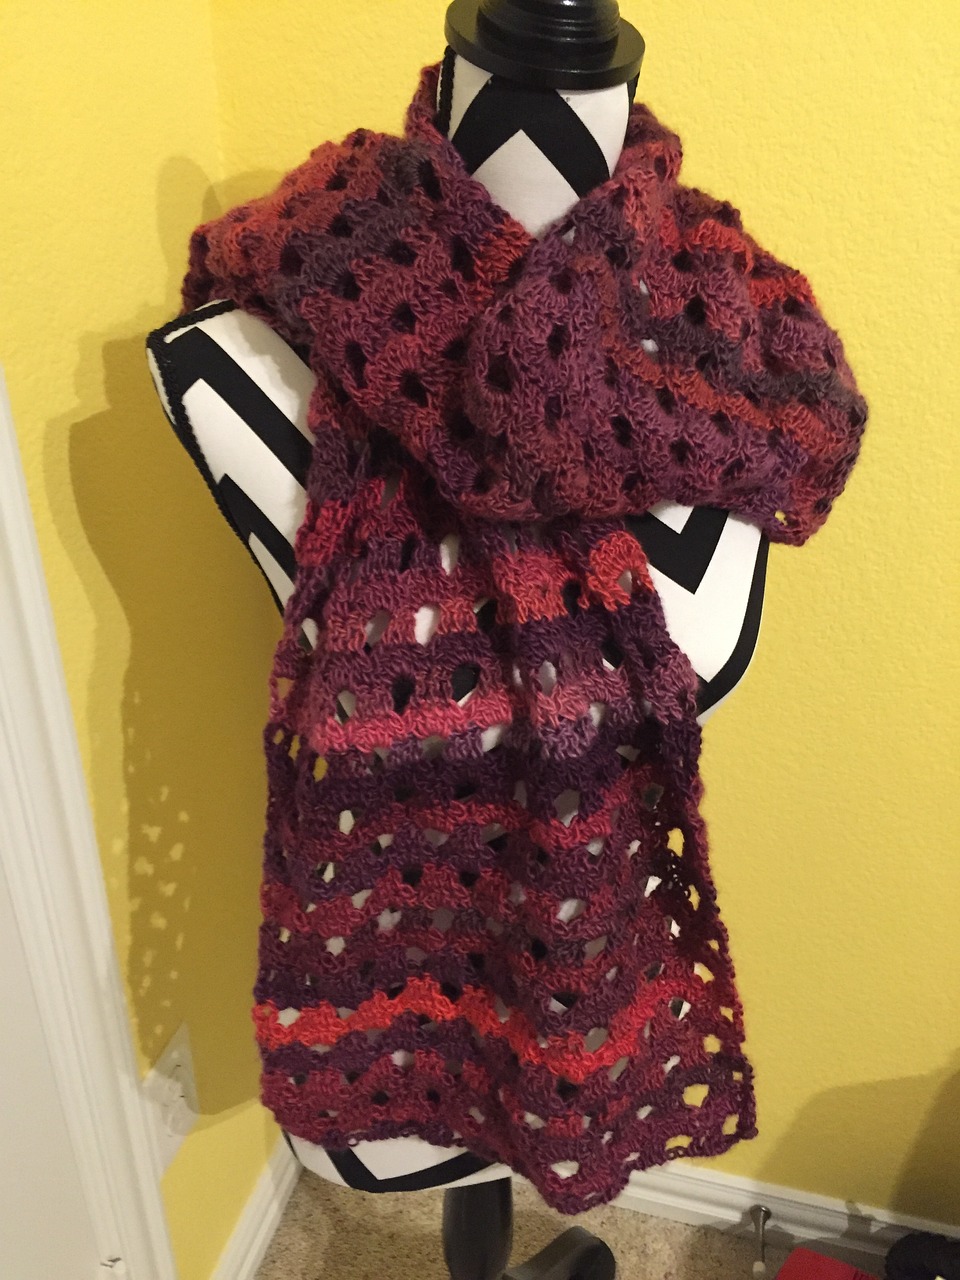
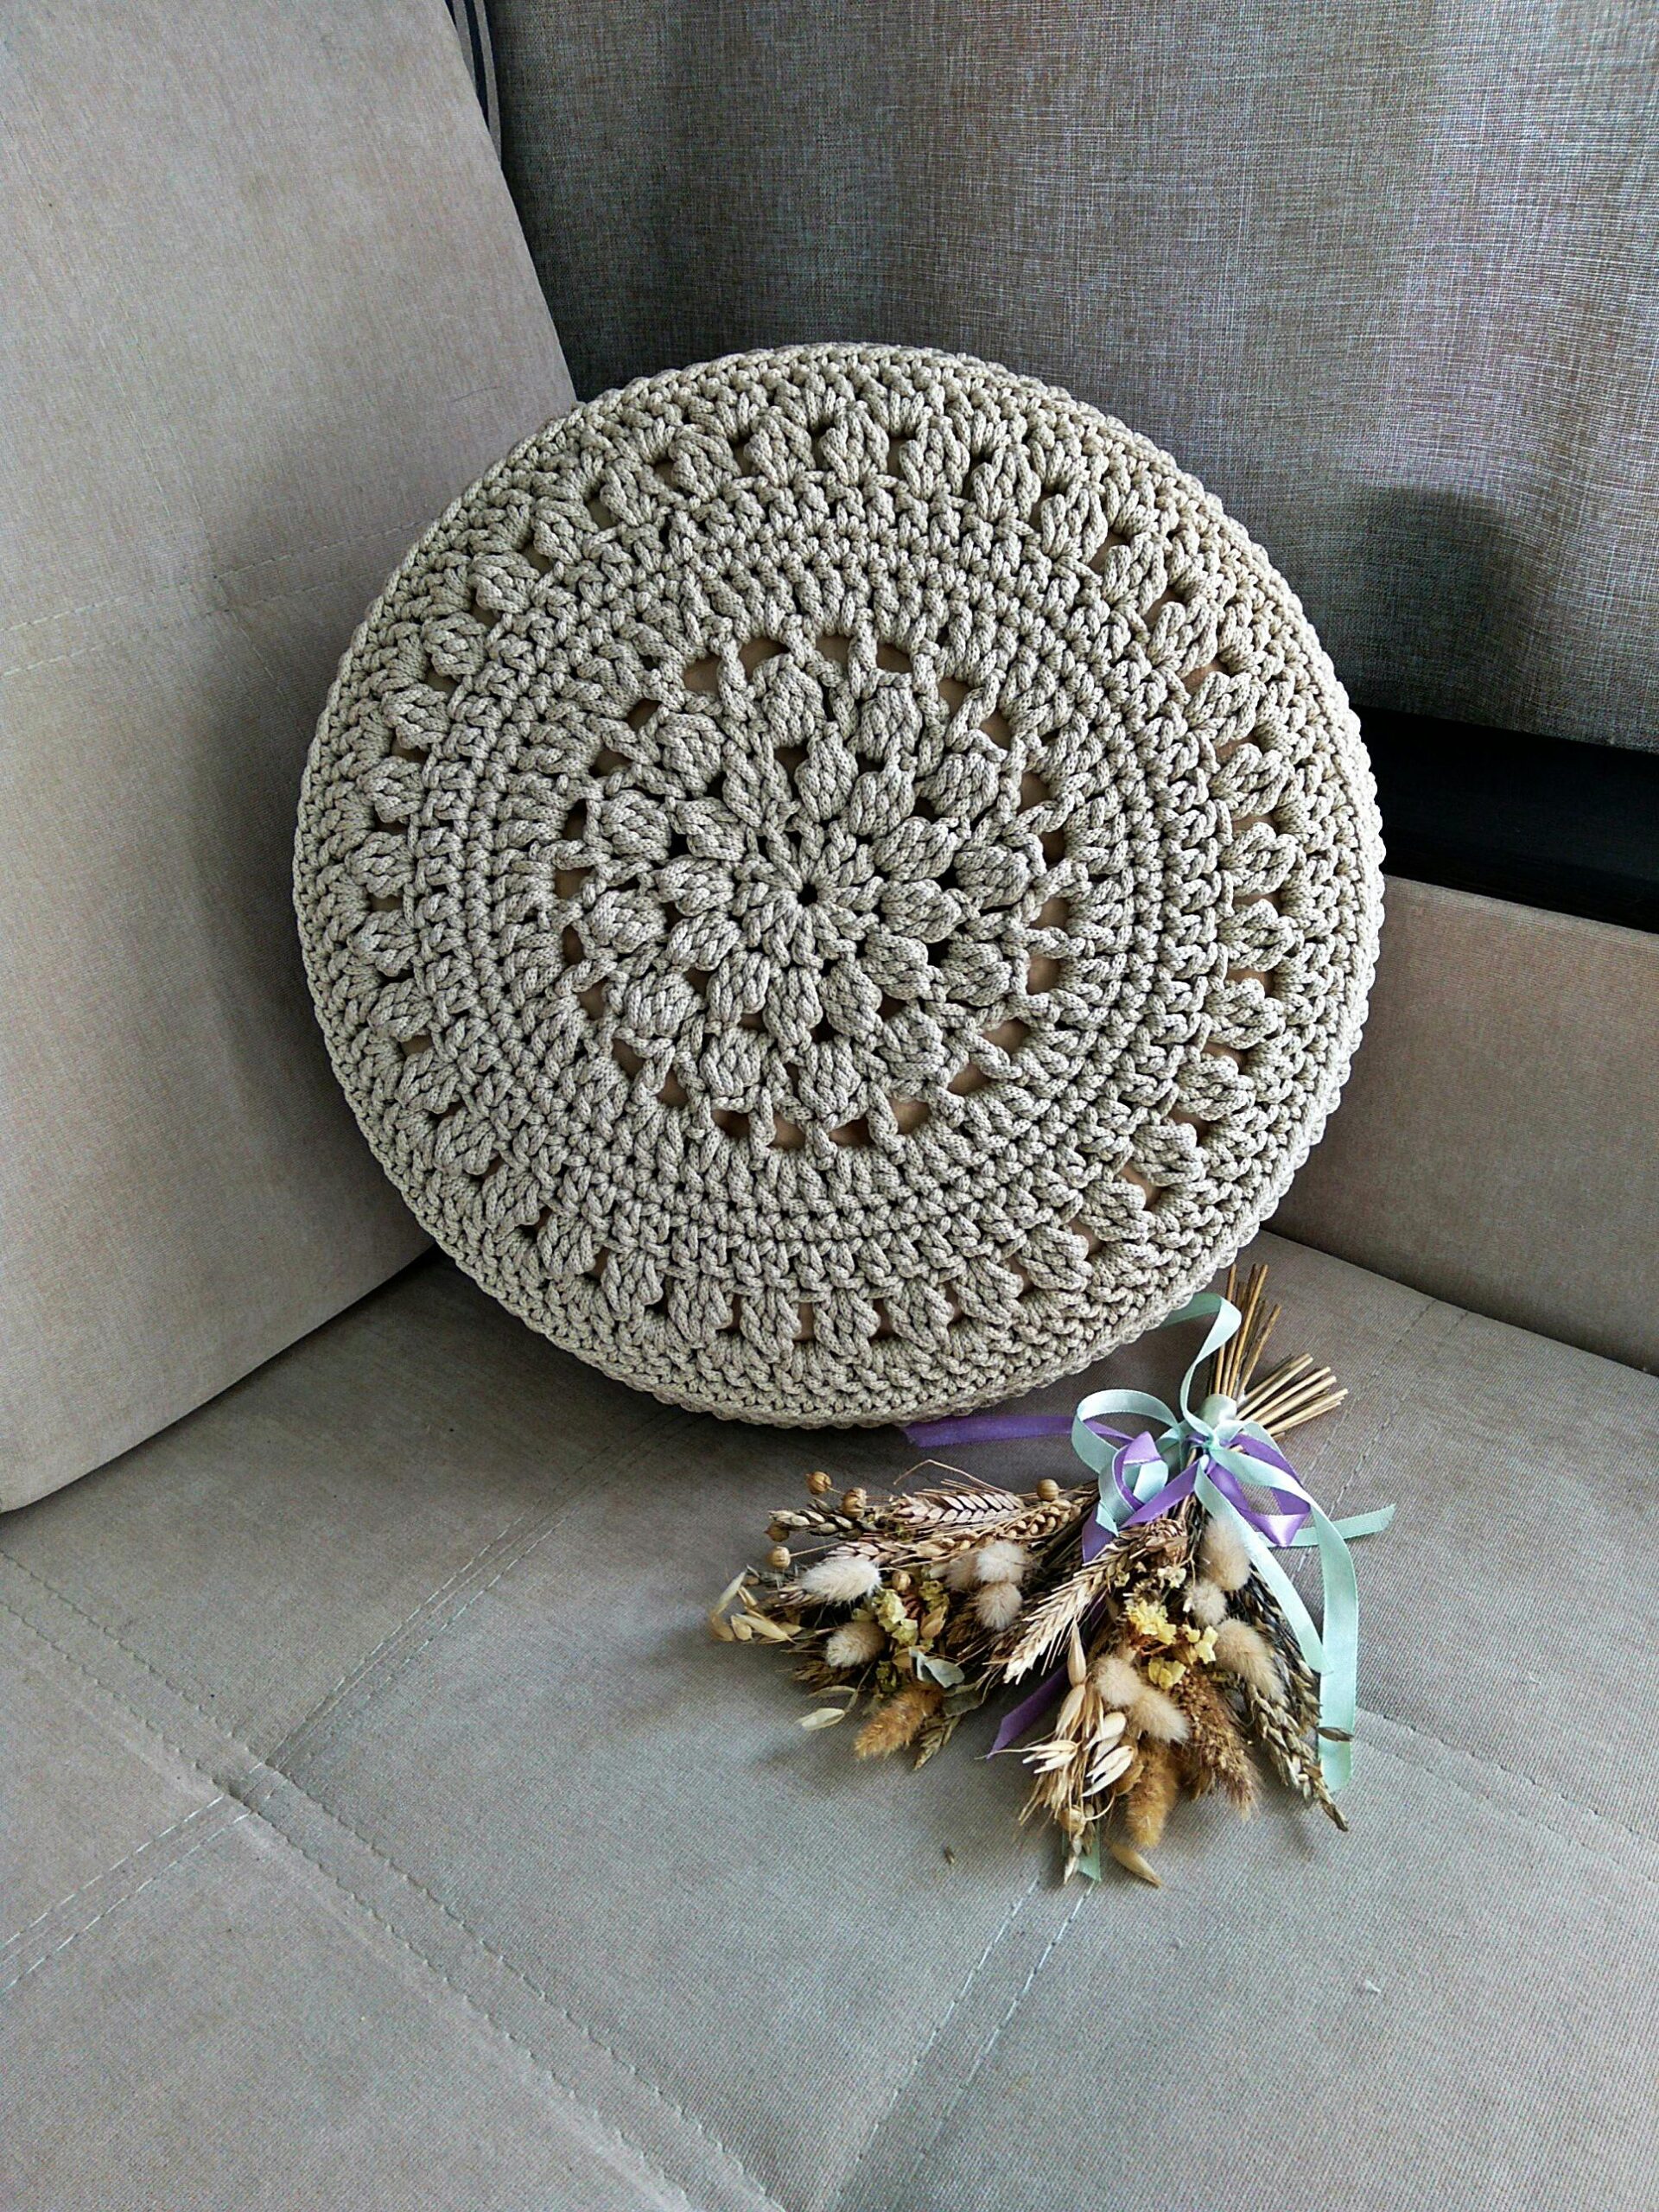
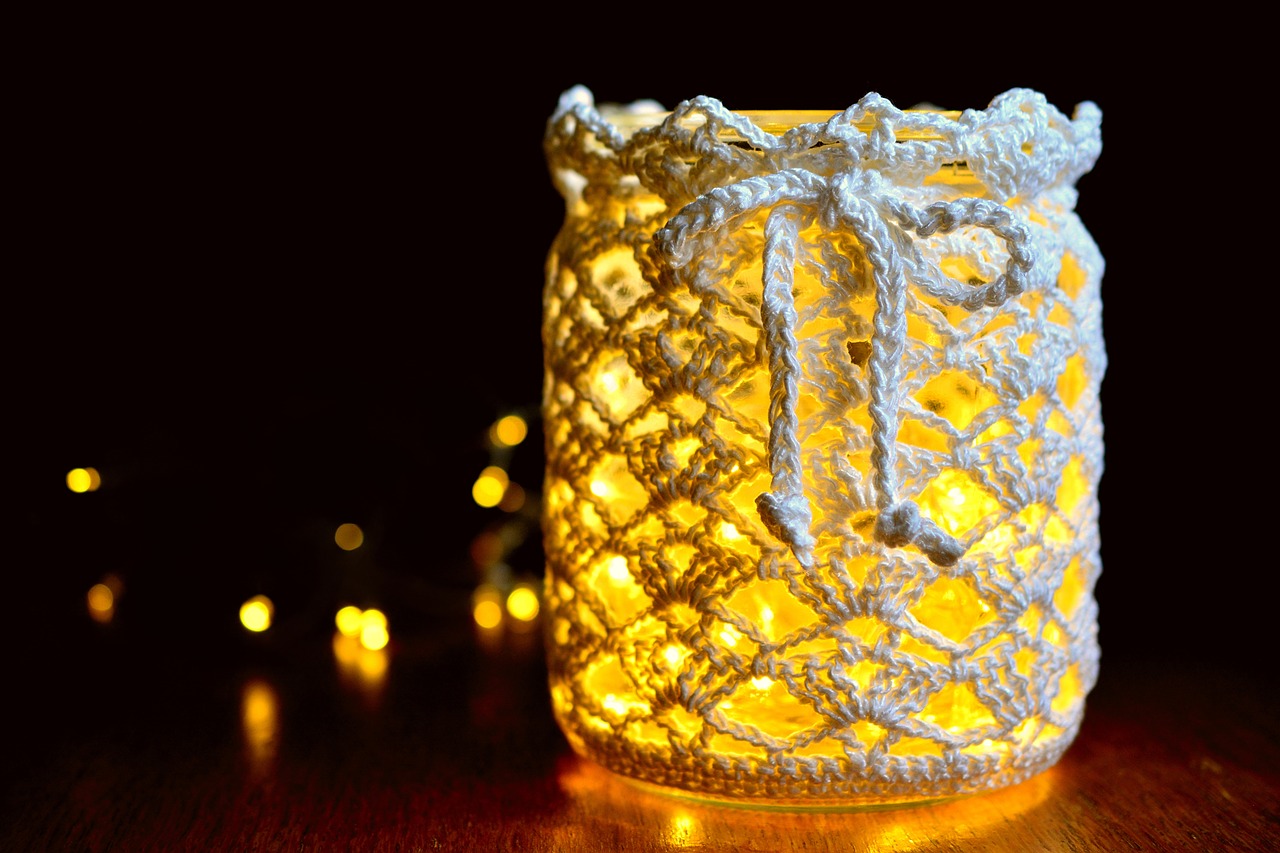
You can use these edgings for a variety of projects. Many times, these are crocheted and then sewn onto fabrics like dresses, pillows, tablecloths, blankets, scarves, napkins, etc. You can use these as a vintage decoration or to line containers like baskets or jars. Or you can crochet these to show off your lace making skills! Either way, there’s many ways you can use these crochet lace edgings, don’t be afraid to get creative!
What Hook and Yarn Should I Use?
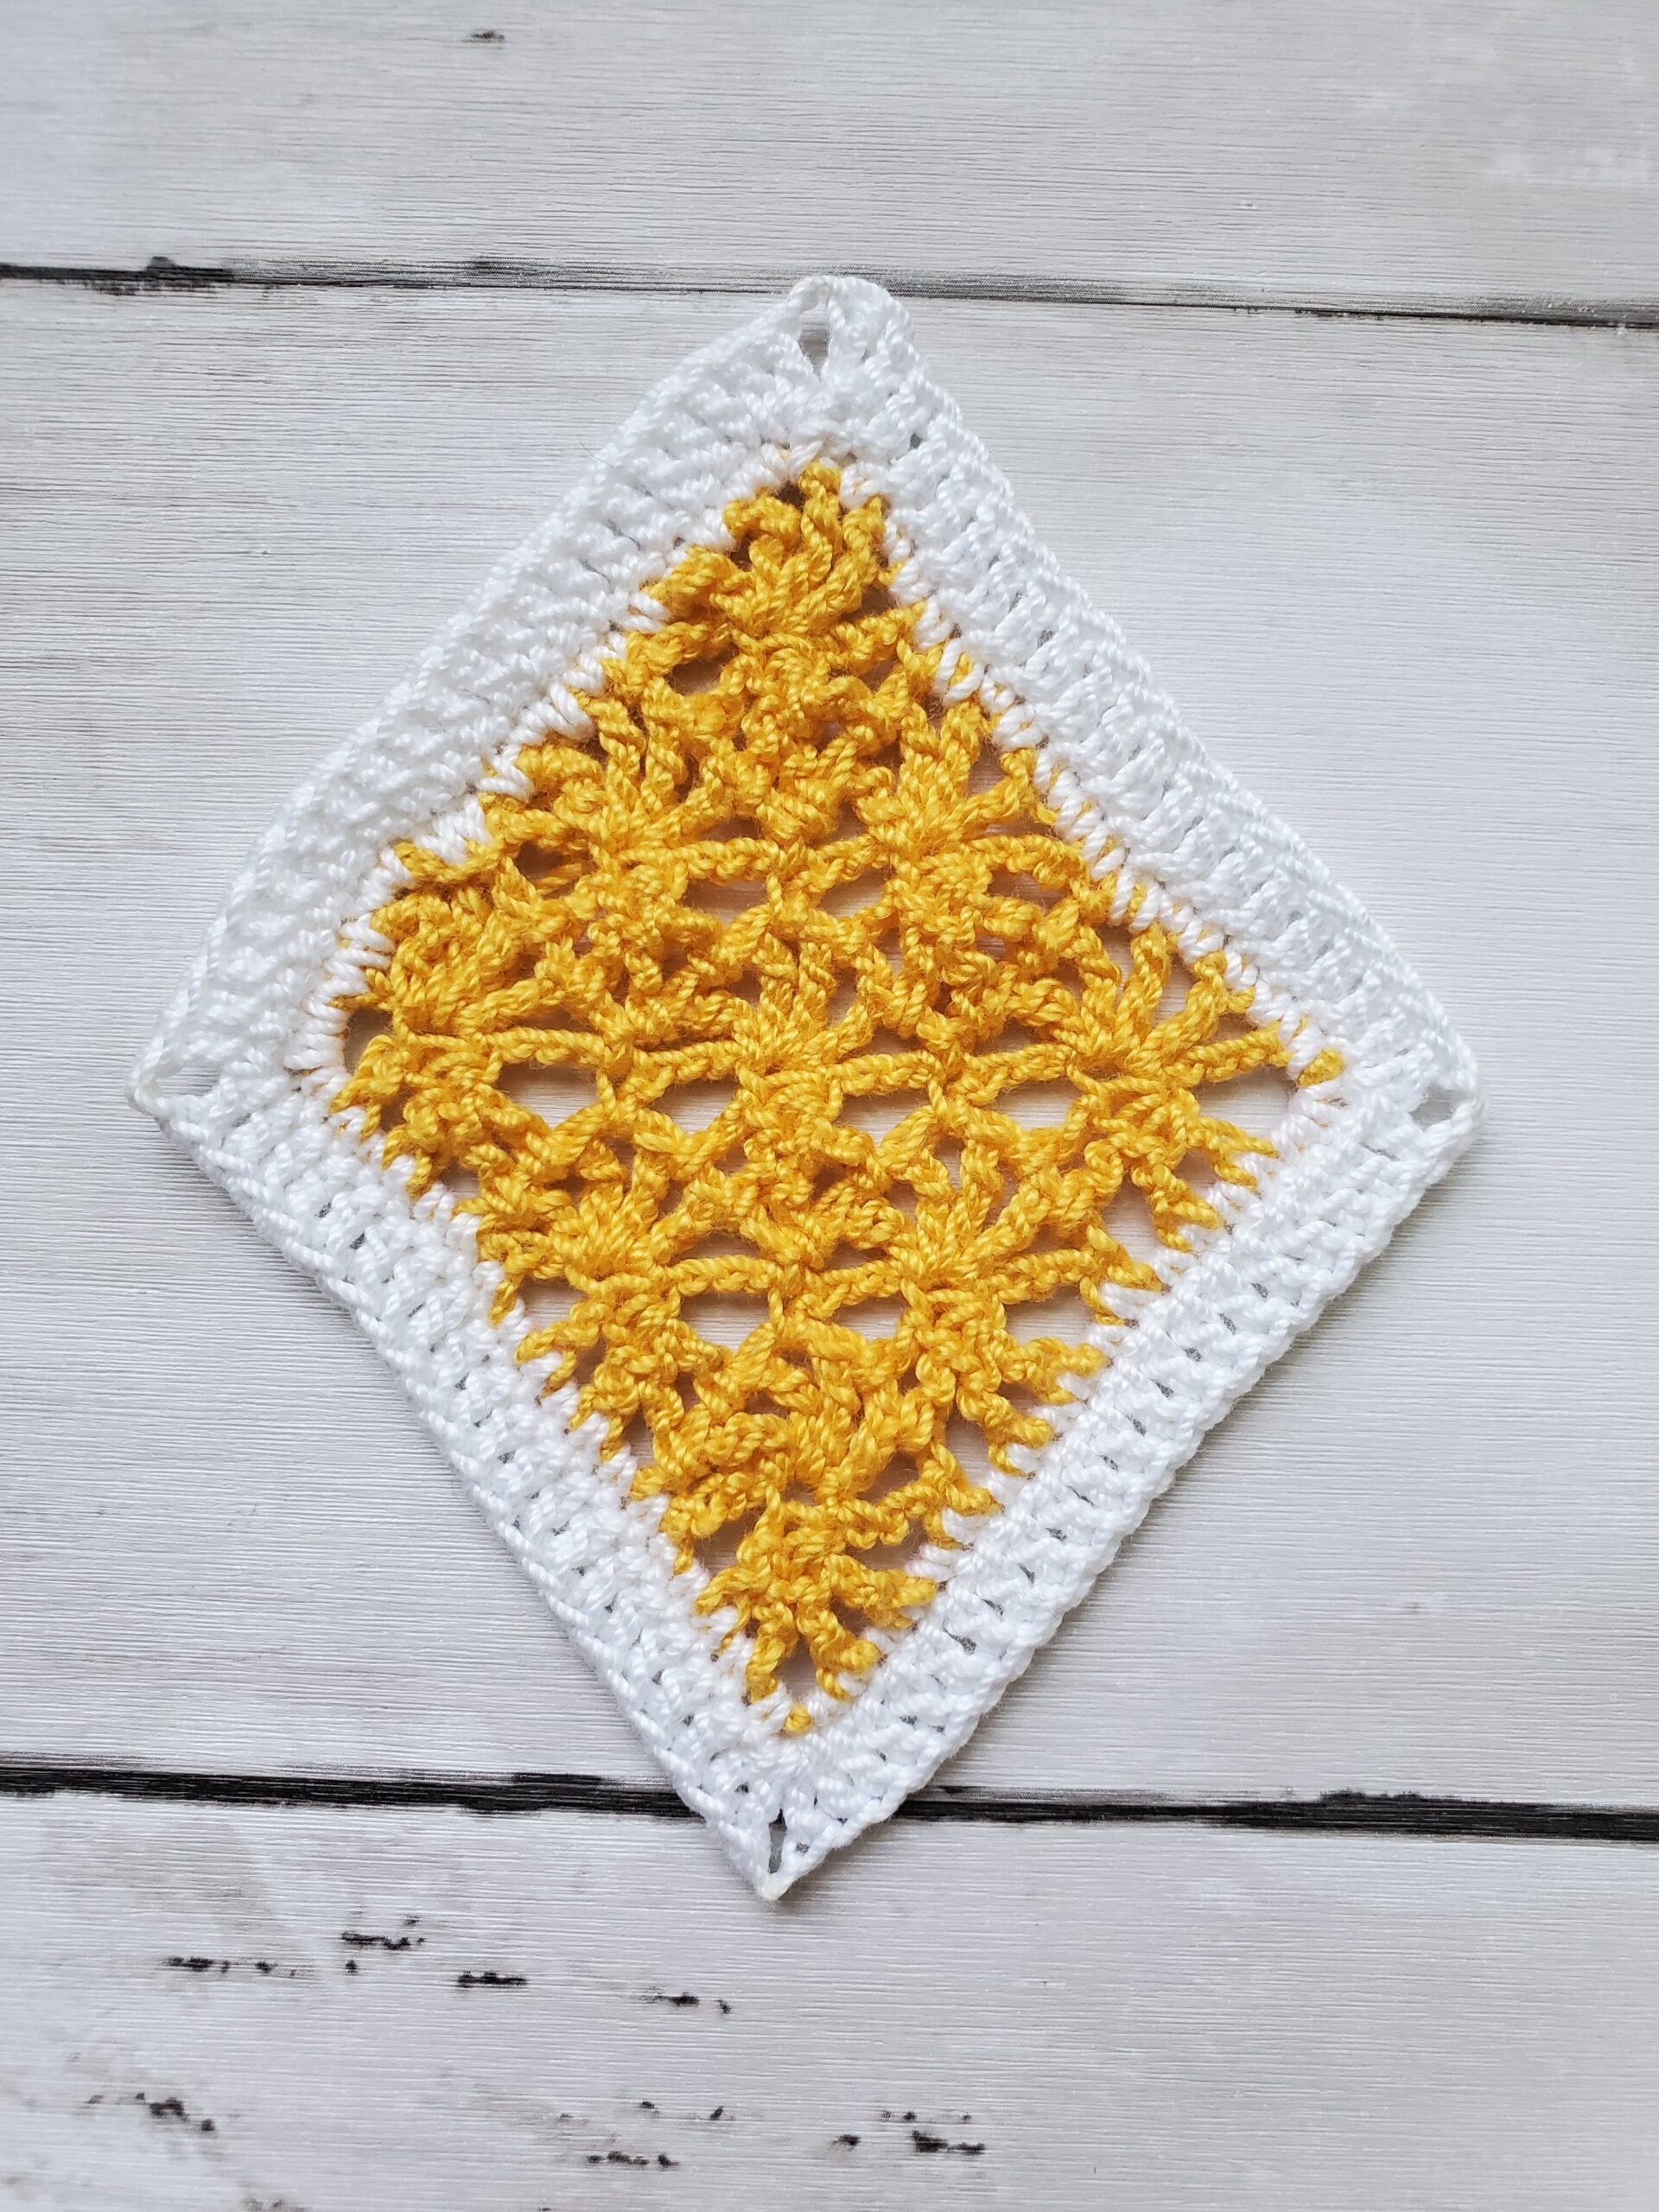
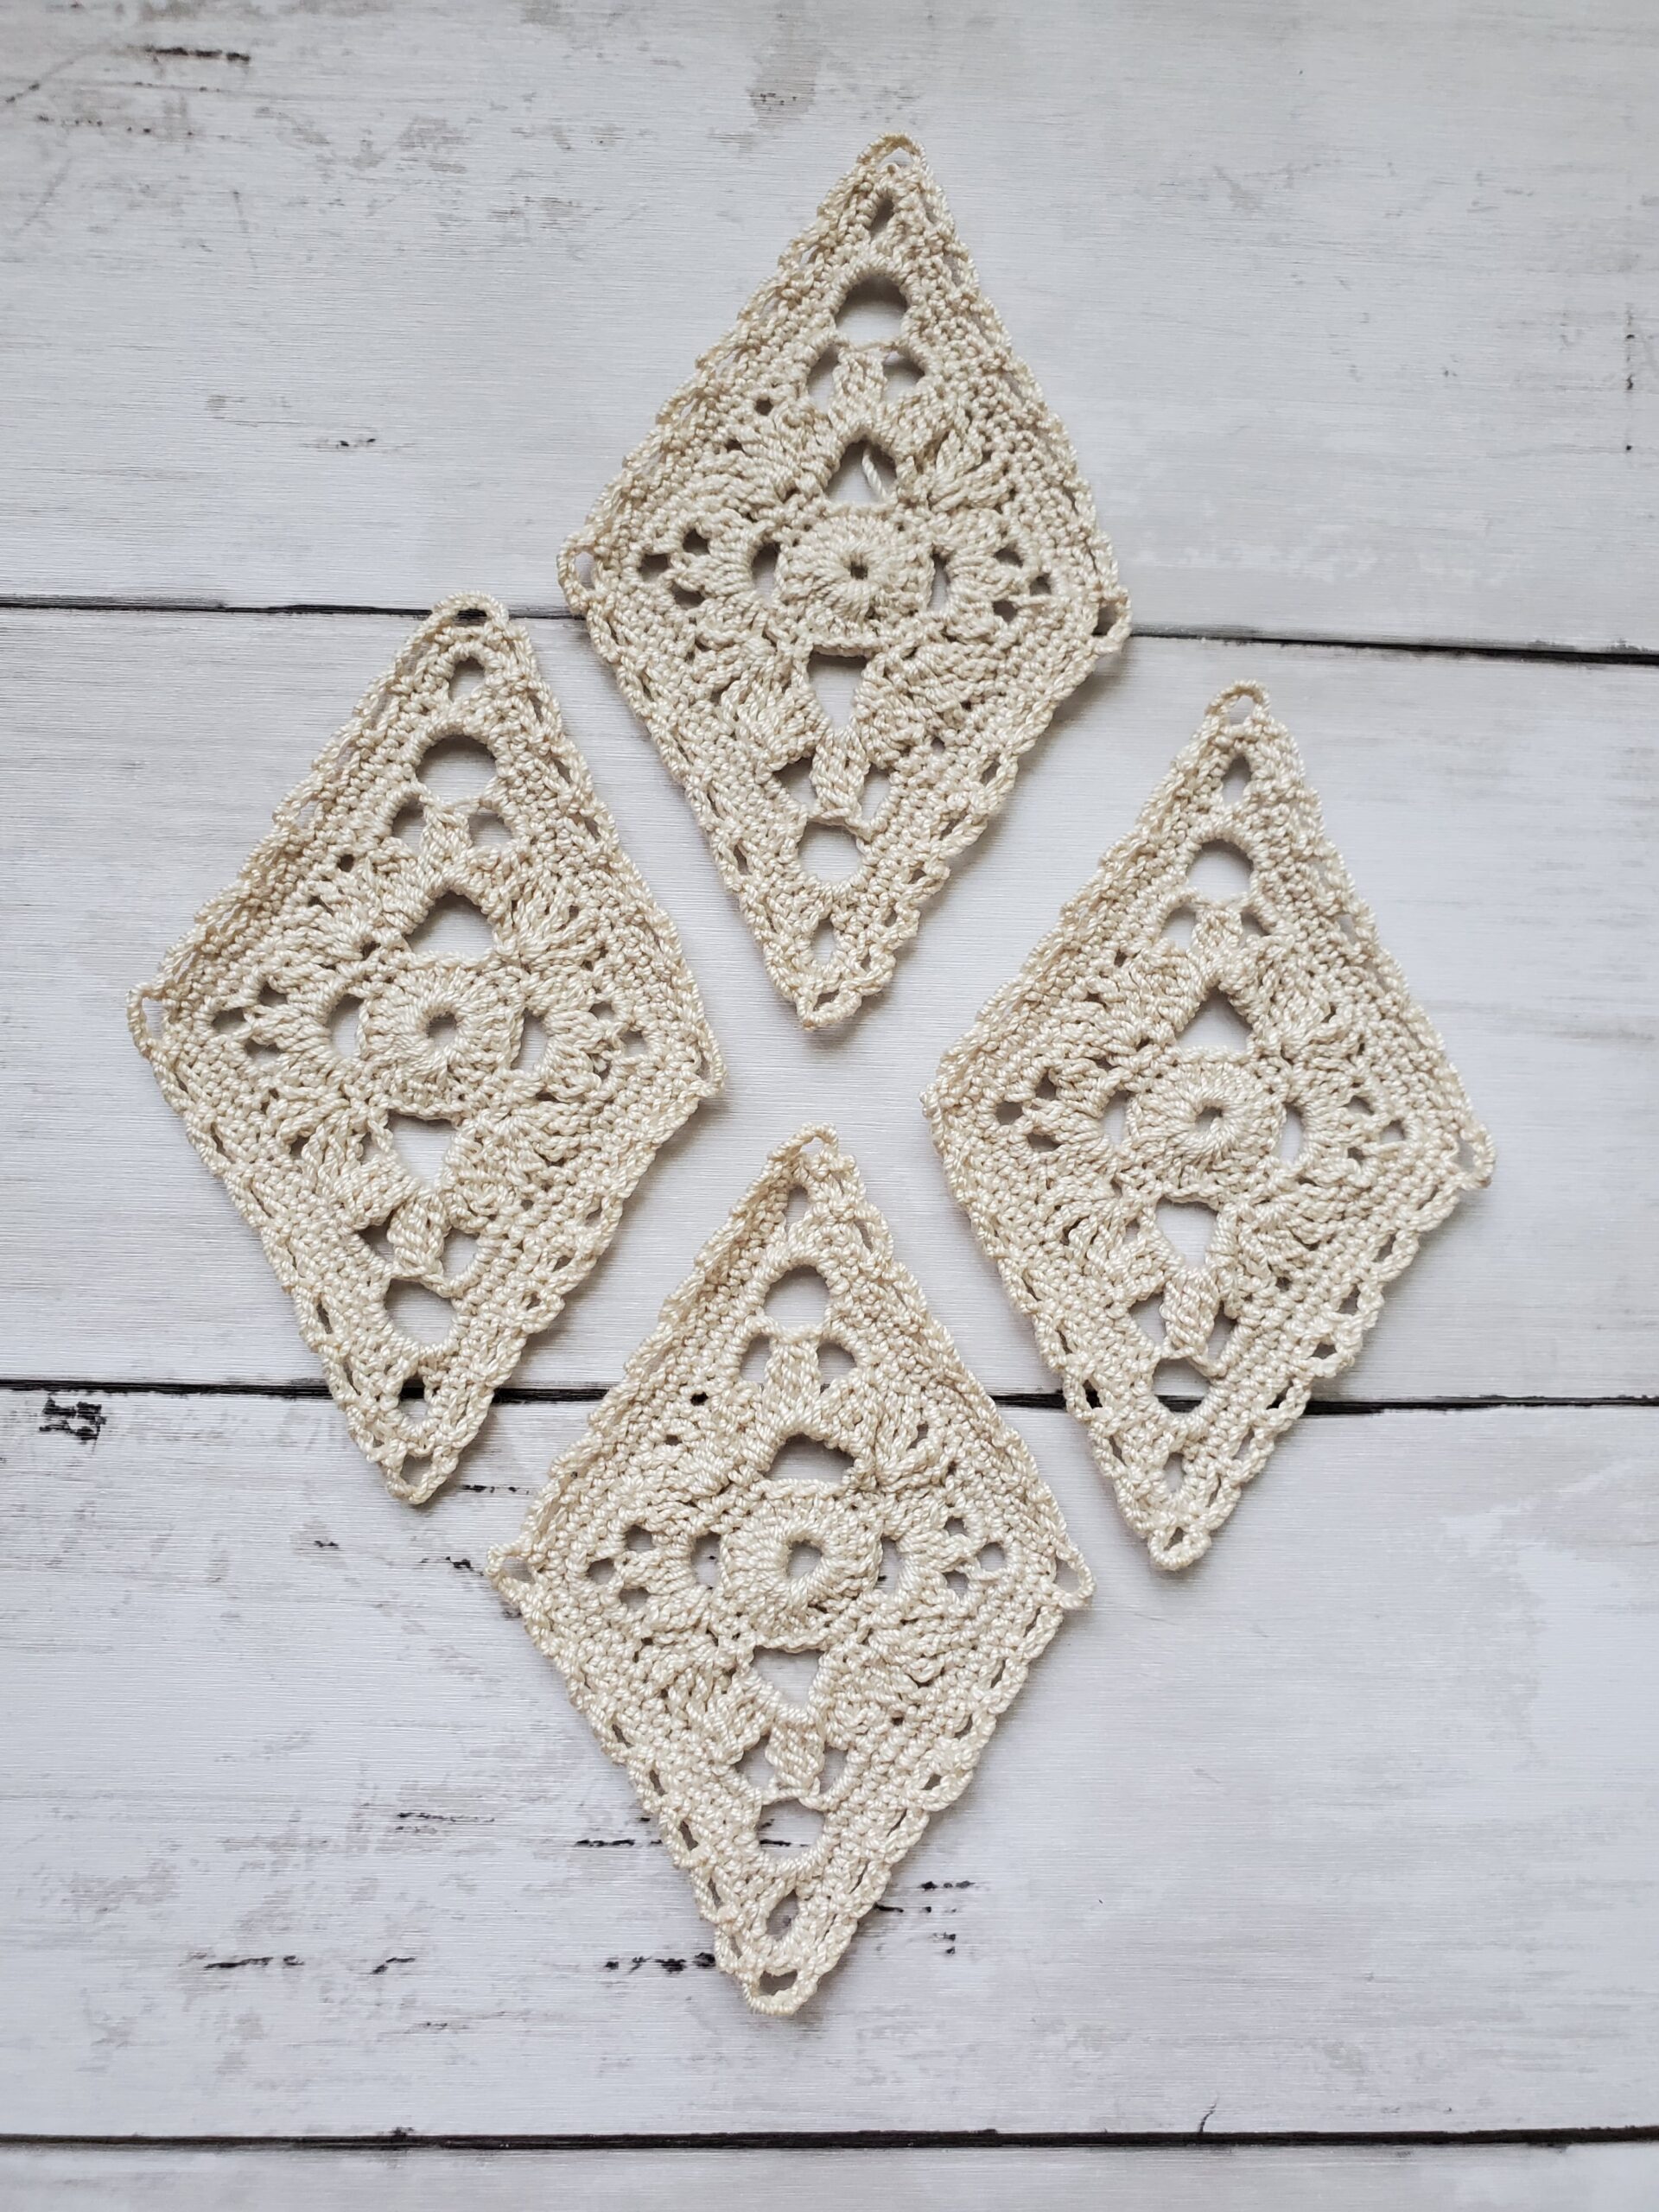
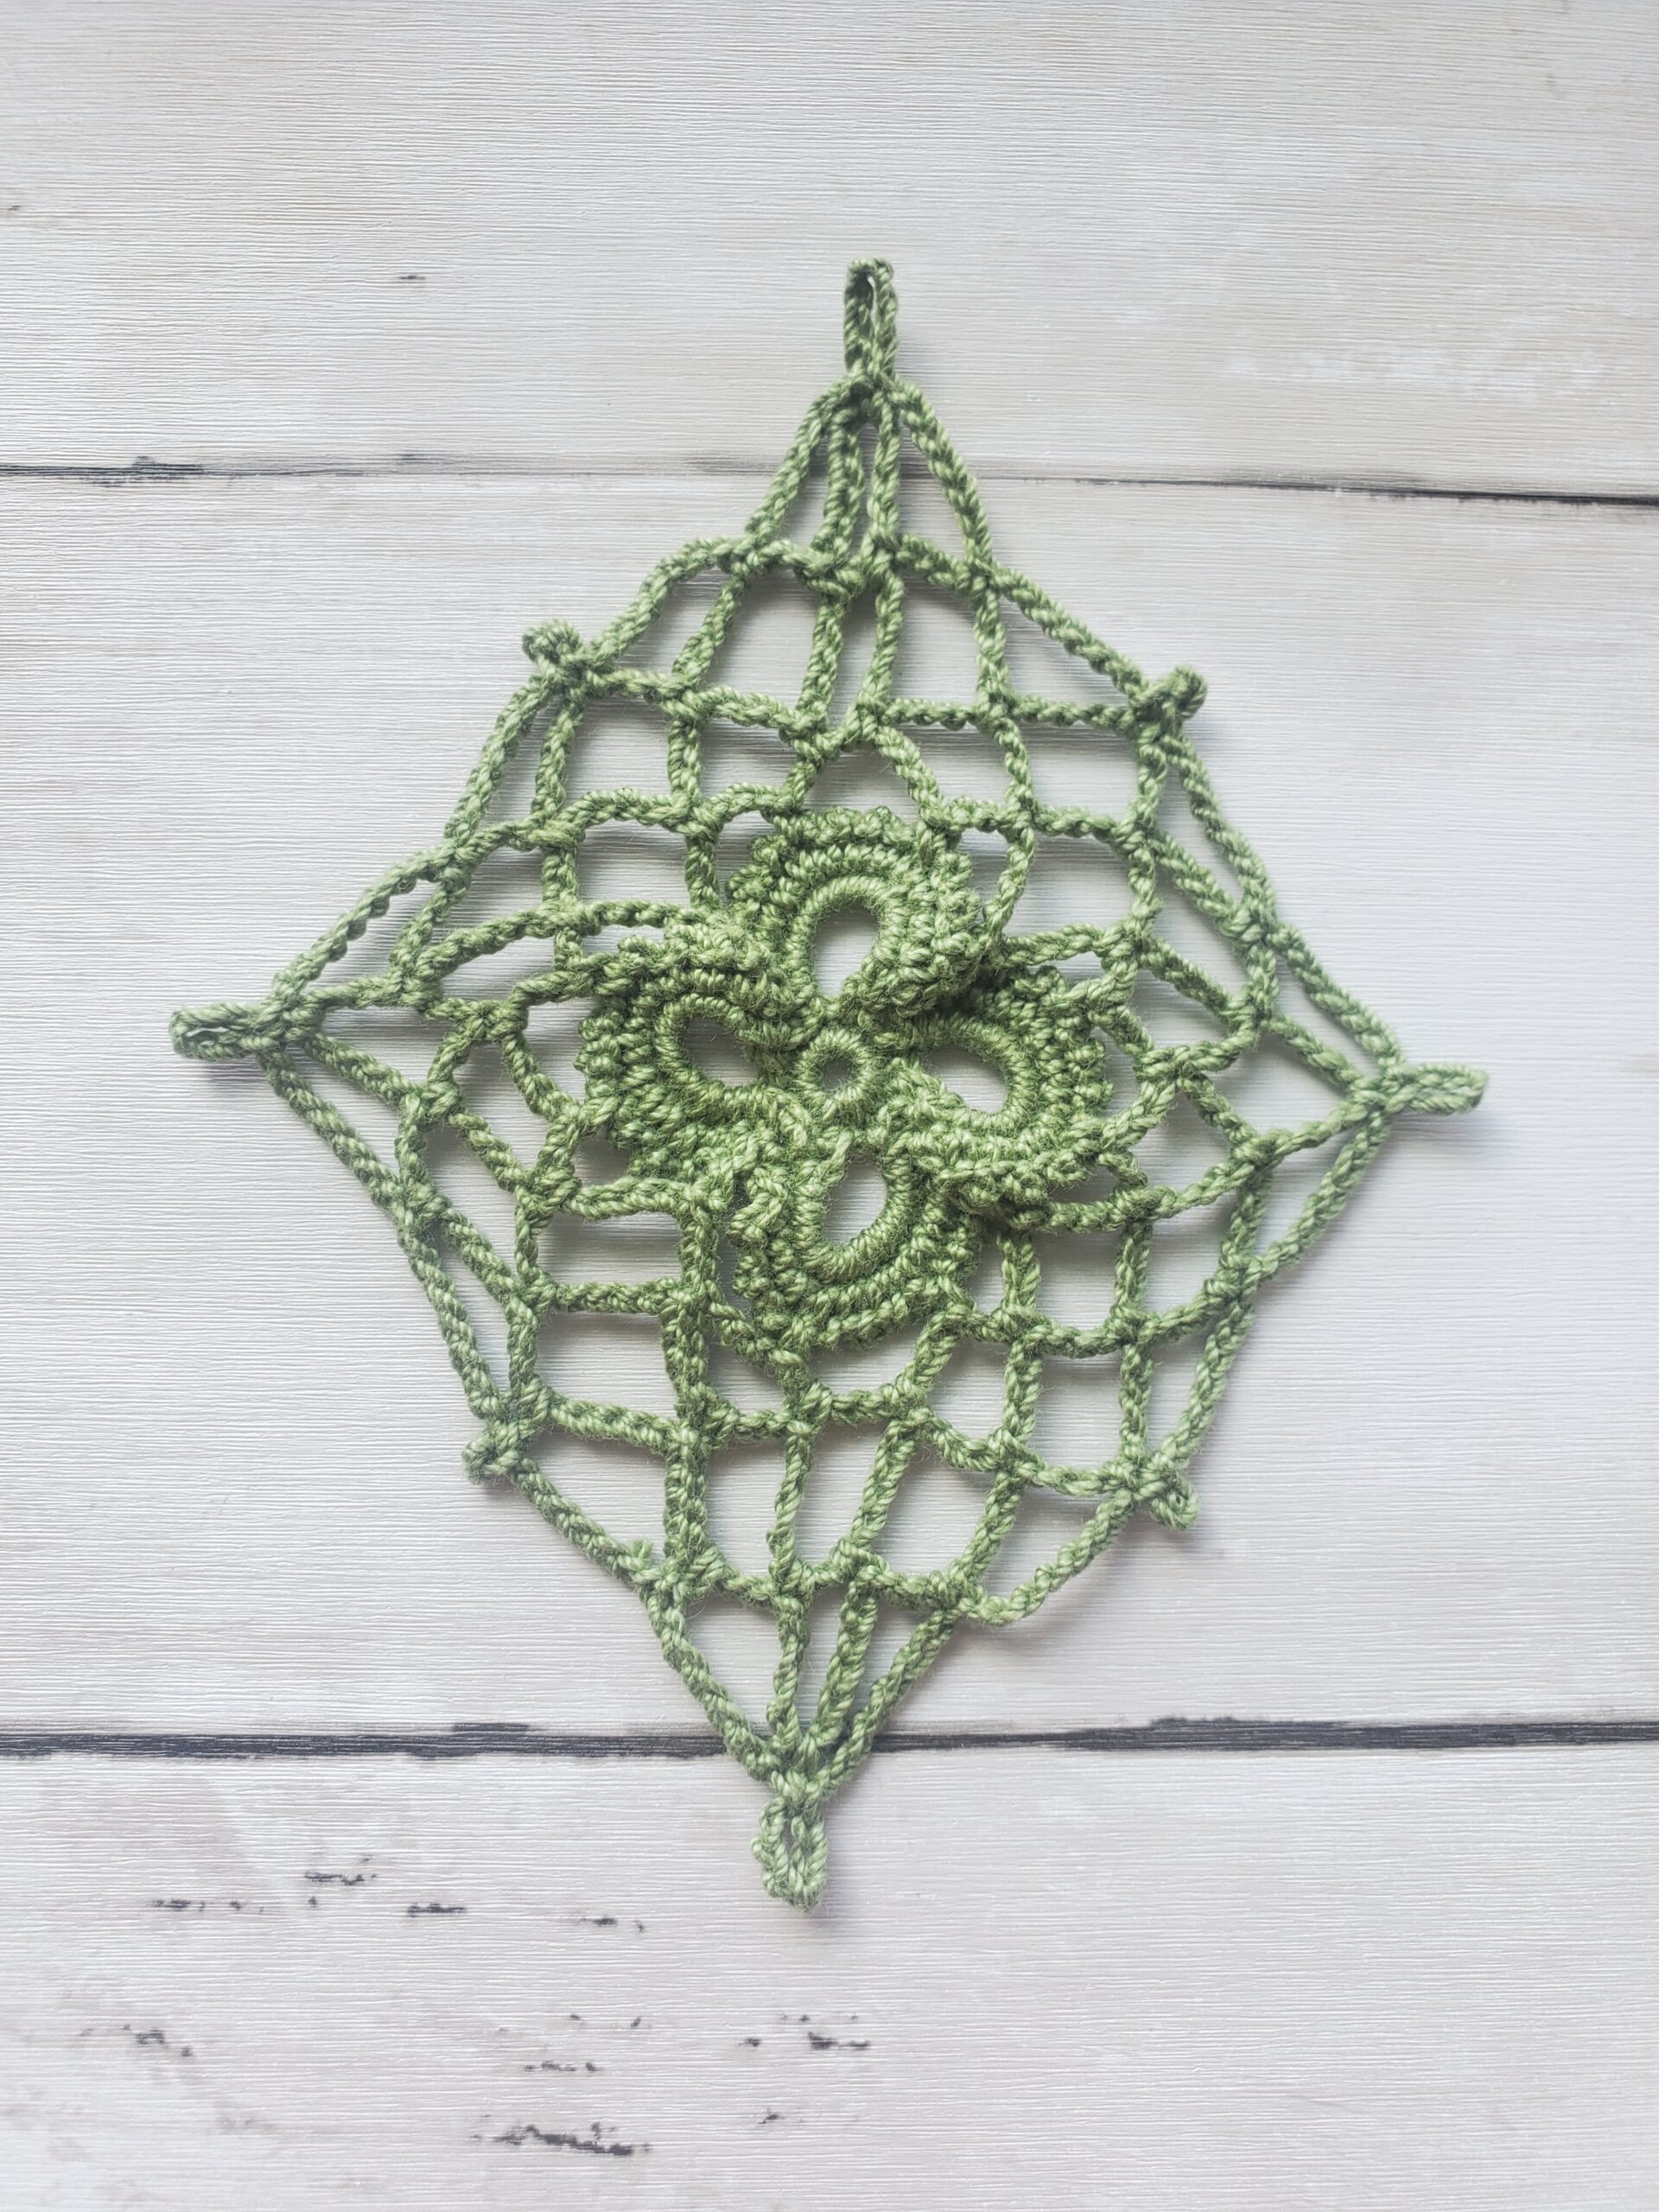
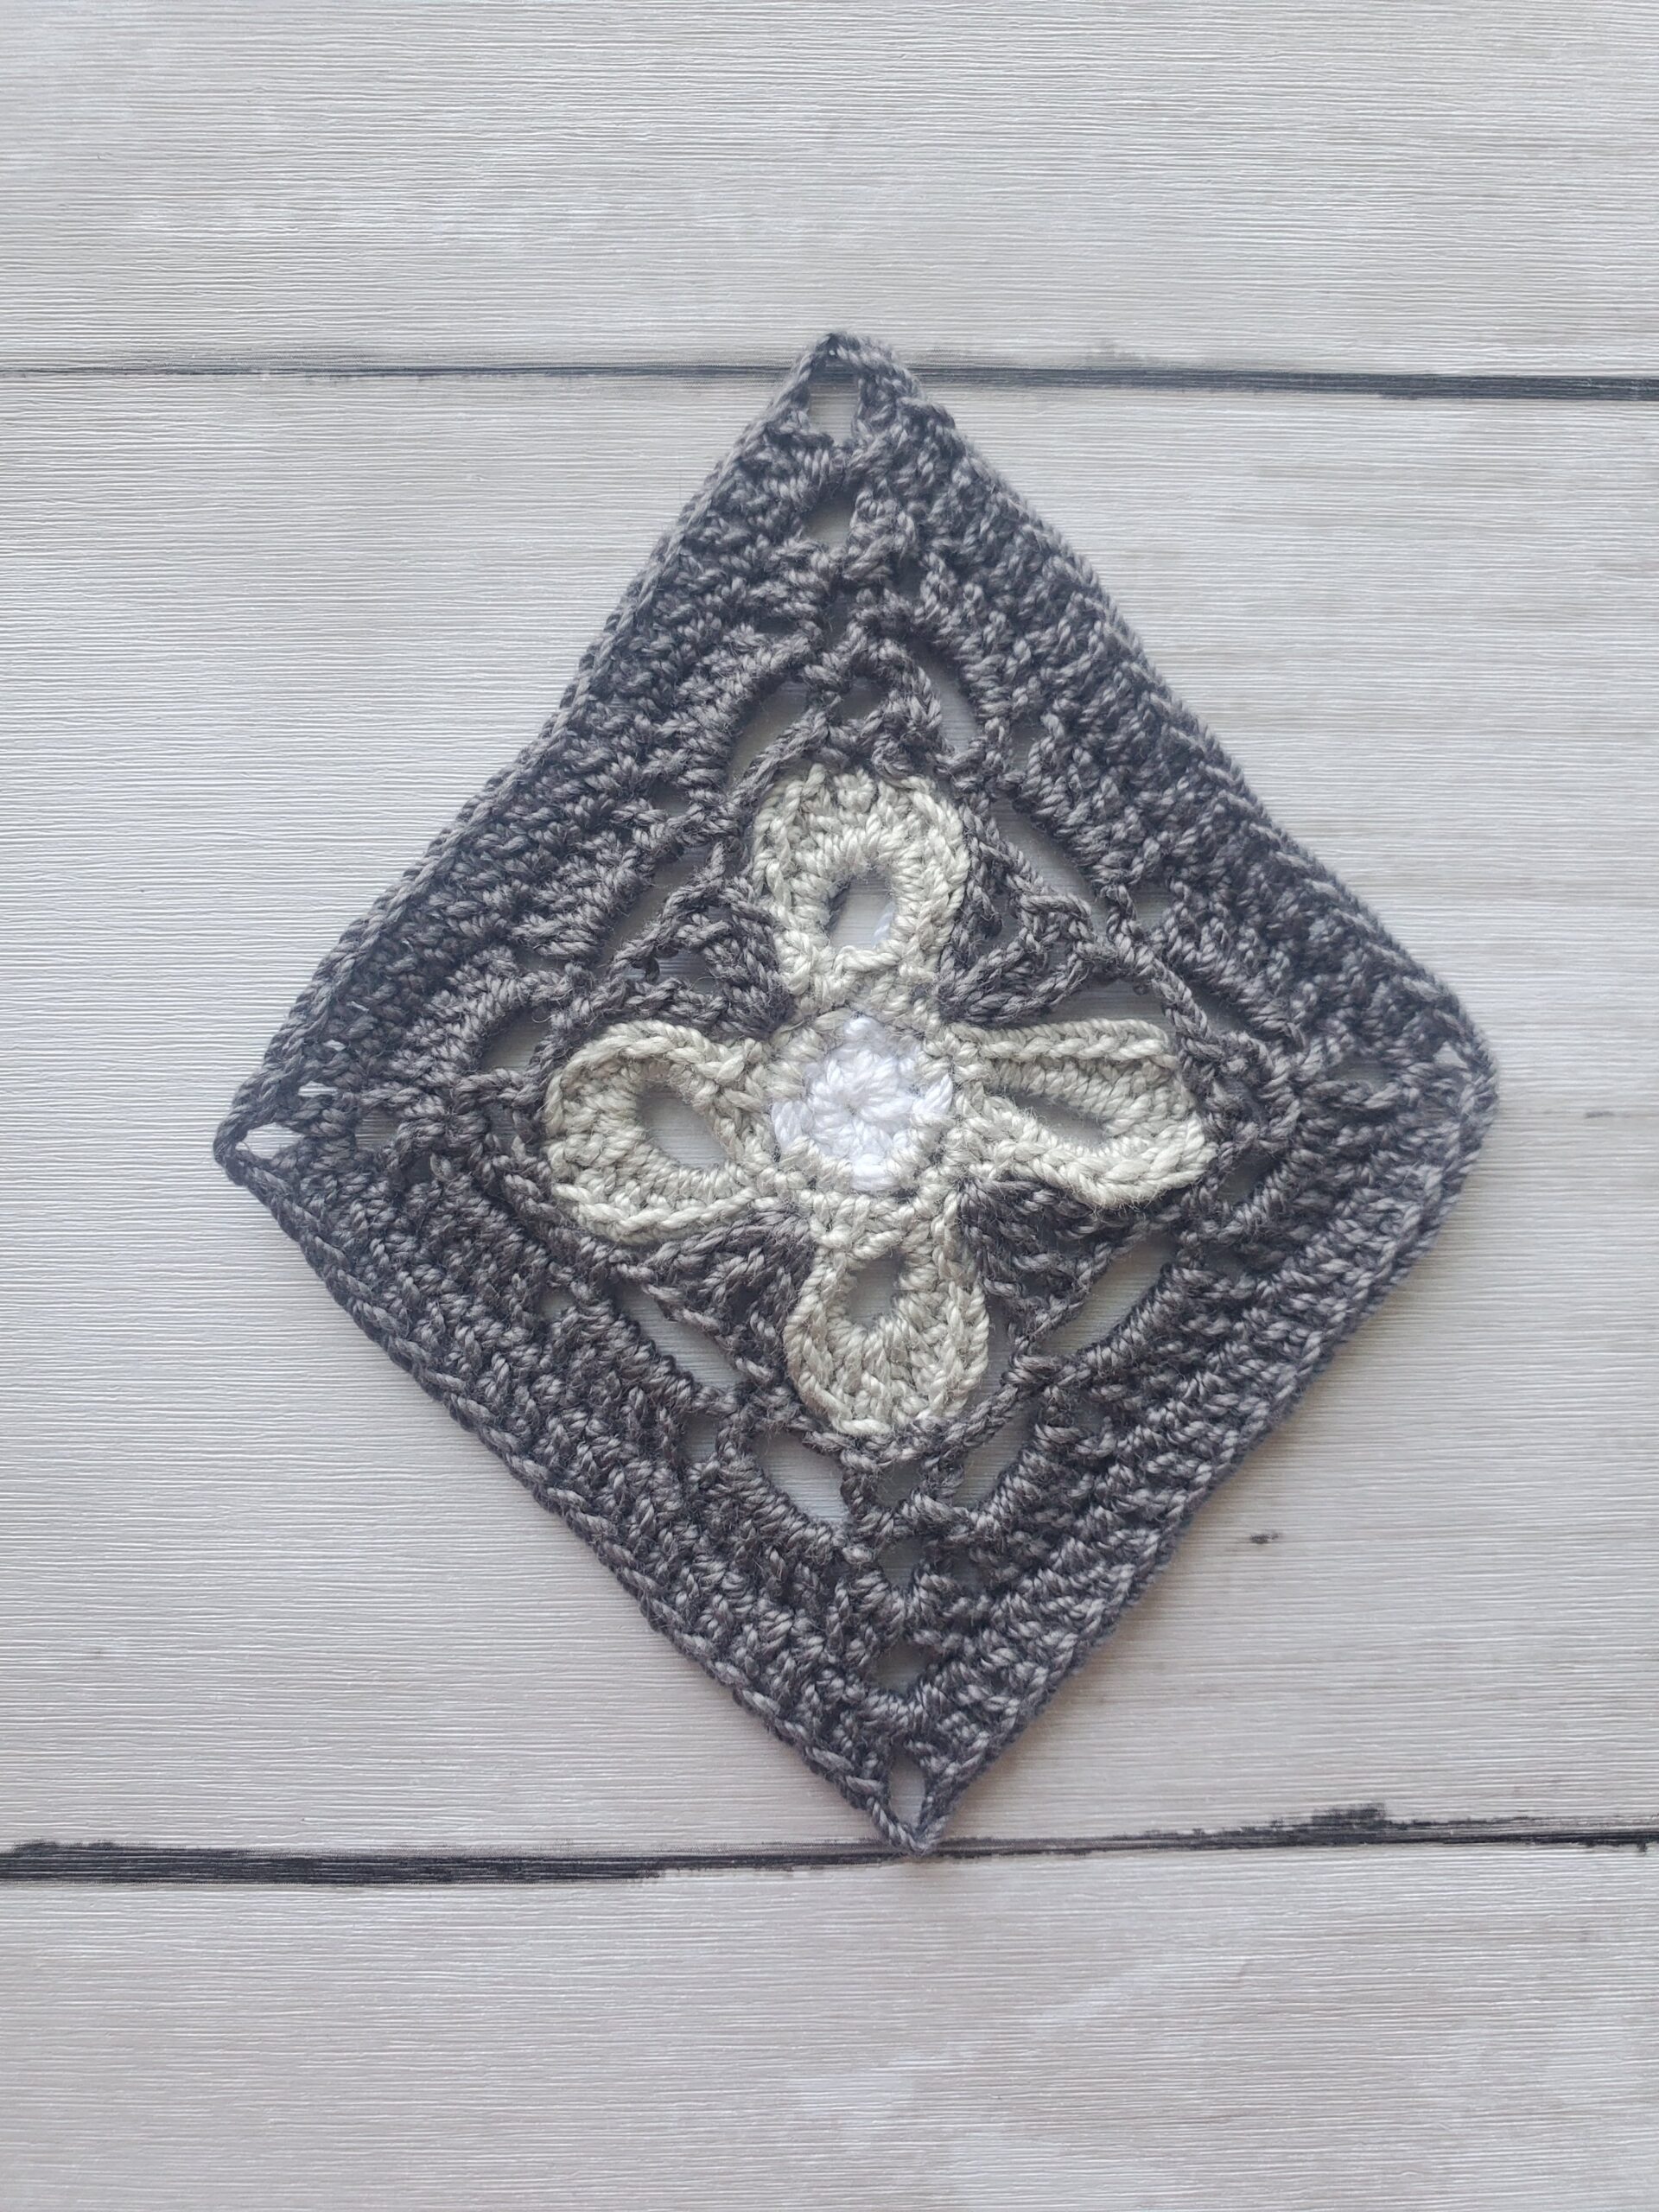
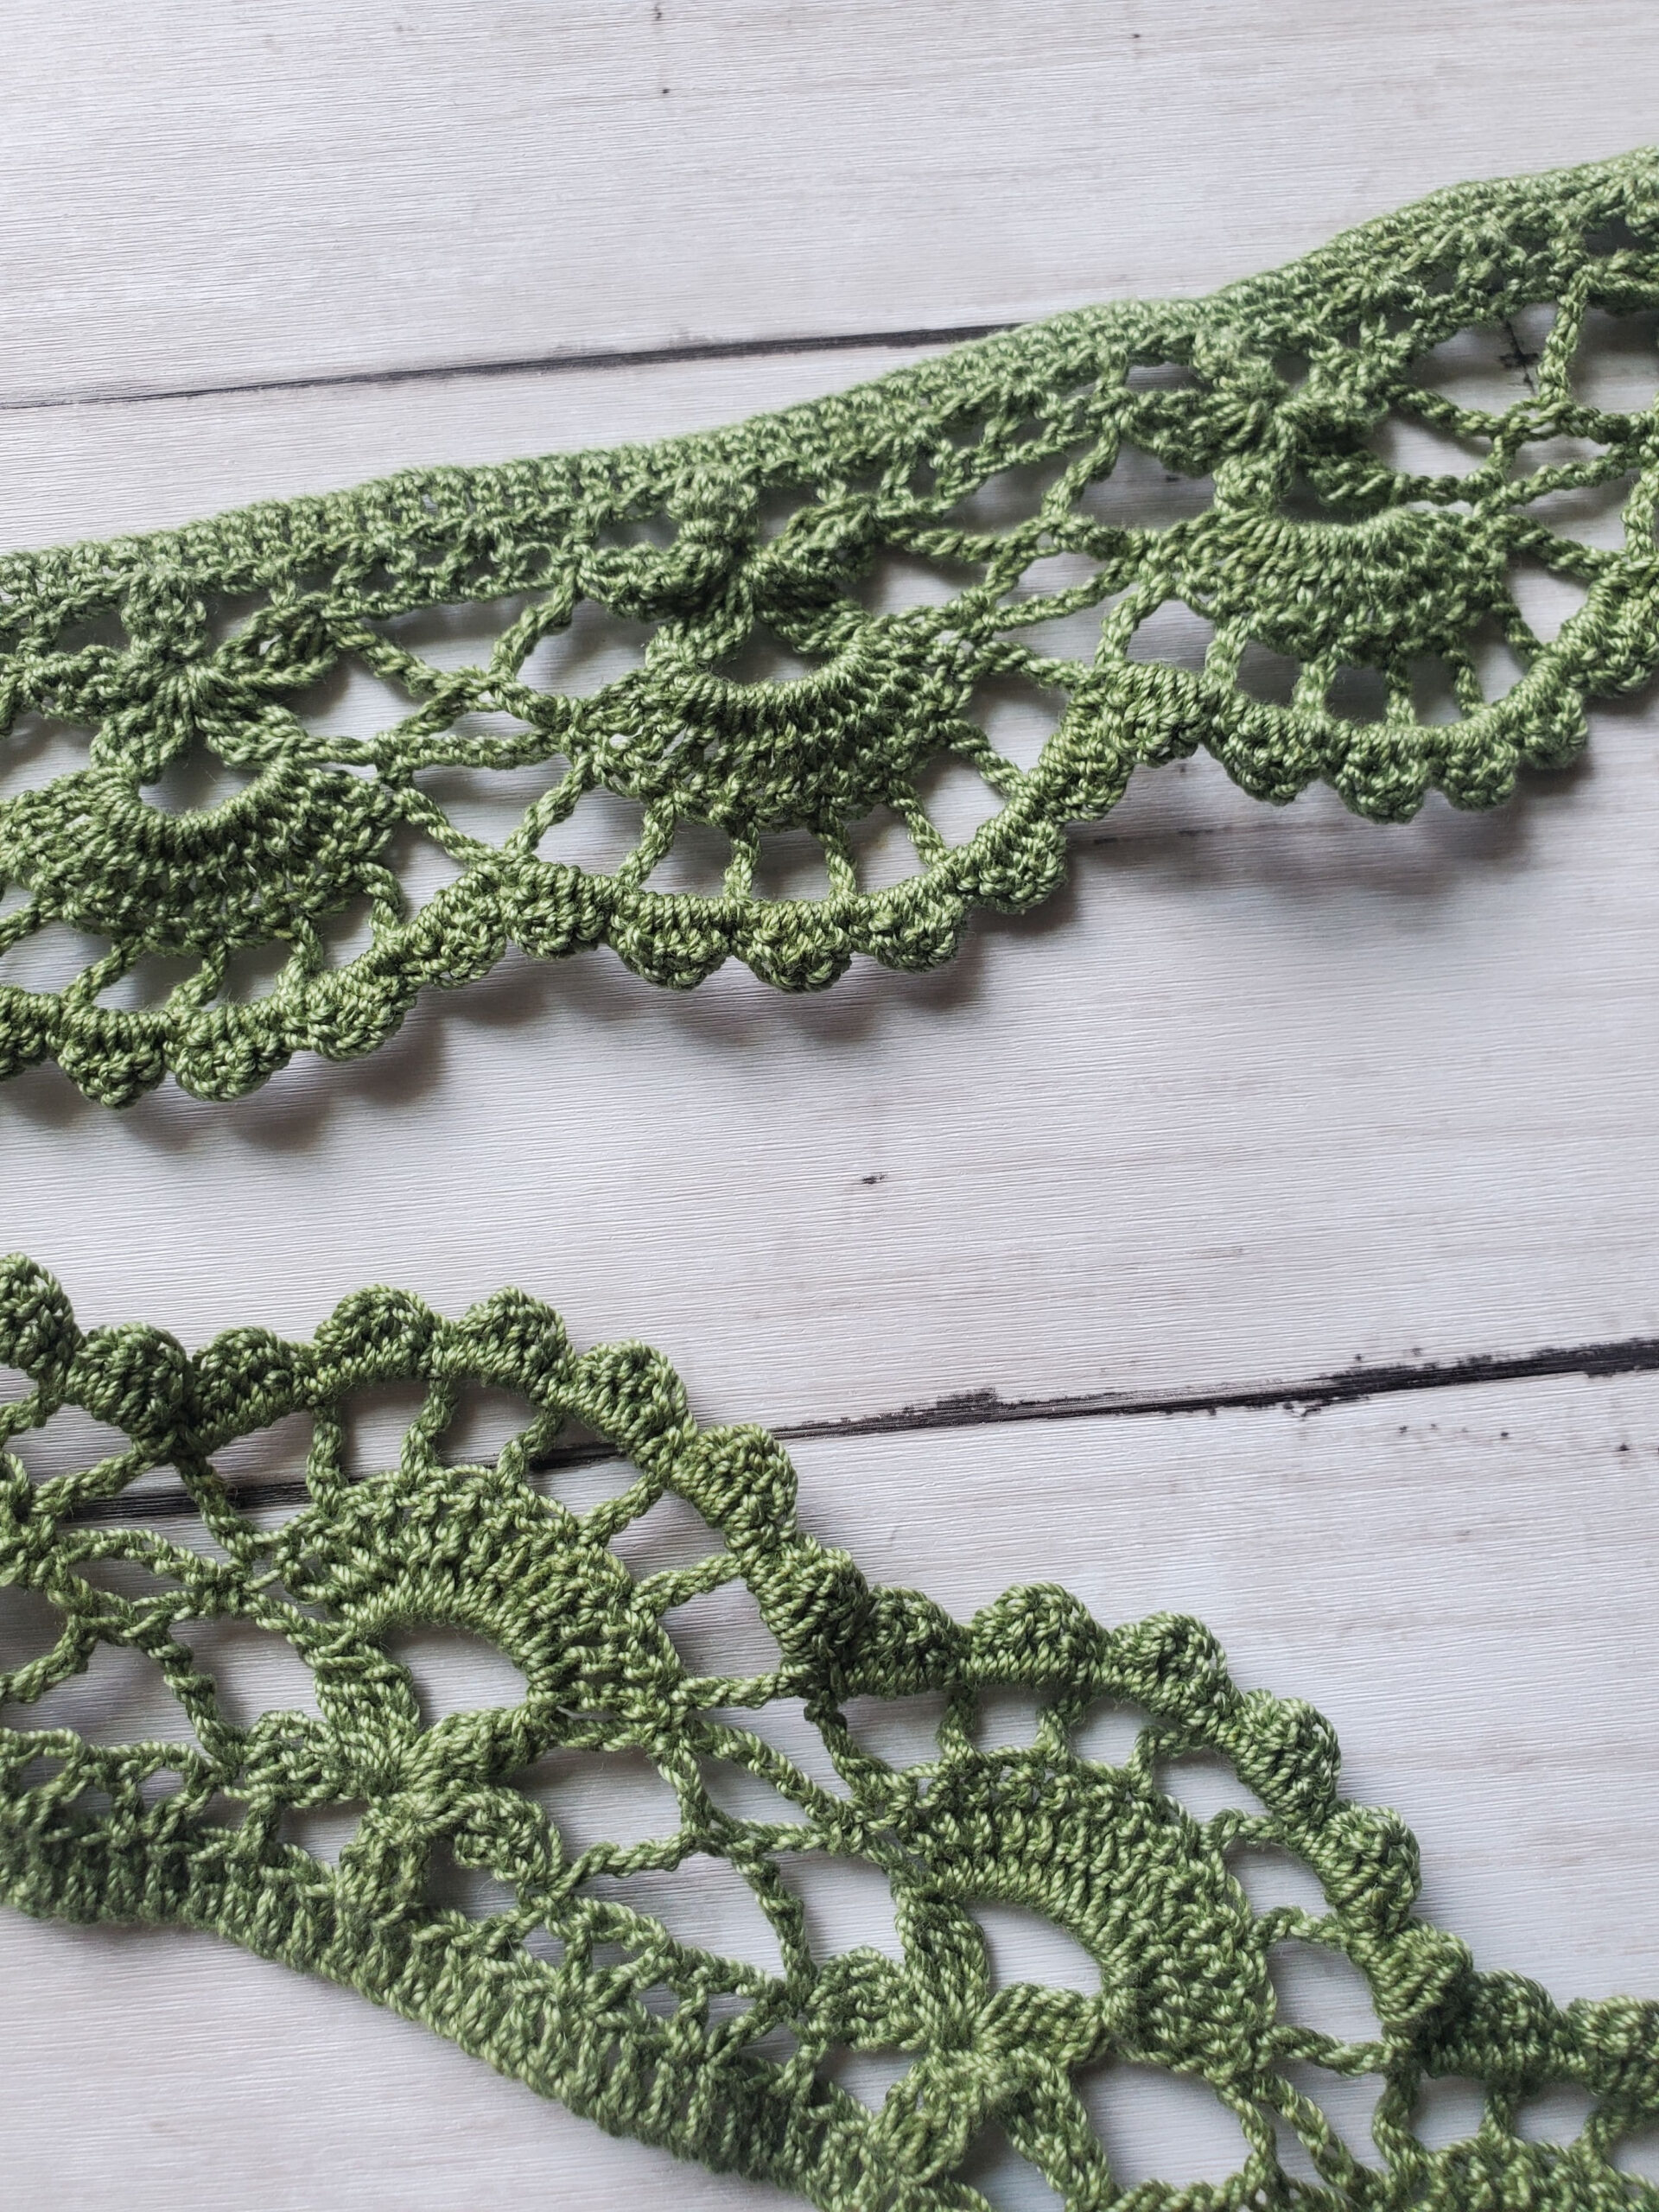
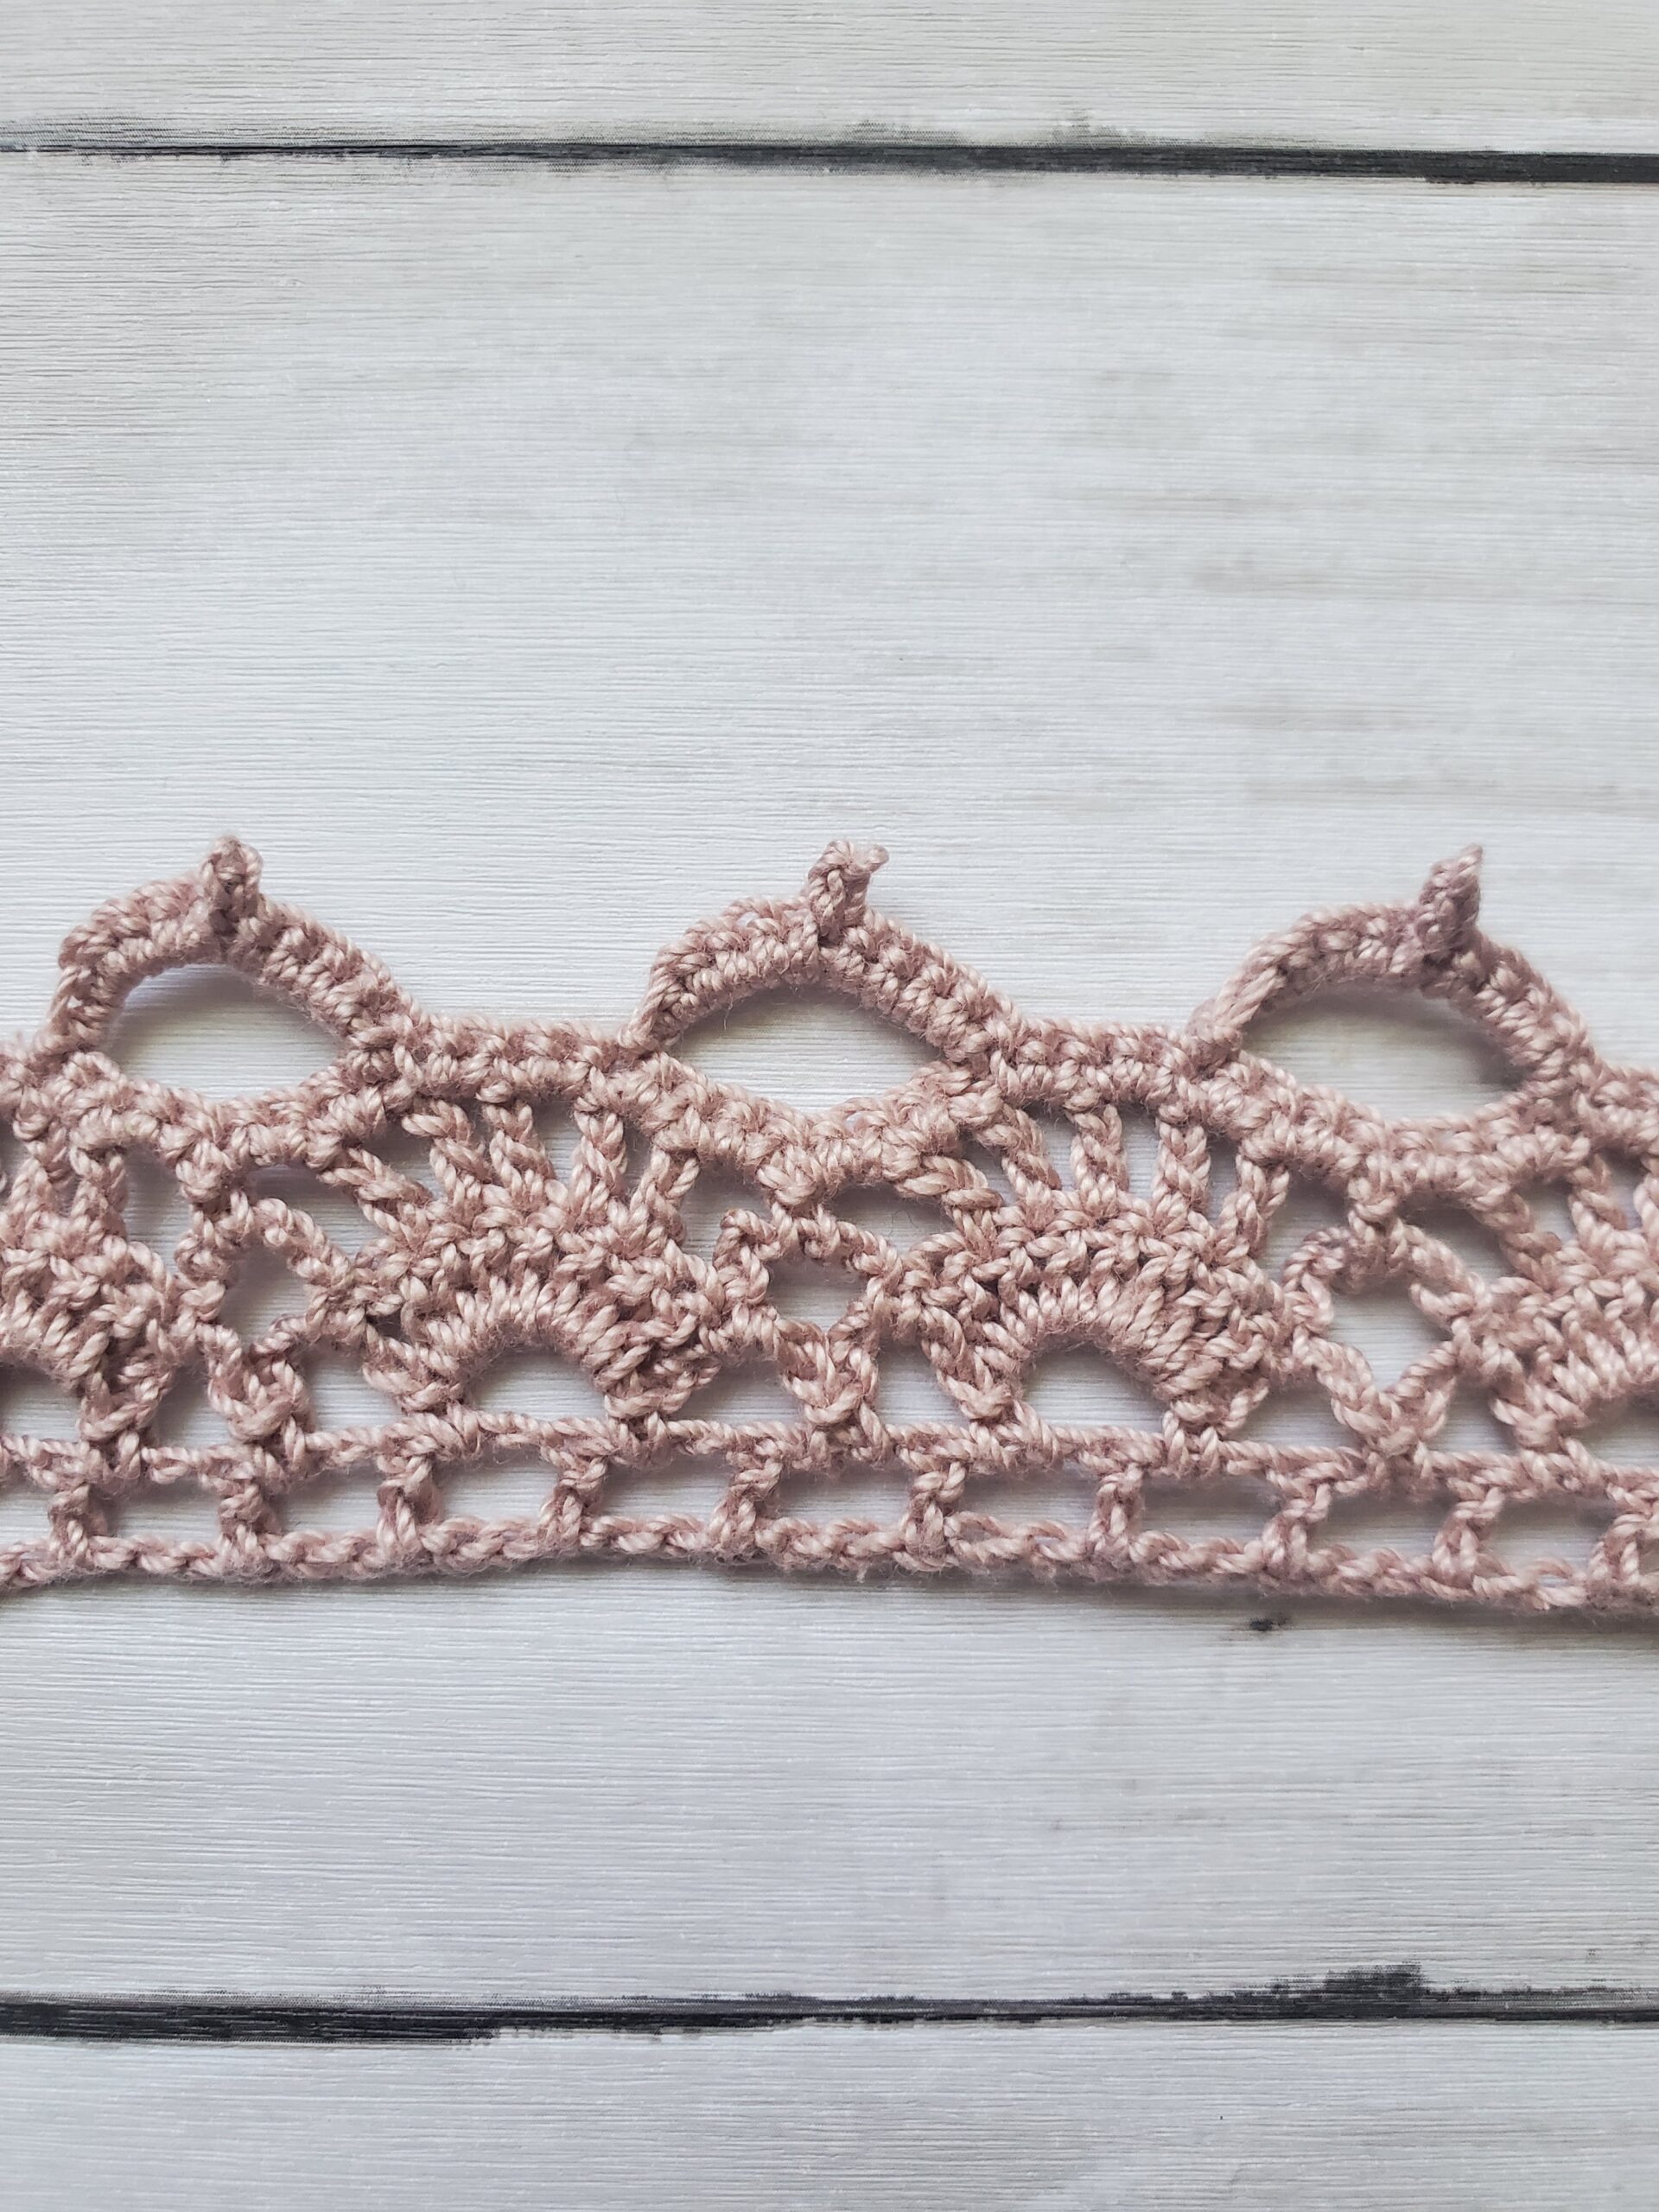
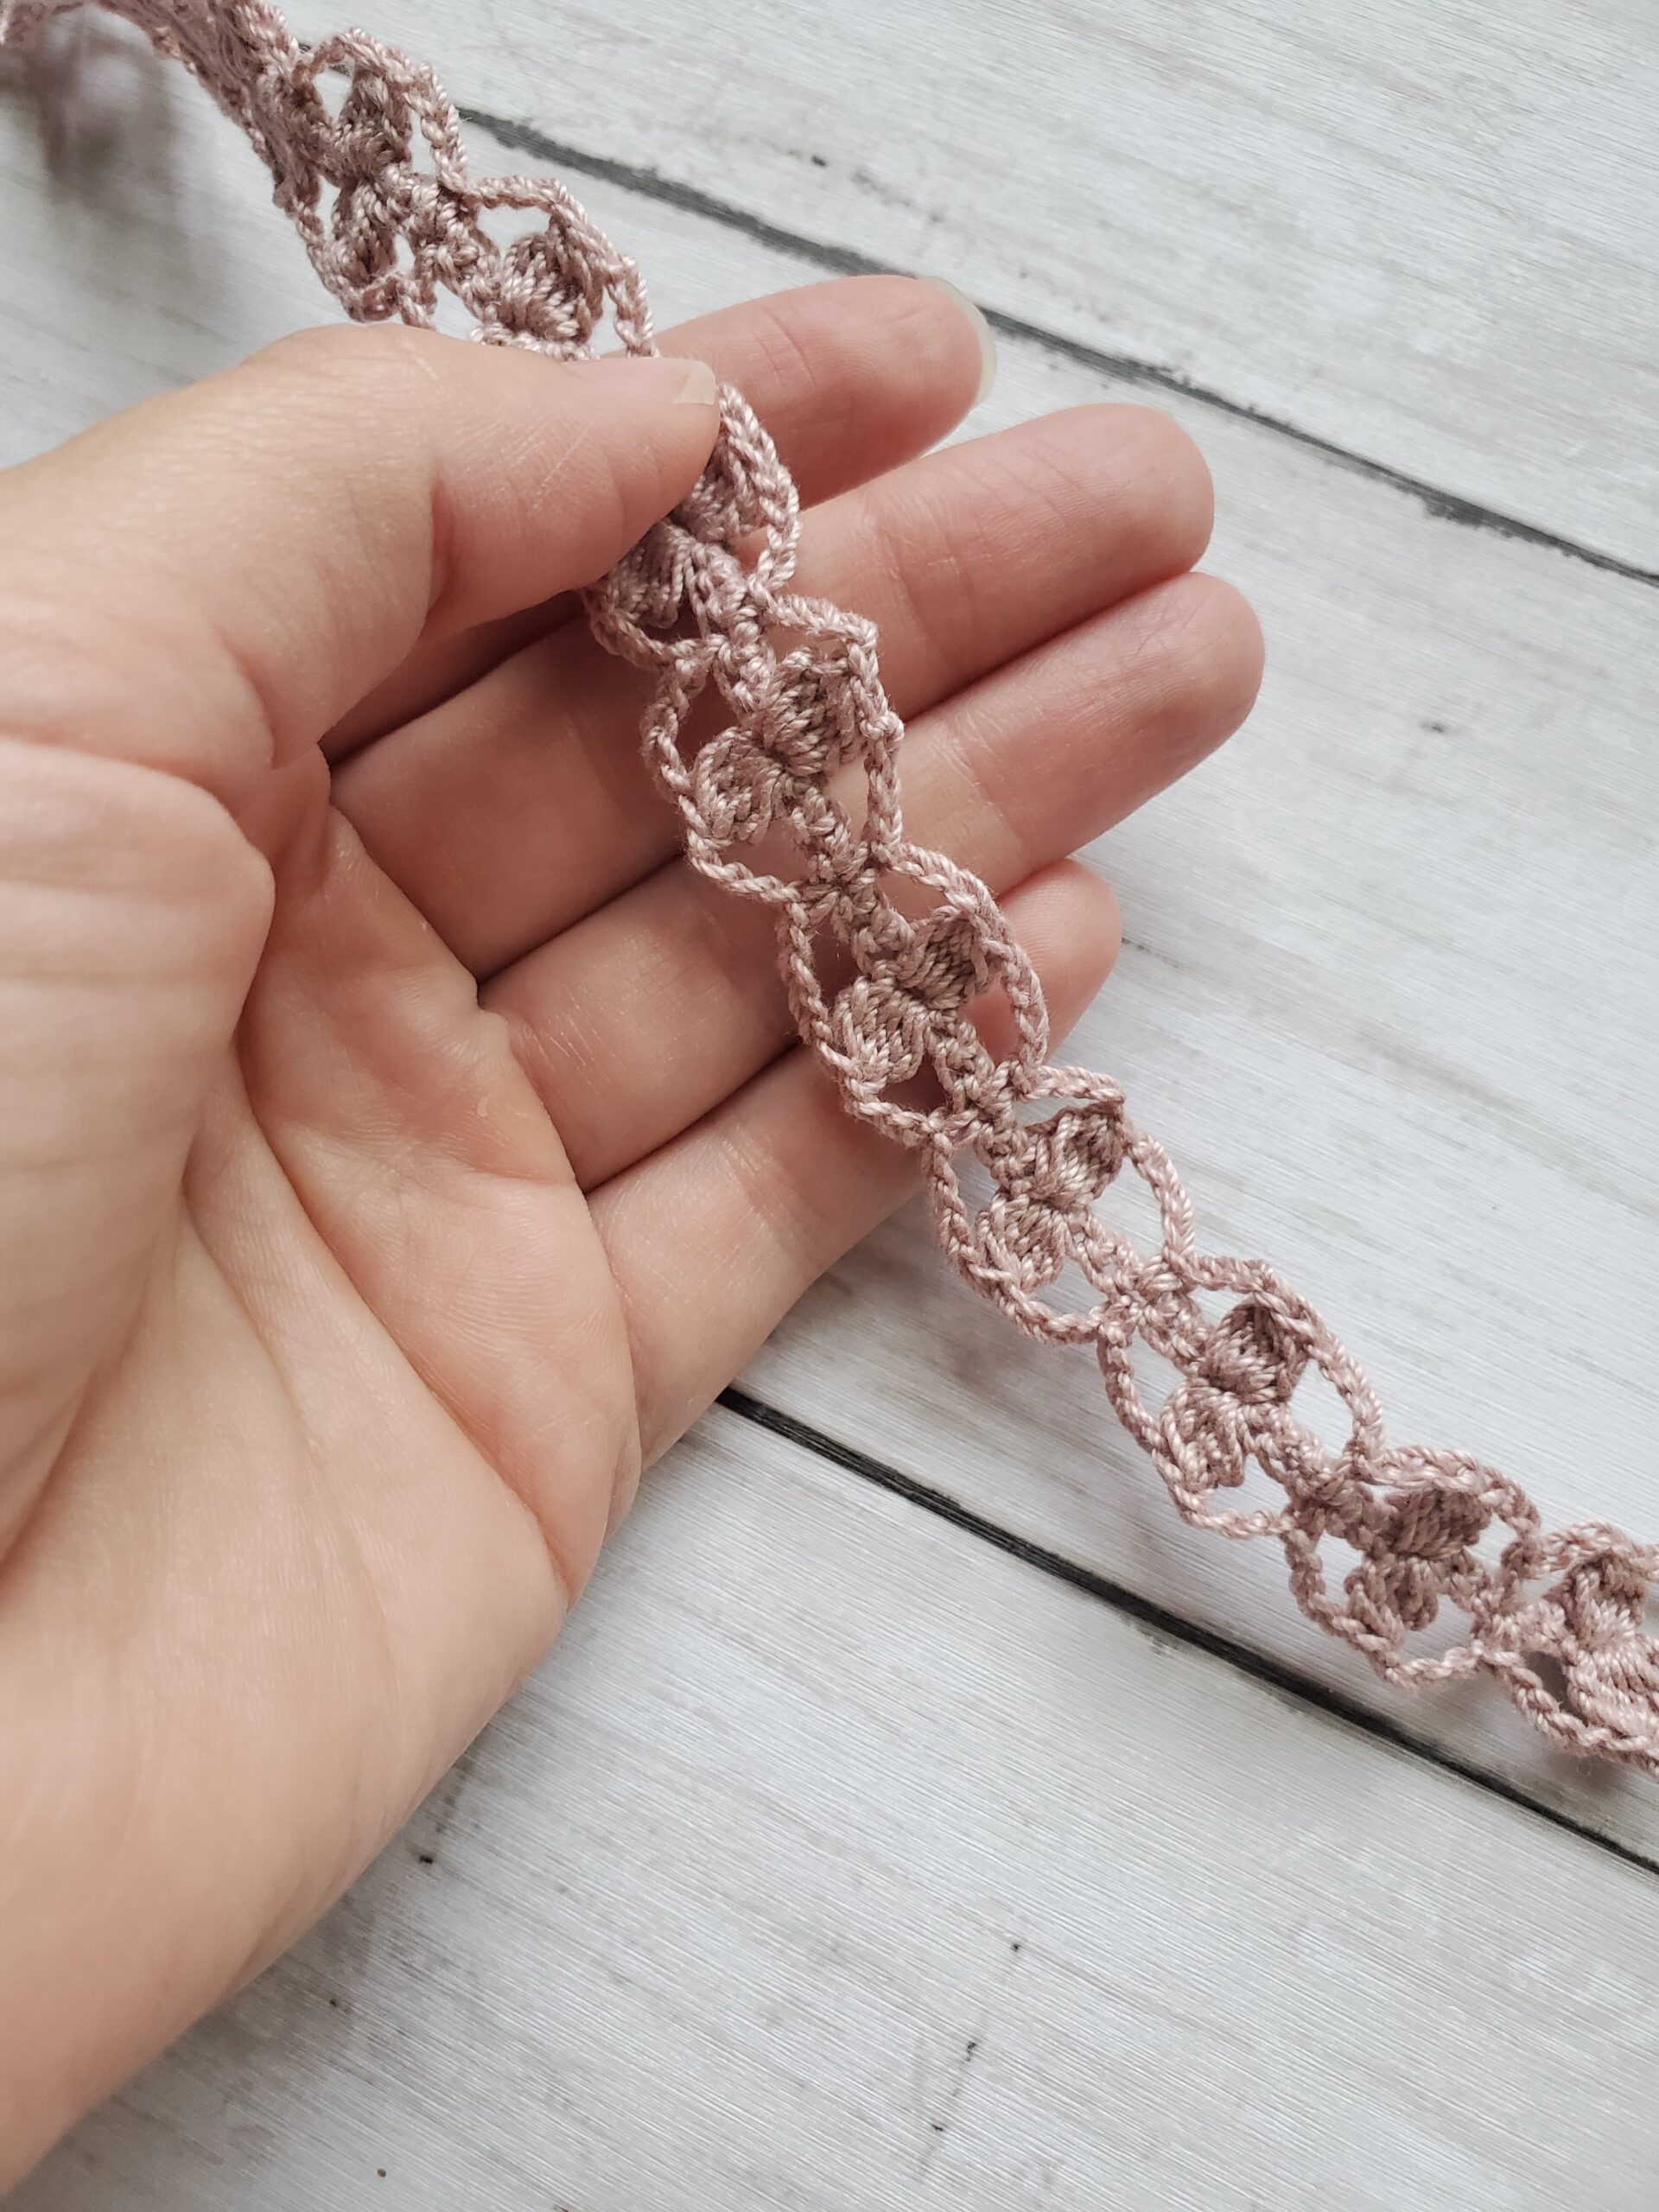
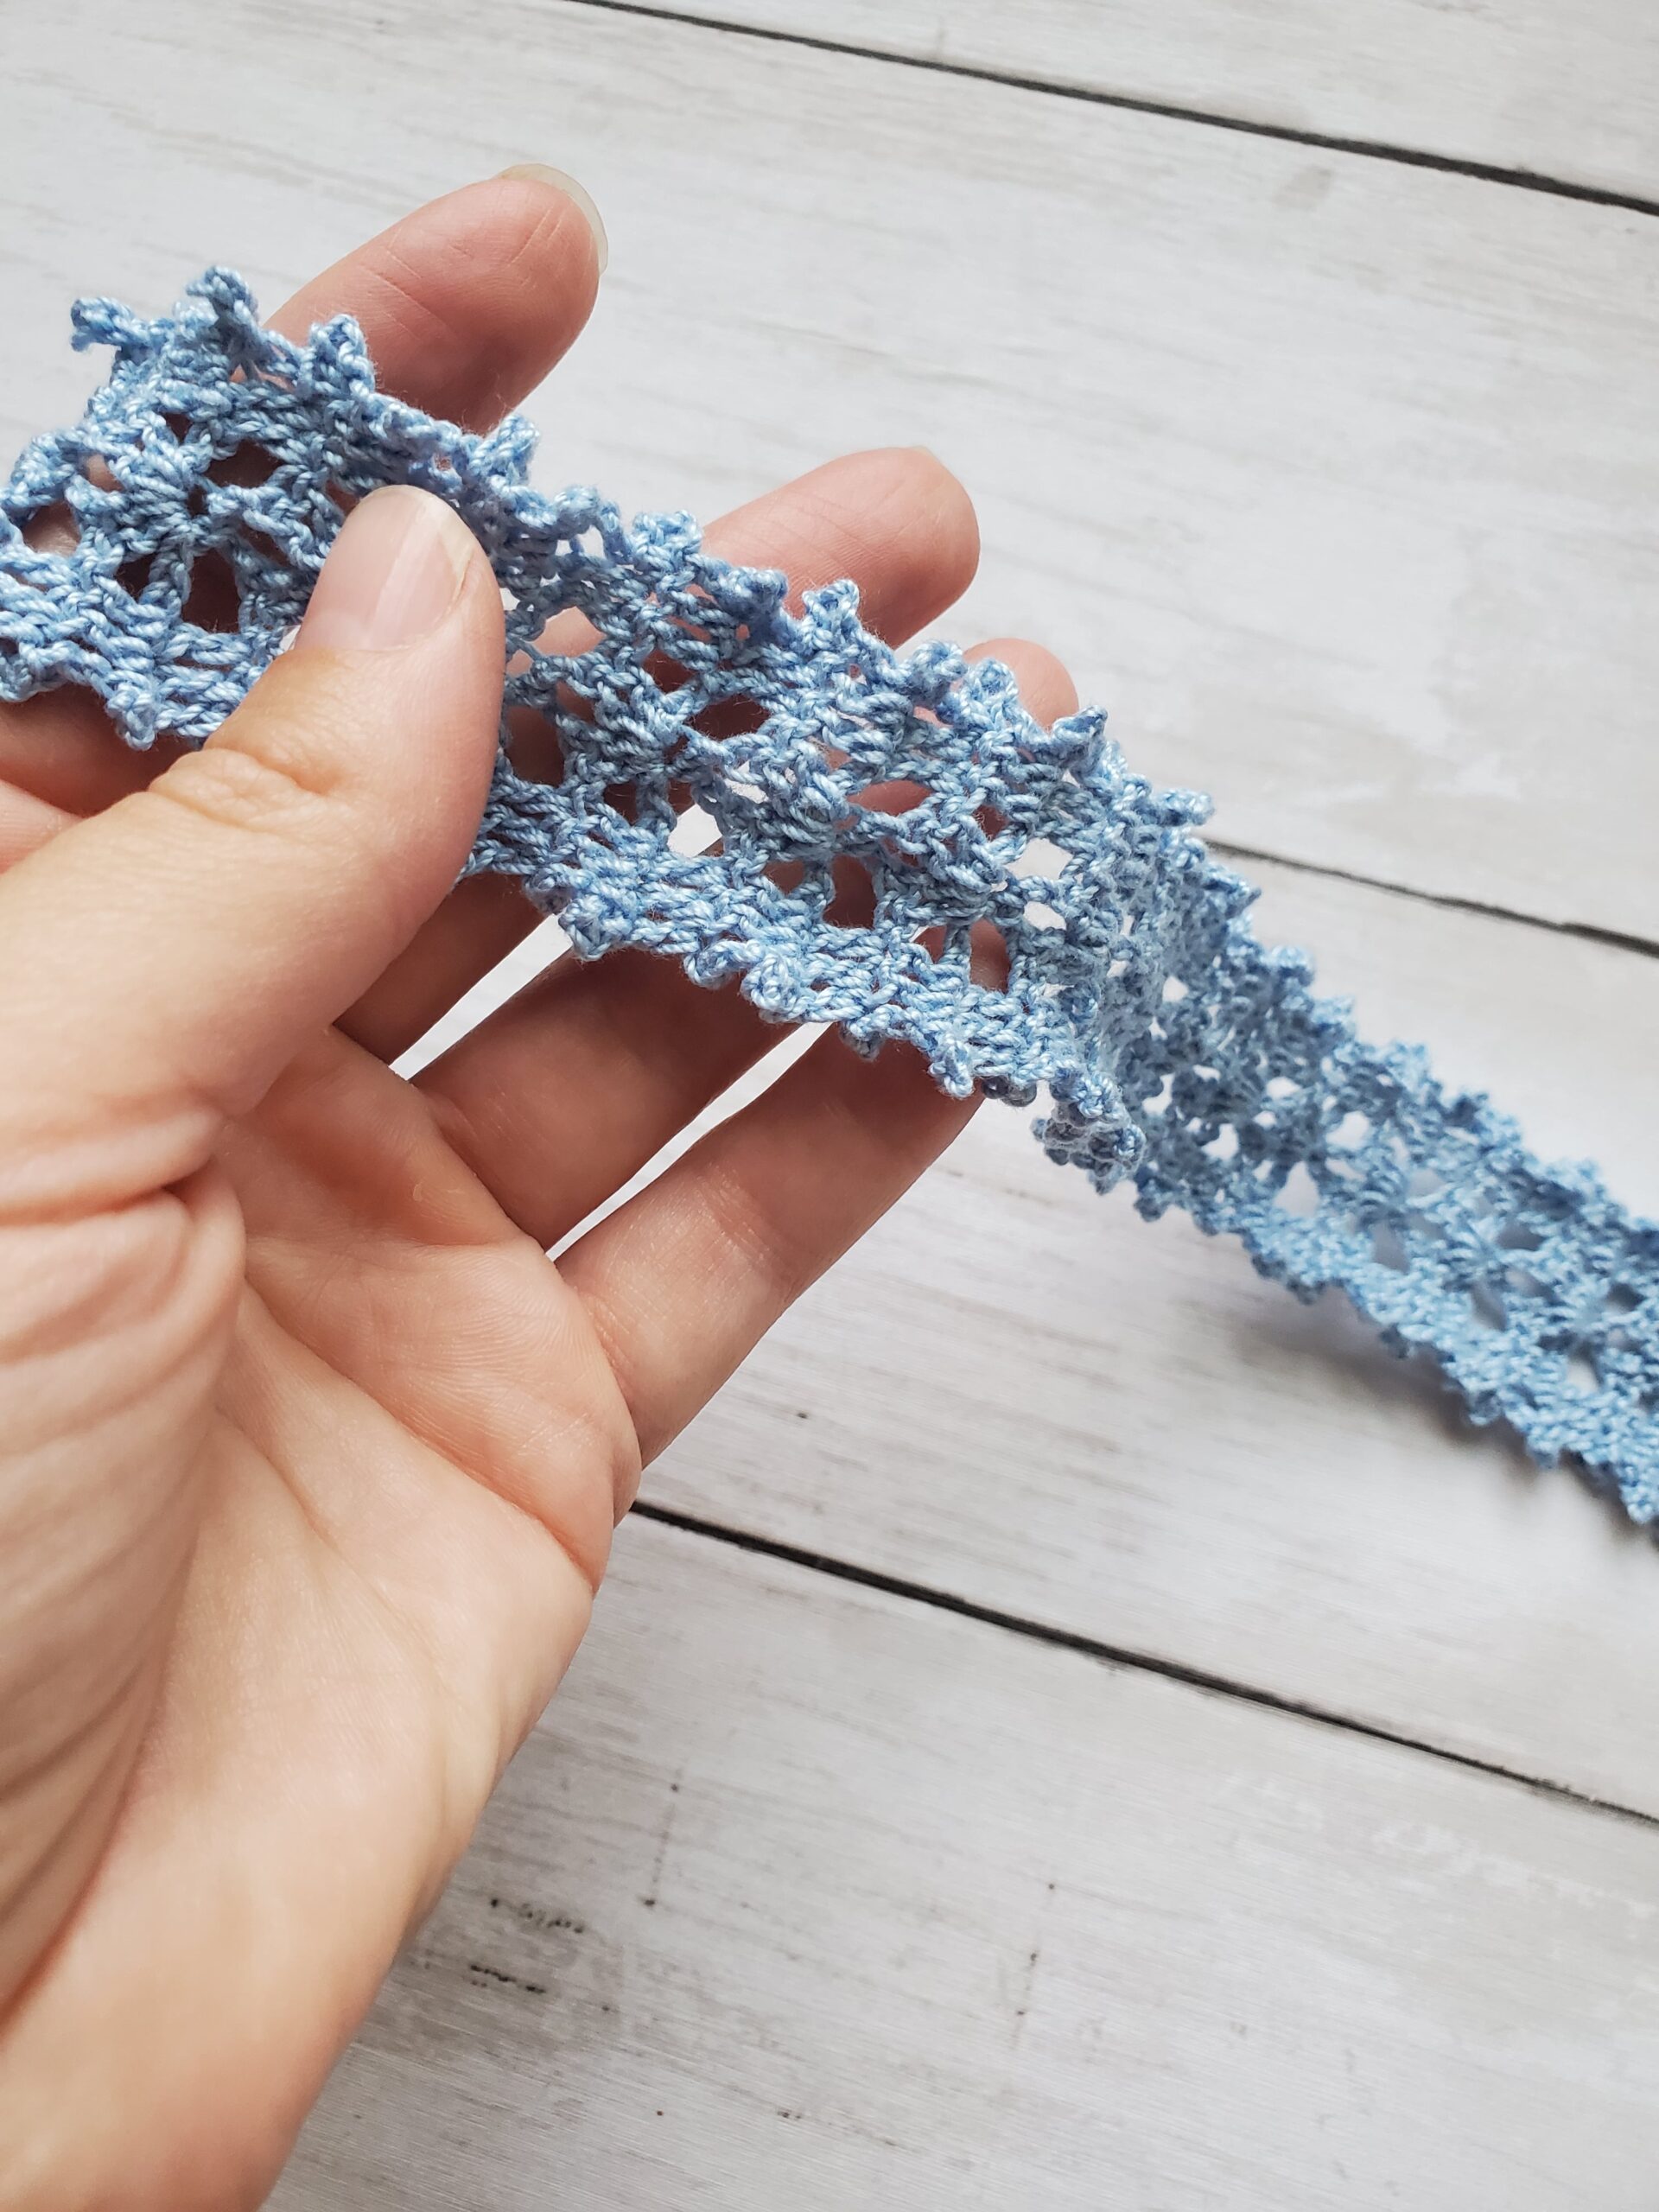
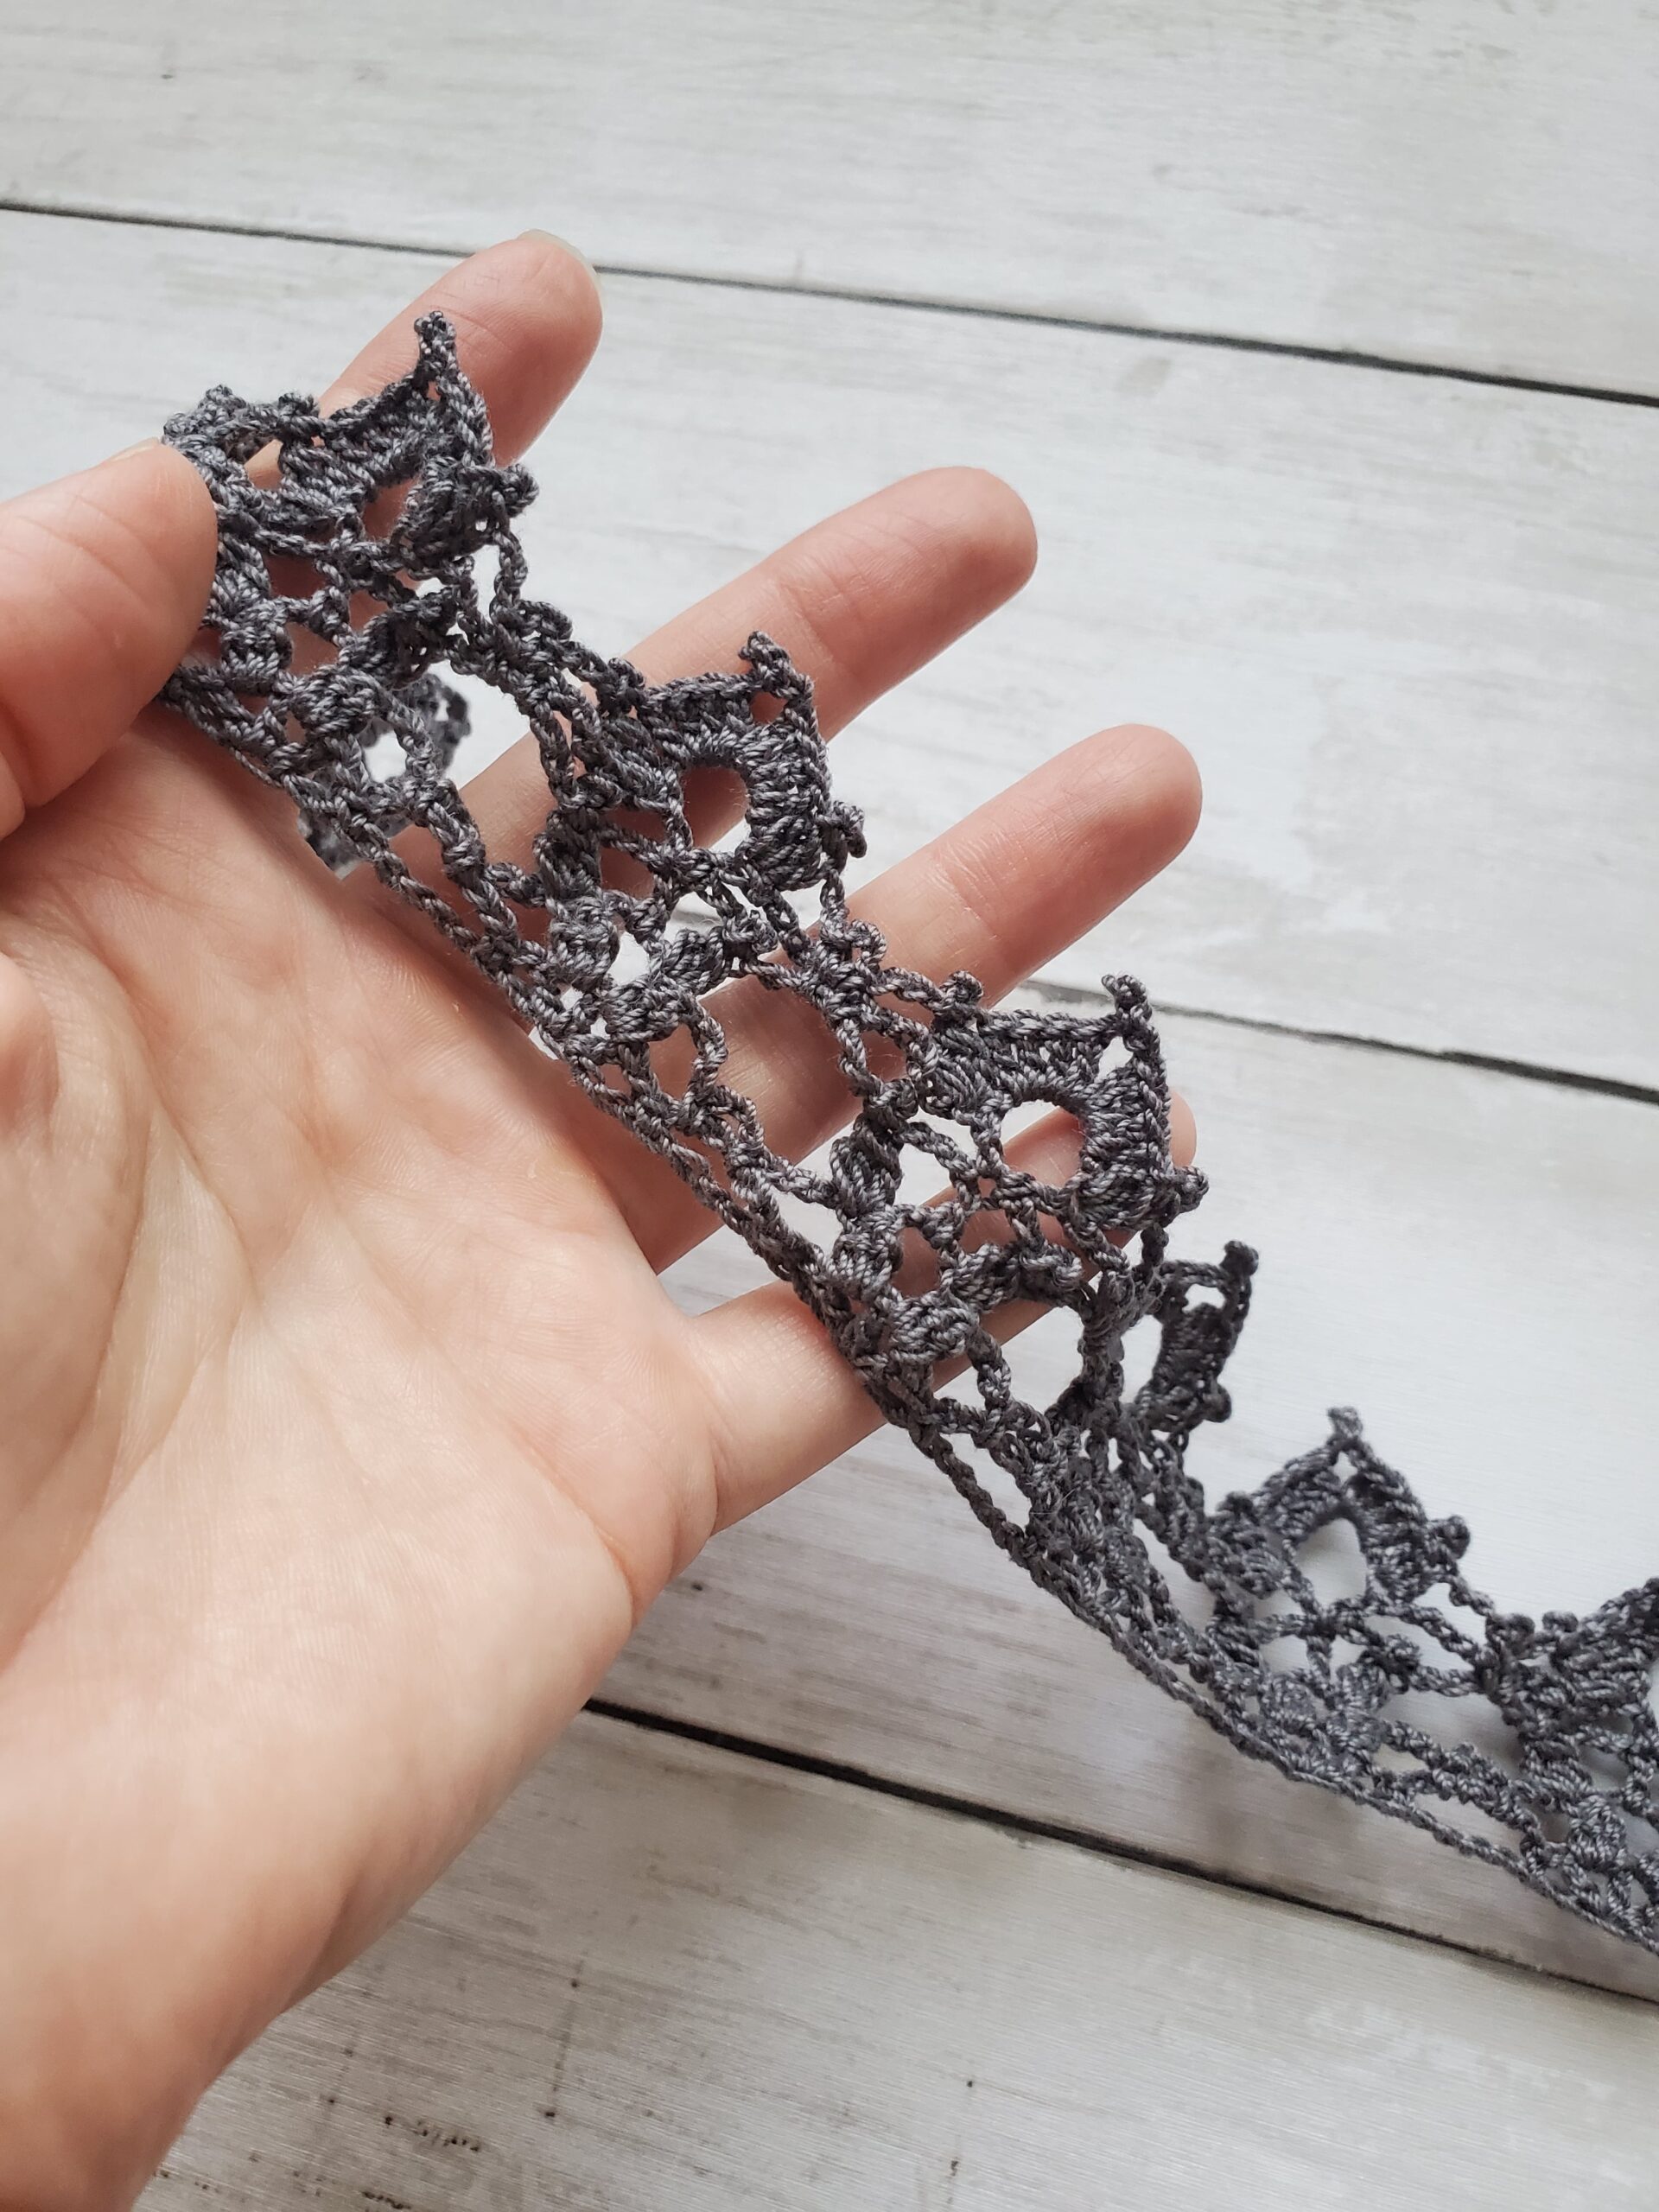
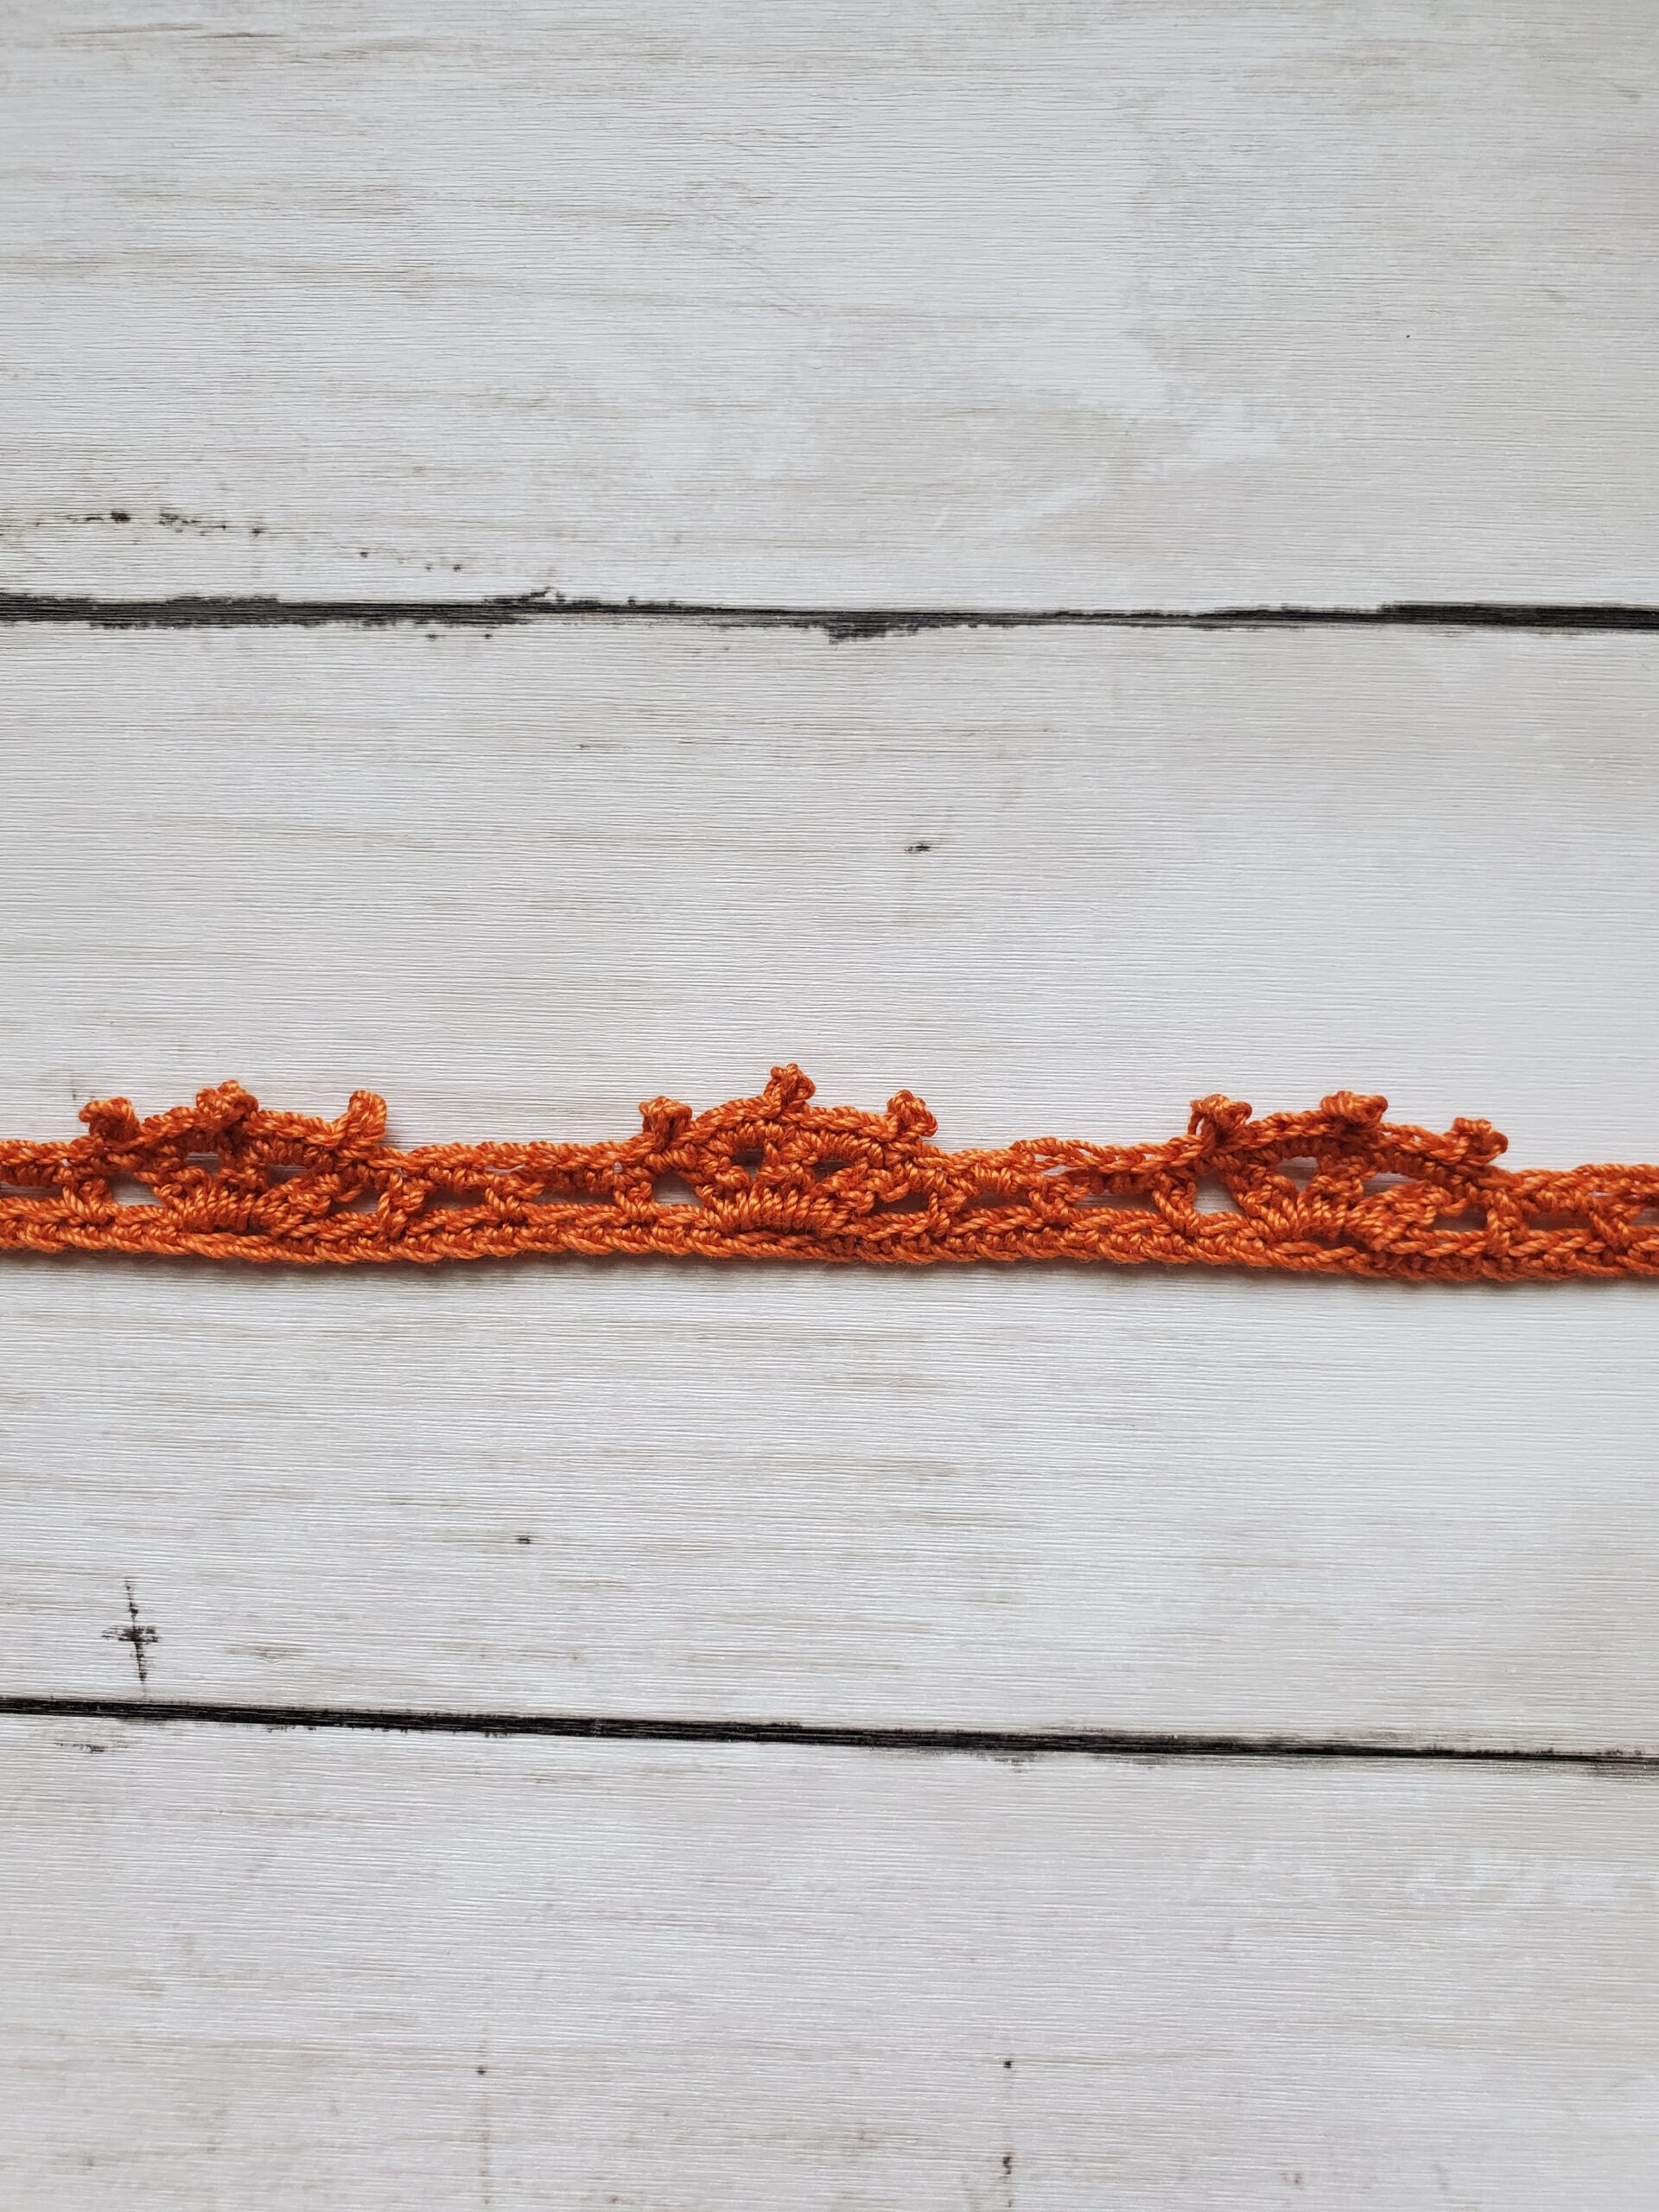
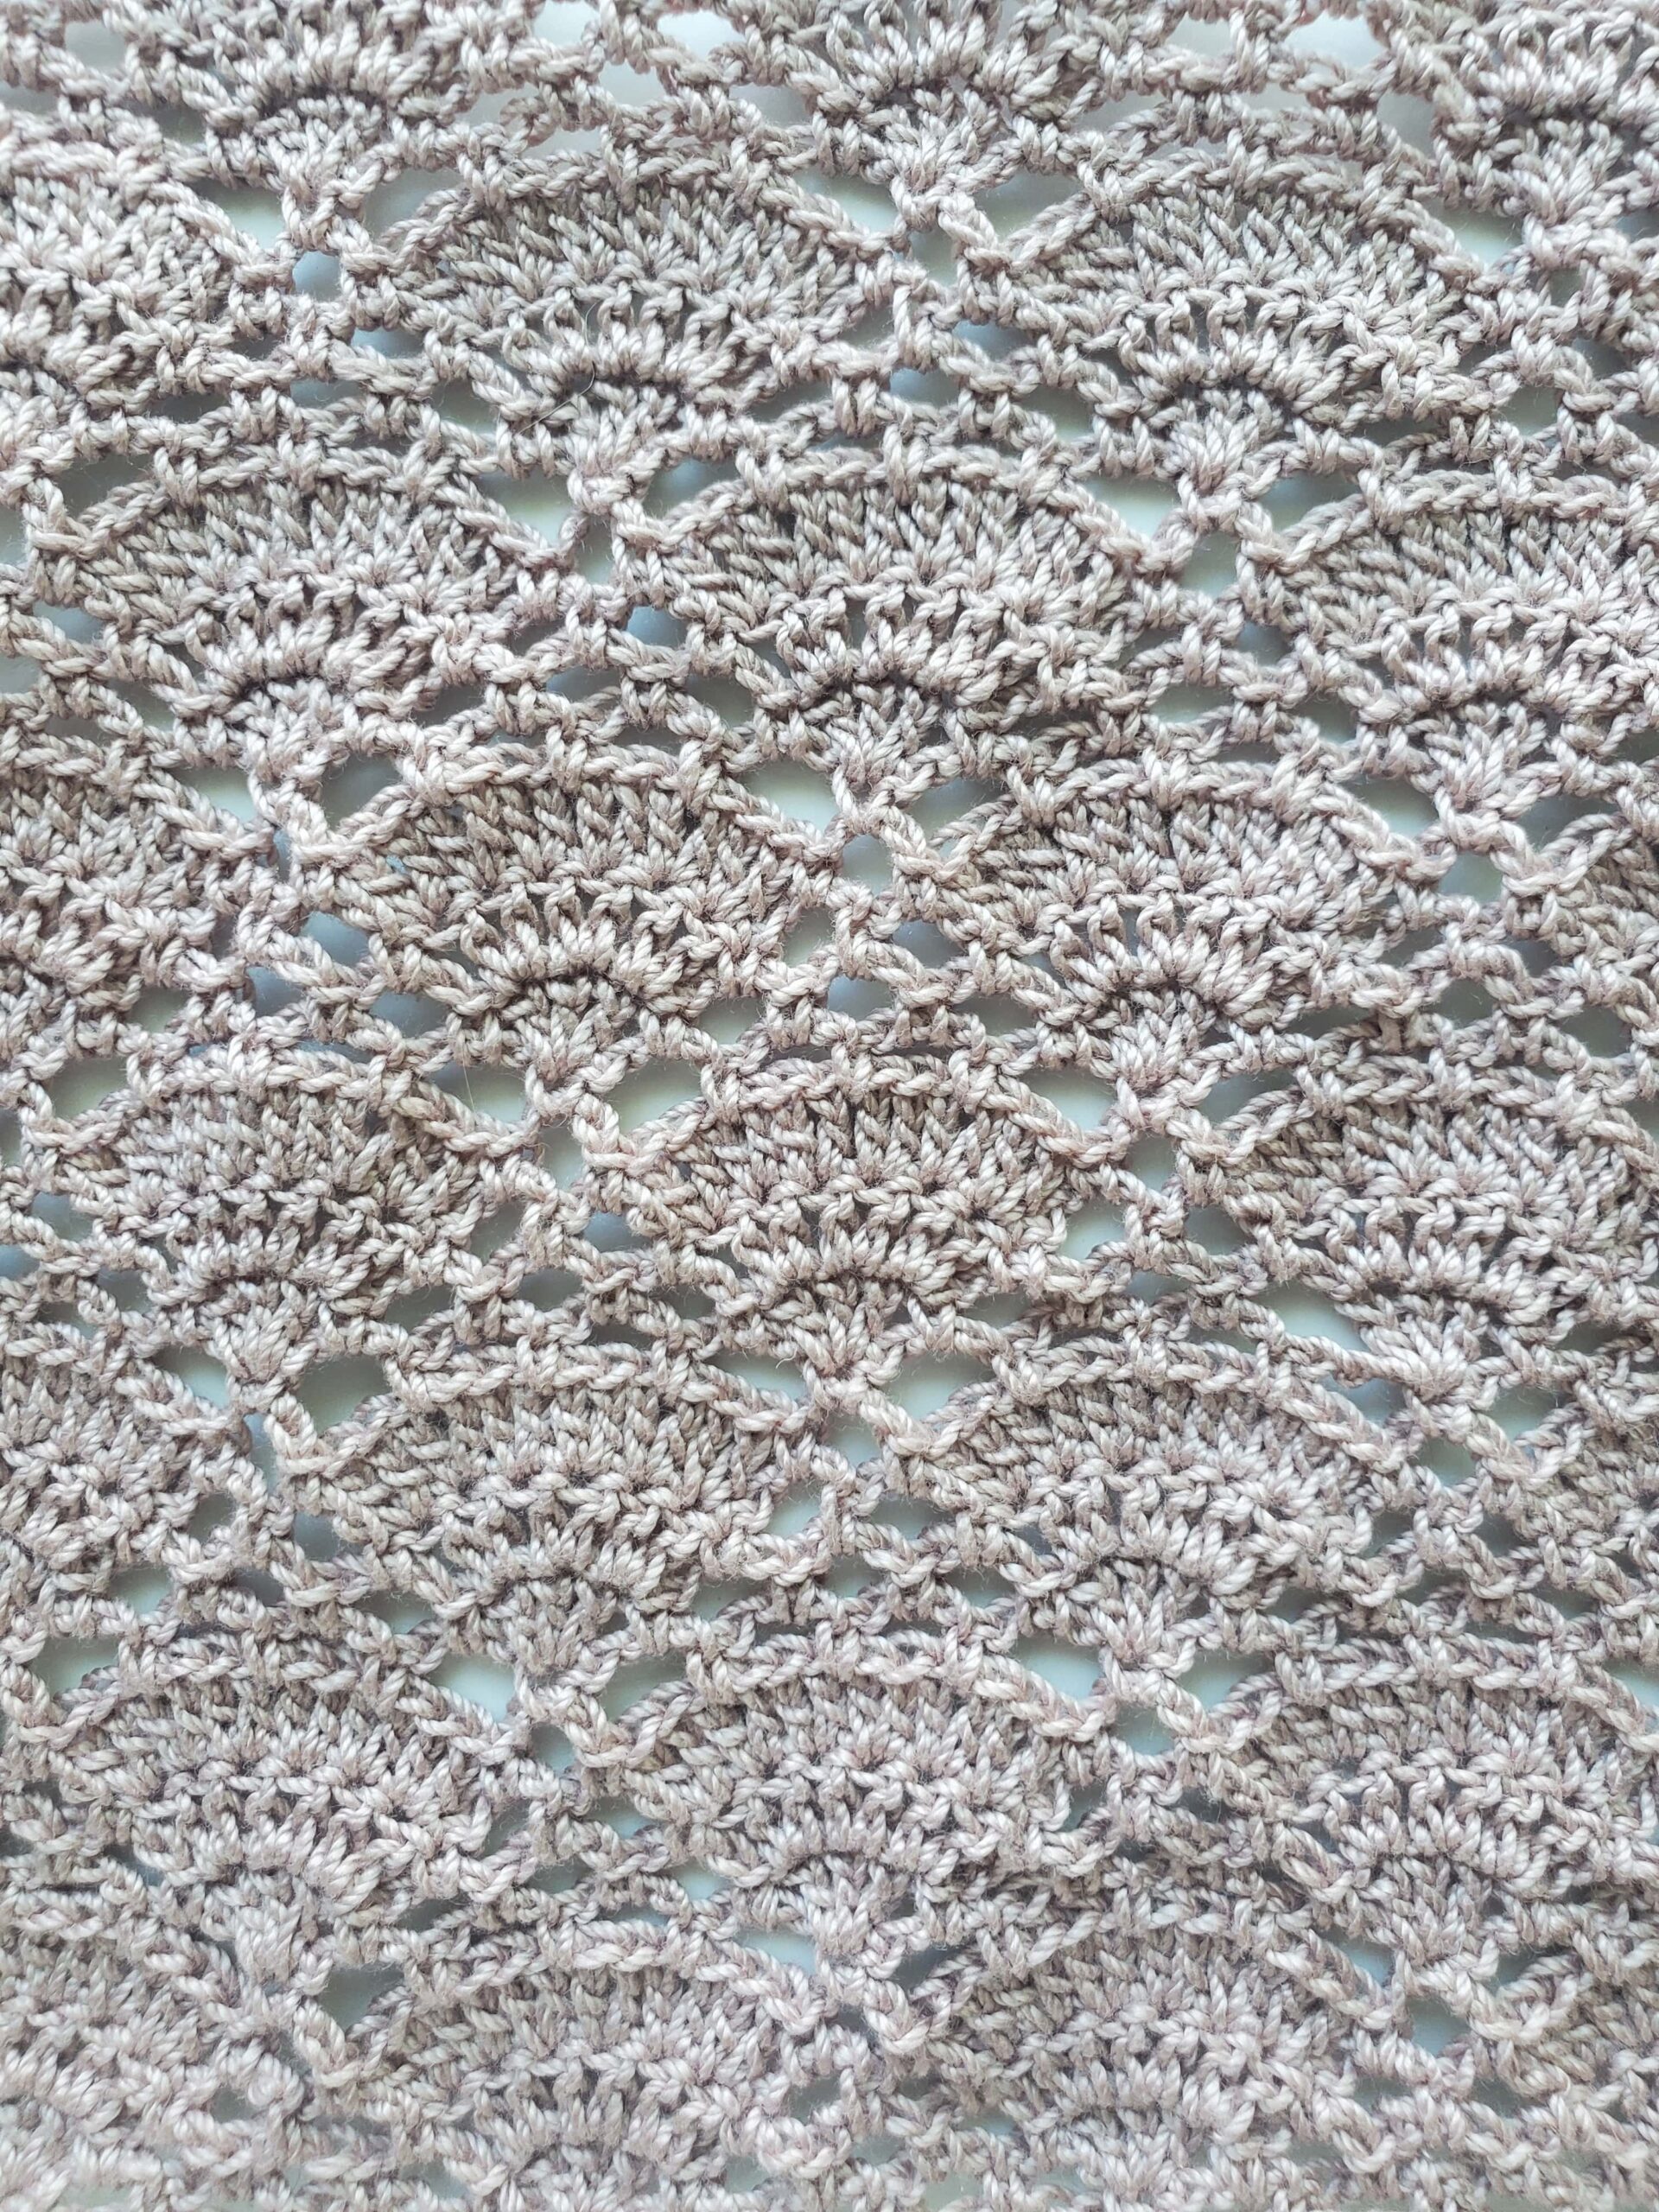
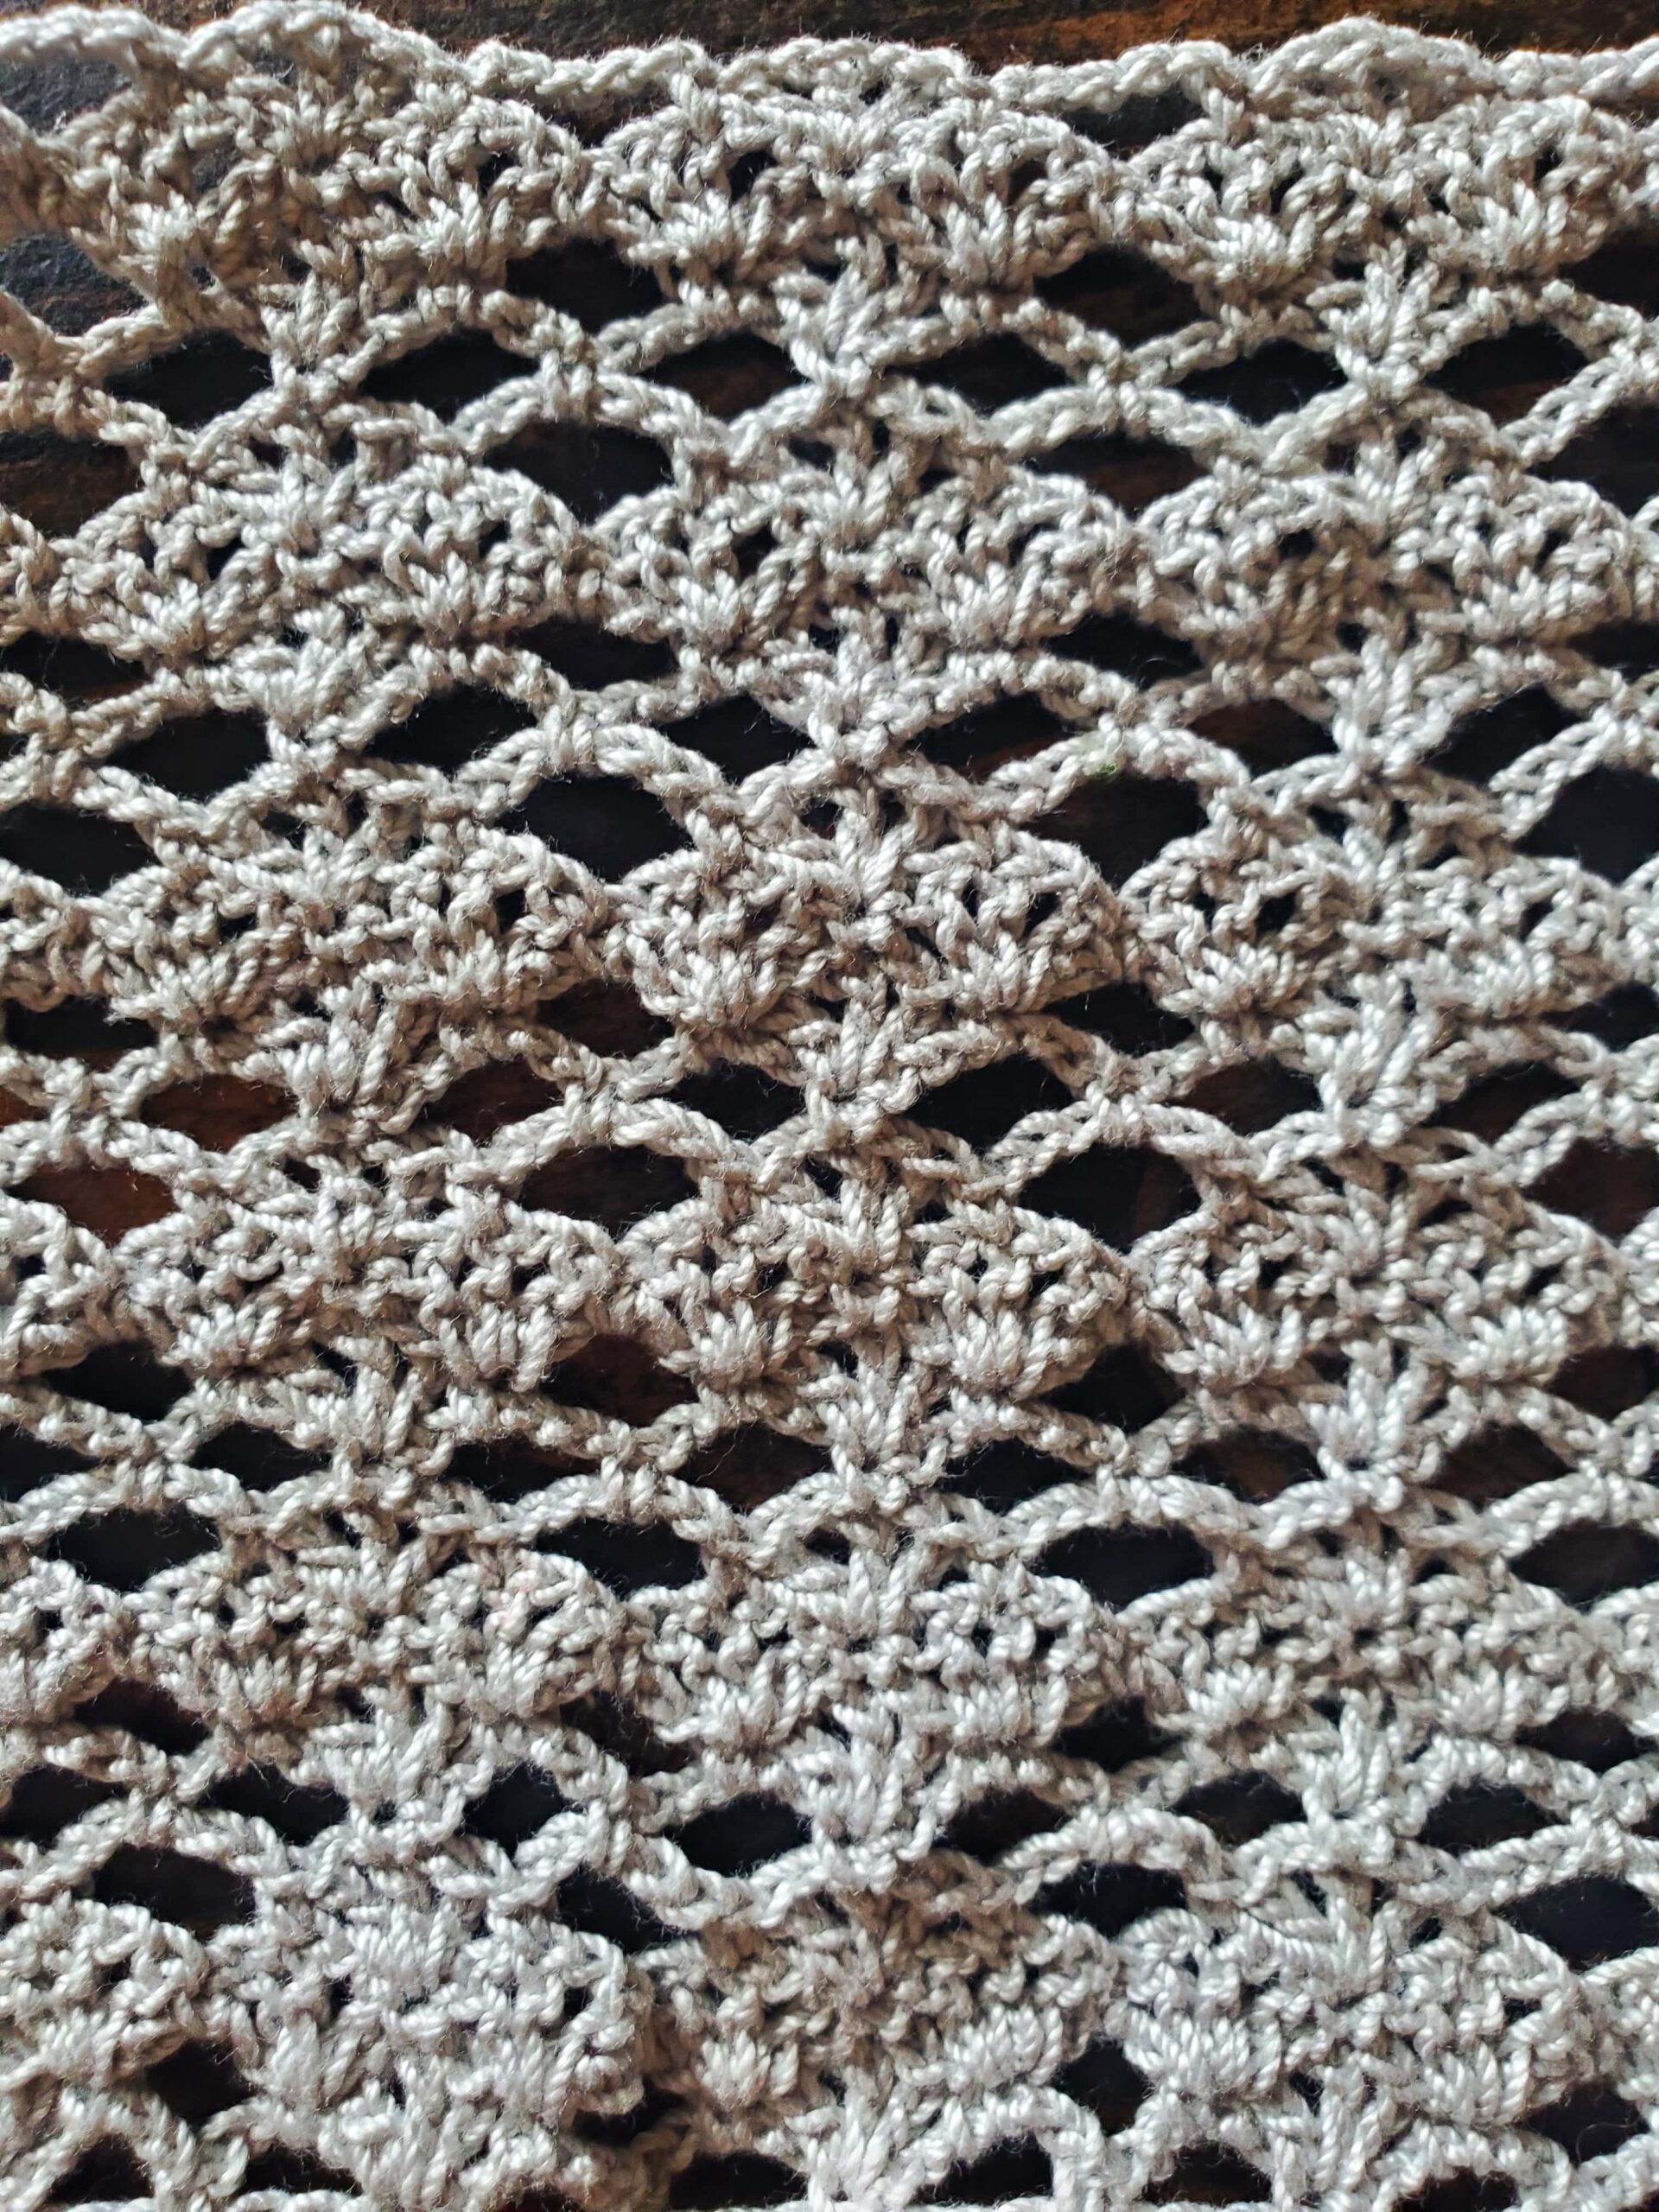
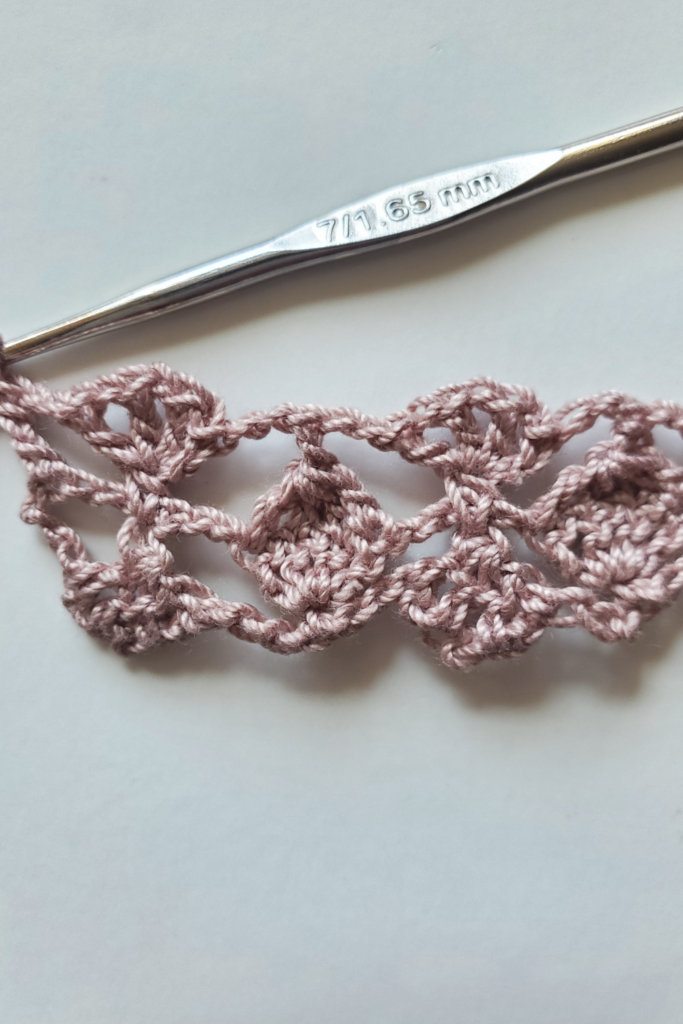
For all the patterns listed below, I’m using crochet thread size 10 with a 1.65mm crochet hook. You’re going to want a small thread and a small hook to match, on the yarn label it will have a recommendation for what size hook to use if you’re not sure.
But you don’t have to use the same yarn and hook as I am! You can use whatever you like or have on hand, just keep in mind that your edging will be bigger or smaller depending on your choice of yarn!
Is Making Crochet Lace Edgings Hard?
Crocheting lace is not difficult, especially if you already know how to crochet. You’ll be crocheting a lot of basic stitches, but sometimes clusters/decreases are thrown in there to make “flower petals.”
Craftsy has some great lace classes that you can check out, but there’s a lot of wonderful Youtube tutorials out there too.
If you’ve never crocheted before, starting out with a larger yarn and hook size may be beneficial to you. Once you feel comfortable, moving down to the lace weight yarn will be your next step.
I remember when I first started crocheting lace, and it felt kind of weird since I was so used to crocheting with 5mm crochet hooks and corresponding yarns.
Try to relax and crochet loosely if you’re new to lace (I know it’s hard to relax when the thread and hook are so tiny, but you don’t need a death grip!).
I would also suggest being mindful of your back posture (I found myself hunching over a lot instead of just bringing the yarn closer to me lol).
If your hand is starting to feel tired or crampy, give yourself a break. Don’t push yourself too hard, and make sure you get a good night’s rest (this will help you build those neural pathways that makes crocheting lace easier!).
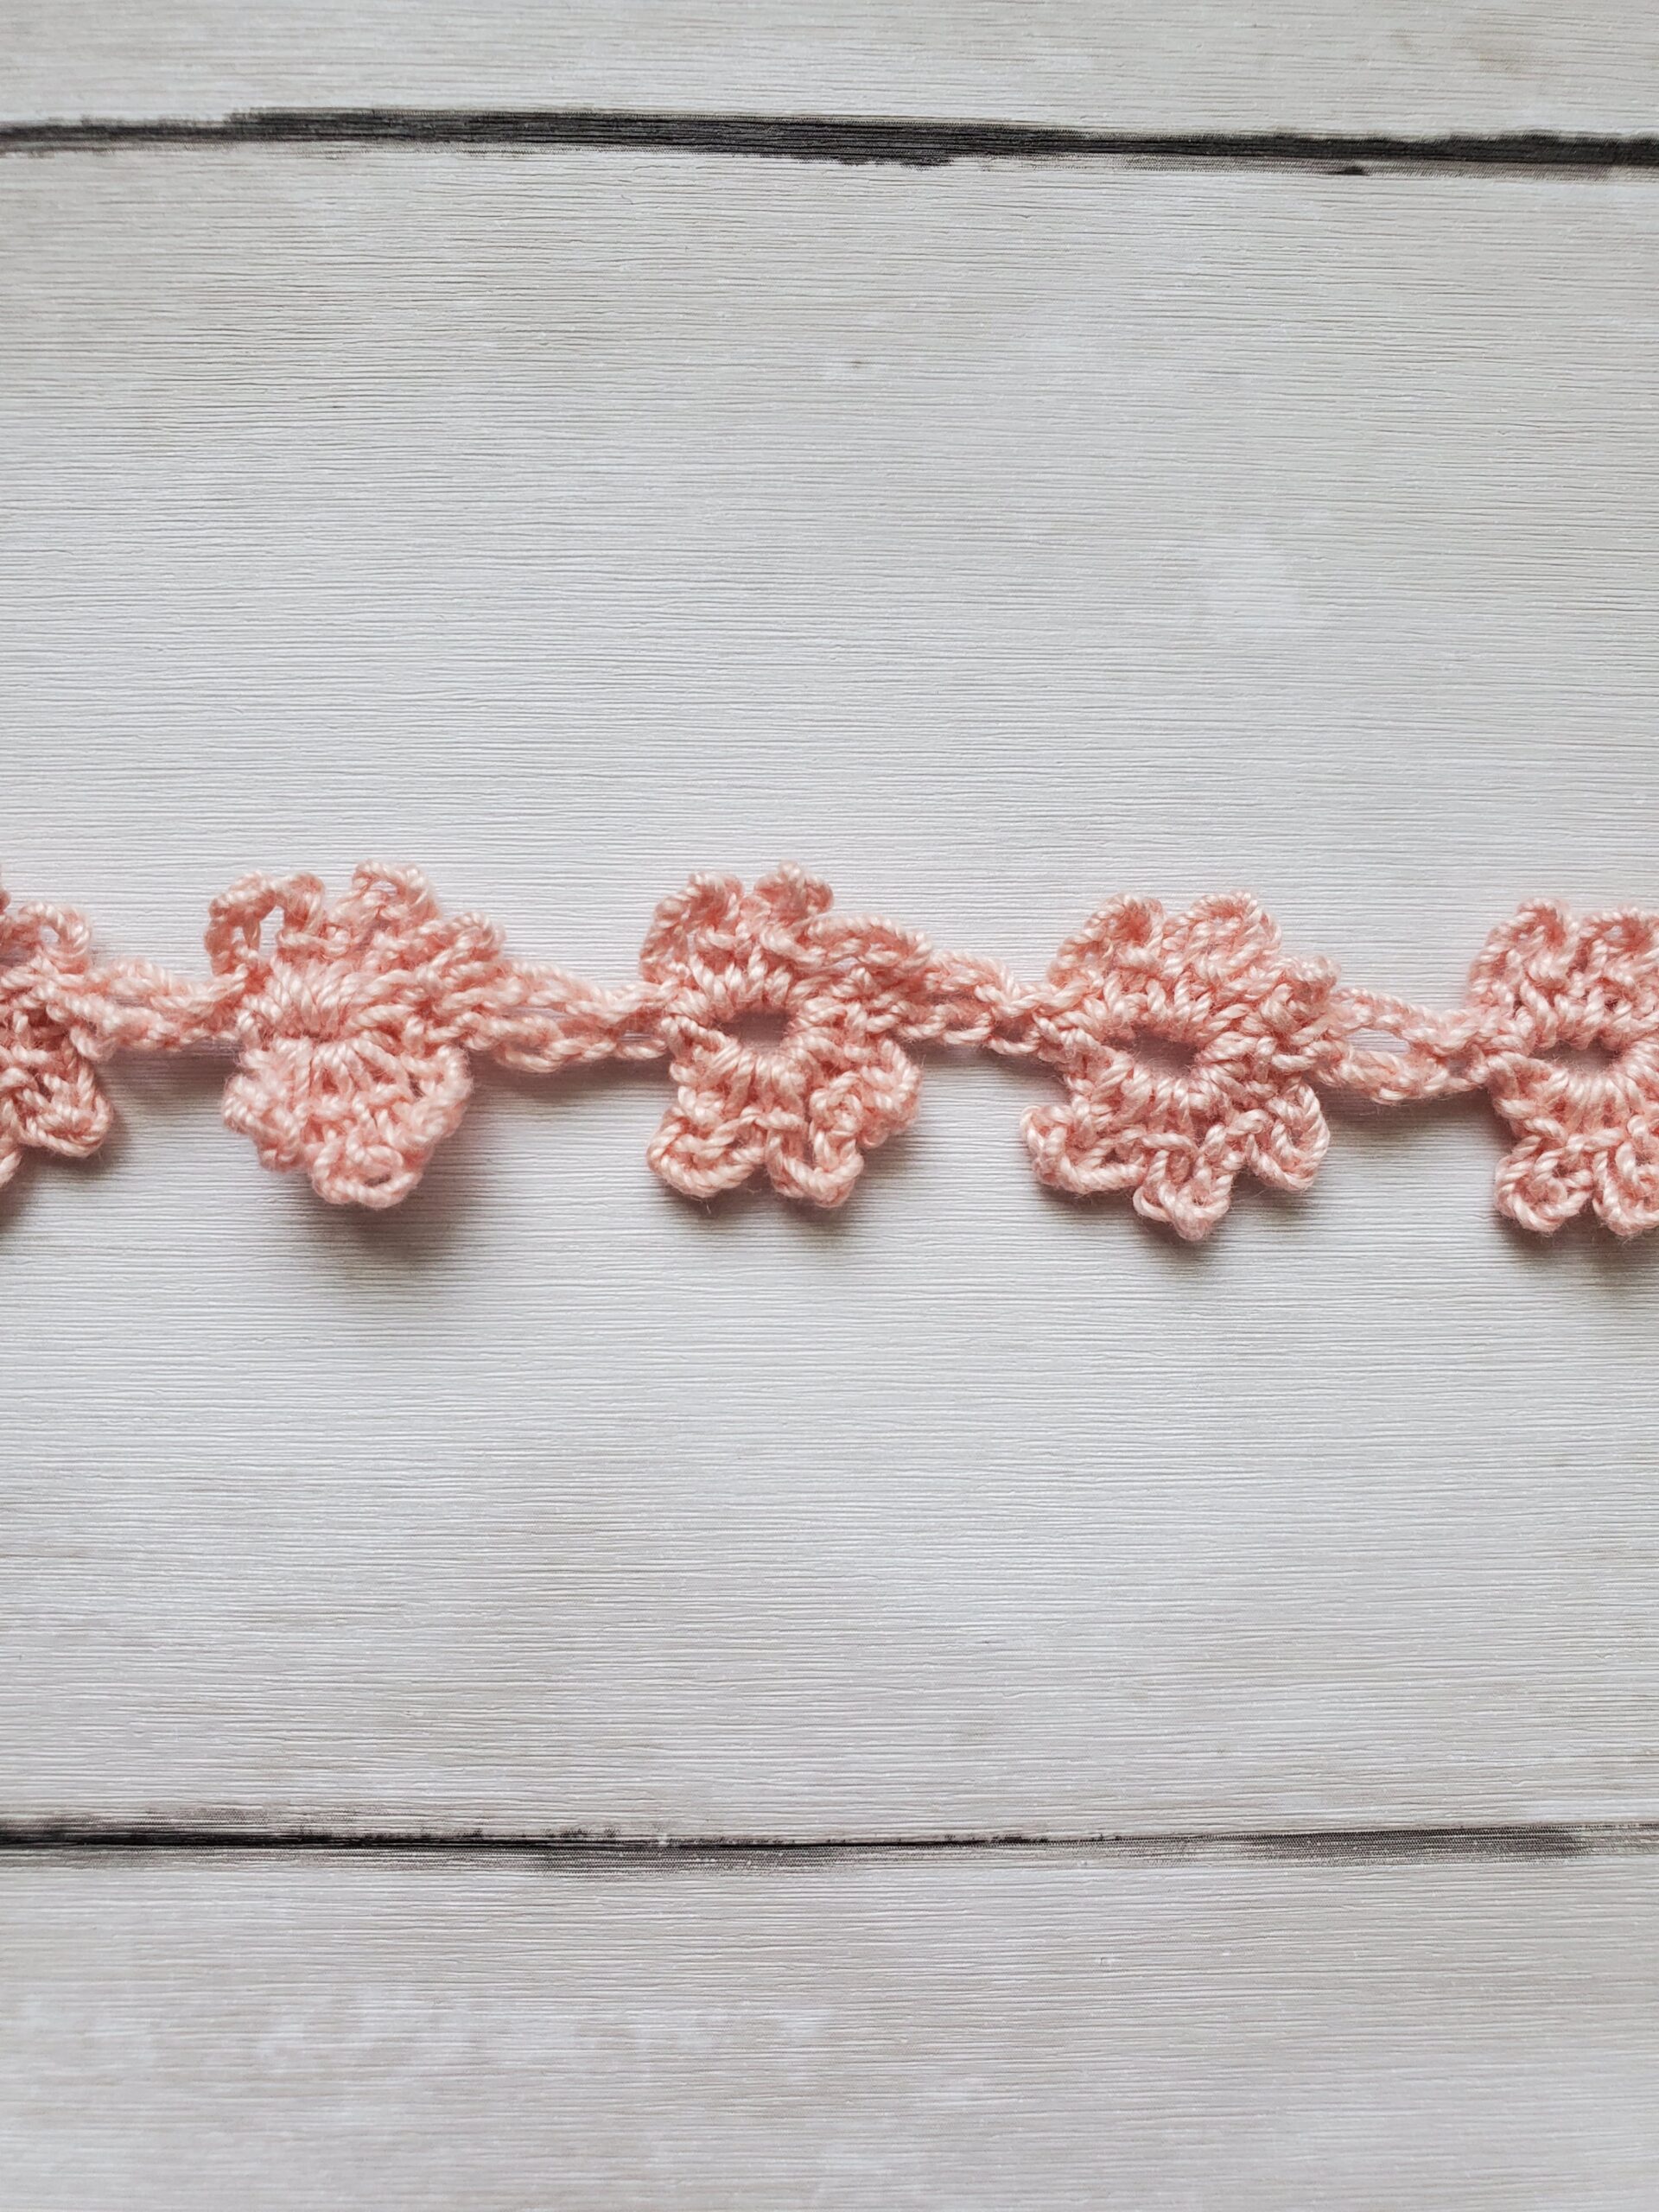
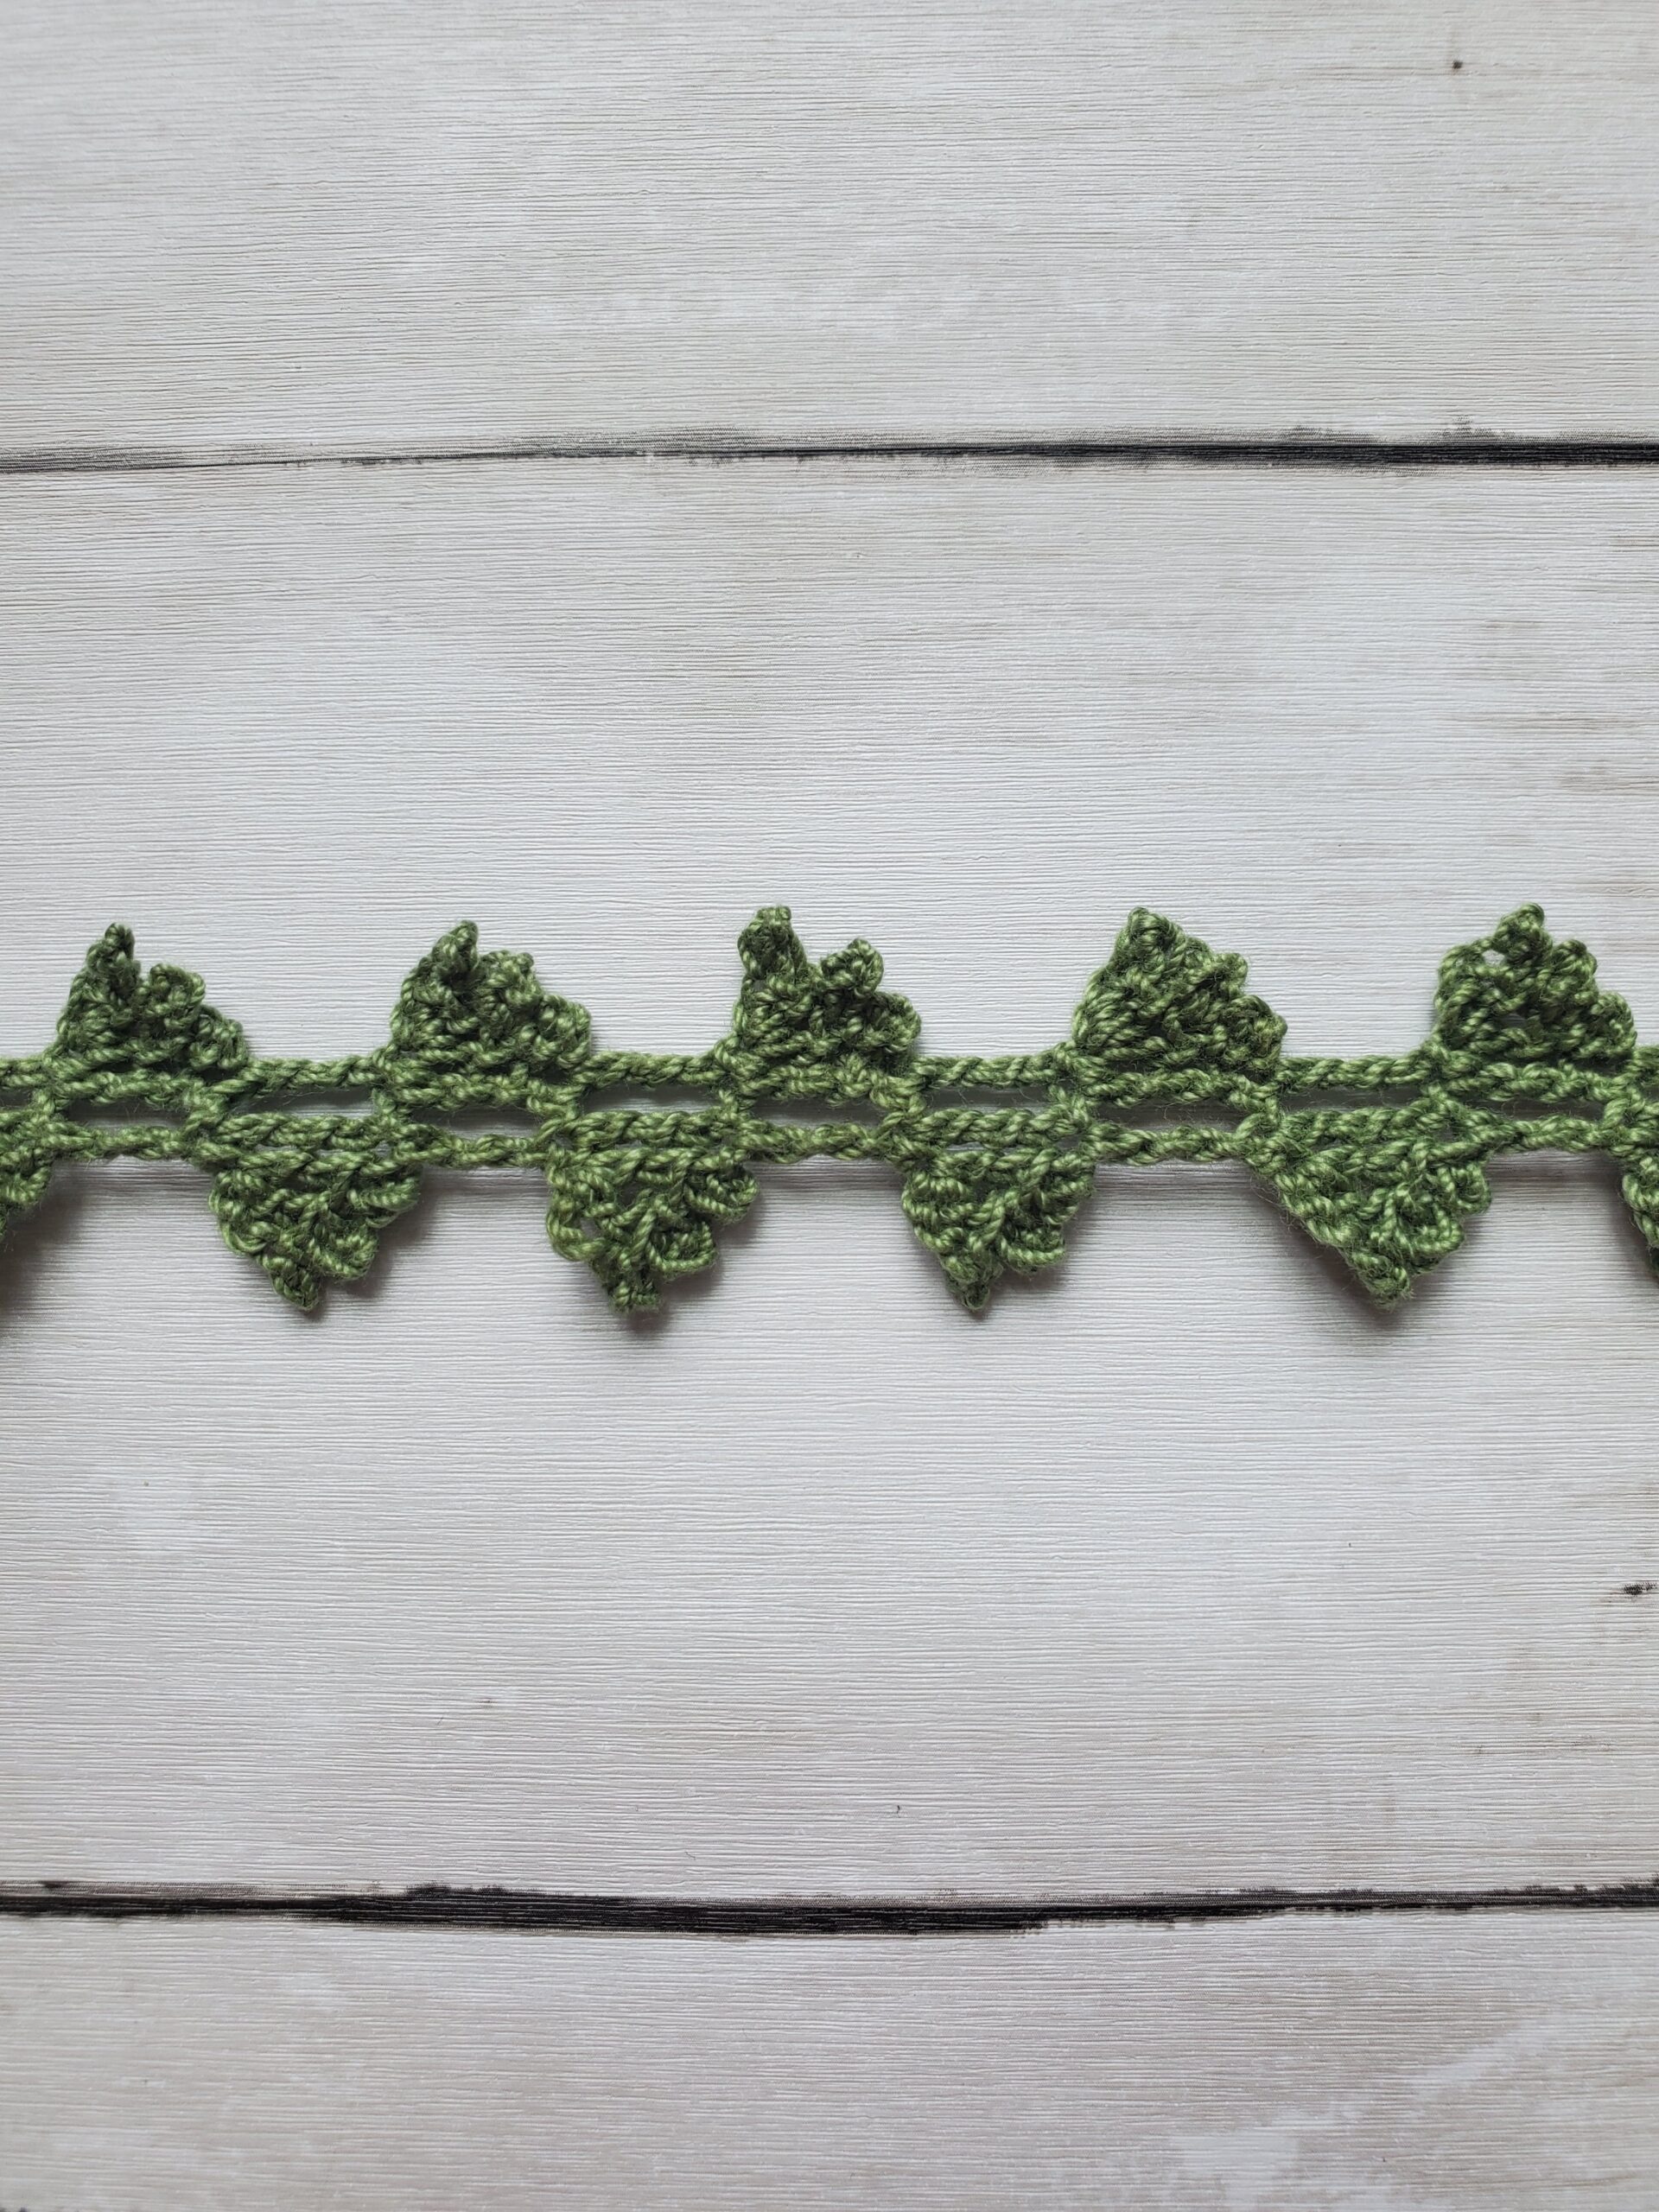
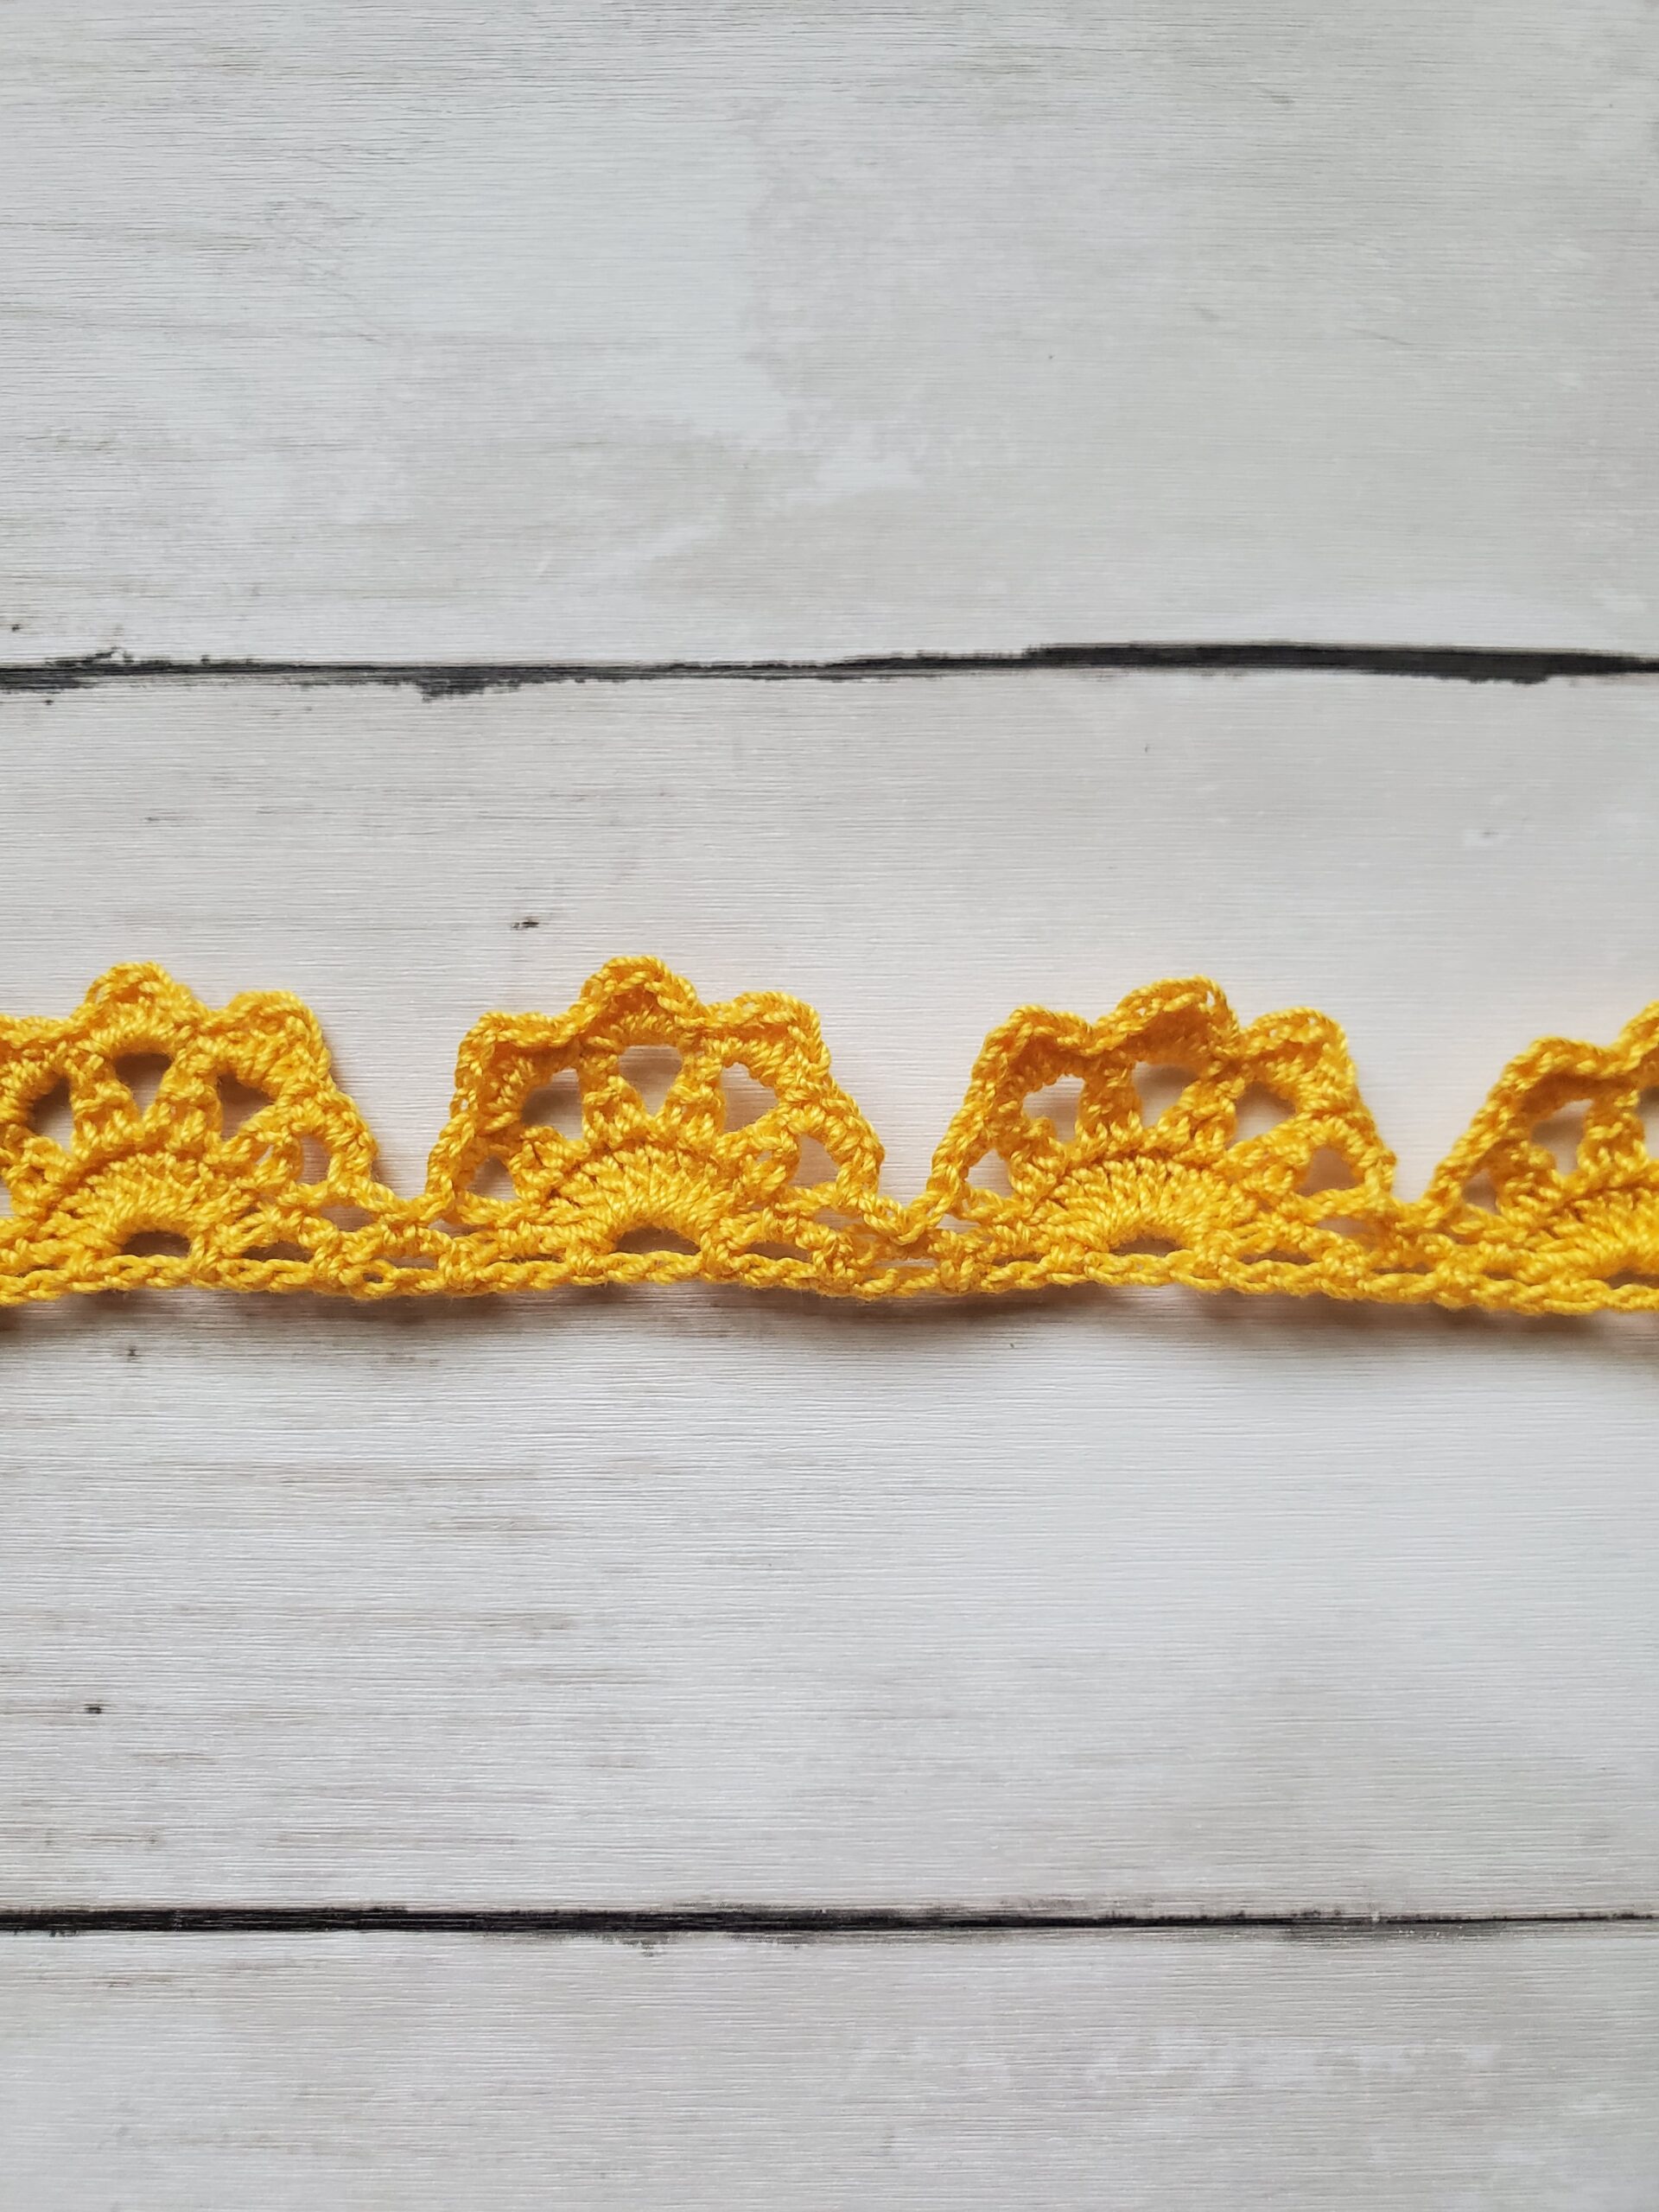
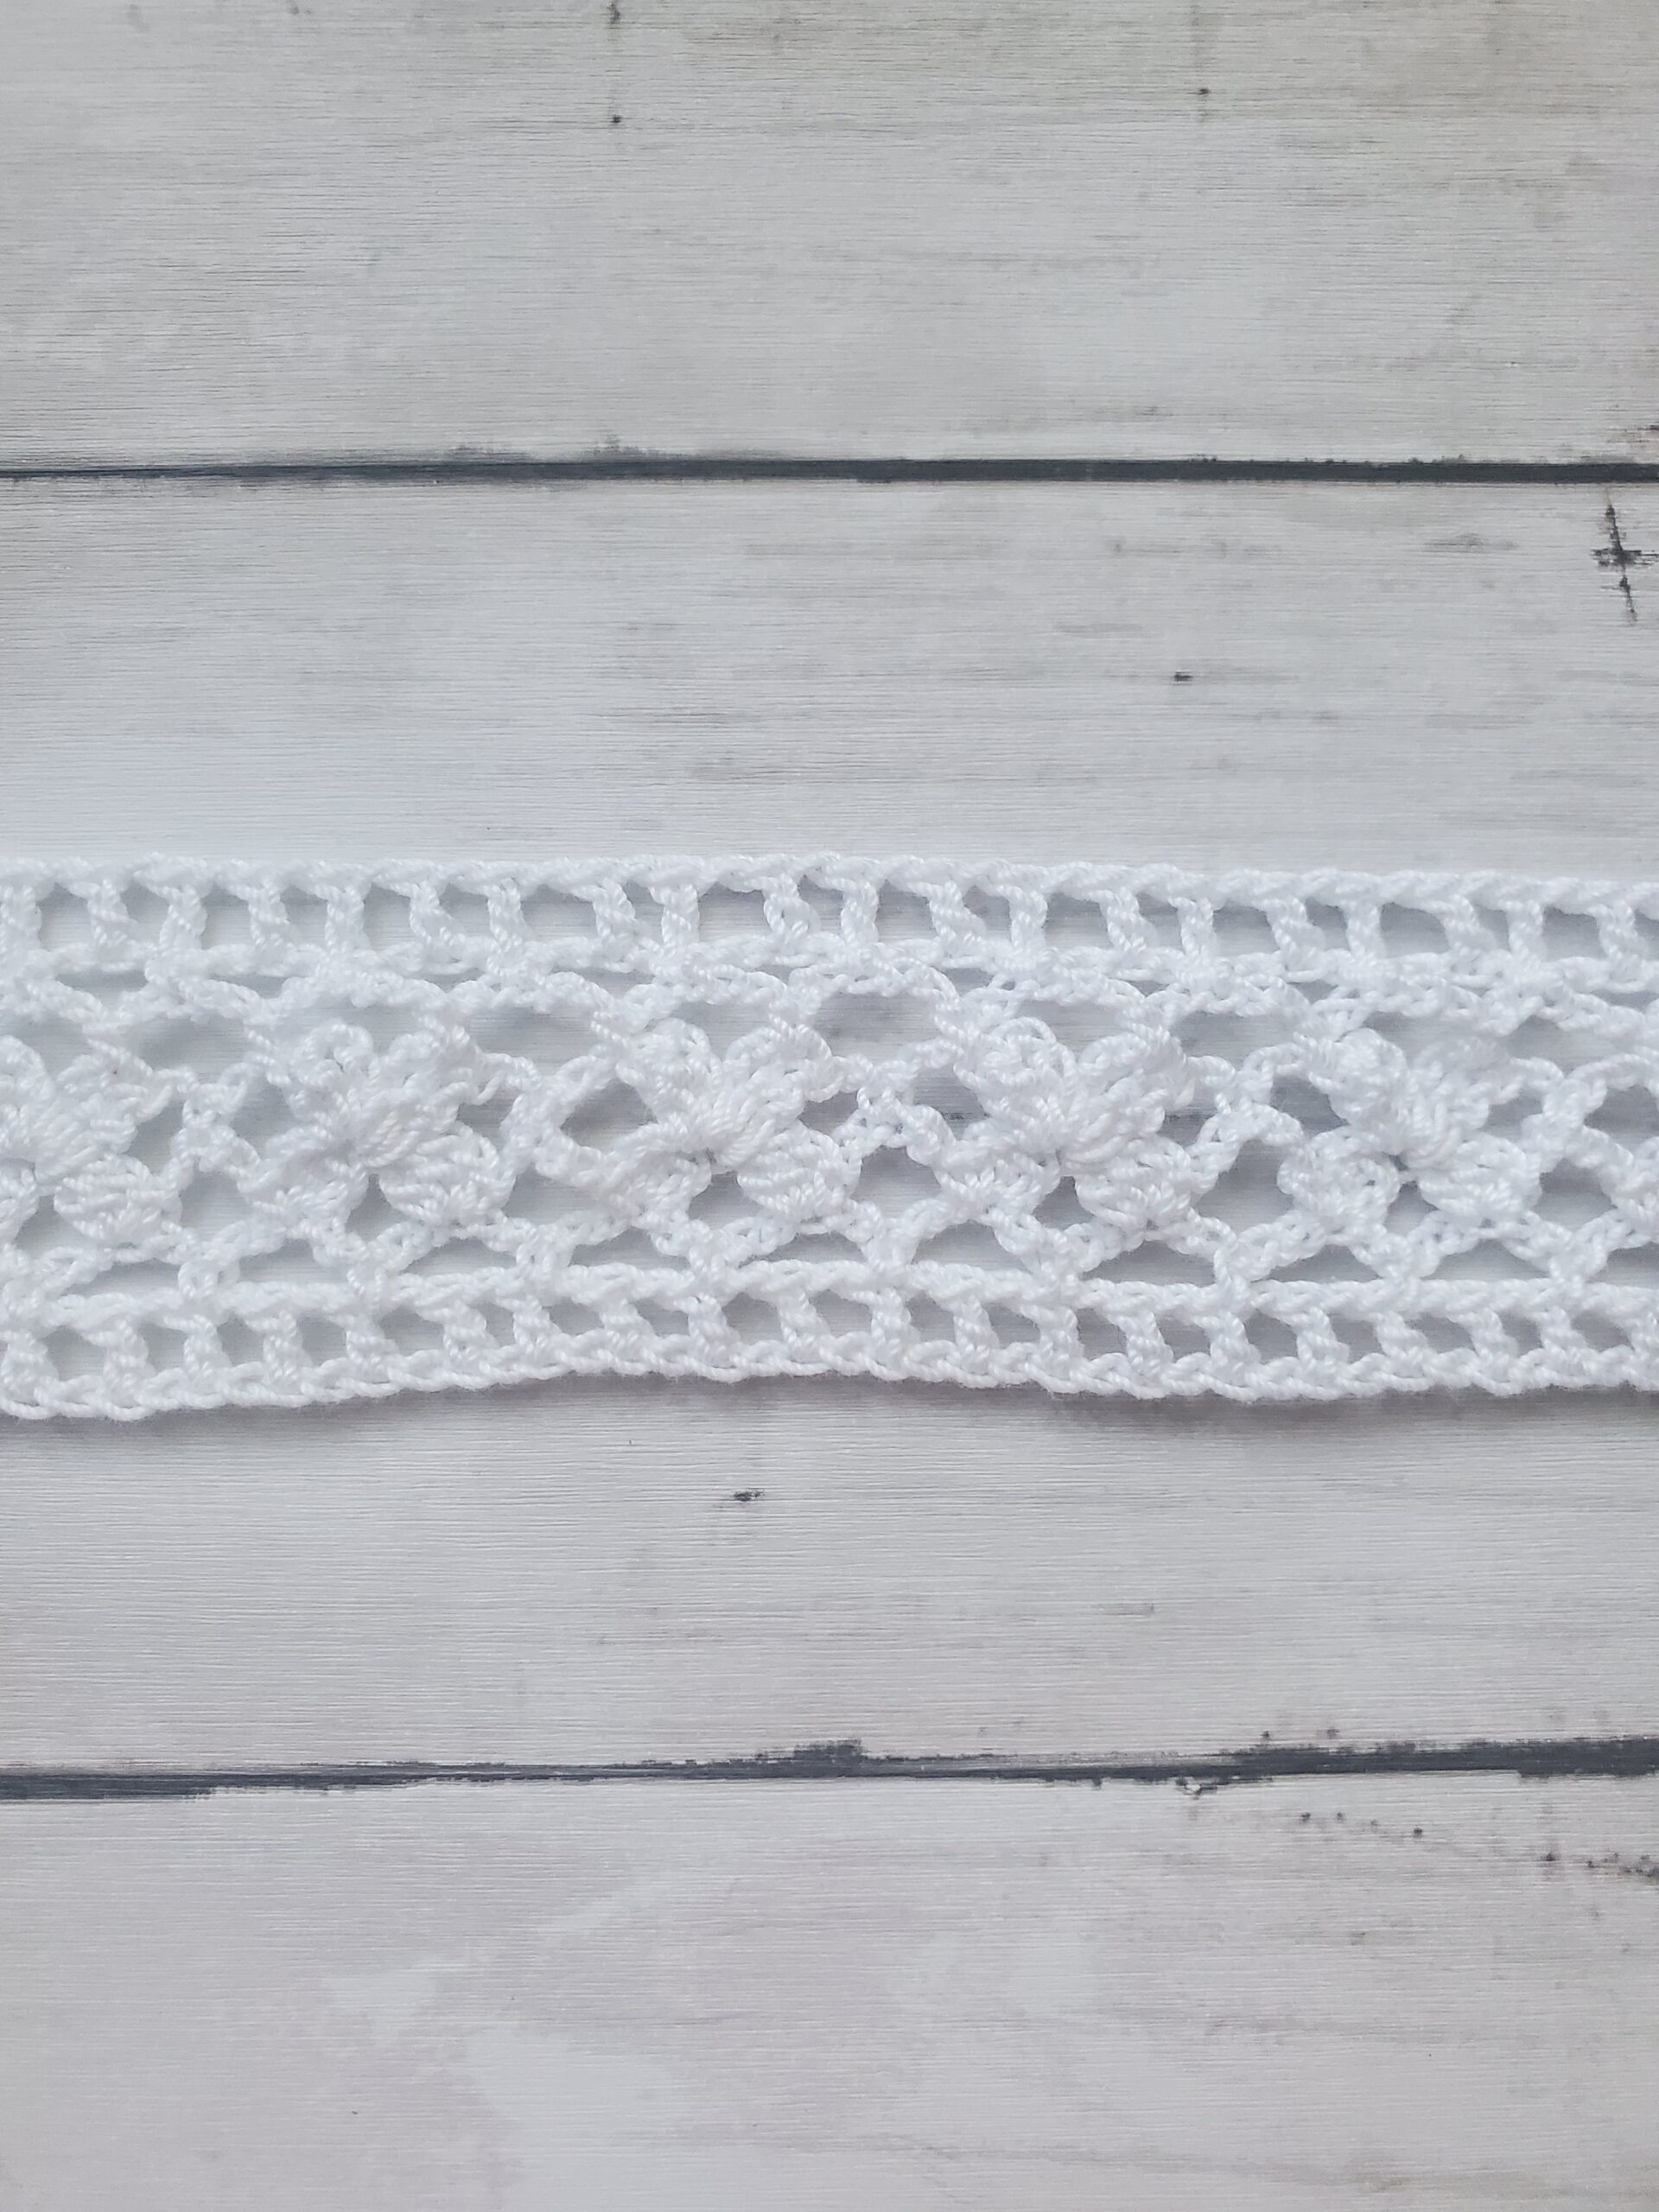
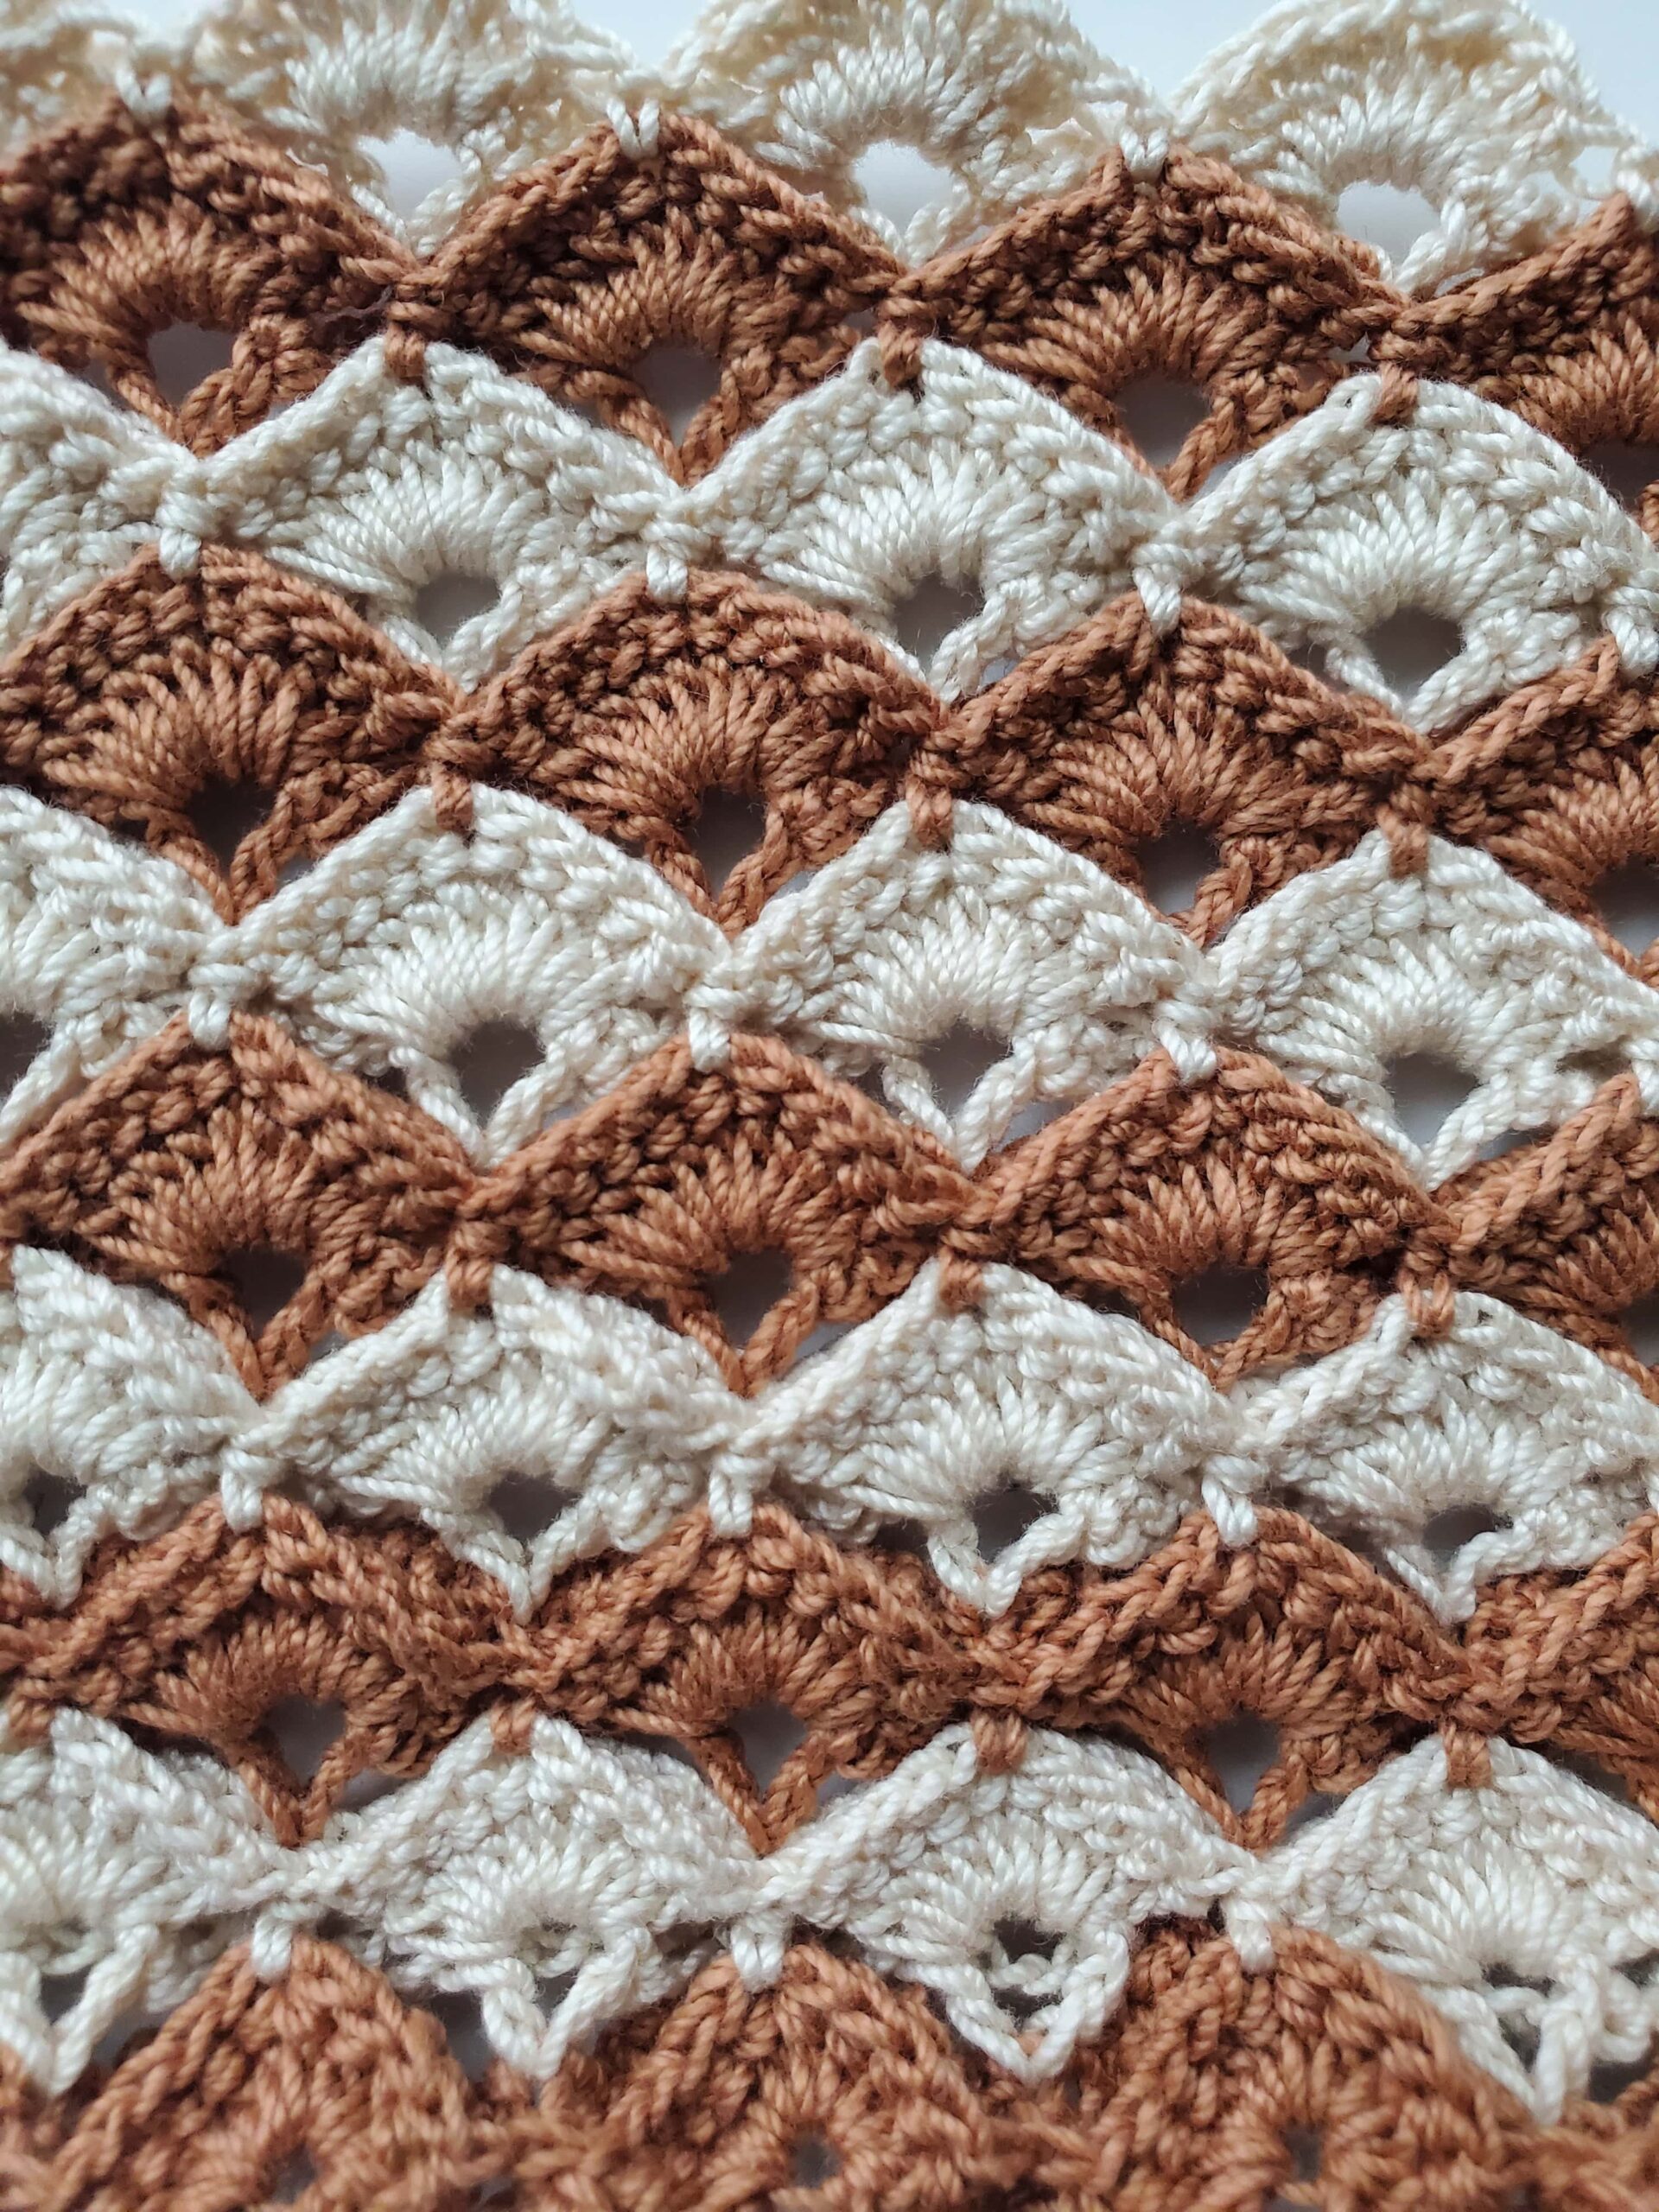
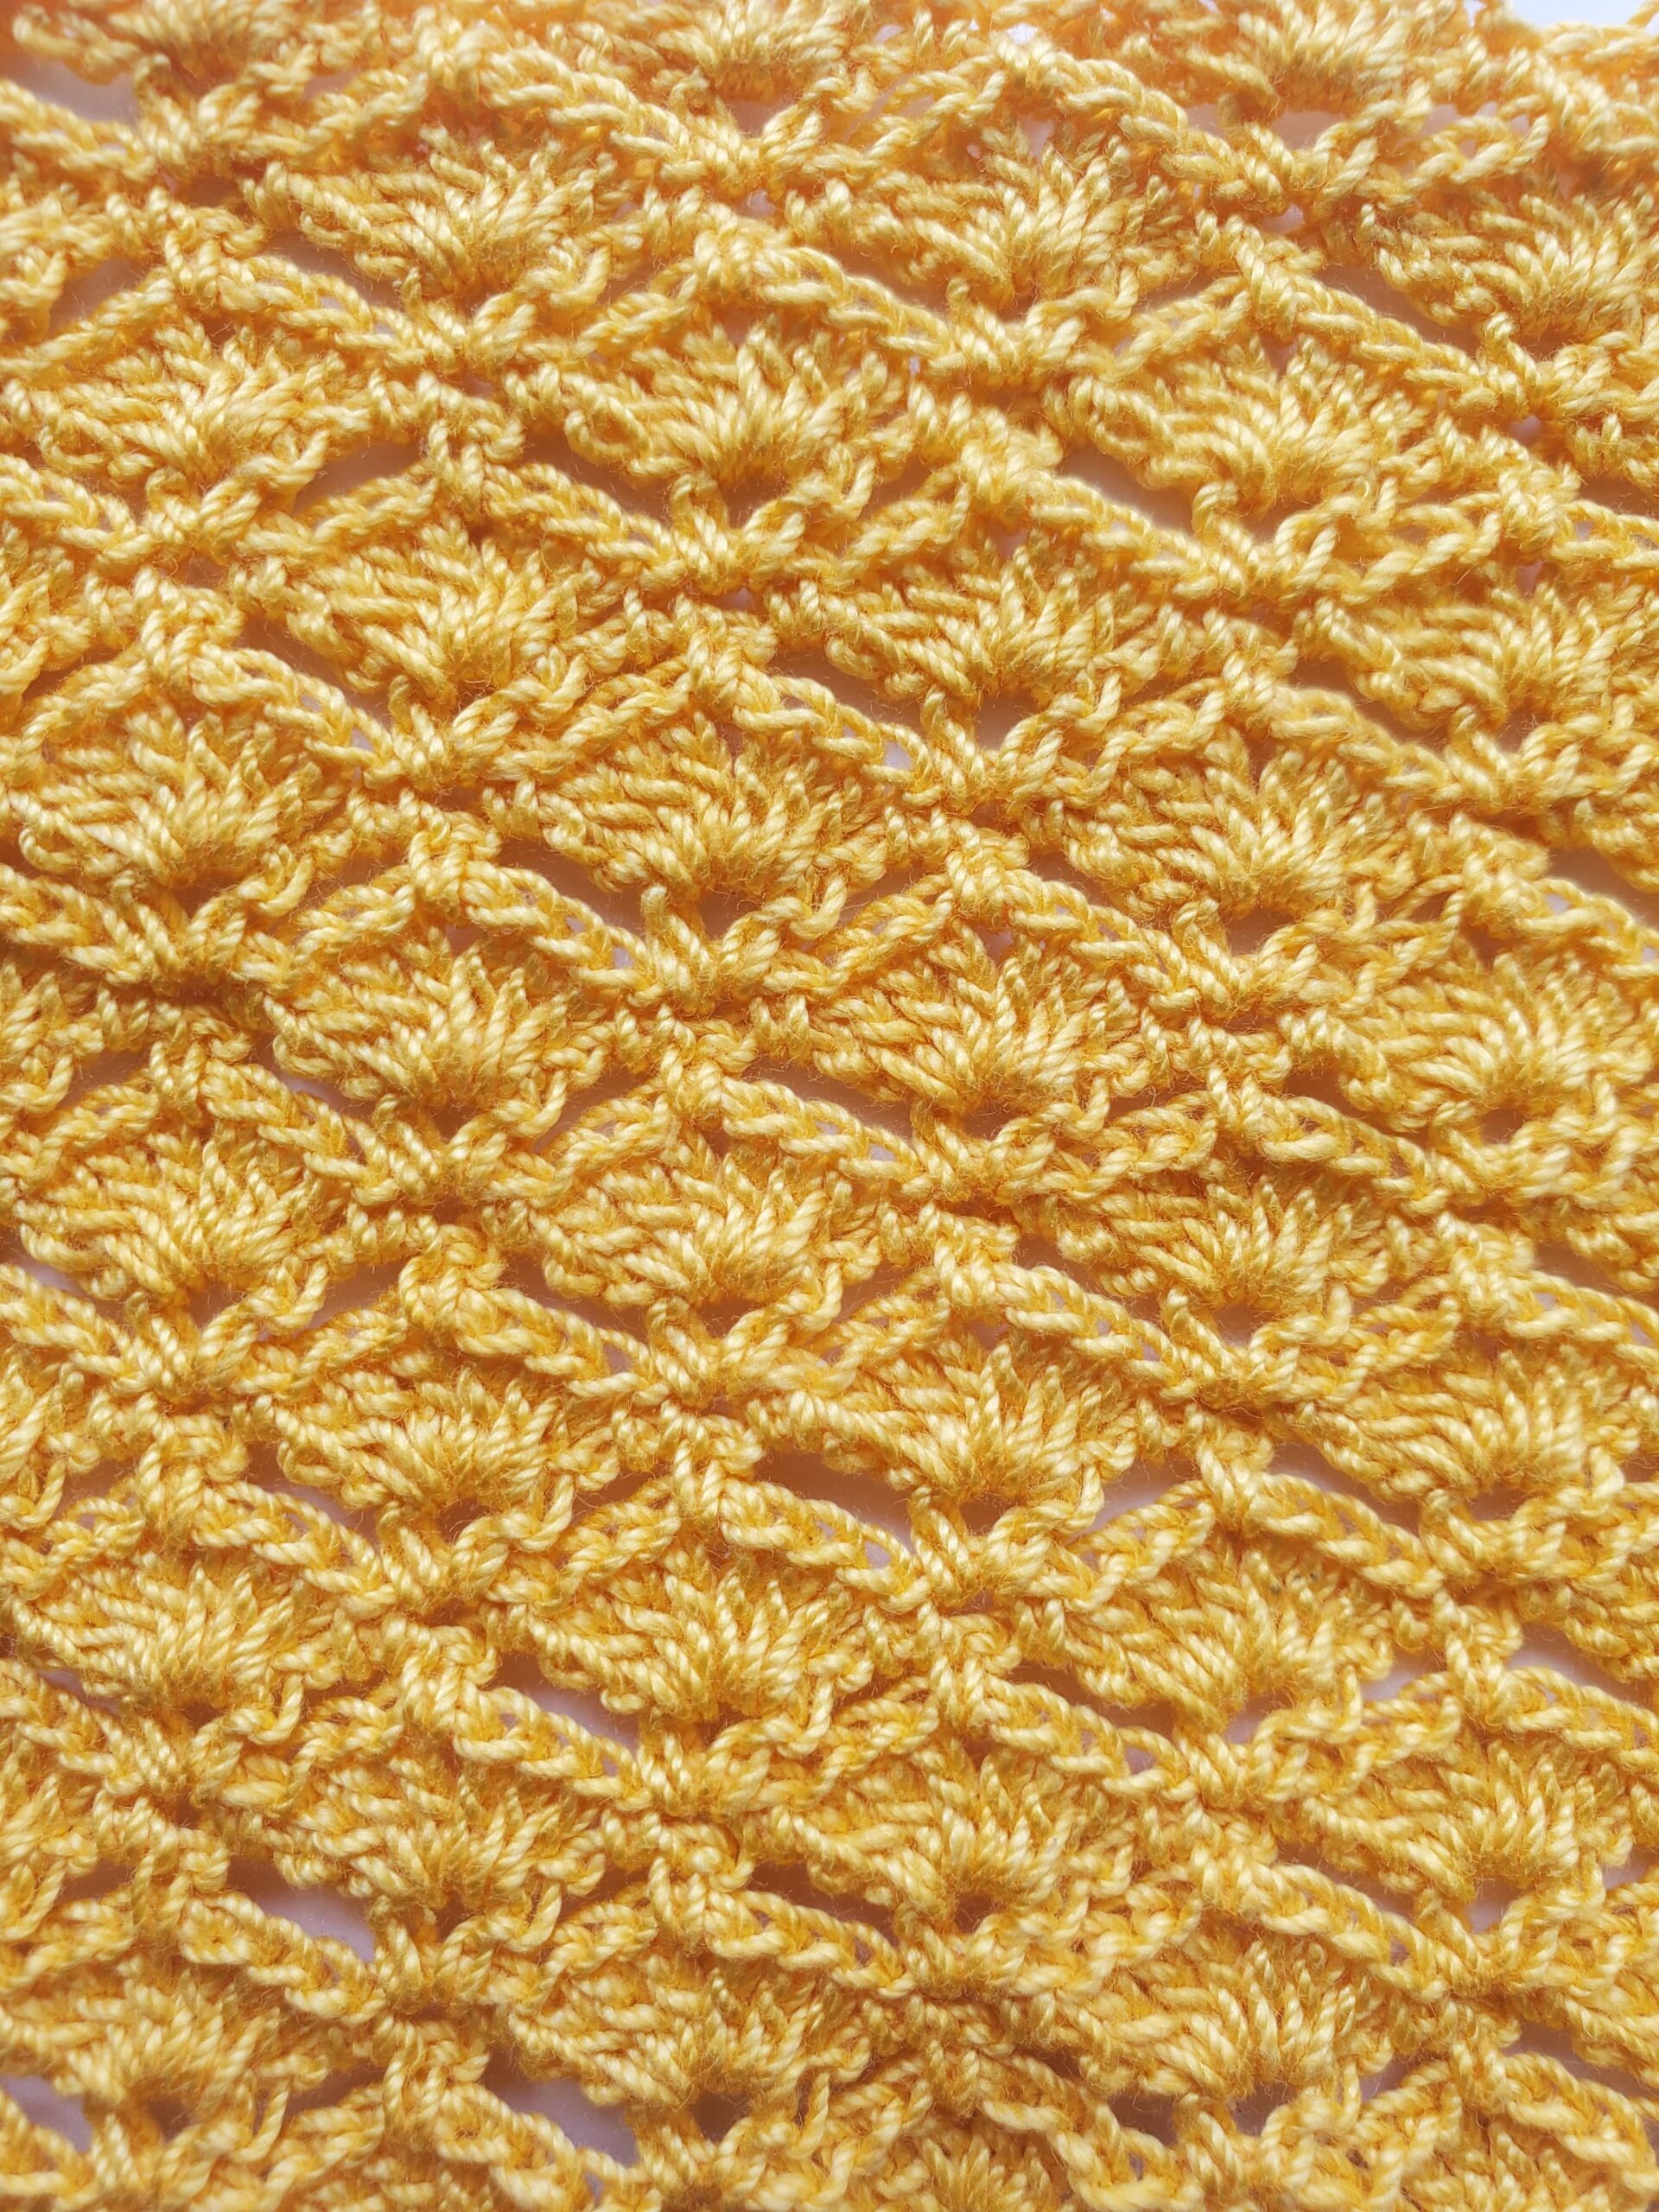
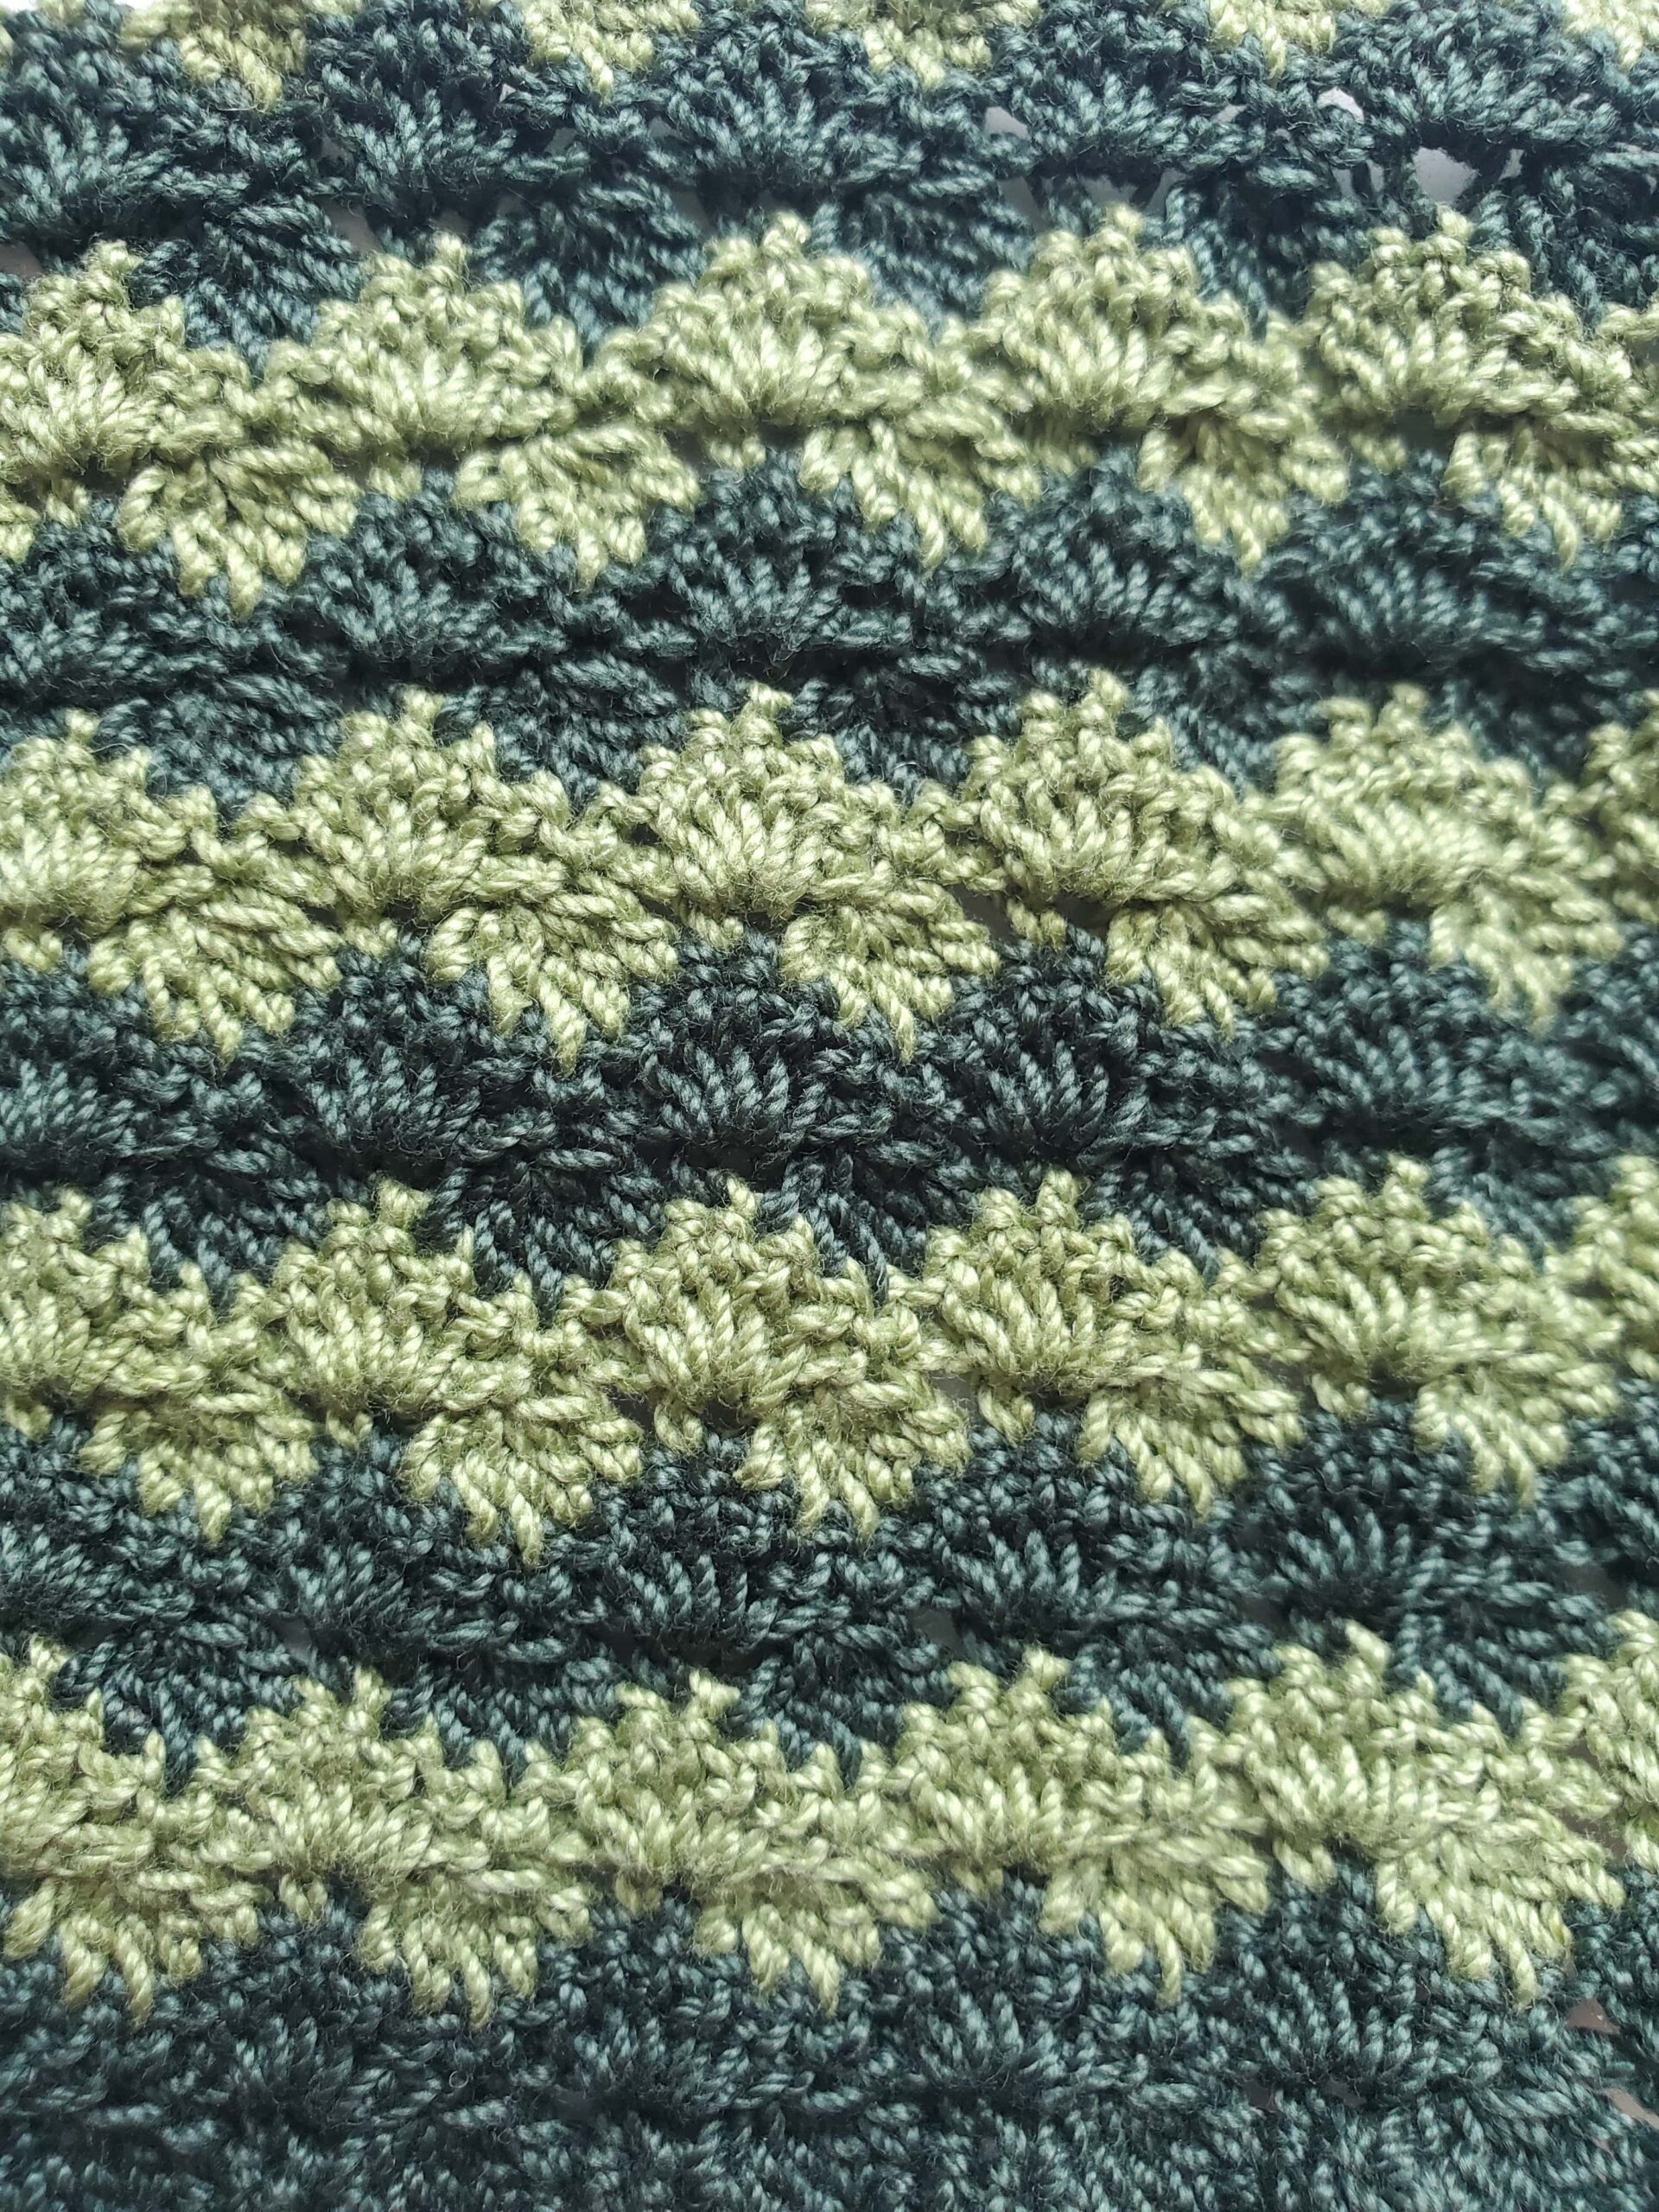
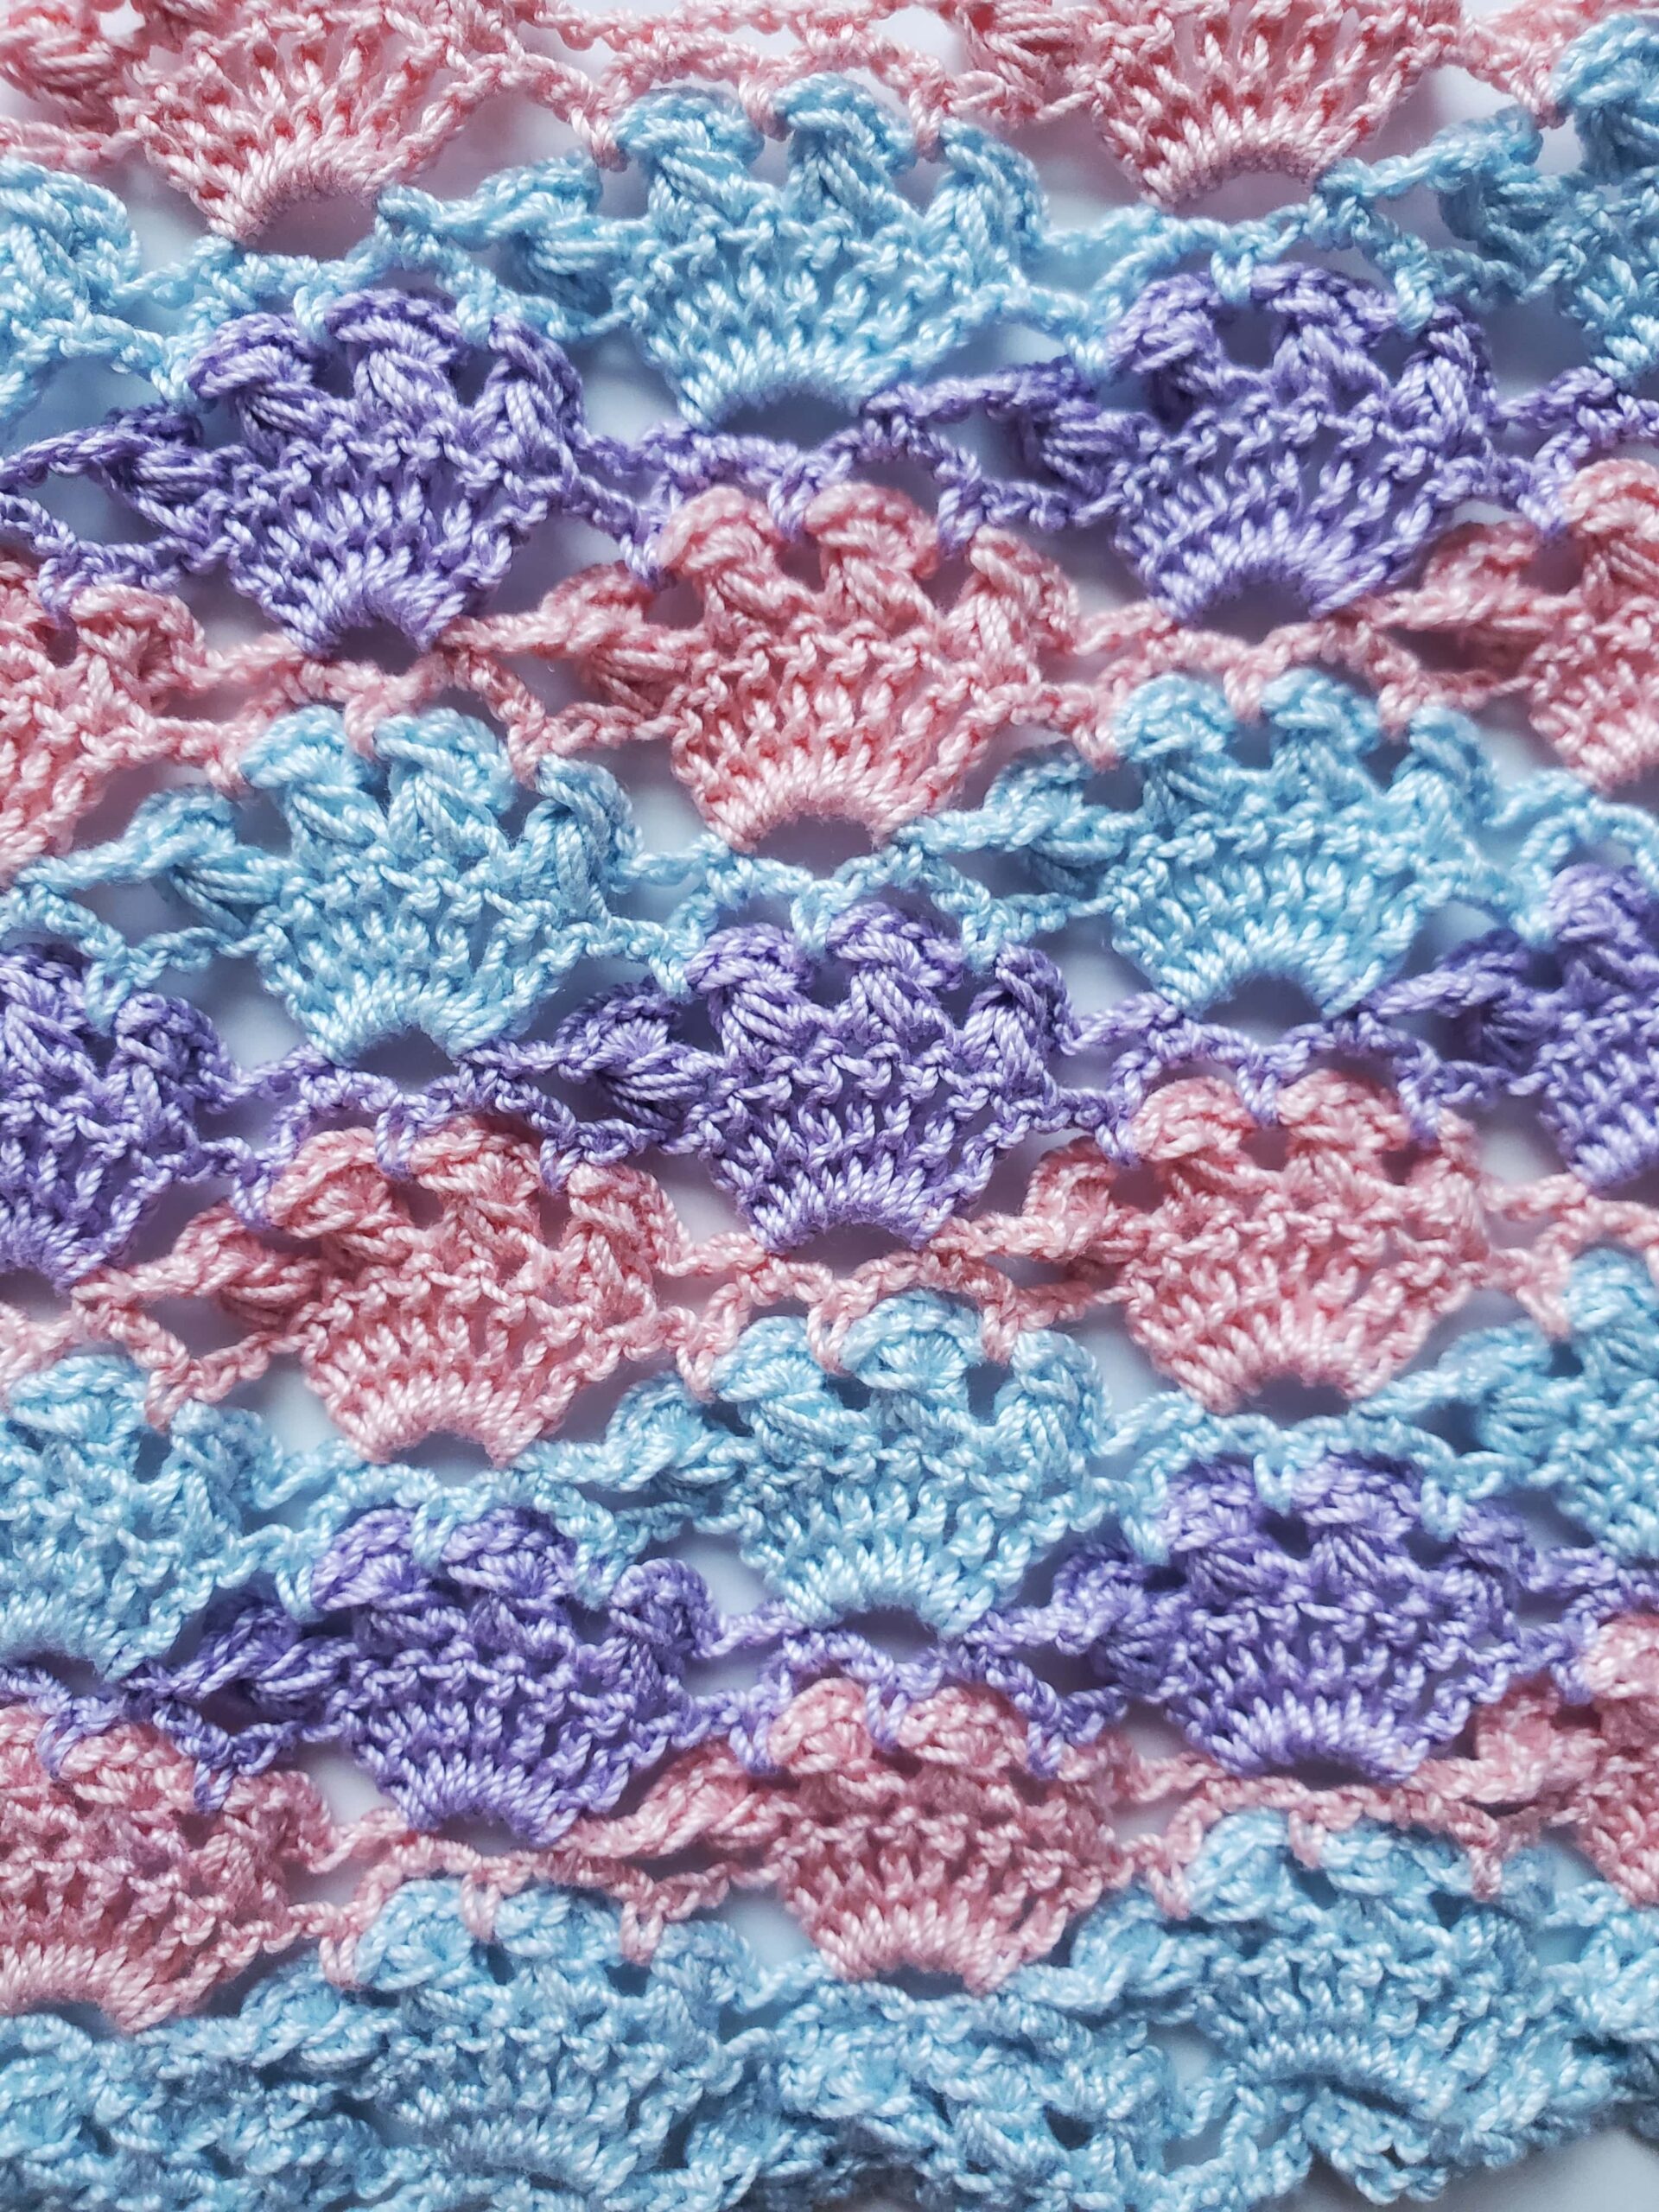
Alright, now that we’ve discussed what you need to crochet lace, let’s explore this list of 31 Crochet Lace Edgings to try for your next project!
Please note that some of these links may be affiliate links. That means that if you click on these links and make a purchase, I may receive a commission at no extra cost to you. You can find more information about our disclosure policy here. Thank you for your support.
Materials Used:


