If you’re new to crochet, you’ll need to know how to make a slip knot. It’s literally the very first step to crochet. You need them so that your yarn doesn’t slip off the crochet hook.
You might notice that many crochet patterns skip mentioning this step! This is because it’s assumed that you already know how to do it! What in the world, right!?
In this post, you will find a step by step guide on how to make a slip knot so you can start crocheting!
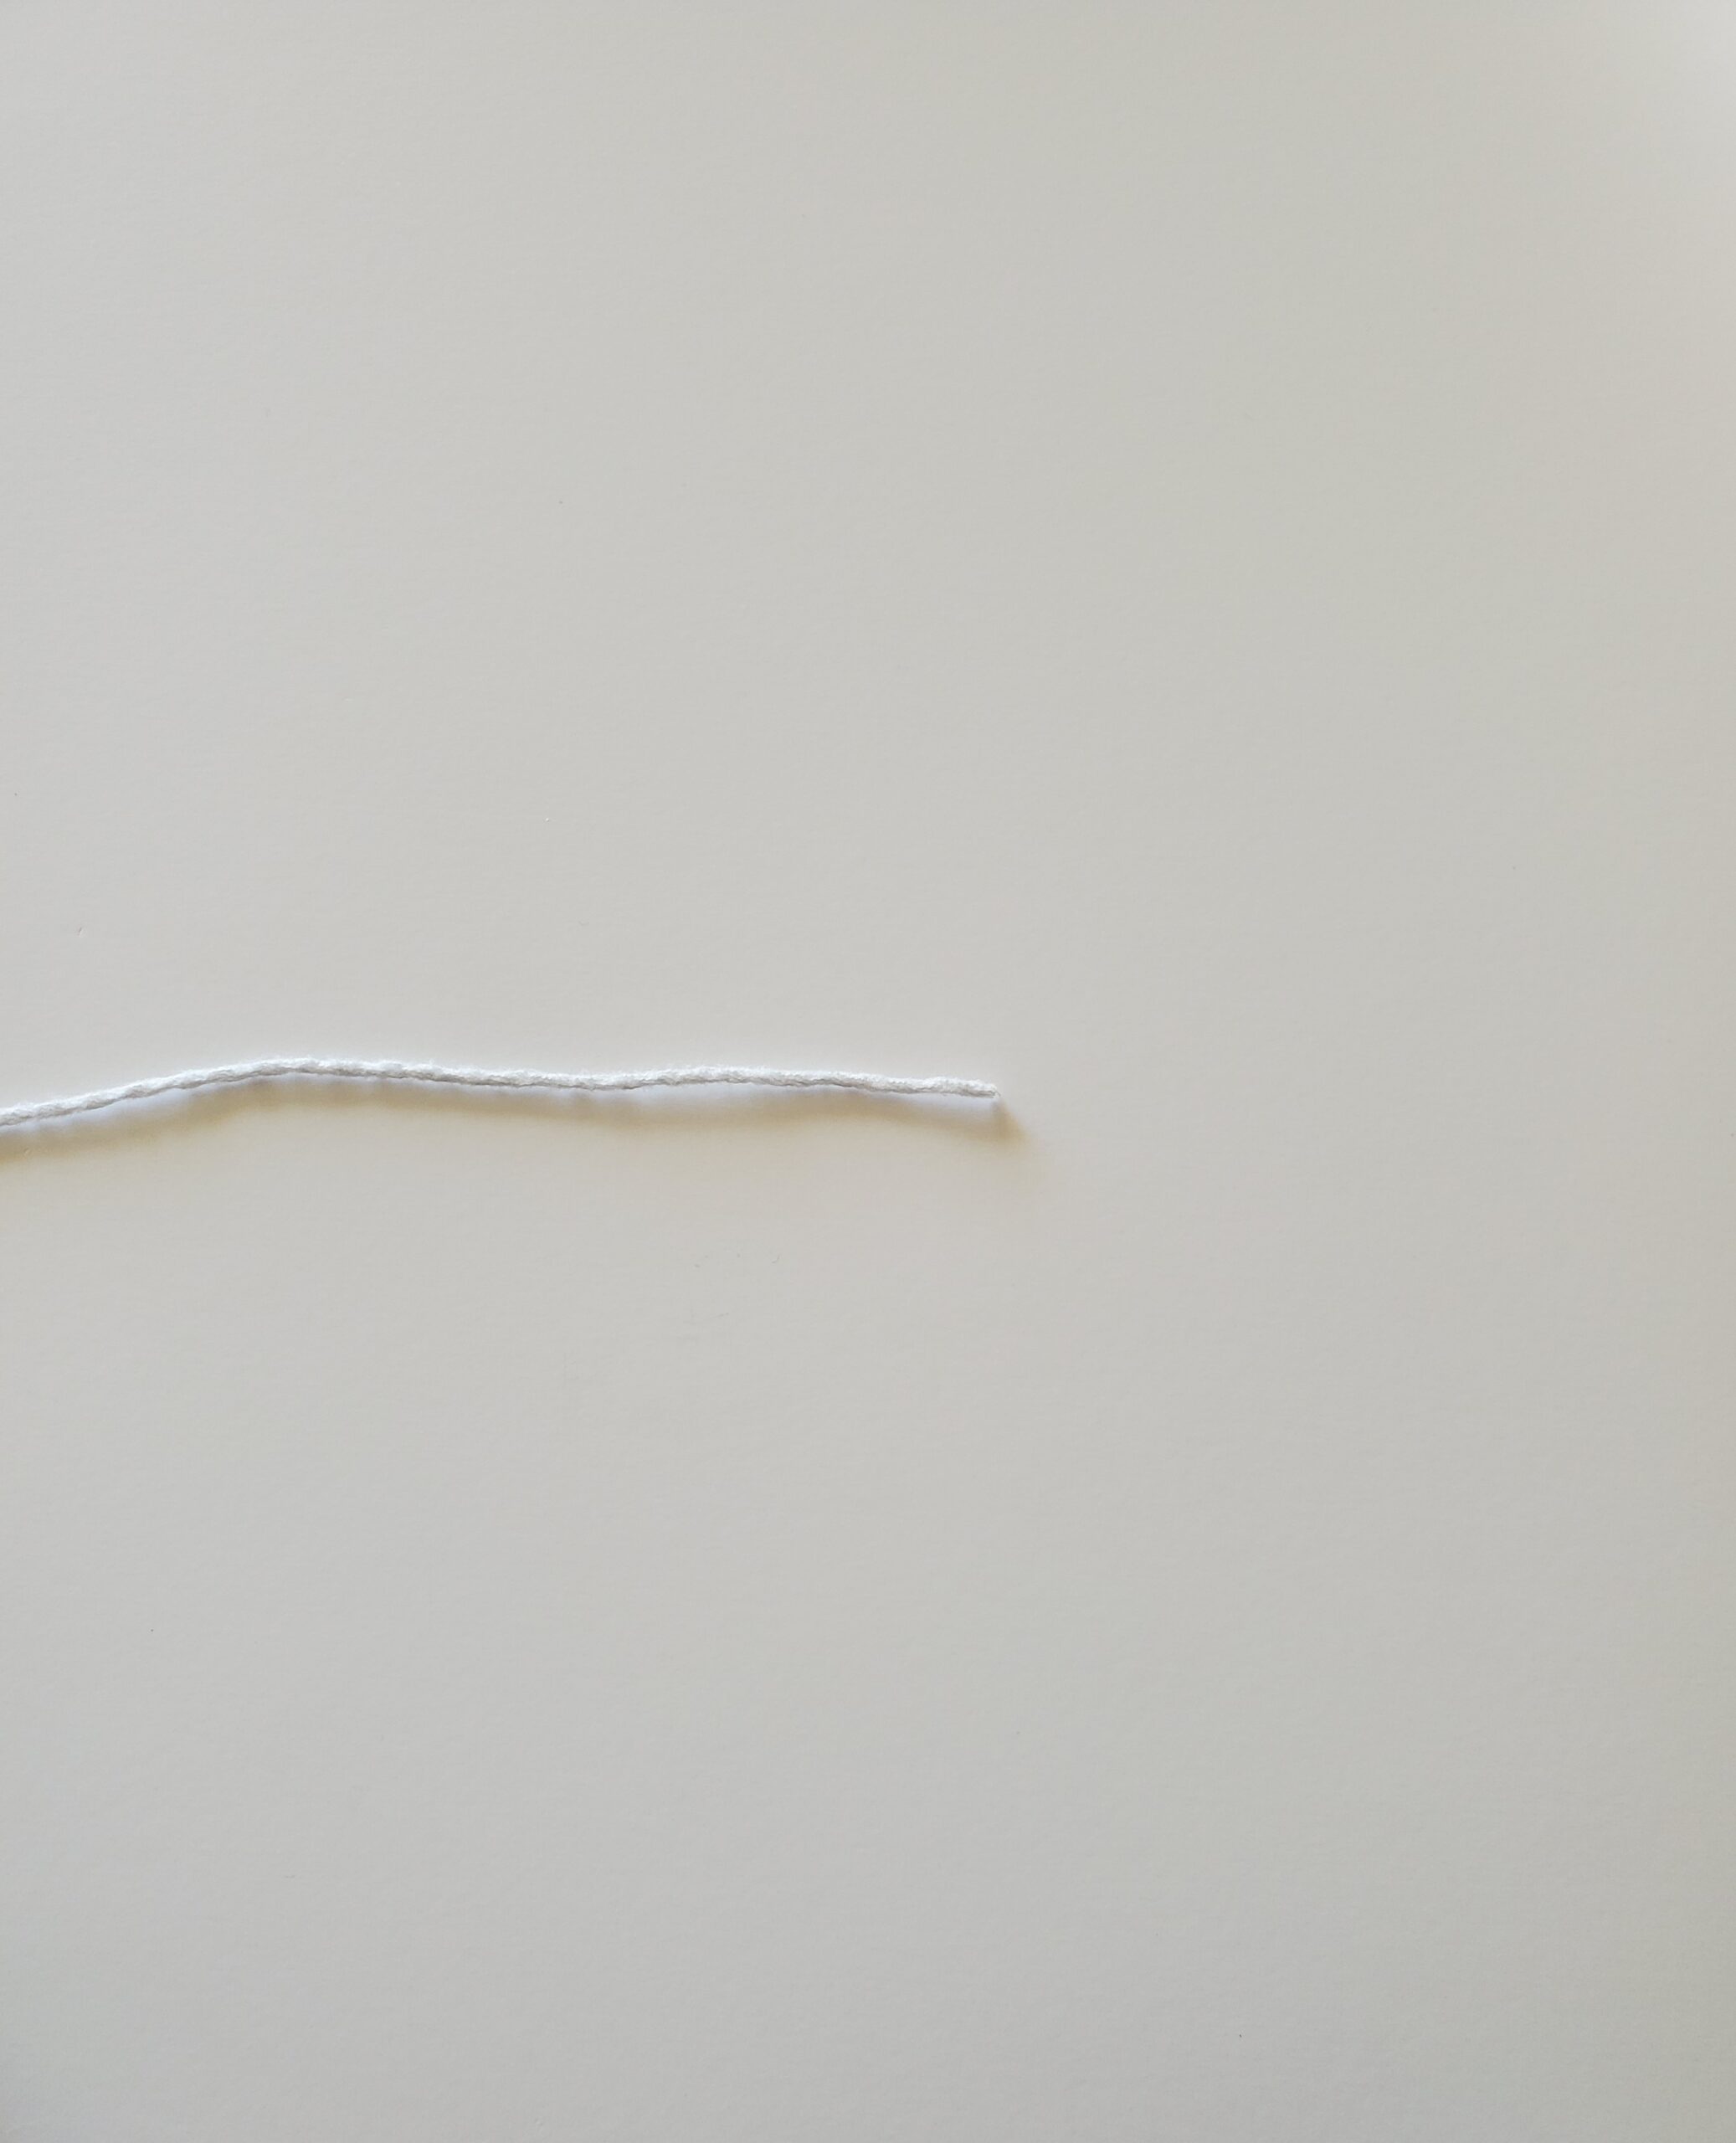
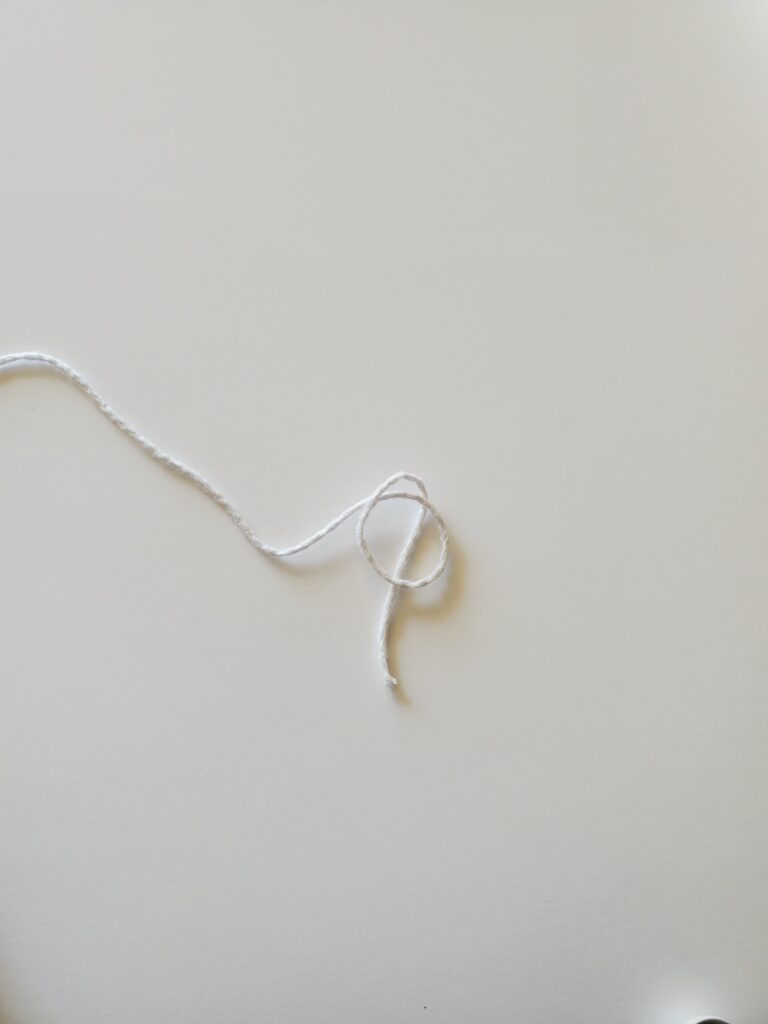
Step 1) Lay your yarn in a straight line
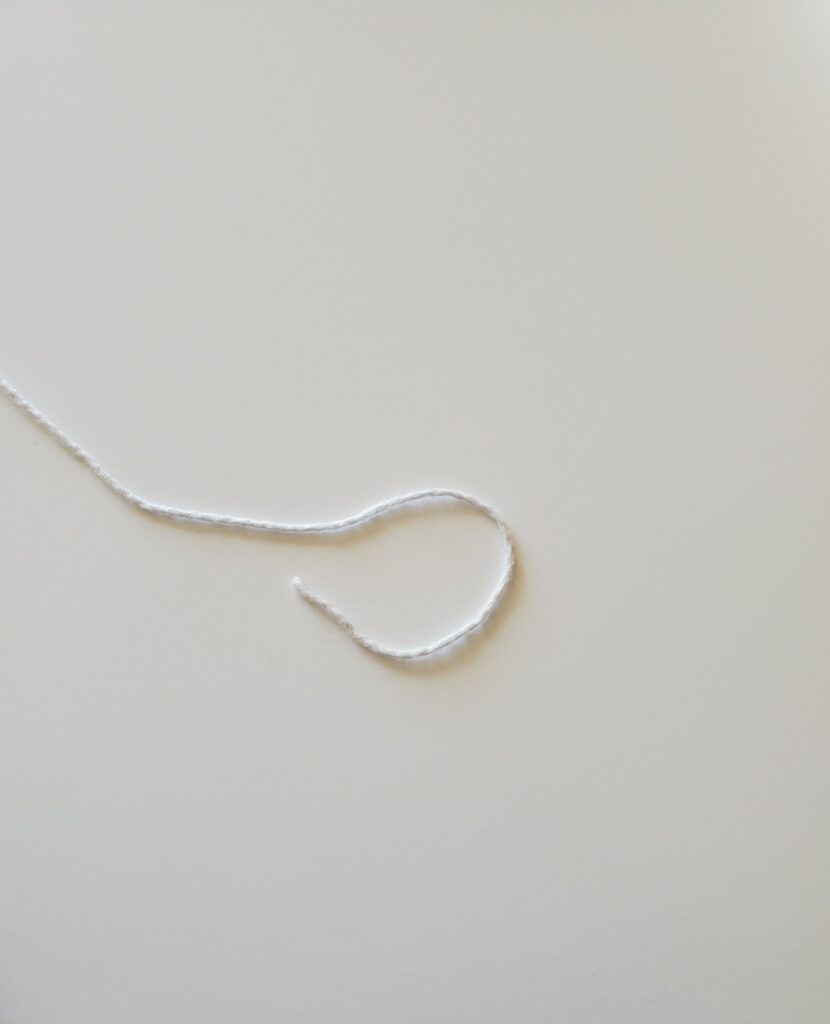
Step 2) Start making a loop
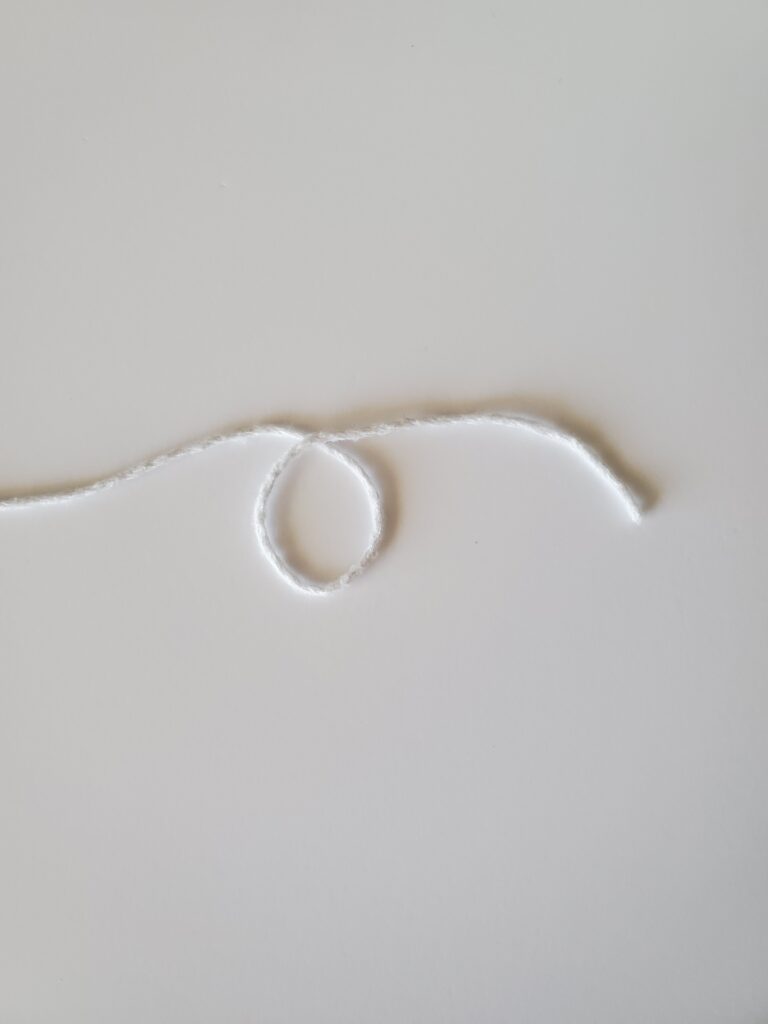
Step 3) Finish the loop
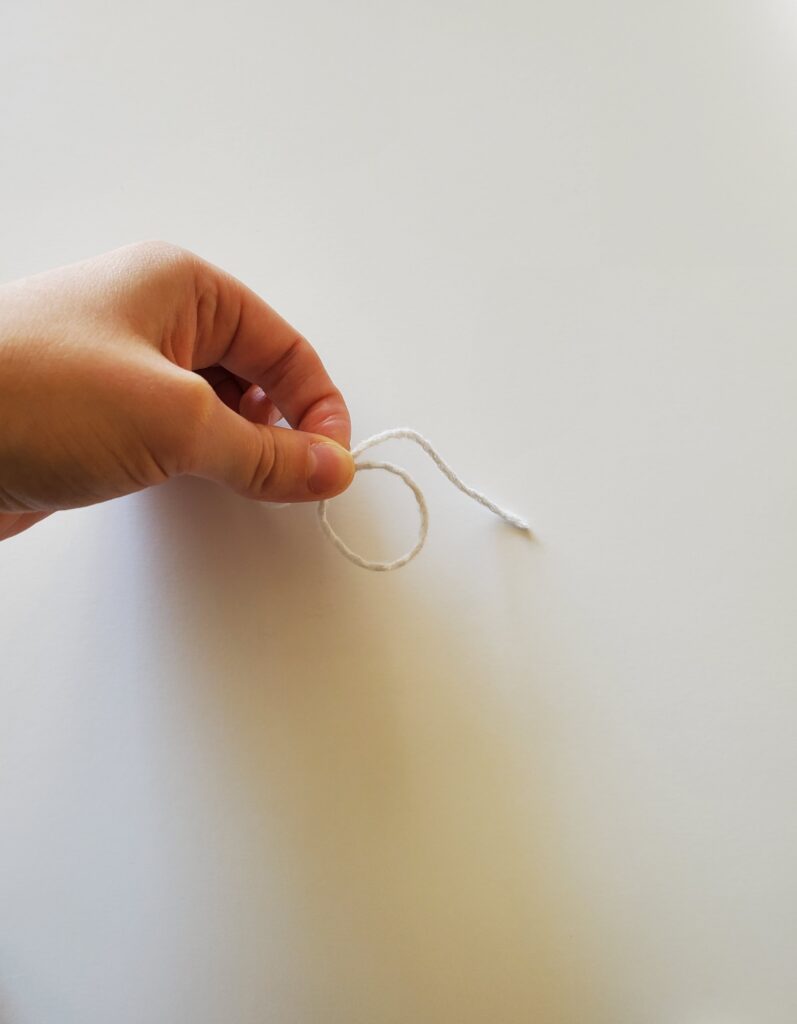
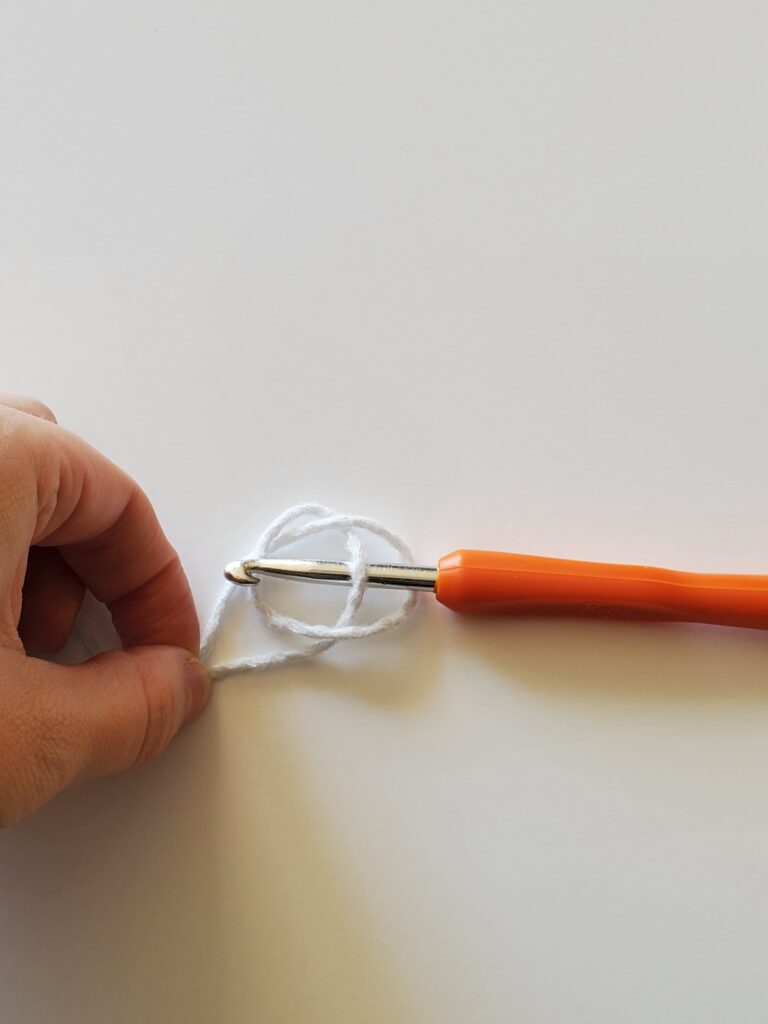
Step 4) Pinch the very top of the loop with your thumb and index finger
Step 5) Tuck the tail end behind the loop and set back down flat
Step 6) Insert your hook underneath the tail (but over the loop)
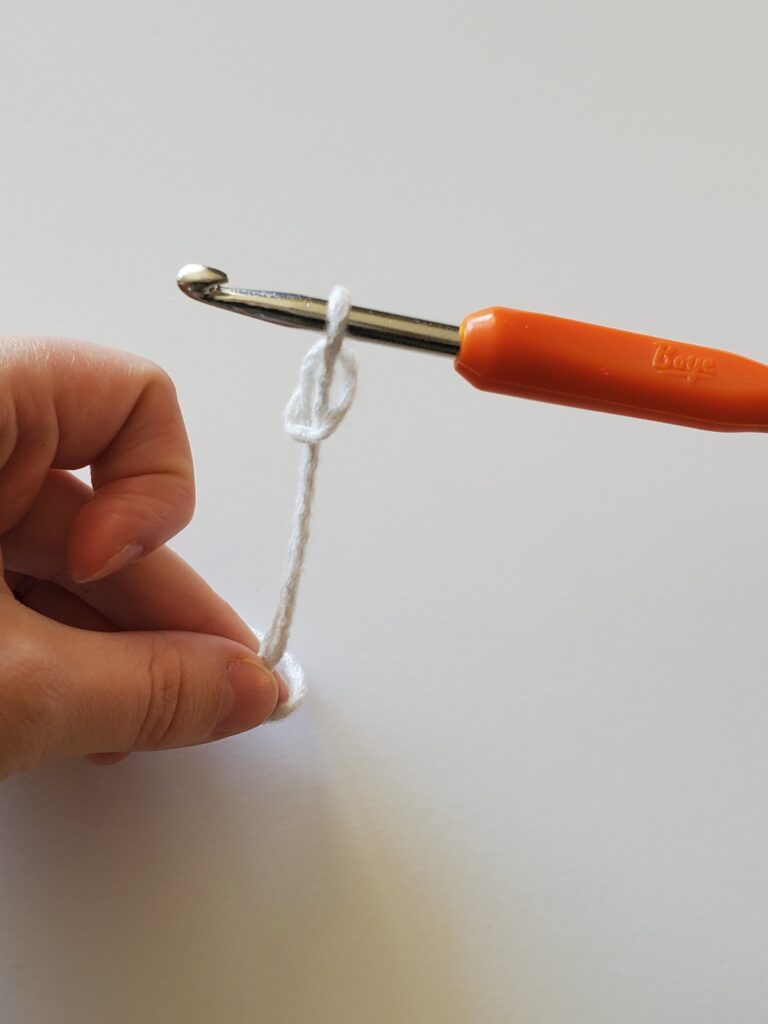
Step 7) Pinch the tail end and the top of your yarn
Step 8) Pull your crochet hook up with your right hand while keeping your yarn anchored down with the left
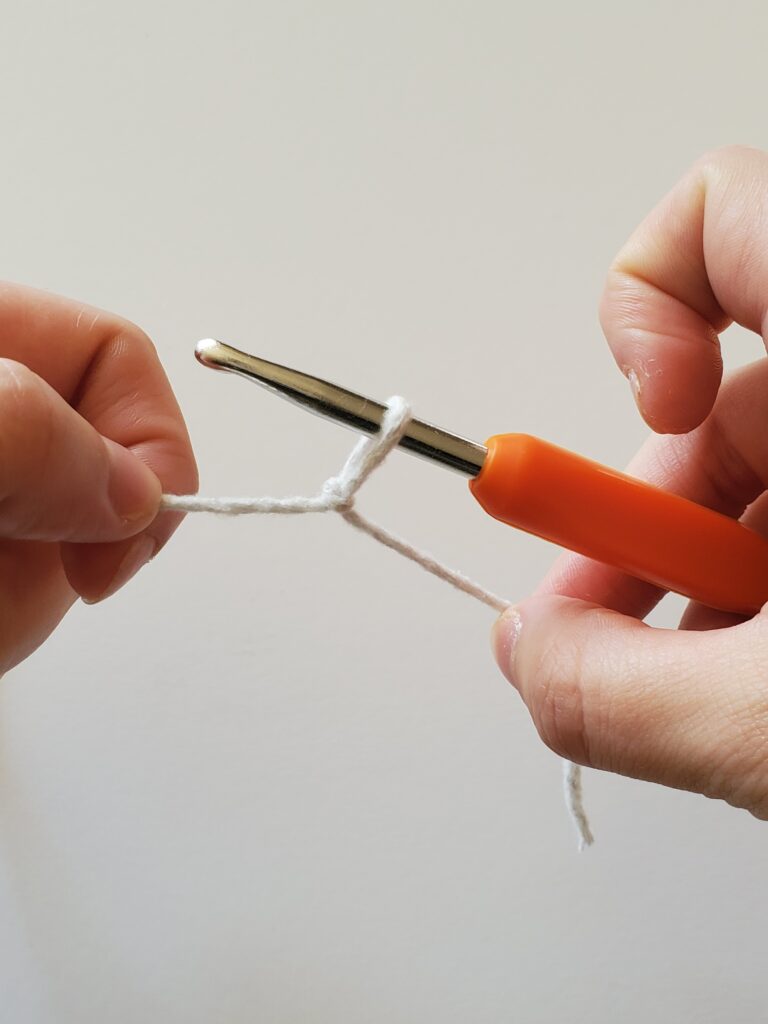
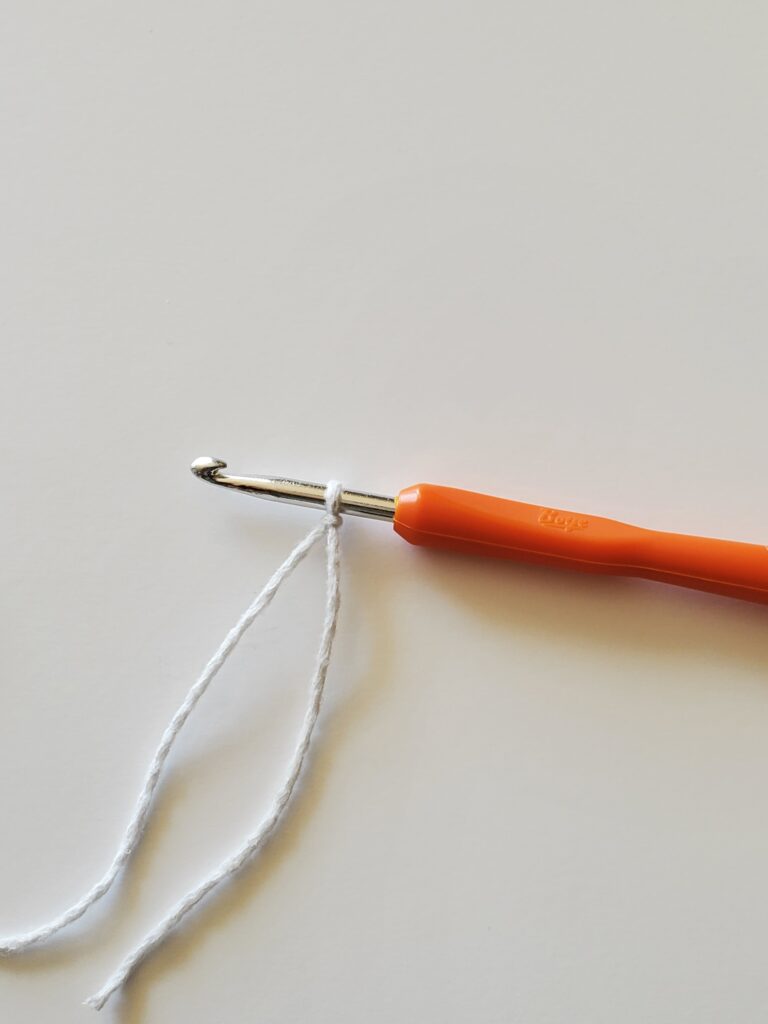
Step 9) Tighten your slip knot by pulling on both ends of your yarn
Ta da! You made your slip knot.
The slip knot is a necessary first step in crochet (aside from getting a crochet hook and yarn of course!).
I hope that you found this guide helpful on how to make a slip knot on a crochet hook.
Don’t forget to follow me on Instagram for more crochet how to’s and free patterns! You can find me @strommercrafts.


Leave a Reply
You must be logged in to post a comment.