How to Crochet with Black Yarn: 12 Game Changing Tips for Your Next Project

Crocheting with black yarn can be challenging, but it’s also a great way to add a bit of drama and sophistication to your crochet projects. Whether you’re working on a black sweater, a dark blanket, or black colored amigurumi, using this colored yarn can create striking and elegant effects.

However, crocheting with black yarn can be frustrating, especially if you’re struggling to see your stitches or keep making mistakes.

That’s why I’ve compiled a list of 12 game-changing tips for crocheting with black yarn. From lighting, to tension, these tips will help you work with black or dark colored yarn more confidently and without the stress. 

So if you’re ready to take your crochet skills to the next level, read on to discover my top tips for crocheting with this kind of yarn!

Please note that some of these links are affiliate links. That means that if you click on these links and make a purchase, I may receive a commission at no extra cost to you. You can find more information about our disclosure policy here. Thank you for your support.

#1 Use good lighting.

Stitches formed with black yarn can be difficult to see, so it’s important to use good lighting while crocheting. Consider working in a well-lit area (a window with natural lighting is best). Use a lamp or try using a wearable lamp, like a headlamp or a neck lamp to help illuminate your work.

Here’s a LED Neck Lamp from Glocusent that doesn’t look dorky and has great lighting.

#2 Choose the right yarn weight.

Thicker yarns can be easier to work with when using black or darker yarns, as the stitches become bigger and more visible. Consider using bulky or super bulky weight yarn for your crochet project.

Try Bernat’s Super Bulky Yarn in Coal, it’s reasonably priced for the yardage provided and it’s soft.

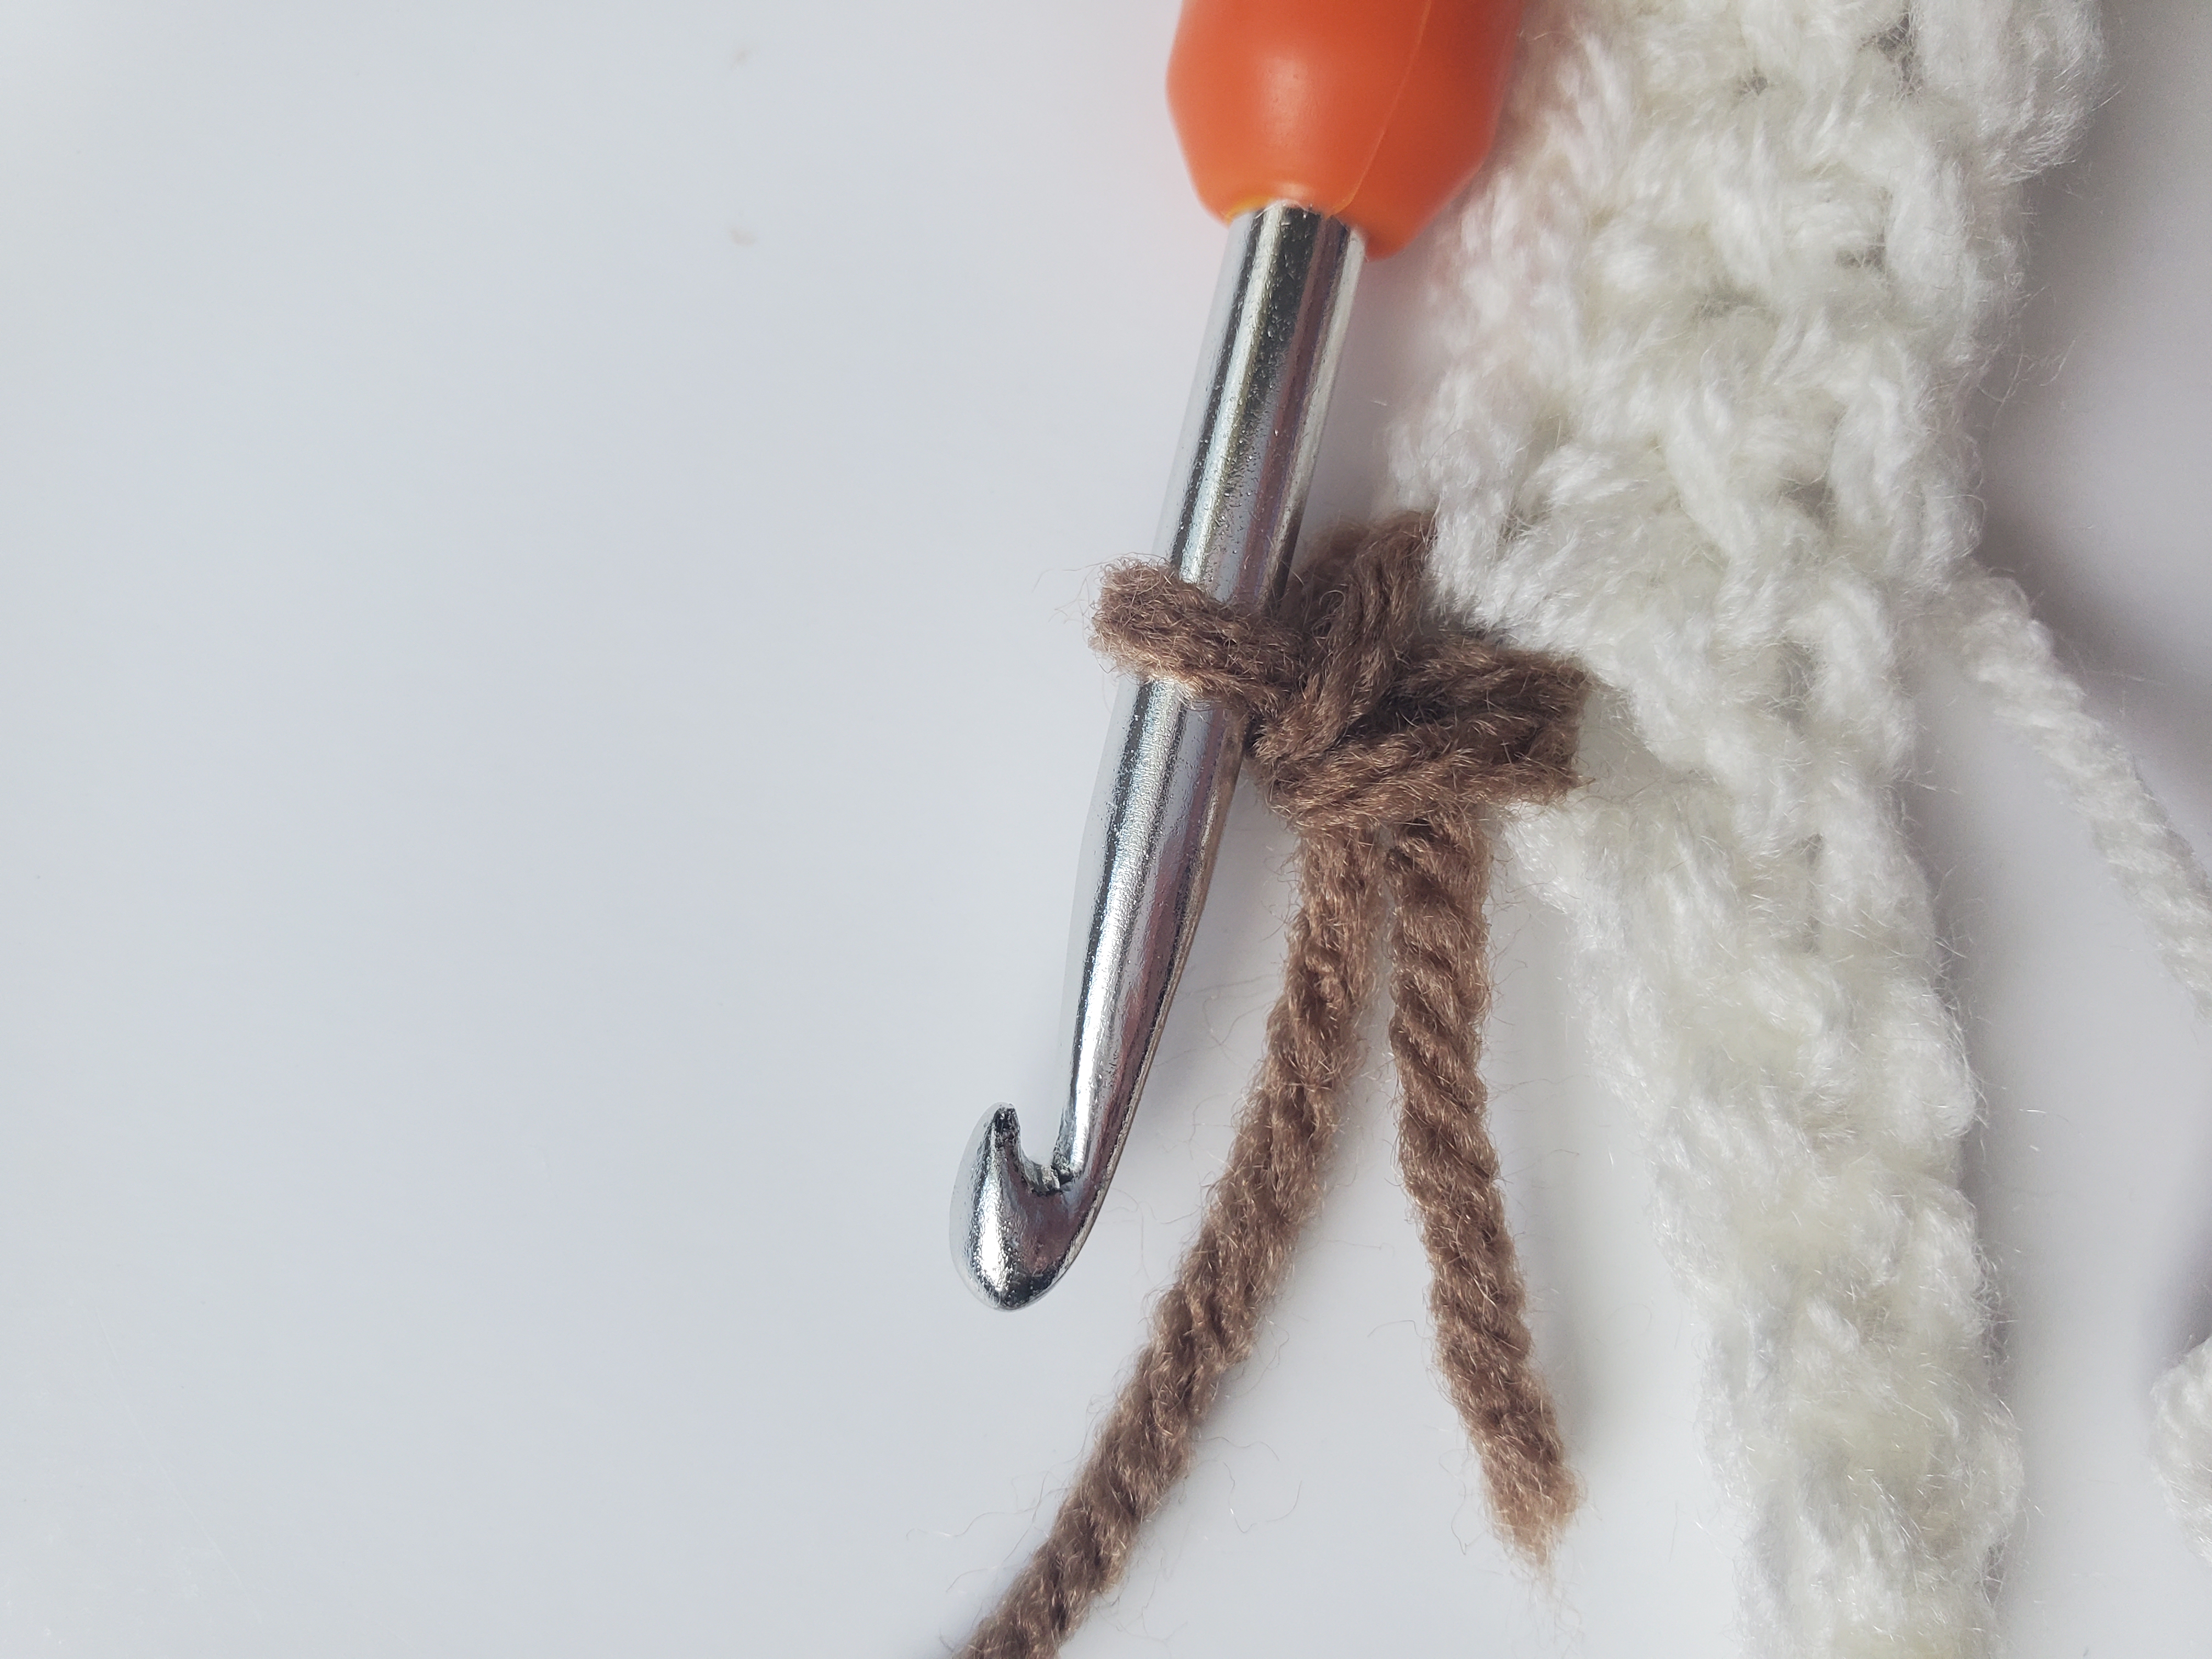
#3 Use stitch markers, especially contrasting ones.

Using stitch markers in a contrasting color can help you keep track of your stitches while crocheting with black yarn (especially if you’re like me and are attempting your first crochet amigurumi with black yarn!). Using stitch markers helps you count and keep track of your stitches if you’re having issues finding them.

I like to use these stitch markers from Cusimax, there’s 120 markers, with 10 different colors, plus it comes in a nice little container to keep them in.

#4 Take breaks.

Crocheting with black yarn can be visually and mentally tiring, especially if you’re having to frog all the time from mistakes. Take frequent breaks to give your eyes and your brain a rest.

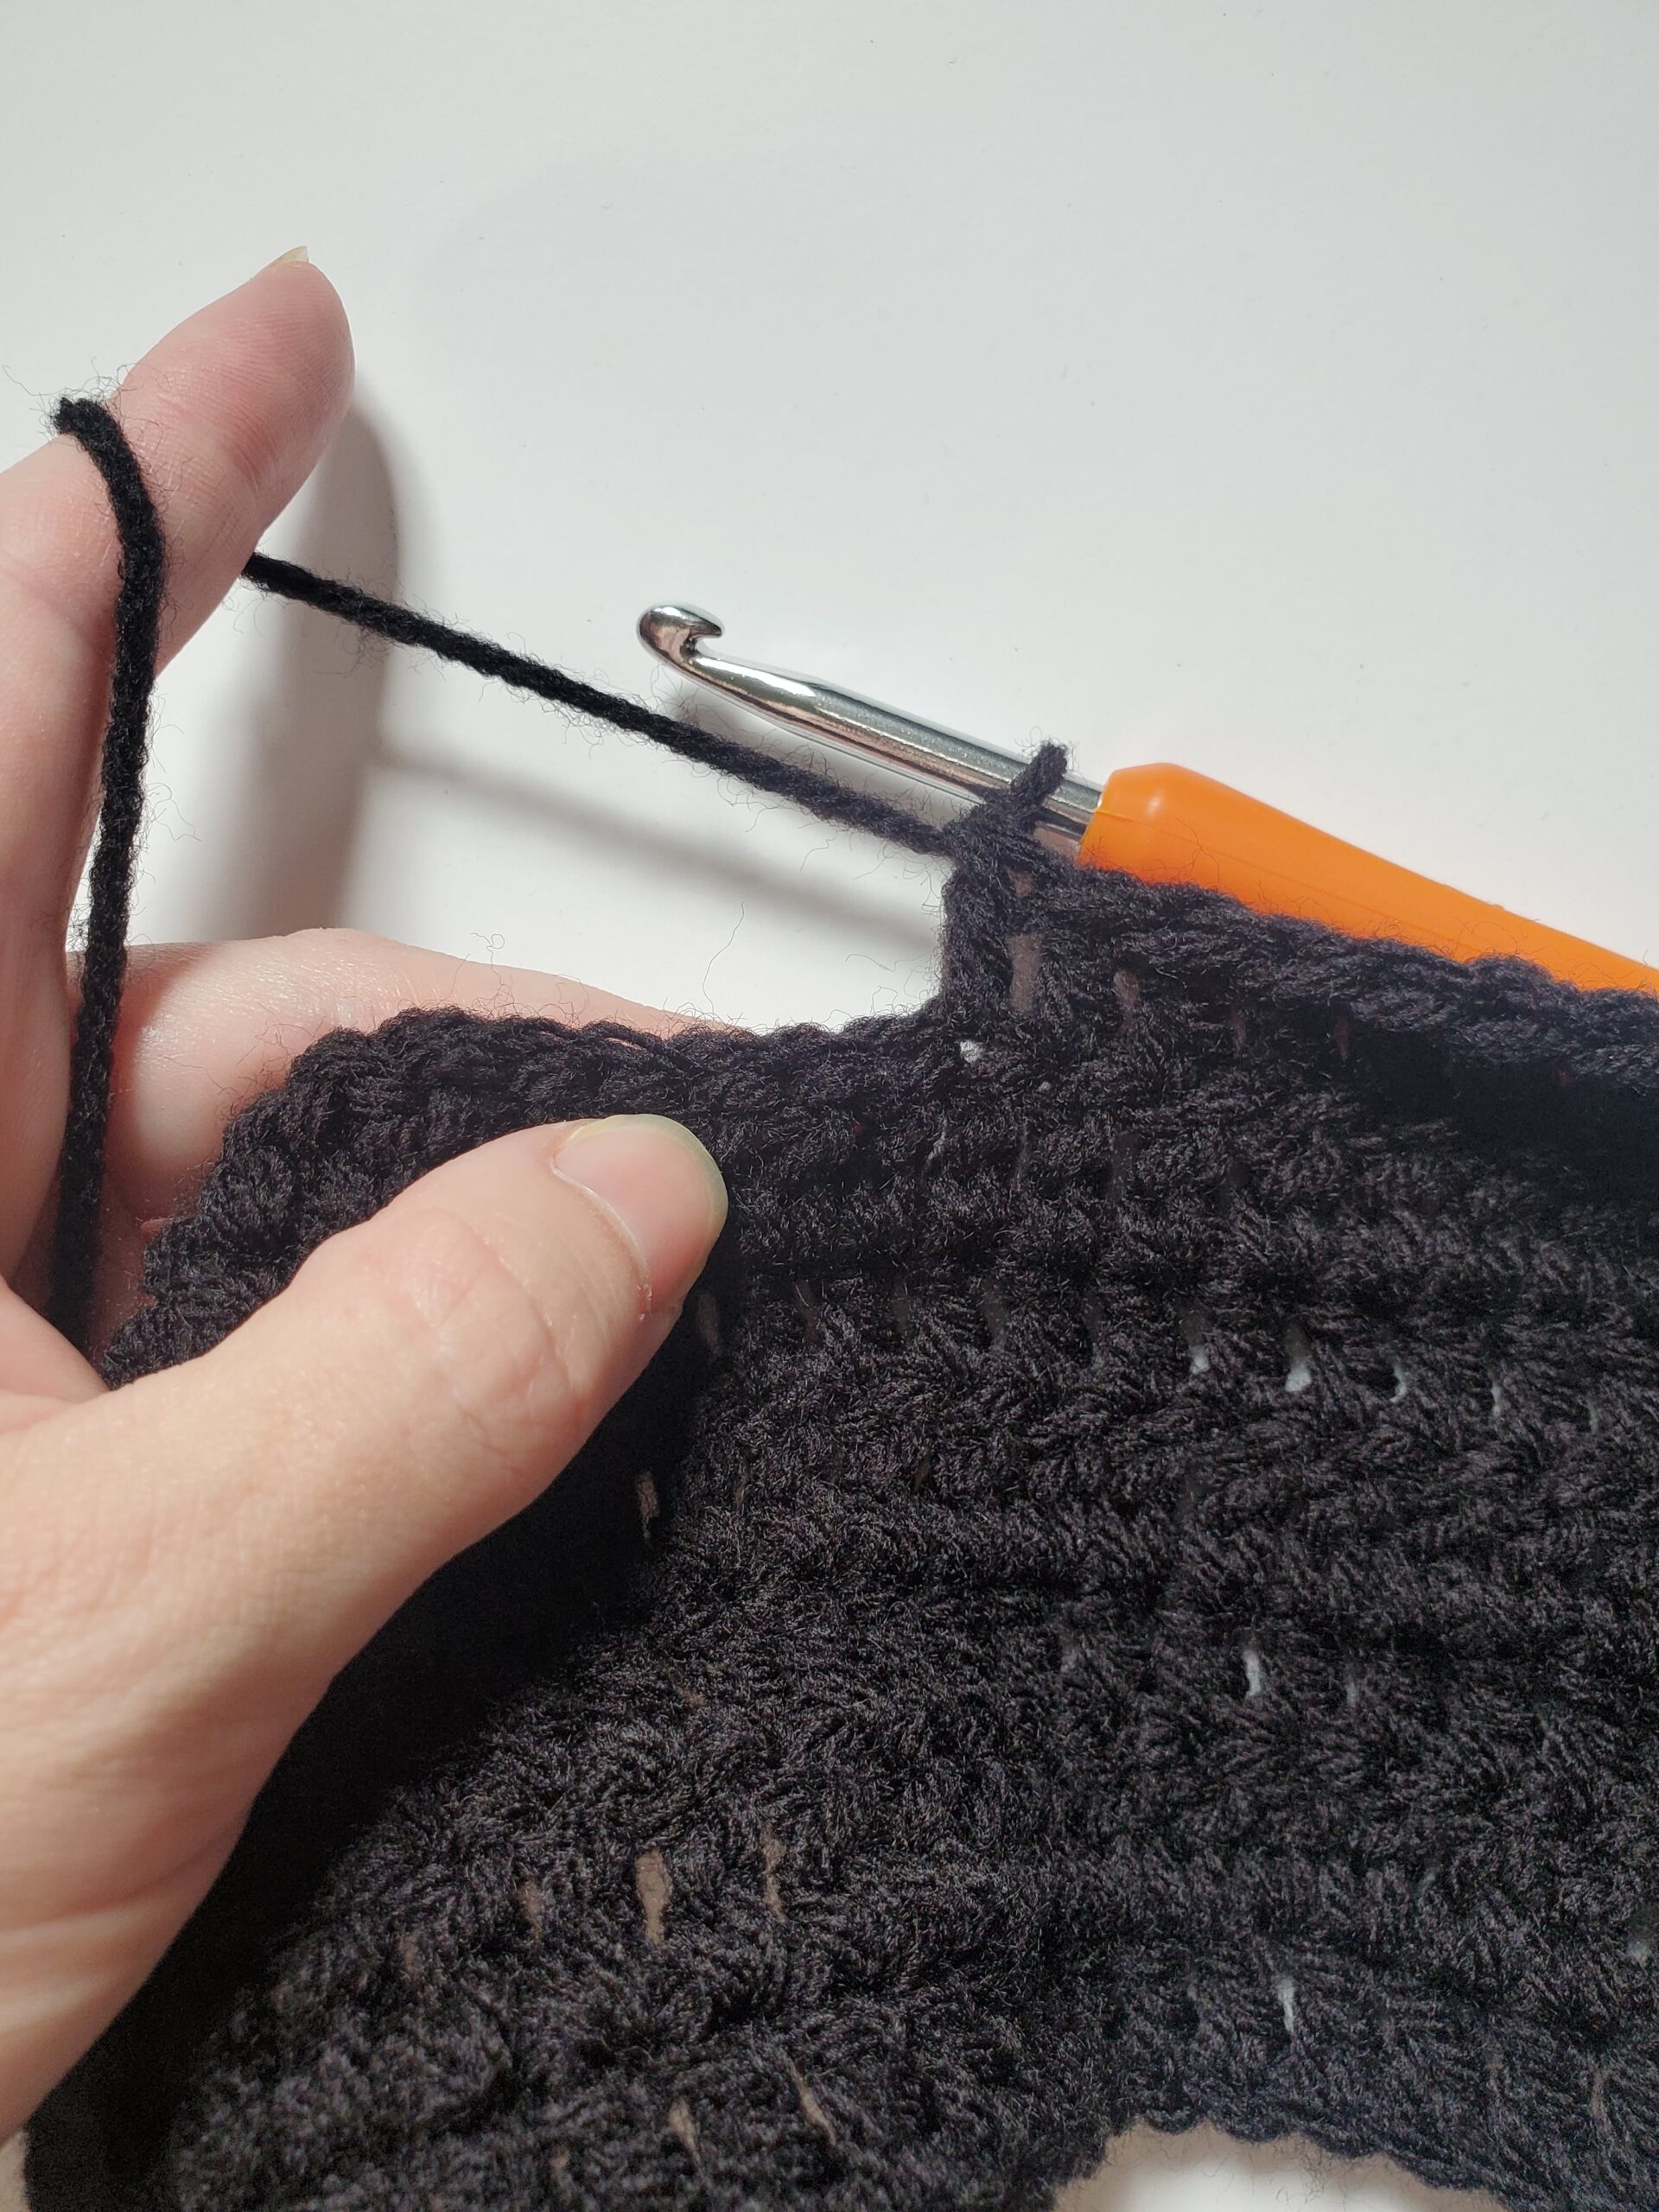
#5 Use a light-colored background.

When working with black yarn, it can be helpful to use a light-colored background for your work, this can make it easier to see your stitches and help prevent mistakes. I like to use a white poster board to lay my black yarn projects on while crocheting, but white copy paper works great too.

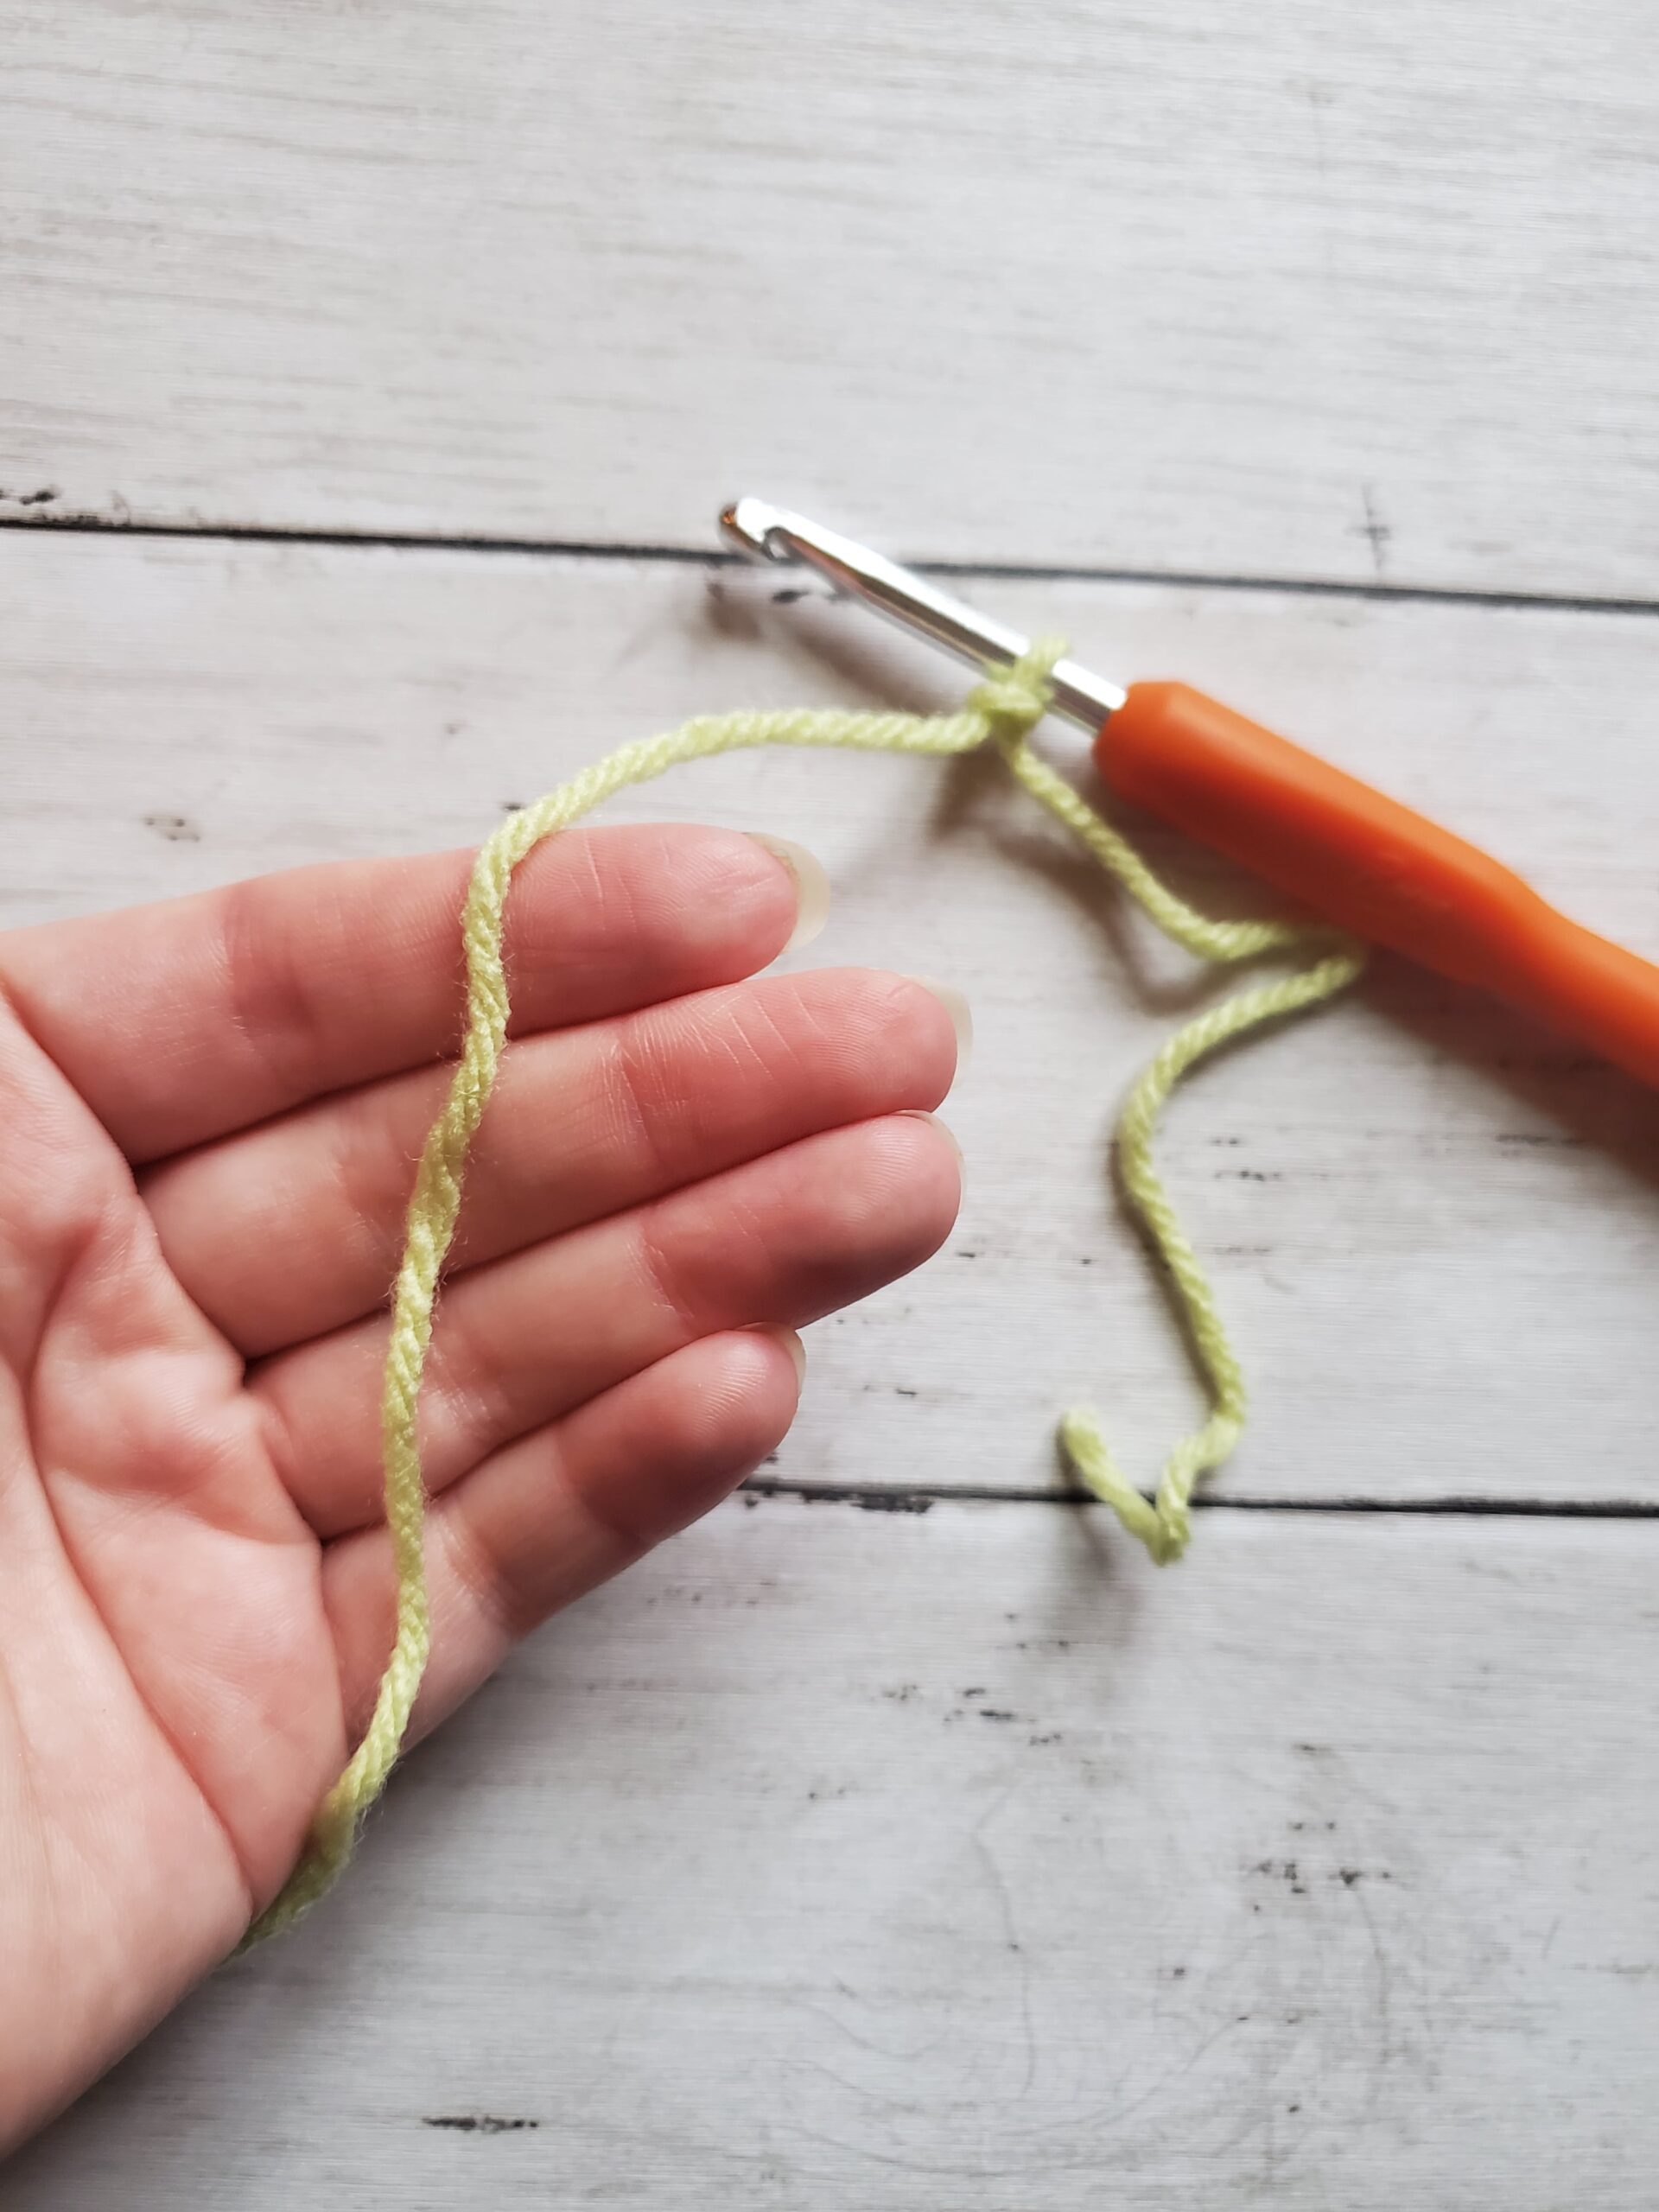
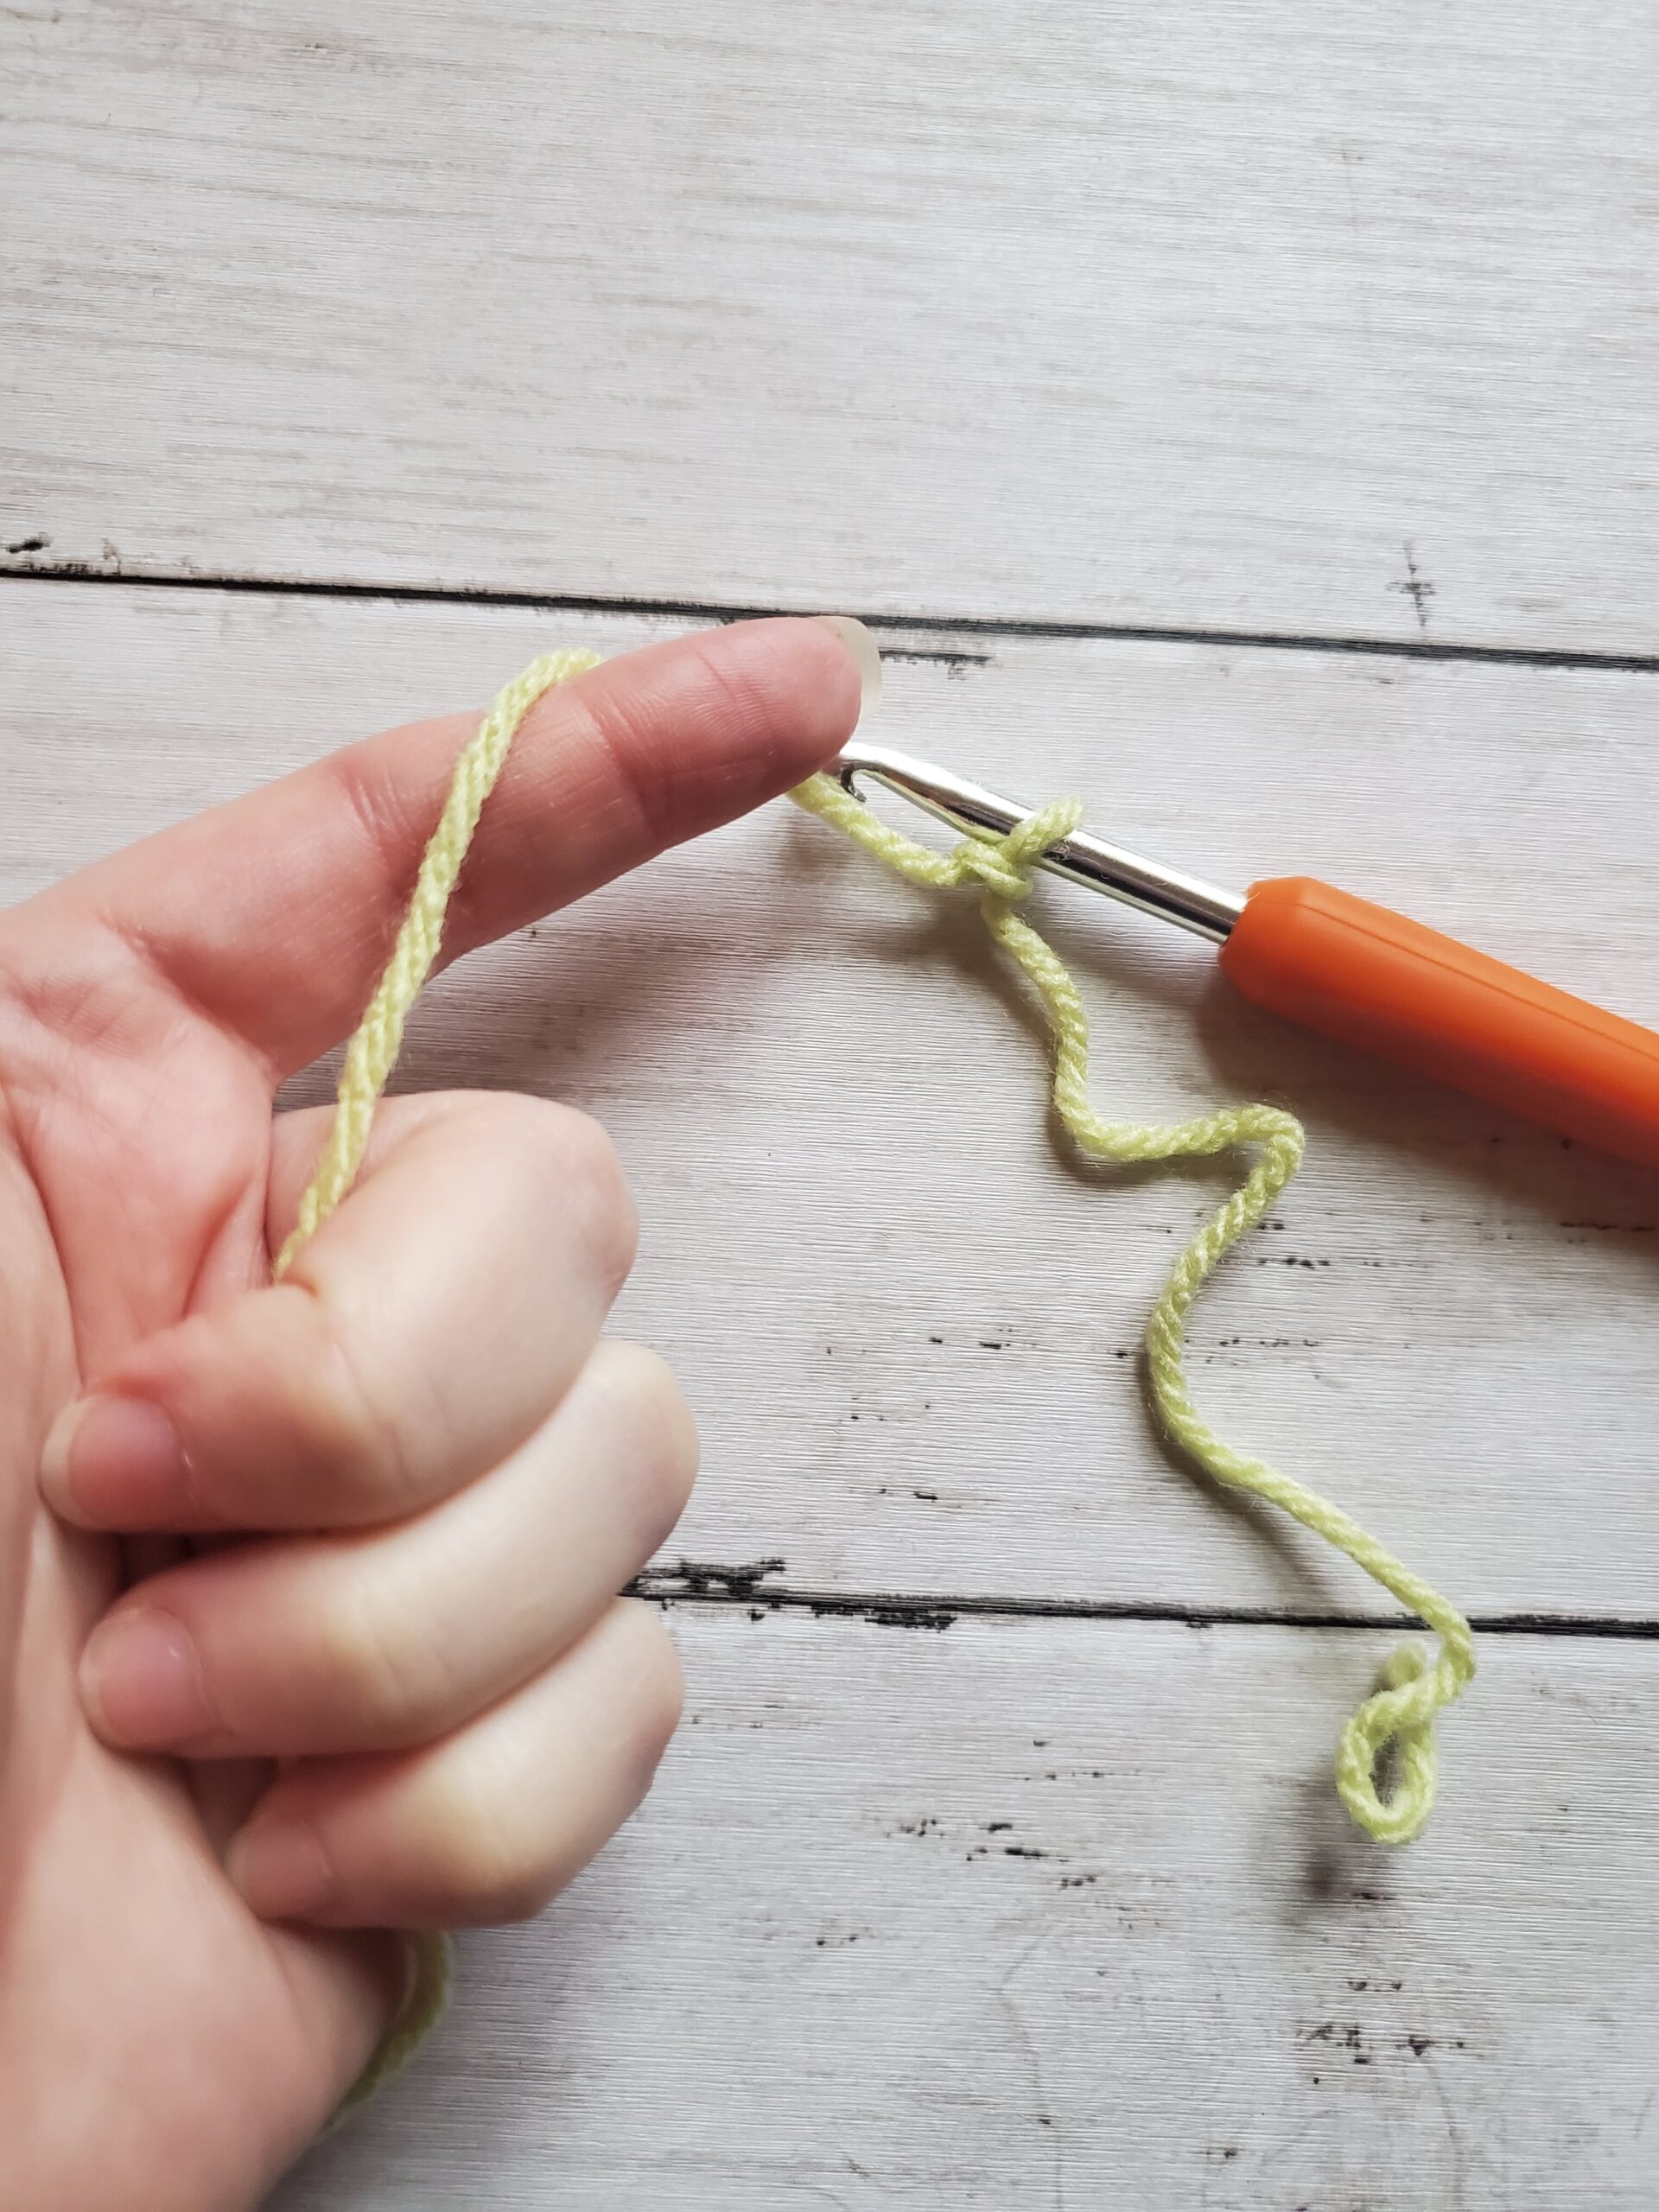
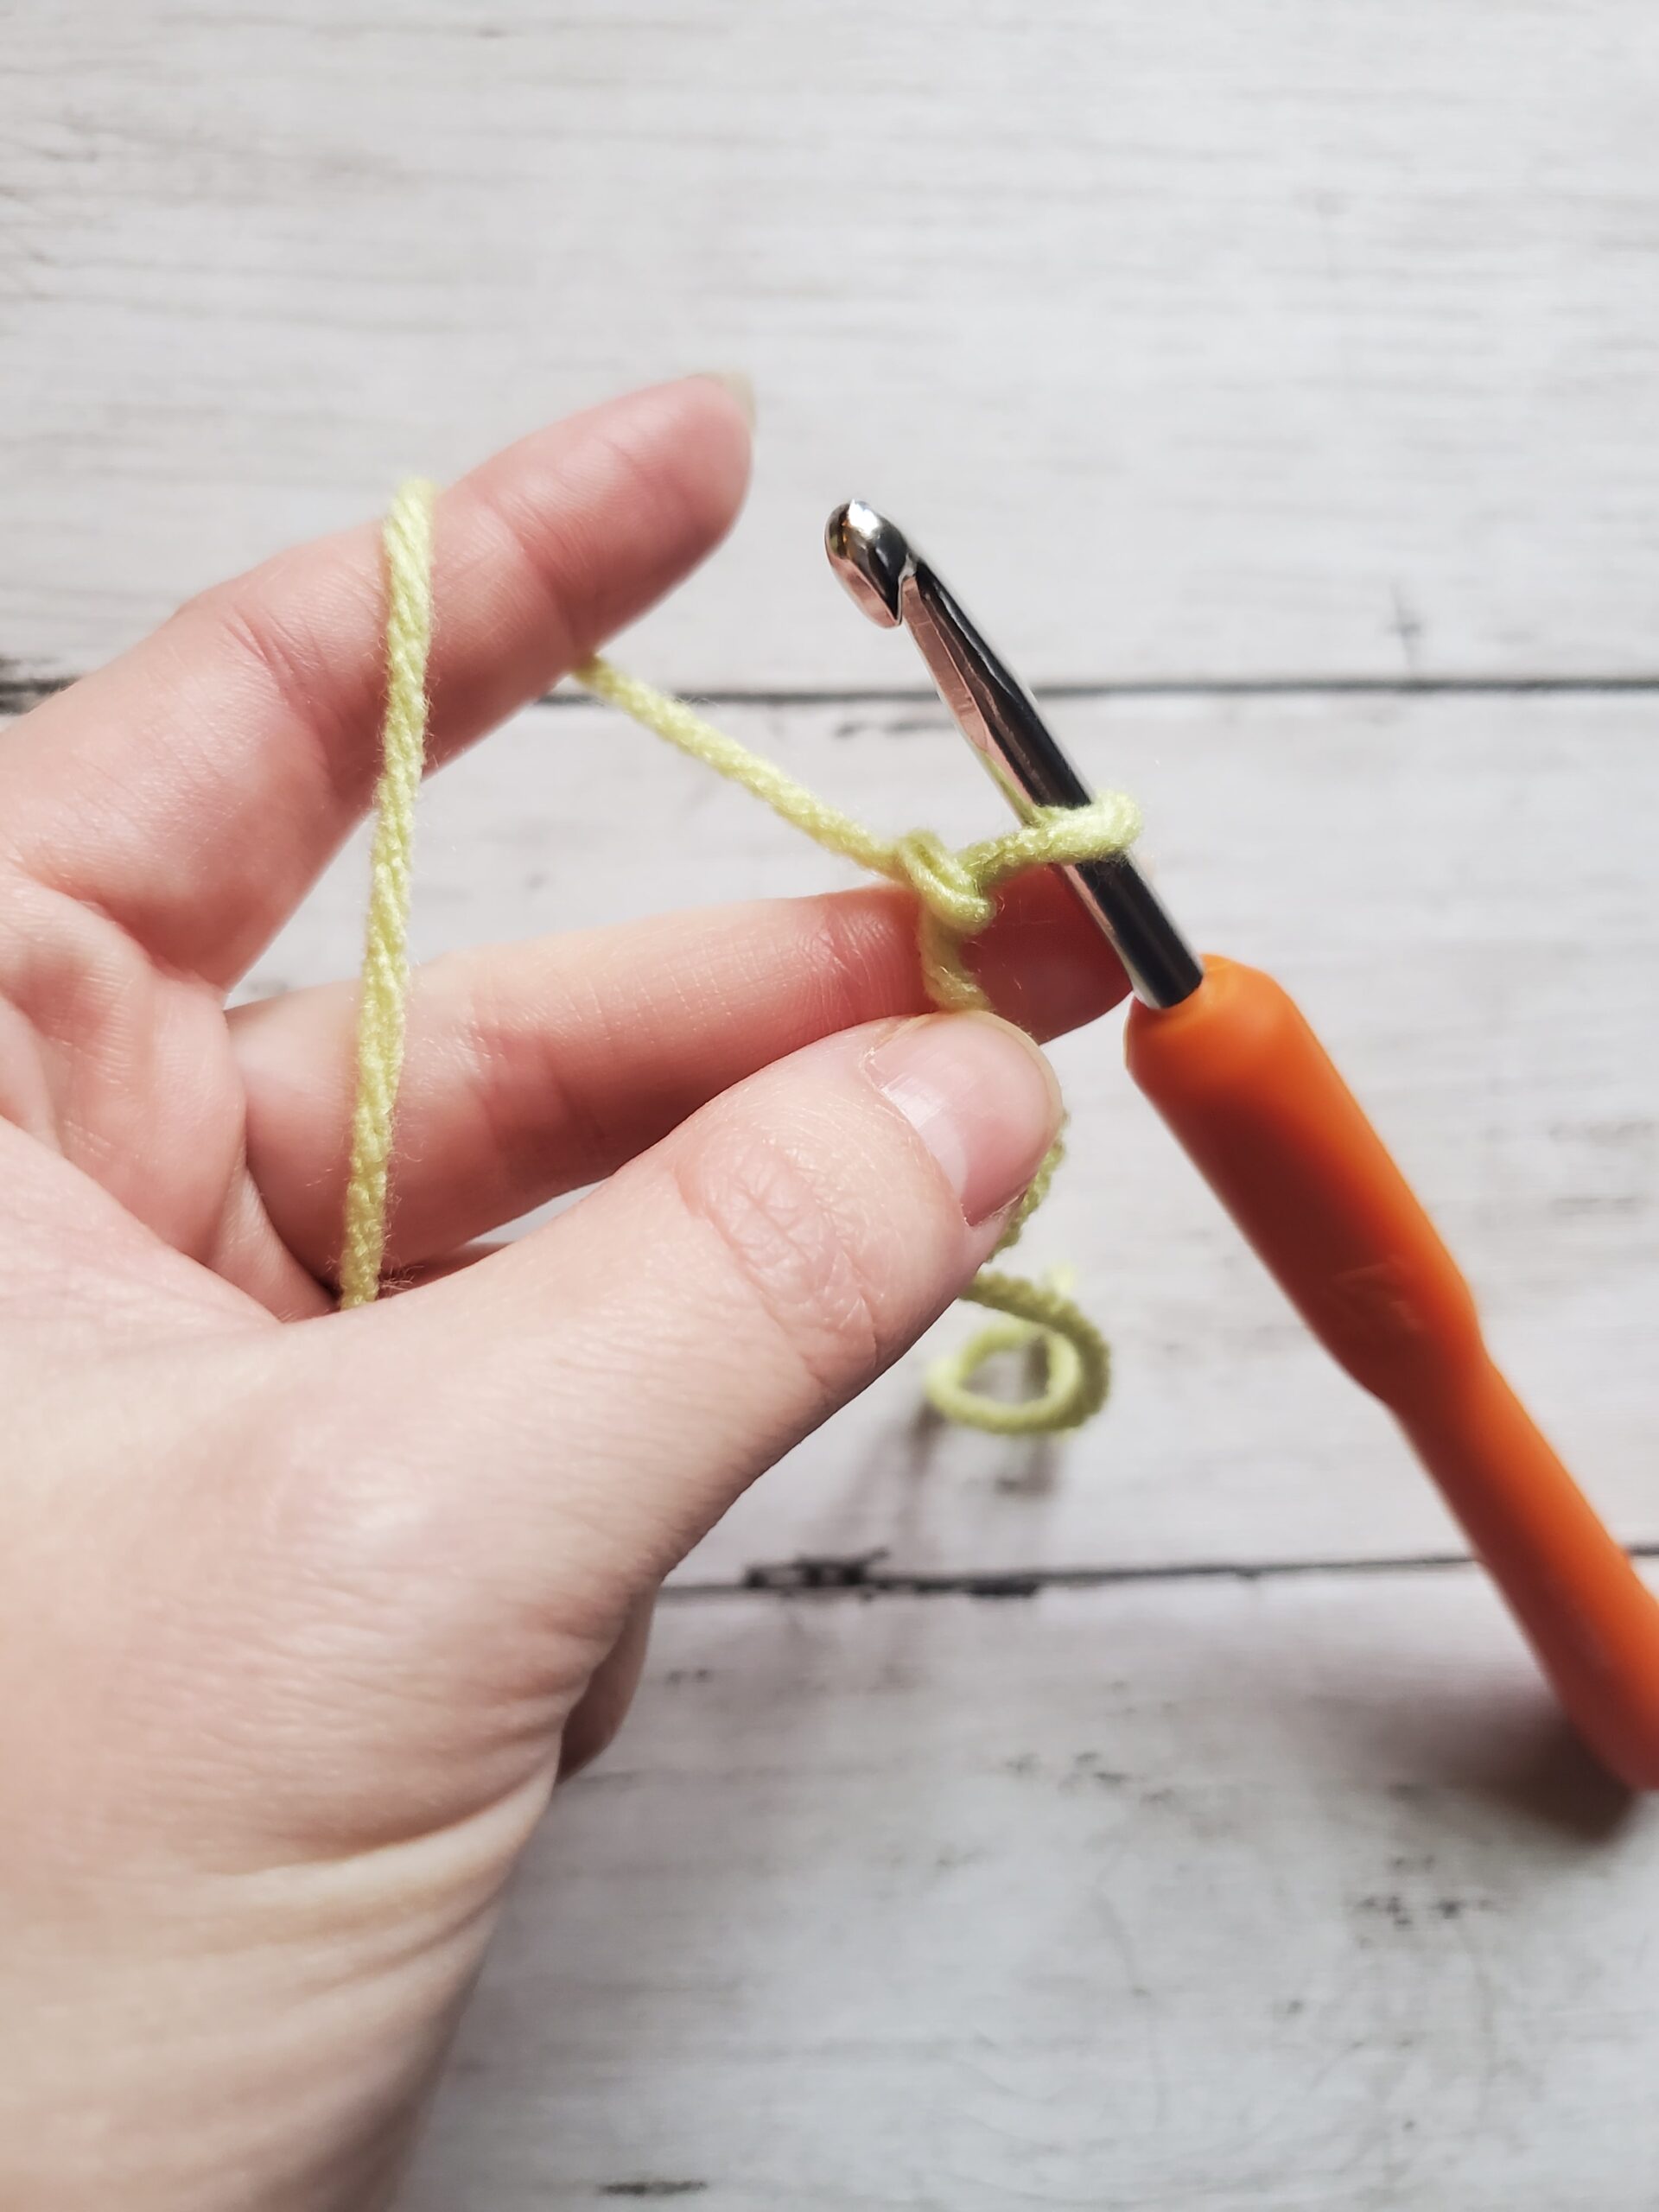
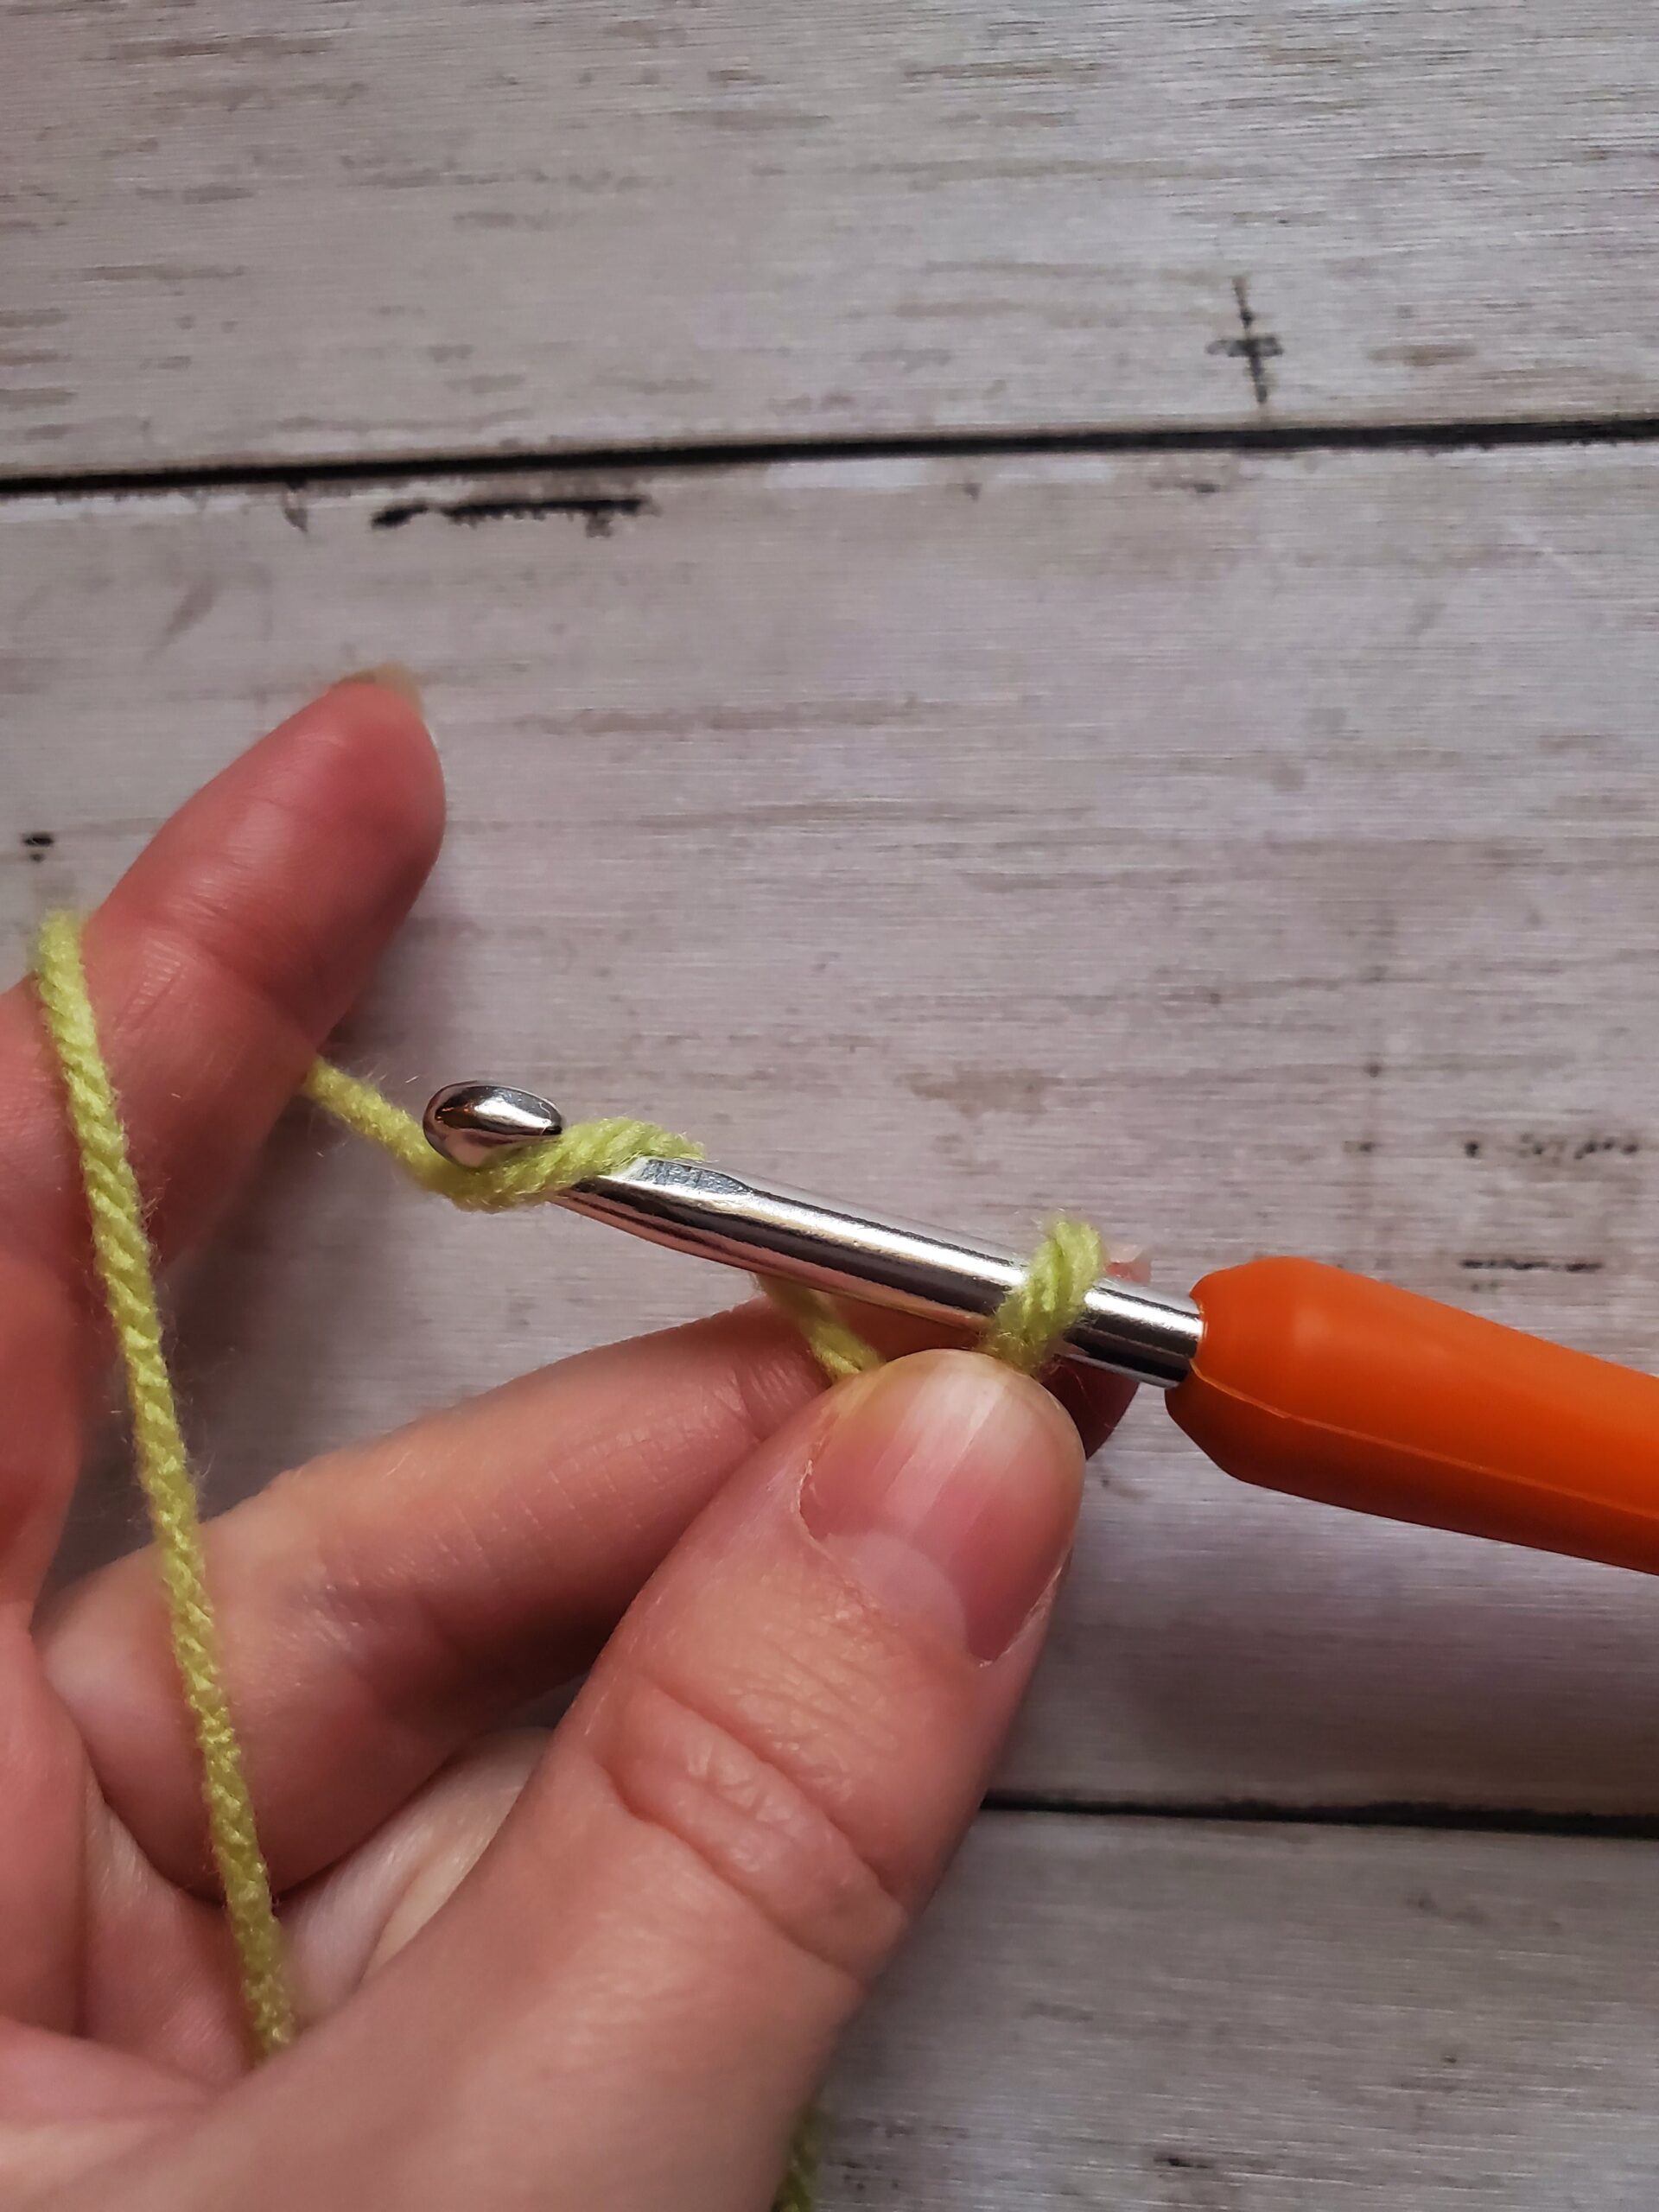
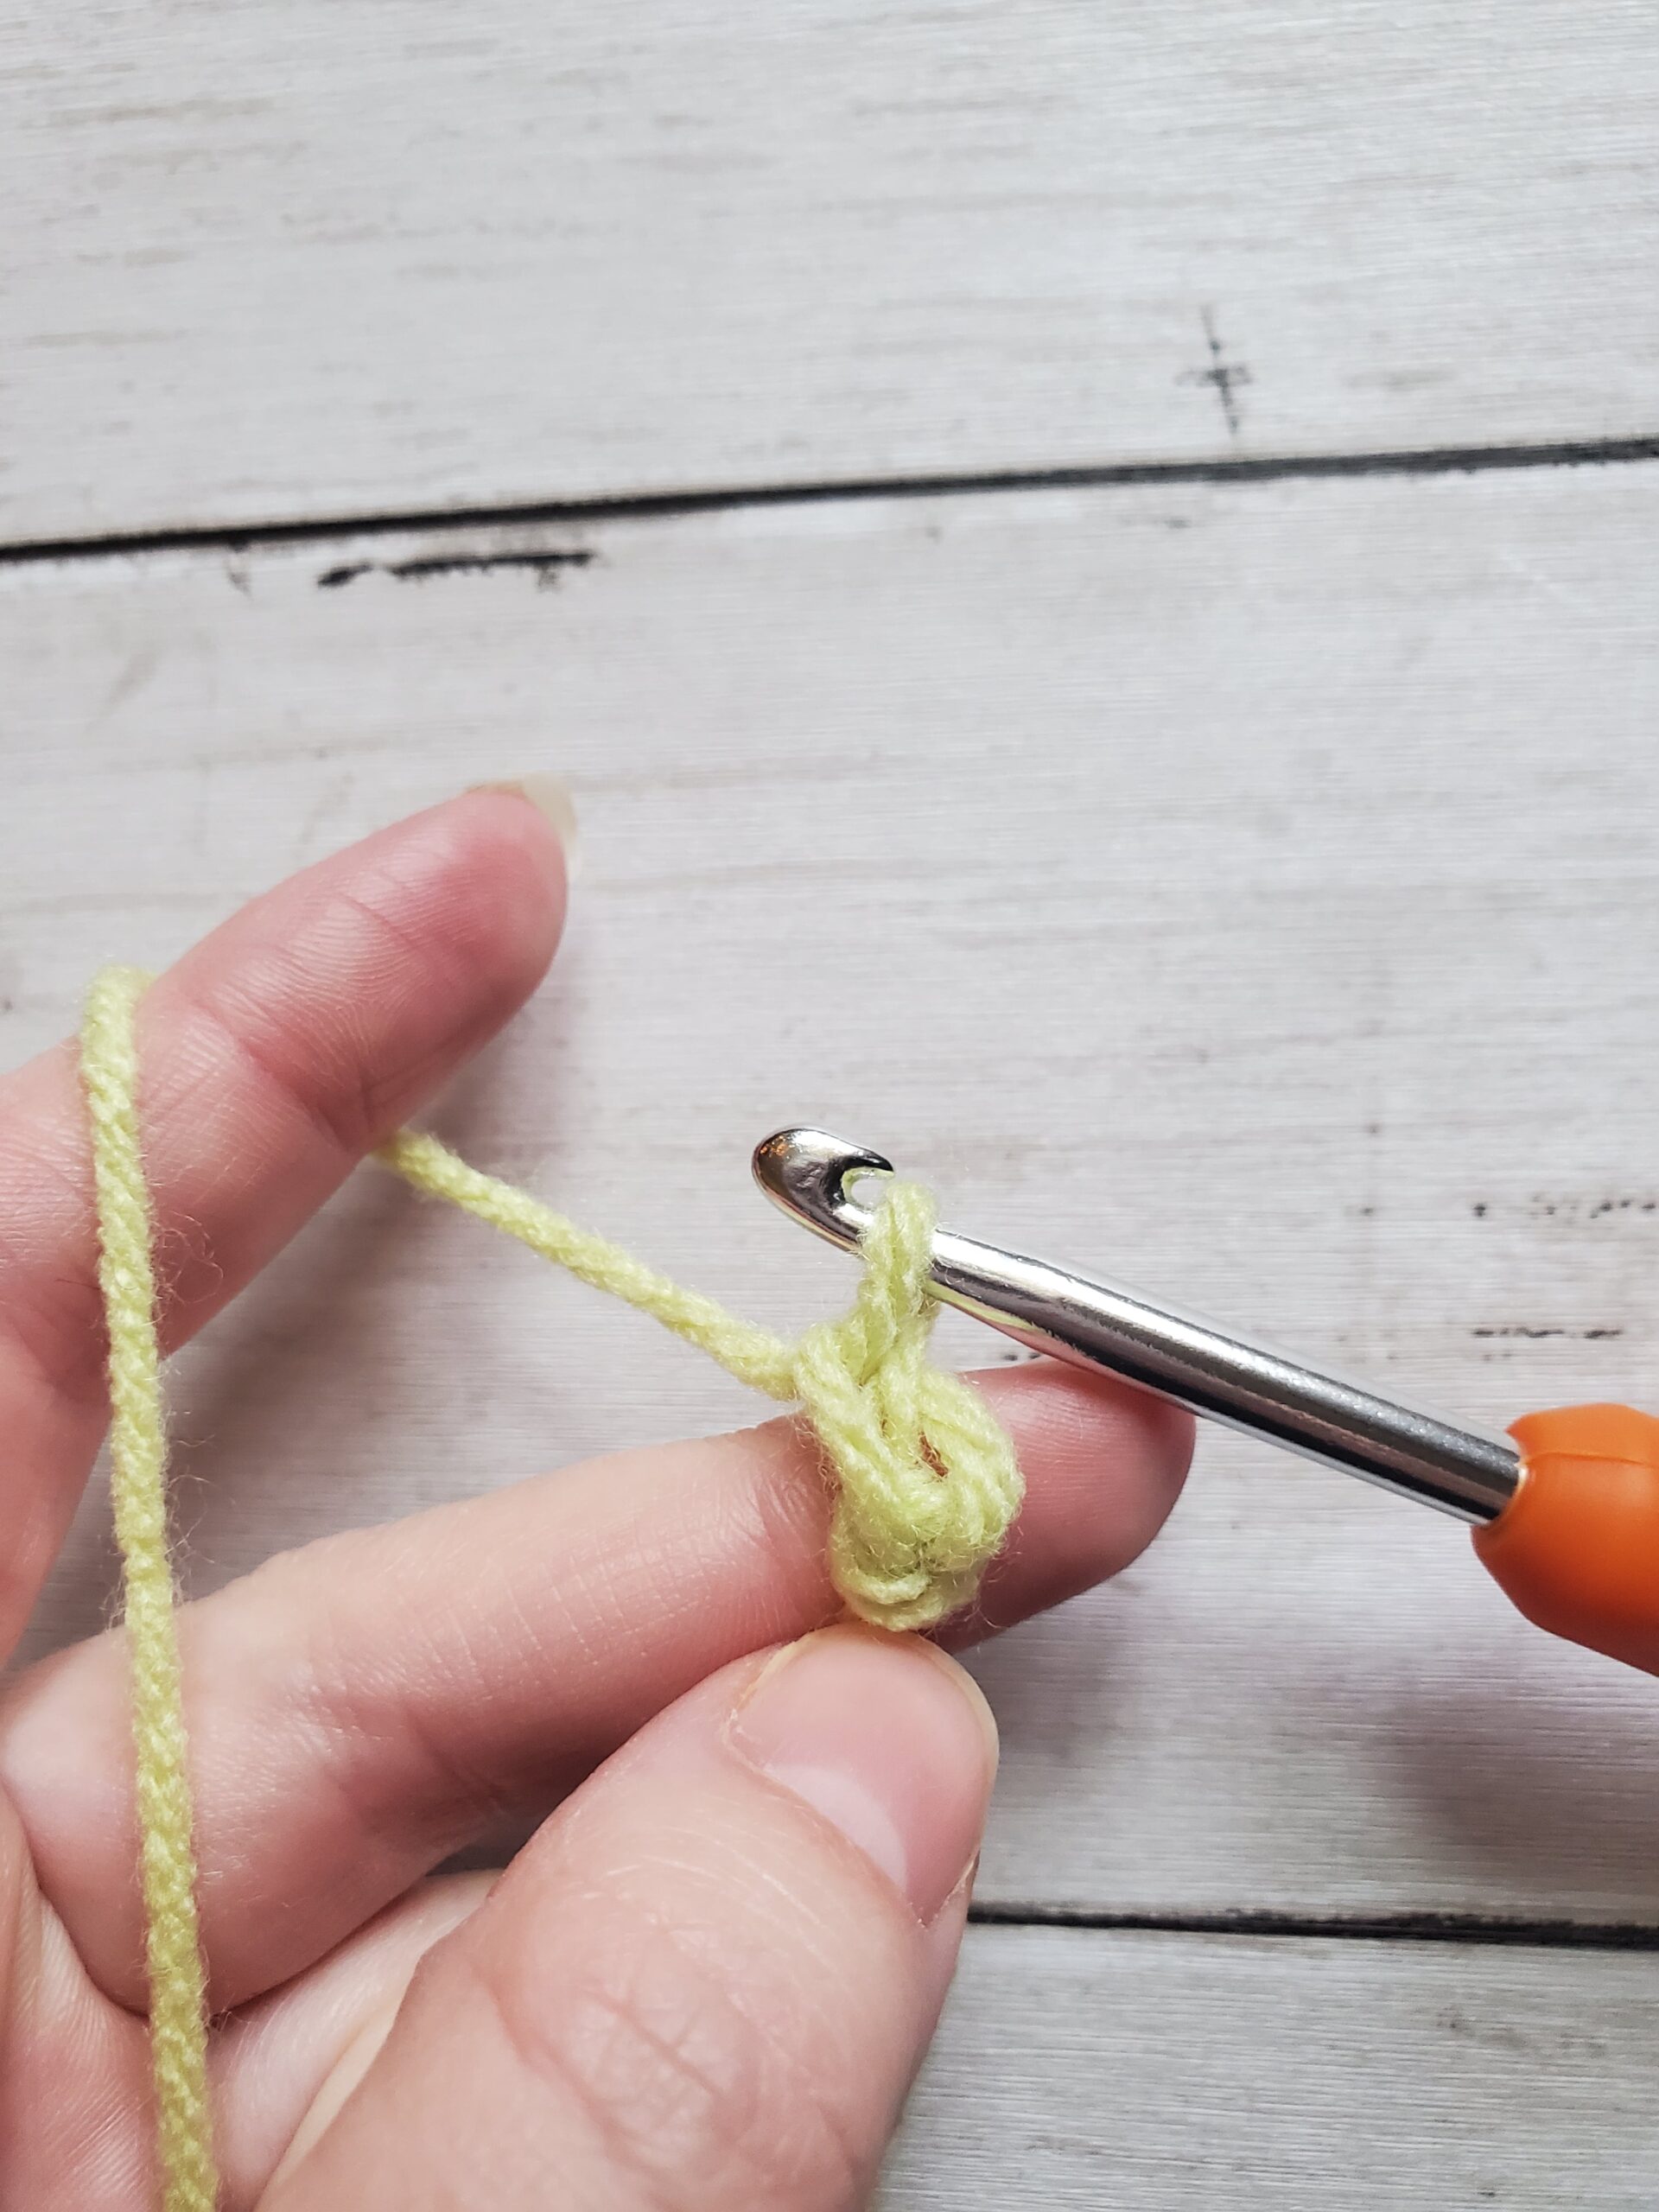
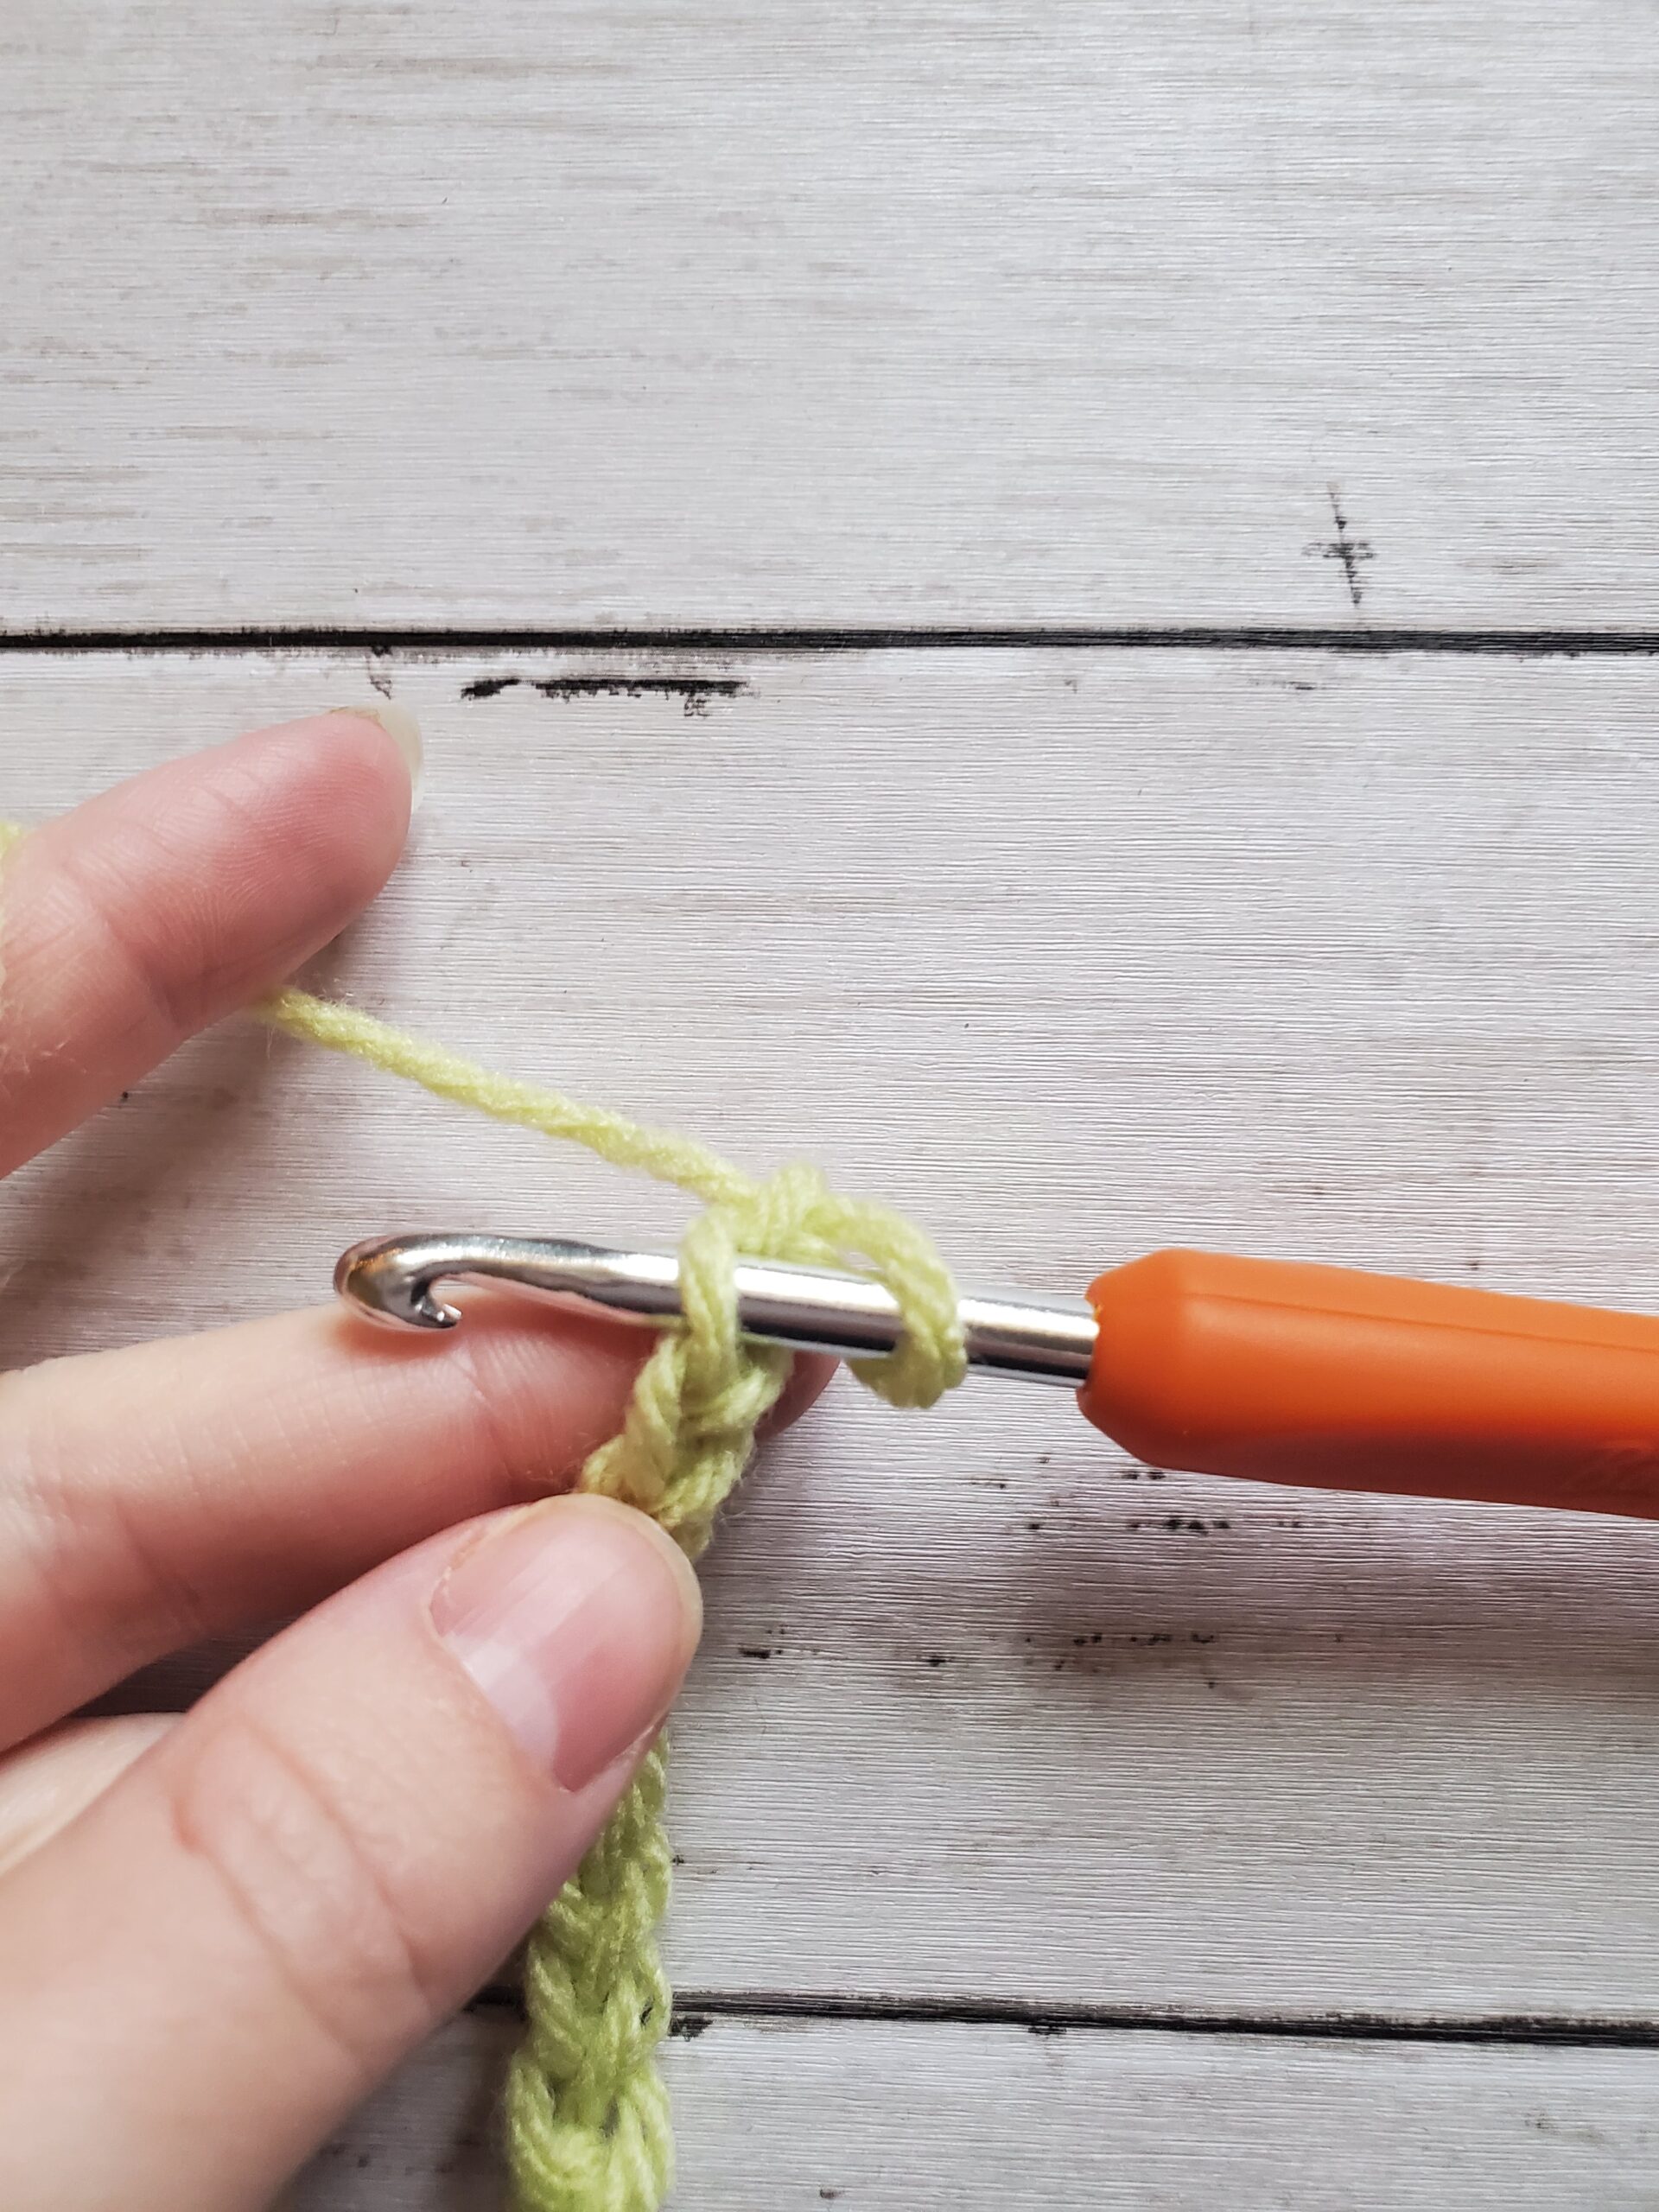
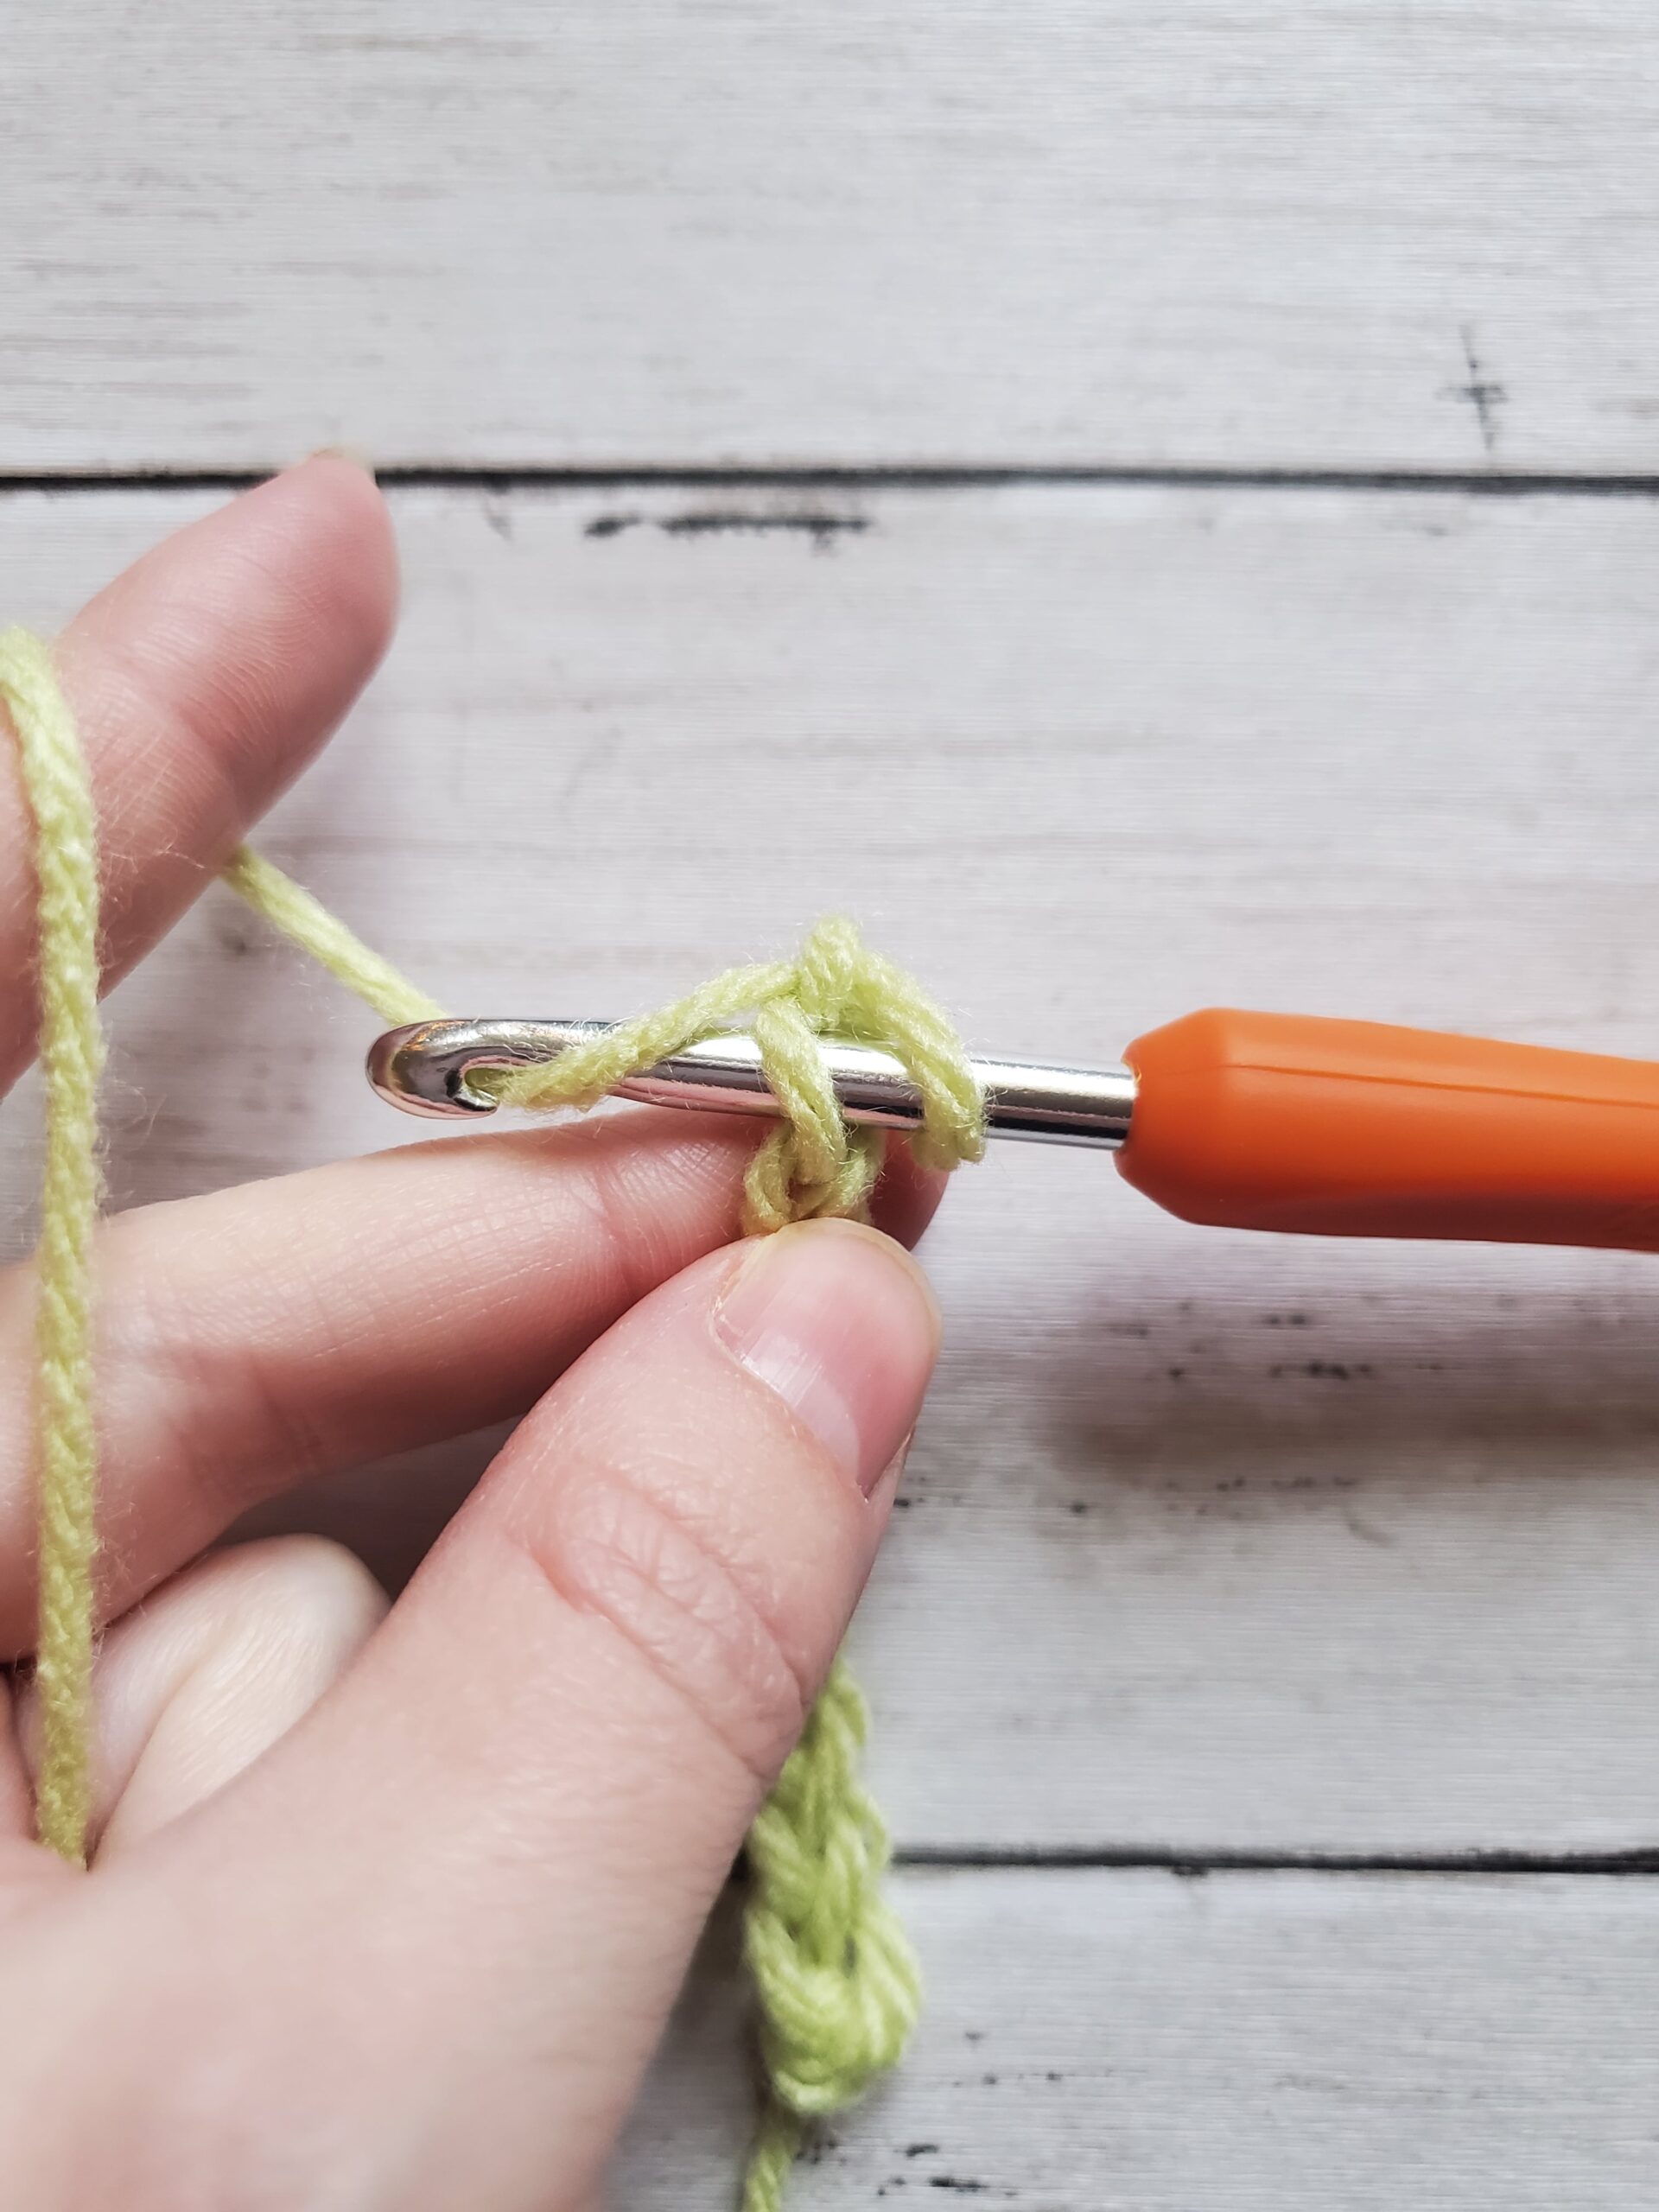
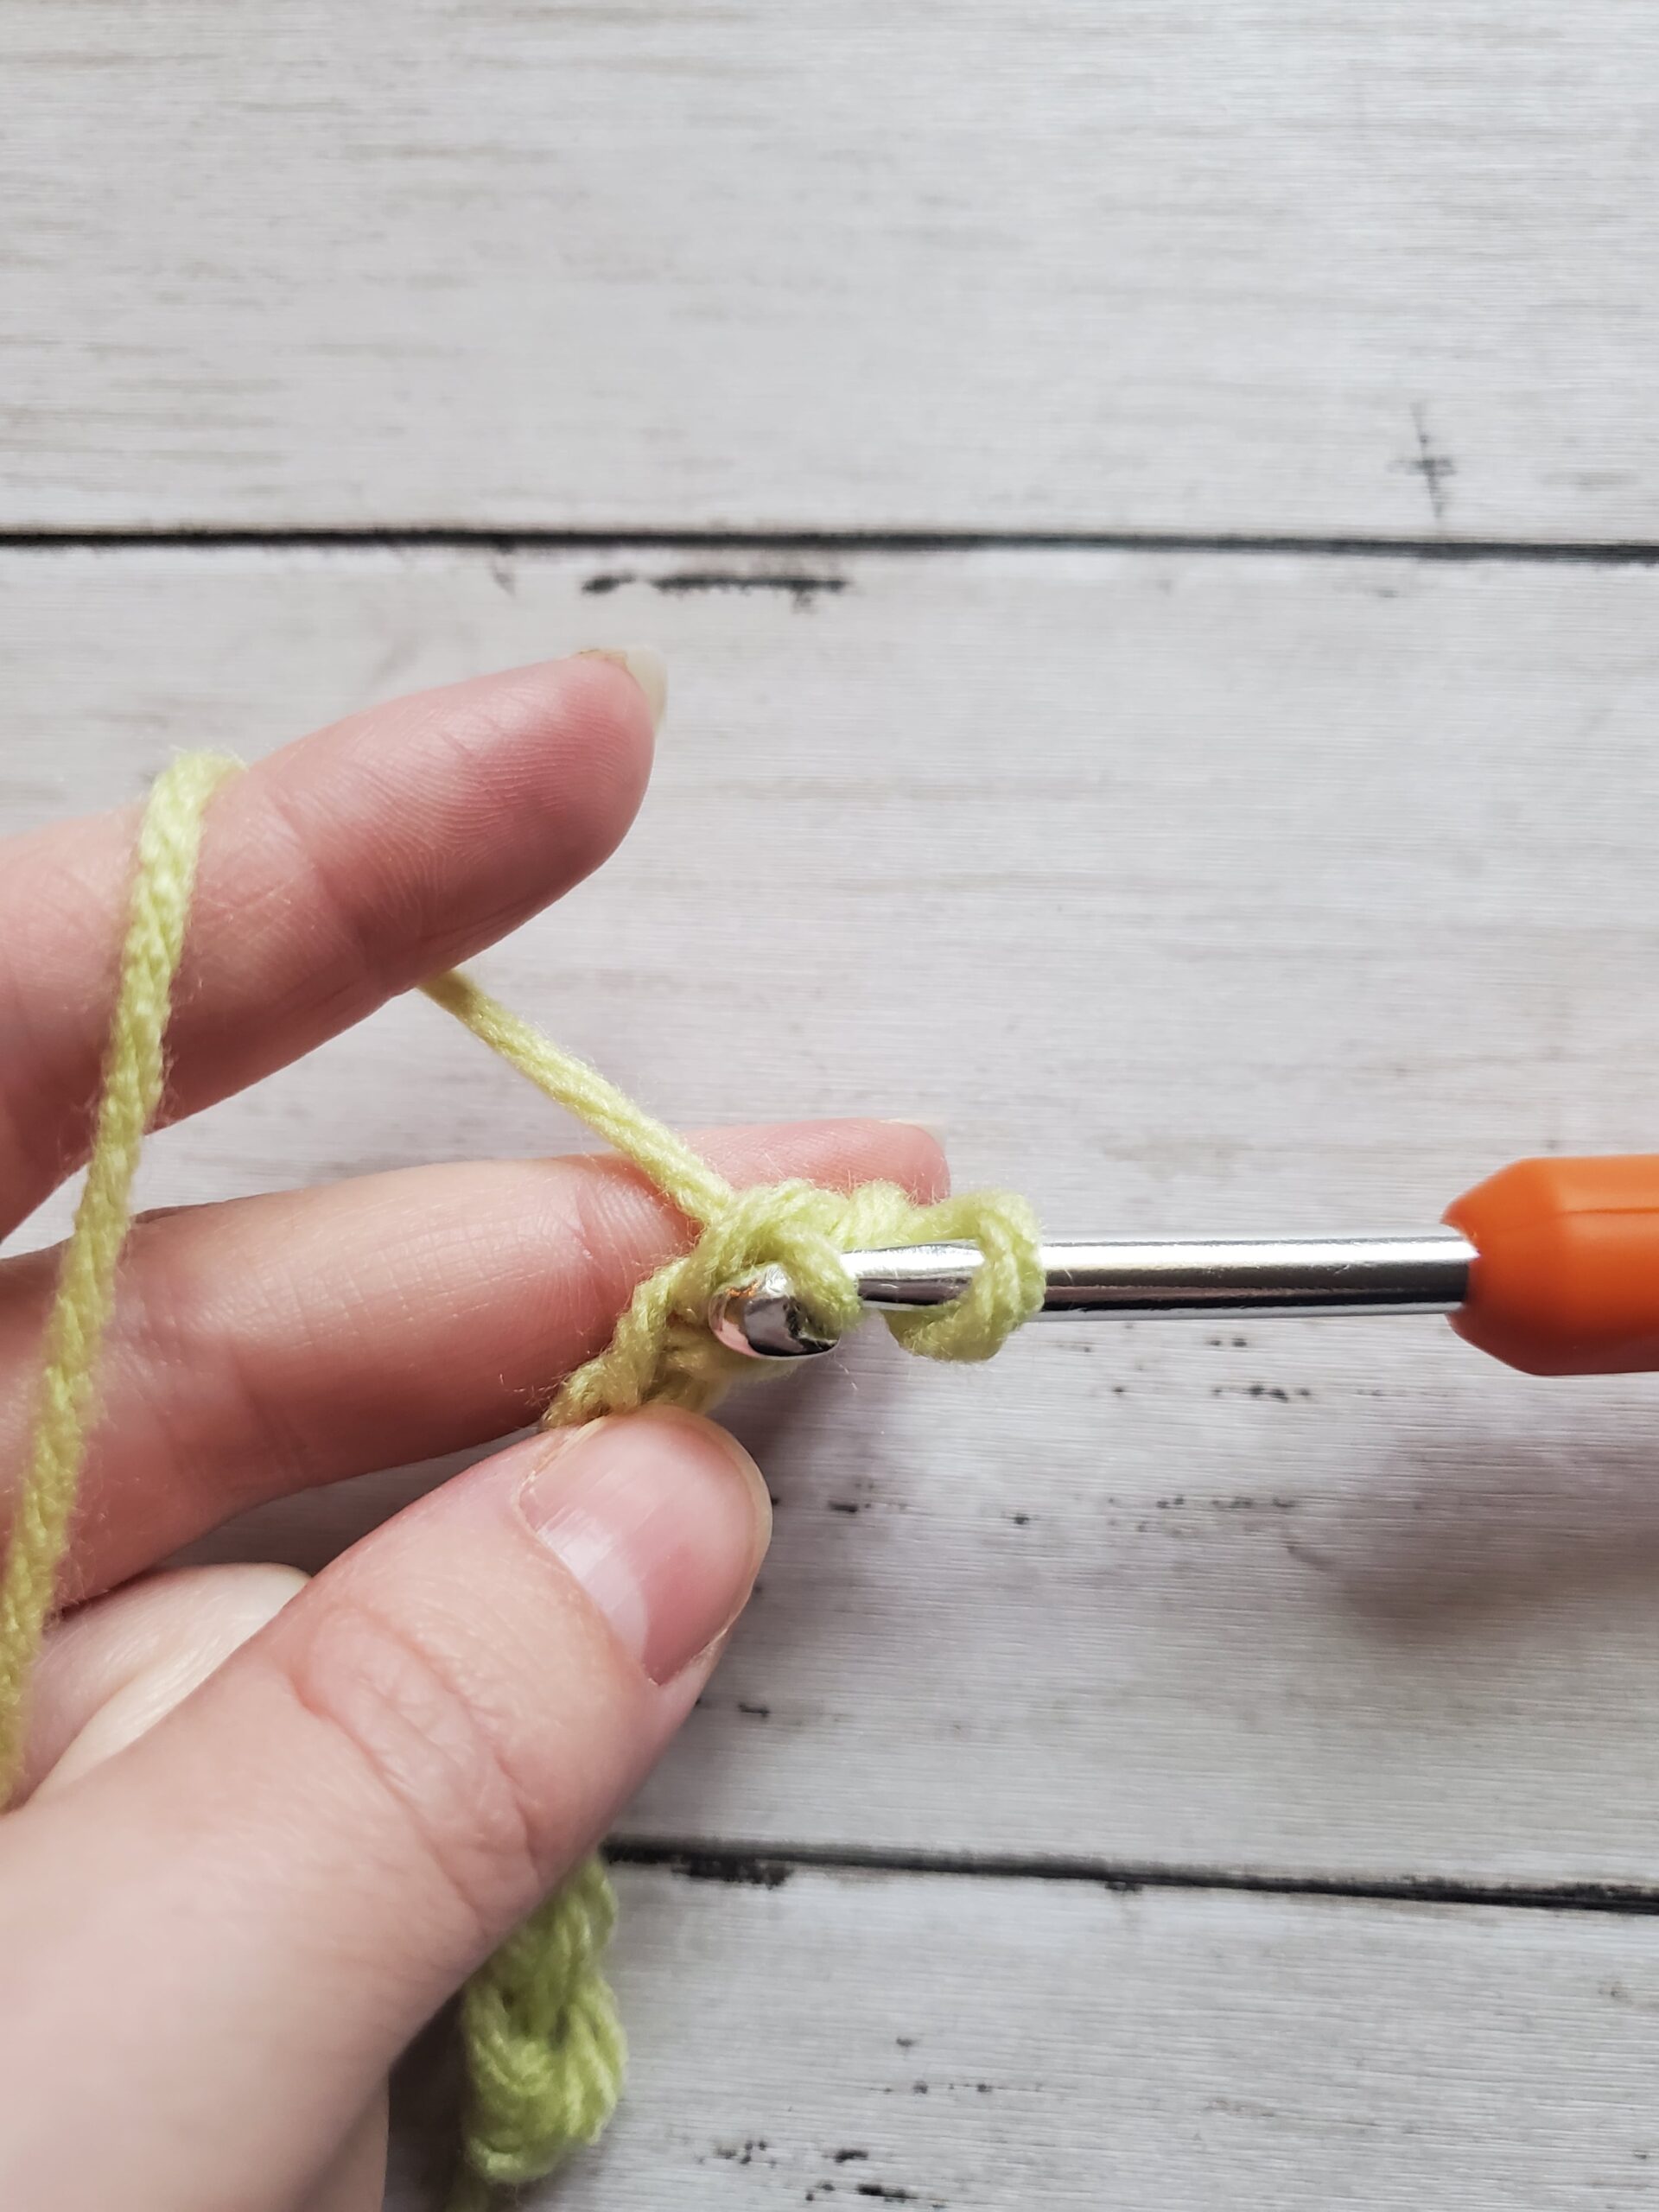
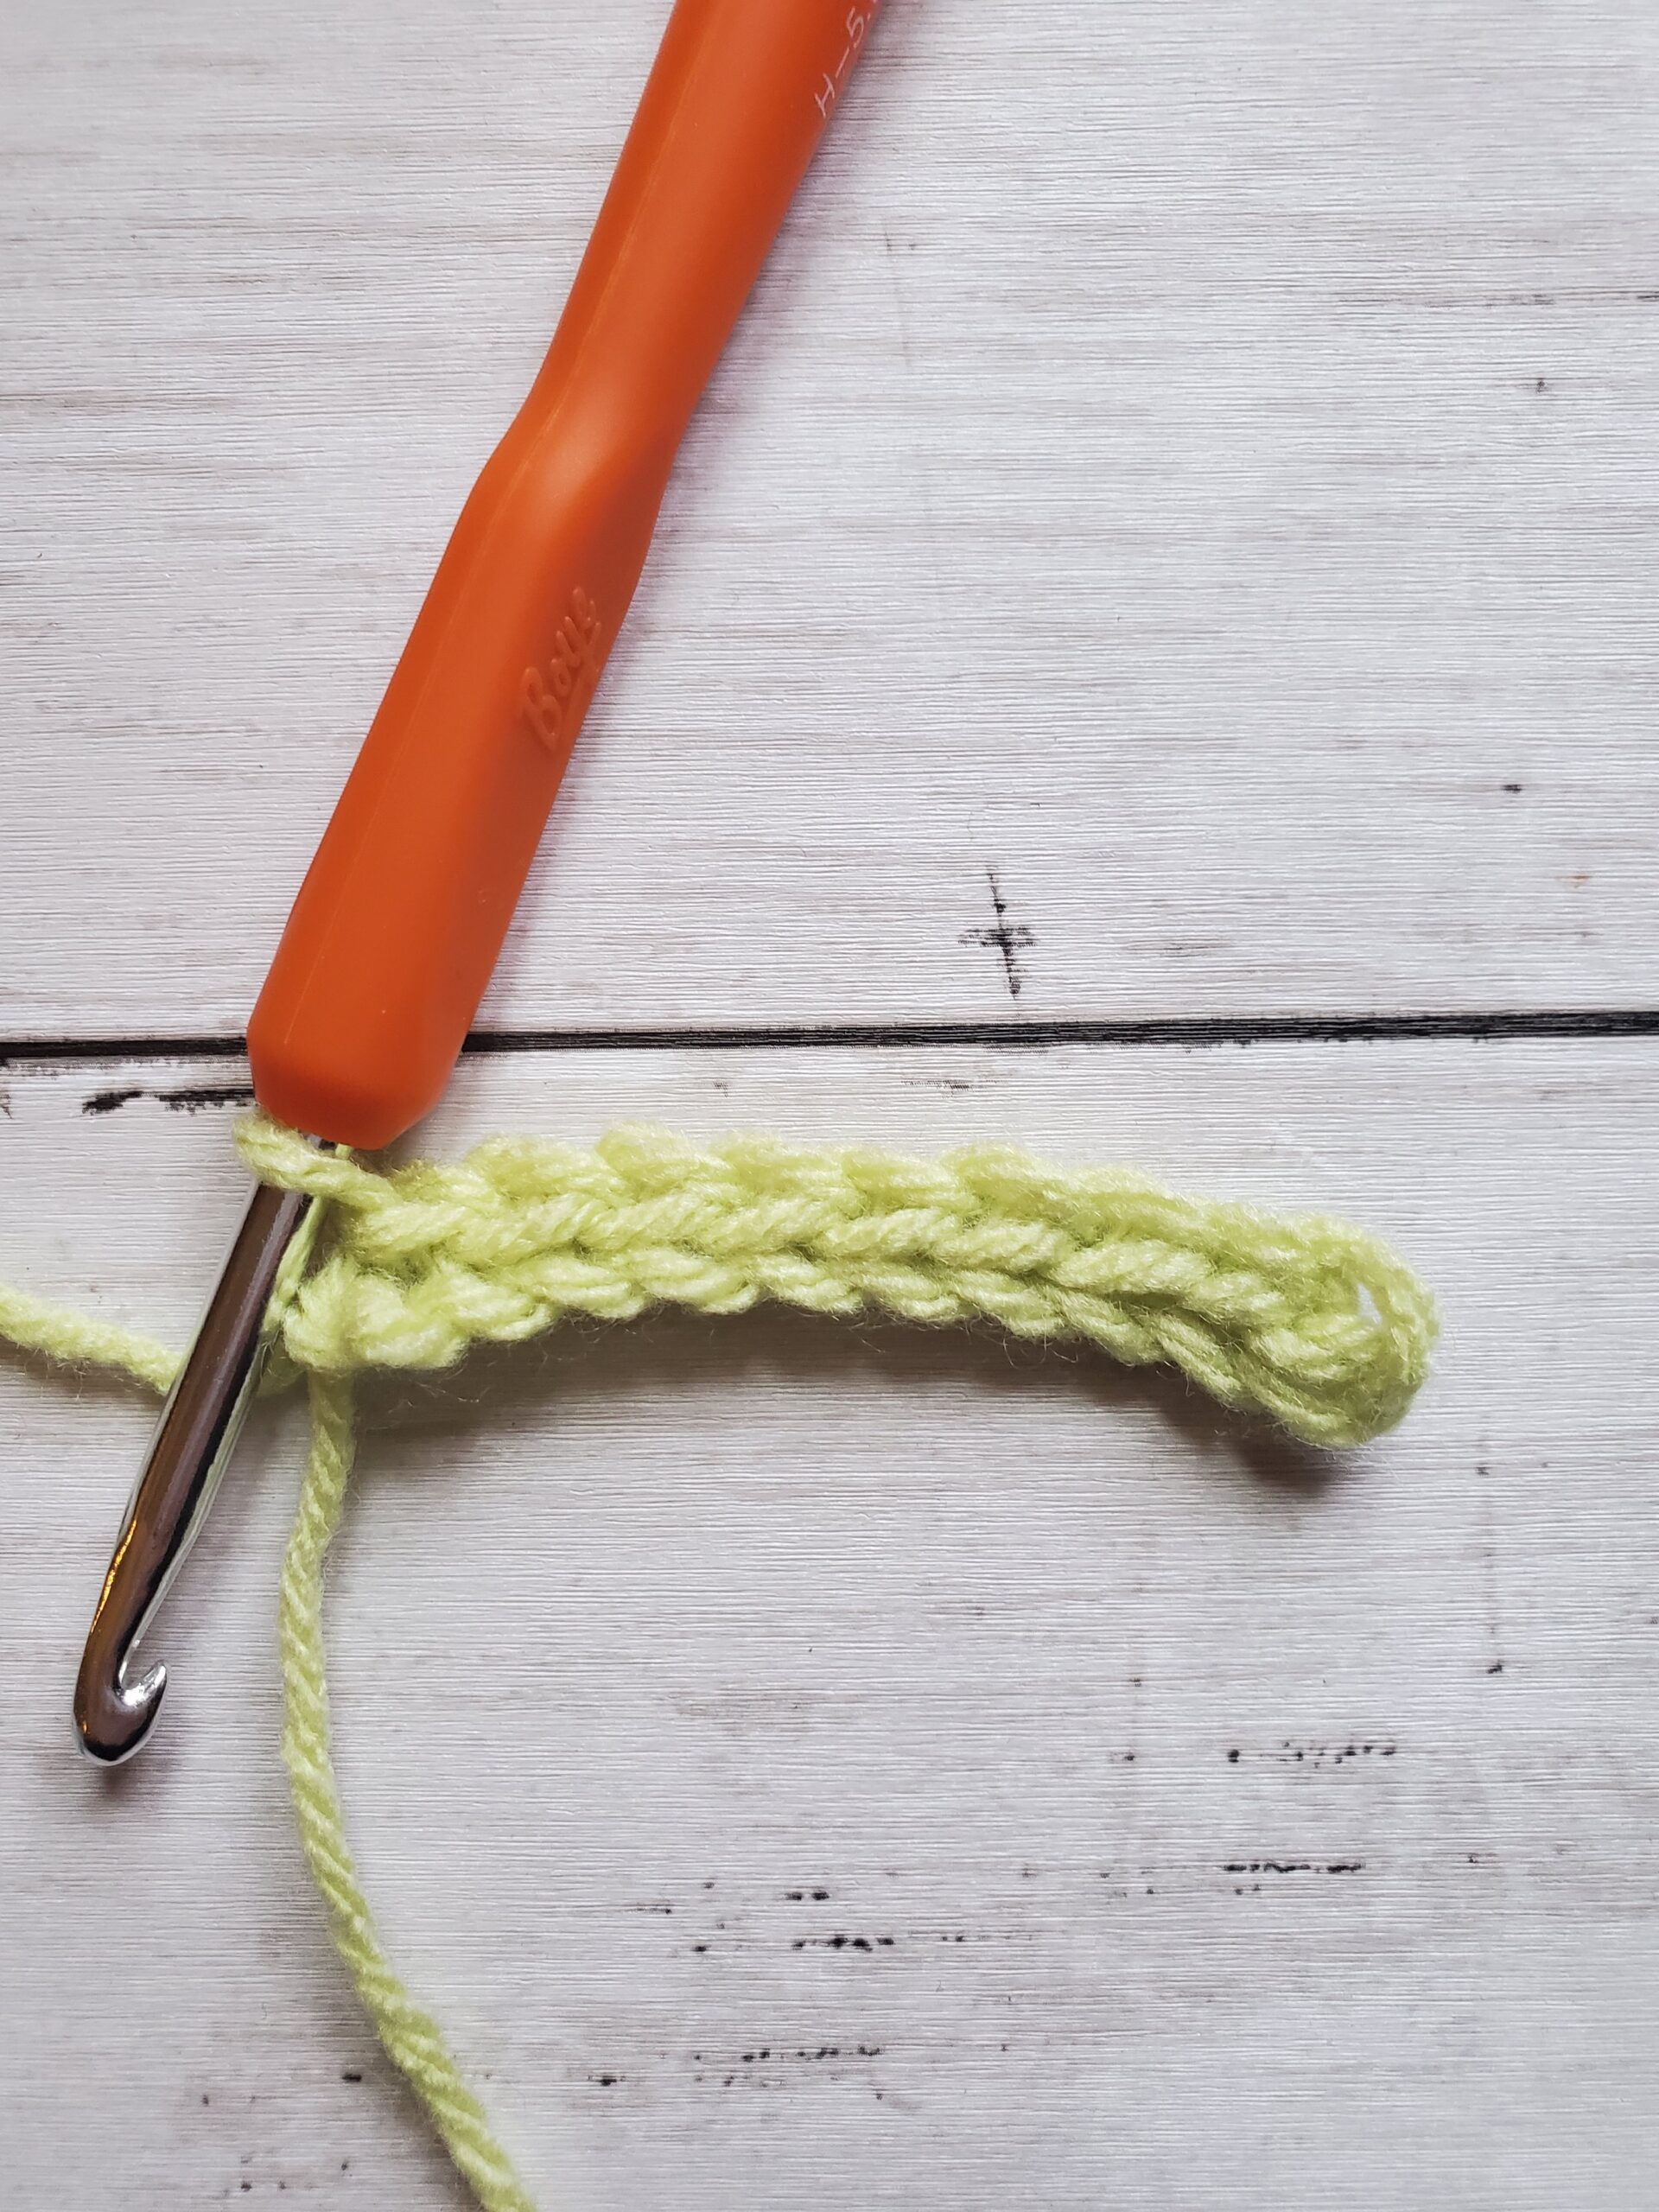
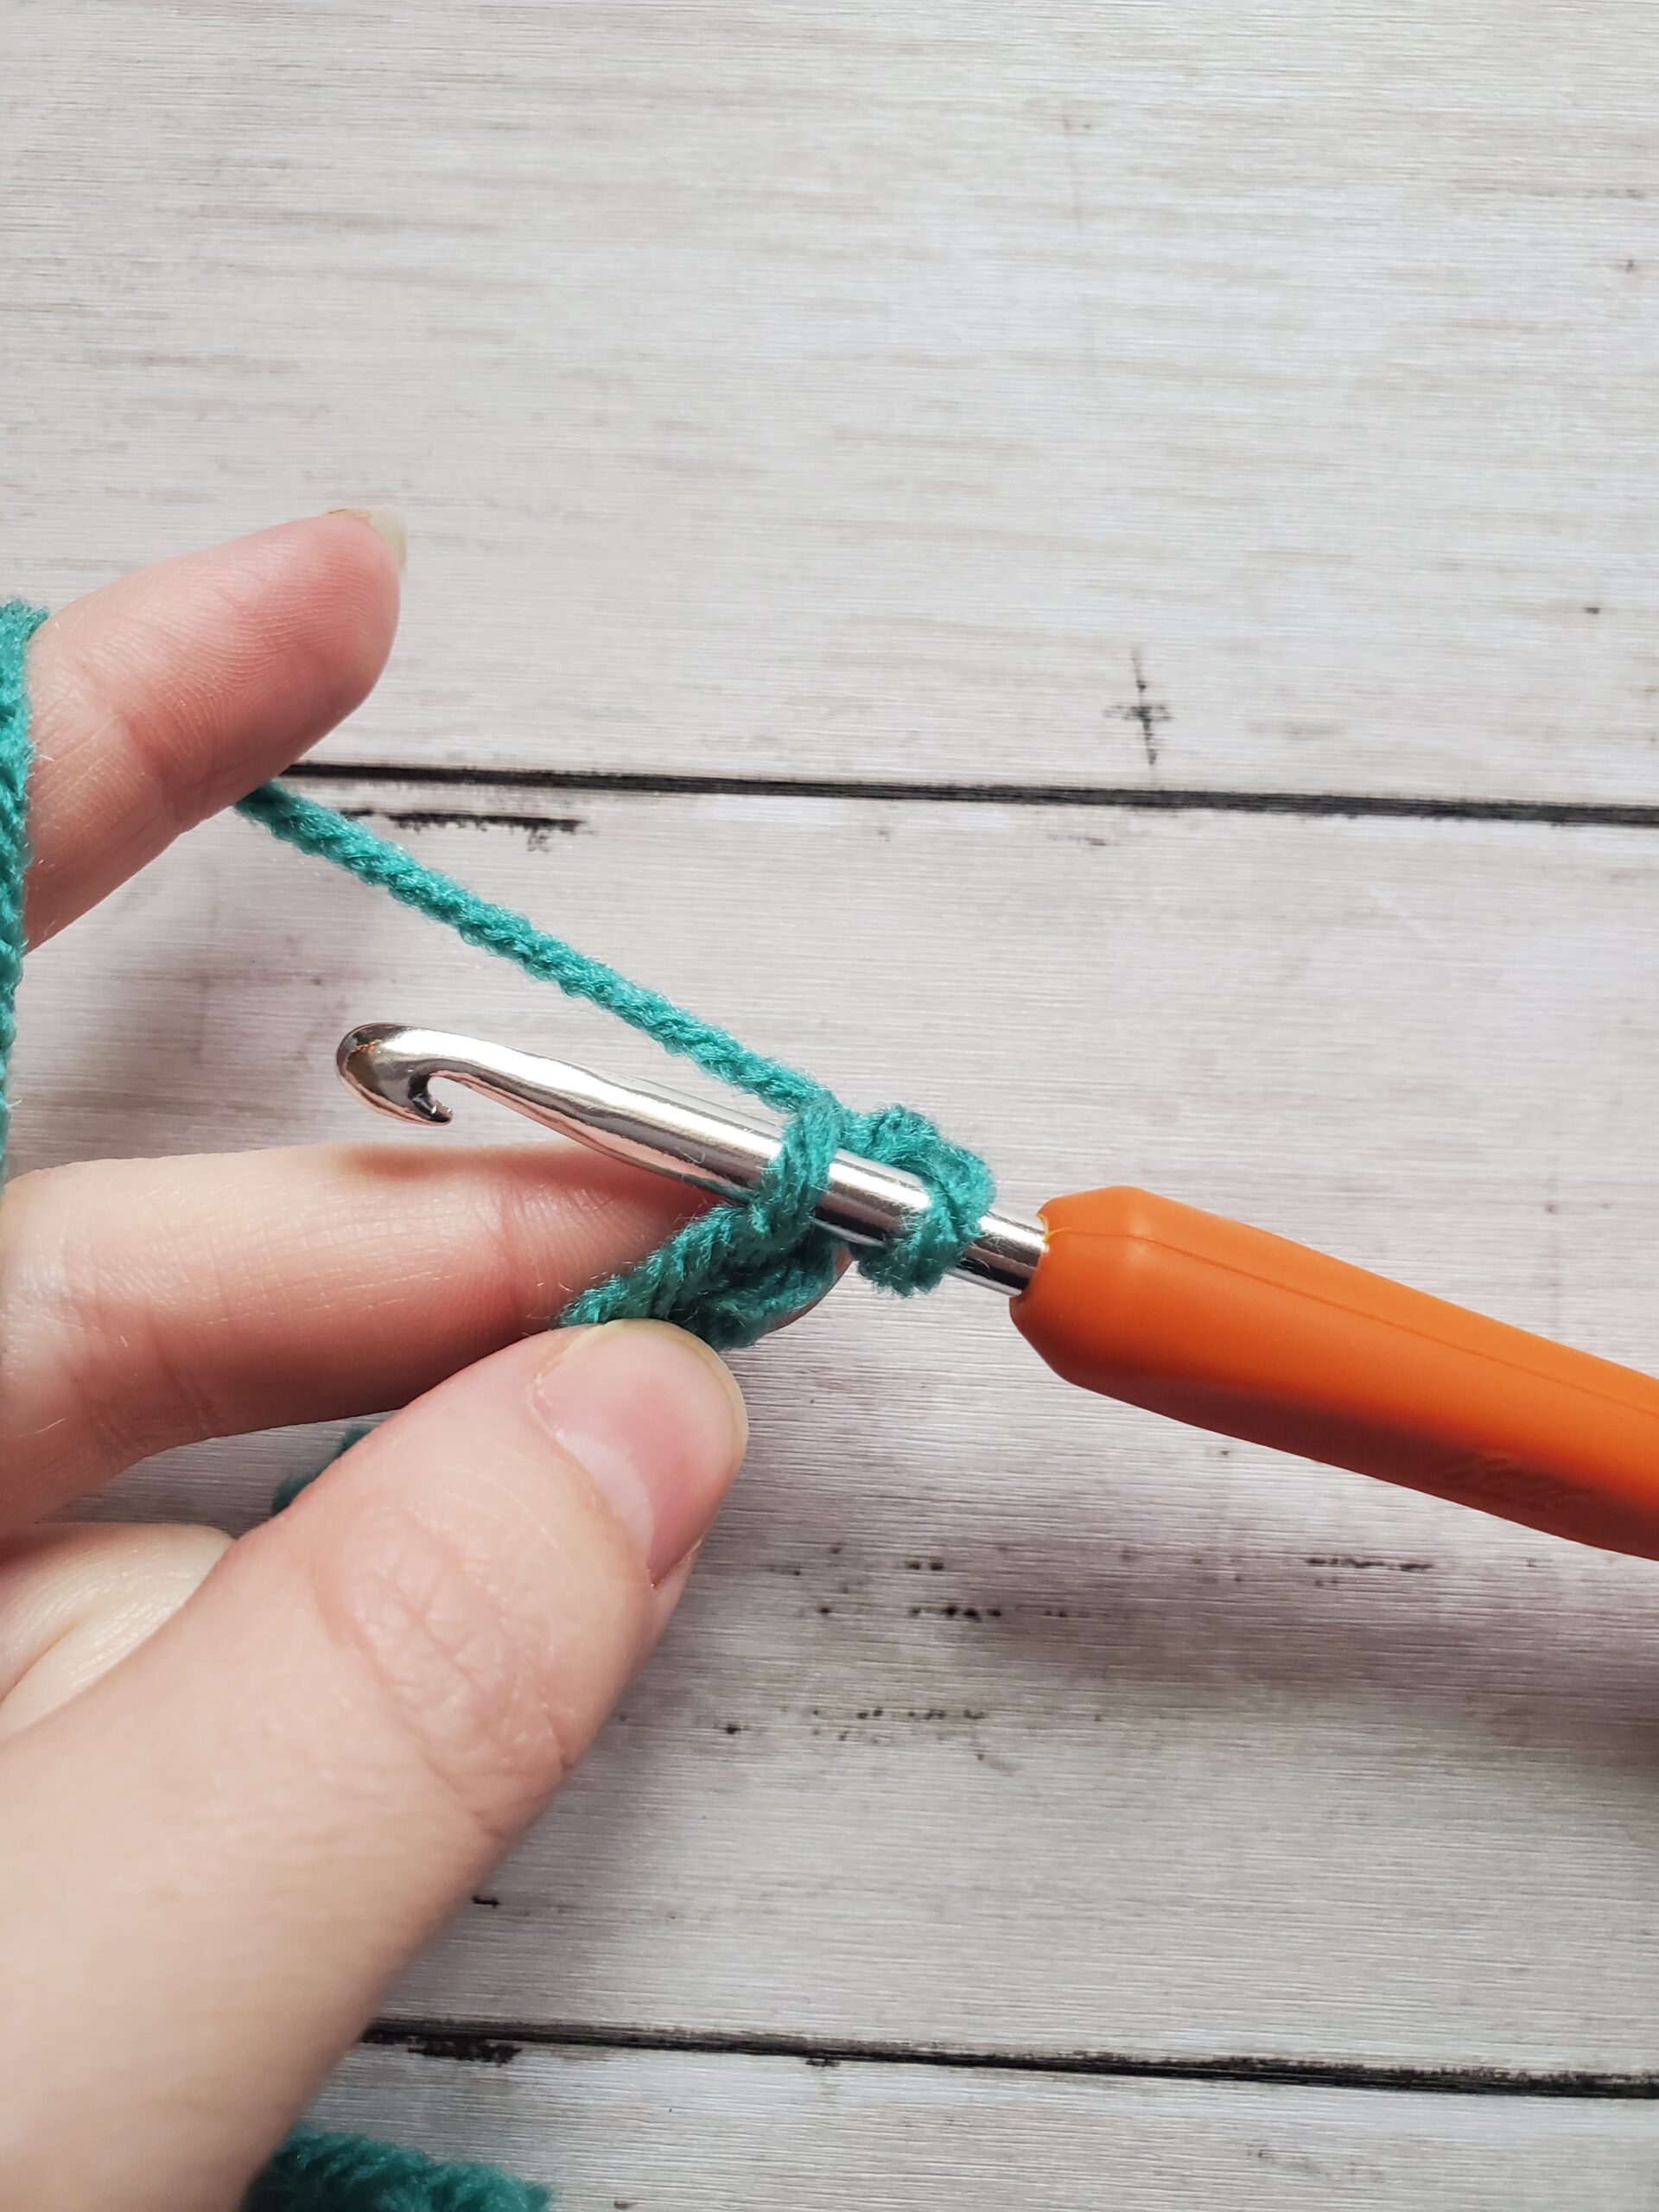
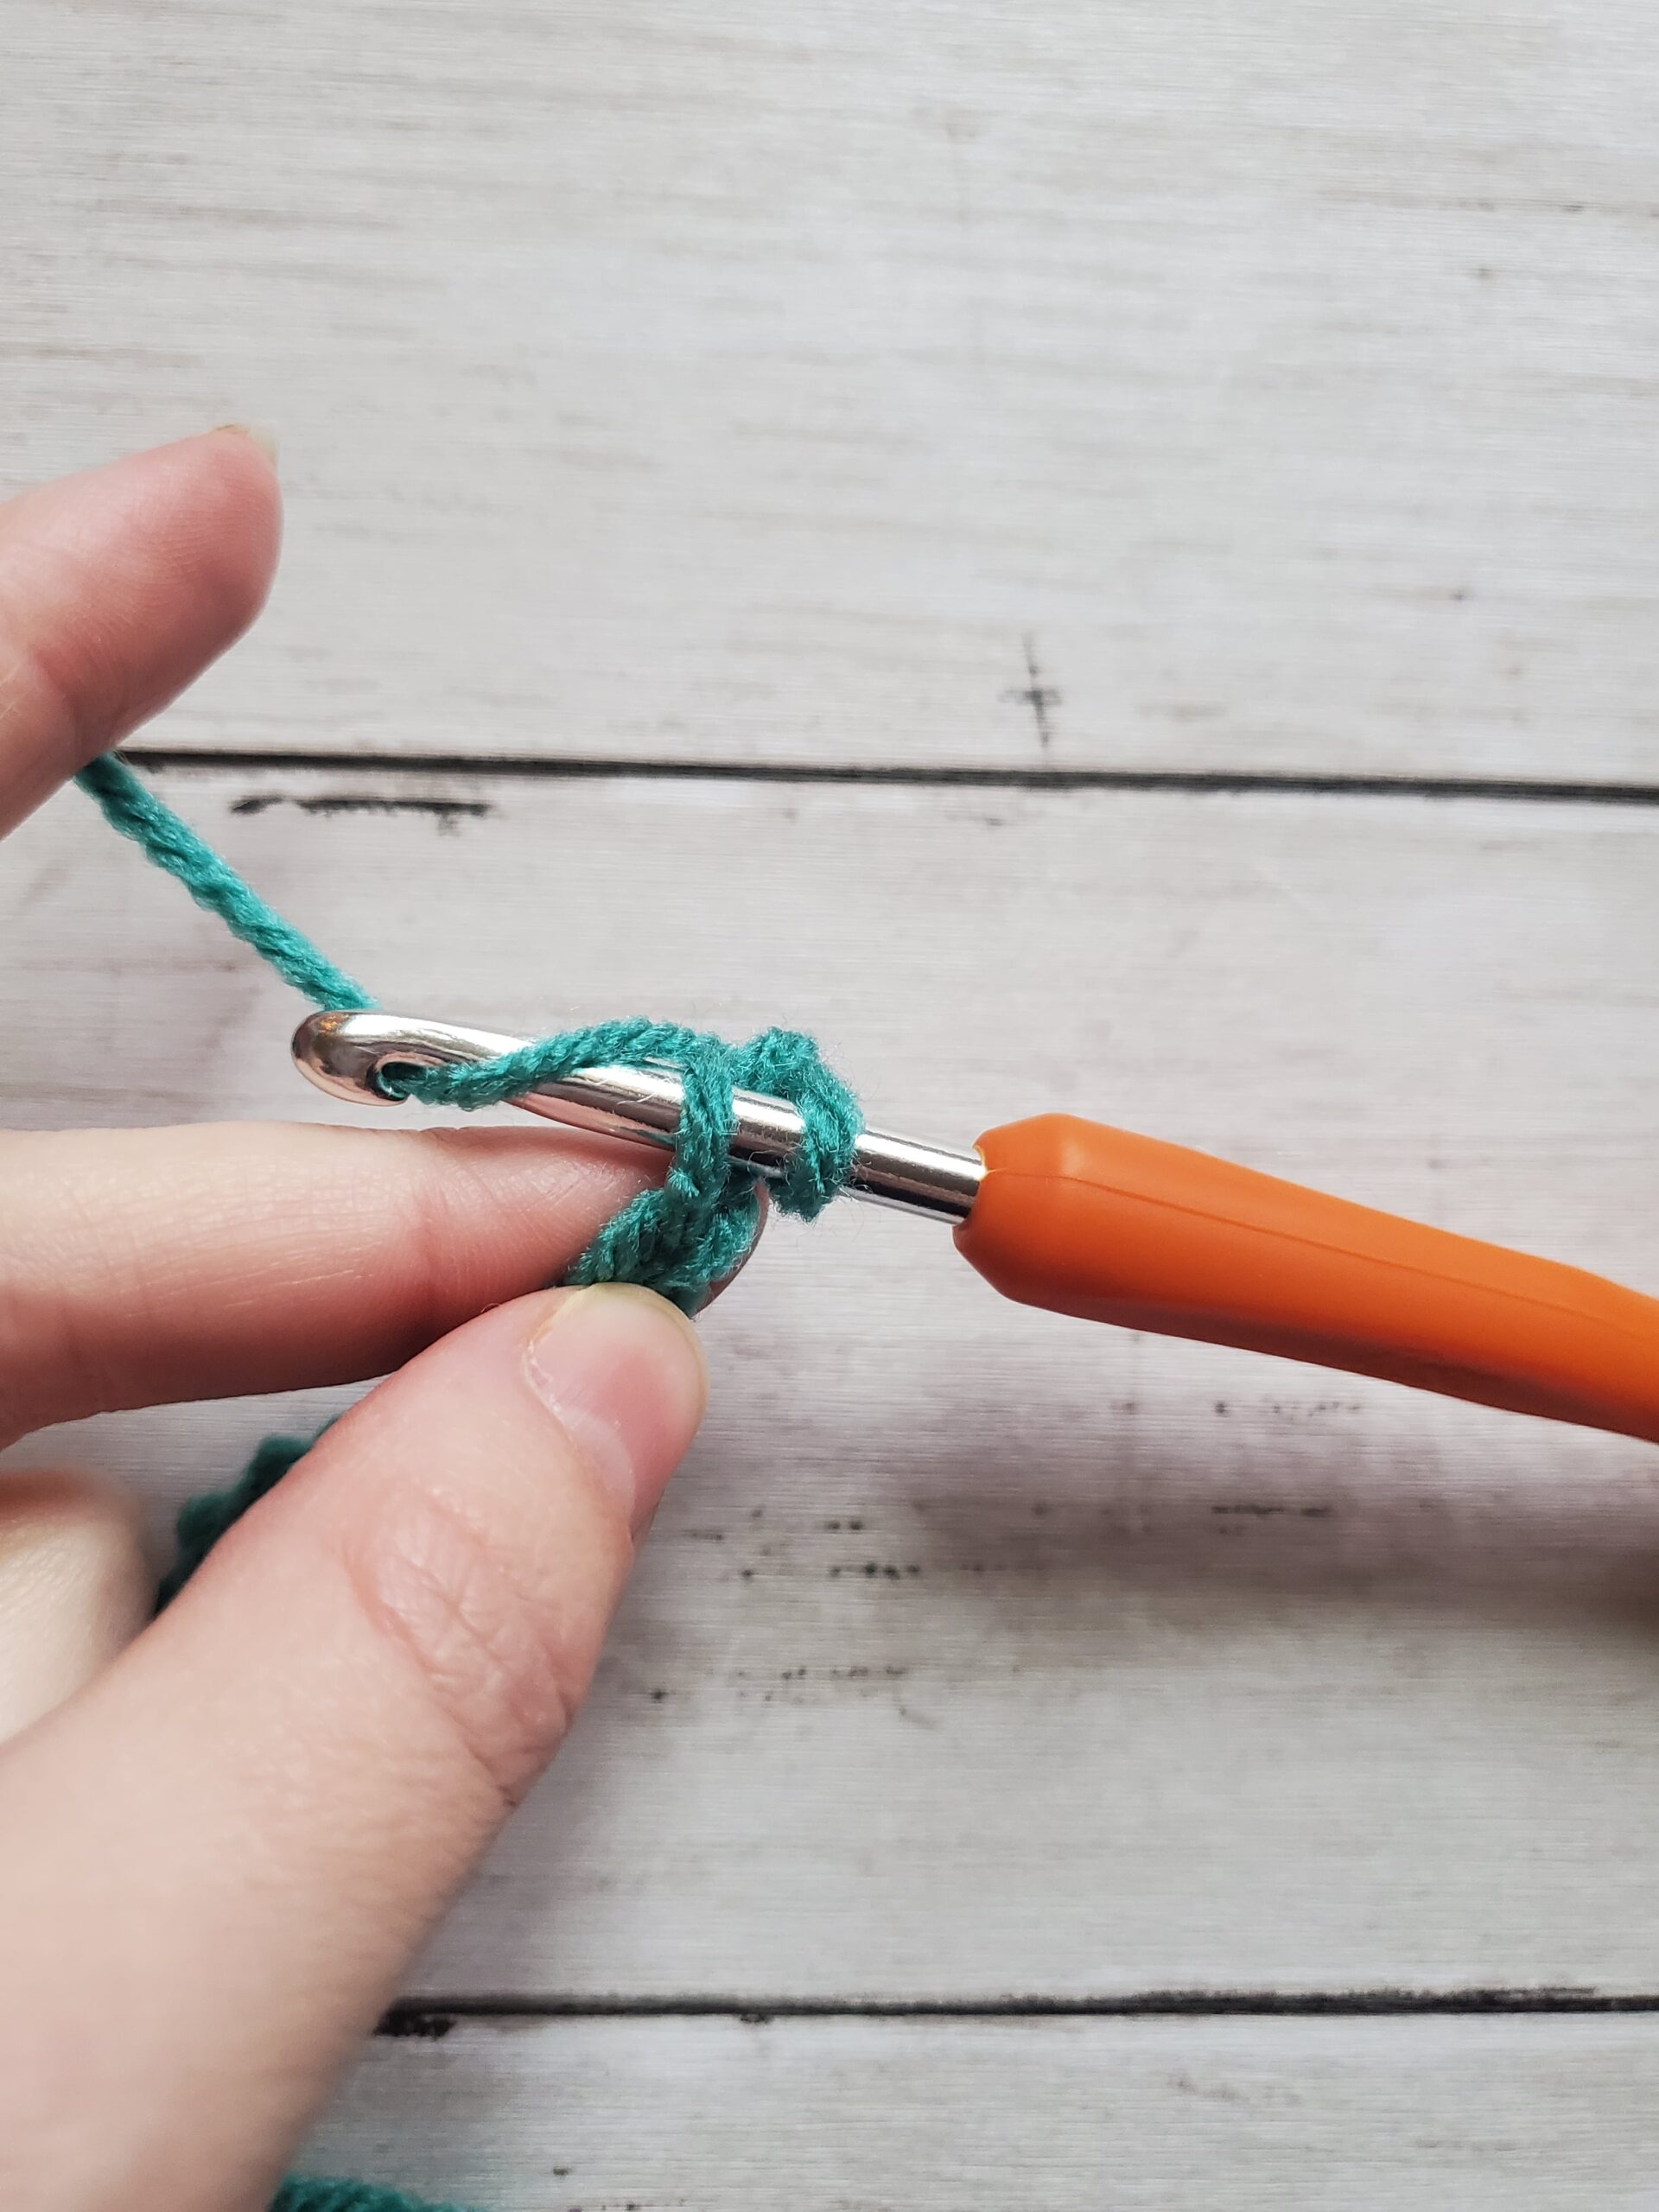
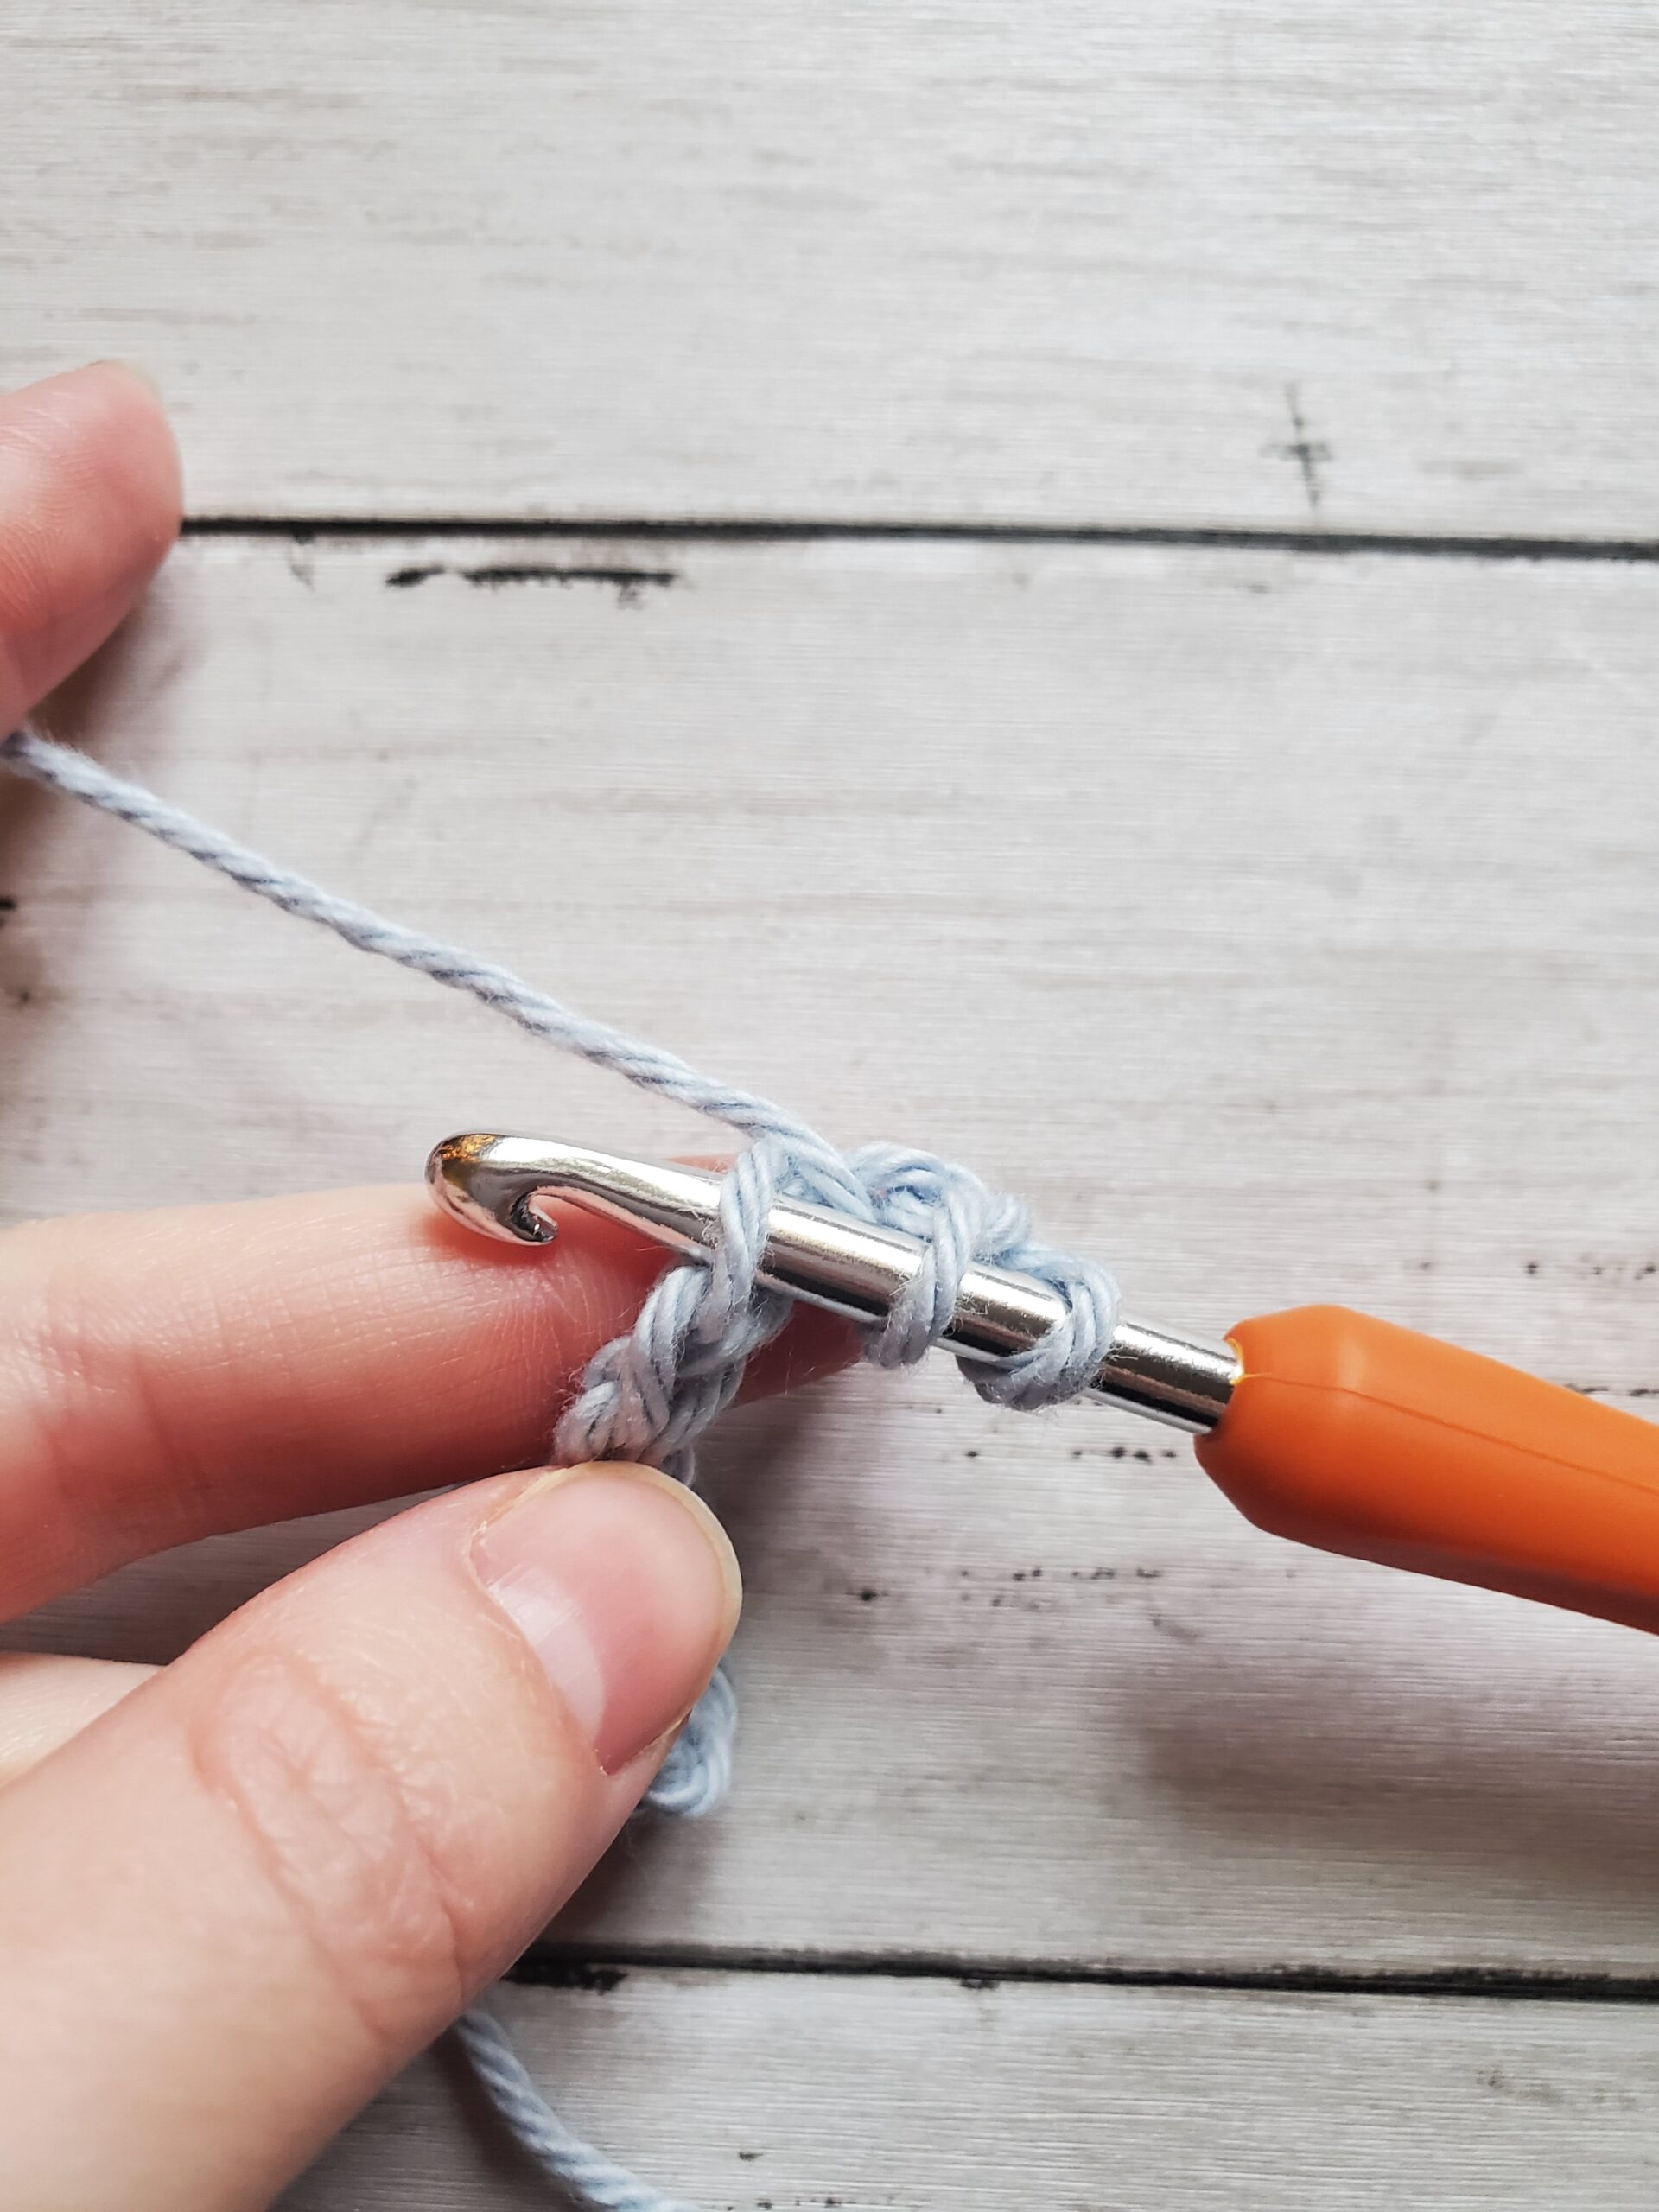
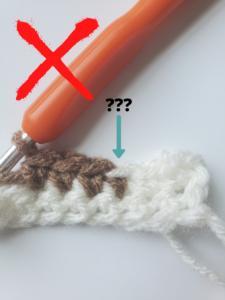
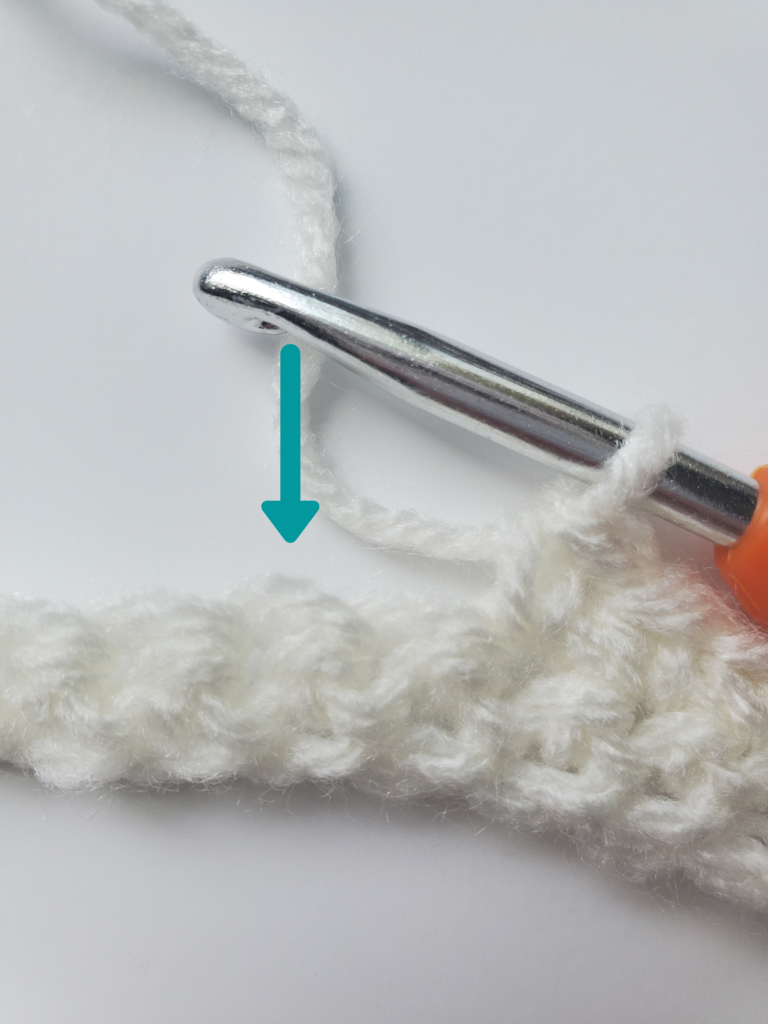
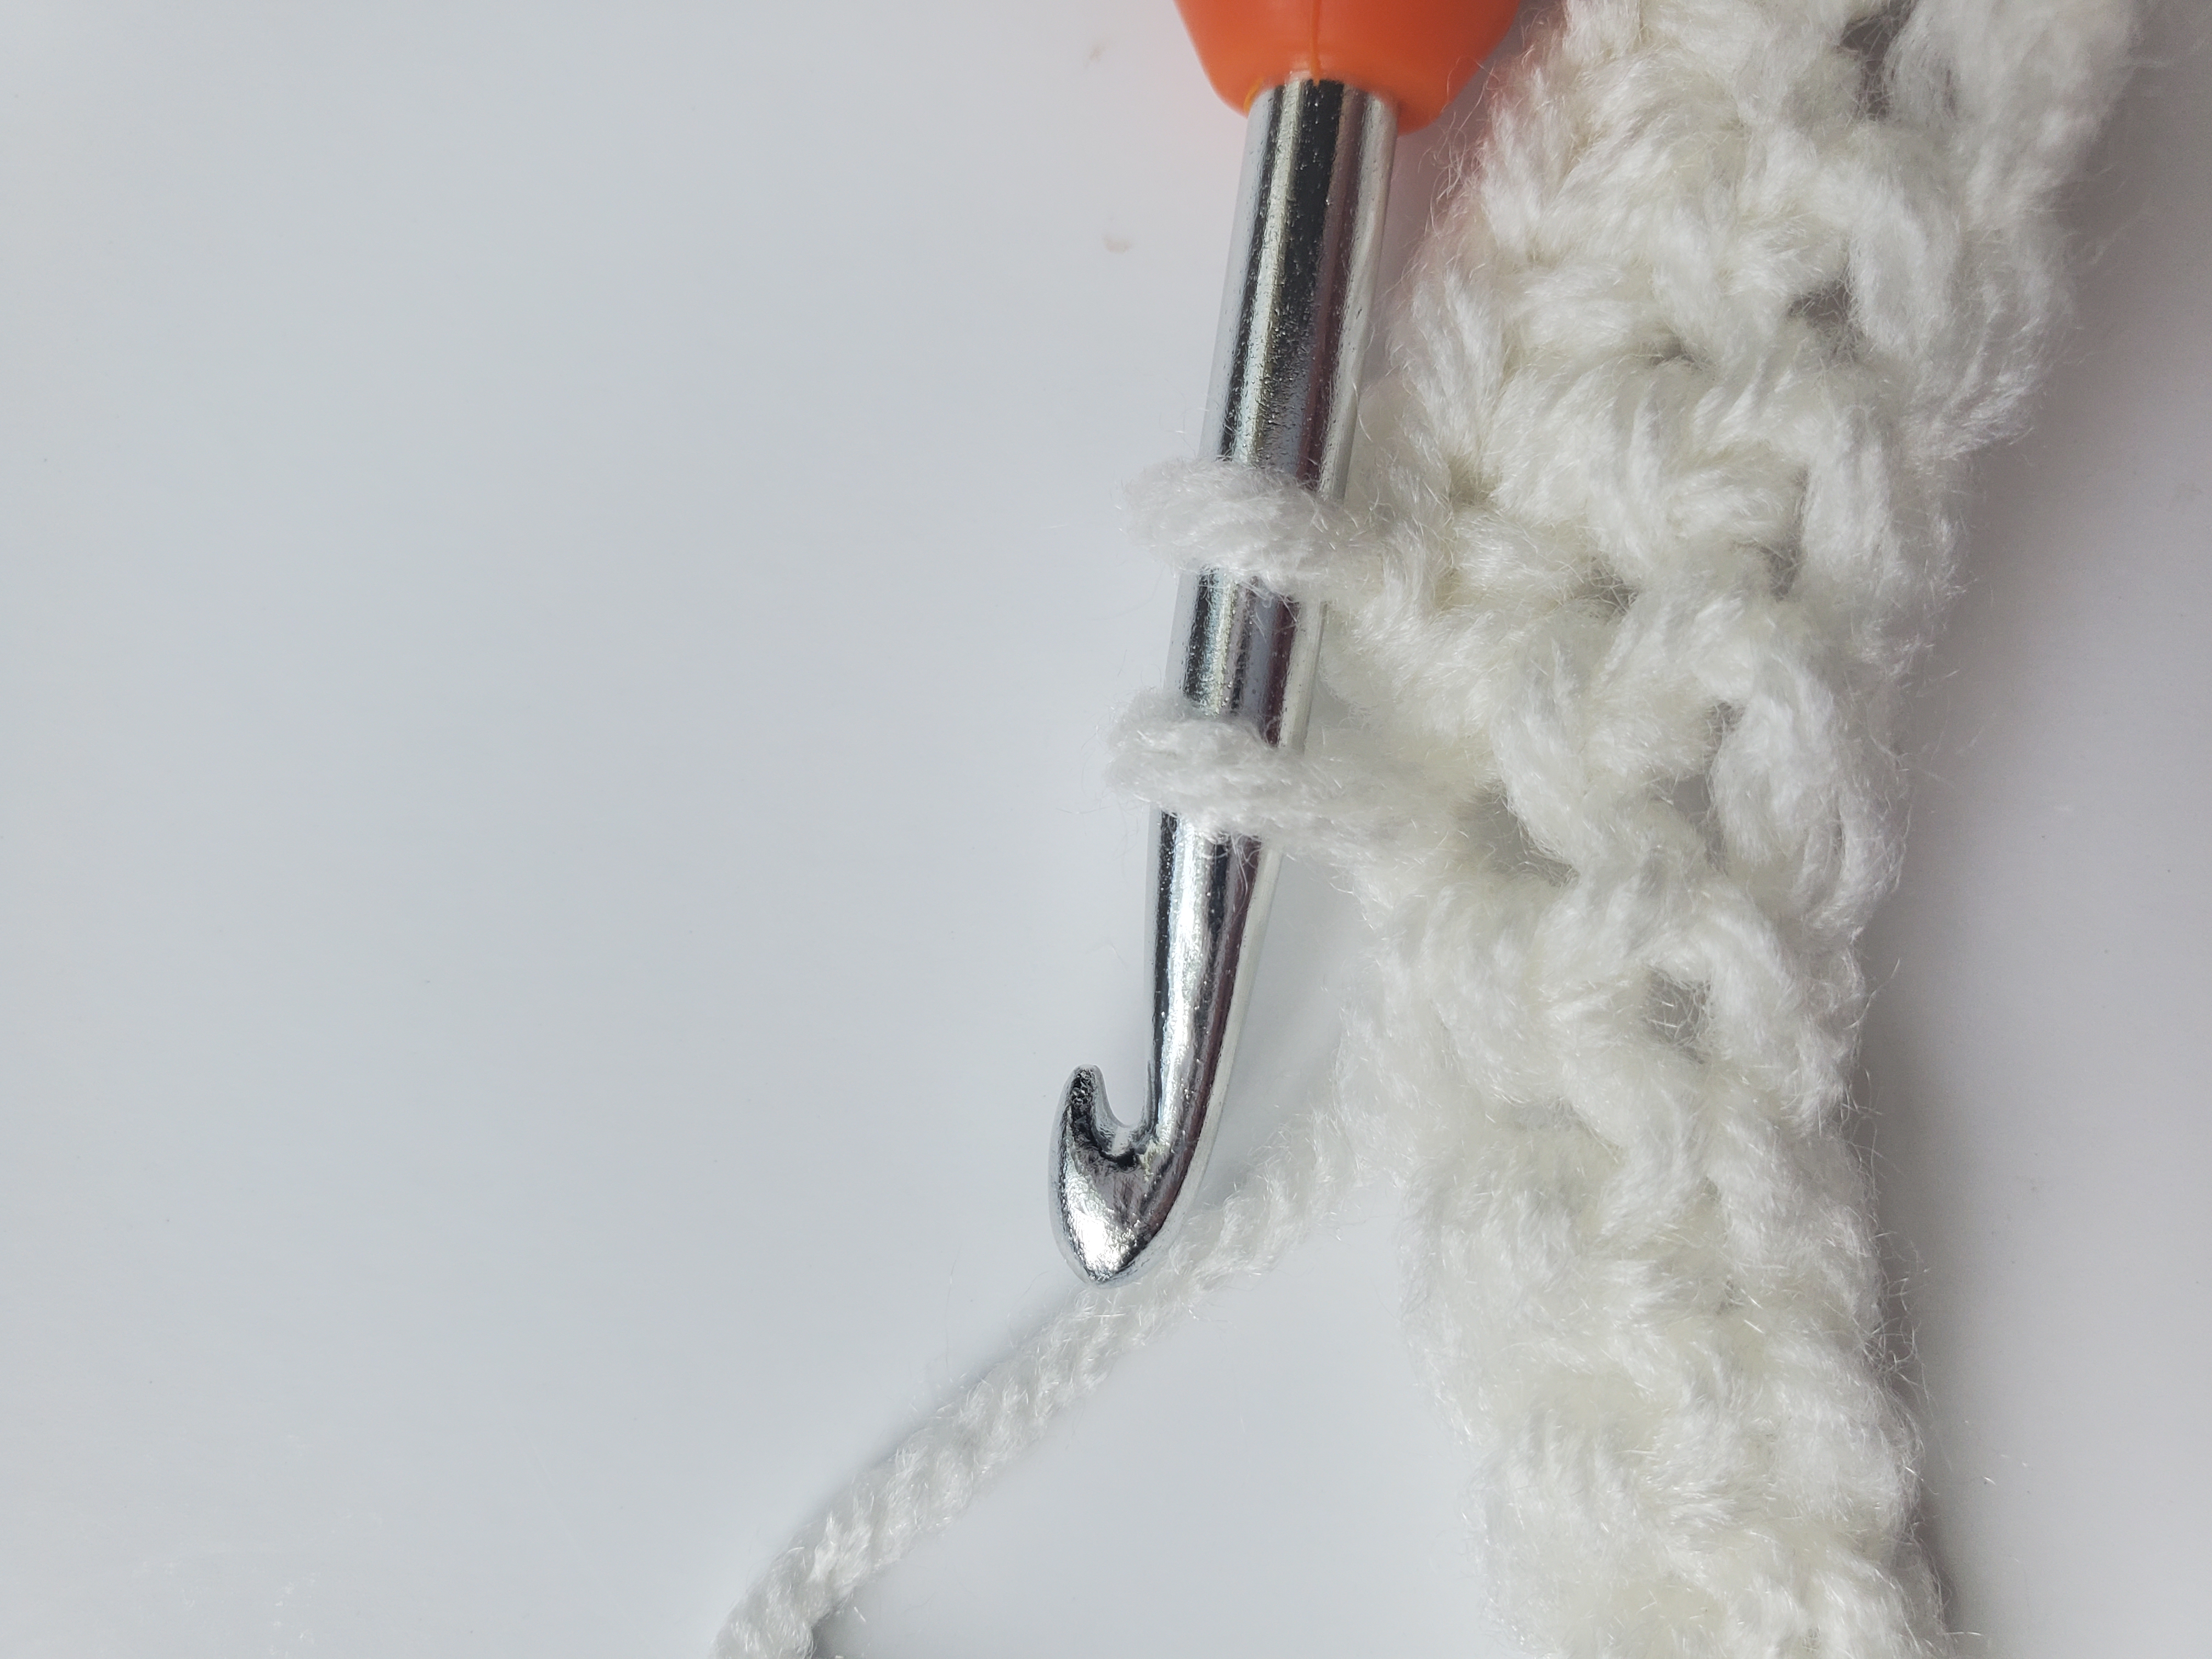
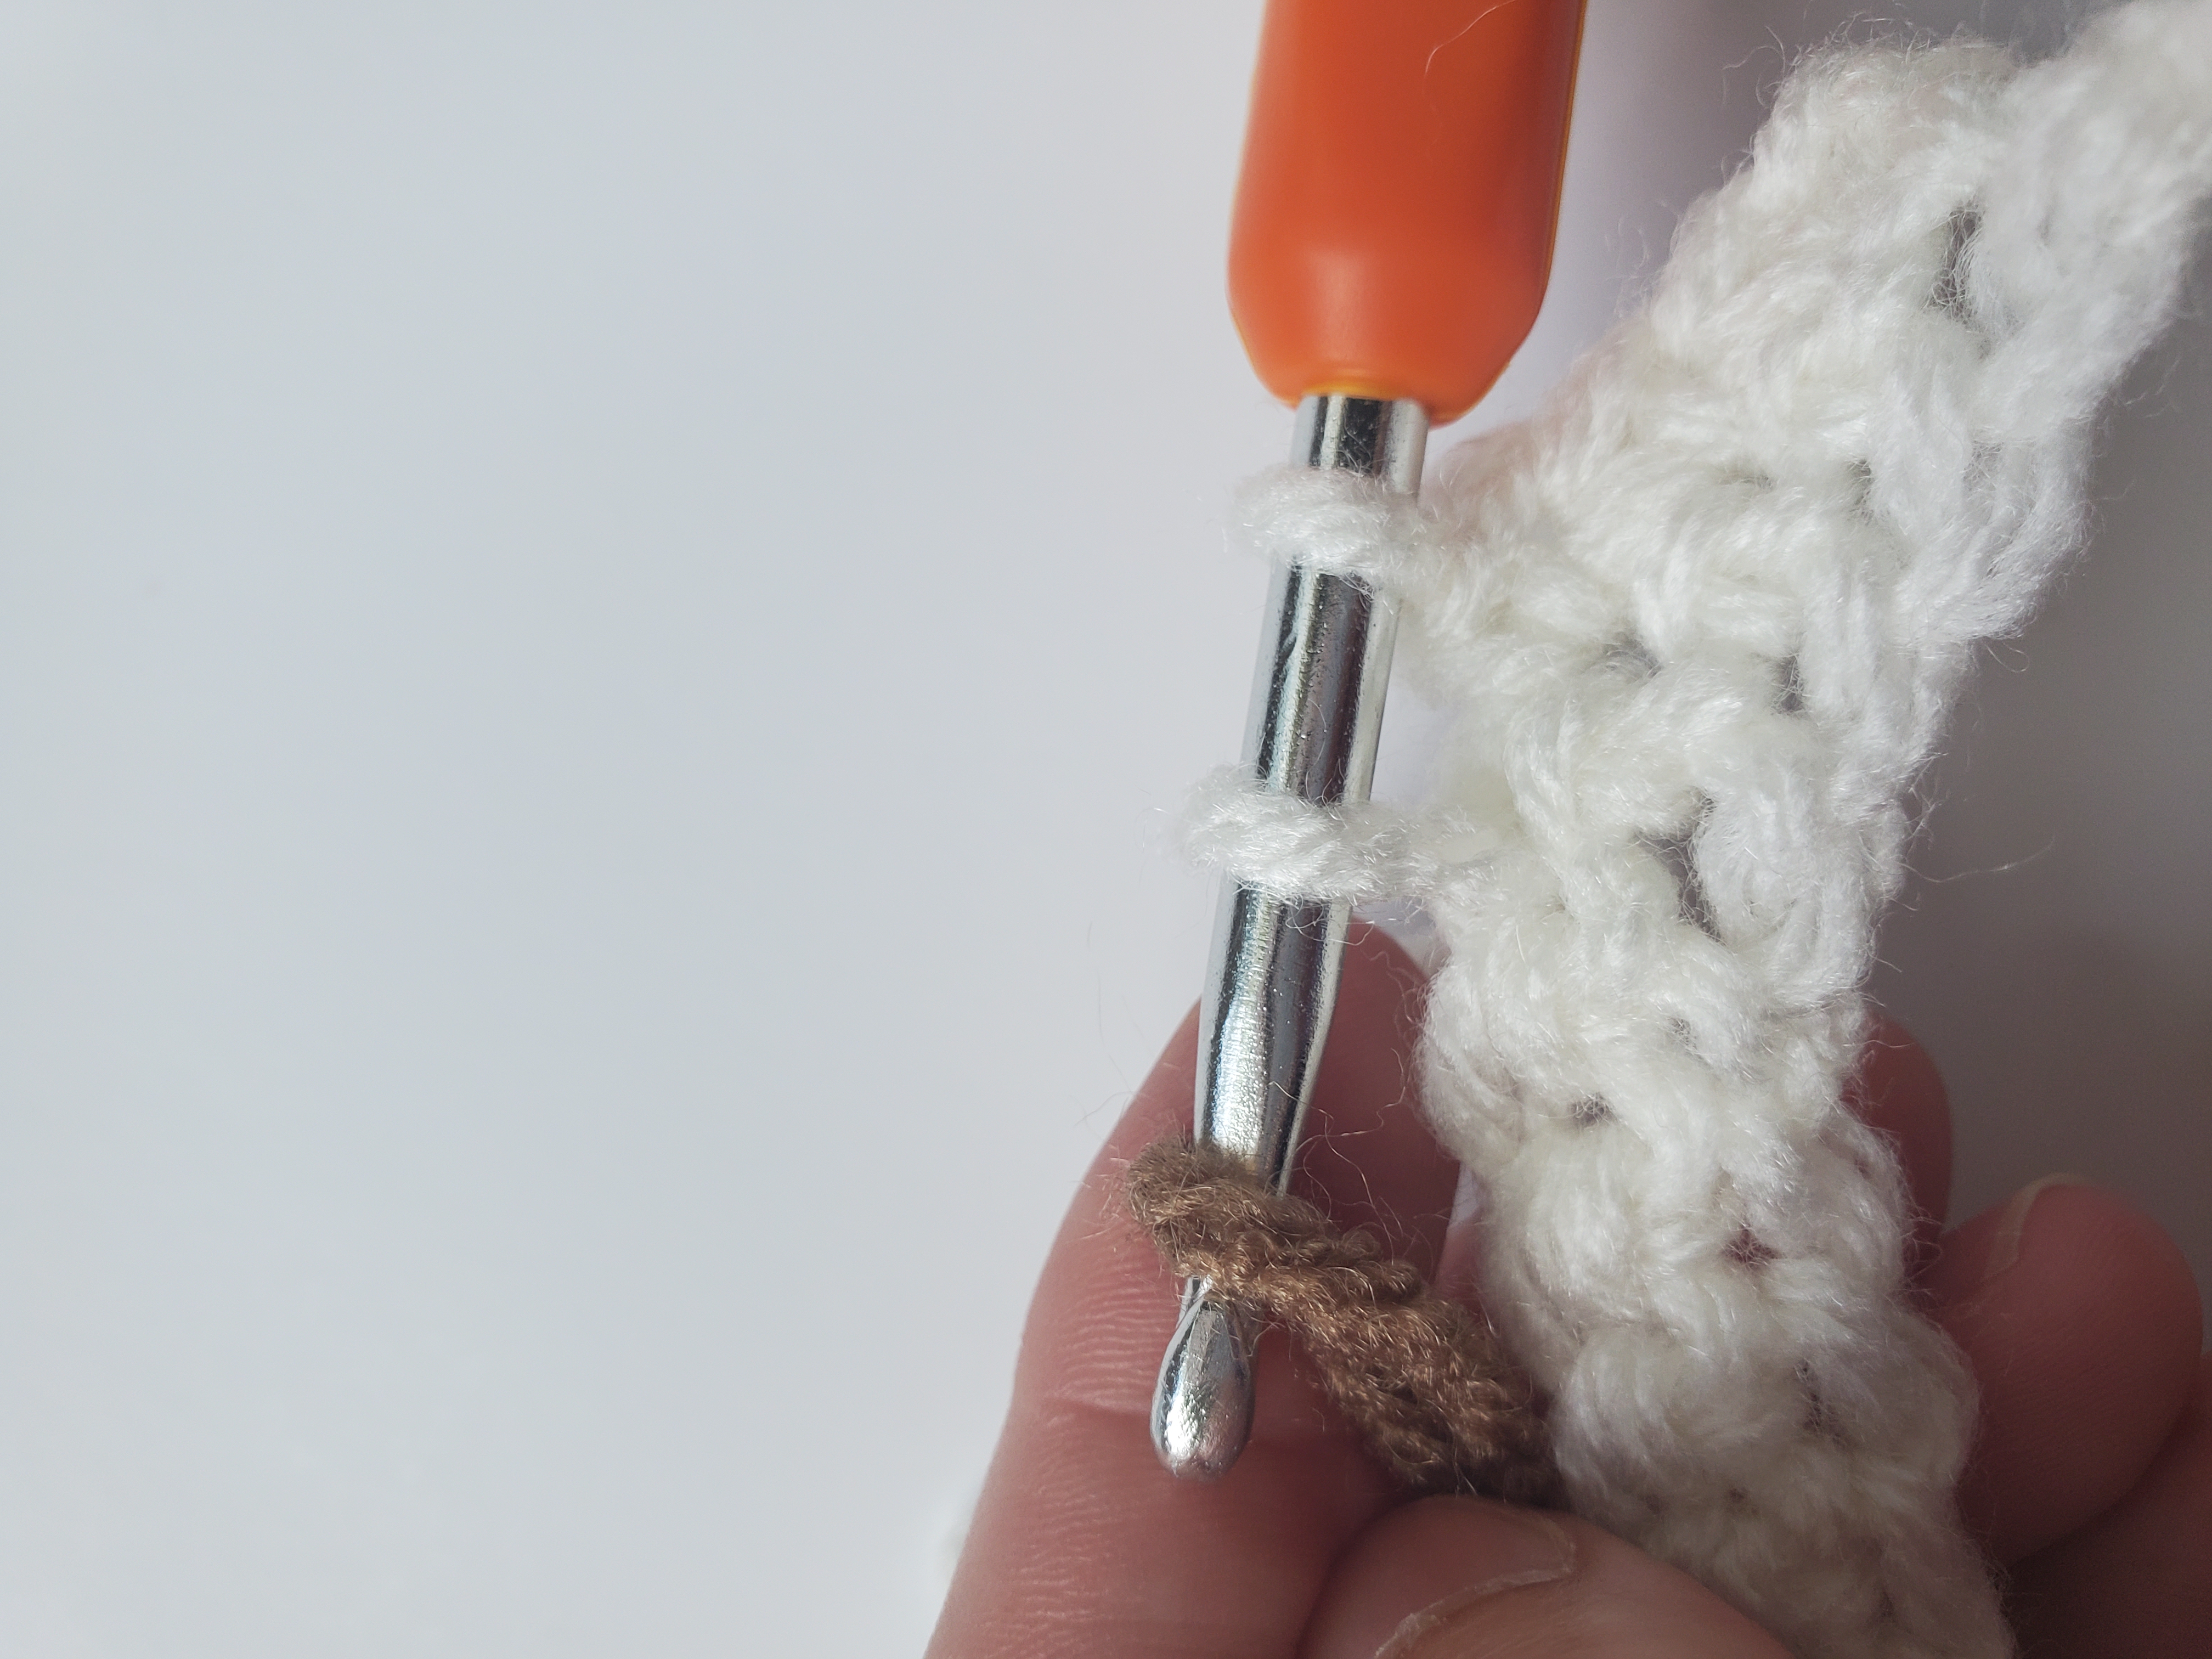
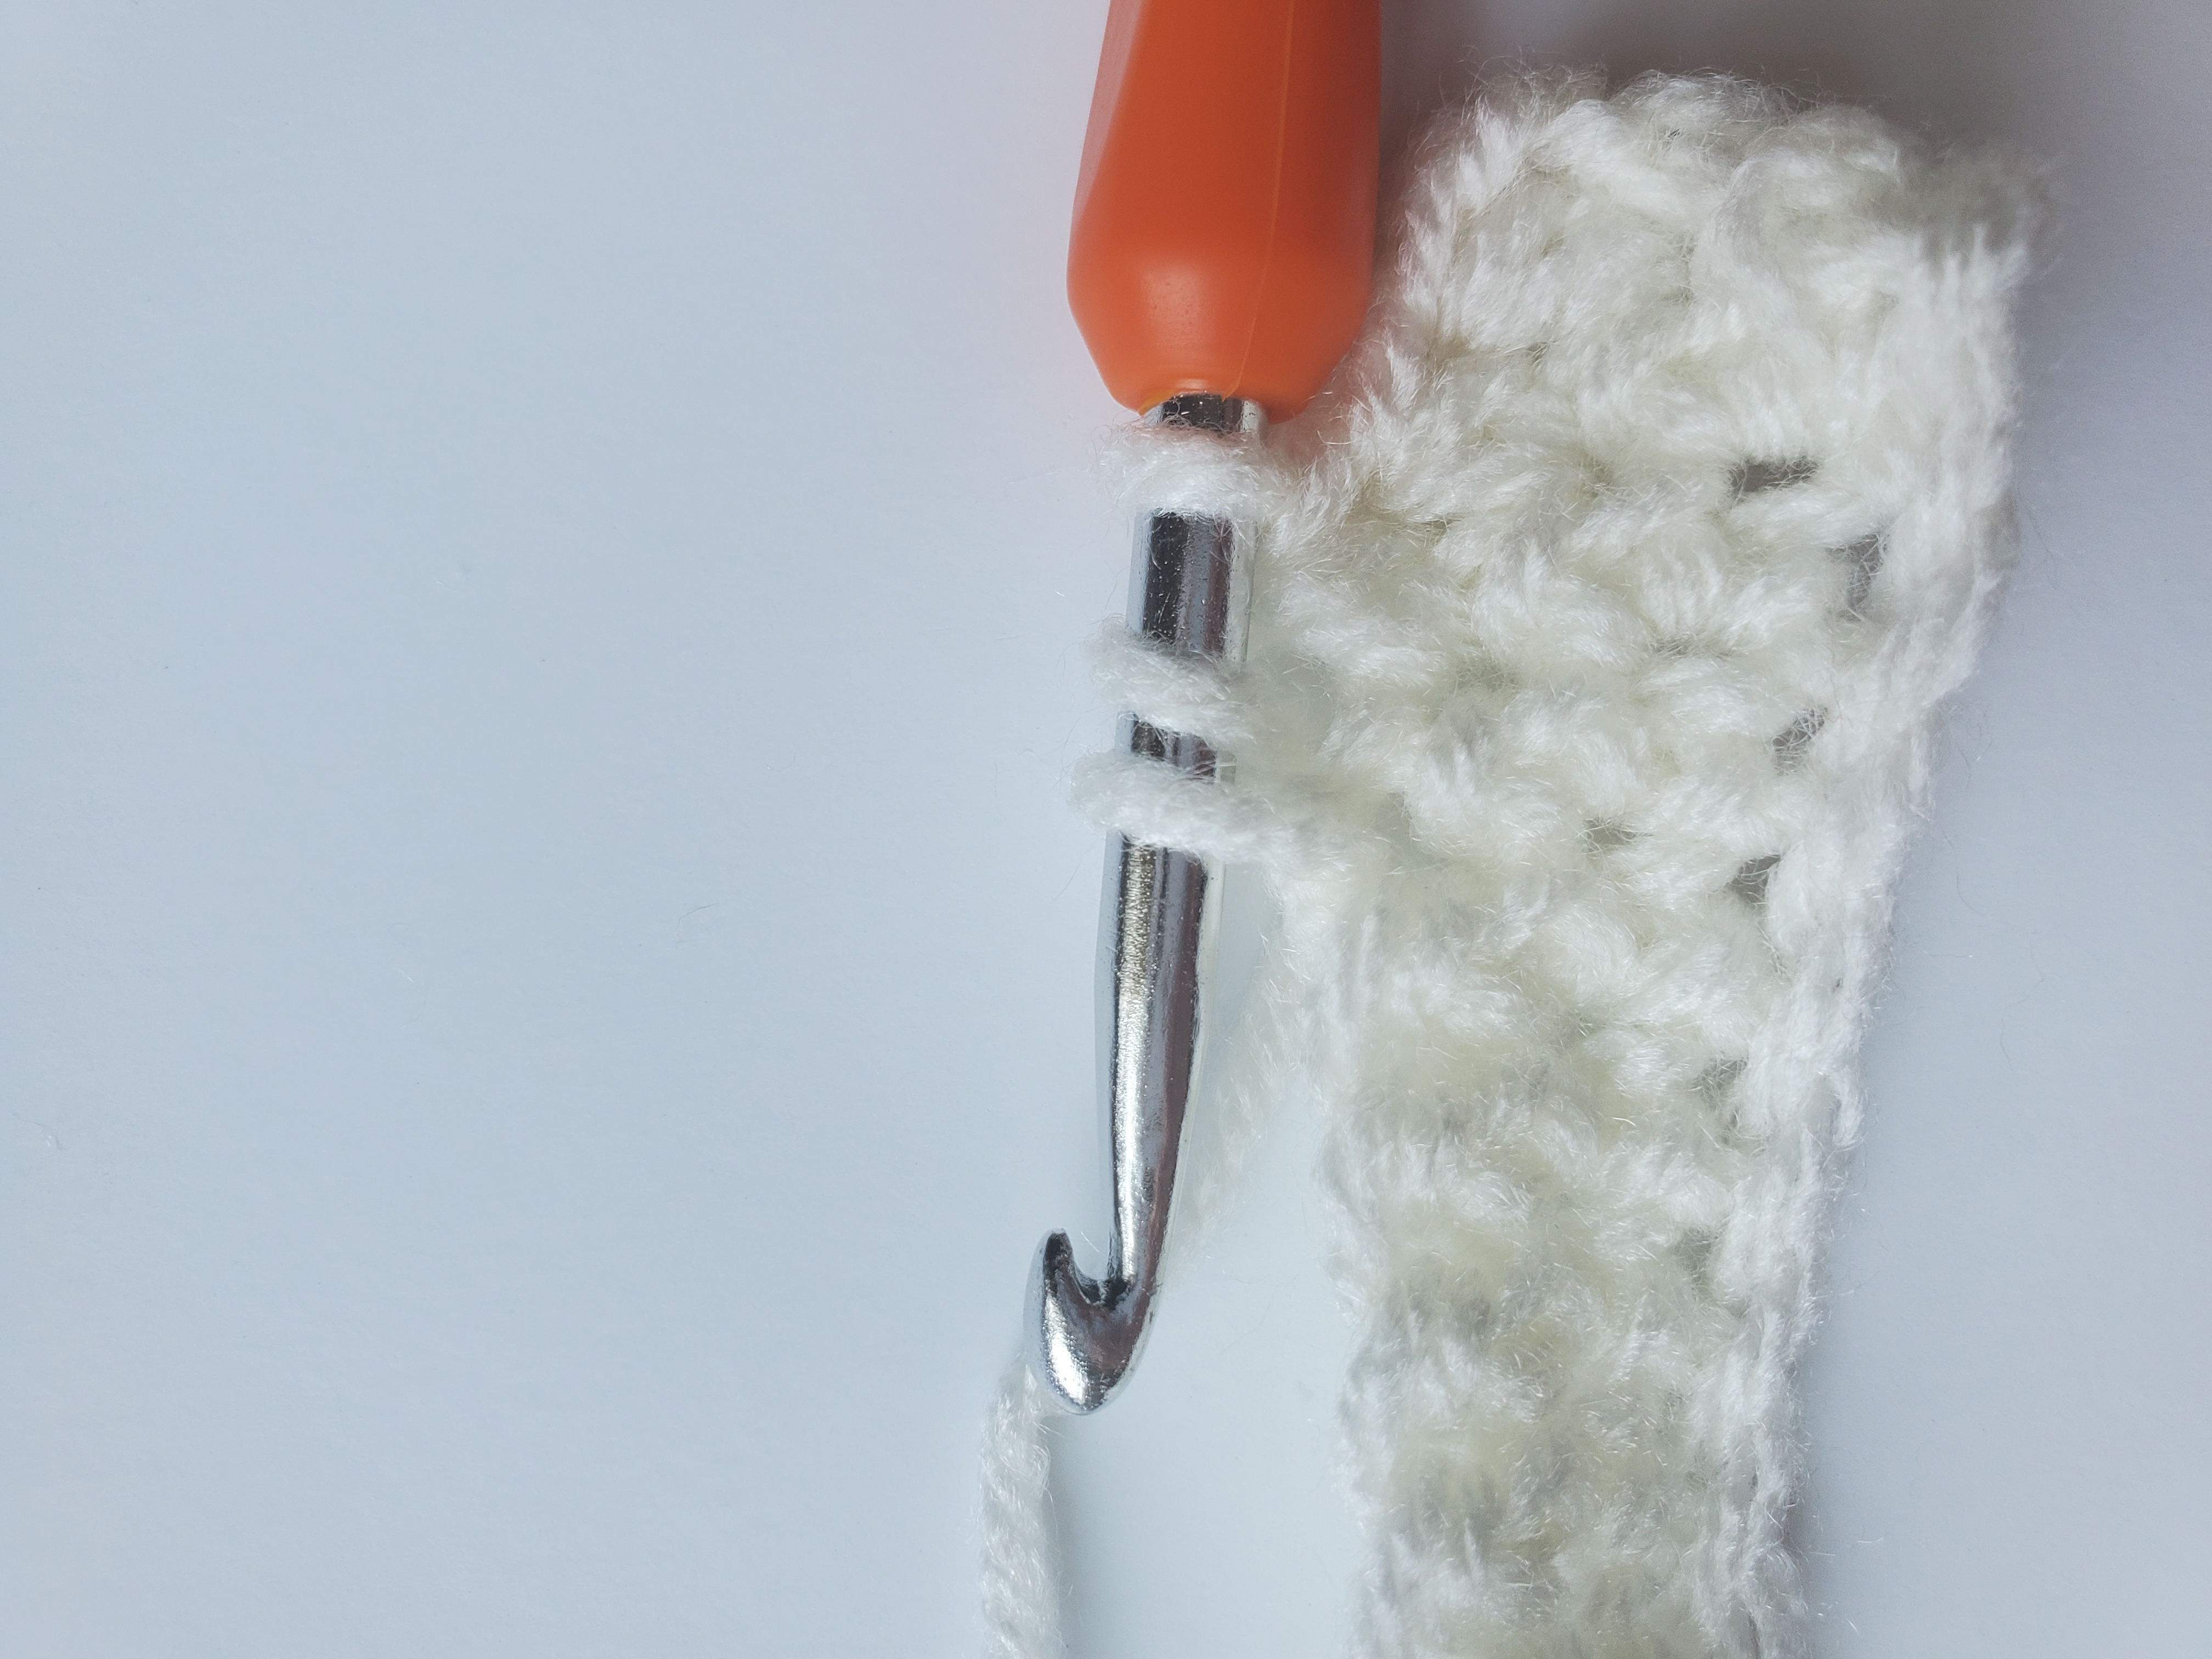
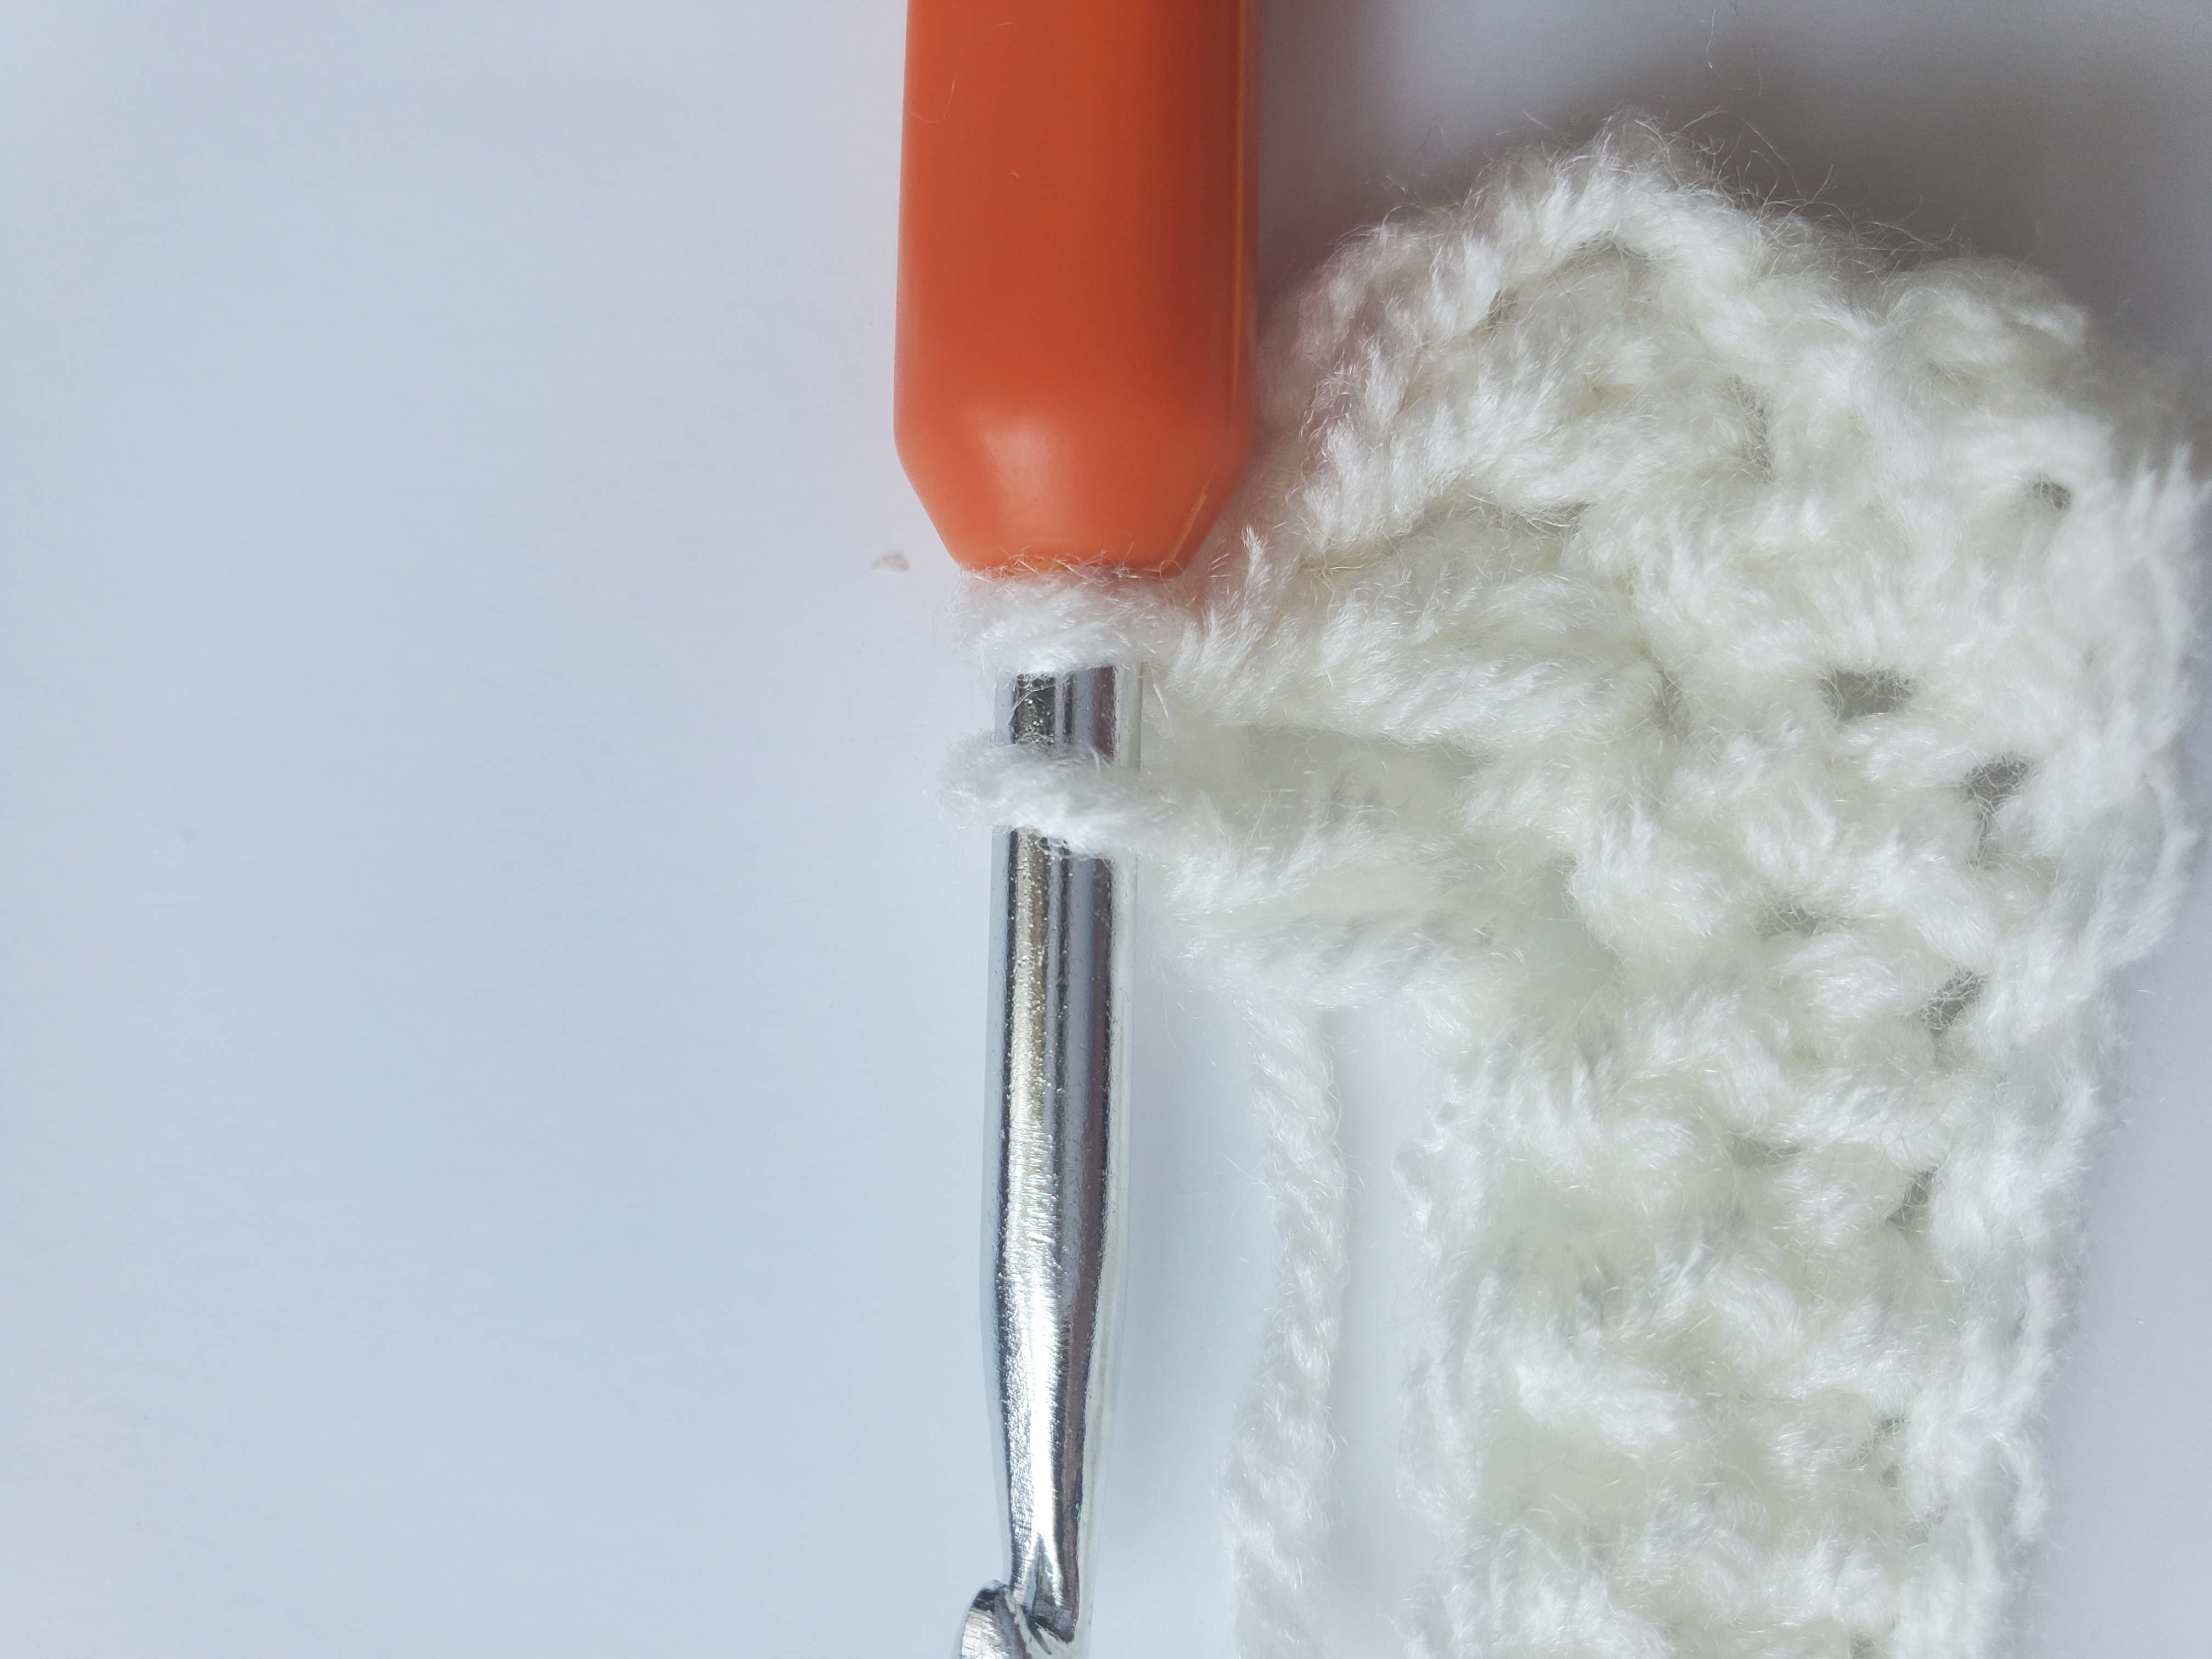
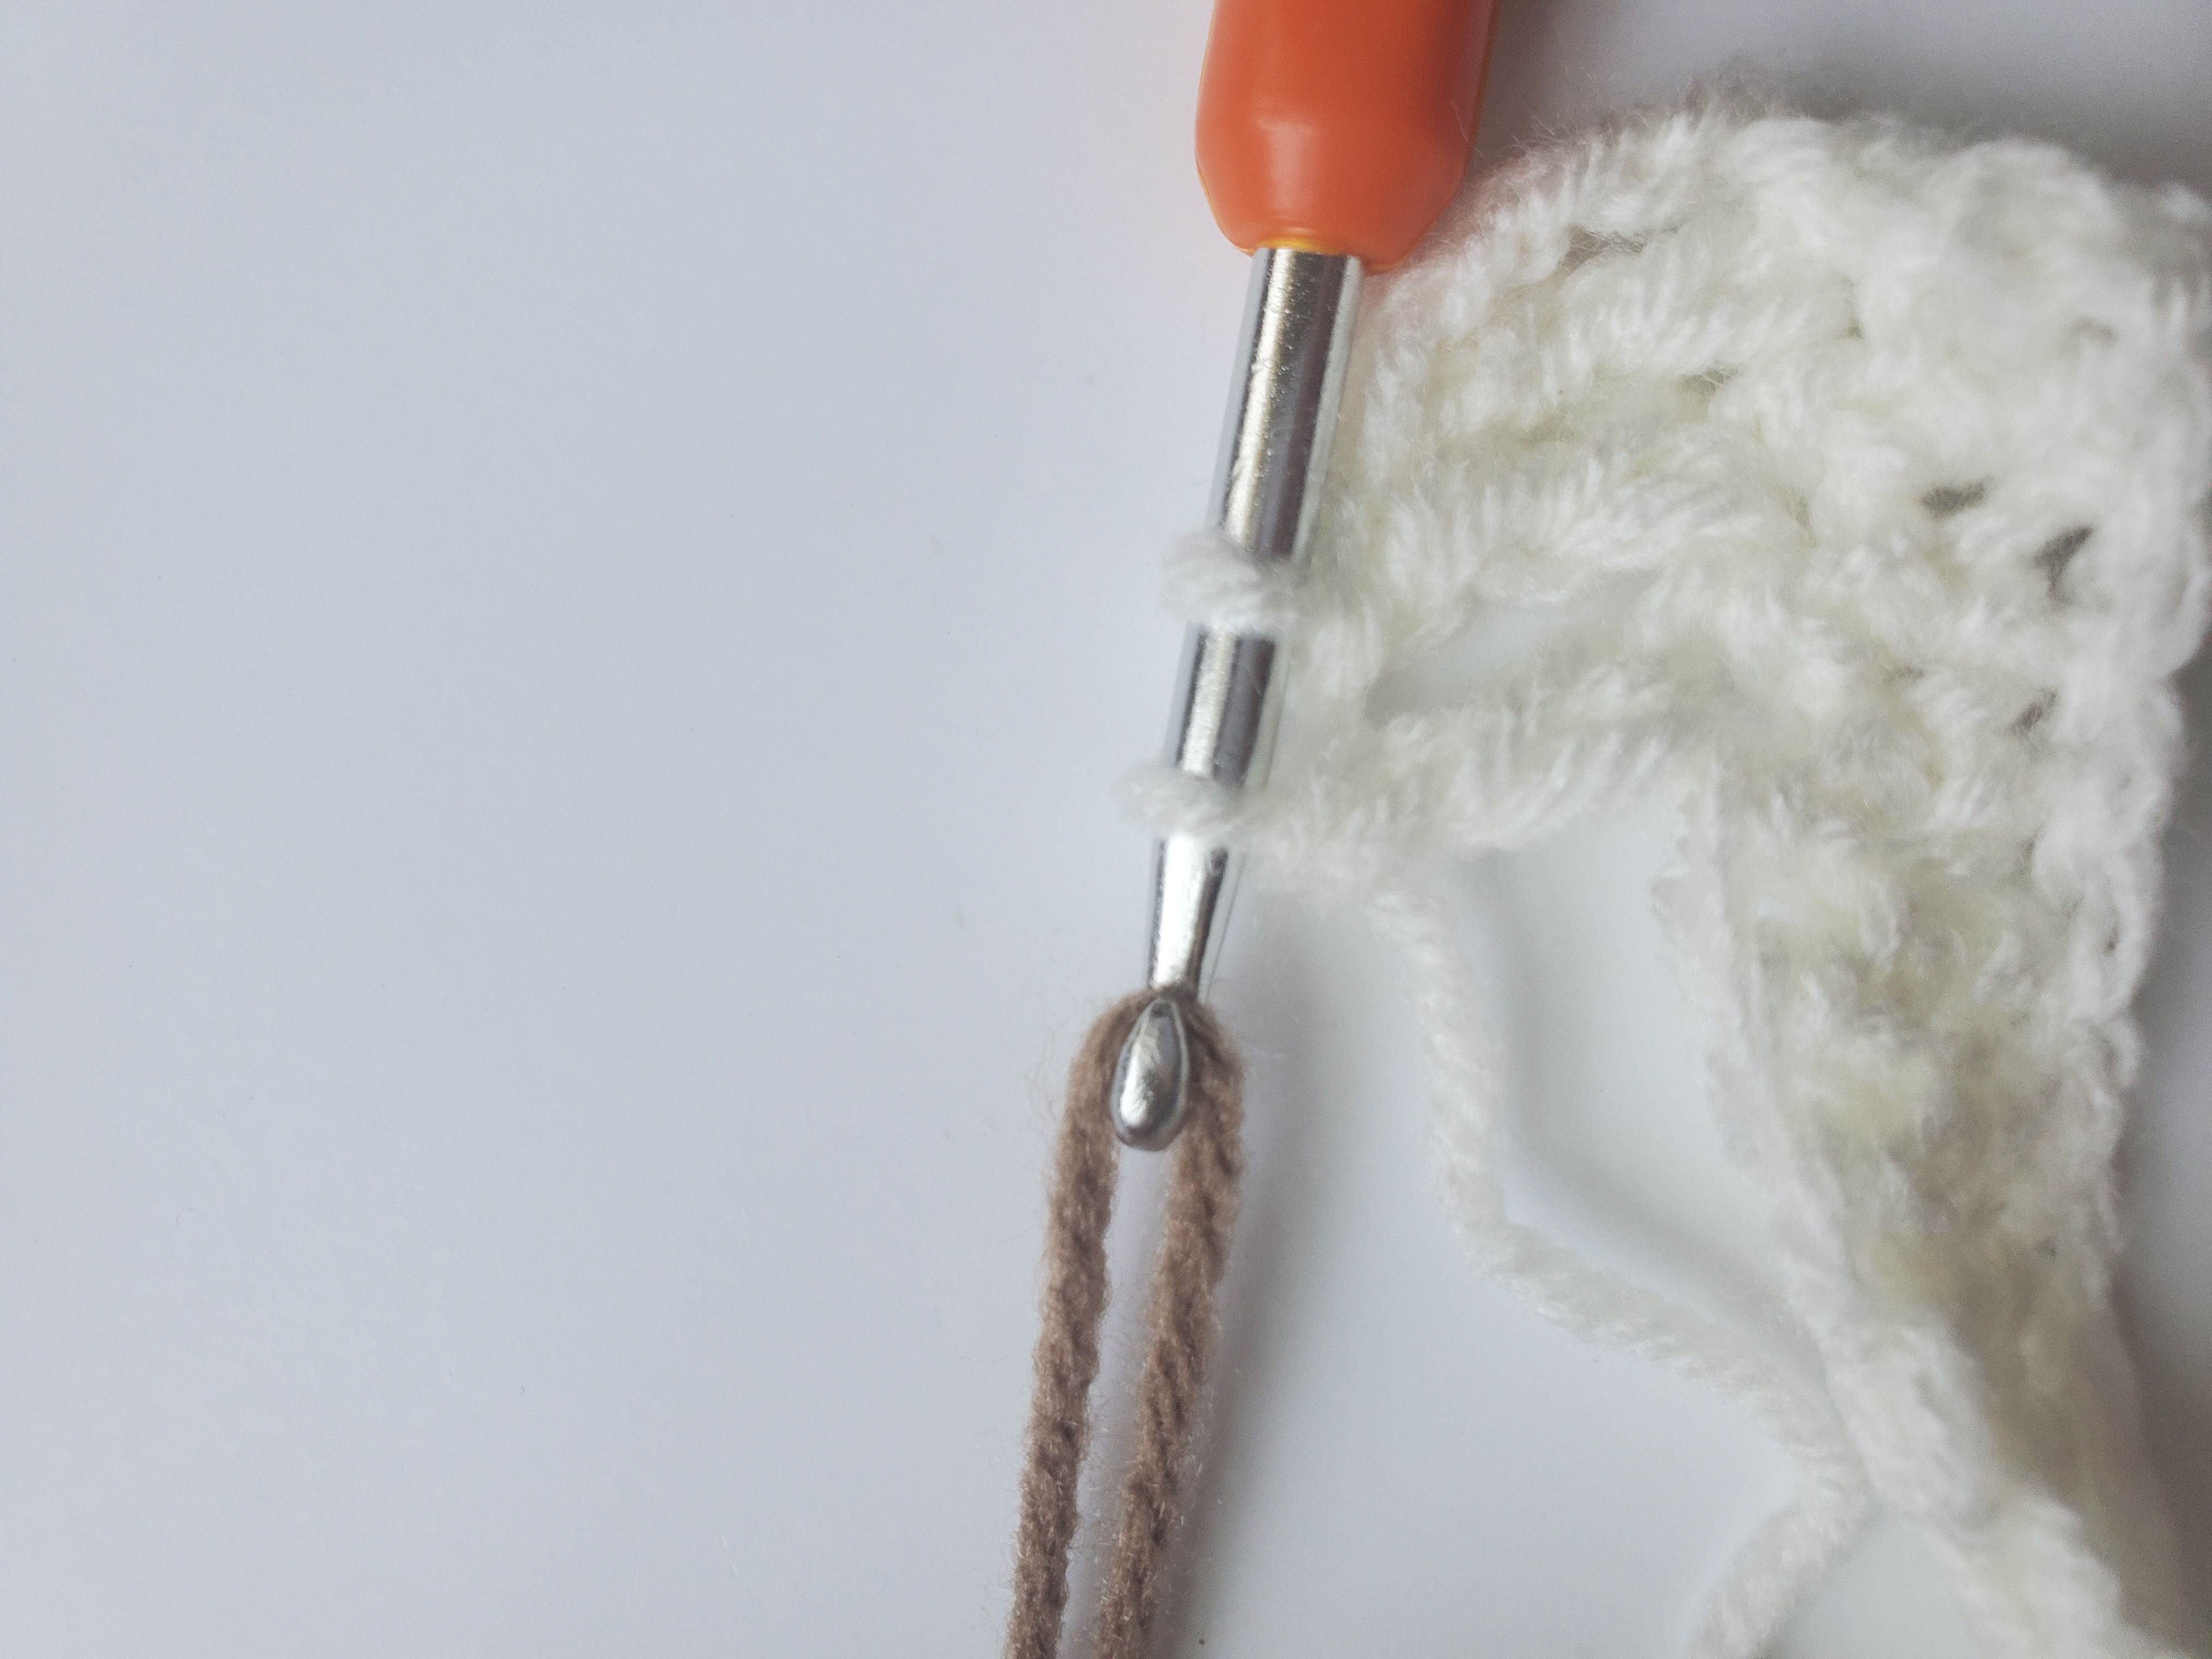
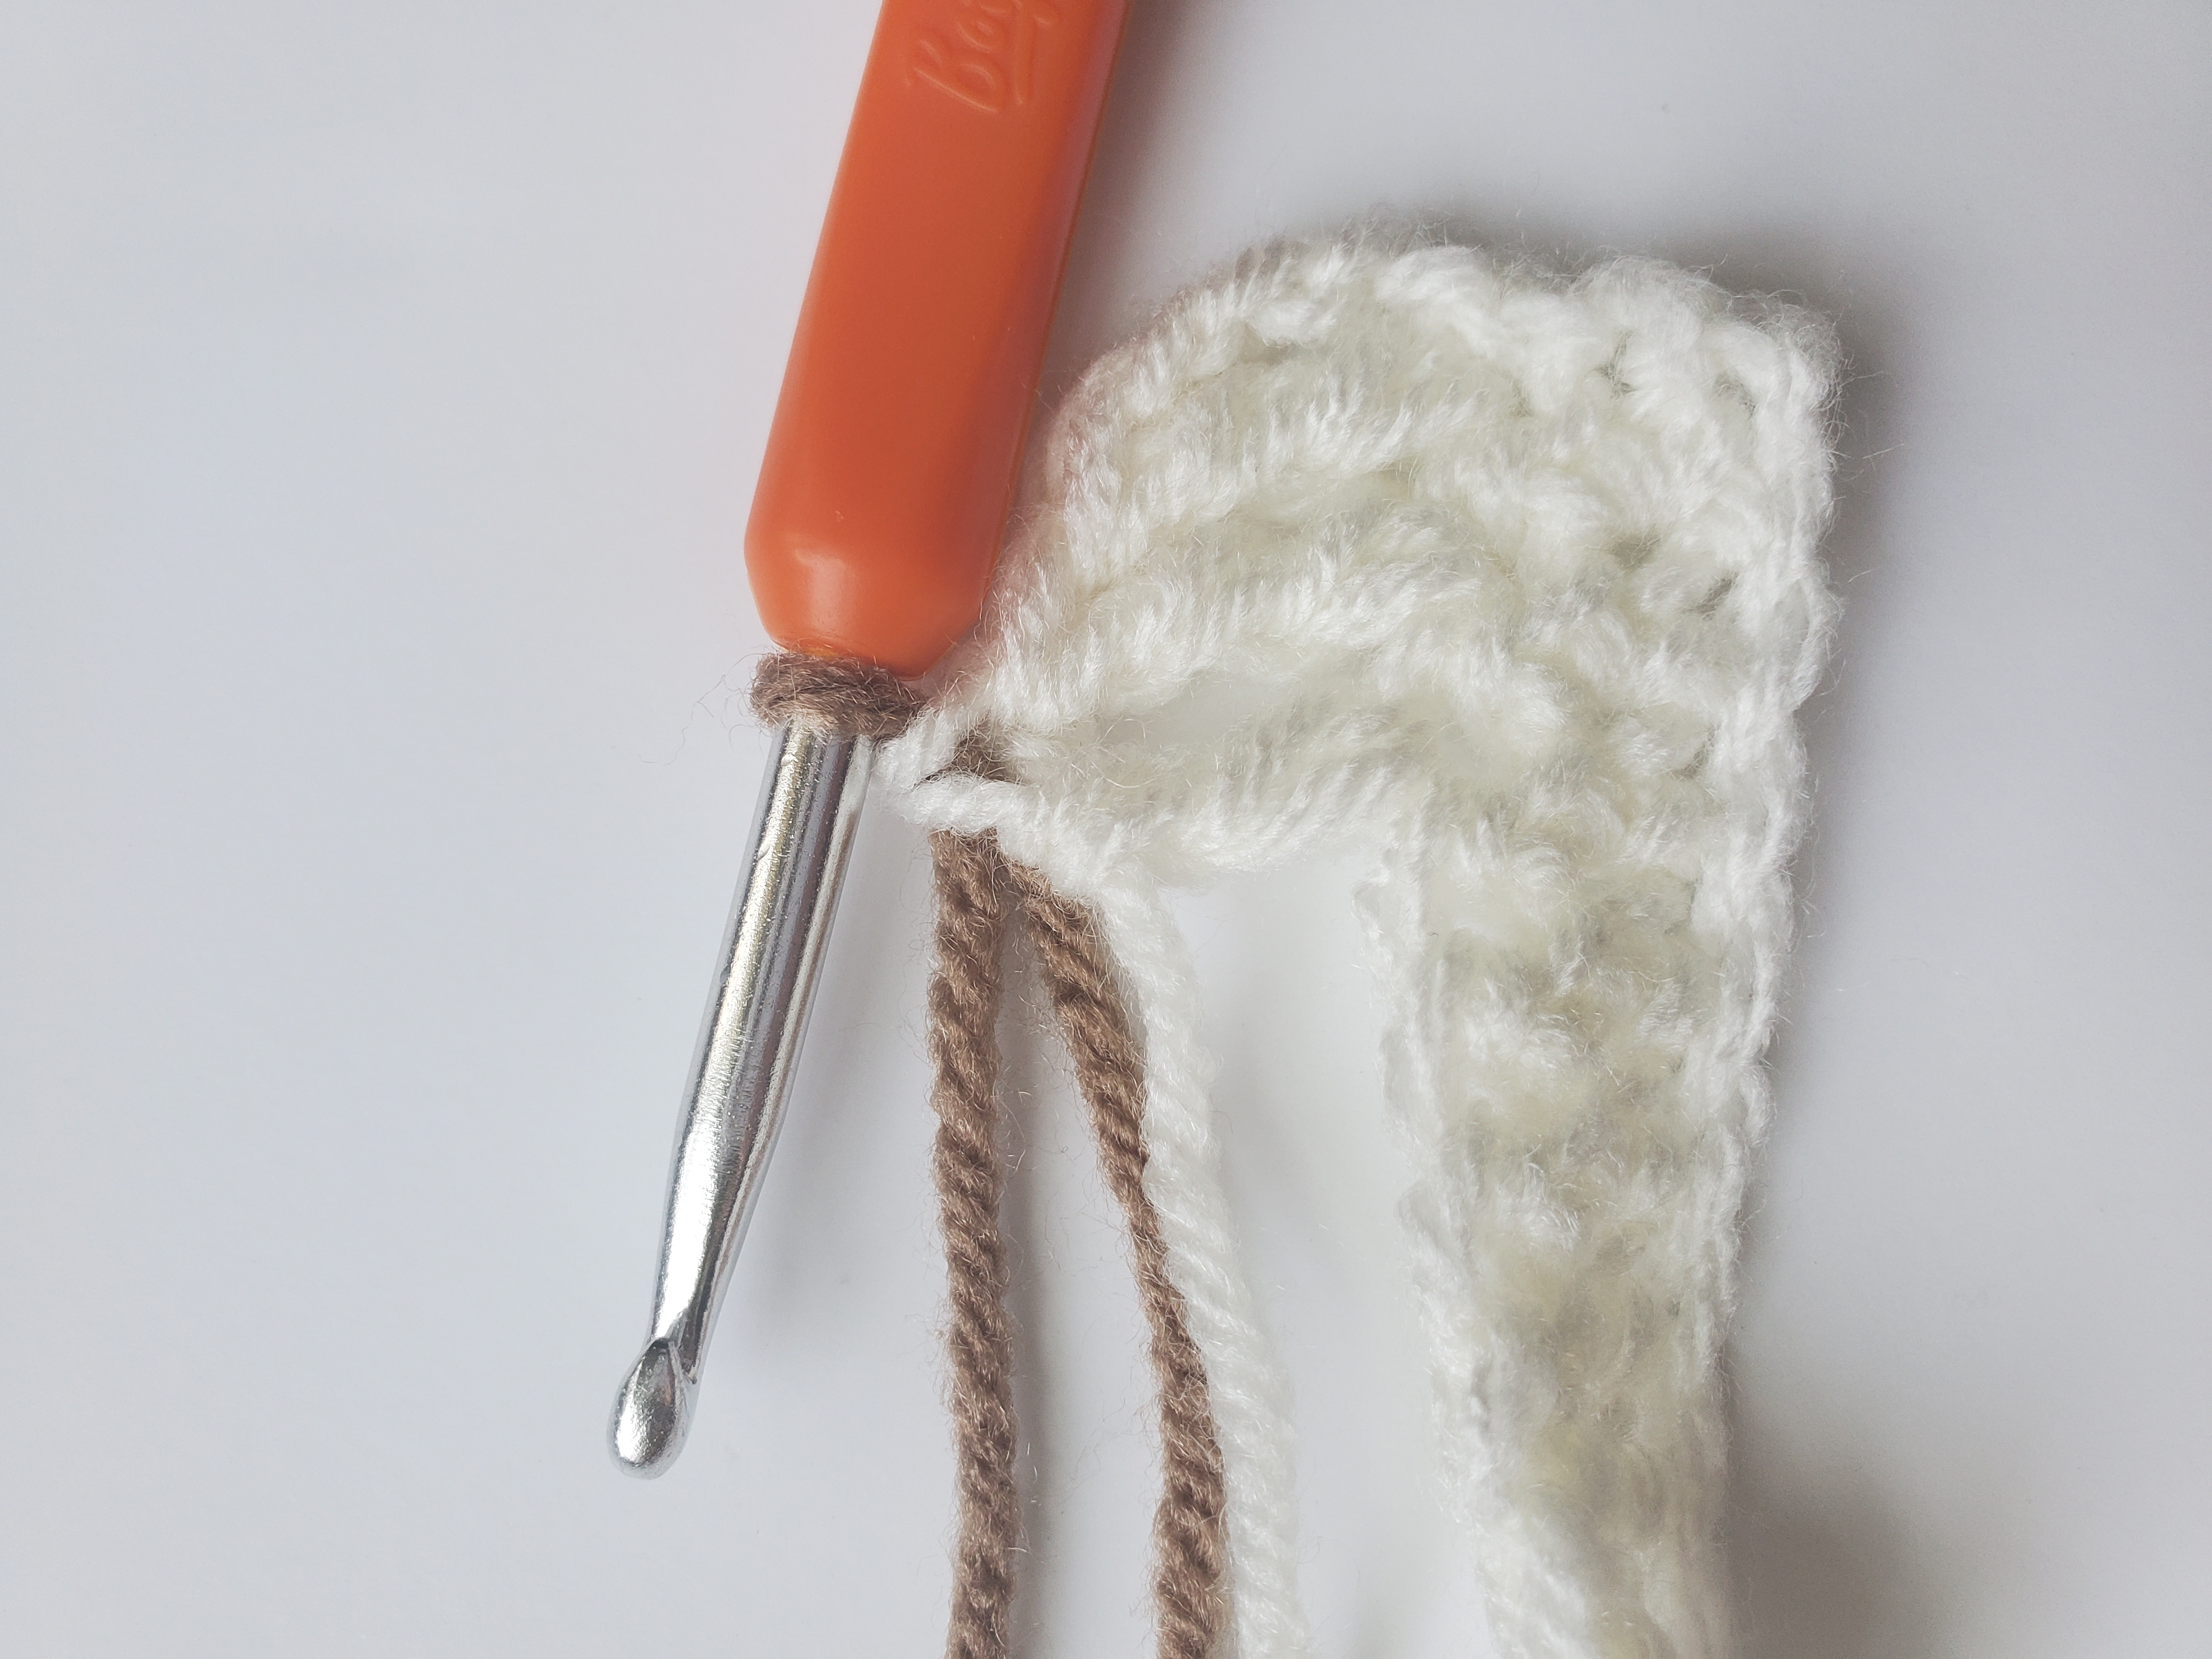
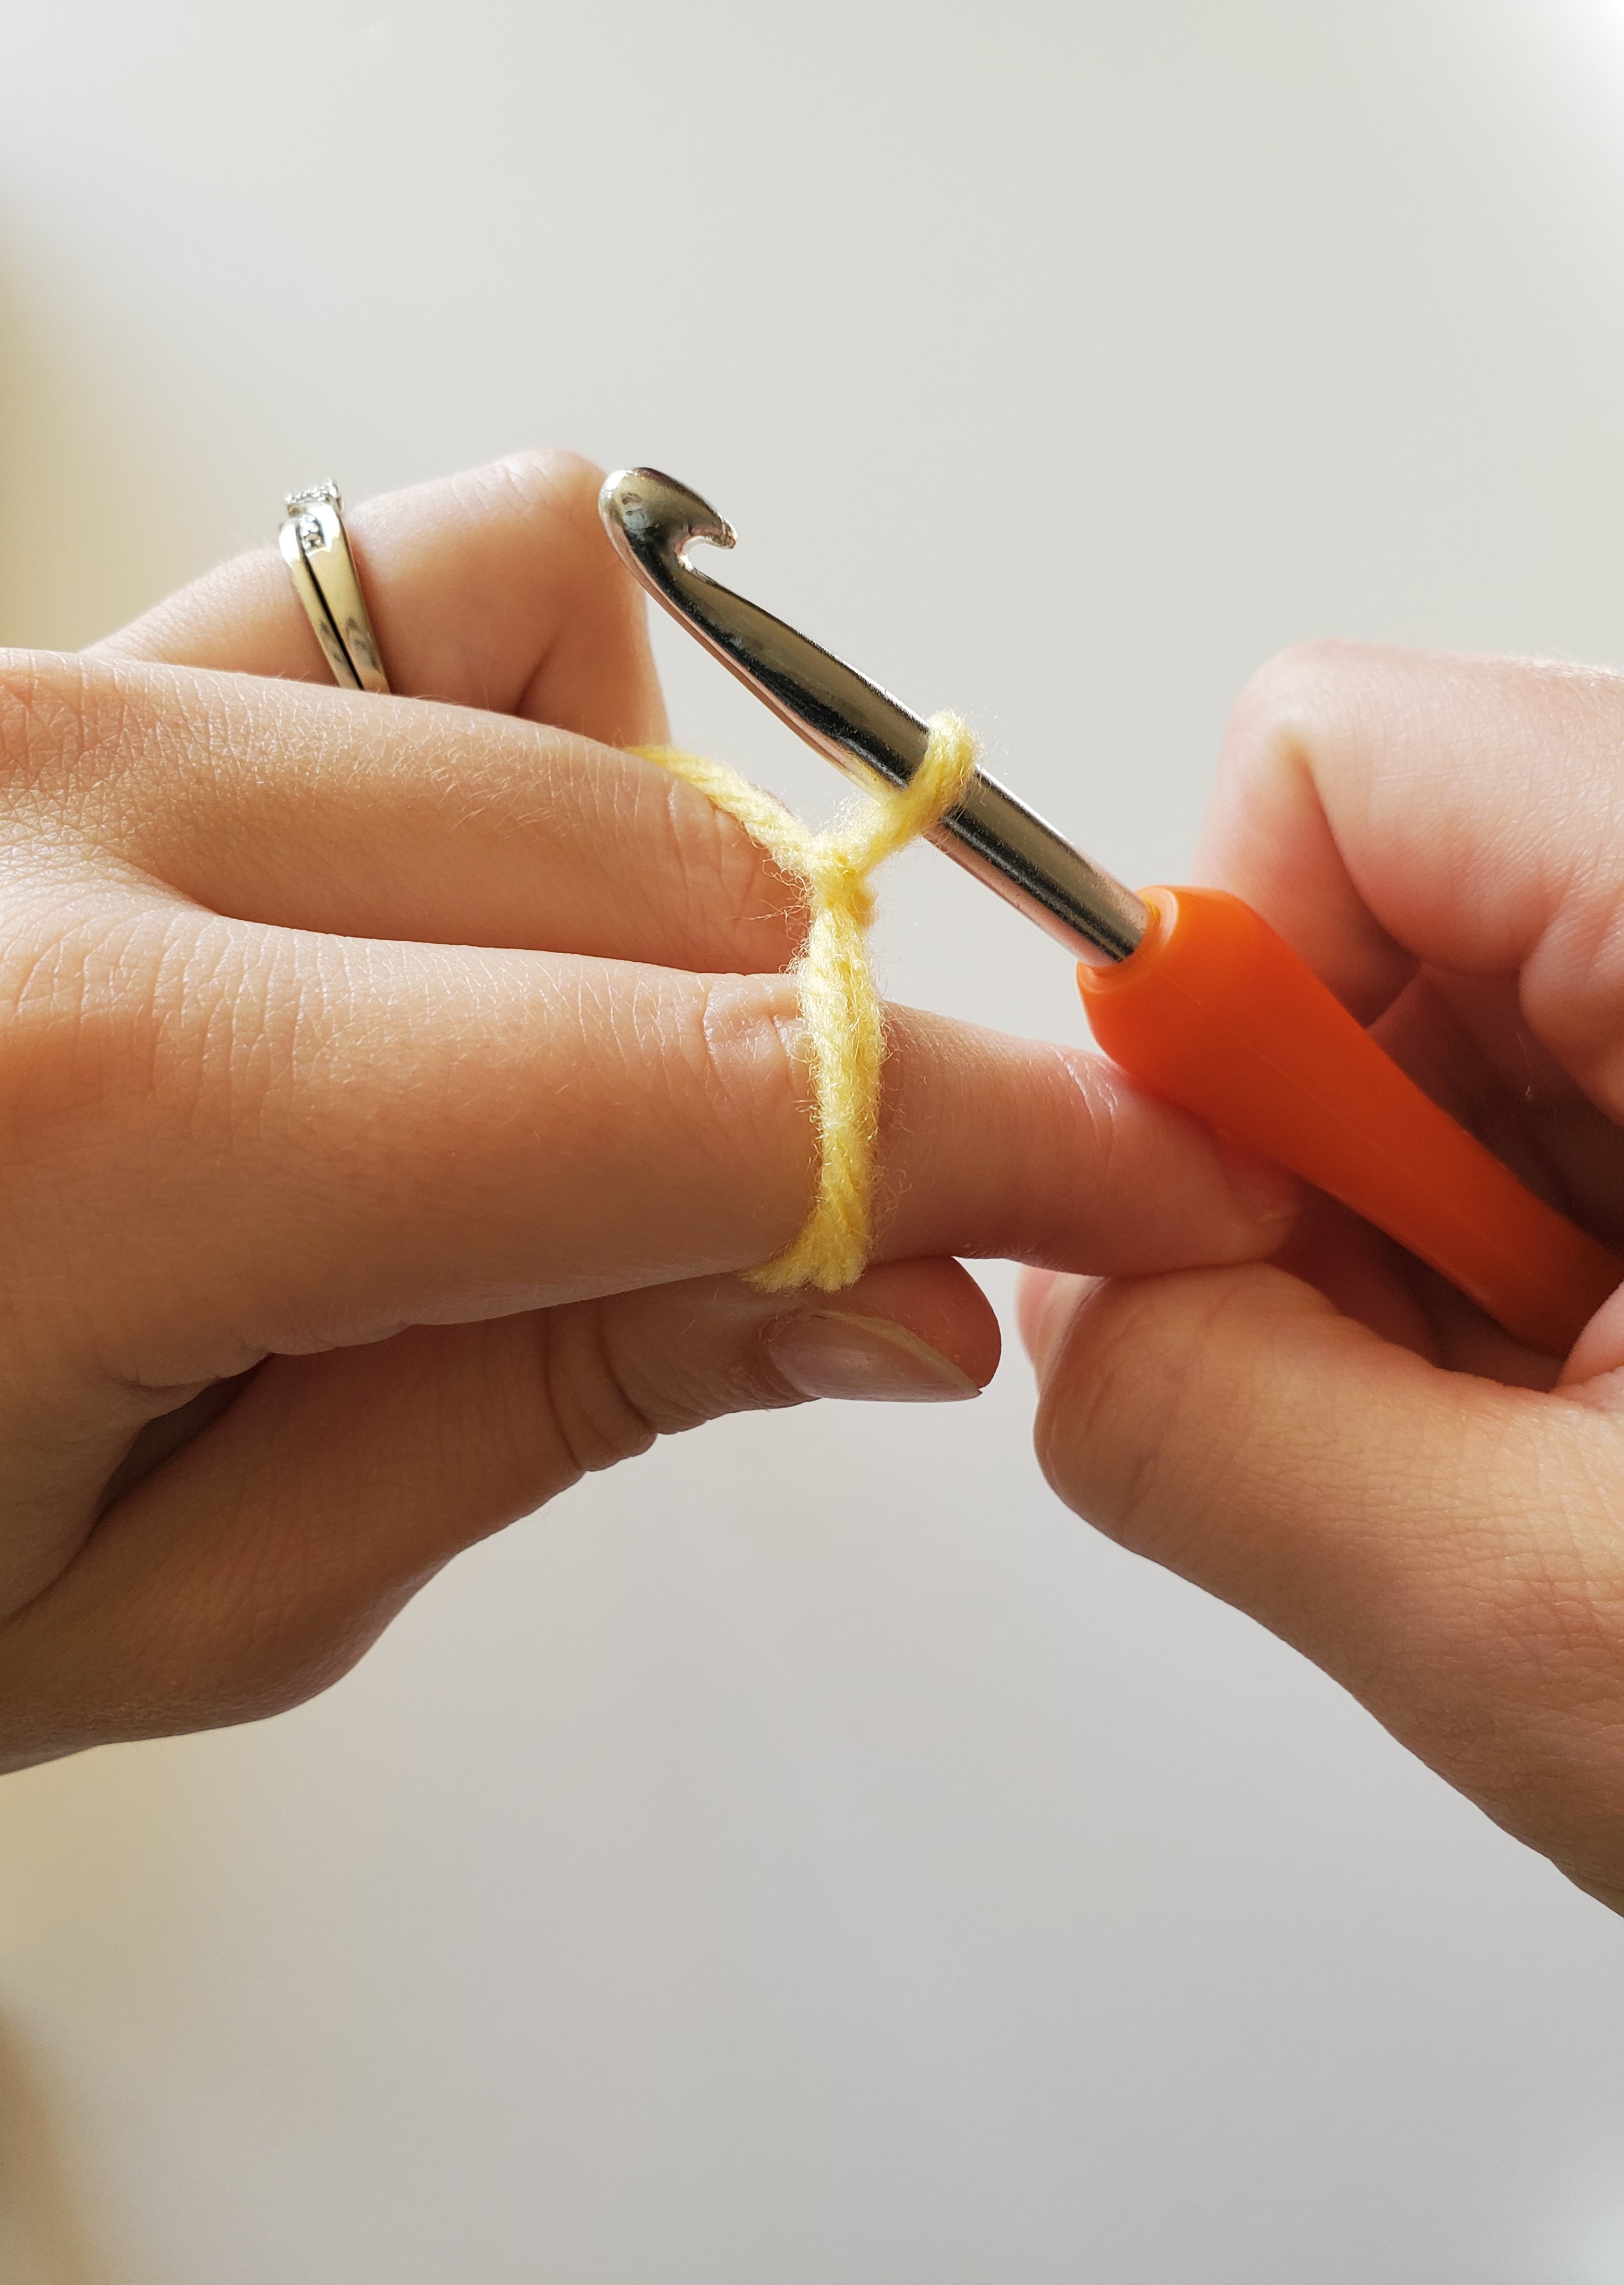
#6 Use a lighter-colored hook.

There are so many different kinds of crochet hooks with various colors out there. Consider using a lighter-colored aluminum or plastic hook to make it easier to see your stitches. There are also crochet hooks that have LED lights in them you could try!

I actually use this light-colored crochet hook set from Boye.

And I’ve never used them, but here’s a LED lit, 10 piece crochet hook set from EEEkit that is reasonably priced with good reviews.

#7 Check your tension.

If you tend to crochet with a tighter tension, it can be hard to see your stitches as they will appear smaller. Check your tension regularly as you work if you’re having a hard time. I know my tension is too tight if I have a hard time inserting my hook into stitches. You can also check your tension by measuring your gauge or comparing our work to the pattern instructions. 

#8 Use a magnifying glass.

Yep, I said it. For some determined, but visually impaired crocheters, using a magnifying glass might be helpful, especially for intricate patterns with fine details. Look for hands-free magnifying glasses or one that you can place on a stand to make it easier to use while your hands are busy crocheting. 

Here’s a Hands Free Magnifying Glass for Neck Wear by LafaVida.  

And I had a good laugh at this one, but if you want to go full tactical and don’t care what people think (you’re working here darn it!), check out this Illuminated Headband Magnifier from MAGNIPROS.

#9 Use good posture.

Maintaining good posture while crocheting can help prevent eye strain, wrist pain, and fatigue when working with black yarn. Remind yourself to sit up straight and keep your work at a comfortable distance from your eyes.

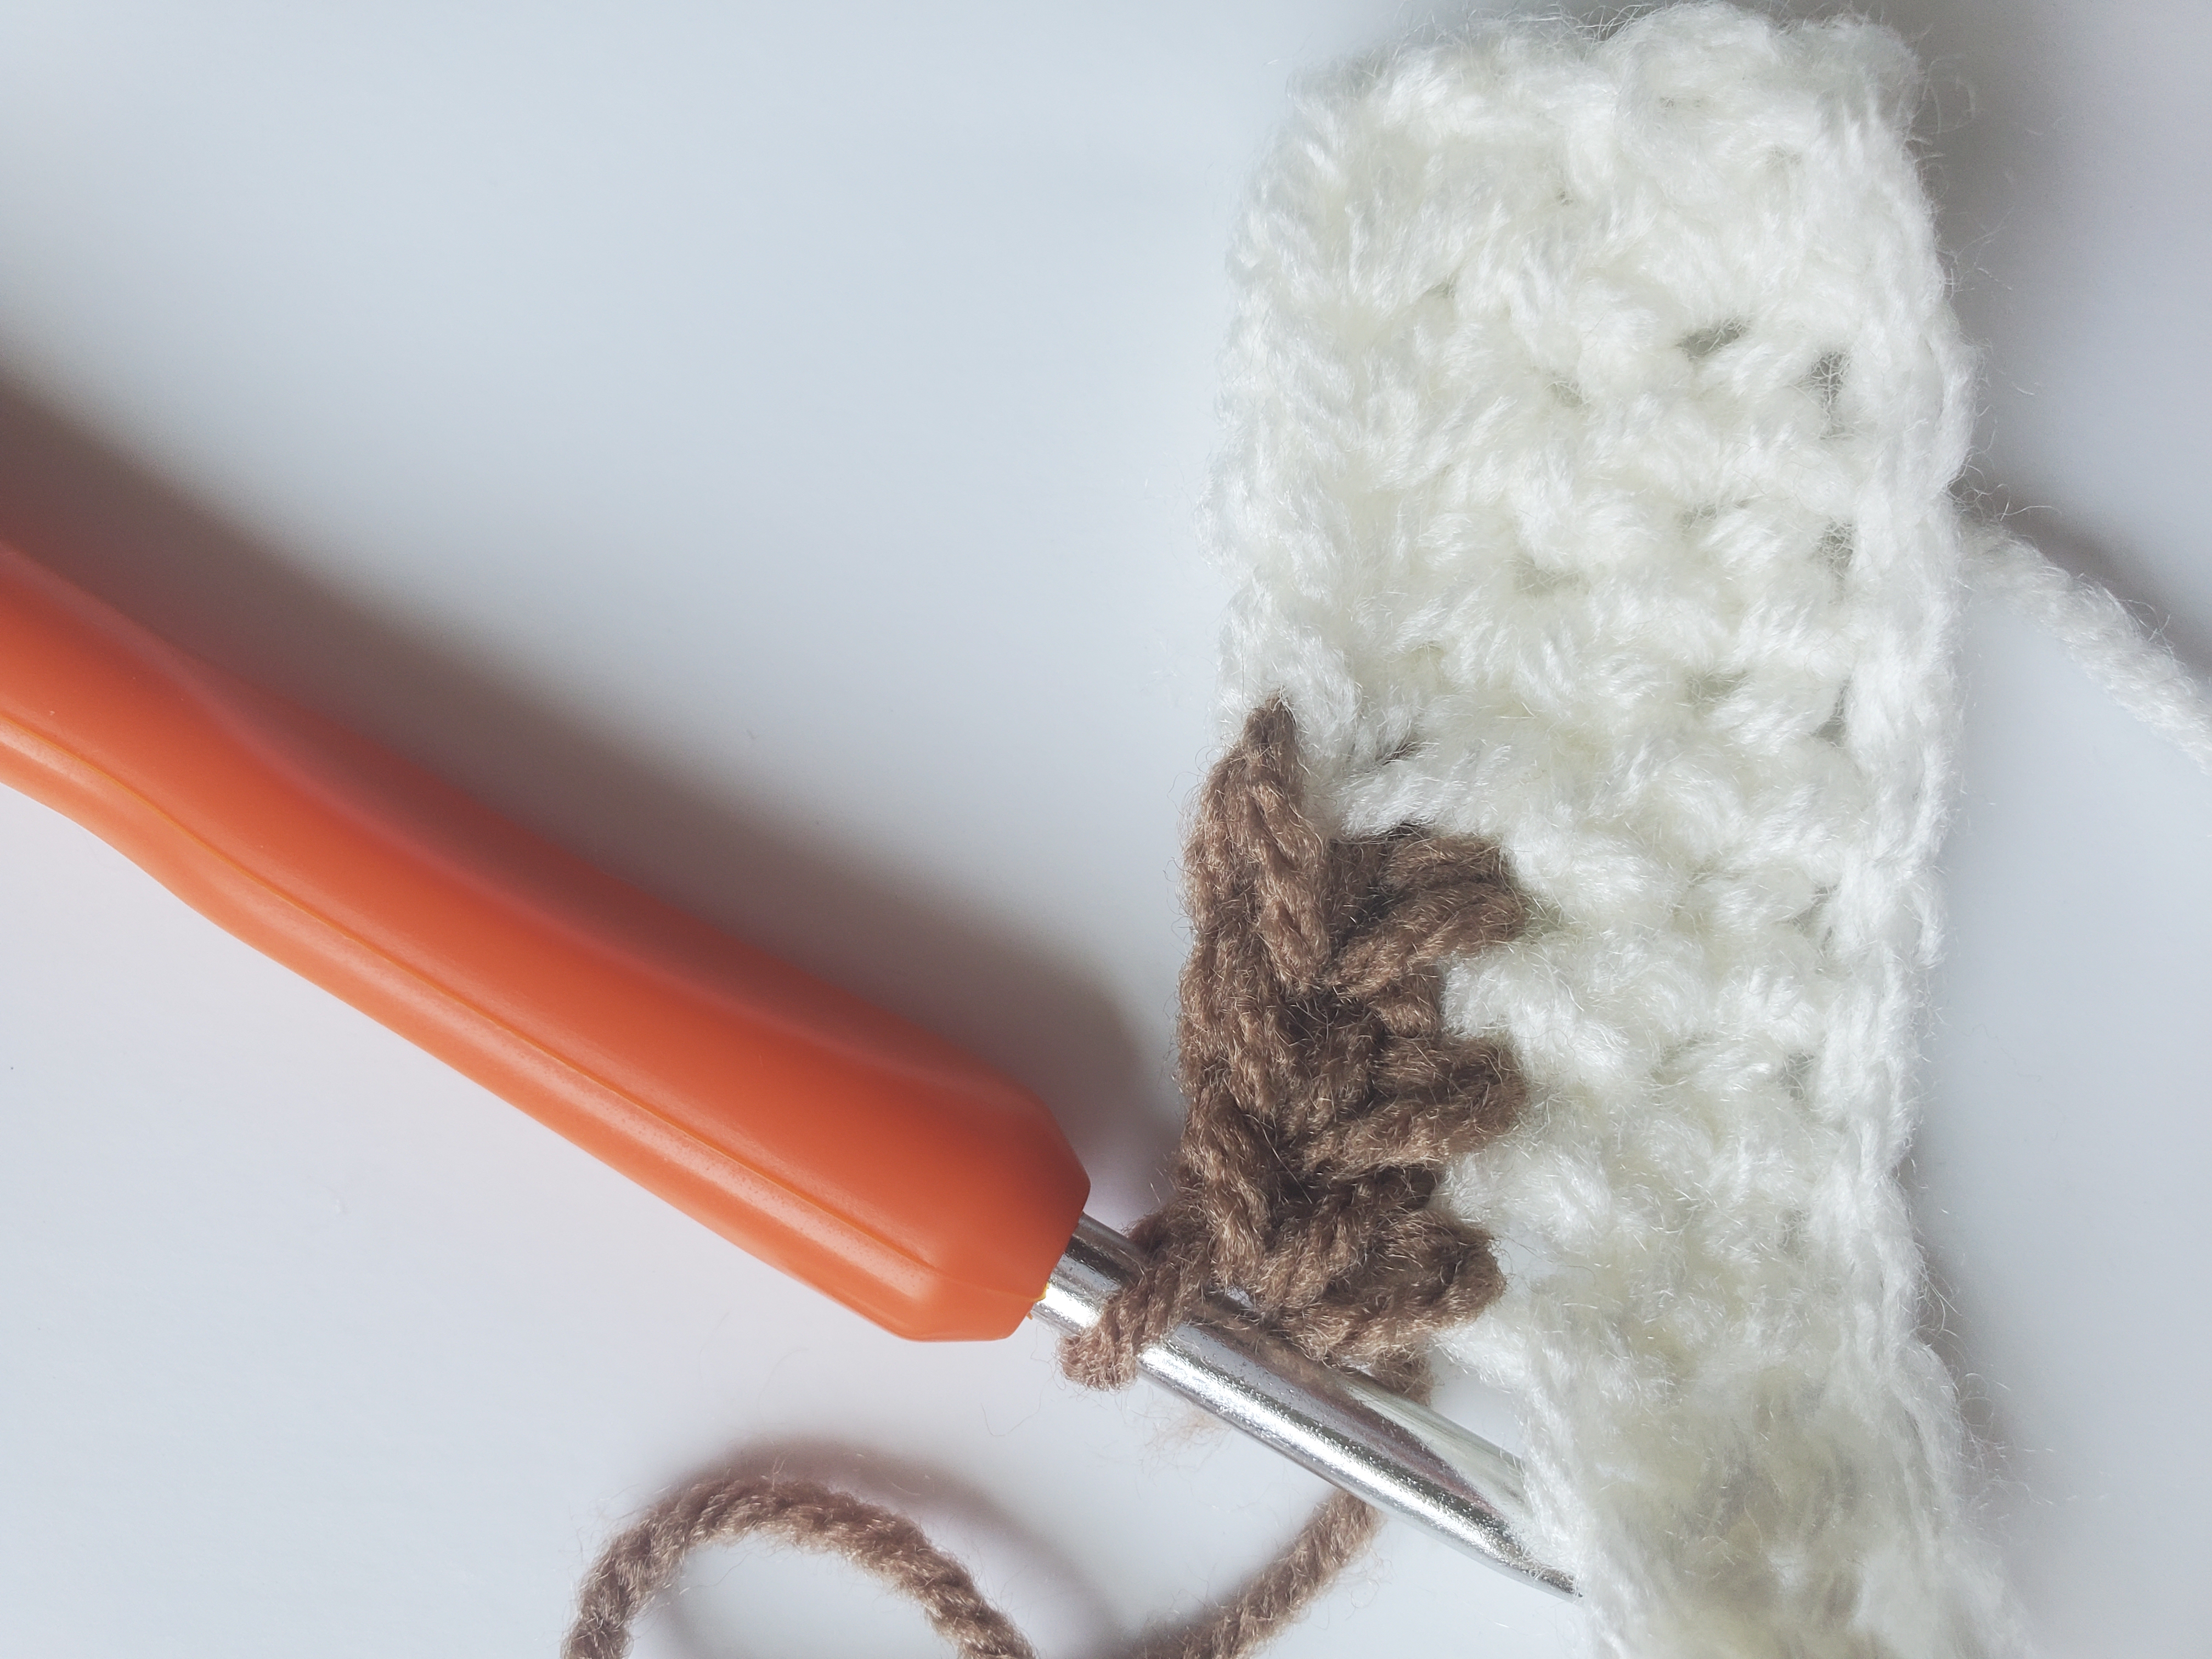
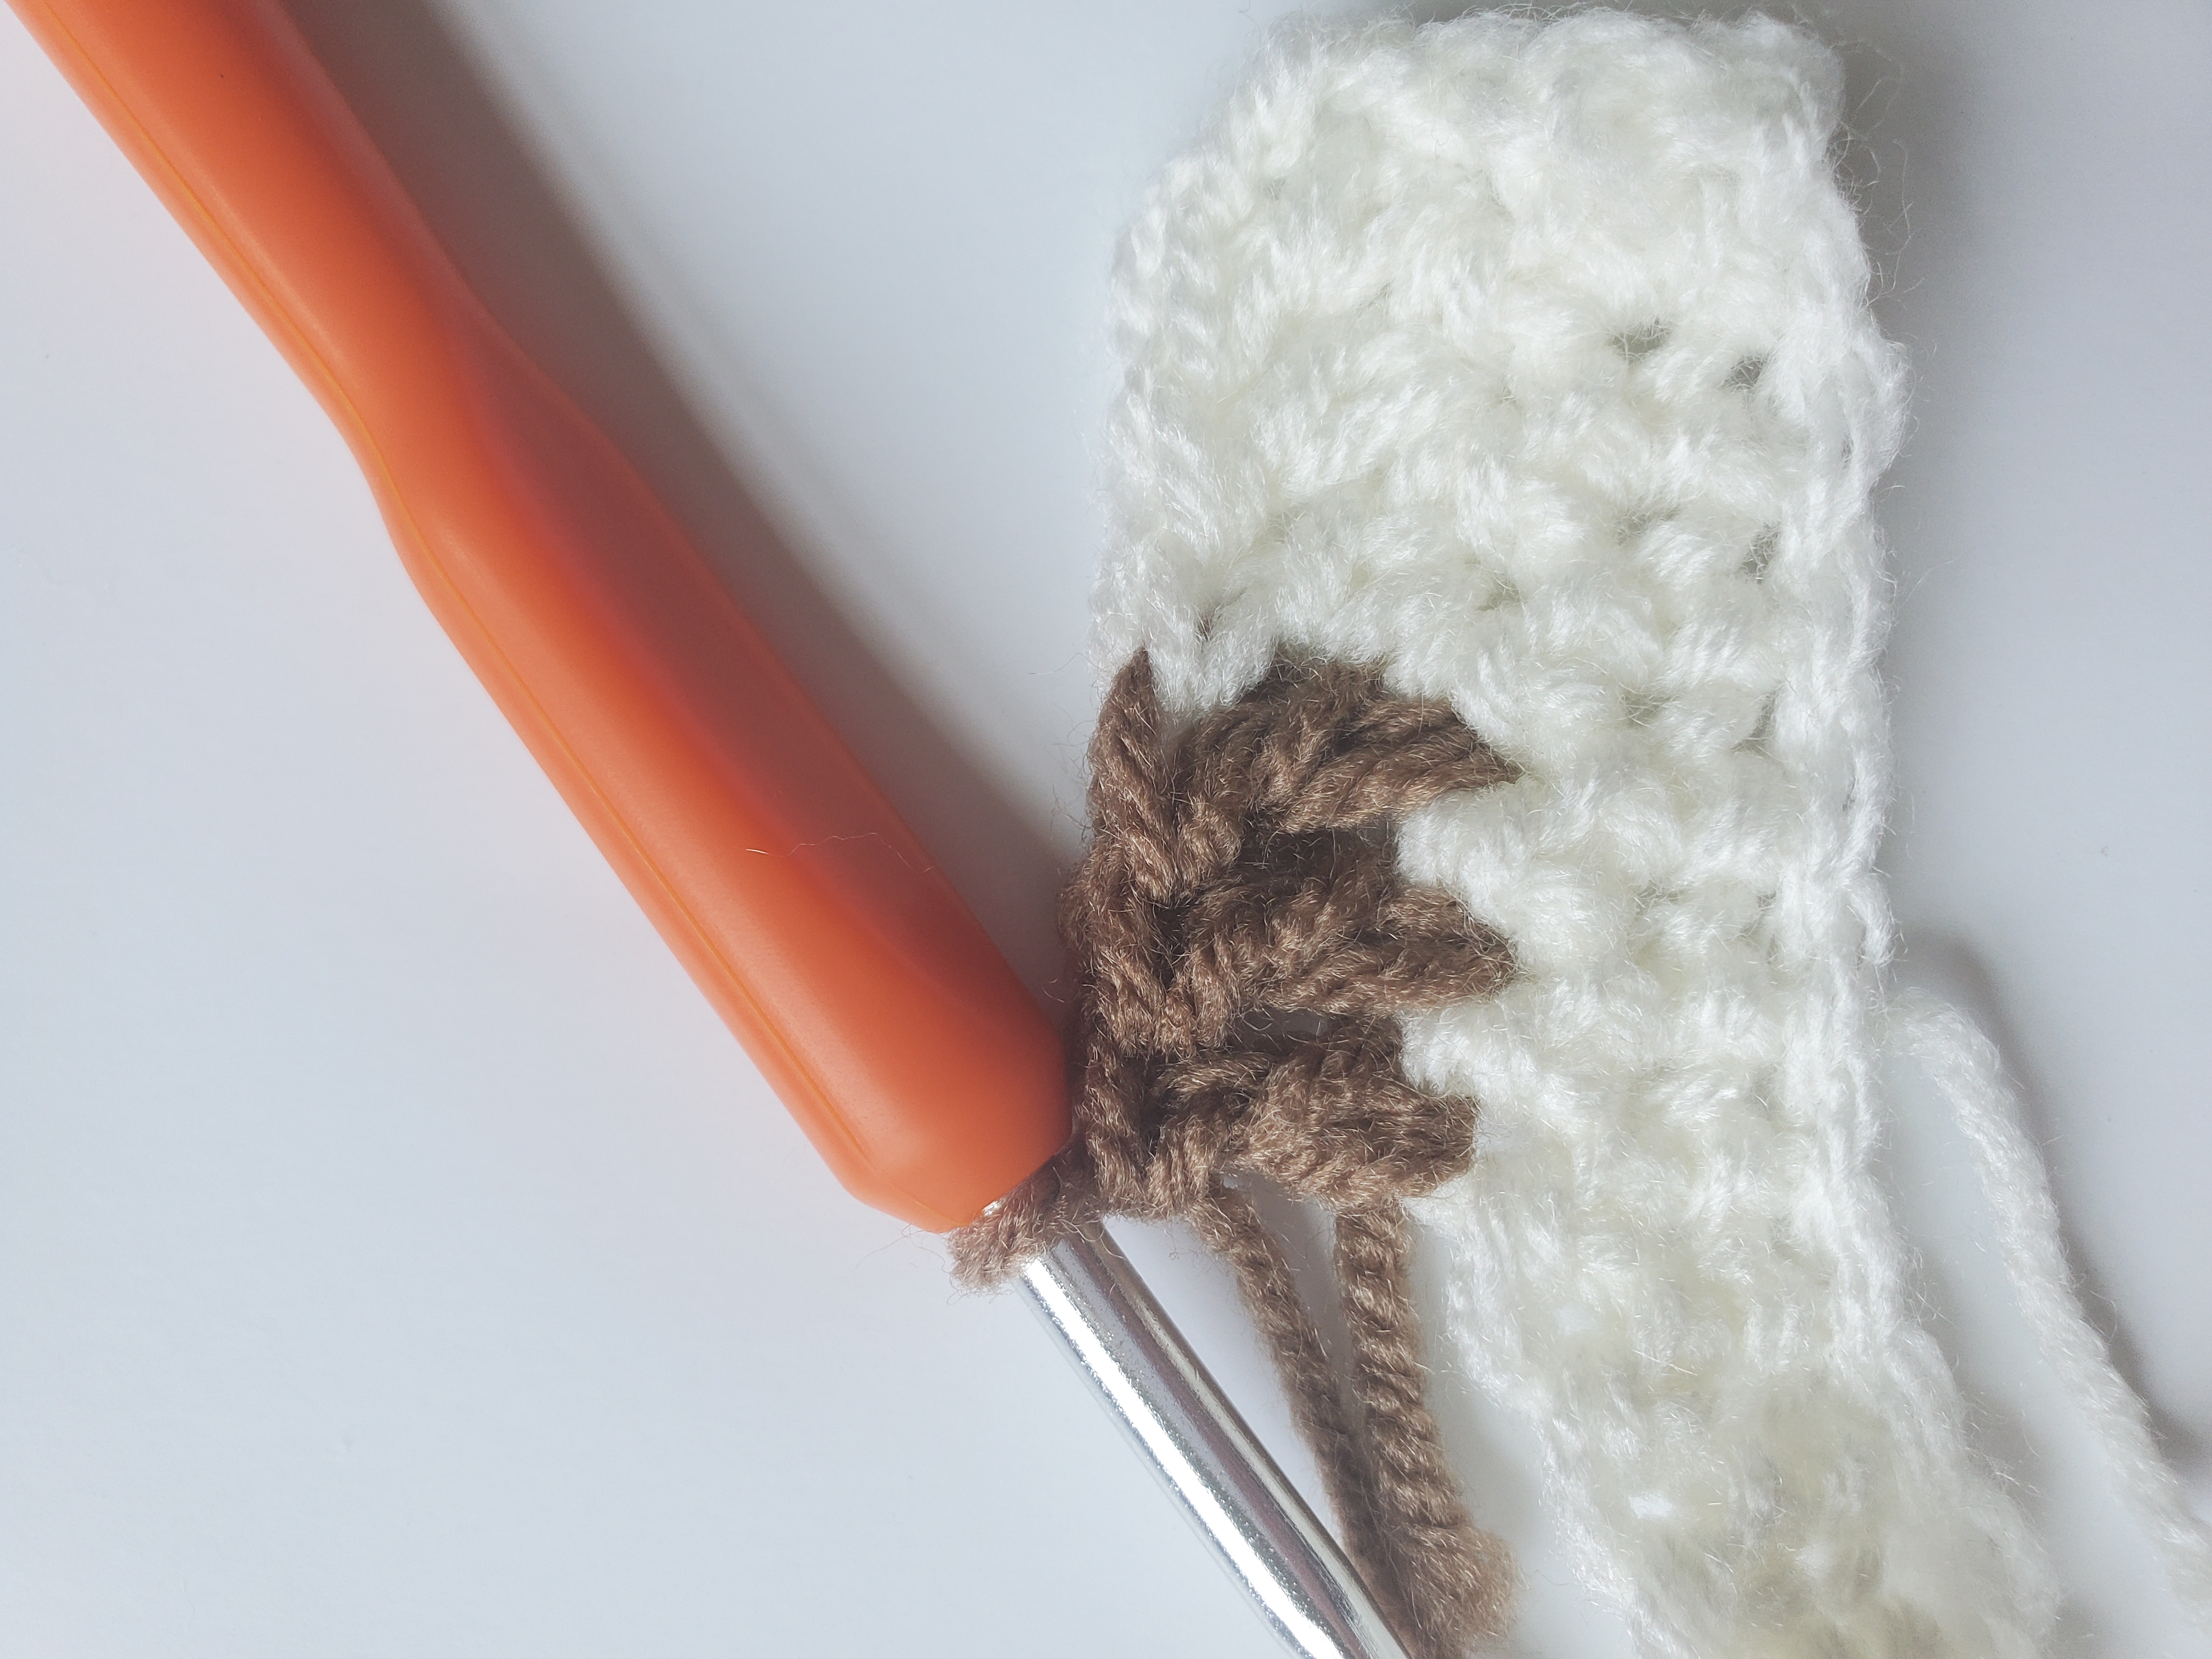
#10 Experiment with different textures.

Using a textured or bumpy yarn can help you differentiate between stitches when working with black yarn. Try a pattern that uses popcorn or bobble stitches for added texture.

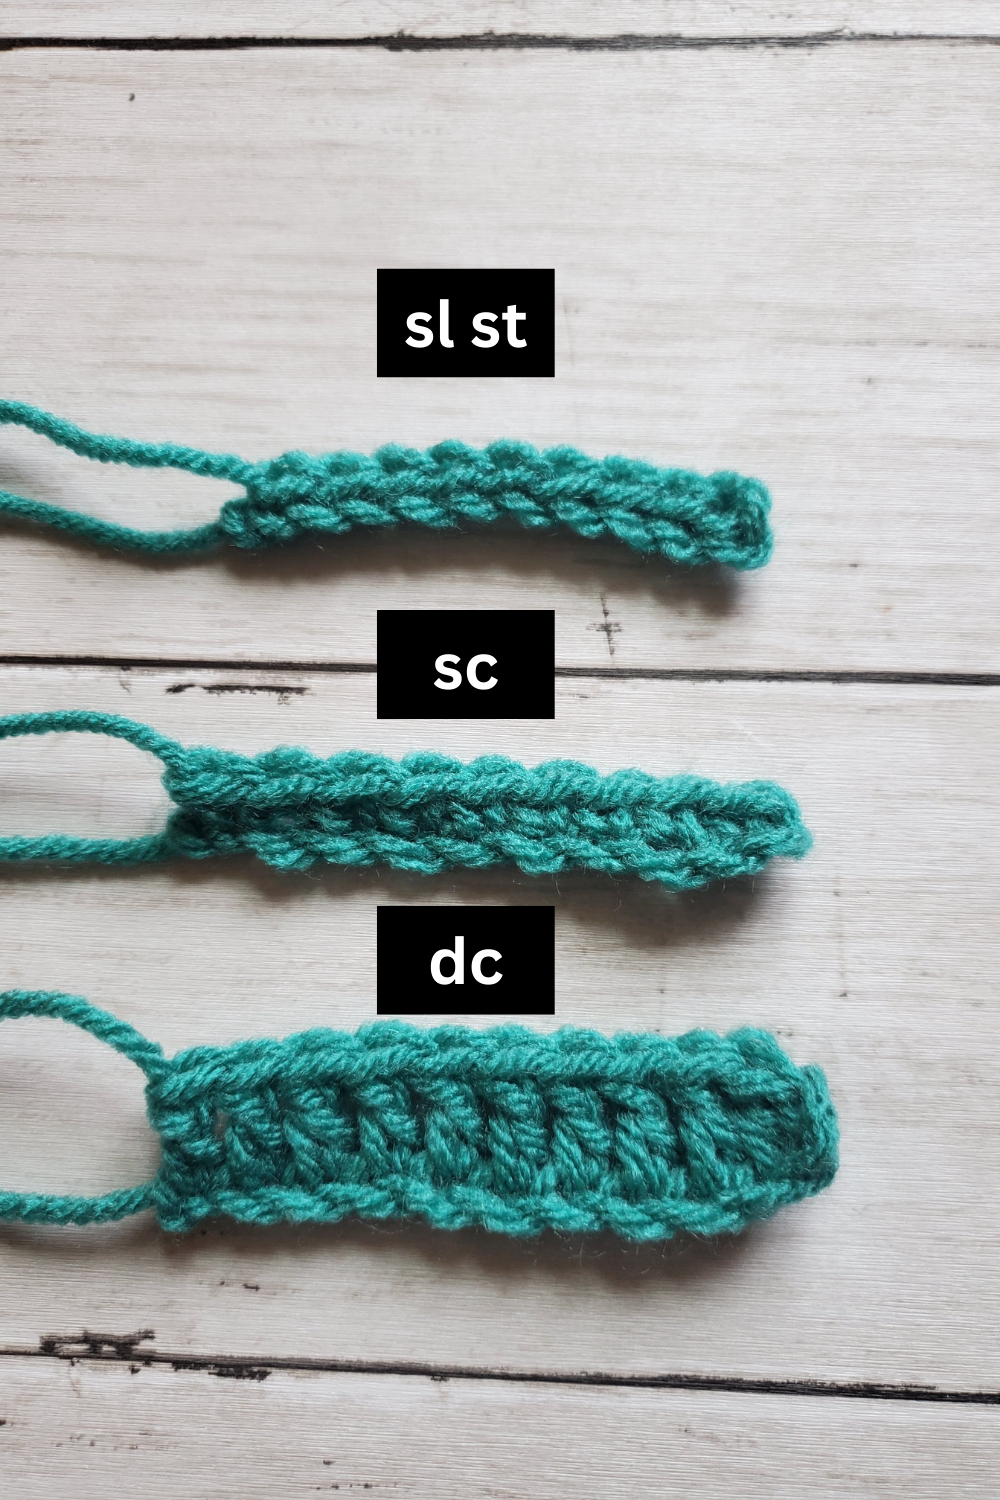
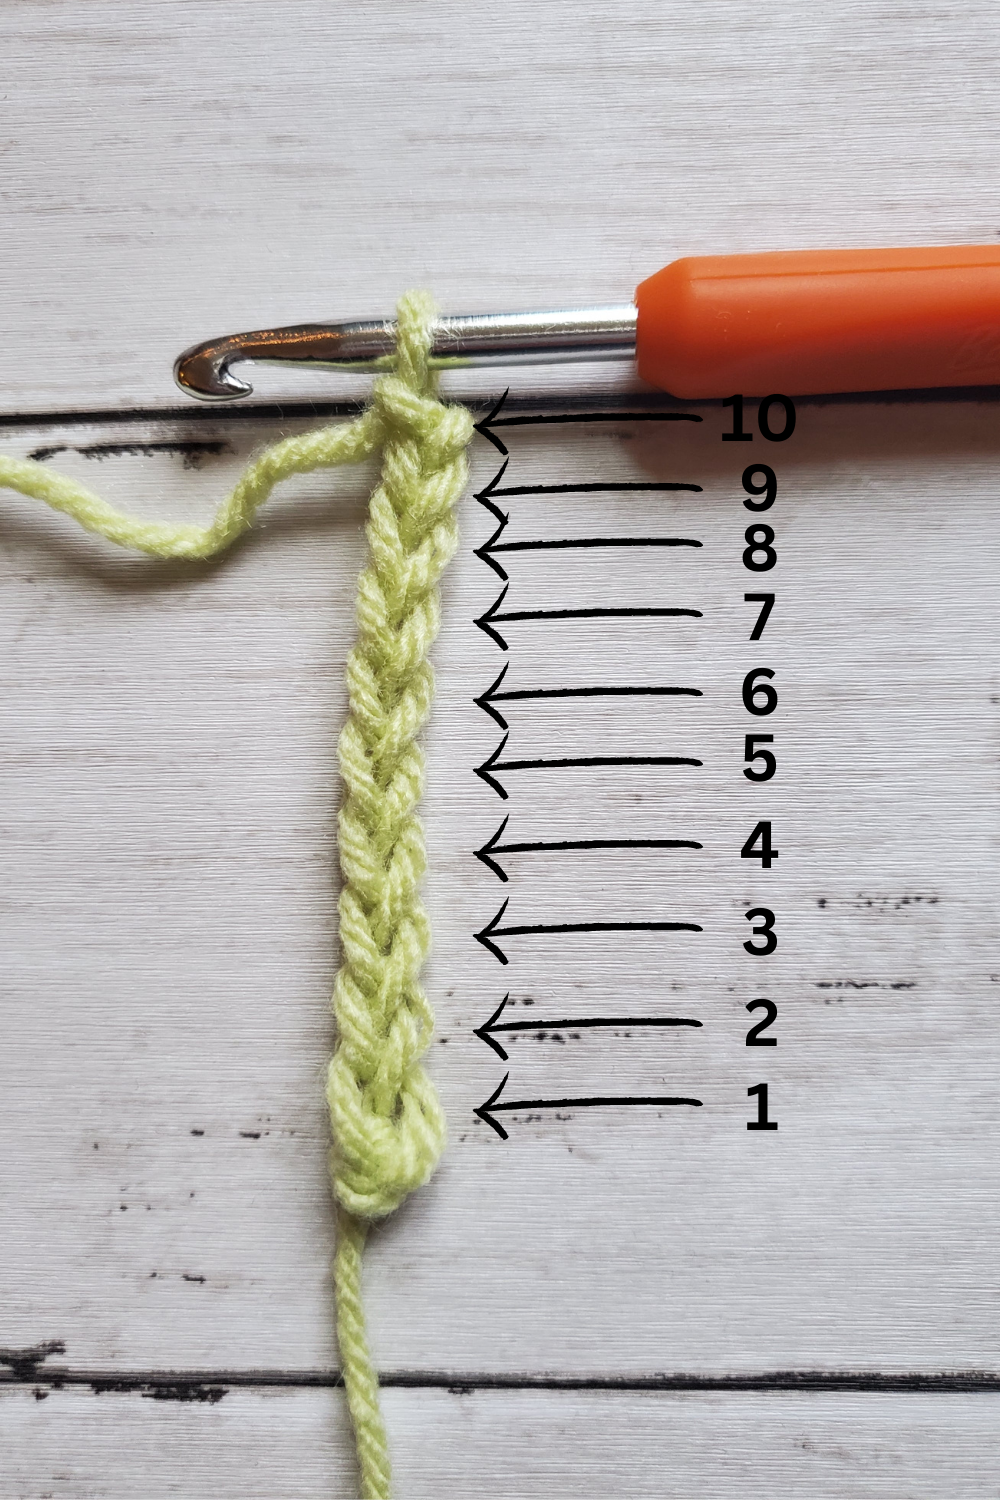
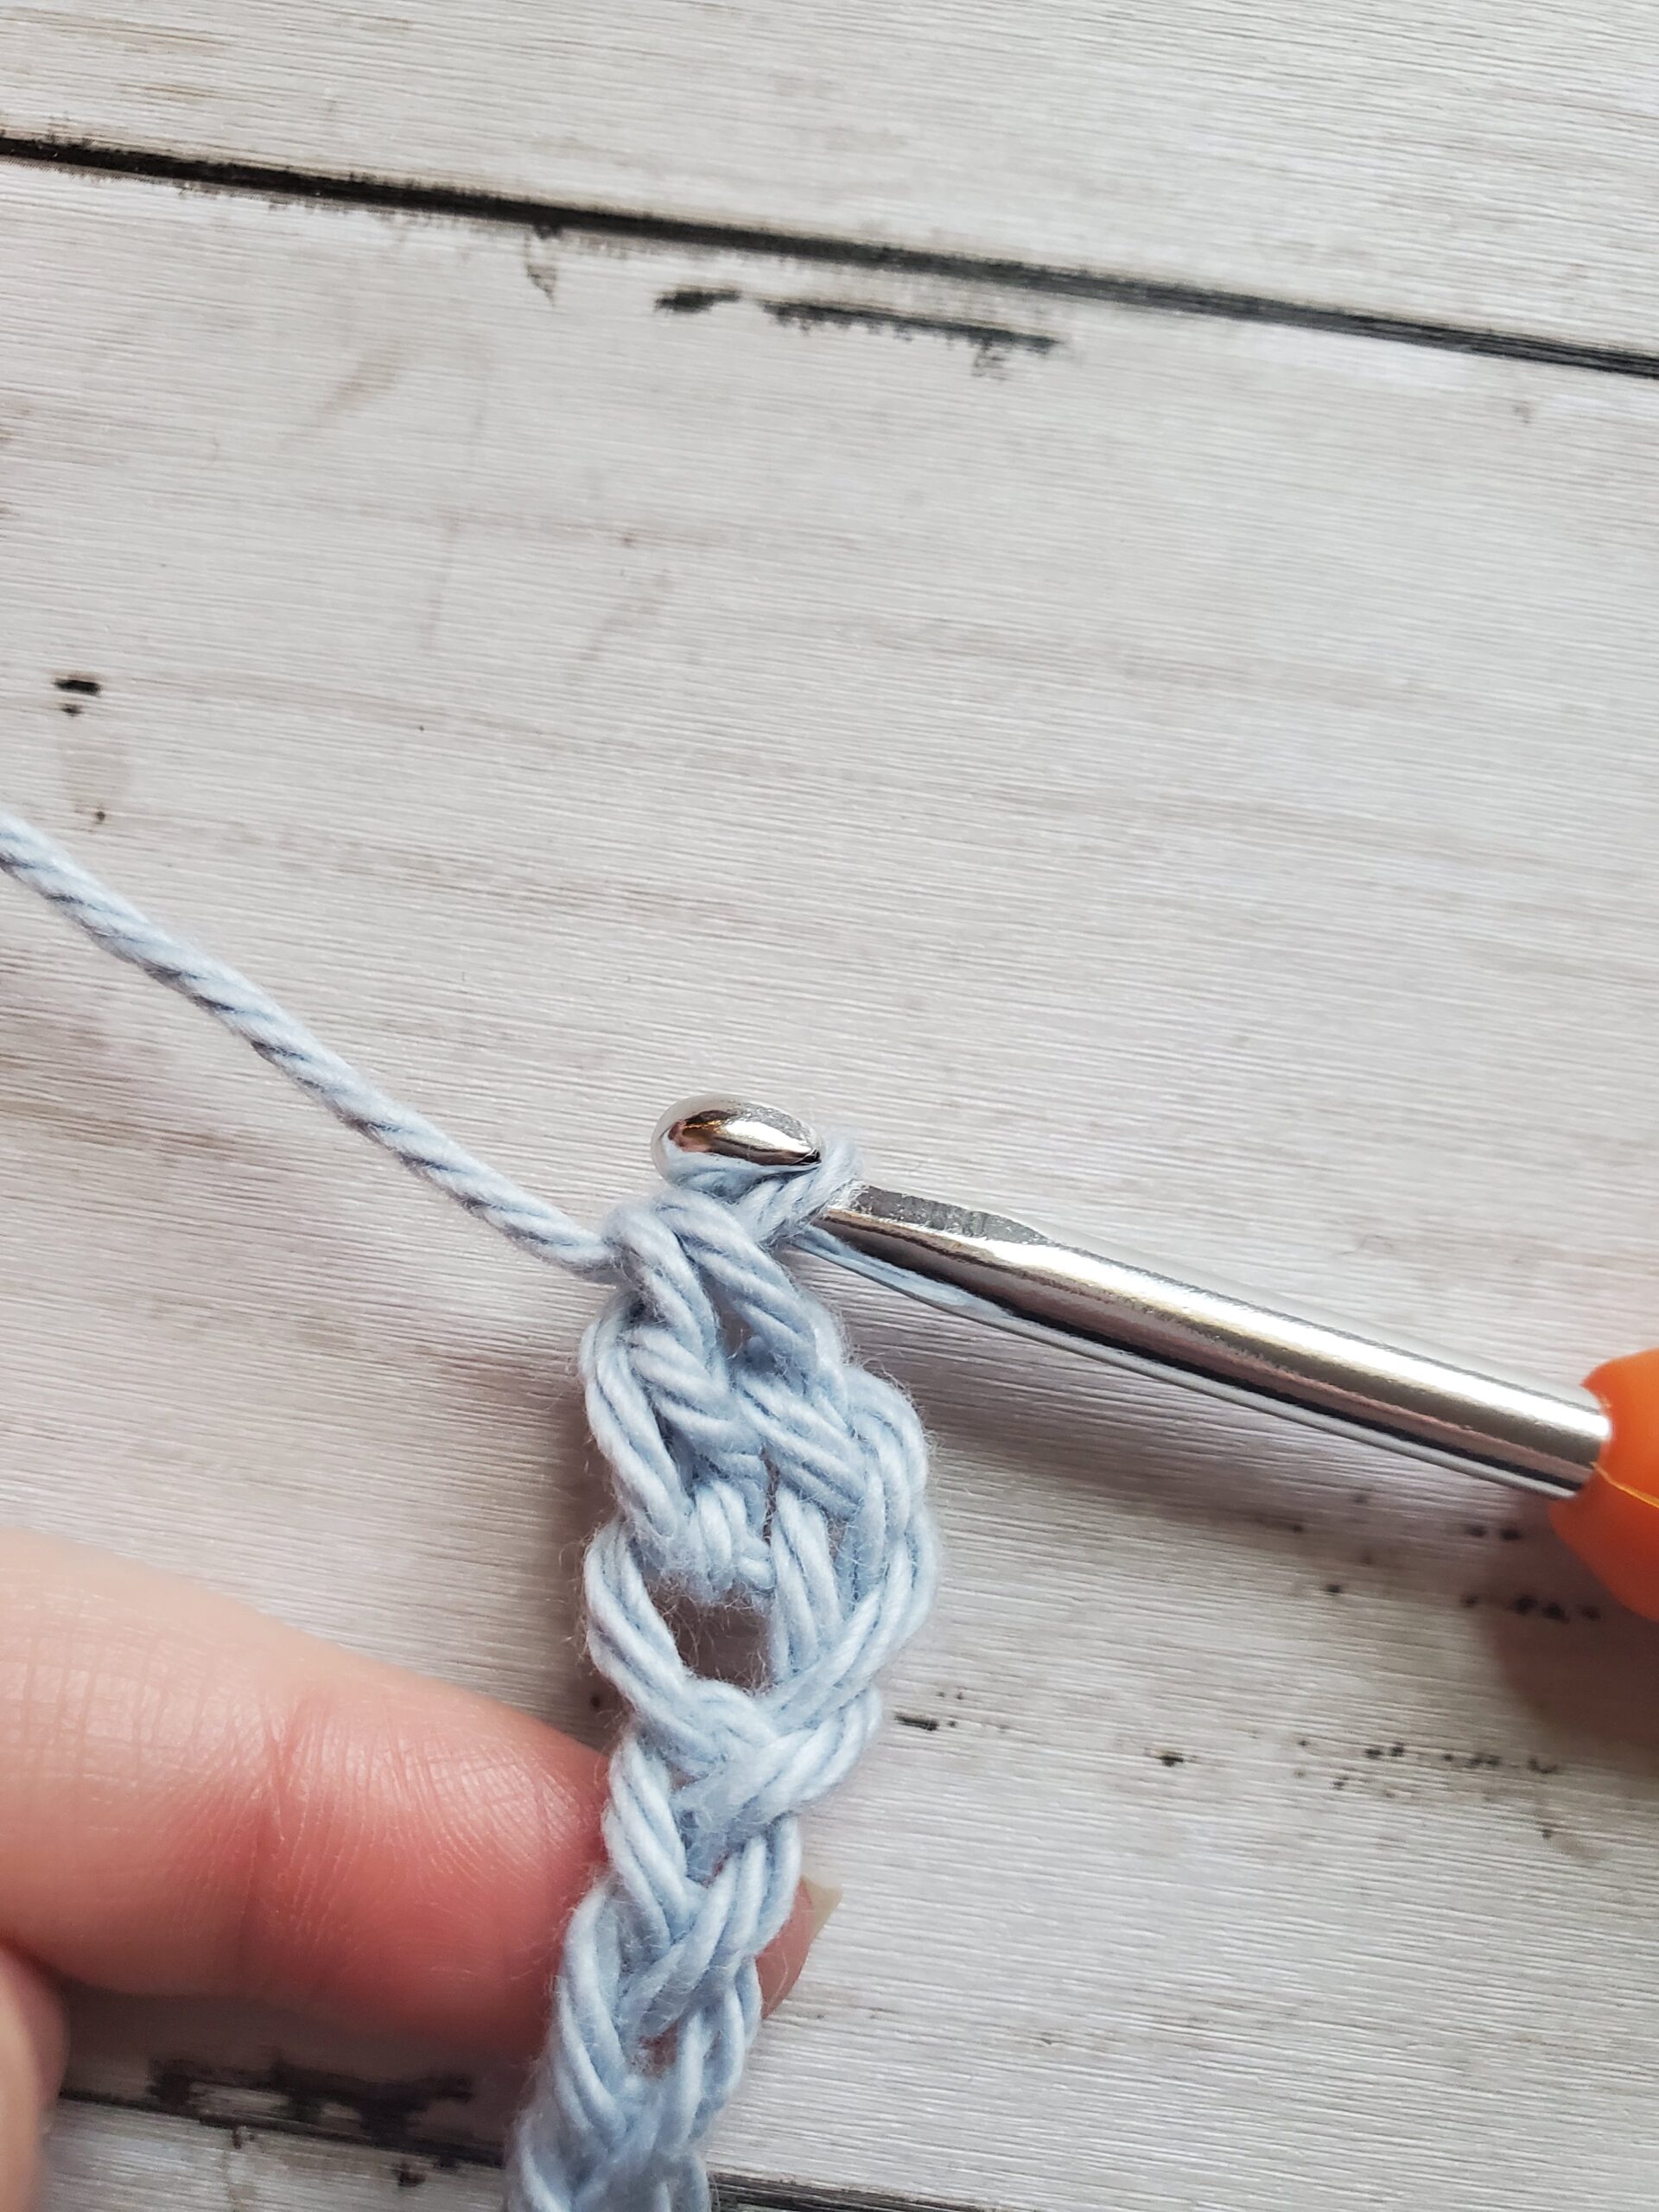
#11 Use taller stitches.

Try crocheting with double or even treble crochets if you’re having a difficult time seeing stitches with black yarn. It can be hard to identify stitches if using single or half double crochets. It may be easier for you to correlate/count the top of your stitches with the posts of the double or treble crochets.

#12 Choose the right pattern.

Not all patterns are suitable for black yarn, especially if they have tiny or subtle details. When choosing a pattern, look for designs with larger stitches or bold, graphic elements that will show up well in dark yarn.

With these 12 game-changing tips, you’re well on your way to mastering the art of crocheting with black yarn. Remember to take breaks, adjust your lighting and experiment with different textures and patterns to find what works best for you.

With practice and patience, you’ll be able to create beautiful, sophisticated projects that showcase the beauty and drama of black yarn. 

Thank you and happy crocheting! Until next time.

A Quick Start Guide on How to Crochet

New to crochet? Wondering where to start? Not sure what to do with that cool yarn you picked up at the store? Well, good news! We are going back to basics and learning how to crochet for beginners with this quick start guide.

What is Crochet?

According to Wikipedia, crochet is a method of creating textiles by using a crochet hook to interlock loops of yarn, thread or strands of other materials. 

What Can I Make with Crochet?

There are so many possibilities when it comes to making things with crochet! You can make almost anything out of crochet, but some of the most popular items include: 

  • Blankets
  • Hats and Headbands
  • Scarves
  • Sweaters and Tops
  • Socks
  • Market Bags
  • Toys (Amigurumi)
  • Doilies
  • Table Runners
  • Pillows
  • Tapestries/Wall Decorations

Not only do you get to choose the type of yarn and color combinations to make these items, you get the satisfaction of knowing that you made something by hand! How awesome is that?

Where to Start When Crocheting

If you haven’t already, visit your local craft or big box store (or check out online) and head to the yarn aisle. Pick out a yarn that you’re drawn to, and check out the label on your yarn. 

On the yarn label, it should have a recommended hook size that you should use when working with that yarn. It’ll probably have knitting needle sizes on there too, but disregard those recommendations. 

Crochet hooks should be nearby, grab the number hook your yarn label recommends. Most hooks are measured in millimeters, but some have letters. The most common hook size used is a H-8 or 5mm.

Grab a tapestry needle and some scissors as well. You’ll need the tapestry needle to hide any ends of your yarn that show after you’re done with your project.

Learn How to Hold Your Hook and Yarn

There’s a couple different ways you can hold your yarn and hook, but I would just hold your yarn and hook in a way that feels the most comfortable for you. 

It’s probably going to feel weird and clunky when you first try, that’s ok, just keep practicing. As you learn to crochet, you’ll learn how tight or loose (this is called tension) to make your stitches. Just remember to relax! 

How to Put Your Yarn on Your Crochet Hook

In order to start crocheting, you will have to attach the yarn to the hook with a slip knot.

How to Hold Your Yarn in Crochet
Hold your yarn in your non dominant hand.
Easy Way to Hold Yarn in Crochet
Hold the yarn with your middle, ring, and pinky finger, use your index finger to lift your yarn up.
Hand Placement for Crochet
Use your middle finger and thumb to pinch your slip kno so it's not super tight to chain through.

Crochet A Starting Chain (Ch)

Most crochet patterns will tell you how many chains to start with. This is usually abbreviated as ch.

To make your first chain, you need to grab your yarn with your crochet hook and pull it through the slip knot. This is called yarning over and pulling through. You might need to loosen up your slip knot if you find it difficult to get your hook through.

It’s important to relax and not make your chains super tight.

It’s really hard to get your hook into your tight chains when you go back over the top, plus your hands will most likely cramp. This part takes practice until you can get a consistent tension down. 

Stop after you’ve made the number of chains your pattern says or until you’re happy with the length.

Yarn Over in Crochet
Yarn over or grab your yarn with your crochet hook.
How to Make a Chain in Crochet
Pull the yarn through the loop on your hook. This is 1 chain (ch).
starting chain of 10 chains
Here is an example of a chain of 10.

Turning Your Work and Crocheting into the Starting Chain

Many patterns will tell you what kind of stitches to crochet into your starting chain. You’ll need to go back down or turn to crochet back into the chain. 

Let’s look at a couple of beginner stitches that will be useful for you.

Crocheting a Slip Stitch (Sl St)

A slip stitch, also abbreviated as sl st, is typically used to join your work or make very small stitches. 

Slip stitches aren’t usually used in the starting chain, as it can be difficult to crochet into such a small space, but you can practice a slip stitch into yours if you’d like.

Steps to Slip Stitch (sl st):

  • Insert your hook into the 2nd chain of your foundation chain, or into the stitch.
  • Grab your yarn with your crochet hook (yarn over), pull the yarn through your chain (or stitch). You will have what looks like two loops on your hook.
  • Pull the yarn all the way through or in other words, pull the loop closest to your hook through the second loop.
Insert Hook into Chain
Insert your hook into the 2nd chain (or next stitch).
Yarn Over
Yarn over.
Pull Yarn Through Chain
Pull the yarn all the way through the chain (first loop on your hook).
Finished Slip Stitch in Crochet
Finished slip stitch (sl st).
Foundation Row of Slip Stitches
Slip stitches (sl sts) down a foundation chain.

Crocheting a Single Crochet (Sc)

A single crochet, also abbreviated as sc, is a very common stitch used. I suggest practicing going down your starting chain with this stitch first. 

Single crochets are used for many projects and are typically the only stitch used if you’re making crochet toys (also called amigurumi).

They are a little taller than slip stitches, but shorter than double crochets.

Steps to single crochet (sc):

  • Insert your hook into the second chain from your crochet hook (or into the next stitch). Inserting it into the first chain doesn’t really work, you can try it if you want to see what I mean.
  • Grab your yarn with your crochet hook (yarn over), pull the yarn through the chain. You should have two loops on your hook.
  • Yarn over again and pull it through both loops on your hook. 
  • Move onto the next chain and practice another single crochet. Try not to single crochet in the same chain you just single crocheted into. 
Insert Crochet Hook into 2nd Chain
Insert your hook into the second chain or into the next stitch.
Yarning Over for Single Crochet
Yarn over.
Two Loops on Hook for Single Crochet
Pull through the chain, notice how I turn my hook upwards to prevent my yarn from slipping off.
Grab Yarn with Hook Again
Yarn over again and pull it through both the loops on your hook.
Completed Single Crochet in 2nd Chain
Completed single crochet in the second chain. Notice how the single crochet makes a larger hole in the foundation chain? Don't single crochet there, but in the next chain. The hole is the chain you just crocheted into.

Crocheting a Double Crochet (Dc)

A double crochet, also abbreviated as dc, is another common stitch used in many crochet patterns. 

Double crochets are much taller than single crochets. Patterns like blankets, will use this stitch to achieve the desired length or height quickly.

Steps to double crochet (dc):

  • Grab your yarn with your hook/wrap it around your hook (yarn over) then insert your hook into the third chain from your crochet hook. 
  • Yarn over again and pull it through your chain (you should have three loops on your hook).
  • Yarn over again and pull it through the first two loops on your hook (you should have two loops on your hook).
  • Yarn over again (yes I know), and pull it through the last two loops on your hook.
Yarning Over and Then Inserting Hook for Double Crochet
Yarn over and insert your hook into the third chain or into the next stitch.
Grabbing Yarn with Crochet Hook
Yarn over.
Pull Yarn Through First Loop for Double Crochet
Three loops on her hook.
Yarning Over 2nd Time
Yarn over again.
Pull Yarn Through First Two Loops
Pull the yarn through the first two loops on your hook. You have two loops on your hook now.
Yarn Over 3rd Time in Double Crochet
Yarn over once again and pull through both loops on your hook.
Completed Double Crochet in 3rd Chain
Completed double crochet in 3rd chain.
Double Crochet Foundation Row
Double crochets in foundation chain.
A Quick Start Guide on How to Crochet
Here's a comparison of the stitches we've covered in this post. Notice the differences in height.

Chaining and Turning Your Work Again

Once you reach the end of your starting chain with single or double crochets, you’ll need to keep building on top of your stitches. 

I find that chaining a number of chains first and then turning works better, but you can turn your work first and then chain if you prefer. 

Your pattern should tell you how many chains to chain, if you’re planning on single crocheting in the first stitch of your next row, chain 1.

If you’re planning on double crocheting in the first stitch of your next row, chain 3. 

Your pattern will also tell you whether or not your chains are going to be considered a stitch or not, this will determine which stitch you crochet into first. 

Single crochet or double crochet into your first stitch and every stitch down your row. 

Chain and turn your work again. Be sure to count your stitches as it’s easy to skip a stitch after turning your work.

Continue this way until you’ve reached the height you desire.

Chaining and Turning Crochet Work
Here I'm working on double crochets. I have chained 3 chains and have turned my work the opposite way.
Double Crochet Again in Row 2
This is what double crochets look like on the second row. I'm considering the chain 3 as a double crochet in this picture.

Finishing Your Crochet Project and Weaving in Yarn Ends

Once you’ve reached the length and height of your crochet project, leave a little length of yarn and cut it with your scissors.

Pull the rest of the yarn through with your crochet hook.

With your tapestry needle, thread your yarn through the eye of the needle and weave in and out through your stitches to hide the yarn. Make sure the yarn is weaved securely and cut off any excess.

Wrapping Up…

These are the basic steps you should take in order to learn how to crochet. Remember, grab your yarn and hook, make a starting chain, crochet back into the starting chain and build on top of your stitches, cut your yarn and weave in your ends.

As a beginner crocheter, I learned a lot from video tutorials (there’s tons out there). I would slow down the play back speed of any video tutorial if you find that they’re going to fast. 

Start small. Try out small, beginner projects first like a square coaster, dishcloth, or bracelets until you get a feel for what stitches look like and get better at crocheting.

Don’t be afraid to post questions online to other fellow crocheters if you’re not sure how to read a pattern or are stuck. r/crochet on Reddit is a fairly active and helpful source of crochet information.

Good luck and happy crocheting! 

Other Posts You May Like:

How to Change Color in Crochet the Right Way

In this post you will learn: How to change color the right way in crochet and how to change color with single, half double, double, and triple crochet stitches.

Hello everyone! Today we are going to learn how to change colors in crochet the right way! In one of my works in progress (WIP), I am needing to change between two different colors frequently, and I thought this would be a great learning opportunity for beginners.

Have you ever worked on a project that required you to attach a new colored yarn to complete it? Did you attach your new color, but notice as you crocheted along that your new color tended to look a little…off?

I am here to help! This technique of changing colors will keep your colored stitches straighter and much more uniform!

Why is this technique the right way?

This color change technique is better because it prevents your last color from “wandering” into your new one. 

Many crocheters will attempt a color change by inserting their hook into the next stitch, THEN attaching the new yarn and finishing the stitch.

There is nothing wrong with doing that, it just makes the top of the stitch have the previous colored yarn and the bottom of the stitch with the new.

This is what happens if you attach a new color the INCORRECT way:

Incorrect way to change colors
Incorrect!

Do you see how the stitch that needs the new color is half the cream colored yarn and half the brown colored yarn? We want to avoid this!

Below I will show you how to change colors with single, half double, double, and triple crochet stitches.

Color Change with Single Crochet:

(Please note these are US crochet terms used, not UK)

Step 1 of Color change technique
Step 1
Step 2 of Color Change
Step 2
Step 3 of color change technique crochet
Step 3

I have already made a starting chain and single crocheted back into those chains prior to step 1.

Step 1 – Stop yourself two stitches BEFORE the needed color change. The arrow indicates the stitch that needs the new color. 

Step 2 – Single crochet as per usual into the next stitch, but DO NOT finish all the way. Keep those two loops on your hook.

Step 3 – Loop your new color onto your hook and pull it through both of the loops. I found that this was a little tricky when I was a beginner crocheter. Just try to keep tension on the new color and your previous color the best you can so it’s not super loose.

Step 4 of color change technique
Step 4
Step 5 of color change
Step 5

Step 4 – Single crochet into the next stitch with your new color.

Step 5 – Finished row of color change.

You can also use this technique if you are needing to start a whole new row with a color. 

In the LAST stitch of the row (before turning and chaining) do Steps 2-4 and chain however many chains you need for your stitch height with your new color, continue with the next row with your new color. 

Color Change with Half Double Crochet:

Step 1 of half double color change
Step 1
Step 2 of half double color change
Step 2
Step 3 of half double color change
Step 3

Step 1 – In the stitch before the needed color change, start your half double crochet stitch, but don’t finish it (yarn over, insert hook into next stitch). You should have 3 loops on your hook.

Step 2 – Loop your new colored yarn onto your hook and pull through all 3 loops. Do your best to keep your tension!

Step 3 – Continue half double crocheting with your new color!

Color Change with Double Crochet:

Step 1 of double crochet color change
Step 1
Step 2 of double crochet color change
Step 2

Step 1 – In the stitch before the needed color change, make a double crochet but don’t finish it! You will have 2 loops on your hook.

Step 2 – Attach your new colored yarn and pull through both loops. Continue double crocheting across.

How to Color Change with Triple Crochet:

Start your triple crochet
Step 1
Pull through 2 loops
Step 2
Attach yarn at top of triple crochet stitch
Step 3

Steps 1-2 – In the stitch before the needed color change, make your triple crochet. Yarn over twice (step 1), insert hook into next stitch, yarn over (4 loops on your hooks), pull through 2 loops (step 2/ 3 loops on your hook), yarn over pull through 2 loops again (2 loops on your hook).

Step 3 – Attach new colored yarn by looping it onto your hook

pull yarn through triple crochet
Step 4
Triple Crochet color change
Step 5

Step 4 – Pull new yarn through both loops

Step 5 – Continue triple crocheting across.


What if I want to start a whole row with a new color, not just in the middle?

There are actually a few ways you can do this! You can either, A) Cut your yarn at the end of your row, attach a new yarn to your hook via a slip knot and make a standing stitch. Or B) Follow the steps above in the last stitch of your row to attach your new colored yarn. Chain one (or however many you need for your stitch height) with your new color and continue crocheting.

Whichever one you choose will be up to you and I think depends on what your project is. If your project uses many different colors, option A) might be better. If you’re only using two colors option B) would be ideal.

So to recap: You want to color change with this technique if you want your colors to be nice and straight. Essentially, you will make whatever stitch you are using, and before the last pull through of that stitch, attach your new color, THEN pull through to finish it.

Thank you for reading, and as always…happy crocheting!

How to Crochet a Beanie of Any Size

It’s super easy to crochet the perfectly sized beanie or hat! All you need is the measurement of the head circumference and you’re golden! 

Well, there’s a little more to it, but I promise, it’s not as bad as you might think. I’ll provide the formulas for you, so there’s little room for error.

If you’re not sure what the head circumference is of the person you’re crocheting your beanie for, I have an average of measurements listed below that you can use. 

Supplies you’ll need:

  • Your choice of yarn
  • Crochet hook 
  • Measuring tape
  • Tapestry needle to sew your ends
Crown
Height
Circumference

In order to get:

Crown width – Take your circumference and divide that number by pi (3.14).

Hat height – Take your circumference divided by 10 and multiply by 4.

Circumference -Take a measuring tape and measure around your head above the ears. I like to subtract an inch or so off of this measurement so the beanie sits snugly (especially if your are crocheting with stretchy/squishy yarn)

So in the picture above, the circumference for this hat is about 16 inches. In order for me to get the crown width, I took 16/3.14 which is right about 5. So 5 inches for the width. 

To know how long to crochet my hat (the hat height), I took 16/10 x 4. So 16 divided by 10 is 1.6. Take 1.6 times 4 and you get 6.4. 6.4 inches is how long I want my hat to be in order for the proportions to be correct.

You can use this chart below to see average measurements per age.

Happy crocheting! 

Make a Magic Circle for Crochet (Magic Ring)

Finished magic circle on crochet hook

In this post I will show you in 11 steps with pictures, how to make a magic circle for crochet.

Making a magic circle, or interchangeably, magic ring, is one of the best ways to set yourself up for success if you want to crochet amigurumi or any projects that require you to crochet in a round.

You may have seen some patterns say something along the lines of like x number of sc in a mc. The “mc” stands for magic circle. 

So what makes this magic circle so magical? The magic circle, when pulled tightly, makes a less noticeable hole than if you were to make a slip knot, chain 2 and crochet in the first stitch. Magic circles are also a lot less likely than the previous method, to unravel from the beginning.11

First step of magic circle
Picture 1
Pulling yarn behind two fingers
Picture 2
Pulling yarn up and over two fingers
Picture 3

Step 1)

With the tail end of your yarn, pull it through between your middle and ring finger (see picture 1).

Step 2)

Pretend to make “gun” fingers with your left hand. Grip your yarn with your ring and pinky finger (to keep tension), while you move the tail end behind your pointer and middle finger (see picture 2).

Step 3) 

Take the tail and and go up and over your pointer and middle finger (see picture 3).

Pulling yarn around two fingers again
Picture 4
Finished step of pulling yarn around two fingers twice
Picture 5
Showing where to grab yarn to hold in place for magic circle
Picture 6

Step 4)

Repeat step 3 by going behind your pointer/middle fingers with the tail end and go up and over (see pictures 4 and 5).

Step 5)

Pinch your yarn with your thumb to hold in place (picture 6) and turn your hand knuckle-side up (picture 7).

Top view of turned hand while holding yarn in place
Picture 7
Inserting crochet hook under and over strands of yarn
Picture 8
Grabbing the second yarn strand with crochet hook
Picture 9

Step 6)

Grab your crochet hook with your right hand. Go underneath the first yarn and grab the second yarn with your hook (see pictures 8 and 9).

Step 7)

With that yarn still hooked, pull your second yarn underneath the first yarn (picture 10).

Step 8)

Carefully turn your hook up, while continuing to keep that yarn in place (picture 11). 

Pulling the second strand of yarn underneath the first strand
Picture 10
Picture of crochet hook turned upwards while yarn is still hooked
Picture 11
Depiction of yarning over to complete magic circle
Picture 12

Step 9)

Now, this is where it can get tricky. Essentially, “yarn over” to grab the same, second strand of yarn you grabbed before. If that makes sense (see picture 12) and pull it through (see picture 13). 

*Protip! Try not to keep your yarn super tight during step 9. When you attempt to pull it through, it’ll be very, very difficult to do. So try to keep it a tad loose.

Step 10)

???

Step 11)

Profit (see pictures 14a. and 14b.).

Picture of pulling the yarned over strand through
Picture 13
Loose magic circle
Picture 14a.
Magic circle complete with crochet hook
Picture 14b.

Don’t worry too much if you mess up. I had a difficult time trying to keep my yarn and hands coordinated the first couple of tries when I first started. It just takes practice! 

Congratulations and happy crocheting! 

How to Make a Slip Knot for Crocheting

If you’re new to crochet, you’ll need to know how to make a slip knot. It’s literally the very first step to crochet. You need them so that your yarn doesn’t slip off the crochet hook. 

You might notice that many crochet patterns skip mentioning this step! This is because it’s assumed that you already know how to do it! What in the world, right!?

In this post, you will find a step by step guide on how to make a slip knot so you can start crocheting!

Step 1 of slip knot

Step 1) Lay your yarn in a straight line

Start making a loop

Step 2) Start making a loop

Finished loop

Step 3) Finish the loop

Step showing where to grab your yarn for step 4

Step 4) Pinch the very top of the loop with your thumb and index finger

Tucked yarn tail behind loop

Step 5) Tuck the tail end behind the loop and set back down flat

Crochet hook inserted under yarn tail

Step 6) Insert your hook underneath the tail (but over the loop)

Beginning process of where to grab yarn to finish slip knot

Step 7) Pinch the tail end and the top of your yarn

Pull yarn tight

Step 8) Pull your crochet hook up with your right hand while keeping your yarn anchored down with the left

Last step of slip knot

Step 9) Tighten your slip knot by pulling on both ends of your yarn

Slip knot for crocheting

Ta da! You made your slip knot.

The slip knot is a necessary first step in crochet (aside from getting a crochet hook and yarn of course!).

I hope that you found this guide helpful on how to make a slip knot on a crochet hook.

Don’t forget to follow me on Instagram for more crochet how to’s and free patterns! You can find me @strommercrafts.

Until next time!