Hello everyone, today I have a free crochet baby blanket pattern for you. This is the Magic Mirror blanket, made with self striping yarn from Lion Brand! The line is called Mandala in the Warlock color.
This is my first time using a self striping yarn (also known as a cake), and I’m pleasantly surprised with how the stripes lined up! I had to name this blanket something magical…the yarn is called Warlock of course! I think that the way the squares around the center are made reminded me of a colorful mirror.
It’s also really nice that you don’t have to cut your yarn and add new colors every couple of rows with self striping yarn.
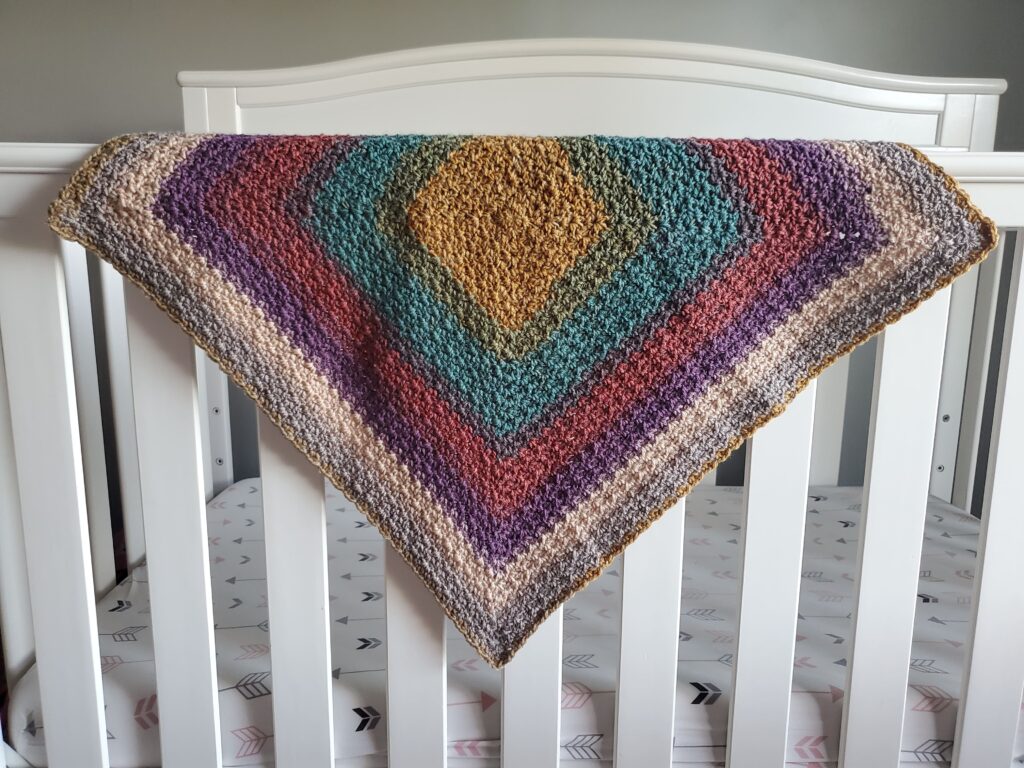
I’m using one ball of Lion Brand’s Mandala in Warlock for this pattern. It’s a little bit smaller than a typical crochet baby blanket, but it’s great for using as a blanket for your baby in a car seat or stroller, or even for those little preemie babies (if the nurses will let you bring it in the NICU).
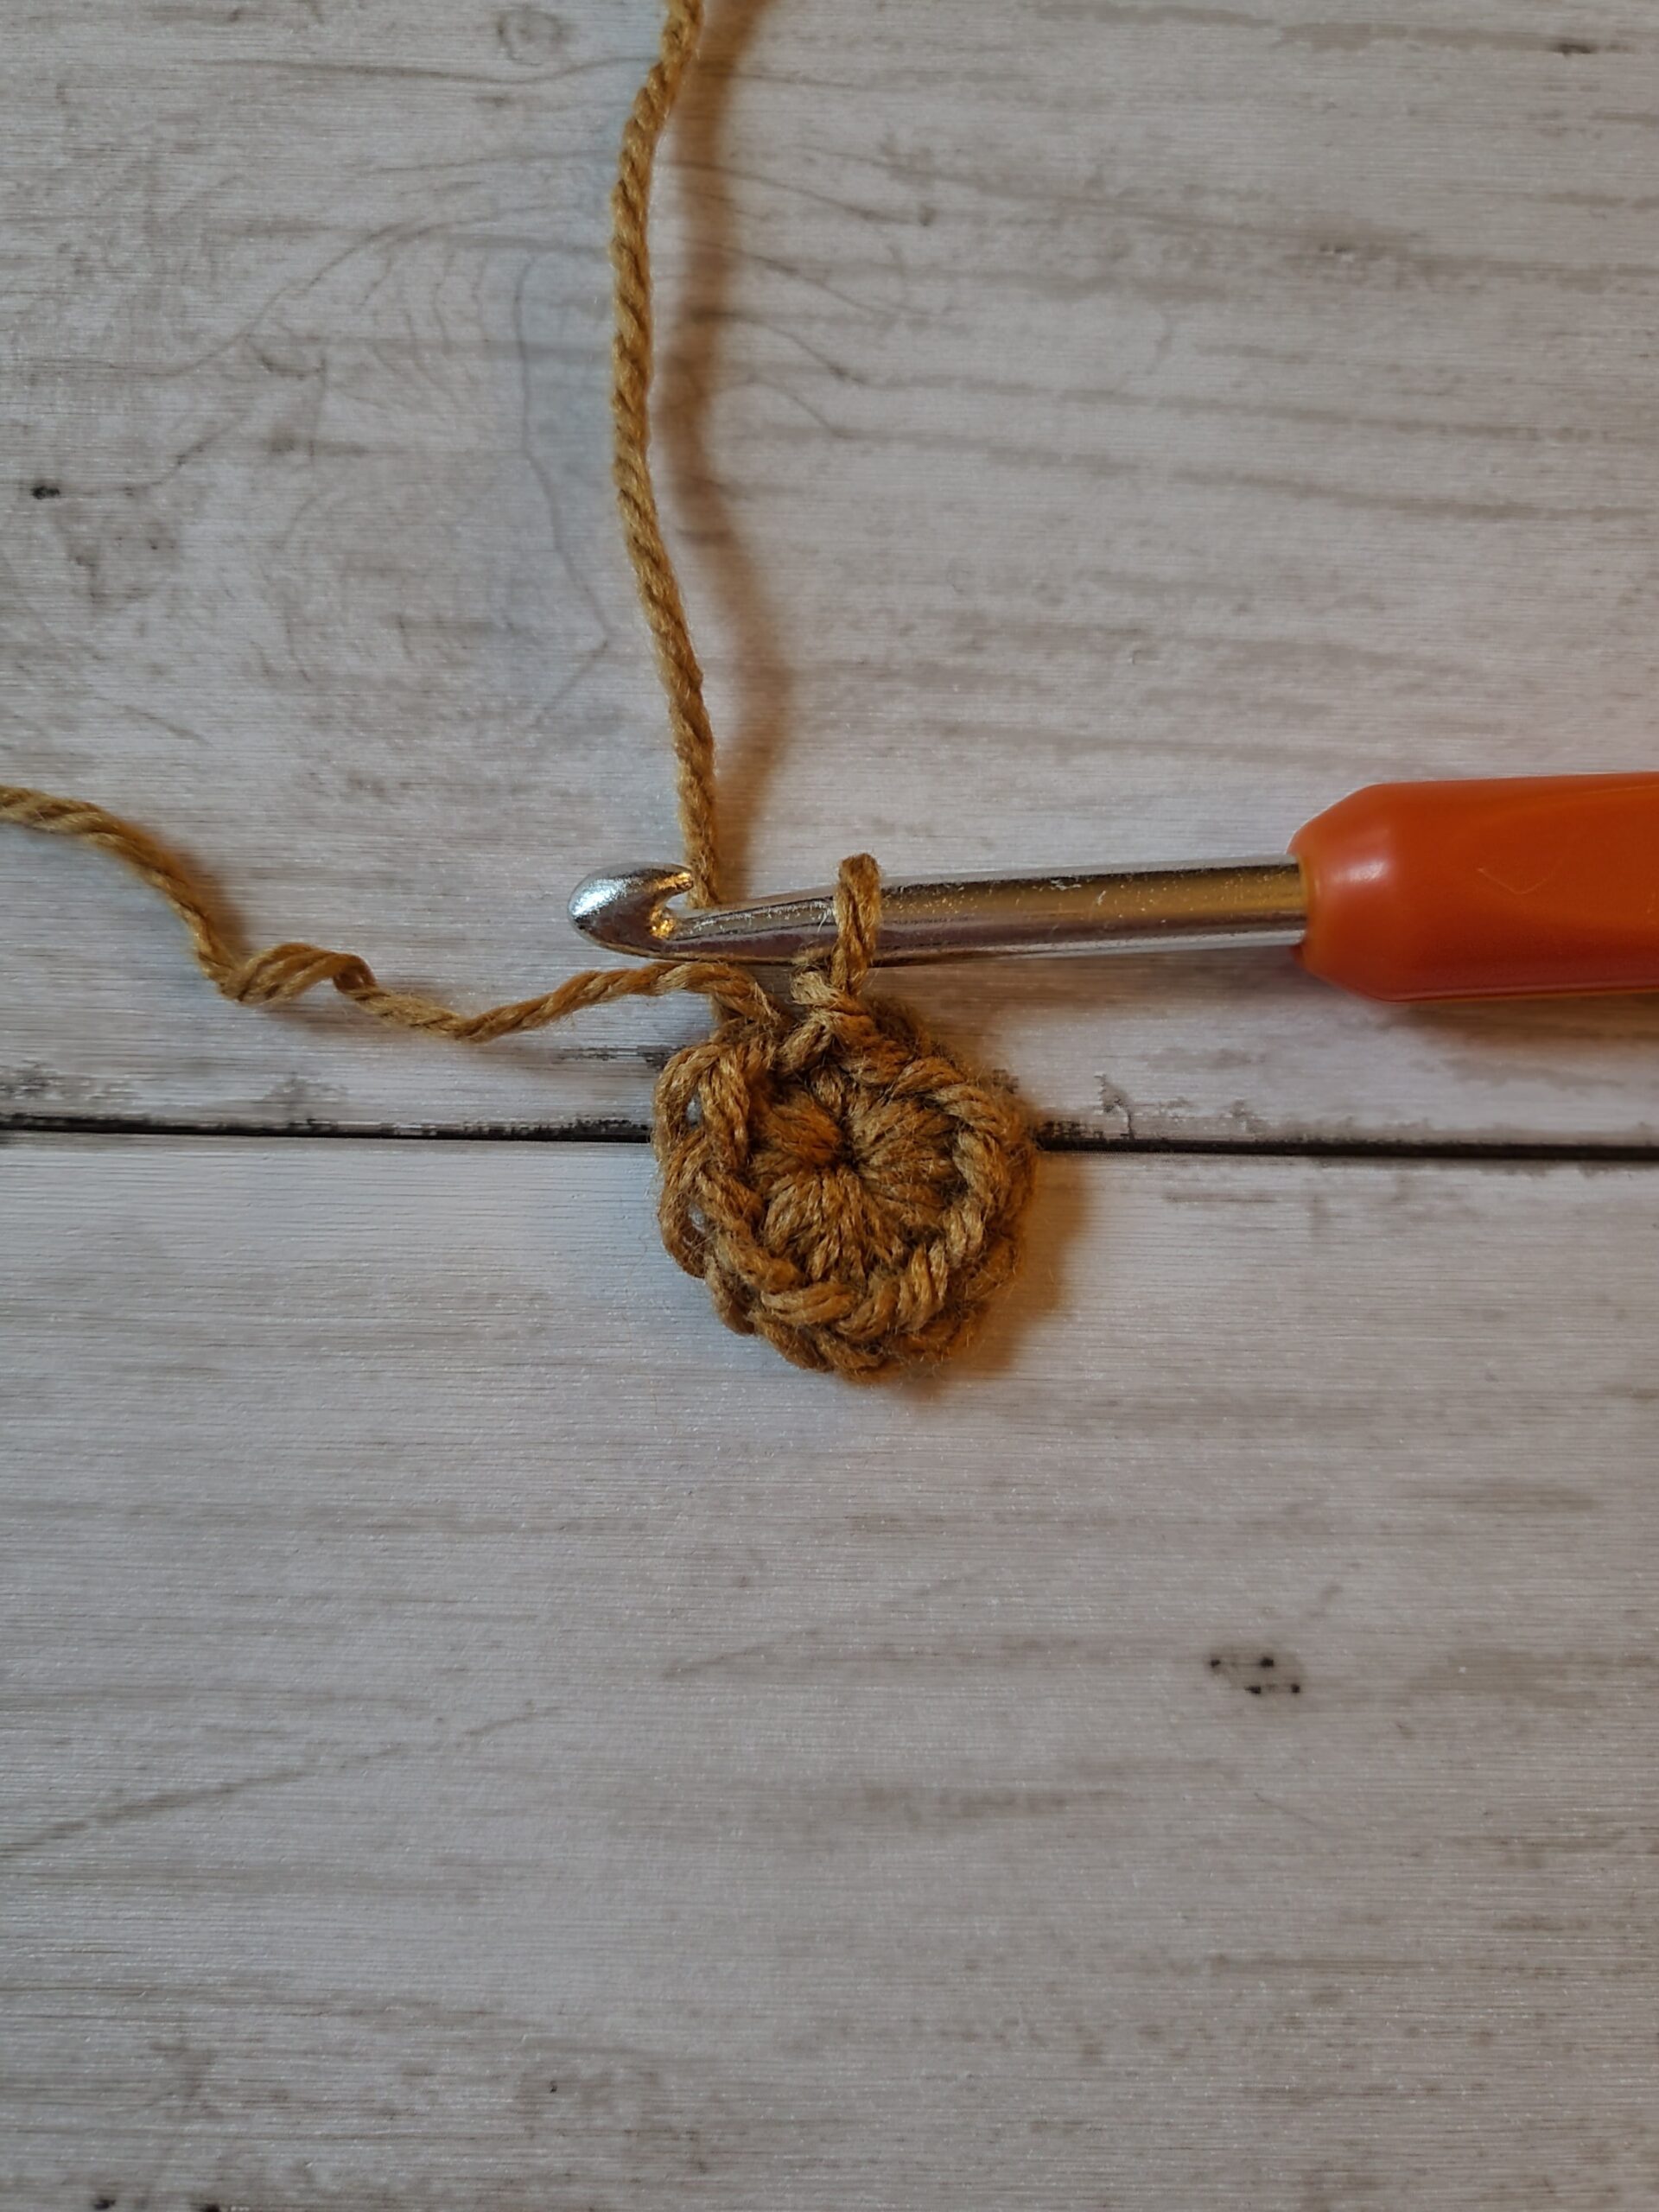
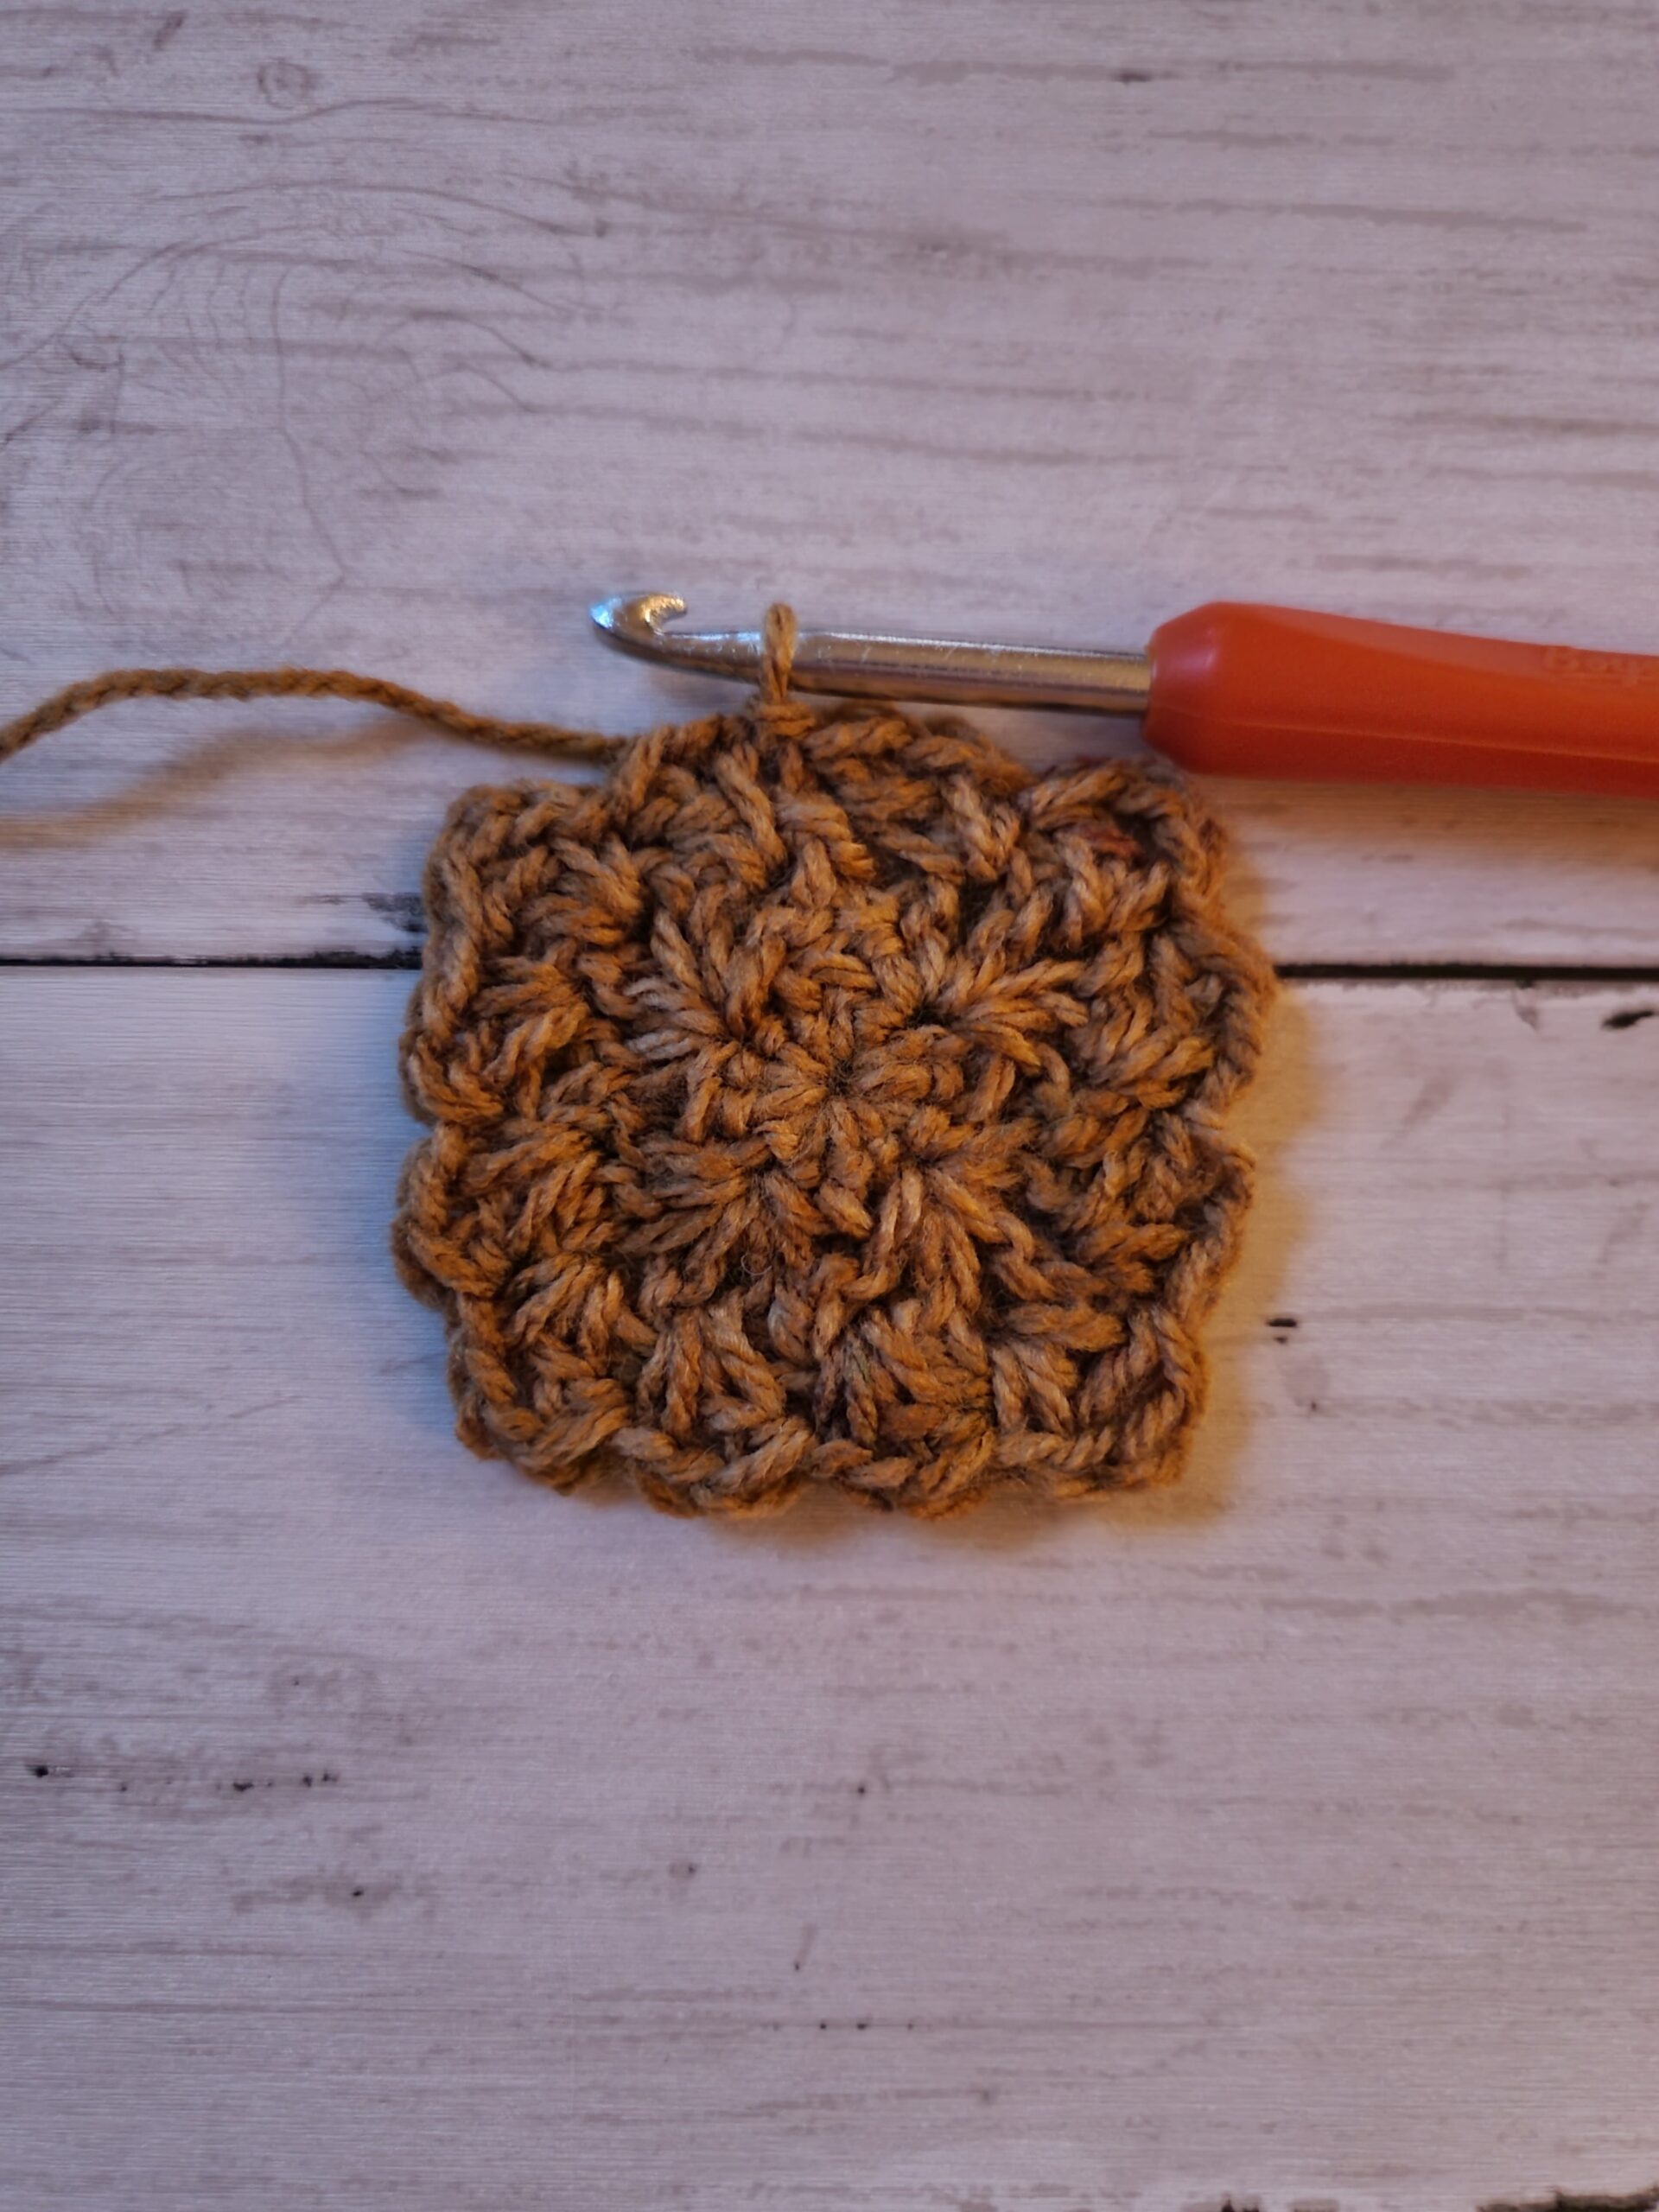
I’ve created this blanket from the center out. I prefer center out crochet when I’m not sure how big my blanket will be, this helps me keep a nice, even square shape no matter what round I need to stop. I’m using a magic circle (magic ring) to start, but you can easily ch 2 and crochet into the first ch instead.
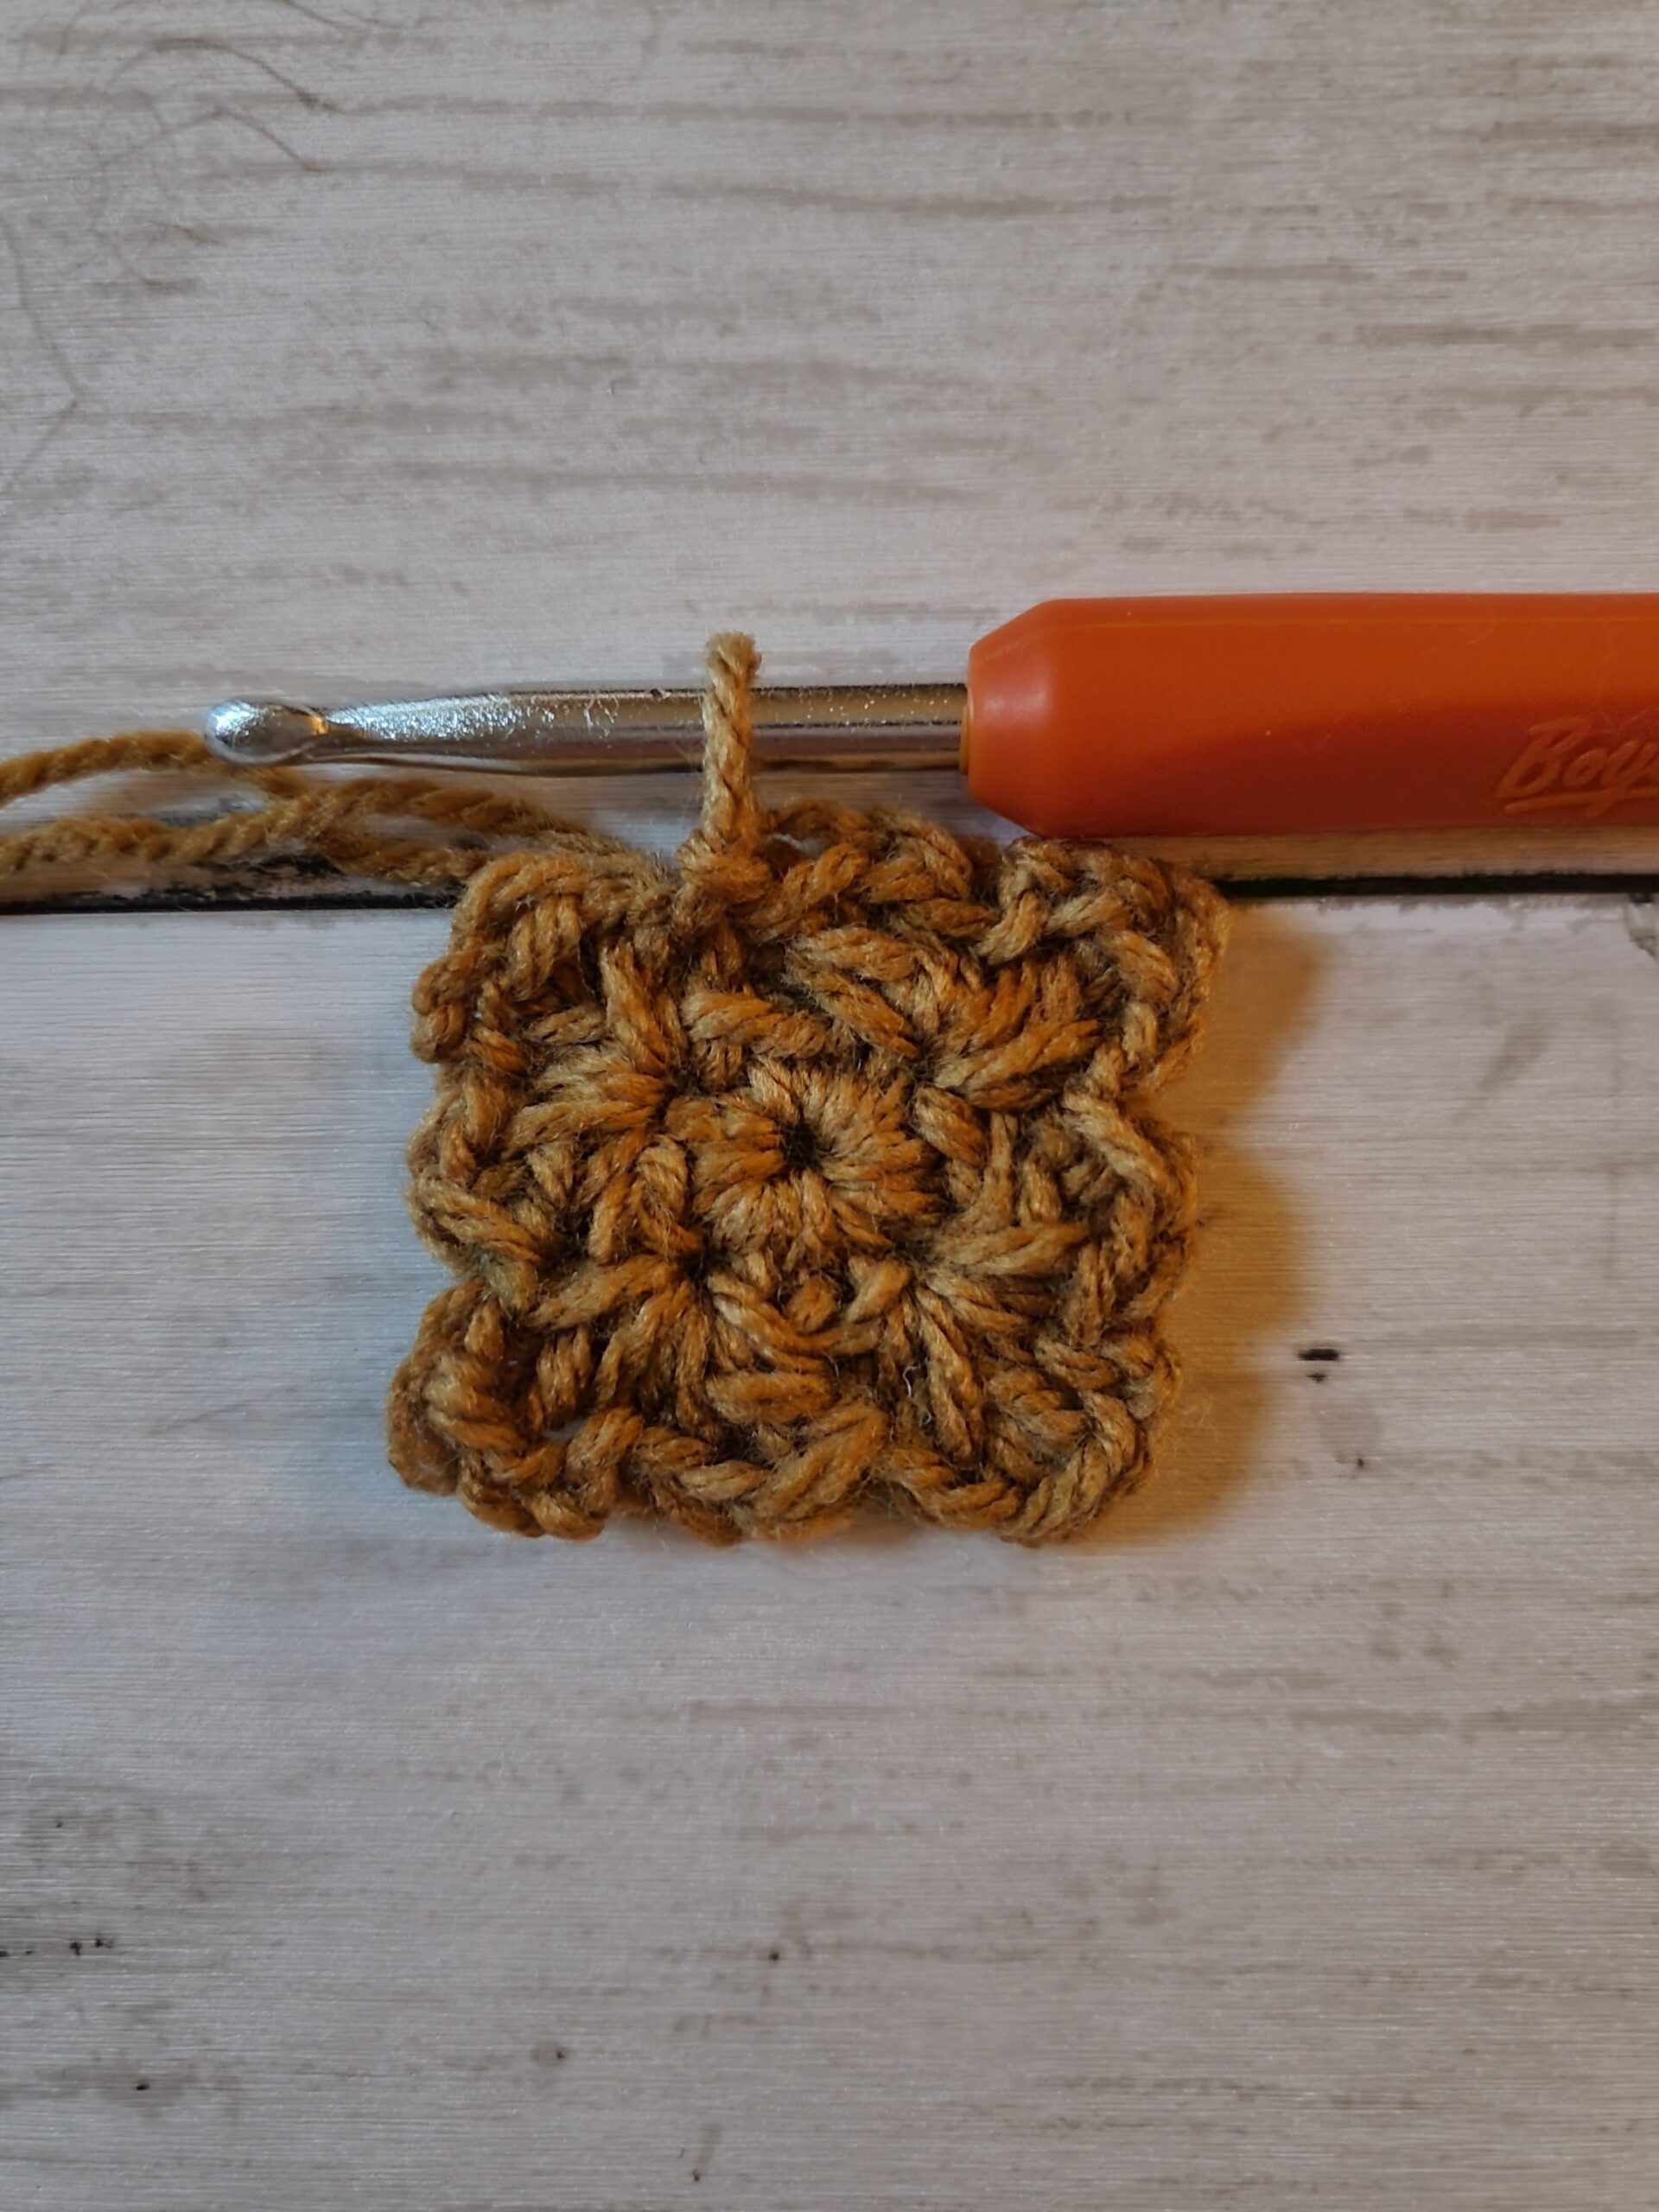
I’m using a stitch called the Wattle Stitch. The stitch is simple once you get started, it is composed of a (sc, ch 1, dc) in the same stitch, then skipping 2 sts or skipping to reach the next chain space.
This crochet baby blanket took me about 2-3 days of inconsistent crocheting to complete.
Please note that some of these links may be affiliate links. That means that if you click on these links and make a purchase, I may receive a commission at no extra cost to you. You can find more information about our disclosure policy here. Thank you for your support.
The starting ch 1’s in each row do not count as a stitch.
We will be turning after finishing each row, this gives the wattle stitch a great looking texture.
How the corners are crocheted will alternate rounds. So round 2, 4, 6, 8 etc. will have the same type of corner and rounds 3, 5, 7, 9, etc. will have the same type or corner. I found that using wattle stitches to increase in the corners every round made it wave too much. I suspect it is from having too many stitches in the corners, so alternating made the blanket lay flat.
Magic Mirror Crochet Baby Blanket
Round 1: 12 sc in mc (alternatively you can ch 2 and sc in first ch), sl st to first sc
Round 2: ch 1 (does not count as st), *(sc, ch 1, dc, ch 2, sc, ch 1, dc) in same st, skip 2 sts* repeat from *to* around, sl st to first sc. As a helpful reminder, the series of (sc, ch 1, dc) is the Wattle Stitch.
Round 3: turn, sl st into next st, sl st again into ch 1 space, ch 1, (sc, ch 1, dc) in same ch 1 space, *skip next st, (sc, ch 2, dc) in ch 2 space, skip next st, (sc, ch 1, dc) in next ch 1 space, skip next 2 sts, (sc, ch 1, dc) in next ch 1 space* repeat from *to* around until last ch 2 space, (sc, ch 2, dc) in ch 2 space, skip a st, (sc, ch 1, dc) in last ch 1 space, sl st to first sc.
Round 4: turn, sl st into next st, sl st again into ch 1 space, ch 1, *(sc, ch 1, dc) in ch 1 space, skip next 2 sts, (sc, ch 1, dc, ch 2, sc, ch 1, dc) in same ch 2 space, skip next 2 sts (sc, ch 1, dc) in next ch 1 space, skip next 2 sts* repeat from *to* around until last ch 2 space, (sc, ch 1, dc, ch 2, sc, ch 1, dc) in ch 2 space, skip 2 sts, (sc, ch 1, dc) in last ch 1 space, sl st to first sc.
Round 5: turn, sl st into next st, sl st again into ch 1 space, ch 1, (sc, ch 1, dc) in same ch 1 space, skip 2 sts, (sc, ch 1, dc) in next ch 1 space, *skip next st, (sc, ch 2, dc) in ch 2 space, skip next st, [(sc, ch 1, dc) in next ch 1 space, skip 2 sts x3 times], skip 2 sts, (sc, ch 1, dc) in next ch 1 space* repeat from *to* until last ch 2 space, (sc, ch 2, dc) in ch 2 space, skip a st, (sc, ch 1, dc) in next ch 1 space, skip 2 sts, (sc, ch 1, dc) in last ch 1 space, sl st to first sc.
Round 6: turn, sl st into next st, sl st again into ch 1 space, ch 1, (sc, ch 1, dc) in same ch 1 space, skip 2 sts, *(sc, ch 1, dc, ch 2, sc, ch 1, dc) in next ch 2 space, skip 2 sts, [(sc, ch 1, dc) in next ch 1 space, skip 2 sts x4 times]* repeat from *to* until last ch 2 space, (sc, ch 1, dc, ch 2, sc, ch 1, dc) in ch 2 space, [skip 2 sts, (sc, ch 1, dc) in next ch 1 space x2 times], sl st to first sc.
At this point, hopefully you have the hang of how we are increasing our square with the wattle stitch, I’m going to refine how I describe the following rounds.
Round 7: turn, sl st into next st, sl st again into ch 1 space, ch 1, [(sc, ch 1, dc) in same ch 1 space, skip 2 sts until next ch 2 space], *(sc, ch 2, dc) in ch 2 space, [skip st(s) until next ch 1 space, (sc, ch 1, dc) in ch 1 space until next ch 2 space]* repeat from *to* around until last ch 2 space, (sc, ch 2, dc) in ch 2 space, (sc, ch 1, dc) in ch 1 space until last ch 1 space, sl st to first sc
Round 8: turn, sl st into next st, sl st again into ch 1 space, ch 1, wattle stitch, aka (sc, ch 1, dc) until the first ch 2 space, (sc, ch 1, dc, ch 2, sc, ch 1, dc) in ch 2 space, wattle stitch around, make the (sc, ch 1, dc, ch 2, sc, ch 1, dc) for your ch 2 corners, sl st to first sc.
Round 9: turn, sl st into next st, sl st again into ch 1 space, ch 1, wattle stitch until the first ch 2 space, (sc, ch 2, dc) in ch 2 corner space, wattle stitch around, make the (sc, ch 2, dc) for your ch 2 corners, sl st to first sc
Round 10: repeat round 8
Round 11: repeat round 9
Continuing like this, make your wattle stitches in the ch 1 spaces, increase in the corners by alternating rounds between the (sc, ch 1, dc, ch 2, sc, ch 1, dc) and the (sc, ch 2, dc). Sl st to the beginning of the round and turn.
After completing the last round, sl st to first st, cut yarn with scissors, pull through and weave in your end.
And there’s your Magic Mirror Crochet Baby Blanket! I hope you found this free crochet pattern useful. I really love the jewel tones in this blanket and the way the stripes lined up.
Did you make this pattern? Let me know on Instagram @strommercrafts!
This post was all about how to make the Magic Mirror Crochet Baby Blanket Pattern.


Leave a Reply
You must be logged in to post a comment.