Absolutely Lovely Crochet Lace Edging
Hello everyone, today I have an Absolutely Lovely Crochet Lace Edging pattern to share with you.
This pattern is very similar to the border I used for my Crochet Animal Crossing Doily, but I’ve tweaked it just a little to make it slightly better I think.
I was inspired to create my very own crochet lace edging after hours of searching for the perfect pattern for my own project. I think this pattern works up amazingly, it’s got a nice scalloped edge with pretty, little picots.
You can use this crochet lace pattern as a way to decorate or adorn things like dresses, skirts, tablecloths, blankets, or scarves. I’ve even seen people use these to line woven baskets or jars. Really anything you can think of that you want to make look pretty!
Related Posts:
- 31 Crochet Lace Edgings to Try for Your Next Project
- 37 Crochet Lace Square Patterns
- 13 Beautifully Gothic Crochet Doilies
Feel free to use any crochet yarn and hook you’d like, however if you want to make crochet lace, I suggest using crochet thread and a corresponding hook. I’m using size 10 crochet thread and a 1.65 mm crochet hook to make this beautiful pattern.
I’ve made a diagram for this pattern as well. I think the diagrams are super helpful to use as a reference. I’m still trying to get used to making them and they aren’t always perfect but I think you’ll get the idea!
I also highly suggest blocking this pattern and really anything that you crochet as lace. You can get the edging wet and then stretch and pin it onto a blocking board or a piece of cardboard.
Please note that some of these links may be affiliate links. That means that if you click on these links and make a purchase, I may receive a commission at no extra cost to you. You can find more information about our disclosure policy here. Thank you for your support.
Here are some different colors of thread I used for my edging. I like to use the classic white thread, but black can make any piece look instantly more beautiful and gothic-like. The other colors are a lot of fun too.
Alright let’s go ahead and check out the pattern below!
Materials Used:
- 1.65 mm Crochet Hook
- Red Heart Classic Crochet Thread Size 10 in White
- Red Heart Classic Crochet Thread Size 10 in Black
- Artiste Cotton Crochet Thread Size 10 in Currant
- Artiste Cotton Crochet Thread Size 10 in Snow Pea
- Artiste Cotton Crochet Thread Size 10 in Emerald
- Artiste Cotton Crochet Thread Size 10 in Papaya
- Tapestry Needle
- Scissors
- Blocking Board
- Pins
Abbreviations Used:
- St – stitch
- Ch – chain
- Sc – single crochet
- Dc – double crochet
Special Stitches:
- X Stitch – skip 2 sts, dc into next, ch 1, going backwards/behind the dc just made, skip a st and dc into the next. This makes the two double crochet cross each other.
- 3dc Cluster – make a double crochet in the designated st, but don’t finish it, make 2 more double crochet without finishing them. You should have 4 loops on your hook at this point, pull through all 4 loops.
- 3ch Picot – ch 3, slip stitch into the top of the previously made st (in this pattern it will be the top of the 3dc cluster)
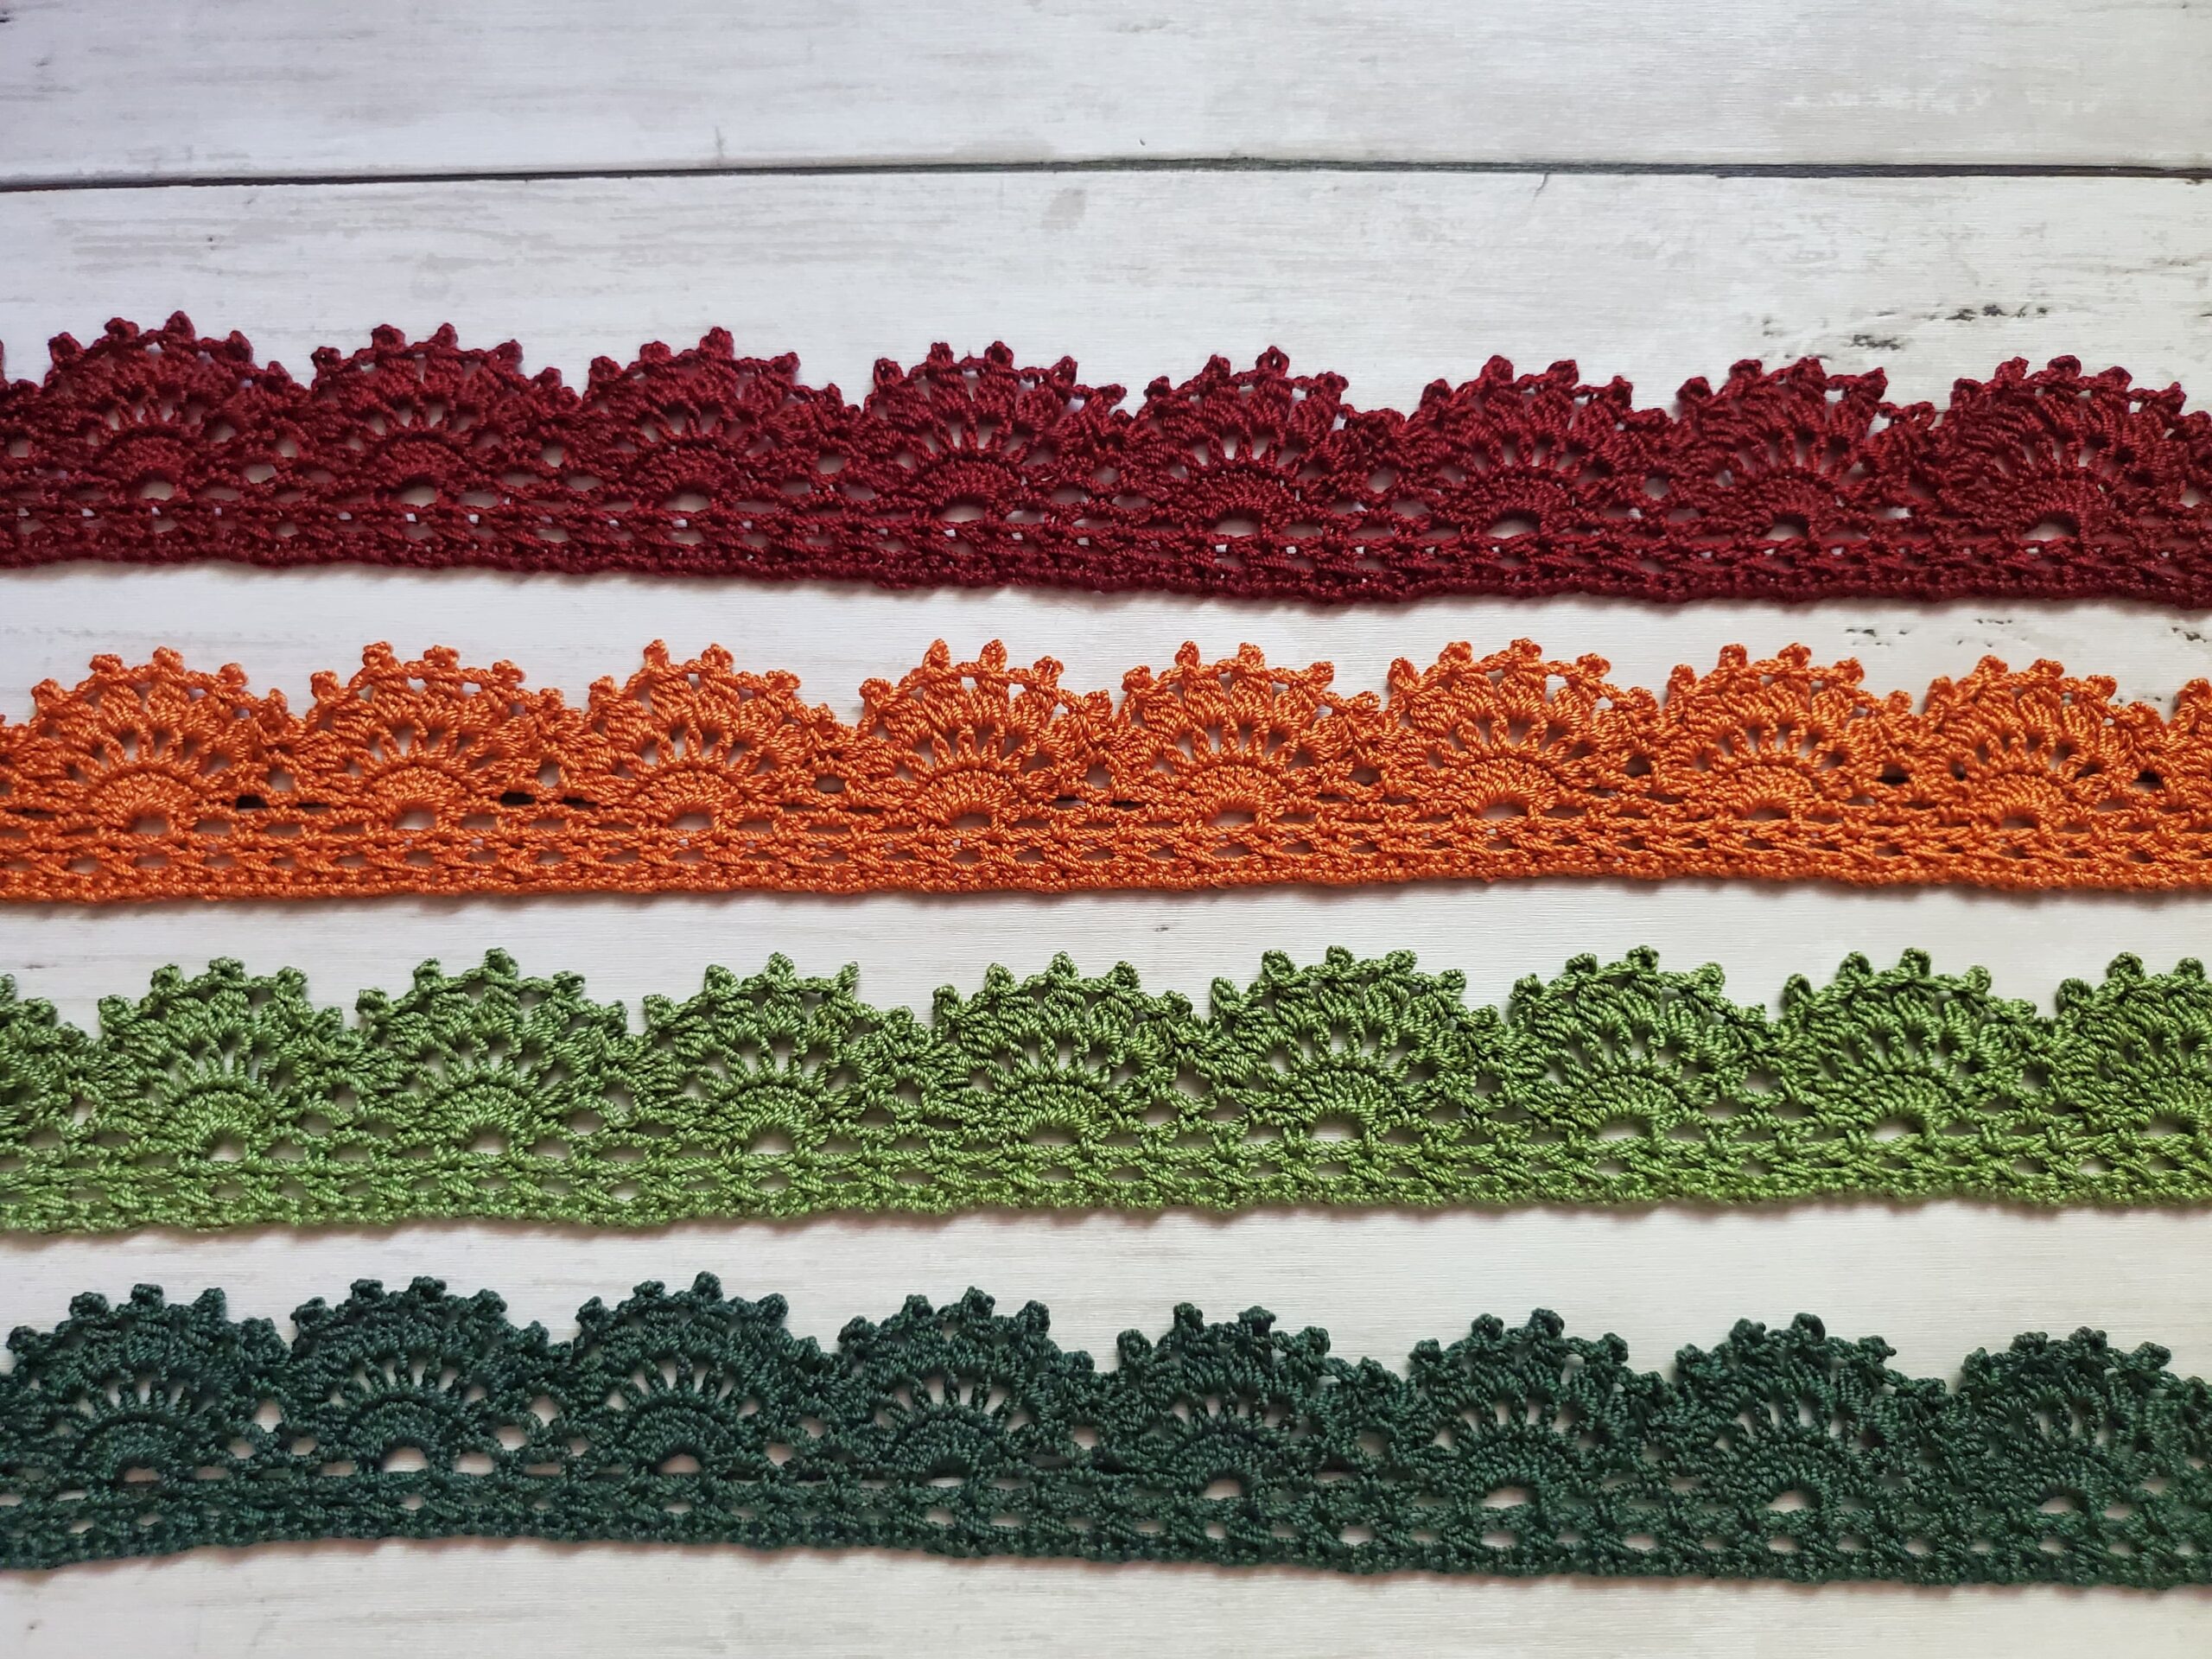
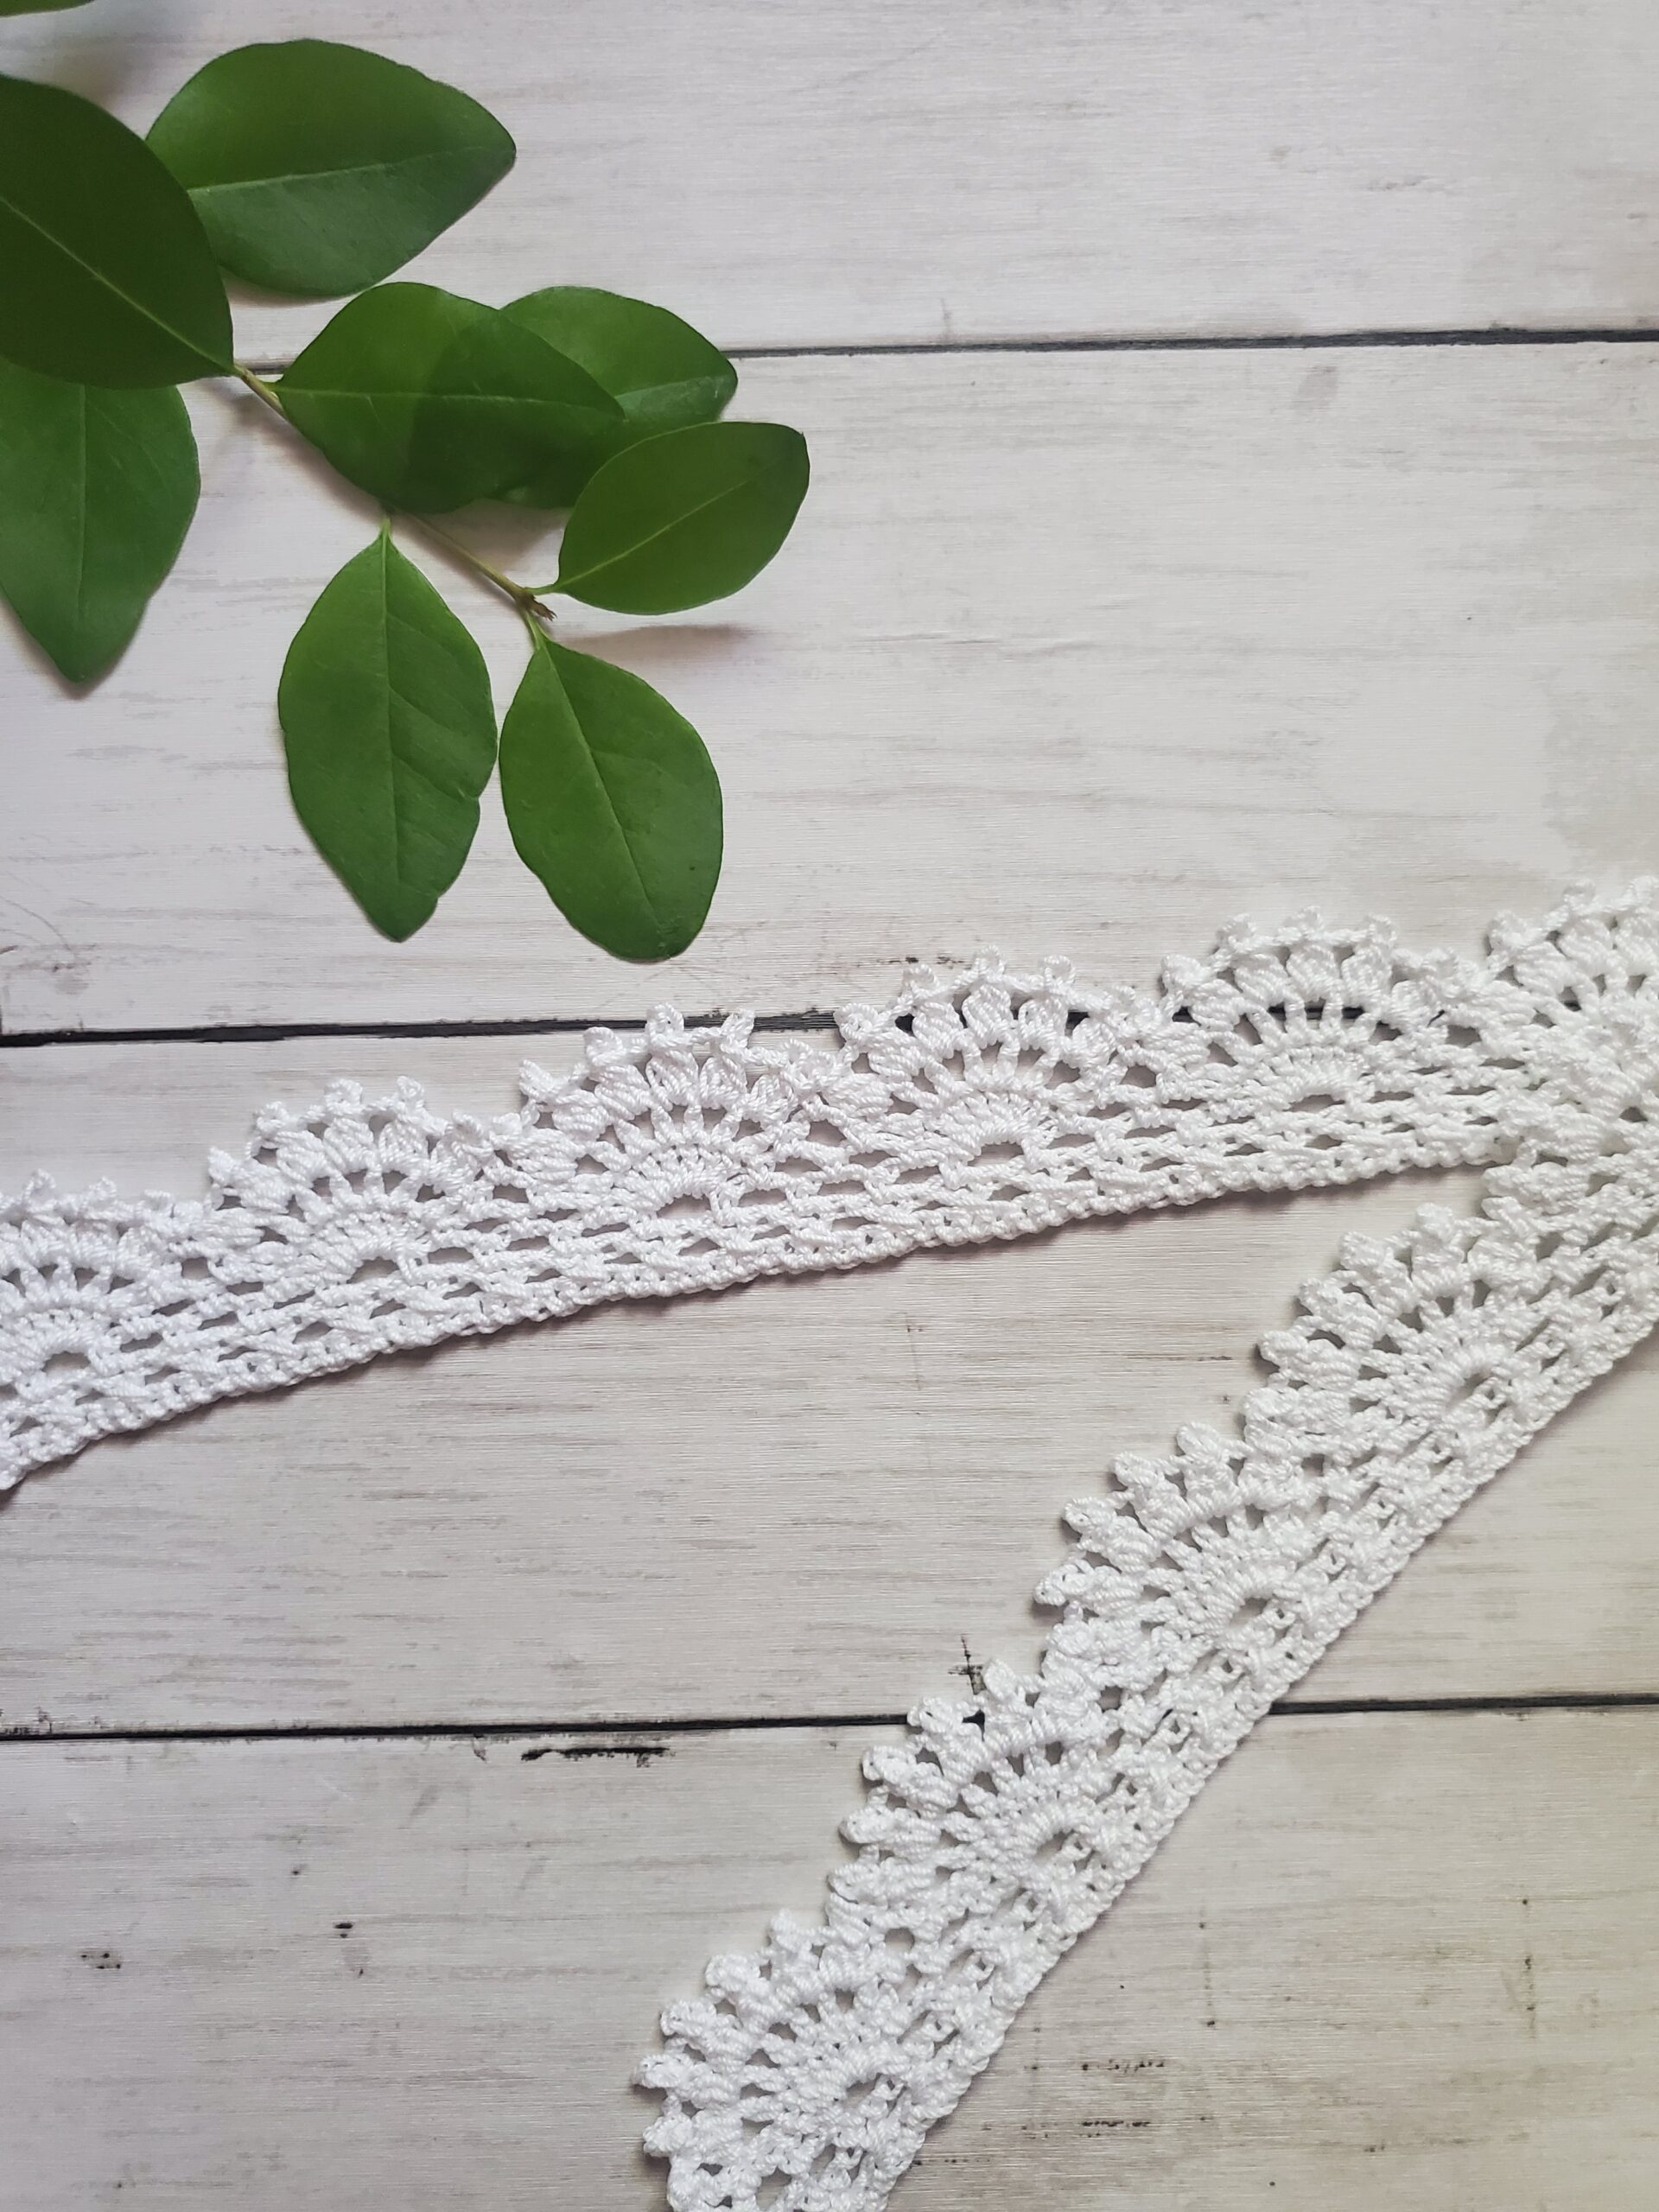
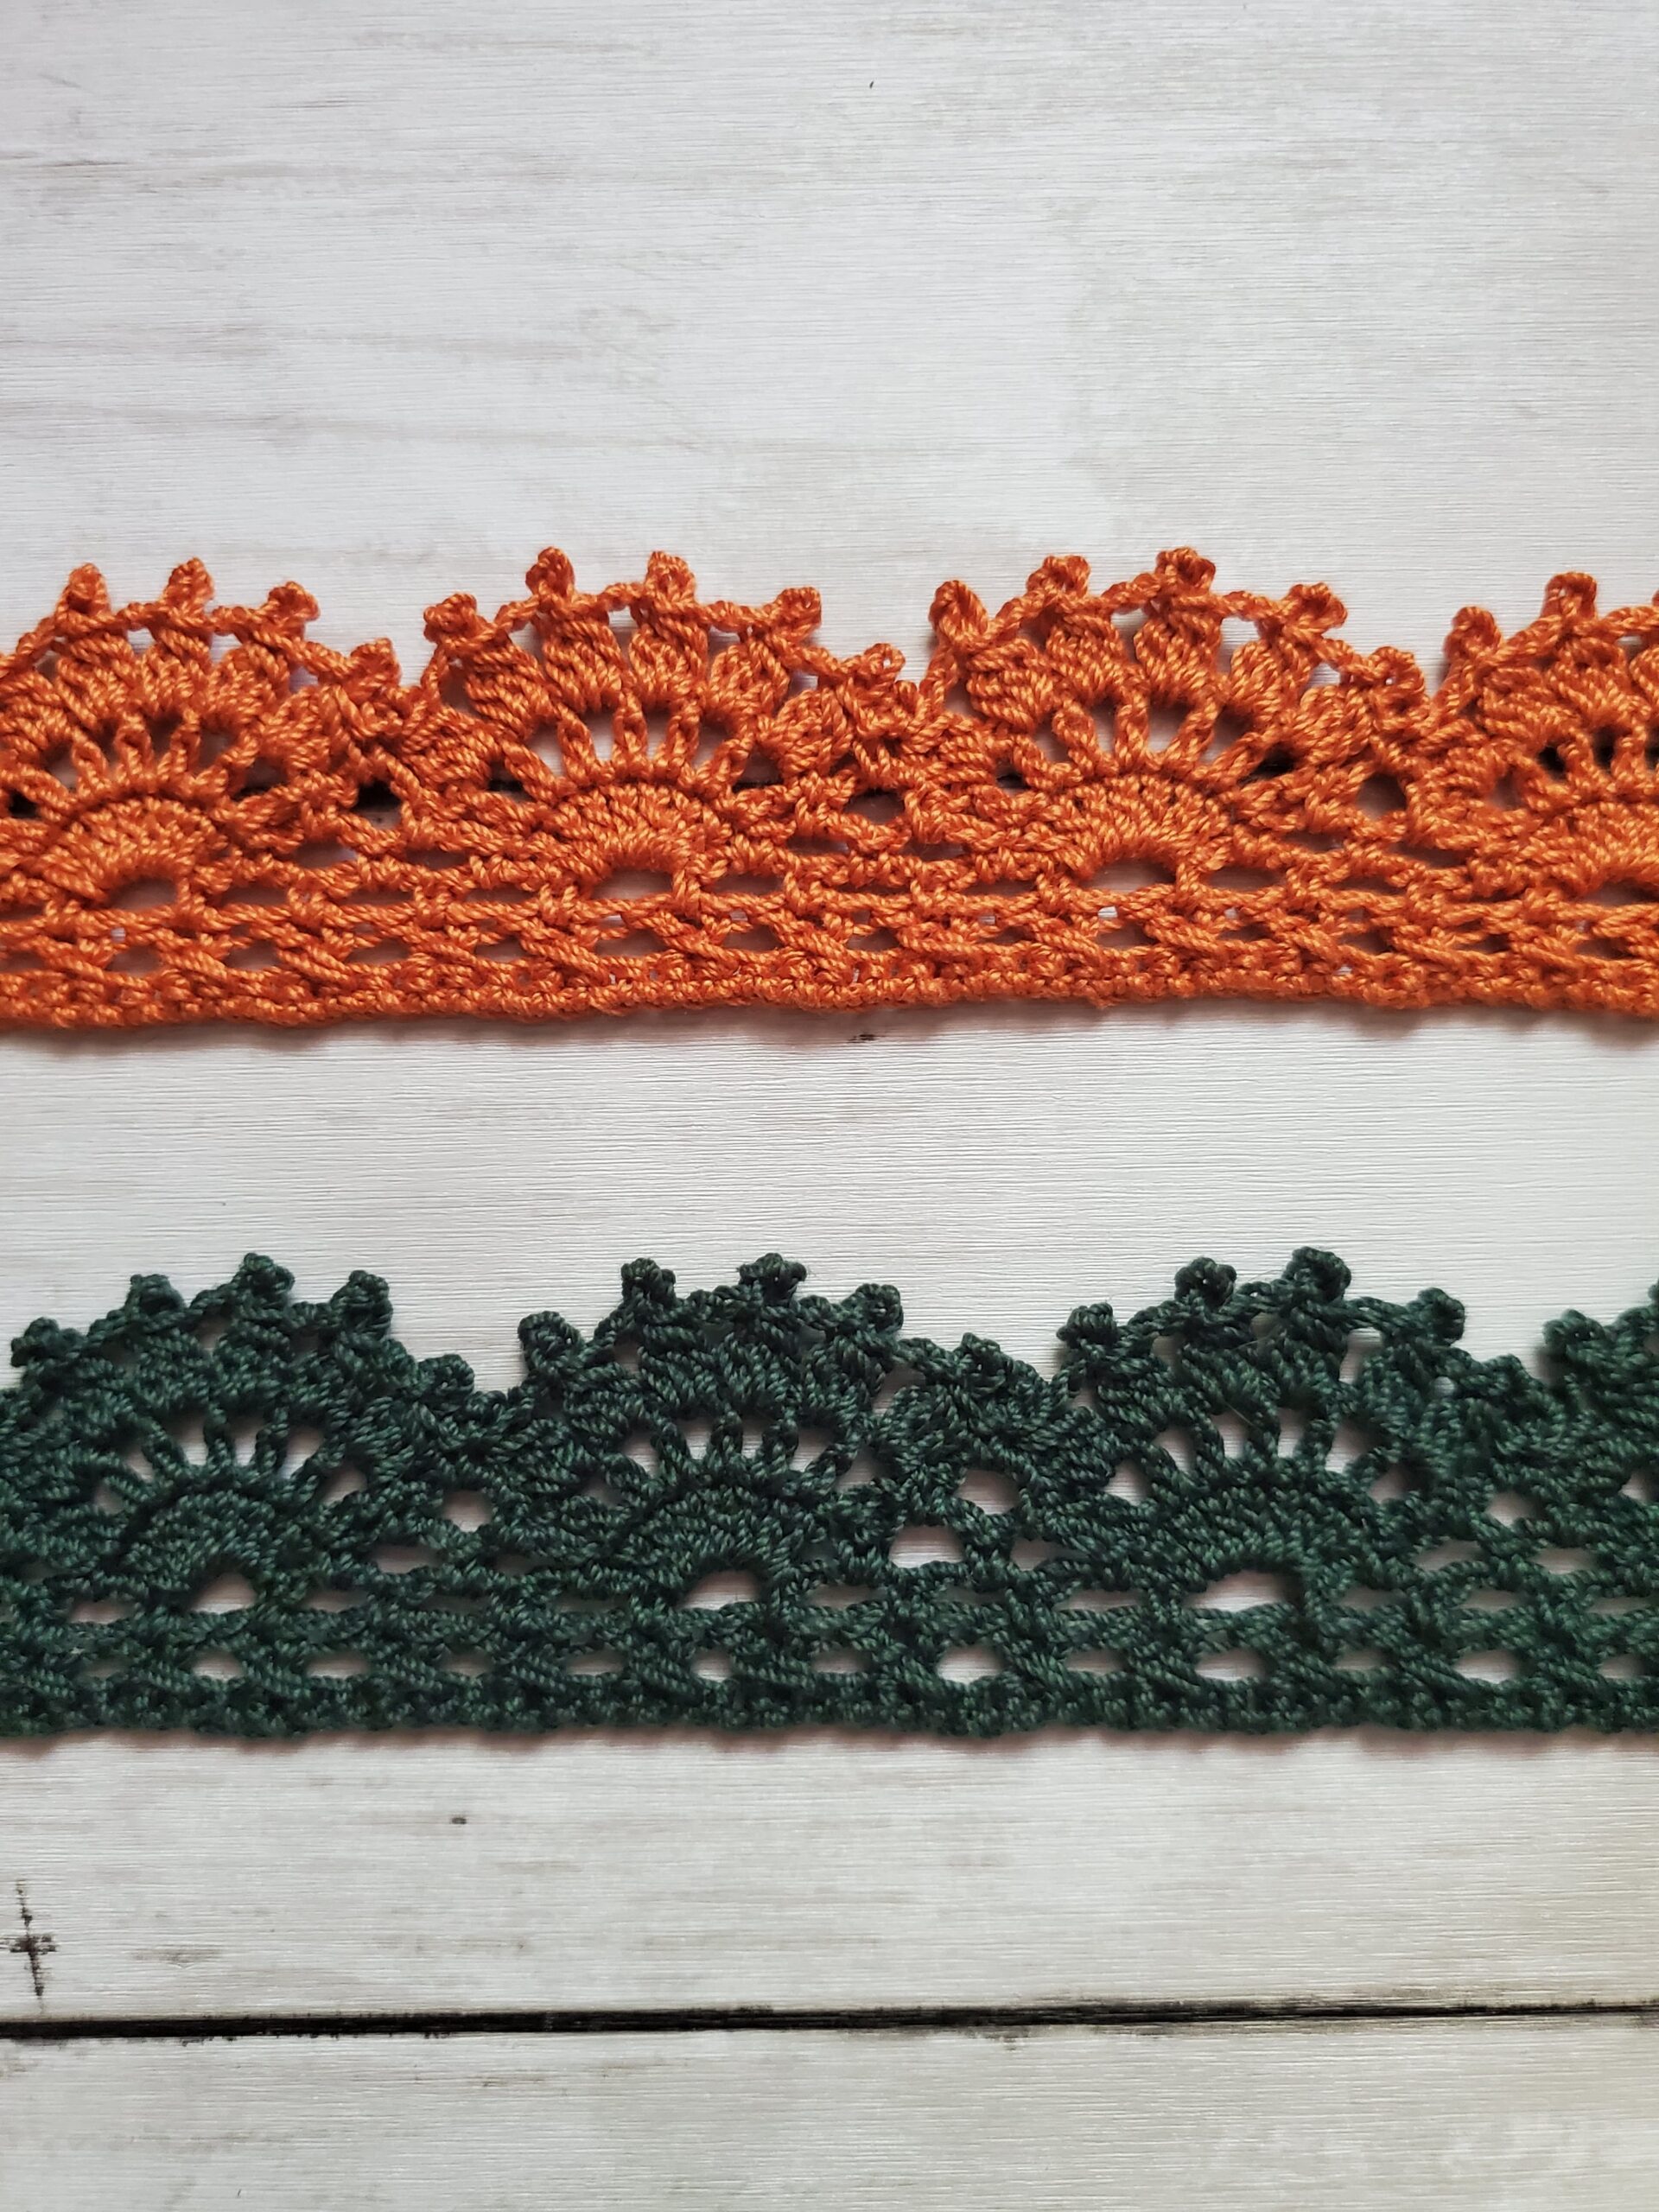
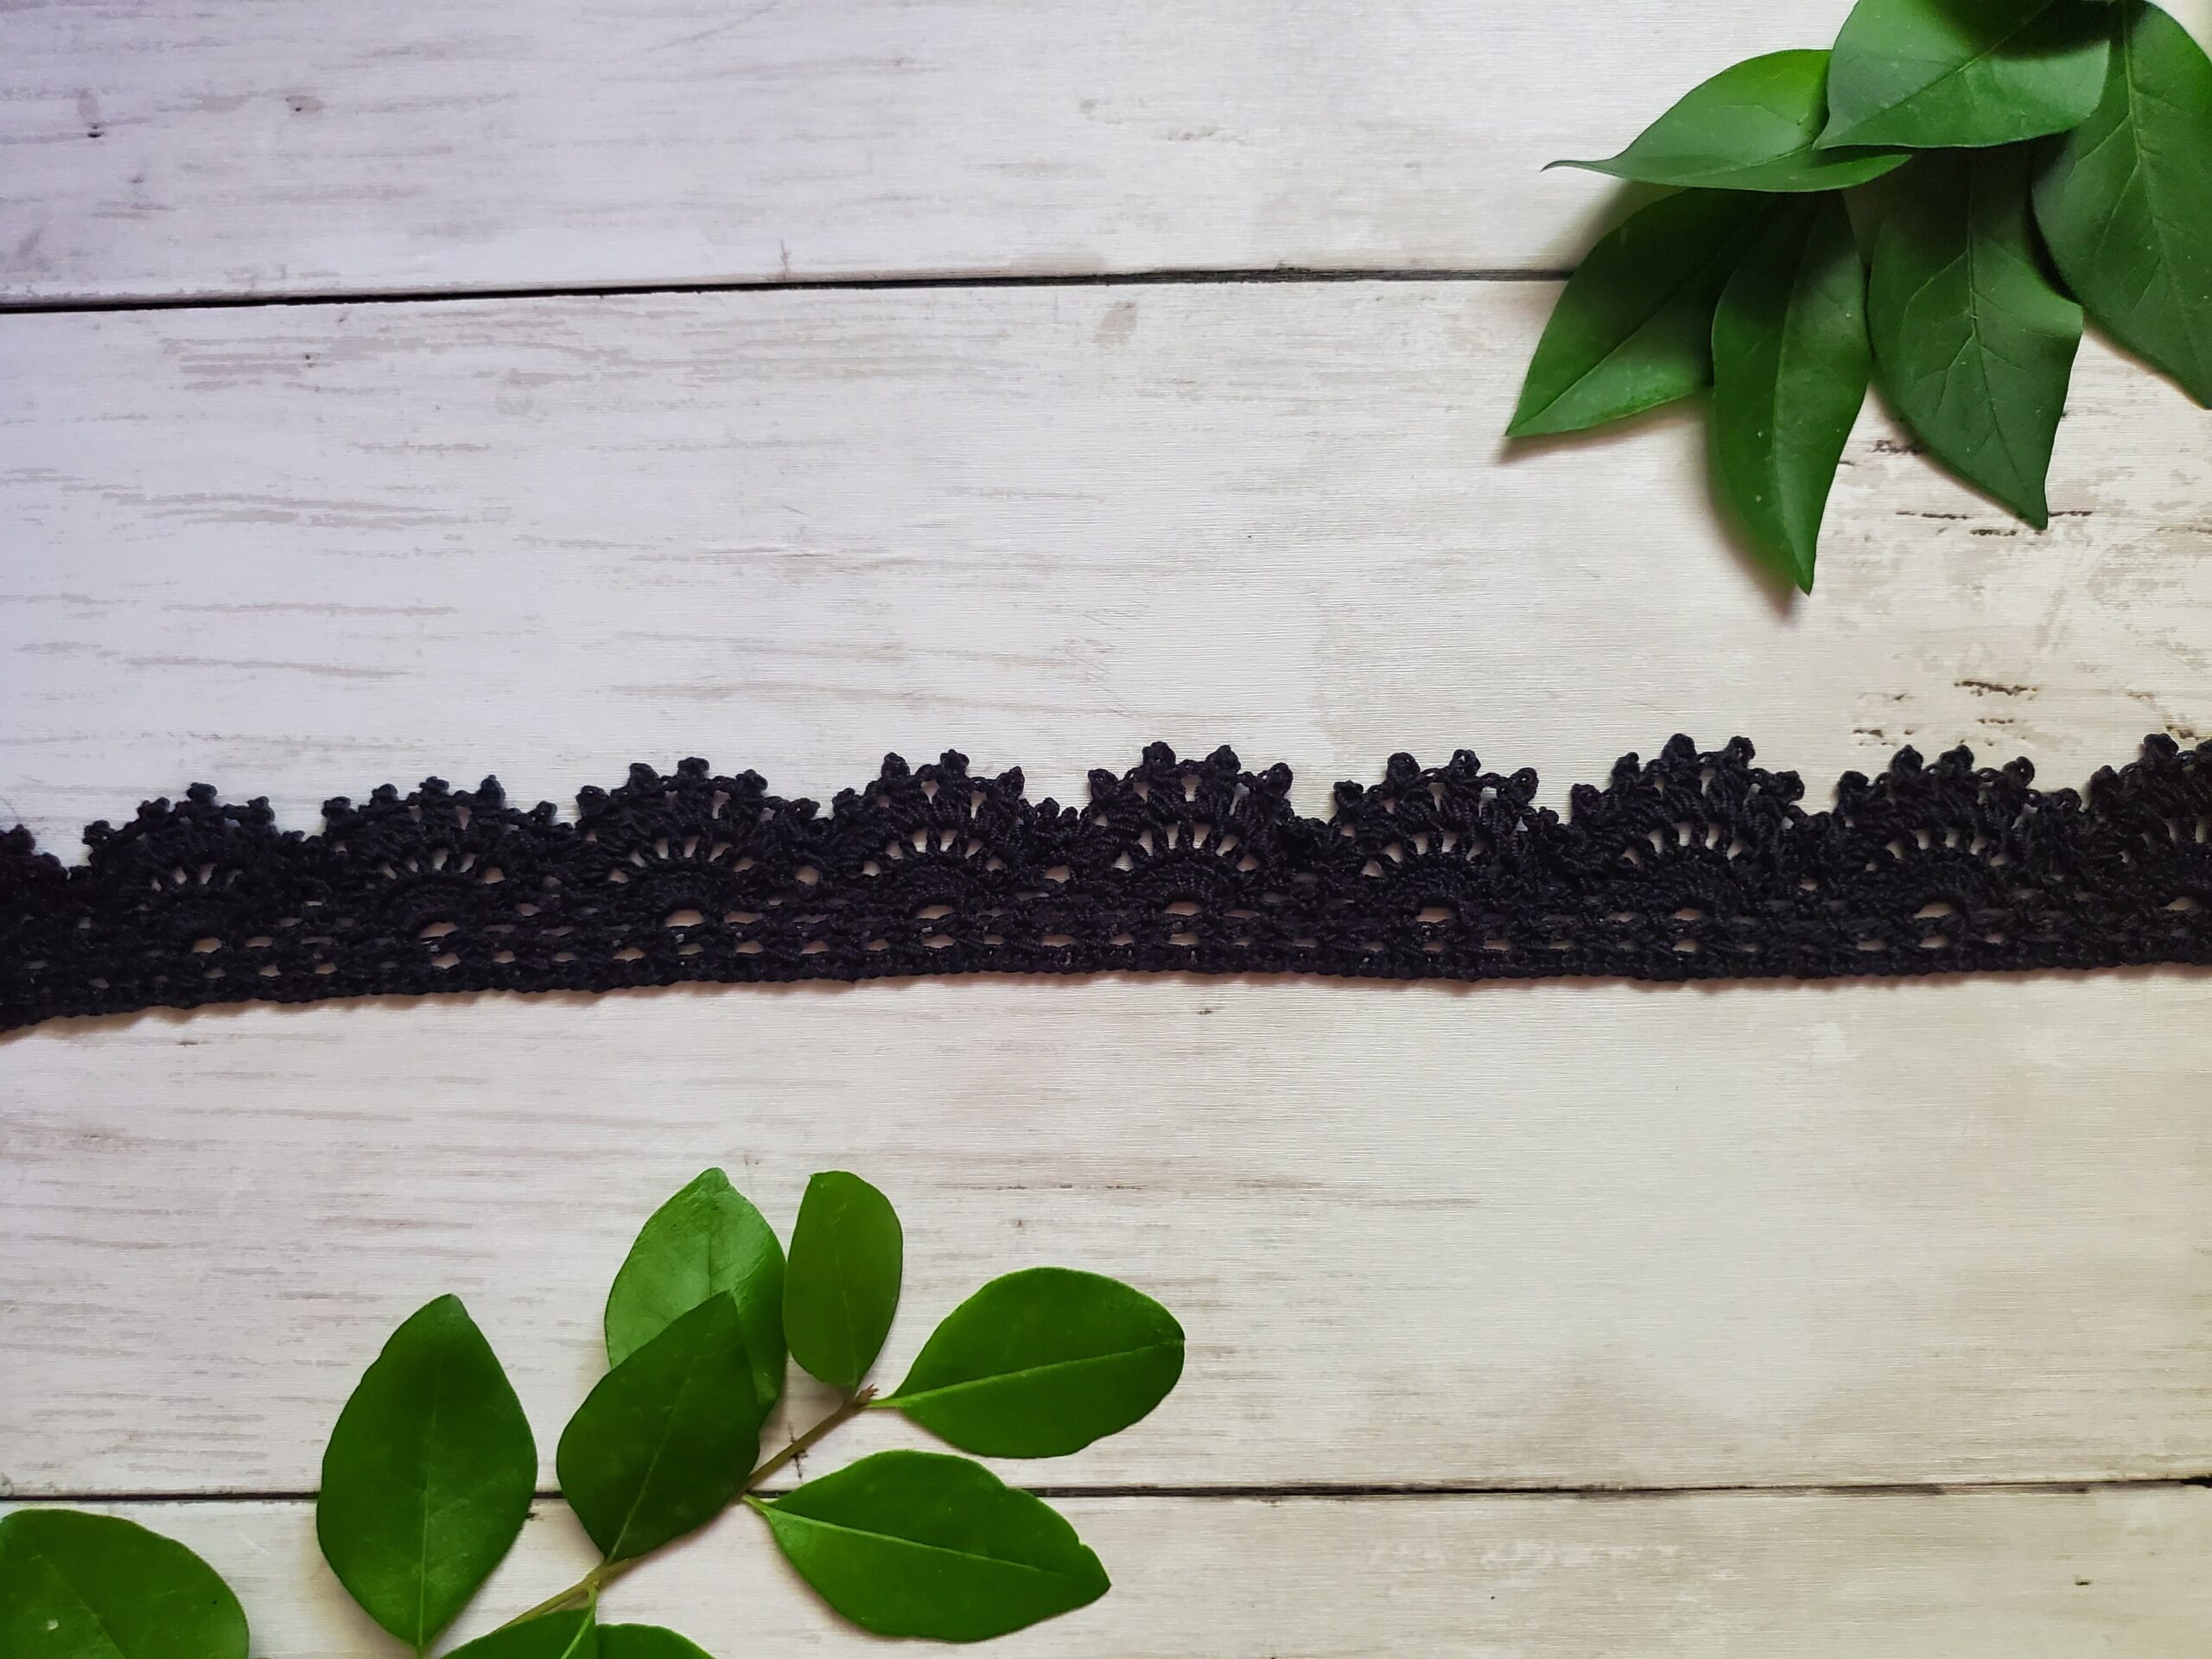
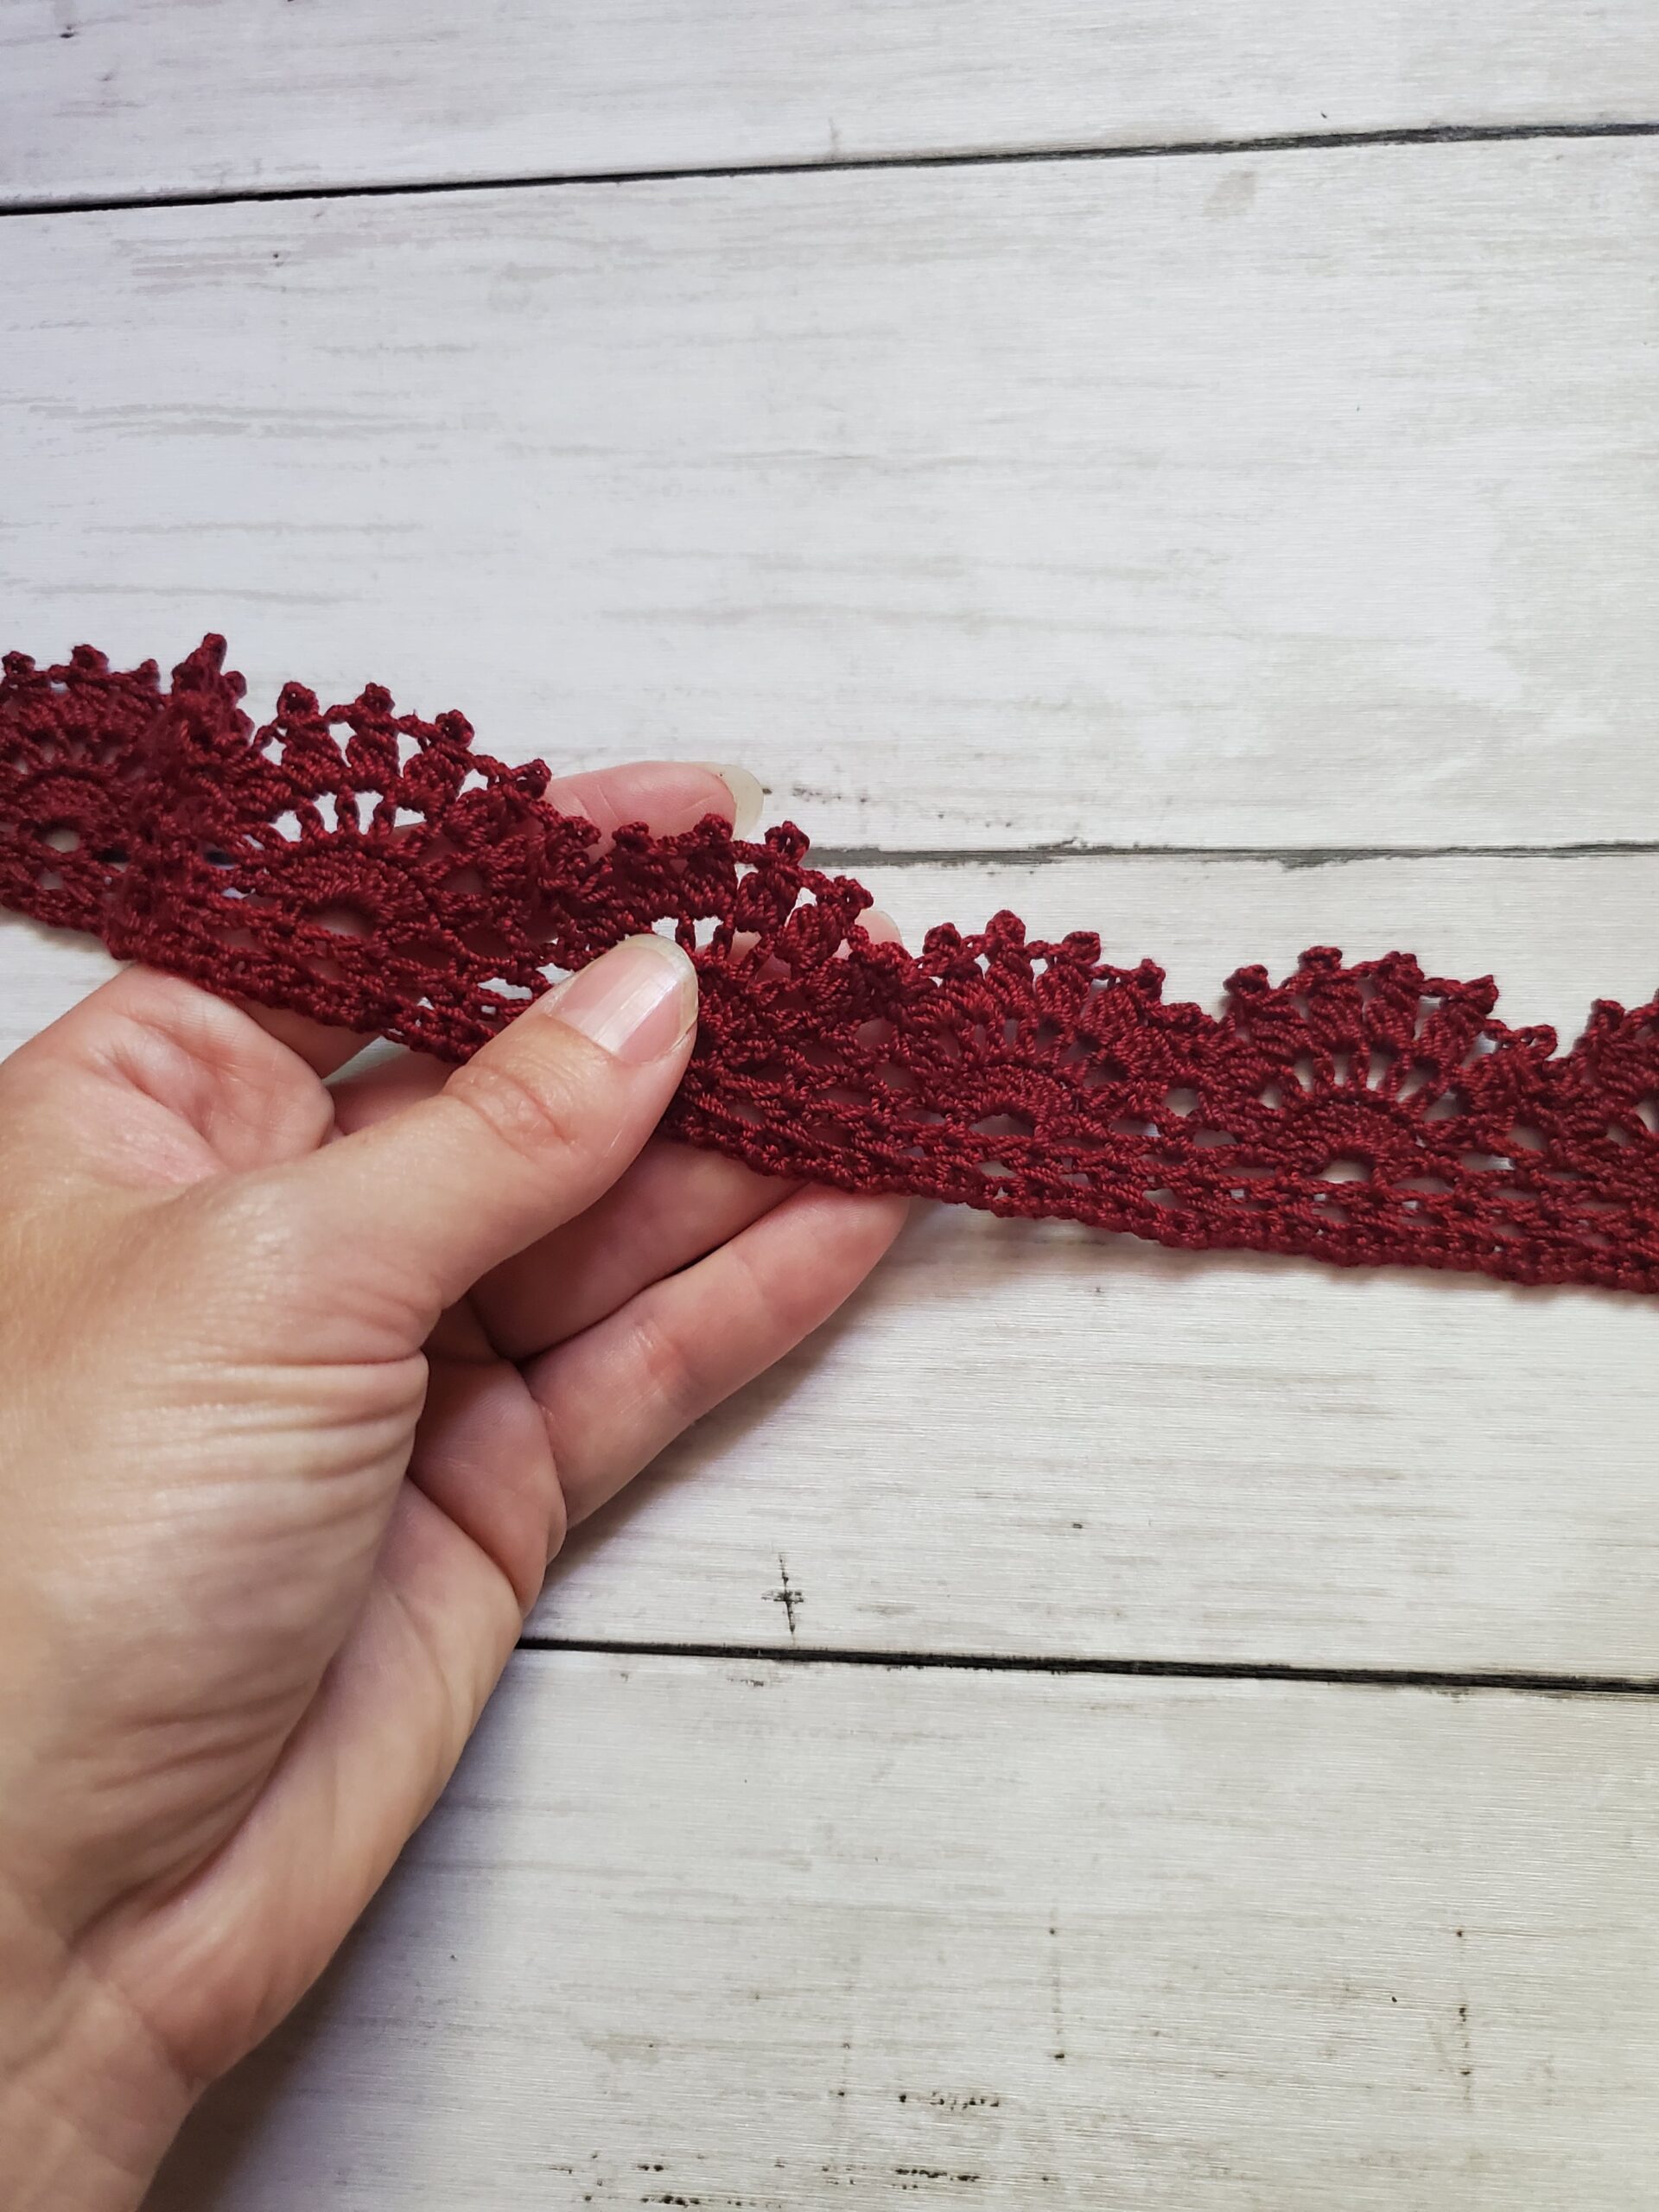
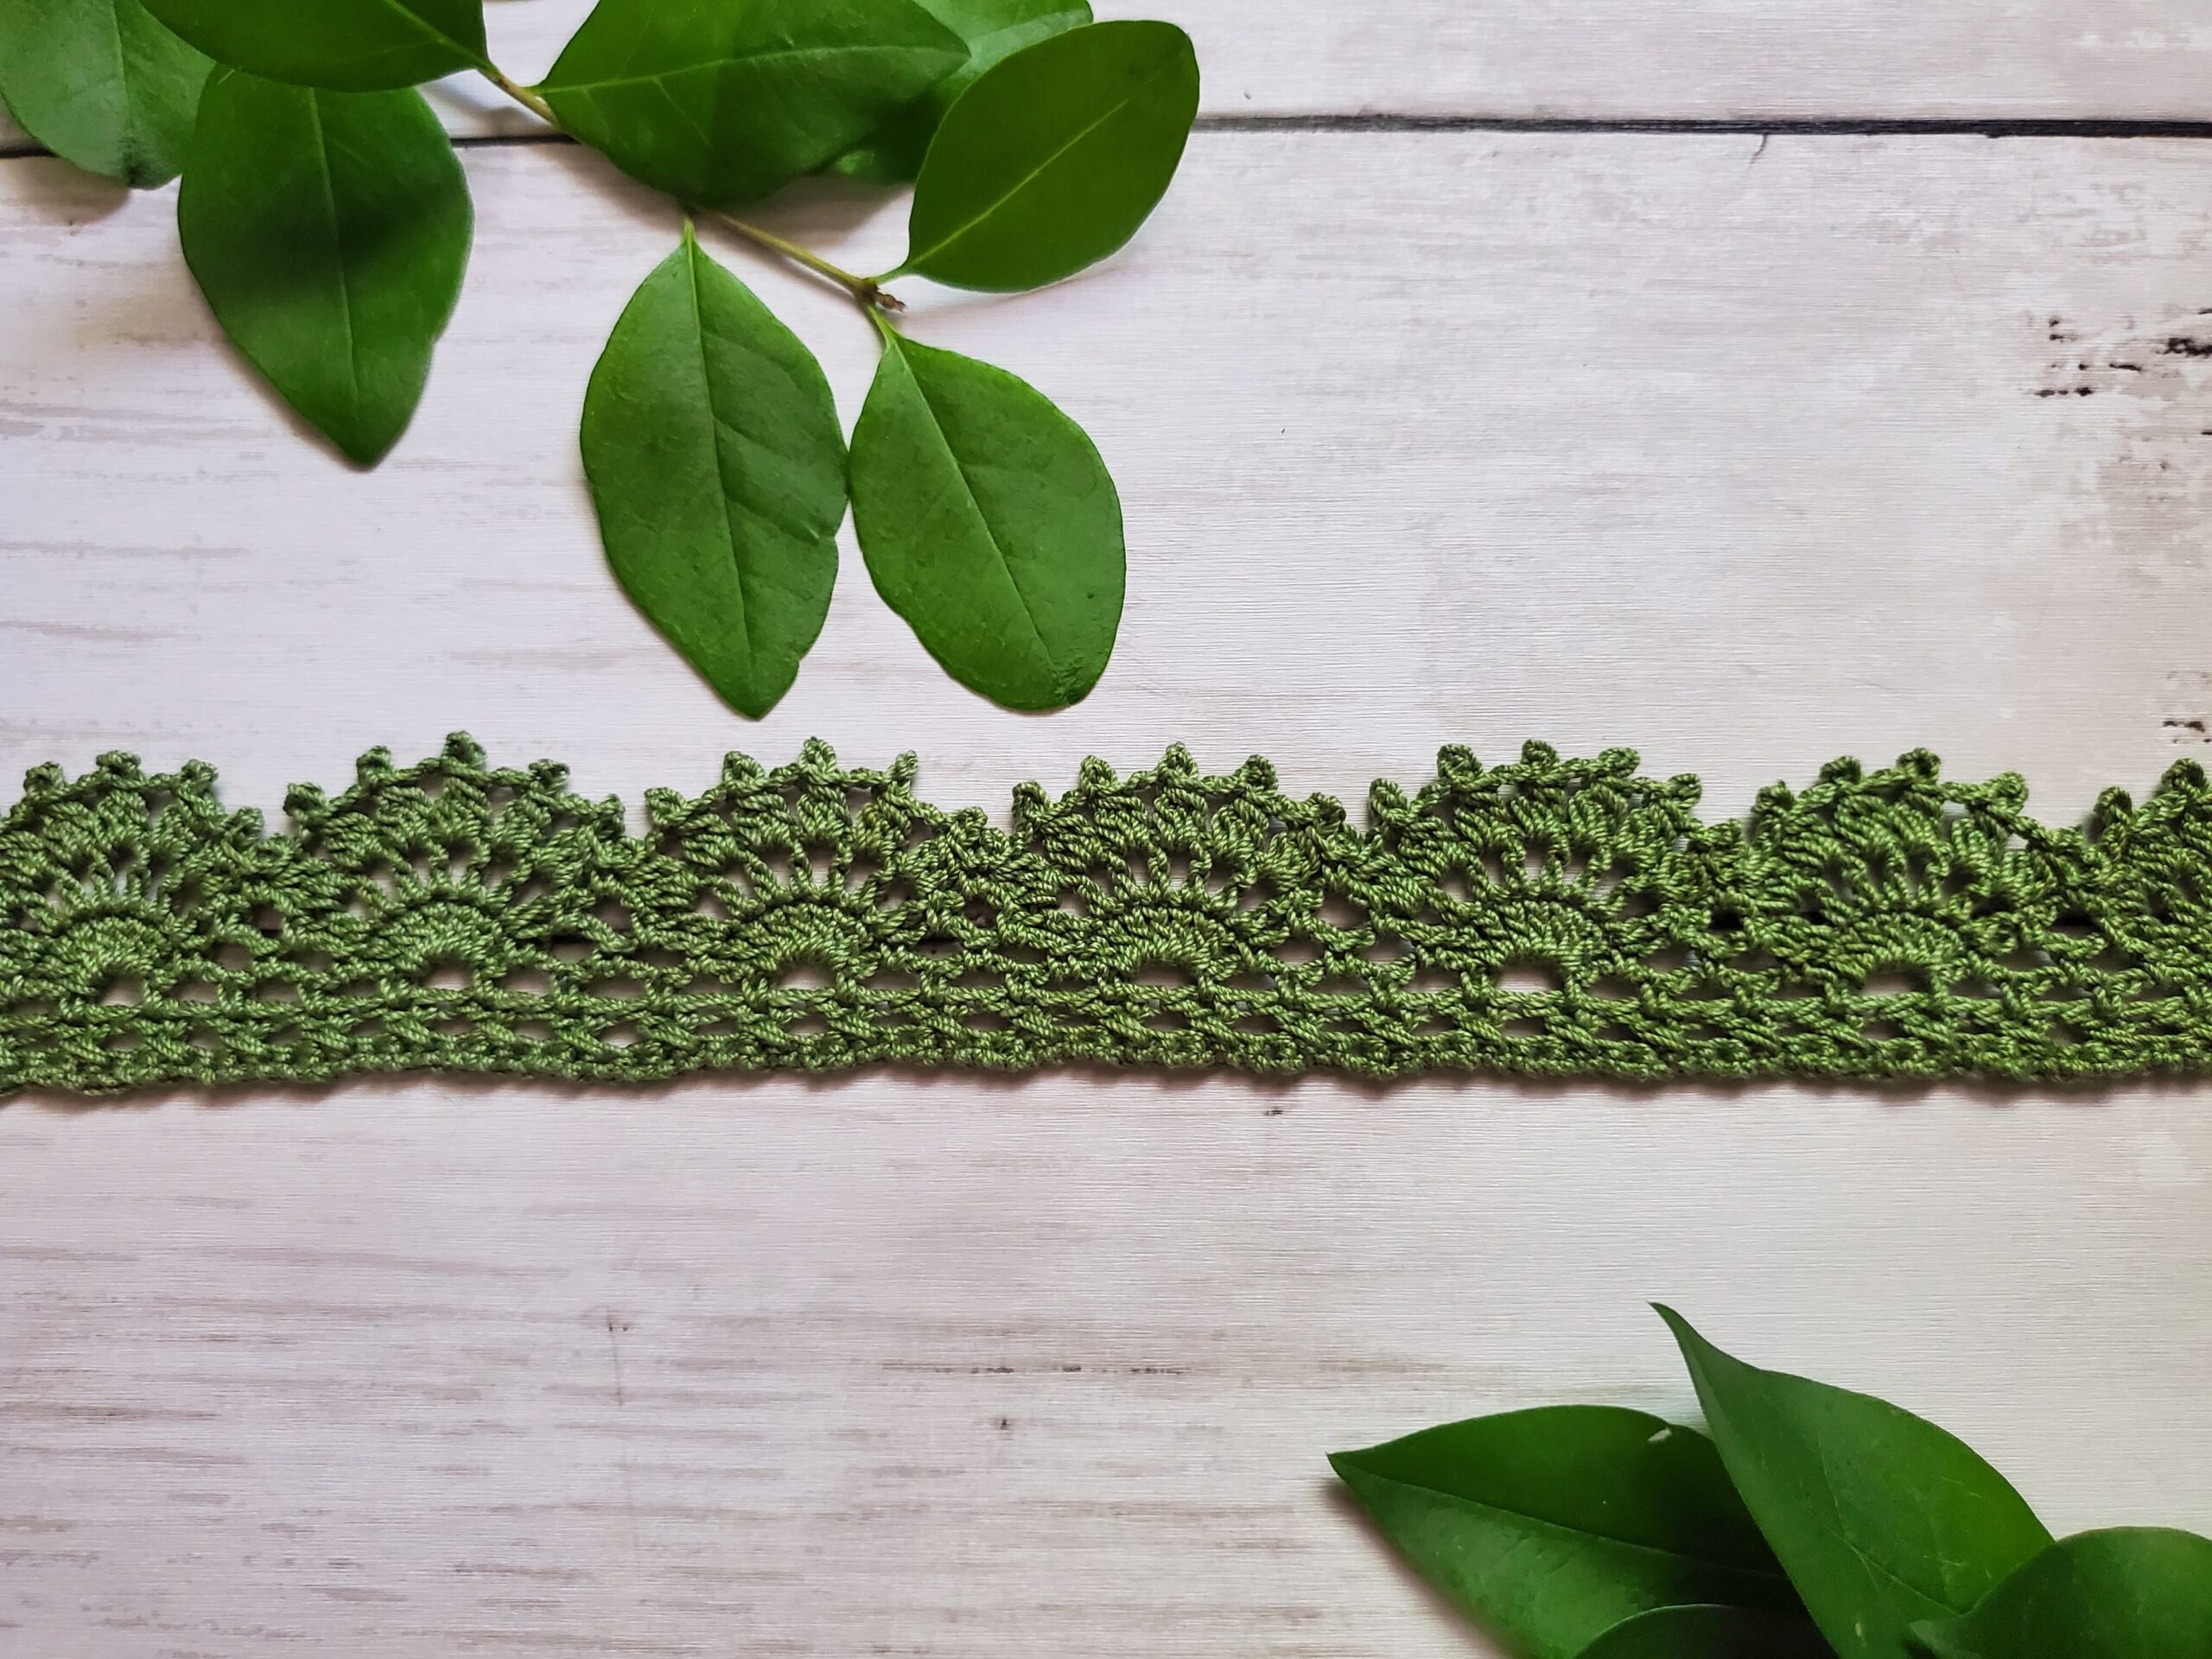
Crochet Lace Edging Pattern
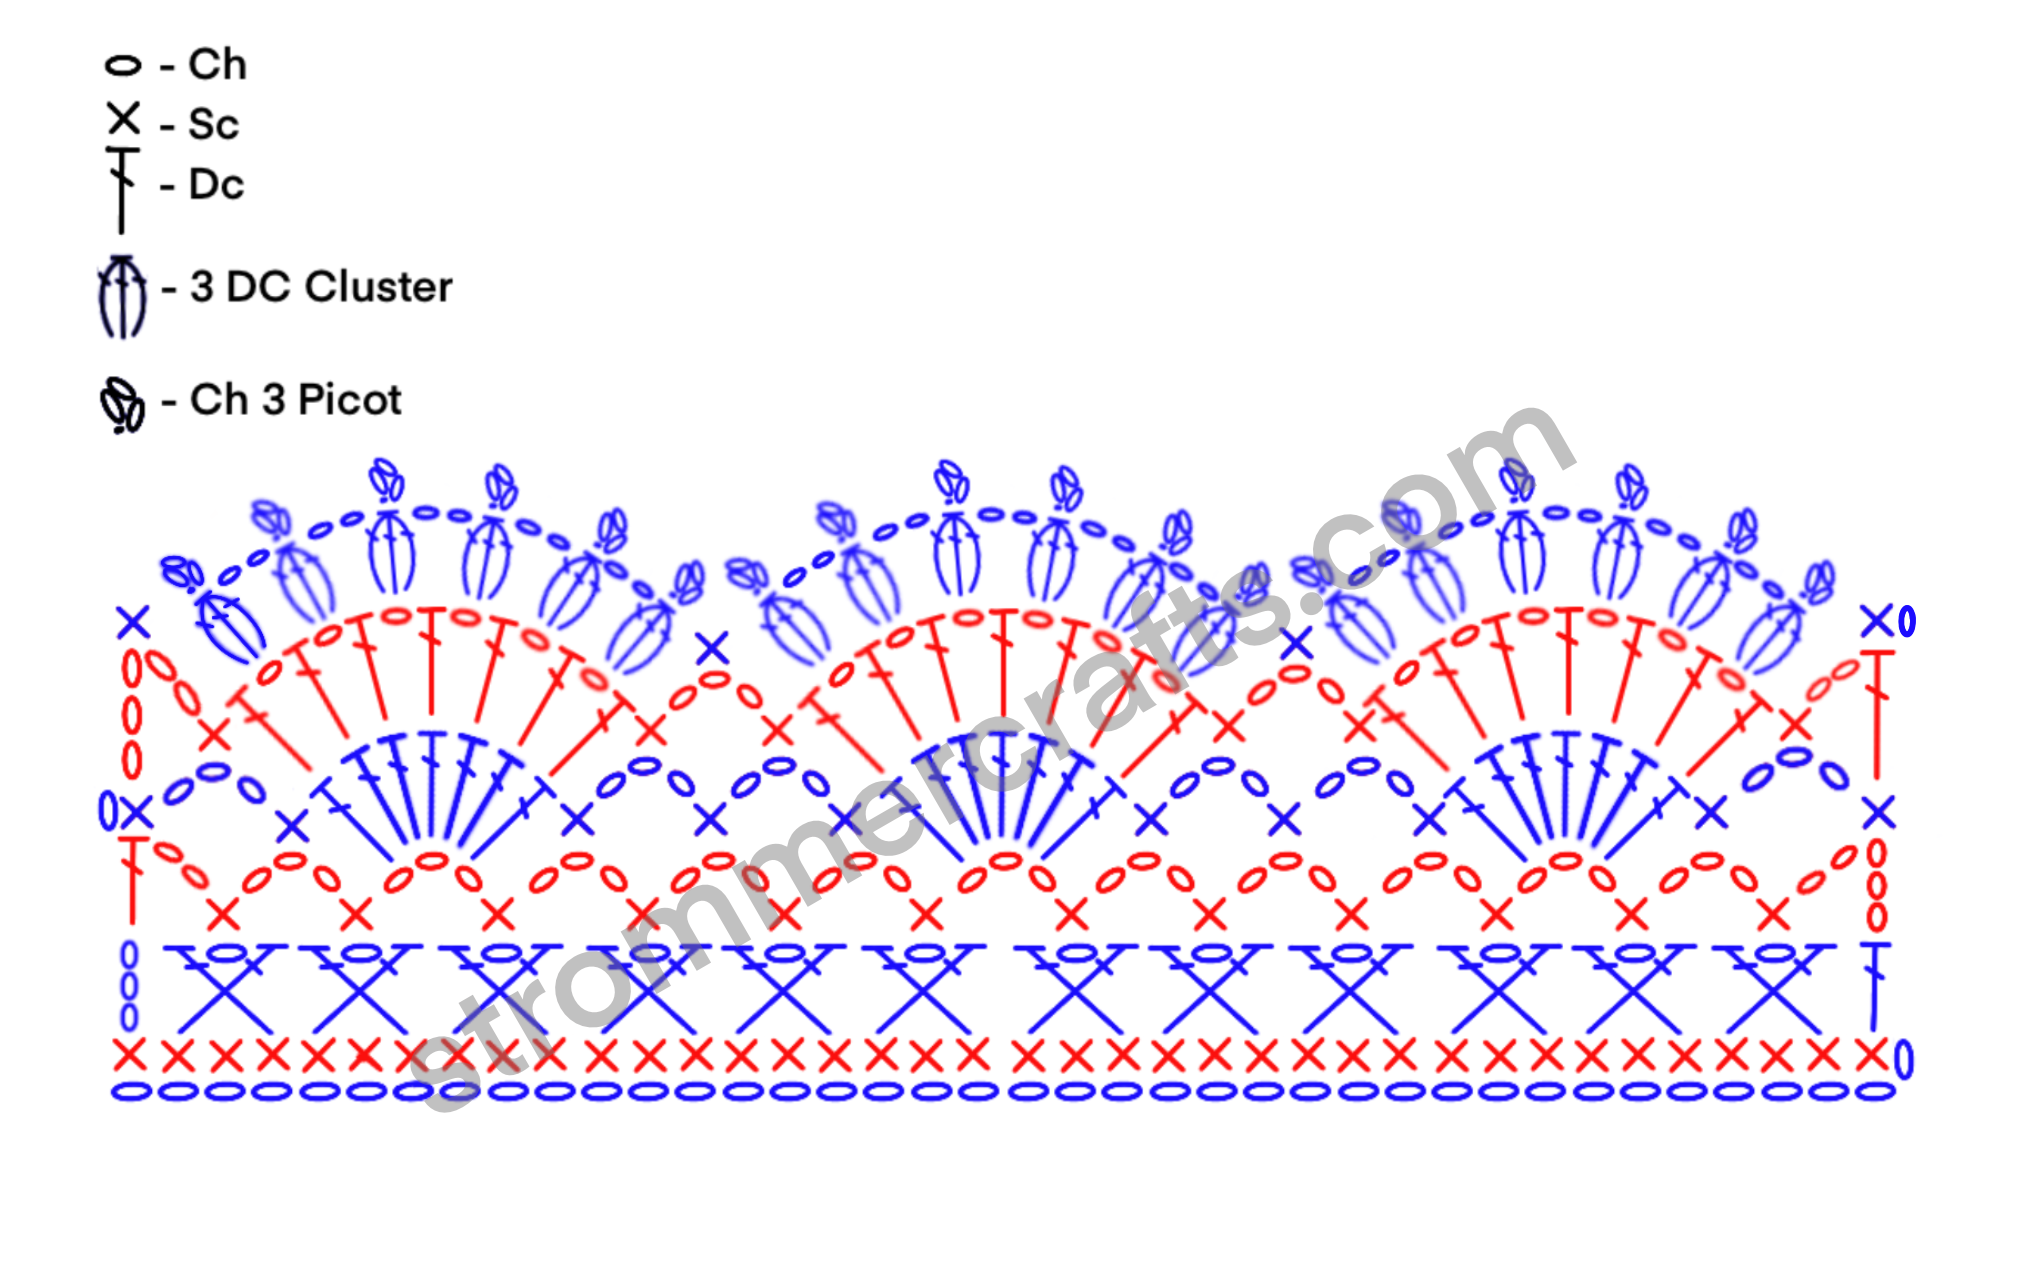
Ch a repeat of 12+3
Row 1: Sc into 2nd ch from hook, sc into each ch across.
Row 2: Ch 3 (counts as a dc), turn, we will be making an X st now. *Skip 2 sts, dc into the next st. Ch 1, going behind the ch 1 and dc just made, skip a st and dc into the next st. Now we go back forward.* Repeat from *to* until the end, you should have 1 st left, make a dc in the last st.
Row 3: Ch 5 (counts as a dc and ch 2), turn, skip dc, sc into ch 1 space in the X st, *ch 3, skip next 2 dcs, sc into ch 1 space in the X st.* Repeat from *to.* Dc into top of ch 3 from Row 2.
Row 4: Ch 1 (does not count as st), turn, sc into same st, *ch 3, sc into next ch 3 space, 7 dc into next ch 3 space (this is a shell), sc into next ch 3 space, ch 3, sc into next ch 3 space* Repeat from *to.* After sc into last ch 3 space, ch 3 and sc into top of ch 3 from Row 3. You should have 2 ch 3 spaces before and after each 7 dc shell, except for the beginning and end of the row, which will have 1 ch 3 space.
Row 5: Ch 5 (counts as a dc and ch 2), turn, sc into next ch 3 space, *in the next 7 dc shell, dc into each dc with a ch 1 between each dc (7 dc with 6 ch 1s) . Sc into next ch 3 space, ch 3, sc into next ch 3 space.* Repeat from *to* After you’ve sc into the last ch 3 space, ch 2, dc into last sc from Row 4.
Row 6: Ch 1 (does not count as a st), turn, sc into same st. *In the ch 1 space of the next shell, 3 dc cluster. (Ch 3 picot, ch 2, 3 dc cluster in next ch 1 space of shell x 5 more times, so 6 3dc clusters with picots on top total in the shell), sc into next ch 3 space.* Repeat from *to.* Place last sc into the 3rd ch of Row 5s starting ch 5.
Cut thread with scissors, weave in any ends with tapestry needle.
Blocking:
At this point I would try to find time to block your edging. It will make your piece look very clean and crisp.
Grab a blocking board (or cardboard), pins, a bowl of water, and a towel.
Soak your crochet lace edging in the bowl of water for a minute or two. Gently pat dry on the towel.
Place on your blocking board and pin in a straight line. Place somewhere safe to dry, take the pins out after 1-2 days or until totally dry.
That’s all for this crochet lace edging! What do you think? I hope yours turns out to be lovely!
Until next time!

Leave a Reply
You must be logged in to post a comment.