Crochet Chevron Baby Blanket

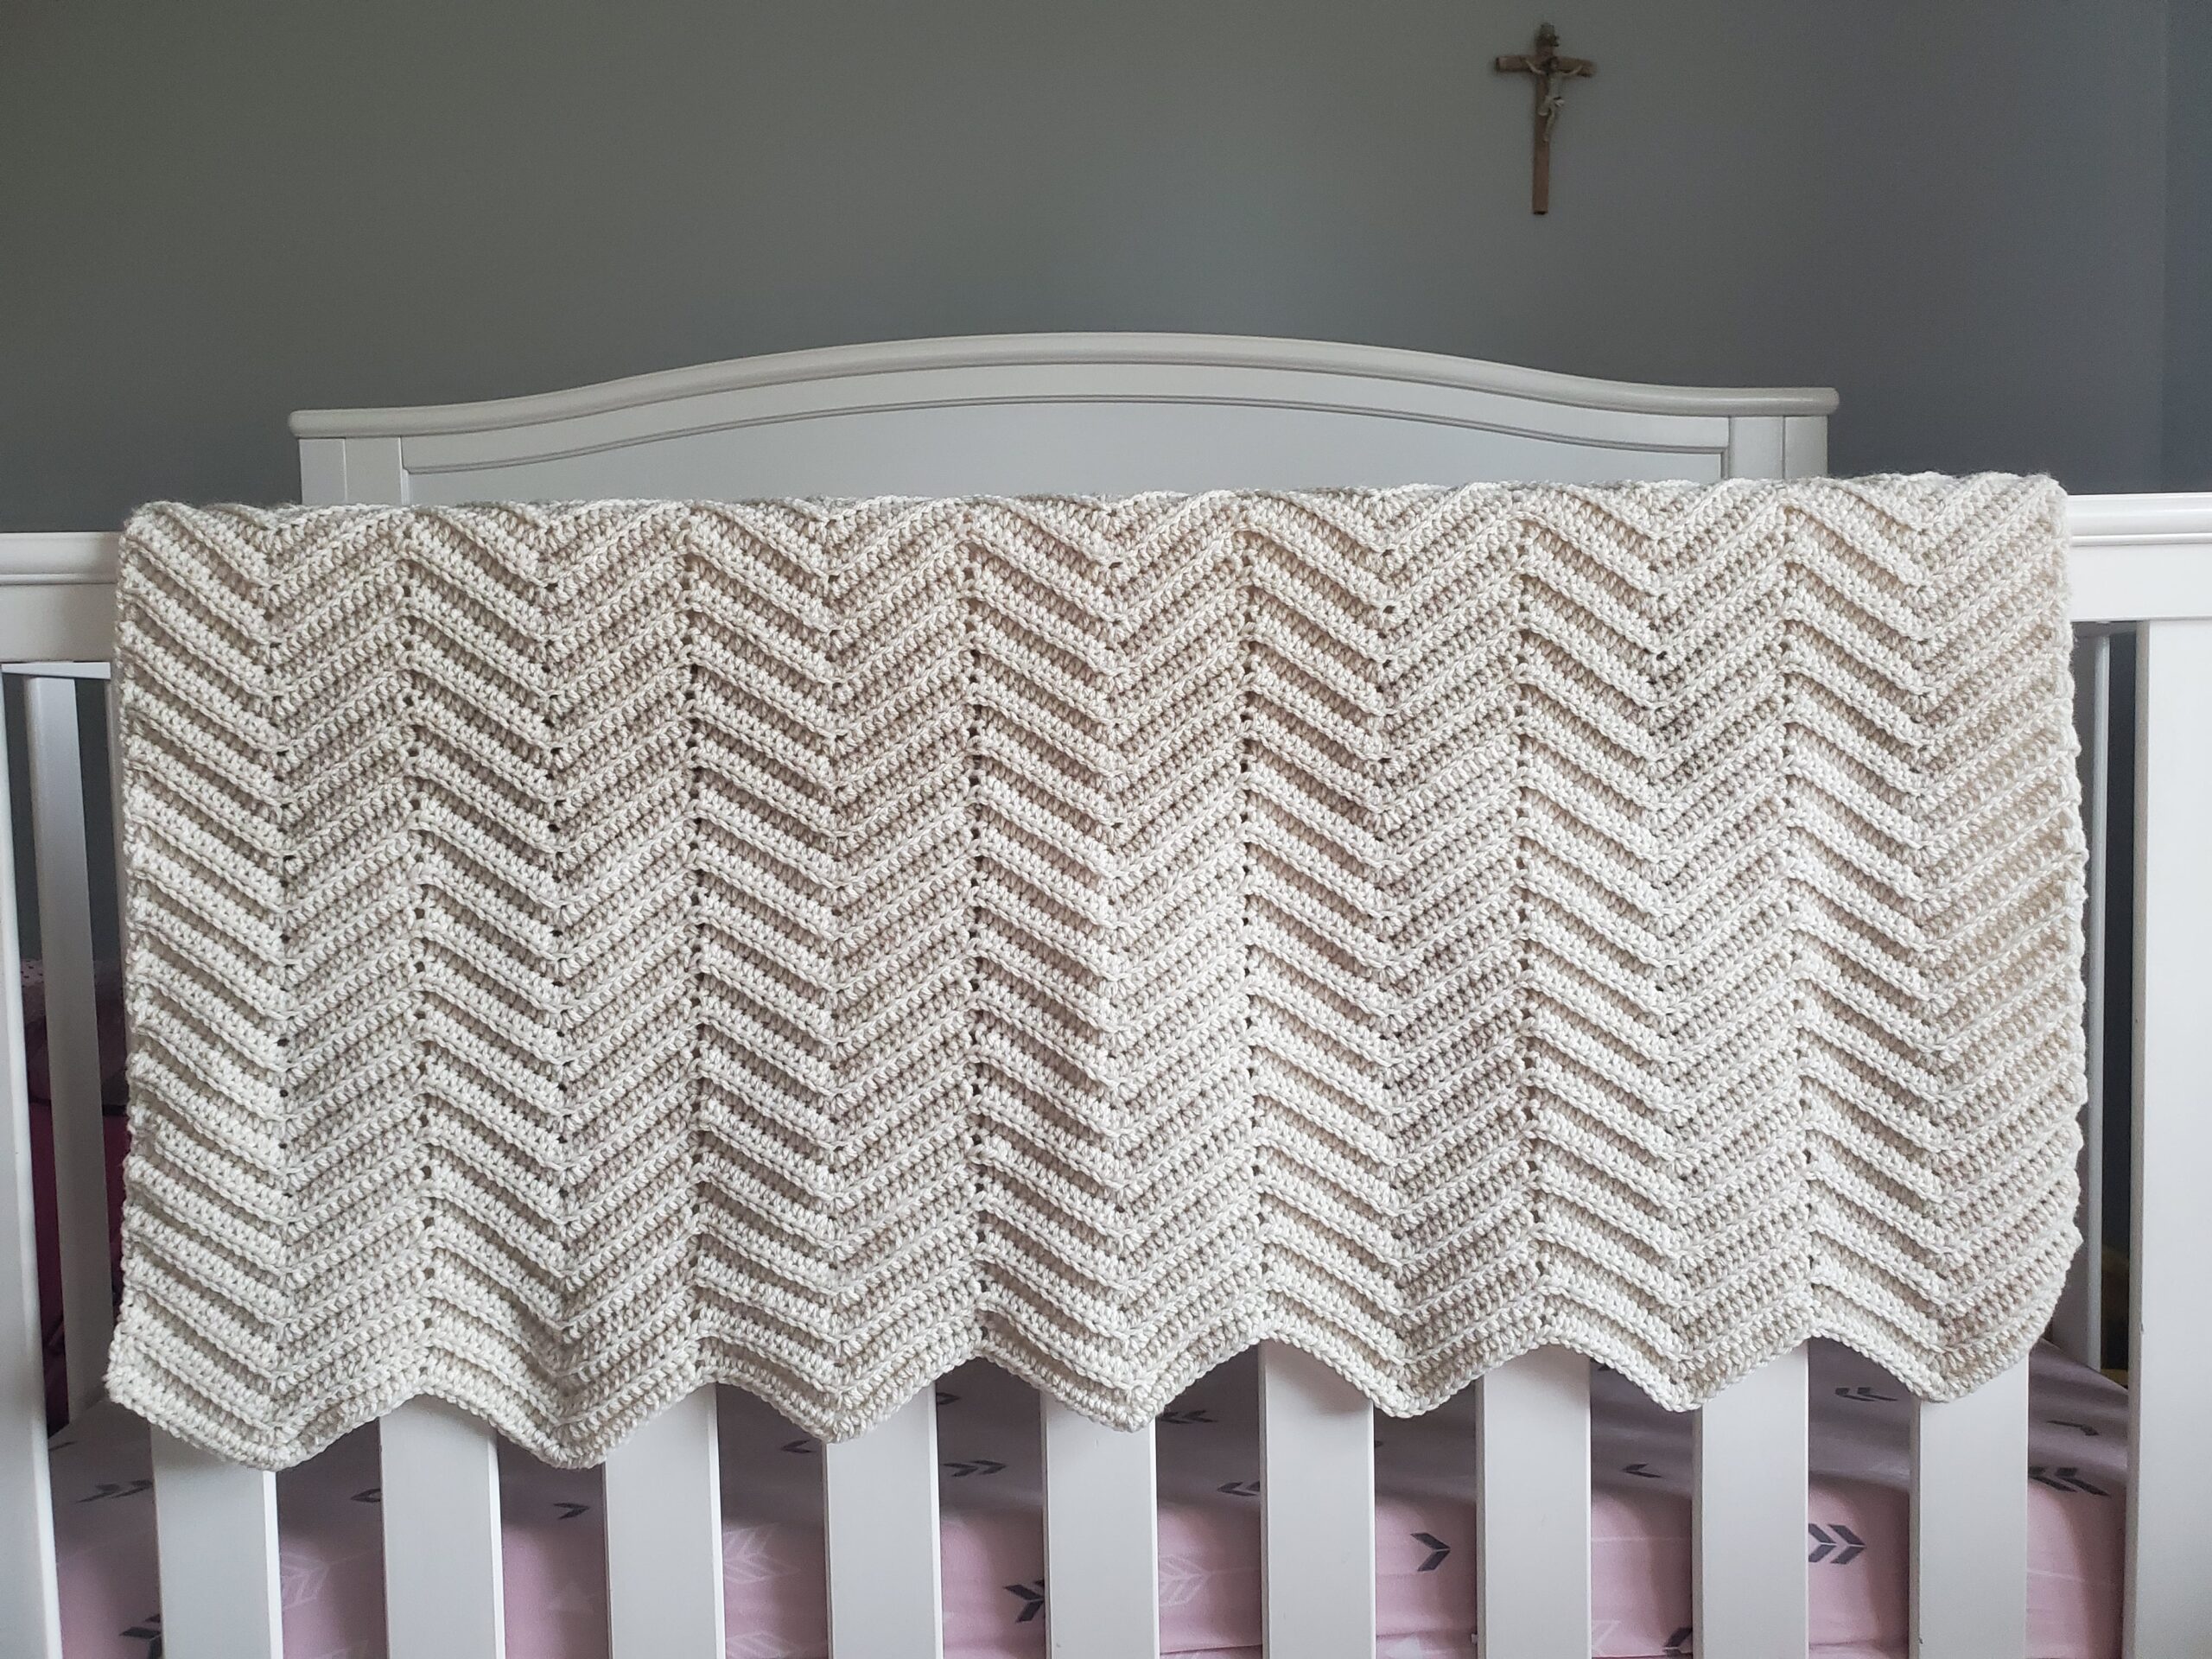
Hello, I hope everyone is having a great fall so far! With the weather getting cooler, it’s a lot easier for me to crochet blankets. So today I thought I would share my crochet chevron baby blanket pattern.

As with many crochet patterns, it’s easy to get a hang of once you have completed a few rows.

I use half double crochet in the second loop to create a nice texture. You don’t have to do it that way, but the texture looks great using only one color of yarn.

If you’re not sure what crocheting in the second loop means, no worries, we will discuss this later.

You will also need to be comfortable doing a hdc2tog (half double crochet 2 stitches together). Again, I will discuss how to do this further down. 

The crochet chevron baby blanket is made with Aran from Red Heart Super Saver, but as always, feel free to use whatever yarn color you like.

You may notice that Red Heart Super Saver is cost effective, but tends to feel a little rough or scratchy. This is because it is made with acrylic. I like to wash my baby blankets made from acrylic with my clothes, and add a bit of fabric softener. I place mine in the dryer with all my clothes and have had good success in making the blanket feel softer. 

Please note that some of the links in this post are affiliate links. That means that if you click on these links and make a purchase, I may receive a commission at no extra cost to you. You can find more information about our disclosure policy here. Thank you for your support.

Related Posts:

Materials Needed:

Abbreviations Used:

  • Ch – chain
  • Hdc – half double crochet
  • Hdc2tog – half double crochet 2 stitches together

Helpful Tips:

  • There will always be 11 stitches on each side of the chevron.
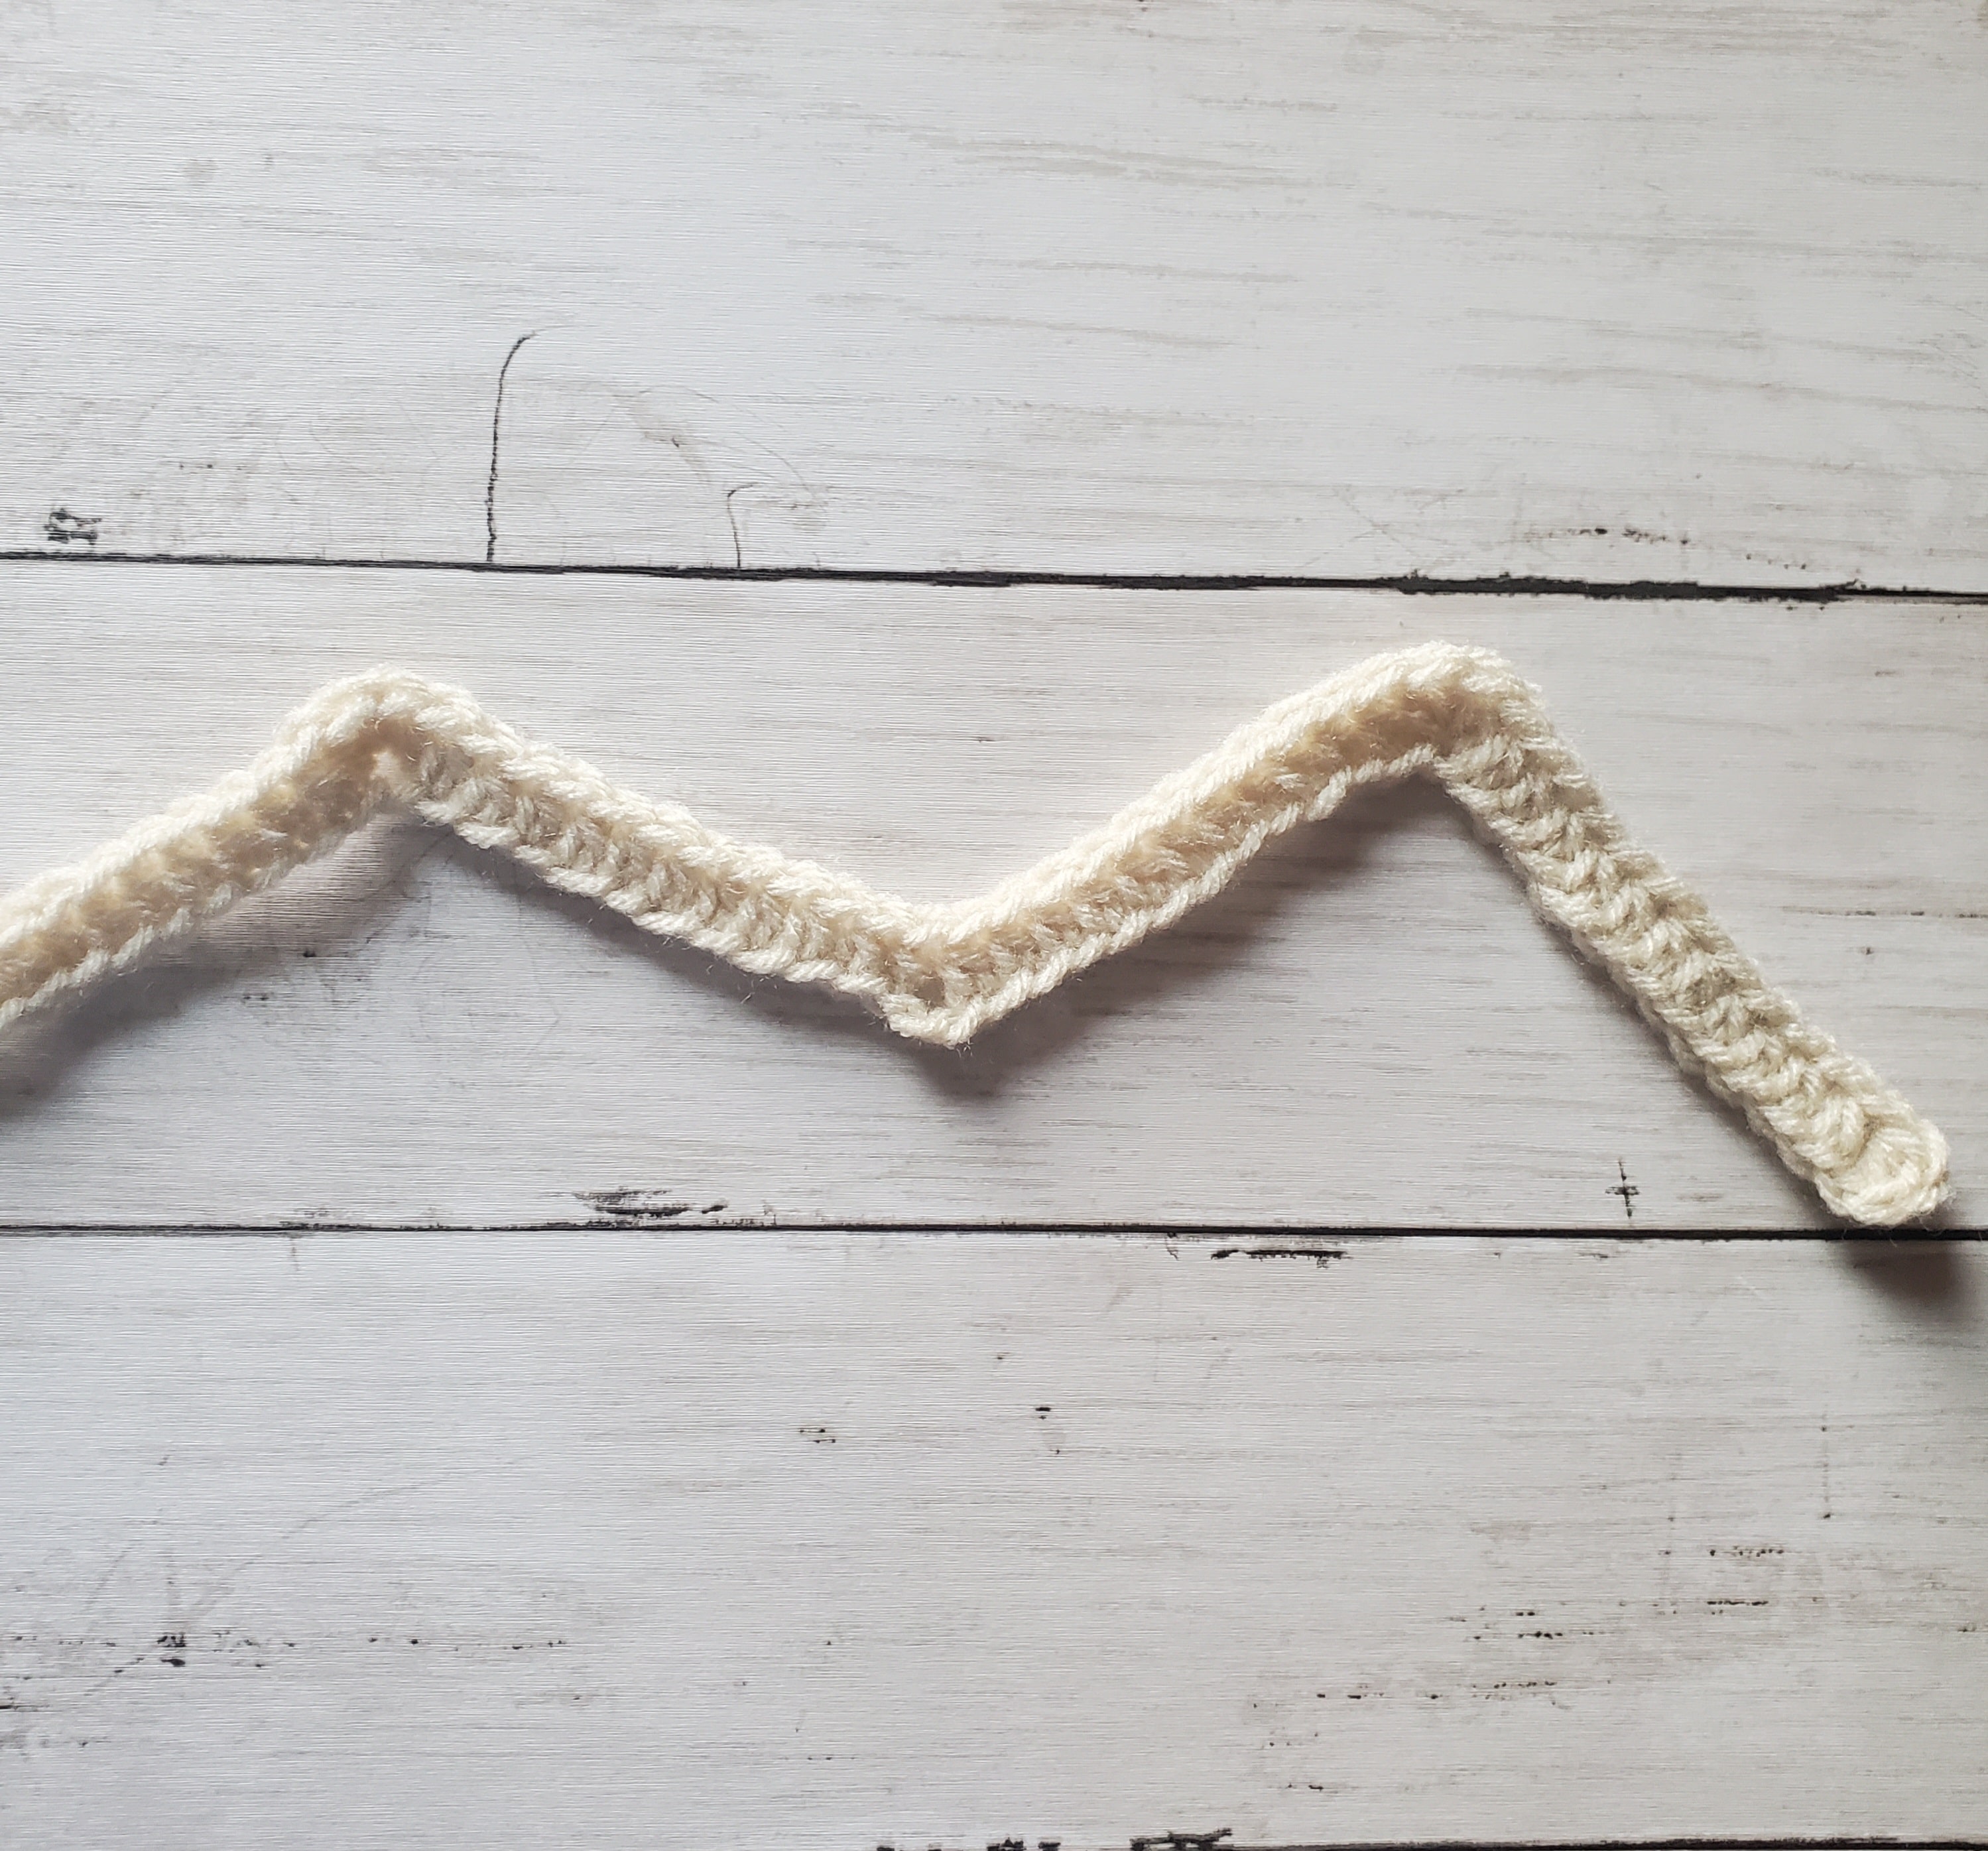
  • At the top, there will always be 3 hdc in one stitch and you will always skip 2 stitches at the bottom. This creates the lovely chevron or zig zag pattern.
  • How to hdc2tog:
    • yarn over, insert your hook into next stitch, pull up a loop (you have 3 loops on your hook).
    • yarn over again, insert your hook into the next stitch, pull up a loop (you have 5 loops on your hook), pull yarn through all 5 loops.
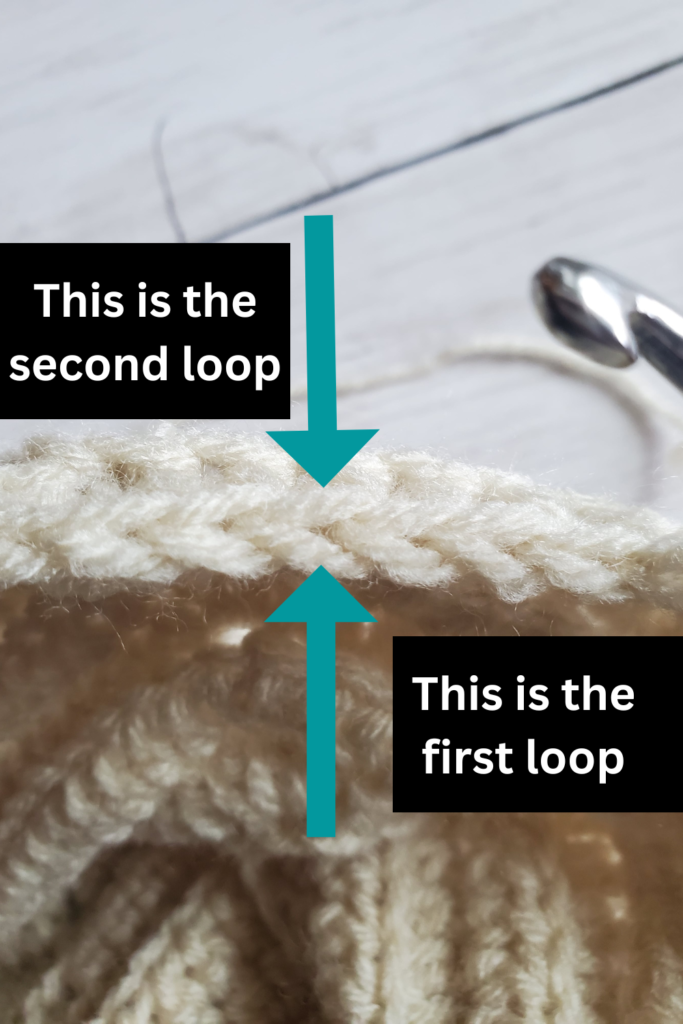
  • To crochet in the second loop only, look down from the top of your stitches. You should notice that crochet stitches typically have a V shape. Instead of inserting your hook into the next stitch as normal, insert your hook into the part of the V that is farthest away from you.
hdc2tog1
3 loops on hook
hdc2tog2
5 loops on hook in next stitch
Second loop in Crochet

Crochet Chevron Baby Blanket Pattern:

Ch 178

If you need to adjust the size of the crochet chevron baby blanket, the math is; (ch 25 sts + 3 sts). In simpler terms, chain a multiple of 25 and add 3 chains when you have reached the desired length.

  • Row 1: Insert into 2nd ch from hook, hdc2tog, *hdc in next 11 chs, 3 hdc in next ch, hdc in next 11 chs, skip 2 chs*, repeat from *to* until last 11 hdcs, you will have 2 chs left at the end of the row, hdc2tog
  • Row 2: Ch 2, turn, in the back loop only (and from here on out) hdc2tog, *hdc in next 11 sts, 3 hdc in next st (this should be in the middle of the 3 hdc from the previous row), hdc in next 11 sts, skip 2 sts* repeat from *to.*

Repeat row 2 until you’ve reached your desired length. Cut yarn with scissors and pull through. Weave in any ends with tapestry needle.
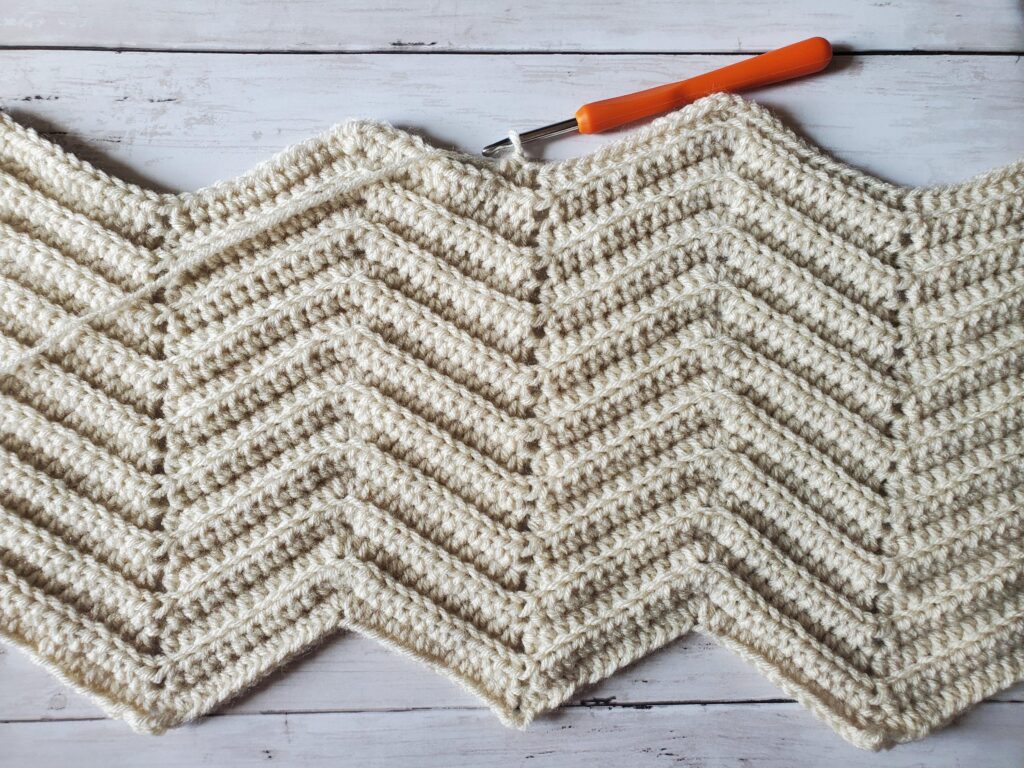
Chevron Crochet Blanket

The Crochet Chevron Baby Blanket is a beautiful way to make a one color blanket. You can see in the pictures how the texture looks, this is all because we crocheted in the back loop only.

Thank you and I hope you enjoyed this free crochet pattern, until next time.

Crochet Shell Baby Blanket – Free Pattern

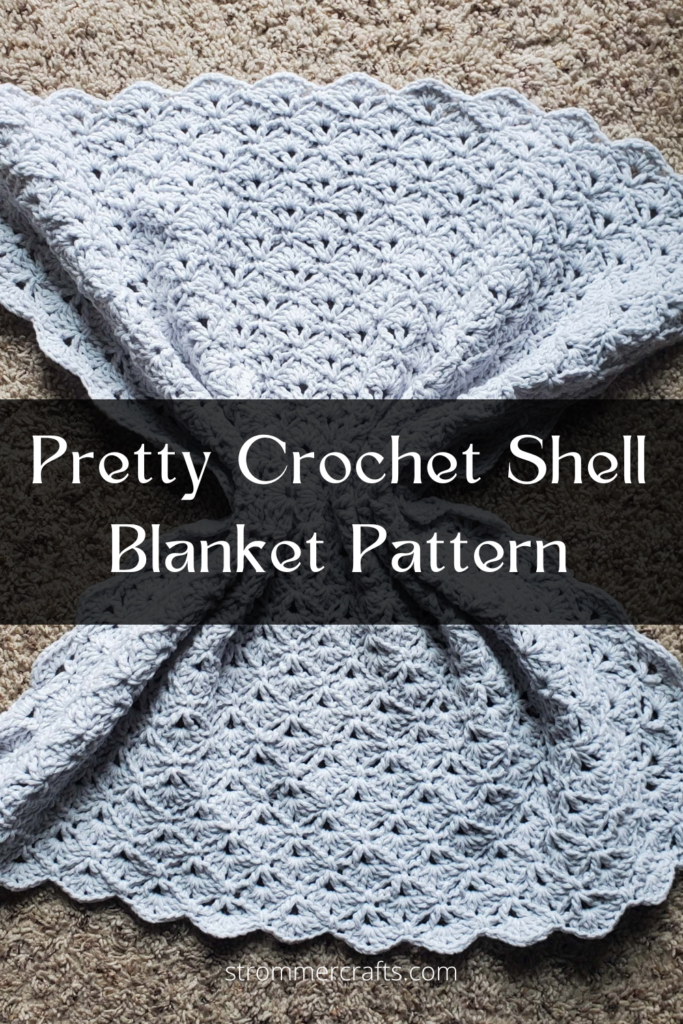
Hello everyone, today I have a crochet shell baby blanket pattern for you. 

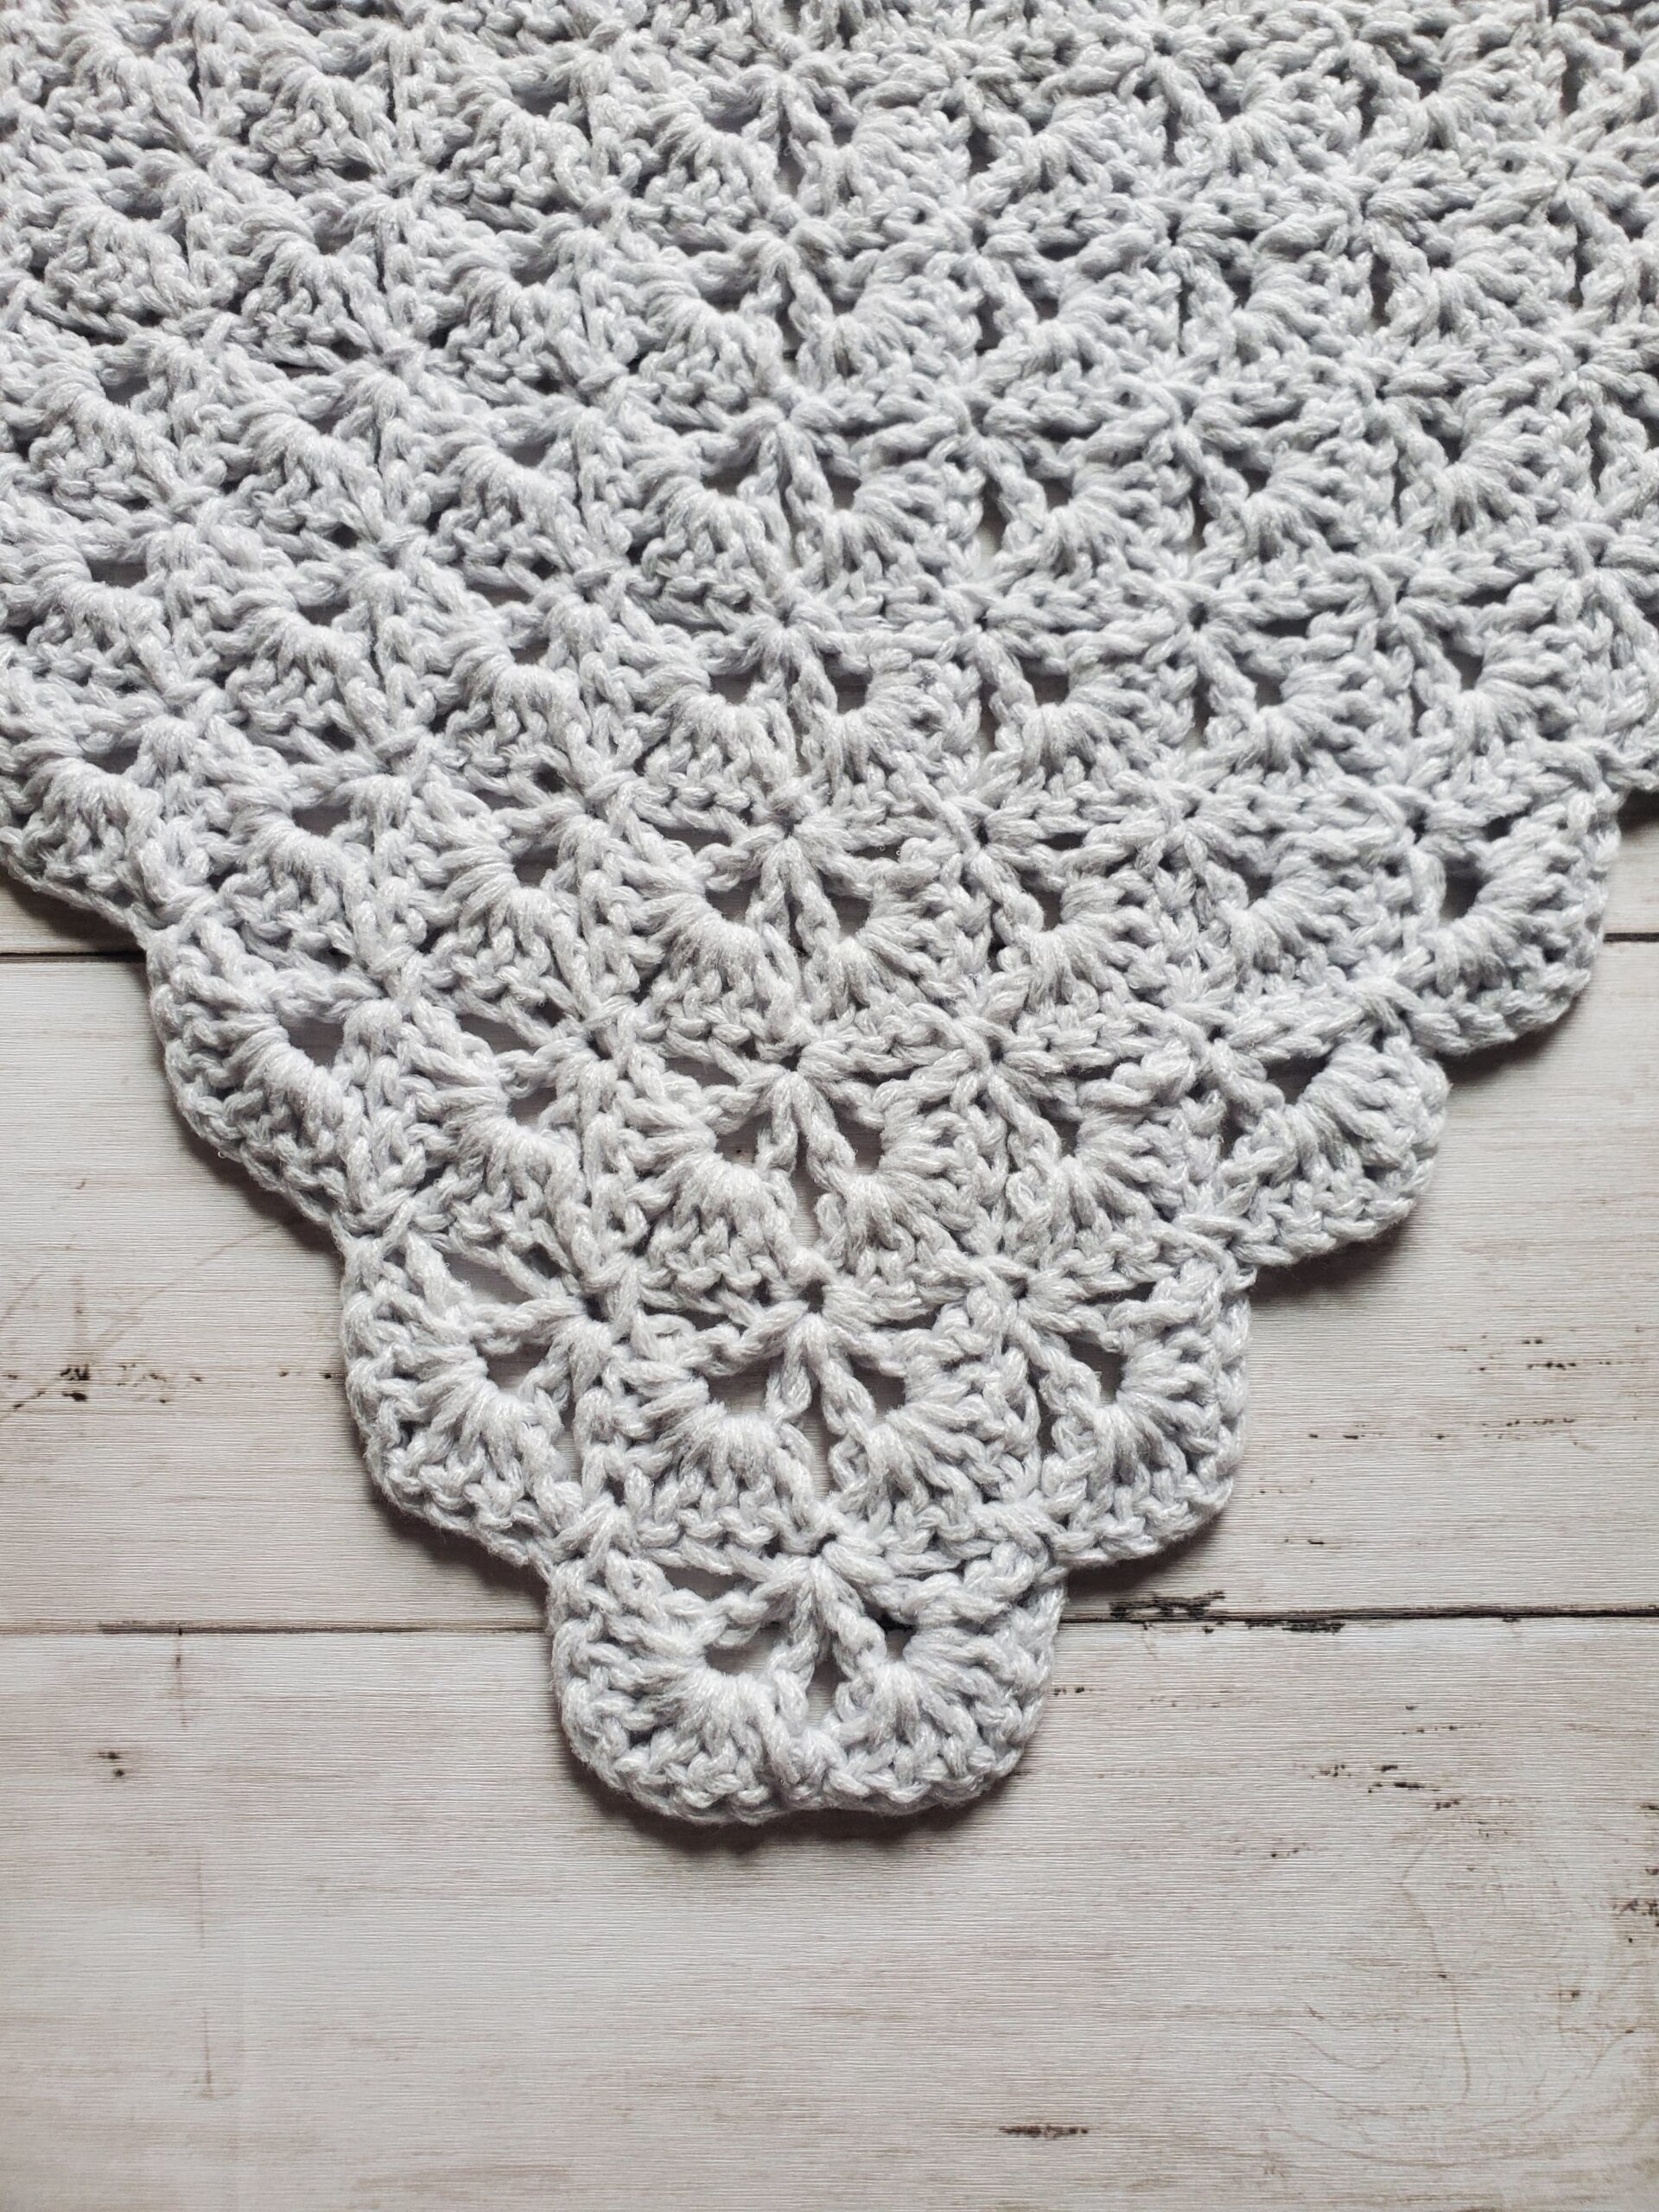
This crochet blanket is made up of a series of stitches that creates a beautiful shells. This pattern is ideal for baby blankets, especially newborn girls, as the shells give the blanket feminine features.

For the blanket pictured, I only used 1 skein of Lion Brand’s Feels like Butta Yarn in Pale Grey. With just 1 skein you can make a good sized stroller or carseat blanket, but you wouldn’t be able to wrap a newborn in it. 

For a typical newborn blanket (which is usually about 36 in x 36 in), you’ll need two skeins of Lion Brand’s Feels like Butta Yarn in Pale Grey.

I’ve used this specific yarn before to make burp cloths and winter hats, and I have to say, this is probably the softest acrylic yarn that I’ve worked with. Many acrylic yarns have a scratchy feeling that makes it less than ideal for crochet baby items (washing can soften it up, but it just isn’t the same!).

Lion Brand’s Feels like Butta Yarn is incredibly soft and gives the blanket a nice “squishy” feel. I absolutely love the colors that come from this yarn line. Obviously you don’t have to use the Pale Grey color, but the other colors available are of a softer palette and are great for making baby blankets.

The crochet shell baby blanket is  made with one color of yarn and from the center out. If you’ve never made a blanket like this before, don’t worry! It’s not too complicated, and if you don’t like using a magic circle to start, you can always chain 2 and insert your hook into the first chain.

I like making many baby blanket from the center out because no matter when you run out of yarn, you’ll always have a fairly even square! 

Related Posts:

Size:

  • With 1 skein of Feels like Butta Yarn, the size will be about 26 in x 26 in.
  • With 2 skeins, you can crochet a normal sized baby blanket, about 36 in x 36 in.

Materials Needed:

Abbreviations Used:

  • St – stitch
  • Sl st – slip stitch
  • Mc – magic circle 
  • Ch – chain
  • Sc – single crochet
  • Dc- double crochet
  • Shell – 3 dc, ch 1, 3 dc all in the same st
Pretty Crochet Blanket Pattern

Crochet Shell Baby Blanket

  • Round 1: Mc (alternatively you can ch 2 and work in the 1st ch), ch 3 (counts as a dc and ch 1), *dc, ch 1 in mc* repeat from *to* 7 times, sl st to 2nd ch of first ch 3 (you will have 8 dcs and 8 ch 1s).
Crochet Shell Blanket Round 1
Round 1
  • Round 2: Sl st into next ch 1 space, ch 3 (counts as dc), 2 dc in same ch 1 space, ch 1, 3 dc in same ch 1 space (first shell complete), *sc in next ch 1 space, (3 dc, ch 1, 3 dc) in next ch 1 space* repeat from *to* until last shell completed, sc in last ch 1 space, sl st to top of ch 3.
Crochet Shell Baby Blanket Round 2
Round 2
  • Round 3: Ch 4 (counts as a dc and ch 1), dc in the sc behind the ch 4 (the last sc of the previous round), ch 3, (dc, ch 1, dc) in same sc. *Ch 5, skip the next shell, (dc, ch 1, dc, ch 3, dc, ch 1, dc) in next sc* repeat from *to* until the last corner completed, ch 5, sl st to top of ch 3.
Crochet Shell Blanket Round 3
Round 3
  • Round 4: Sl st into next ch 1 space, ch 3 (counts as a dc), 2 dc in same ch 1 space, ch 1, 3 dc in same space. Sc in ch 3 space, (3 dc, ch 1, 3 dc) in next ch 1 space (first corner complete). *Grab the ch 5 from previous row by sc into next ch 1 space of the shell while crocheting over the ch 5 at the same time, (3 dc, ch 1, 3 dc) in next ch 1 space, sc in ch 3 space, (3 dc, ch 1, 3 dc) in next ch 1 space* repeat from *to* until last corner made, grab the ch 5, sc in next ch 1 space, sl st to top of ch 3.
Crochet Shell Baby Blanket Girl Round 4
Round 4
  • Round 5: Ch 4 (counts as a dc and ch 1), dc in the sc behind the ch 4 (the last sc of the previous round), *ch 5, skip the next shell, (dc, ch 1, dc, ch 3, dc, ch 1, dc) in next sc (first corner complete), ch 5, skip the next shell, (dc, ch 1, dc) in next sc* repeat from *to* until last corner made, ch 5, sl st to top of ch 3.
Crochet Shell Blanket Free Pattern Round 5
Round 5
  • Round 6: Sl st into next ch 1 space, ch 3 (counts as a dc), 2 dc in same ch 1 space, ch 1, 3 dc in same space, grab the ch 5 from previous row by sc into next ch 1 space of shell while crocheting over the ch 5, (3 dc, ch 1, 3 dc) in next ch 1 space, sc in ch 3 space, (3 dc, ch 1, 3 dc) in next ch 1 space (first corner complete). *Grab the ch 5 from previous row by sc into next ch 1 space of shell while crocheting over the ch 5, (3 dc, ch 1, 3 dc) in next ch 1 space, grab the ch 5 from previous row by sc into next ch 1 space of shell while crocheting over the ch 5 again, (3 dc, ch 1, 3 dc) in next ch 1 space, sc in ch 3 space, (3 dc, ch 1, 3 dc) in next ch 1 space* repeat from *to* until after last corner made, grab the ch 5, sc in next ch 1 space, sl st to top of ch 3.
Crochet Baby Blanket Girl Round 6
Round 6

Continue growing your blanket in this fashion, by repeating Rounds 5 and 6, but growing the sides between the corners longer. 

Remember to place (dc, ch 1, dc) in the scs on the long side, ch 5 and (dc, ch 1, dc, ch 3, dc, ch 1, dc) in the corners of Round 5.

Stop at desired size on a Round 6 repeat, cut yarn with scissors and weave in end with tapestry needle.

That’s it! Please let me know in the comments below if you enjoyed this pattern or have any questions! 

Thank you for reading this post on how to make a Crochet Shell Baby Blanket.   

Crochet Baby Blanket Pattern – The Magic Mirror

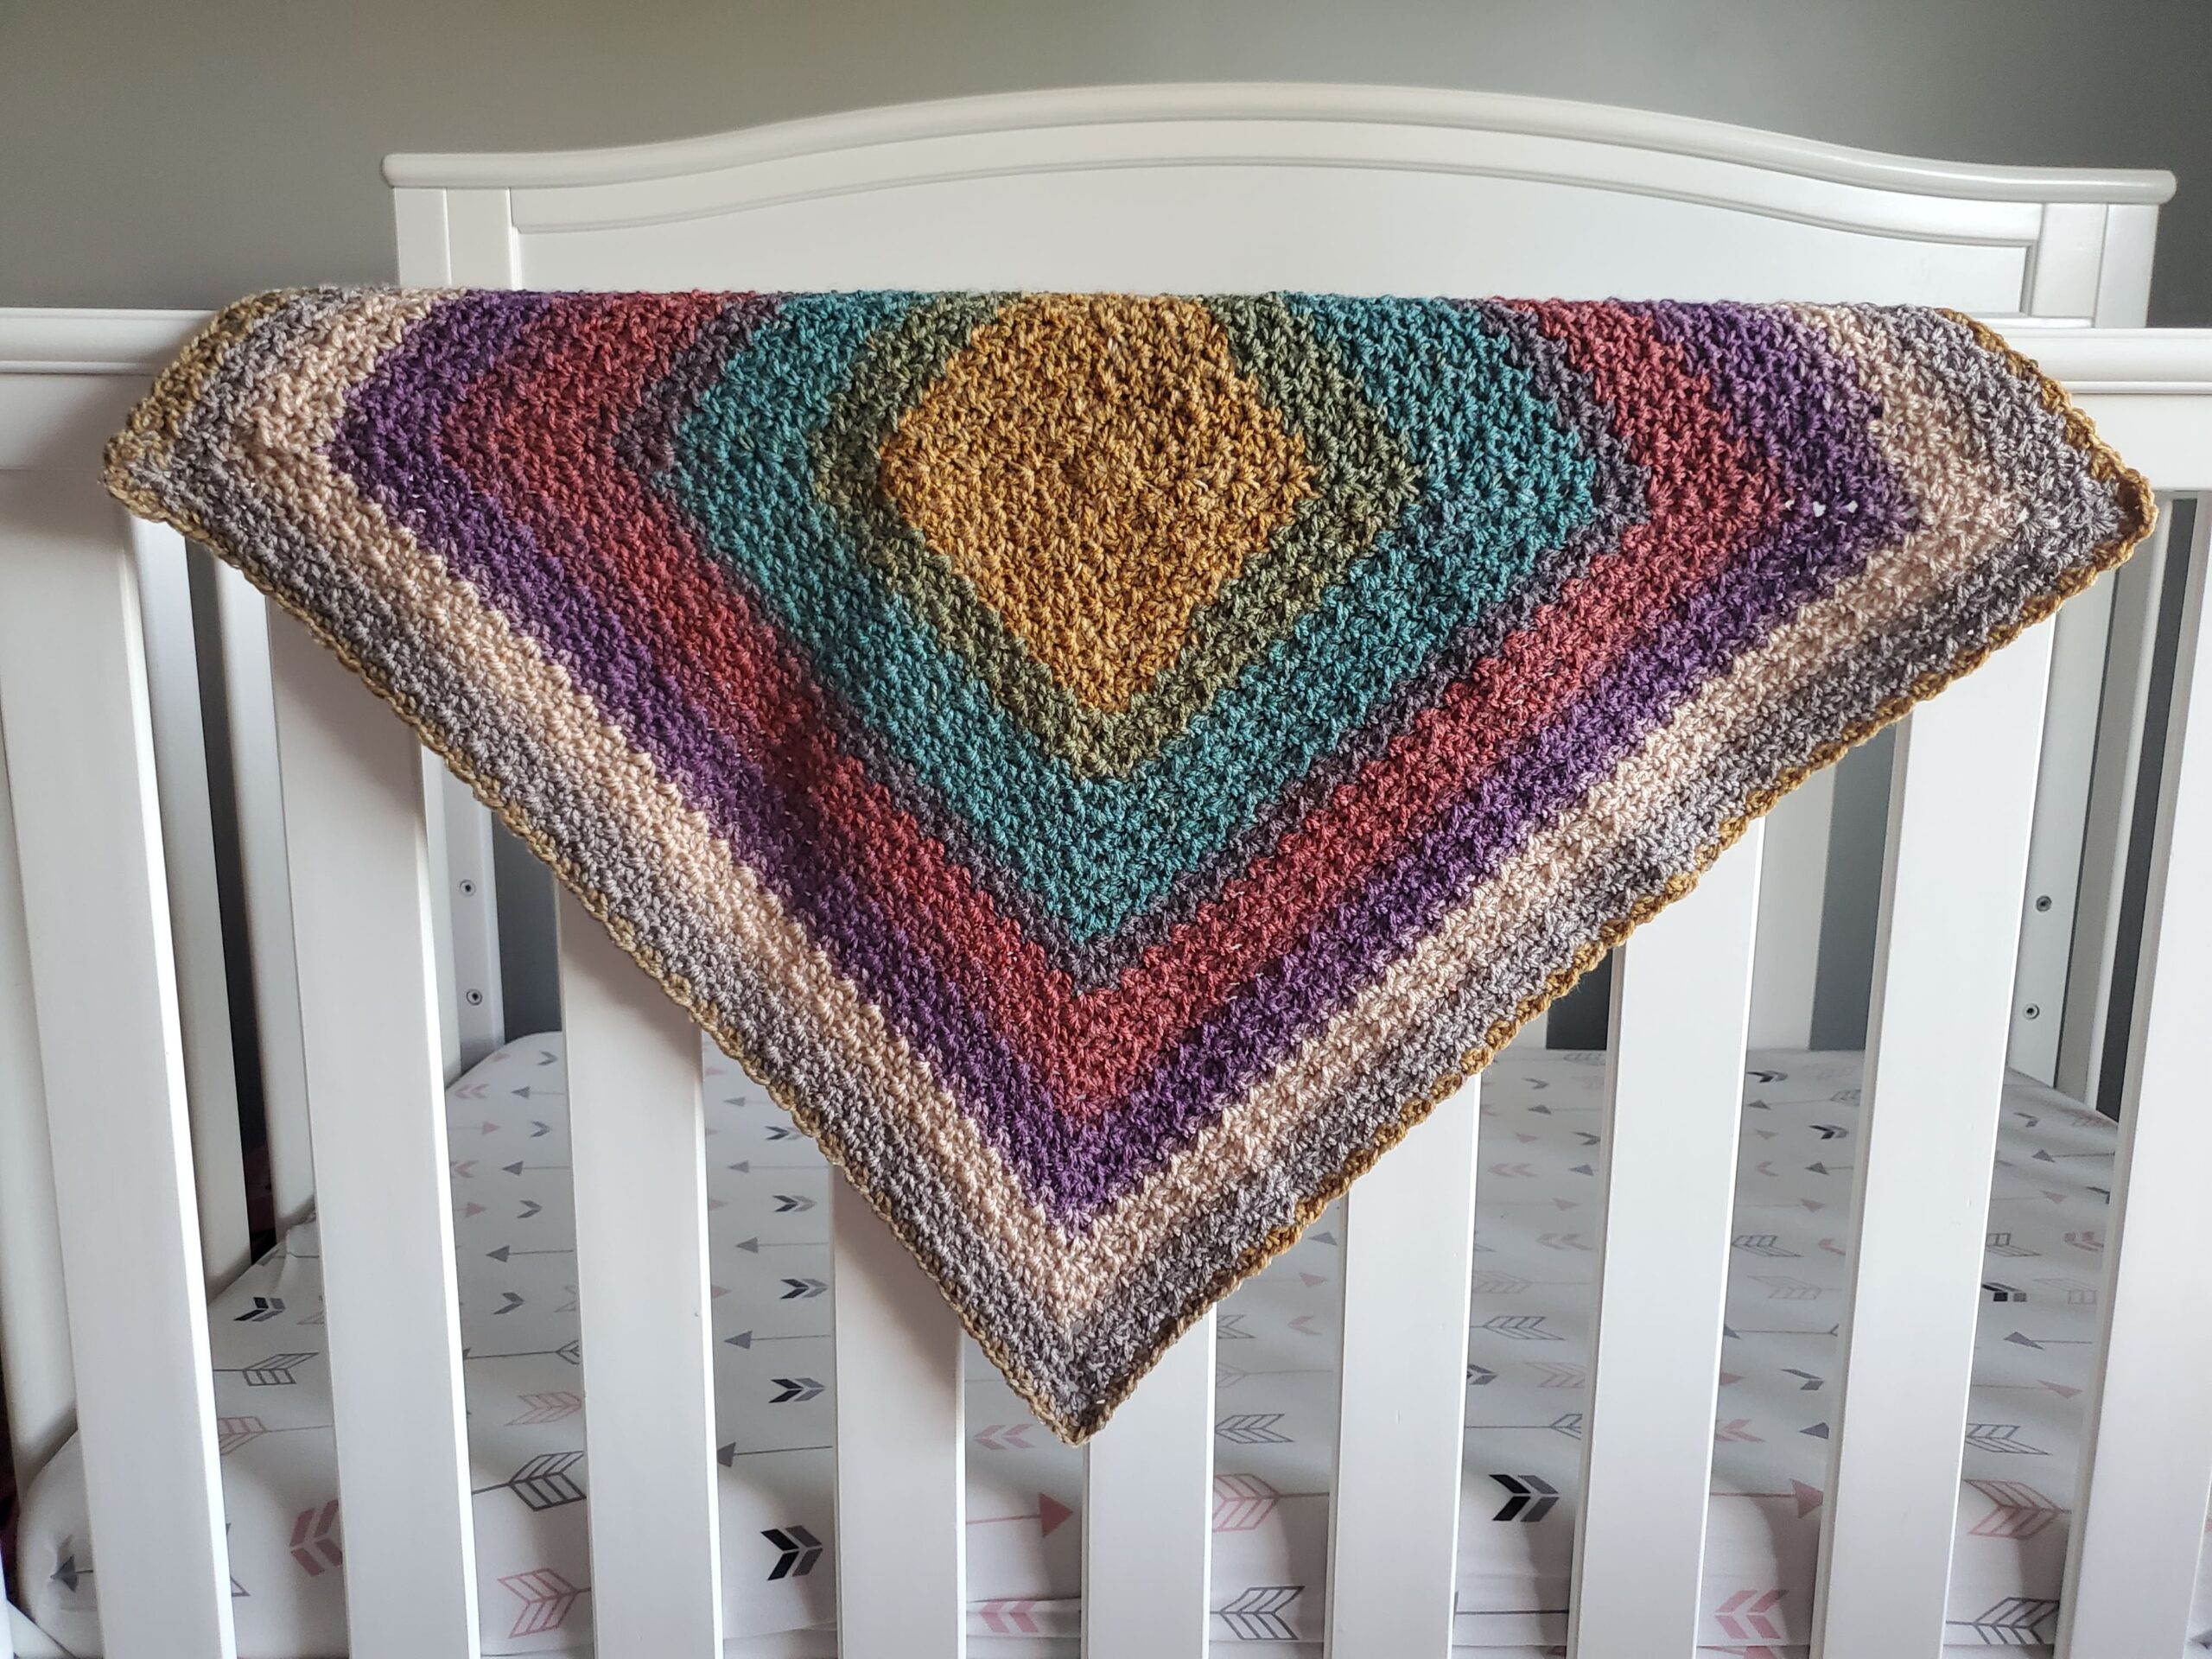
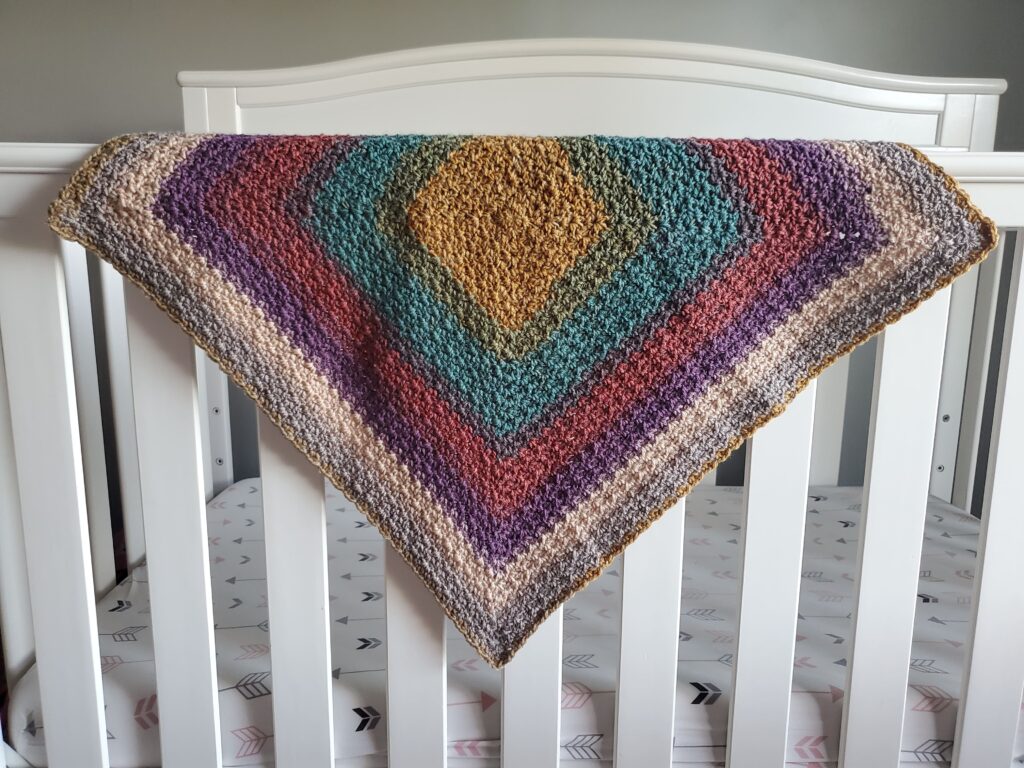
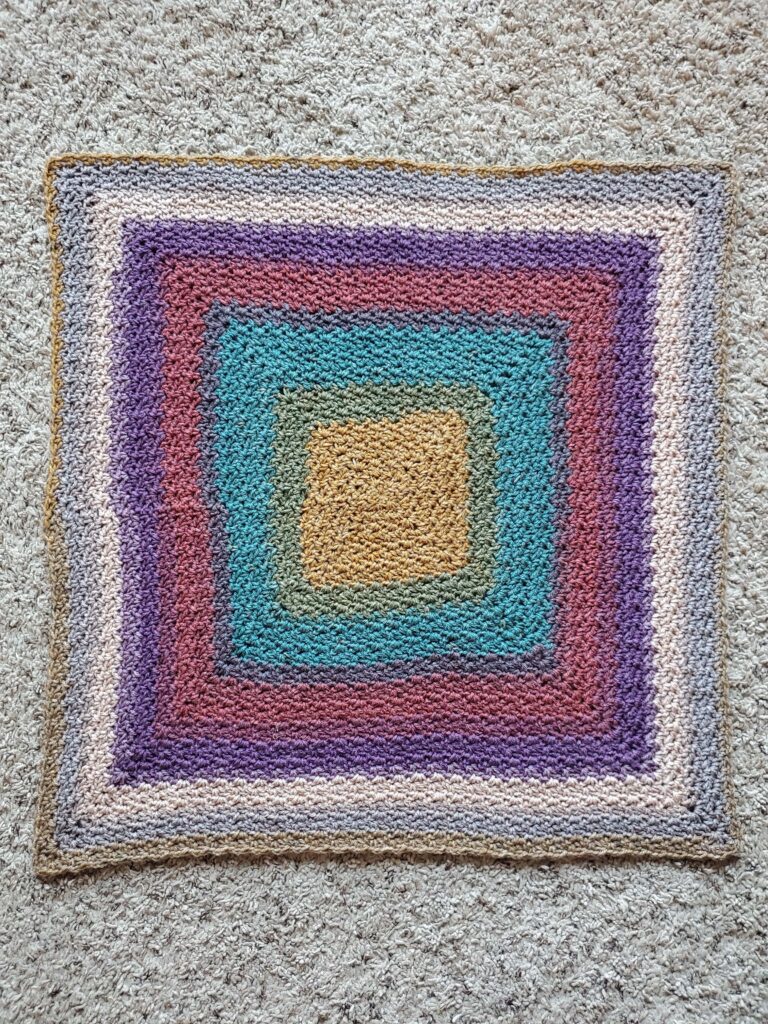
Hello everyone, today I have a free crochet baby blanket pattern for you. This is the Magic Mirror blanket, made with self striping yarn from Lion Brand! The line is called Mandala in the Warlock color. 

This is my first time using a self striping yarn (also known as a cake), and I’m pleasantly surprised with how the stripes lined up! I had to name this blanket something magical…the yarn is called Warlock of course! I think that the way the squares around the center are made reminded me of a colorful mirror.

It’s also really nice that you don’t have to cut your yarn and add new colors every couple of rows with self striping yarn. 

I’m using one ball of Lion Brand’s Mandala in Warlock for this pattern. It’s a little bit smaller than a typical crochet baby blanket, but it’s great for using as a blanket for your baby in a car seat or stroller, or even for those little preemie babies (if the nurses will let you bring it in the NICU). 

I’ve created this blanket from the center out. I prefer center out crochet when I’m not sure how big my blanket will be, this helps me keep a nice, even square shape no matter what round I need to stop. I’m using a magic circle (magic ring) to start, but you can easily ch 2 and crochet into the first ch instead.

I’m using a stitch called the Wattle Stitch. The stitch is simple once you get started, it is composed of a (sc, ch 1, dc) in the same stitch, then skipping 2 sts or skipping to reach the next chain space.

Okay, let’s get started!

Related Posts:

Size

25 in x 25 in, depending on your tension

Time to Complete

This crochet baby blanket took me about 2-3 days of inconsistent crocheting to complete.

Please note that some of these links may be affiliate links. That means that if you click on these links and make a purchase, I may receive a commission at no extra cost to you. You can find more information about our disclosure policy here. Thank you for your support.

Materials Needed:

Abbreviations Used:

Please note that these are in US terms, not UK.

  • Mc – magic circle
  • Ch(s) – chain(s)
  • St – stitch
  • Sl st – slip stitch
  • Sc – single crochet
  • Dc – double crochet

Helpful Tips:

  • The starting ch 1’s in each row do not count as a stitch.
  • We will be turning after finishing each row, this gives the wattle stitch a great looking texture.
  • How the corners are crocheted will alternate rounds. So round 2, 4, 6, 8 etc. will have the same type of corner and rounds 3, 5, 7, 9, etc. will have the same type or corner. I found that using wattle stitches to increase in the corners every round made it wave too much. I suspect it is from having too many stitches in the corners, so alternating made the blanket lay flat.
Mandala Cake Crochet Pattern

Magic Mirror Crochet Baby Blanket

  • Round 1: 12 sc in mc (alternatively you can ch 2 and sc in first ch), sl st to first sc
  • Round 2: ch 1 (does not count as st), *(sc, ch 1, dc, ch 2, sc, ch 1, dc) in same st, skip 2 sts* repeat from *to* around, sl st to first sc. As a helpful reminder, the series of (sc, ch 1, dc) is the Wattle Stitch.
  • Round 3: turn, sl st into next st, sl st again into ch 1 space, ch 1, (sc, ch 1, dc) in same ch 1 space, *skip next st, (sc, ch 2, dc) in ch 2 space, skip next st, (sc, ch 1, dc) in next ch 1 space, skip next 2 sts, (sc, ch 1, dc) in next ch 1 space* repeat from *to* around until last ch 2 space, (sc, ch 2, dc) in ch 2 space, skip a st, (sc, ch 1, dc) in last ch 1 space, sl st to first sc.
  • Round 4: turn, sl st into next st, sl st again into ch 1 space, ch 1, *(sc, ch 1, dc) in ch 1 space, skip next 2 sts, (sc, ch 1, dc, ch 2, sc, ch 1, dc) in same ch 2 space, skip next 2 sts (sc, ch 1, dc) in next ch 1 space, skip next 2 sts* repeat from *to* around until last ch 2 space, (sc, ch 1, dc, ch 2, sc, ch 1, dc) in ch 2 space, skip 2 sts, (sc, ch 1, dc) in last ch 1 space, sl st to first sc.
  • Round 5: turn, sl st into next st, sl st again into ch 1 space, ch 1, (sc, ch 1, dc) in same ch 1 space, skip 2 sts, (sc, ch 1, dc) in next ch 1 space, *skip next st, (sc, ch 2, dc) in ch 2 space, skip next st, [(sc, ch 1, dc) in next ch 1 space, skip 2 sts x3 times], skip 2 sts, (sc, ch 1, dc) in next ch 1 space* repeat from *to* until last ch 2 space, (sc, ch 2, dc) in ch 2 space, skip a st, (sc, ch 1, dc) in next ch 1 space, skip 2 sts, (sc, ch 1, dc) in last ch 1 space, sl st to first sc.
  • Round 6: turn, sl st into next st, sl st again into ch 1 space, ch 1, (sc, ch 1, dc) in same ch 1 space, skip 2 sts, *(sc, ch 1, dc, ch 2, sc, ch 1, dc) in next ch 2 space, skip 2 sts, [(sc, ch 1, dc) in next ch 1 space, skip 2 sts x4 times]* repeat from *to* until last ch 2 space, (sc, ch 1, dc, ch 2, sc, ch 1, dc) in ch 2 space, [skip 2 sts, (sc, ch 1, dc) in next ch 1 space x2 times], sl st to first sc.

At this point, hopefully you have the hang of how we are increasing our square with the wattle stitch, I’m going to refine how I describe the following rounds.

  • Round 7: turn, sl st into next st, sl st again into ch 1 space, ch 1, [(sc, ch 1, dc) in same ch 1 space, skip 2 sts until next ch 2 space], *(sc, ch 2, dc) in ch 2 space, [skip st(s) until next ch 1 space, (sc, ch 1, dc) in ch 1 space until next ch 2 space]* repeat from *to* around until last ch 2 space, (sc, ch 2, dc) in ch 2 space, (sc, ch 1, dc) in ch 1 space until last ch 1 space, sl st to first sc
  • Round 8: turn, sl st into next st, sl st again into ch 1 space, ch 1, wattle stitch, aka (sc, ch 1, dc) until the first ch 2 space, (sc, ch 1, dc, ch 2, sc, ch 1, dc) in ch 2 space, wattle stitch around, make the (sc, ch 1, dc, ch 2, sc, ch 1, dc) for your ch 2 corners, sl st to first sc.
  • Round 9: turn, sl st into next st, sl st again into ch 1 space, ch 1, wattle stitch until the first ch 2 space, (sc, ch 2, dc) in ch 2 corner space, wattle stitch around, make the (sc, ch 2, dc) for your ch 2 corners, sl st to first sc
  • Round 10: repeat round 8
  • Round 11: repeat round 9

Continuing like this, make your wattle stitches in the ch 1 spaces, increase in the corners by alternating rounds between the (sc, ch 1, dc, ch 2, sc, ch 1, dc) and the (sc, ch 2, dc). Sl st to the beginning of the round and turn.

After completing the last round, sl st to first st, cut yarn with scissors, pull through and weave in  your end.

And there’s your Magic Mirror Crochet Baby Blanket! I hope you found this free crochet pattern useful. I really love the jewel tones in this blanket and the way the stripes lined up. 

Did you make this pattern? Let me know on Instagram @strommercrafts! 

This post was all about how to make the Magic Mirror Crochet Baby Blanket Pattern.

Crochet Baby Blanket Mandala Yarn

Black and White Star Crochet Baby Blanket

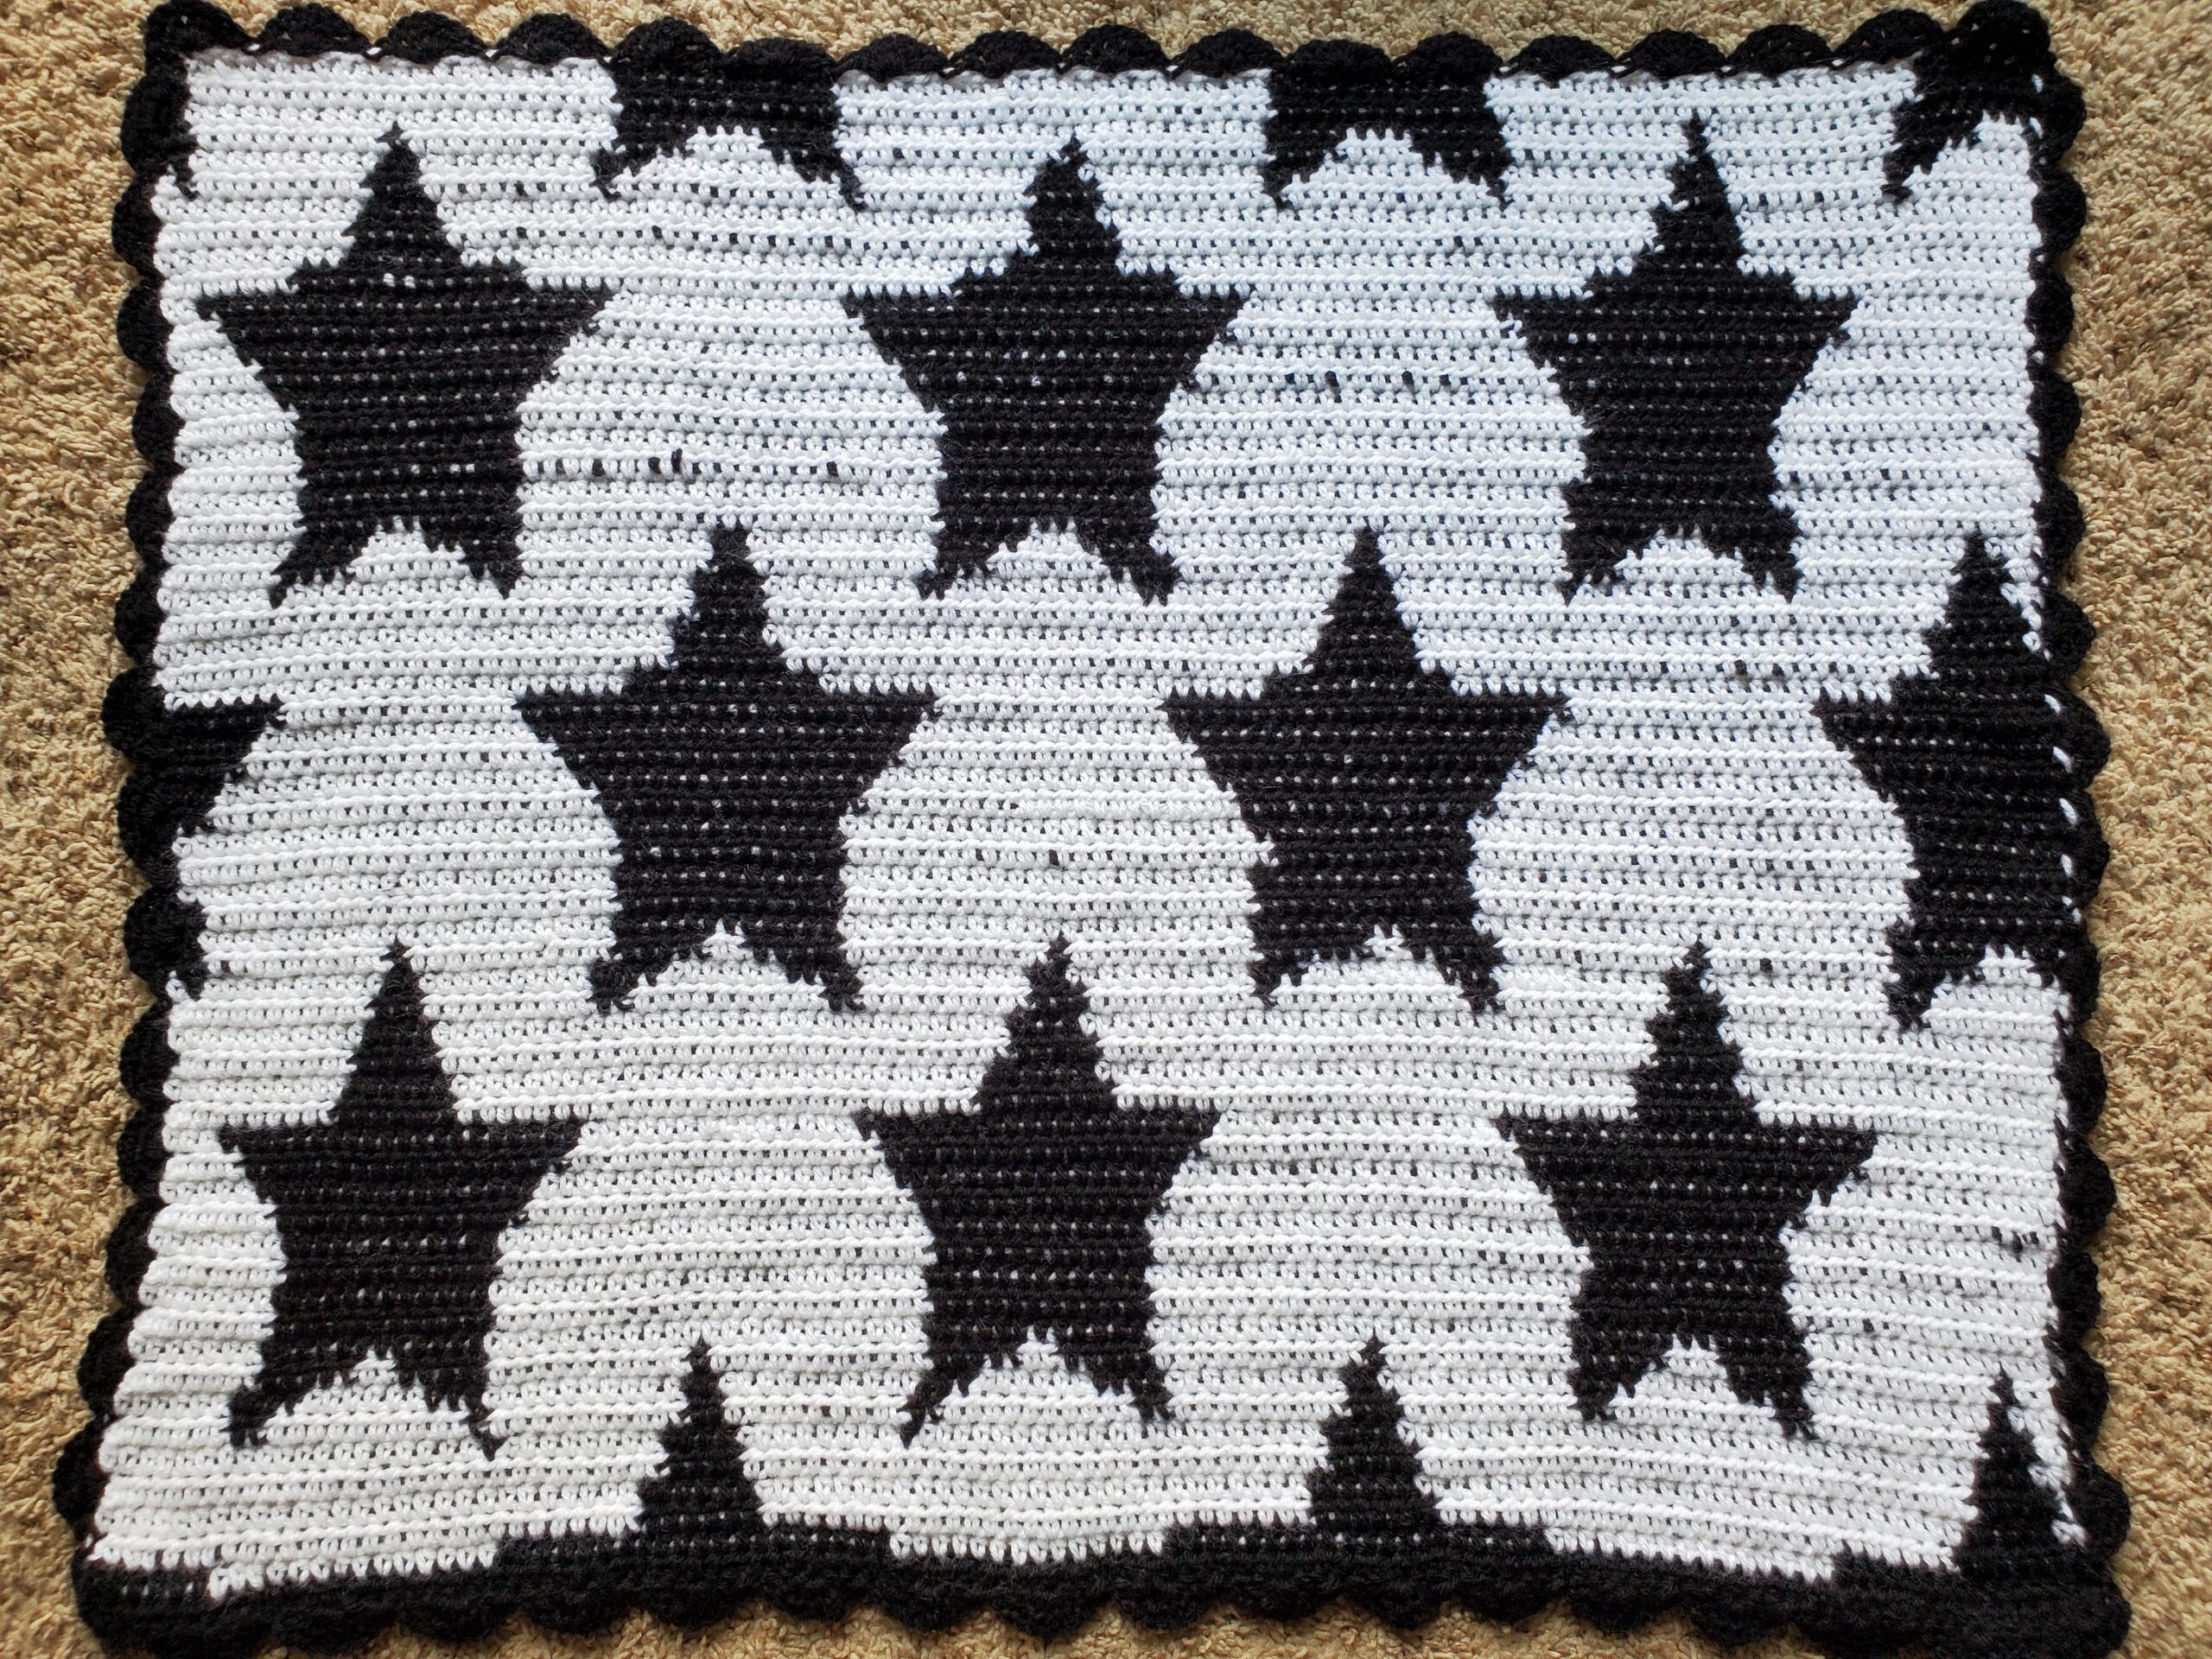
Hey there and welcome to StrommerCrafts, today I am presenting to you my first completed baby blanket pattern! A Black and White Star Crochet Baby Blanket! 

***Please note that this post may contain affiliate links. This means that I may receive a commission if you purchase something through these links (at no cost to you!). Thank you for your support!***

I used a 5 mm crochet hook and 1 jumbo skein of white yarn from Red Heart Super Saver and 1 jumbo skein of black yarn from Red Heart Super Saver. 

When finished, this blanket is about 33” x 27” depending on your gauge. 

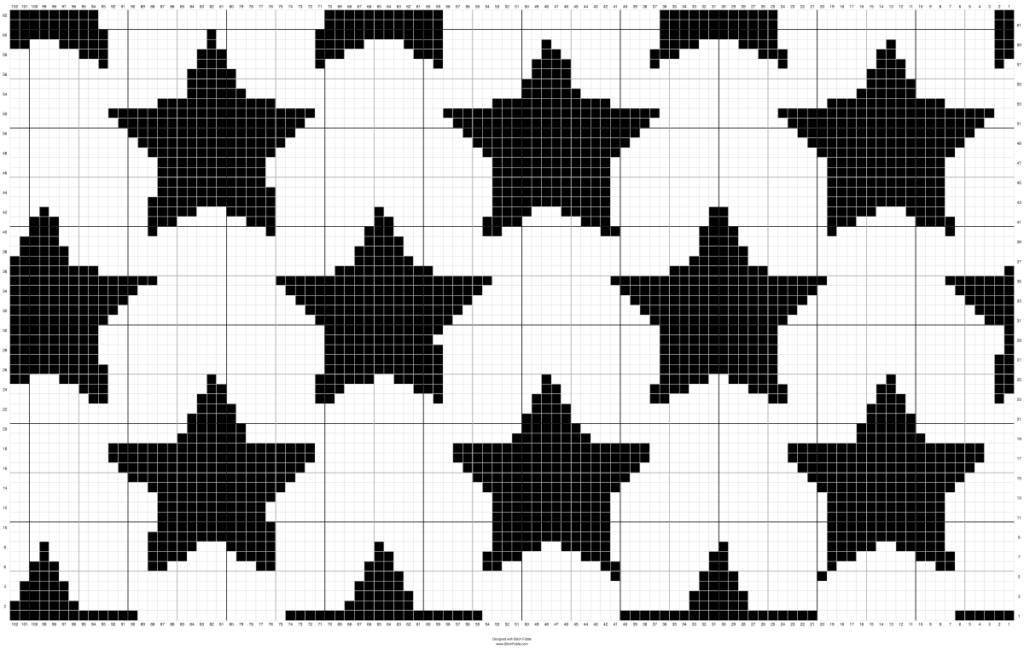
The stars are actually not a perfectly repeating pattern…I found an image of stars that I liked and used my favorite crochet graph generator, Stitch Fiddle, to create it.

Since the stars are not all the same, you can adjust the black stitches to be the exact same as the first whole star if the variations among the stars bothers you. I’m just lazy, so I left it as is ;).

You’ll also need to change colors correctly when following this pattern. When you switch between the two colored yarns, you’ll find that your skeins will start to get twisted. That is ok! That just tends to happen when you switch, just make sure that you unravel them occasionally so they don’t get knotted. 

Each square on the graph represents 1 half double crochet. I had originally used single crochets, but found that it took way too long to complete a baby blanket this way. Plus it was pretty stiff. The half double crochets worked perfectly, as the stars didn’t get stretched out too much (double crochets would distort the image and make it too tall…if that makes sense!).

Here is the graph I used to make the blanket:

Black and White Star Crochet Graph from Stitch Fiddle
Black and White Star Blanket Graph

Here is a link to a PDF of the pattern, which may be easier to see.

I suggest either printing the graph out to mark where you are in the Black and White Star Baby Blanket pattern or head over to Stitch Fiddle and mark where you are by using your own colored square (this is how I did it). You can also write down on a piece of paper or on your phone which row you last completed or are on.

It’s easy to get lost if you don’t have a way of marking which row you’re on, especially since this is a longer crochet project!

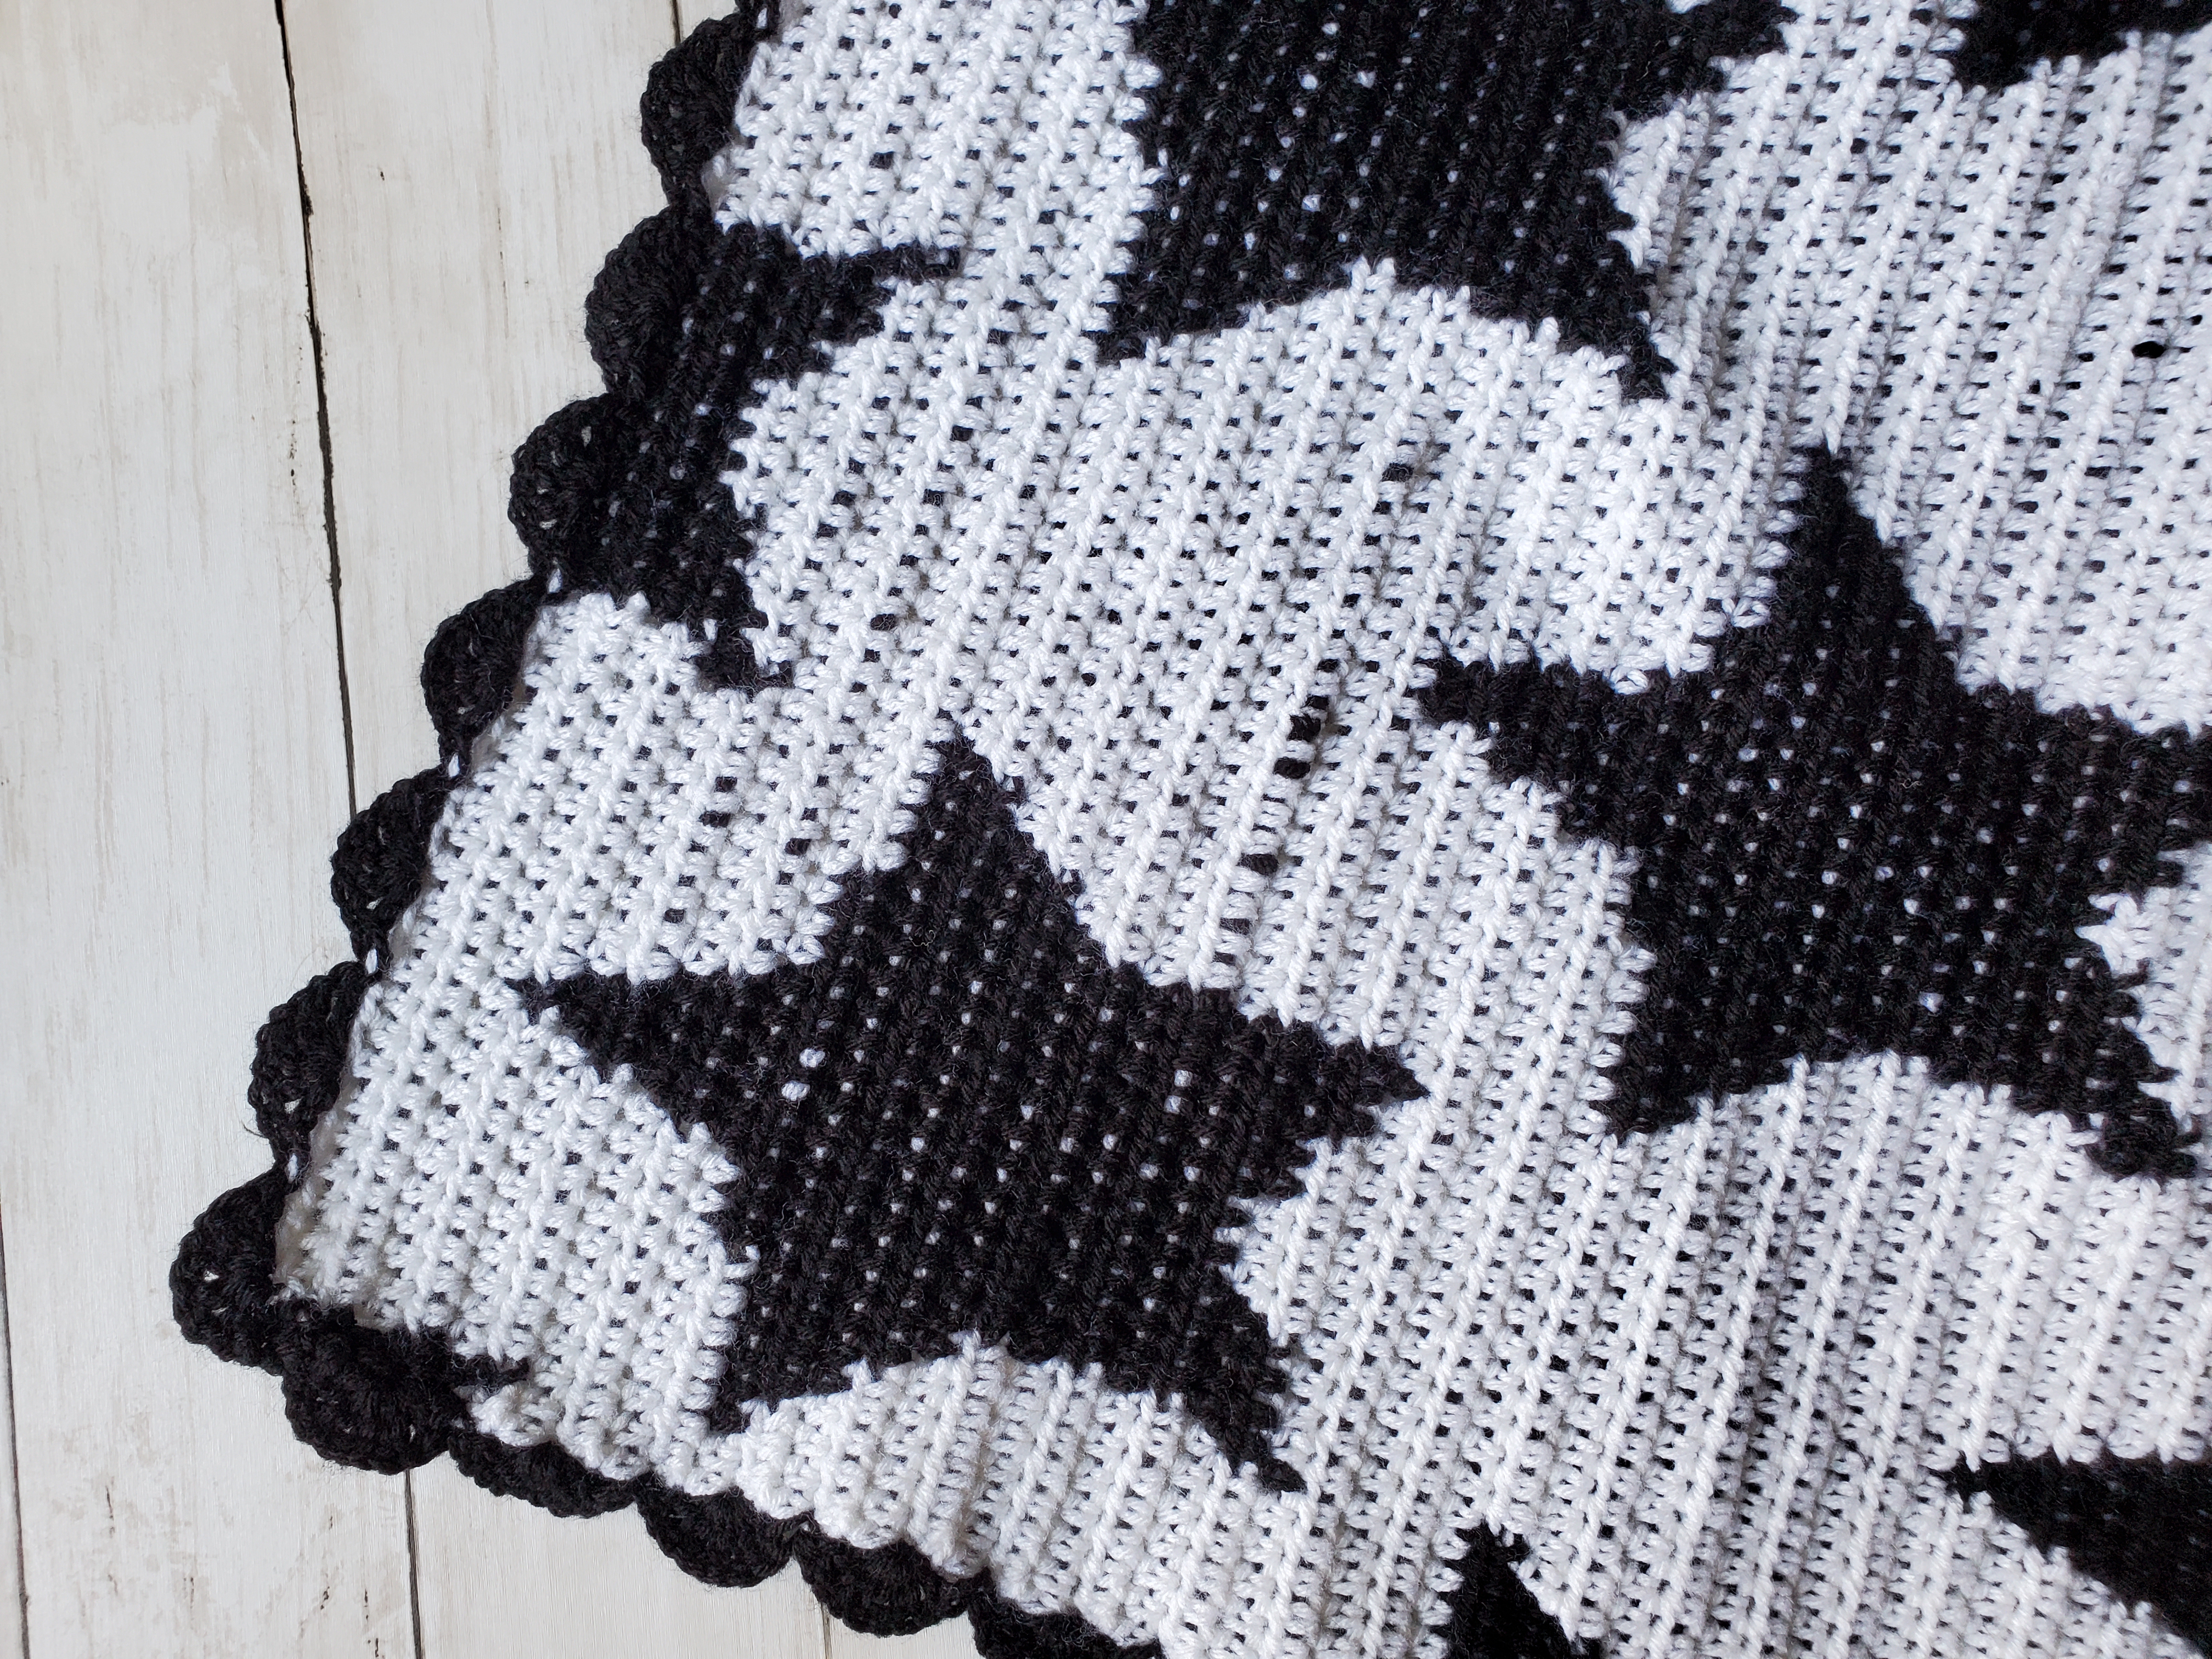
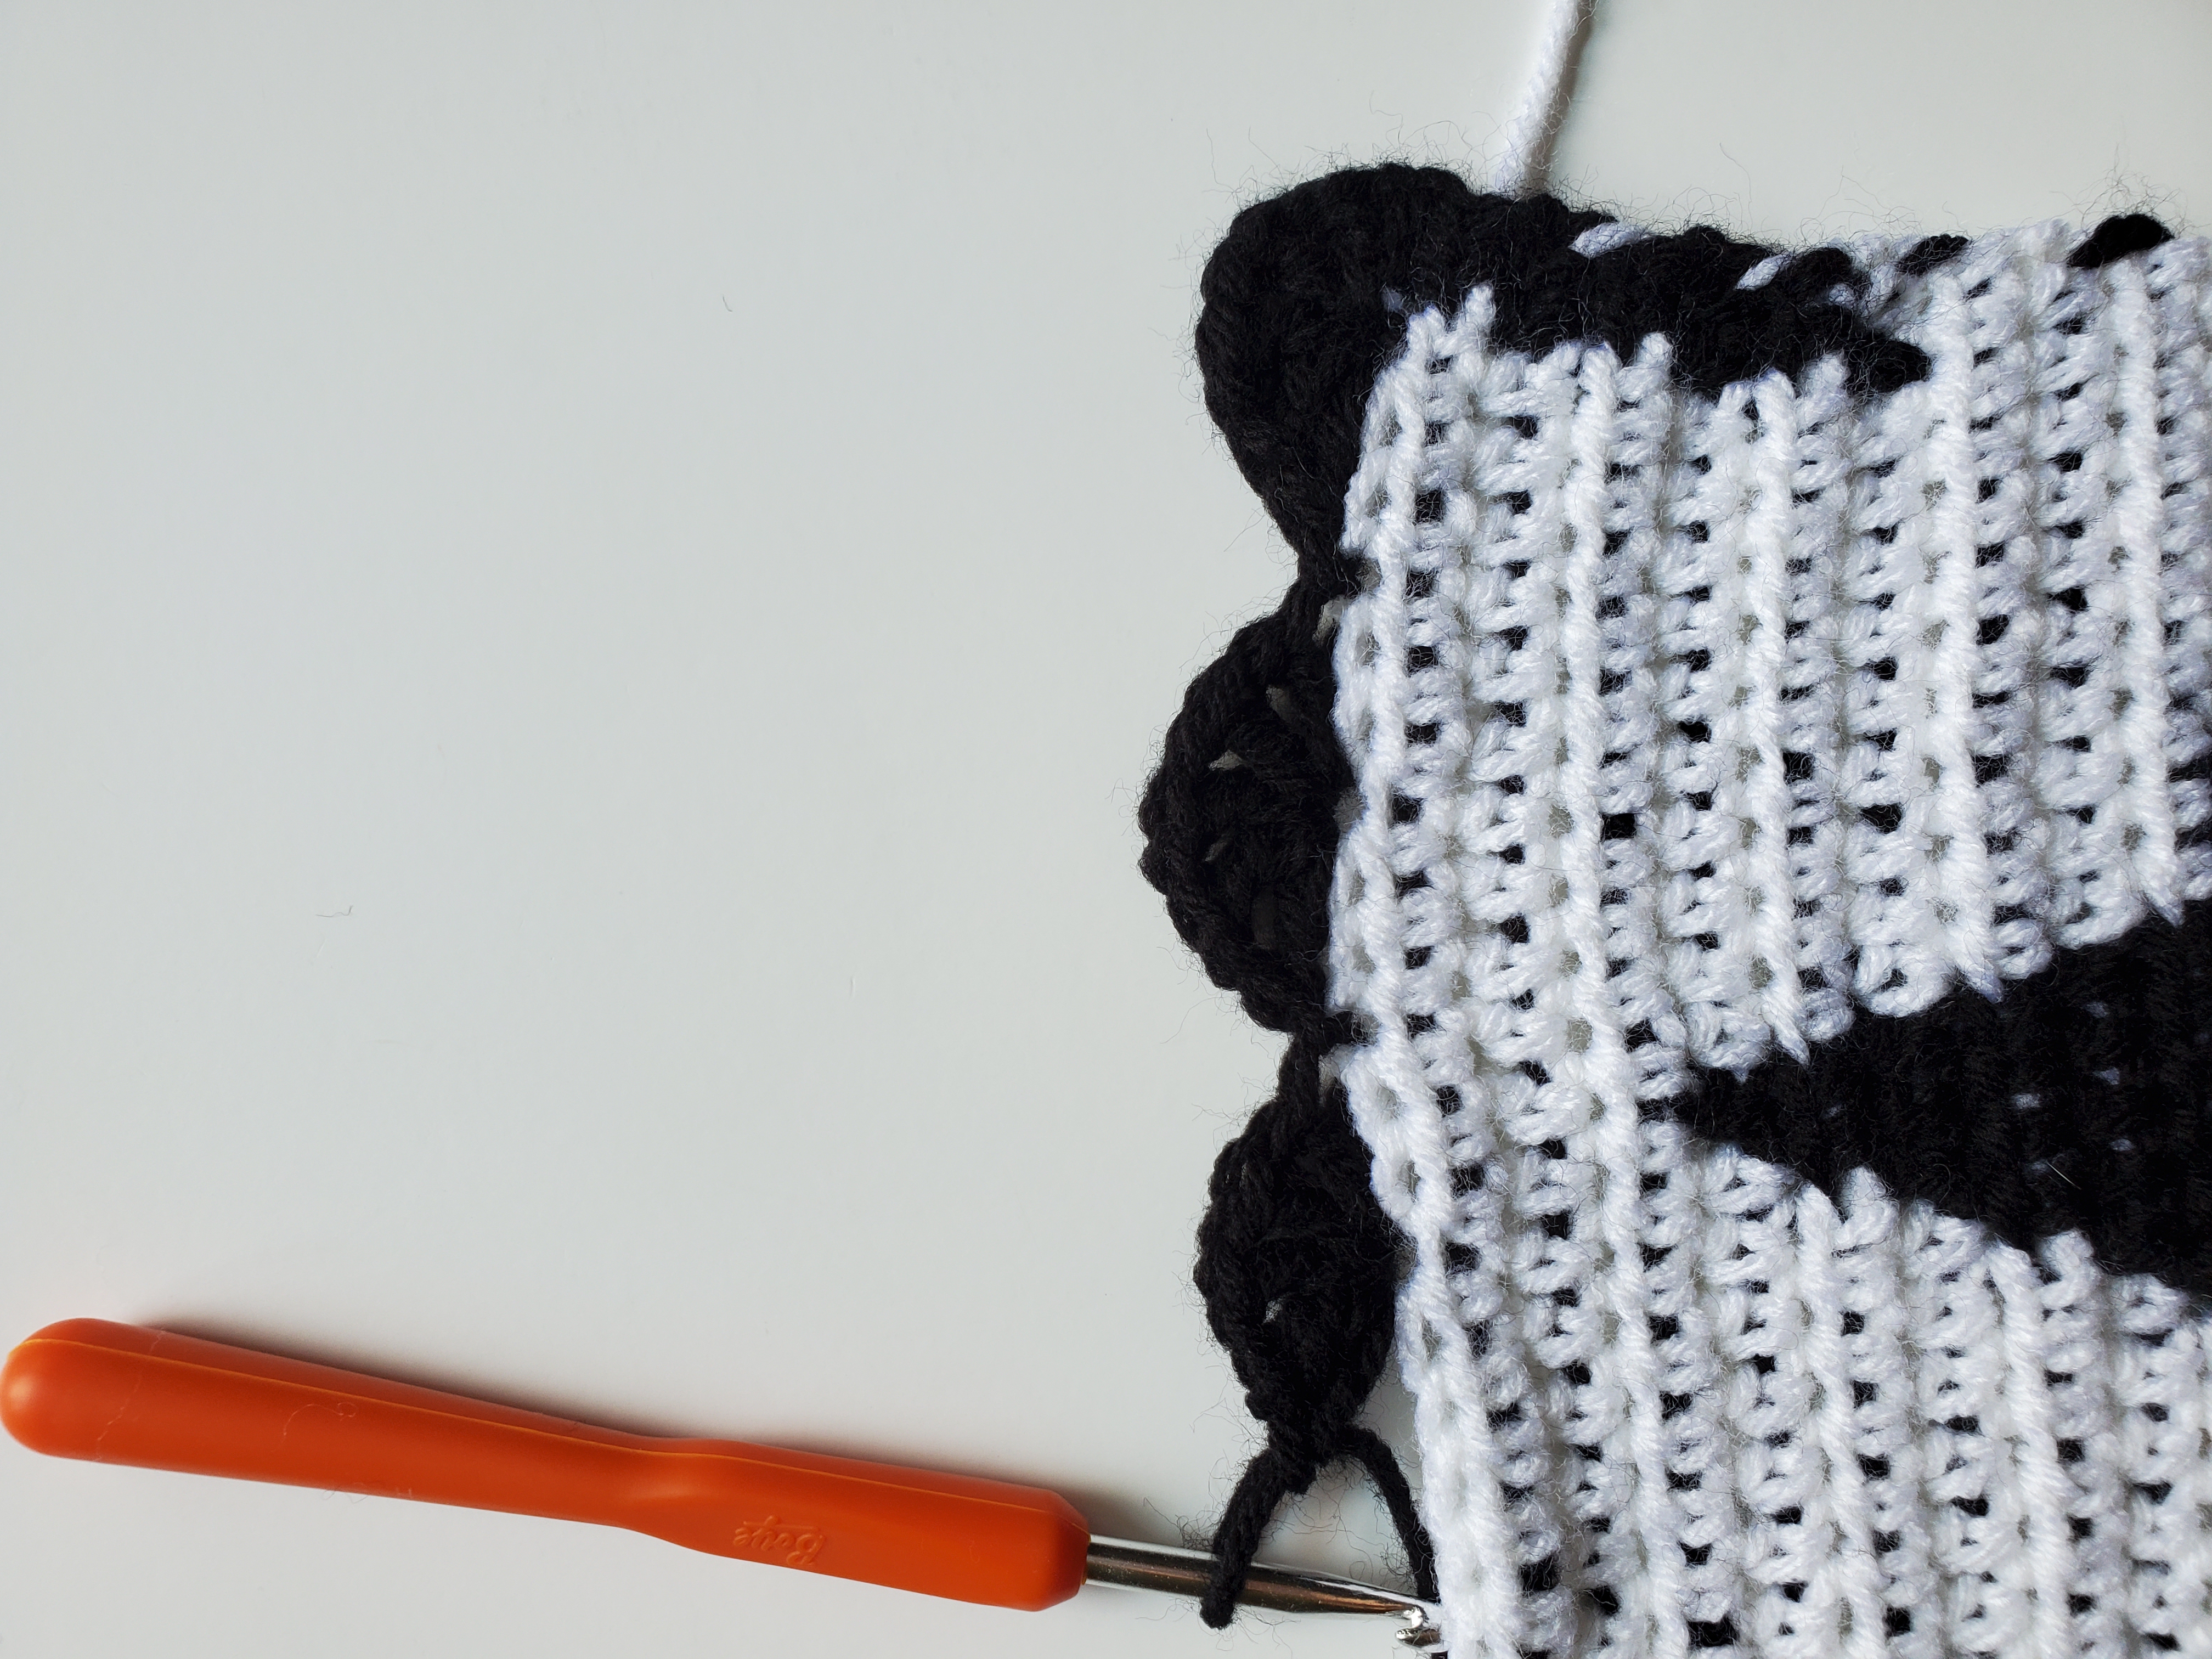
I also polished up the blanket by adding a shell stitch border around it. The shell border makes it look a little more feminine in my opinion, but you can add any border you like (or none at all!).

Corner shot of black and white star baby blanket with shell border
Check out that Shell Border!

Okay, let’s get started on our Black and White Star Crochet Baby Blanket!

Abbreviations Used:

  • Ch(s) – chain(s)
  • St – stitch
  • Sl st – slip stitch
  • Hdc – half double crochet
  • Dc – double crochet

Special Instructions:

  • Each square on the graph is equal to 1 half double crochet.
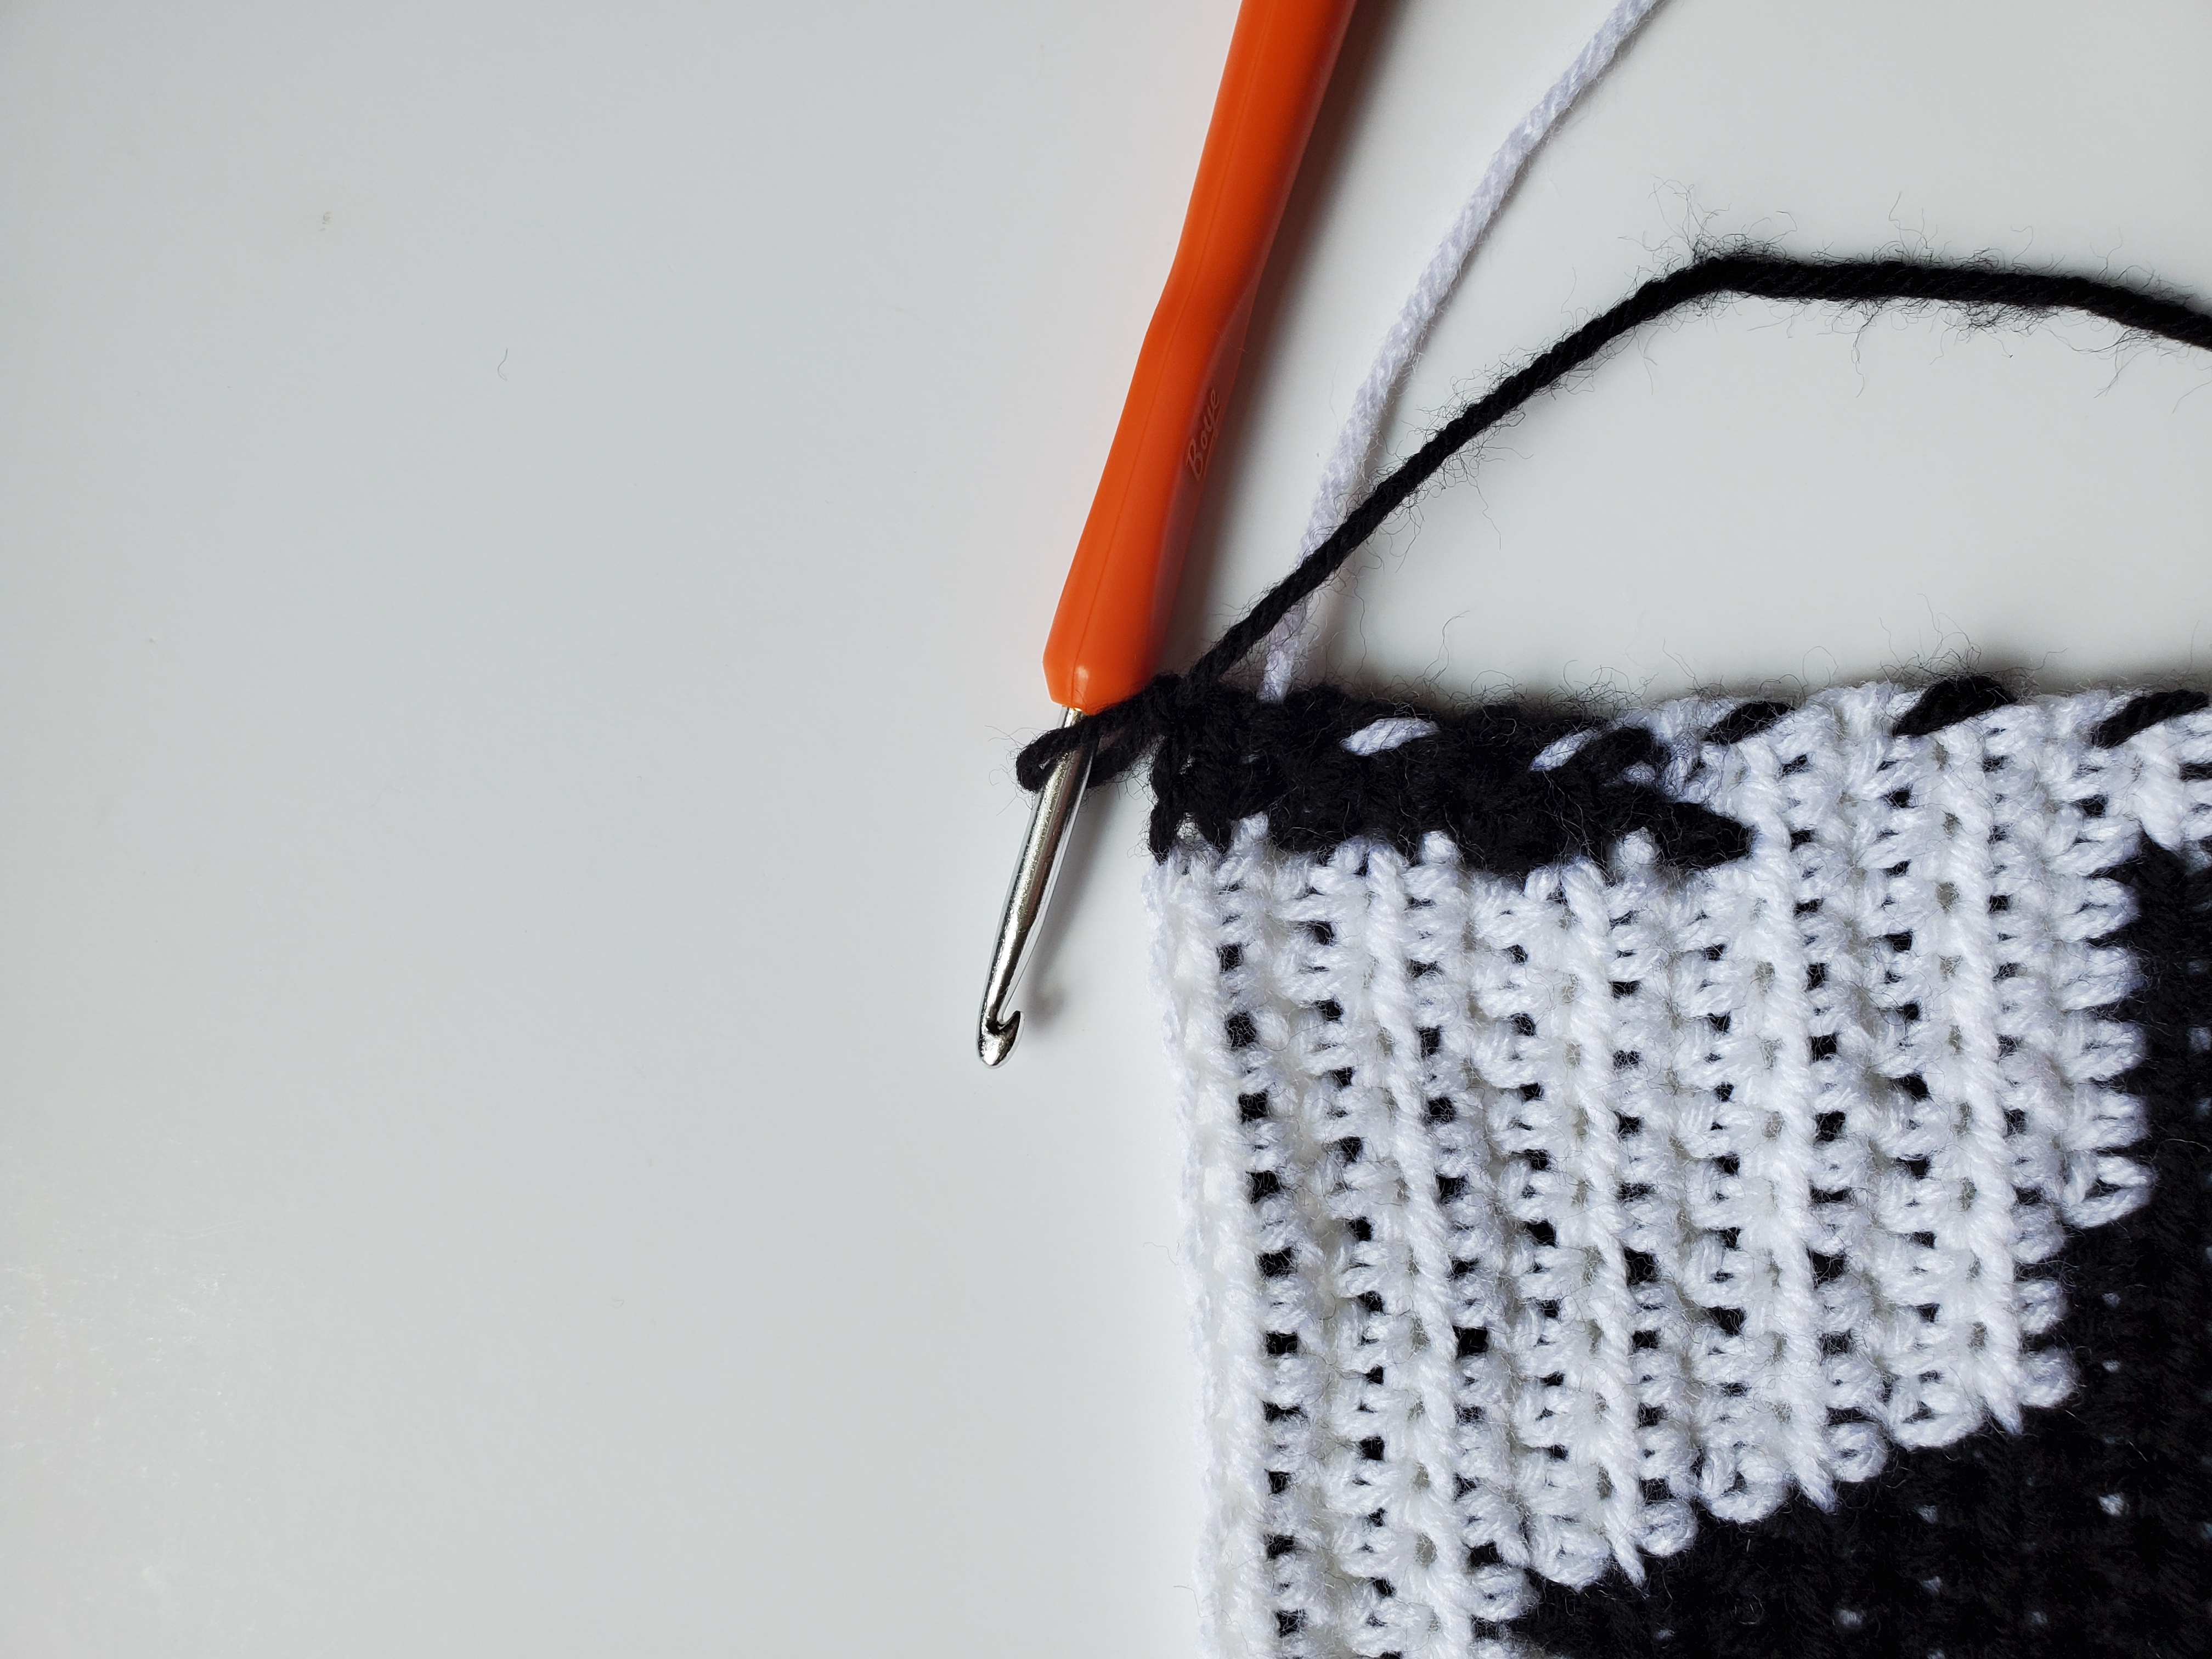
  • I carry the yarn color I’m not using with me. This prevents having a thousand ends that have to be weaved back into the project, however, you will be able to see the black yarn between the white. 
  • Make sure that you change yarn colors correctly. This prevents your colors from “straying” away.
  • Remember to untwist your skeins occasionally to prevent future knots and entanglement.

Black and White Star Baby Blanket Pattern:

With black yarn and 5 mm crochet hook:

  • Ch 103, in second ch from your hook, make 1 hdc in each ch across (102 sts)
  • Rows 1-62: Turn, ch 1 and follow the squares on the graph. The white squares indicate that 1 white hdc should be placed and the same with the black. I started Row 1 by reading the graph, left to right. Please see image above or high quality PDF below.
  • Click here for PDF version of the pattern.
  • If you want to make the shell border, don’t cut your yarn yet. When I ended the last row, I had black yarn on my hook already, so I went ahead and cut the white yarn off.

Shell Border (optional)

With 5 mm crochet hook and black yarn:

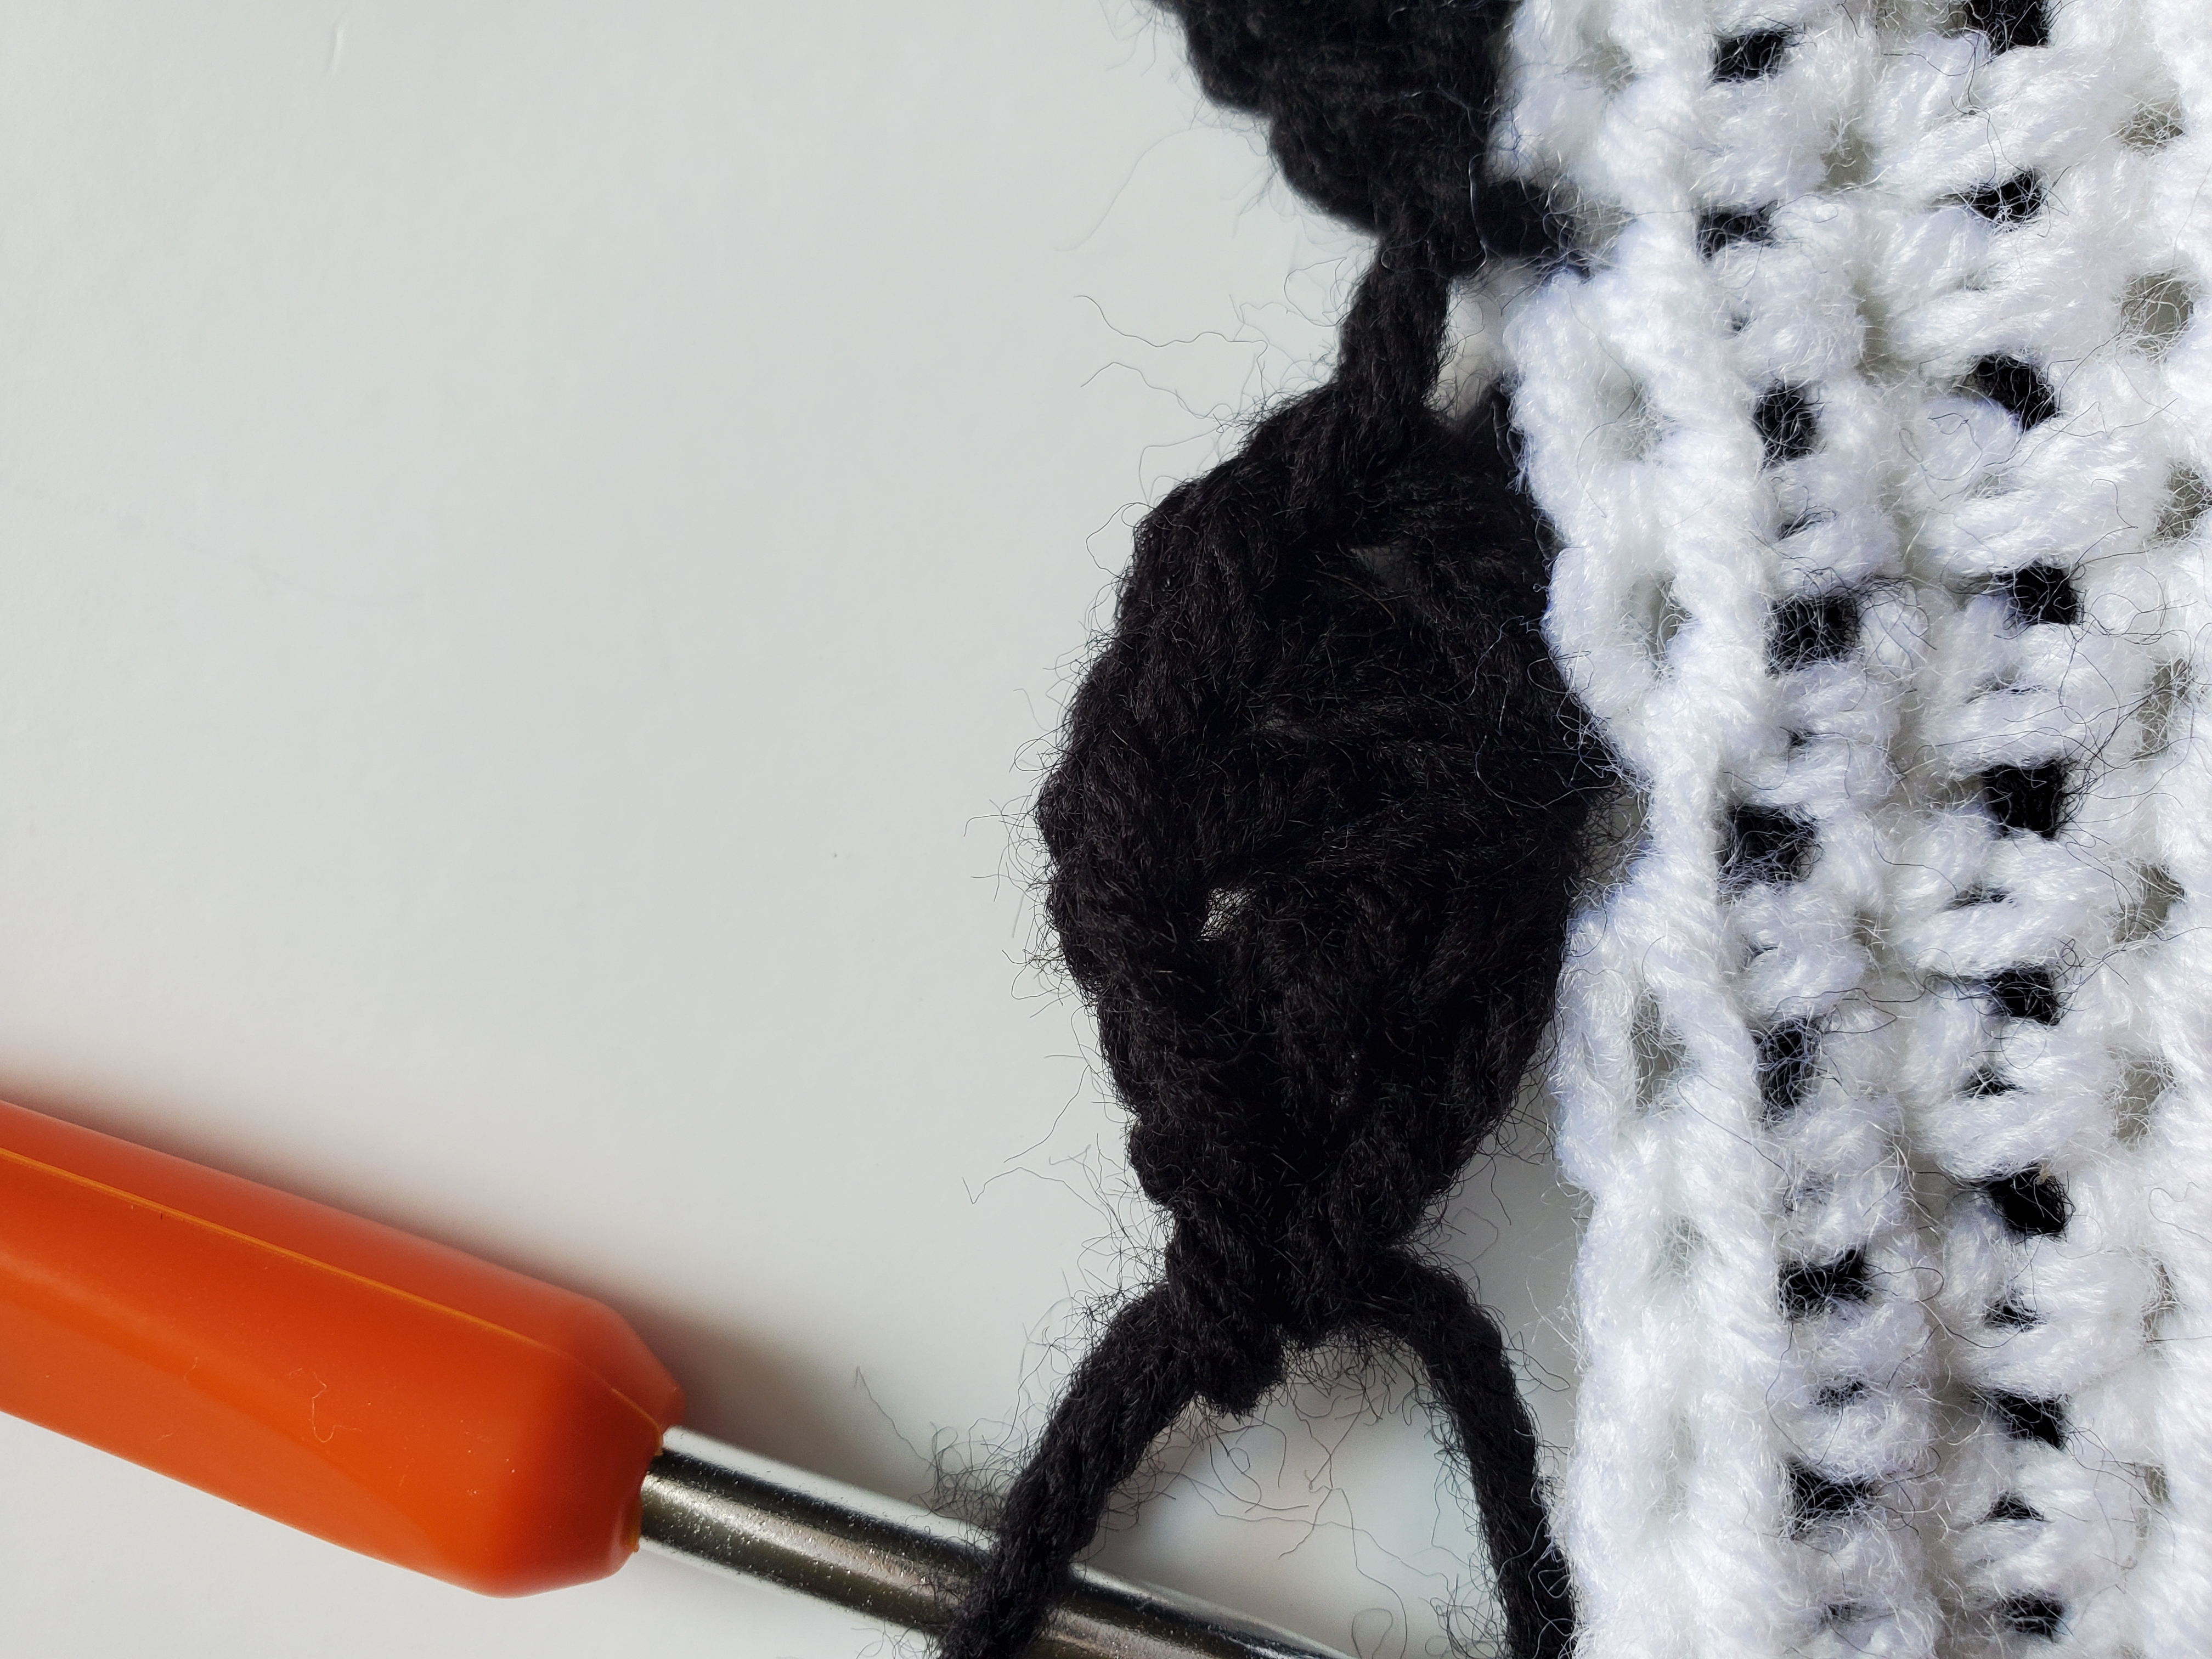
  • If you haven’t already, turn and ch 1. Skip 2 sts, in the third st make a total of 5 dcs, all separted by a ch 1 (do not ch 1 after the 5th dc).
  • In other words, in the same st: dc and ch 1, dc and ch1, dc and ch1, dc and ch1, and dc.
  • Skip 2 sts and make a sl st in the next st.
  • Repeat all the way to the end of the row. 
Start of the shell border
Turn and ch 1
Close up of shell stitch
Dc and ch 1 x4, dc
3 shell stitches for border
3 shells
  • You should end with a sl st in the last st (if not it’s ok if a shell is there, just keep repeating the pattern around).
  • If you end with a sl st in the last st, ch 1 to adjust for the corner and sl st into the same st.
  • Continue to skip 2 sts (or rows now that we’re down the side) make the shell, sl st, skip 2, all the way around the blanket.
  • The sides of the blanket can be difficult to see where you need to skip two and put your stitches. Try you’re best to stay consistent on both sides. I would count the shells to make sure they match.

And you’re done! I think this black and white star baby blanket turned out great! It took some time, but we always stitch with love, don’t we? 

As always, thank you for checking out my crochet patterns! Until next time!