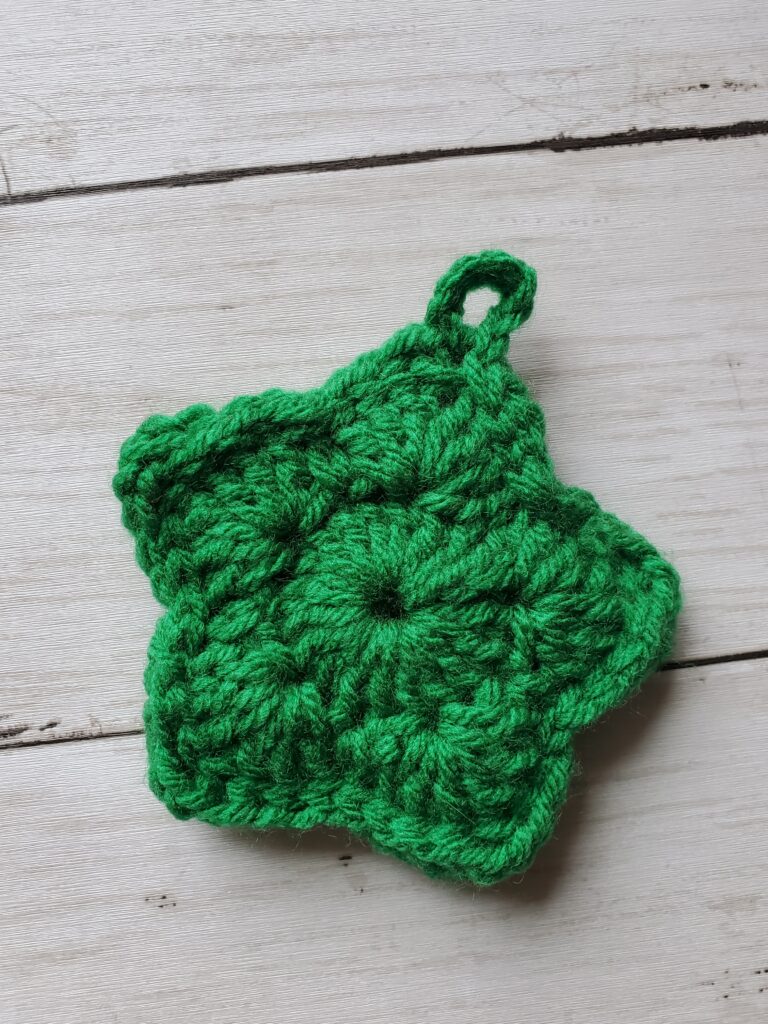
How to Crochet Star Ornaments for your Christmas Tree
This is a post on how to crochet a Christmas tree ornament in a star shape. Keep scrolling to see the pattern!
Are you looking for a quick and easy way to decorate your Christmas tree this year? Or maybe you’re looking for a gift or stocking stuffer idea for the holidays? How about impressing your family or friends with your crochet skills?
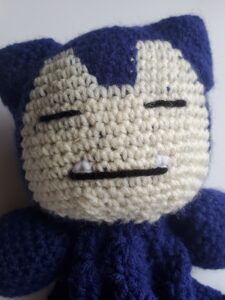
If so, then this crochet Christmas tree ornament could be JUST the pattern you’re looking for! These little stars are so cute, yet so simple. Plus, your kids can’t break them if they decide to pluck them off the tree. So definitely a bonus in my book!
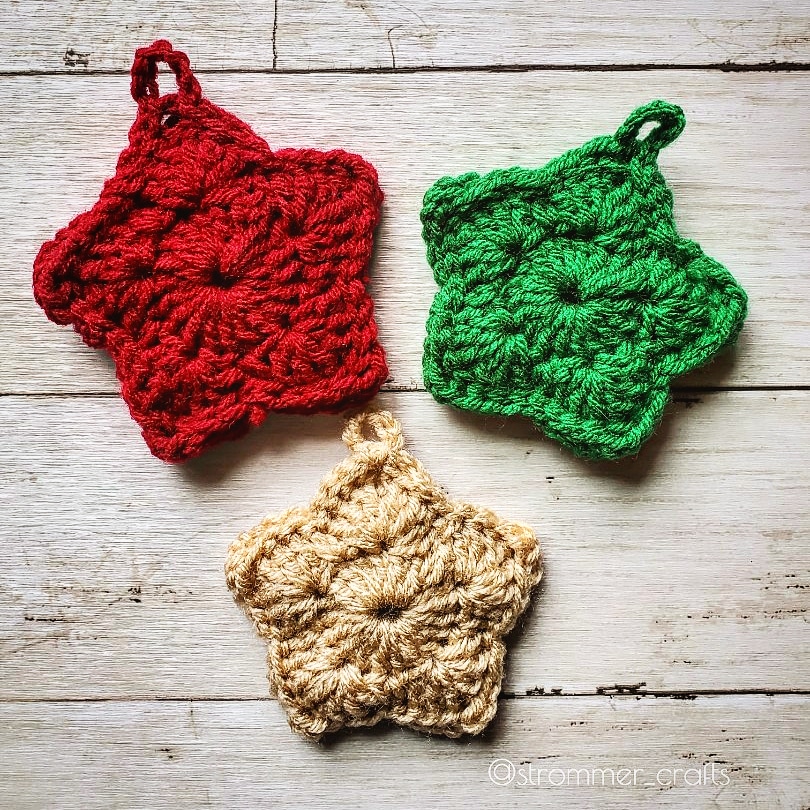
These work up so quickly and you can customize it by using any color and yarn you like. Try green, red, and white for traditional holiday colors. Or use neutral colored yarn, like brown and grey, to give your tree a rustic or farmhouse vibe!
I’m fairly certain that my two year old was more excited than I was, when I finished a few of these. She hung them on her fingers while she ran around the house, saying, “my twinkle stars! My twinkle stars!” It was too cute, and I’m glad she got a kick out of them.
Here’s the supplies you’ll need with the pattern listed below:
Supplies needed:
- Appropriately sized crochet hook for your yarn (I used a 5mm and 4mm for my stars)
- Yarn (I used Mainstays Green and Red Heart Super Saver in Burgundy and Aran)
- Tapestry needle
- Scissors
Special Instructions:
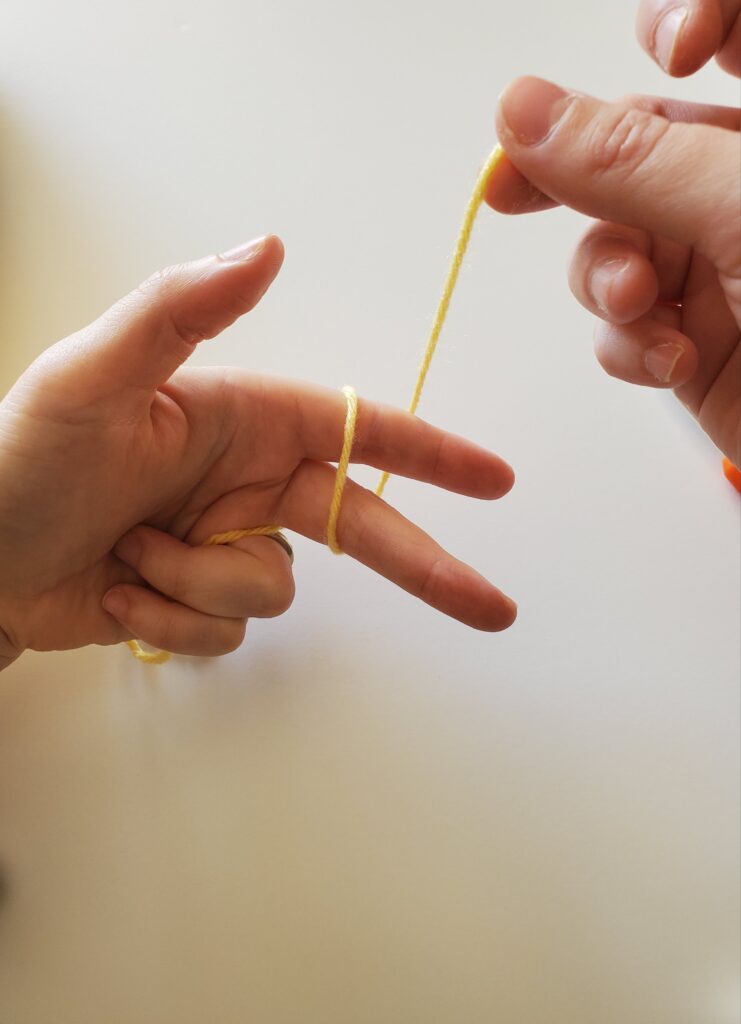
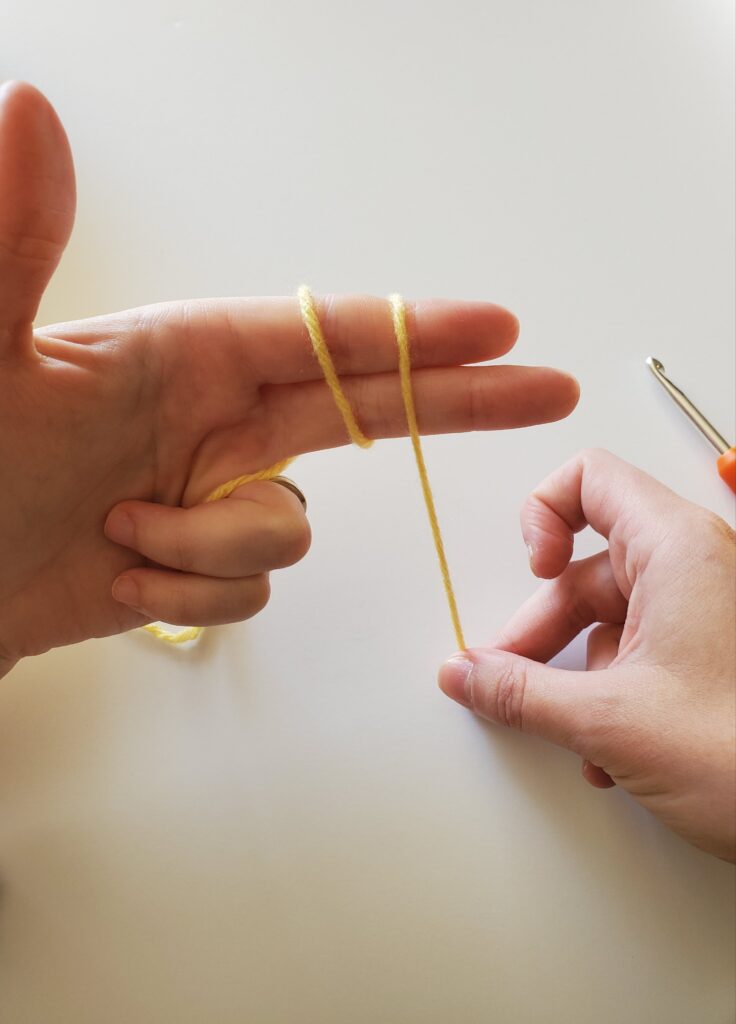
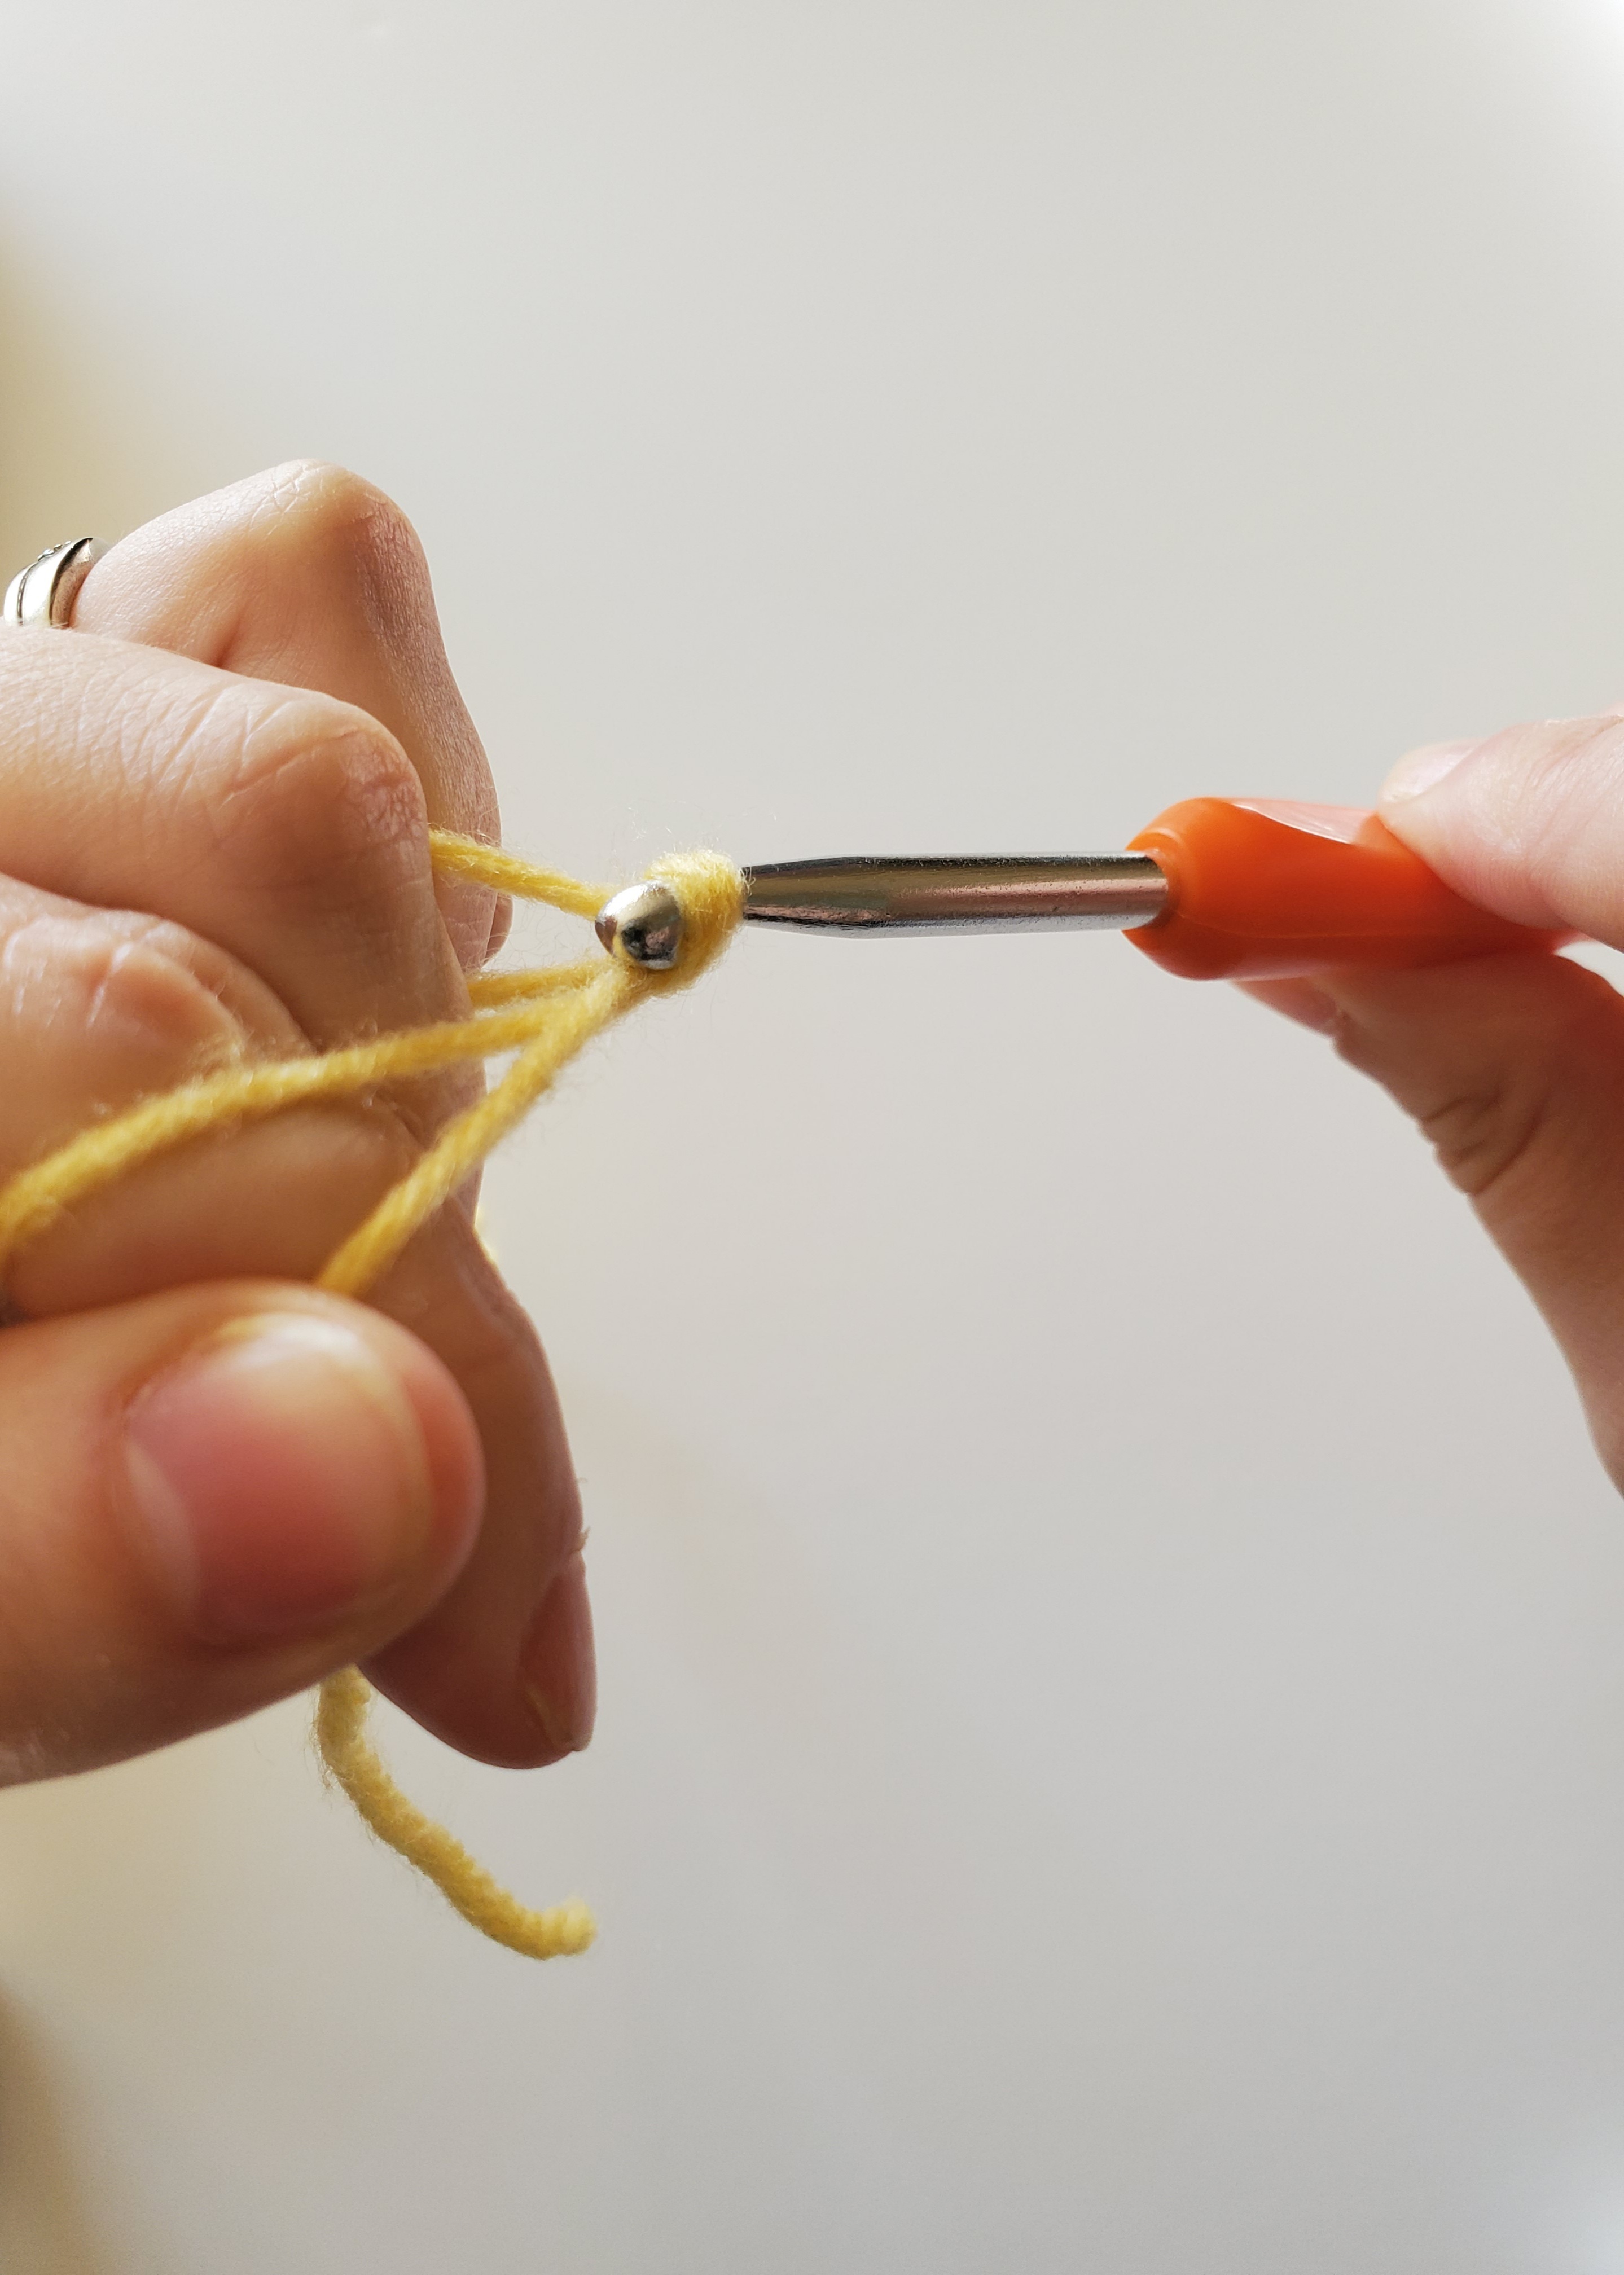
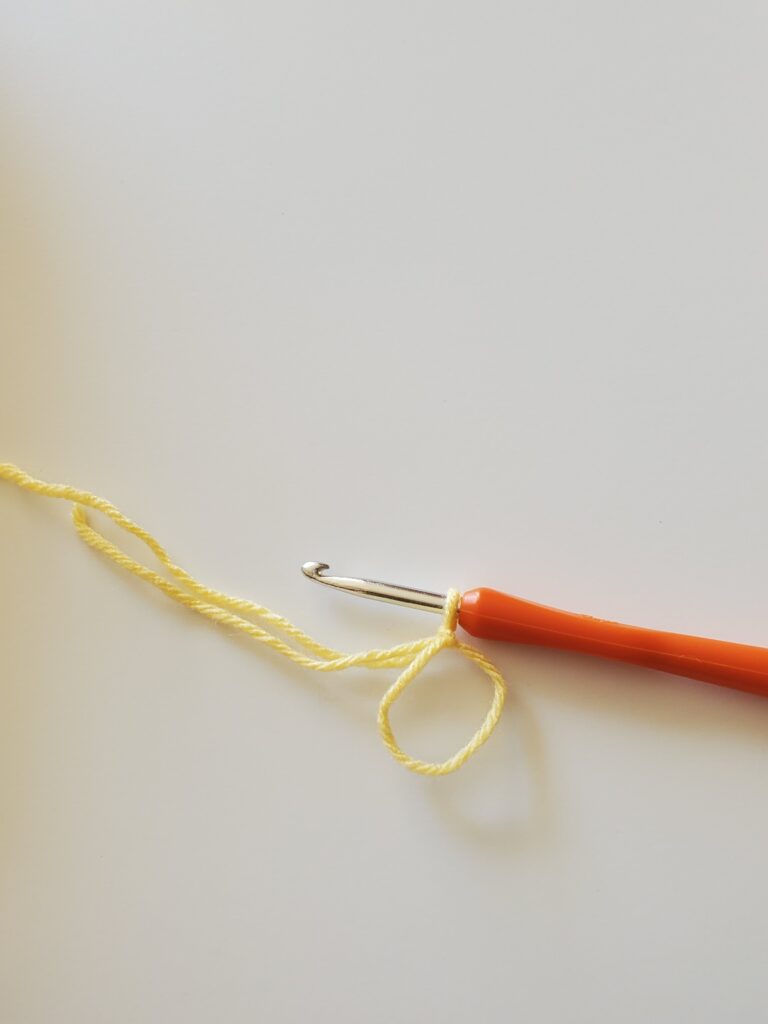
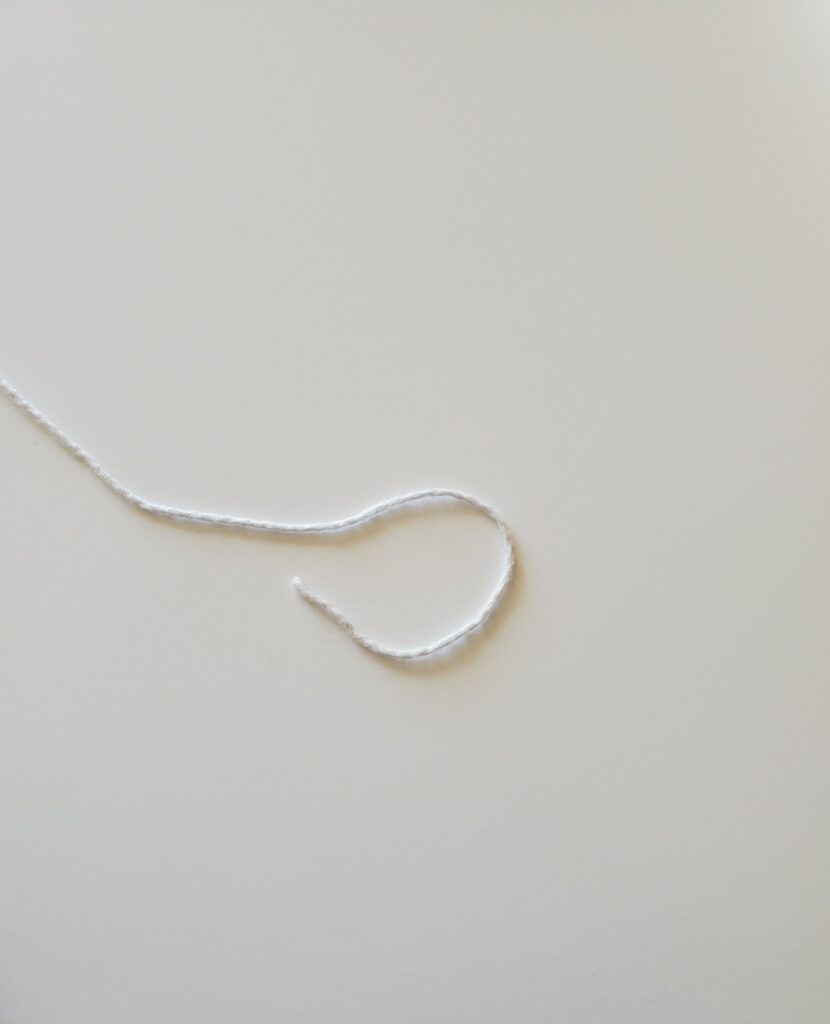
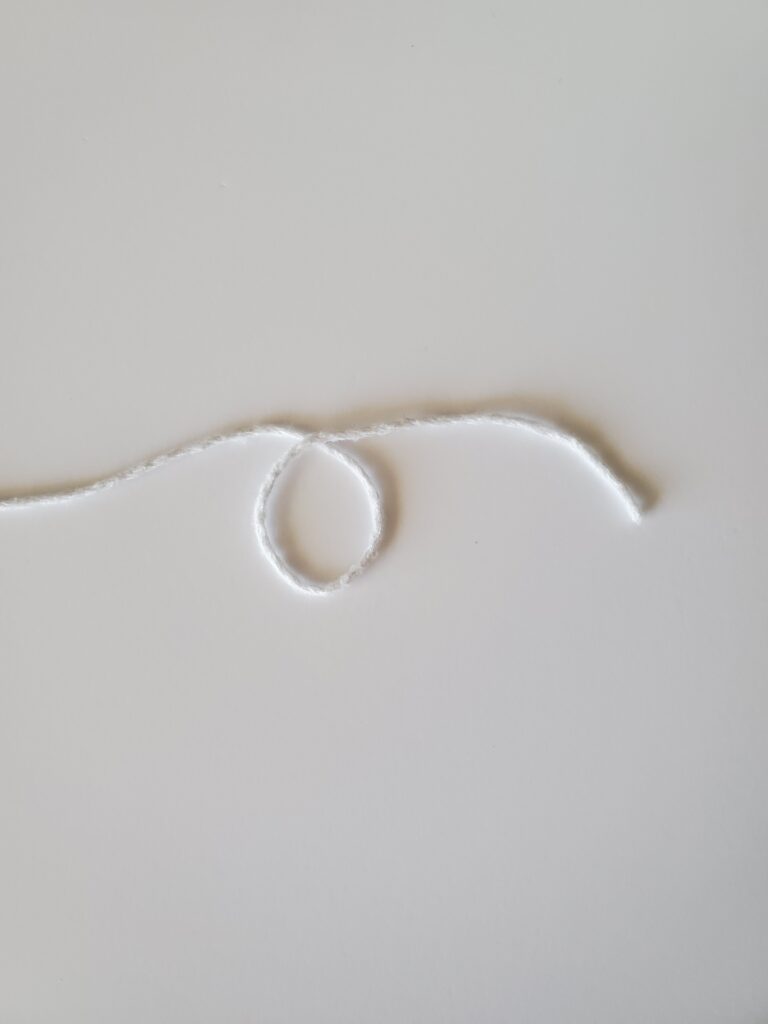
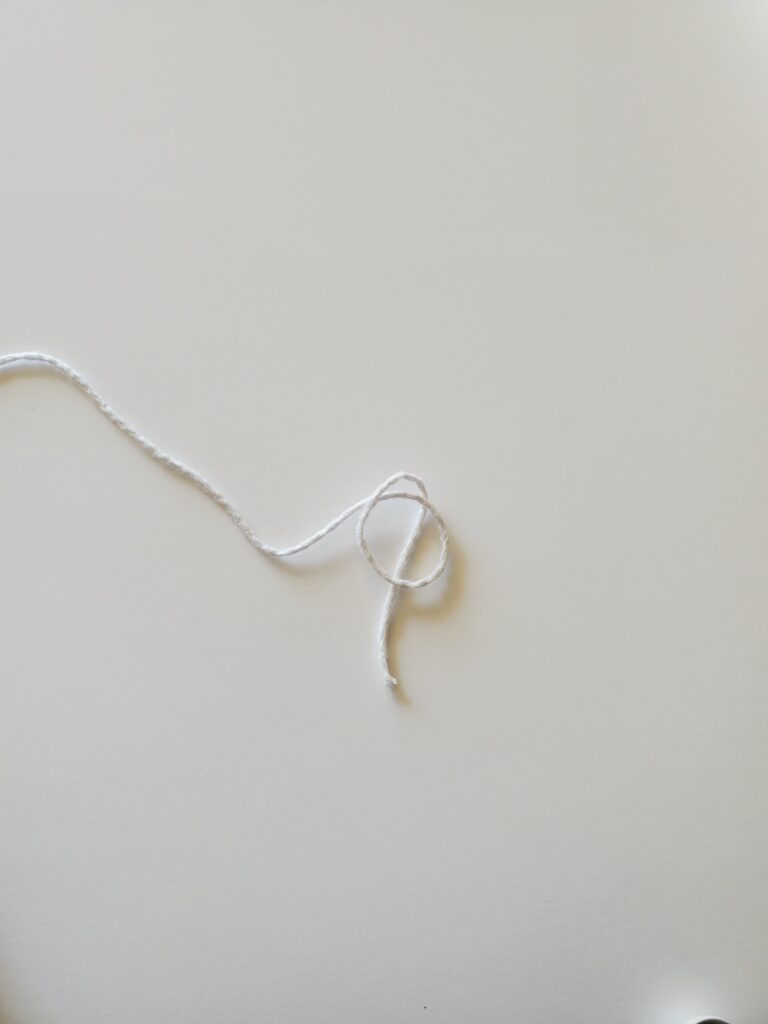
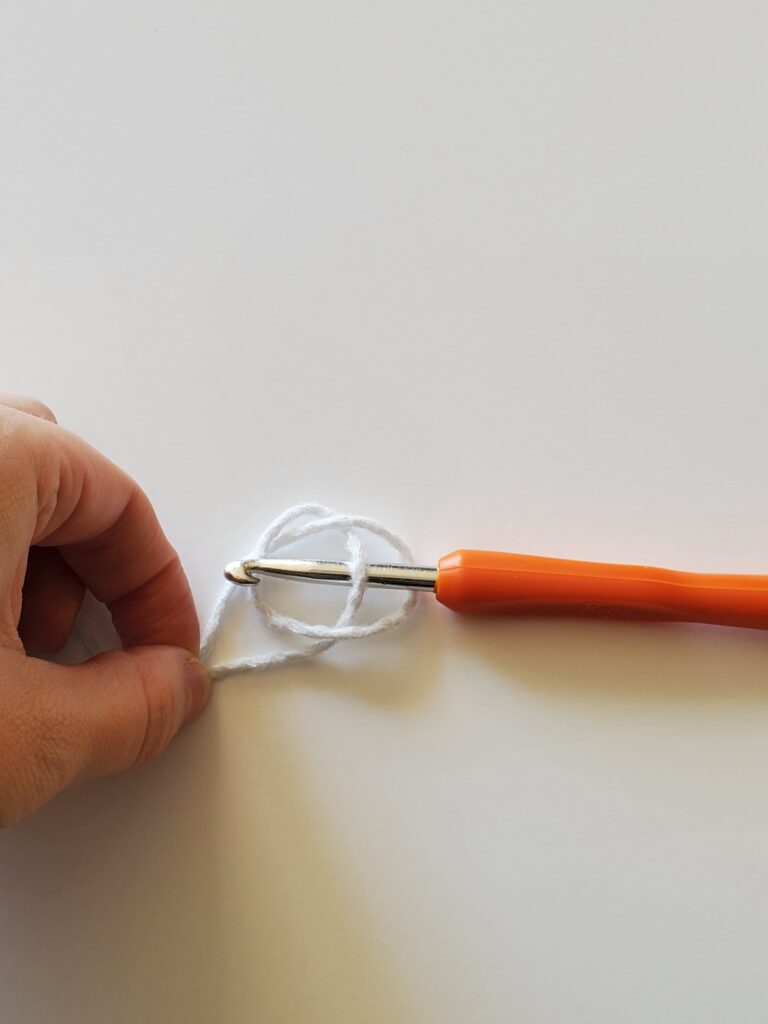
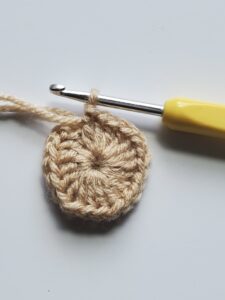
You’ll need to know how to make a magic circle in order to start this pattern. If you’ve never made a magic circle, or need help, you can go to my step-by-step guide here.
Terms Used:
- mc – magic circle
- ch – chain
- sc – single crochet
- dc – double crochet
- sl st – slip stitch
Pattern:
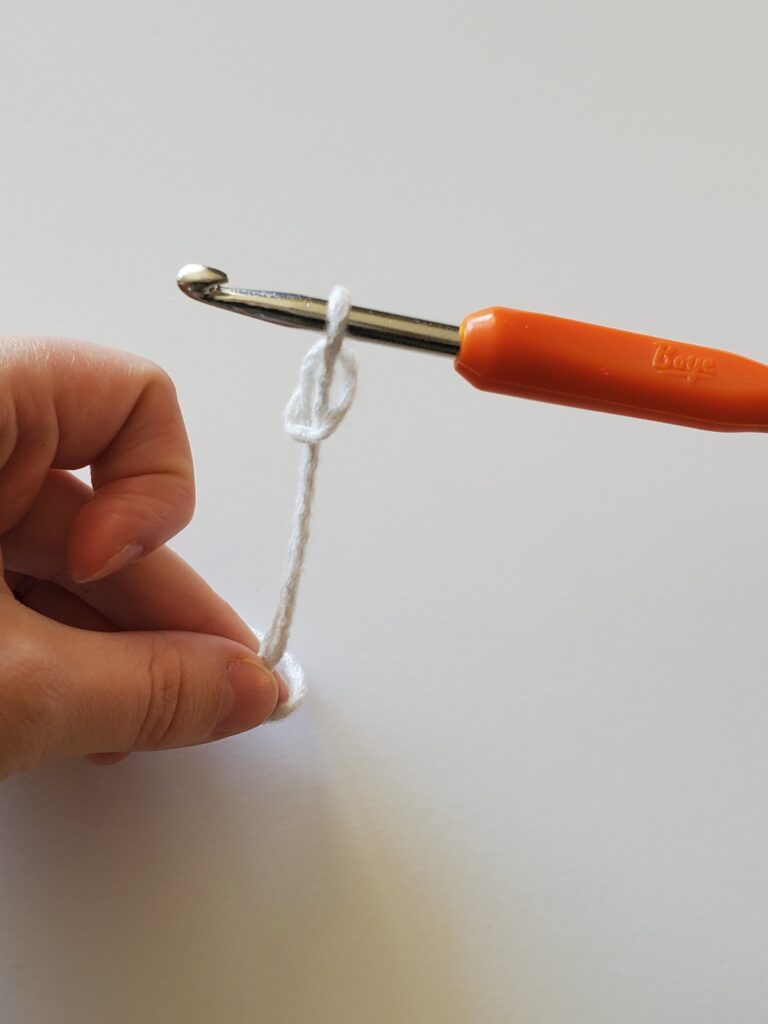
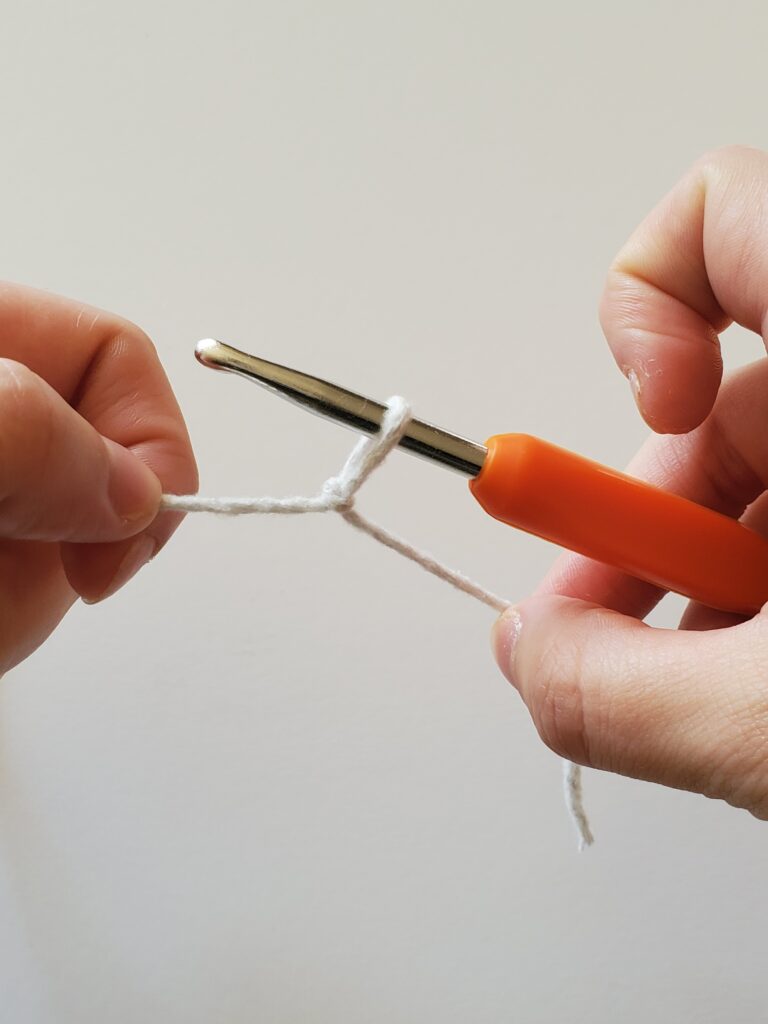
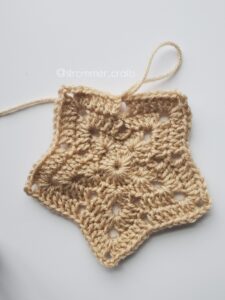
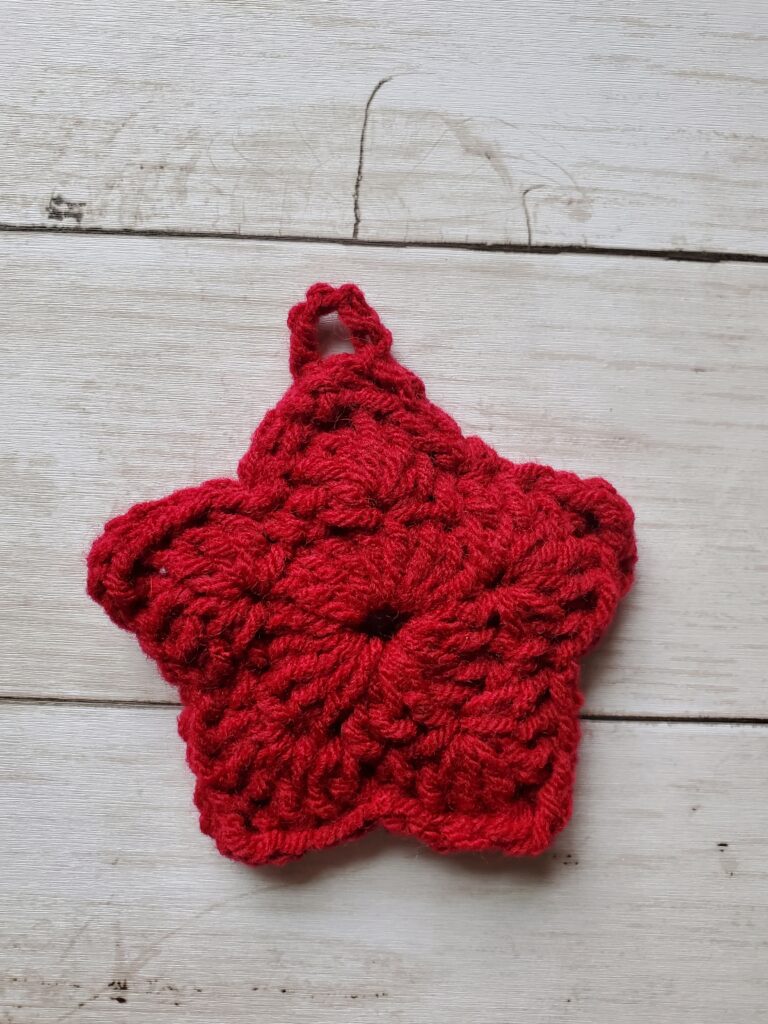
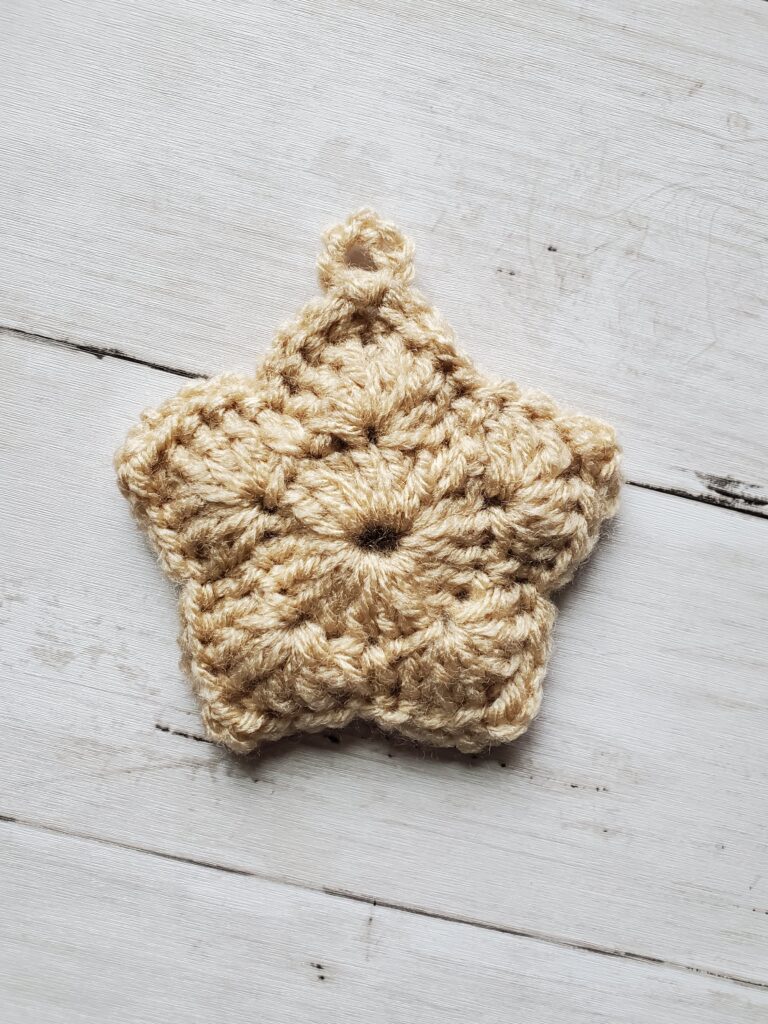
Round 1) Make a magic circle. Ch 3, make 19 dc, sl st to top of ch 3. (20sts)
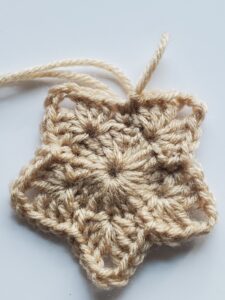
Round 2) *Sc in next st, skip a st, 3 dc in next st, ch3, 3 dc in same st, skip a st* Repeat from *to* around. Sl st into beginning sc.
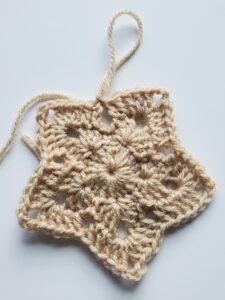
If you want to make your star bigger:
Round 3) Sl st into next 2 sts, ch 3, dc into next st, 3 dc in ch space, ch3, 3 dc in same space, dc in next 2 sts, skip the next 3 sts (should be a dc, sc, and dc).
*dc in next 2 sts, 3 dc in ch space, ch3, 3 dc in same ch space, dc in next 2 sts, skip next 3 sts* Repeat *to* around. Sl st to top of starting ch 3
Round 4) Sl st into next st, ch 3, dc in next 3 sts, 3 dc in ch space, ch 3, 3 dc in same ch space, dc in next 4 sts, skip 2 sts.
*dc in next 4 sts, 3 dc in ch space, ch 3, 3 more dc in ch space, dc in next 4 sts, skip next 2 sts* Repeat *to* around. Sl st to top of starting ch 3.
By this point your star will be fairly large. However, if you wish to keep growing your star, you can repeat round 4 essentially, but the dcs will increase down the sides.
Starting your next round you’ll: sl st into the next st, ch 3, dc until you get to the ch space, 3 dc in ch space, ch 3, and 3 more dc in ch space, dc down the side of the star and remember to skip 2 sts for the inside corner.
Cut yarn and pull through.
Repeat pattern so when you’re finished, you have two separate stars with the same amount of rounds. Do not cut your yarn when you finish the 2nd star.
Assembly
Line up both stars evenly (Make sure the correct sides are facing out). Insert your hook through the corresponding sts of each star, sl st into each and every st, even the ch 3 spaces.
Make sure to continue slip stitching to “sew” the two stars together and end your slip stitches into one of the ch 3 spaces. Ch 6 and sl st into the same ch3 space to create a loop for hanging your ornament.
Cut yarn and pull through. Weave in yarn end.
And that’s all! You can make them as big or as small as you would like, and in any color or type of yarn. Try traditional Christmas colors like red, green, or white, or choose colors that fit your tree theme!
Thanks for reading, happy crocheting and happy holidays!