7 Best Yarns to Use for Crochet Baskets
Hello everyone, today we are learning about the 7 best yarns to use for crochet baskets!
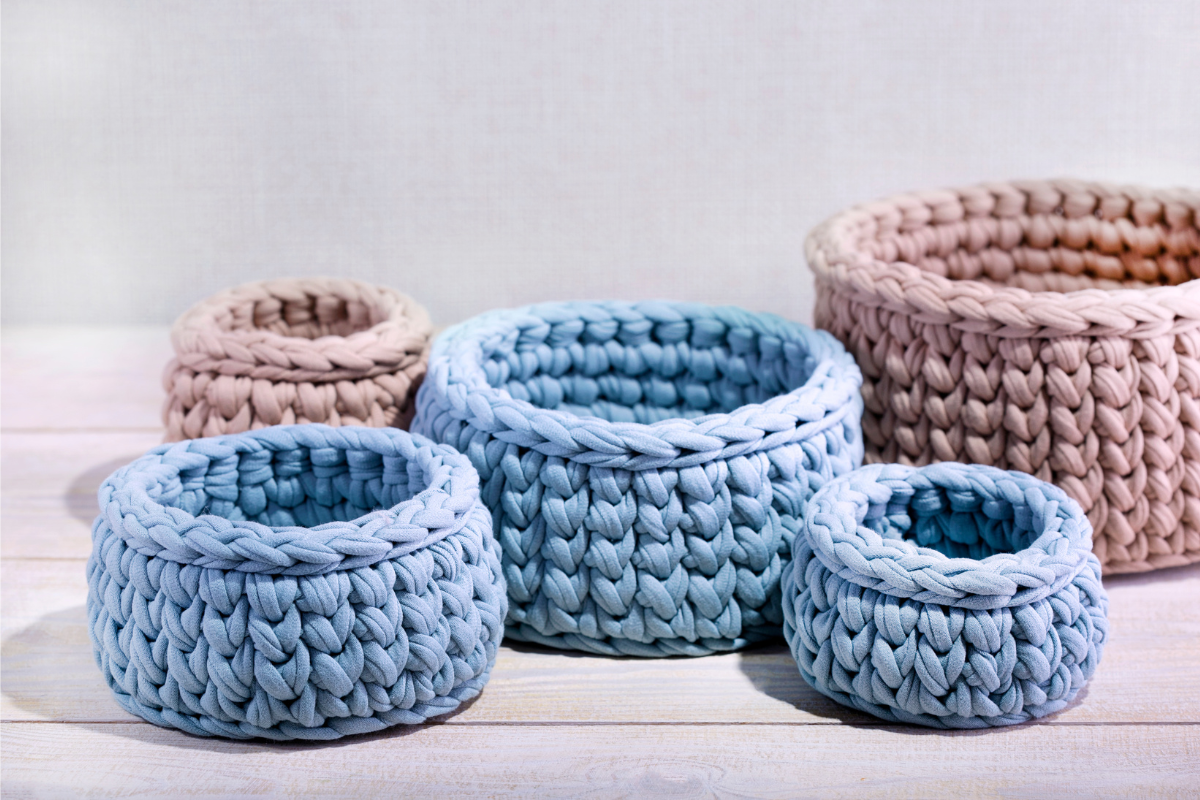
Crochet baskets can be nifty little storage wonders that can be practical and pretty, but before you start your project, you may be wondering, what yarn should I be using?
Picture this – you got your favorite crochet hook ready, a Pinterest worthy pattern in hand, and an imagination brimming with visions of a perfectly crocheted masterpiece. But guess what? You hit a snag (maybe literally!), and the culprit? Yup, you guessed it, your yarn isn’t holding up.
It’s bending and falling over, and doesn’t quite hold the shape of that beautiful basket you had pictured.
But worry not, I’m here to share the best yarn to avoid further crochet fiascoes!
Please note that some of these links may be affiliate links. That means that if you click on these links and make a purchase, I may receive a commission at no extra cost to you. You can find more information about our disclosure policy here. Thank you for your support.
What to Look for When Choosing Yarn for a Crochet Basket
First, let’s consider a few things to look for in choosing the correct yarn for your crochet basket.
- Durability: Let’s be real, your basket’s gonna hold stuff – maybe lots of stuff. So, pick a yarn that’s like the Hulk of fibers. Think strong, durable, and ready to handle the weight of your random things.
- Stiffness: Sagging baskets? Not on your watch. Look for a yarn with a bit of stiffness, or better yet, double up on your yarn strands or look for bulky, thick yarns.
- Weight: Thin and delicate or thick and chunky – it’s your choice. Match the yarn weight to the basket size you’re aiming for. Thicker, bulkier yarns are better for larger baskets that need to hold way more weight, while finer yarns work well for small, delicate baskets.
- Texture: Smooth, chunky, or funky textures – the choice is yours. But remember, the texture can add character and visual appeal to your basket.
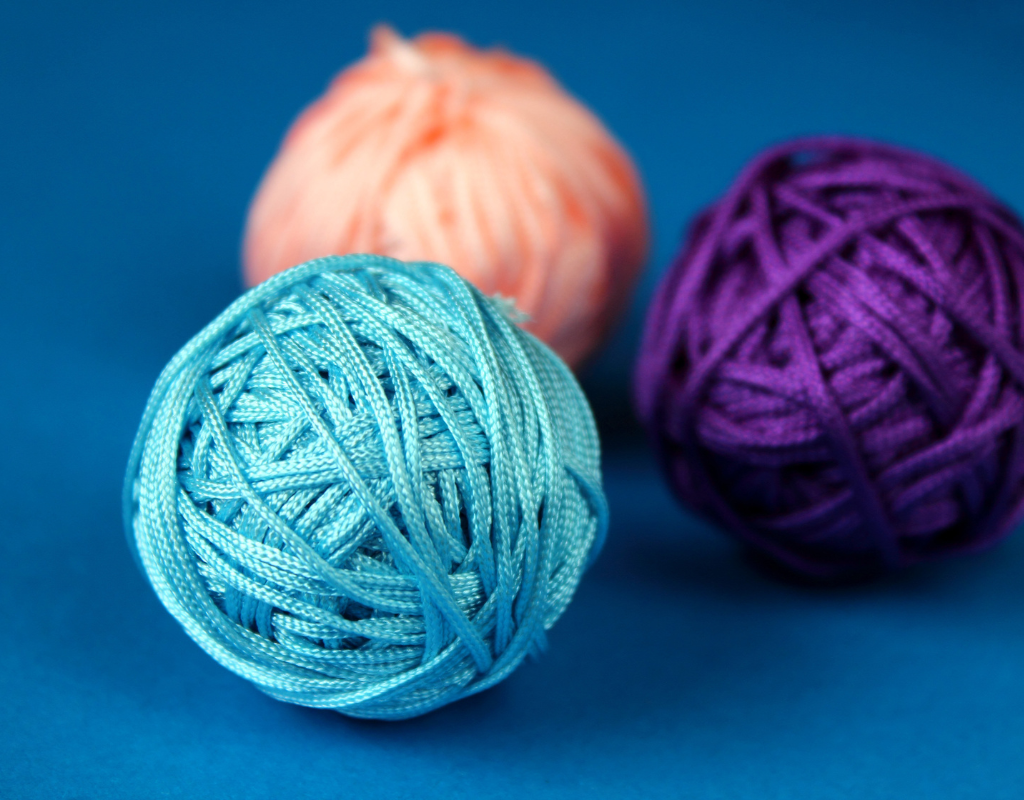
- Color Options: Yarns come in all shades of pretty colors. Whether you’re into rainbow explosions or calming neutrals, pick a color that speaks to you.
- Absorbency: If you plan to use the basket for holding items in moisture prone areas like the bathroom or kitchen, consider yarns that are absorbent, like cotton yarn. No one wants a soggy surprise.
- Purpose: What will you use your basket for?. Will it be used as a decoration, hold delicate items, or carry heavy loads? The purpose of the basket will influence the yarn weight and fiber you should choose.
- Eco-Friendliness: If you wanna show mother nature some love, consider yarns that are sourced from eco-friendly and responsible suppliers. Natural fibers like cotton, jute, and hemp are often more environmentally conscious choices.
- Budget: If you’re like me, being budget-conscious is important. Consider the cost of your chosen yarn. Remember, pricier doesn’t always mean better. Balance quality with what your wallet can handle.
How to Prevent a Saggy Crochet Basket
Aside from choosing the right yarn for your basket, let’s discuss a few ways you can strengthen and prevent your basket from sagging.
- Use Tight Stitches: This might seem obvious, but a lot of interesting and intricate stitches look pretty, however they may not be the best choice for a sturdy basket. Try slip stitches, single crochets, half double crochets, or a combination of the three. Avoid using chains and taller stitches like double or treble crochet stitches.
- Use a Smaller Hook: Going down a hook size or two than what your yarn calls for, can help you make your stitches even tighter!
- Internal Reinforcement: Try slipping in a wire or using ropes within your stitches to help reinforce the sides of the basket and have it stand tall. You can do this by literally crocheting over the wire or rope as you go. Even doubling up on your yarn strands will help.
- Make a Strong Base: Start your base in a continuous round (circular or rectangular), but when you start the first round of the body of the basket, crochet in the back loop. Then you can crochet as normal for the rest of the rounds. This helps your base keep whatever shape you’re going for.
- Add a Lining: Try using a lining to strengthen the sides. Use a plastic sheets (these little mesh sheets are great) or hot glue cardboard with a pretty fabric over it to the inside.
- Starch or Glue: If you already made your crochet basket, try using a mixture of glue/starch and water, paint it onto the outside of your basket and place it into something that has a similar shape (like a mixing bowl or use the top of the trash can). Allow it to dry. Repeat on the inside.
Alright, with all those tips in mind, let’s check out the absolute best yarns to make your crochet basket!
7 Best Yarns to Choose for a Crochet Basket:
1) T-Shirt Yarn
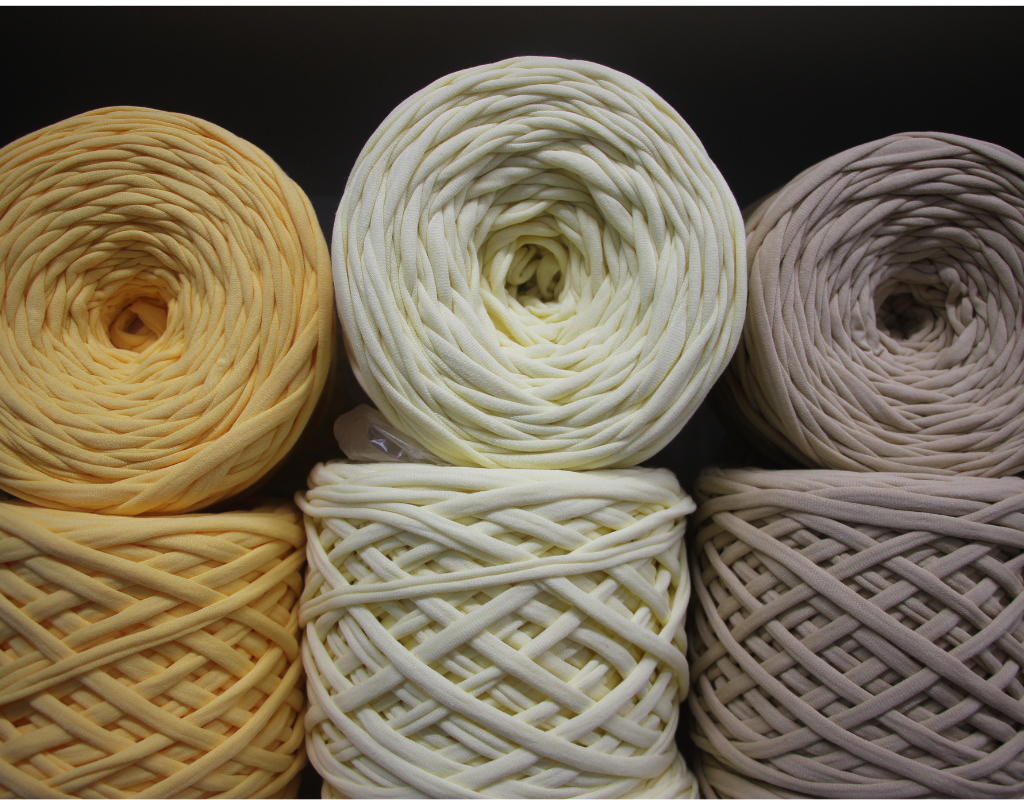
T-shirt yarn is made from repurposed fabric and offers a pretty cool texture and awesome strength that can handle heavy loads. Baskets made from this type of yarn are not only very sturdy, but they are also eco-friendly, making them a great choice for environmentally-conscious crocheters.
Best T-Shirt Yarn for Crochet Baskets: Hoooked Zpagetti T-Shirt Yarn
2) Nylon Yarn
Nylon is a synthetic fabric that has a lot of strength and resilience. It’s often blended with other natural fibers like cotton or wool to help make them sturdier. Crochet baskets made with nylon yarn can also handle moisture from frequent use, which can make them great for bathroom or kitchen storage.
Best Nylon Yarn for Crochet Baskets: Bernat Maker Home Dec #5 Bulky Cotton-Nylon Yarn
3) Cotton Yarn
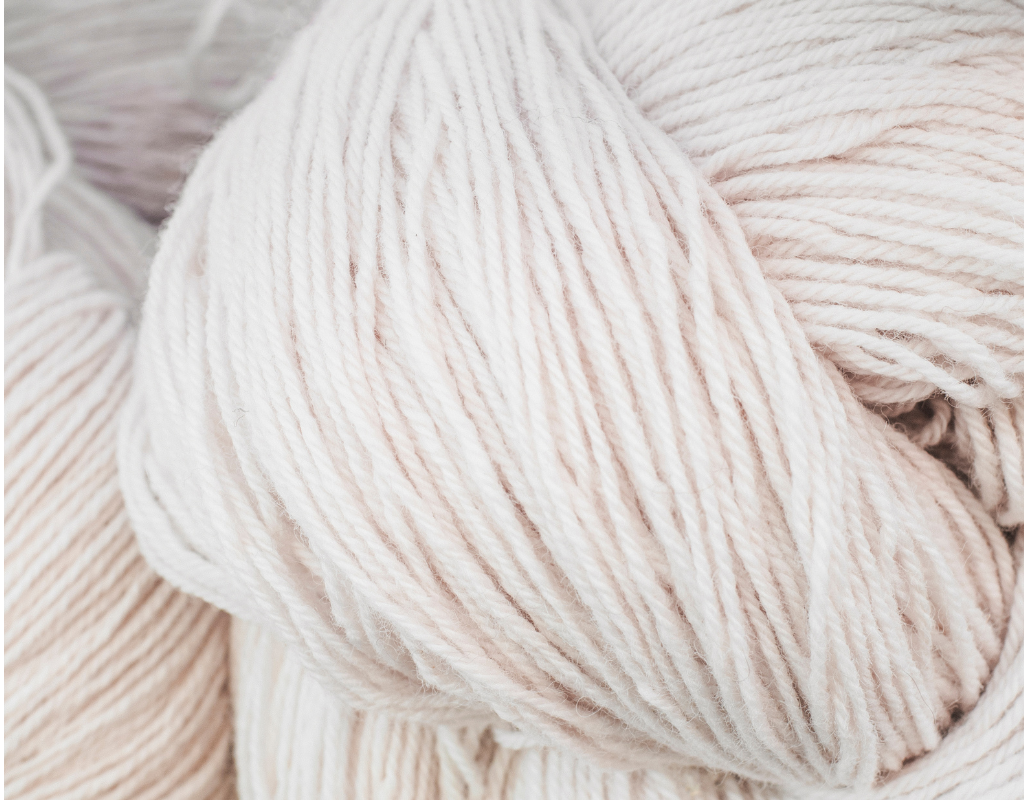
Cotton yarn is a classic choice for sturdy crocheted baskets. Its natural strength and ability to hold its shape makes it a perfect choice for crocheting baskets that can handle a variety of items, from small accessories to larger household essentials.
Best Cotton Yarn for Crochet Baskets: Peaches & Creme Cotton Yarn
4) Jute Yarn
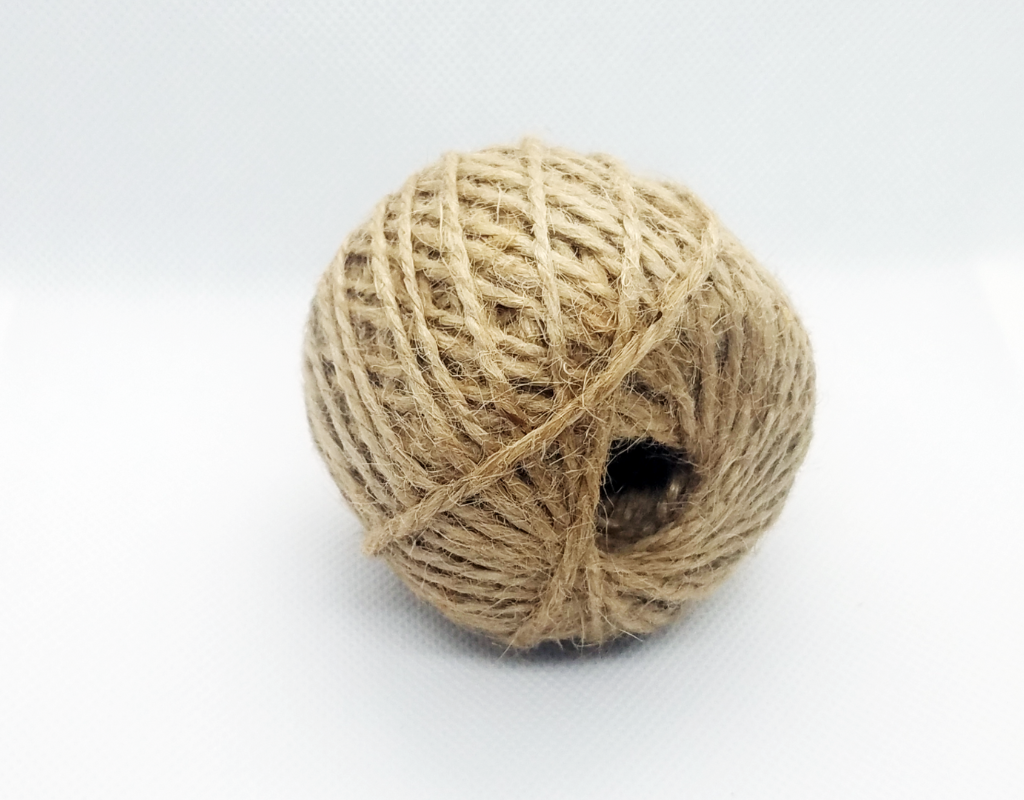
Known for its exceptional durability, jute yarn produces crochet baskets that aren’t only sturdy, but also have a charming, rustic appearance. This yarn can be blended with other fibers and is able to withstand heavier weight, which is perfect for storing toys, tools, or even firewood.
Best Jute Yarn for Crochet Baskets: HRX 5mm Jute Rope
5) Hemp Yarn
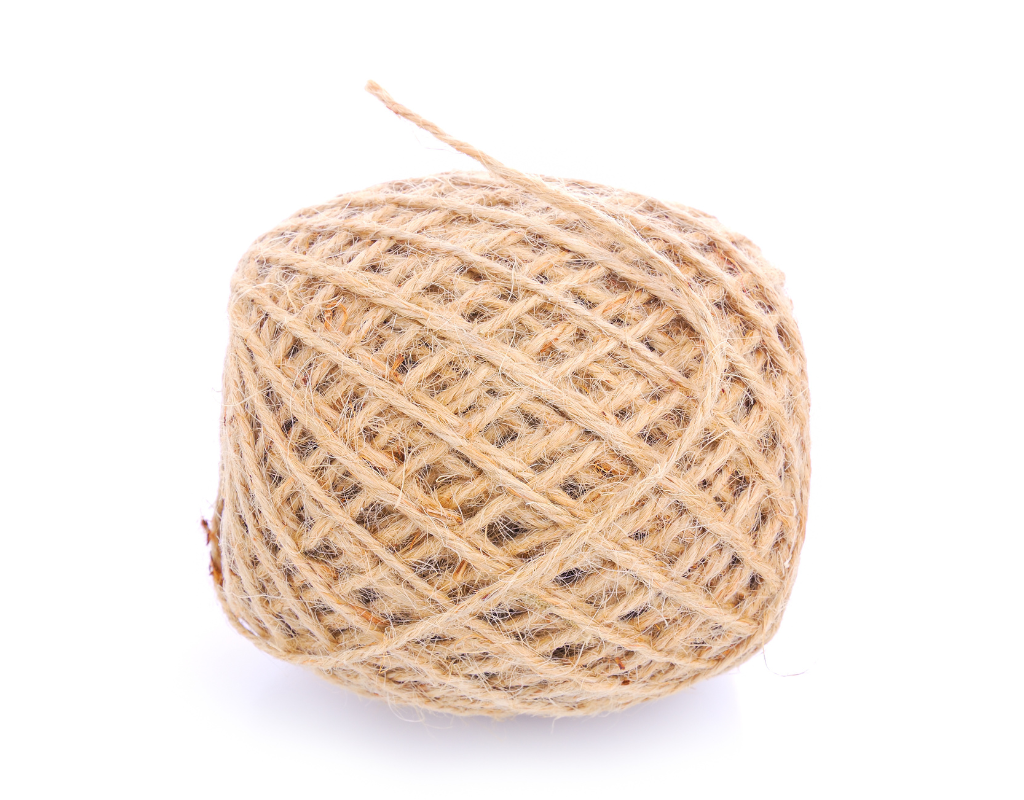
Similar to jute and cotton, hemp is an excellent choice for crocheting baskets that need to withstand wear and tear. Its resistance to stretching and shrinking will ensure that your basket will retain its shape, even with regular use.
Best Hemp Yarn for Crochet Baskets: Cousin DIY 170 lb Polished Thick Hemp Cord Twine
6) Acrylic Yarn
Acrylic yarn has a wide range of colors and is easy (and cheap) to work with. Crocheting baskets with acrylic yarn can give off vibrant hues, making it a good choice for organizing children’s toys or other school supplies. I would suggest crocheting with bulky acrylic yarn and crocheting your stitches tightly.
Best Acrylic Yarn for Crochet Baskets: Lion Brand Hometown Super Bulky Acrylic Yarn
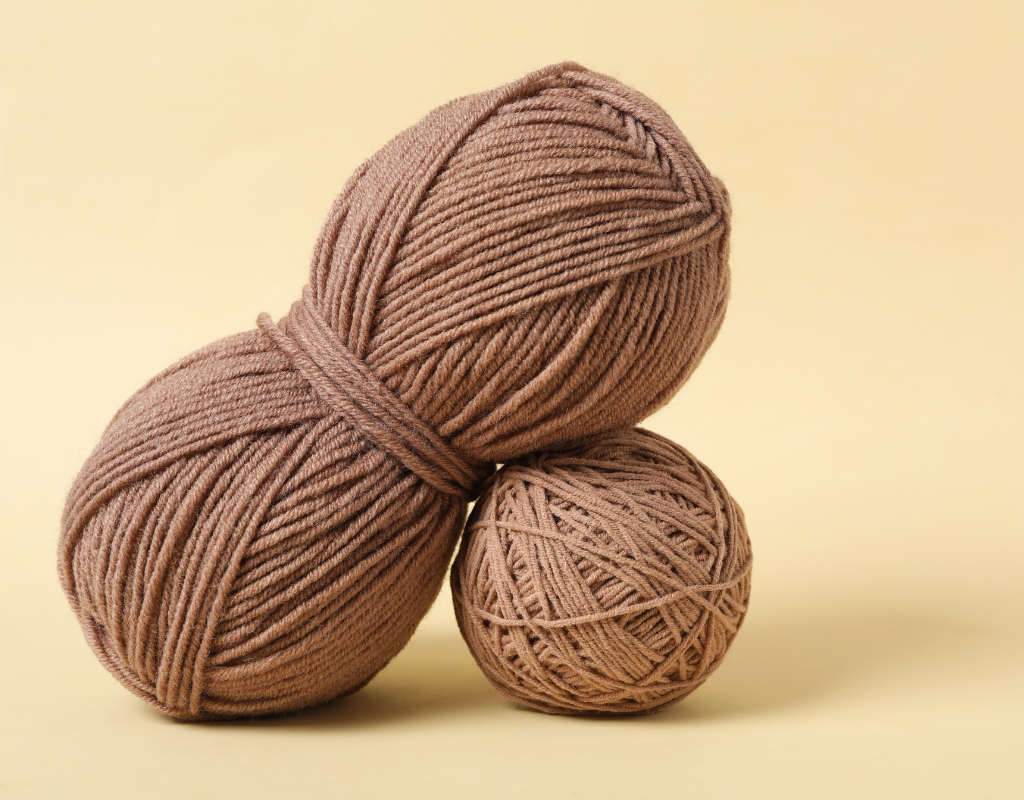
7) Wool Yarn
Wool yarn produces baskets with a cozy feel and excellent insulation properties. These is a great choice for storing cold-weather items like gloves, hats, and scarves.
Best Wool Yarn for Crochet Baskets: Valley Yarns Amherst Worsted Weight Yarn, 100% Wool
So there you have it, yarn lovers! Armed with this info, I hope you’re ready to rock your crochet game and whip up some functional and stylish baskets with these types of yarn.
And remember, with the right yarn, your baskets will be the talk of the town (or living room at least!)
Until next time!