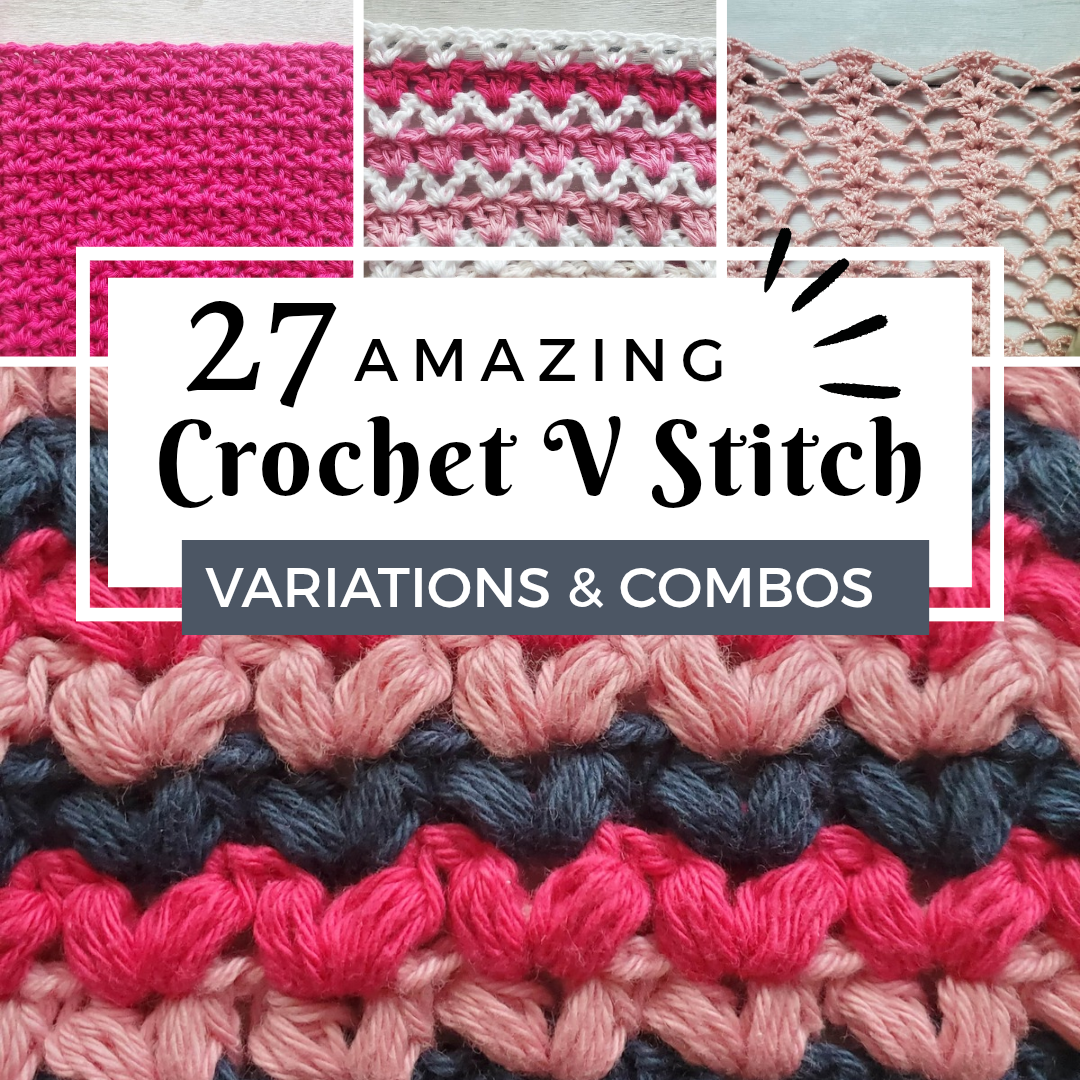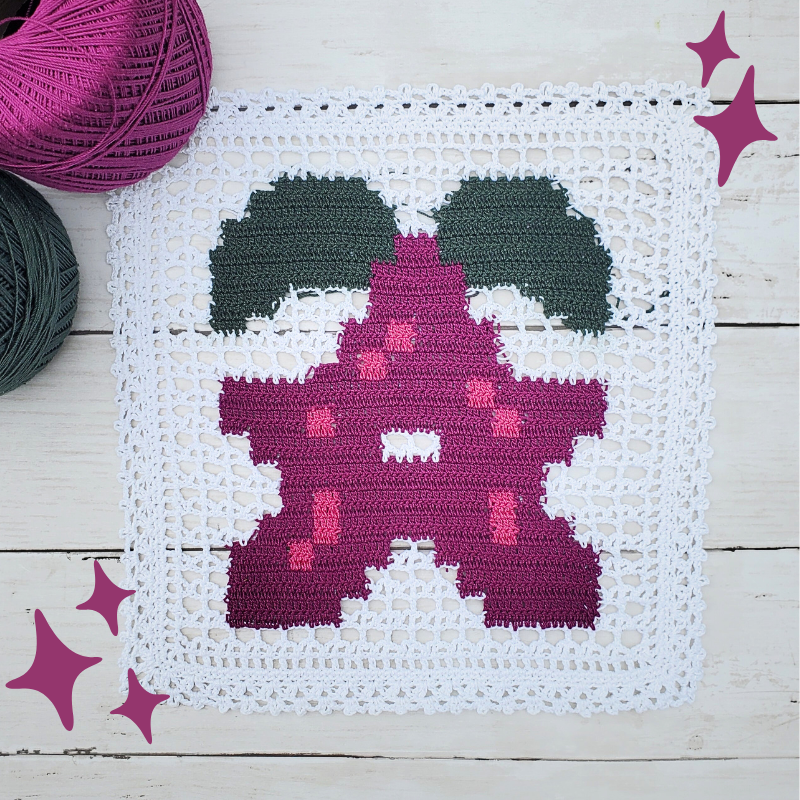
Crochet Stardew Valley Stardrop Doily
Hello everyone, today I have a new crochet doily pattern for you! It’s the Crochet Stardew Valley Stardrop Doily!
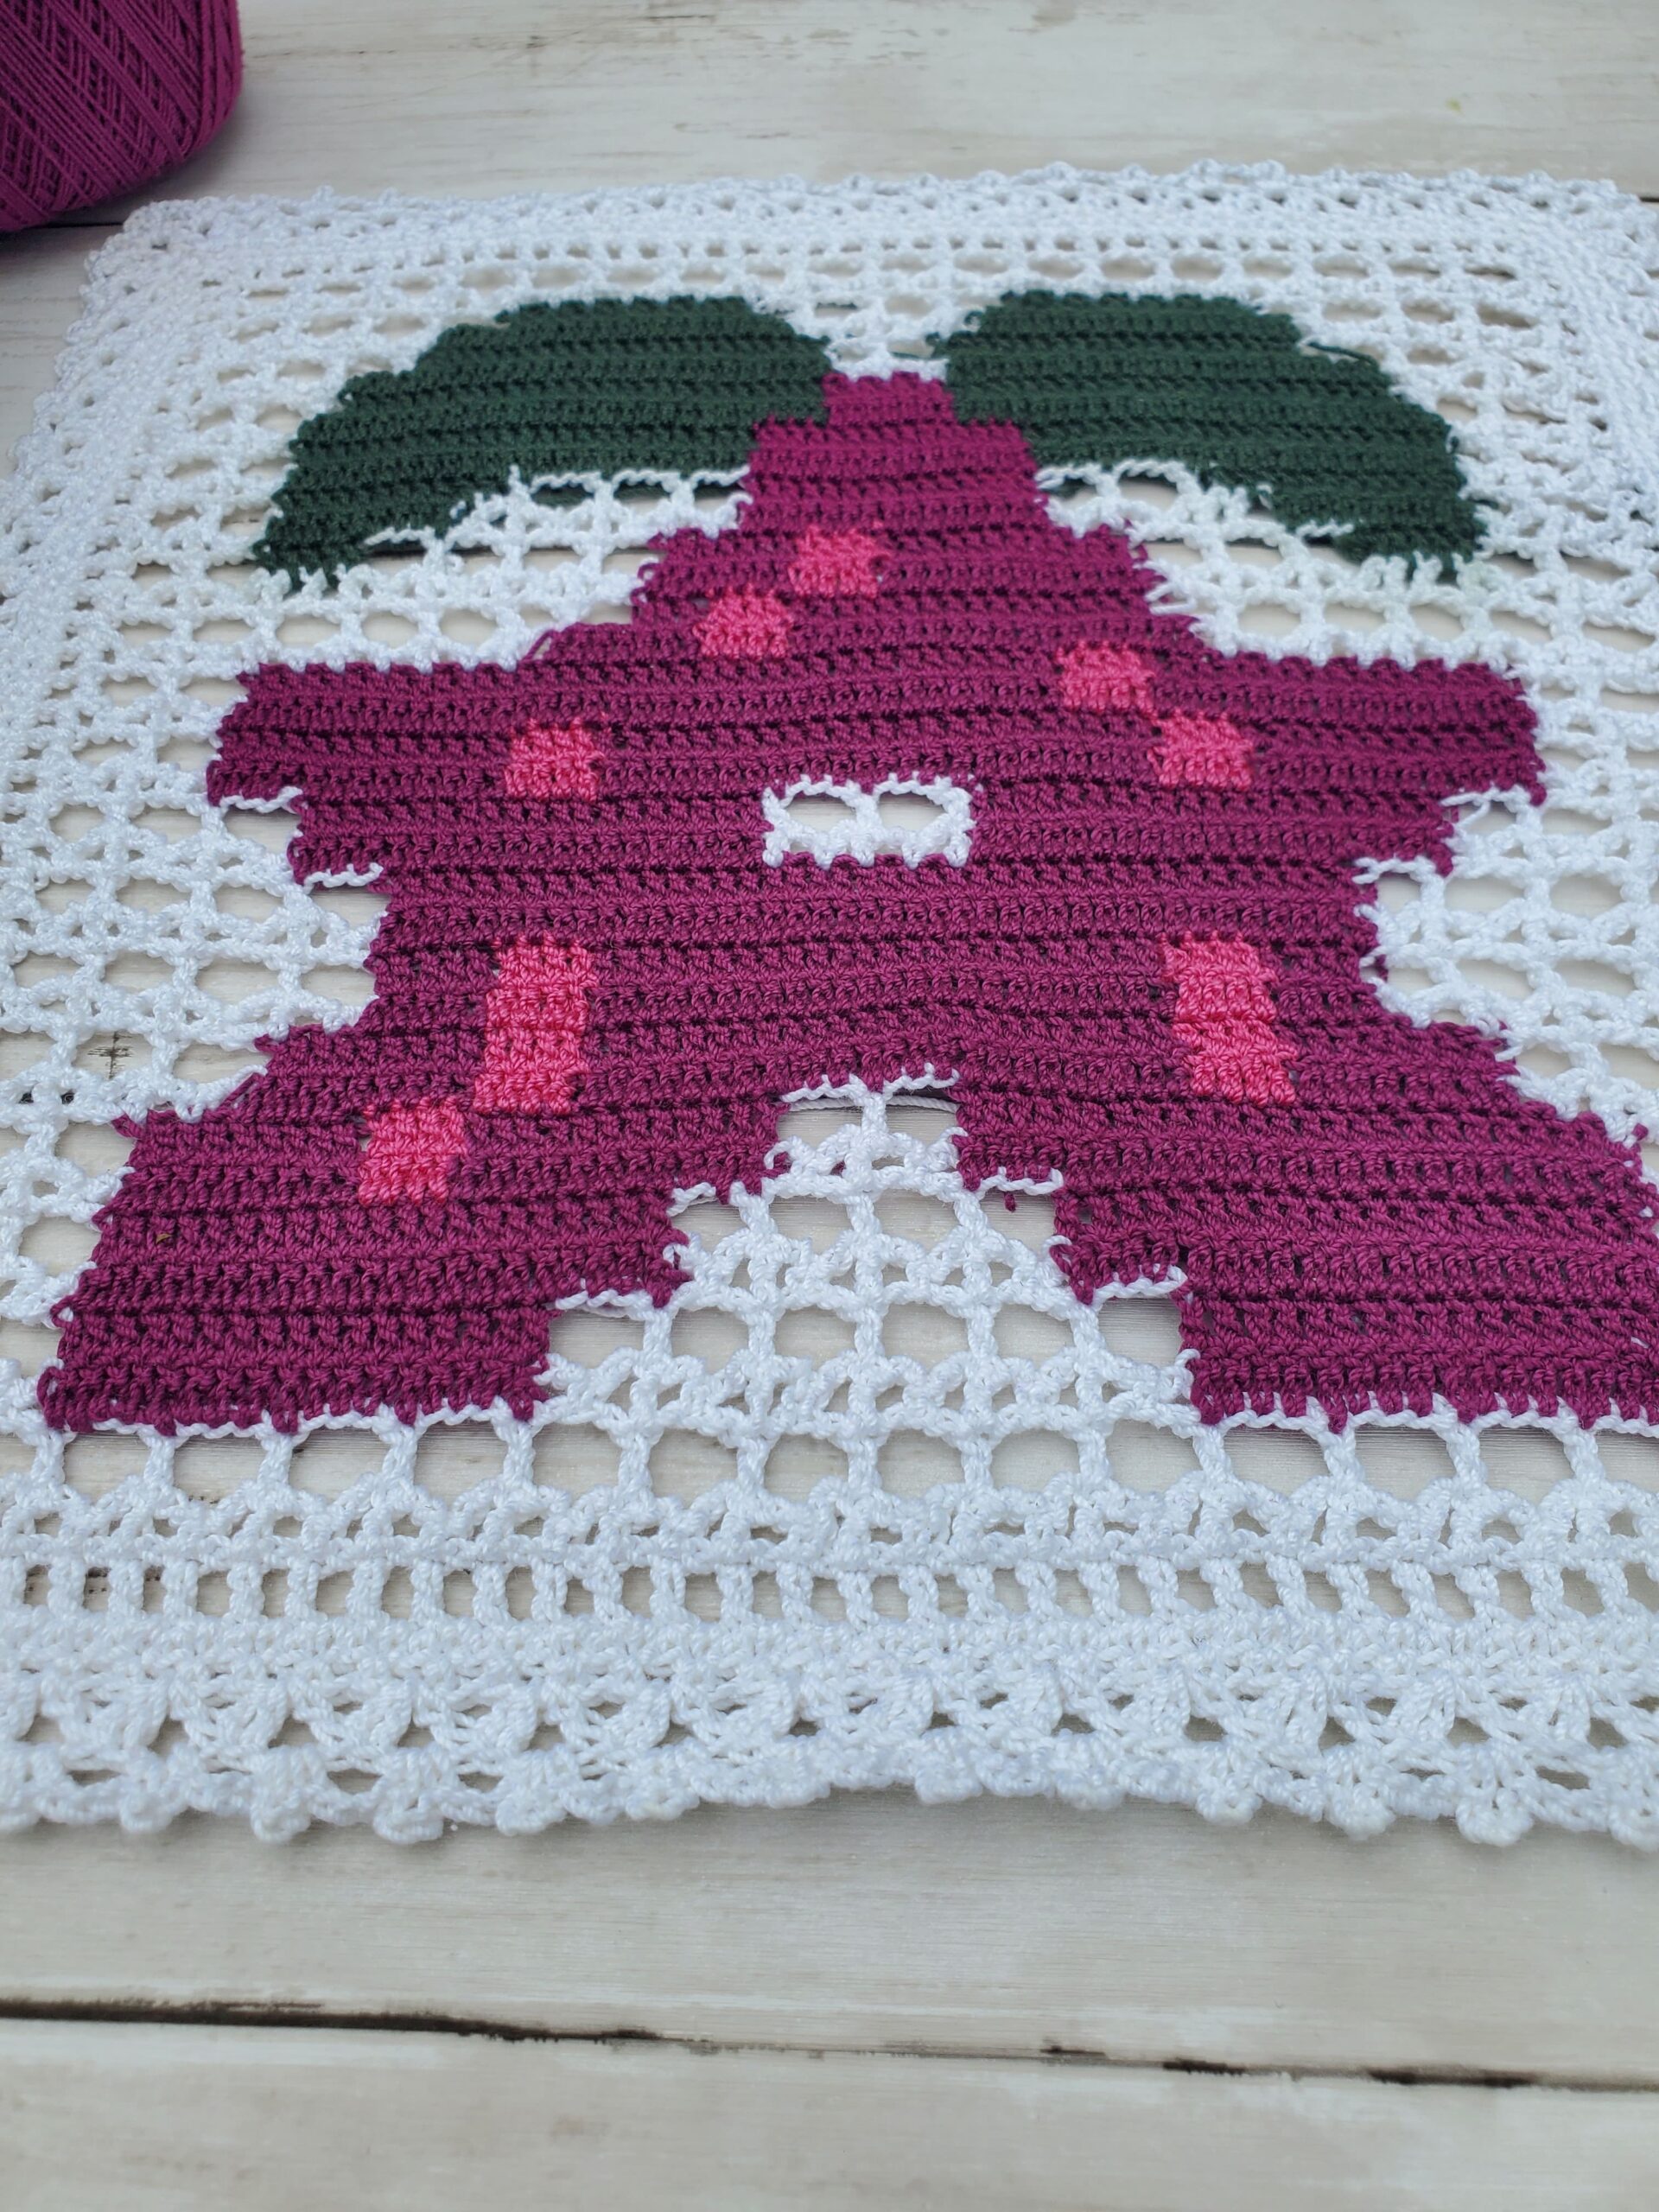
If you love playing Stardew Valley, then you’ll love making this doily with the iconic Stardrop displayed in the middle. Whenever you find one of these Stardrops in game, your character will eat it and instantly gain more energy to perform daily tasks. They’re pretty handy!
I’m including this doily in my series of video game inspired crochet patterns, this includes other doilies like, my Crochet Legend of Zelda Doily, Crochet Animal Crossing Doily, and Crochet Pokeball Doily.
Related Posts:
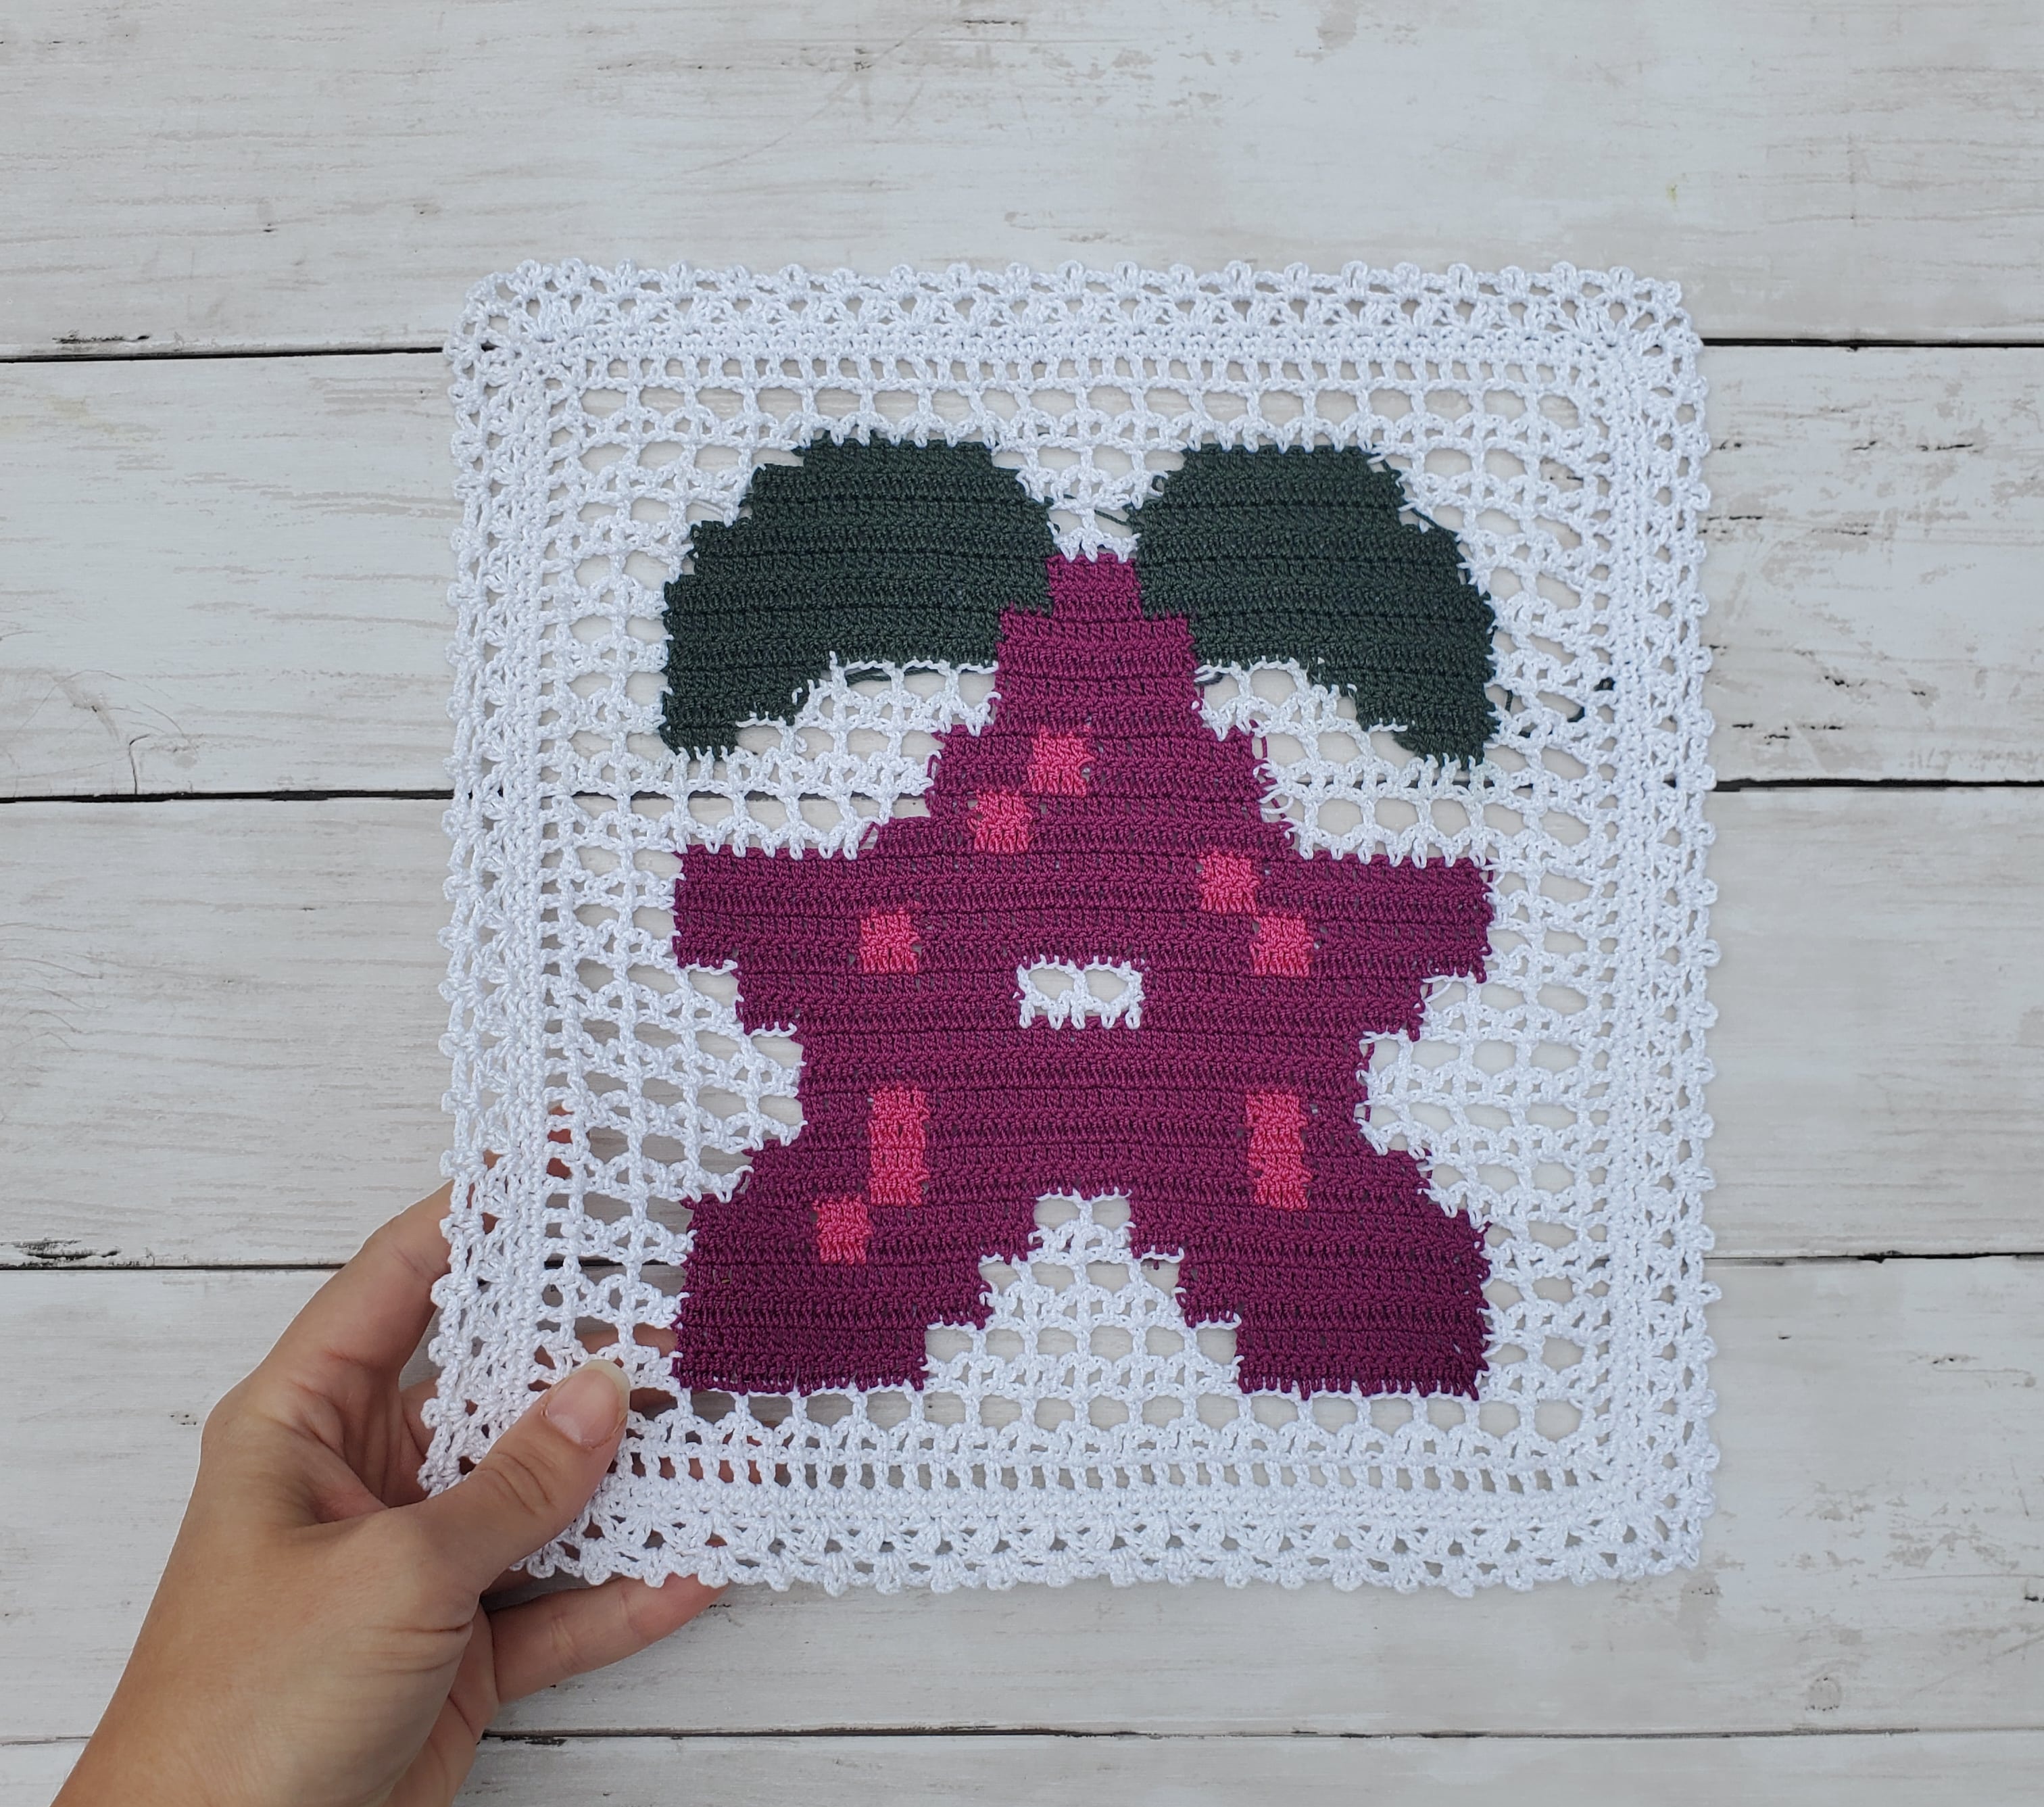
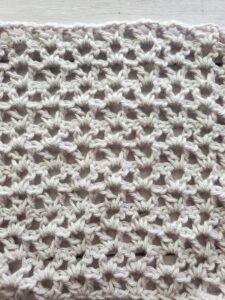
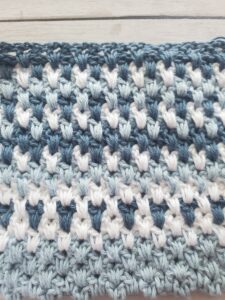
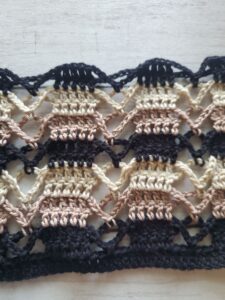
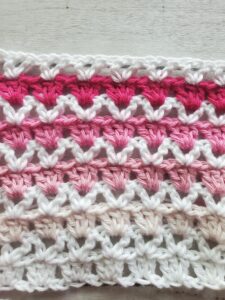
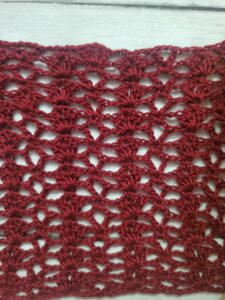
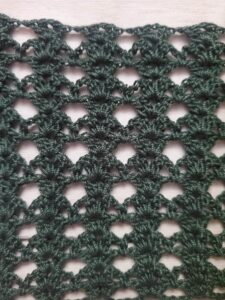
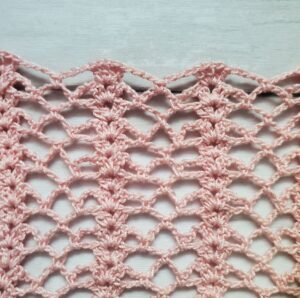
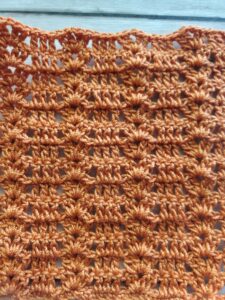
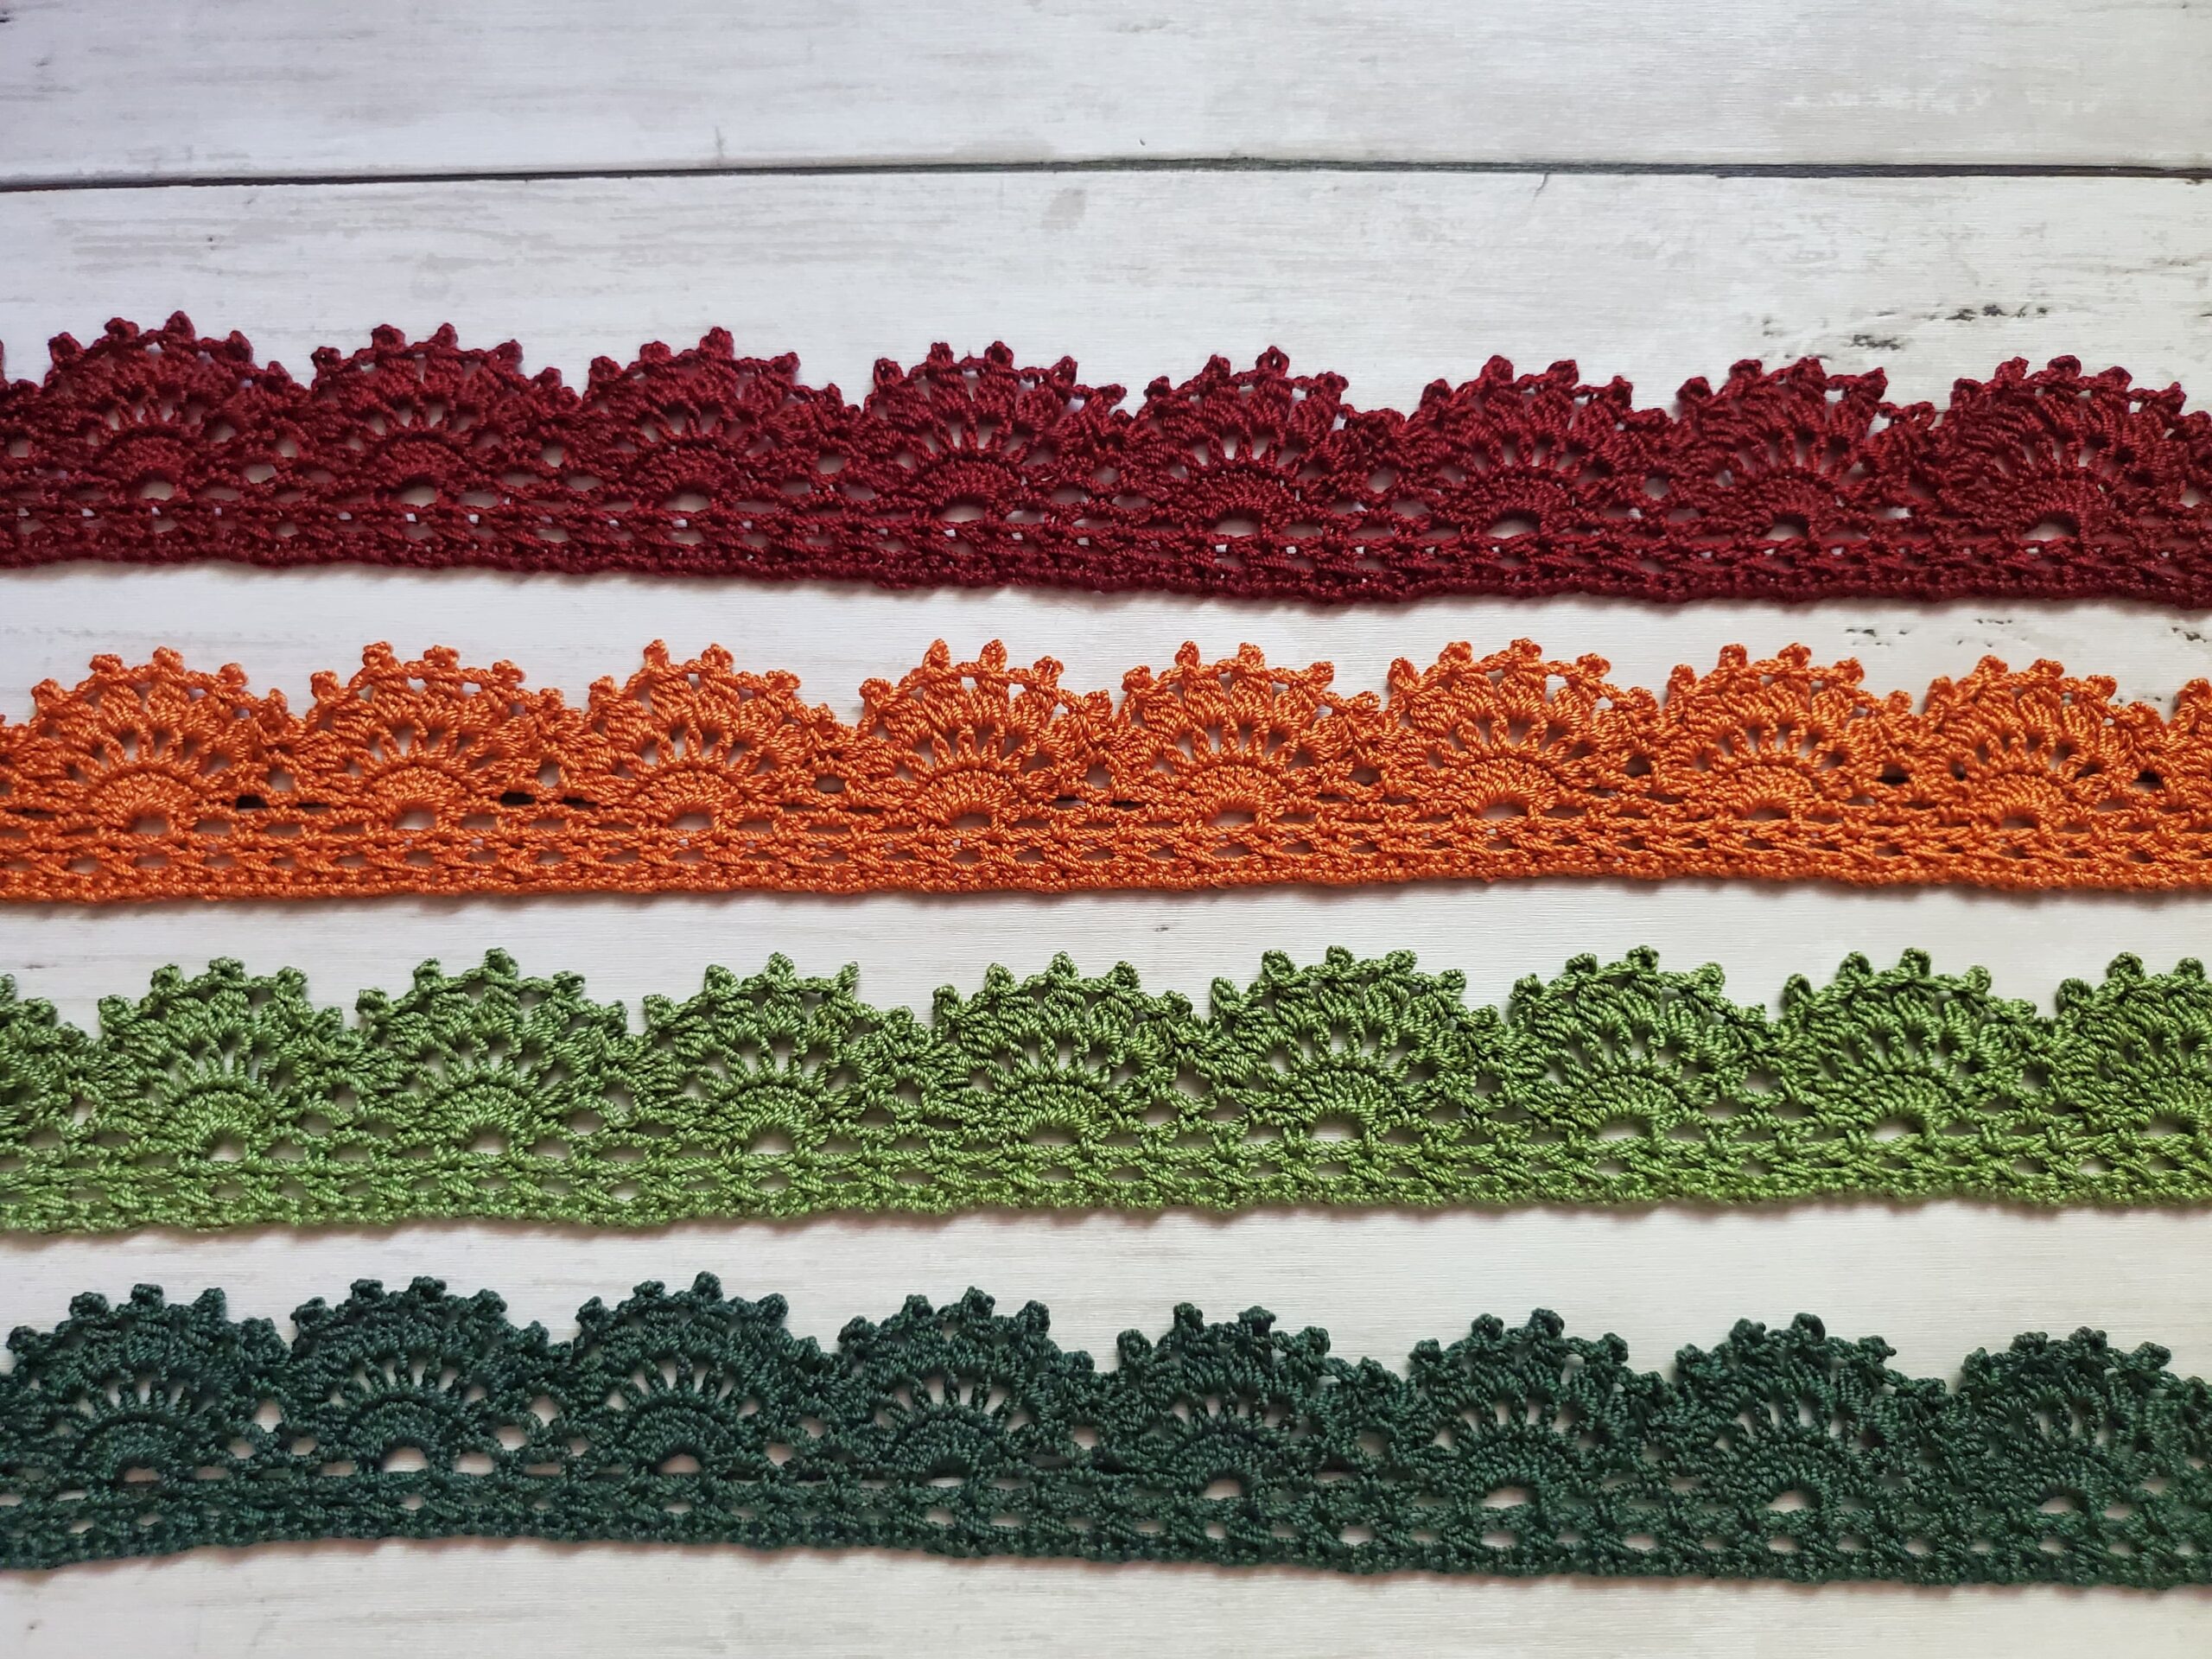
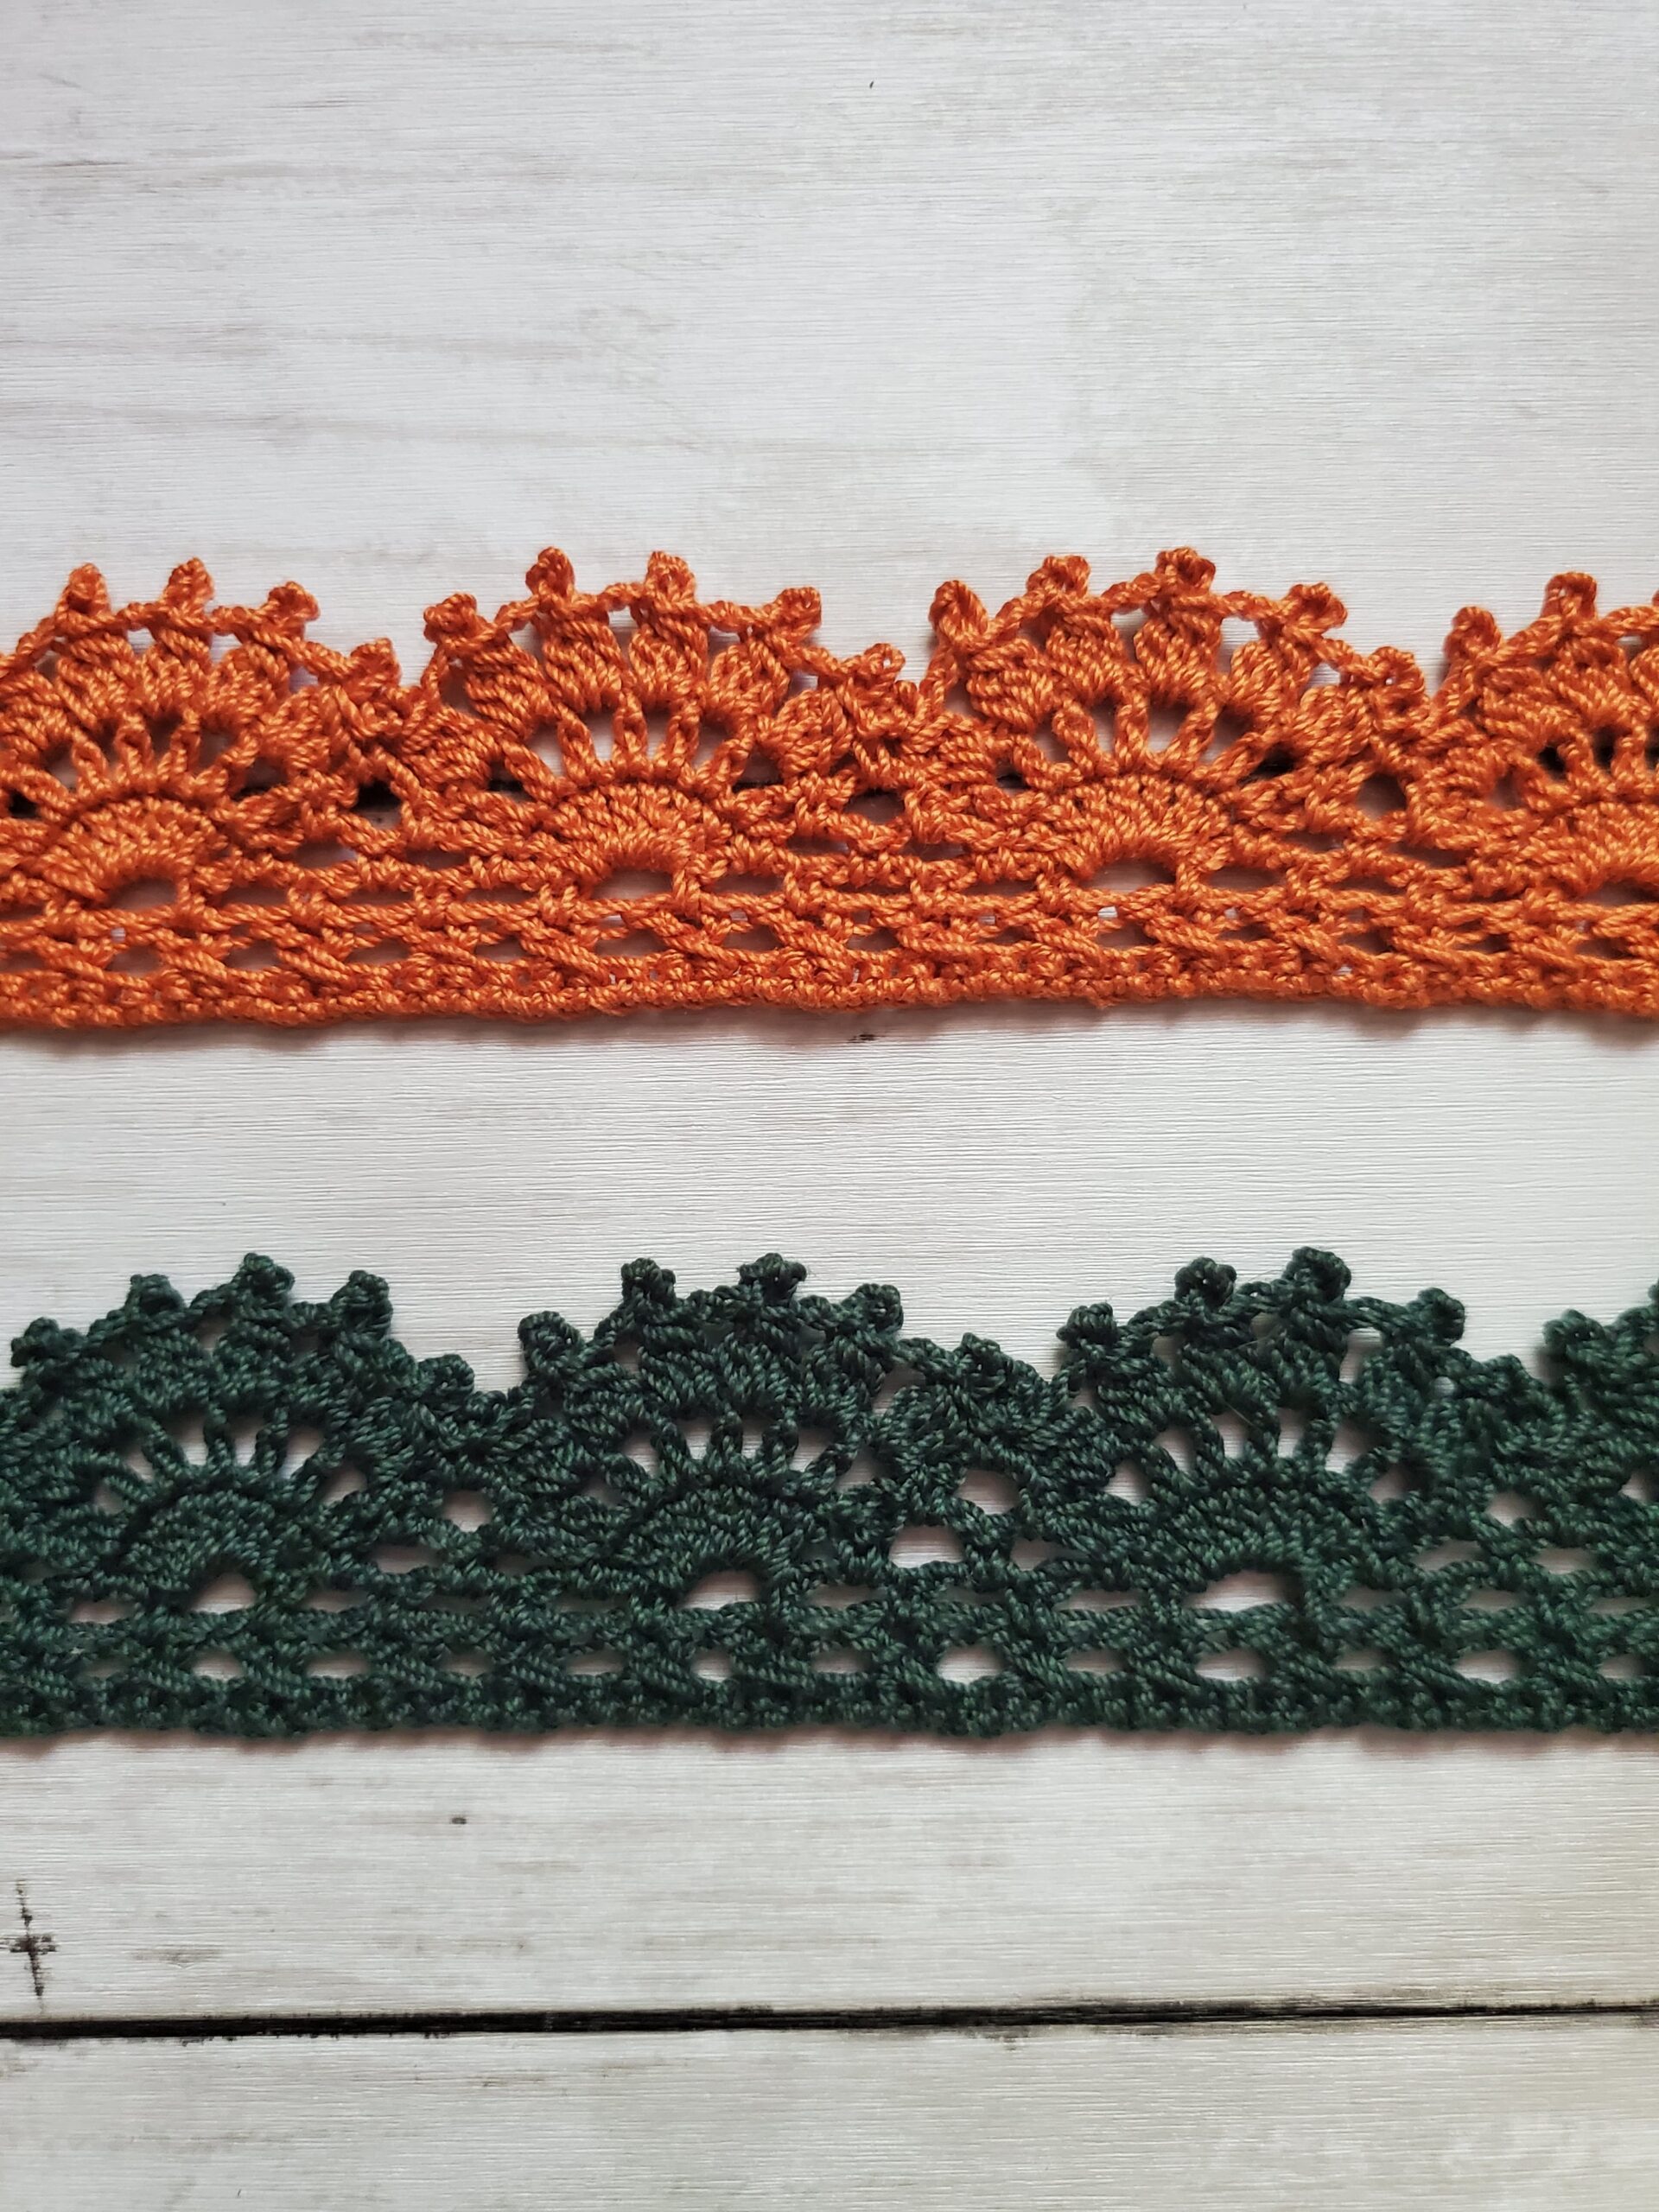
You’ll need at least 4 thread colors for this pattern. I did try to make this in solid white, but I think you can tell that it’s a Stardrop in the middle much better with the colors.
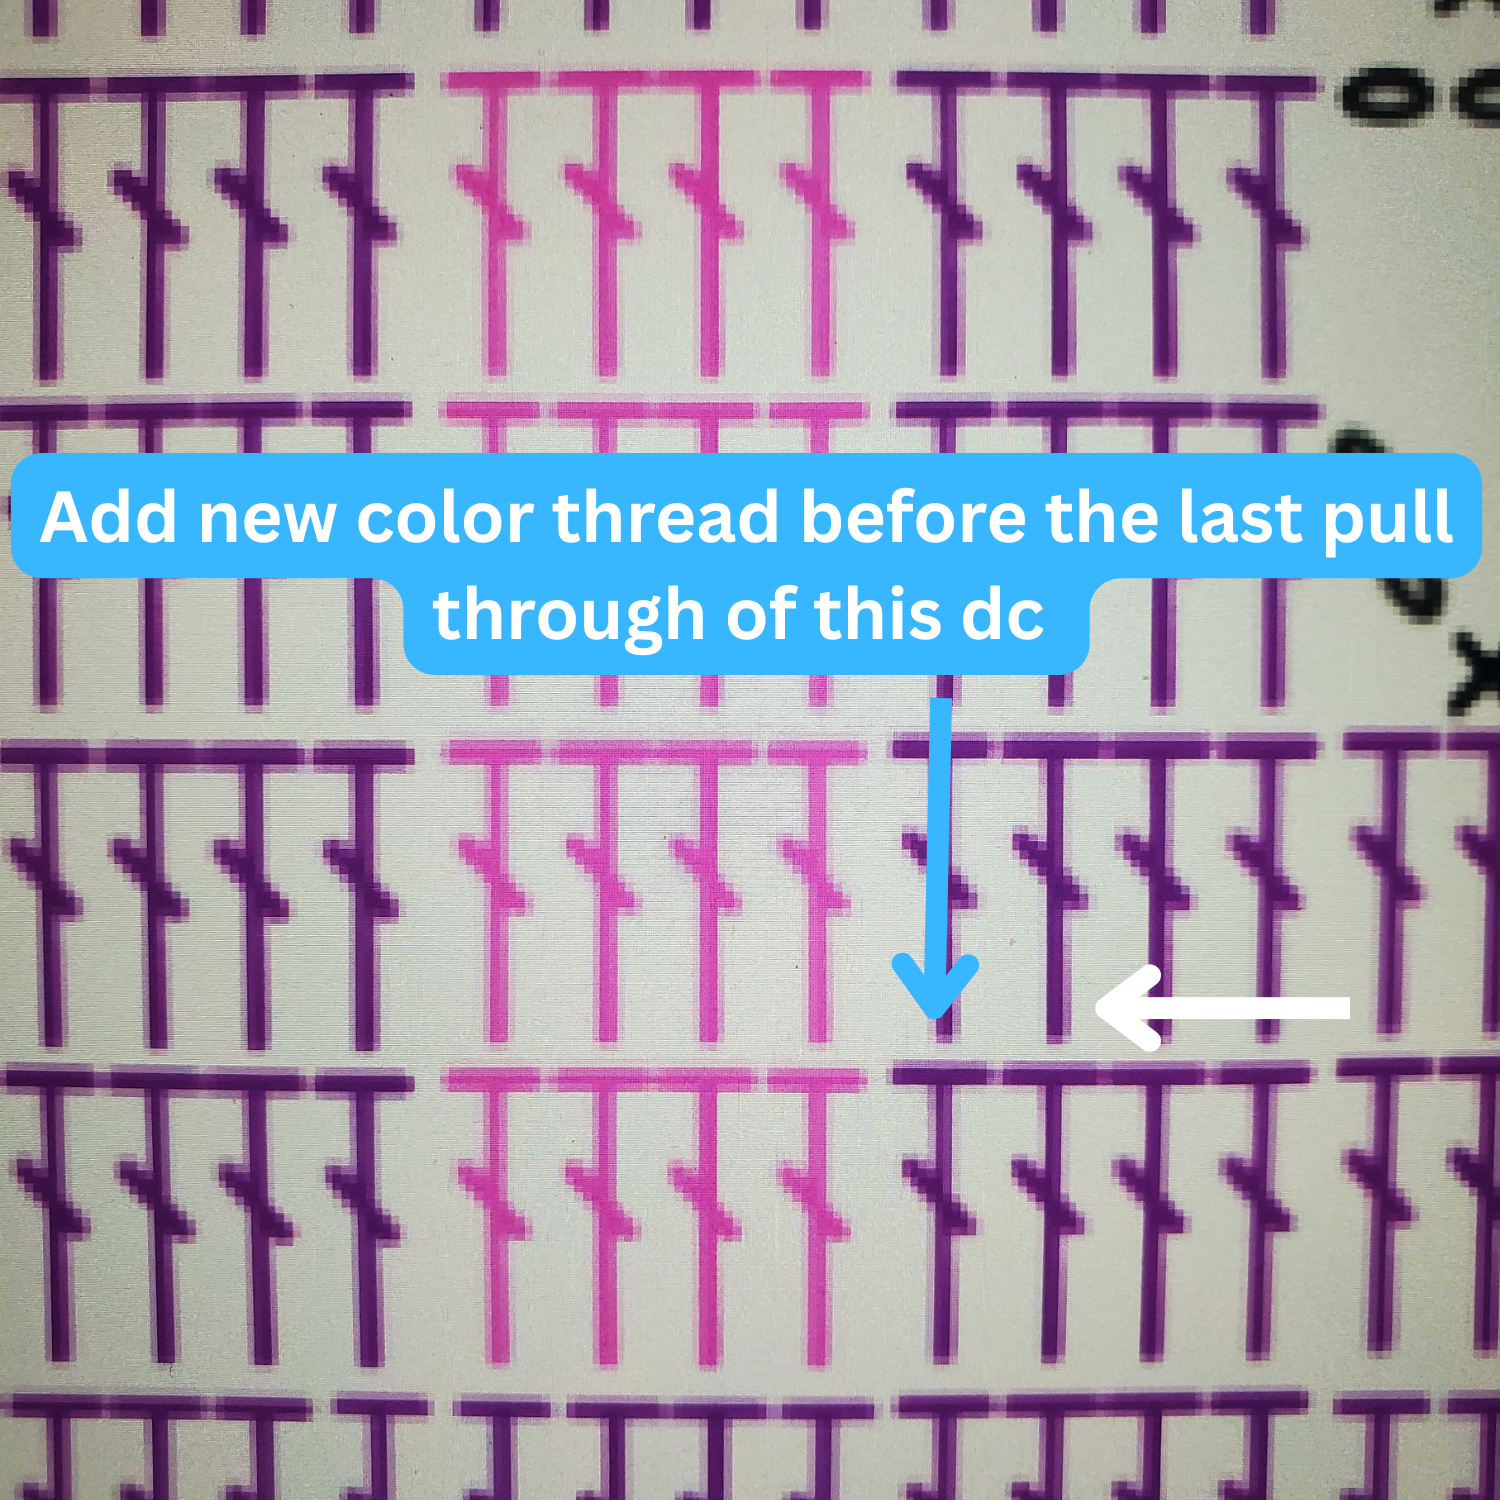
Since we are color changing in this doily, there are some things you need to know before starting. Basically, you need to change your thread color the stitch prior to the actual color change. It’s tricky at first, but you’ll get the hang of it.
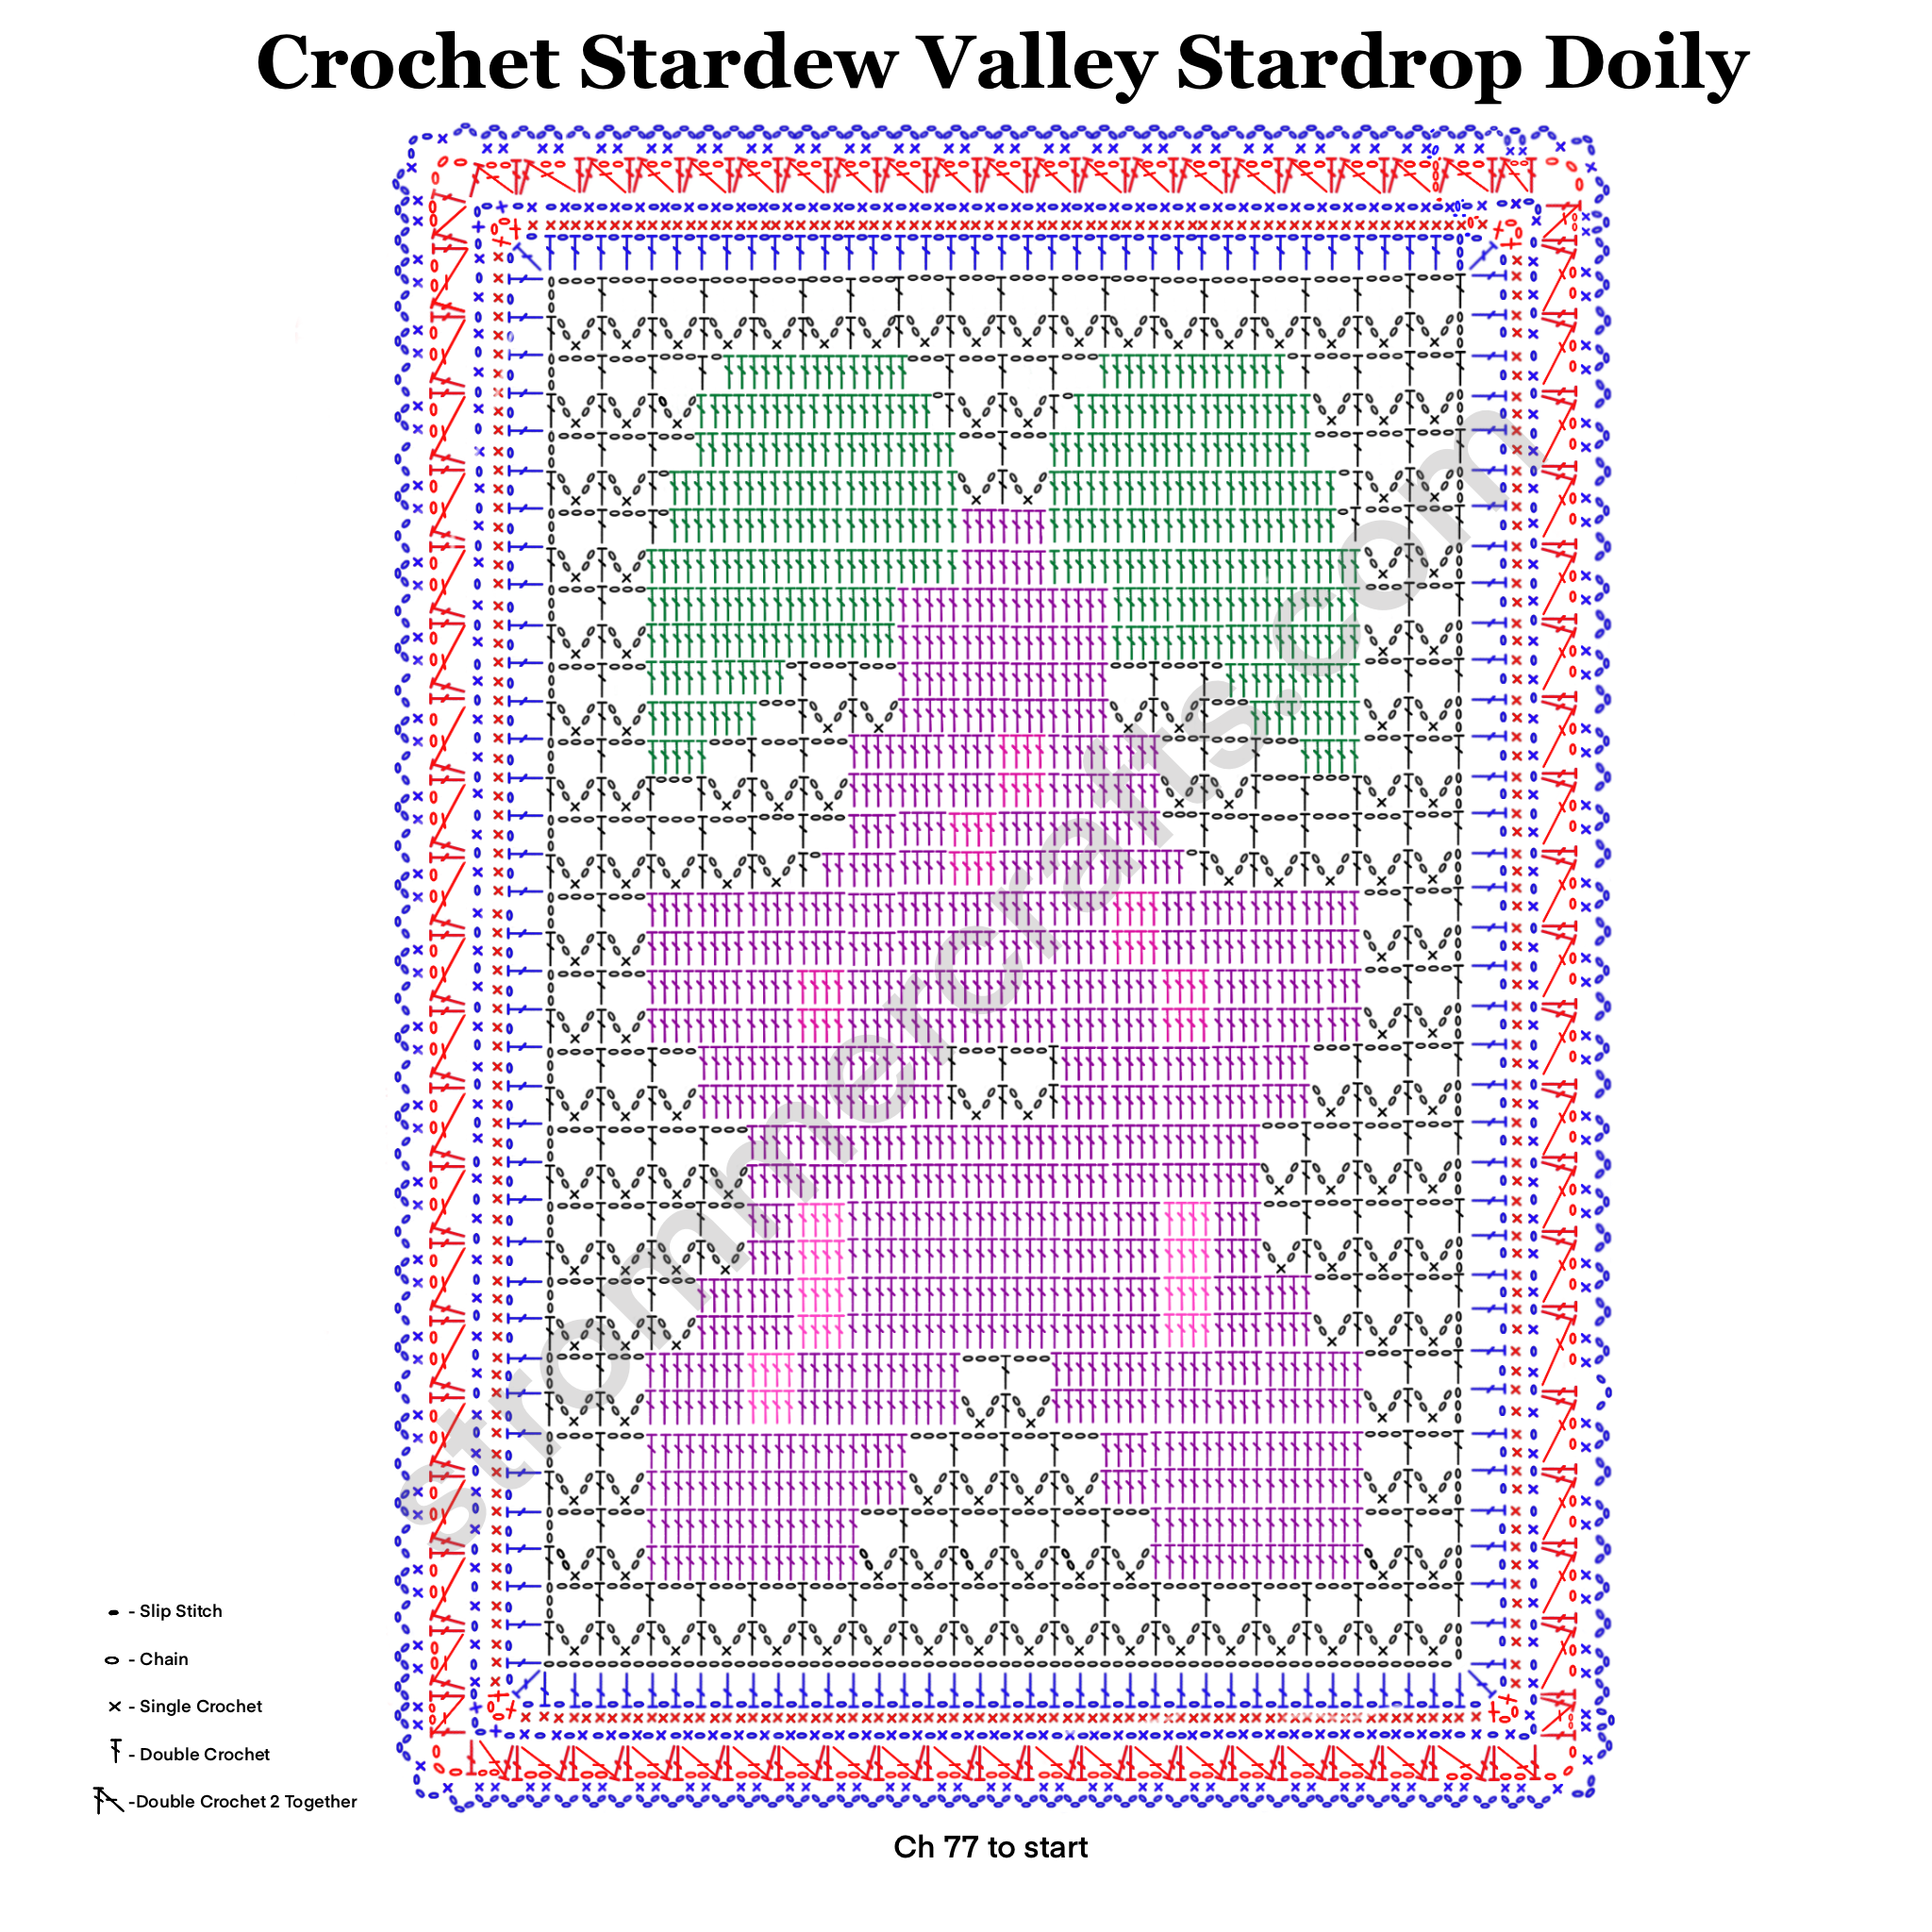
I’m also including a chart that I made so you can follow along better. I think written instructions can be somewhat tedious when it comes to these filet crochet doilies.
If you’re not used to reading charts, don’t worry, I have a symbol key on the side so you know what everything means!
Once finished, I highly suggest blocking your Crochet Stardew Valley Stardrop Doily. You can leave it unblocked, but crochet thread projects always look 1000% better if you do take the time to block it.
Let’s go ahead and see what we need to start this pattern below!
Please note that some of these links may be affiliate links. That means that if you click on a link and make a purchase, I may receive a commission at no extra cost to you. You can find more information about our disclosure policy here. Thank you for your support.
Materials Needed:
- 1.65mm Crochet Hook
- Red Heart Classic Crochet Thread Size 10 in White
- Artiste Cotton Crochet Thread Size 10 in Boysenberry
- Artiste Cotton Crochet Thread Size 10 in Dawn Rose
- Artiste Cotton Crochet Thread Size 10 in Emerald
- Tapestry Needle
- Scissors
For Blocking:
- Blocking Board (or cardboard box)
- Pins
- Bowl of water
- Towel
Abbreviations Used:
- Ch – chain
- St – stitch
- Sl st – slip stitch
- Sc – single crochet
- Dc – double crochet
- Dc2tog – double crochet two together
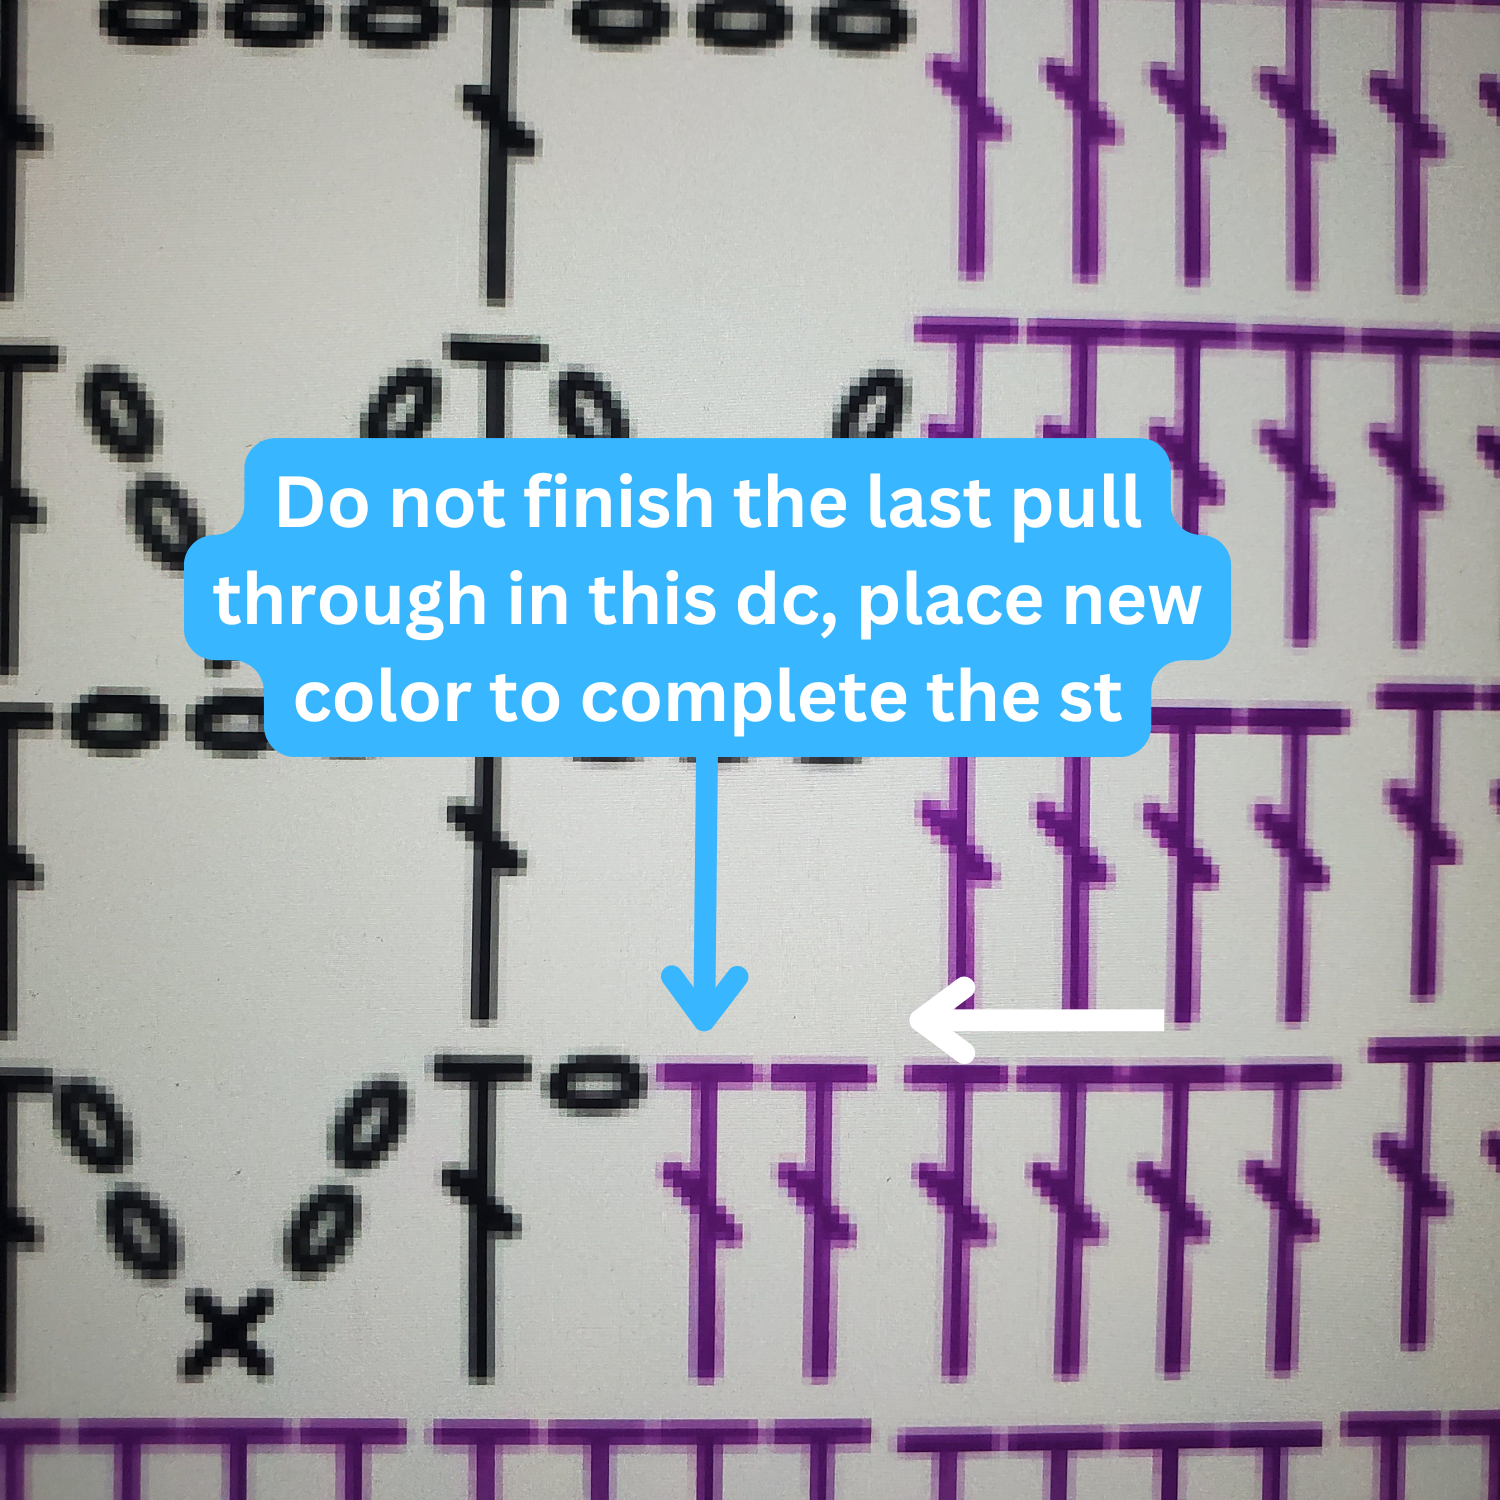
How do I color change in this pattern?
Color changing in this doily can be a little tricky, but with mindfulness and practice, you can do it!
You need to put your new color thread on the hook, the stitch before the change.
Do not finish your stitch completely, place your new color thread, and THEN finish the stitch.
Here’s an example:
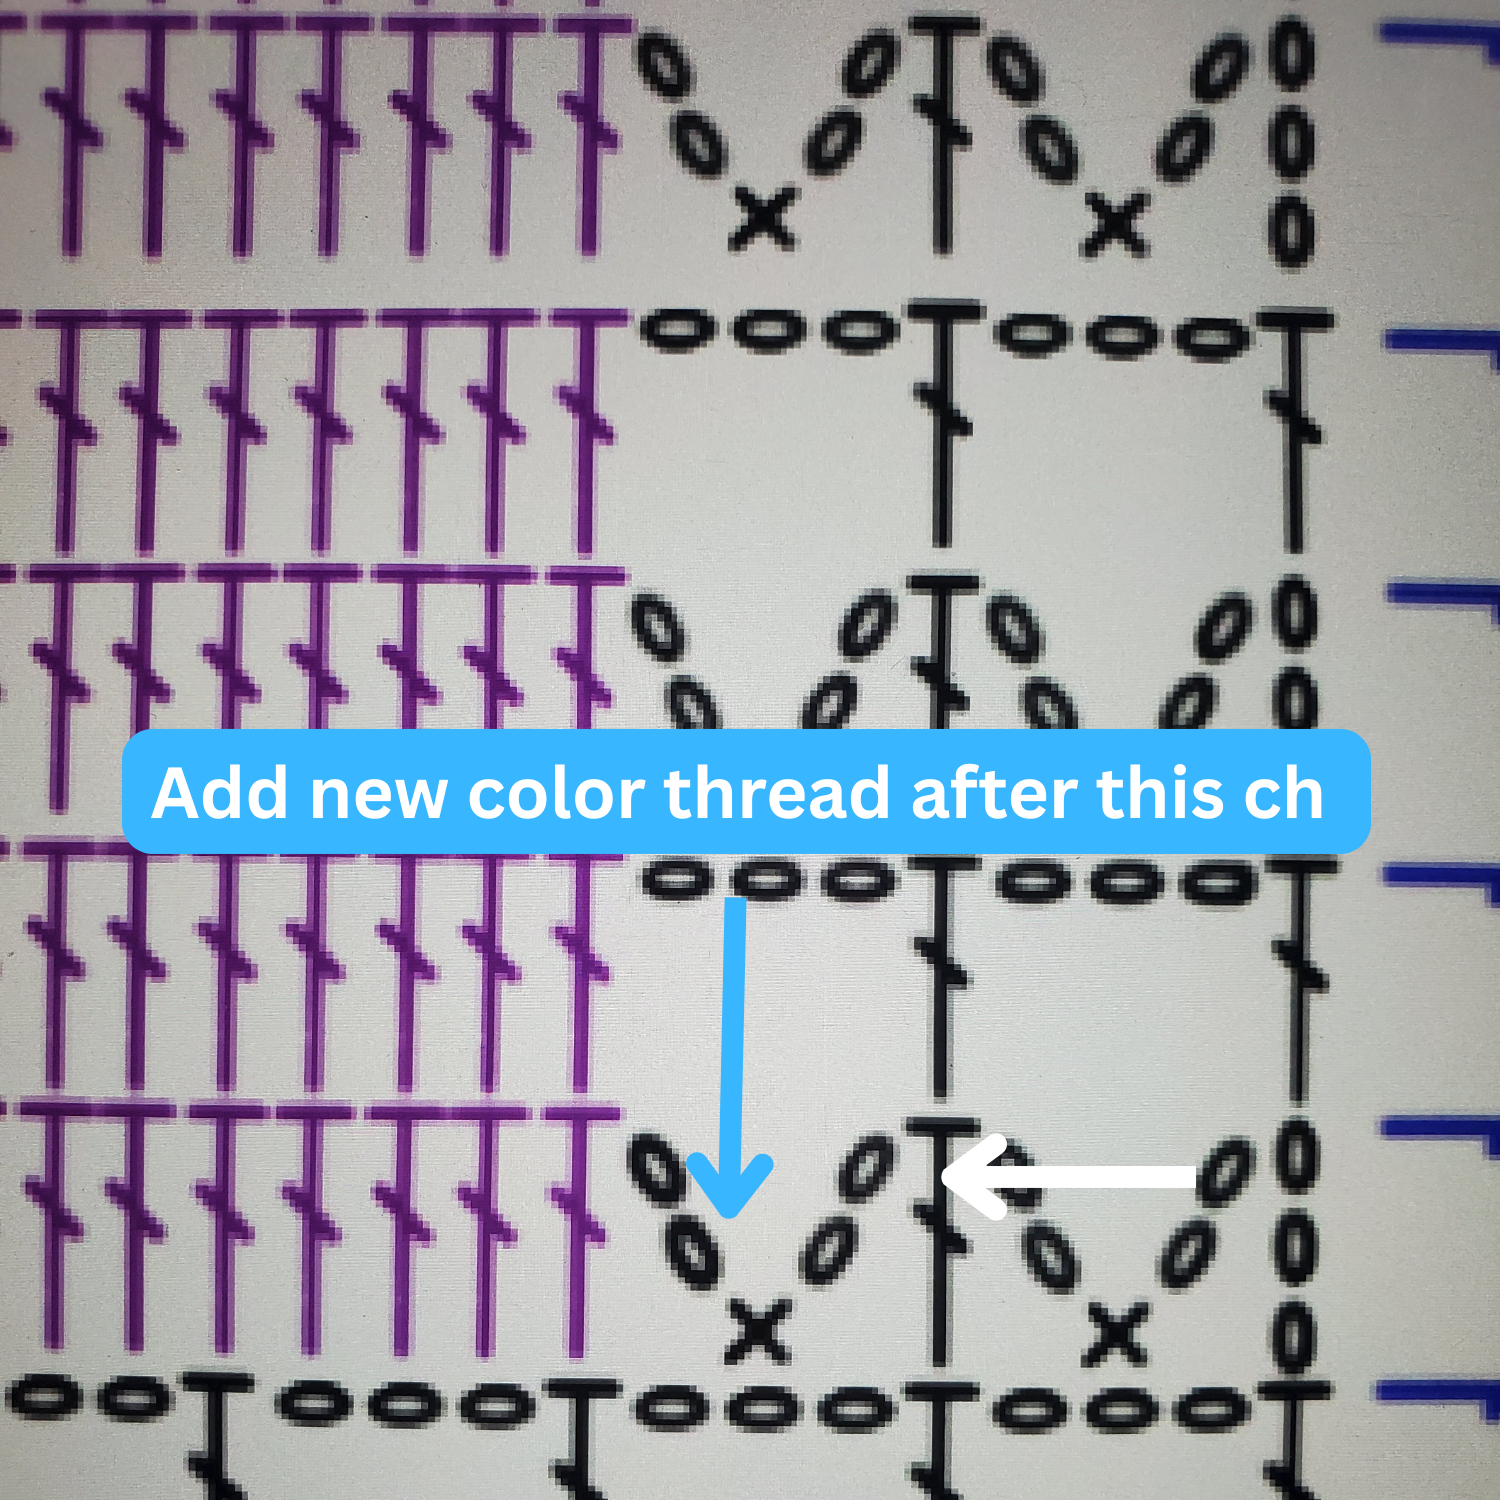
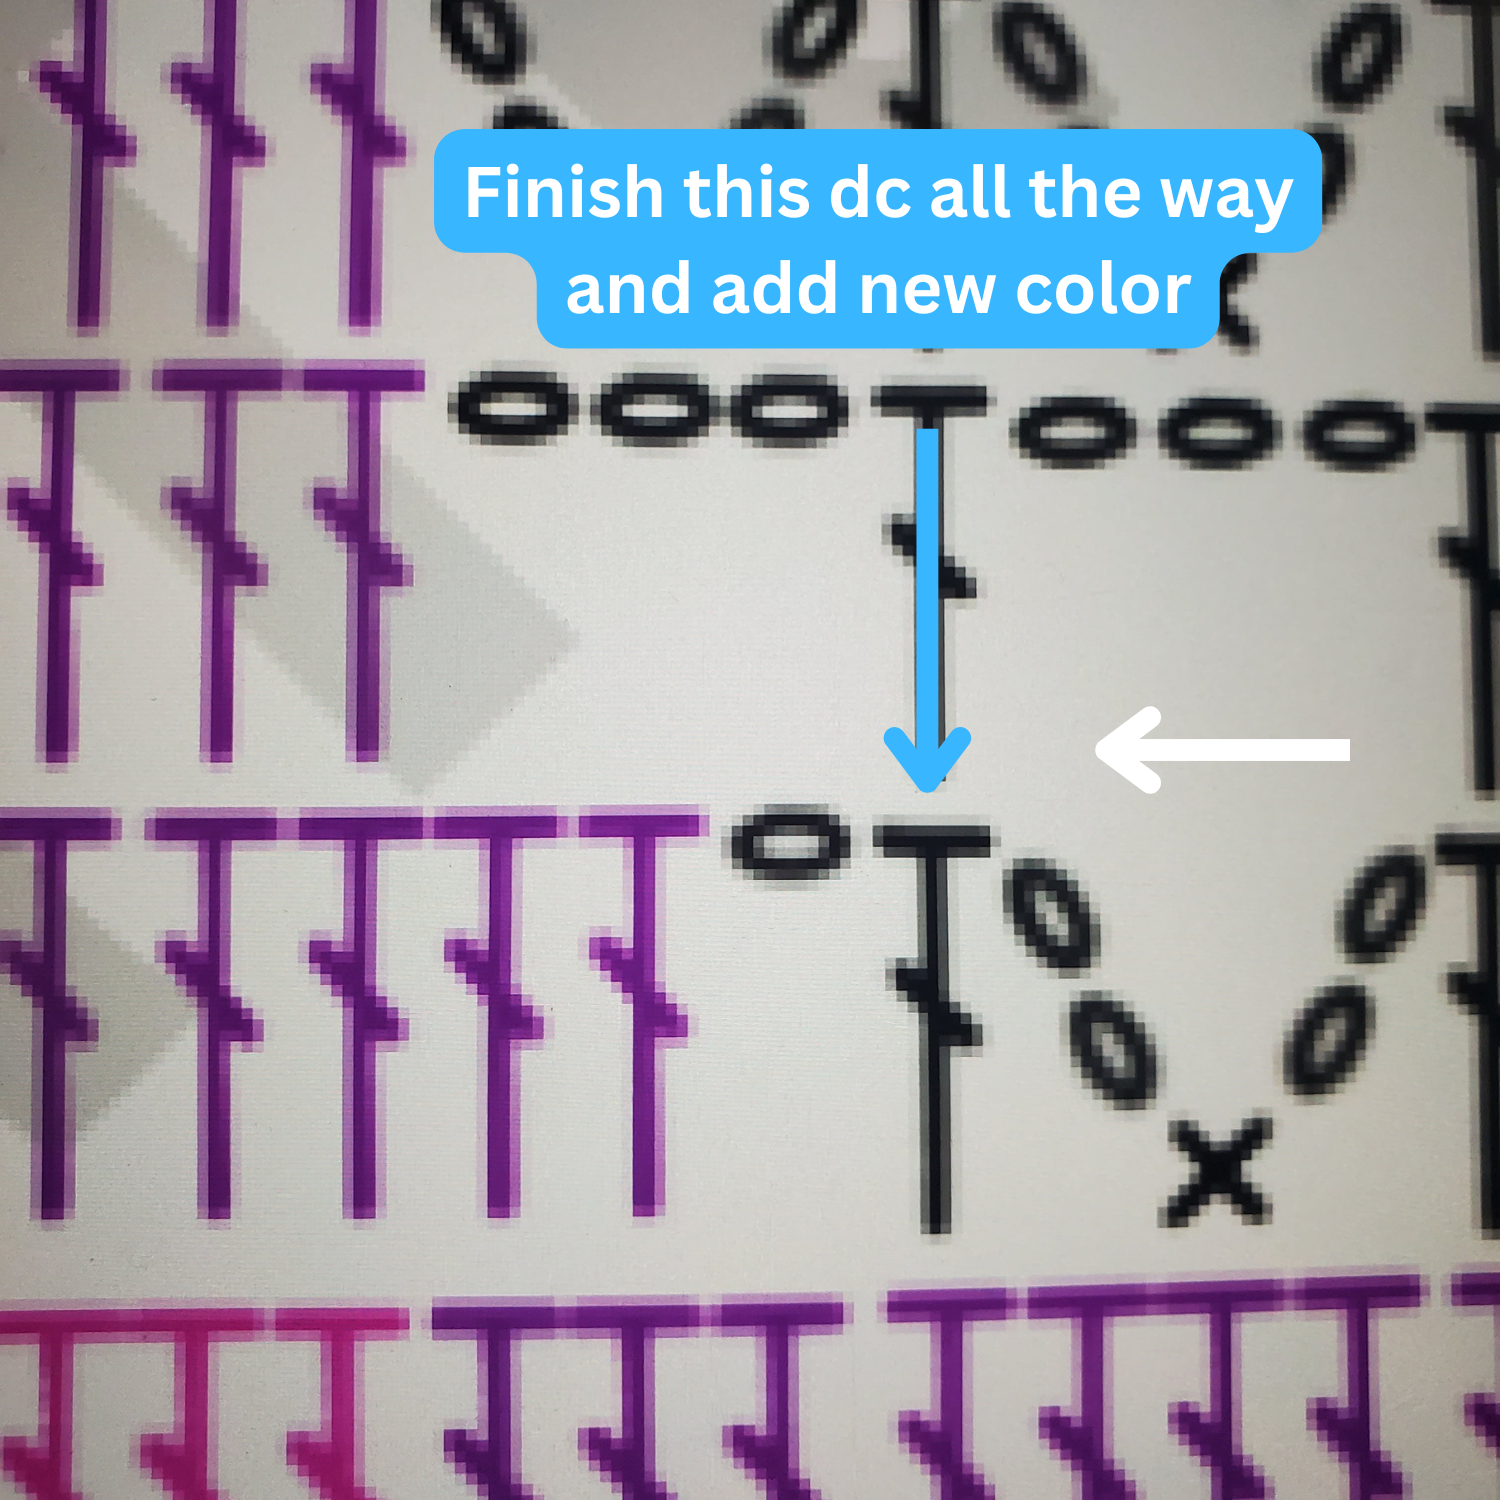
There may be times in the pattern that you need to change colors when you’re chaining. This one is tricky because you already have a chain/loop on the hook at all times.
Here are a few examples where you need to change colors while chaining:

I suggest not carrying your yarn with you as you go. With the crochet thread, you can see the color you’re trying to hide by carrying it (especially the white thread). It just makes it unpleasant to the eye.
So you have two options to deal with your multiple threads:
- 1) cut and weave each one in with your tapestry needle
- 2) keep one side ugly and never show it to the world…
It’s up to you what you want to do. There’s no judgment here!
There will be some criss-crossing of threads as you switch colors. It’s just the nature of crochet color changing. I would just be careful and untwist as you go so you don’t get a huge mess.
Alright, that’s enough of the finer details, let’s go ahead and get started on this doily!
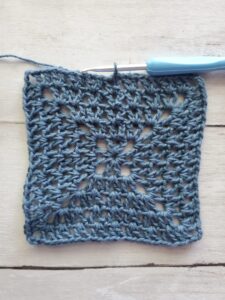
Crochet Stardew Valley Stardrop Doily Pattern
Ch 77
Please consult the diagram for the body of the doily below.
You will start with the black stitches first, and work your way up.
Then you will work the border in the blue and red by going around the square.
Border:
Double check and make sure that you are facing the correct way before beginning. If not, just turn your work and follow along.
Round 1: ch 4 (counts as a dc and ch 1), skip a ch, and dc into the next ch (should be the middle ch). *Ch 1, skip a ch, dc into next dc, ch 1, skip a ch, dc into next ch* Repeat from *to* all the way across until the first corner.
Dc into the 3rd ch of ch 6 from previous row, ch 1, dc into same ch, ch 1, dc again into same ch.
Turn down the side, ch 1, skip ch 3 and dc into the top of the last dc in row 35. Ch 1. Skip the length of the dc you just crocheted into and dc into the top of the next starting ch 3.
Continue in this fashion, placing (dc, ch 1, dc, ch 1, dc) into the corner spaces. Sl st to 3rd ch in starting ch 4.
38 squares on each side
Round 2: Ch 1 (does not count as a st), sc into same joining space. Sc into each dc and ch 1 space across.
In the middle dc of the corners, make (sc, ch 2, sc), turn and continue making sc into each dc and ch 1 space.
Sl st to first st.
Round 3: Sl st into next st, ch 1 (does not count as a st), sc into same st as joining, *ch 1, skip a st, sc into next st* Repeat from *to* across. Make sure to ch 1 right before the corner spaces.
In the next corner ch 2 corner space, (sc, ch 2, sc).
Repeat from *to* down the next side.
Sl st to first st
Round 4: Sl st into next ch 1 space, ch 5 (counts as a dc and ch 2). Dc2tog by making the first leg in the same ch 1 space as starting ch, skip next ch 1 space and place the second leg into the next ch 1 space. *Dc in same ch 1 space, ch 2, dctog with the first leg in the same ch space, skip a ch 1 space and place the second leg into the next ch 1 space.*
Repeat from *to.* until the next corner (should have 18 ch 2 spaces before the first corner).
Ch 2, dc2tog with first leg in the ch 1 space right before the ch 2 space from the previous round, place the second leg into the ch 2 corner space. Ch 3, dc into same ch 2 corner space.
Ch 2, dc2tog with first leg in ch 2 corner space, and the second leg in the next ch 1 space (it should be the one right after the ch 2 corner space)
Continue this way around.
You should have 21 ch 2 spaces on each side with ch 3s in the corners.
Sl st to 3rd ch in starting ch 5.
Round 5: Sl st into the next ch 2 space, ch 1 (does not count as a st), sc into same ch 2 space. Ch 3, sc into same ch 2 space again, *ch 3, (sc, ch 3, sc) into next ch 2 space.*
Repeat from *to.*
When you get to the ch 2 space right before the ch 3 corner spaces, complete your (sc, ch 3, sc) in the ch 2 space. Ch 3 and (sc, ch 3, sc) into the ch 3 corner space.
Ch 3 and (sc, ch 3, sc) into next ch 2 space.
Continue in this fashion all the way around.
Sl st to first sc.
Cut yarn with scissors and pull through. Weave in any loose ends
Blocking:
To block this doily, grab a large bowl and fill it with water. Soak the doily in the water for a few minutes (you may need to hold it down with your hand so it doesn’t float to the surface).
Once soaked, grab a towel. Pull the doily out of the bowl and place on the towel (do not wring or squeeze the doily with your hands).
Pat the doily with towel to soak up excess water.
Place the doily onto a blocking board or a piece of cardboard large enough. Pin the sides evenly with pins.
Allow the doily to air dry for 24-48 hours.
Thank you so much for trying out the Crochet Stardew Valley Stardrop Doily Pattern. I hope the diagram was helpful to you.
Until next time.