Crochet and Chill: 12 Ways Crochet Can Help with Stress and Anxiety

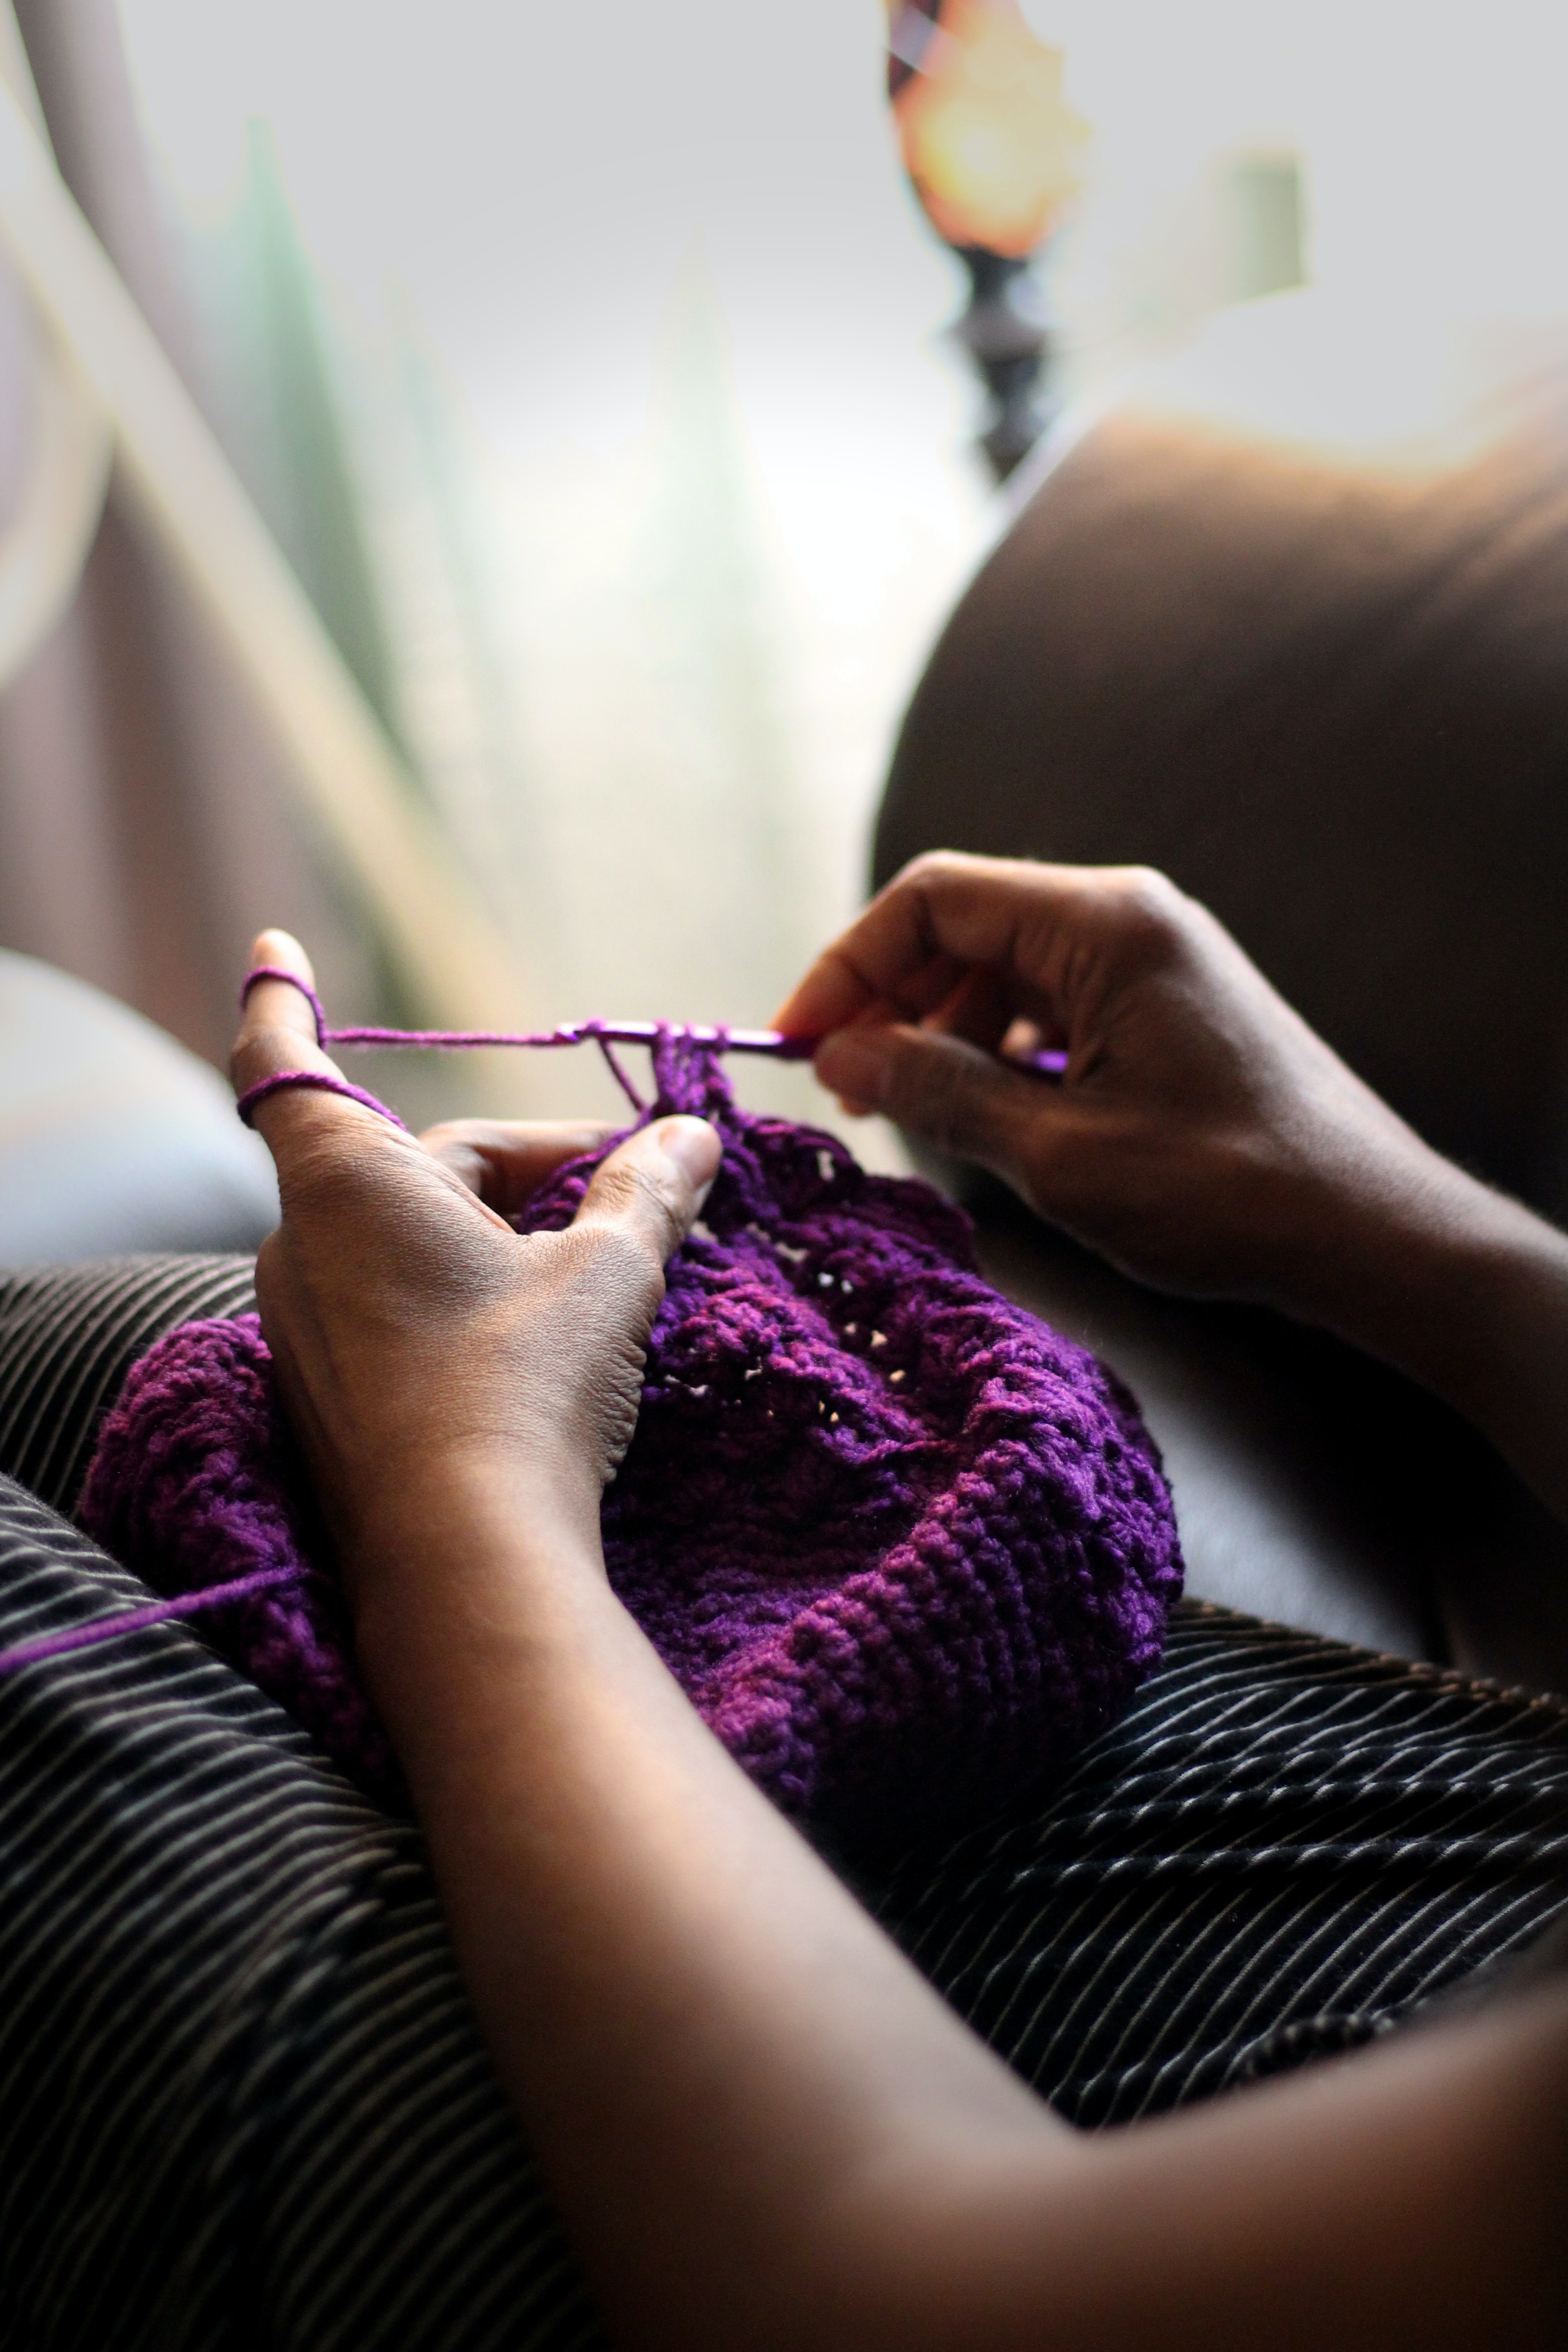
In today’s fast-paced and stressful world, finding moments of calm and respite is essential for our well-being. Thankfully crochet offers a sanctuary of relaxation, creativity, and tranquility that can melt away stress and anxiety.

In this blog post, we’ll explore 12 ways in which crochet can become a trusted companion on the journey to inner peace. From the relaxing, rhythmic motion of making stitches, to having a sense of productivity, each aspect of crochet holds the potential to nurture your mind, body, and soul.

#1 Mindfulness and Relaxation.

Crocheting provides a focused and repetitive activity that can promote mindfulness and relaxation. The rhythmic motions of crochet can help calm the mind and reduce the production and release of stress hormones such as cortisol and adrenaline. As these stress hormones decrease, the body can reach a state of relaxation.. 

#2 Stress Relief.

Engaging in crochet allows you to shift your focus away from stressful thoughts and worries. Concentrating on the stitches and patterns can provide a welcome distraction and help alleviate anxiety. The repetitive movements in crochet have also been found to activate the parasympathetic nervous system, which is responsible for promoting relaxation and reducing stress. This can result in physical changes, such as lower heart rate, decreased blood pressure, and an overall sense of calmness.

#3 Creativity and Expression.

Crocheting offers a creative outlet where you can express yourself through color choices, stitch combinations, and pattern modifications. This creative process can be empowering and provide a sense of accomplishment and joy.

#4 Sense of Productivity.

Completing crochet projects gives a sense of productivity and achievement. Seeing tangible results from your efforts can boost self-esteem and create a positive mindset. With each stitch, row or round completed, you can see your project take shape and evolve into something beautiful.

#5 Sensory Stimulation.

The tactile experience of working with yarn and feeling the textures can be soothing and comforting. The softness and texture of the yarn, and the repetitive motion of crocheting provides a calming effect similar to other forms of repetitive activities like coloring or knitting.

#6 Mindful Breathing.

Crocheting can be combined with mindful breathing exercises to further enhance relaxation. Focus on your breath as you work on each stitch, taking slow, deep breaths, and allowing yourself to fully immerse in the present moment. Deep, slow breathing is associated with the activation of the parasympathetic nervous system, shifting the body into a state of calmness.

#7 Social Connection.

Crocheting can be a social activity, whether through joining crochet groups and forums, attending classes, or sharing your projects online. Engaging with a community of like-minded individuals can reduce feelings of isolation and provide support and encouragement.

#8 Emotional Outlet.

Crocheting can serve as an emotional outlet, allowing you to channel and process your emotions through the act of creating something beautiful. It provides a healthy way to express and release feelings of sadness, stress, and anxiety. 

#9 Portable and Convenient.

Crocheting is a portable and convenient hobby that can be done almost anywhere. You can easily pack your yarn, hooks, and other tools into a bag or pouch, making it easy to take to work, during commutes, or while waiting for appointments. This flexibility allows you to engage in crochet during moments of stress or anxiety, providing an instant source of comfort. 

#10 Mindful Focus.

The repetitive nature of crochet encourages focused attention on the task at hand. As you concentrate on each stitch, your mind becomes absorbed in the present moment, allowing you to let go of all the worries or stressors that may be occupying your thoughts. 

#11 Dopamine Release.

Engaging in the rhythmic motion of crochet can also stimulate the release of dopamine, a neurotransmitter that is associated with pleasure and reward. This can contribute to a feeling of relaxation, contentment, and even a sense of achievement when you complete crochet projects.

#12 It’s Fun.

Crochet can be fun and full of delightful surprises. From watching your project grow and evolve, to discovering new and beautiful ways to add color and interesting stitches, each step can be a fun way to spend your time. Plus knowing that your creation is a one-of-a-kind labor of love can bring an unparalleled sense of joy and fulfillment.

I hope you’re feeling inspired and ready to embrace the therapeutic power of this beloved craft.

Remember, that the benefits of crochet go beyond the finished project. It’s the process itself that brings a sense of peace and restoration.

So make time for yourself, create a cozy space, and allow crochet to become your refuge-a place where you can unwind and let go of all your worries.
Other Posts You Might Like:

How to Crochet with Black Yarn: 12 Game Changing Tips for Your Next Project

Crocheting with black yarn can be challenging, but it’s also a great way to add a bit of drama and sophistication to your crochet projects. Whether you’re working on a black sweater, a dark blanket, or black colored amigurumi, using this colored yarn can create striking and elegant effects.

However, crocheting with black yarn can be frustrating, especially if you’re struggling to see your stitches or keep making mistakes.

That’s why I’ve compiled a list of 12 game-changing tips for crocheting with black yarn. From lighting, to tension, these tips will help you work with black or dark colored yarn more confidently and without the stress. 

So if you’re ready to take your crochet skills to the next level, read on to discover my top tips for crocheting with this kind of yarn!

Please note that some of these links are affiliate links. That means that if you click on these links and make a purchase, I may receive a commission at no extra cost to you. You can find more information about our disclosure policy here. Thank you for your support.

#1 Use good lighting.

Stitches formed with black yarn can be difficult to see, so it’s important to use good lighting while crocheting. Consider working in a well-lit area (a window with natural lighting is best). Use a lamp or try using a wearable lamp, like a headlamp or a neck lamp to help illuminate your work.

Here’s a LED Neck Lamp from Glocusent that doesn’t look dorky and has great lighting.

#2 Choose the right yarn weight.

Thicker yarns can be easier to work with when using black or darker yarns, as the stitches become bigger and more visible. Consider using bulky or super bulky weight yarn for your crochet project.

Try Bernat’s Super Bulky Yarn in Coal, it’s reasonably priced for the yardage provided and it’s soft.

#3 Use stitch markers, especially contrasting ones.

Using stitch markers in a contrasting color can help you keep track of your stitches while crocheting with black yarn (especially if you’re like me and are attempting your first crochet amigurumi with black yarn!). Using stitch markers helps you count and keep track of your stitches if you’re having issues finding them.

I like to use these stitch markers from Cusimax, there’s 120 markers, with 10 different colors, plus it comes in a nice little container to keep them in.

#4 Take breaks.

Crocheting with black yarn can be visually and mentally tiring, especially if you’re having to frog all the time from mistakes. Take frequent breaks to give your eyes and your brain a rest.

#5 Use a light-colored background.

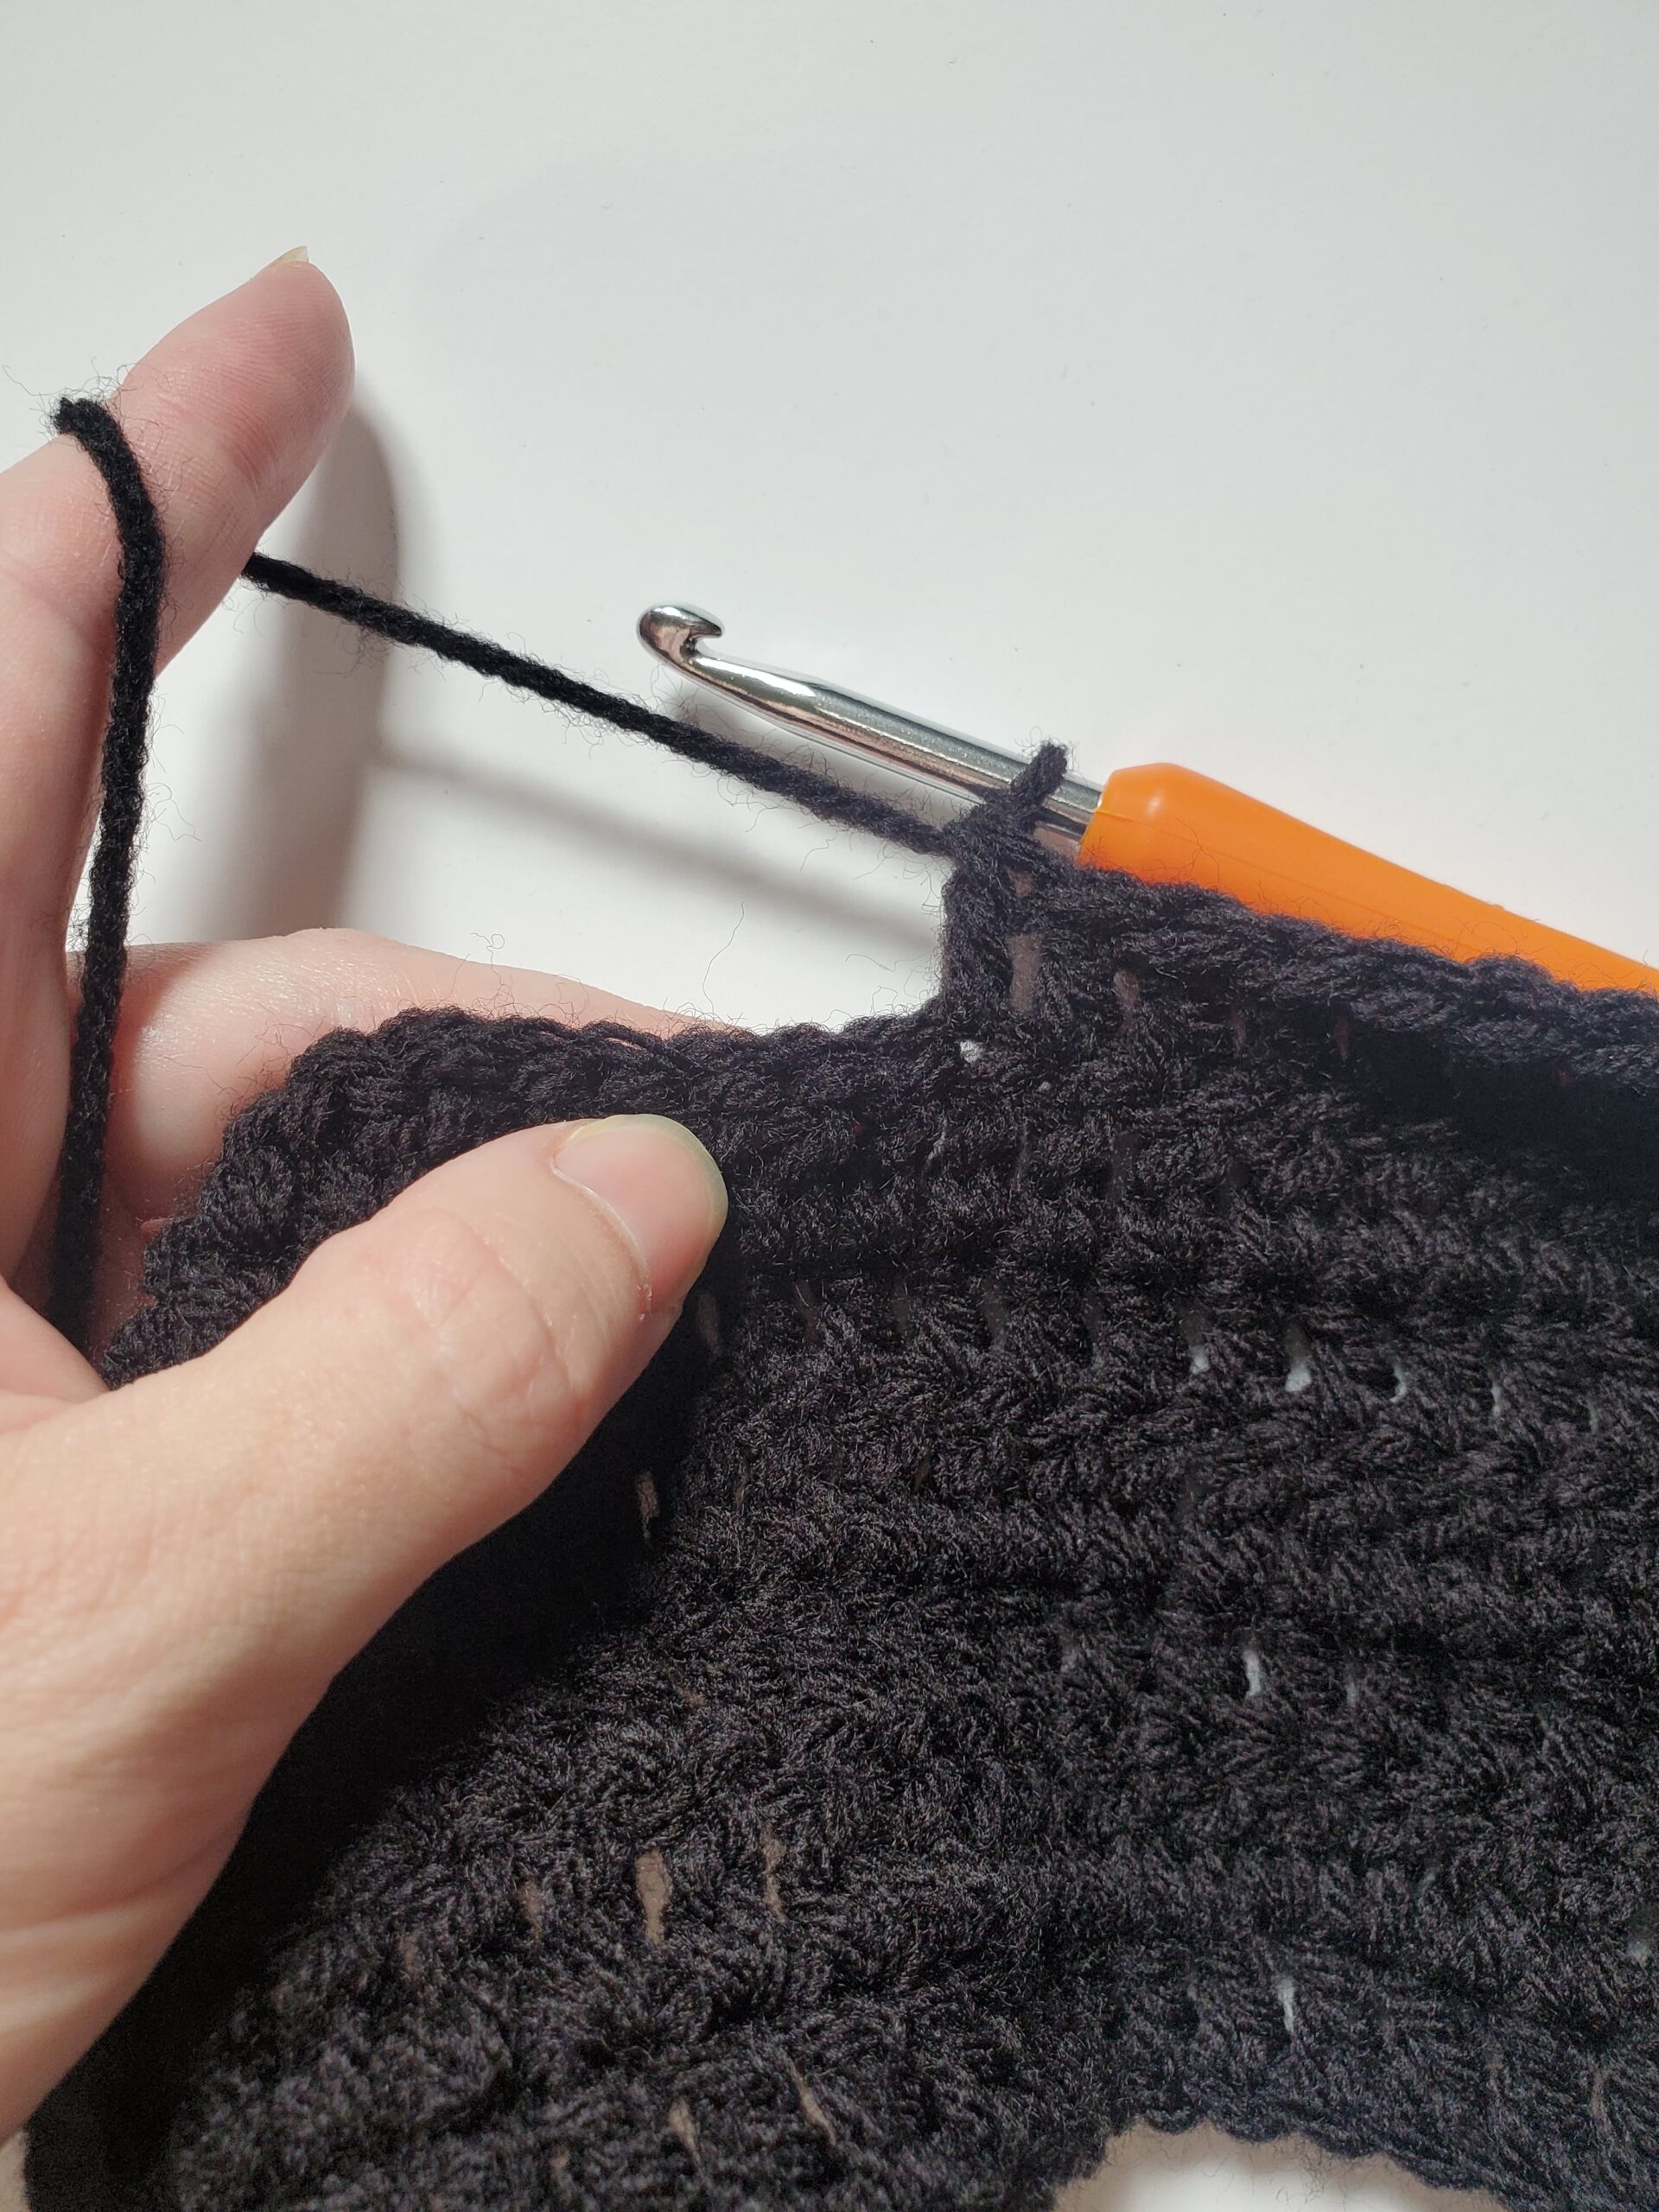
When working with black yarn, it can be helpful to use a light-colored background for your work, this can make it easier to see your stitches and help prevent mistakes. I like to use a white poster board to lay my black yarn projects on while crocheting, but white copy paper works great too.

#6 Use a lighter-colored hook.

There are so many different kinds of crochet hooks with various colors out there. Consider using a lighter-colored aluminum or plastic hook to make it easier to see your stitches. There are also crochet hooks that have LED lights in them you could try!

I actually use this light-colored crochet hook set from Boye.

And I’ve never used them, but here’s a LED lit, 10 piece crochet hook set from EEEkit that is reasonably priced with good reviews.

#7 Check your tension.

If you tend to crochet with a tighter tension, it can be hard to see your stitches as they will appear smaller. Check your tension regularly as you work if you’re having a hard time. I know my tension is too tight if I have a hard time inserting my hook into stitches. You can also check your tension by measuring your gauge or comparing our work to the pattern instructions. 

#8 Use a magnifying glass.

Yep, I said it. For some determined, but visually impaired crocheters, using a magnifying glass might be helpful, especially for intricate patterns with fine details. Look for hands-free magnifying glasses or one that you can place on a stand to make it easier to use while your hands are busy crocheting. 

Here’s a Hands Free Magnifying Glass for Neck Wear by LafaVida.  

And I had a good laugh at this one, but if you want to go full tactical and don’t care what people think (you’re working here darn it!), check out this Illuminated Headband Magnifier from MAGNIPROS.

#9 Use good posture.

Maintaining good posture while crocheting can help prevent eye strain, wrist pain, and fatigue when working with black yarn. Remind yourself to sit up straight and keep your work at a comfortable distance from your eyes.

#10 Experiment with different textures.

Using a textured or bumpy yarn can help you differentiate between stitches when working with black yarn. Try a pattern that uses popcorn or bobble stitches for added texture.

#11 Use taller stitches.

Try crocheting with double or even treble crochets if you’re having a difficult time seeing stitches with black yarn. It can be hard to identify stitches if using single or half double crochets. It may be easier for you to correlate/count the top of your stitches with the posts of the double or treble crochets.

#12 Choose the right pattern.

Not all patterns are suitable for black yarn, especially if they have tiny or subtle details. When choosing a pattern, look for designs with larger stitches or bold, graphic elements that will show up well in dark yarn.

With these 12 game-changing tips, you’re well on your way to mastering the art of crocheting with black yarn. Remember to take breaks, adjust your lighting and experiment with different textures and patterns to find what works best for you.

With practice and patience, you’ll be able to create beautiful, sophisticated projects that showcase the beauty and drama of black yarn. 

Thank you and happy crocheting! Until next time.

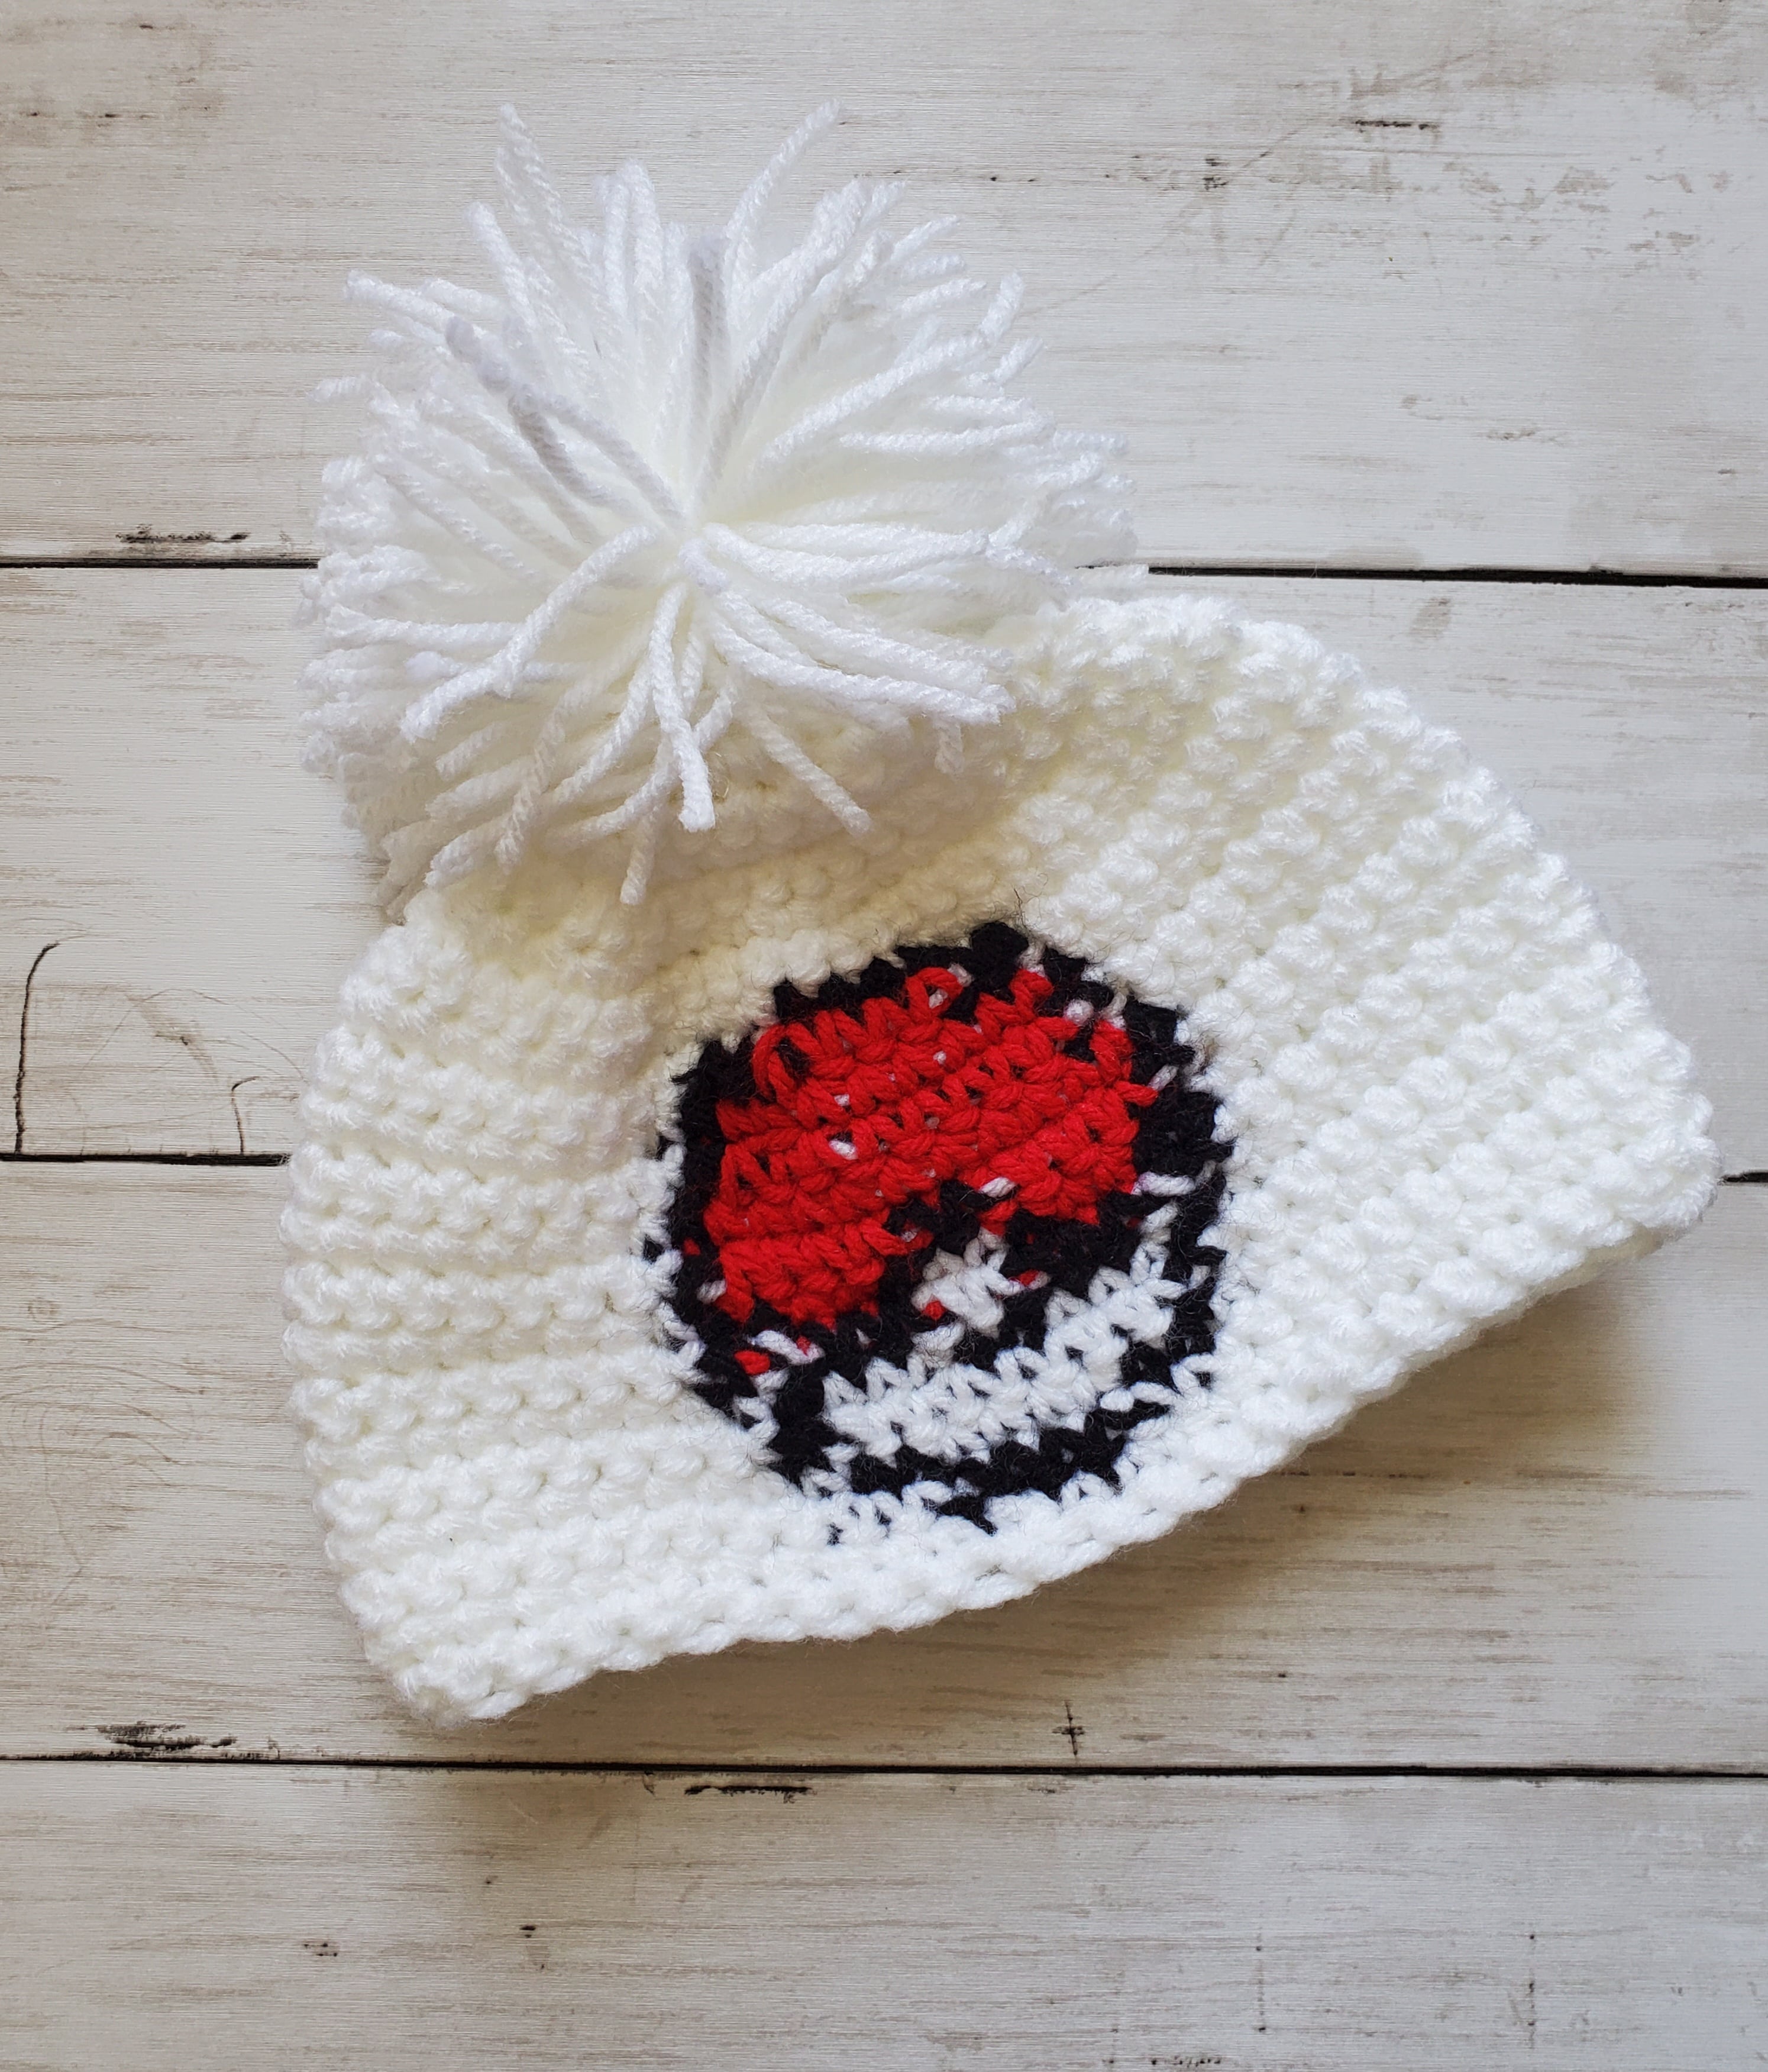
Crochet Pokemon Hat – Pokeball (1-3 Months)

Hey everyone, today I have a Crochet Pokeball Hat Pattern for you!

Are you a fan of Pokemon and looking for a fun way to show off your love for the popular franchise on your little baby? Look no further than this Pokeball-inspired crochet hat! This pattern combines the classic look of a winter hat with the iconic design of a Pokeball, making it the perfect accessory for any Pokemon loving parent. 

Whether you’re braving the cold on a winter day or heading to a Pokemon-themed event with your little one, this hat is sure to turn heads and showcase your love for the game. With easy-to-follow instructions and a simple colorwork design, this pattern is suitable for crocheters of all skill levels. So grab your hooks and yarn, and let’s get started creating your own crochet Pokeball hat!

Be sure to check out some of these other Pokemon Crochet patterns I’ve made!
How Do I Put an Image on a Crochet Hat?

I’ve been curious as to how to put an image on a crochet hat myself, and I think I’ve FINALLY cracked the code. I use the free chart making website, Stitch Fiddle, to do this.

I make an image on Stitch Fiddle, in this case the Pokeball, and I substitute each square on the chart as 1 single crochet in the hat. 

Now, you have to make sure that your image isn’t very big or you’ll have a ginormous, wonky looking crochet hat. Single crochets are also the only way to get your image to work without it getting too distorted (half double crochets and double crochets will make the image too “skinny”). Single crochets have a 1:1 ratio, meaning that they are as tall as they are wide.

I also think it’s best to get an idea of how big your hat needs to be by crocheting until you’ve reached your desired crown diameter and then single crochet a short row (like only make 3 or 4 single crochets, turn and ch 1, etc.) on the hat until you’ve reached the appropriate length for your crown diameter size. 

Look at the amount of rows you single crocheted until the desired length and then count how many you have. That is how many squares long your image can be. The total amount of single crochets you have after you’ve reached your crown diameter is how wide your image can be. 

In the case of the Crochet Pokeball Hat Pattern, I’ve increased until I had a total of 56 stitches. Measured out, I was able to have about 14 rows or 14 squares high to fit an image before the hat would be too long.The Pokeball image is 12 squares high and 12 squares wide, which was the perfect size to fit an image in the middle of the crochet hat.

What is the Crown Diameter and How Do I Find It for My Hat?

The crown diameter is how wide your hat needs to be before you start lengthening. You crochet by increasing stitches in every round until you reach your crown diameter.

It seems like many crochet hat chart sizes have different recommendations for crown diameter and length based on age. To obtain a truly accurate measurement, obtain your head circumference with a tape measure or a piece of string (and then measure the string on a ruler). Take your head circumference number and divide it by 3.14, this is your crown diameter.  

Will this Pattern Work for Other Hat Sizes?

Yes, the Crochet Pokeball Hat technically can be worked for other head sizes (except for newborn). The pattern I have available is made for a 1-3 month old…but you can increase until you hit your crown diameter (as explained above), and use the chart below to place your pokeball, but increase on each side of the pokeball to accommodate the increase in total stitches. You will also have to add a few more rounds below the pokeball to obtain an appropriate length. 

How Do I Change Yarn Colors?

Switch yarn colors the square before the needed color change. This post explains how to color change the right way for this crochet hat pattern. You want to single crochet up to the square before the color change, but don’t finish it all the way! Place the new color on your hook and pull through, proceed to crochet with the new color.

Please note that some of these links are affiliate links. That means that if you click on these links and make a purchase, I may receive a commission at no extra cost to you. You can find more information about our disclosure policy here. Thank you for your support.

Hat Size: 

Crown diameter is 4.5 inches and length is 5.25 inches (not including the pom pom). Size may vary depending on your tension and if you use a different yarn/hook size.

Materials Needed: 

Abbreviations Used:

Please note these are in US terms, not UK.

  • St(s) – stitch(es)
  • Ch – chain
  • Sc – single crochet
  • Sc2tog – single crochet two stitches together
  • STW – switch to white yarn
  • STB – switch to black yarn
  • STR – switch to red yarn

Special Instructions:

  • The beginning ch 1 does not count as a st.
  • Rounds are worked by turning after each completed round. This makes it easier to carry the yarn colors with you back and forth.
  • The number in () at the end of the round, indicates how many stitches you should have completed. 

Here is the image of the chart I used to make the hat:

Crochet Pokeball Hat (1-3 months)

With white yarn

  • Round 1: 8 sc in mc, sl st into first st (8 sts)
  • Round 2: Ch 1, 2 sc in each st around, sl st into first st (16 sts)
  • Round 3: Ch 1, 2 sc in next st, 1 sc in next st around, sl st into first st (24 sts)
  • Round 4: Ch 1, 2 sc in next st, 1 sc in next 2 sts around, sl st into first st (32 sts)
  • Round 5: Ch 1, 2 sc in next st, 1 sc in next 3 sts around, sl st into first st (40 sts)
  • Round 6: Ch 1, 2 sc in next st, 1 sc in next 4 sts around, sl st into first st (48 sts)
  • Round 7: Ch 1, 2 sc in next st, 1 sc in next 5 sts around, sl st into first st (56 sts)
  • Round 8: Ch 1, 1 sc in next 26 sts, STB, 1 sc in next 4 sts, STW, 1 sc in next 26 sts, sl st into first st (56 sts)
  • Round 9: Ch 1, 1 sc in next 24 sts, STB, 1 sc in next 2 sts, STR, 1 sc in next 4 sts, STB, 1 sc in next 2 sts, STW, 1 sc in next 24 sts, sl st into first st (56 sts)
  • Round 10: Ch 1, 1 sc in next 23 sts, STB, 1 sc in next st, STR, 1 sc in next 8 sts, STB, 1 sc in next st, STW, 1 sc in next 23 sts, sl st into first st (56 sts)
  • Round 11: Repeat round 10. (56 sts)
  • Round 12: Ch 1, 1 sc in next 22 sts, STB, 1 sc in next st, STR, 1 sc in next 10 sts, STB, 1 sc in next st, STW, 1 sc in next 22 sts, sl st into first st (56 sts)
  • Round 13: Ch 1, 1 sc in next 22 sts, STB, 1 sc in next st, STR, 1 sc in next 4 sts, STB, 1 sc in next 2 sts, STR, 1 sc in next 4 sts, STB, 1 sc in next st, STW 1 sc in next 22 sts, sl st into first st (56 sts)
  • Round 14: Ch 1, 1 sc into next 22 sts, STB, 1 sc in next 2 sts, STR, 1 sc in next 2 sts, STB, 1 sc in next st, STW, 1 sc in next 2 sts, STB, 1 sc in next st, STR, 1 sc in next 2 sts, STB, 1 sc in next 2 sts, STW, 1 sc in next 22 sts, sl st into first st (56 sts)
  • Round 15: Ch 1, 1 sc into next 22 sts, STB, 1 sc in next st, STW, 1 sc in next st, STB, 1 sc in next 3 sts, STW, 1 sc in next 2 sts, STB, 1 sc in next 3 sts, STW, 1 sc in next st, STB, 1 sc in next st, STW, 1 sc in next 22 sts, sl st into first st (56 sts)
  • Round 16: Ch 1, 1 sc in next 23 sts, STB, 1 sc in next st, STW, 1 sc in next 3 sts, STB, 1 sc in next 2 sts, STW, 1 sc in next 3 sts, STB, 1 sc in next st, STW, 1 sc in next 23 sts, sl st into first st (56 sts)
  • Round 17: Ch 1, 1 sc in next 23 sts, STB, 1 sc in next st, STW, 1 sc in next 8 sts, STB, 1 sc in next st, STW, 1 sc in next 23 sts, sl st into first st (56 sts)
  • Round 18: Ch 1, 1 sc in next 24 sts, STB, 1 sc in next 2 sts, STW, 1 sc in next 4 sts, STB, 1 sc in next 2 sts, STW, 1 sc in next 24 sts, sl st into first st (56 sts)
  • Round 19: Ch 1, 1 sc in next 26 sts, STB, 1 sc in next 4 sts, STW, 1 sc in next 26 sts, sl st into first st (56 sts)
  • Round 20: Ch 1, 1 sc in next 5 sts, sc2tog around, sl st into first st (48 sts)
  • Round 21: Ch 1, 1 sc in next 4 sts, sc2tog around, sl st into first st (40 sts)

Cut yarn with scissors, weave in ends with tapestry needle.  

Pom Pom:

  • To make a pom pom out of yarn, cut a long length of yarn (about 12 inches or so) and set aside. 
  • Wrap the yarn around four fingers about 70 times (or until you’re happy with the thickness of your pom pom). 
  • Carefully slide the yarn off your fingers and onto the string of yarn you cut first. Tie the yarn tightly around the bulk of the yarn you wrapped. 
  • Use your scissors to cut the loops made on both sides. Trim up any long pieces.
  • Sew the pom pom into the center of the hat with tapestry needle.

Thank you very much for checking out the Crochet Pokeball Hat Pattern! I hope that you enjoyed making this fun and whimsical hat. I can’t wait to see all of your amazing creations! Be sure to tag me @strommercrafts 🙂

Other Posts You May Like: